Community challenge #30: Gifts

@Luke wanted us to give out the new Crush-It Pro clamps to second place, so I’ve modified the prize list.
I’m also hoping he wants to give out a set of those clamps to the organizer. Since those things look super slick!

6 Likes

I sprayed a single coat of poly on the surface before carving. It made painting really, really easy. Just pick your blue, darker where the rivers are deep, and then wipe the surface clear with a damp paper towel.

The after paint I added a water based high gloss poly to the water. A couple layers. On another project I’ve done many coats over those waves. It ends up filling the low spots and really tricking your eyes into thinking you’re looking through water into depths. Hard to explain how much better it looks in real life than the photos. It’s worth a try if you’re at all curious. The materials are dirt cheap.


7 Likes

Lastly, I re-sanded the top to bare wood, leaving the painted areas high gloss. My buddy gave me some Odie’s Oil and it made the pine look better than I’ve ever seen pine look.

Couple brackets on the back to help prevent splitting. It holds it an eighth off the wall giving it a cool shadow line.


11 Likes

Well it is a gift, just took 2 years to finish. Thought I would share.

Purchased my Nomad 2 years 9 months ago and out of all my shop equipment is gets the most use. I think I have bought 1/32 end mills from every vendor on the planet.

Cut on the nomad was:

Flowers 20 gauge - 1/32 end mill. Opaque vitreous enamel, 6/32 plusnut holding them together with a 3mm micro led inside it.
Hummingbird wing 14 gauge - 1/32nd end mill transparent vitreous enamel
Butterfly 14 gauge - 1/32nd end mill transparent vitreous enamel
Base black walnut created in carbide create pro on the nomad.

2 years 9 months ago I didn’t have a clue about any of this. It’s been a fun ride.

The Nomad, the software both carbide create and carbide motion and the support that goes with was awesome.

18 Likes

That is downright amazing. It looks fantastic.
And I get frustrated with projects that take weeks to finish.

I am guessing that took a lot of setups and a lot of files.

Now that you have completed your quest are you selling your Nomad :joy:

2 Likes

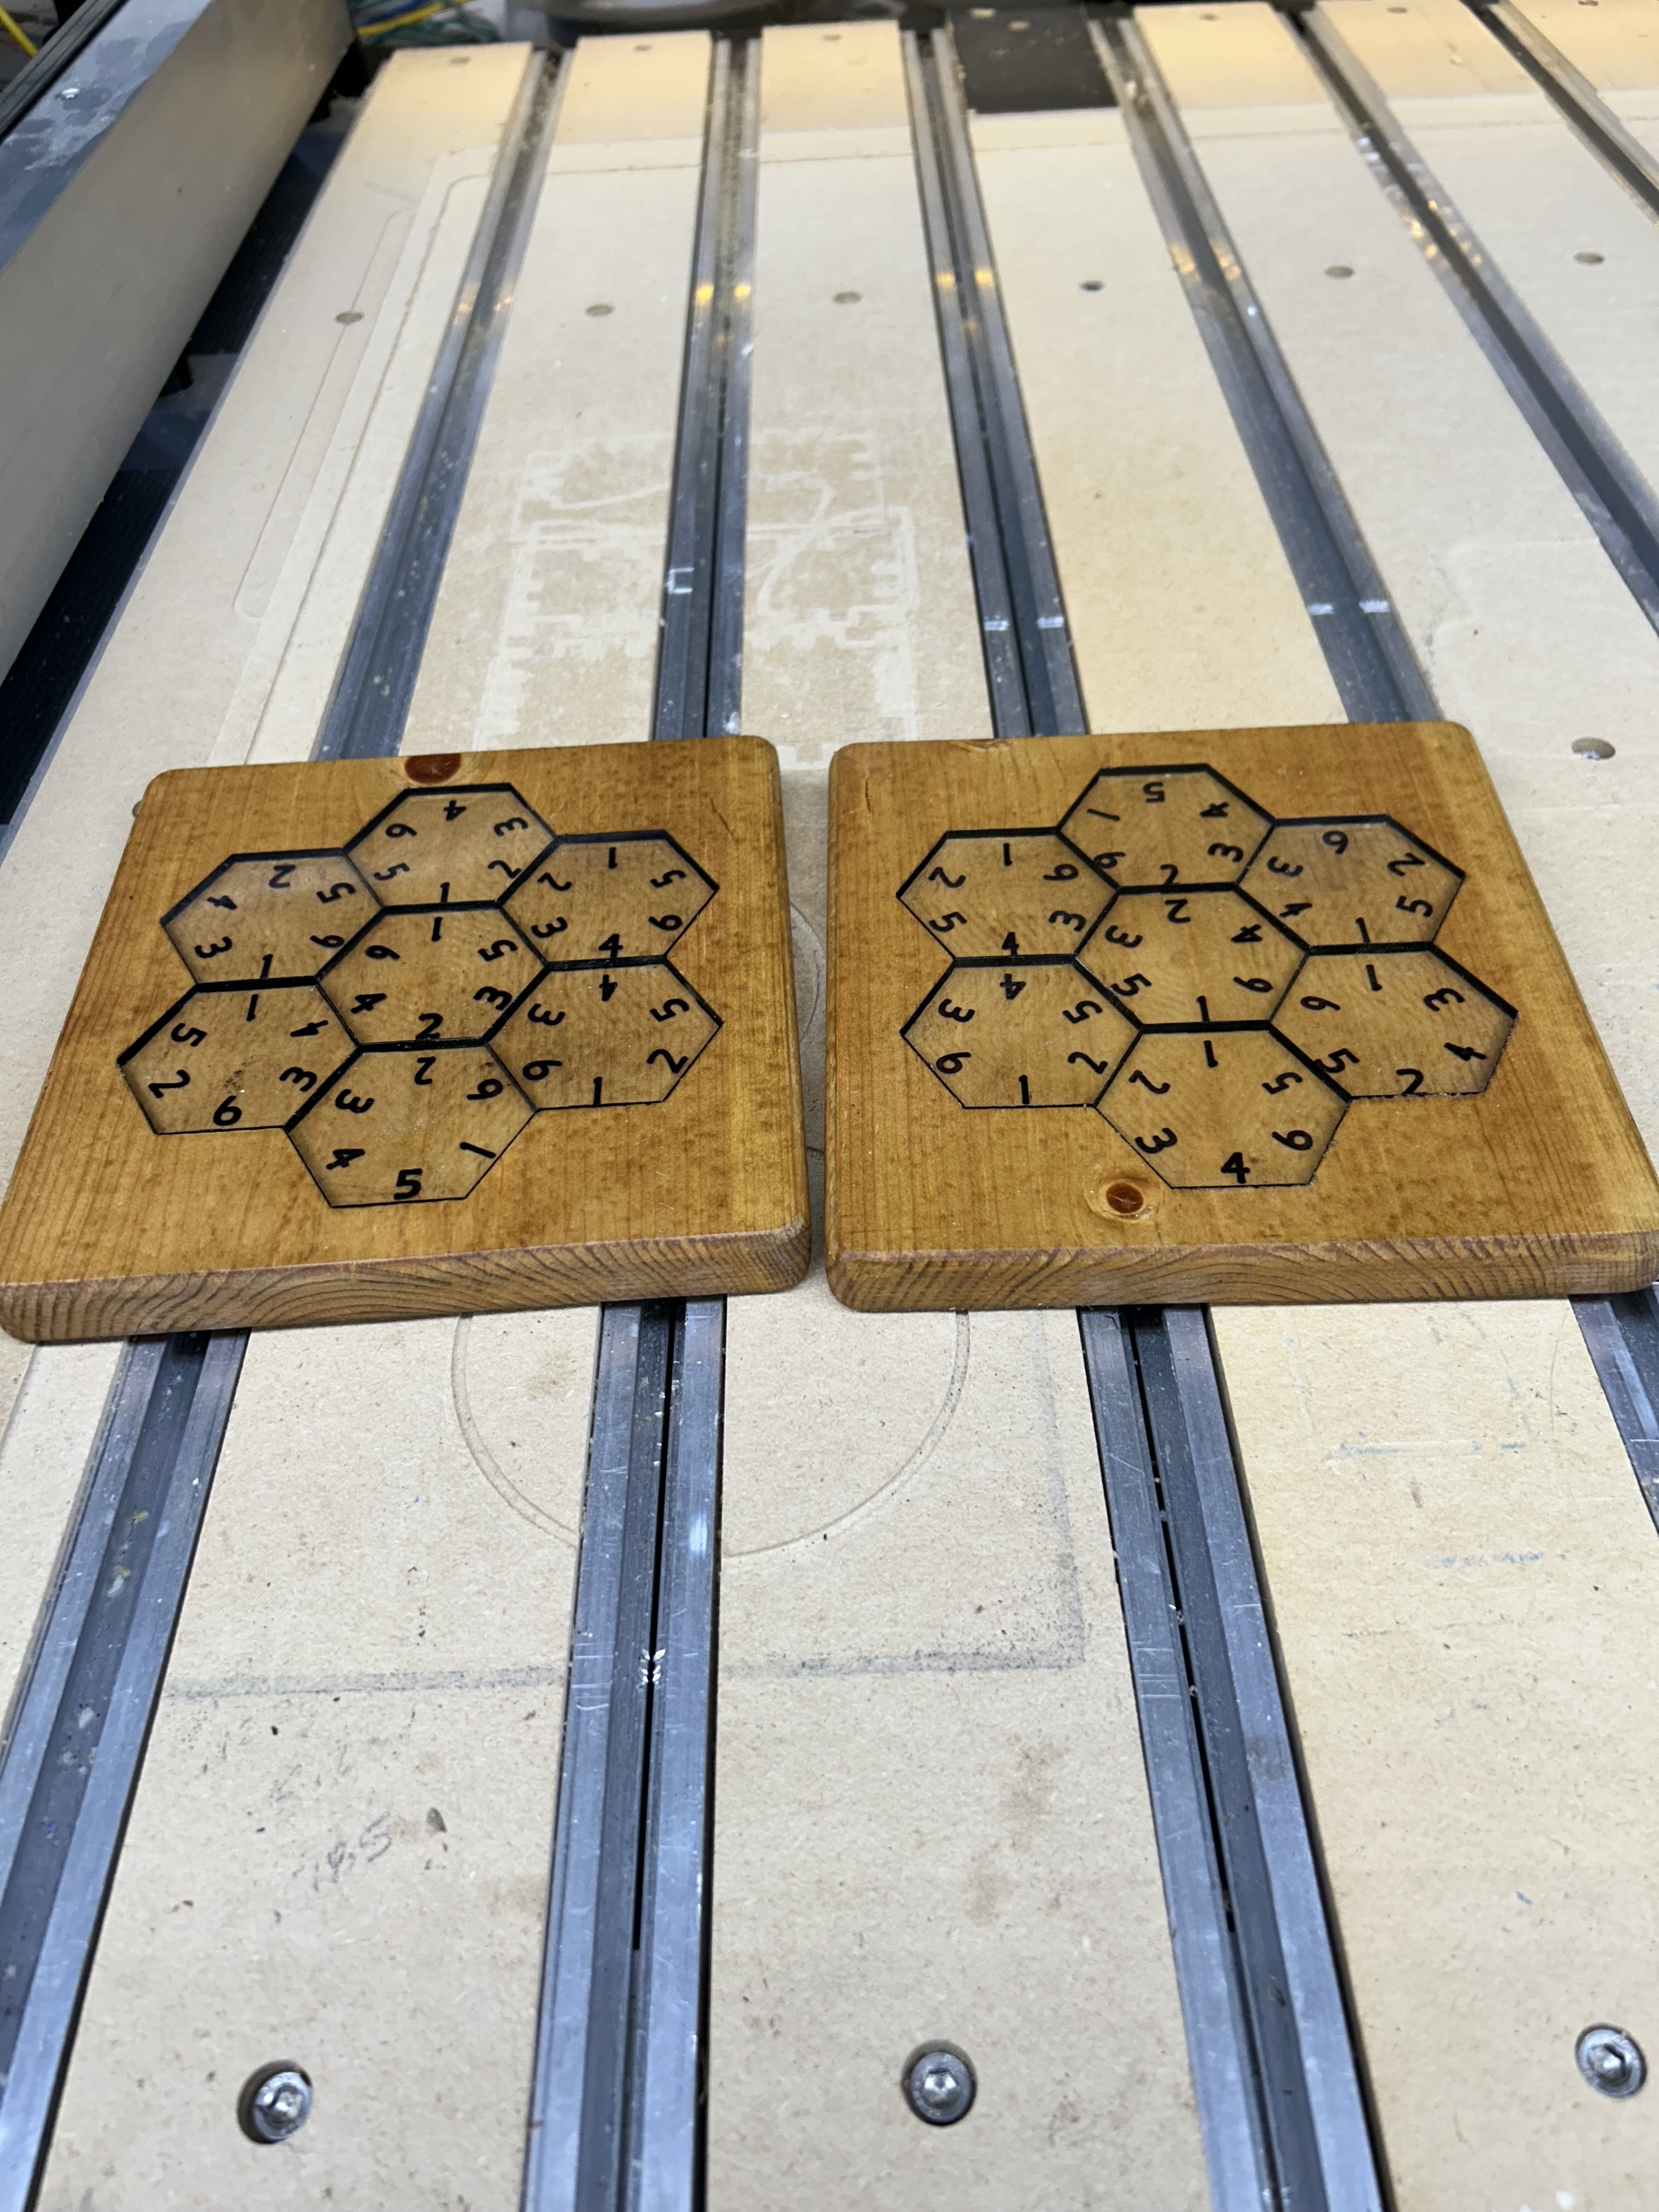
A project I have given as gifts trying to drum up business has been relegated to Christmas gifts only. Had fun doing this.

Remember when you measure everything up, there is going to be stain, varnish, and edge color. A great fit turns into a very tight fit very quickly.

6 Likes

Thanks, a LOT of trial and error.

Finishing this I took it to a local gallery and they really liked it asked me to put a price on it and of course I couldn’t. Then the curator took me around and showed me what sells and what doesn’t. The ideas flowed like water, so I think I’m going to be busy. They asked for a collection of 3 or 4 pieces to look at.

3 Likes

Were the parts cut from flat stock then shaped by hand and braised together? Did you do the enamel work after it was assembled or in separate pieces?

I’d love to here about the process involved creating this kind of sculpture.

I buy 6 x 12 copper sheet, then split in 6x6. Here is the design I ended going with. I texture one side to flare the petals and form the shape on the other side. They are enameled as in the pic, then cut and polished and connected by a 6/32 rivet nut. I braze the branches, silver solder the sensitive parts. The body of the hummingbird is sand casted from scrap copper, the wings are attached with solder.
Hope that helps.
flower 12 10

3 Likes

My mind is blown. This is incredible work.

While I hardly feel worthy after seeing the above work (amazing!!!) I figured why not share some of the gifts I’ve been making.

Here is the first one, a gift for my mother, who loves everything Jurassic Park. I 3D printed the raptor claw, so of course ignore that!

I setup the artwork in Adobe Illustrator, exported the SVG and cut from hard maple on my Shapeoko 4 XL, with acrylic paint. I used oramask for easy sharp lines and then sanded the surface a bit.

8e55e773bede71fe0833cb2b56b1bd8b4691feed_2_666x500

9 Likes

That’s a fantastic way to make waves! I’m definitely going to try it out on a project I’ve been planning on do soon.

I’m new to CNC and just got my Shapeoko 5 a few weeks ago. I grew up framing houses with my dad and he taught me how to use every kind of hand and power tool. I’m now in the software industry and enjoy combining my digital and tooling skills to produce physical things. While I’m new to CNC, I have a lot of experience with software development, 3D printing, and vertex-based modeling.

My parents built a cabin on a mountain in Wyoming in the early 2010s. In 2020 they retired and moved south. I have seen a few topo map cuts on social media and had the idea of making a topo map of the mountain where they built a cabin. This took quite a bit of research into data sources, GIS concepts, various ways of creating toolpaths, and physical testing.

First, here’s the “near-finished” piece, which was drying in this photo, hence the inconsistent sheen. I have a few more coats of oil finish and then I’m going to laser engrave the name of the mountain on the side, my logo on the bottom, and put little leather footpads on the bottom:

I started by experimenting with the most popular data source: Touch Terrain. It spits out STL files, which I am familiar with from 3D printing. While it’s a great tool, I didn’t end up using it because you have to do a lot of “hoop jumping” to get STLs into a millable format. But it’s worth mentioning for other users.

Instead, I used a data source called Tangrams which spits out grayscale heightmaps. I’m familiar with using heightmaps because I’ve done a lot of video game development and these are often used to create terrain meshes in video games. Carbide Create Pro can generate rough and final tool path passes from a heightmap!

I pulled various crops of the mountain area into Photoshop and other tools and experimented with how much area I wanted to represent and how much to exaggerate the elevation. I found that slightly blurring the image and exaggerating by about 2x gave me a good balance of distinct features that didn’t have too many sharp points or stepping due to the exaggerated Z.

With Touch Terrain, you can choose the exact exaggeration but in Tangram, you can’t. Heightmaps basically use the concept of “exposure” since the grayscale represents relative height not absolute elevation. Instead you have to experiment with the base height and absolute height. A little pro tip is to import that same height map like 5 times and increase the height by 1/16" or 1/8" each time and run simulations of each in the same file until you get an elevation that “looks right”. Then delete all the other heightmaps that you don’t want. Also, NAME THEM BASED ON THE HEIGHT. Once you hit “done” you can’t re-edit the heightmap in Carbide Create Pro (feature request: please allow editing). So creating multiple is a workaround. Note that I obviously care more about aesthetics than geographic accuracy.

Once I had figured out the data sources and tools, I cut my first test in cheap plywood. The biggest problem I had here is that my 1/8" ball mill has a really short shank and my router head kept running into the unmilled wood. On future cuts I would remove wood around the piece with a 1/4" downcut first to give the head plenty of clearance:

Despite the head crashing into the wood on every pass, the test cut turned out decent:

For my next experiment I laminted some cutoff walnut pieces together to create enough surface area to do a couple more. These were cheap tests but turned out nice enough to give as gifts to some of my other family that love this mountain… Notice on these that I milled away any wood in the rough pass that might hit the router head on the final pass:

Now that I had the process pretty much figured out, it was time to test it on the more expensive solid chunk of black walnut. I got this big rough cutoff from my hardwood supplier and flattened both sides with the McFly surfacing bit:

I oriented the wood so the finishing pass would be as aligned with the grain direction as possible, and so that the big divot in the side of the wood chunk would be milled away to a lower elevation area. Here’s the simulation (yes I took a pic of my screen because I was in a hurry)

It took hours to mill down the rough pass with a 1/4" downcut. Also I had to leave the vacuum pretty high so it didn’t hit the peak so it made a mess:

And the smoothing pass. For the distance between passes, I divided the mill diameter (1/8" ball end) by 4 and rounded that down to 0.03". It’s precise enough that I can see the original, raw sampling data so going more precise with your tool or pass width probably won’t improve finish by much:

To clean up the piece, I used a plastic brush to smooth toolpass lines and “fuzz” bits, and a green scratchpad to smooth it up. I am finishing it with Watco Butcher Block oil because I’m out of everything else and can’t get it in before the holidays.

So there you have it. I’m not including files here because my files were very specific to the place and this unique piece of wood. But hopefully I’ve given you enough information to make your own files and topo cuts of a place that is meaningful to you or your gift recipient!

15 Likes

This toilet paper tip is HAWT :fire::fire::fire:
Thanks for that!

2 Likes

I wasn’t sure if outbound links would get my post locked and I didn’t want all the stuff I wrote about topo maps to go away. So, if your google skills fail you, here are links to the two topo data tools I mentioned in my post above:

Touch Terrain

Tangrams

5 Likes

Well done! I really like the detailed tutorial with your piece. I’ve always wanted to do a Topography of my farm in Ontario but I may as well just plane a board flat and call it South-Western Ontario… Hahaha

2 Likes

Ditto for South East GA

Made for a customer who will use it as a gift.

Original request

It went through several design iterations…

Based on the original request

image
image

So I removed the names, and added a tractor

image

Final design approved.

19" x 36", so it’s going to require tiling. I did use the tiling feature, and set it at 20" so the overlap was between the tractor & the union.

I did a couple test cuts with the scrap to see how it cut, and decide what to do with the edges

On the machine

I did the first cut with the 1/4" endmill, then the 2nd with a 90° downcut V-bit.
On the 2nd tile, I left the V-bit in & cut that path first, then did the clearing path last.
I did get a slightly better result cutting with the V-bit first.
A good hard brushing with a stiff nylon scrub brush got rid of the ‘fuzzies’.

Finished product is 1/2" Walnut plywood with several coats of lacquer.

Chance_Wackerlin_Flag.c2d (484 KB)

14 Likes

Earlier this year my wife and I made a simple cutting board for ourselves and when my Mom saw it on a call she said she wanted one. We stepped it up a notch and made this one for her Christmas gift this year…I hope she doesn’t see this post before Christmas but suspect she doesn’t look at this site too often.

We started with a cutting board kit from Woodcraft and glued it up, planed it, joined the edges on the router table with a wide cutter and a shim behind one fence plate, then squared it up and had it all ready for the Shapeoko. The wood is Angelique (an African mahogany or relative of mahogany), Wenge, and Hard Maple.

We have a Shapeoko Pro XXL and I programmed up the cuts using carbide create and Shapeoko tooling with standard speeds and feeds for hardwood. I drew up the juice groove and minion-looking character with the cleaver in each corner. I happened into some luck programming by putting the little guy in one corner, programming it, then going back and patterning, then rotating the other three. The software updated the cuts to handle all four with no extra programming…thanks Shapeoko for that cutpath link checkbox! I made the juice groove by a slotting with the 1/4” cutter, then using the profiles for the inner and outer edges to run contour cuts on each one with a 1/4” ball nose. It came out great with excellent z repeatability between those cuts.

After it was all done I ran the vertical corners through the router table with a 1/4” round over bit, then put a 1/4” bevel on the bottom to give my Mom something to get her fingers under for picking it up. I sanded it up and applied some mineral oil. Here it is…


15 Likes

Our Shapeoko Pro and JTech laser attachment have been very busy this last month…as is standard when getting new toys! Saw some posts on laser forums about coloring kits that the kids can paint individual layers then glue together to make a scene, so I figured we’d give it a go. Made these for a friend’s 3 boys to paint over the break and it sounds like they’re going to be a hit!


10 Likes