This was good fun!
So for this CNC decorative see through panel challenge #4, I thought I’d do a Sea-through panel using the Shapeoko SeaNC. That’s it for the puns, I promise. My idea was to use a halftone image to create a panel that would reveal a sea surface image when viewed from far enough away. This ended up being an adventure into the limits of the Carbide software suite that was definitely unexpected, but I think lays out a pretty convenient workflow for making all sorts of custom art from anywhere on the Shapeoko.
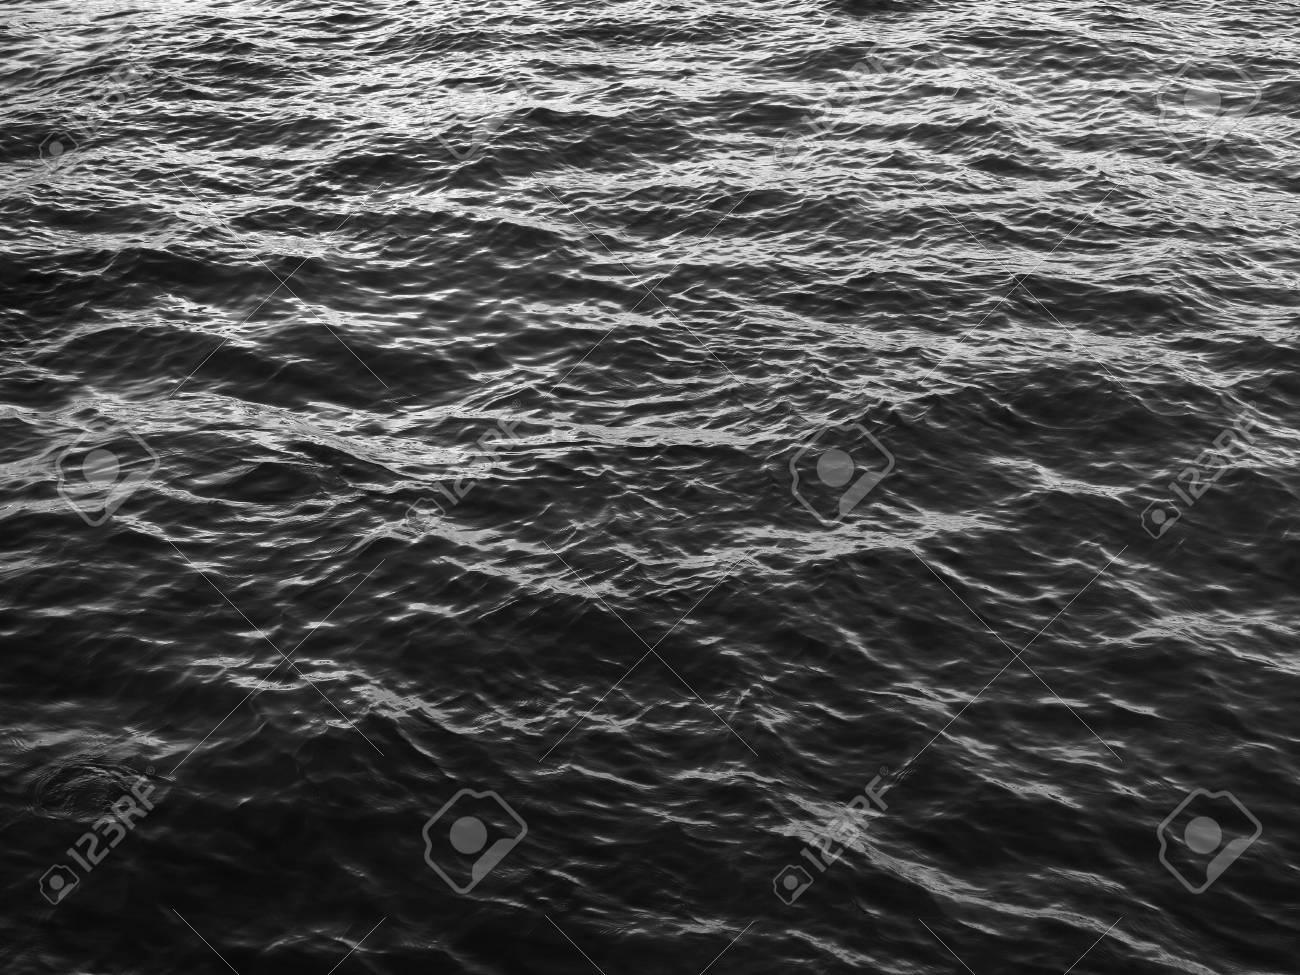
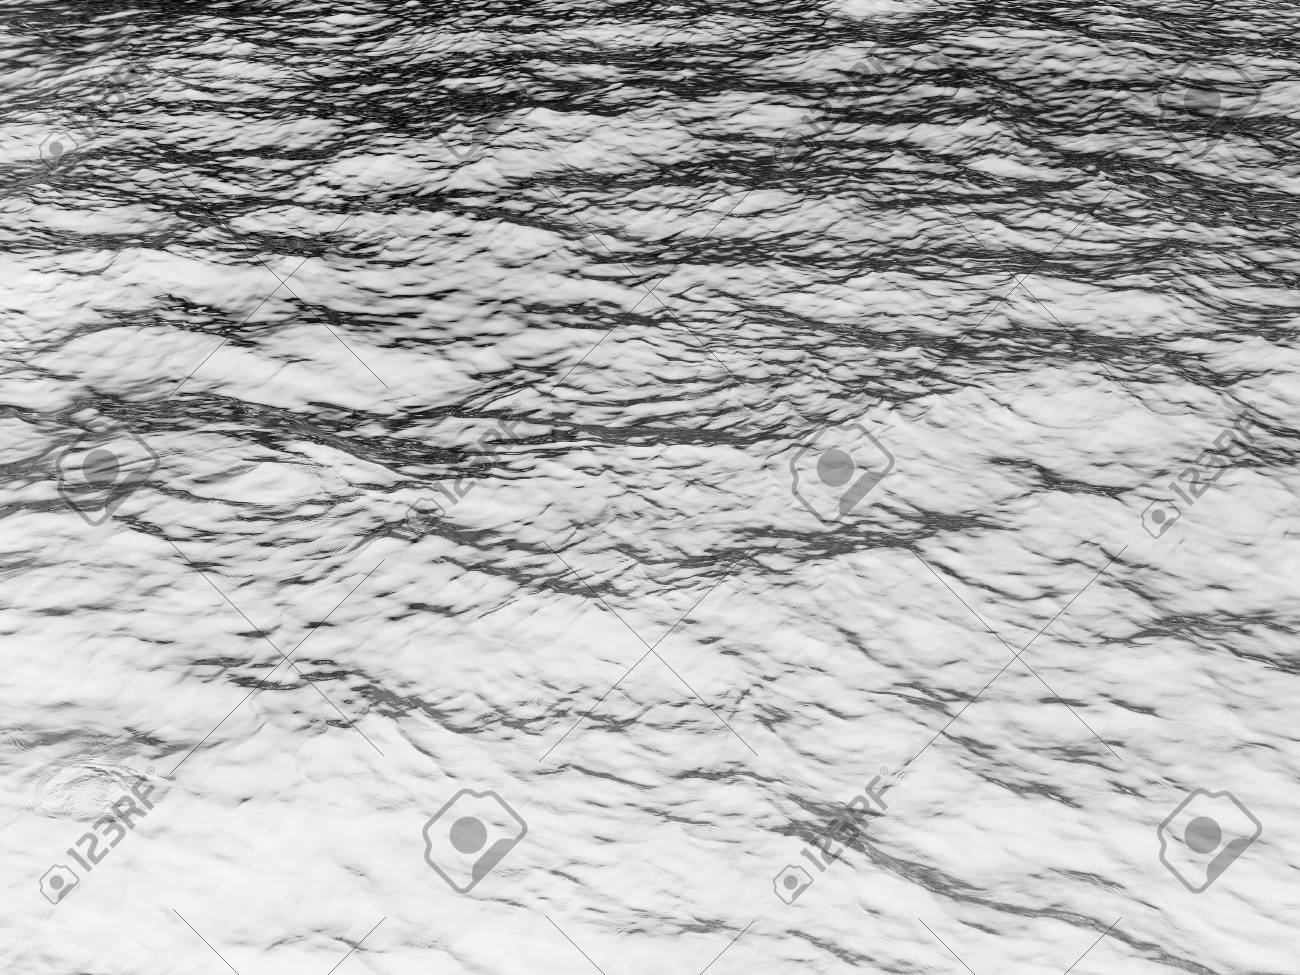
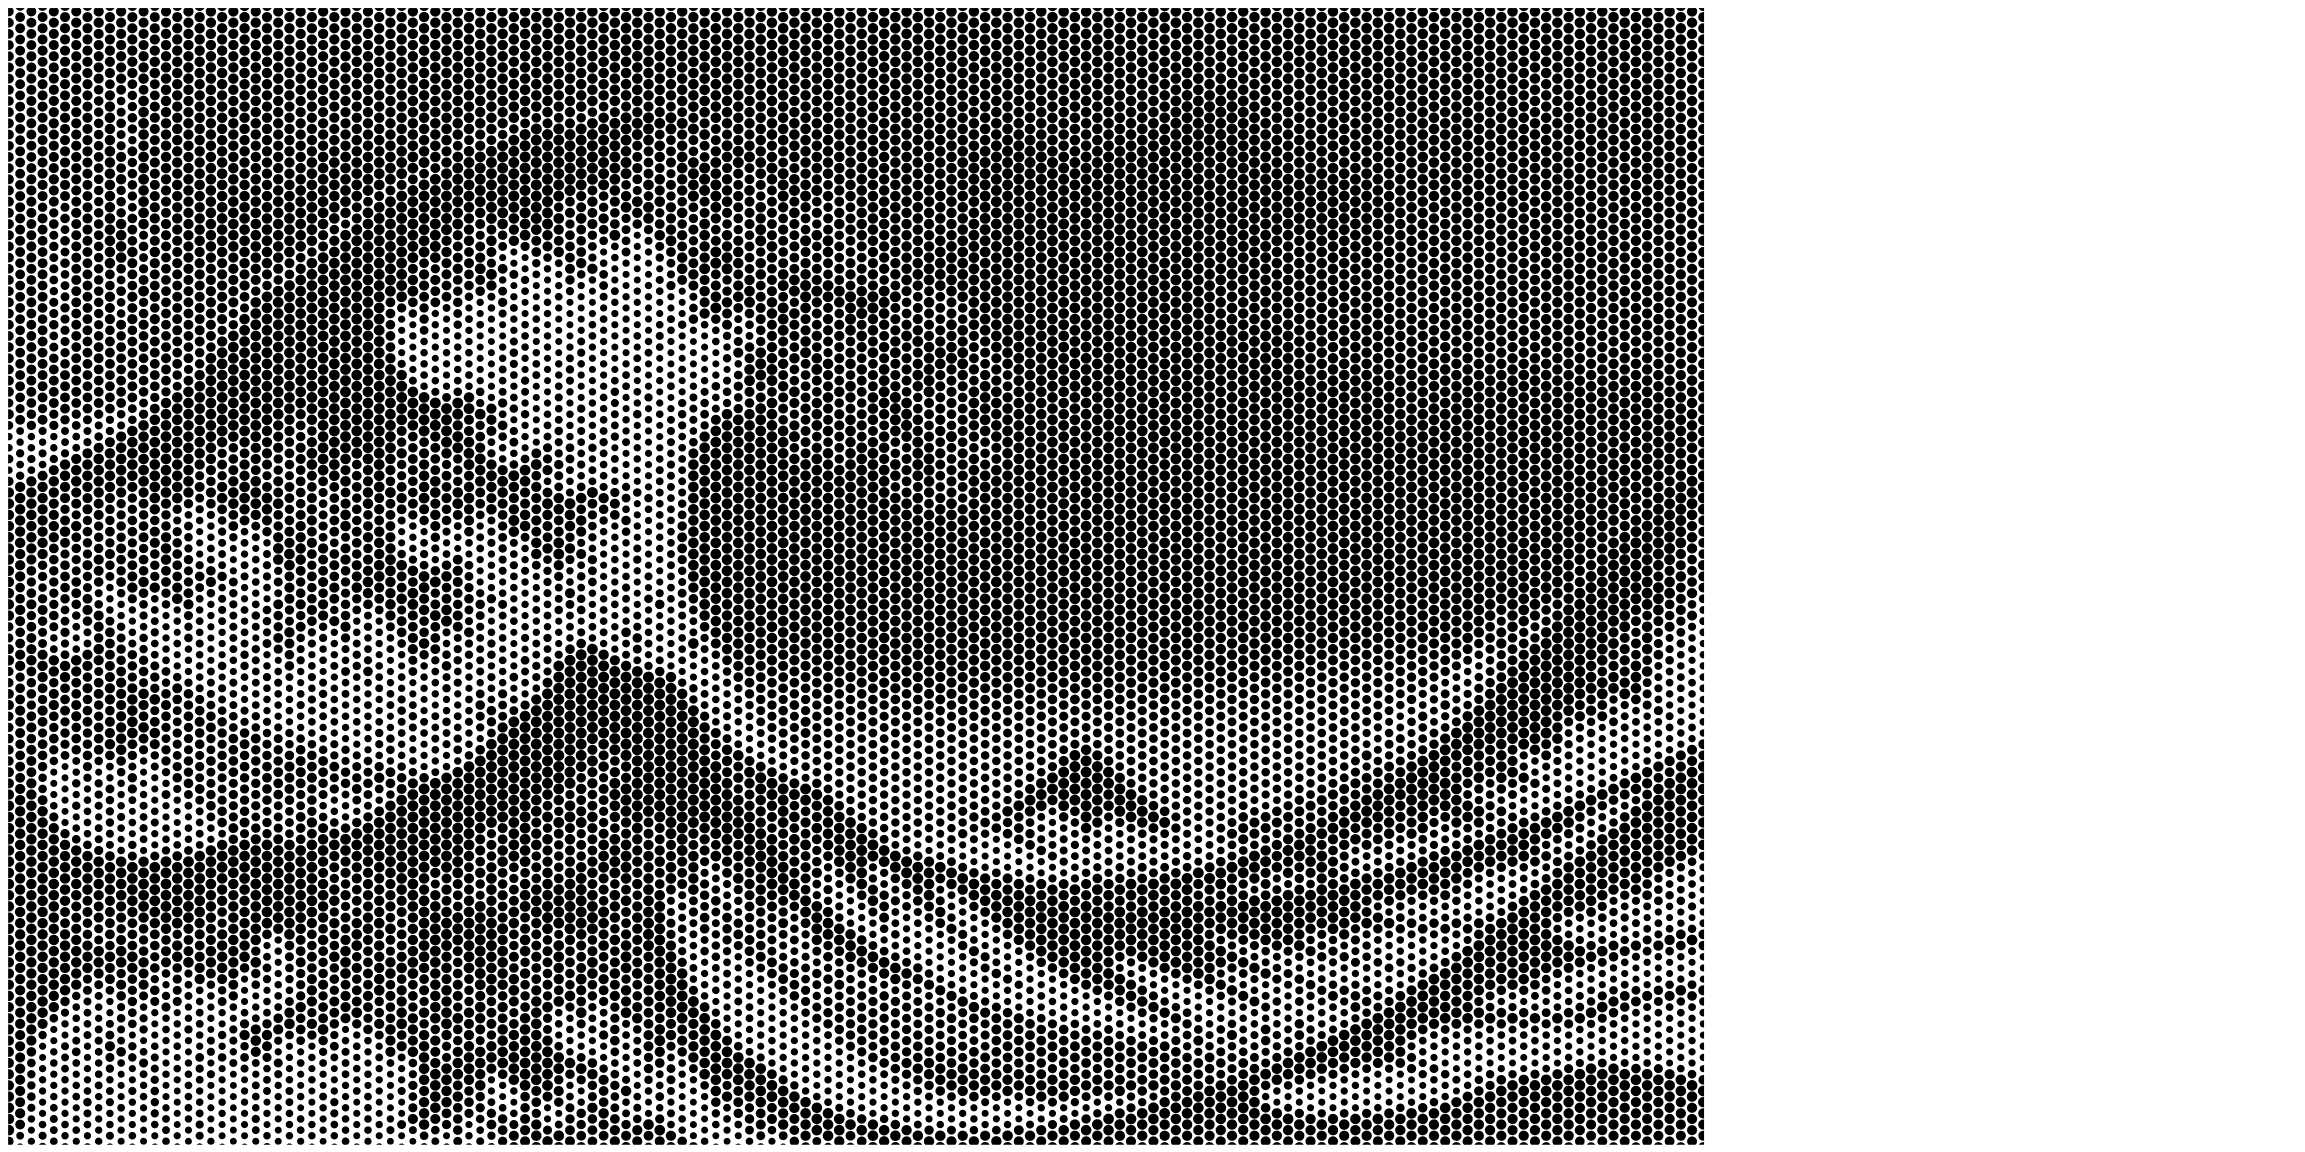
To stick with the sea theme I found so clever, I started with an stock image of some open water and used the online tool Rasterbator to create a halftone file of the image. In my case, I had to invert the starting image to have the halftone dots be heavier in the right part of the image.
Using the Rasterbator website is fairly straight-forward to use and free!
- Upload your image or point to a url.
- Choose a custom final size to match your work piece or layout
- Chose a black hole and white background color scheme.
- Set the grid size and raster size percentages.
::Record scratch:: I should add now, because I found out myself much later, that one should plan their minimum hole size now so that it fits their tooling. The help page on the site explains how the grid size and circle sizes are calculated. Save yourself at least one headache and plan ahead. - Download the file.
The Rasterbator file is a pdf, so I opened in Inkscape and converted to SVG.
Starting Image:
Inverted Image:
Rasterbated Image converted to SVG:

The first unexpected challenge was using Carbide Create to program the toolpath for so many elements at once. I think it was at this point I should have realized I was maybe going beyond what was reasonable to expect from the software. The large number of elements (almost 5000 circles!) really took a toll on Carbide Create and manipulating the file took a few tries between the crashes and optimizing the circle size to fit the #112 cutter I planned on using. Each time I tried to generate the toolpath it took the better part of a halfhour for Carbide Create to finish crunching the numbers. C2D file below if you want to try it out, or point out how I could have avoided the mess. C2D file.zip (809.7 KB)
The next challenge was loading the file into Carbide Motion. The full file was a mere 28MB and didn’t seem to load. So I had to go back to Carbide Create to split the toolpath into two seperate files. Carbide Motion seems to be able to handle the ~14MB files. These smaller files were able to load into Carbide Motion.NC Files.zip (3.0 MB)
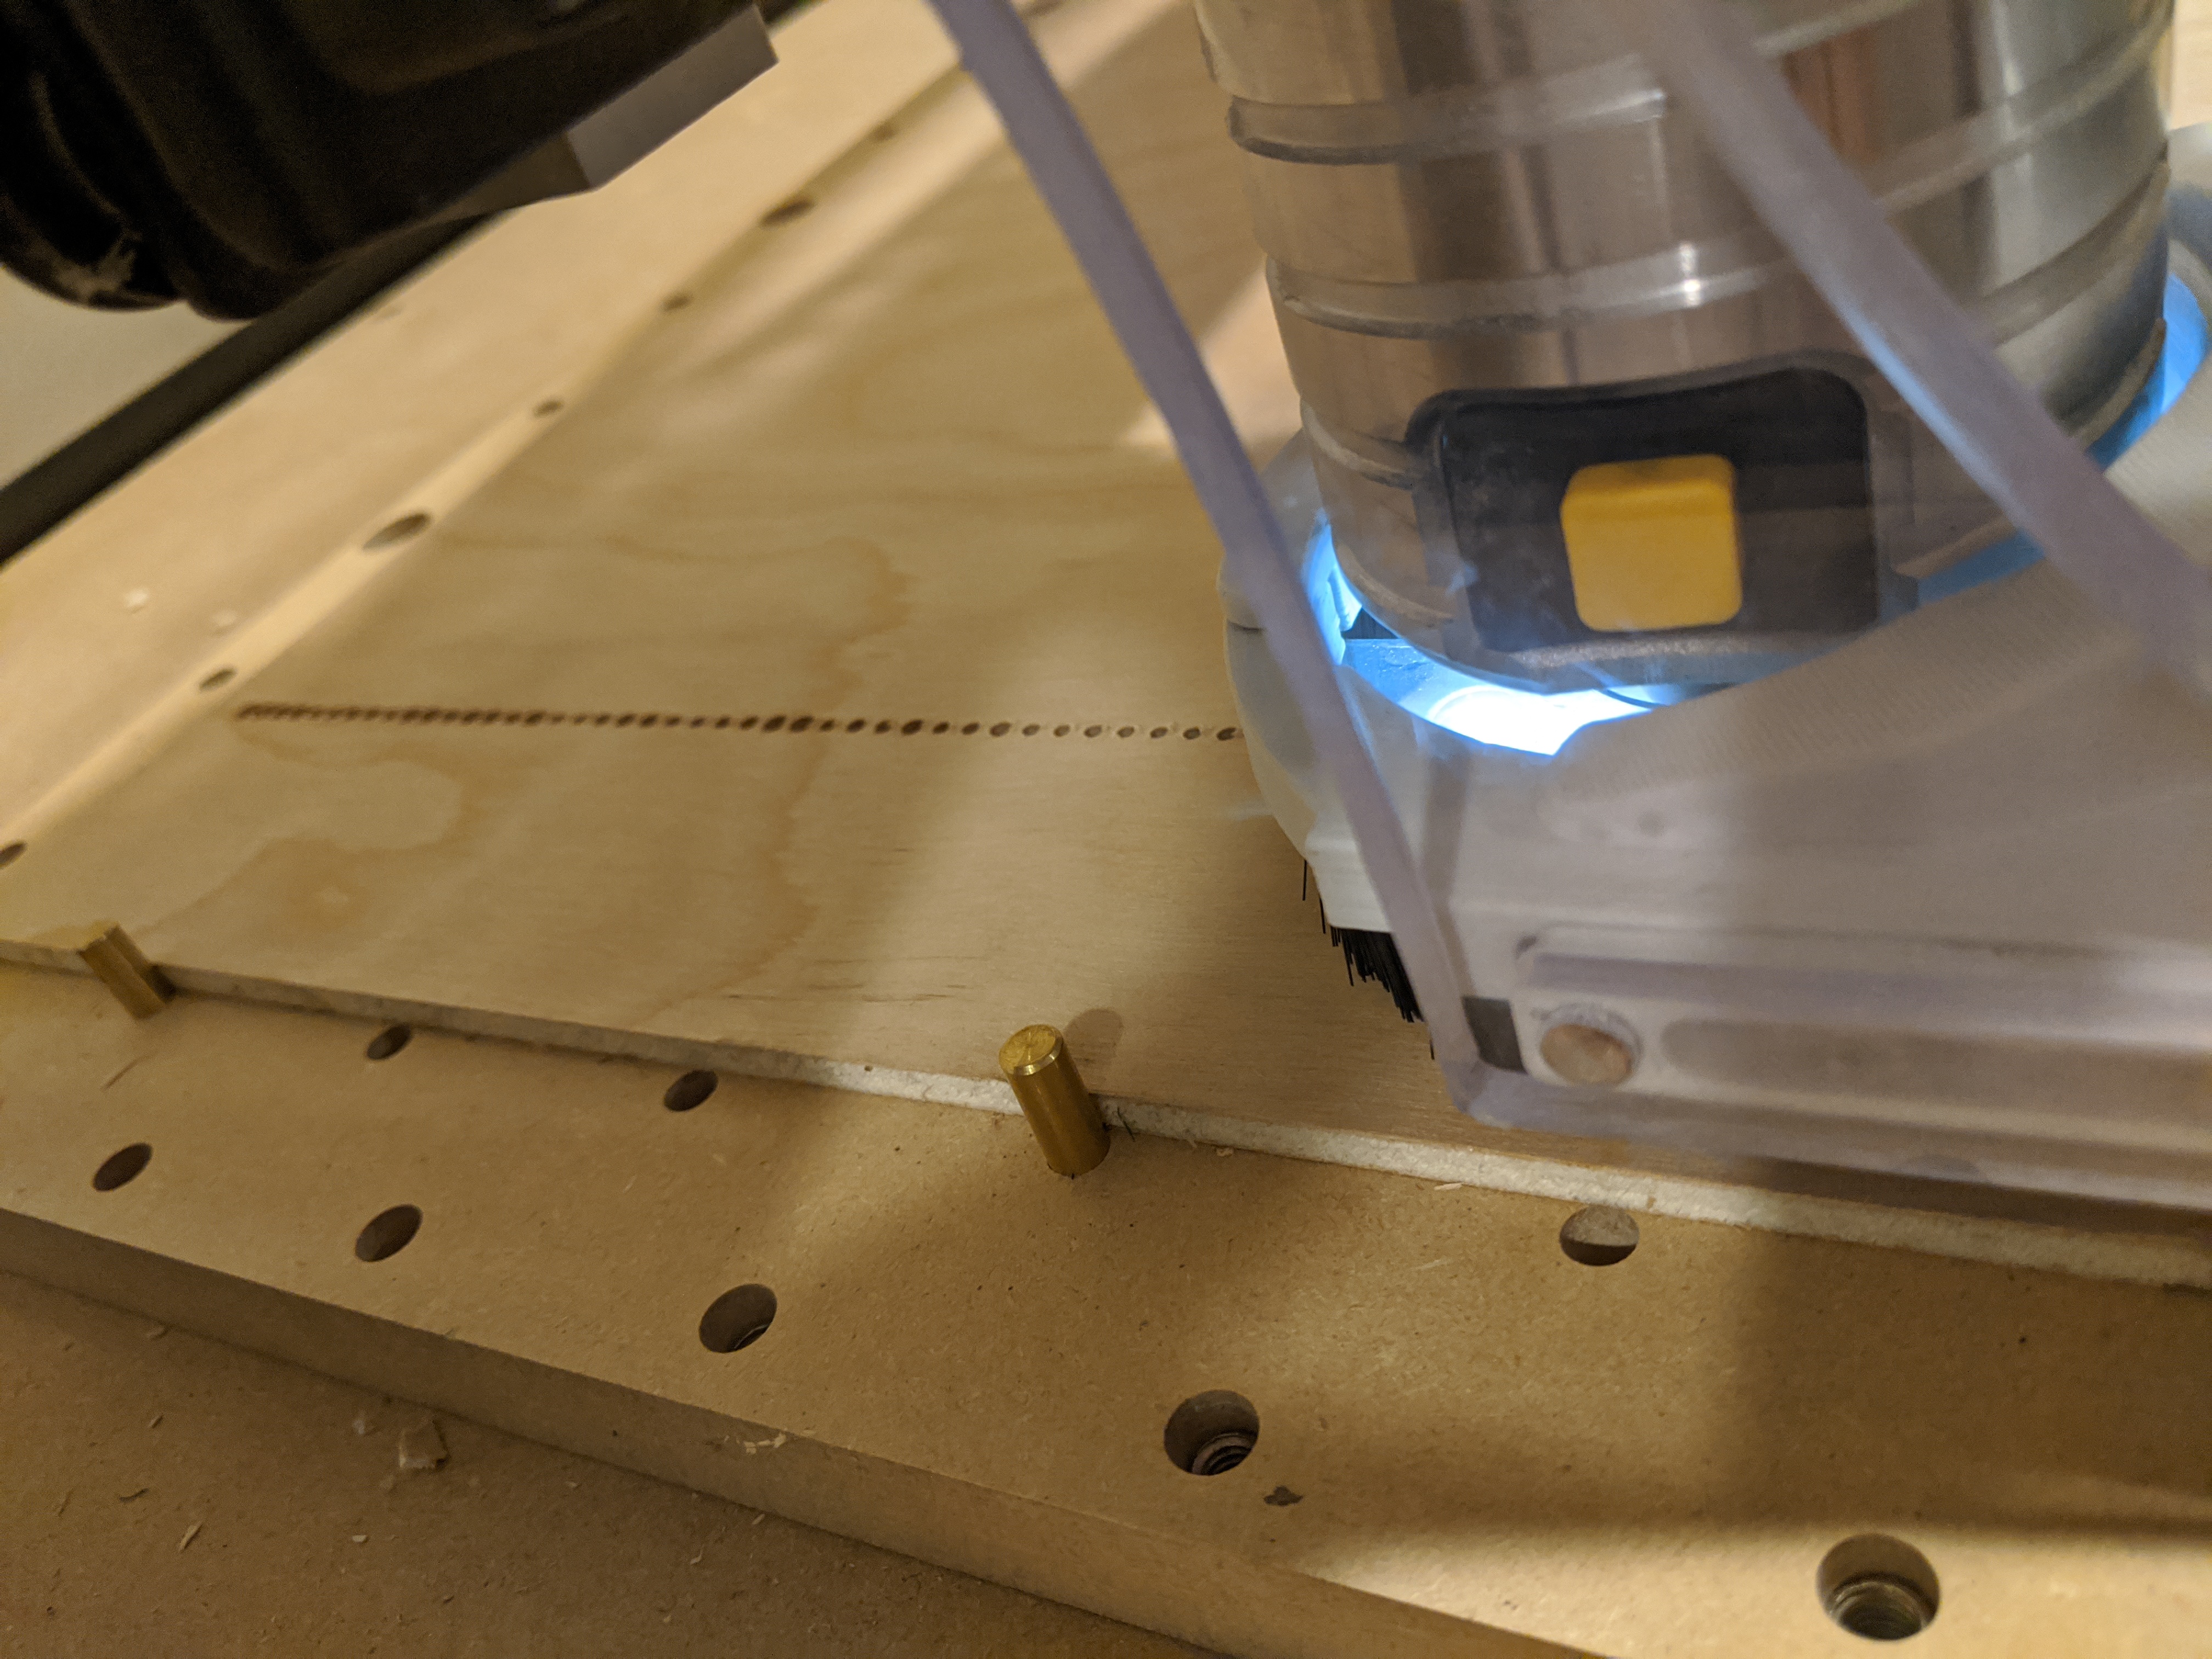
After that it was a pretty standard affair of choosing material, tooling, workholding, and then a lot of time. Total machining time was just about 8.5 hours.
Just Starting!
Halfway done!
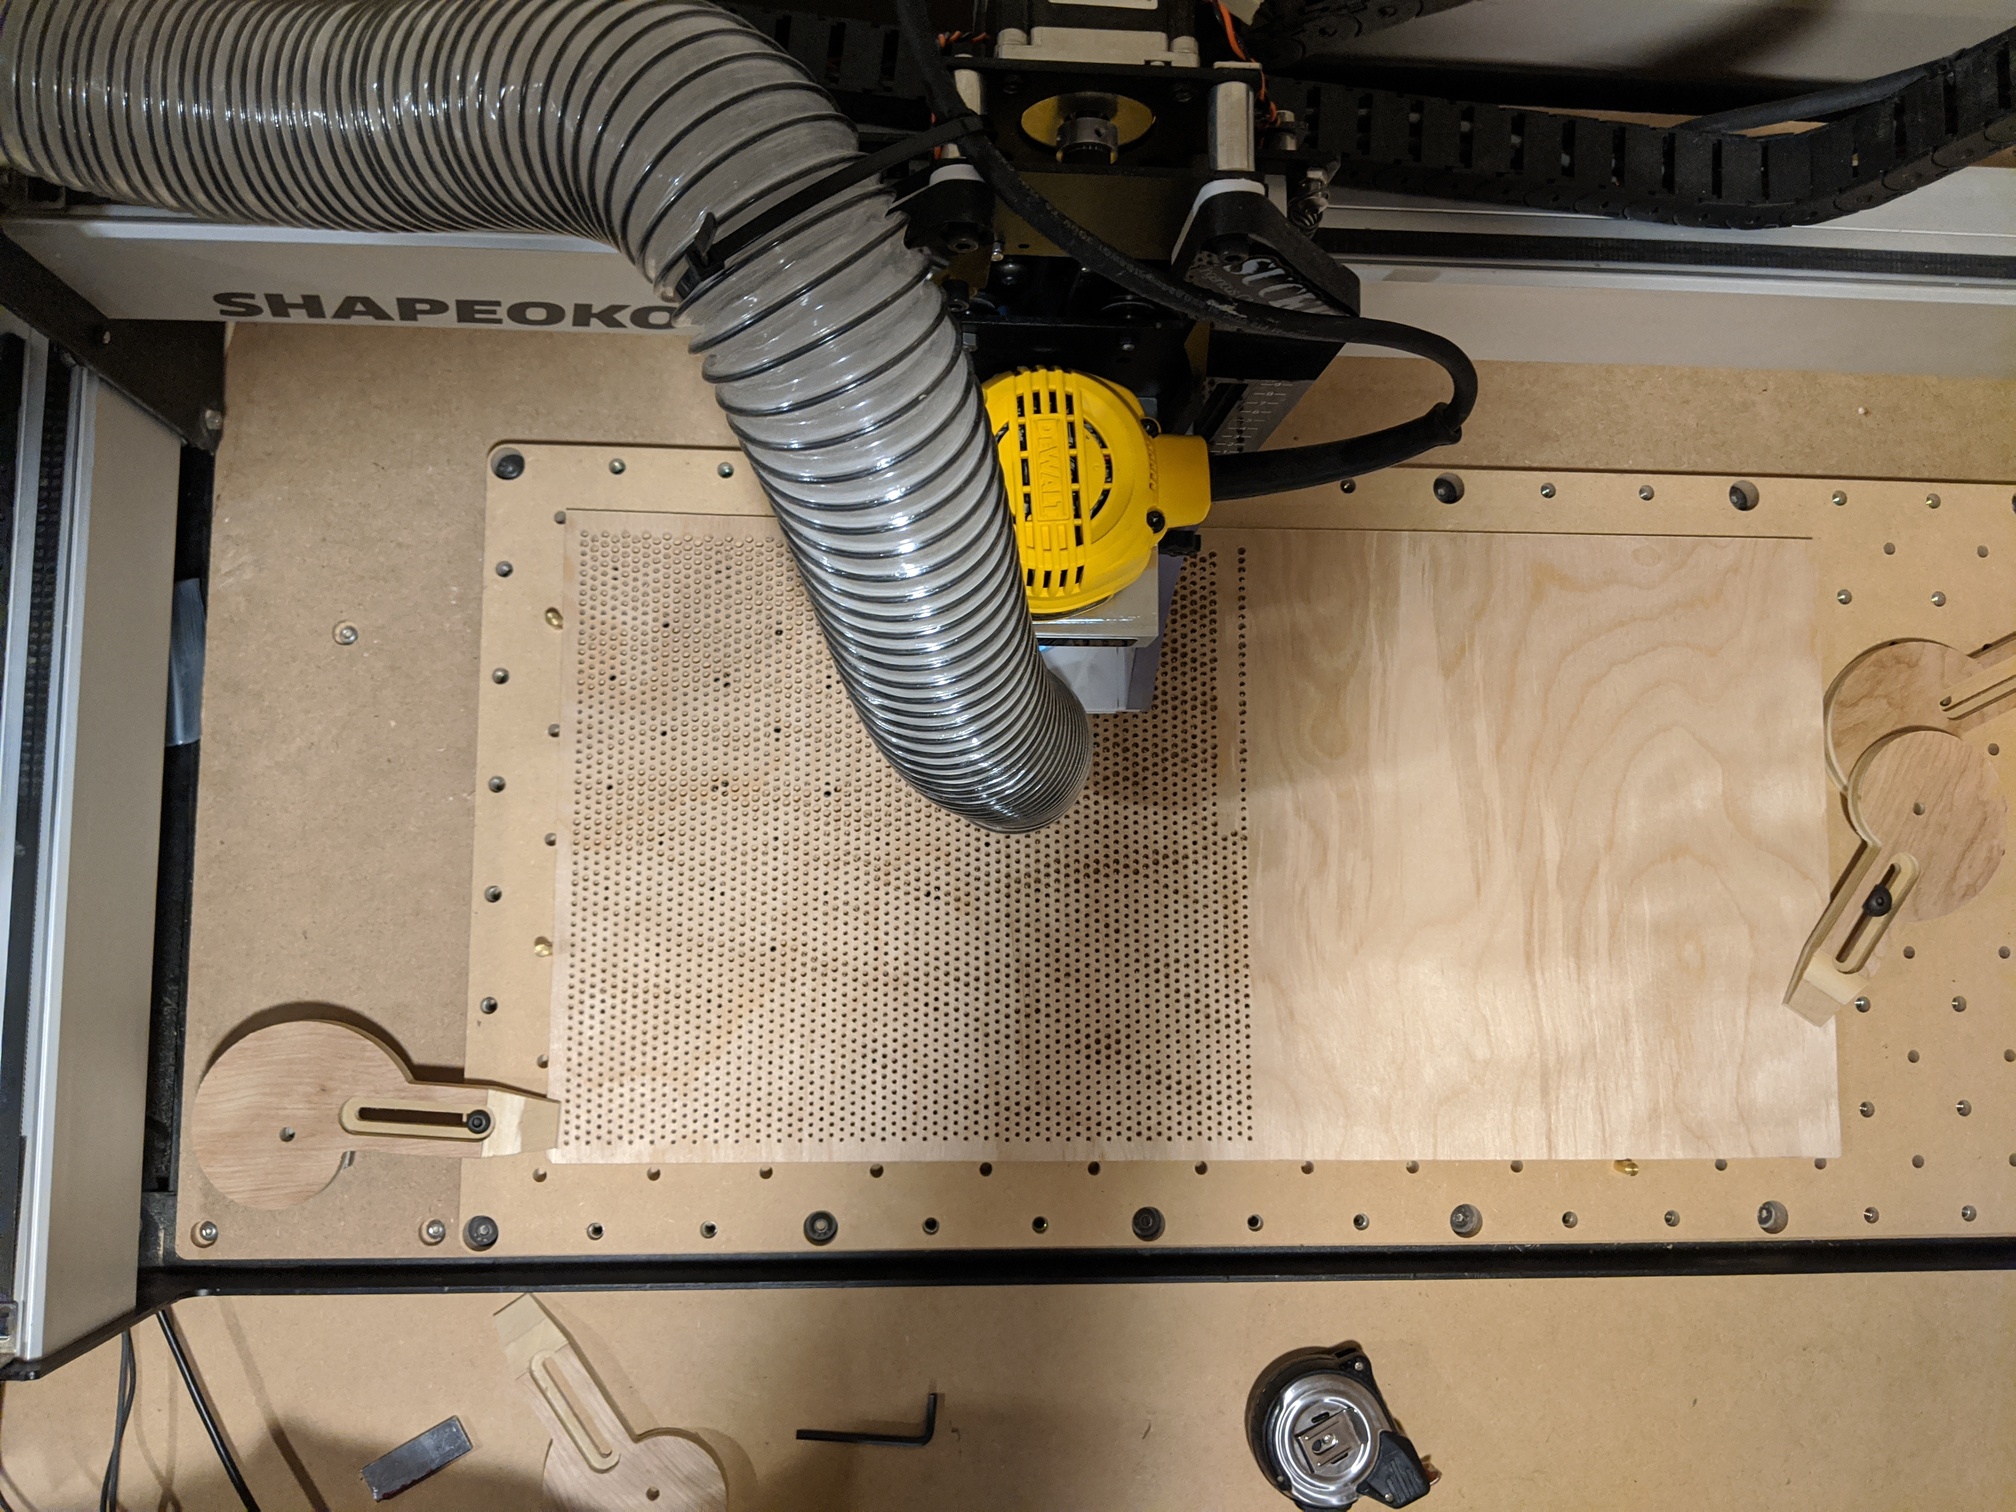
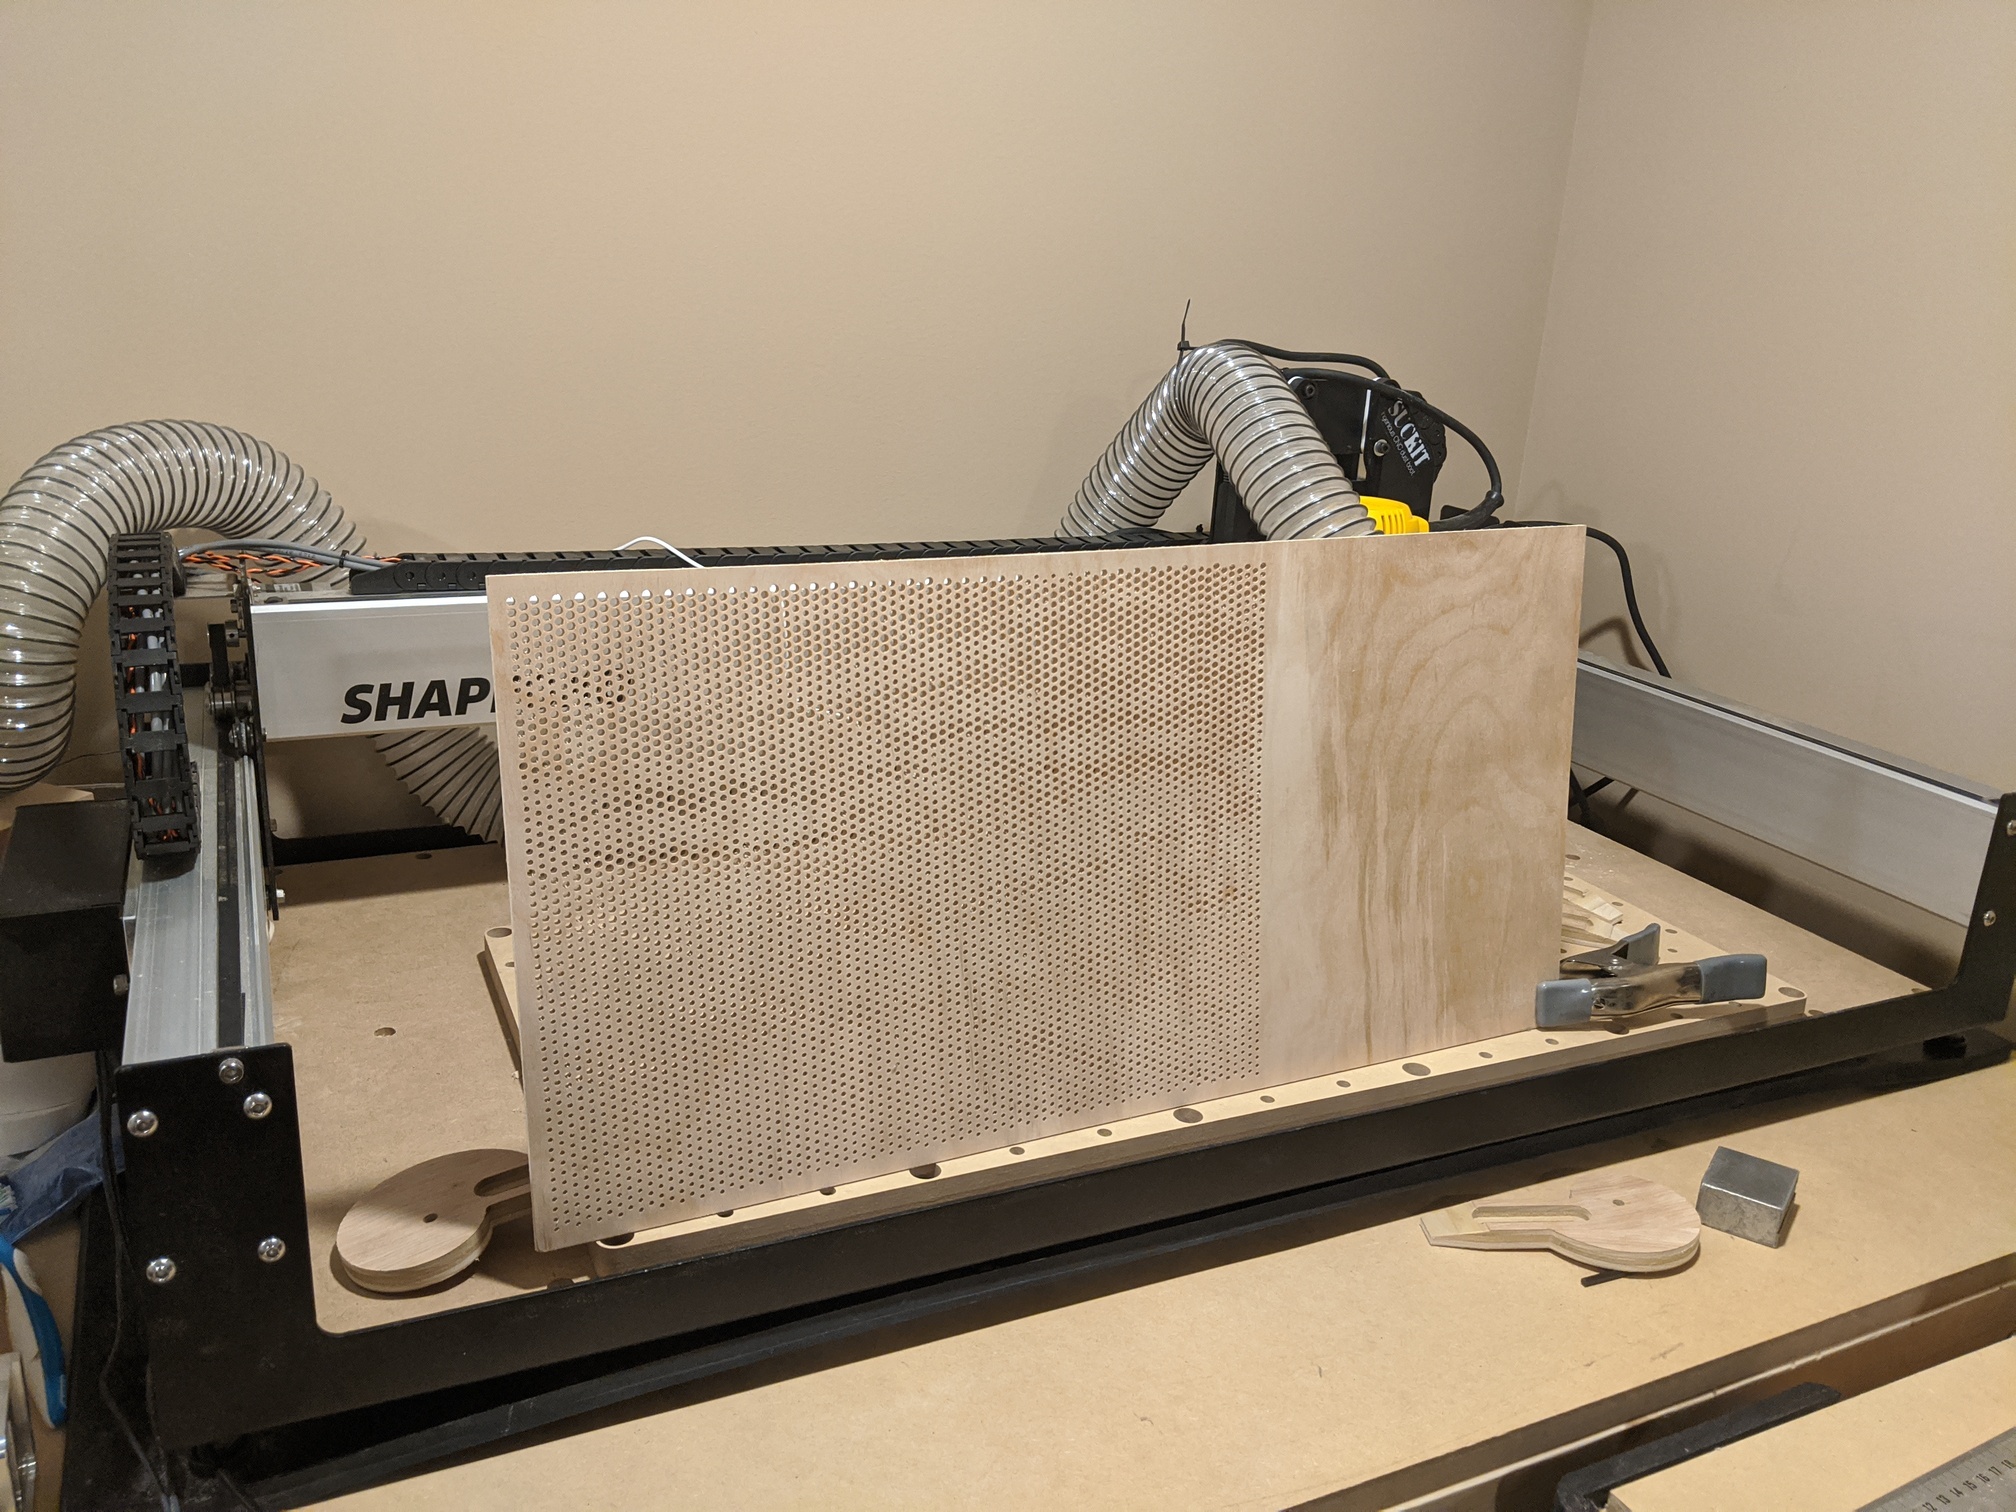
Material was a 1’x2’ 1/4" birch plywood drop I had from another project. The material was restrained using a couple of pins and some homemade cam/toe clamps made on the shapeoko. I used a Carbide #112 1/16 end mill. Afterwards, I knocked any fuzz down with some 220 grit on the sander and took some photos with LED’s behind the panel to show off the pattern. I plan to try @wmoy 's infinity mirror frame to make frame for the piece eventually. His everything looks like a nail when you have a CNC hammer approach to problems is, as always, inspiring.
The end effect was more subtle than I had hoped, but that was a limitation of the range in size of the holes I was able to manage with my given tool and workpiece size. Best results seem to be when there is a large amount of contrast between the front and back of the panel. Nevertheless, thanks for sticking around and here are the final pictures.
Finished Panel
Under Normal Light
Doesn’t show up too well

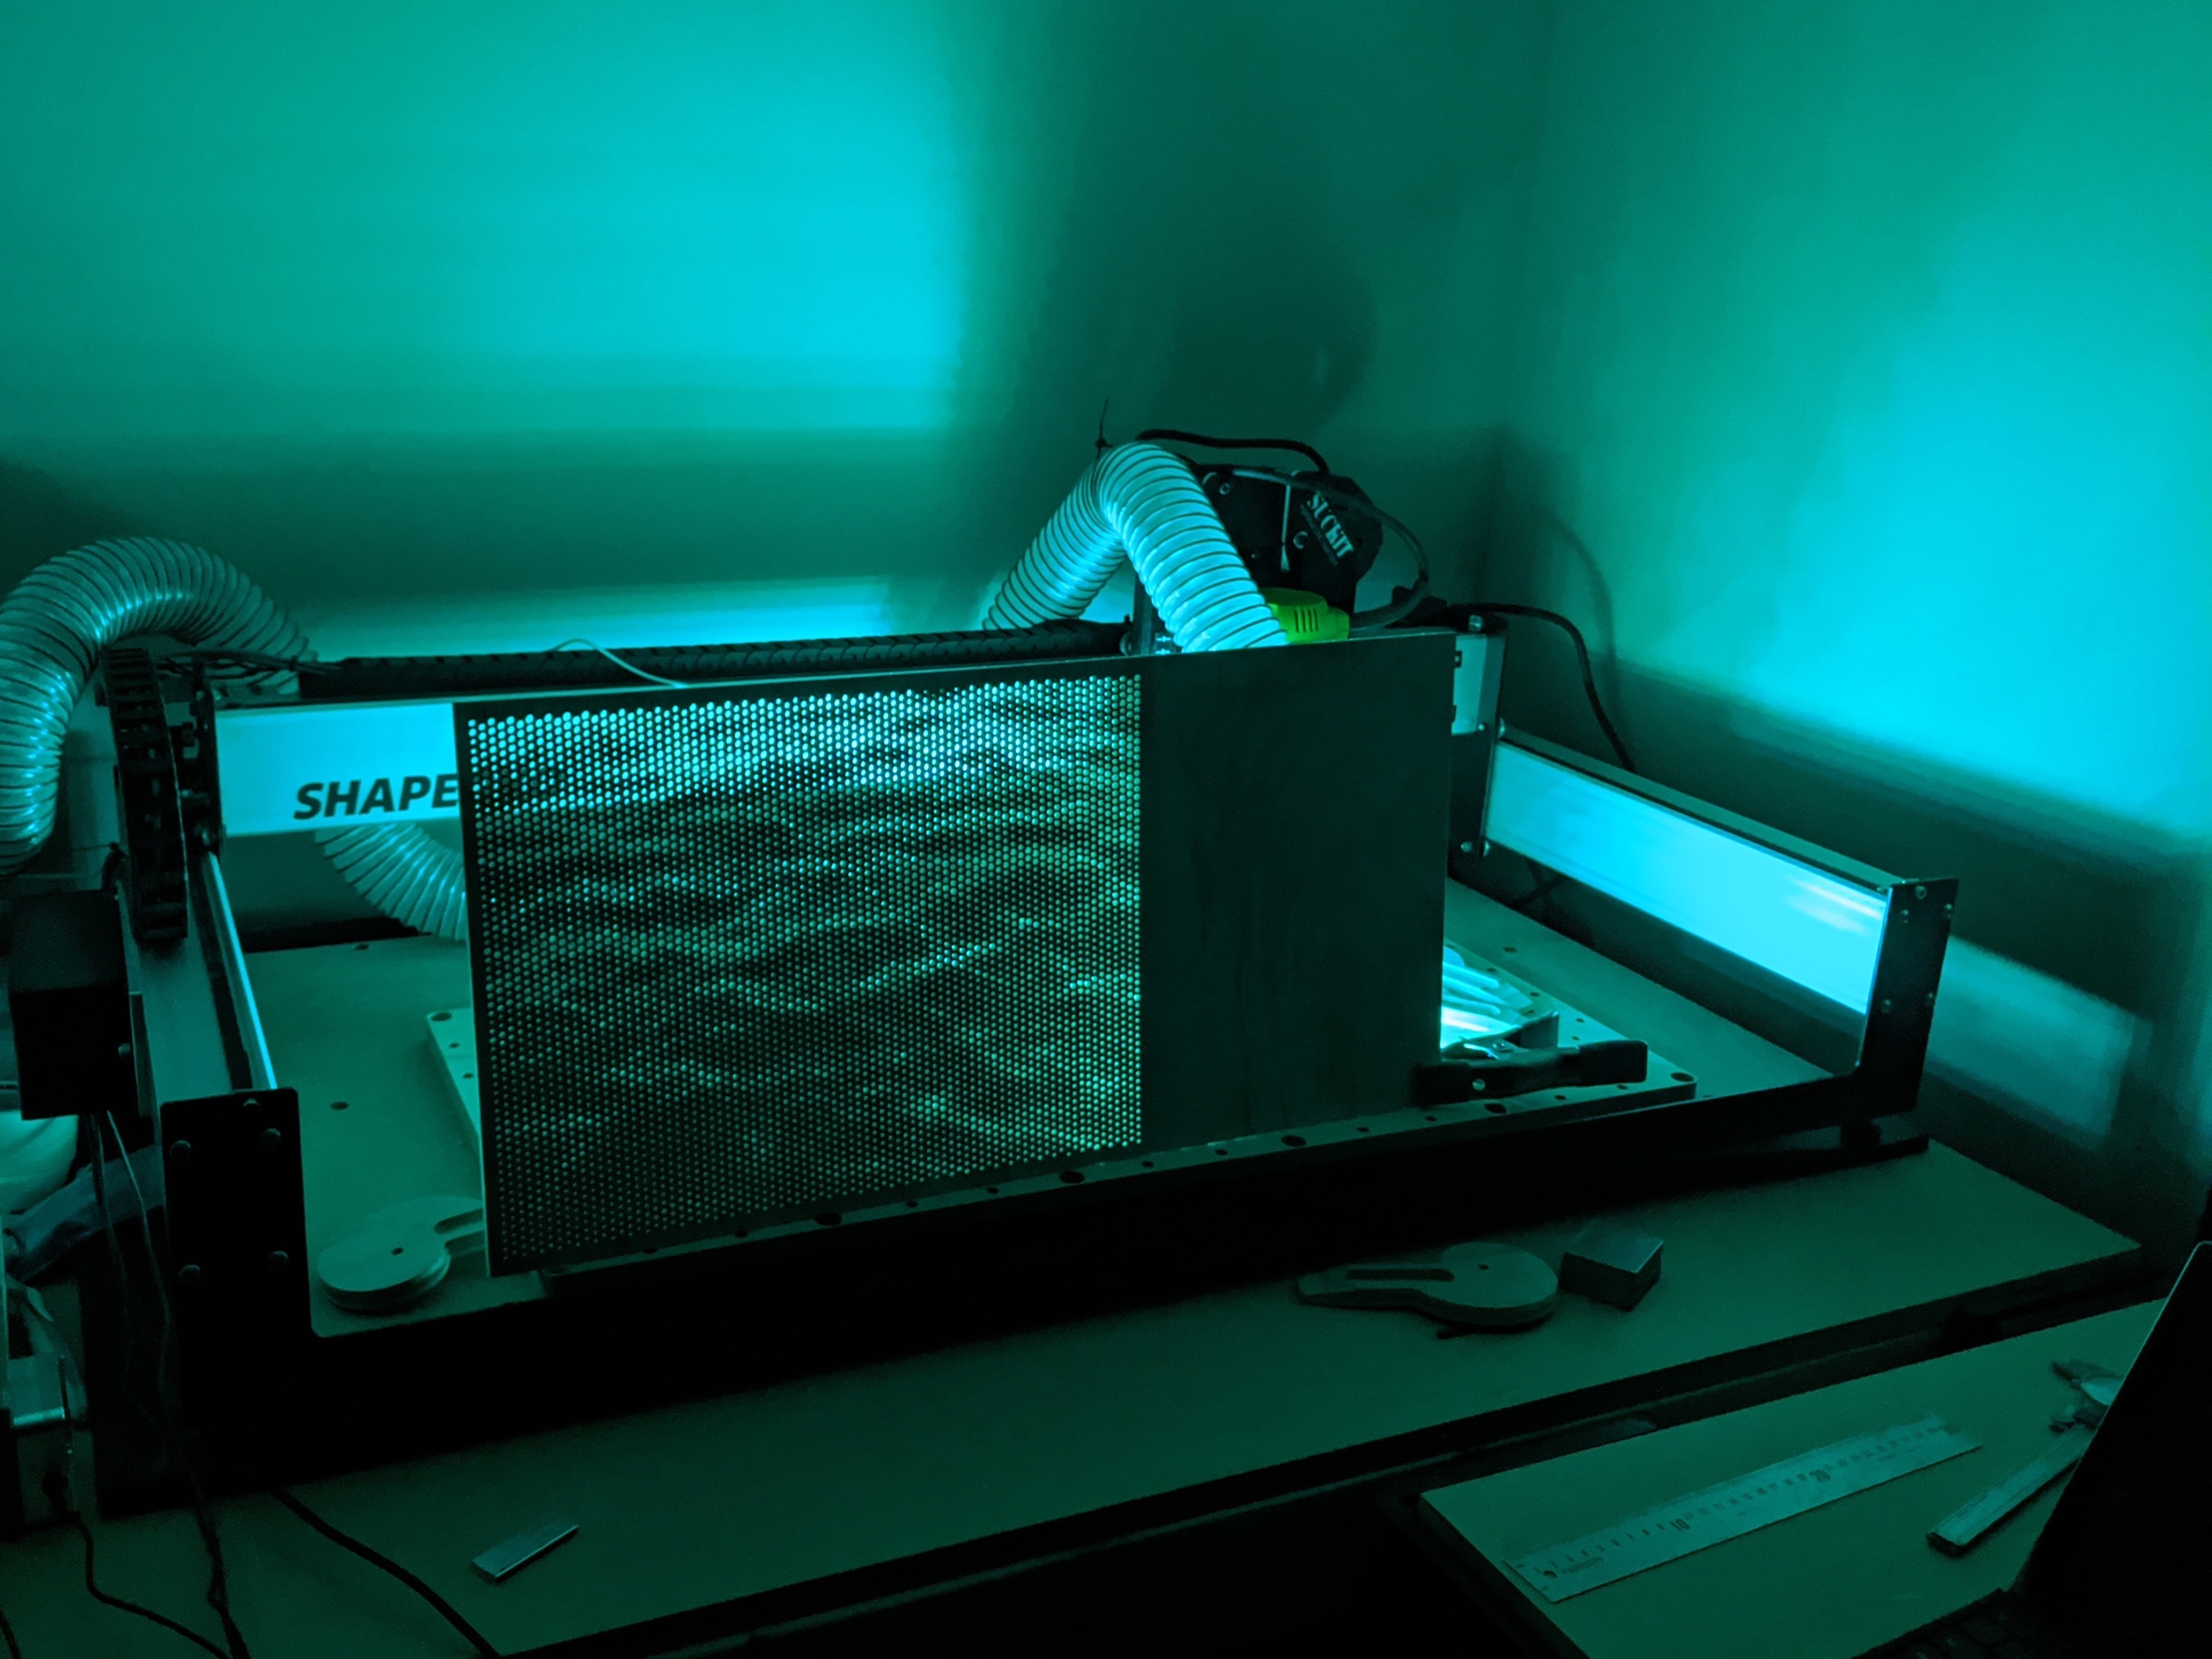
With a dark background the pattern starts to show up

Standing up, still not much showing up, but you can see through it!
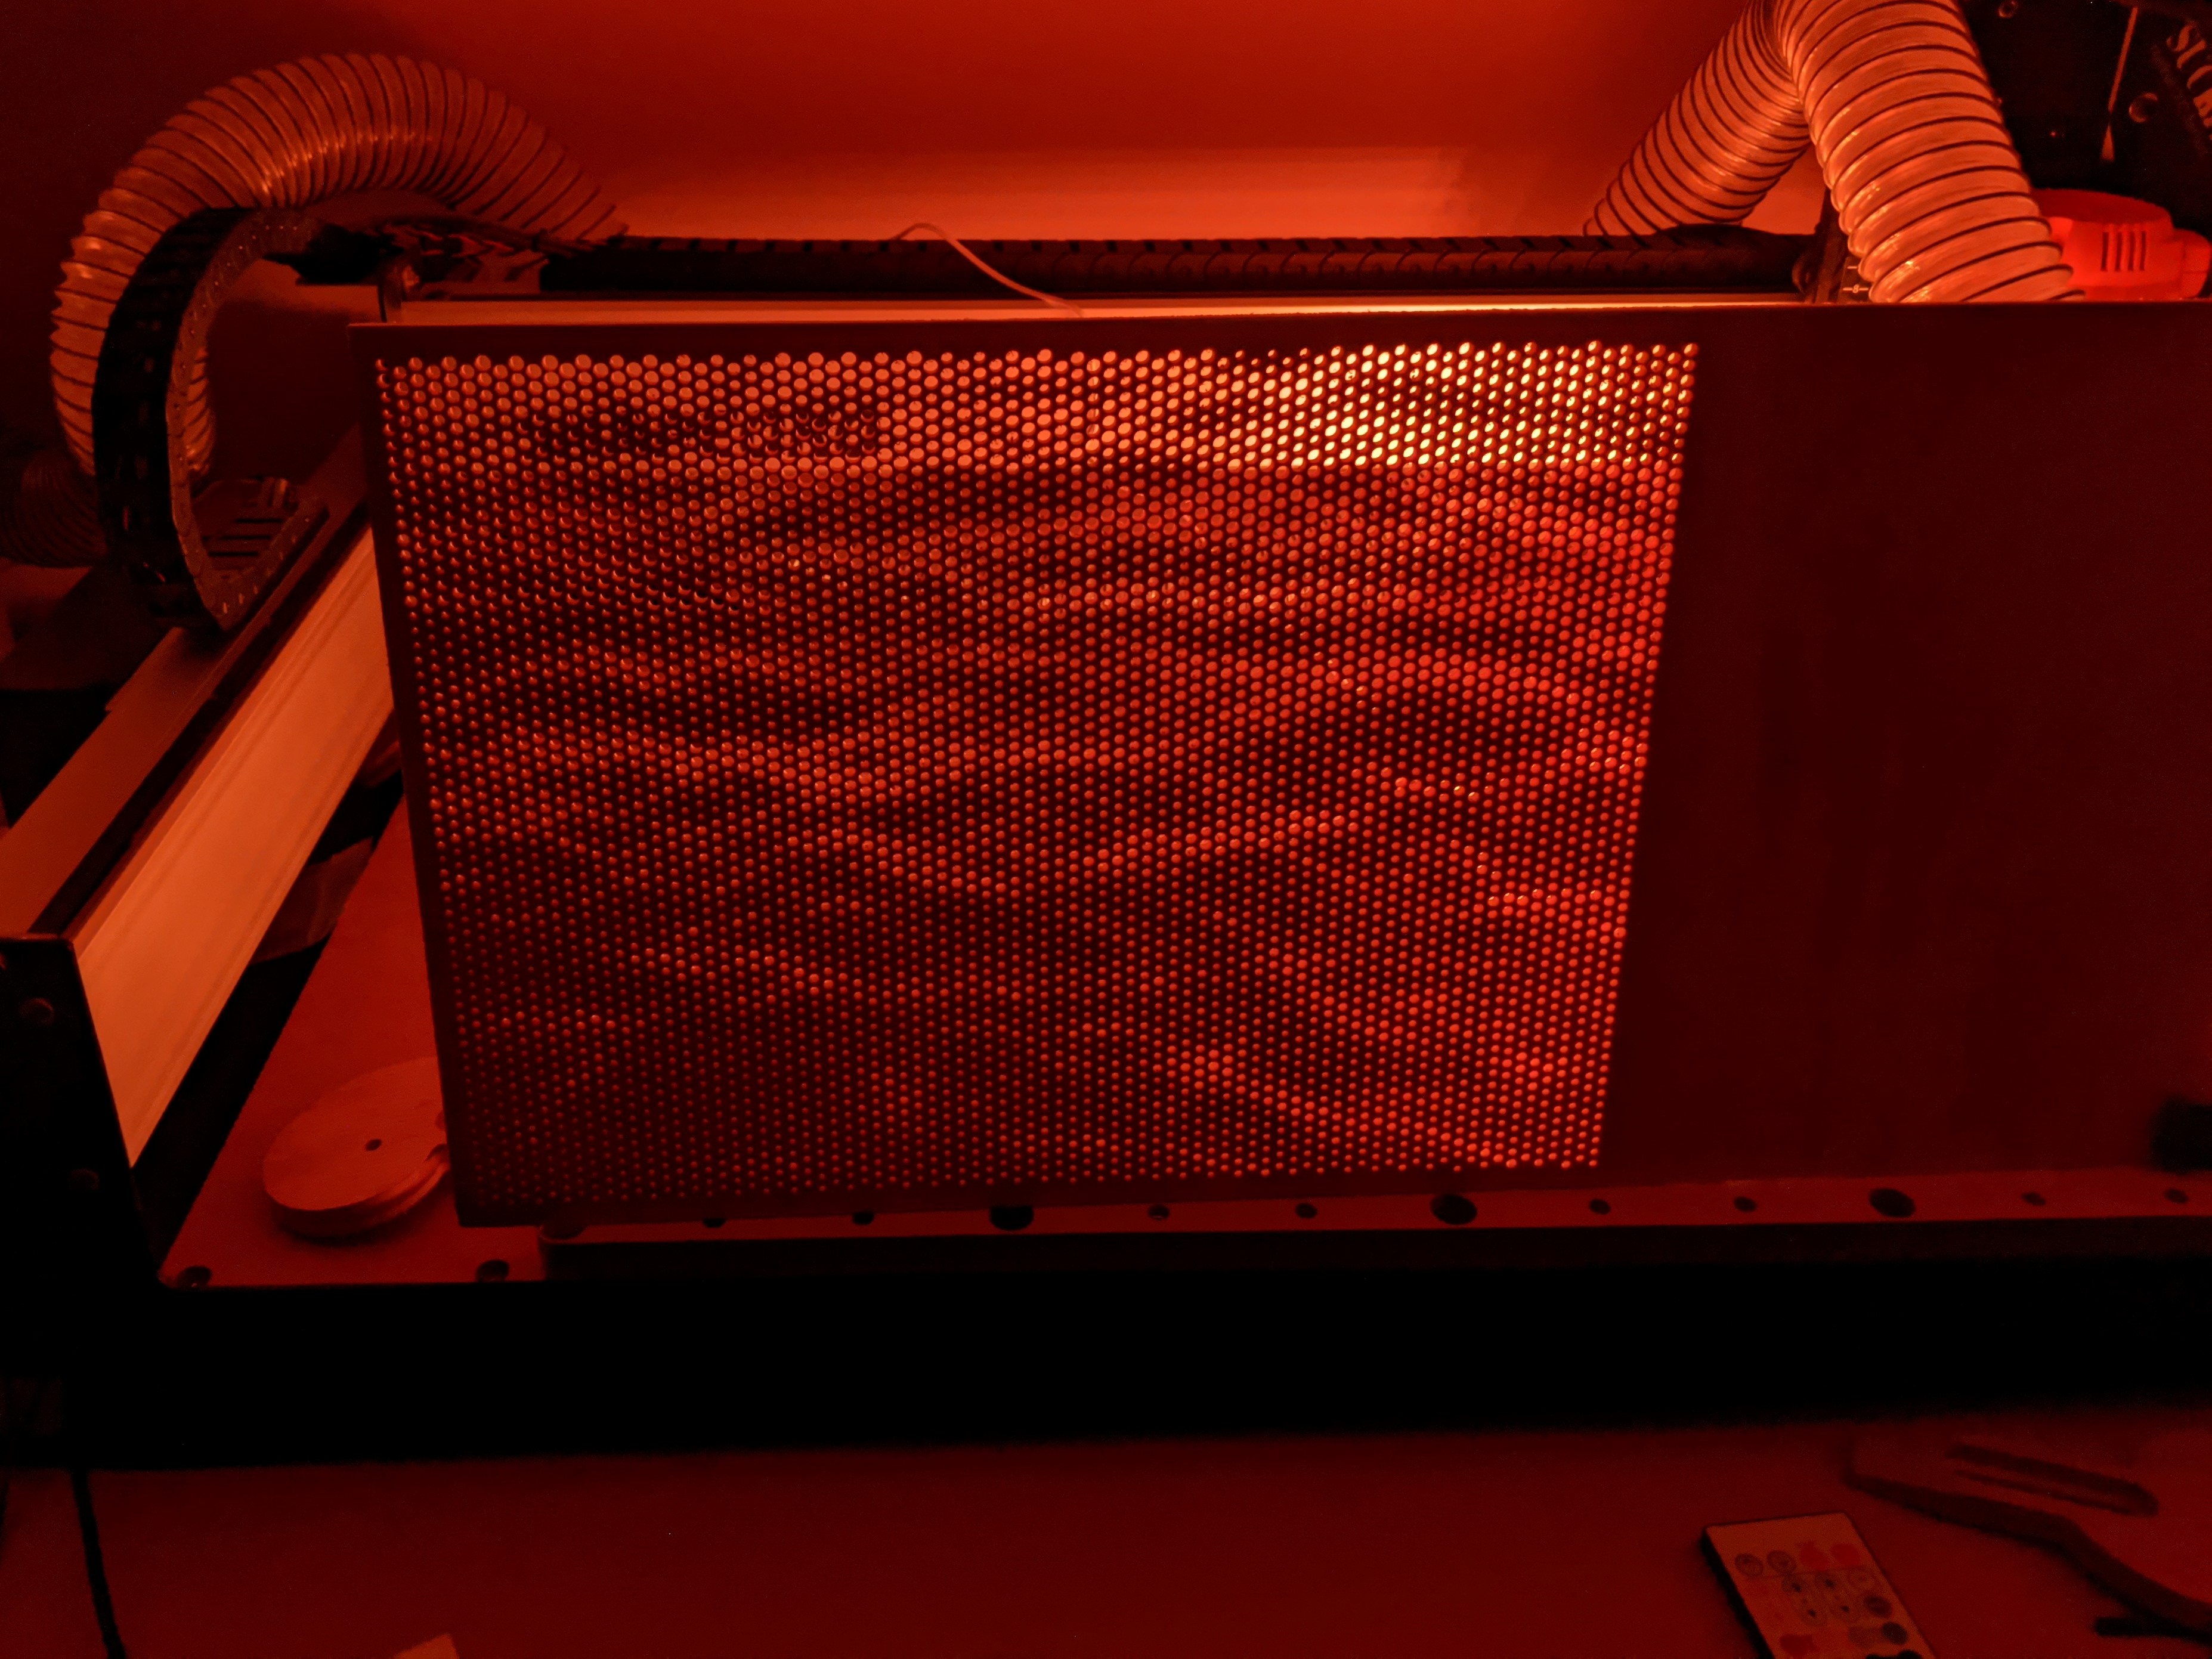
In the Dark with LED’s
There we go!!!

Sunset
Best shot yet!
After seeing @MarkDGaal 's fantastic entry, I felt a wave of inspiration or insanity that the “Great Wave” may be the perfect followup to the more tranquil water scene I had made. Definitely a more distinctive pattern to pull out of the panel when being viewed. I thought I would try to get a second panel in to make my entry that much more impressive. However, I had to increase the grid size of the half tone imageto get the effect I wanted and the hole count more than doubled. I estimated it was about 13,000 holes.
Still, I went through the steps and set Carbide Create to work on the file and went to bed. The next morning the file had finished running in Carbide Create and the finished tool path and estimated run time was staring me in the face, 21 hours. As soon as I clicked the window Carbide Create crashed to desktop. I took it as a sign that I had gone far enough and would not be winning any prizes for not sleeping the last few days before the deadline, so it was better to stop while I was ahead.
Extra thought: I was slightly disappointed that the workflow to create these images may be limited by the ability of Carbide Create to handle large numbers of elements from an SVG. Is there a way this limit that can be designed around? Has anyone else found (un)expected limits in Carbide Create? How do you work around them. Thanks all!