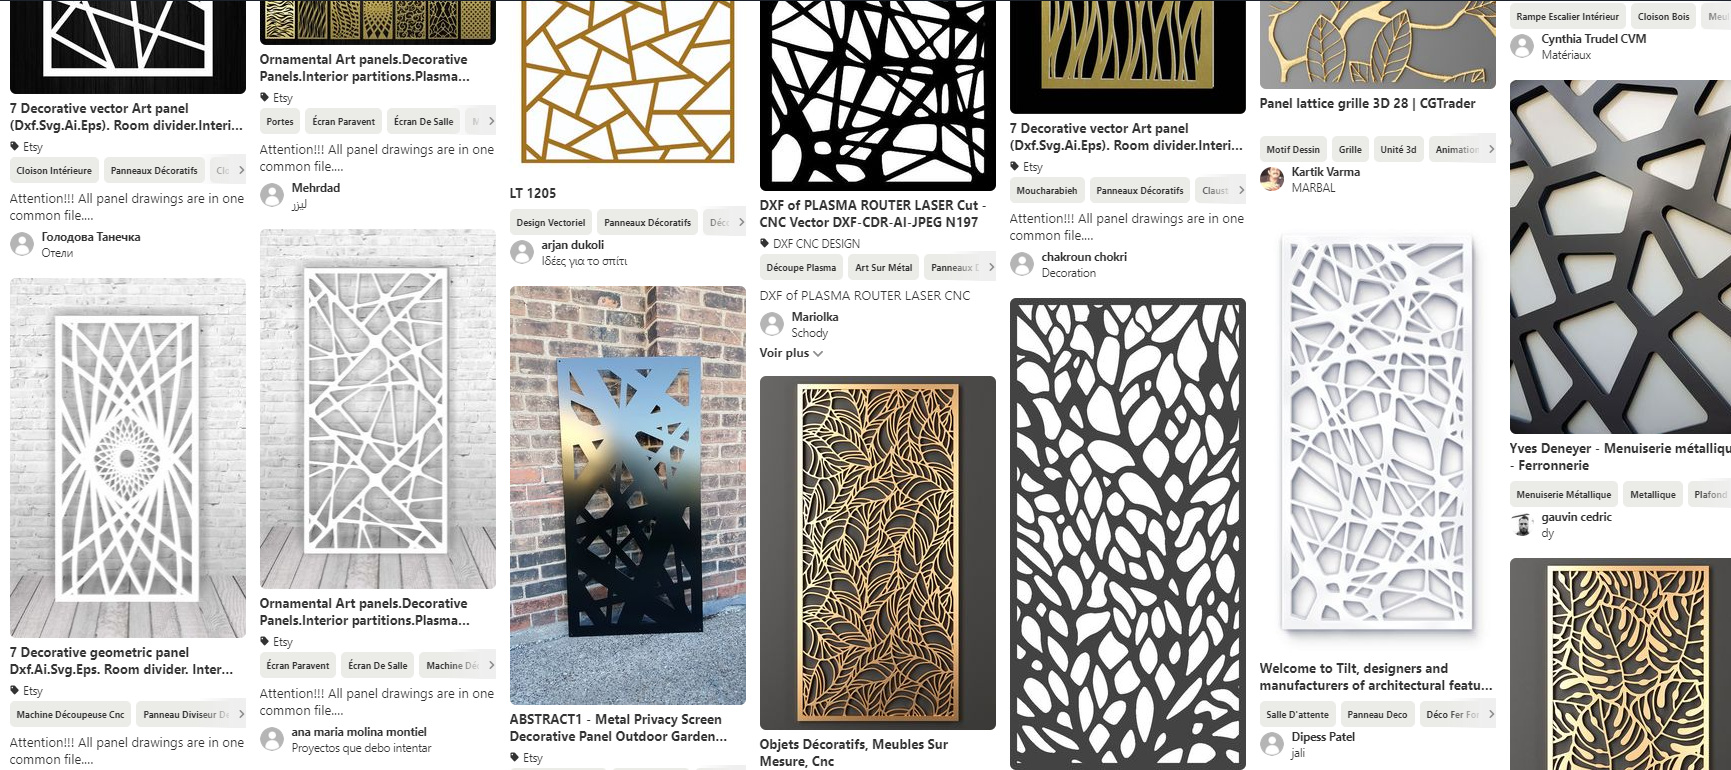
it must be at least partially see-through/cut-through: a nice V-carved surface won’t do. The whole point is to face the challenges of making such a panel on a CNC:
finding a compromise between intricacy/level of detail and solidity (yeah vines and flower patterns are great, but wait and see how quick those tiny parts break while milling, or after)
finding a design that does not have too many “pointy” features (99% of panel designs seem to have been made for laser cutters, which do not have to care about using a round endmill…)
optimizing cutting time (can’t be too aggressive when one needs to mill tiny features)
getting clean edges on BOTH the top and the bottom (time to try some compression endmills maybe?)
it must be milled on a Shapeoko or Nomad
and by that I mean, no cheating by using a laser mounted on a Shapeoko
tiny panels/tiles are cute, Nomad entries most welcome
giant panels are great, over-the-top submissions expected from XXL owners
submit your entry in this thread:
post pics of the finished piece(s)
include the associated design file(s) and tell us about the steps you followed to create it.
you can post multiple entries if you want.
timeline:
you have ~1015 days to submit your project, deadline is set to Feb 7th 12th, midnight PST
there will then be 7 days for voting.
voting will be open to legit community members only, and the jury reserves the right to remove votes from “outsiders”, and will also break any tie.
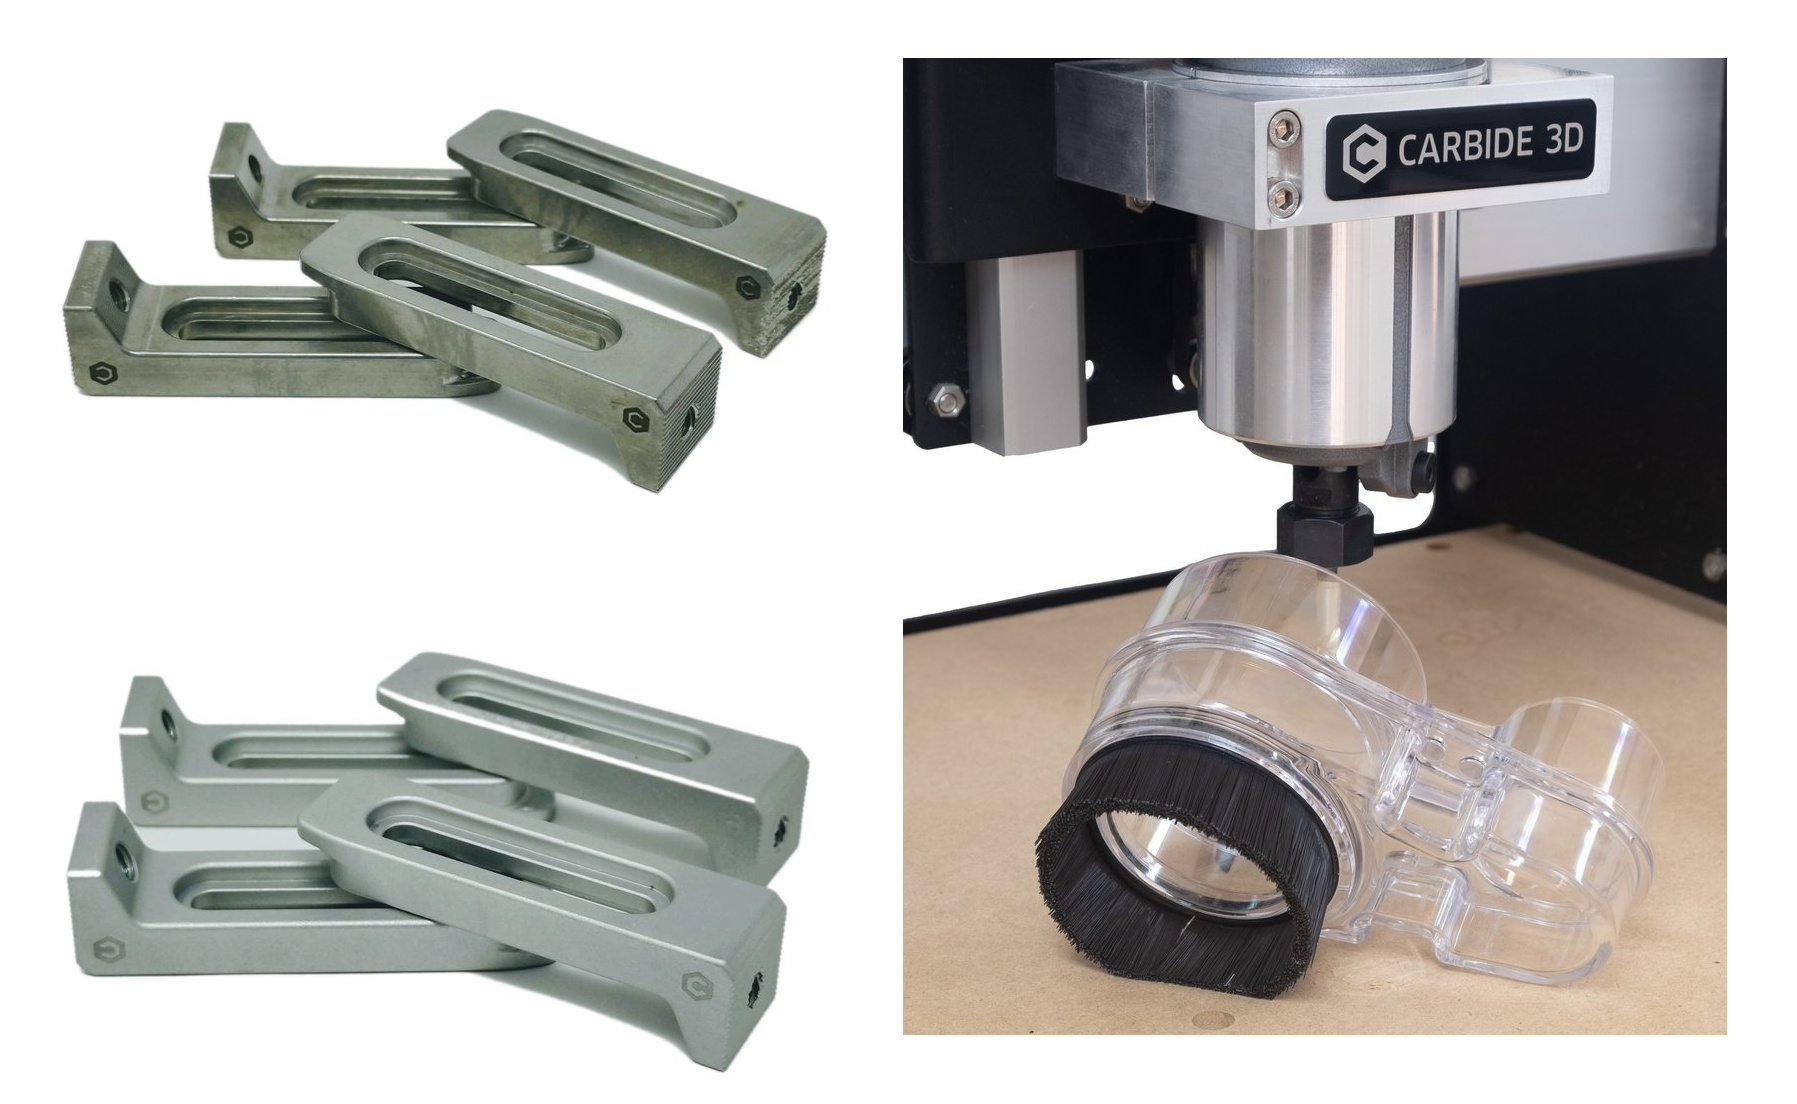
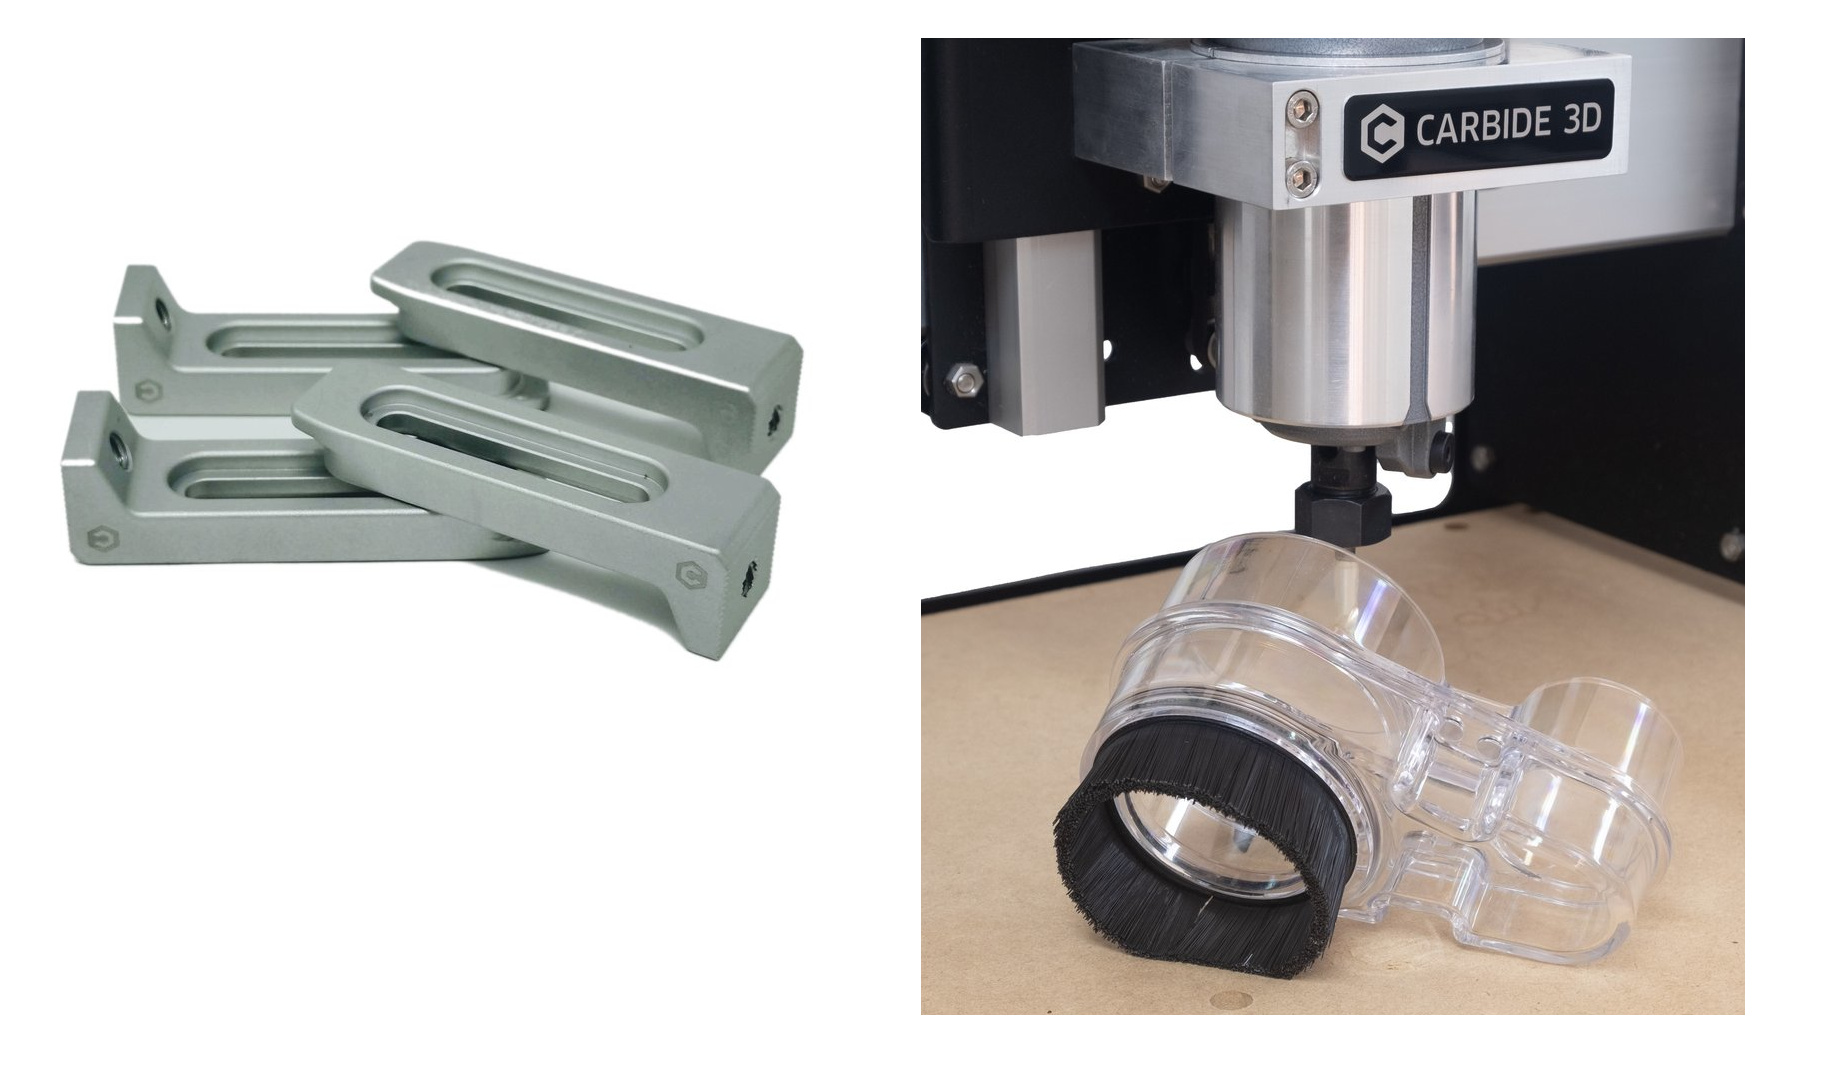
The prize theme this month is: Gator & Sweepy !
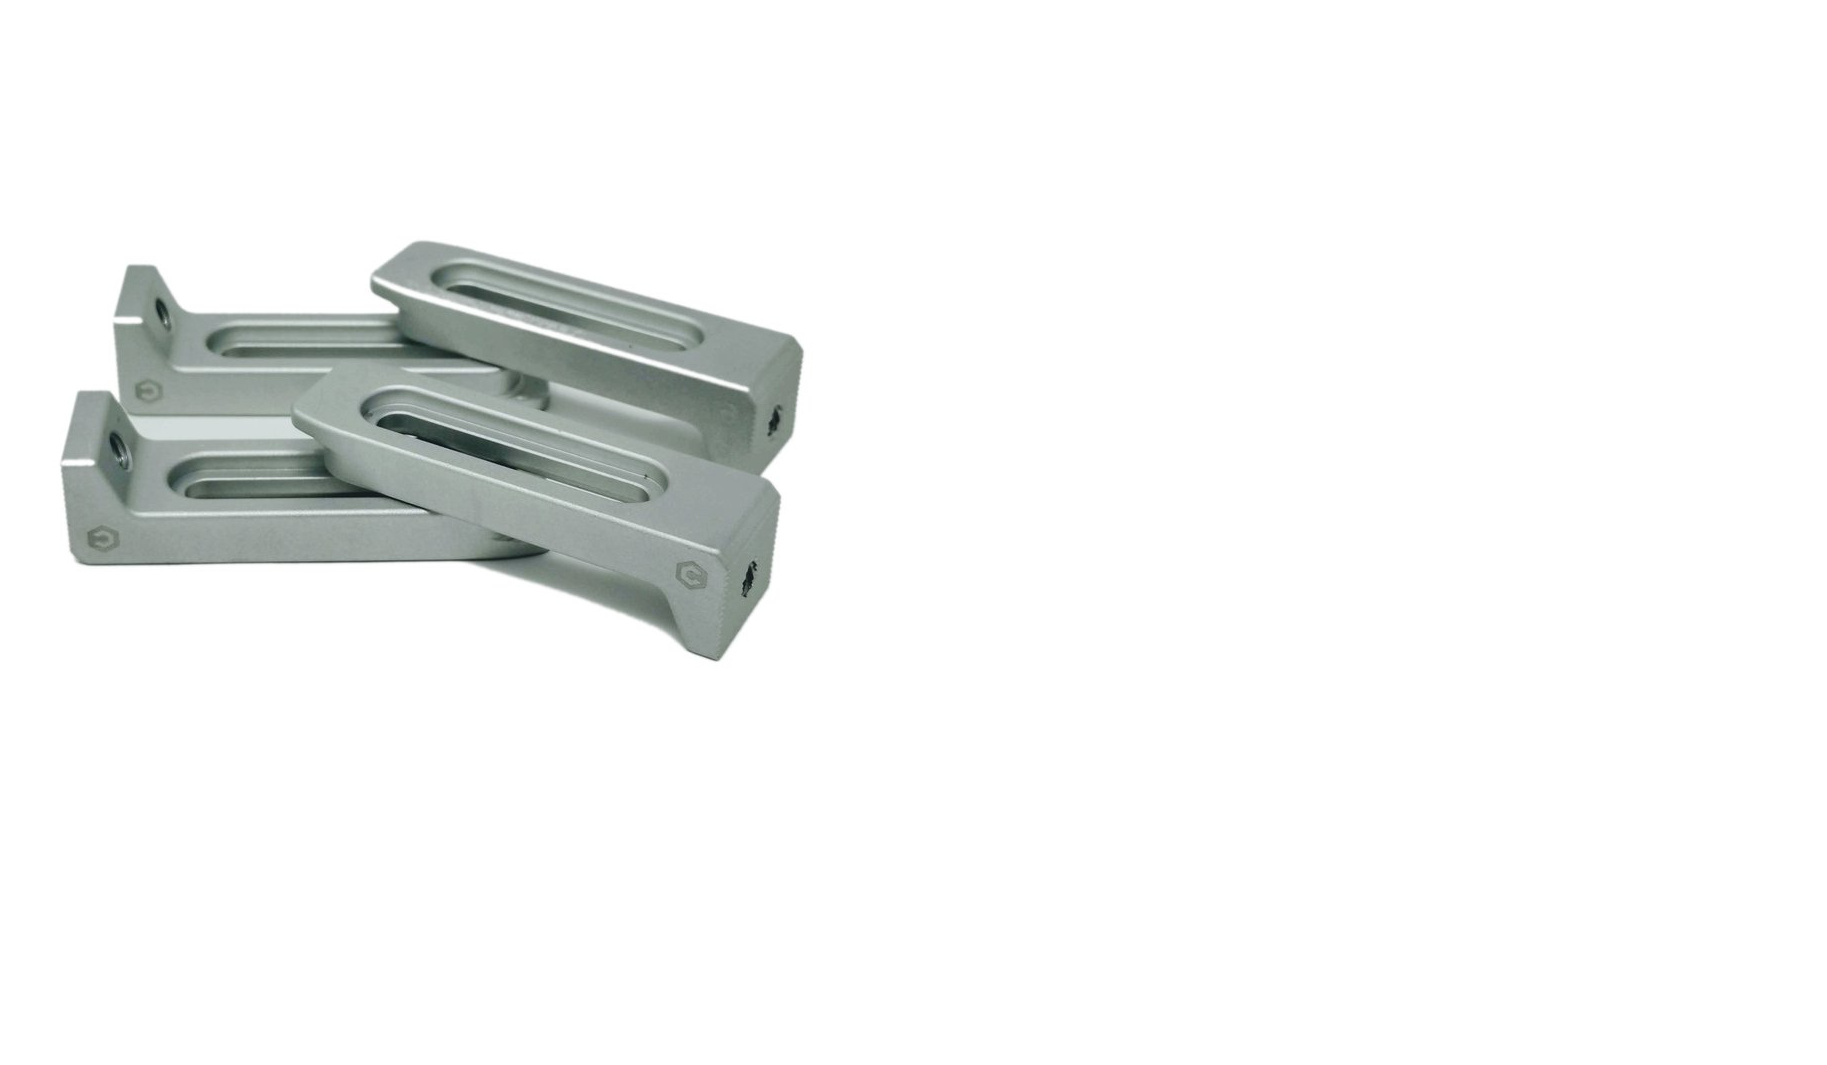
First place: one set of aluminium Gator Tooth clamps (I call them Ali-gator, ha-ha), one set of steel Gator Tooth clamps, and one Sweepy dust shoe:
Our sponsor @Jorge will also sprinkle some C3D swag on top of those !
Have fun, share what you learned along the way, and who knows, this might even be the opportunity to make something that is allowed to STAY in the living room, for a change
Since someone asked: in case the vector design would not be yours, make really really sure that it’s ok for you to be sharing/posting it here with your submission, without infringing any copyright/licensing terms. Anyway, I wouldn’t want this to turn into an “etsy dxf search challenge”, so the focus will be on execution of the CNC aspects (toolpath strategy, tricks, finish quality, …). Bonus points if you create your own design, obviously.
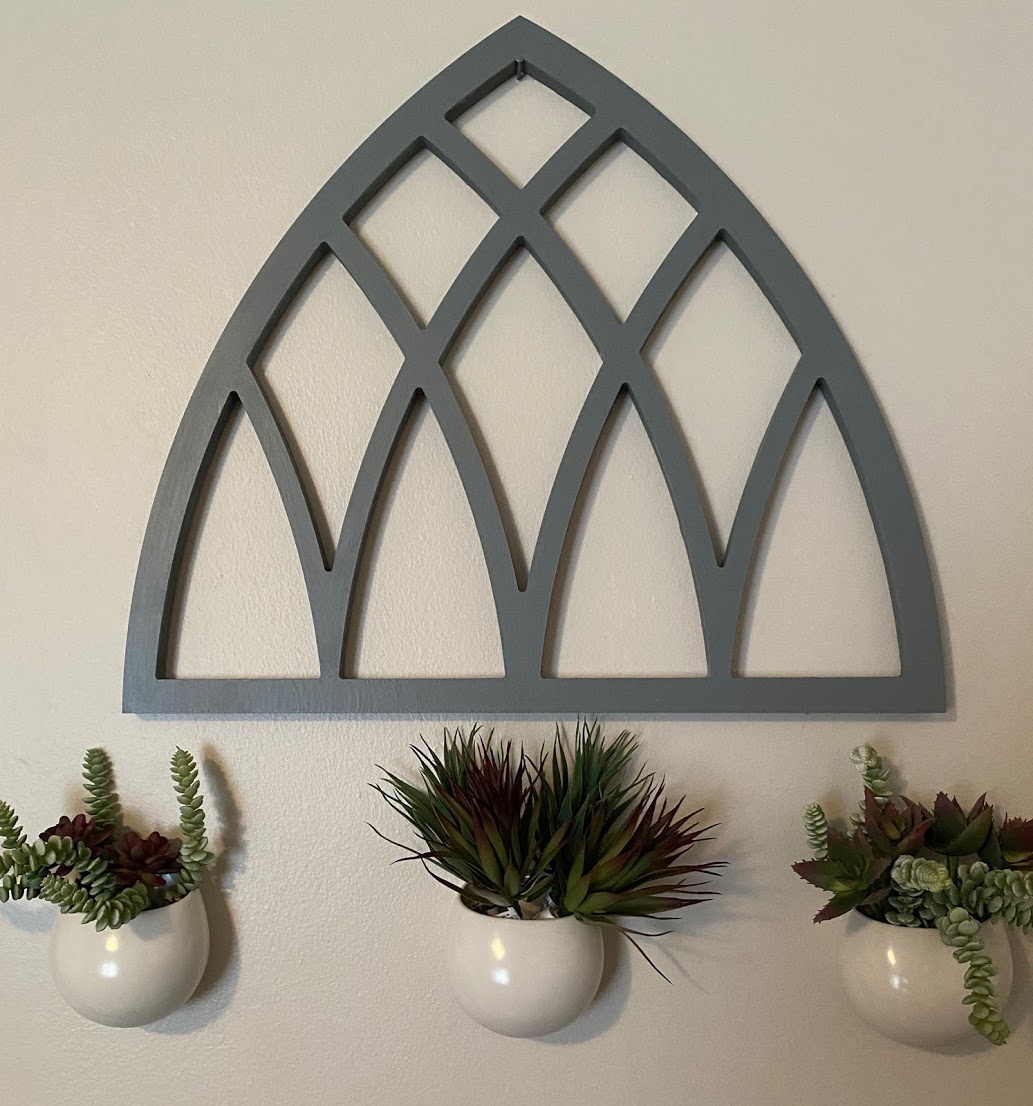
I’ll kick this off with something I just finished that I believe falls into this category (and sorry it’s not a bunch of Carbide “C"s in a pattern ). It’s a patterned arch that is made to be a wall decoration. This was inspired by the wife looking for new décor projects for our home. This led to her finding this picture and liking it (not from etsy, just google):
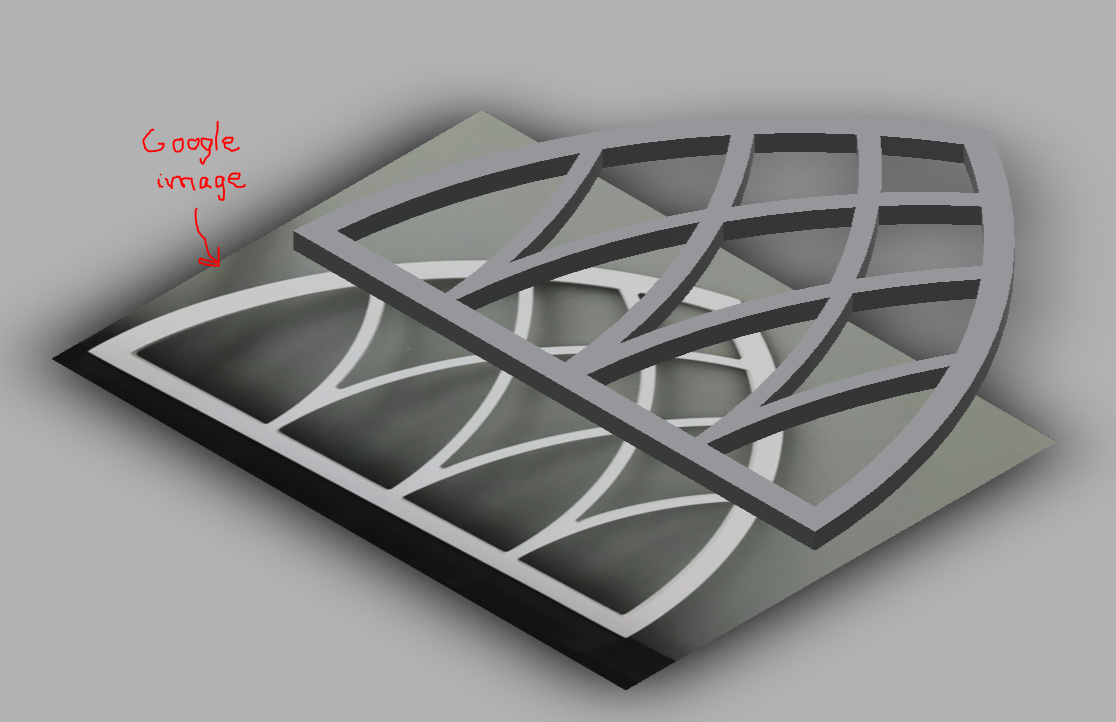
I then imported this image into Fusion360 and used it as a basis for creating our own version of it:
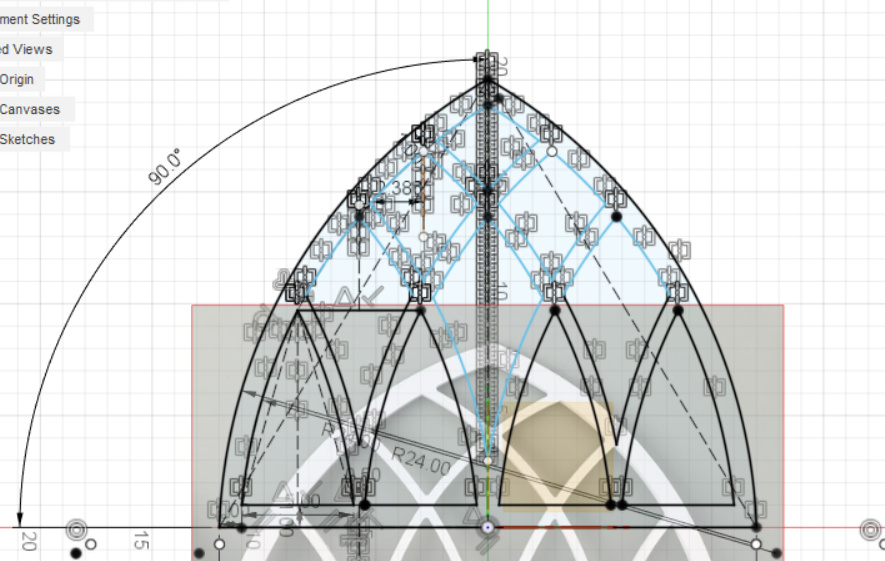
Since the original picture had been taken at an angle, this made tracing the image a bit of a challenge. I more or less replicated the shapes, but having the picture right in Fusion was a great and easy reference! Definitely something I will use more in the future. I modeled the left half and then mirrored over a center line (sorry for the absurd amount of sketch relations, stupid mirror):
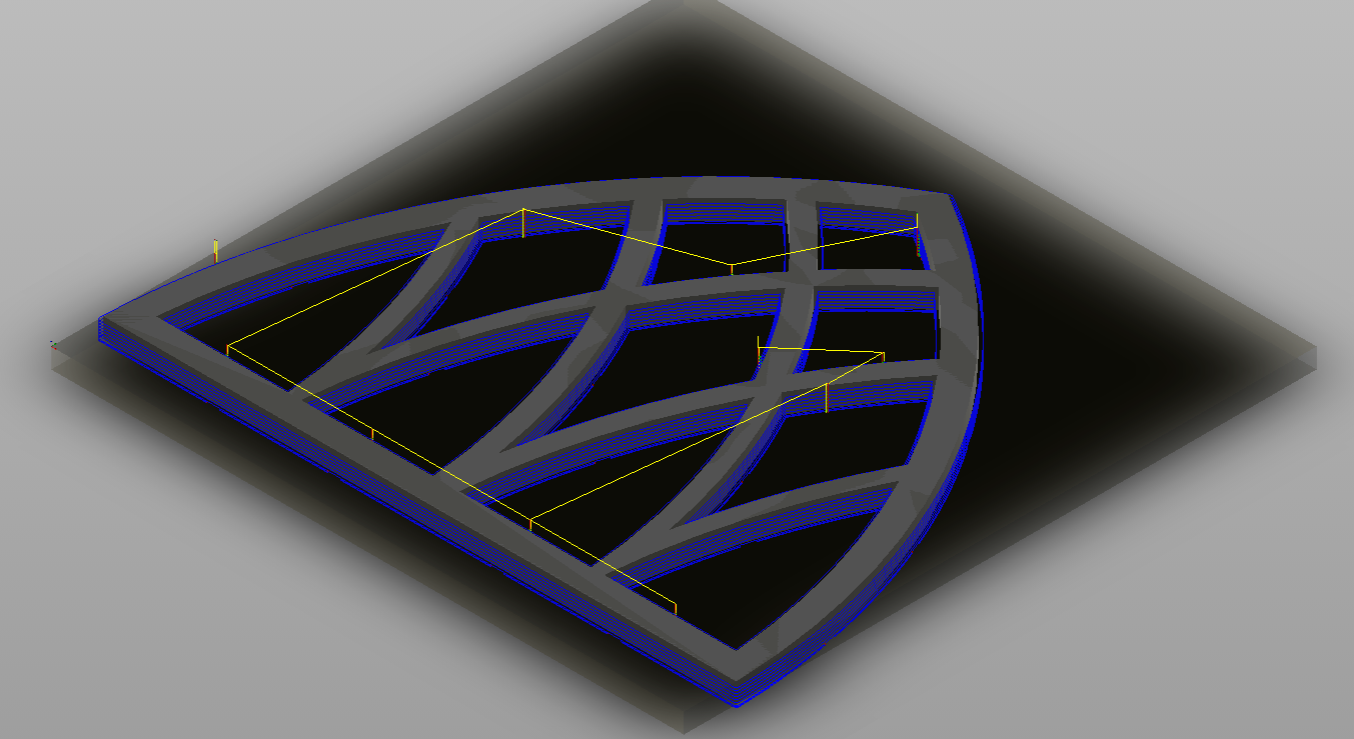
CAM: Now for the machining part of things, I wanted some kind of radius for each of the windows. What I realized was that 1/4” endmill gave me the perfect 1/8" radius on all of the windows simply by using this tool to cut them out! Saved me some design effort from not needing to add radii. This design was also made large enough so that only ONE endmill was required
Just one operation for cutting the windows and one for cutting out the whole thing, with tabs included:
Feel free to ask me any questions if you have any! I’m still learning and quite green in my quarter-century of life so far, but am enjoying the journey with everyone and am glad to help if I can!
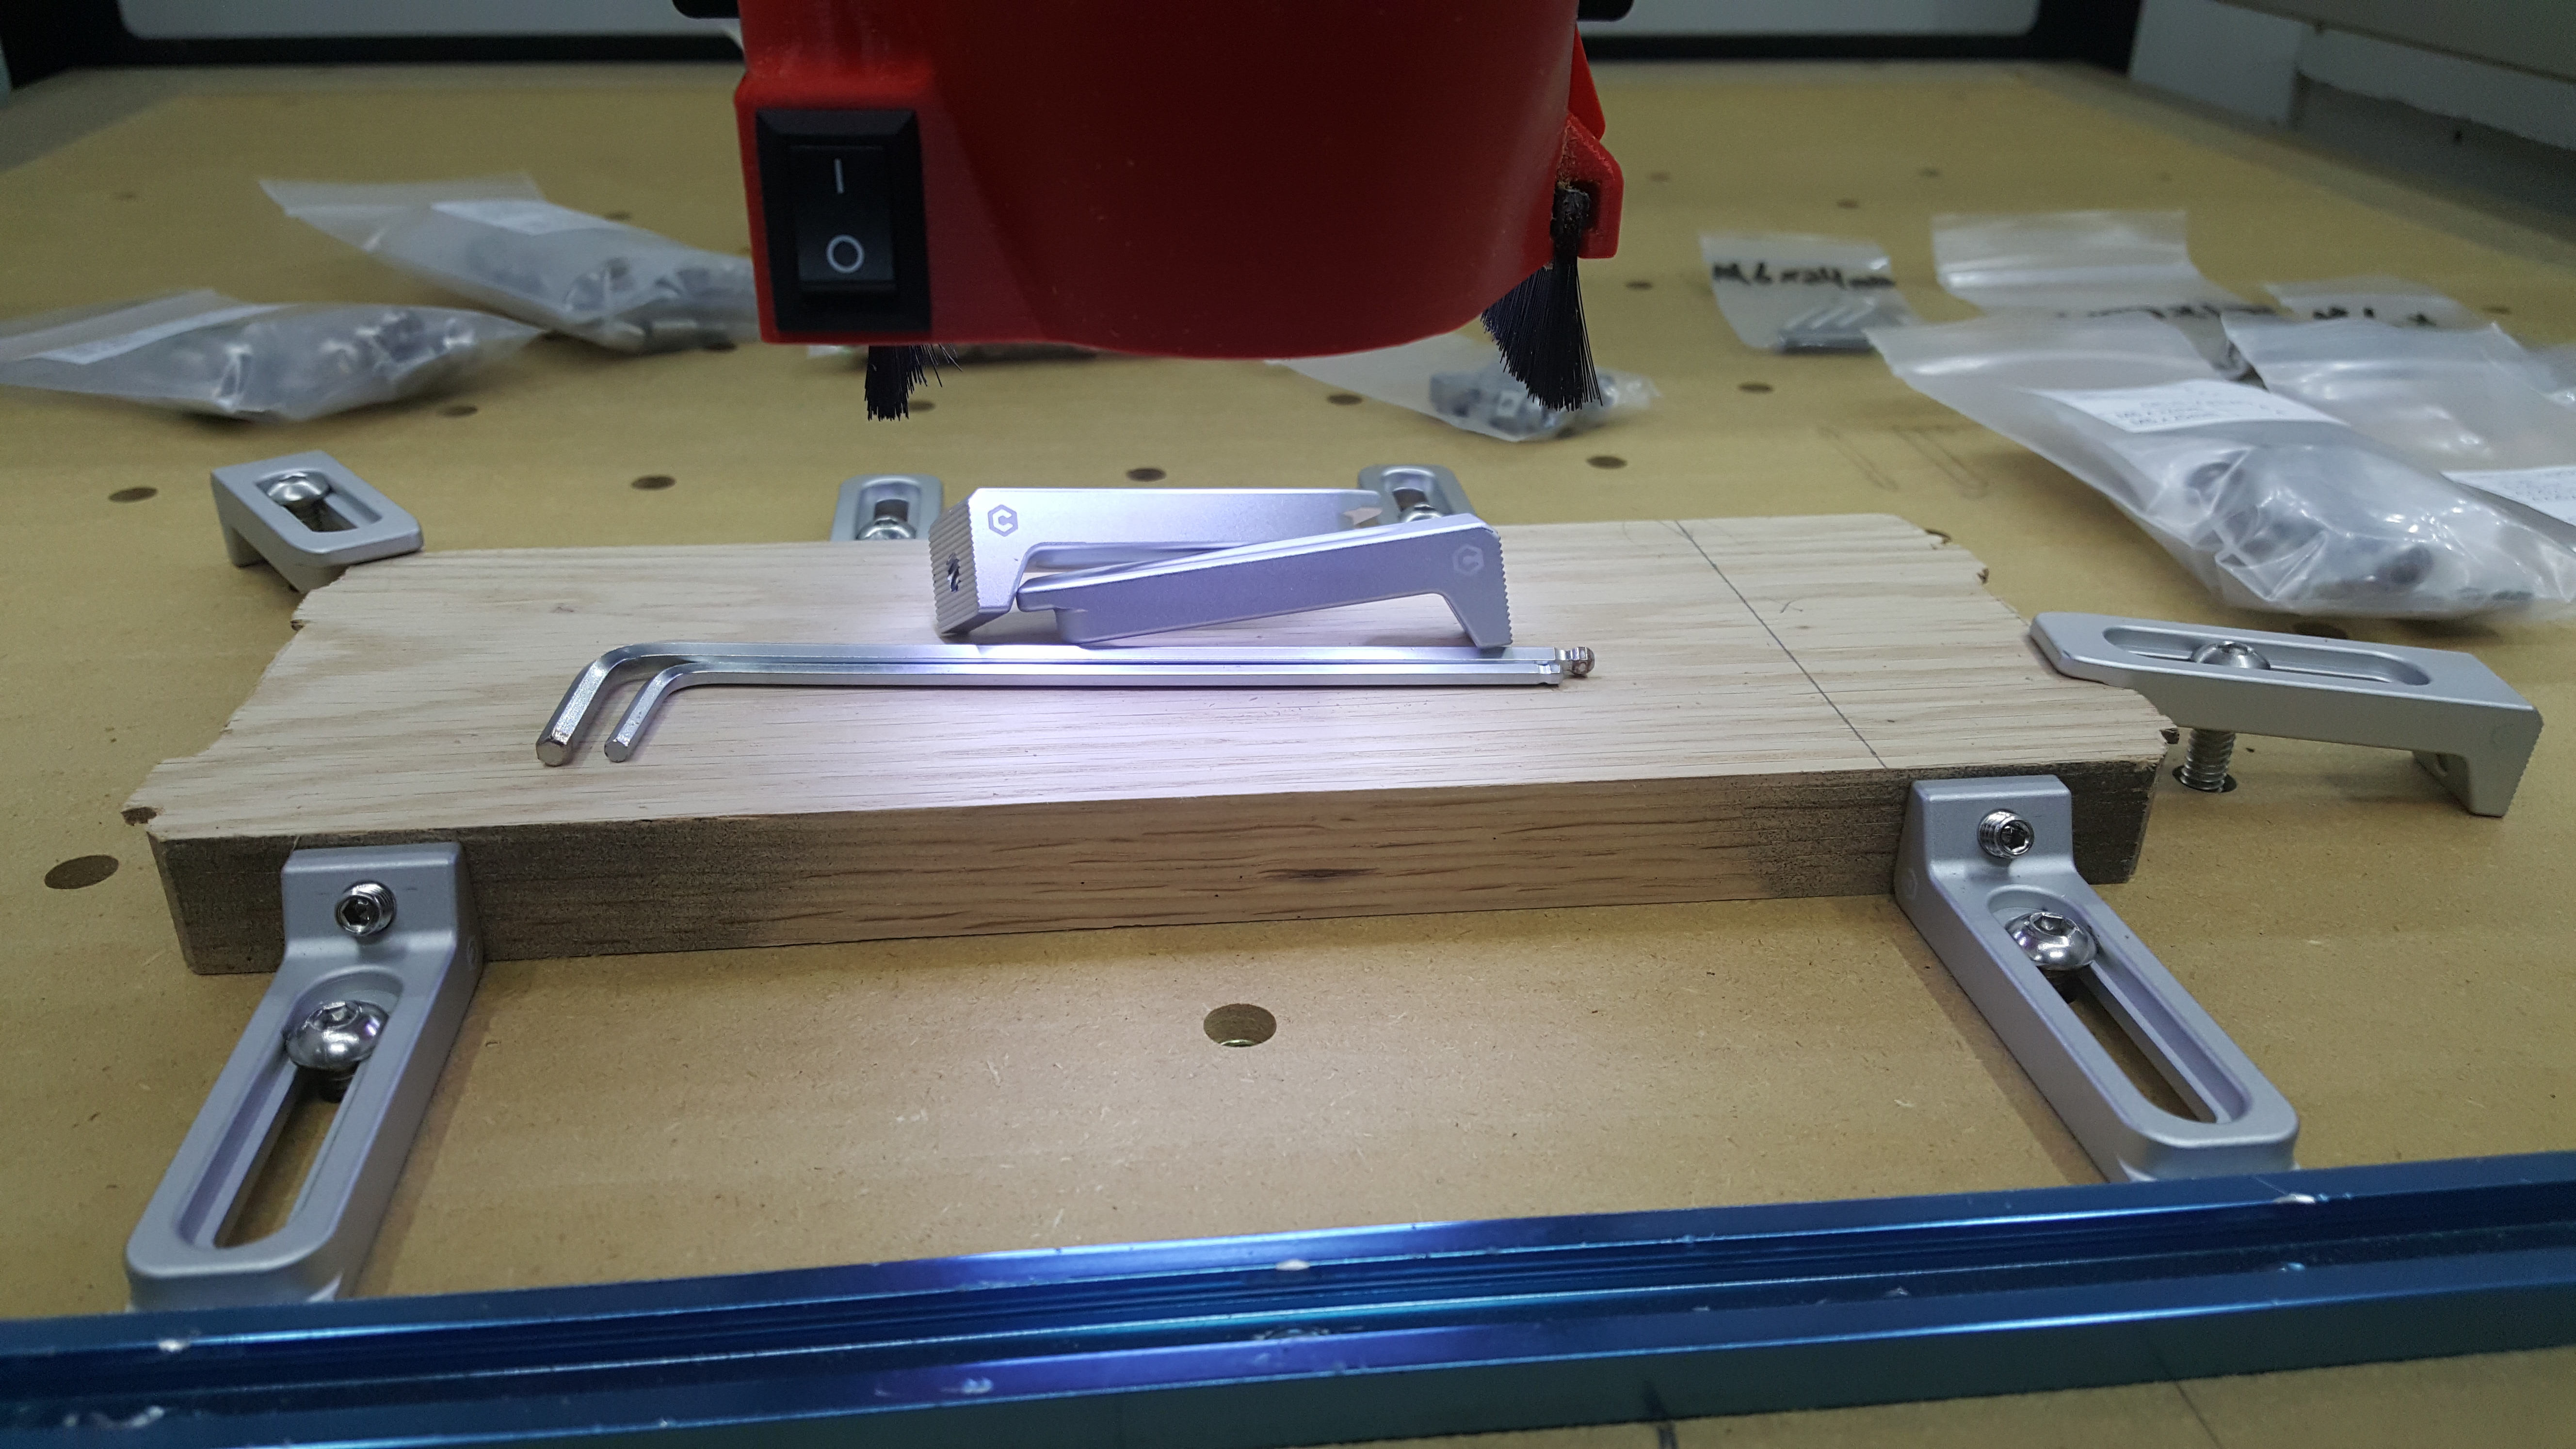
I just set up my wasteboard with threaded inserts and the Gator Tooth Clamps and they are beyond awesome. Can’t wait to see what people come up with to get their hands on a set!
@Jorge! Man! Why is this swag not available in the store? I would put those stickers on everything! And is that a shirt or a bag? Whatever, I’ll take both. And those pencils?! You’re killing me!
Seriously, please make this cool stuff available for purchase — at least for me (though I suppose others might want it too).
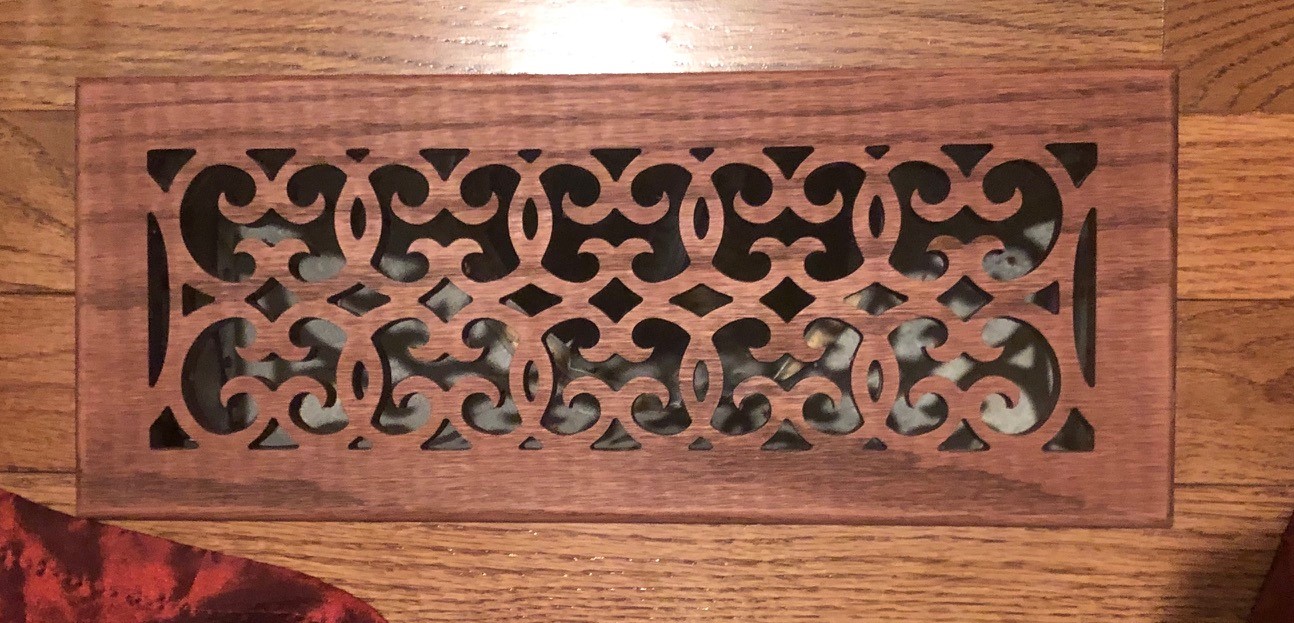
One of my cheap metal vent registers was damaged at home and I went to the local home store and after looking at what was available I realized that I could make something with much more detail. Here is an example of my home vent register. I created the designs in Solidworks and imported the .dxf file into CC.
Gotta love the Shapeoko to address these situations
Thanks for your entry @mball269, don’t forget to edit your post to attach the design file, and maybe tell us about the endmills you used, the toolpaths, or any difficulty you may have encountered.
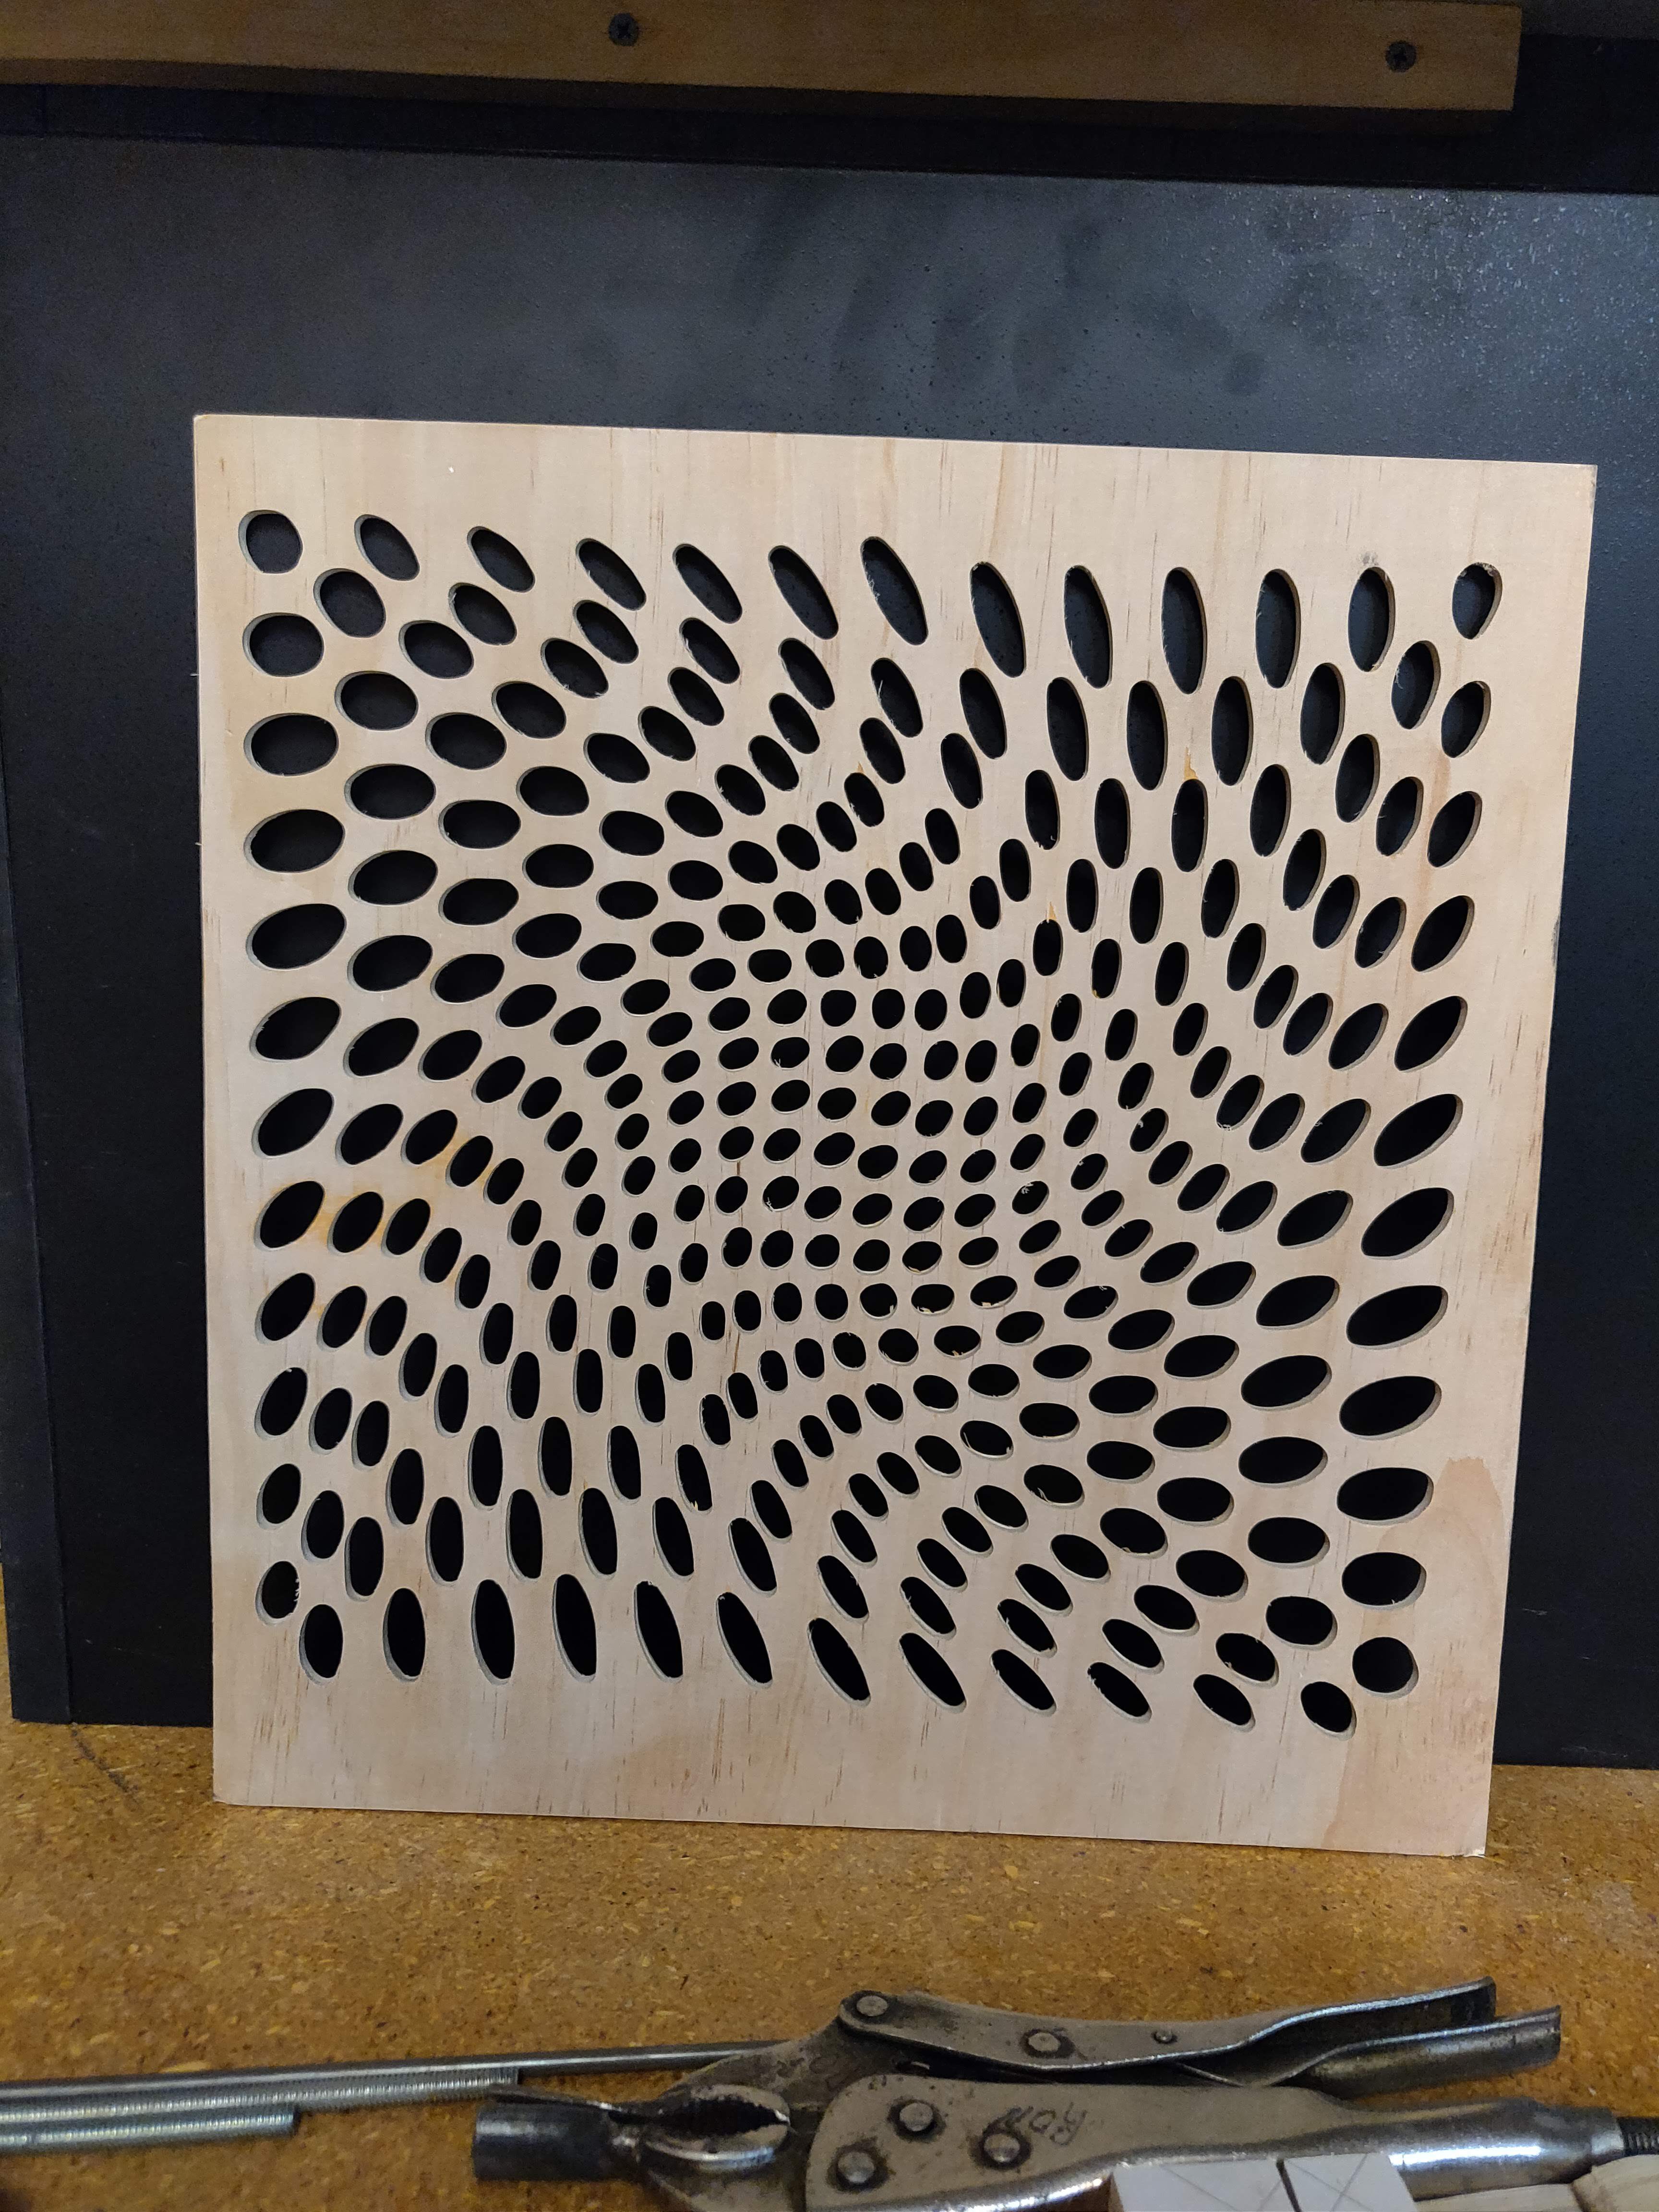
Nice pattern ! Very CNC milling friendly, too with those oval shapes.
Can you please attach your design file and details of how you created it, for others to enjoy as a starting point? (and to meet the rules of the challenge )
This one was made out of thin MDF 1/8" in thickness, I used tiny screws in every corner for work holding.
It was easy to cut, I only used one tool path with a 1/8" flat end mill. The only issue I had was that some of the inner cutouts couldn’t hold the piece and ended up in the vacuum system or trapped in the dust boot, must try a harder material or thicker.
Also there was some vibration from the work piece in the cutouts closer to the x axis borders (that can be fixed with a better work holding strategy). Other than that, it was easy to cut and was about 90 min to cut, the only hassle was removing and clean all the tabs.
I also used a sanding block to smooth the top surface, it took less than a minute.
After the cut, I used Minwax stain/sealer for a darker color.
For the pattern, I have a DWG file with lots of patterns and uploaded to Fusion, then extruded and scaled to match my stock and created the tool path.
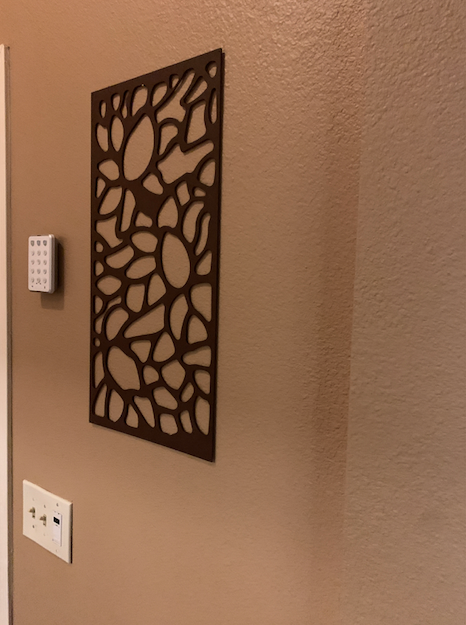
I am planning to make more pieces like this to hang them together in some arrangement, probably using a more thicker material.
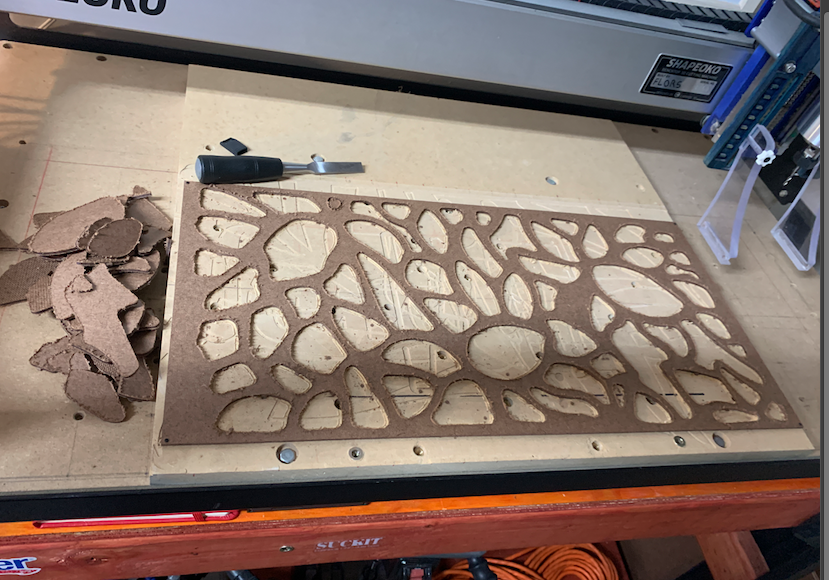
Thanks for your entry ! For this kind of job with many cutouts, one can also try the tape&glue workholding method, to spare the effort of cleaning the many tabs afterwards (but then again I am extremely biased, being a tape&glue fan )
I use Loctite super glue (but any CA glue will do really) and blue painter tape (again pretty much any brand will work). Tape on both sides, squiggly lines of glue, firm push on the stock for a couple of seconds, done.
The only drawback with that method is that when you do cutouts, the endmill will bite into the tape (just barely if you are careful with your z depths, or completely through if you prefer to overcut), potentially leaving gummy residue on the tip of the tool: I wipe them with acetone after each run, this is only a minor inconvenience (and takes a couple of seconds, compared to minutes for cleaning tabs (and adding them in the design in the first place)
If some cases, you can apply tape only to areas of the stock that you know will not get cut through.

 ). It’s a patterned arch that is made to be a wall decoration. This was inspired by the wife looking for new décor projects for our home. This led to her finding this picture and liking it (not from etsy, just google):
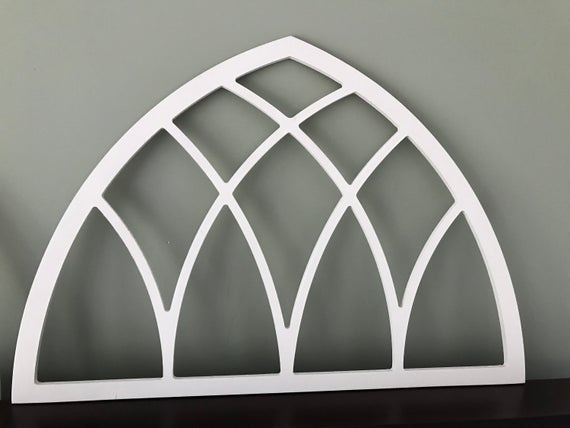


 )
)


 (though I suppose others might want it too).