Once the cutout code is done and well tested, there’s a thought to migrate the contour toolpath to use it, with the option to apply multiple offsets.
2 Likes
Just downloaded the Mac version, but when I open the app, it shows Build 844, not 846 (including in the about tab, build from 4/27/26).
Second question - when I downloaded the 842 a bit ago, it said that it was still Intel-based, but I didn’t get the same warning when I downloaded 846/844.
Also, hi! I’m kind of back, hopefully getting back to carving over the summer.
The note on Build 842 was probably a notice that Rosetta was being installed — once it has been installed, no further mention of it.
The version number thing has been noted, but the app looks very different, so folks should be able to keep them separate.
Looks like my third toolpath does not cut at all, despite defined. Idea is to get a joint for legs, should be cut half depth as a pocket, and then the rest of the contour should be cut, what does not work. What did I wrong? As a makeshift will do the 3rd toolpath the oldfashioned way. But how to use the new feature properly for my purpose?
Woodiestool demo.c2d (248 KB)
The next file should show how the piece is intended to be cut with the “old” method:
Woodiestool demo2.c2d (296 KB)
I found the UI and parameters for the Cutout toolpath confusing at first:
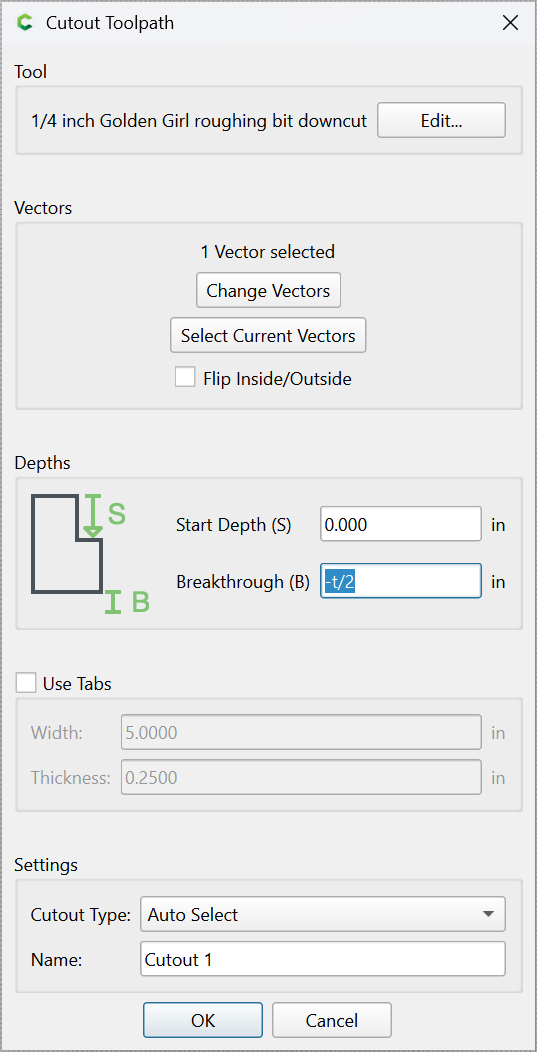
Values for Breakthrough are normally intended to be positive (as indicated in the diagram).
If you want the same effect as:
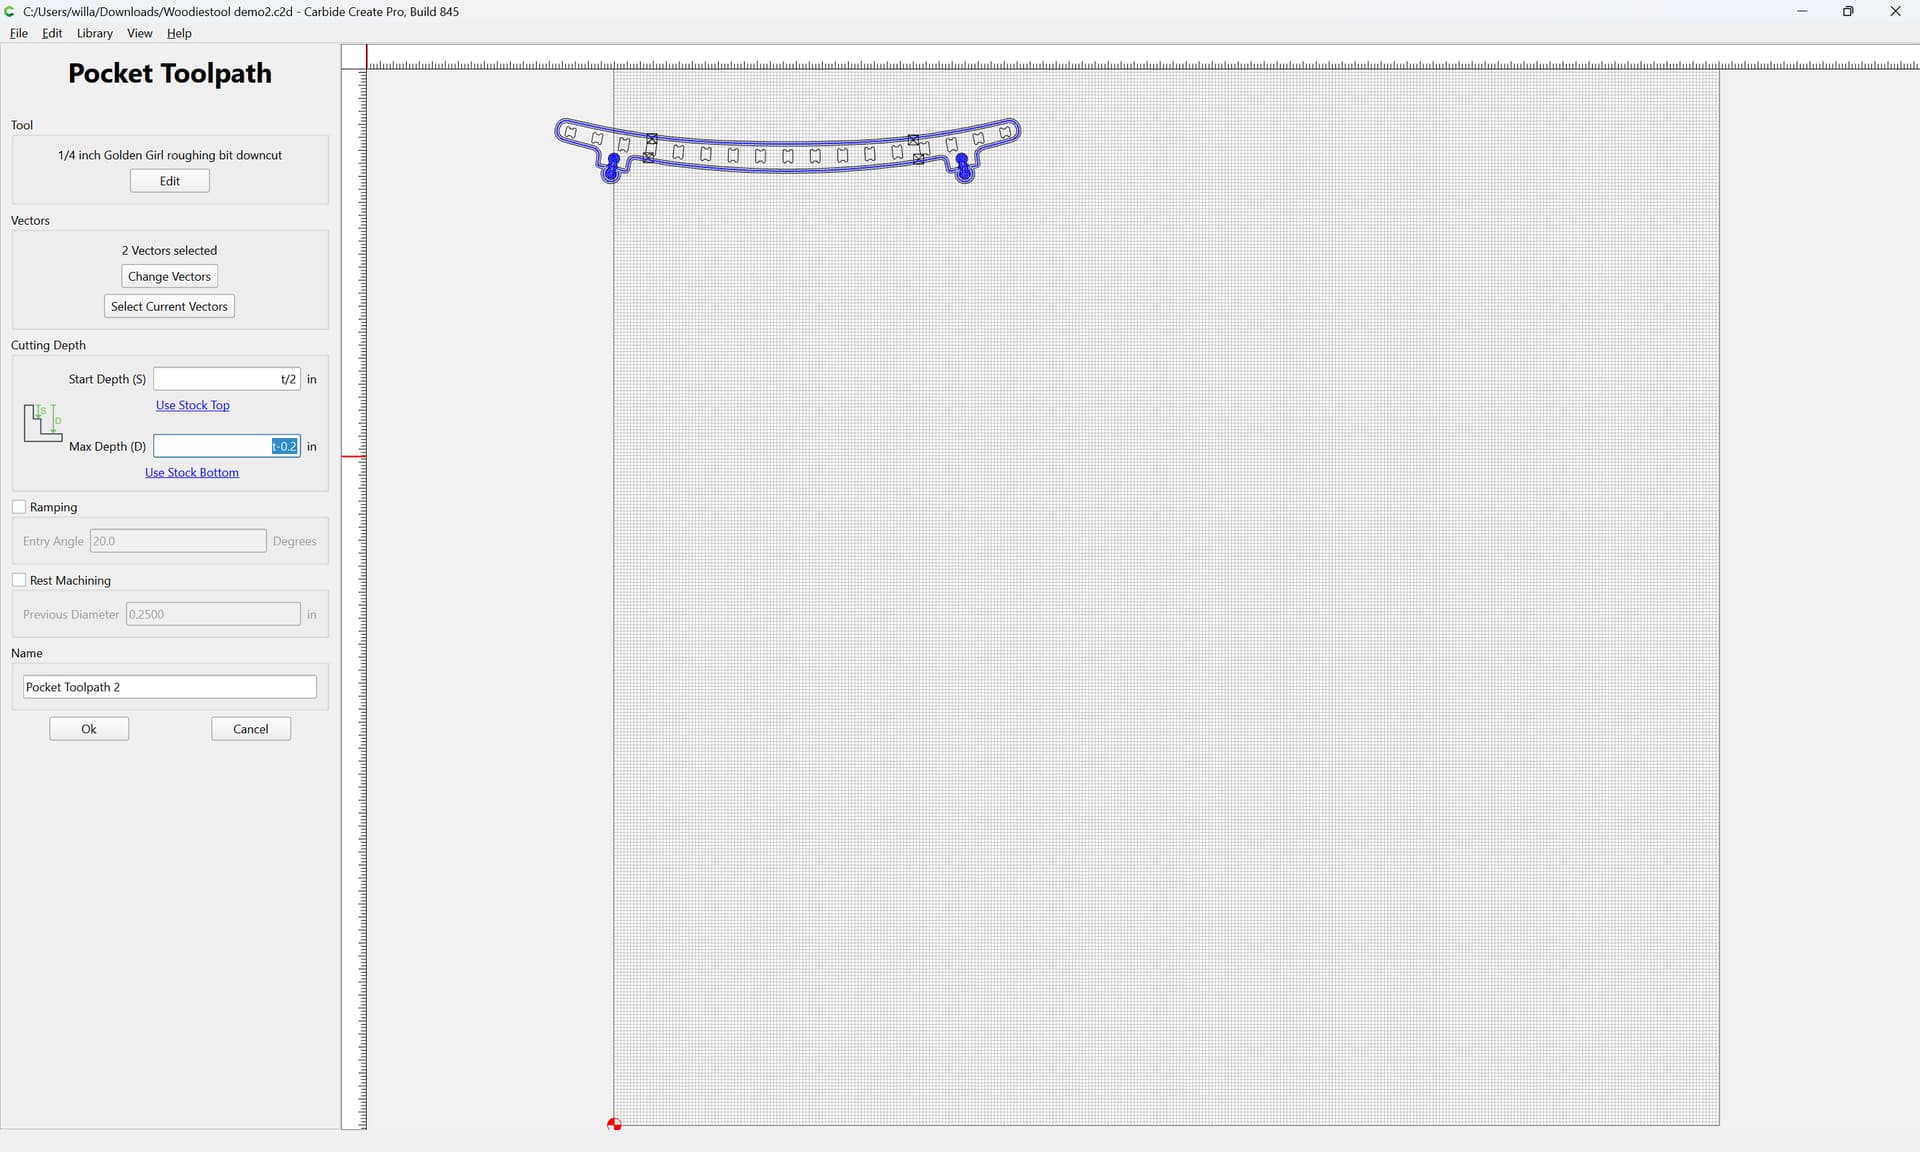
then it should work to enter a similar formula, but you have to remember that the starting point for the specified dimension is at the bottom of the stock, so instead:
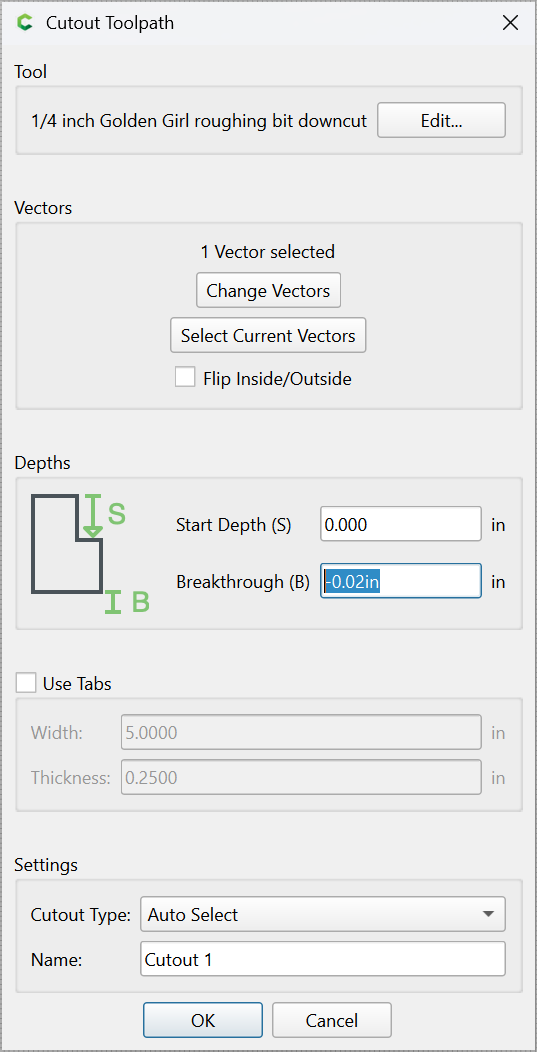
a negative value pulls the cut up above the bottom of the stock lessening the thickness which is cut out, a positive value causes it to be increased so as to cut deeper than the bottom of the stock by the specified value.
Hi, any idea when you’ll have the version working on osx12 again? Cheers!

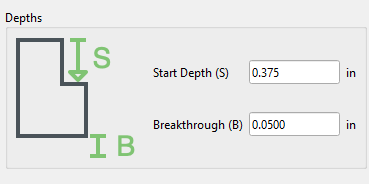
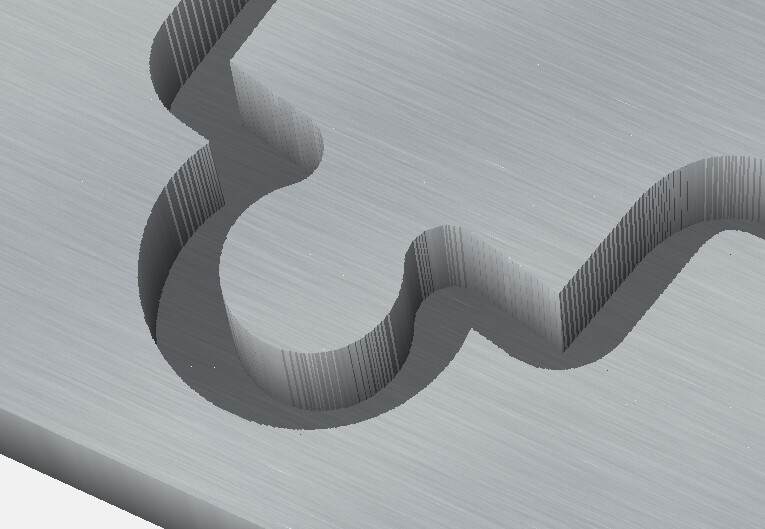
I guess I got it reversed — told you I found the UI for this confusing.
2 Likes
with positive values it did not show any cutting path at all.
I believe “stacking” two cutouts is something the software cannot swallow.
So I used the first path (upper one) as a cutout,and the lower one the traditional way, and it seems to work. If I remember right you said this version is anyway just a step towards an integration of the cutout feature into contour? We will see. So far I have a solution, just not as “elegantly” as I hoped. Hopefully my license will be good enough for that next improvement.
A license is good for a full pro version, so all 8.x ones will be covered, right?
Let’s try a simple test file, and maybe I can bash this into my thick head…

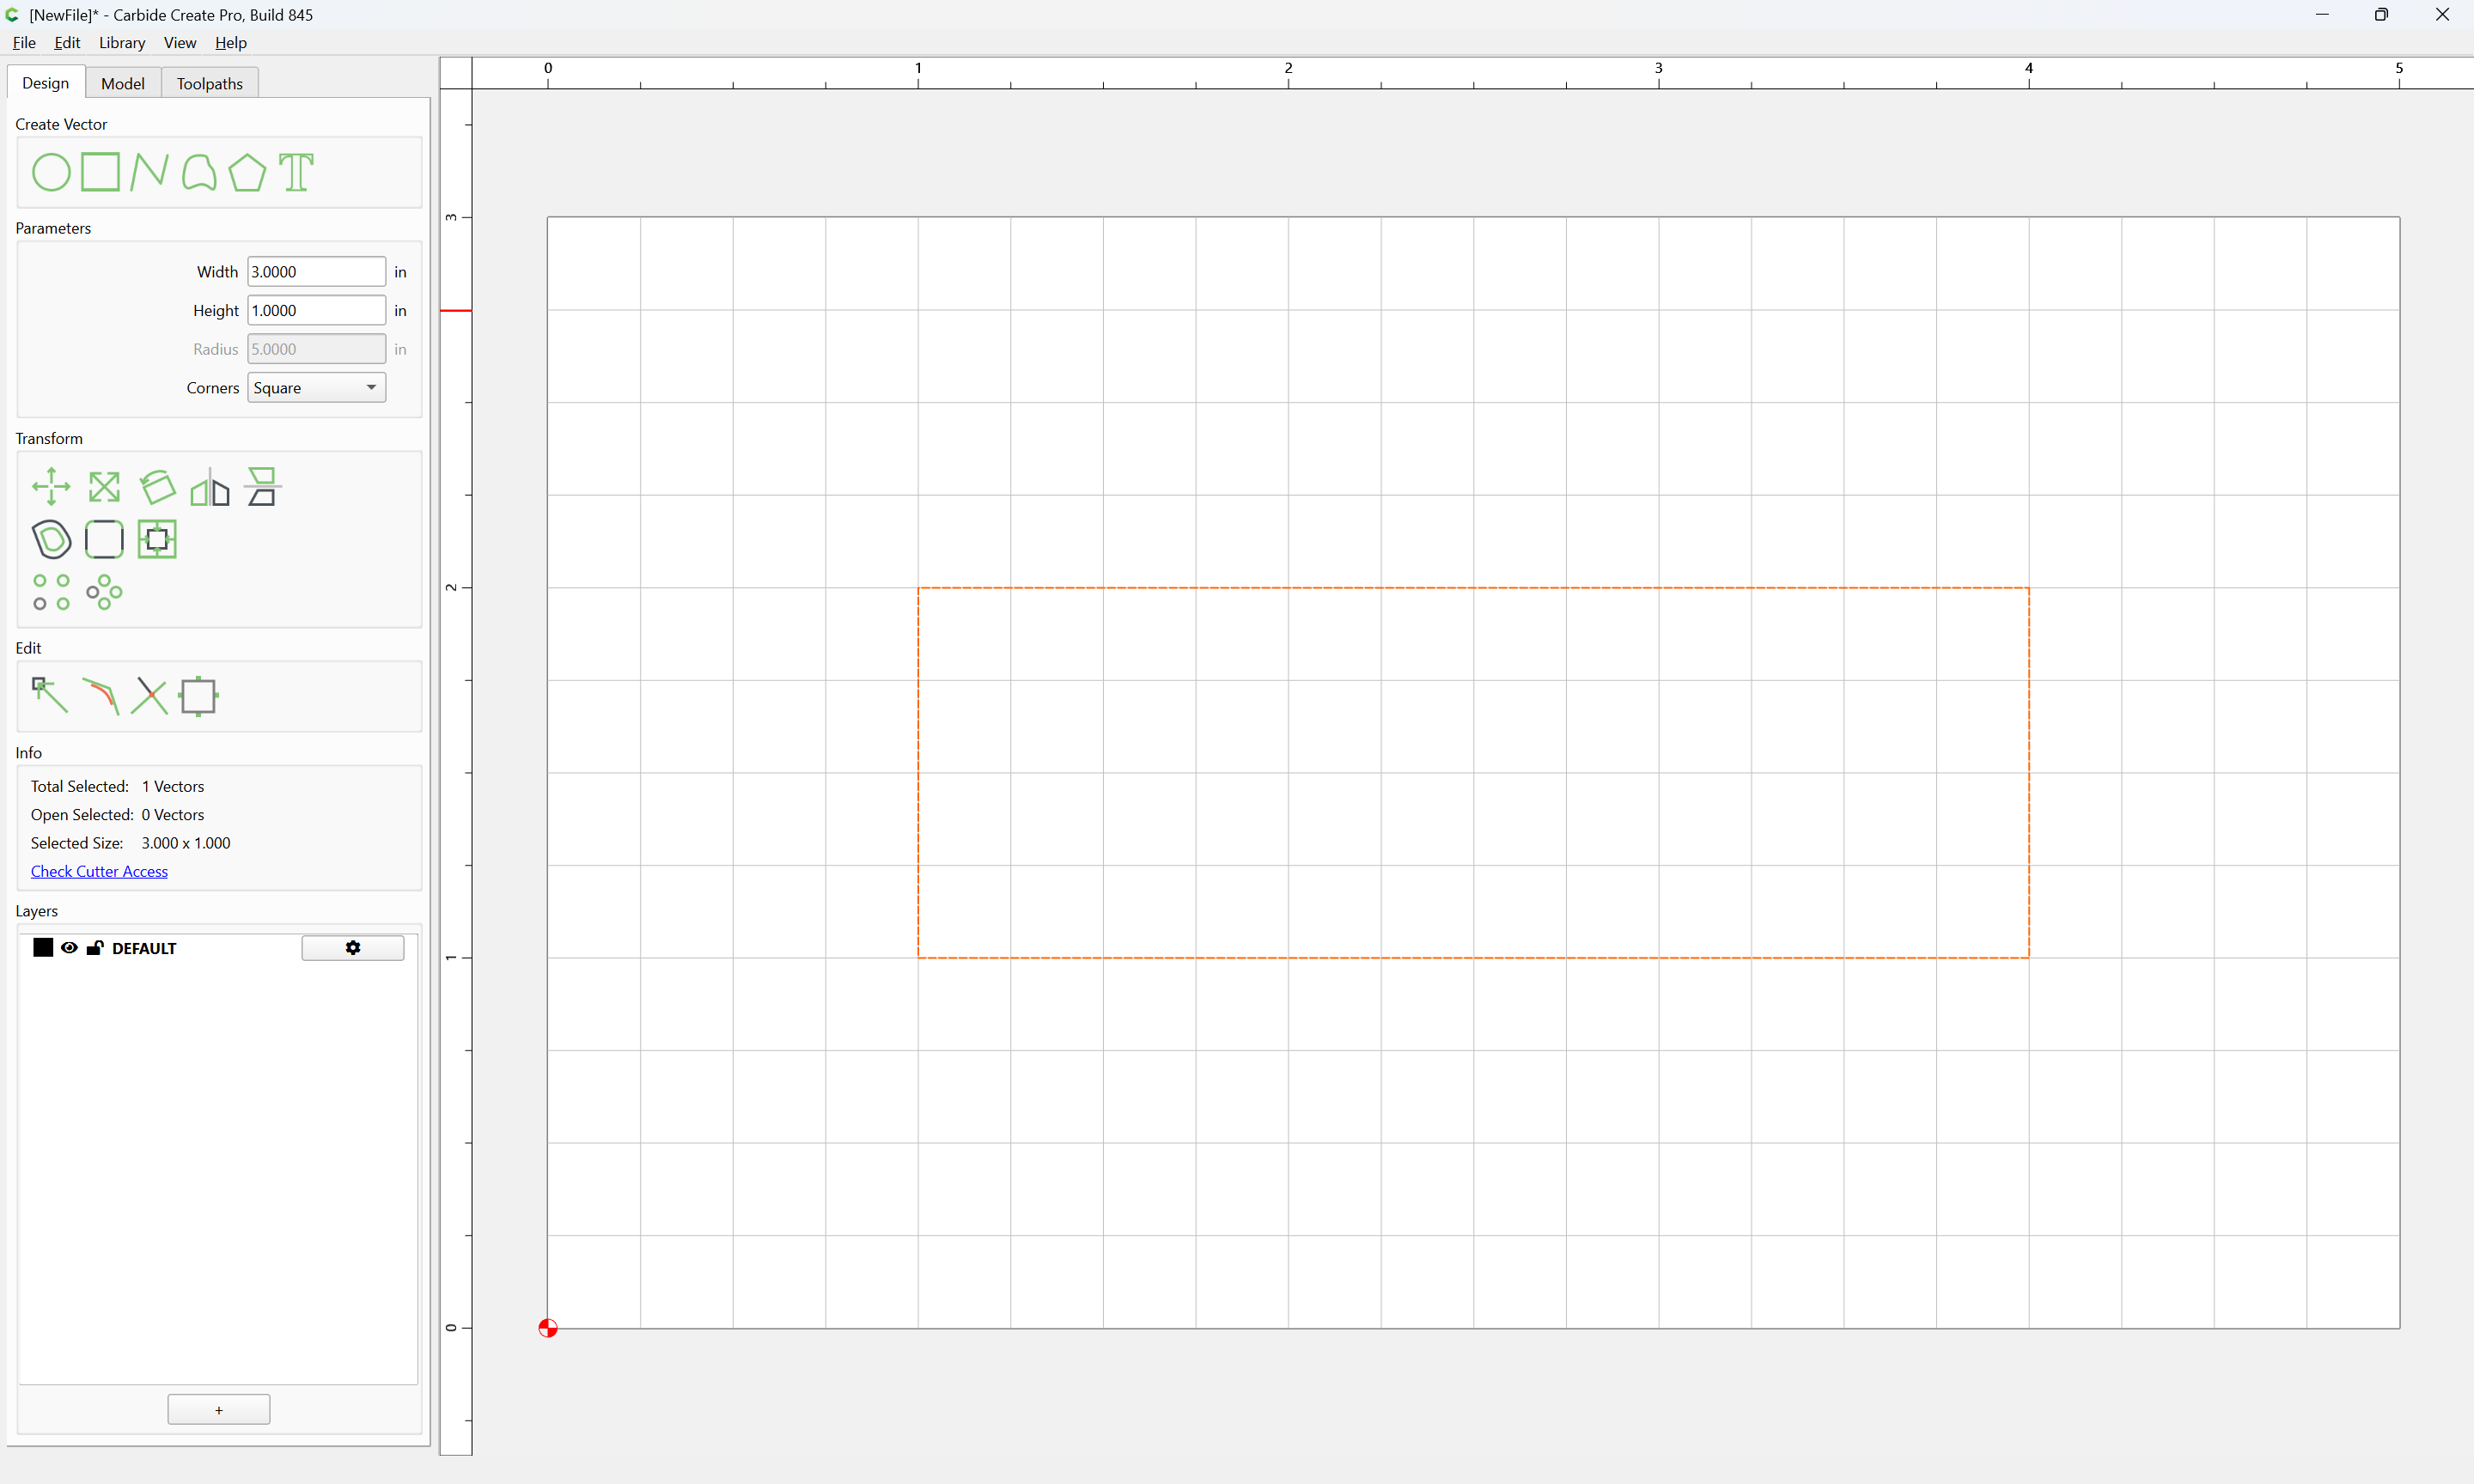
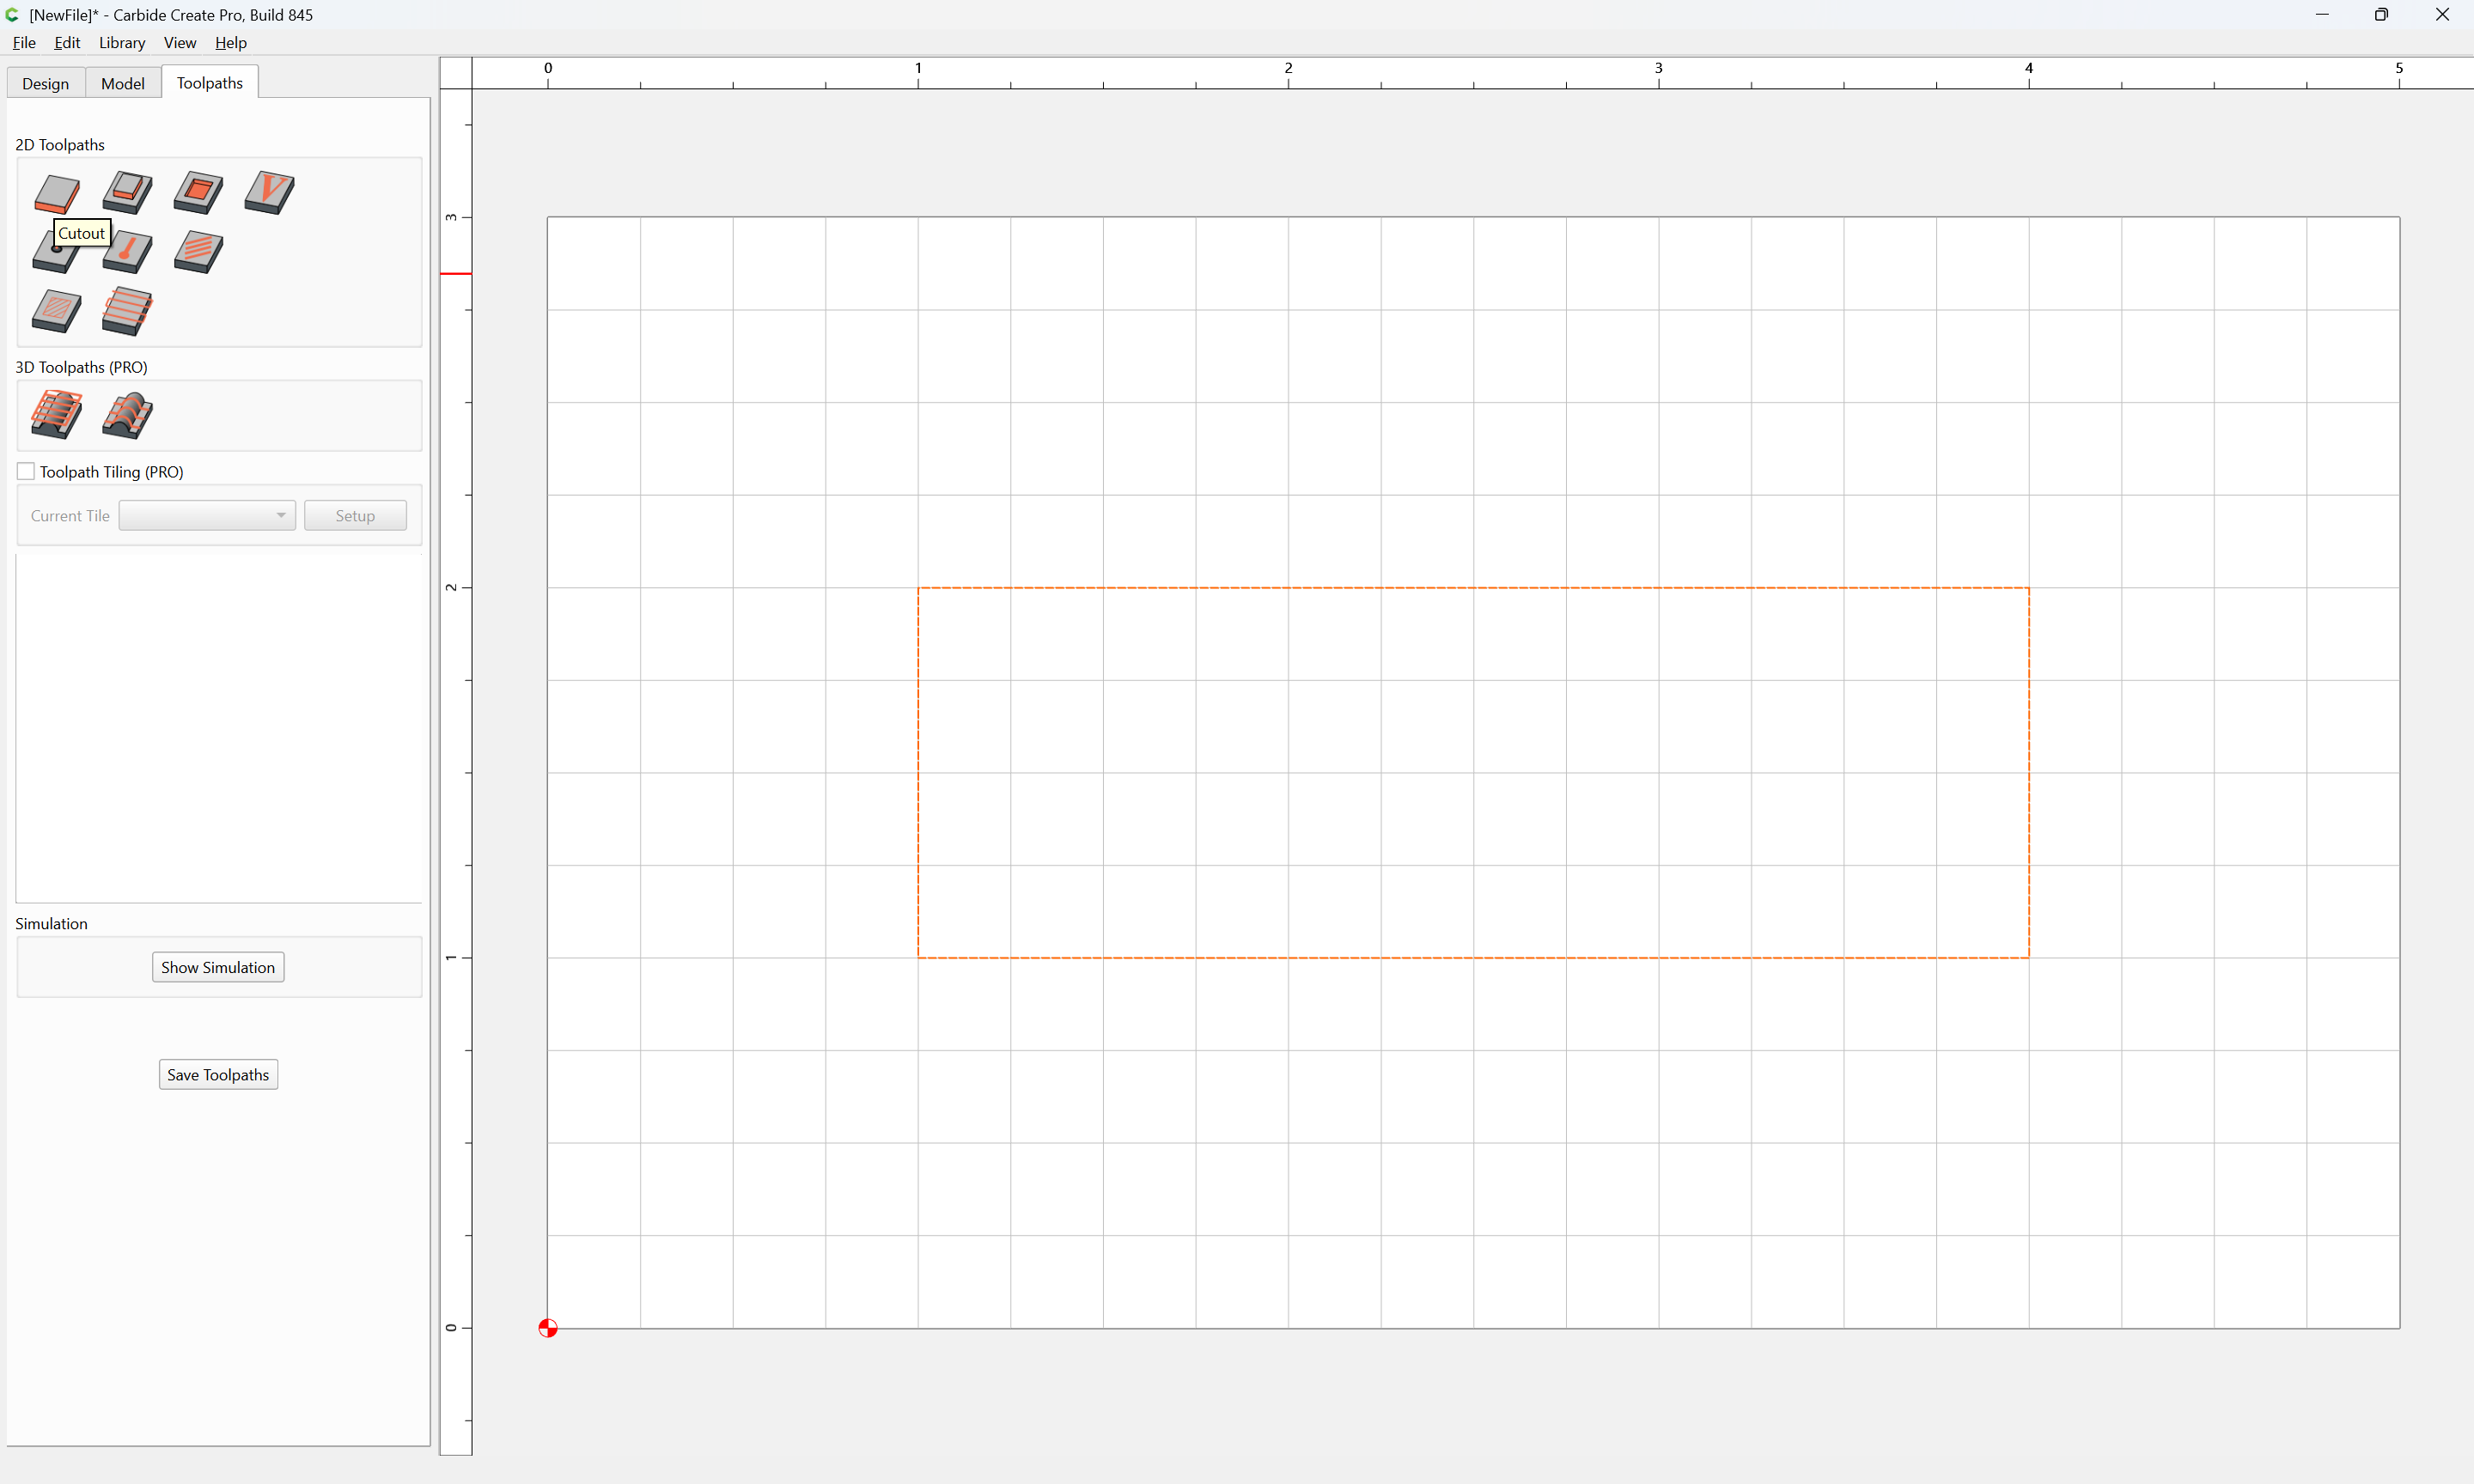
with the defaults for a Cutout toolpath:
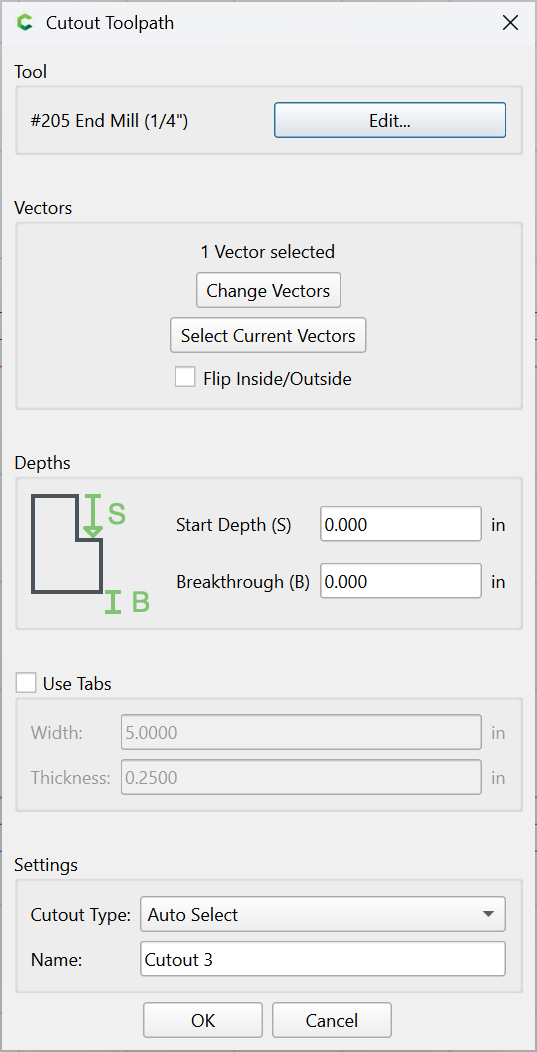
As expected, it simply cuts through:
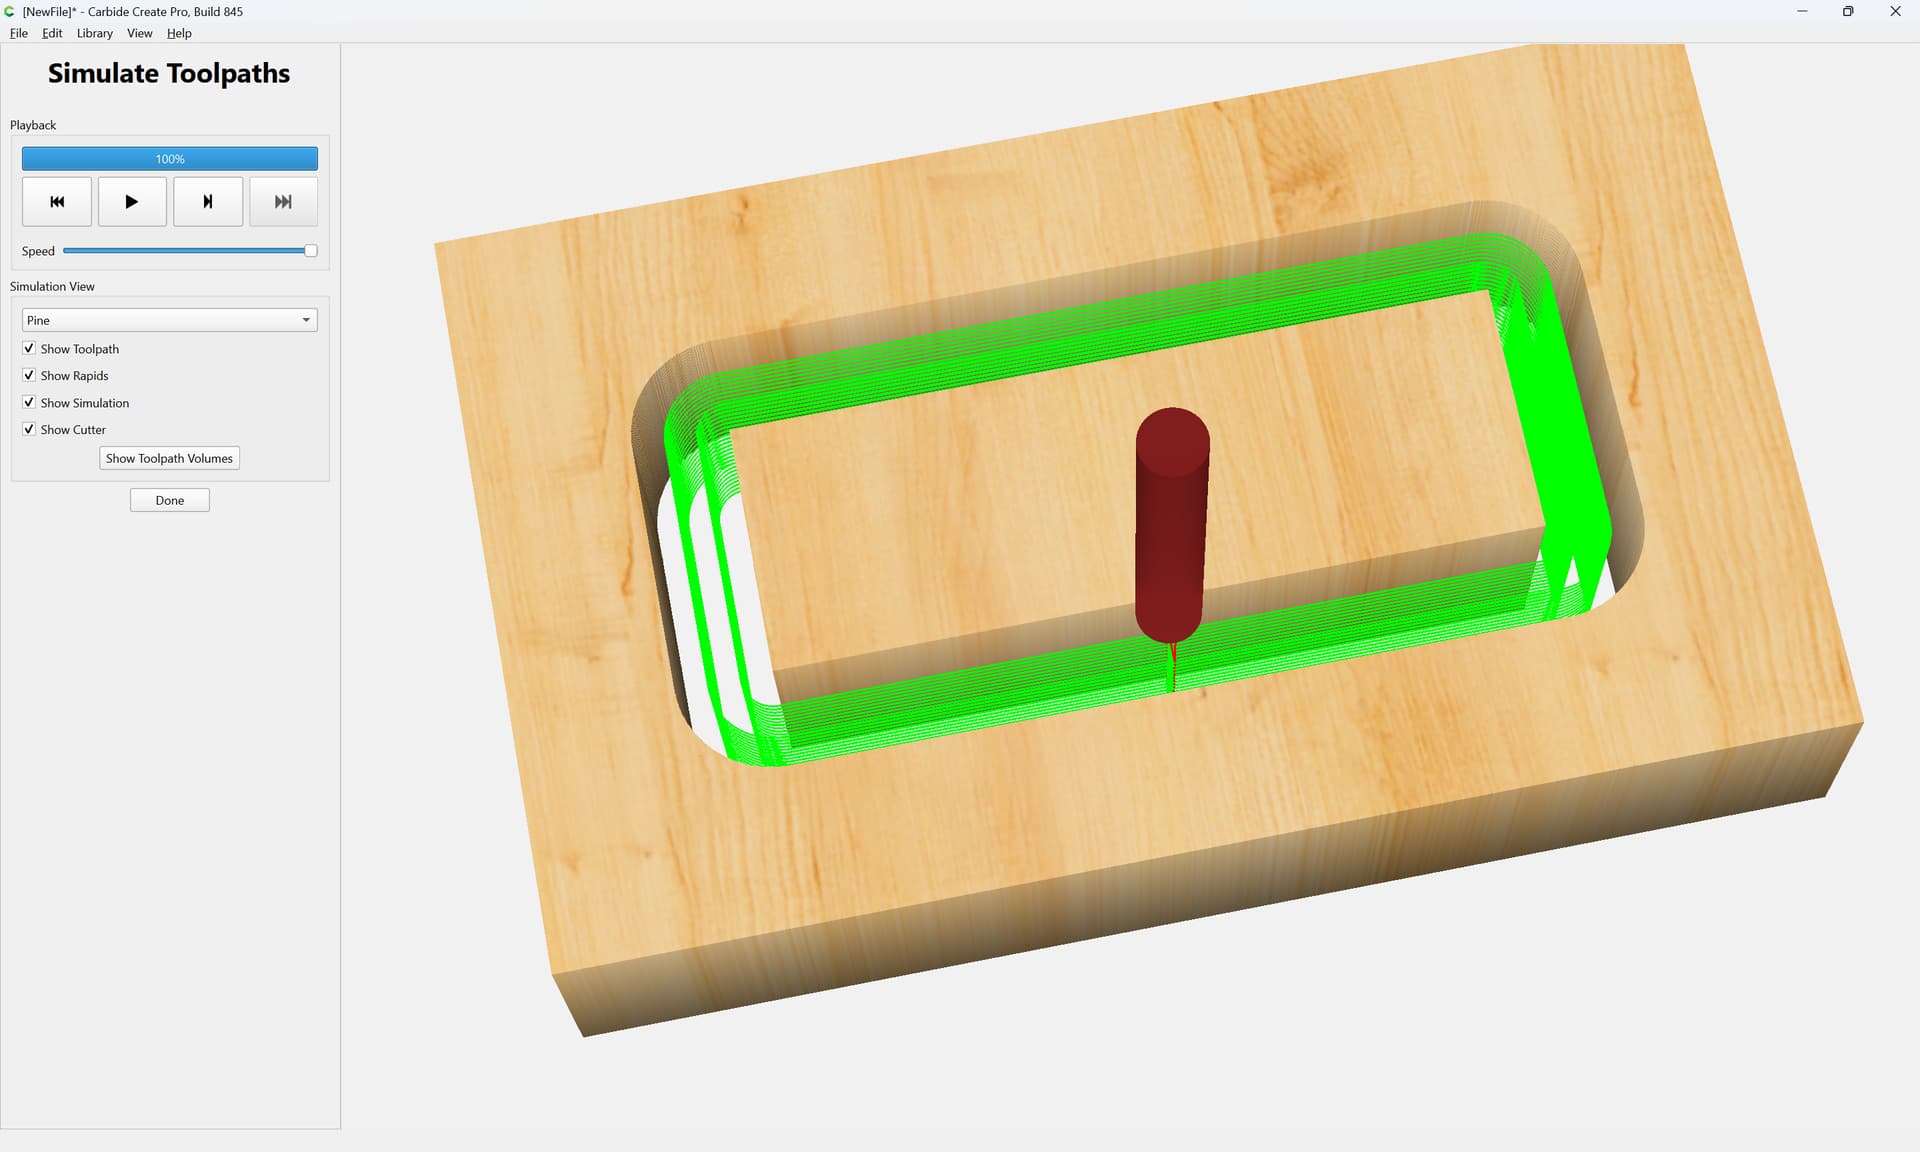
flush with the bottom of the stock:
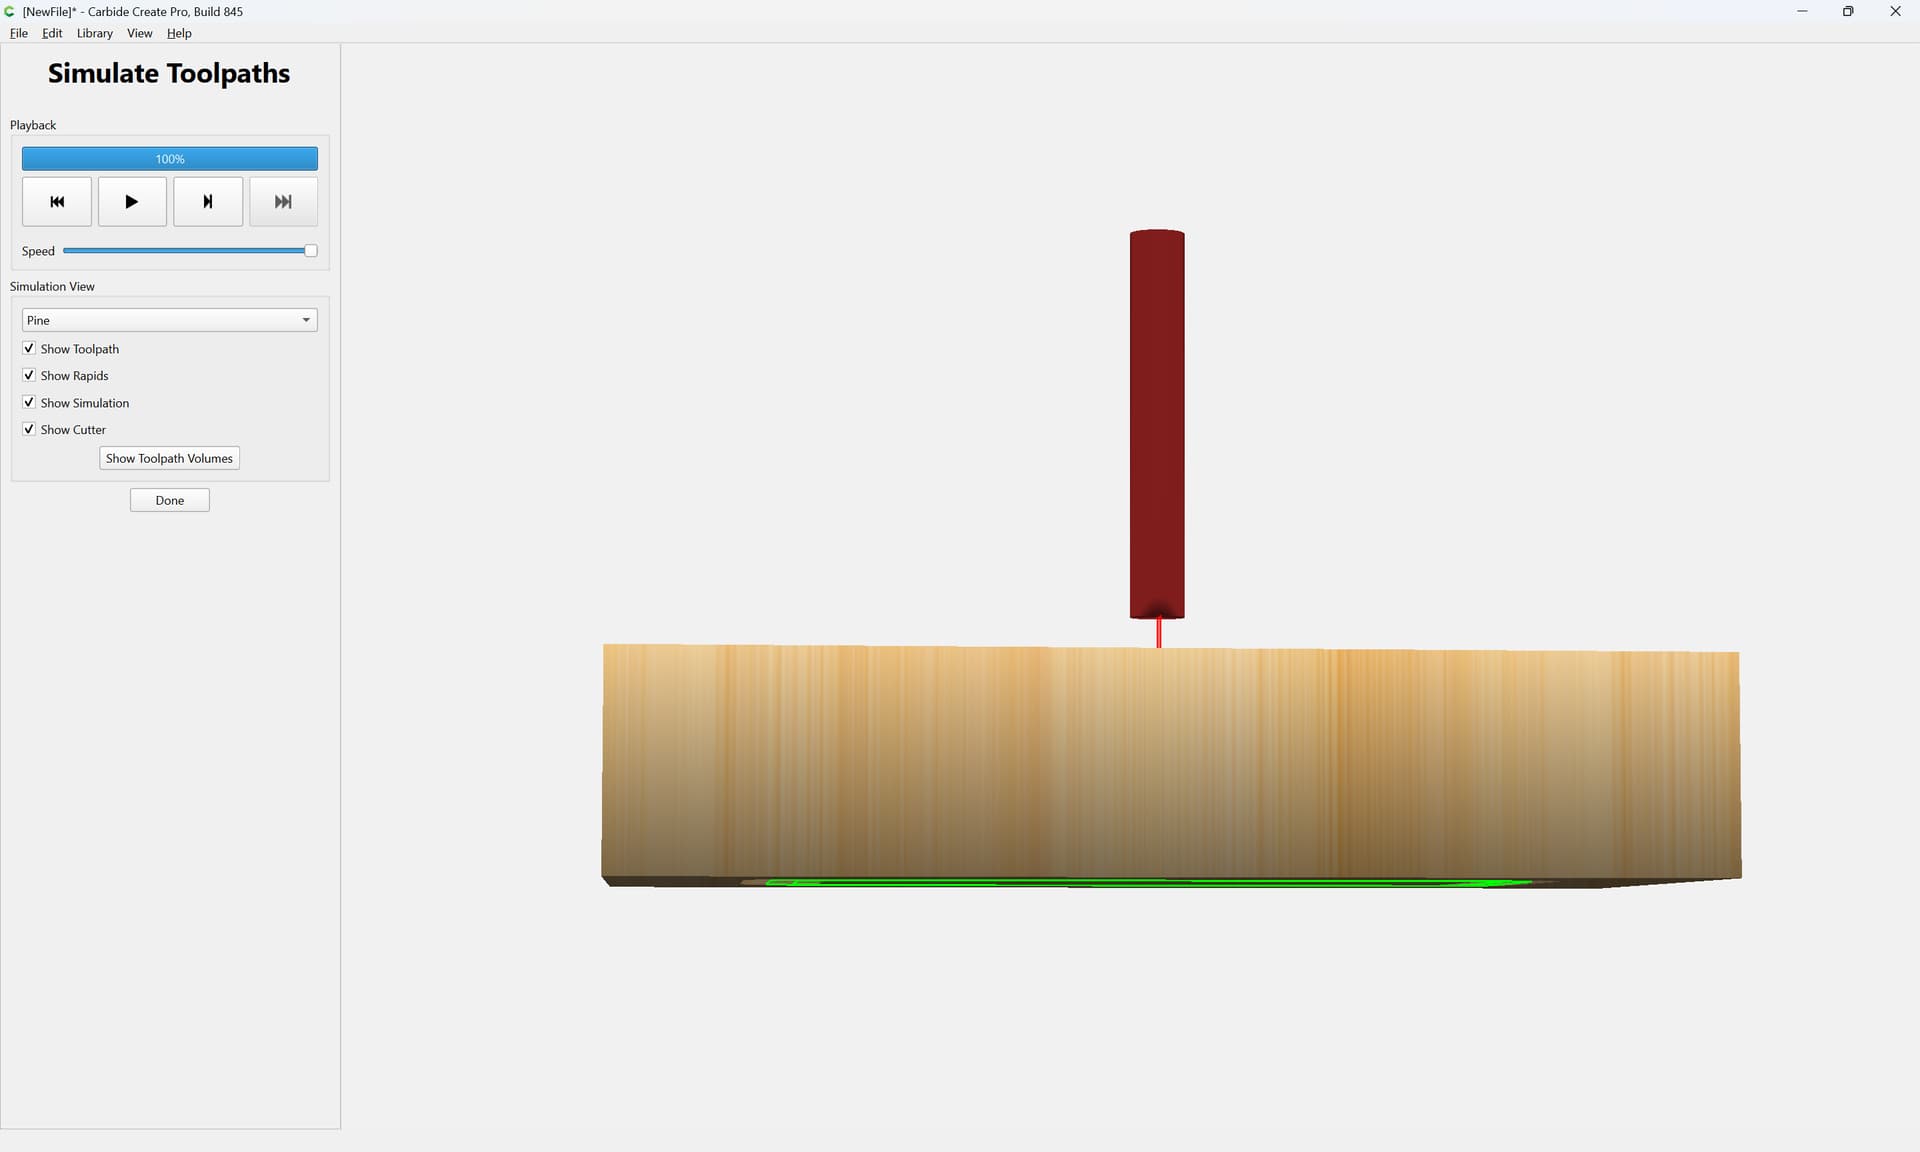
If we then change the dimension, say by Tab Height (default == 3mm):
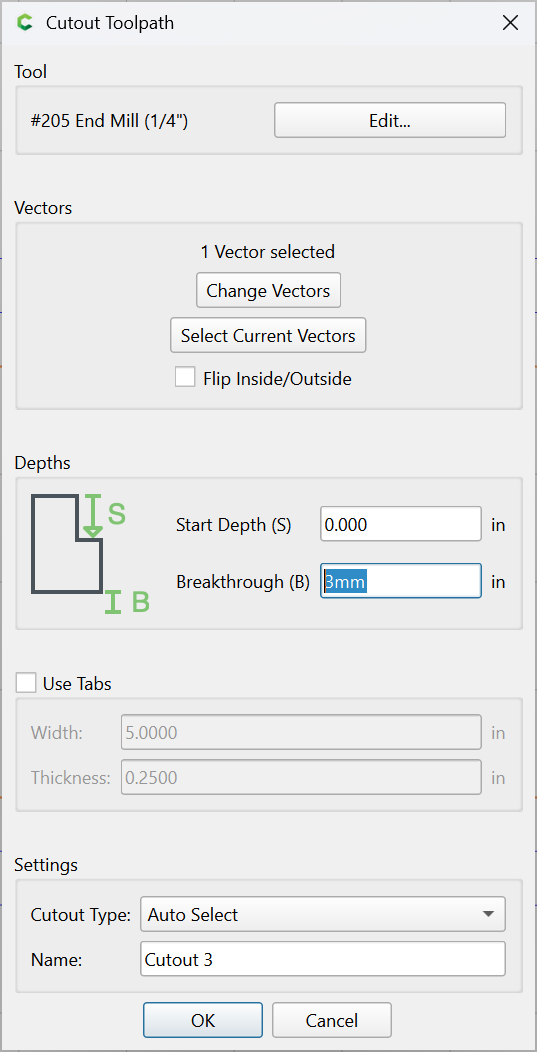
it cuts through by that additional dimension (for a positive value):
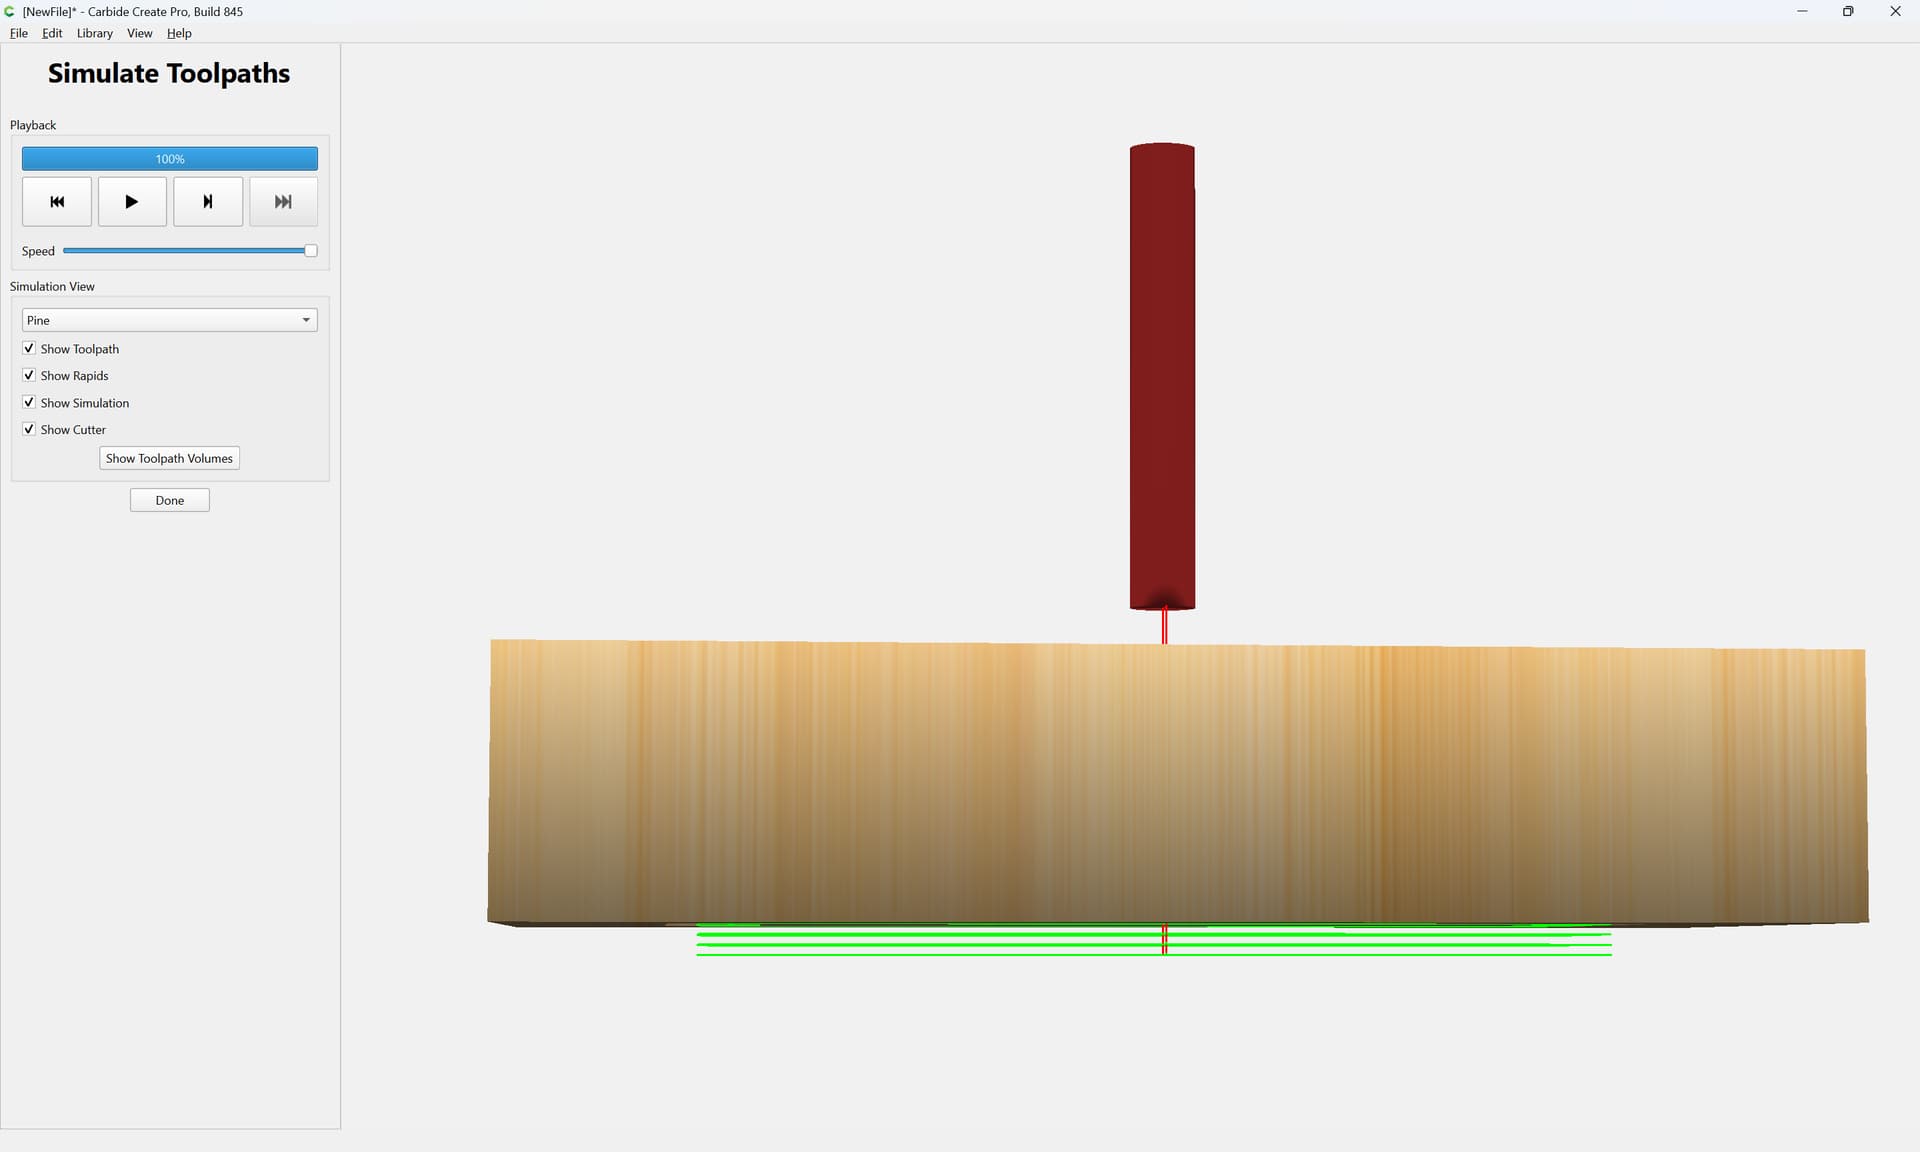
If we change it to a negative value:

then the cut falls short by that distance:
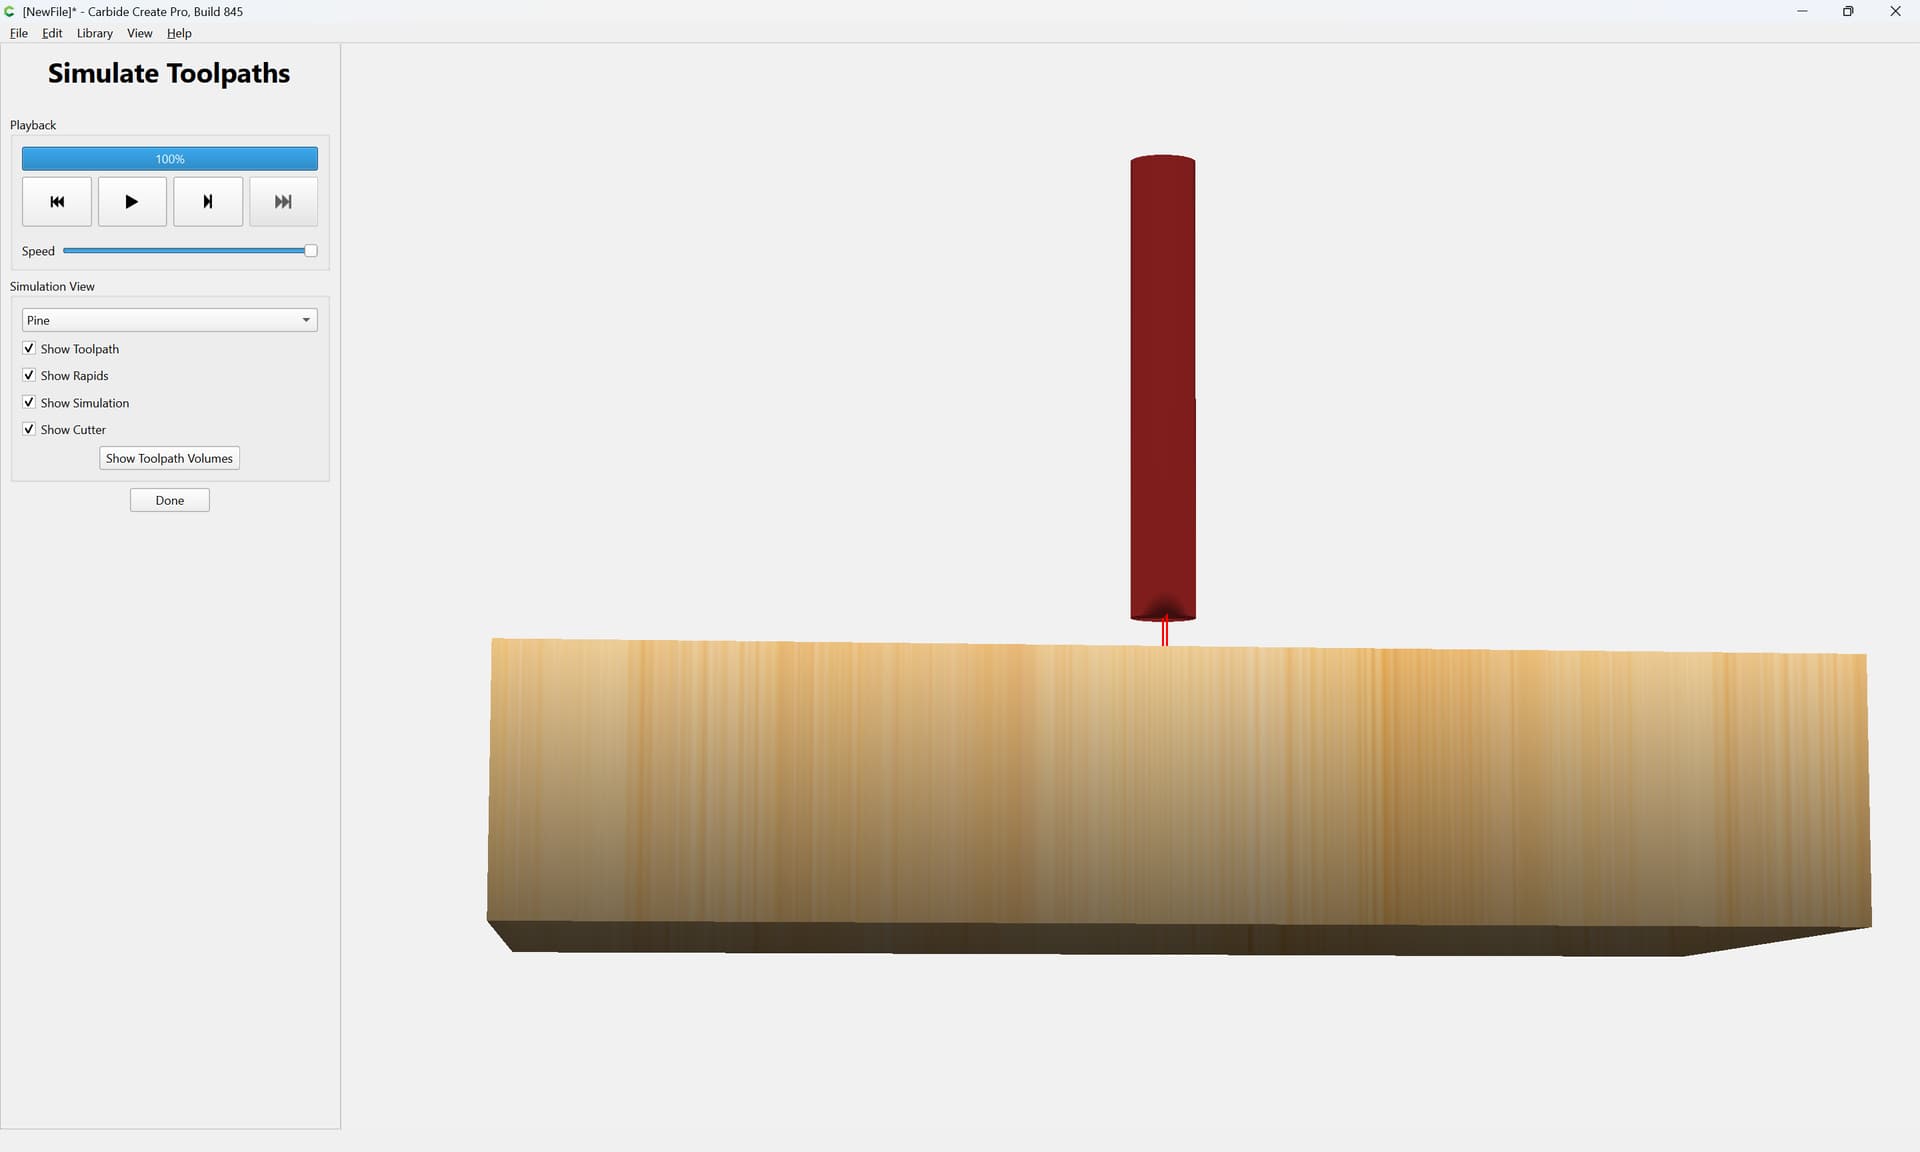
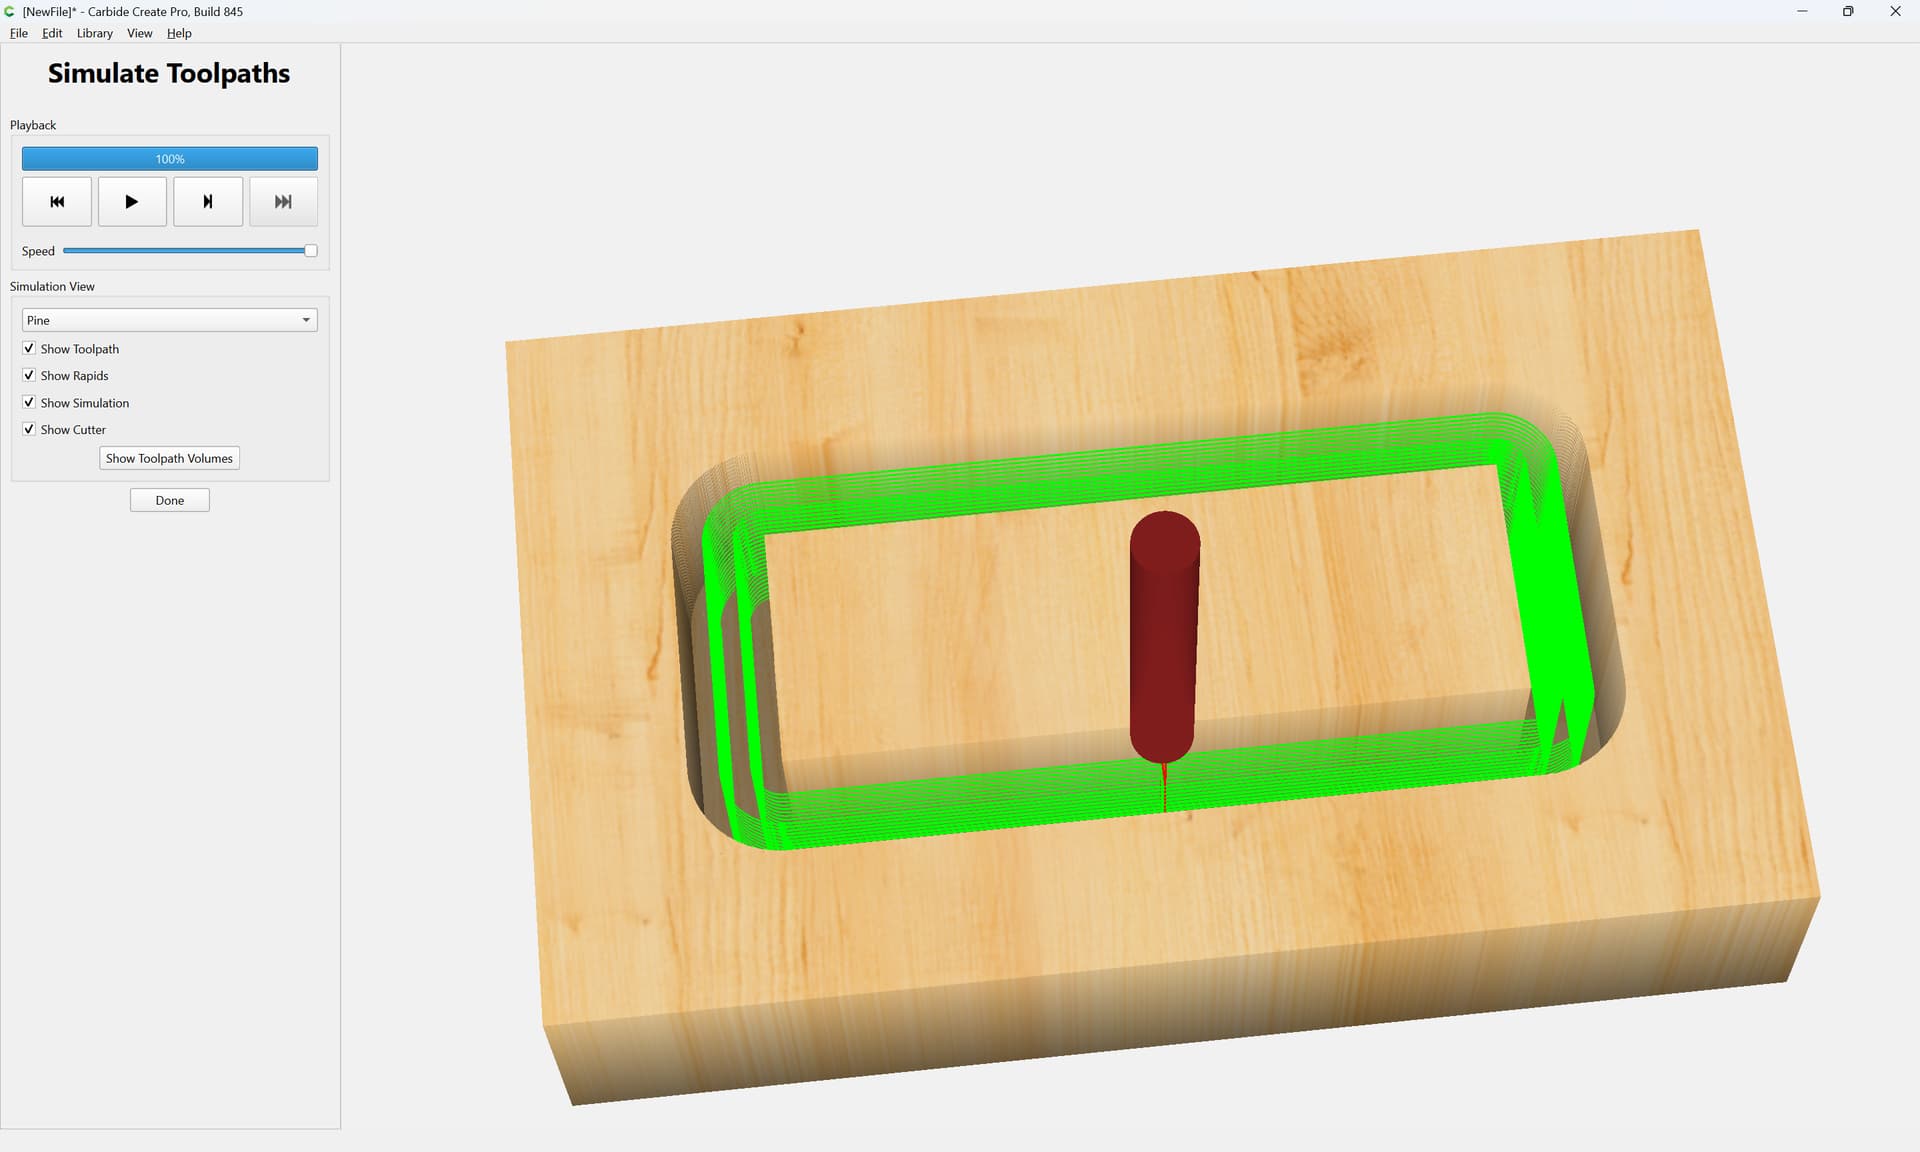
1 Like
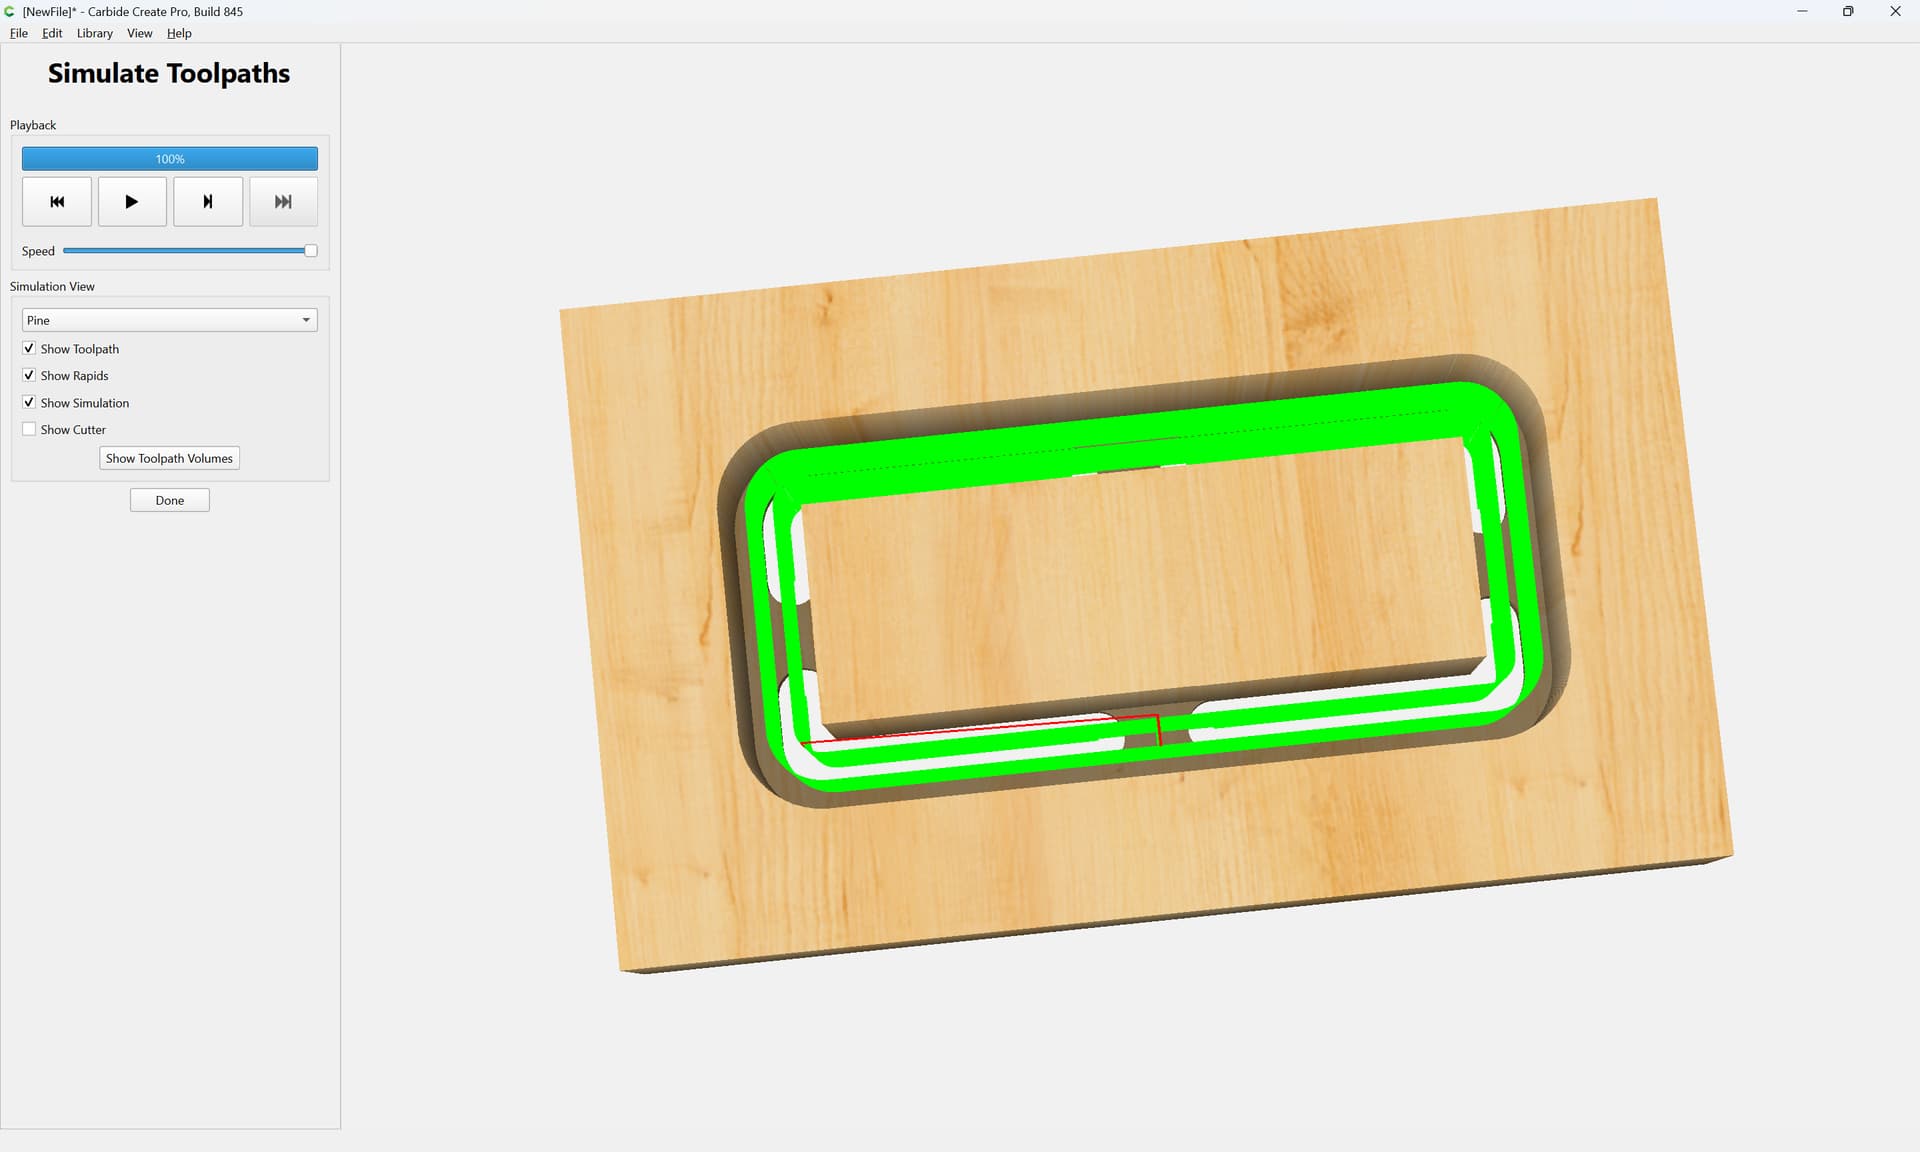
If we than add an additional toolpath to complete the cutout, as well as tabs:
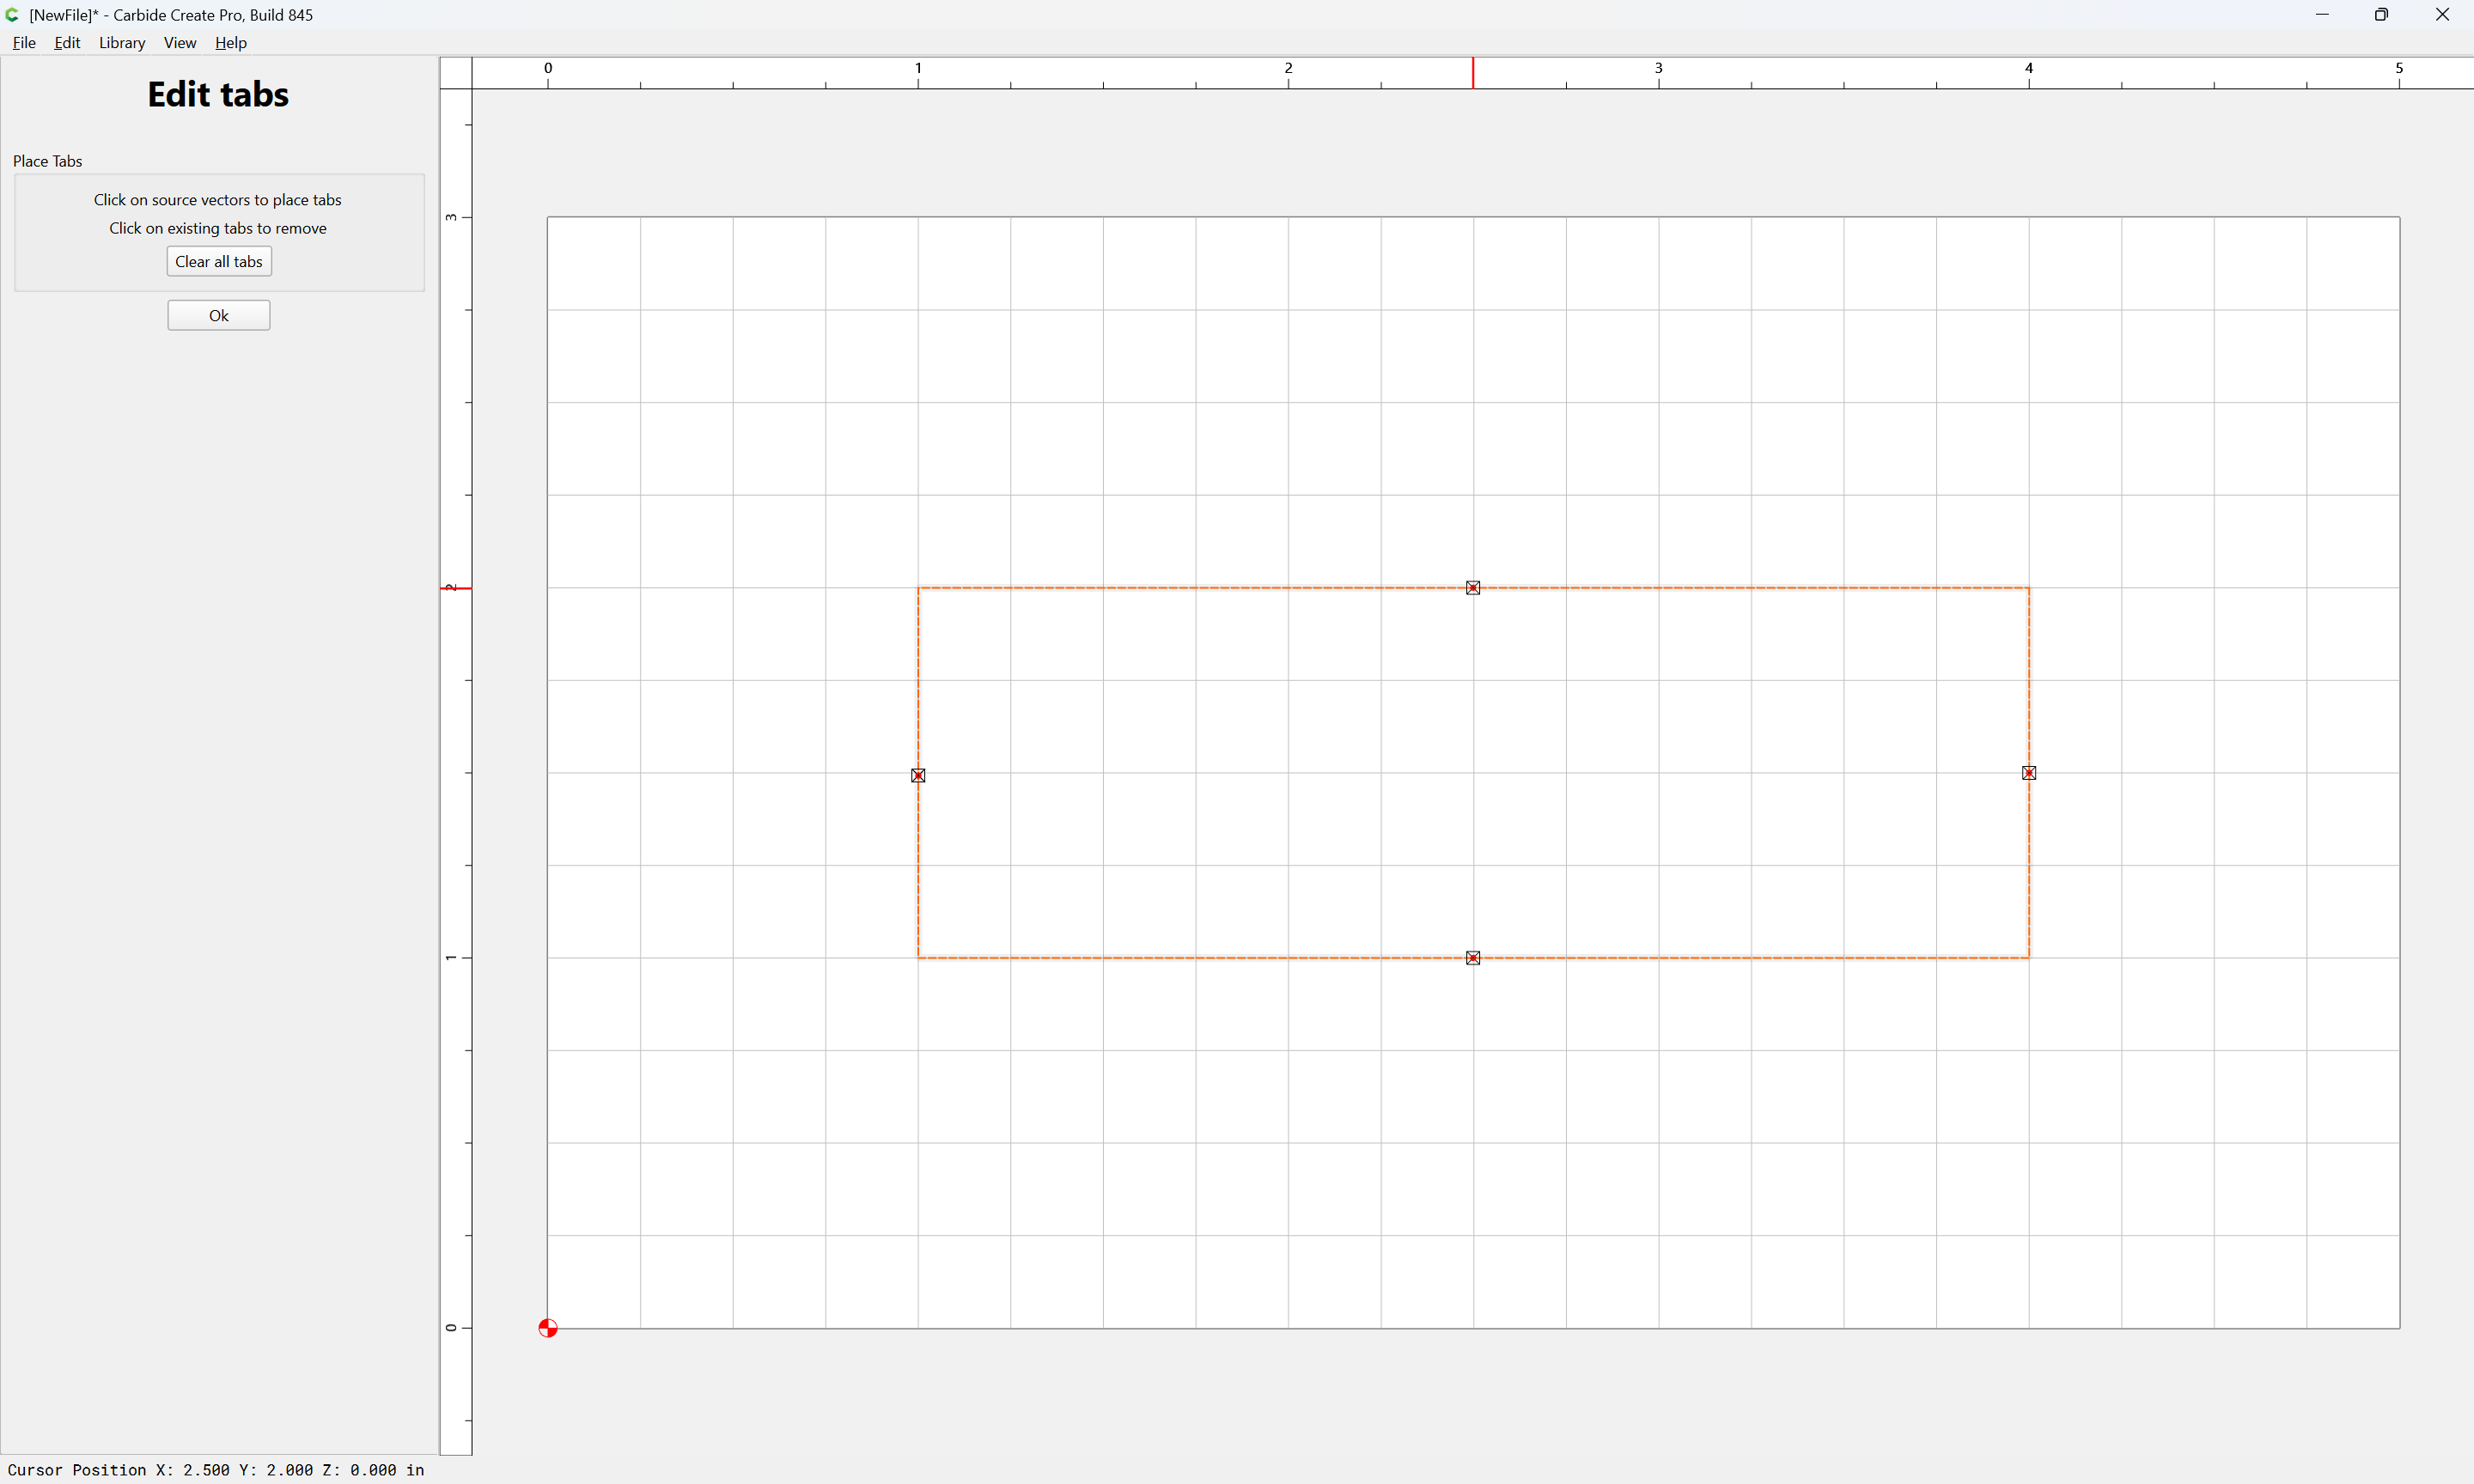
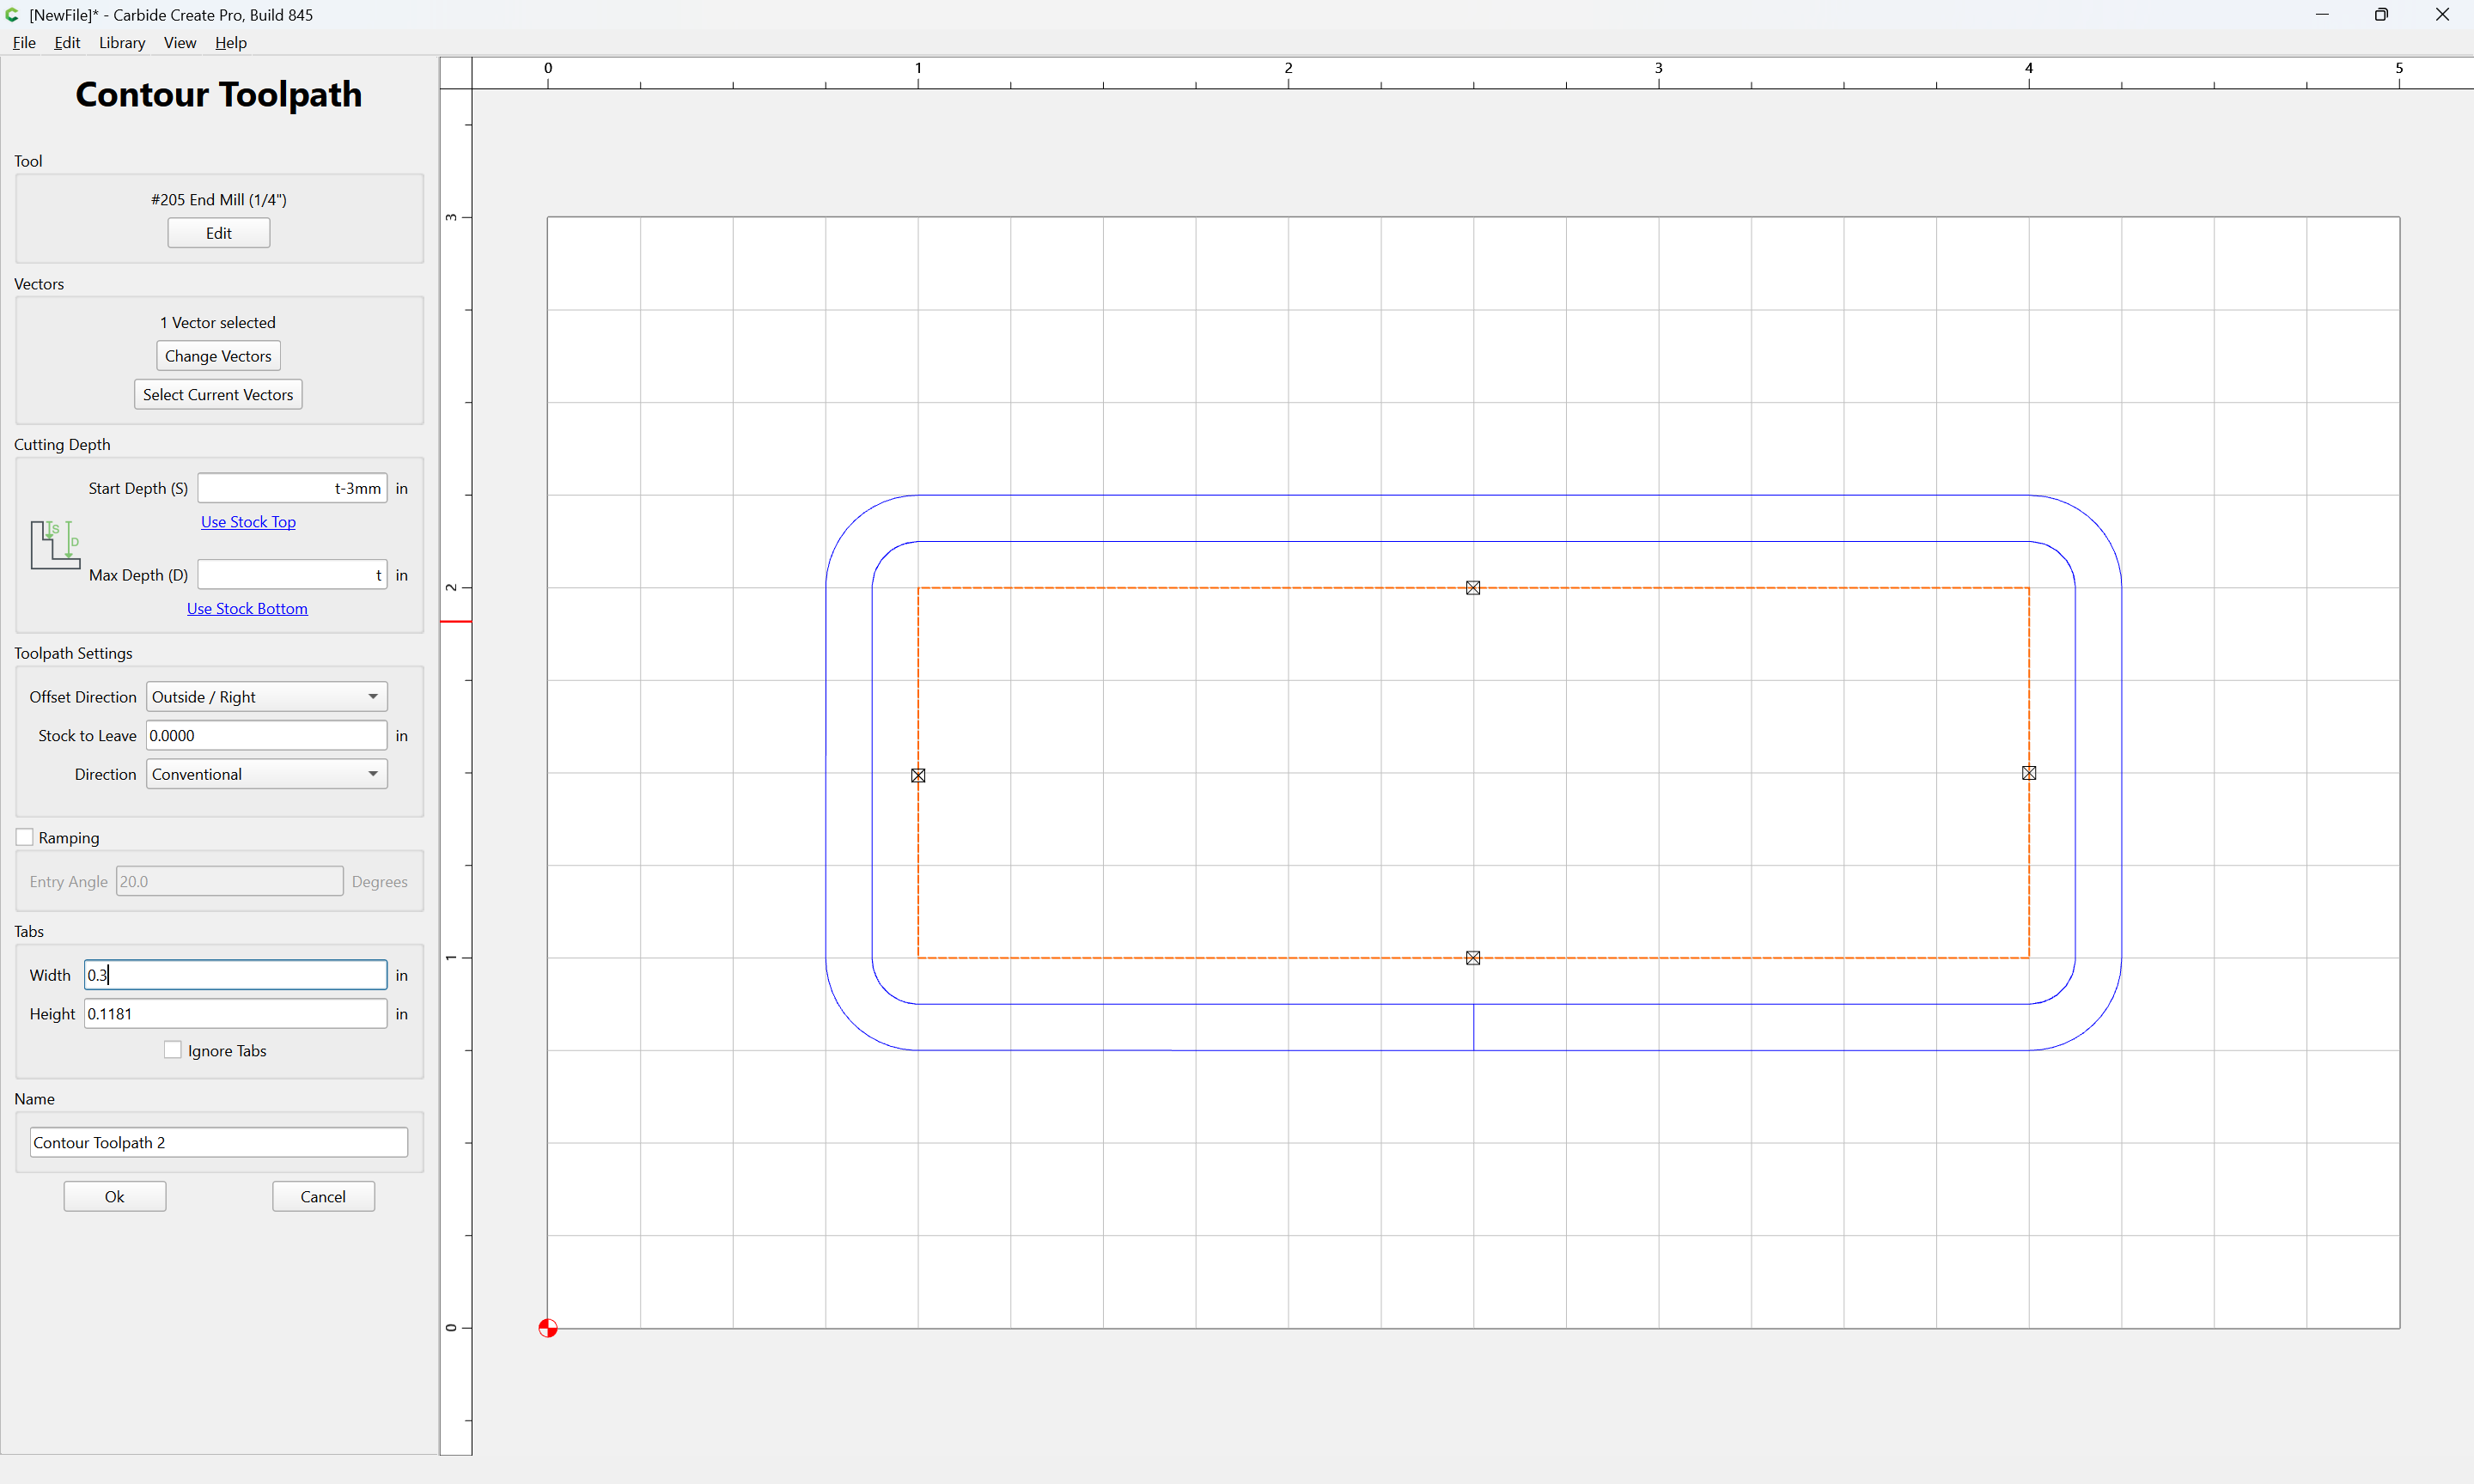
then the added toolpath compleats the cut, leaving the tabs and outer perimeter uncut:
2 Likes
TY, obviously works well with “stacked” toolpaths on the same one pattern.
What I struggle with is to make those joints work, what needs two different patterns stacked one above the other congruently. That is possibly where the software gets its hickup.
However: good to learn how the Breakthrough works, how it is used etc.
As soon as I cleaned up the desk on that project I upload an image here, although I bought the design from Etsy and therefore cannot provide the whole project here.
Thanks again, Will!
So using a positive value goes past the thickness of the material… In what scenario would you want that? I would think that “t” is the max depth you would want.
Recently I cut some lizards for a puzzle. I used the contour cut on my first try. I downloaded the beta cc845 and used the cutout tool path and it left an onion skin on the bottom even though I had set the zero at bottom. This was cheap birch plywood and getting the onion skin off just pulled veneer off. I also use painters tape and super glue so cutting a little bit deeper helped prevent the onion skin. There may be other cases but for the cheap plywood it worked going a little bit below the bottom.
I really do not understand the difference between a contour cut and the cutout tool path. @WillAdams gave some explanation but it is still not clear to me what the advantage of the cutout path is over a simple contour.
1 Like
@gdon_2003 Good example although thats a pretty thin amount. I see the cutout as preventing slotting which Will has addressed countless times  . I like the cutout toolpath but I’m waiting for the addition/correction of tabs before I use it more.
1 Like
as promised:
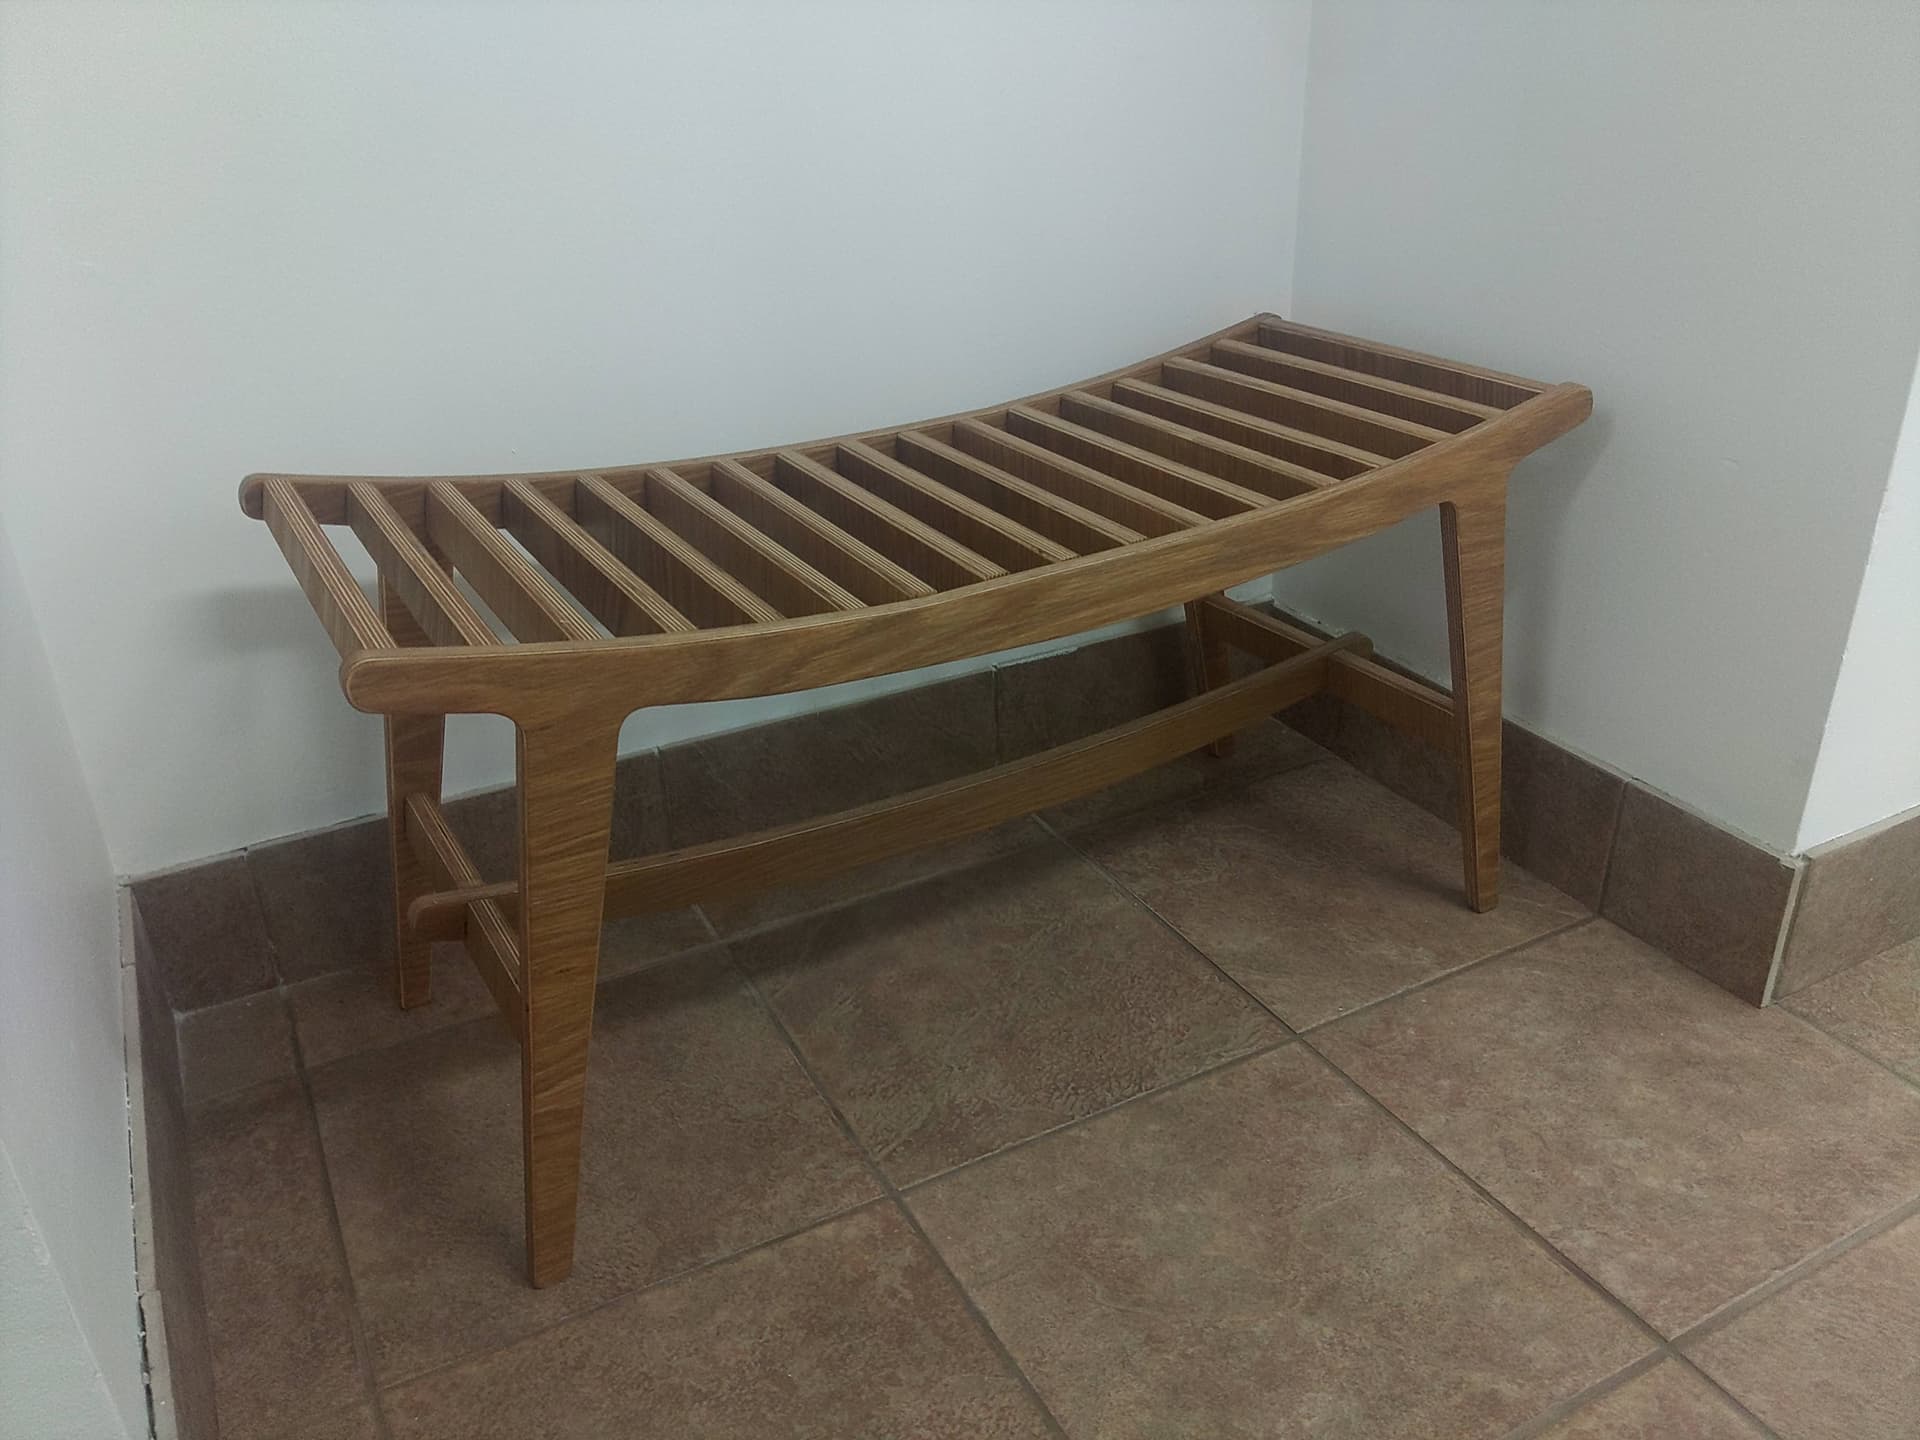
made from plywood, but there is no good plywood any more, best is BB, nothing without holes and black spots on the cut, unreasonable expensive, and a lot of waste with that project.
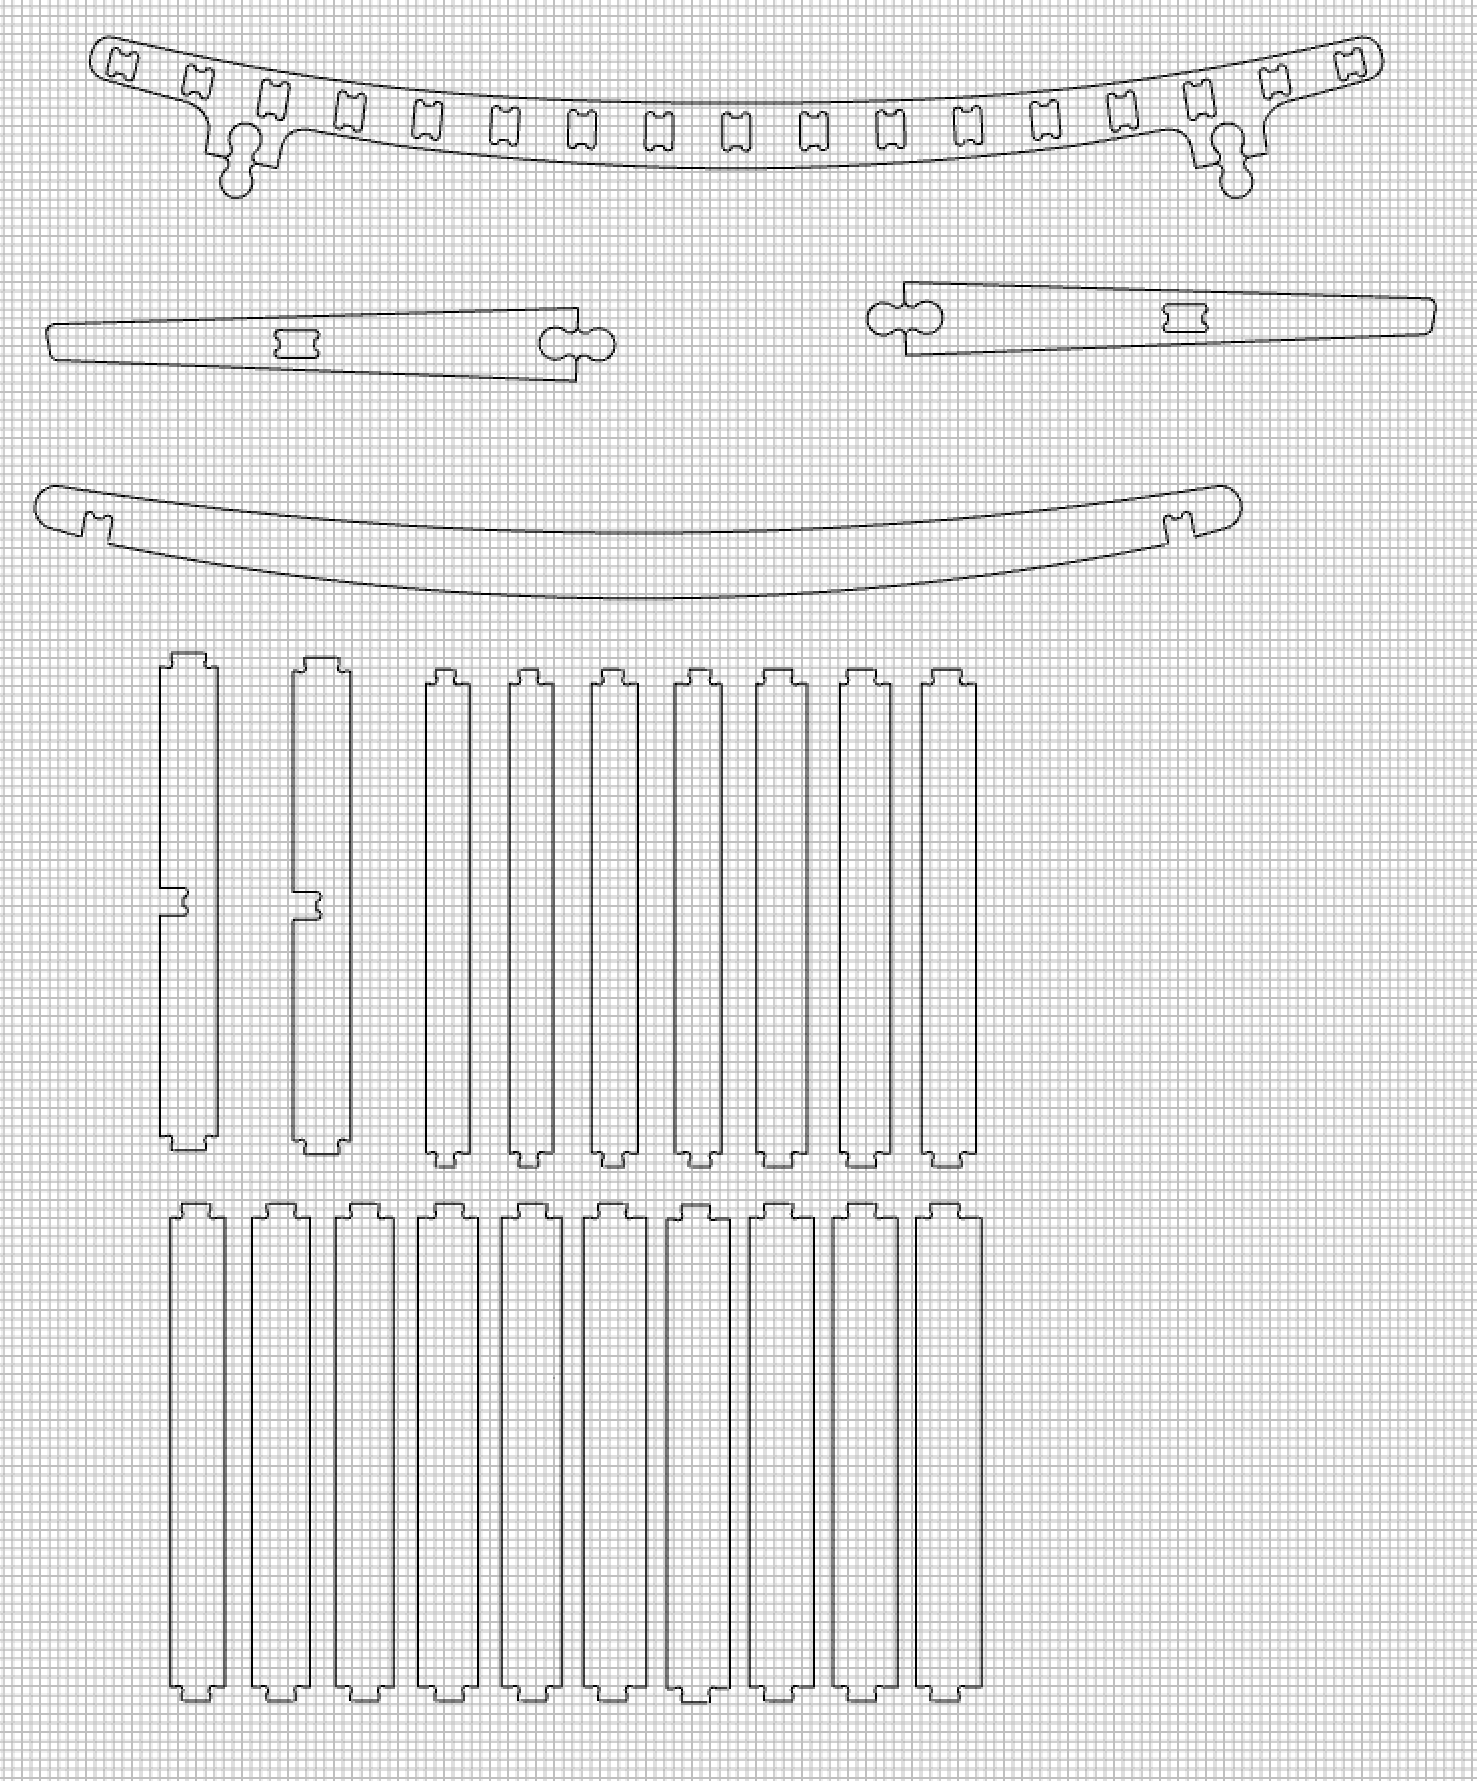
Therefore the attempt to switch to solid wood.
7 Likes
7 posts were split to a new topic: Joinery techniques
This topic was automatically closed 30 days after the last reply. New replies are no longer allowed.