Creating designs from elements

Since Carbide Create doesn’t do asymmetric scaling, and one can’t define an accurate 1/16" grid, one will need to delete the background rectangle and redraw an approximation of the area needed:

Next use “Import External File” to add the balance of the required graphics:

and drag to an area where they don’t overlap the balance of things:

1 Like

If need be, plug in a mouse so as to have a scroll wheel which will allow one to zoom in — do so and delete any unnecessary elements:

Adjust scaling, position and placement until things line up as desired:

Select and delete the stars which are mostly obscured:

1 Like

Turn off snap to grid and draw a circle to measure how much the outline should be extended to erase portions of the stars:

(roughly a quarter of an inch)

Delete the circle, select the outline and use “Offset Path” do so once for each star which must be adjusted:

0.25 inches to the outside of the path:

1 Like

Zoom in and select a star which must be edited and the outline by clicking or dragging to select the former, the control-clicking on the latter (it is important that the star have a solid orange line indicating selection, while the outline should have a dashed appearance indicating it is the key object on top):

and choose Boolean | Boolean Subtraction:

Repeat that for each star which needs to be edited.

2 Likes

Select each star in turn and assign a V Carve toolpath — I would suggest a 90 degree endmill to limit how deeply they are cut.

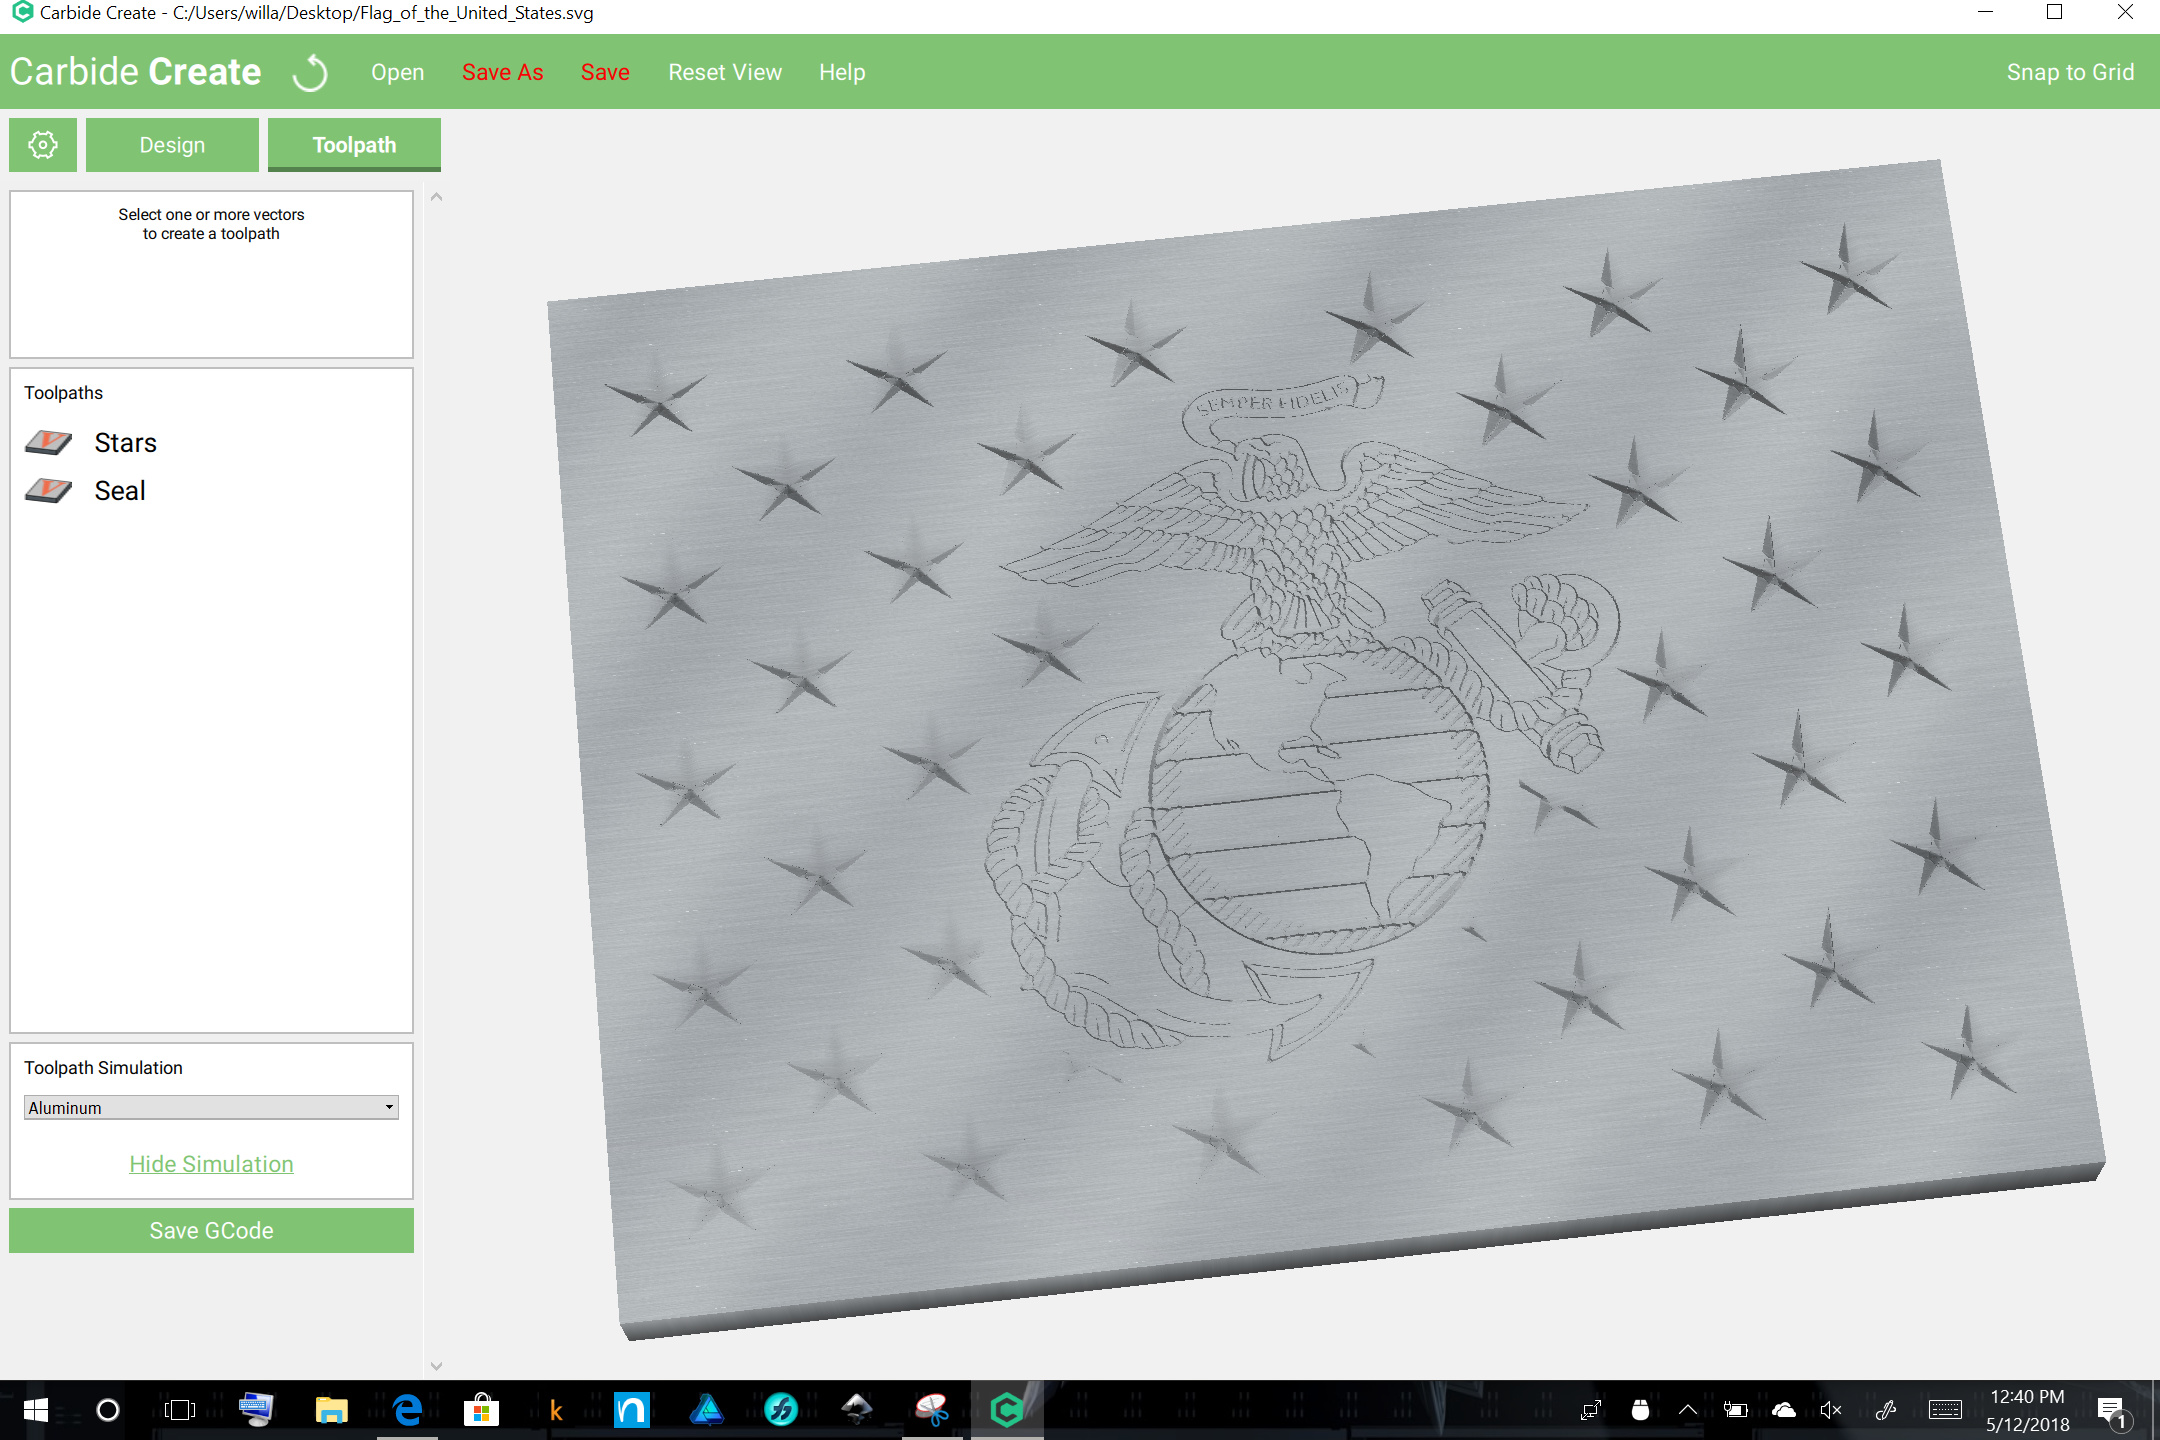
Then select the seal and assign a V Carve toolpath (having grouped this above would likely make this easier) — a 60 degree endmill should preserve the detail better.

which previews well:

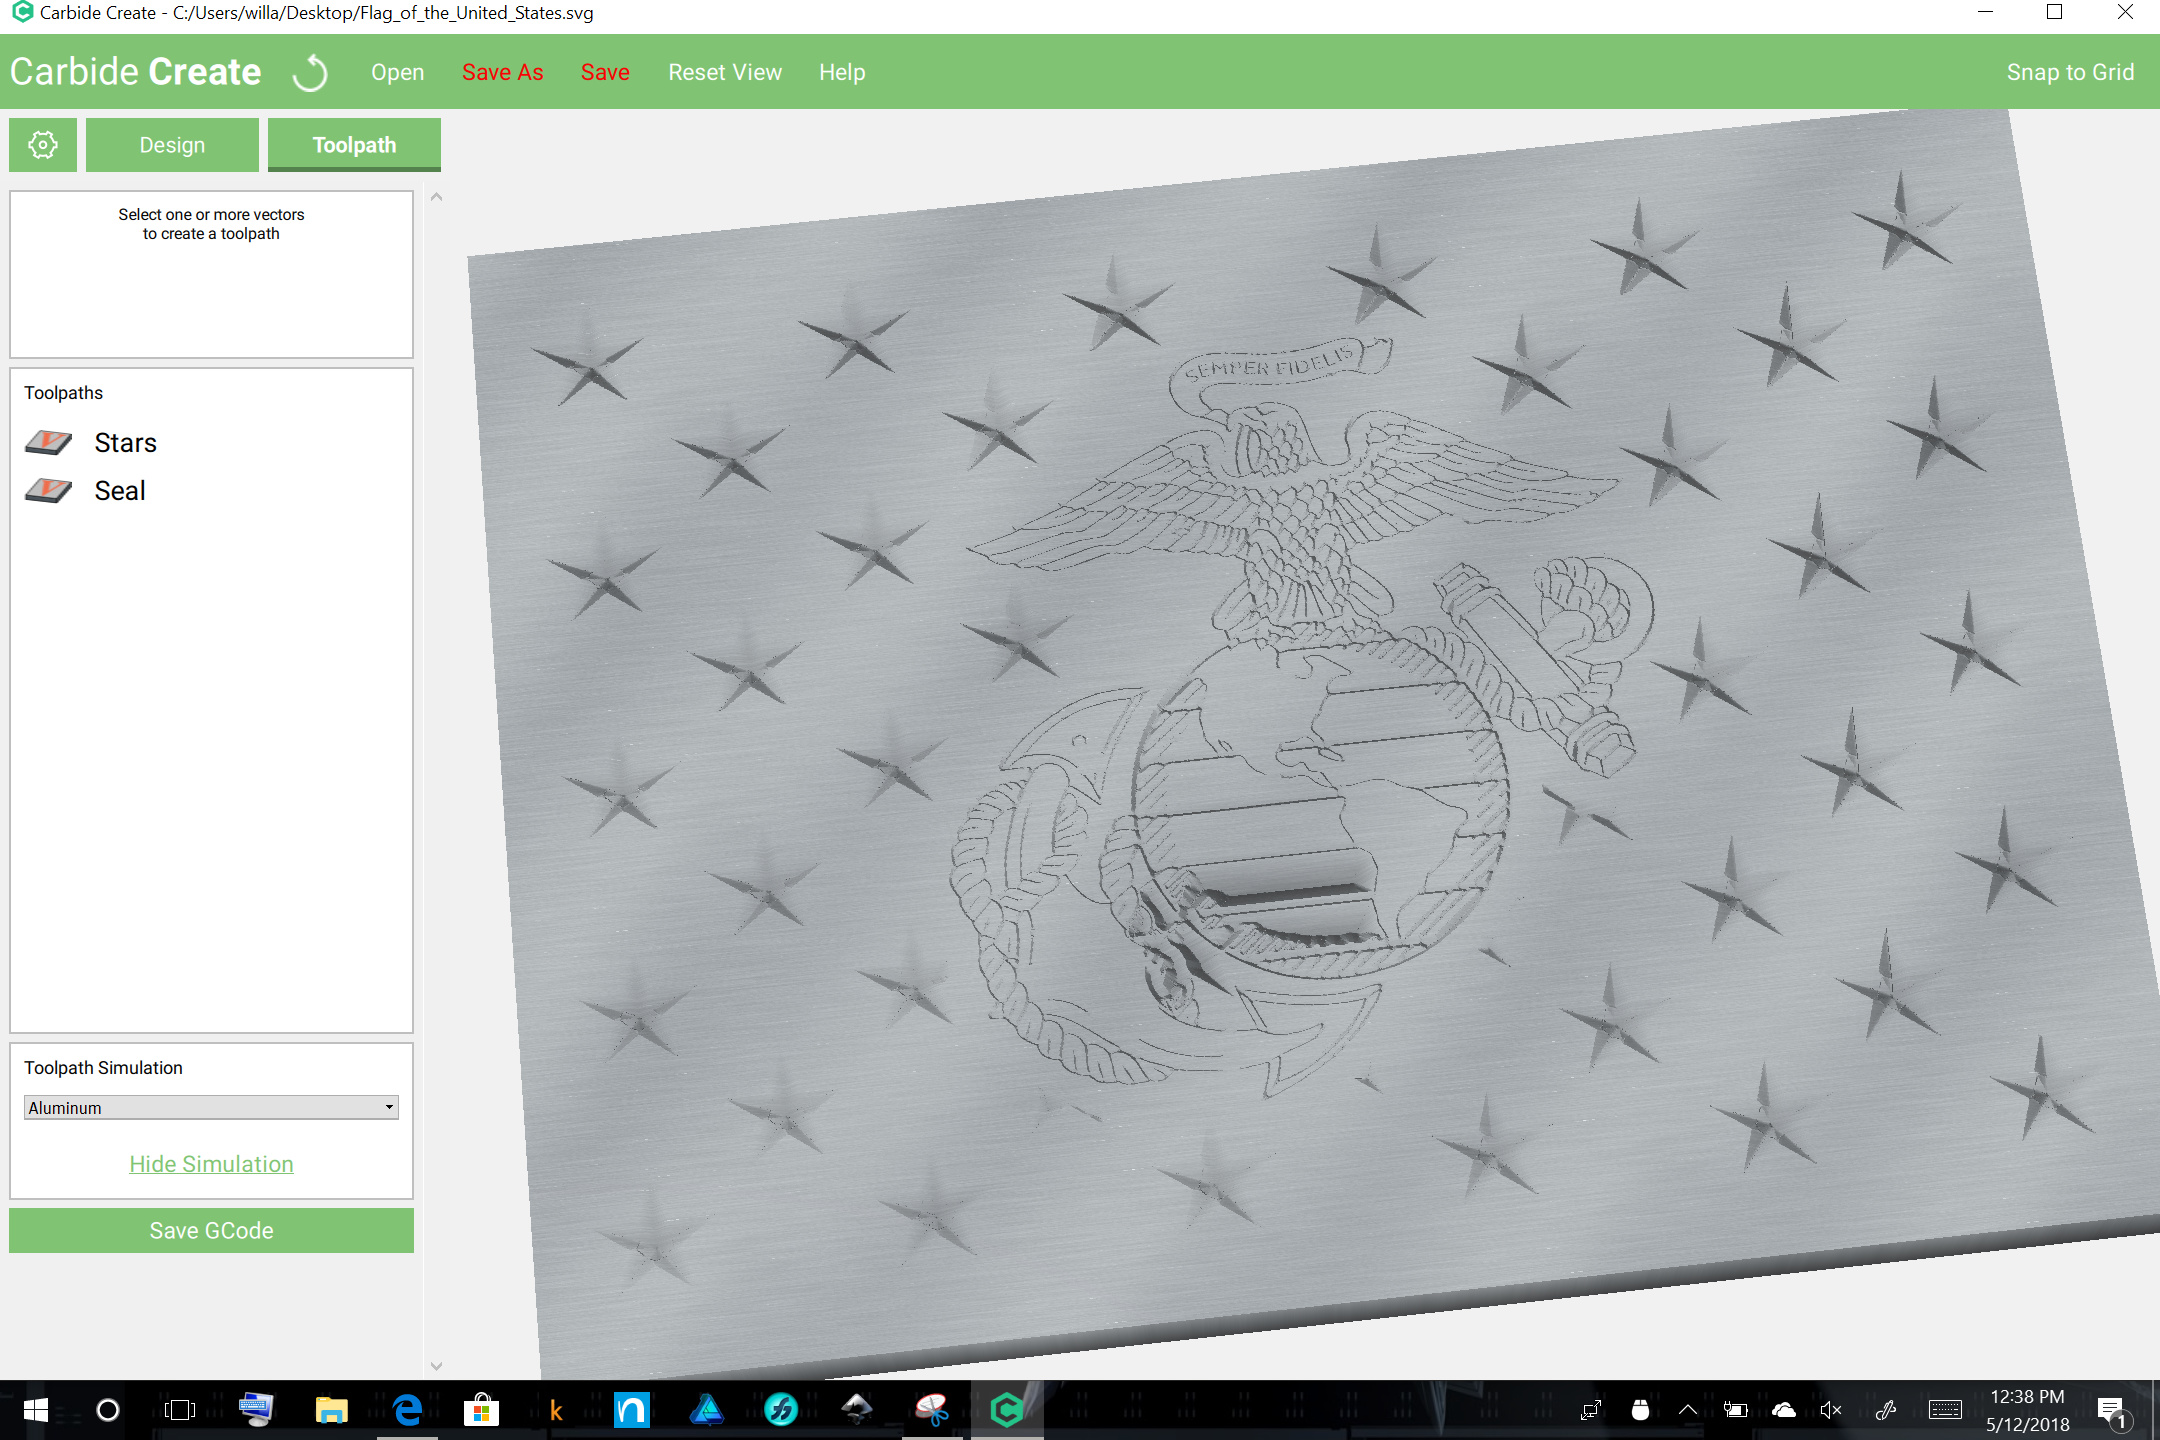
but shows one oddity — the stripes on the globe being carved rather than the surrounding area — this is usually caused by a reversed or overlapping path, in this case, the undeleted star.

2 Likes

File is attached here:

flag_and_MC_globe_and_eagle_and_anchor.zip (899.9 KB)

Adjusting the toolpaths and setting feeds and speeds and actually cutting it out is left as an exercise for the reader.

1 Like

Further reading, or notes for comparison:

1 Like

Fixed flag:

Flag_of_the_United_States

1 Like

stars on blue field:

stars on blue field.c2d (224.4 KB)

1 Like

US 1st Marine Division insignia on stars:

US_1st_Marine_Division_on_stars.c2d (480.3 KB)

Newbie here so go easy on me please! lol. I’ve downloaded and ran the above program with the current material dimensions listed for the tutorial (14 3/16 x 10 9/16). How do I duplicate the same thing on a piece of material measuring 19 x 14? Struggling with scaling. Thanks in advance for your help!

First set the Stock size to 19 x 14, then select everything then choose the scale tool:

Set things to 19 inches wide, then center it on the stock area and trim half of 0.235 or so from each side.

You may need to inset the paths if the features get too large to cut with your V endmill.

1 Like

It allows me to download but I cant open this file even in inkscape keeps saying unable…it opens your (.c2d) files fine bit not that zip any suggestions?

Do you mean the flag? Try this zipped copy:

Flag_of_the_United_States.zip (1.5 KB)

2 Likes

For the Air Force version of this:

Open the file stars on a blue field.c2d (above) and then import the logo and drag it off the pasteboard:

delete the text, size and group things appropriately and position as desired and delete all obscured stars:

Since the design has rather wide areas, select it and inset it twice by 0.125 inches:

In the Toolpath pane, select all but the second set of inset paths and the geometry which defines the field:

and assign a V carve using a #302 endmill:

Then select the second set of toolpaths and assign a pocket to 0.25" deep:

(a #201 may be used instead)

Adjust feeds and speeds as necessary and it will preview as:

Attached. Union with Air Force logo.c2d (320.8 KB)

Sometimes, one wants to have elements arranged / layered so that one passes “under” one and through an opening:

“C:\Users\willa\Downloads\70363830_10162233602210627_4688343539619201024_o.jpg”

The solution here is to divide things and do multiple Boolean operations to make things come out properly.

Begin by selecting the “9” and duplicating it (command/control c):

Repeat for the lightning bolt, and drag both into register with the originals (snap to node will help to line things up) and then select the lightning bolt duplicate, and the duplicate 9 (the latter will have a dashed highlight) and do Boolean Subtraction:

resulting in:

Deselect the highlighted part which you wish to keep (shift click) and delete the extra parts)

Next, we need to notch the lightning bolt at the top — to do that, we’ll need a shape with the upper right edge of the counter of the 9.

Select the counter of the 9 and duplicate it and drag it back into registration with the original.

Draw a shape which encompasses the part of the lightning bolt which we wish to remove, select it and shift-click on the counter of the 9 and do a Boolean subtraction to notch it first:

resulting in:

select a copy of the lightning bolt which is in register with the original and shift click on the just made shape:

To arrive at:

Make one more duplicate of the lightning bolt, click on the counter of the 9 and shift-click on the duplicate lightning bolt and do a Boolean subtraction:

resulting in: