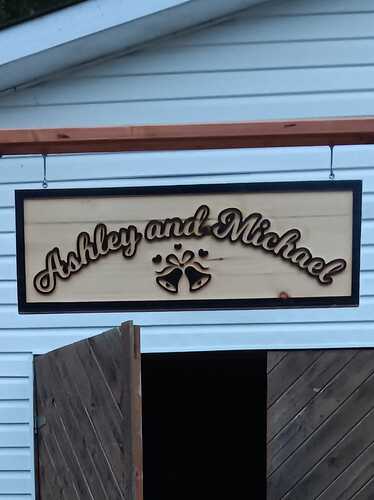
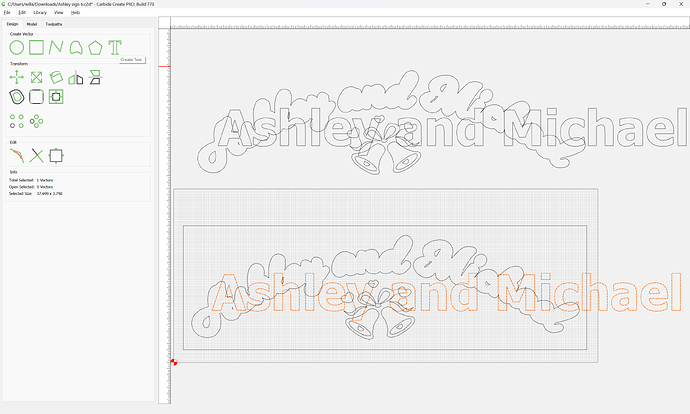
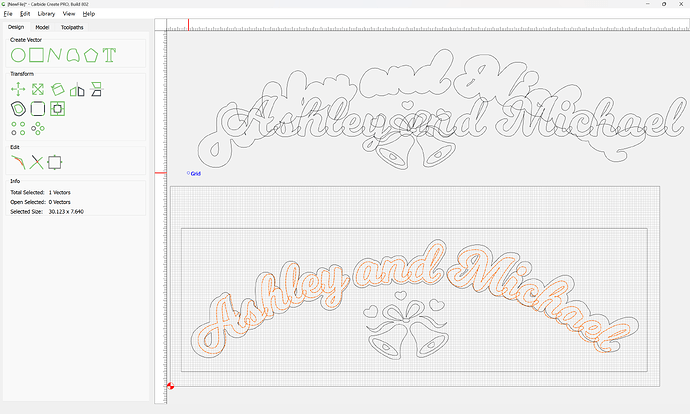
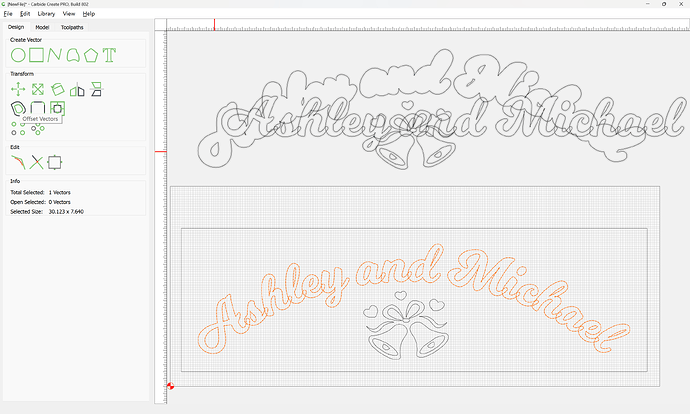
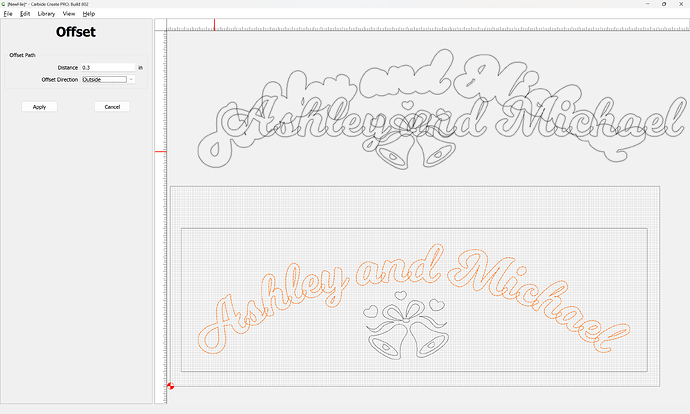
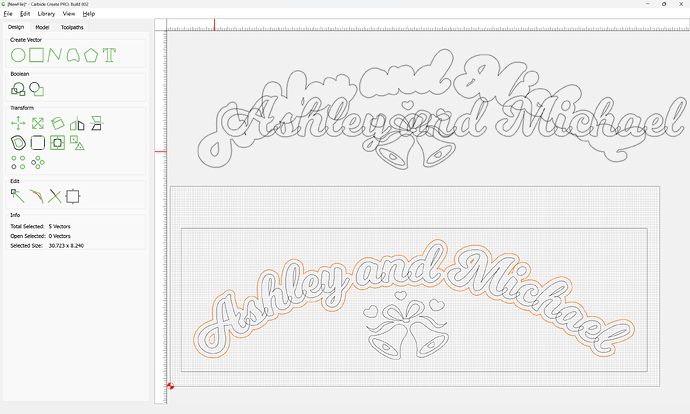
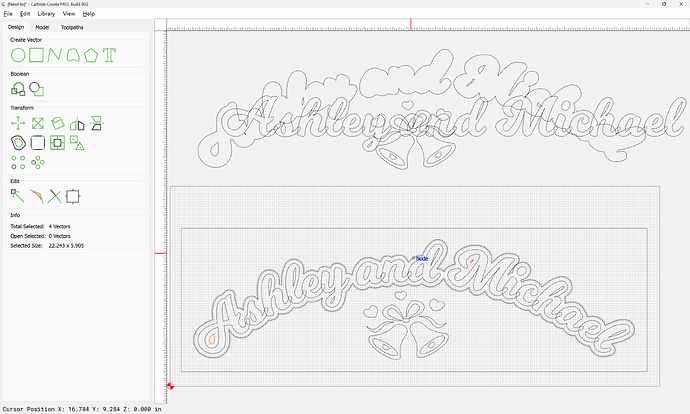
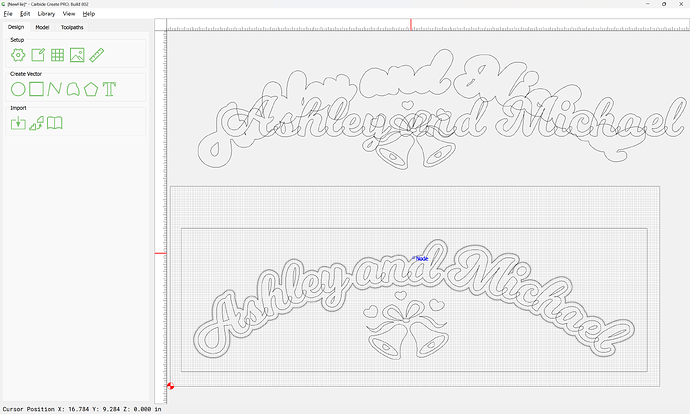
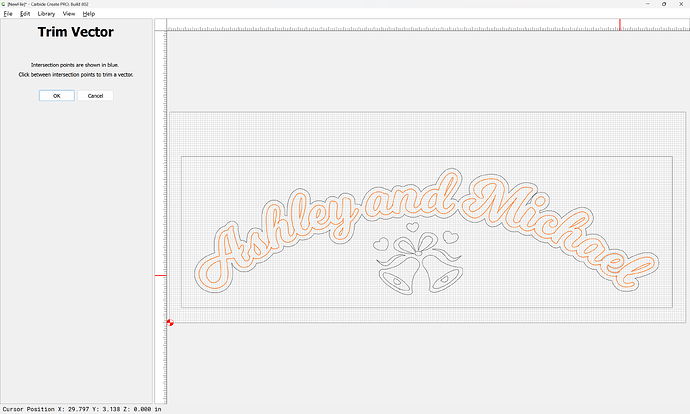
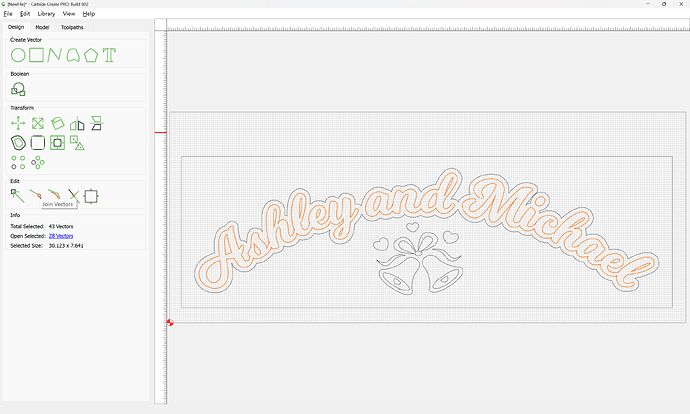
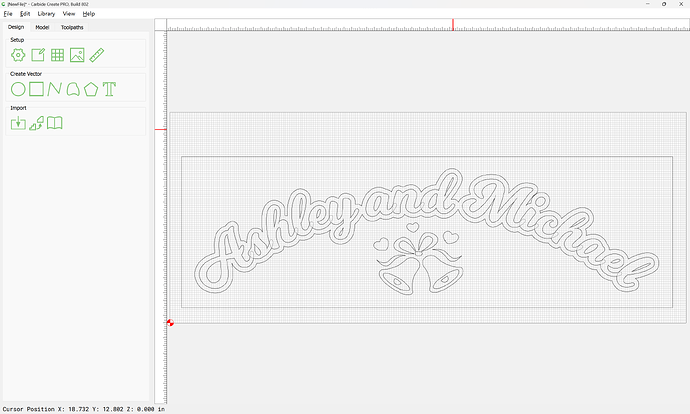
This was my first project which turned out pretty good. I really like the lettering but have no idea how I actually Created it in Carbide Create. Any help would be appreciated.
Thanks
Eric
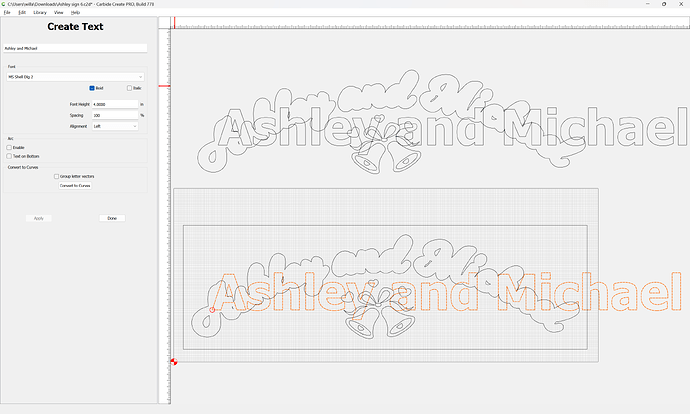
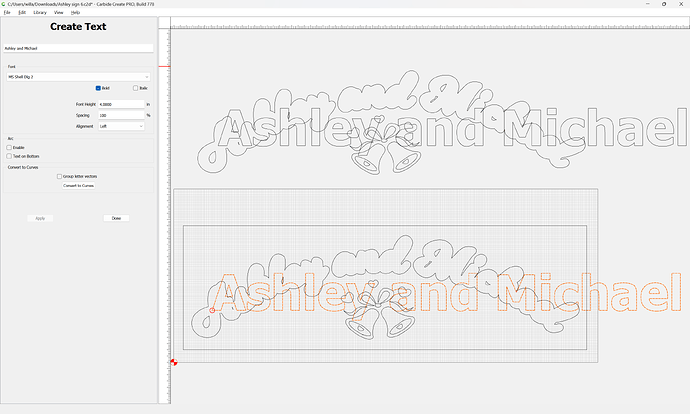
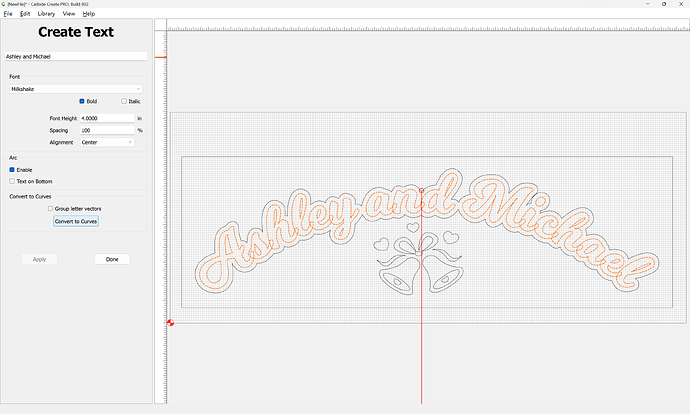
You used the text object (selecting a font which I do not have on my computer):
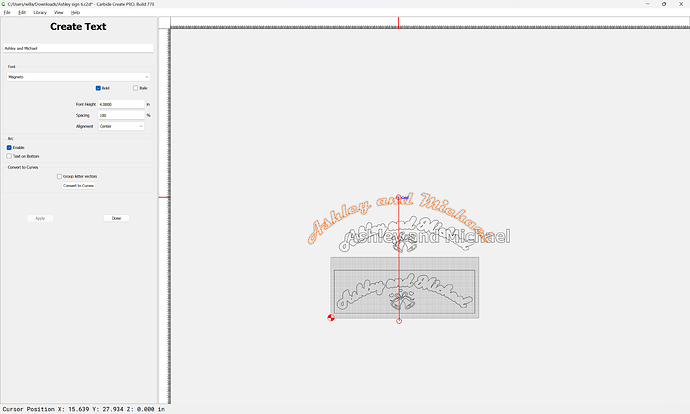
and presumably used a tool which allows applying text along an arc (at a guess, Carbide Create v7)
Open this file in v7:
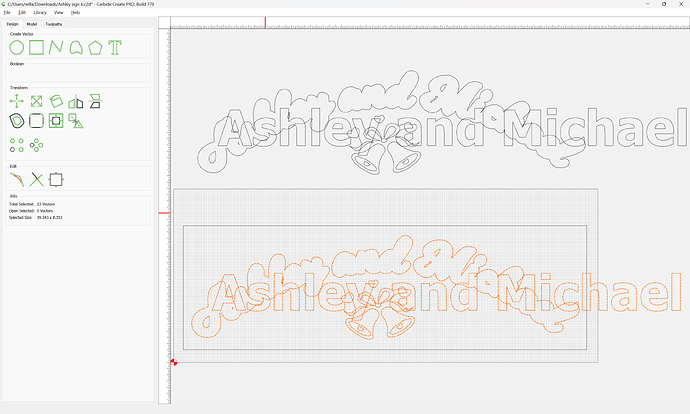
Ungroup:
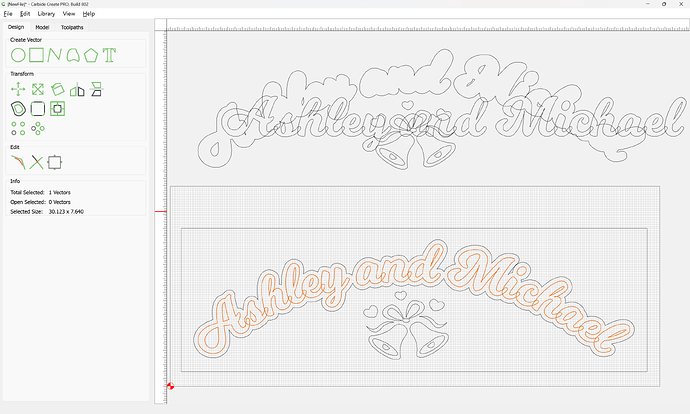
Select only the text:
Click on the Text icon:
and adjust as desired:
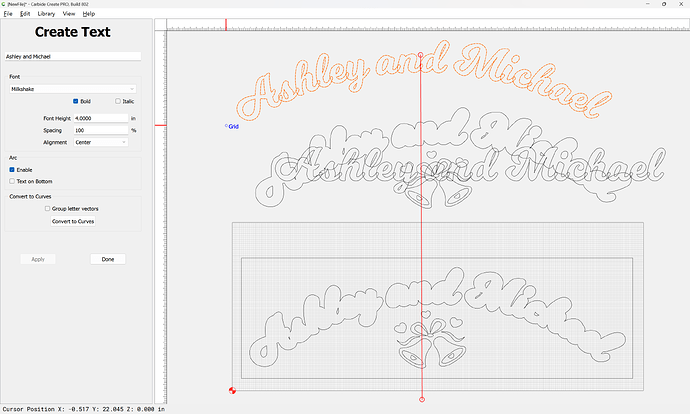
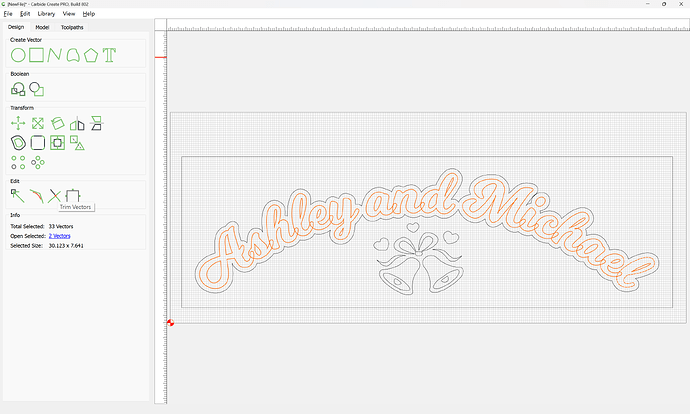
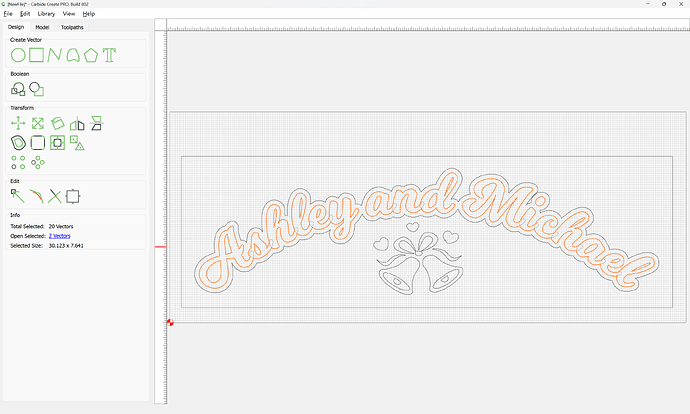
Sorry, the first image was a mistake. The 2nd image of the sign you can see the lettering is also carved on the inside. I don’t know how i did that. The font is called milkshake which i downloaded.
In that case, install the font and open the file and set the Text features as noted above:
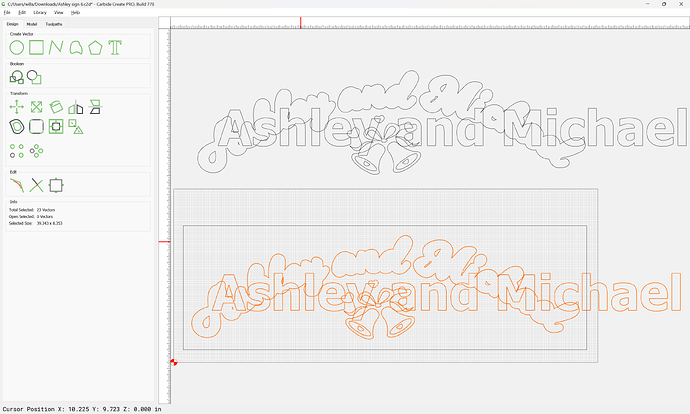
Adjust until things line up, or delete and re-create the surrounding offset:
Deselect the surround:
and delete the interior geometry:
You may want to duplicate the text:
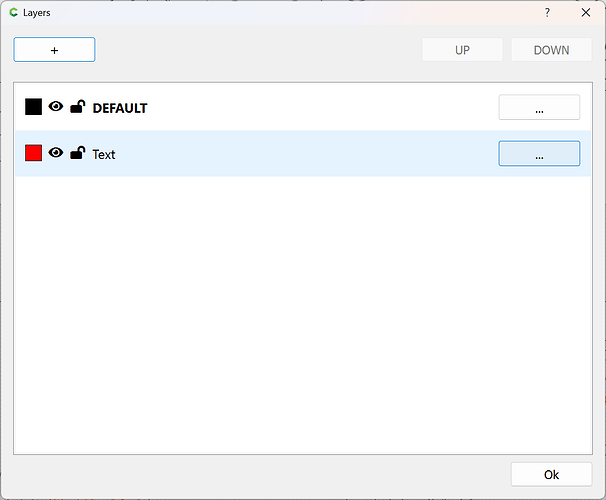
and keep a copy on a separate layer:
and hide it for later reference.
With that done, the text may be converted to curves:
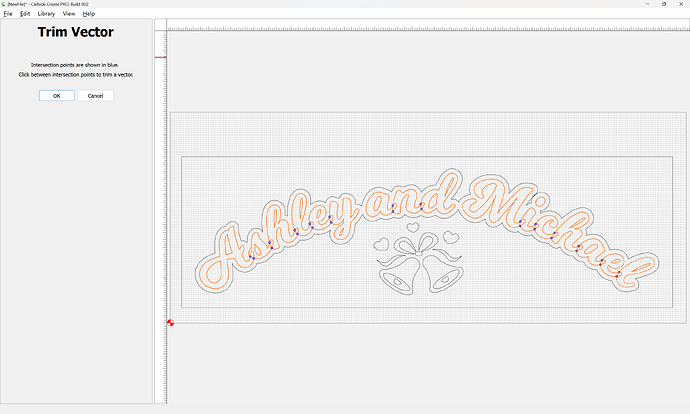
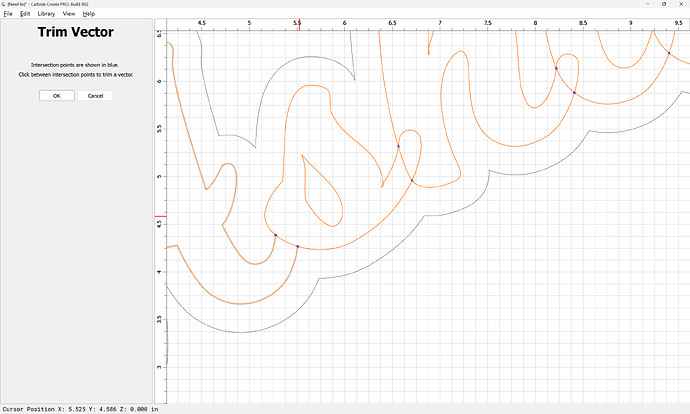
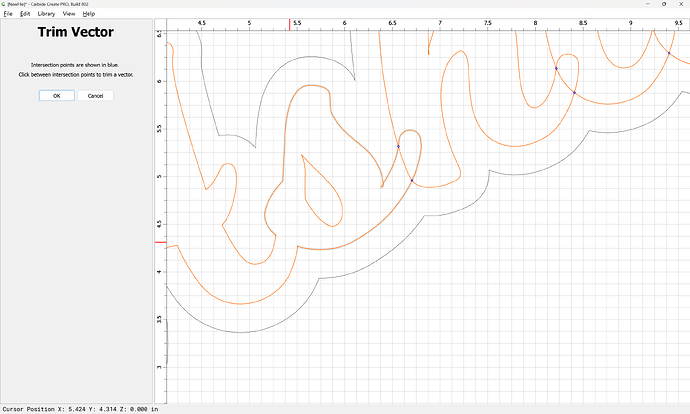
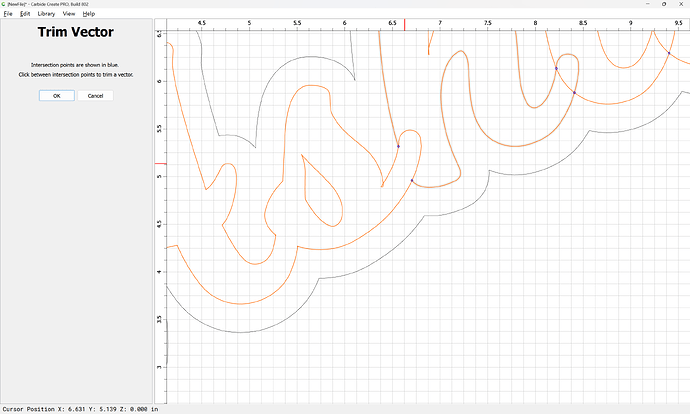
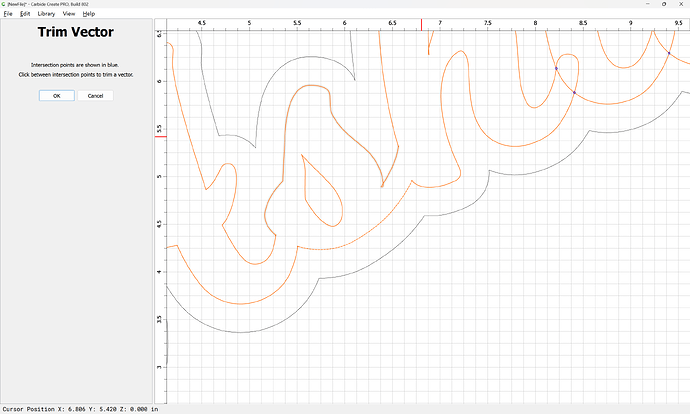
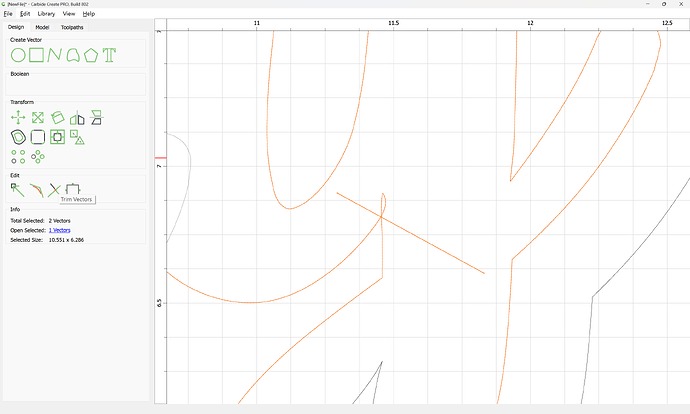
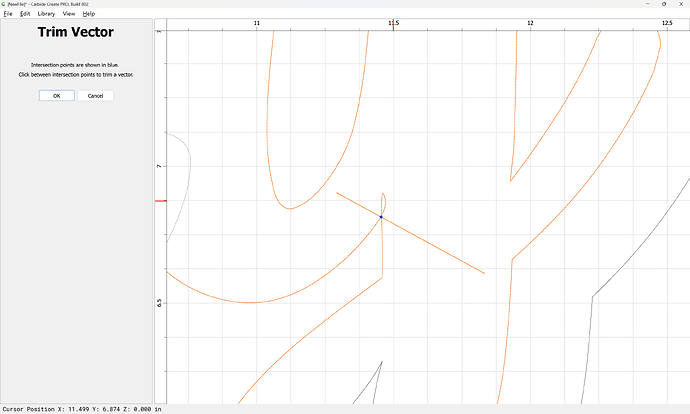
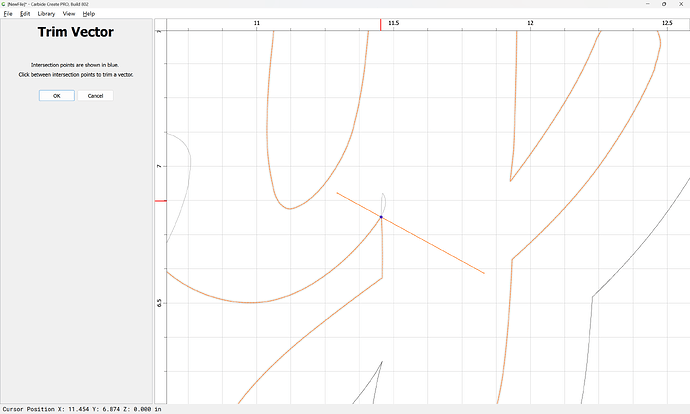
and then Trim Vectors used:
to remove the internal geometry which might interfere w/ toolpaths:
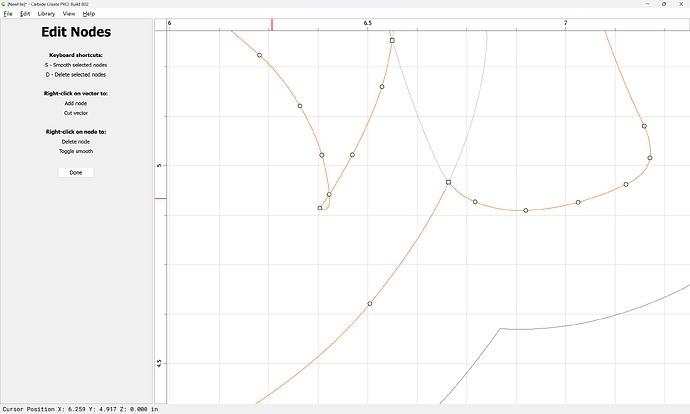
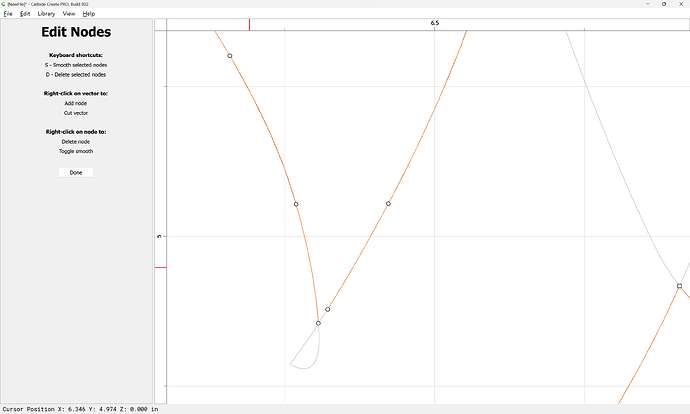
(Note that the font has self-intersections which should be cleaned up using Node Editing)
Until one arrives at:
OK
OK
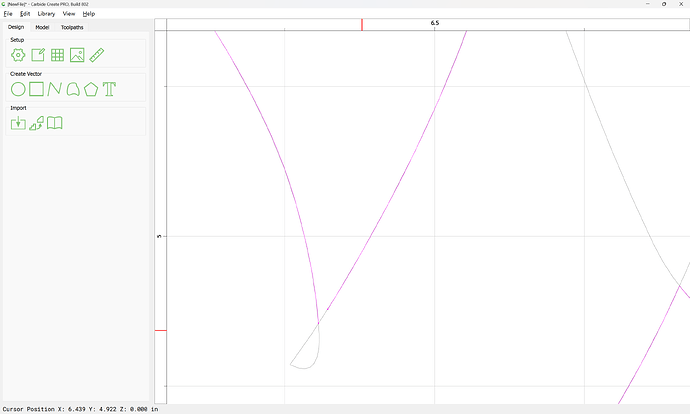
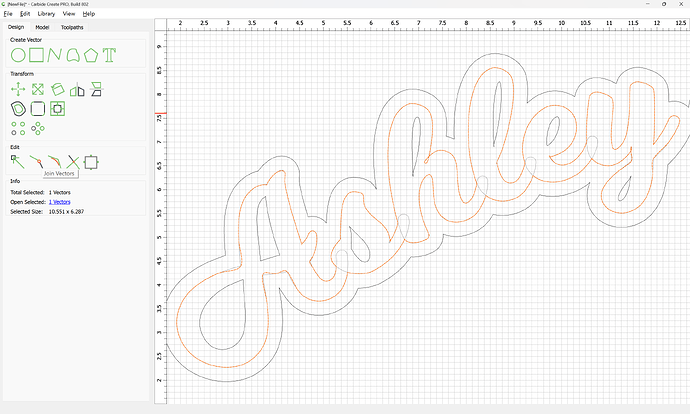
Use Join Vectors to close things:
Yes
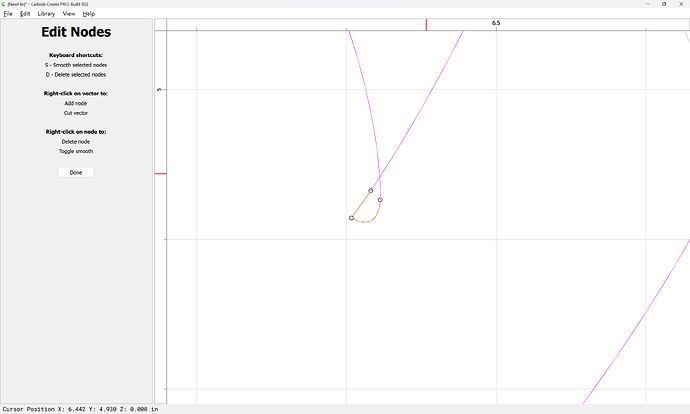
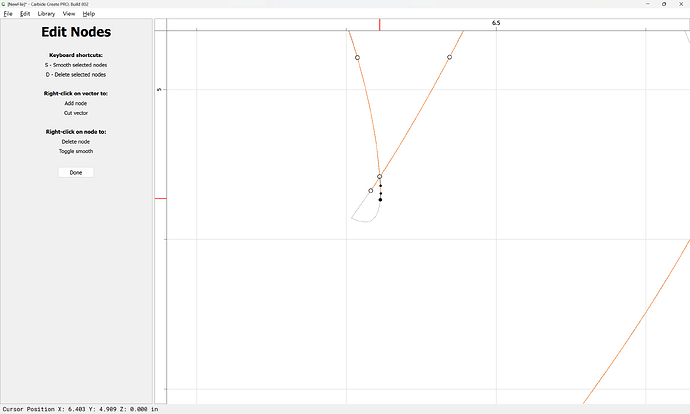
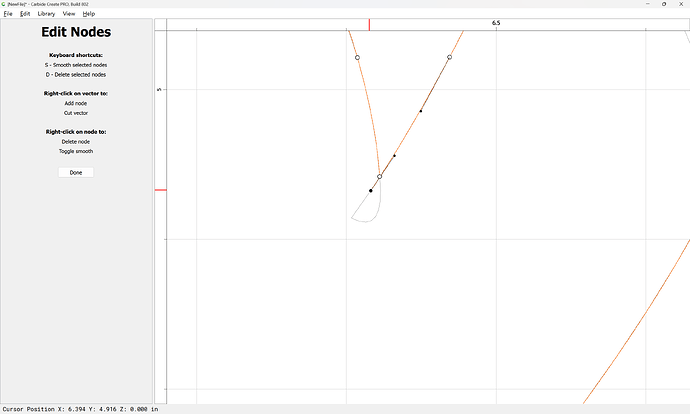
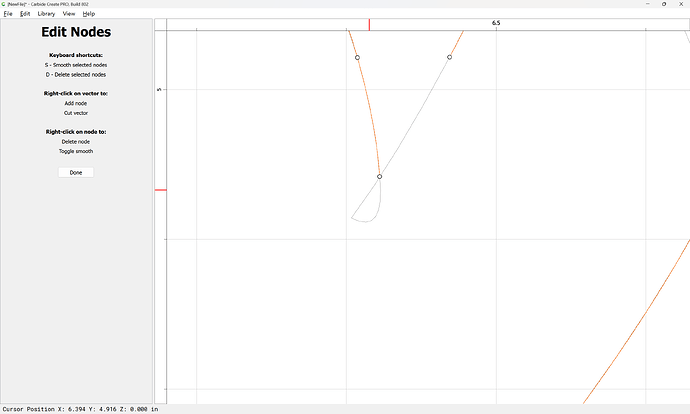
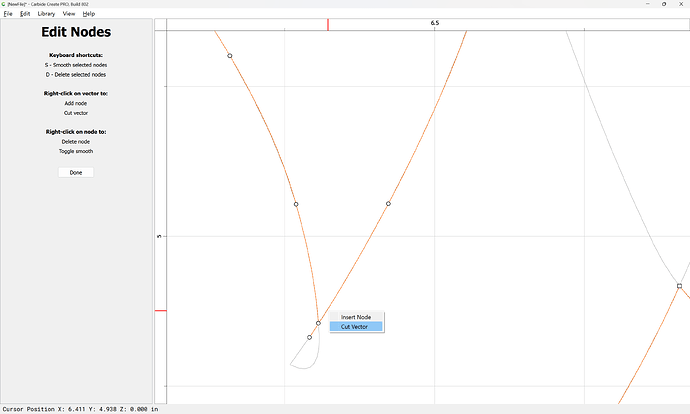
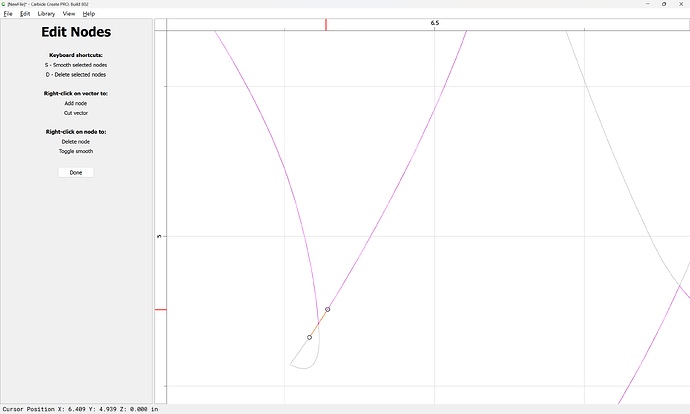
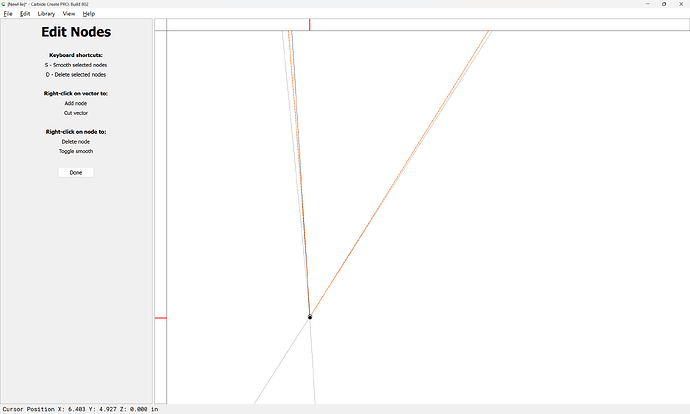
As noted, use Node Edit to fix things:
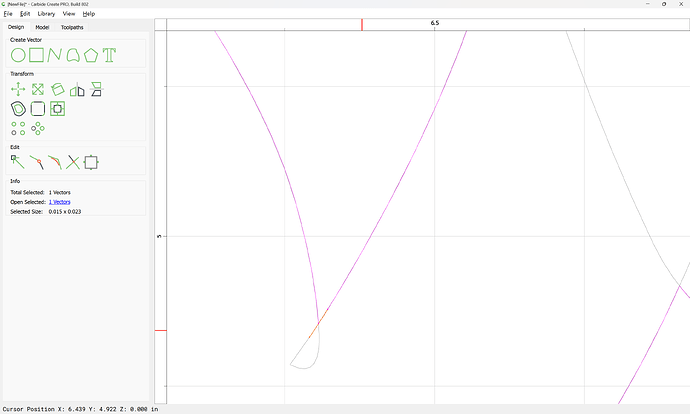
If need be, exit Node Editing, delete, then re-select and return:
(repeat the exiting and re-entering)
Done
Close using Join Vectors
Yes
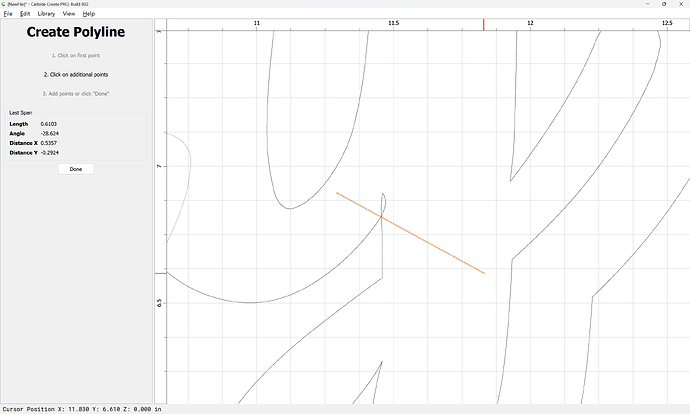
Or, draw a line:
and select everything and use Trim Vectors:
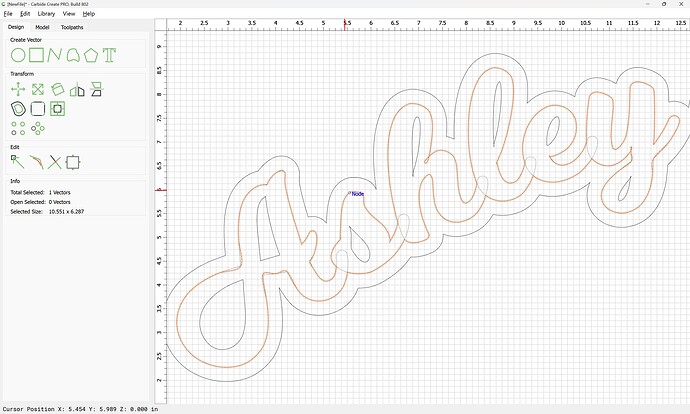
Eventually arriving at:
Attached as a v8 file:
Ashley sign 6_v8.c2d (1.8 MB)
You’ll need the new beta:
Thank you for your help, much appreciated.
This topic was automatically closed after 30 days. New replies are no longer allowed.
