I think its time to start this thread. Over the next 2 weeks I plan on stressing all my skills and tools to create this cribbage board. I had some objectives I wanted to get after…
Incorporate wood and epoxy inlays
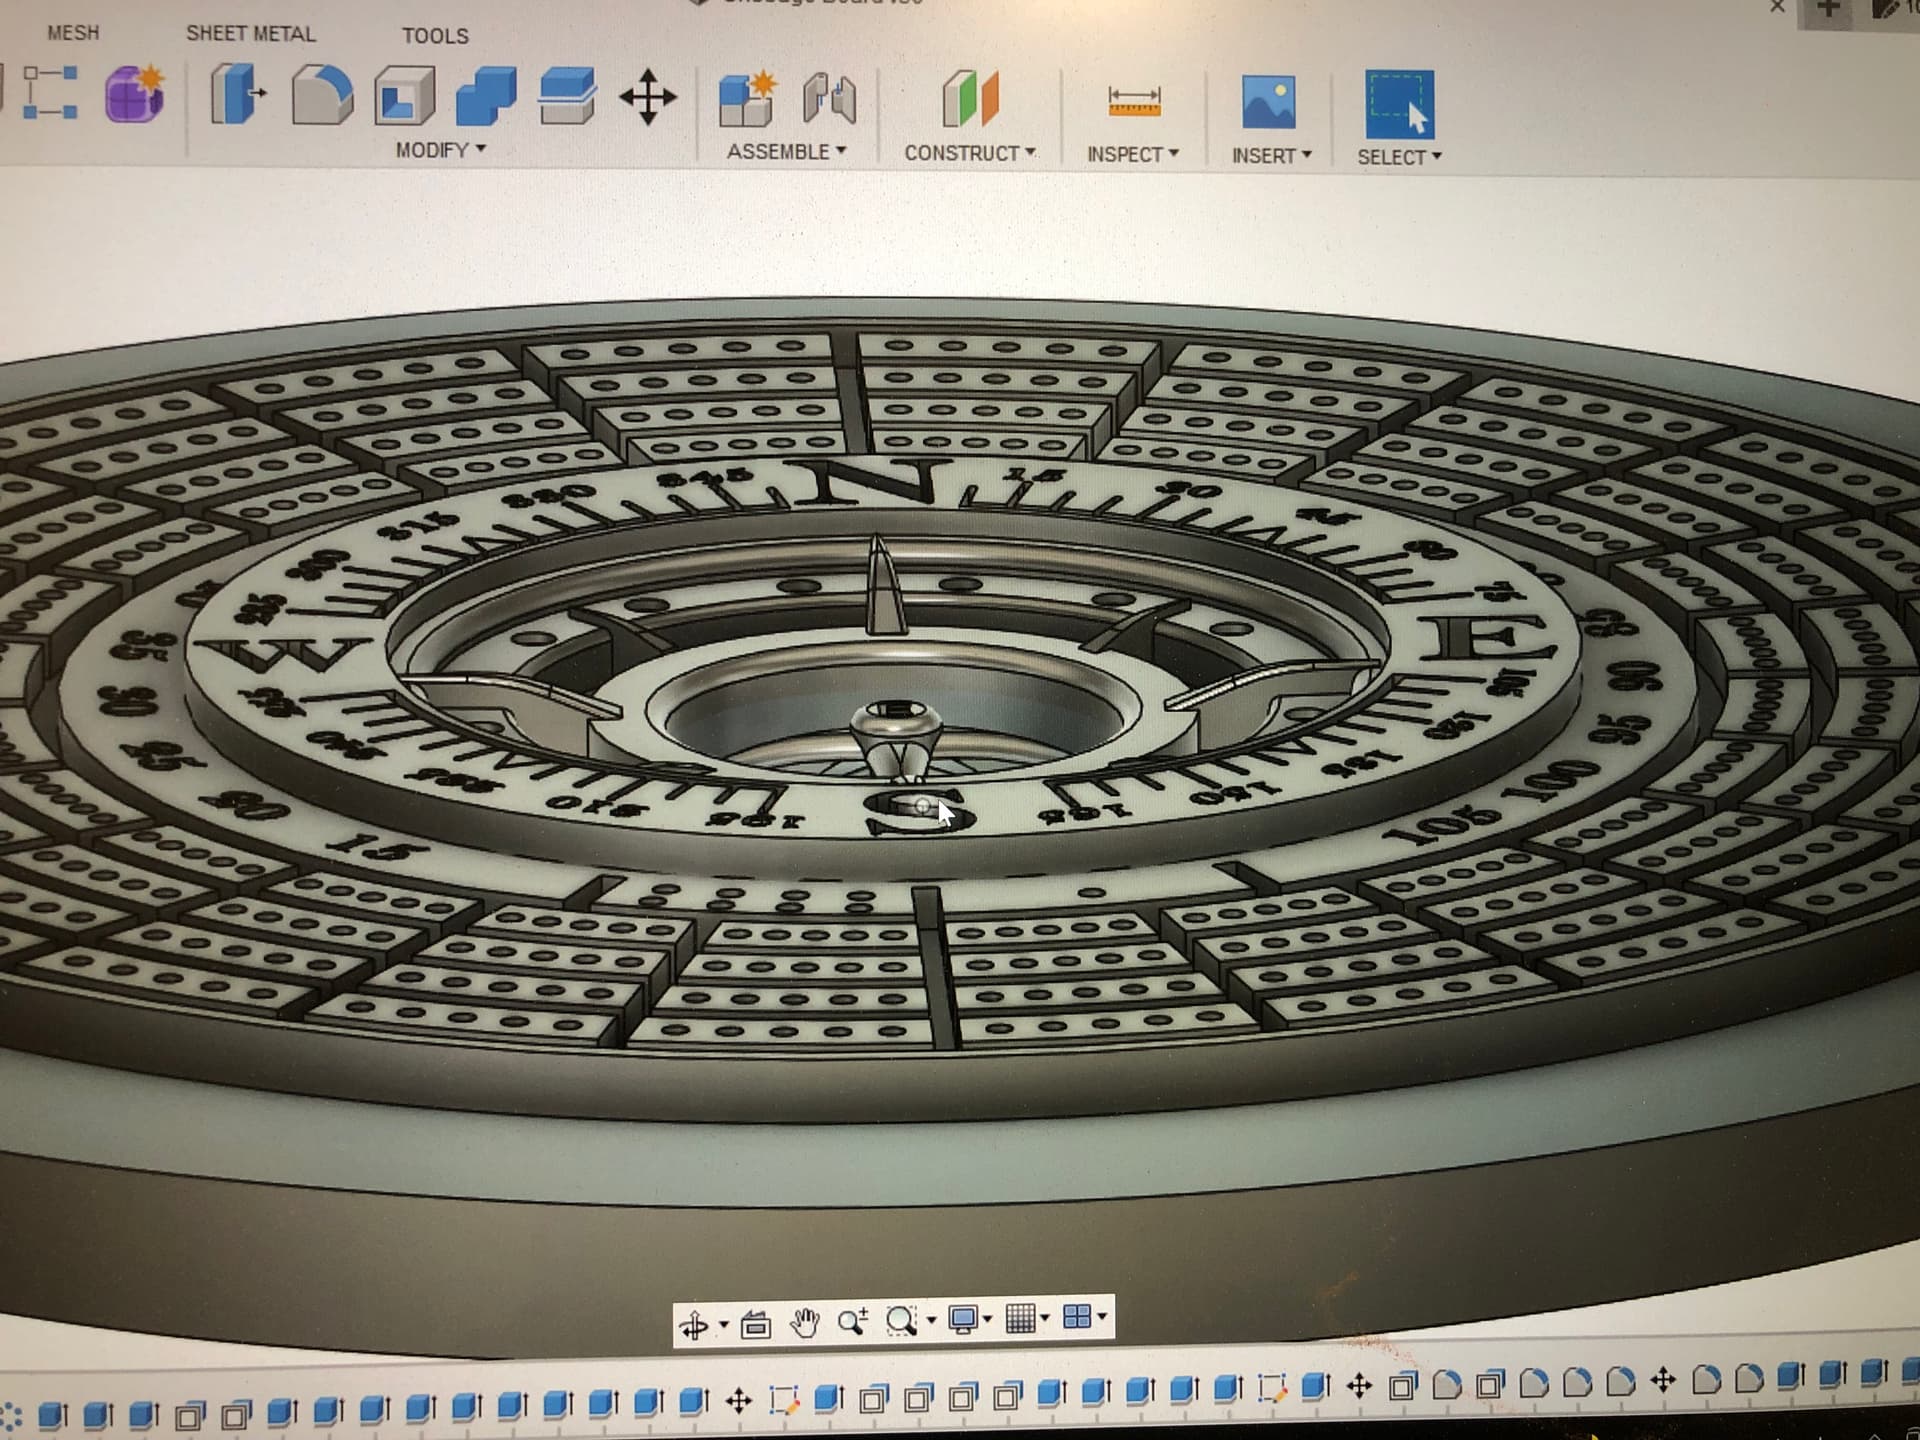
Incorporate 3D carving and fine engraving
Stress all my wood working tools and ability to use them efficiently
I think this is going hit all of it, and will be a major project. The wife wanted it…so might as well do it right!
Materials:
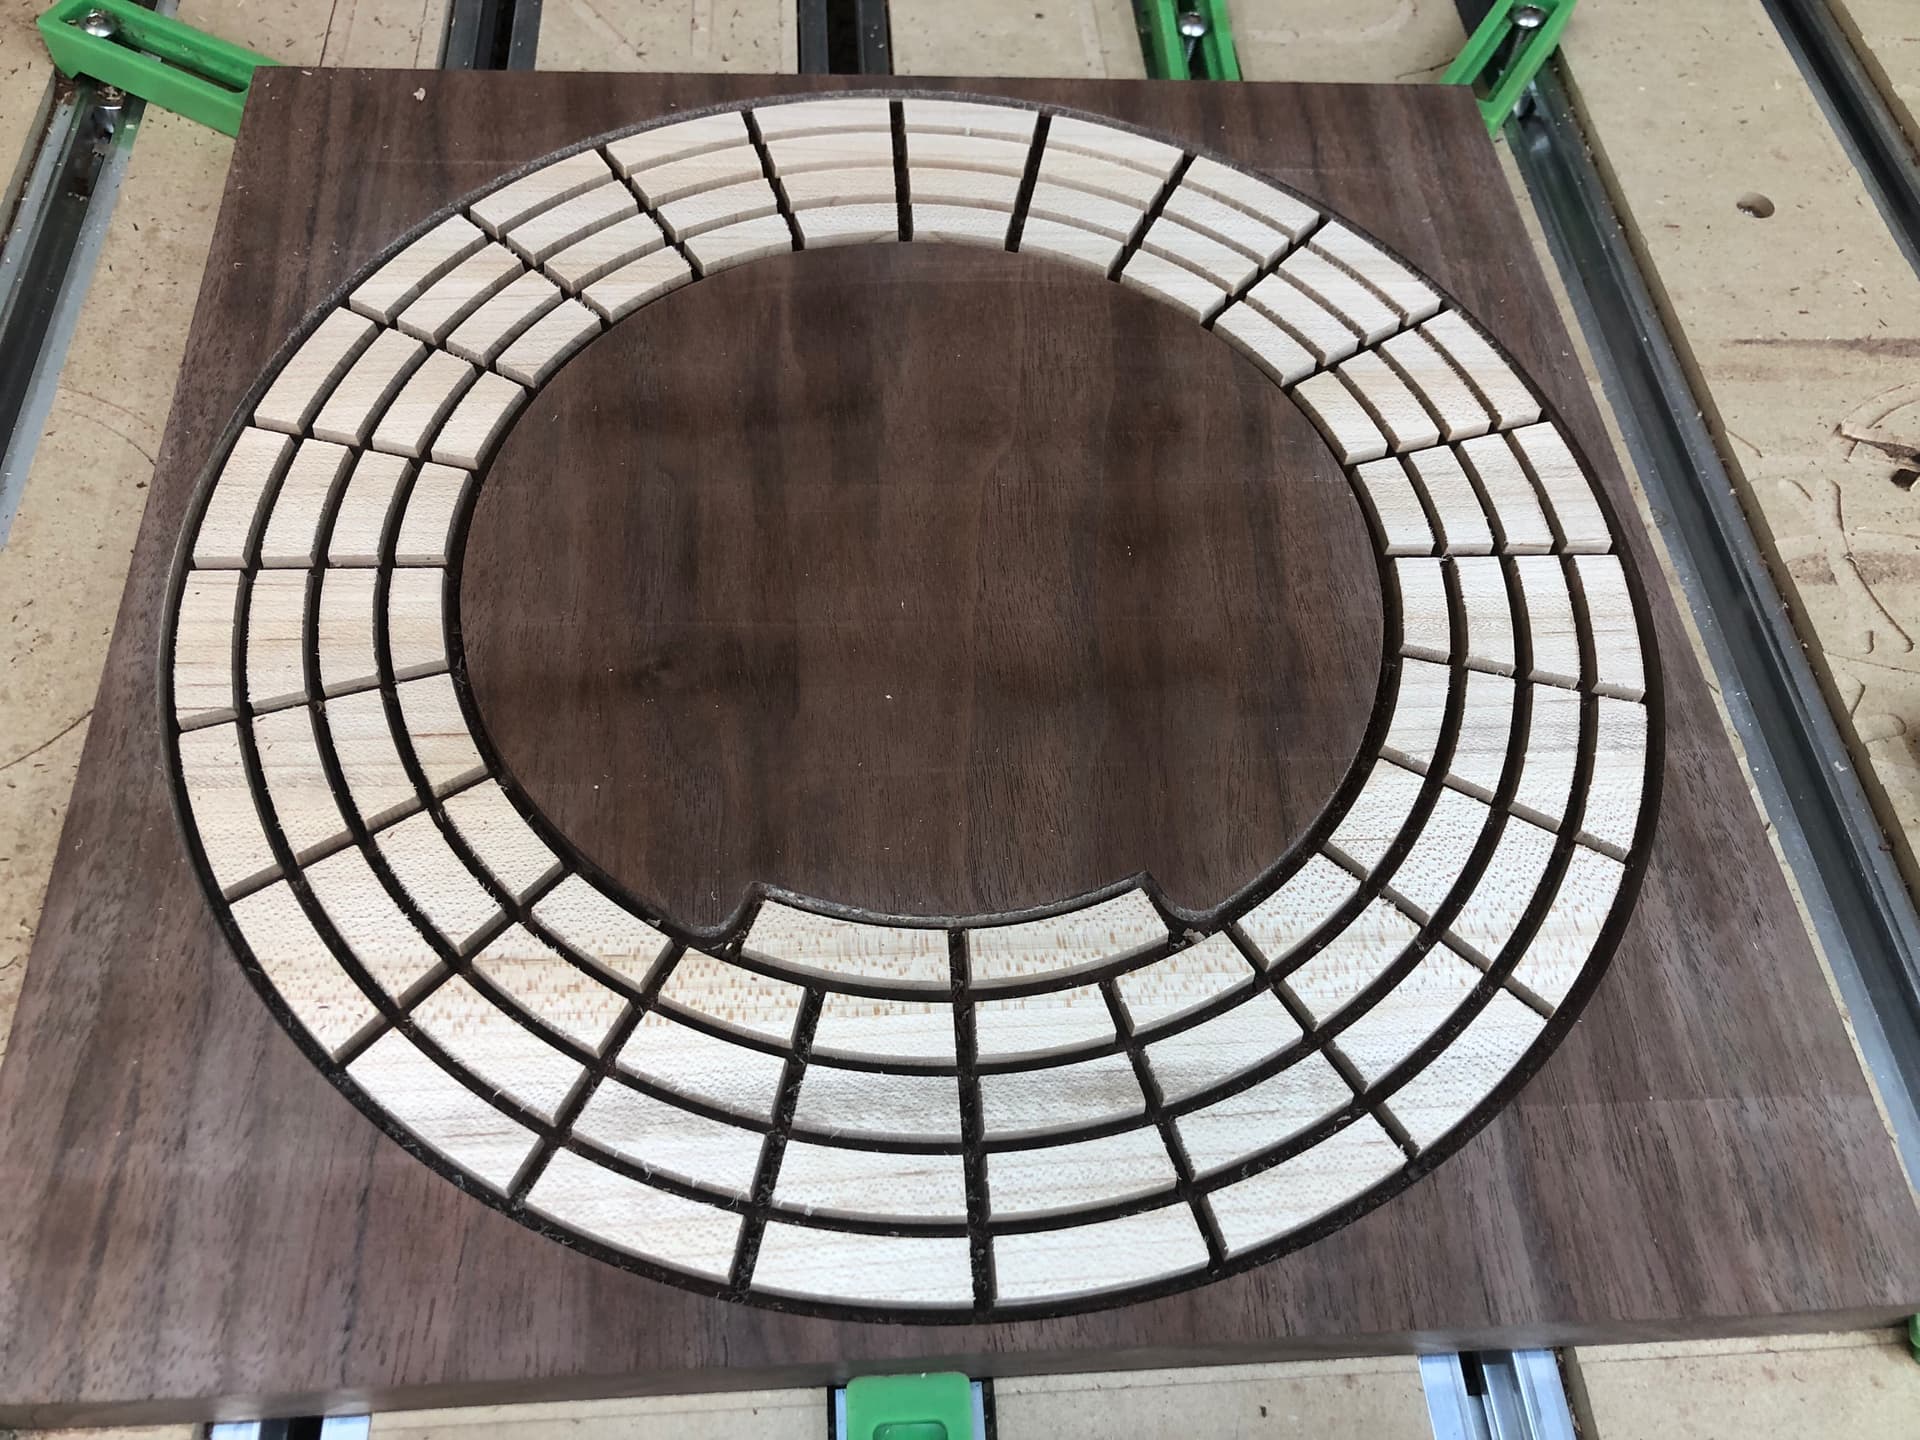
Black Walnut with Maple Inlays for the track
Black epoxy resin for lettering / fine lines
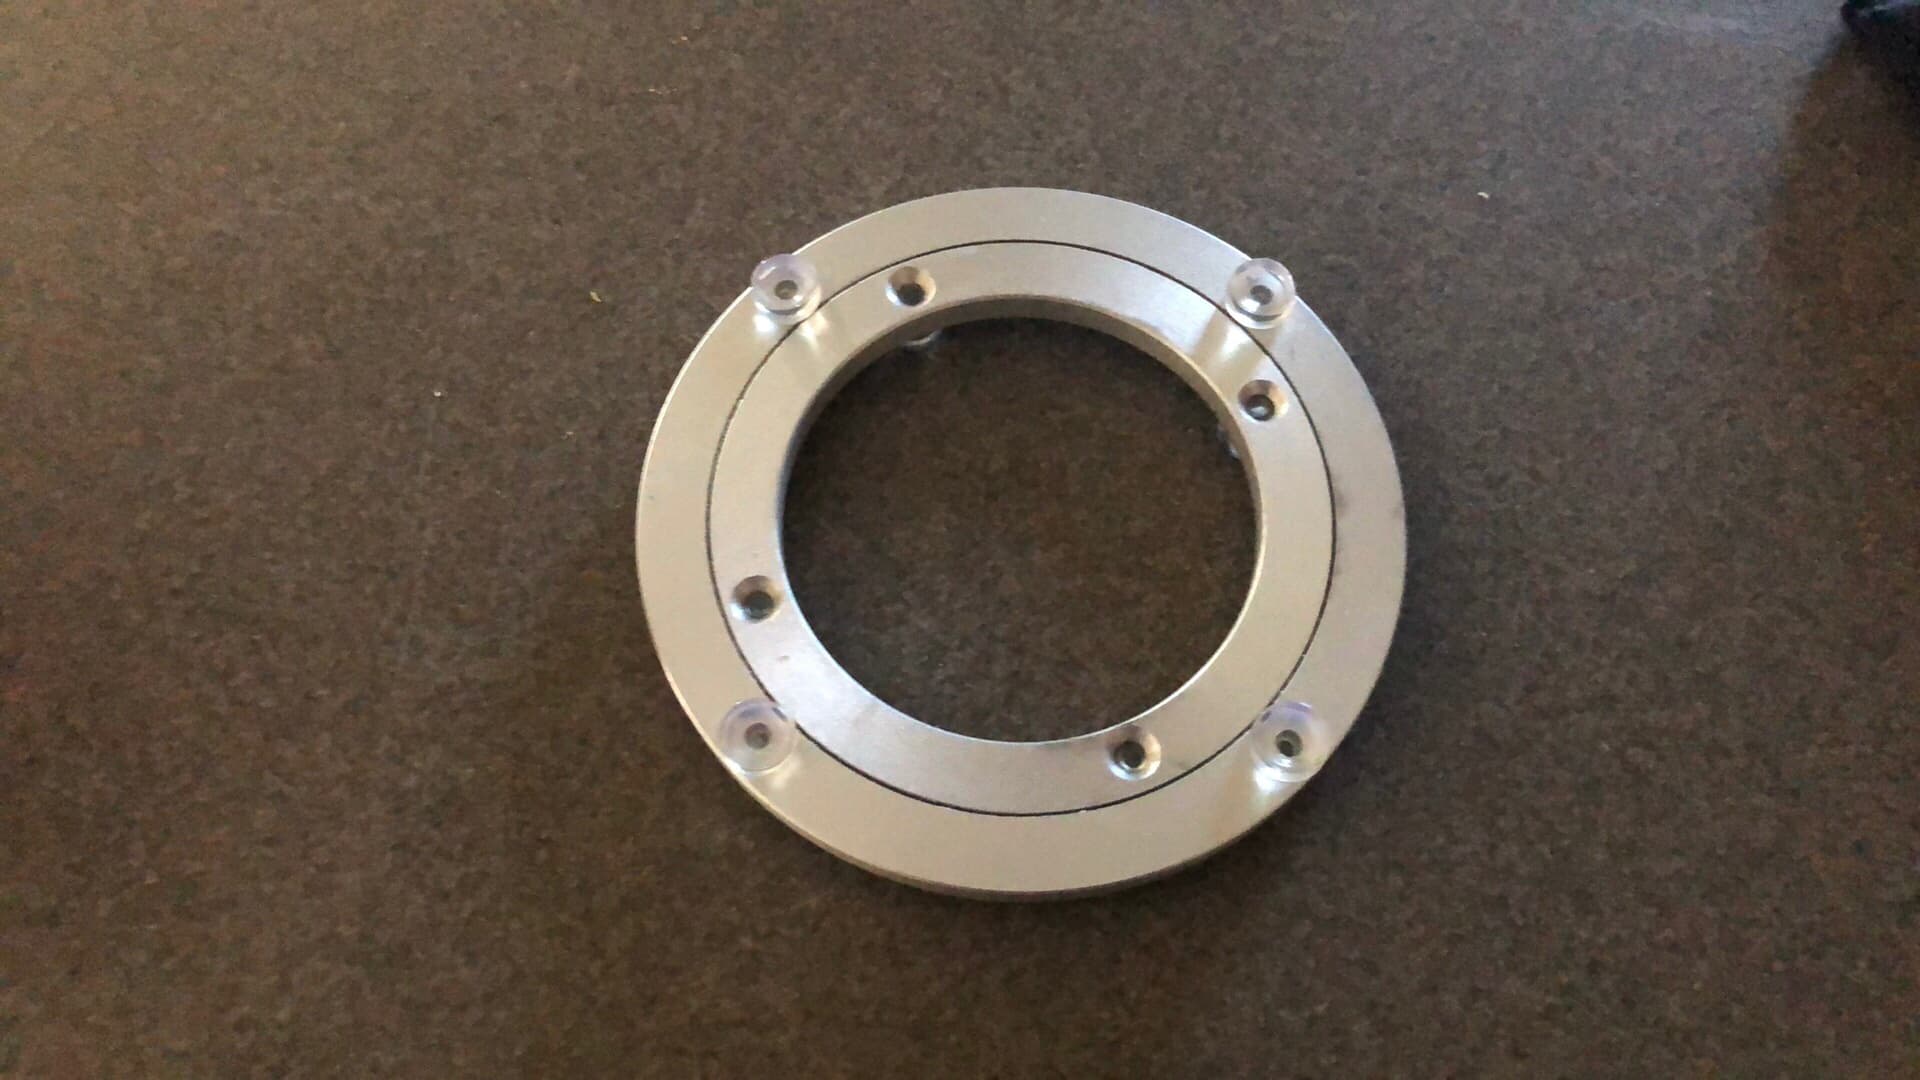
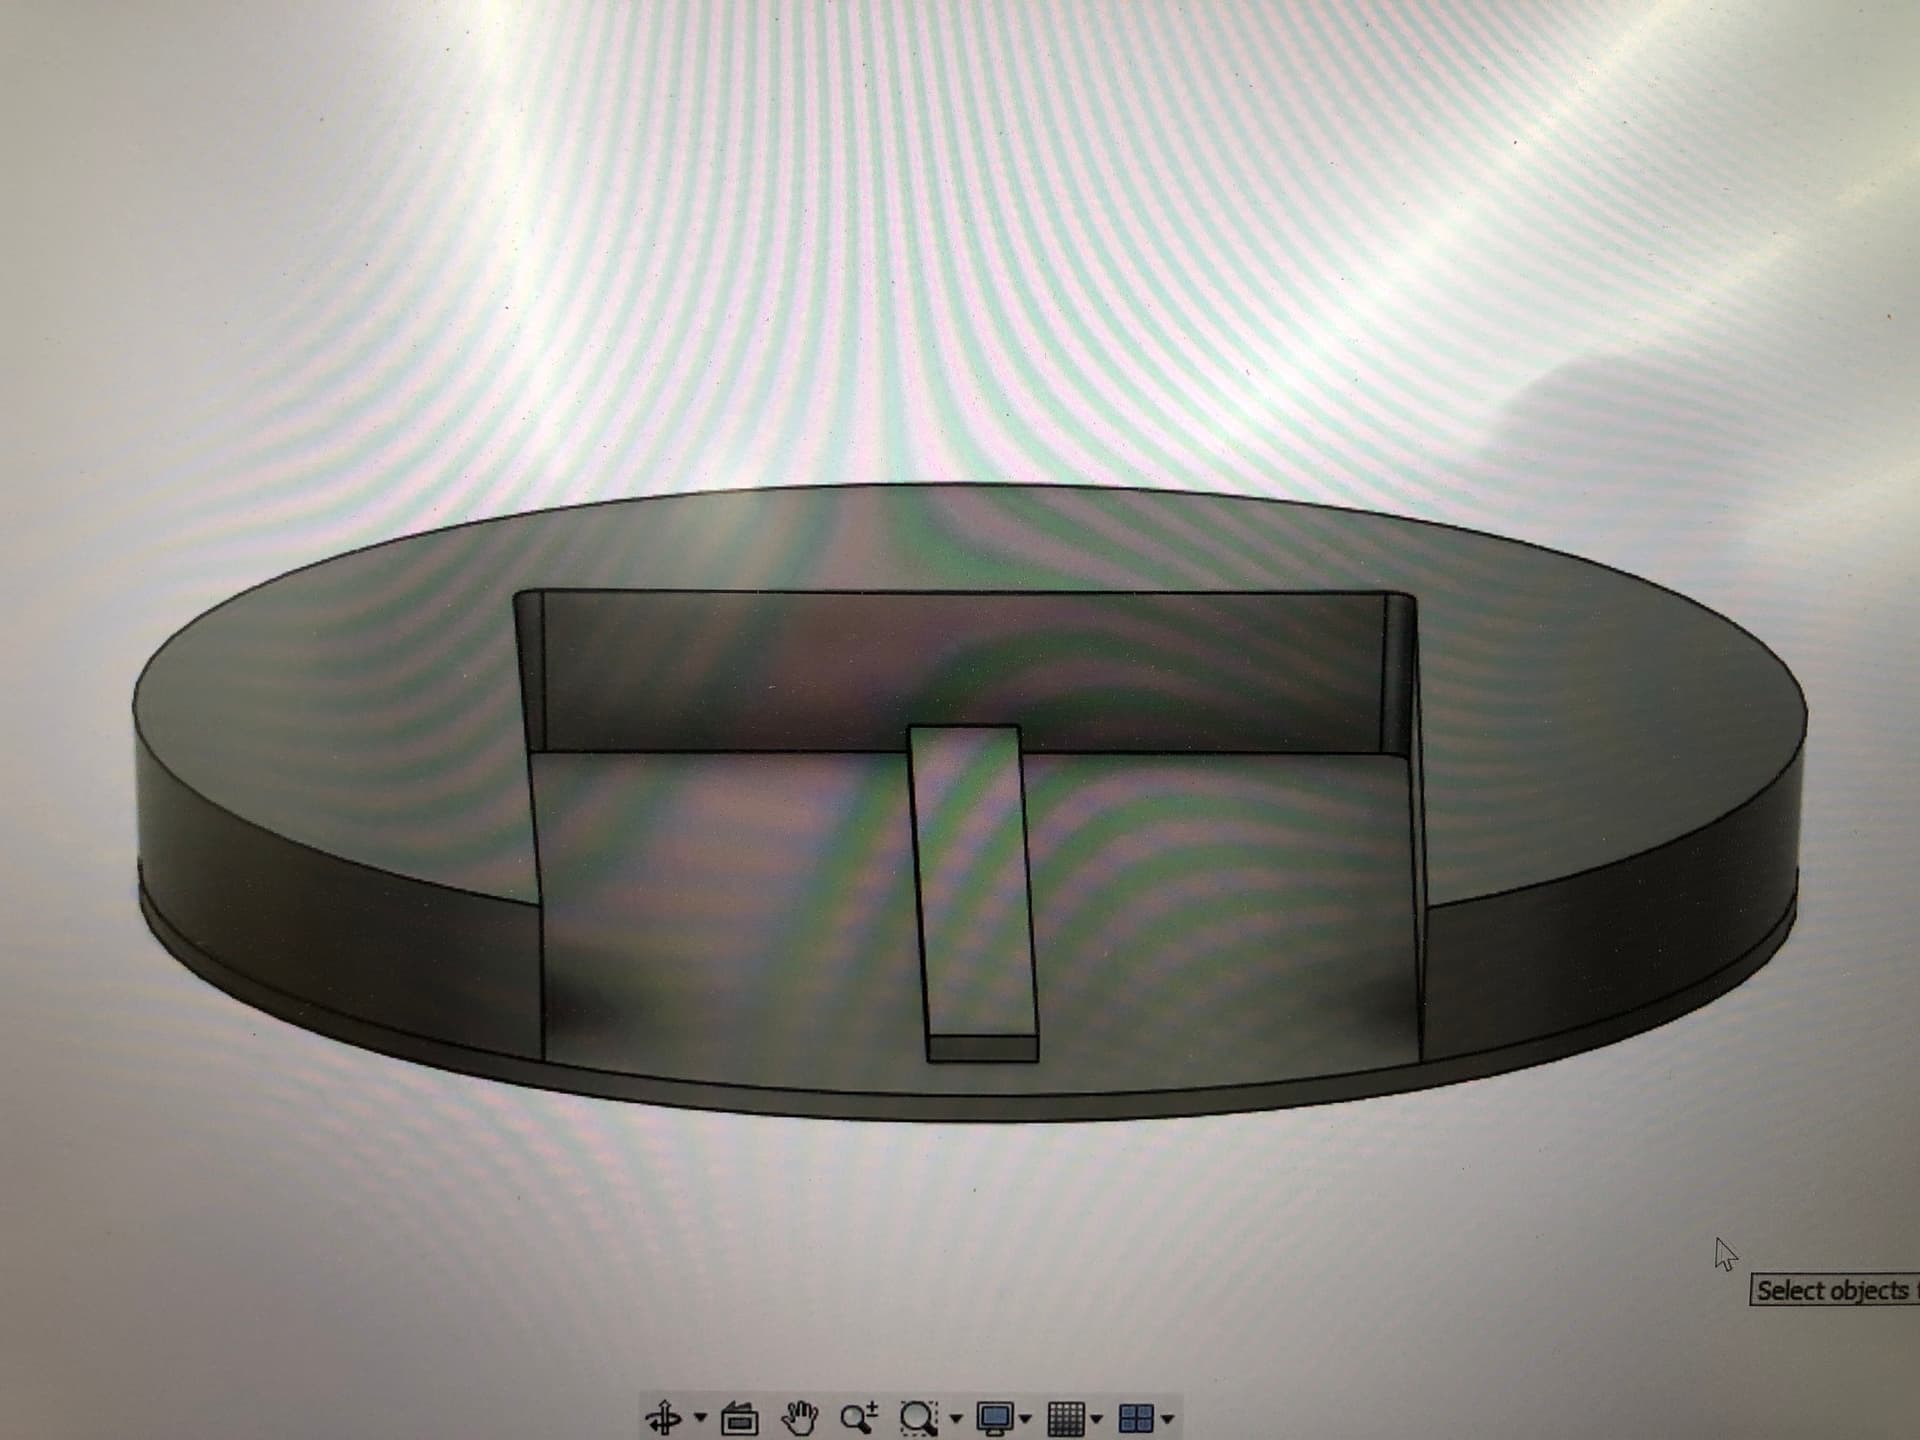
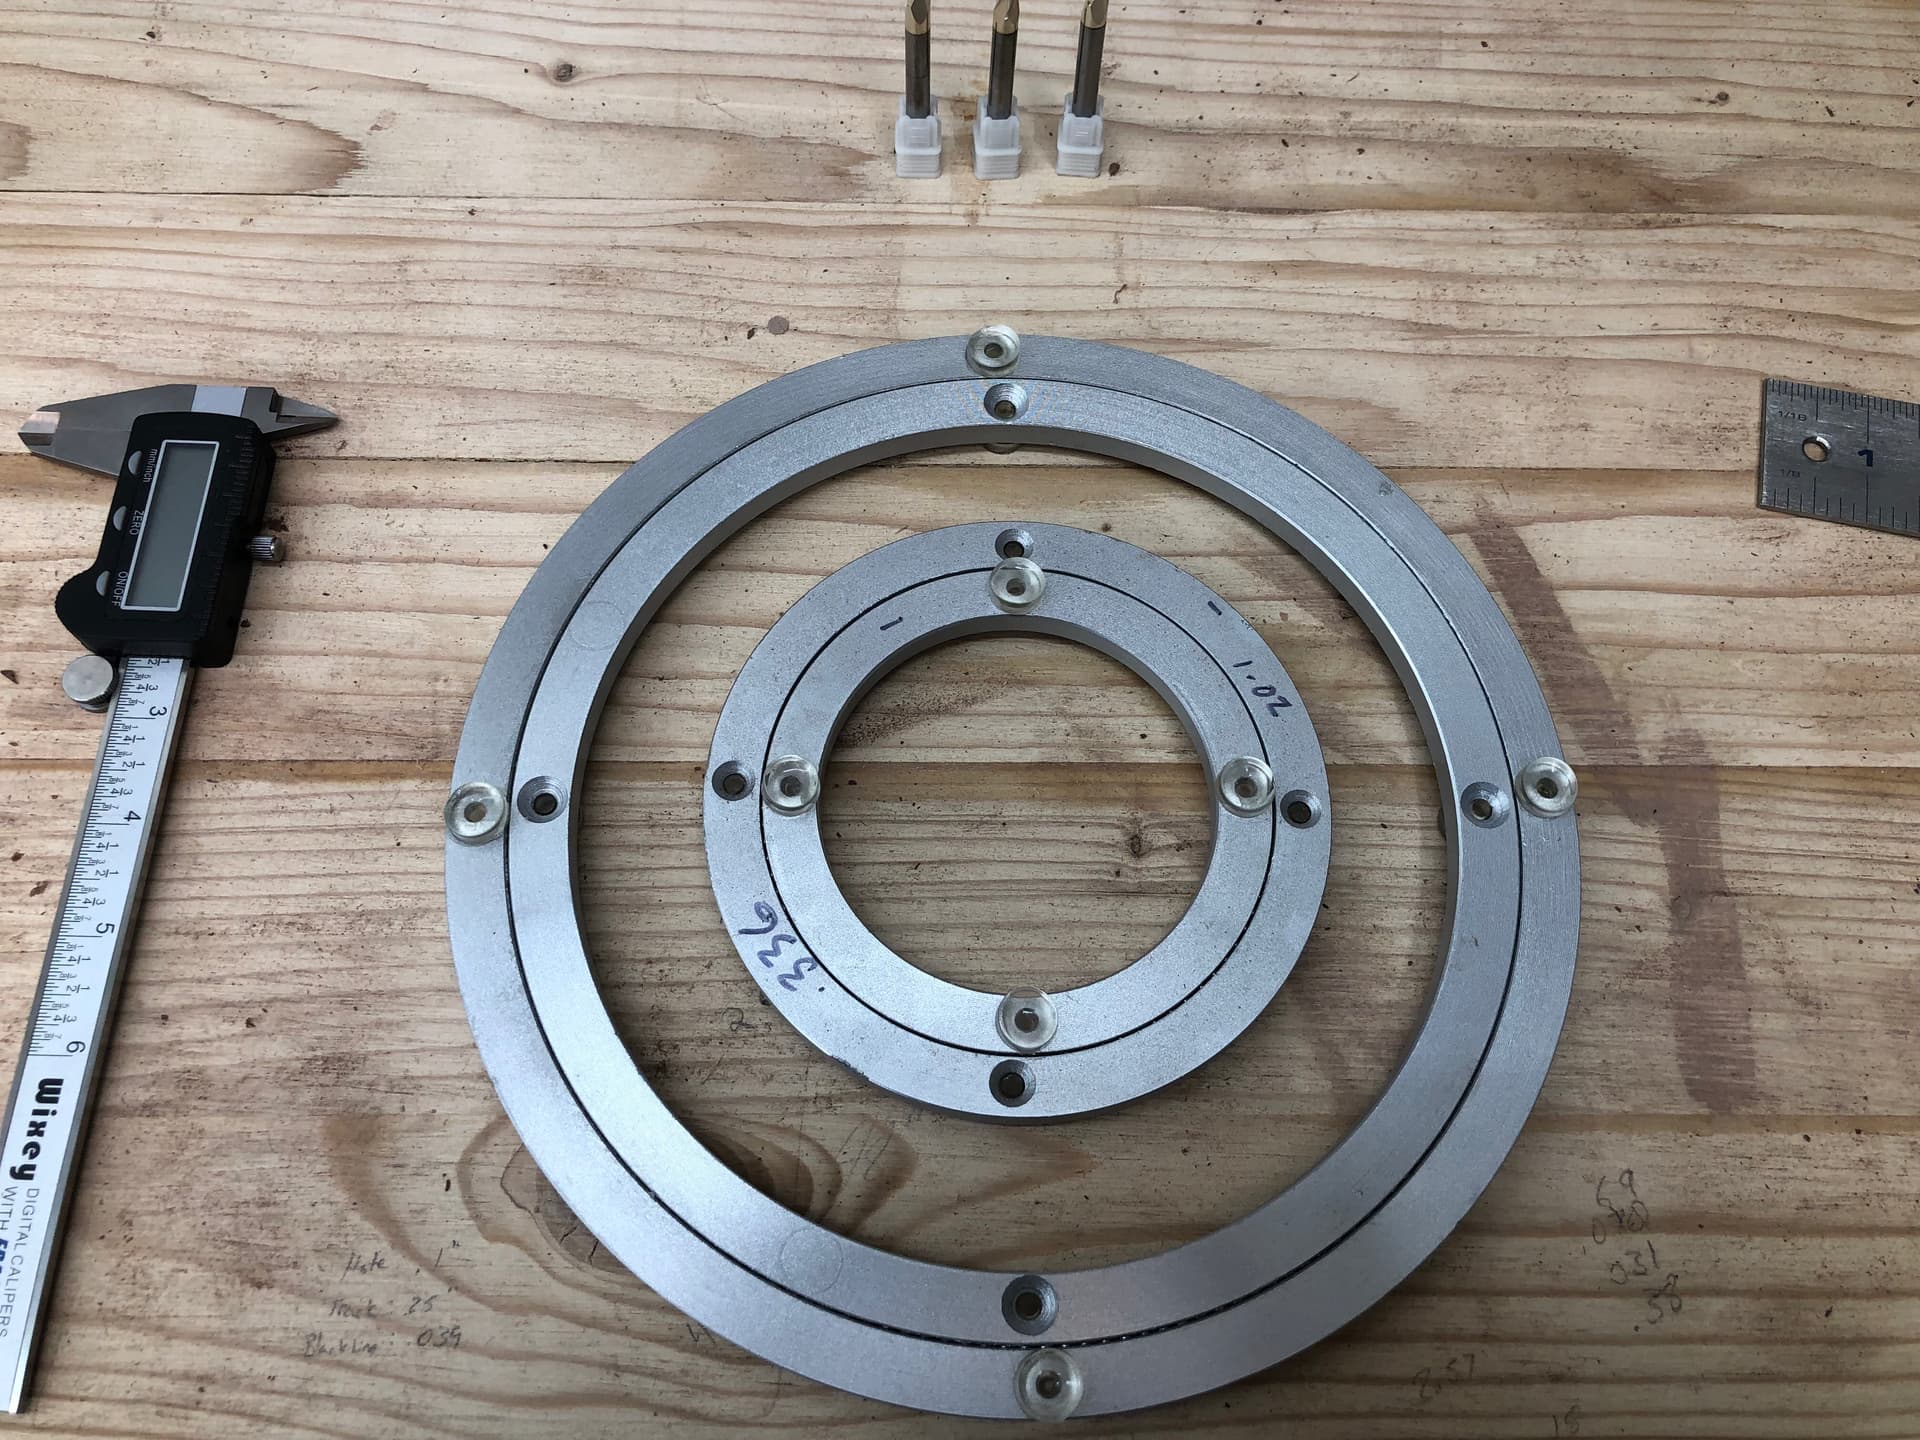
2x Lazy Susan’s (Idea is to be able to spin the compass and 4 player track independently from the overall board)
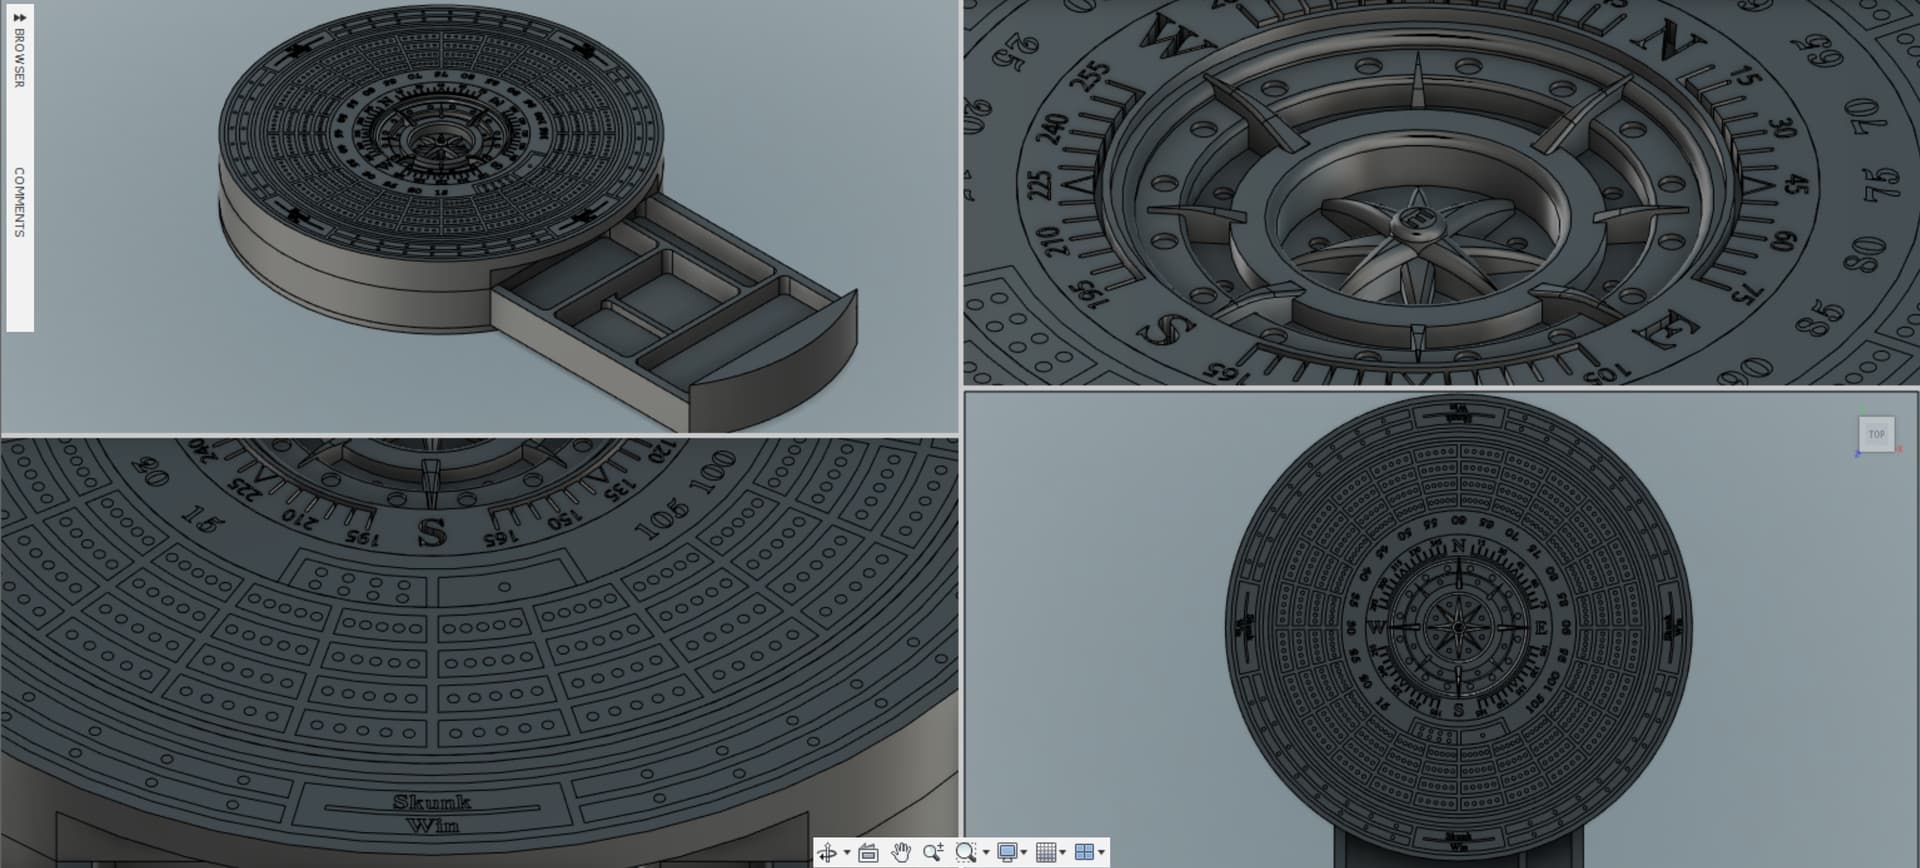
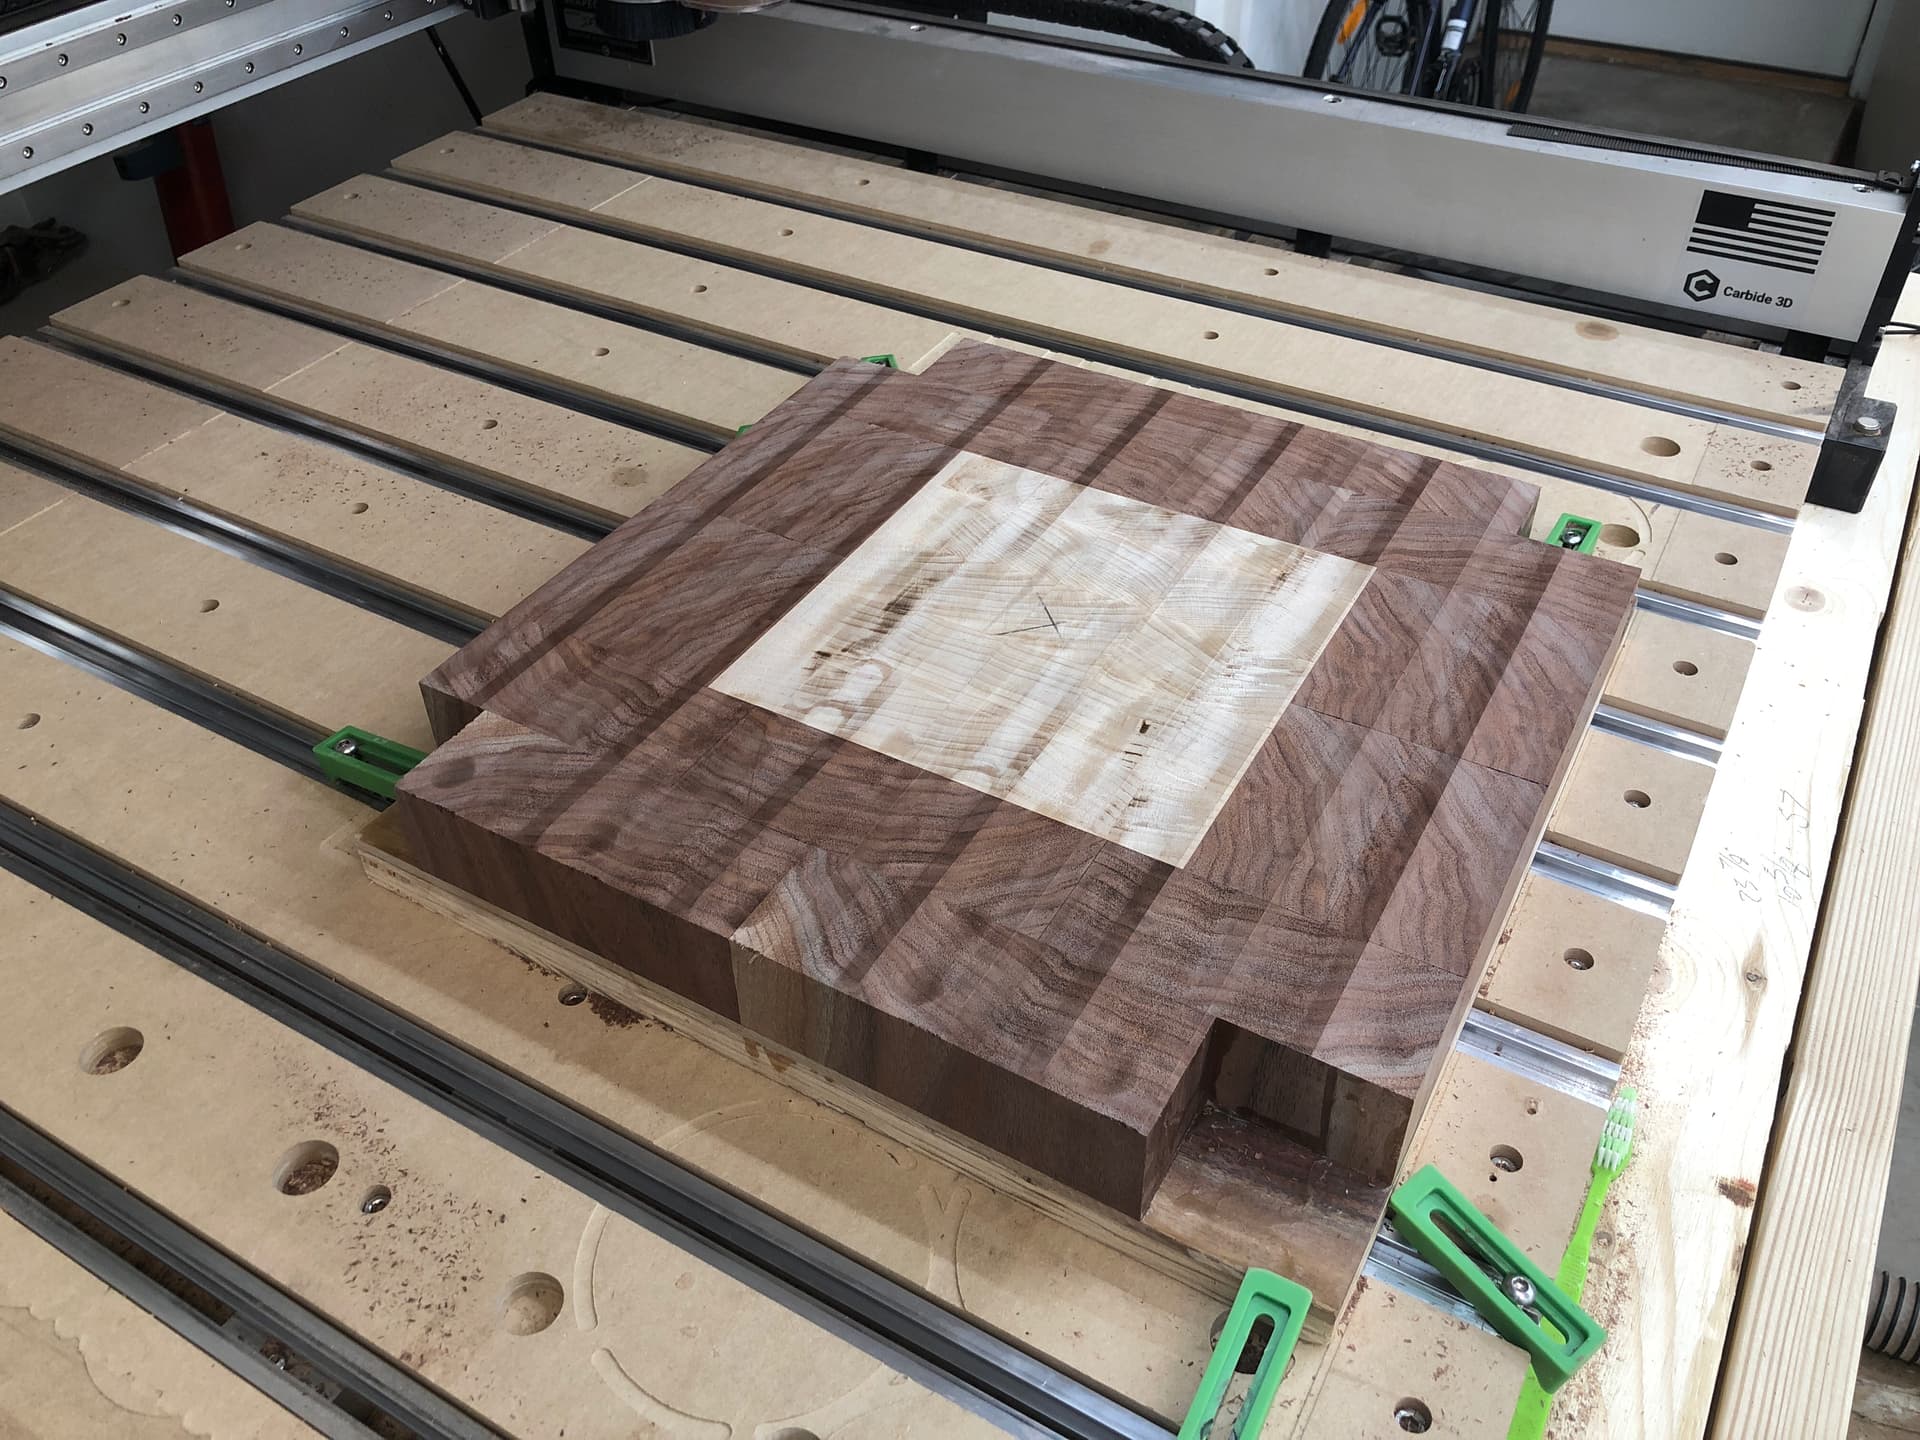
I’m super excited Fusion360 cooperated with designing and doing all the cut files. Fingers crossed for the Shapeoko.
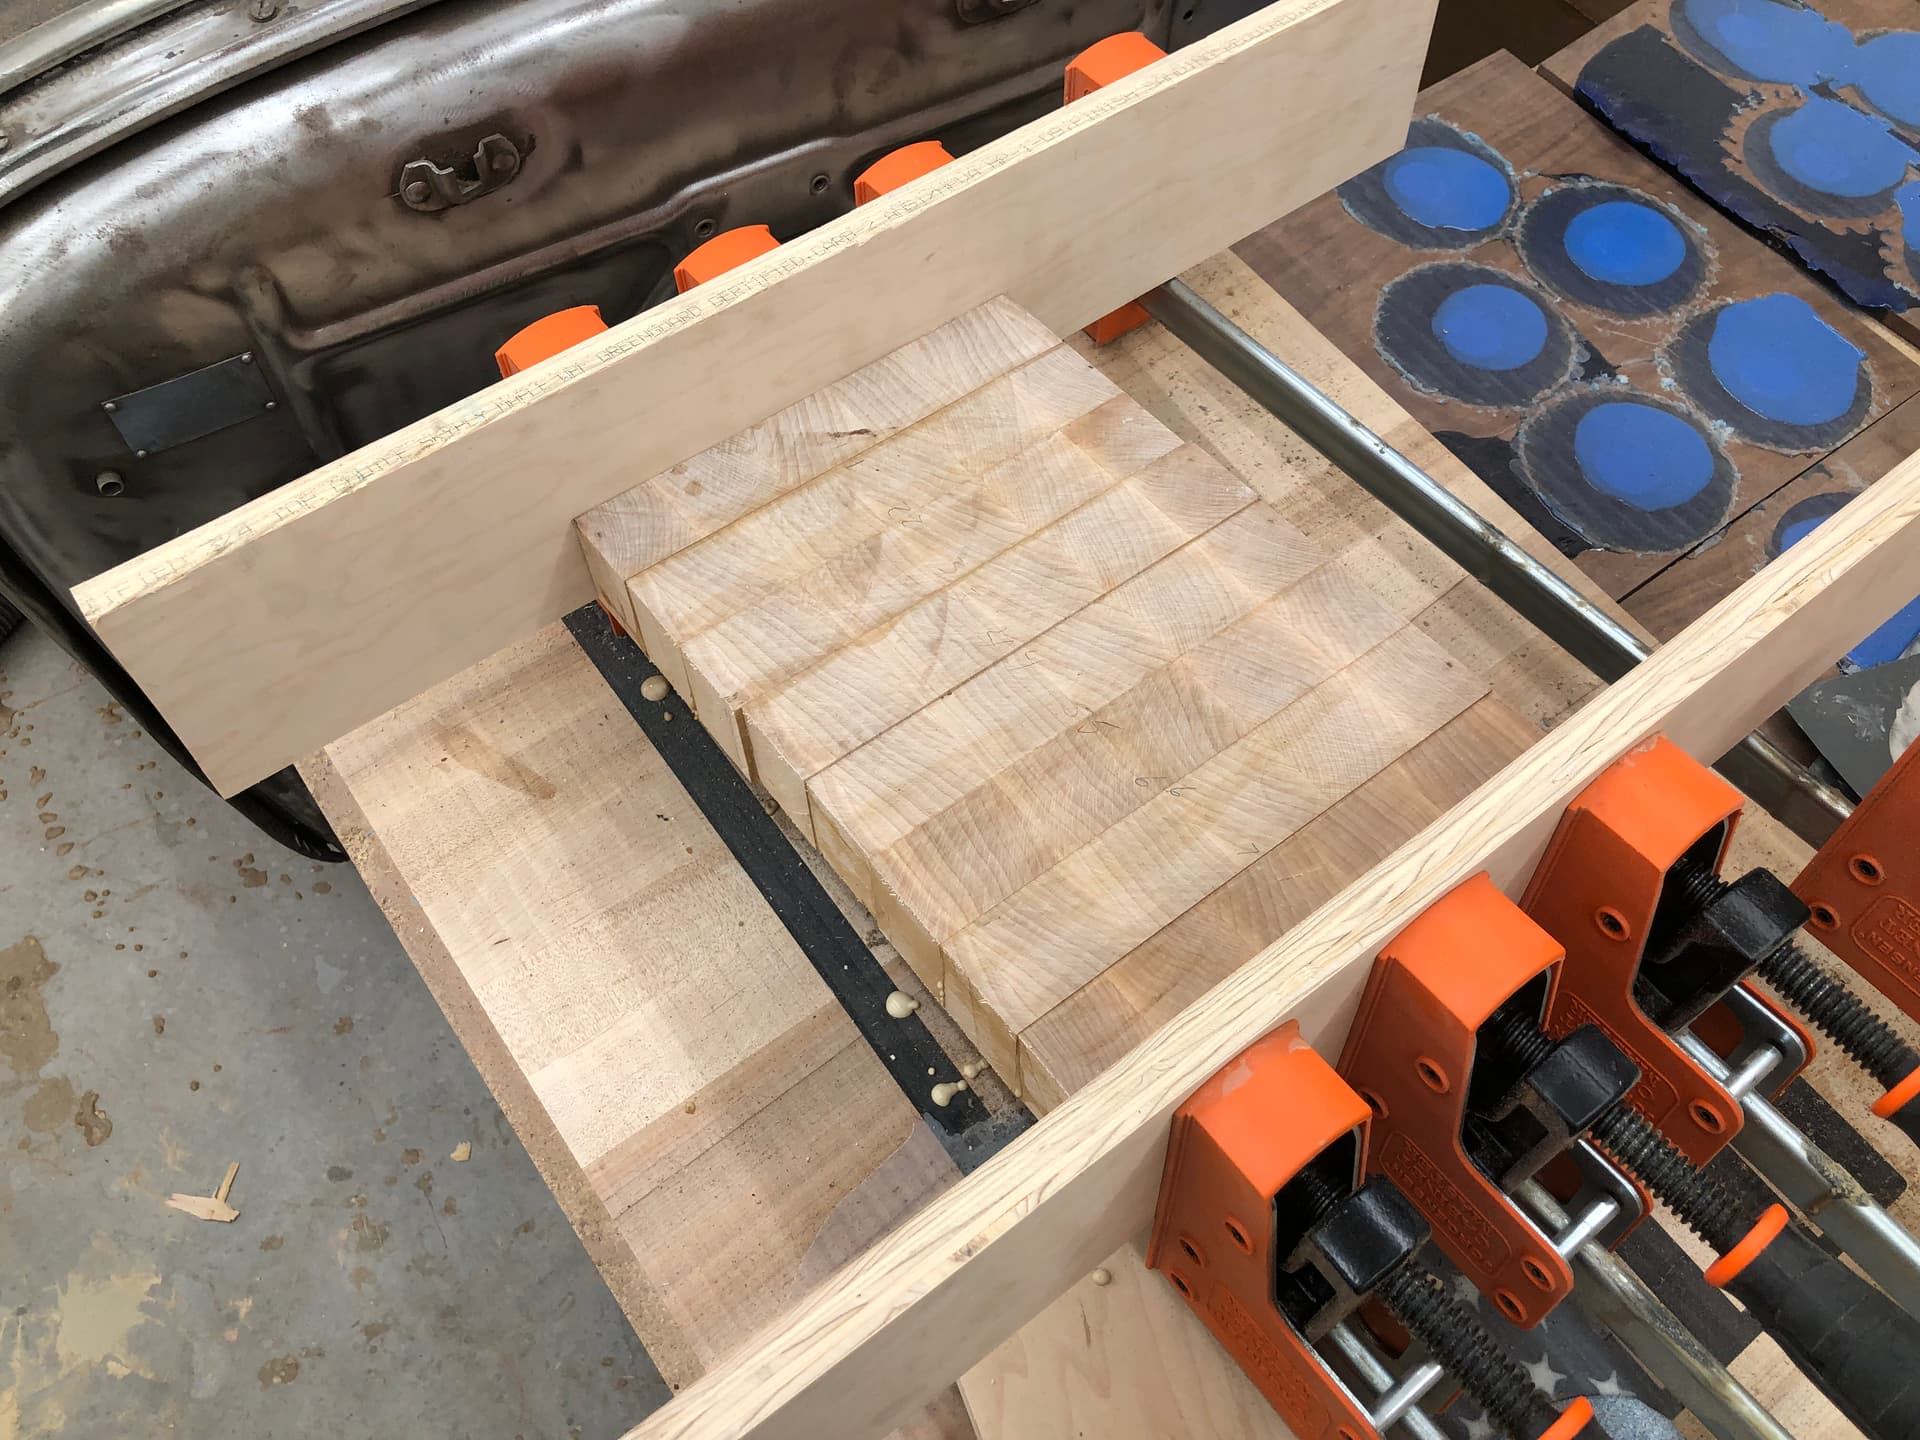
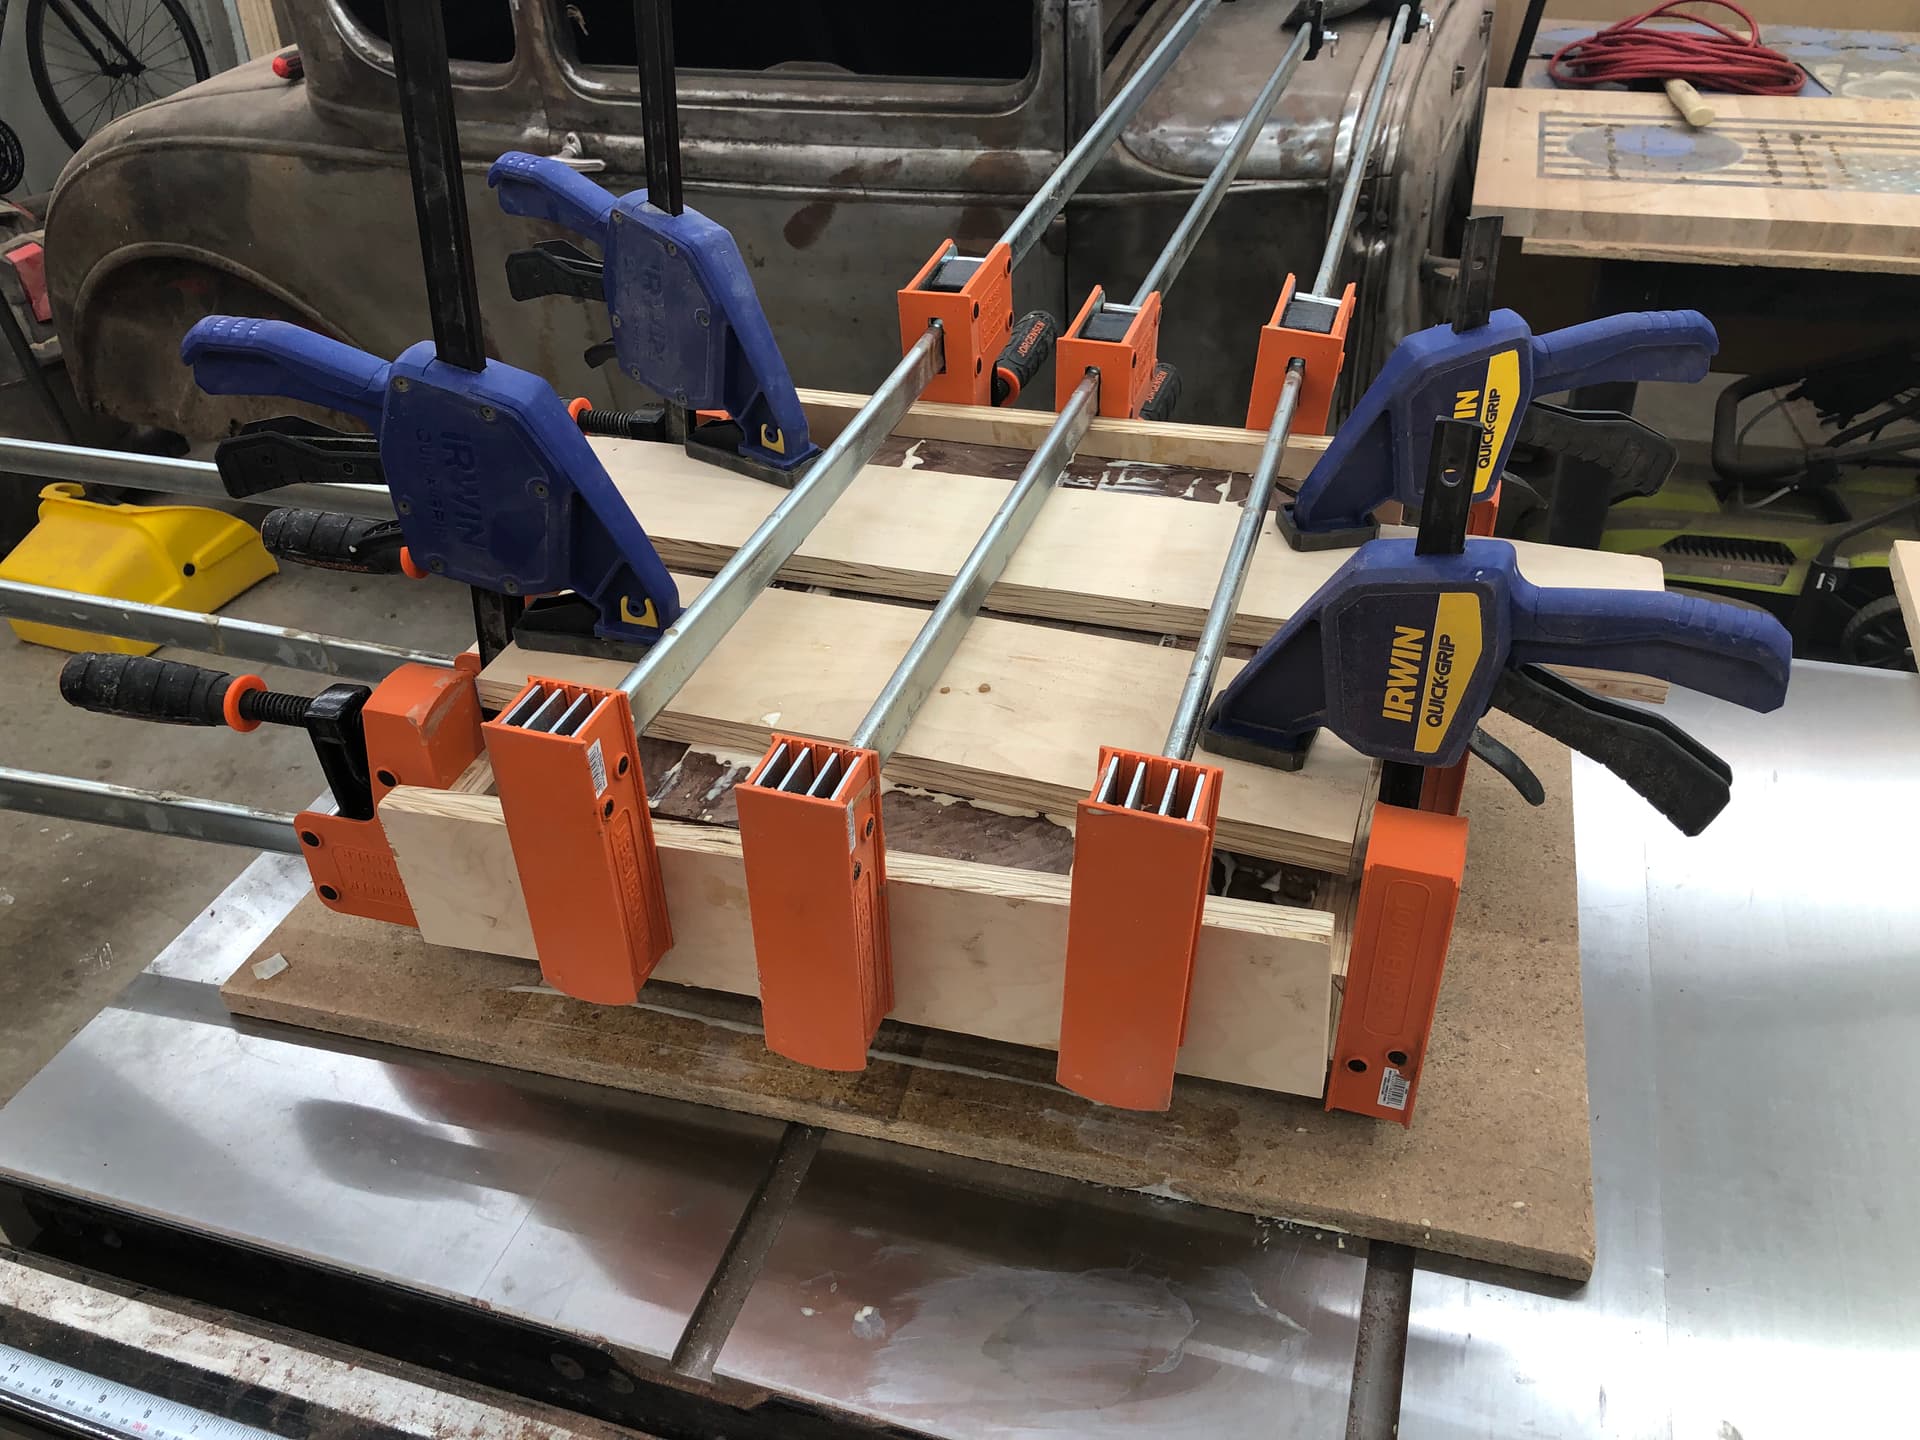
Day 1 starts tomorrow gluing all the black walnut and prep work!
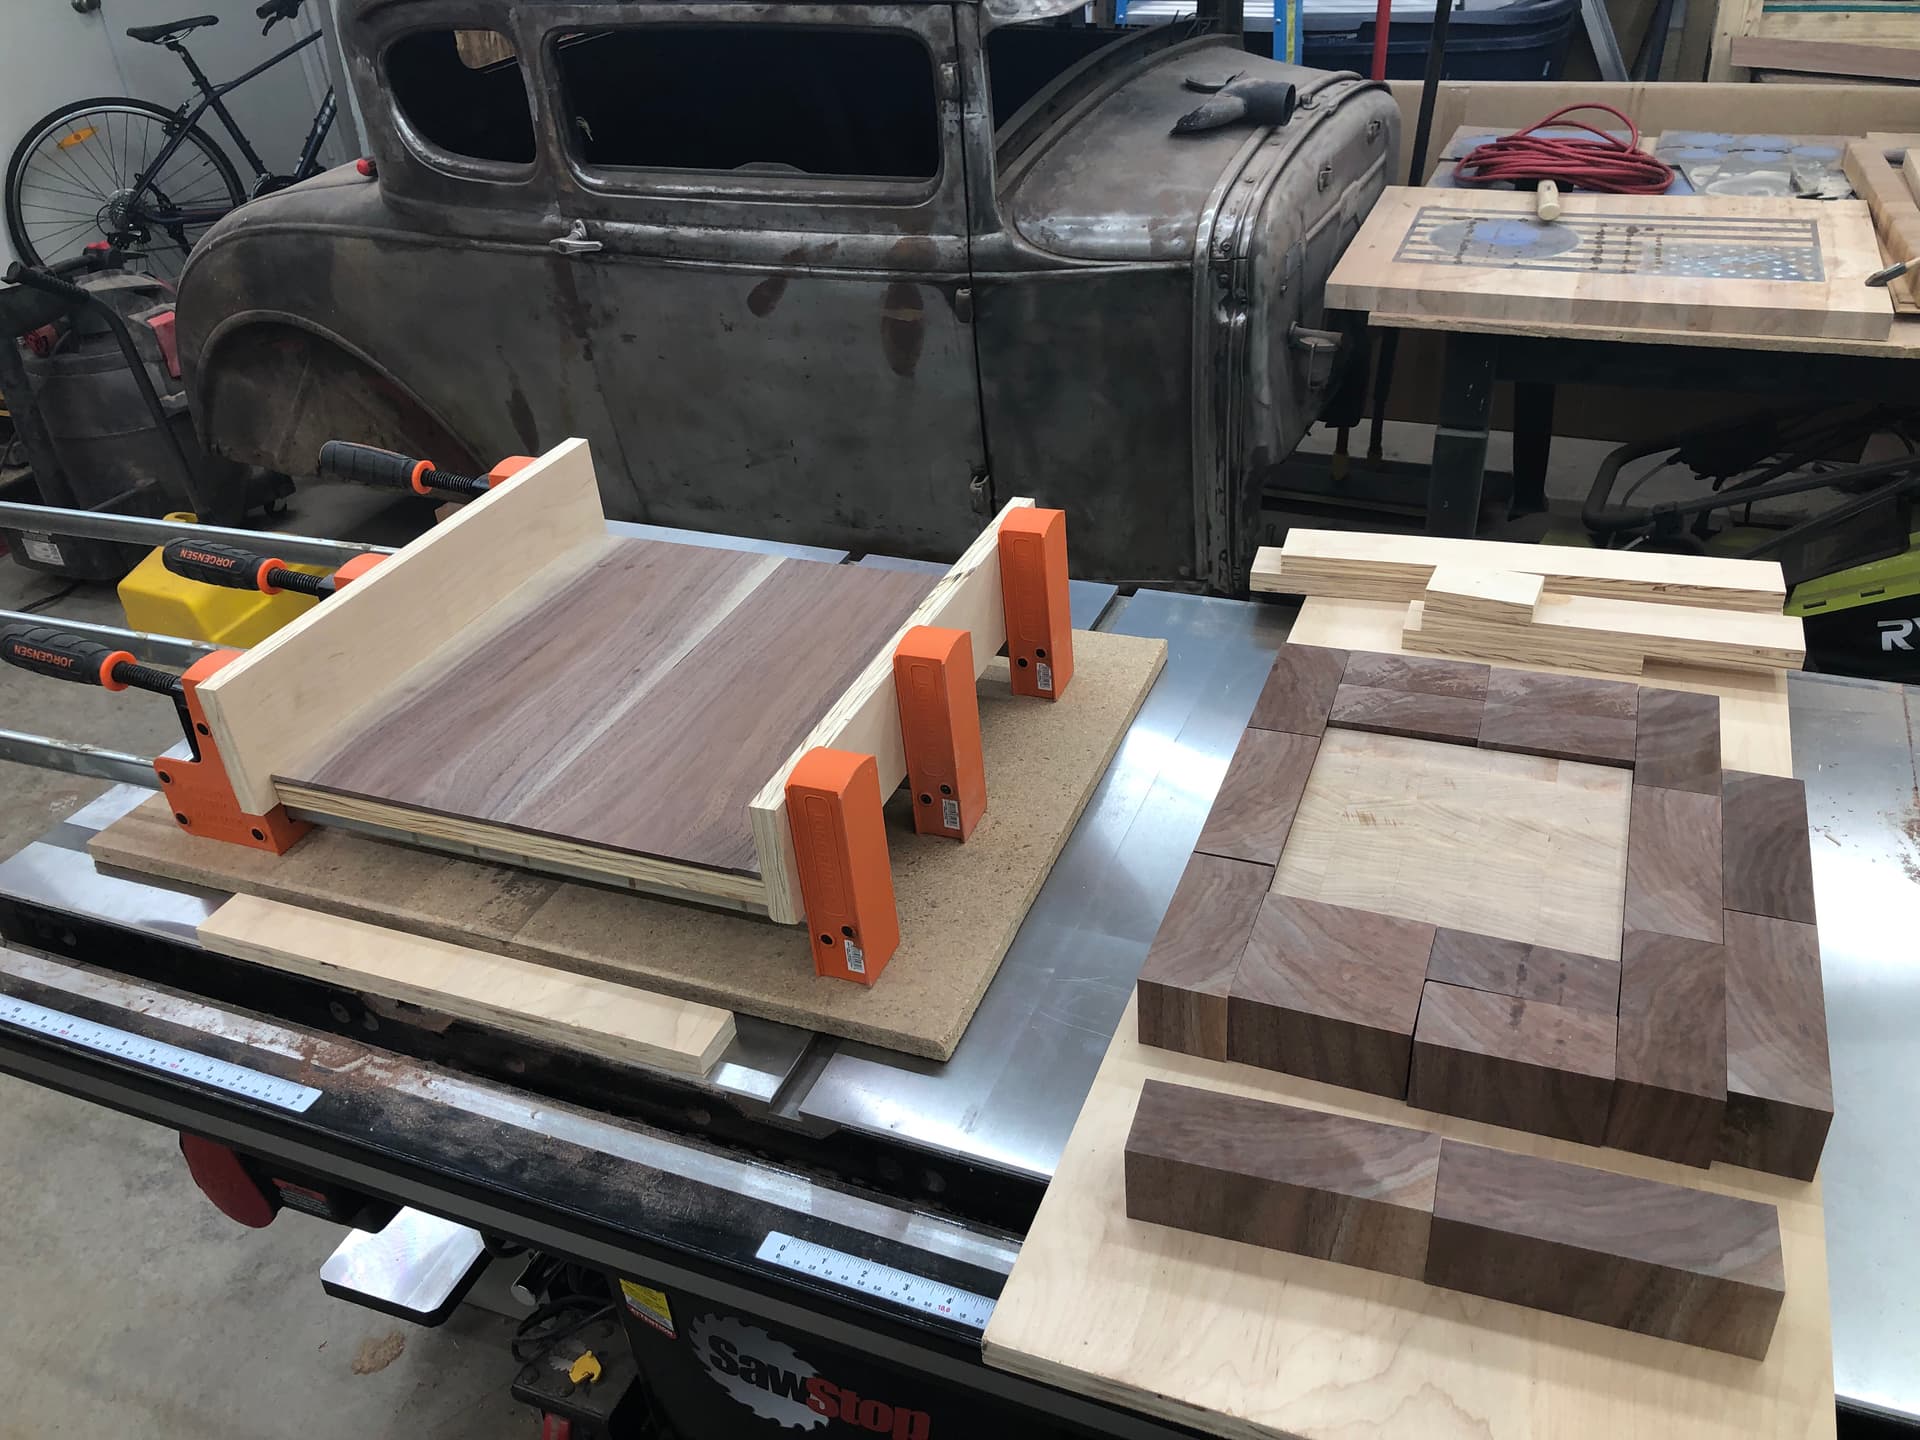
@CrookedWoodTex i “module” each piece out to start. Broken into compass\4 player track\skunk and win track\ and then the base is broken into 3 machined pieces to assemble and glue.
But! This brings up something I’ve been worried about. The plan right now is to do the holes last. Last being after all of this…
Reverse cut on the backside for Lazy Susan hardware
Maple inlay around the 4 player track
Black epoxy lines around each track
Finished sanding with top coat epoxy.
That’s for every module
I hate to drill the holes and then pour the top coat epoxy finish and it mounds up/fills the holes in.
I’m running scrap cuts to verify everything before final cuts, but one miss step in the machine and it’s game over
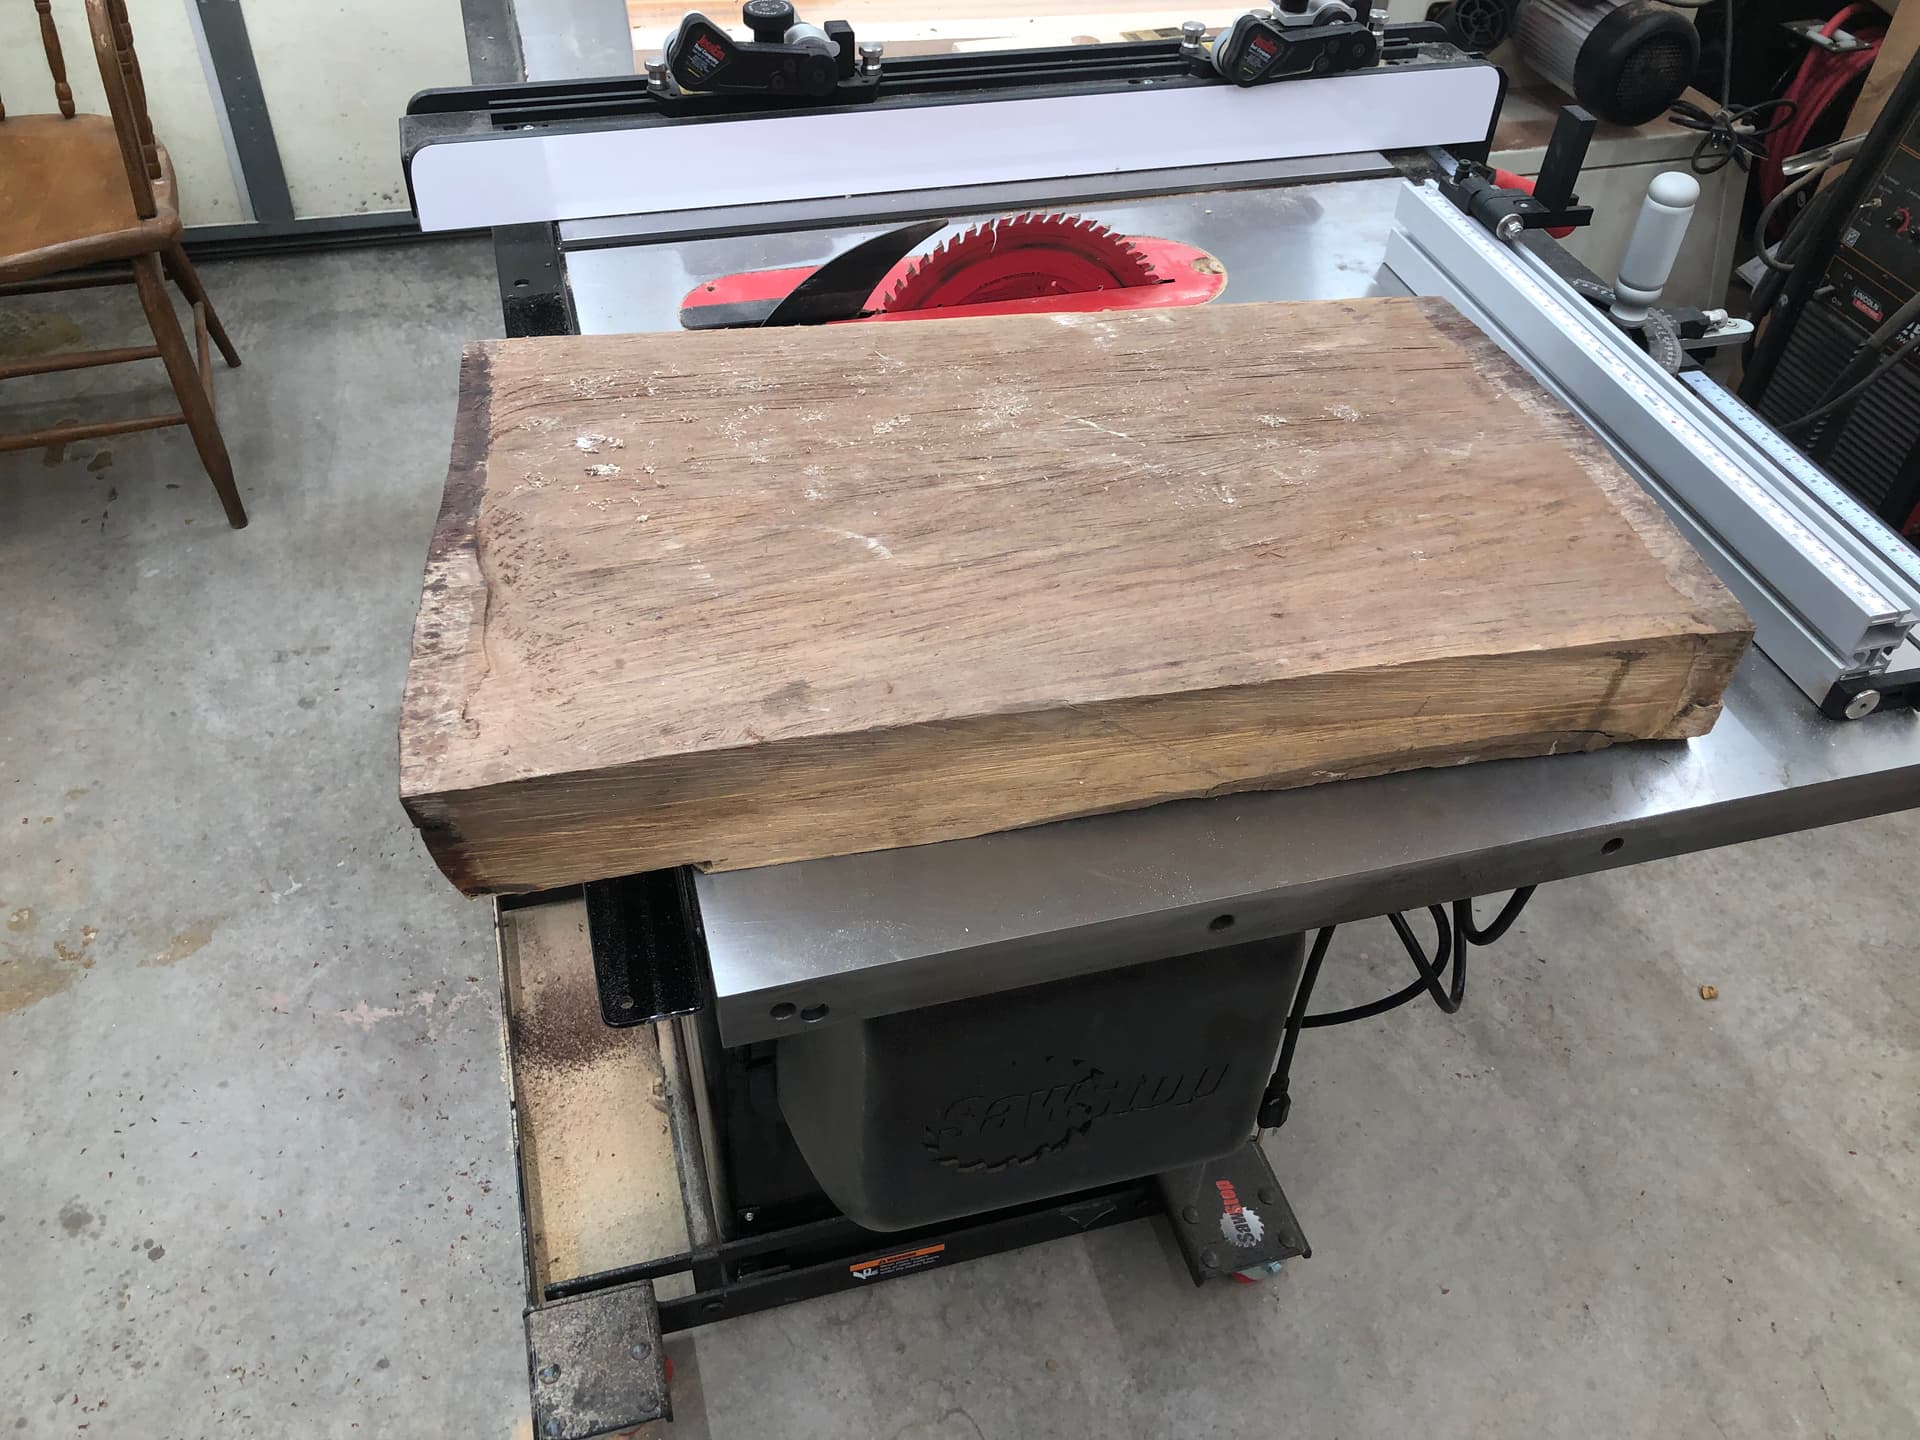
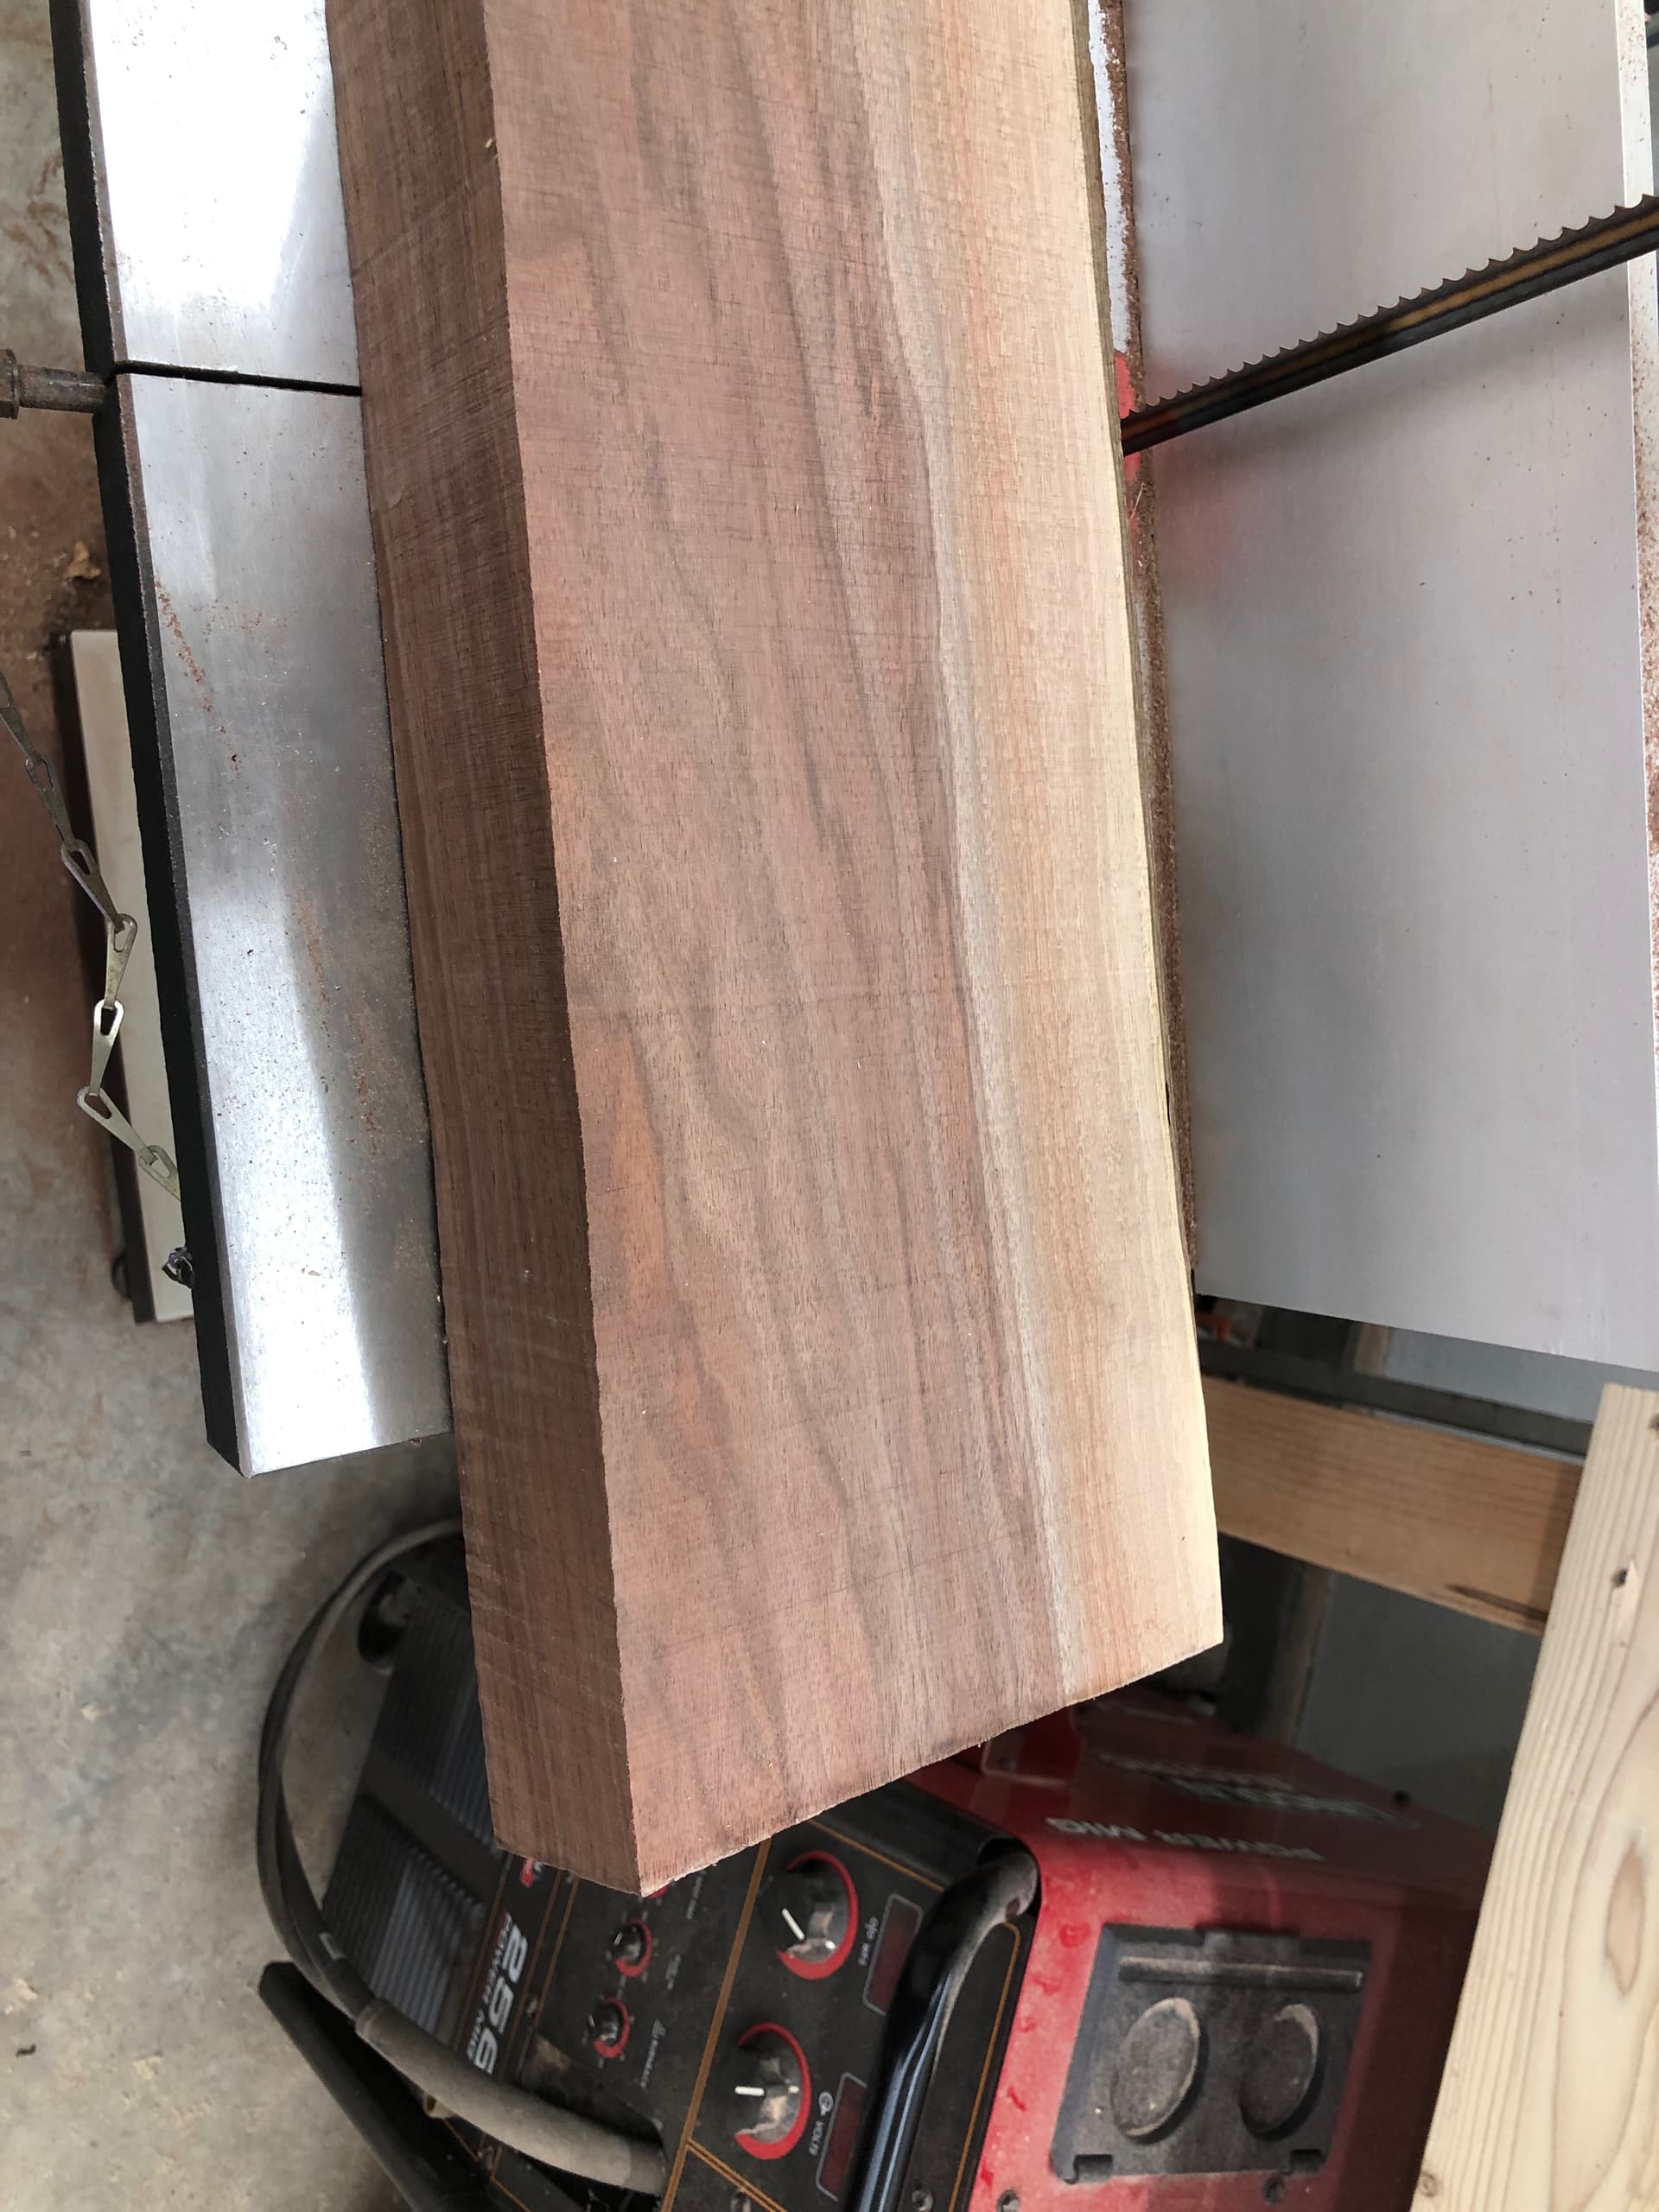
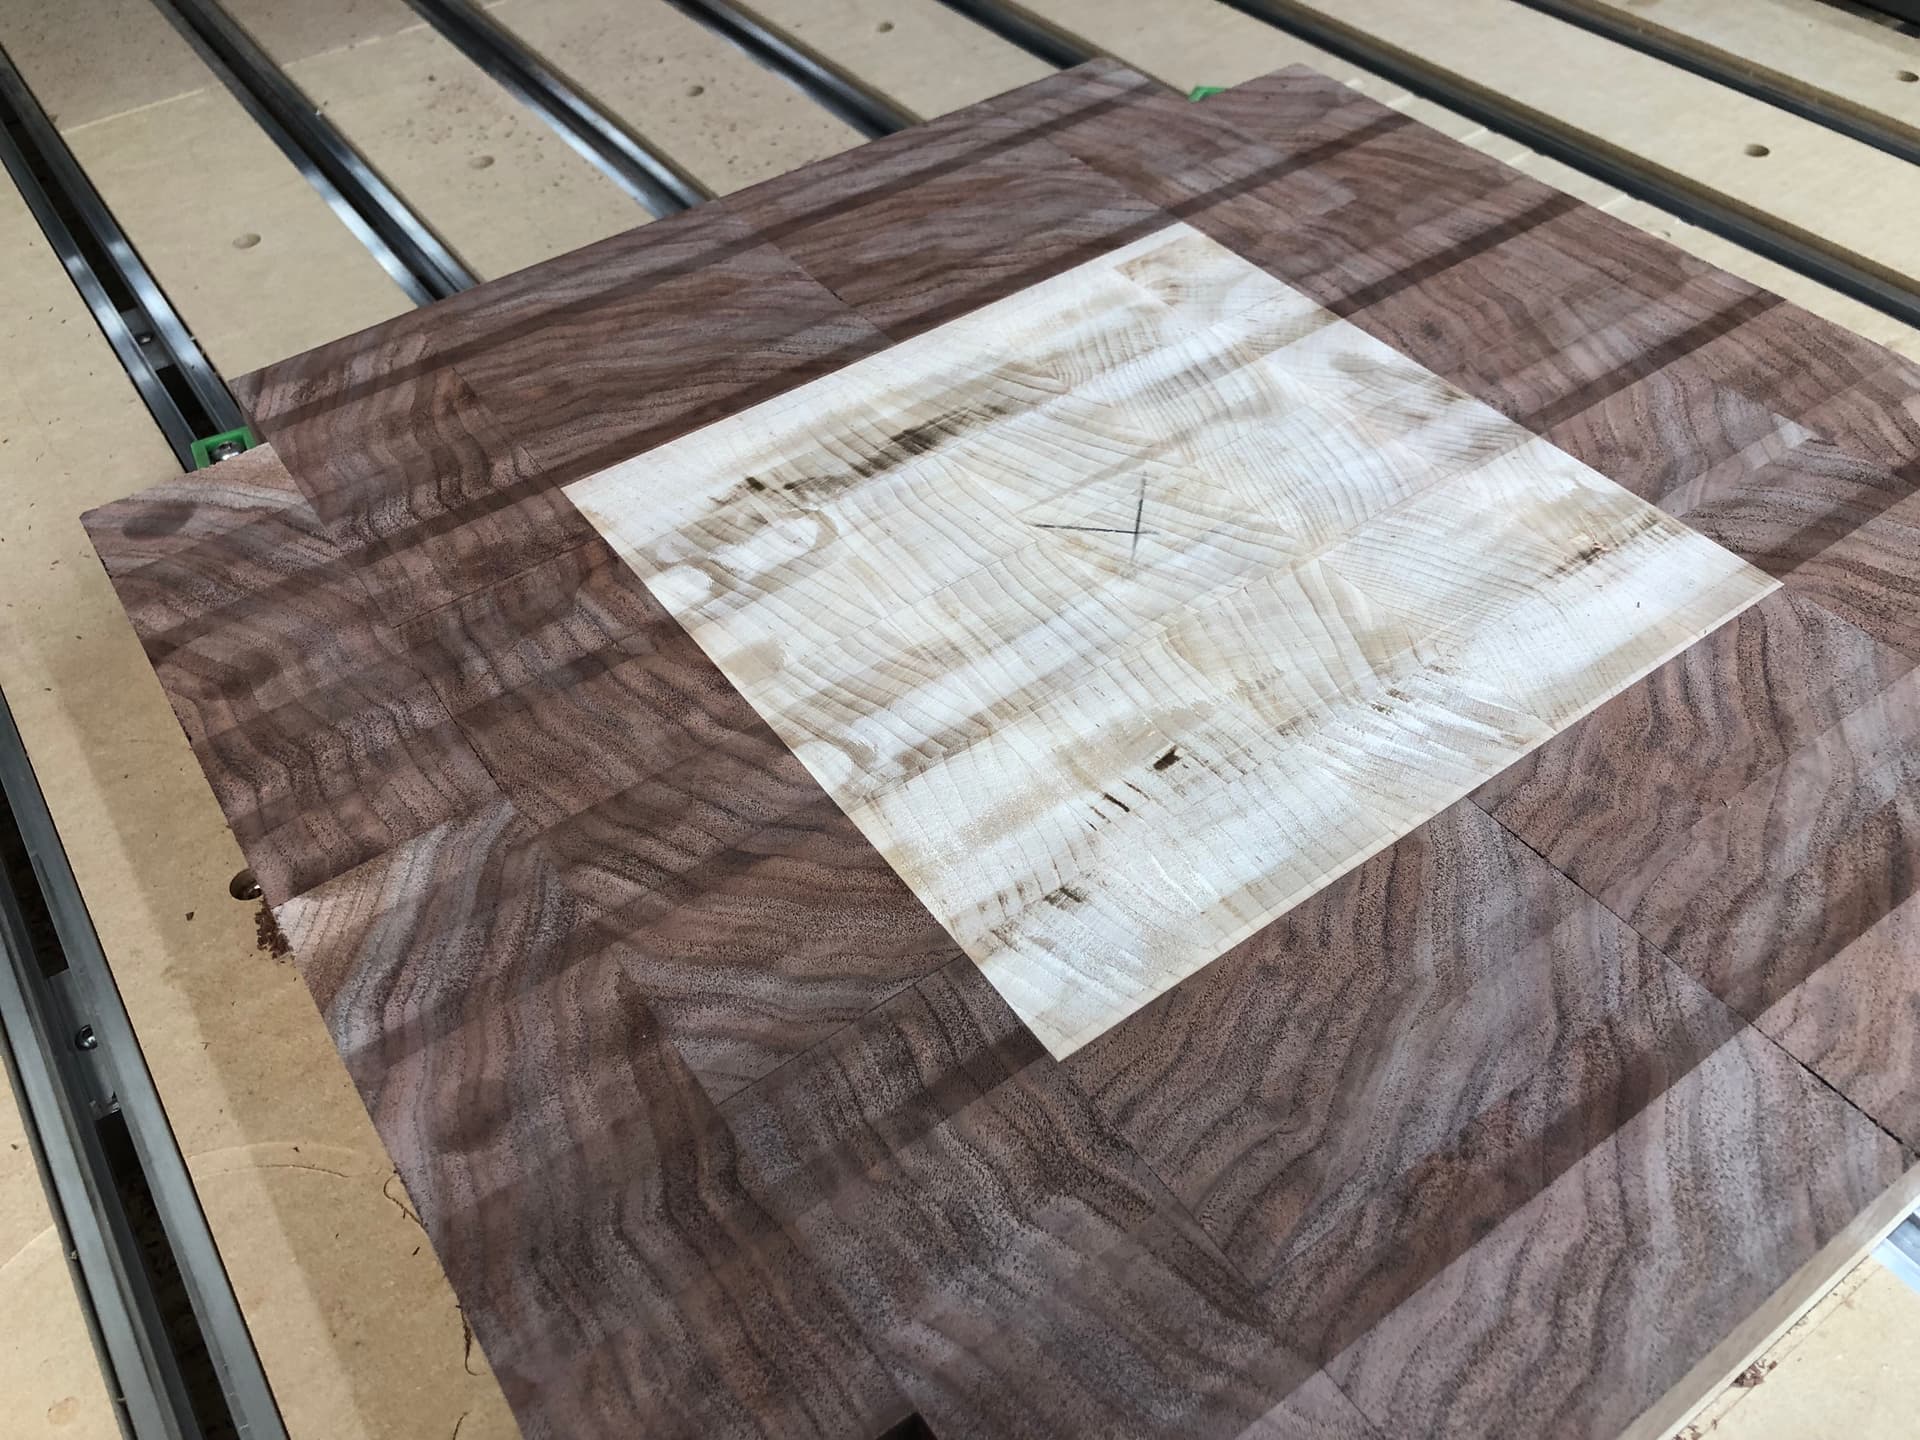
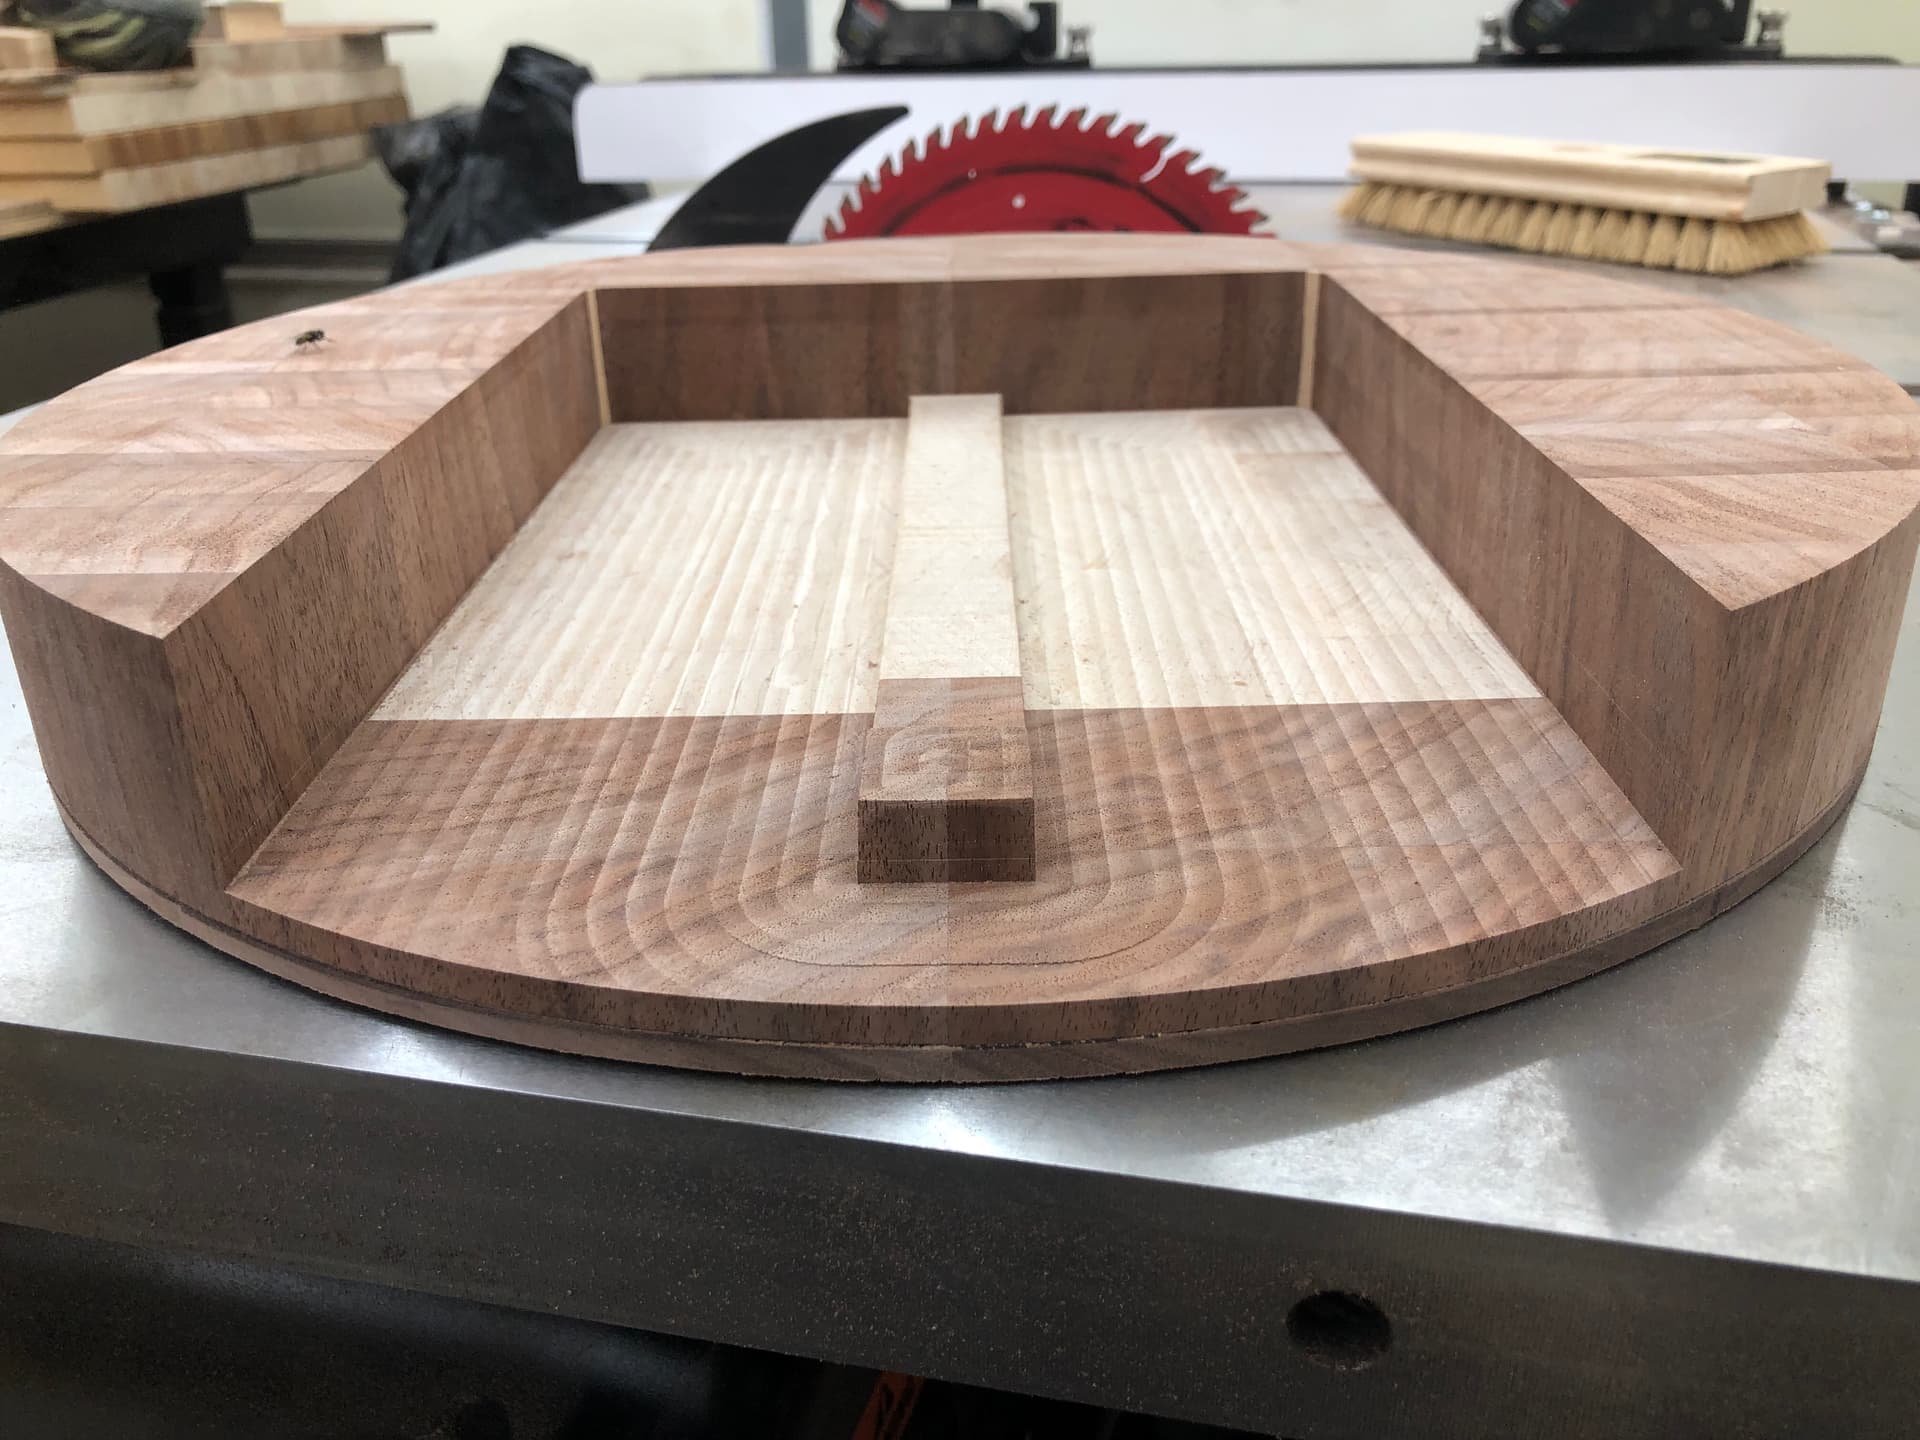
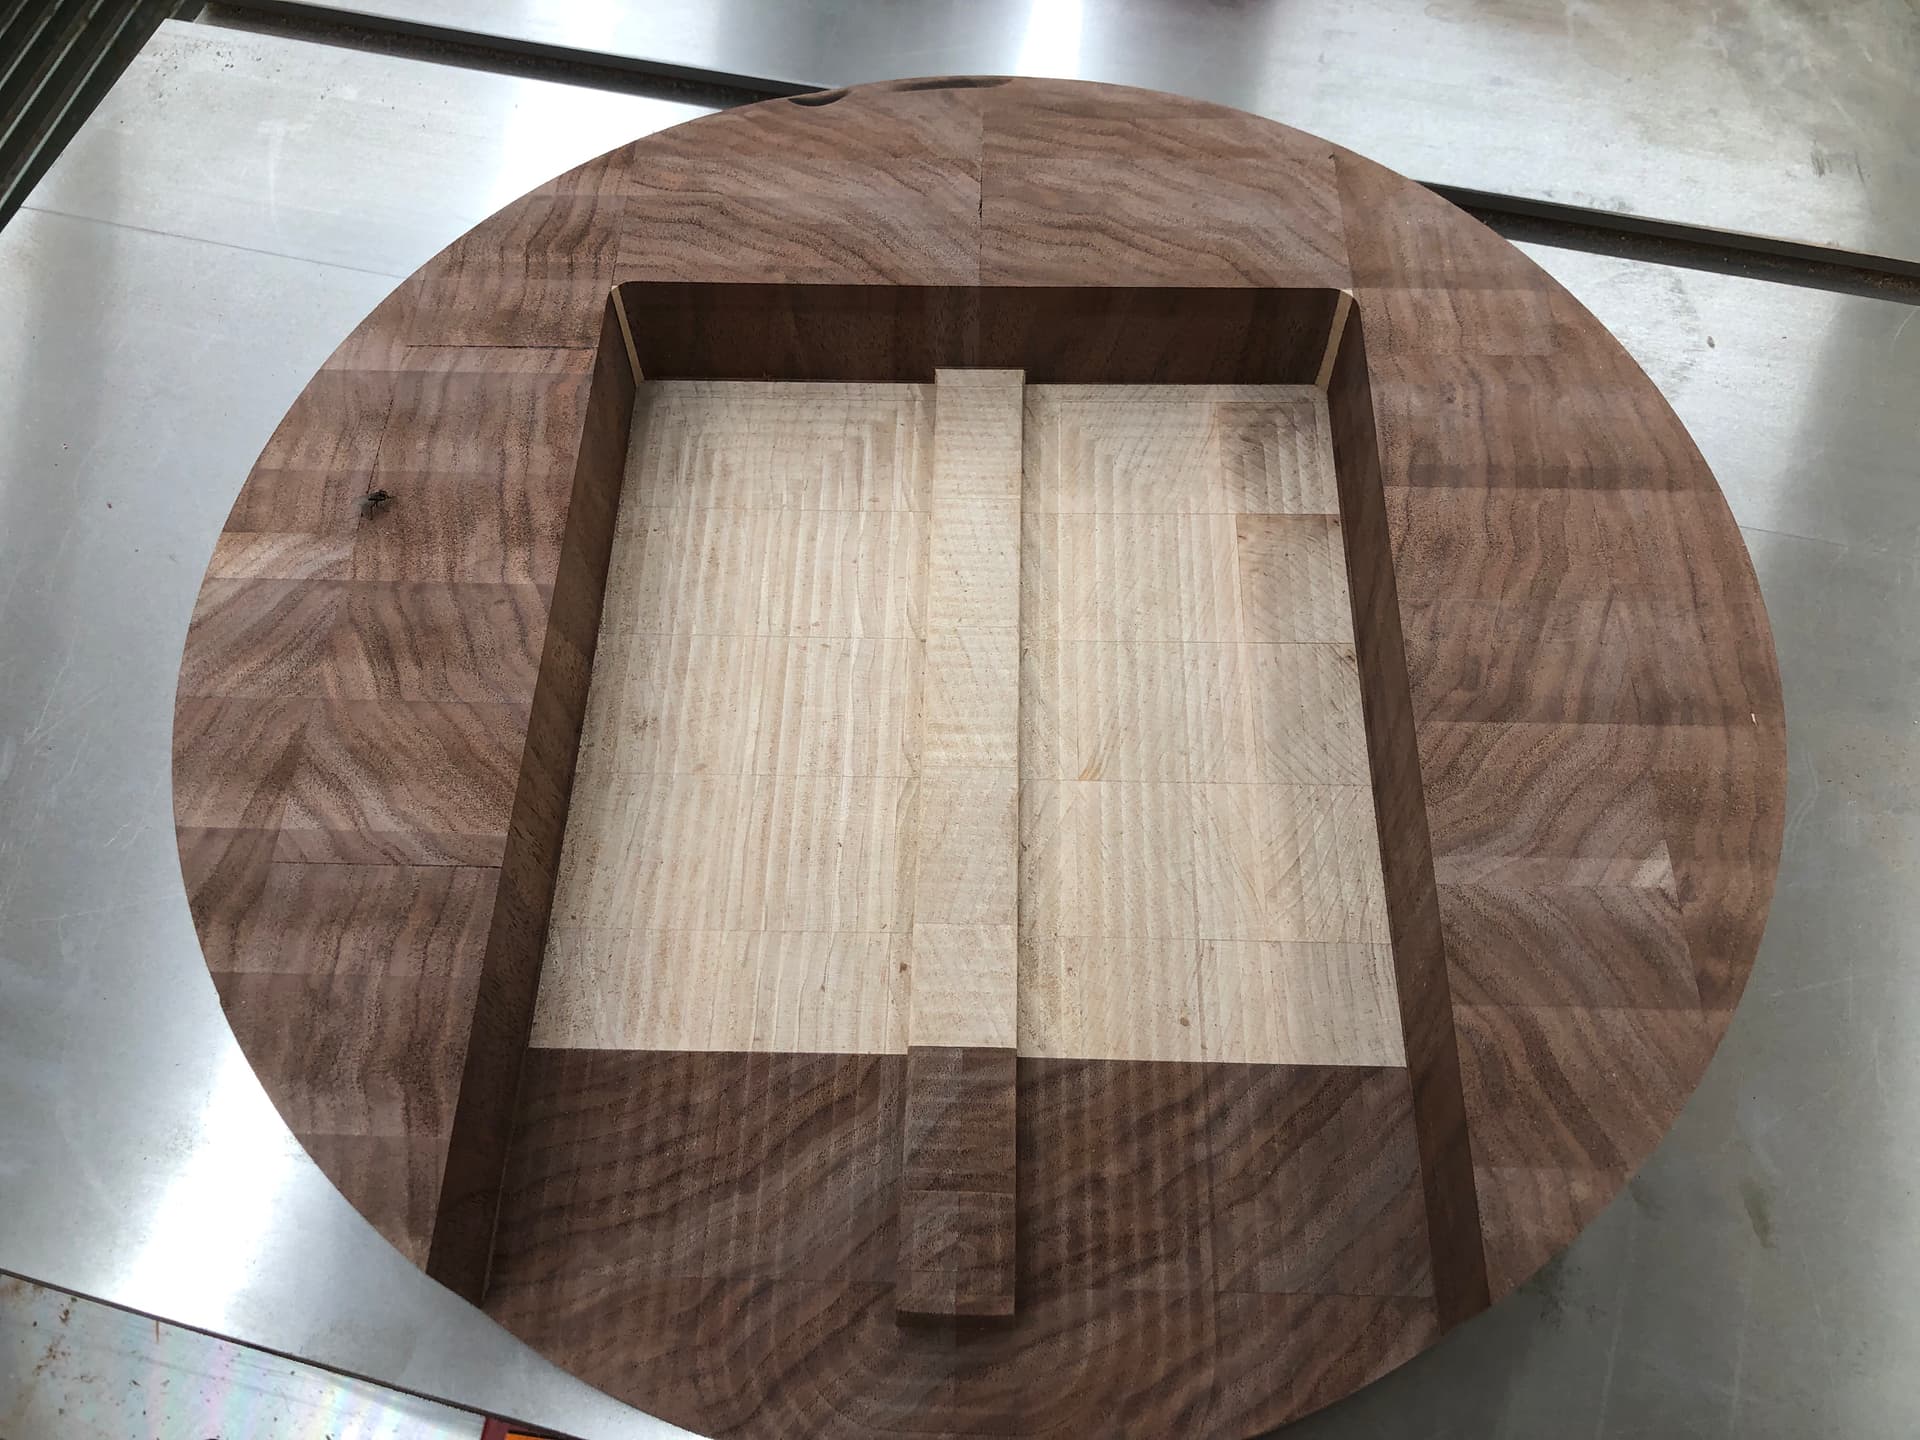
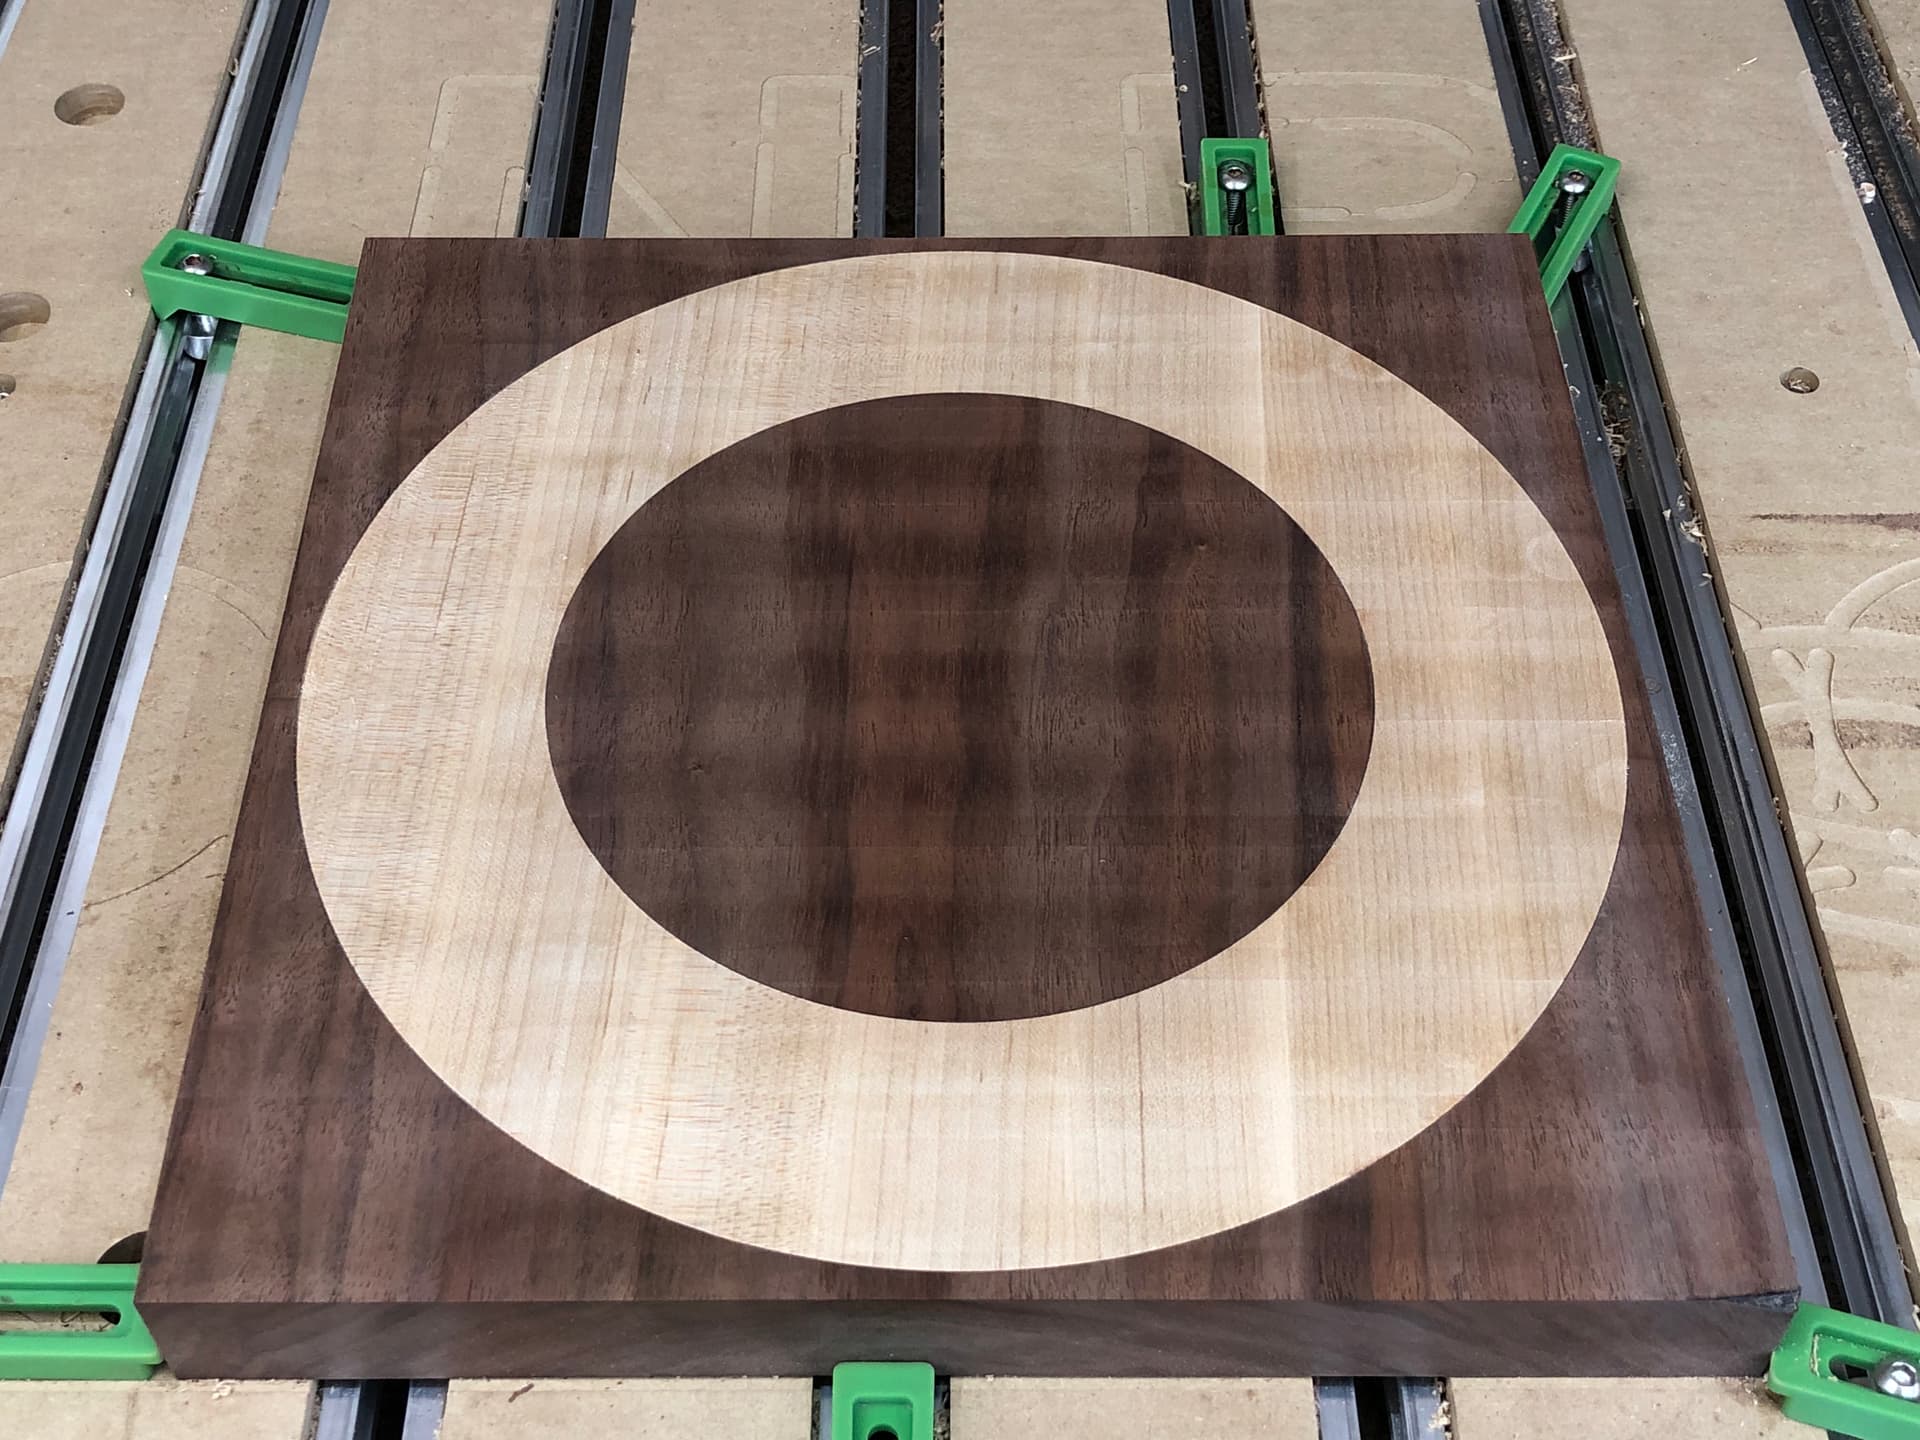
I’m going to cheat a little bit and put some maple in the middle to save some of my walnut that’s not visible. With that, I wanted to practice jointing and glue ups. Im not worried about the depth of glue’d boards, I’m going to let the shapeako flatten them to depth. I want to see how accurate it is.
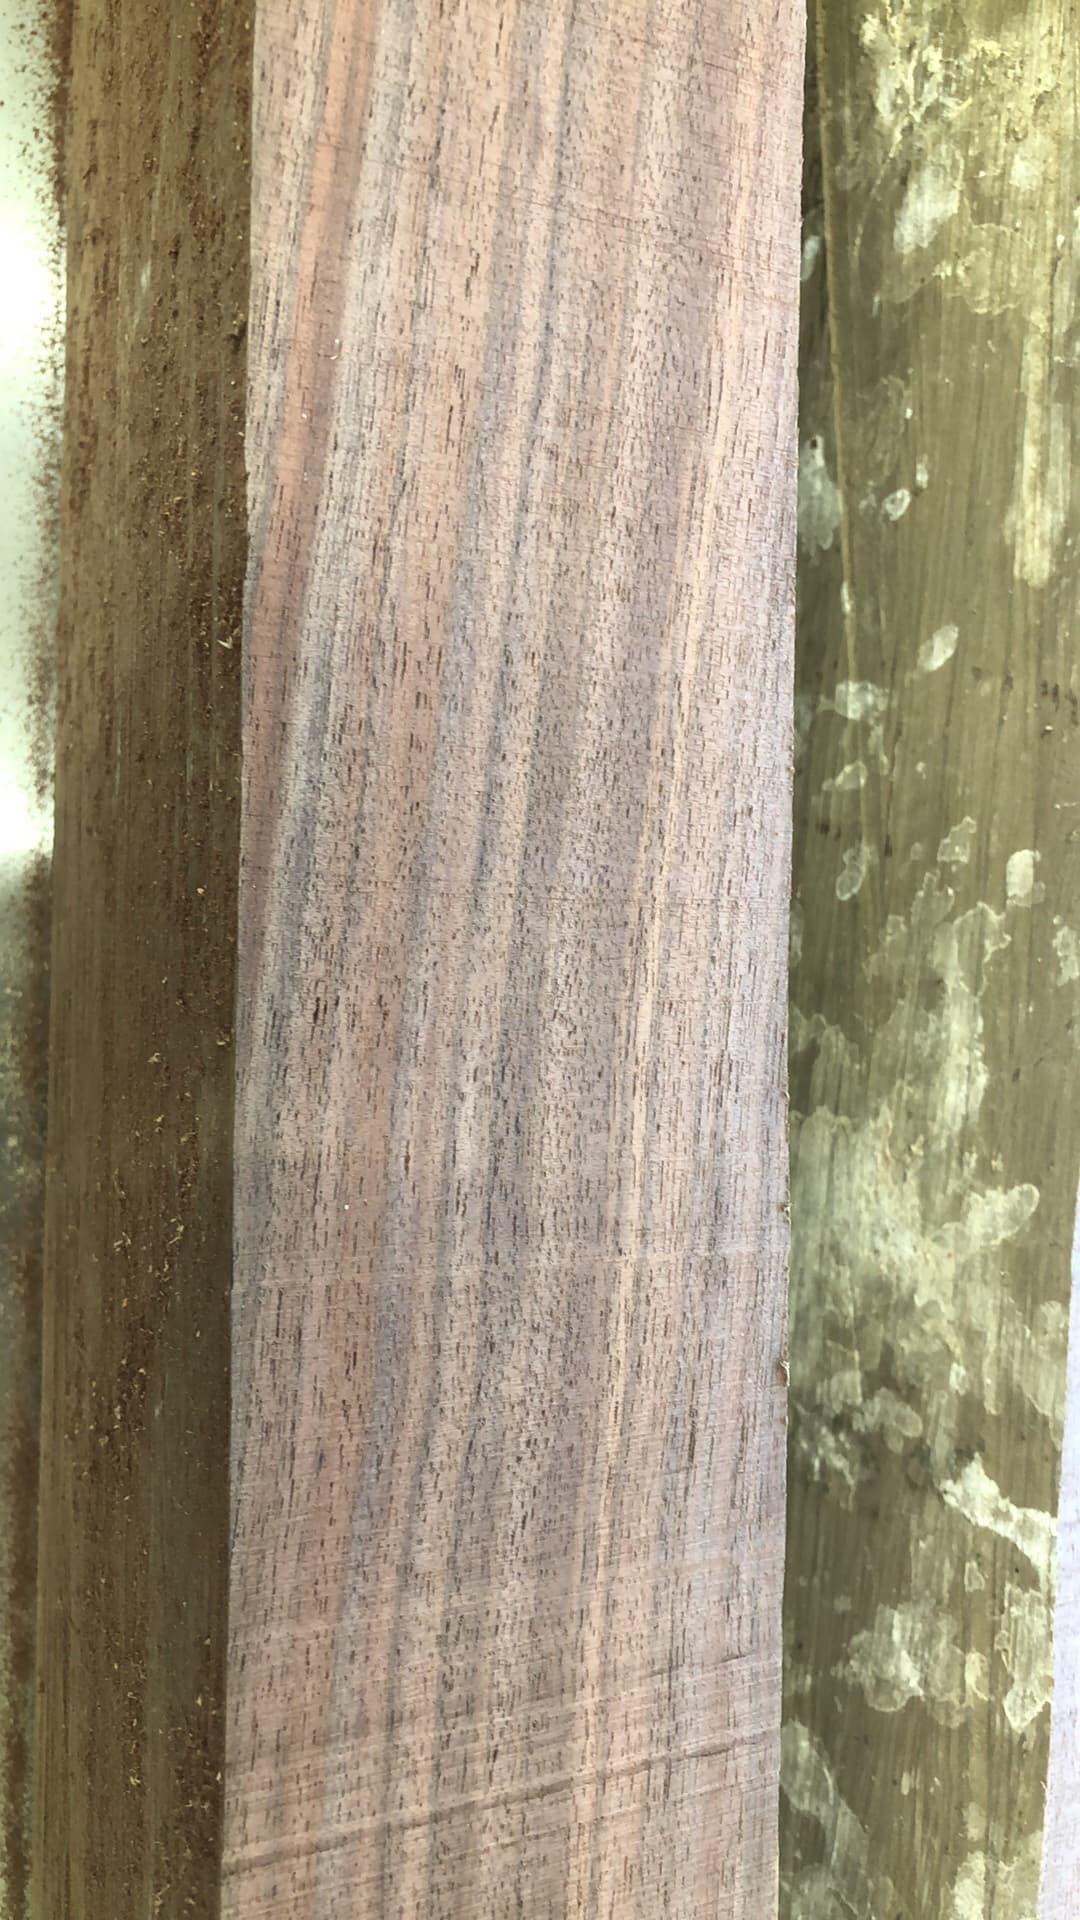
I want the grain moving downwards around the cribbage board, instead of the end grain showing. None of the edges are prepped yet to join. It’s been super fun matching the grain around the 15” diameter.
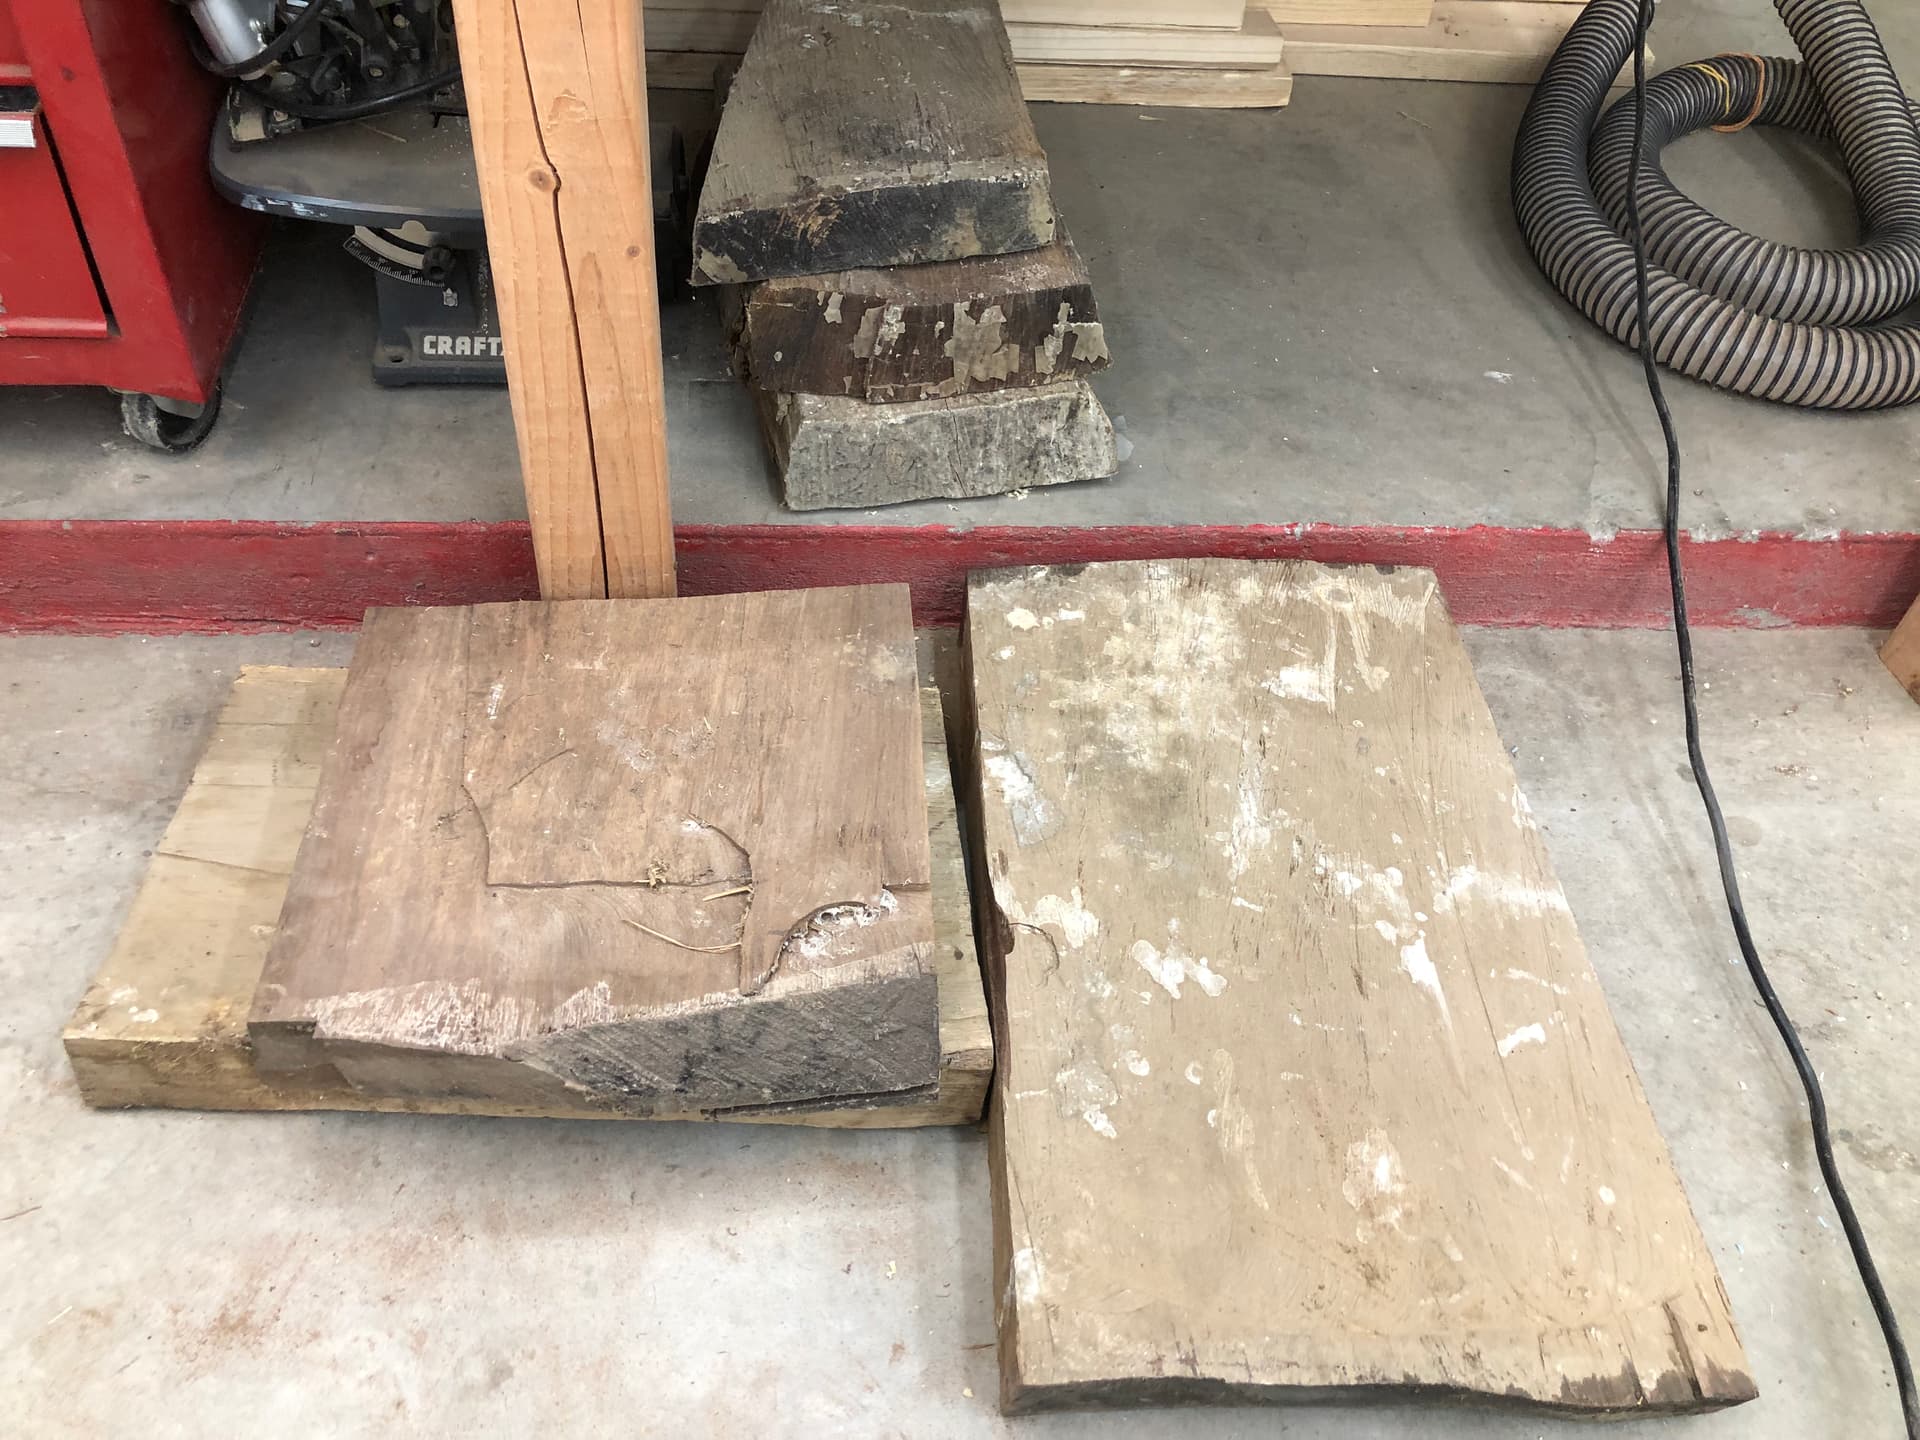
Yeah, processing lumber involves a lot of material removal — a typical 2x4 which is actually 1.5" x 3.5" is the result of removing over one-third of the rough-cut piece.
My suggestion is to just find suitable places for dumping the sawdust — since walnut is allelopathic I dump mine on gravel walkways and at the edges of the driveway
Before someone says it…I know I wasted a ton of material…and it was on purpose…mainly working my shop tools more and working different cuts on the Shapeoko. It wasn’t the most practical, but that was deliberate.
Looking over these lazy susan’s, I’m pretty happy with the quality of these. There’s no sounds, very minimal lateral movement within the bearings. These ended up costing a total of $25.
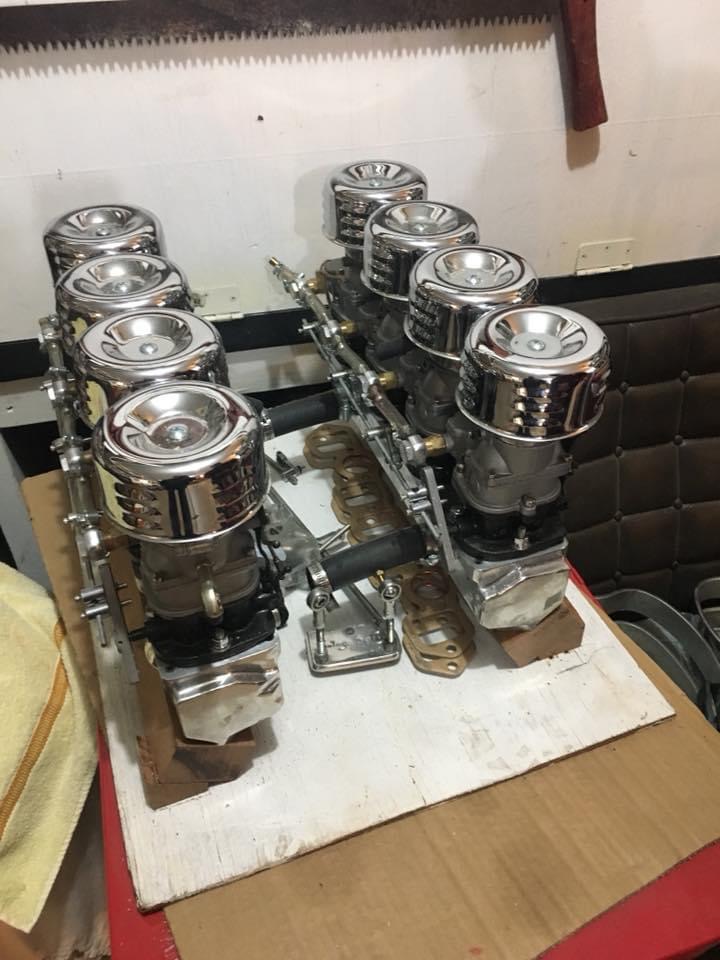
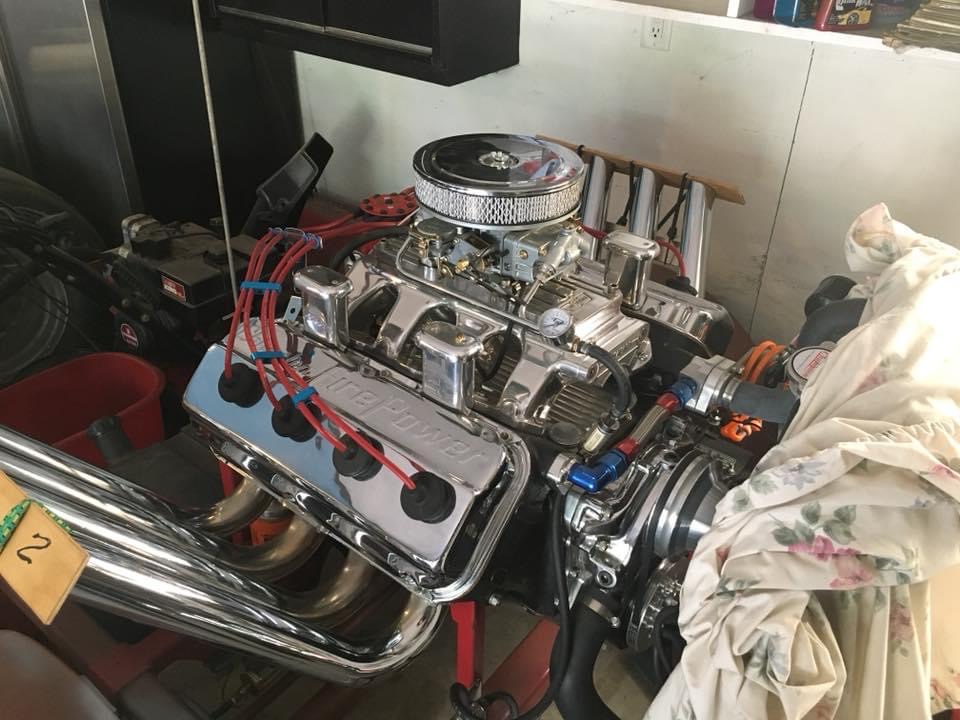
It’s a 30. I chopped it 5” and it’s been a neglected project. I have a 1958 392 Hemi at the machinist getting all supe’d up. When it gets back it might light a fire to get the car done.
I’ve been rebuilding and do all the gas lines on the carb setup for it. Still a work in progress.
Wanted to get some thoughts on a dilemma I’ve been going back and forth with…
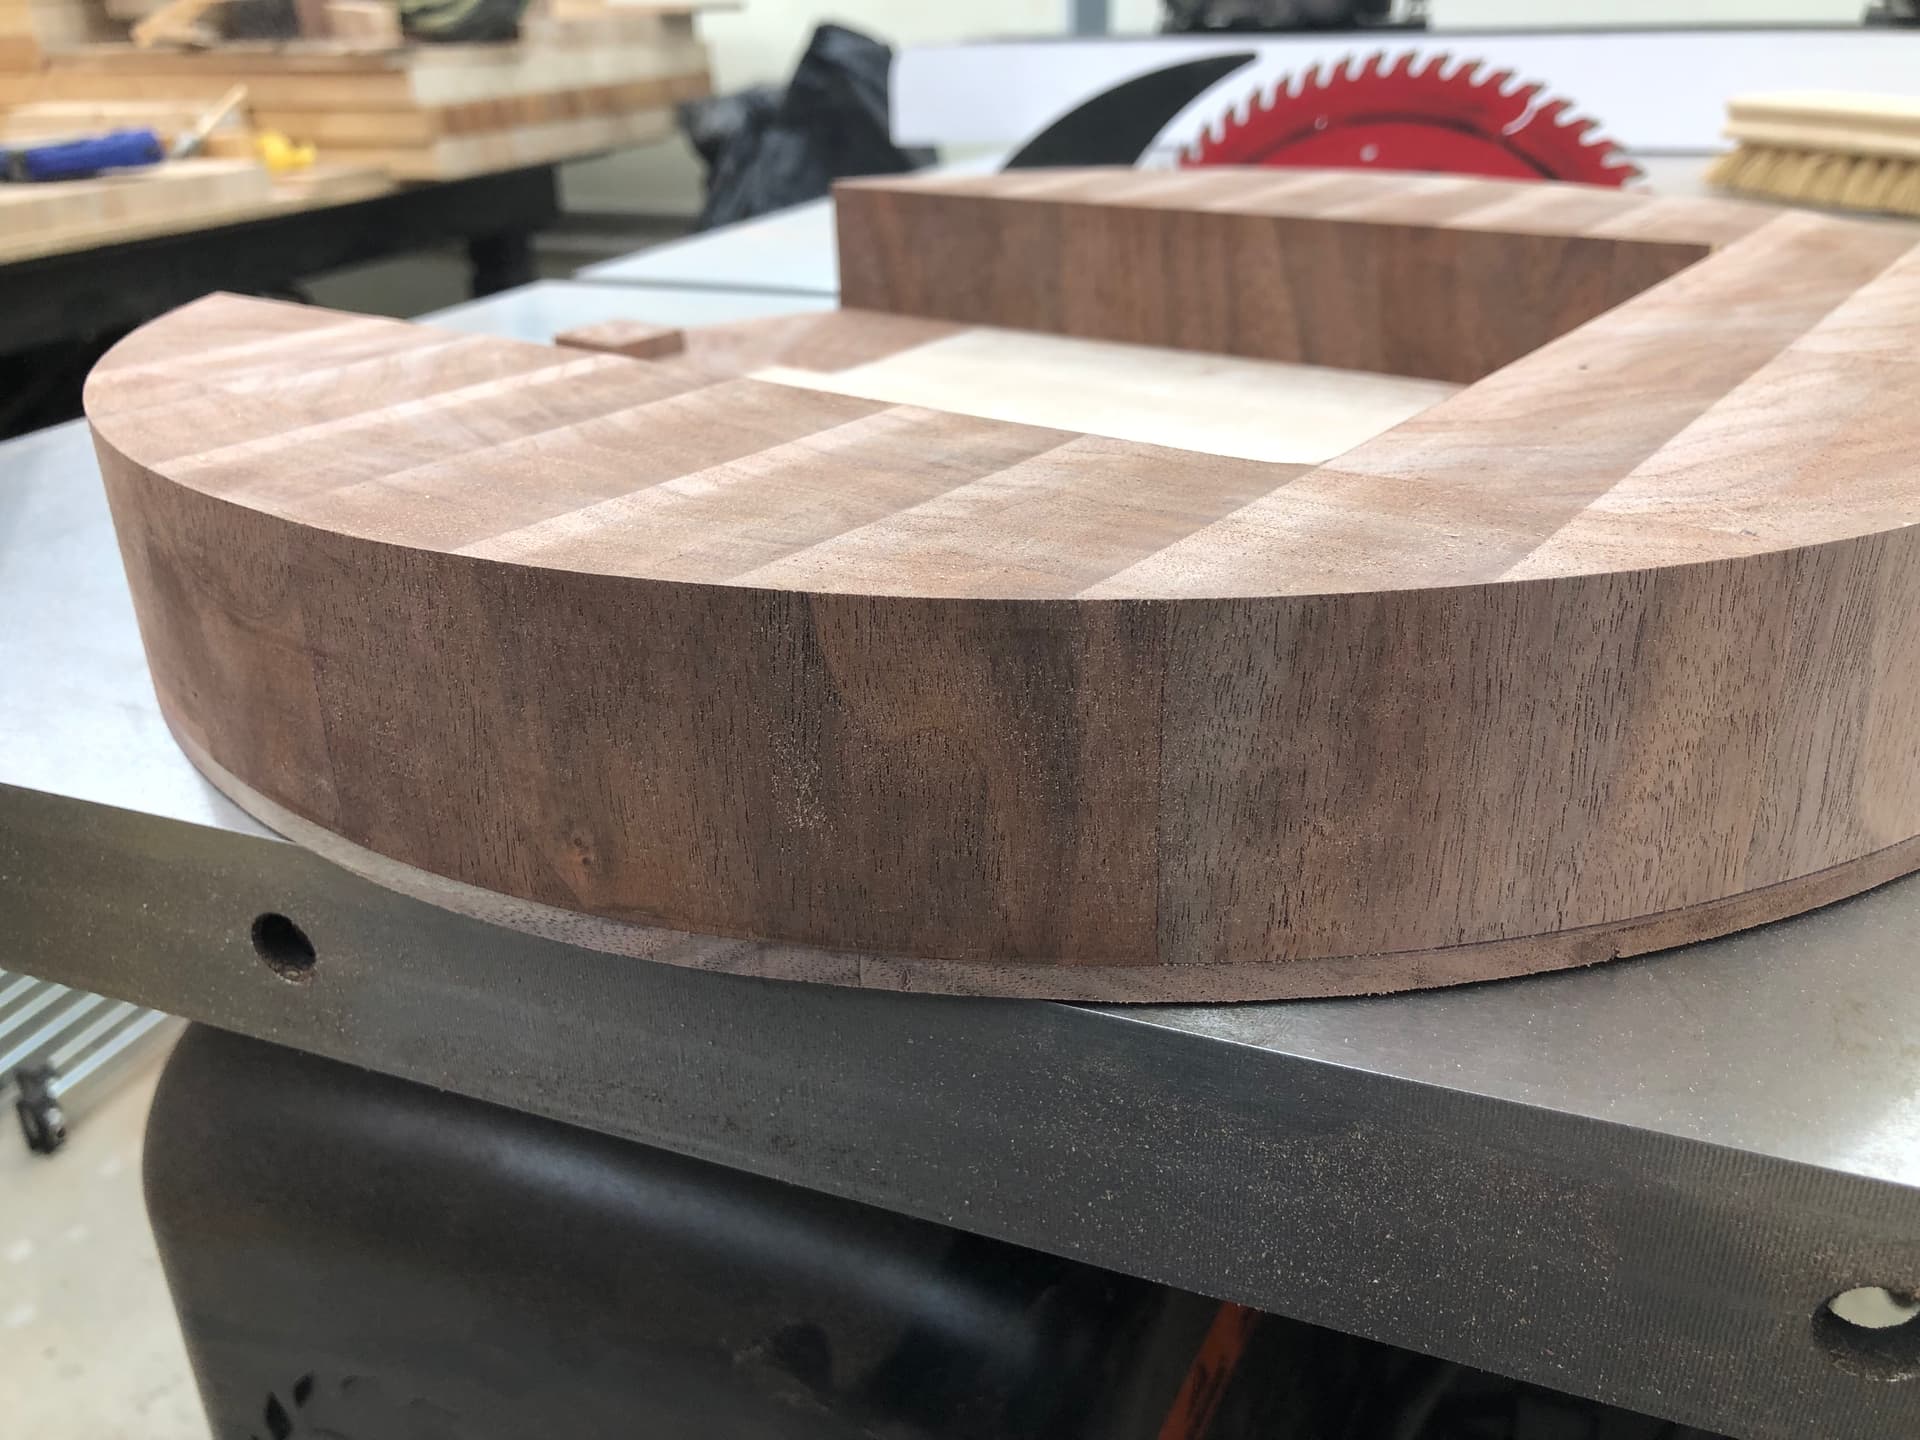
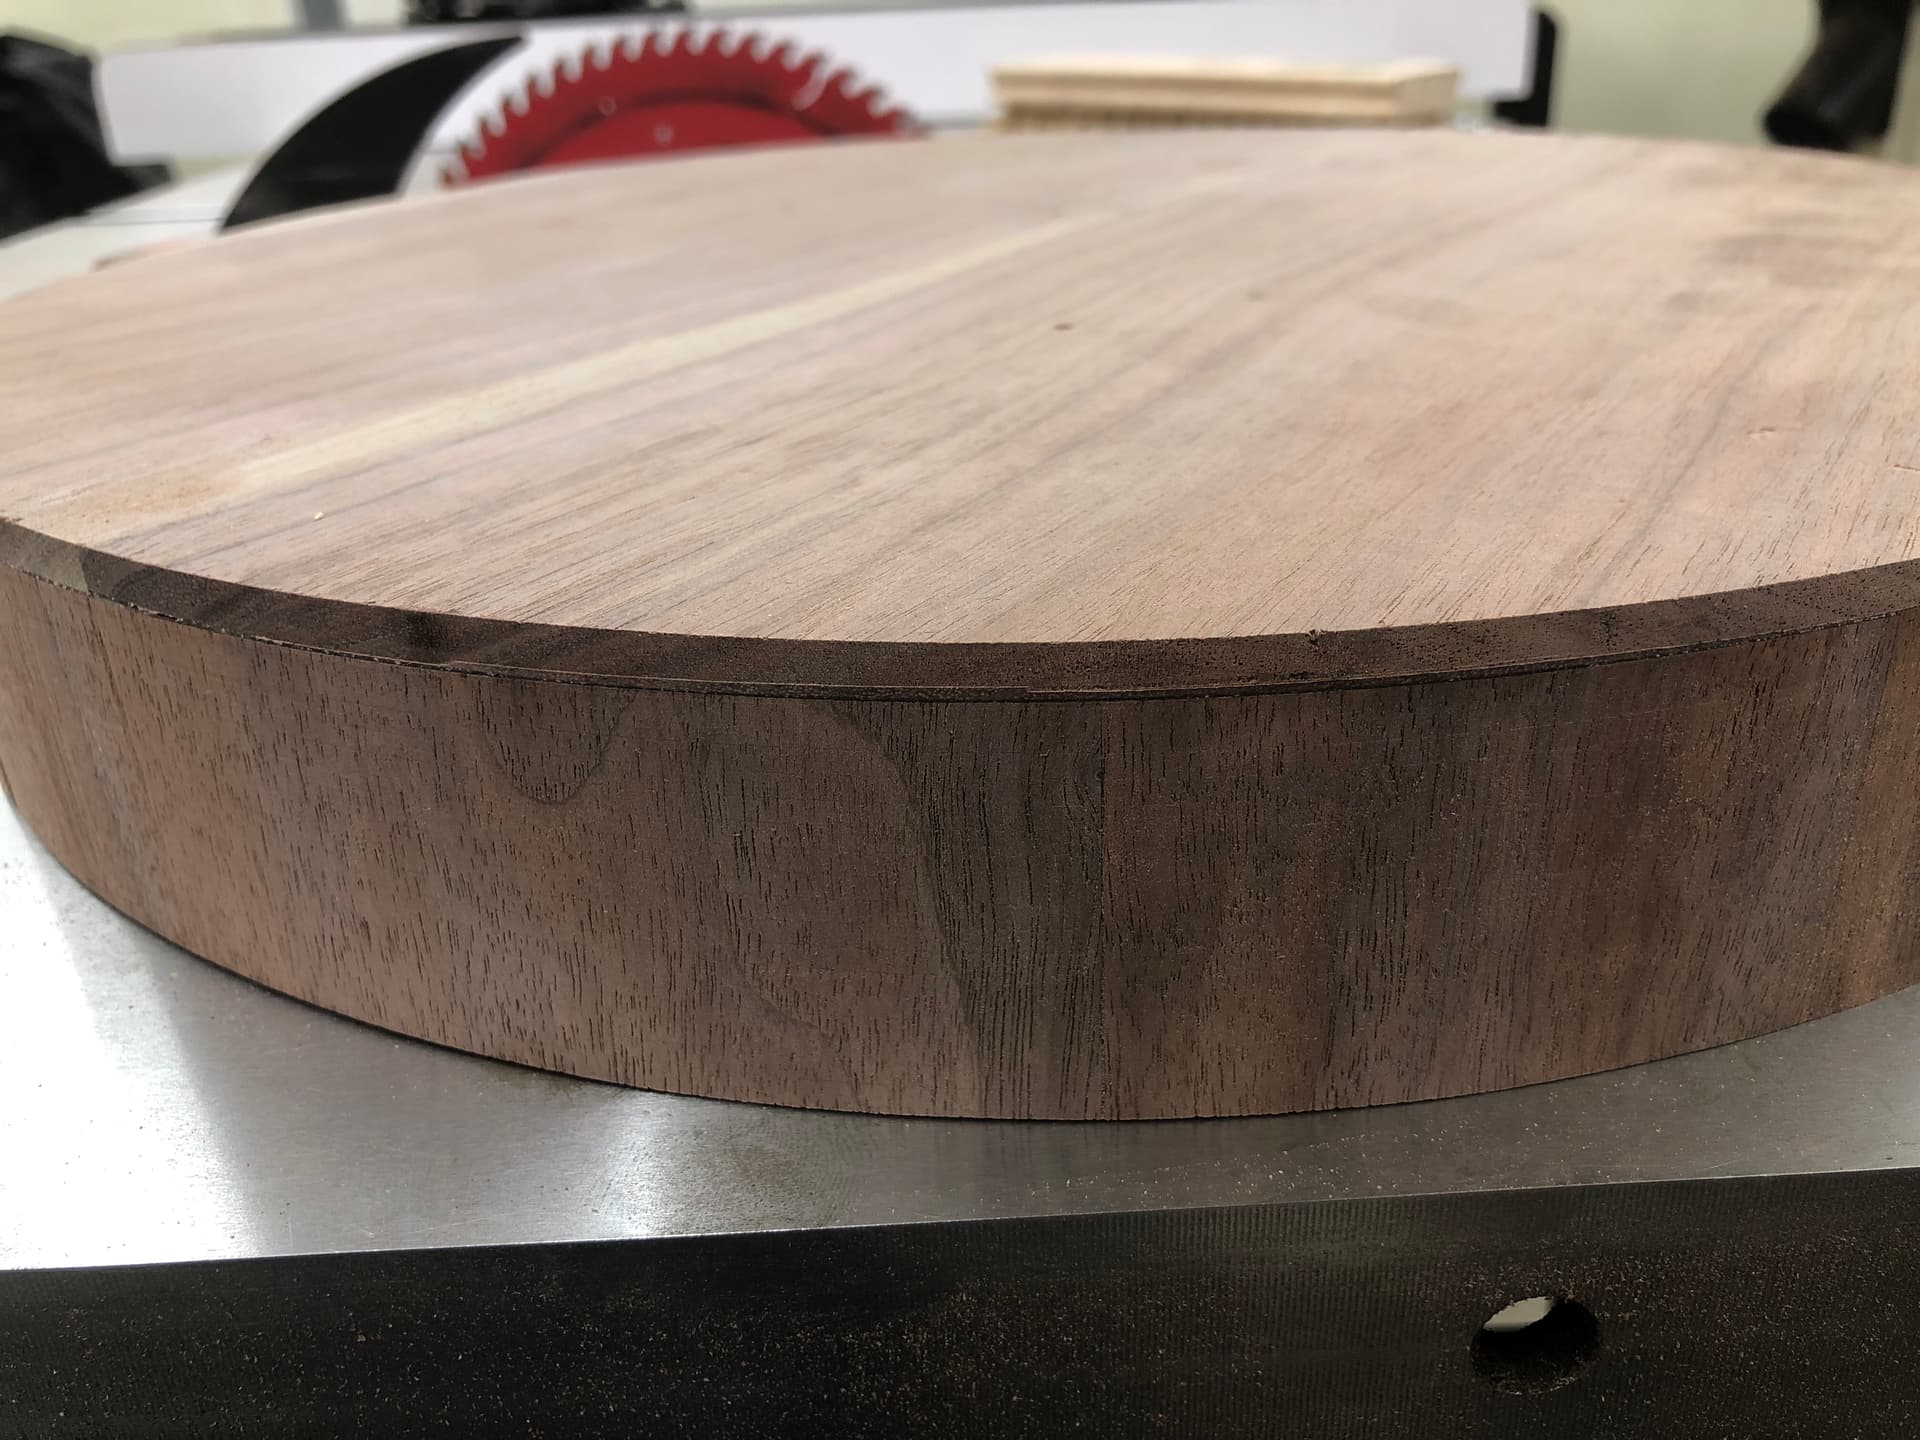
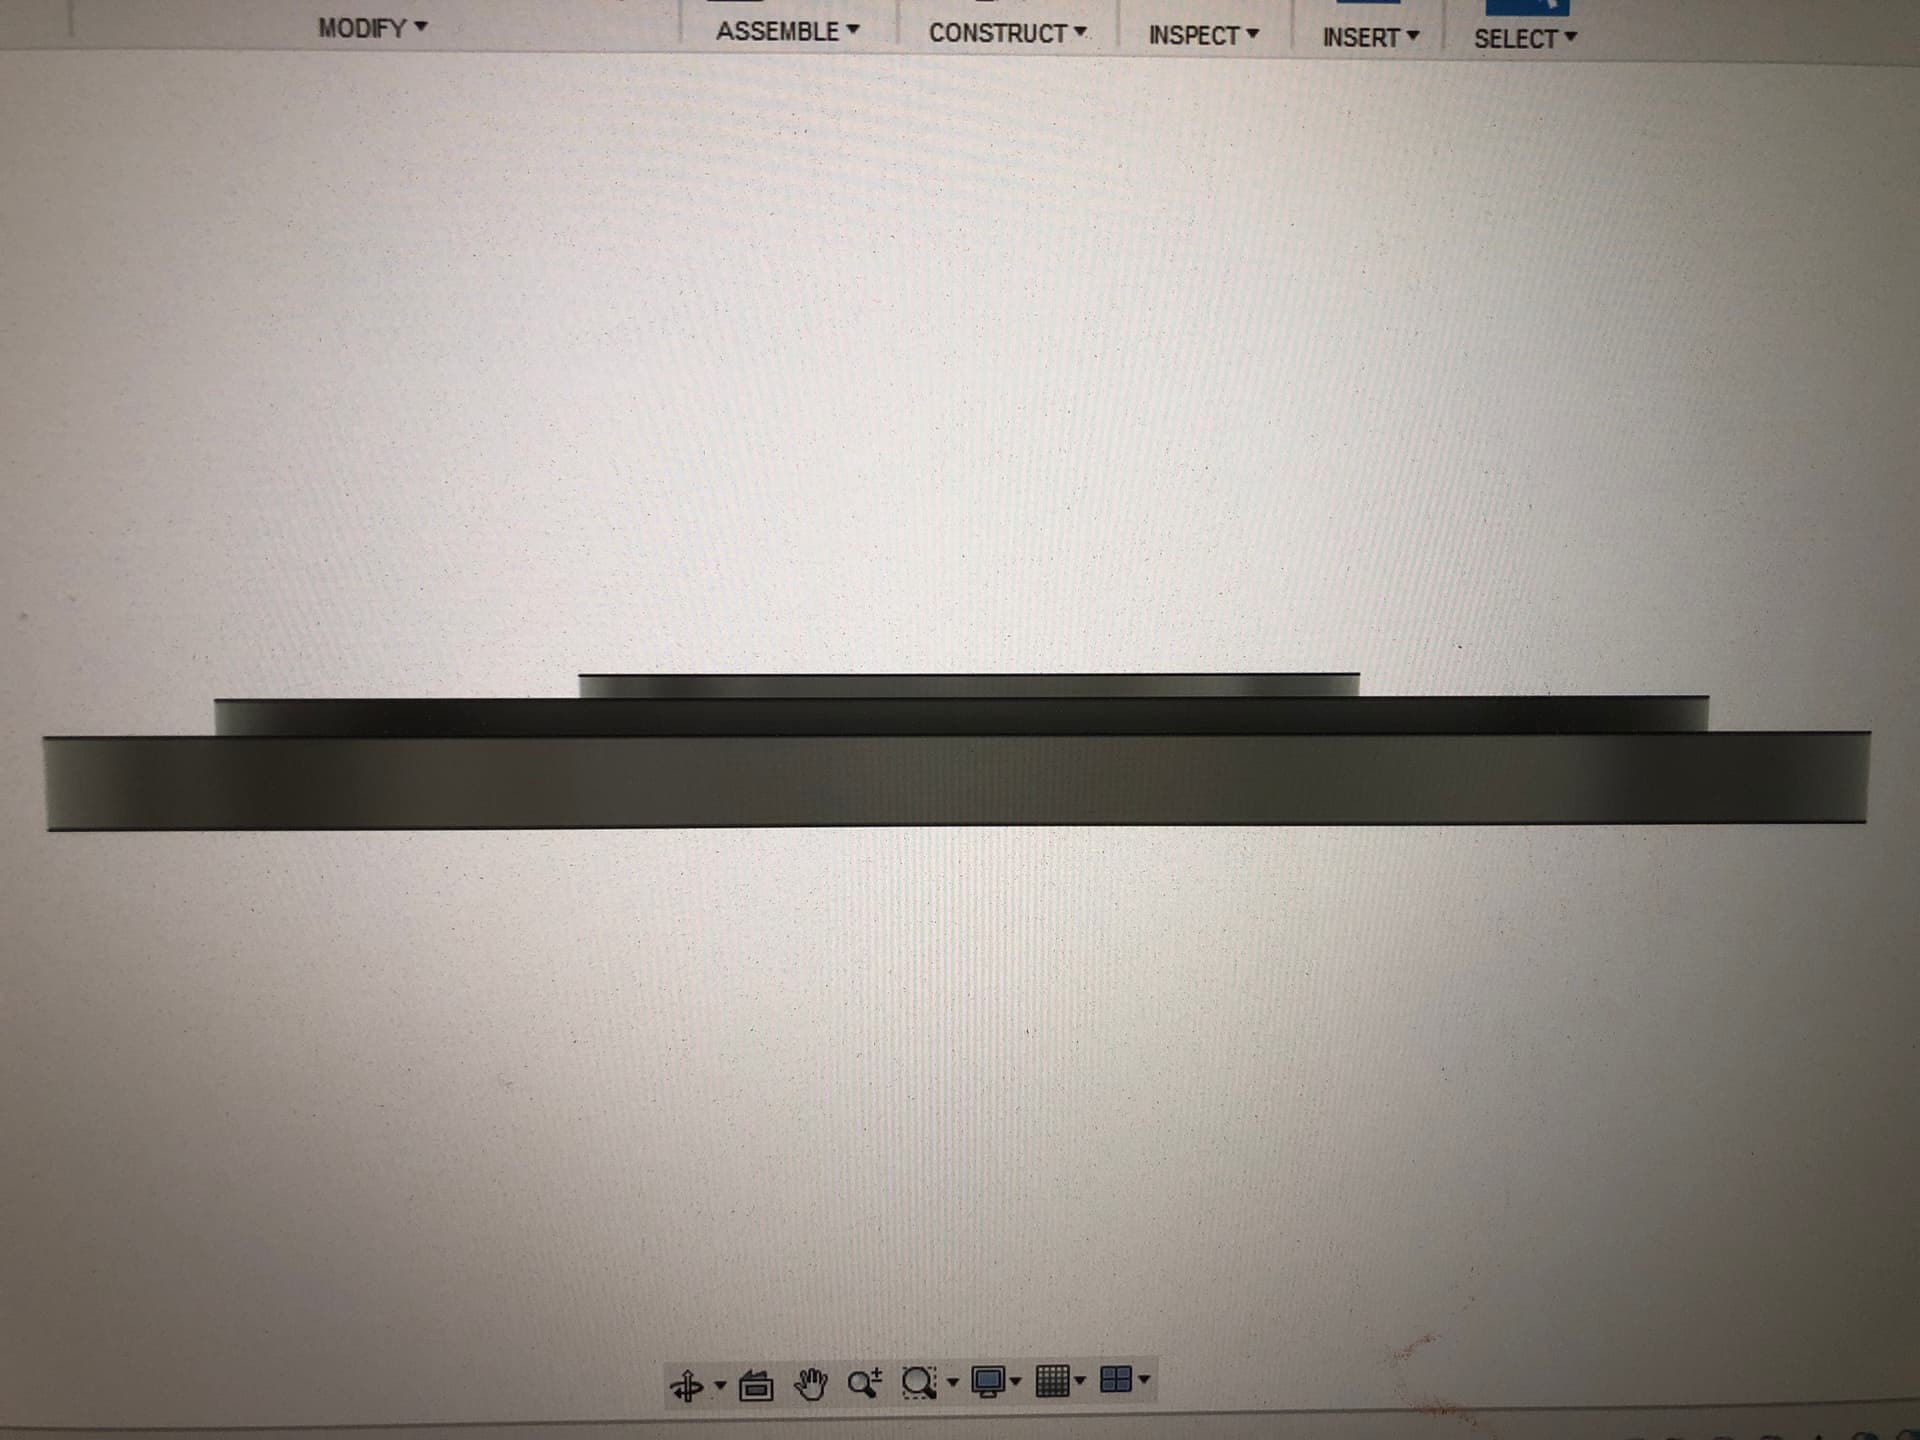
I was putting a 30 degree chamfer where my main base and the top of the board meets to make the grain flow from the top down into the sides leading to the bottom base. My material moved in the machine and the bottom of the chamfer went outside the main circumference of the cut. Taking out about 3/8” with it, the over all height was going to be 1 1/4” to meet flush with the player track piece and compass.
I really do not want to cut another piece of walnut and another glue up. I’m thinking about now doing a layered effect with the 3 faces.
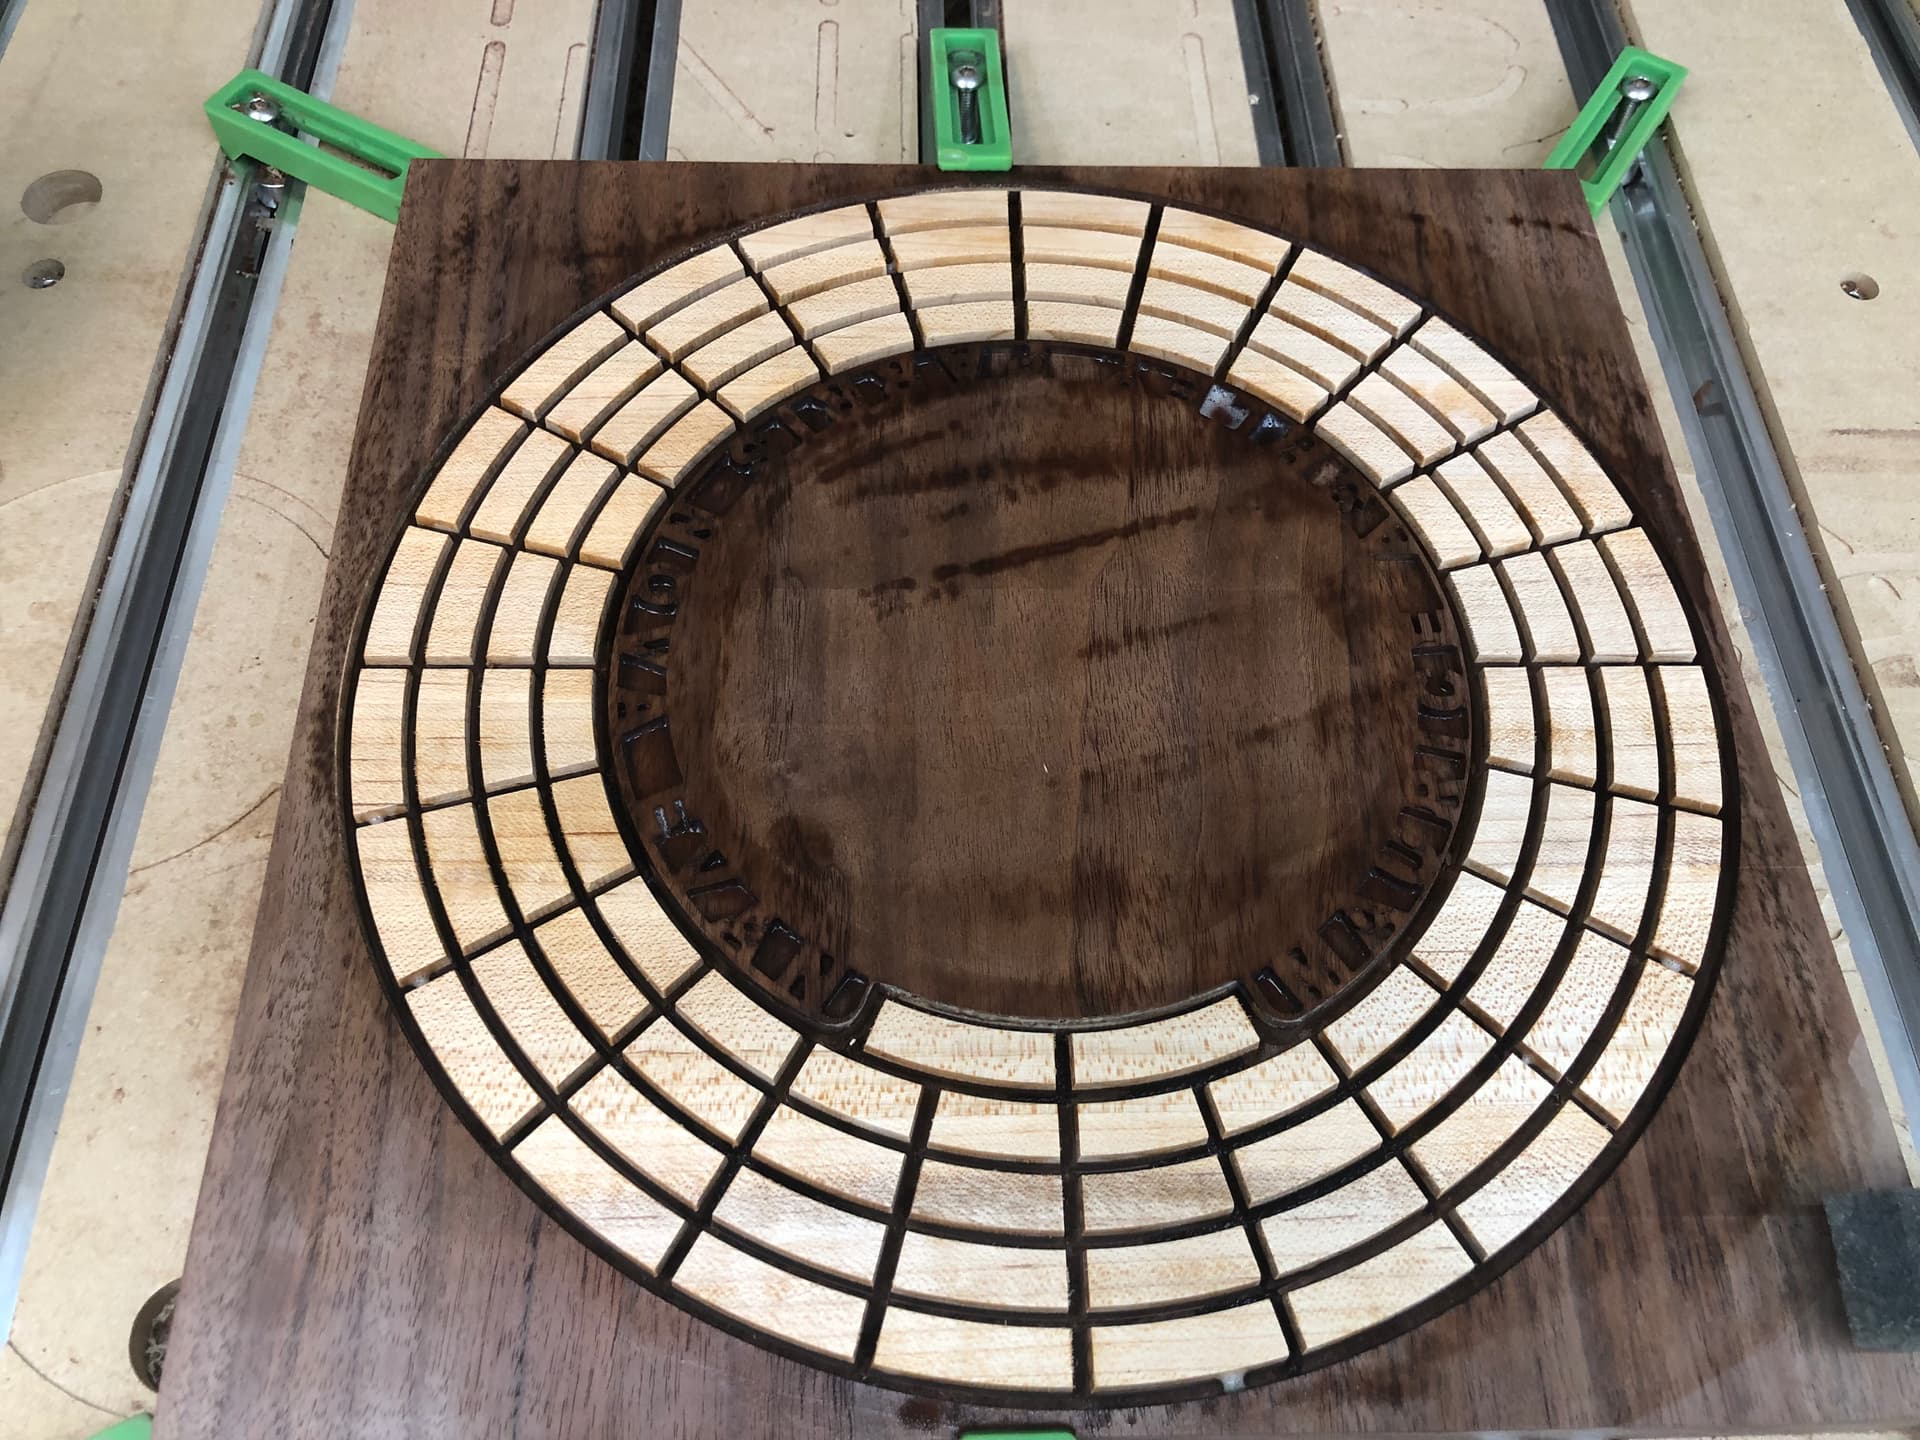
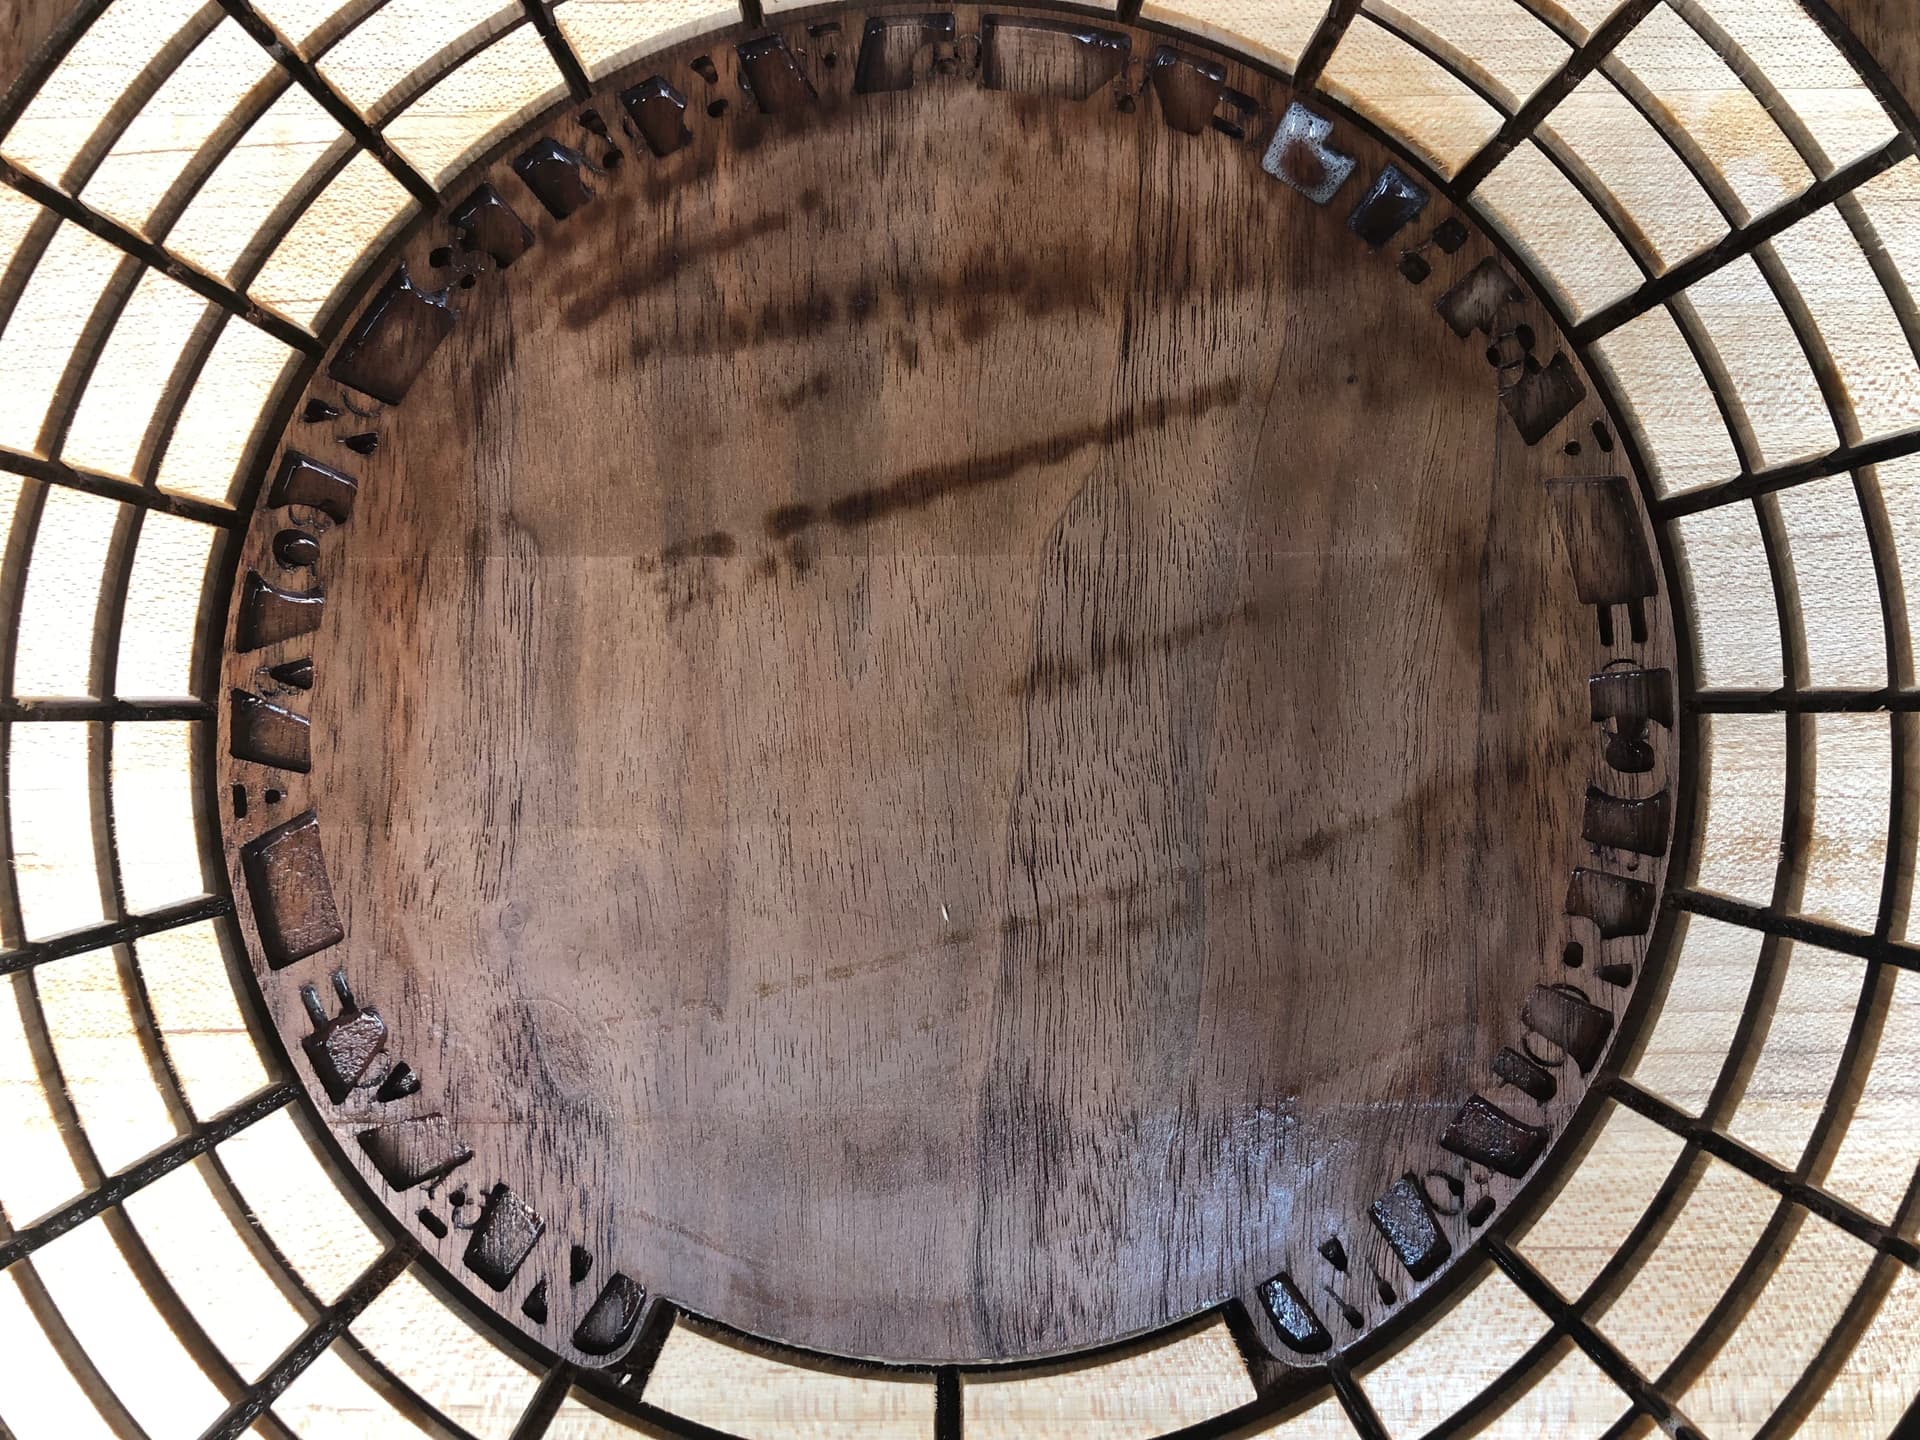
Quick change, the numbering was to small for my engraver so I put my families names in the circle. Tomorrow after the epoxy cures for 18hrs…I’ll face it down and cut the inner diameter for the compass to sit inside it