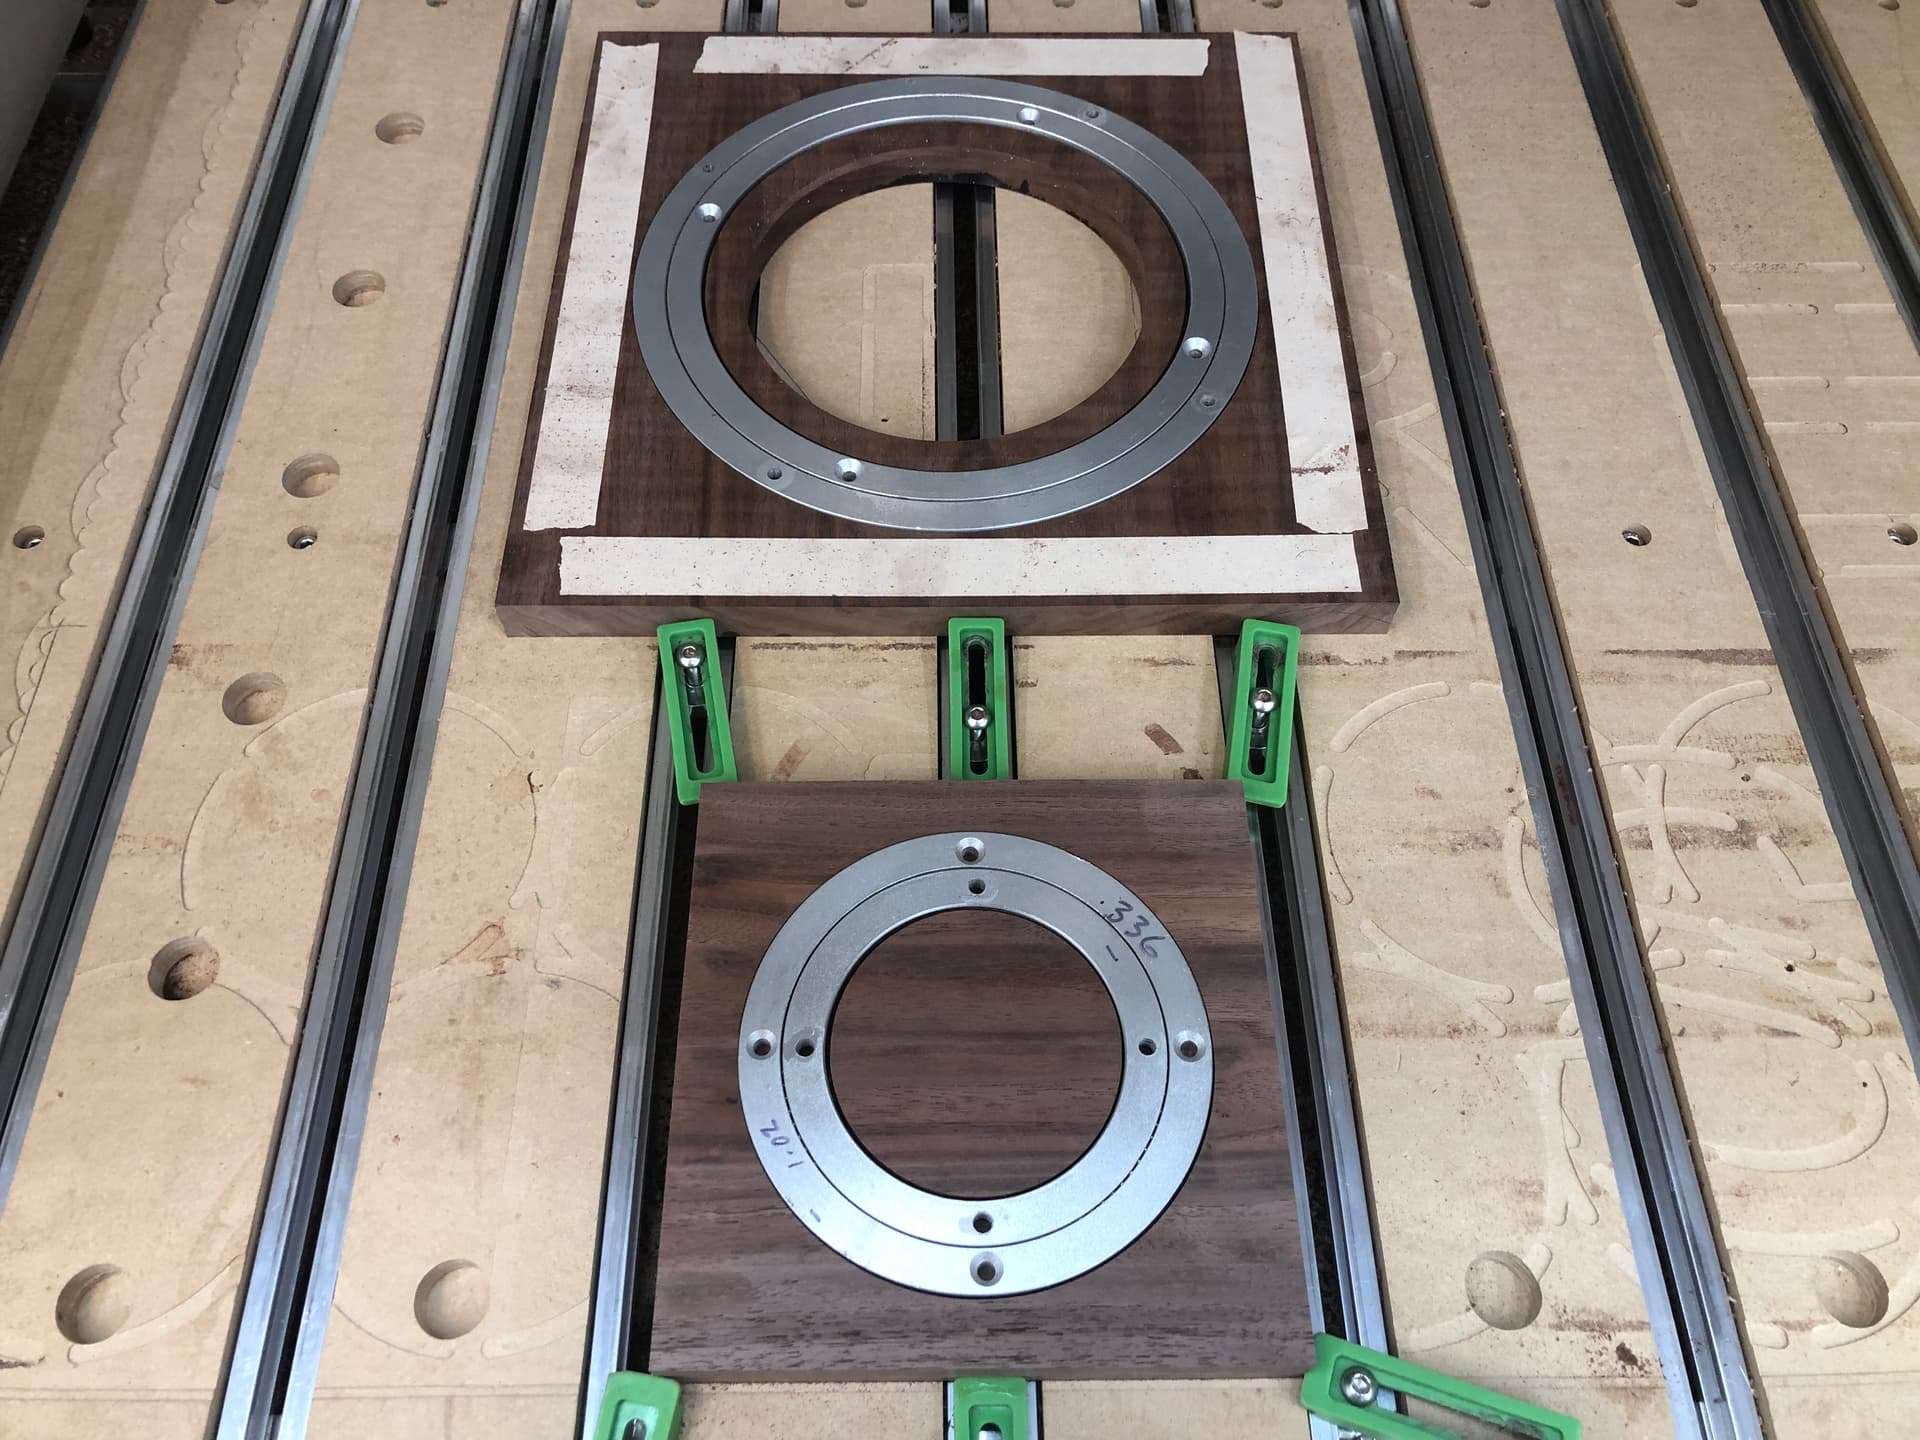
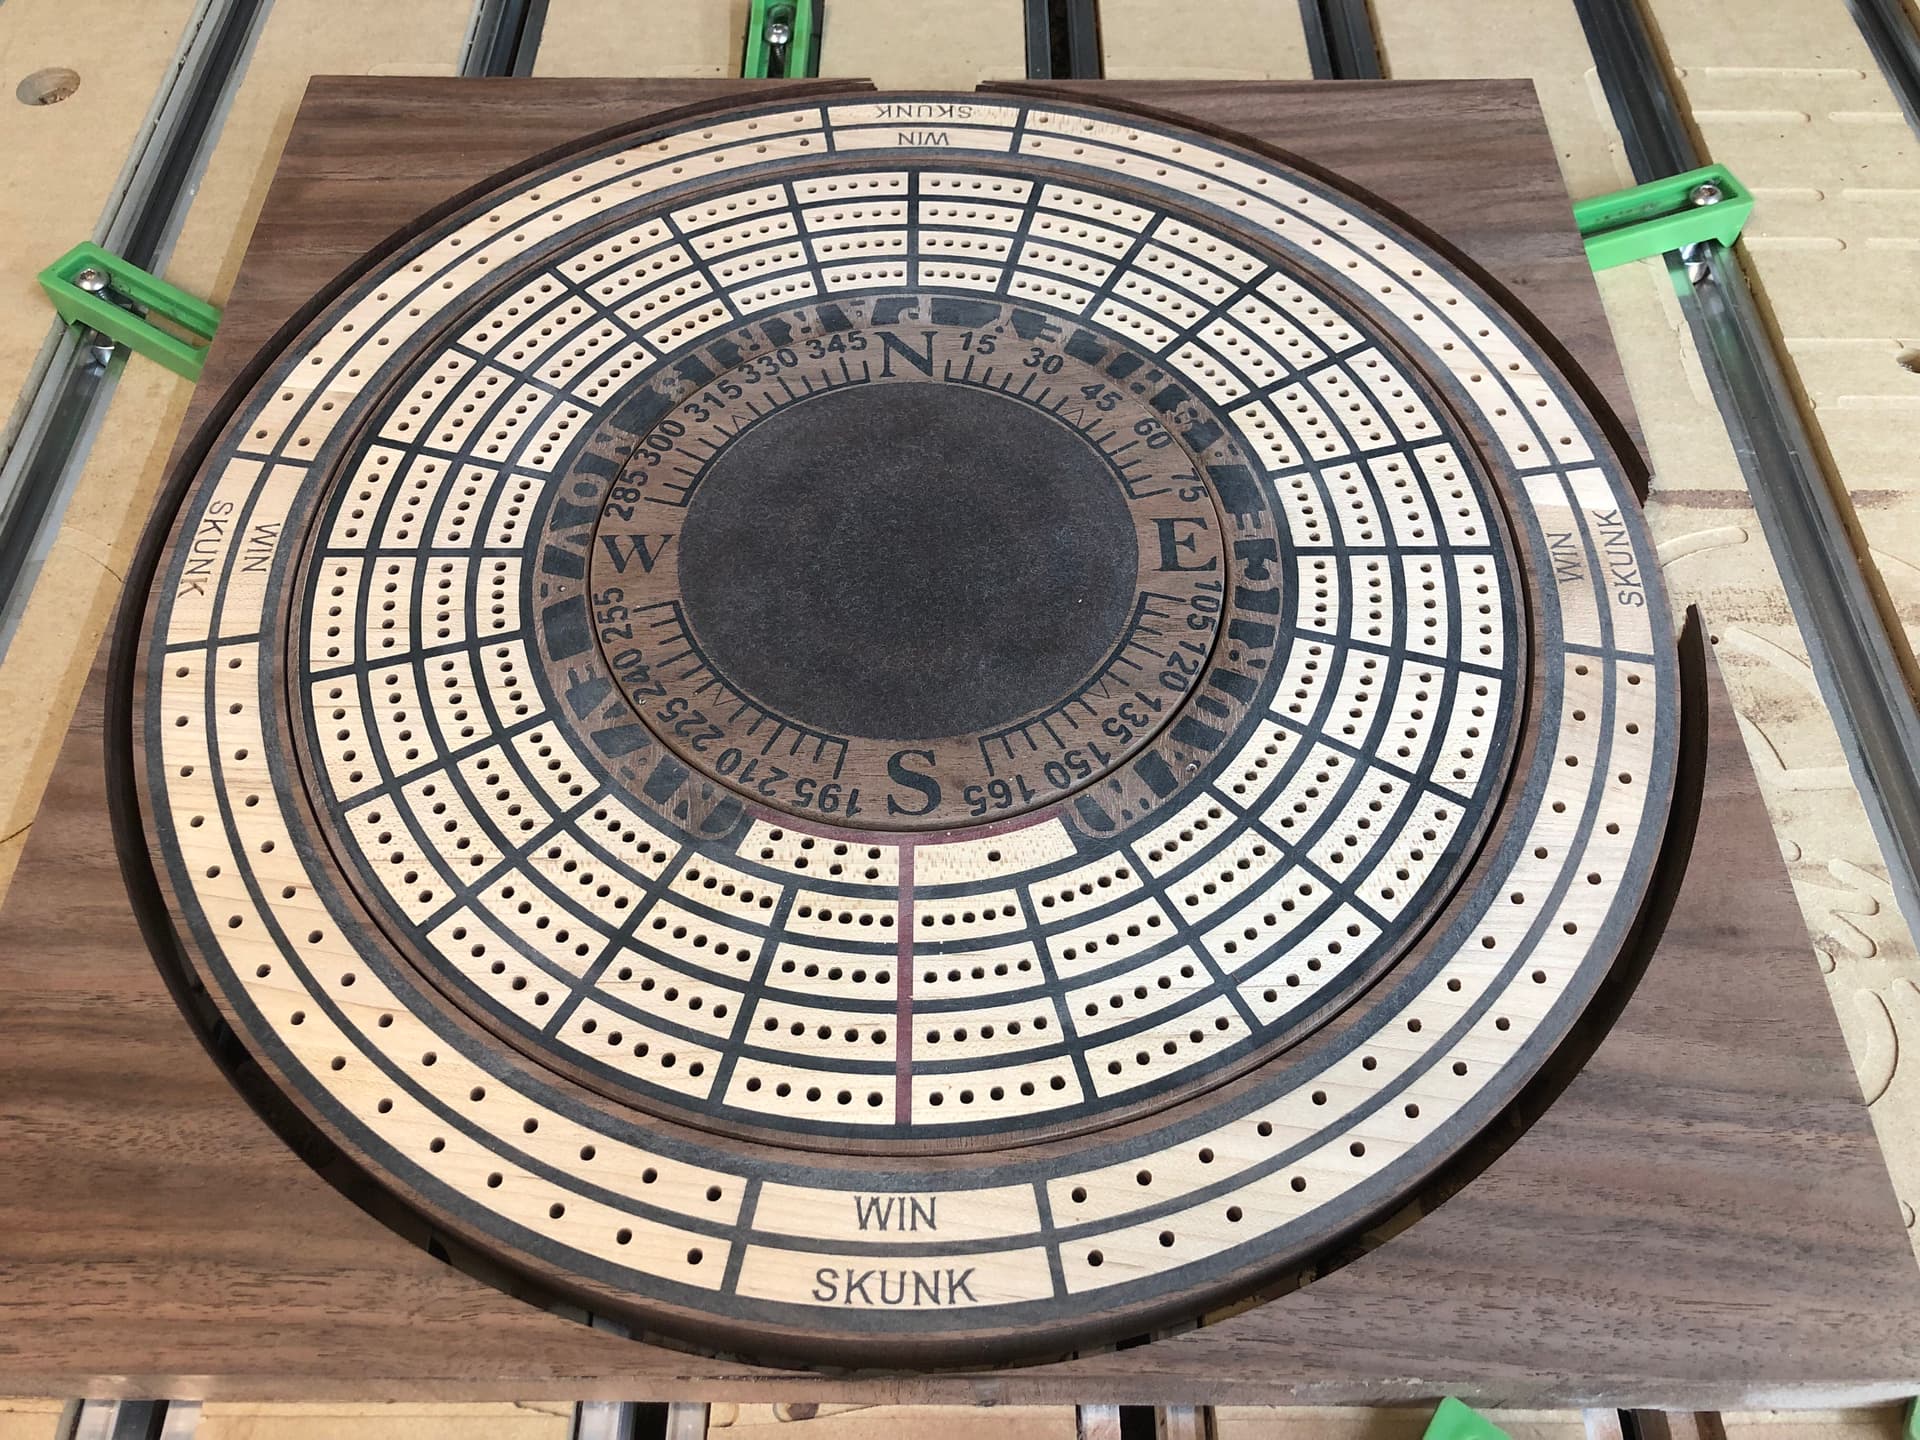
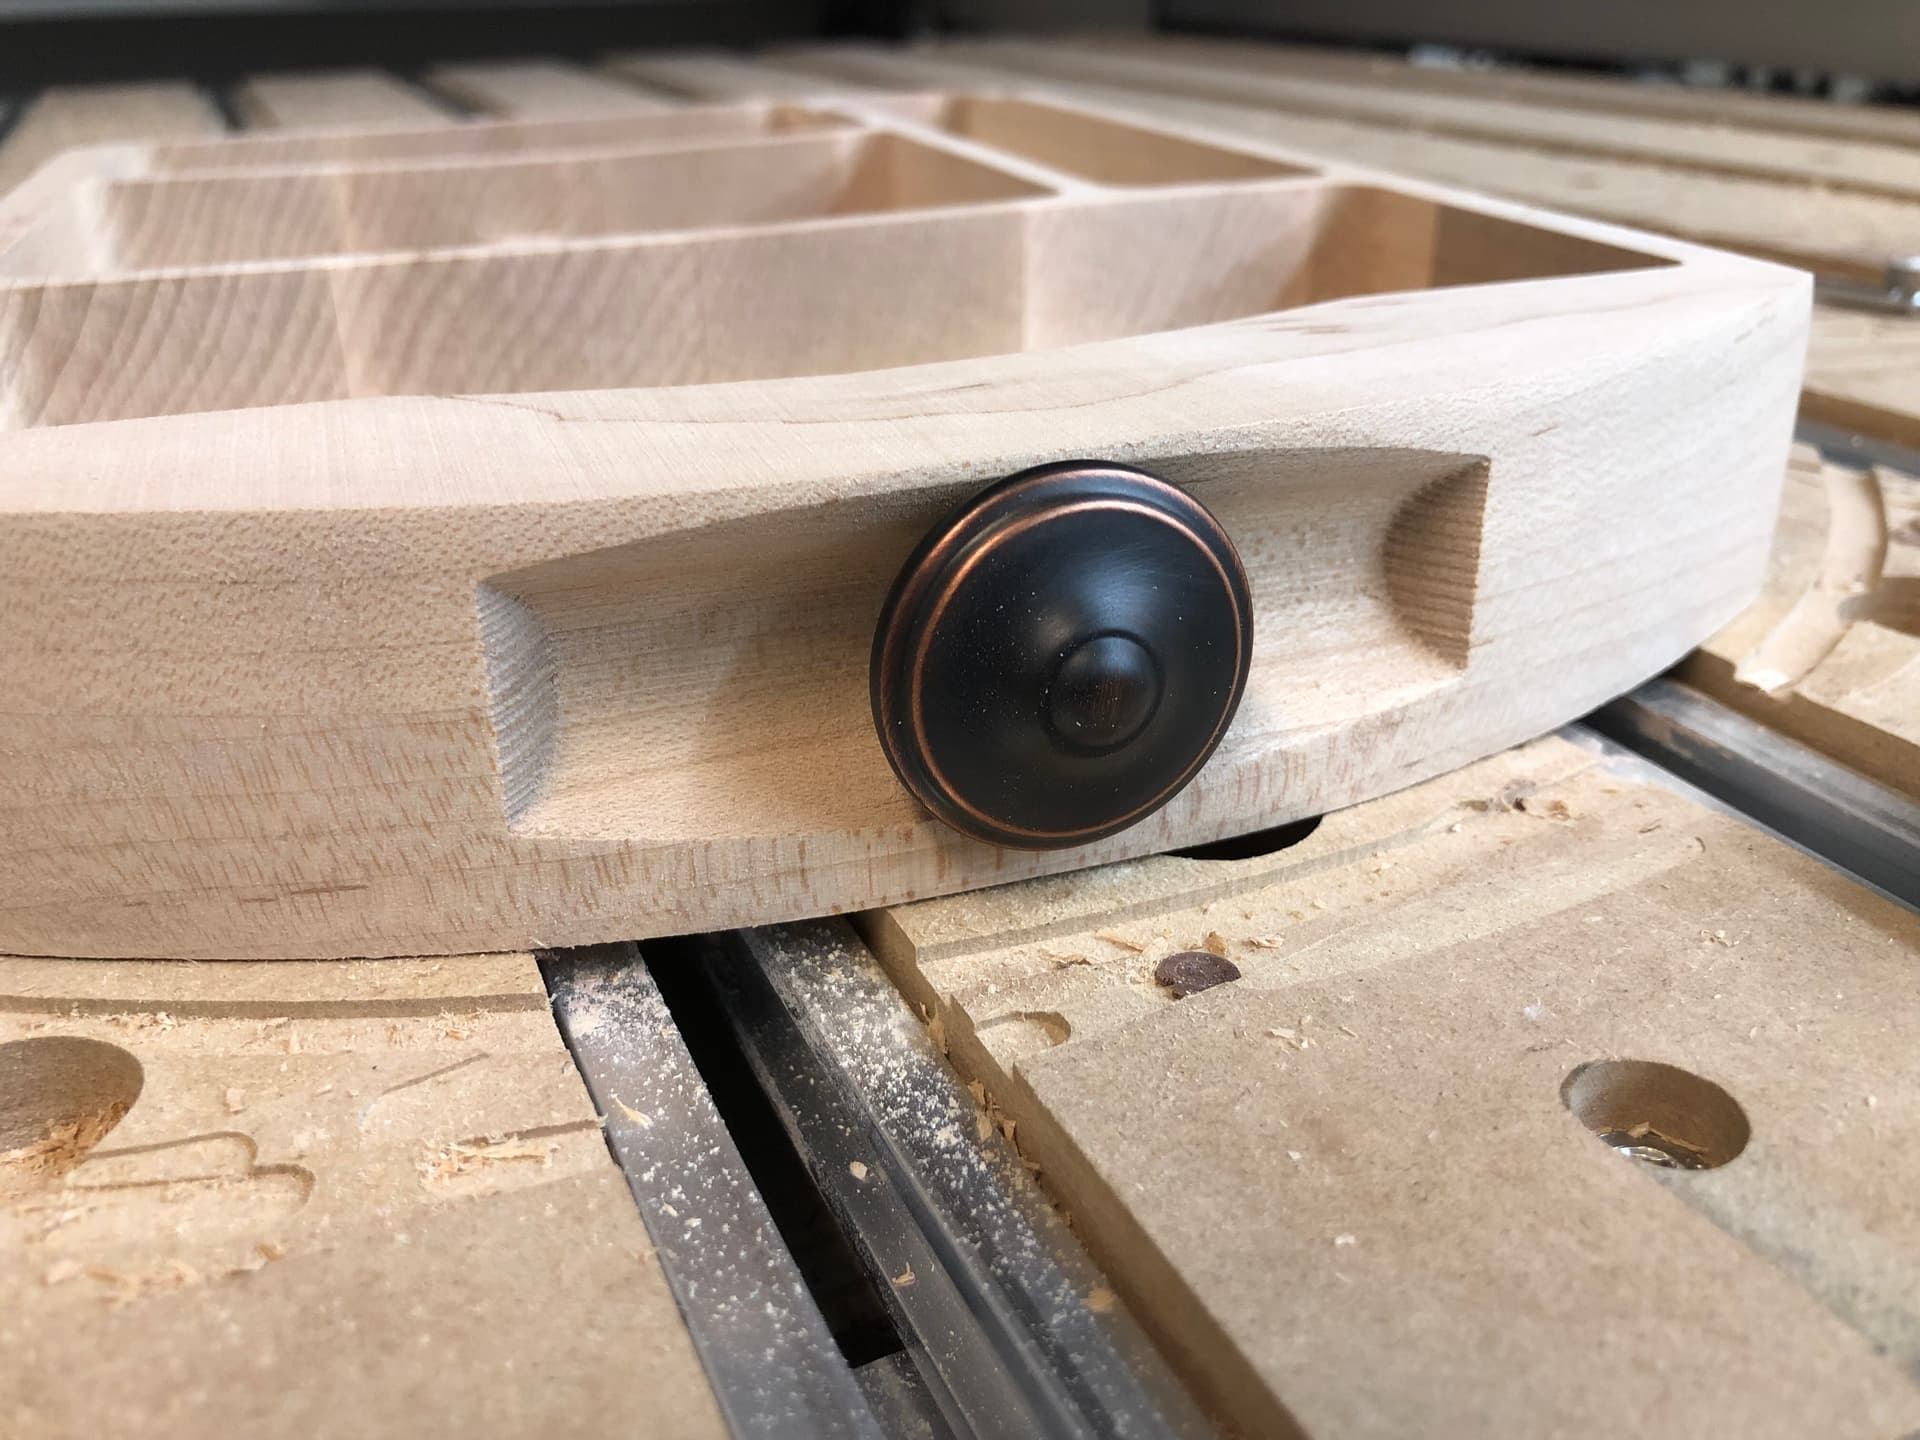
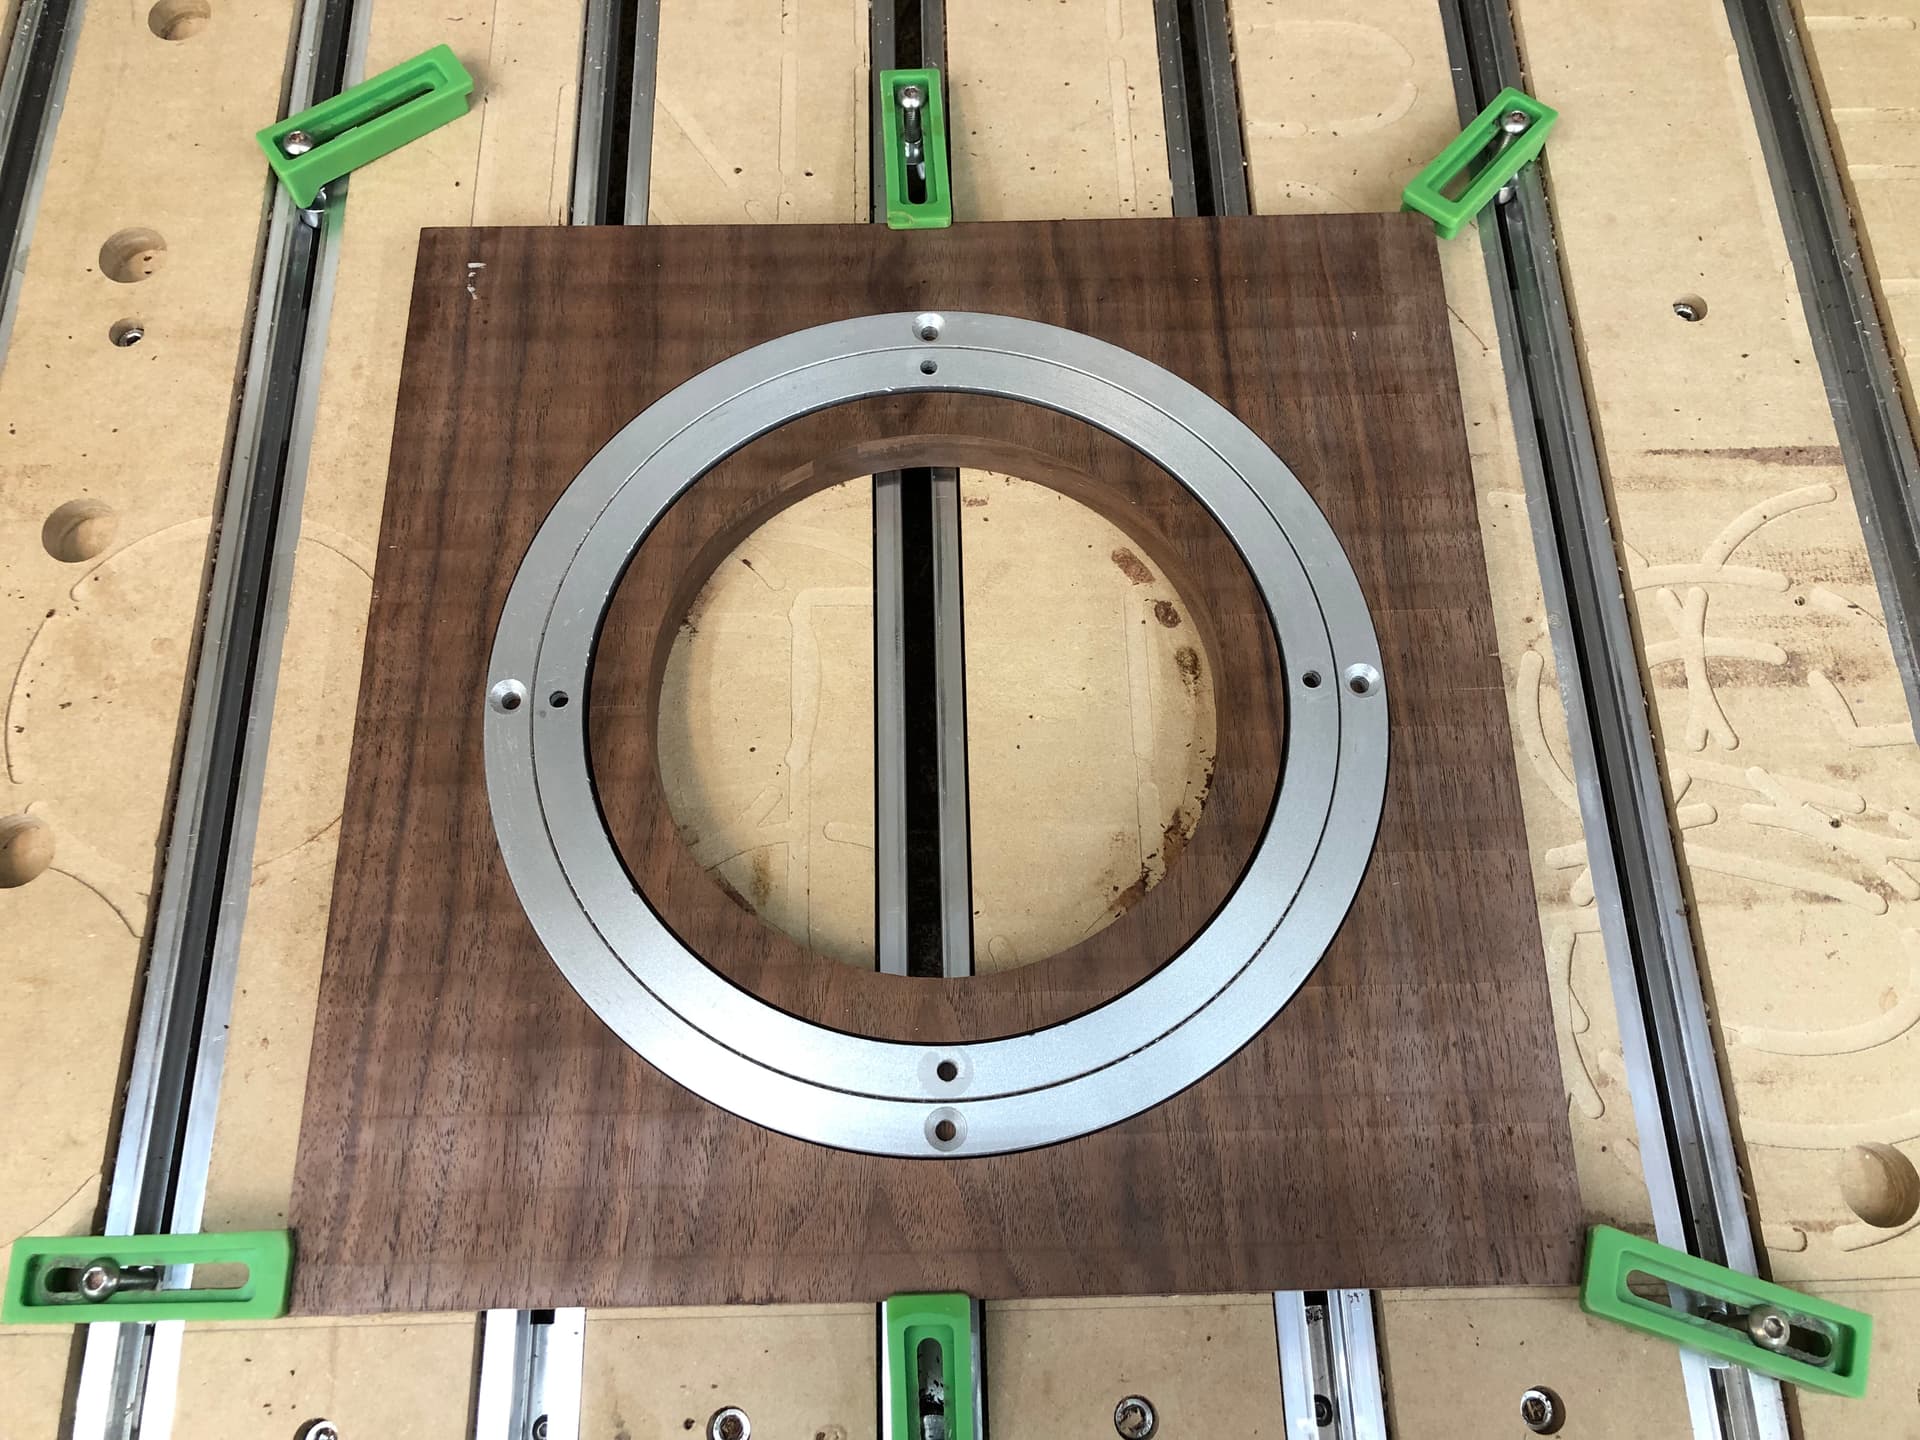
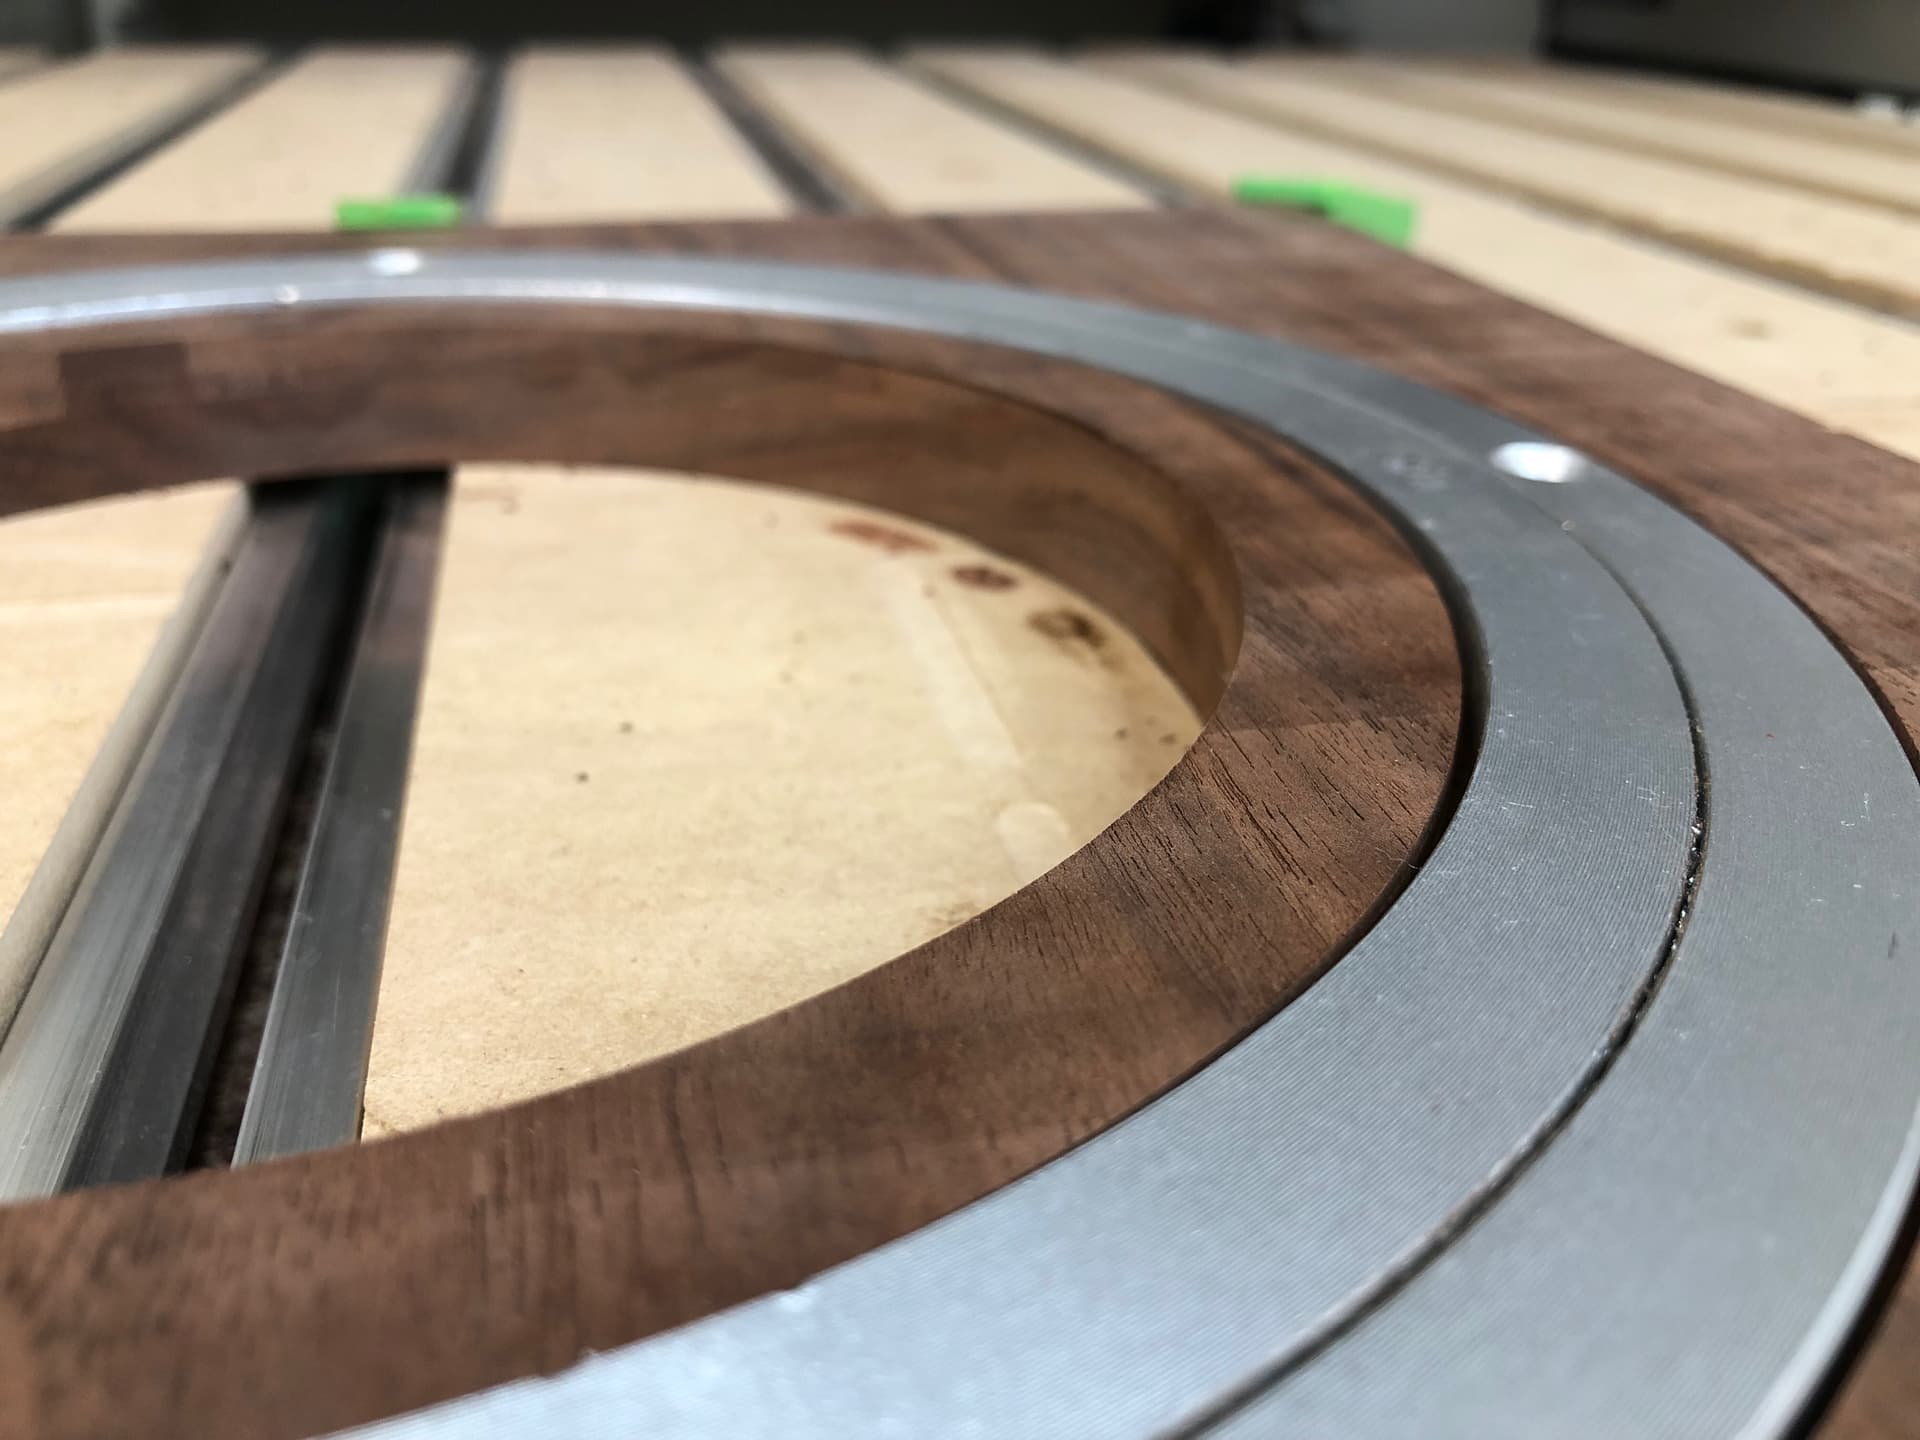
Cut the Lazy Susan in, I left some play room just to make sure I could get it dead center with the rest of the bodies. Also left .03 sticking out so it will freely rotate off the base.
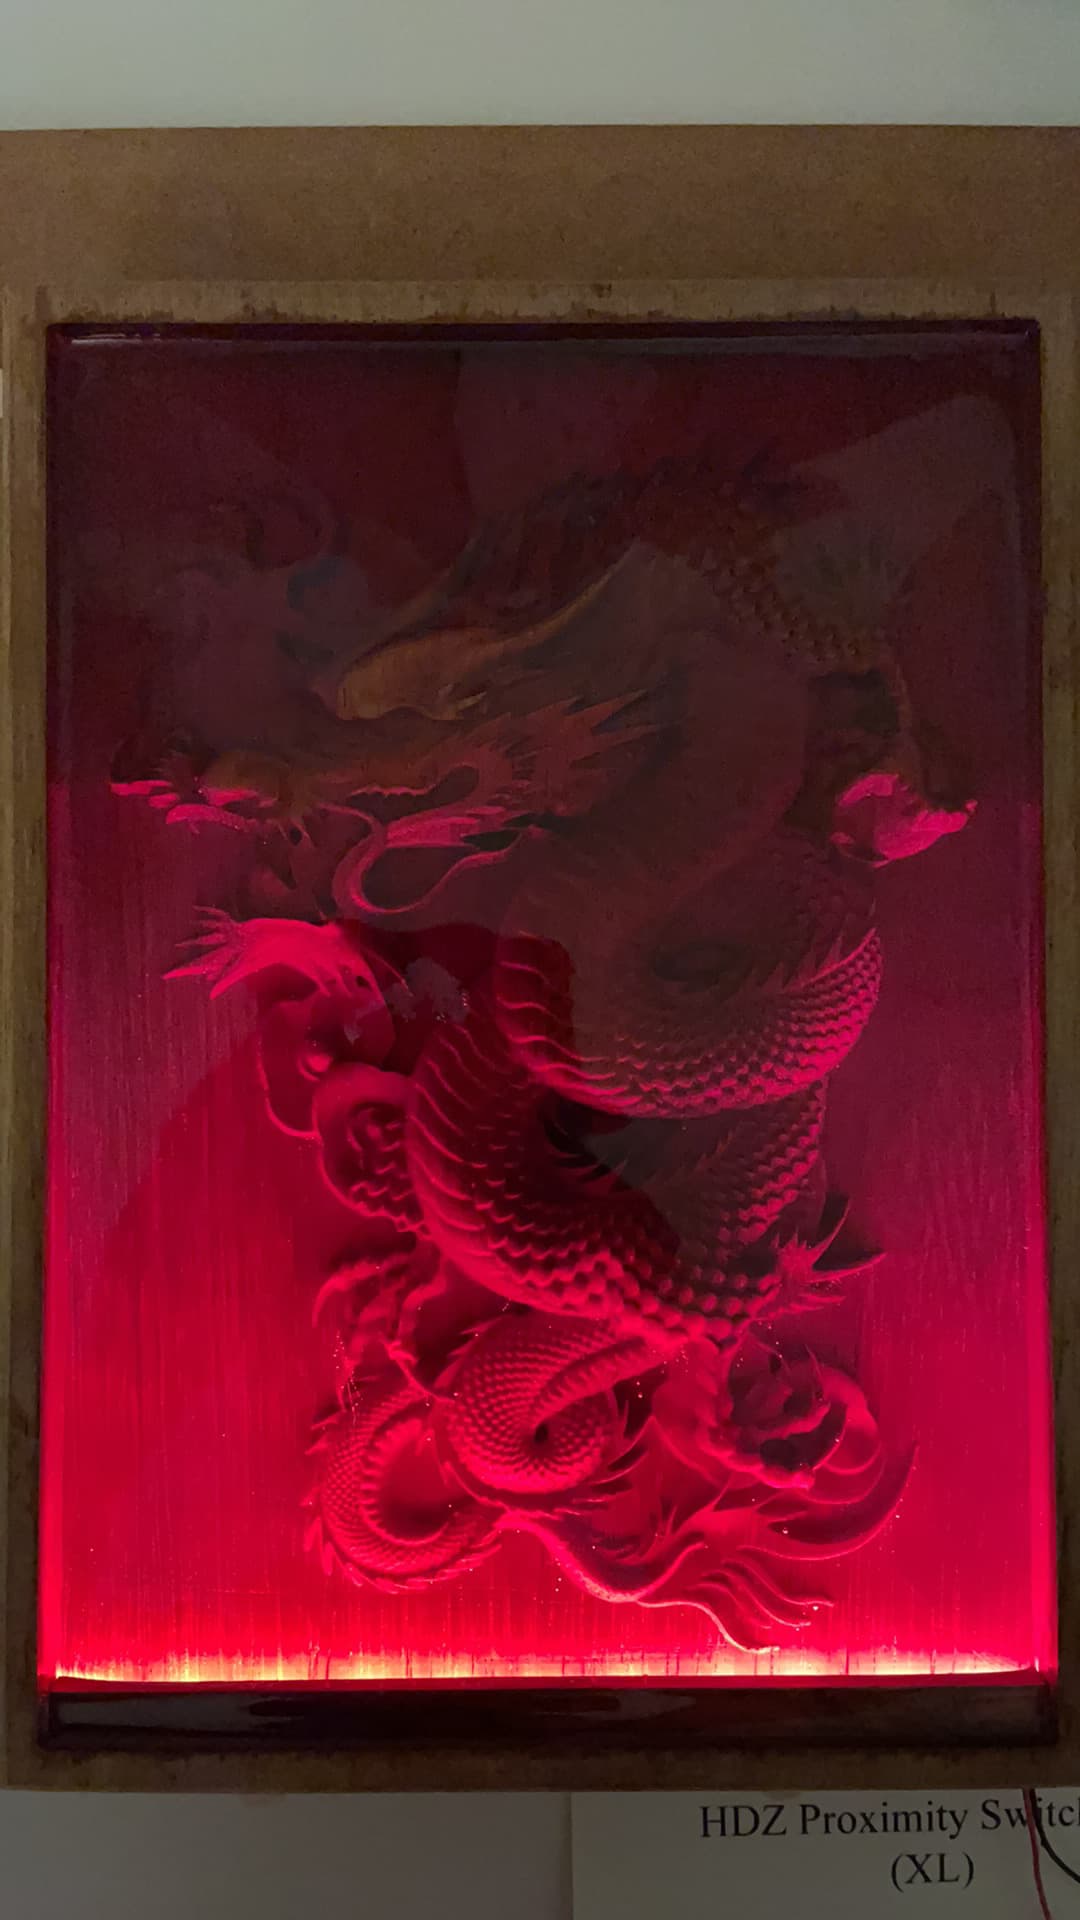
Hardwood 3D carve with a resin fill does give a very nice look.
Did a dragon carving for a friend, embedded some low brightness LEDs in a hidden recess and the first pour is in the photo attached - the second pour took the resin up to the level of the frame and allows any surface imperfections to be hidden from the first pour.
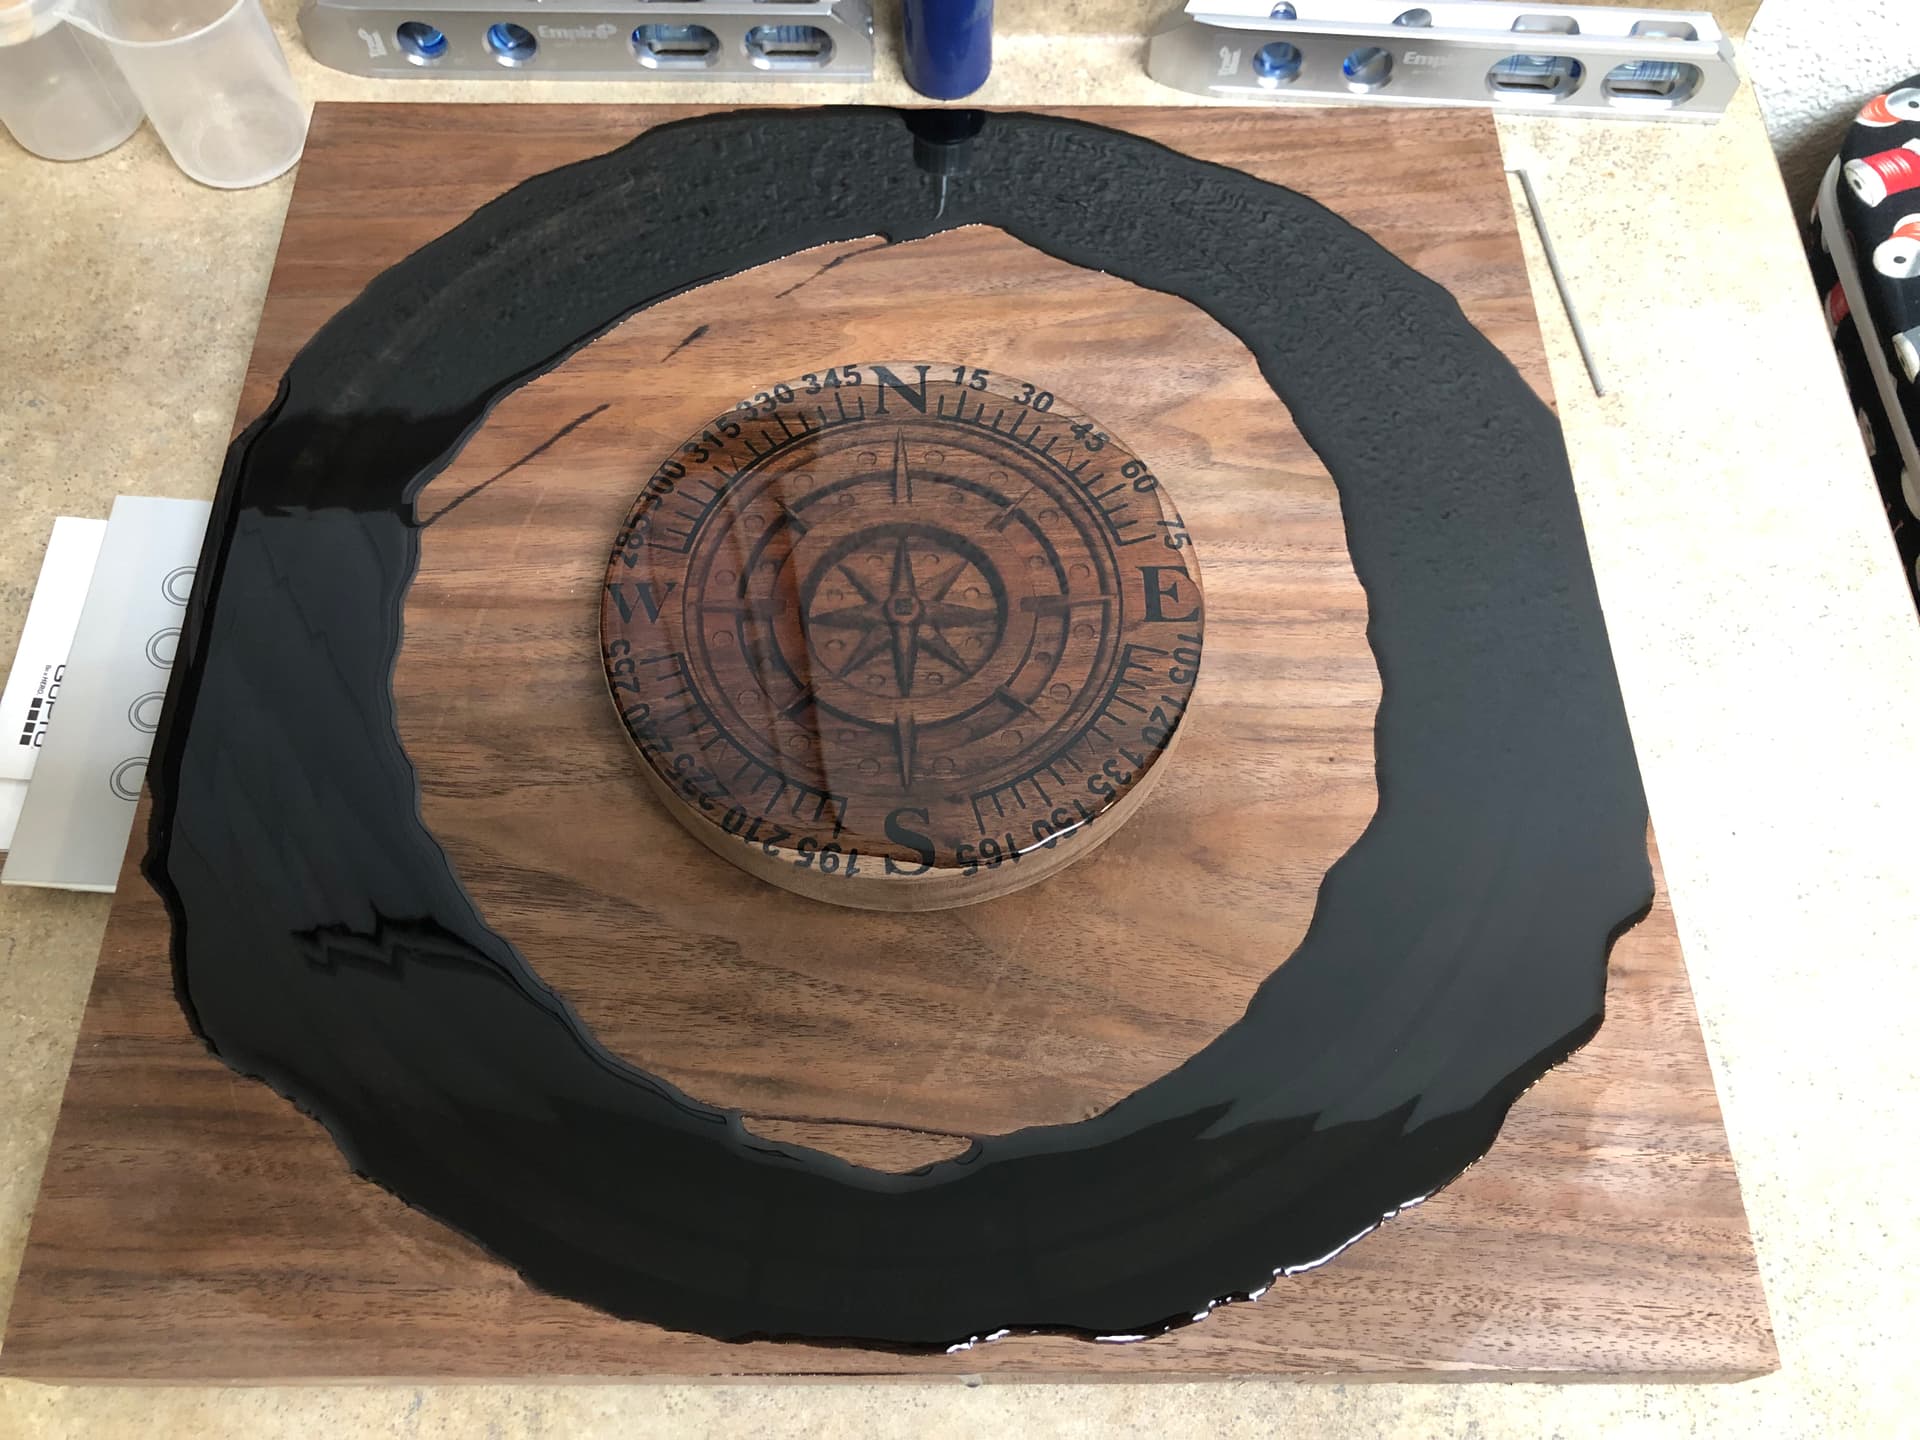
A thick pour can bring issues, allow bubbles to become trapped etc., so I ‘wash coat’ the wood with a colourless resin and leave it to set, pour to the 2/3 or 3/4 full level and let that set, then pour a thinner (warmer) final pour which gives more control over the meniscus or over-flow effects that resin suffers from as it heats, expands and contracts over the setting time. Keeping the final surface as glossy as possible reduces any final polishing effort considerably…
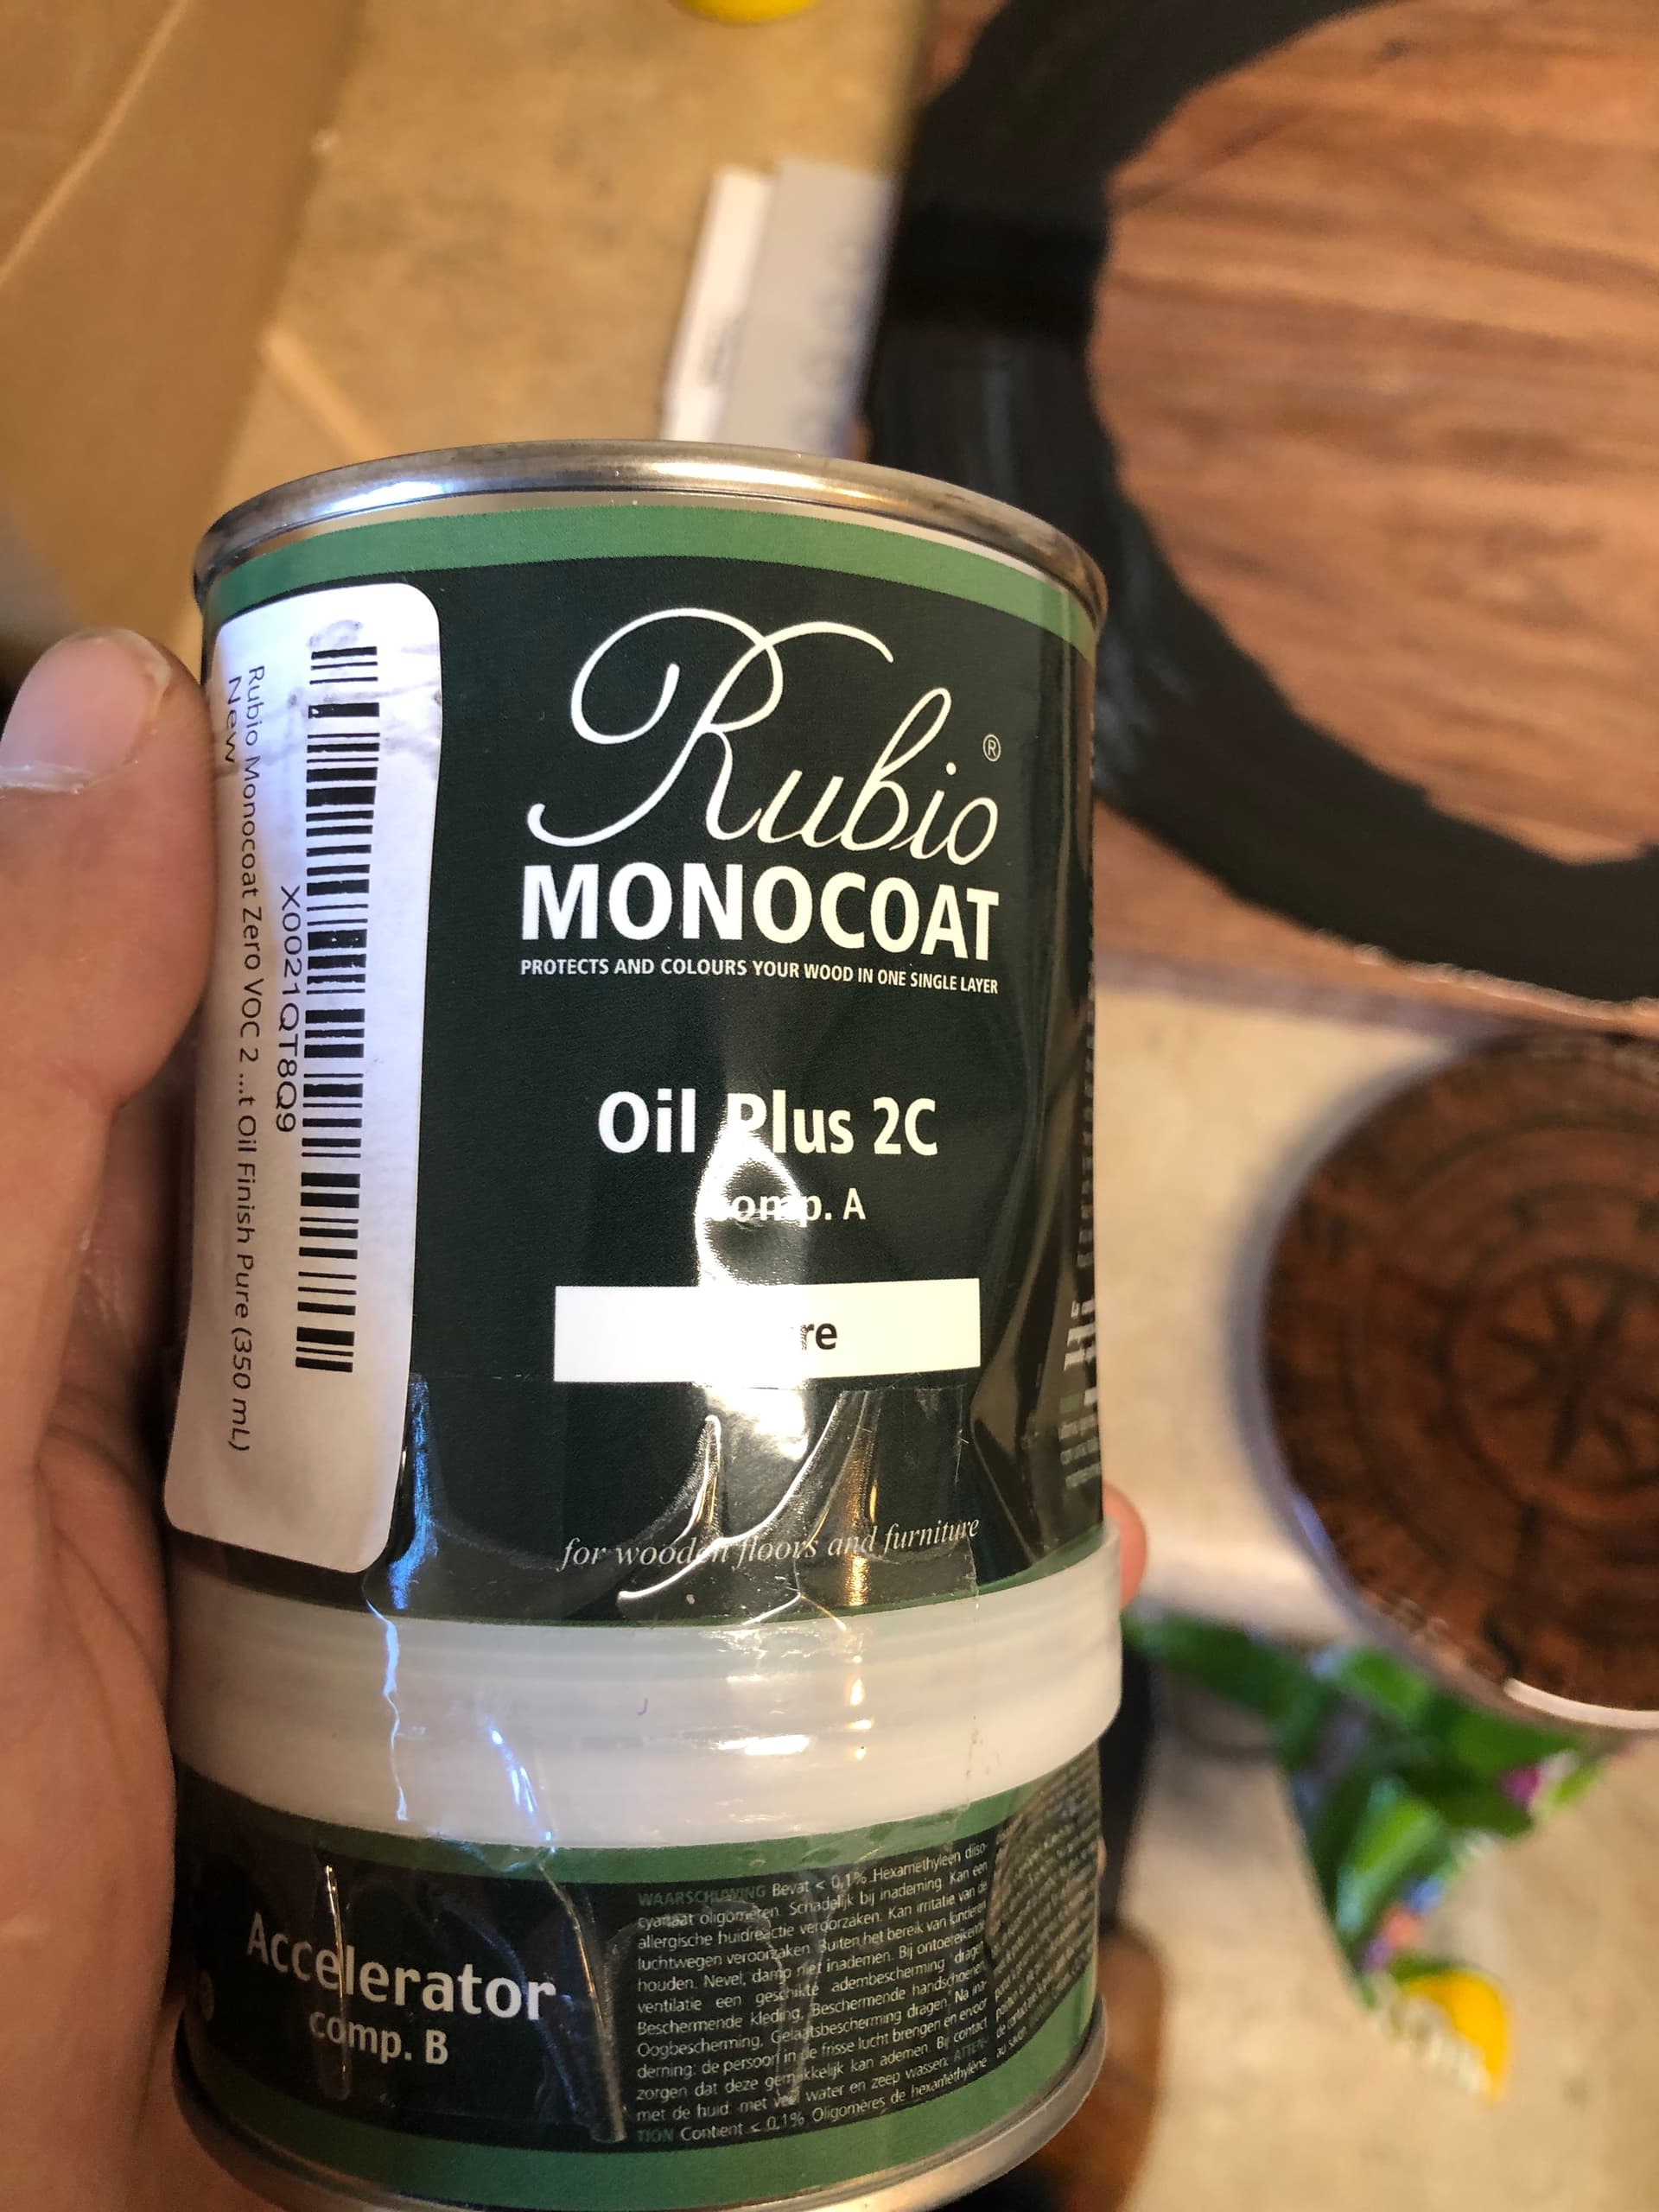
That is the exact process I do. I only have top coat epoxy and the recommended max depth pour is 3/8”. Anything deeper bad stuff happens. I’ll do a 2 layer pour. Just can’t remember if I need to sand in between pours or not. I’m leaning to no.
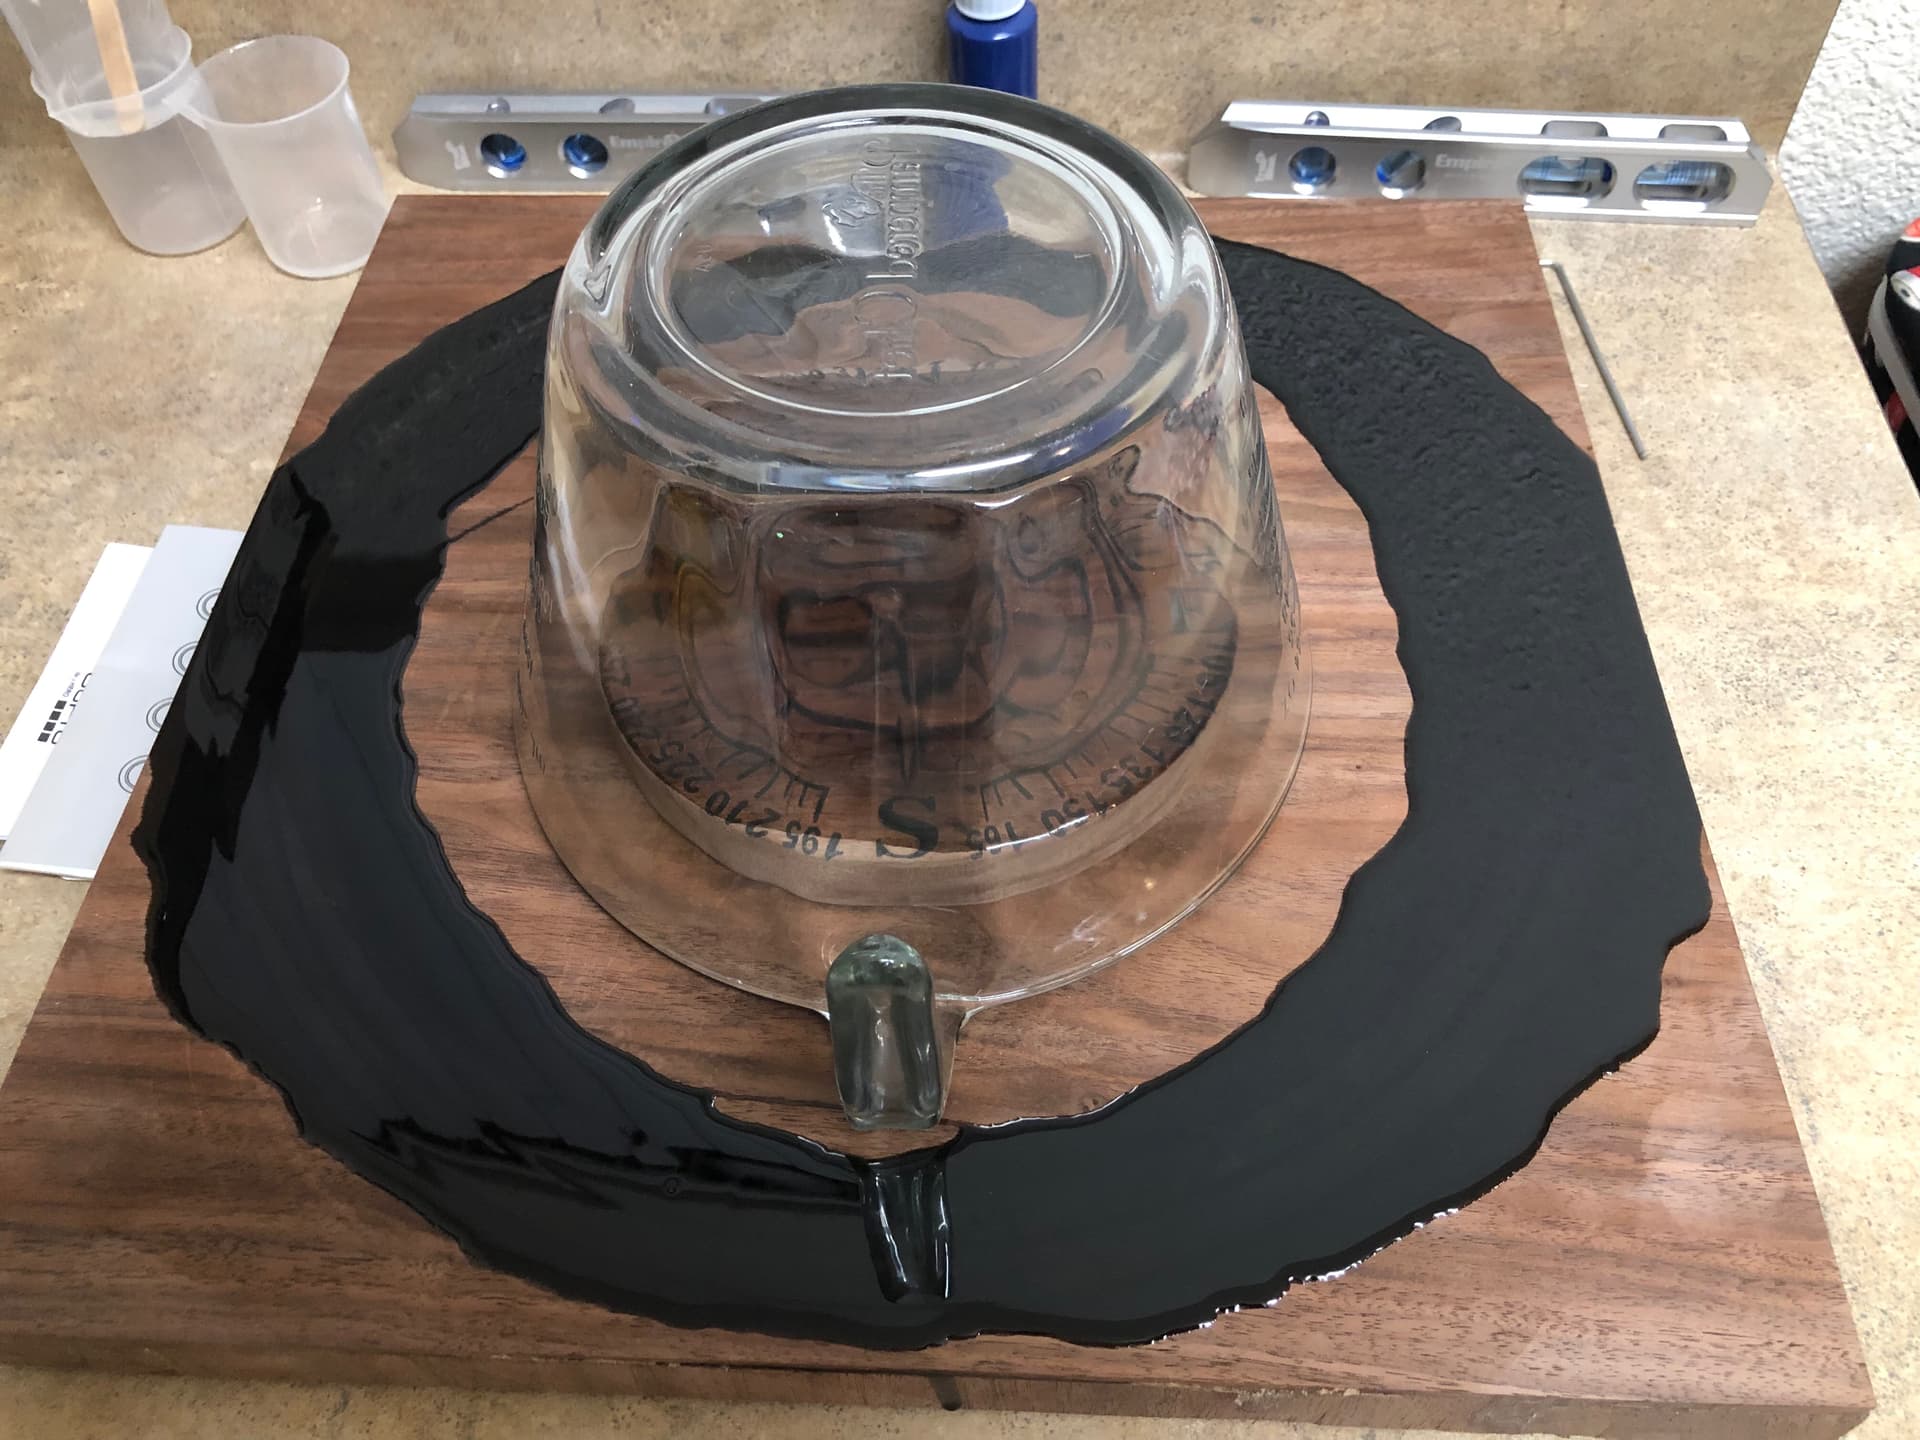
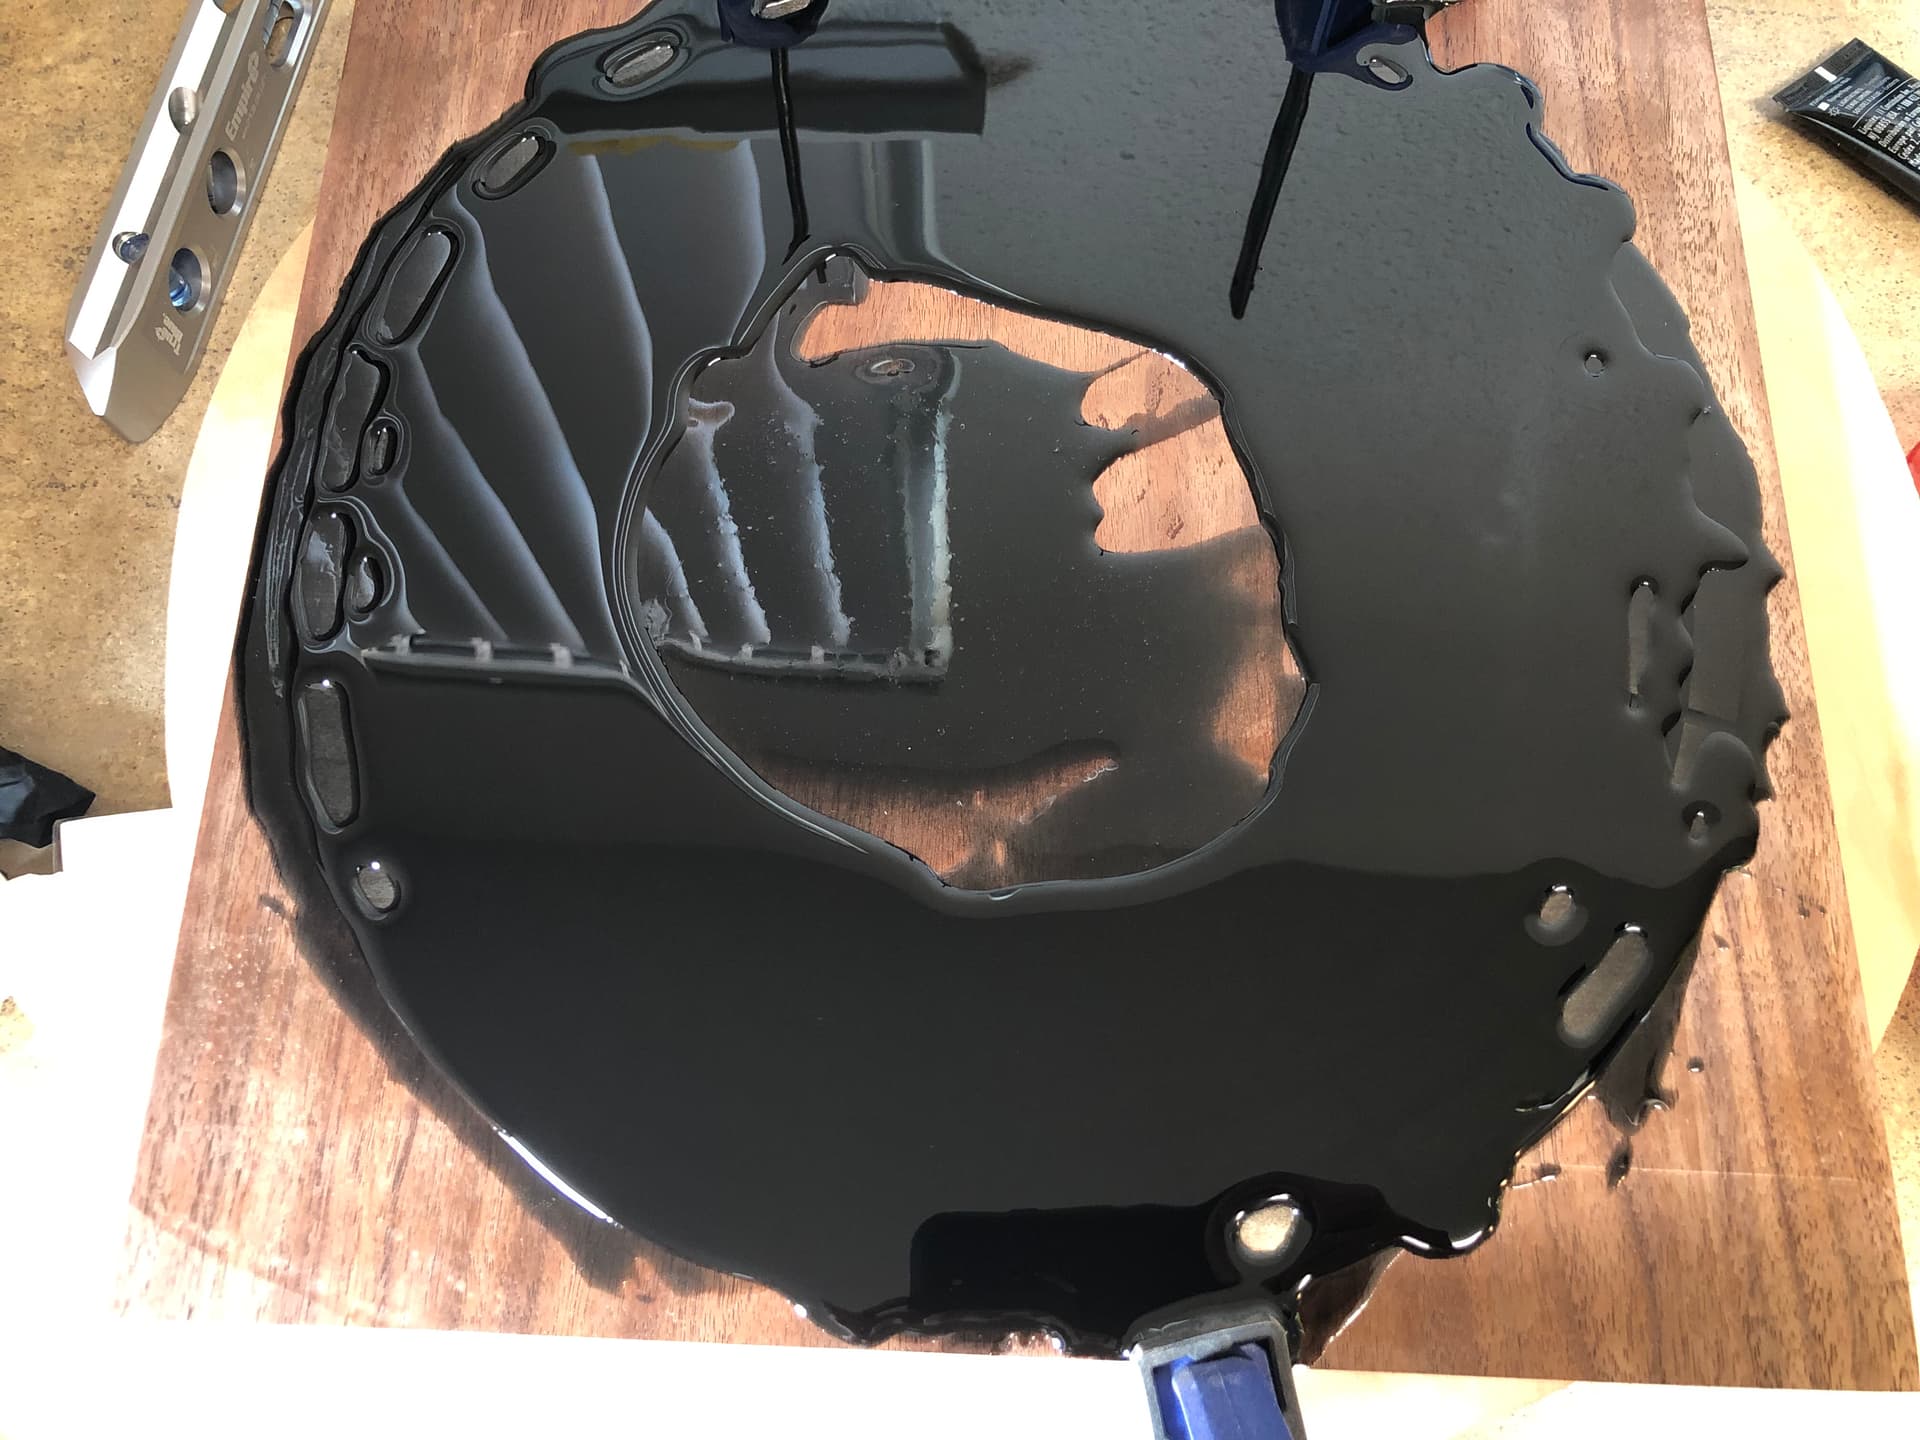
This was probably the most dangerous portion of the project. Pouring epoxy can go wrong in so many ways. I think I nailed it and will flatten it out to sit flush with the number face. Can’t wait… today I put this bad boy together and start finishing it!

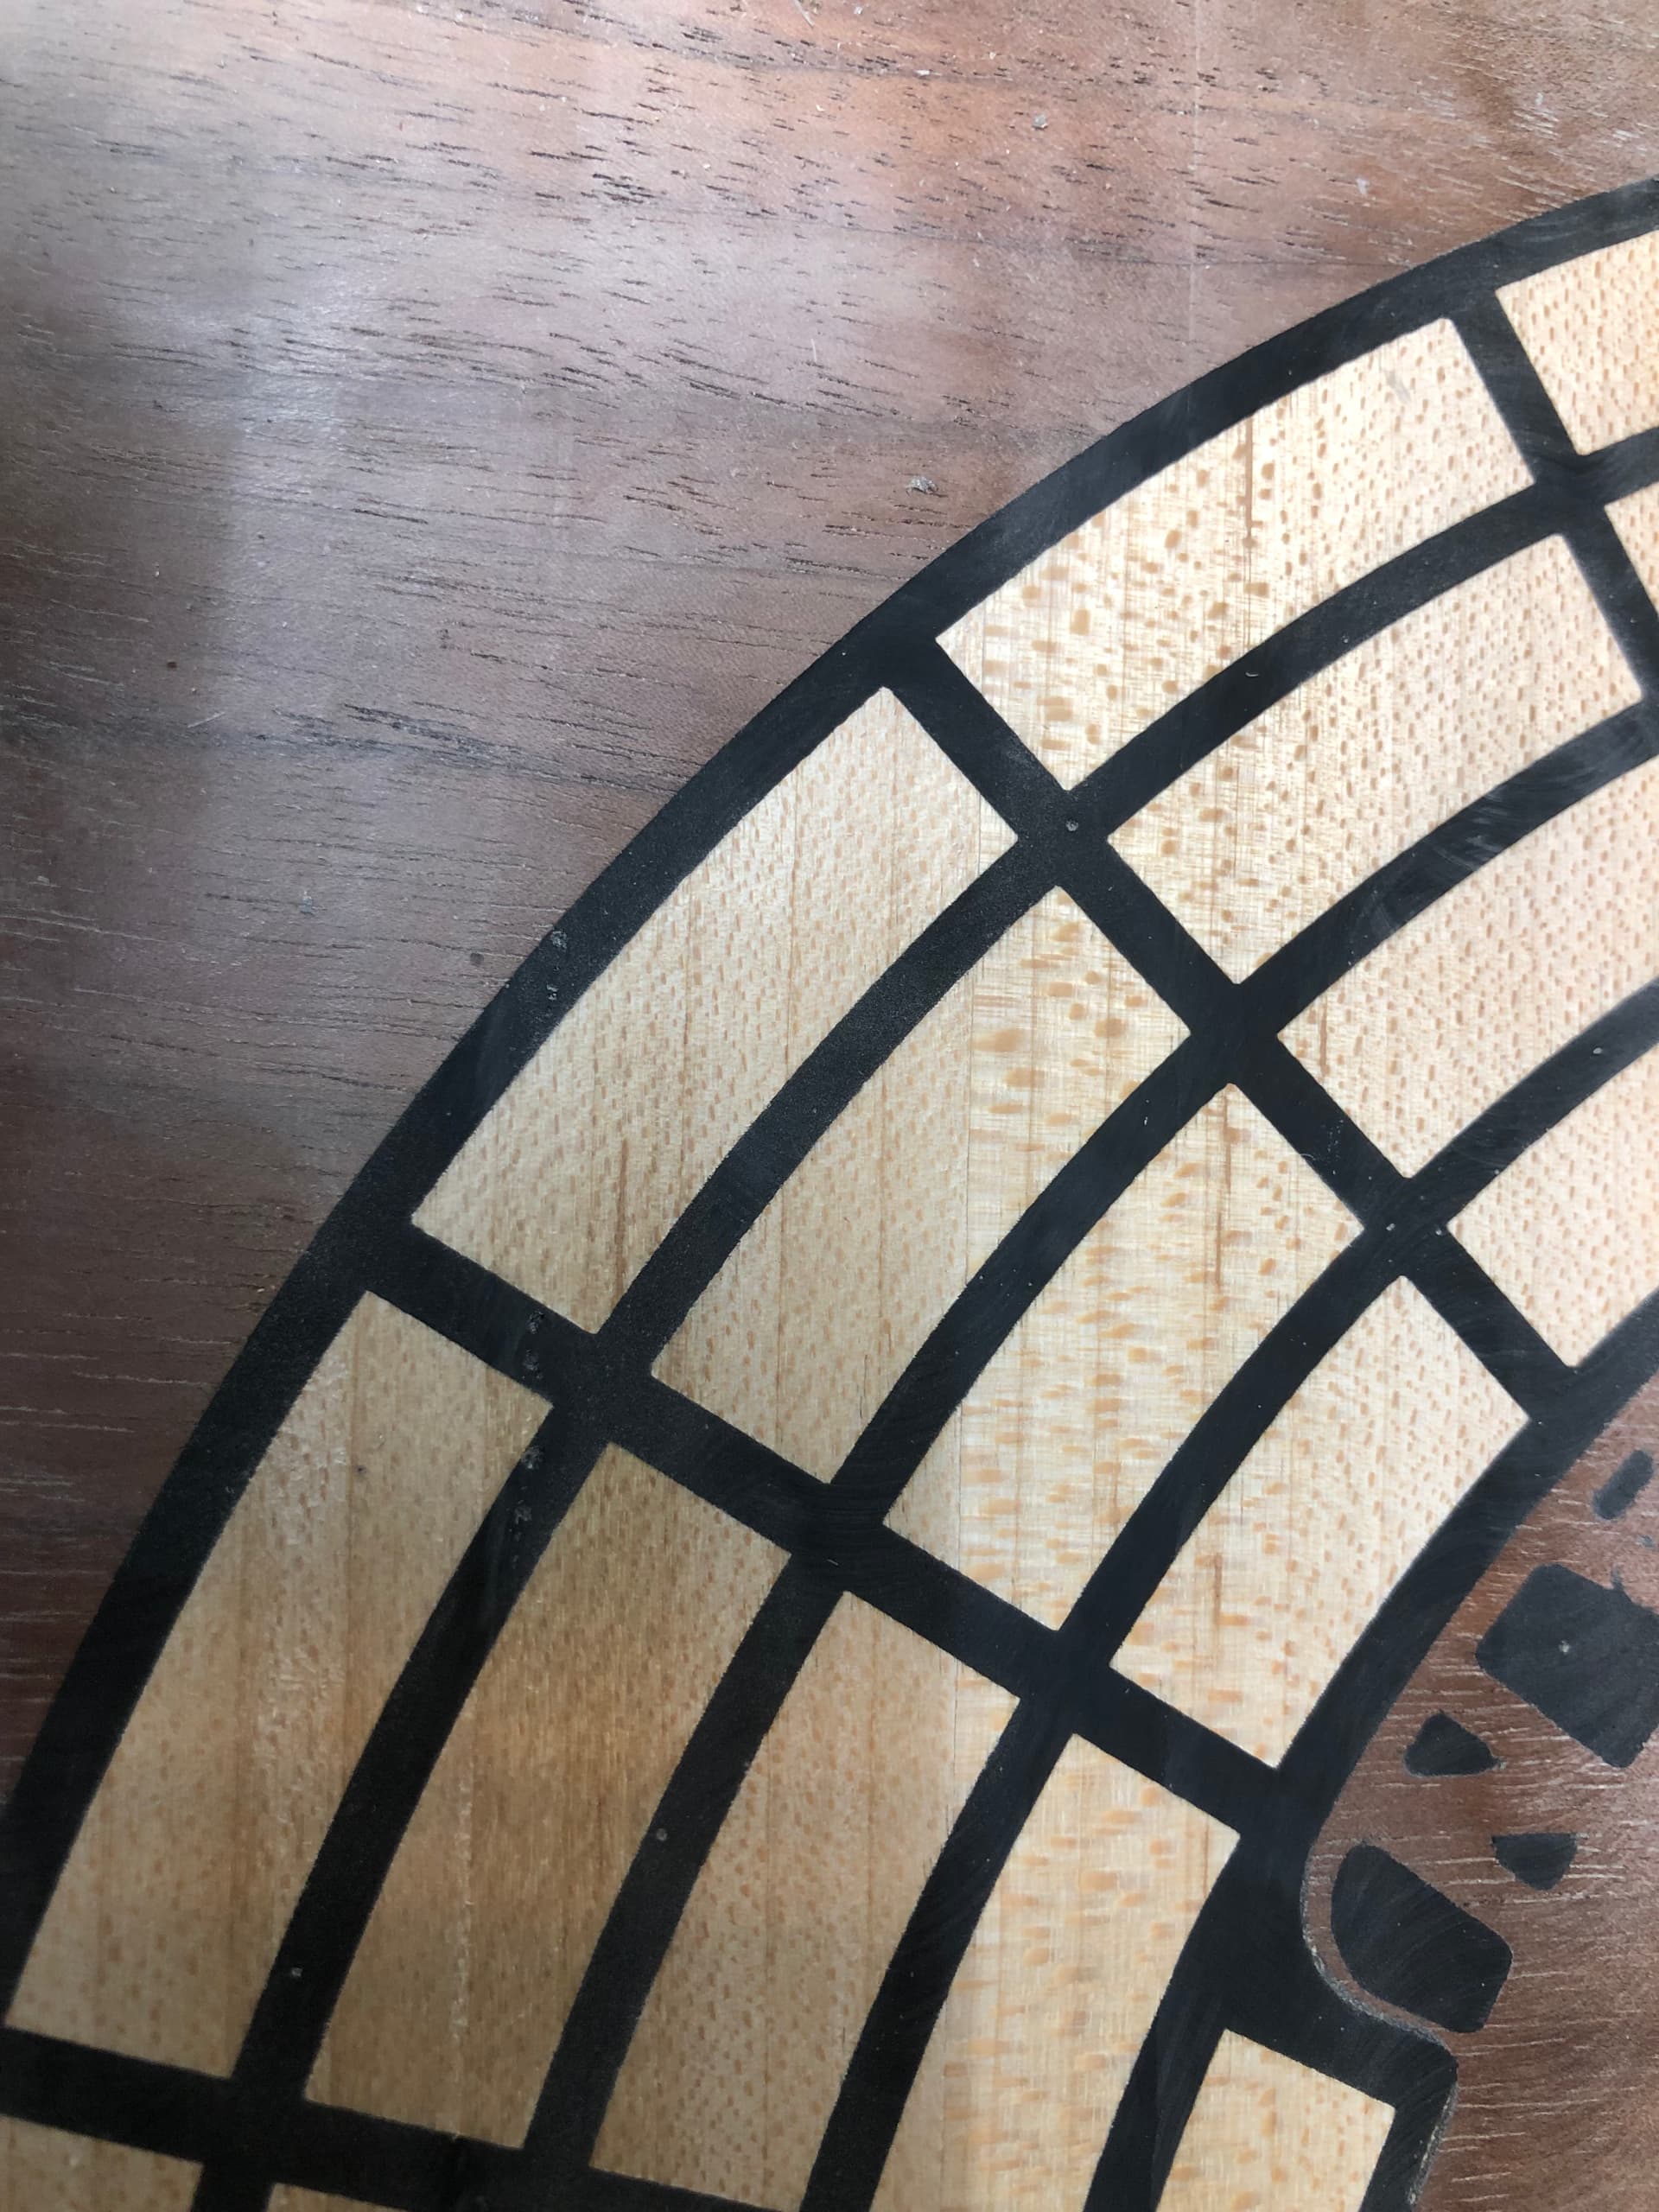

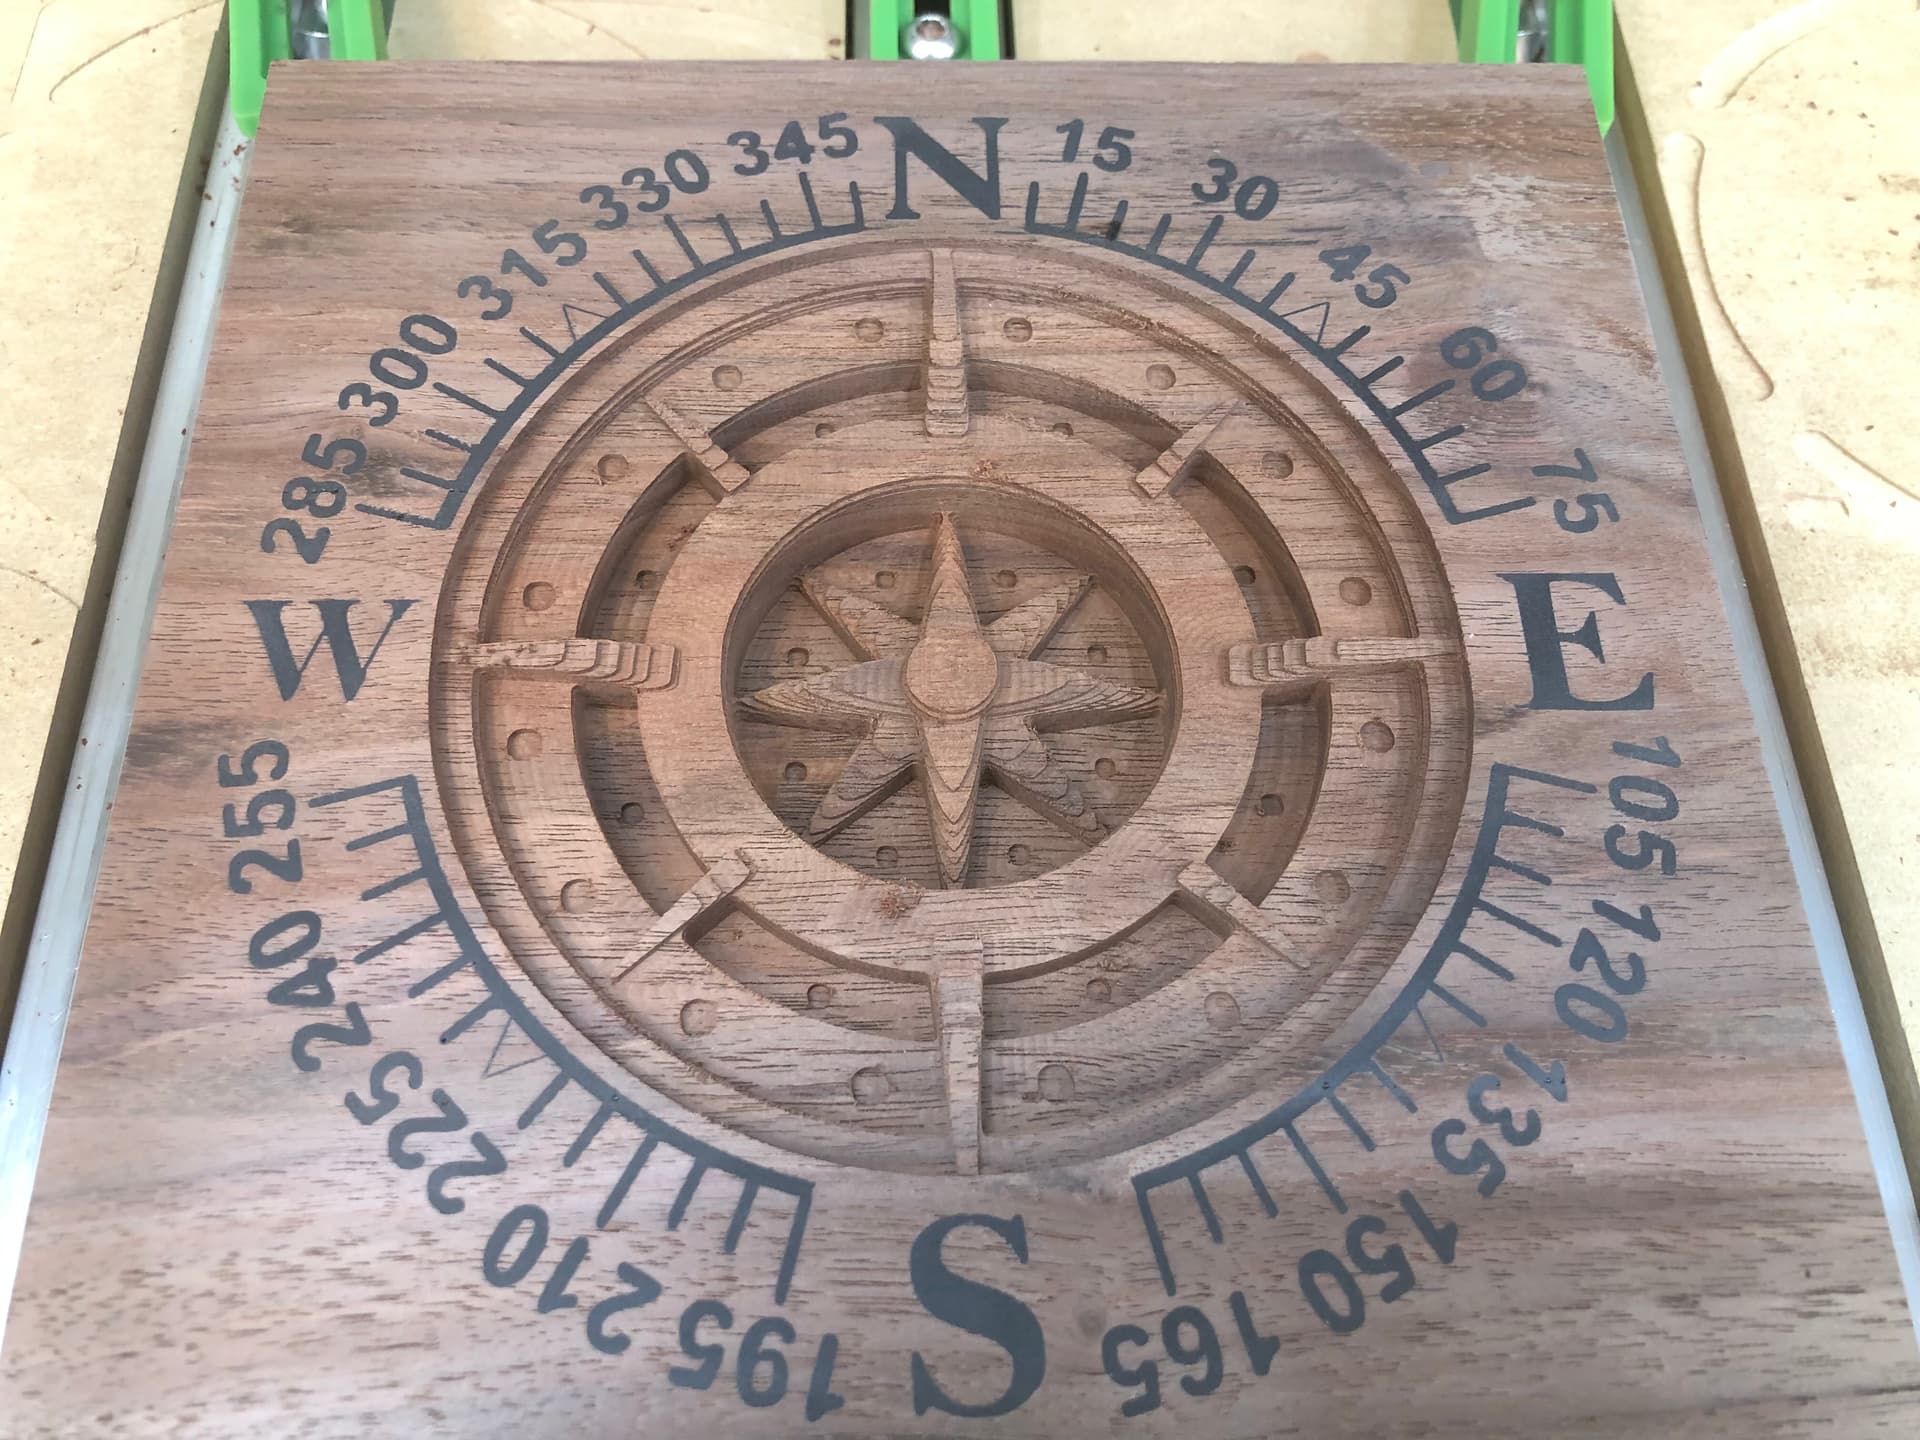

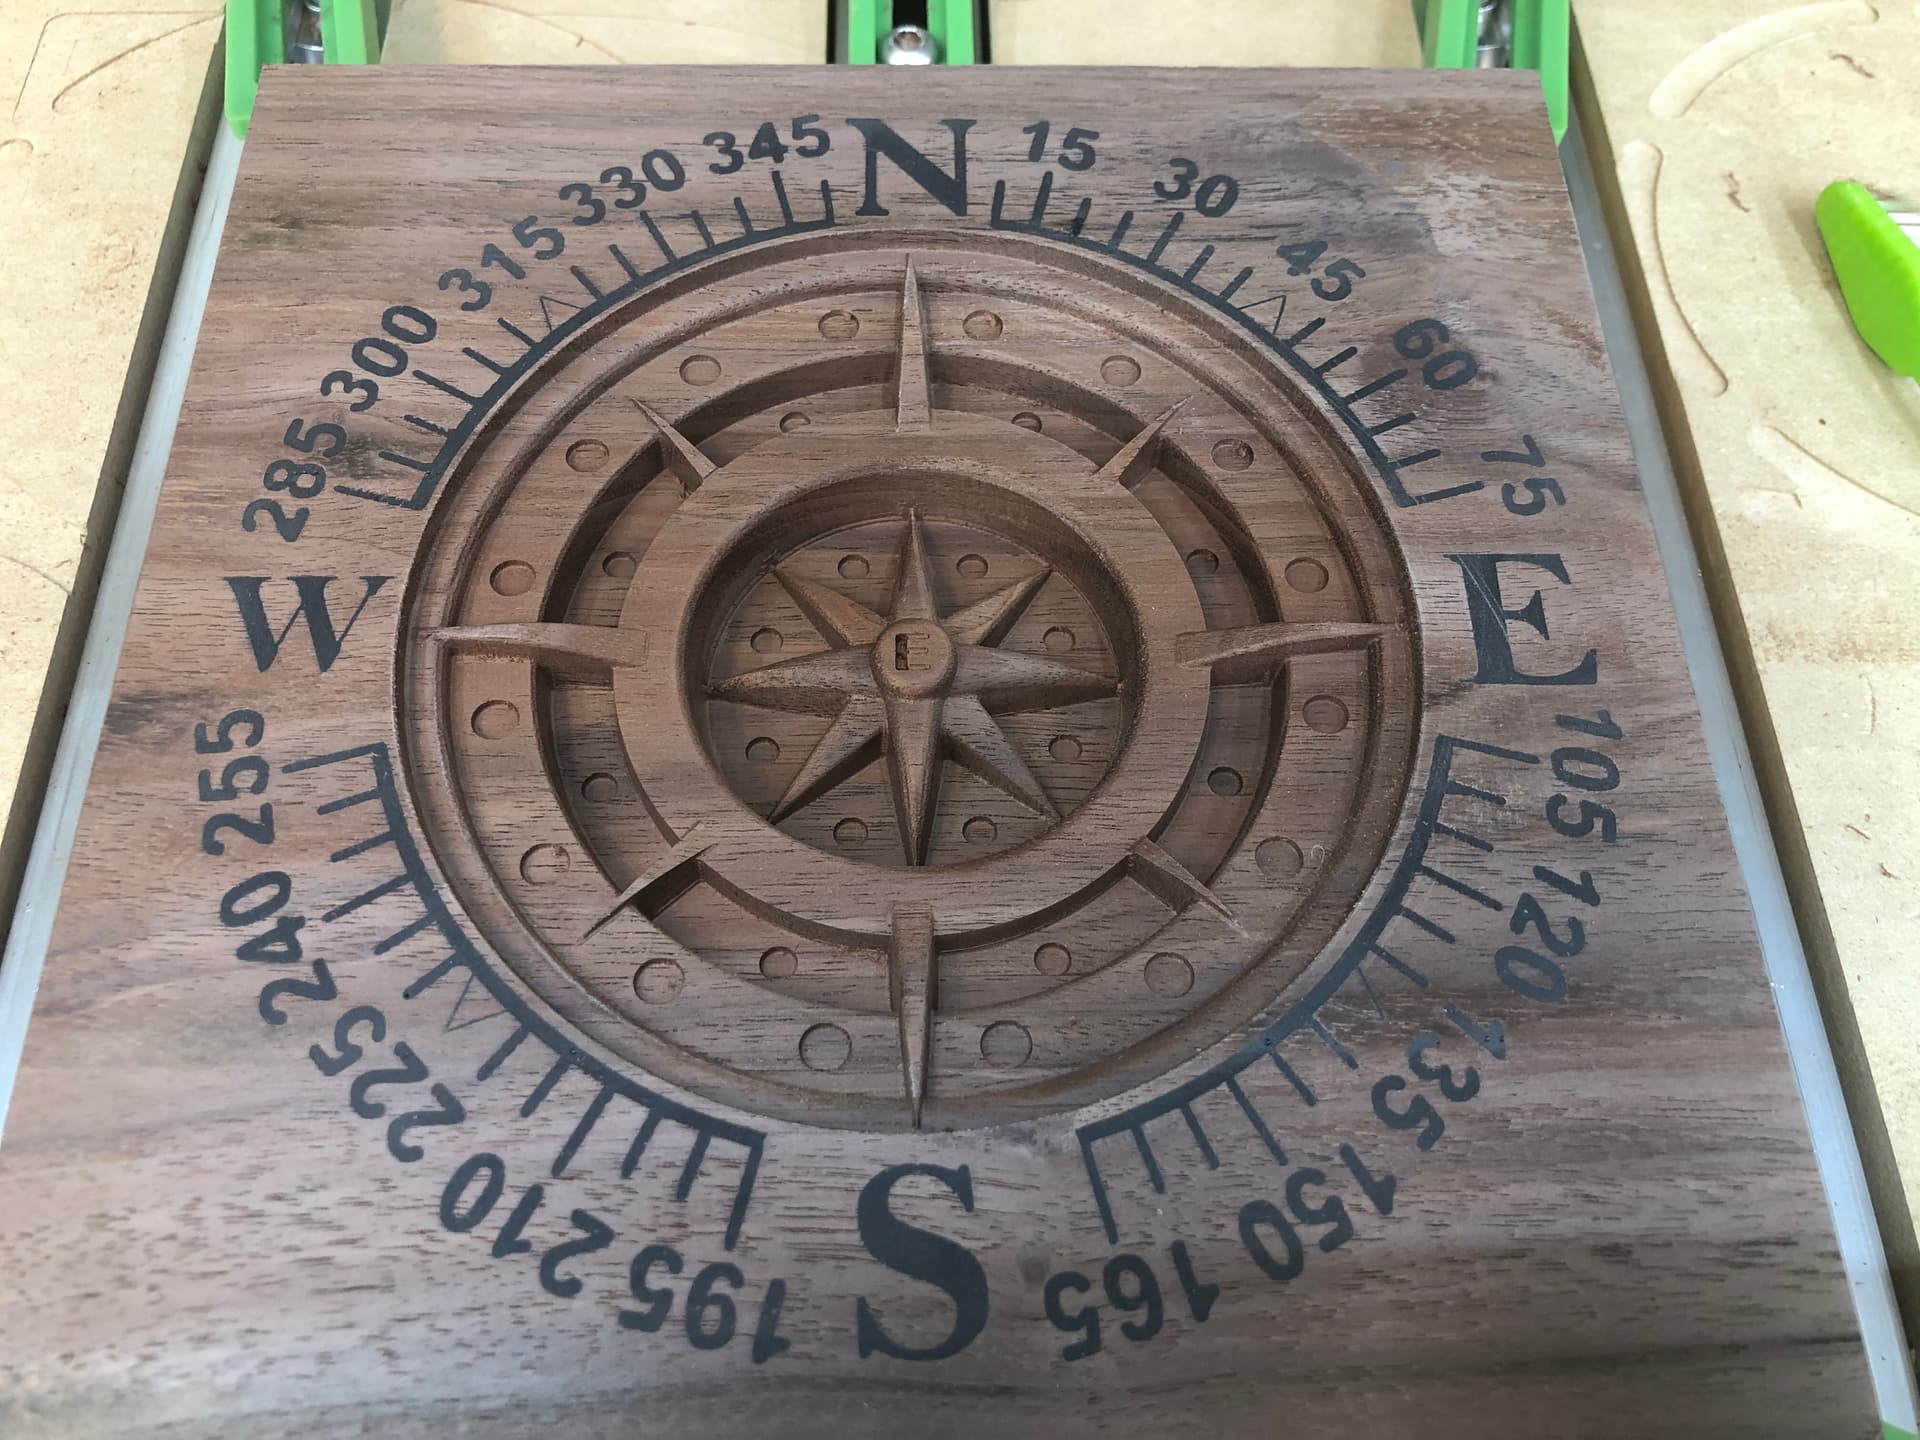
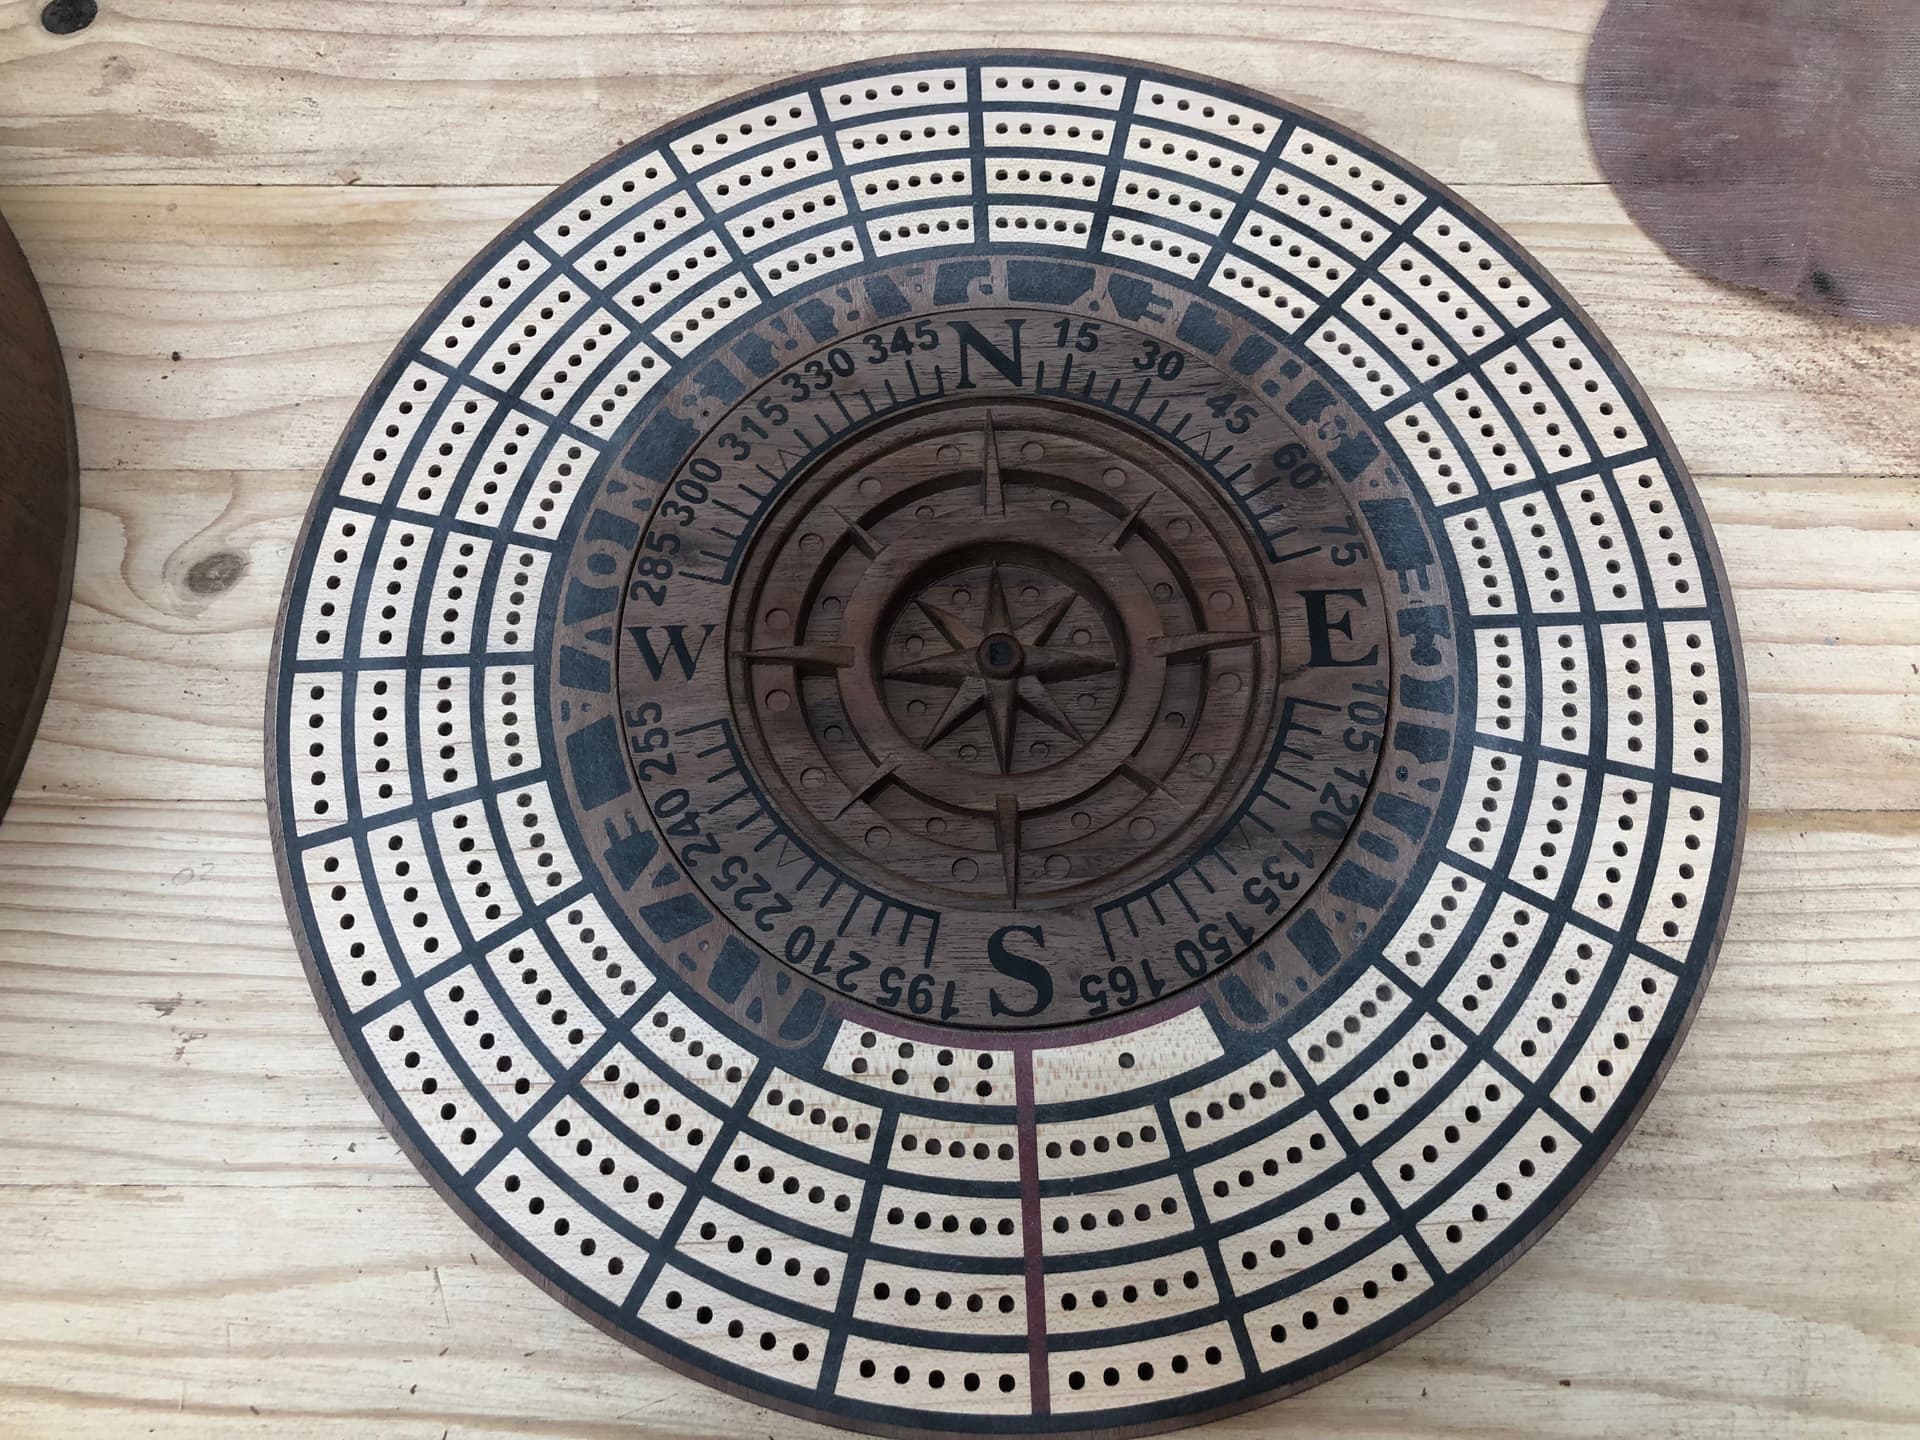
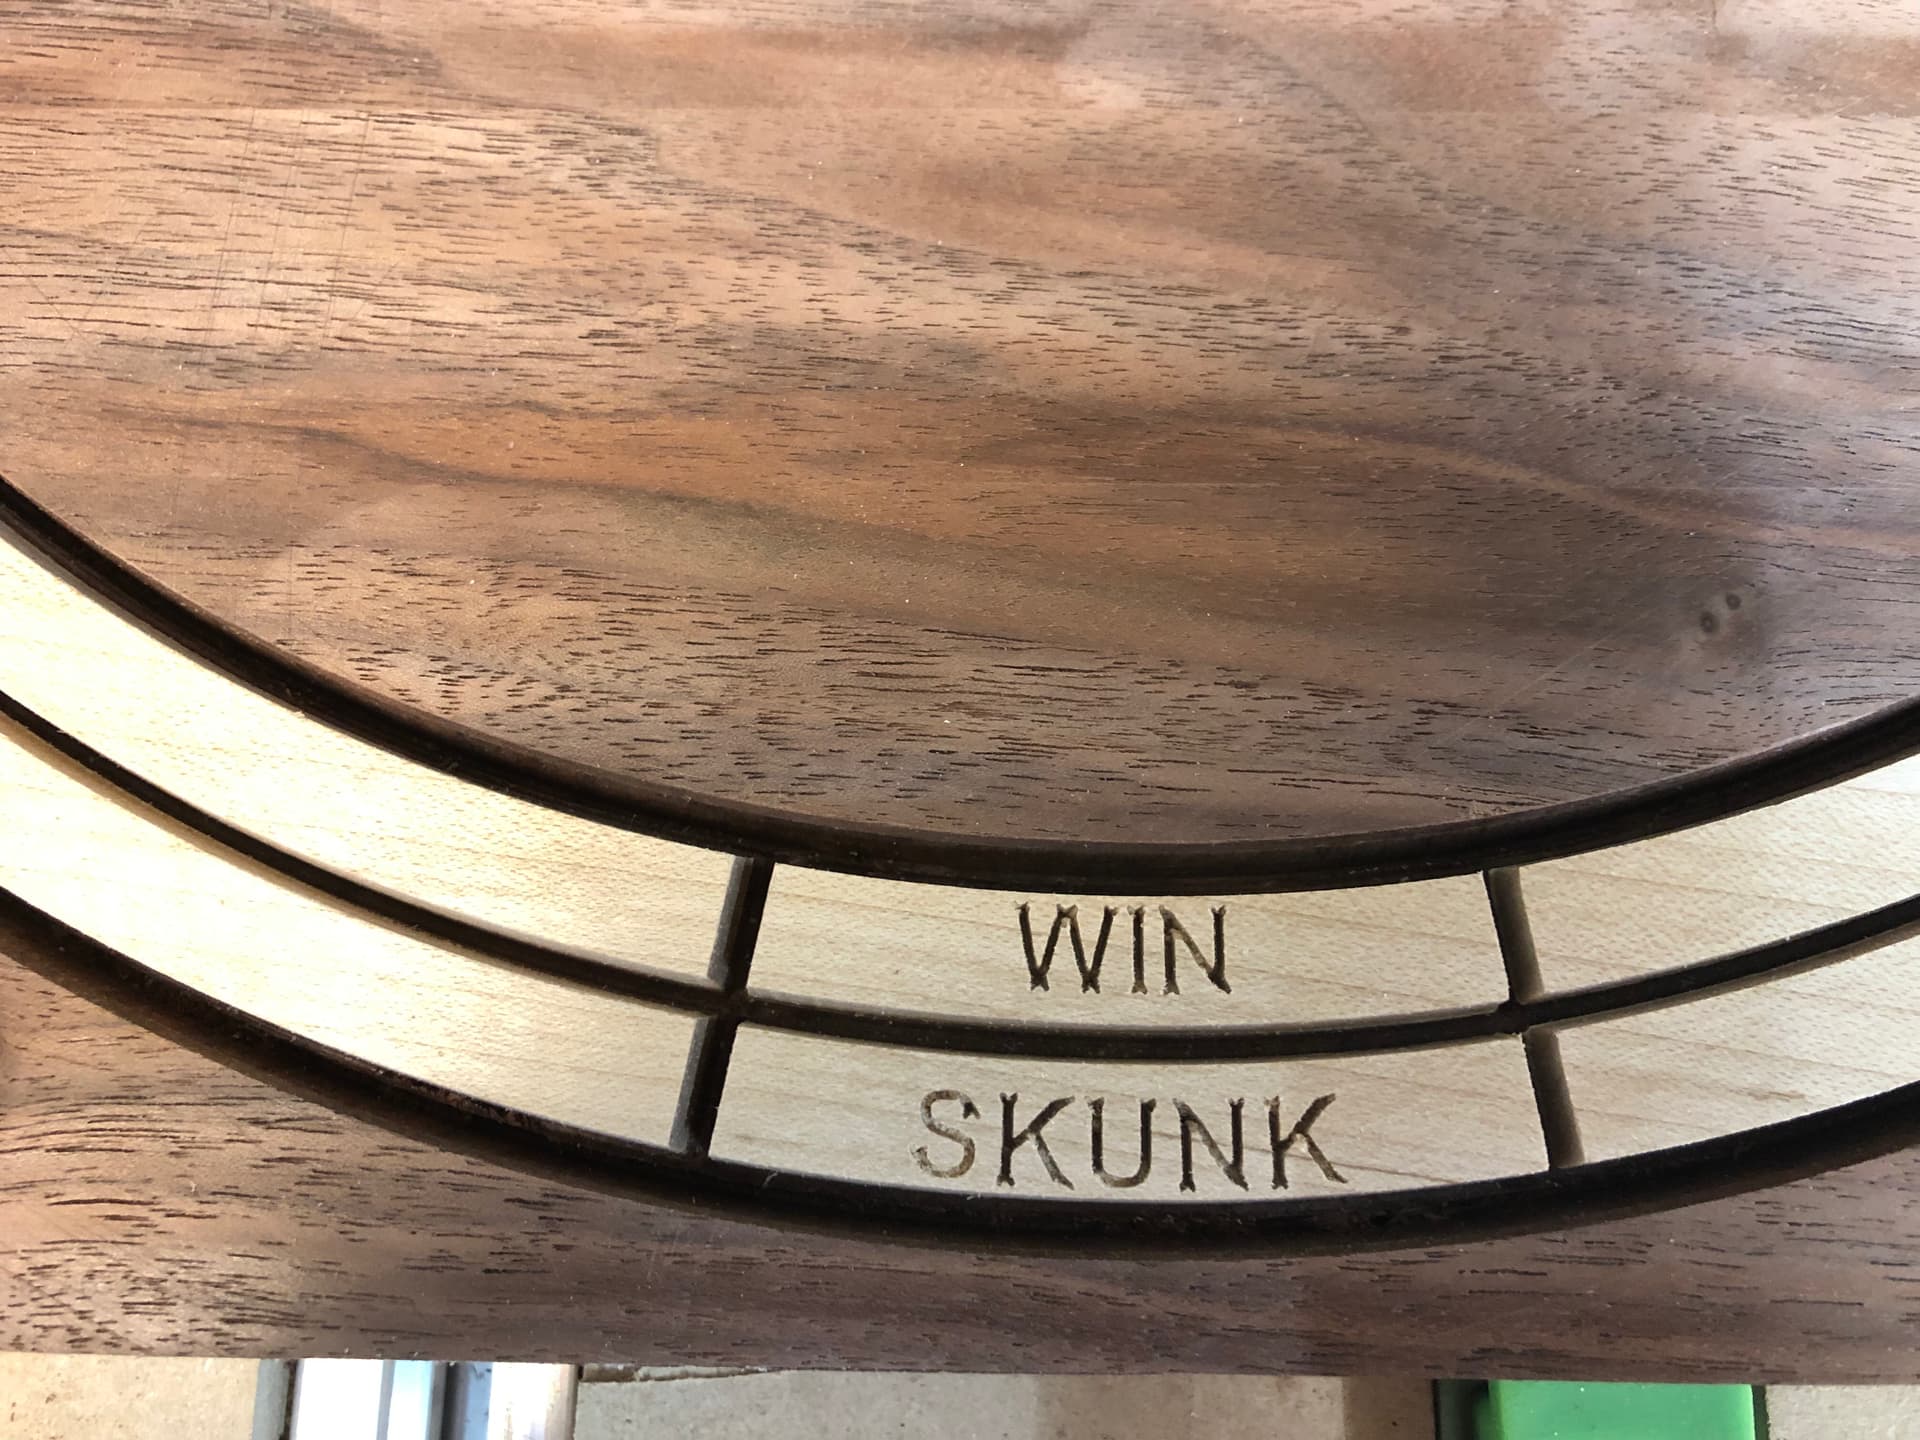
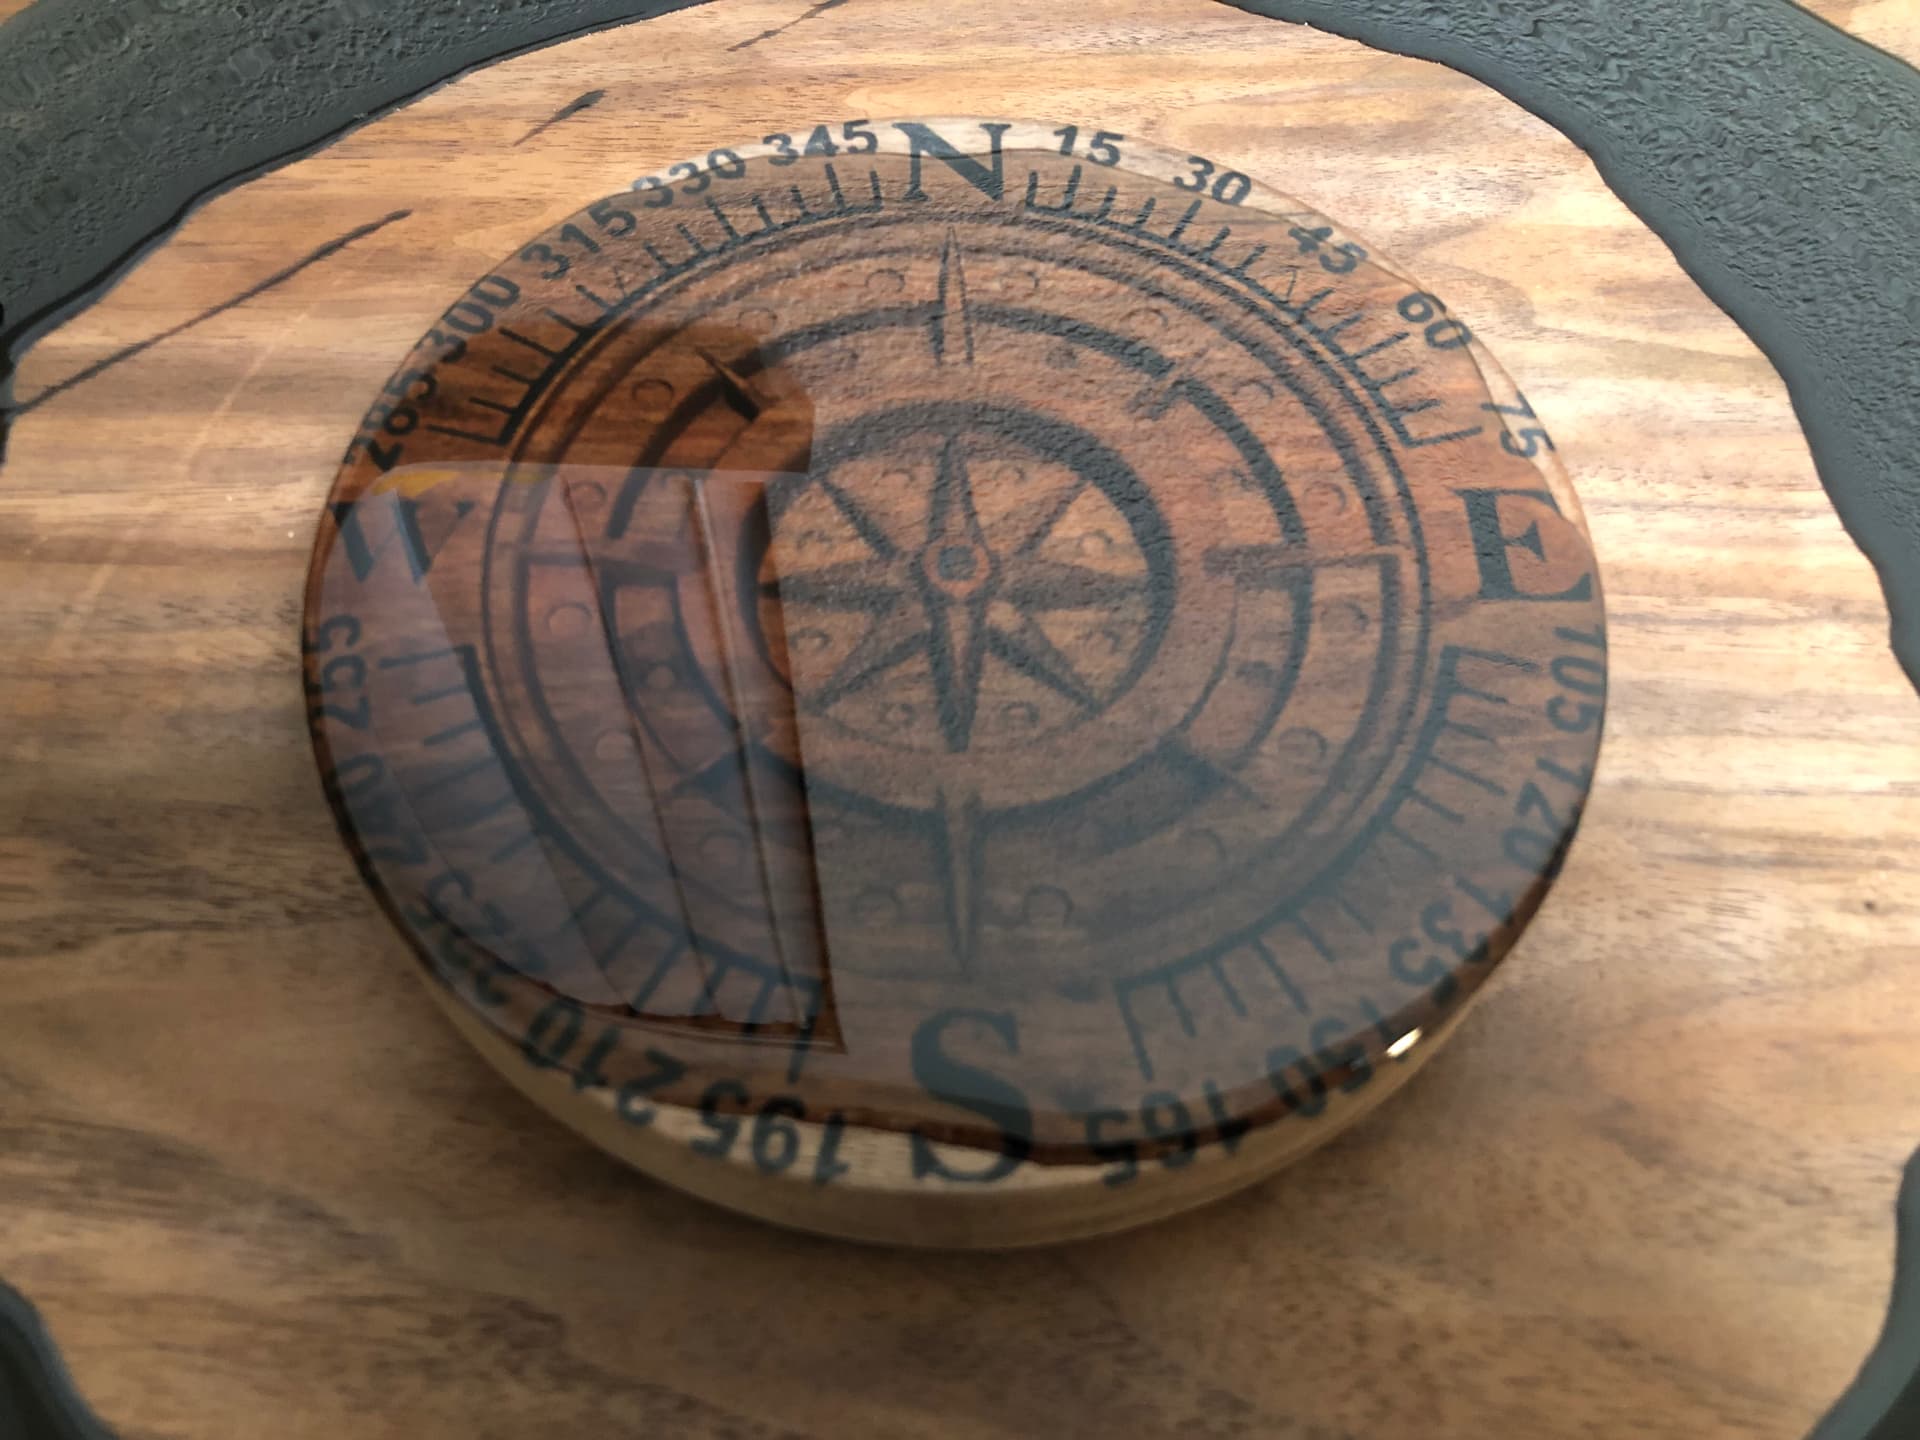
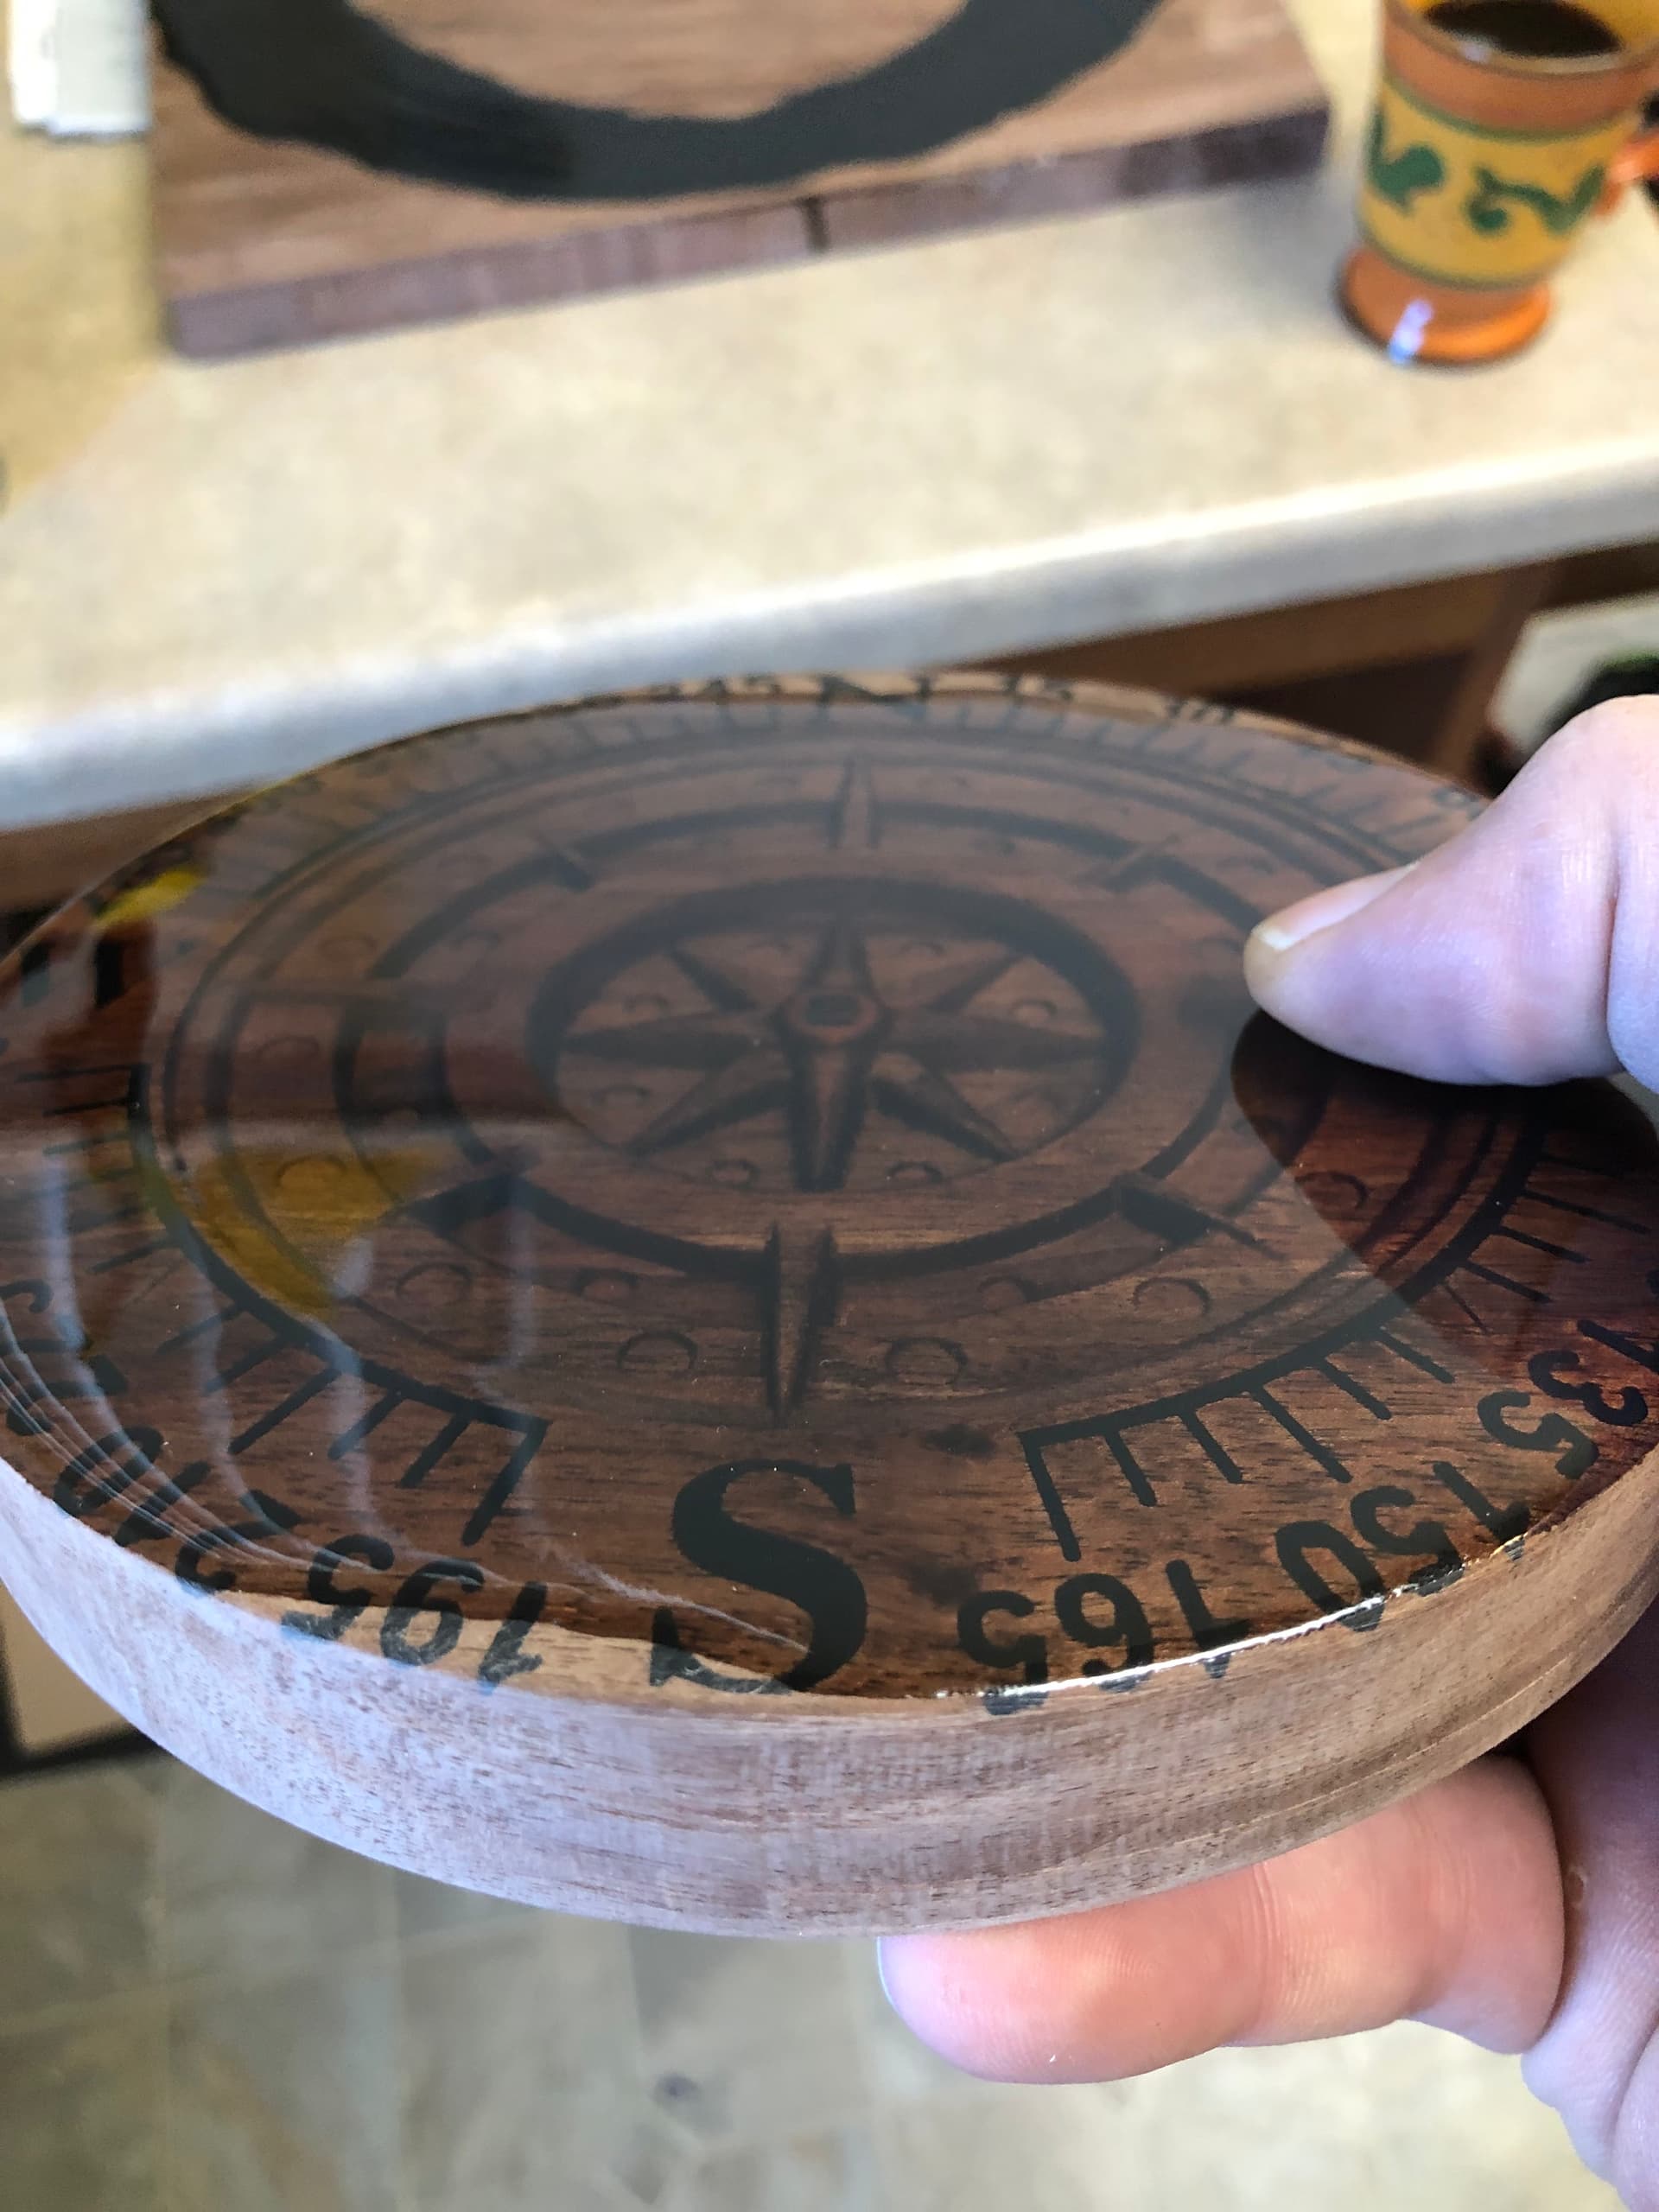
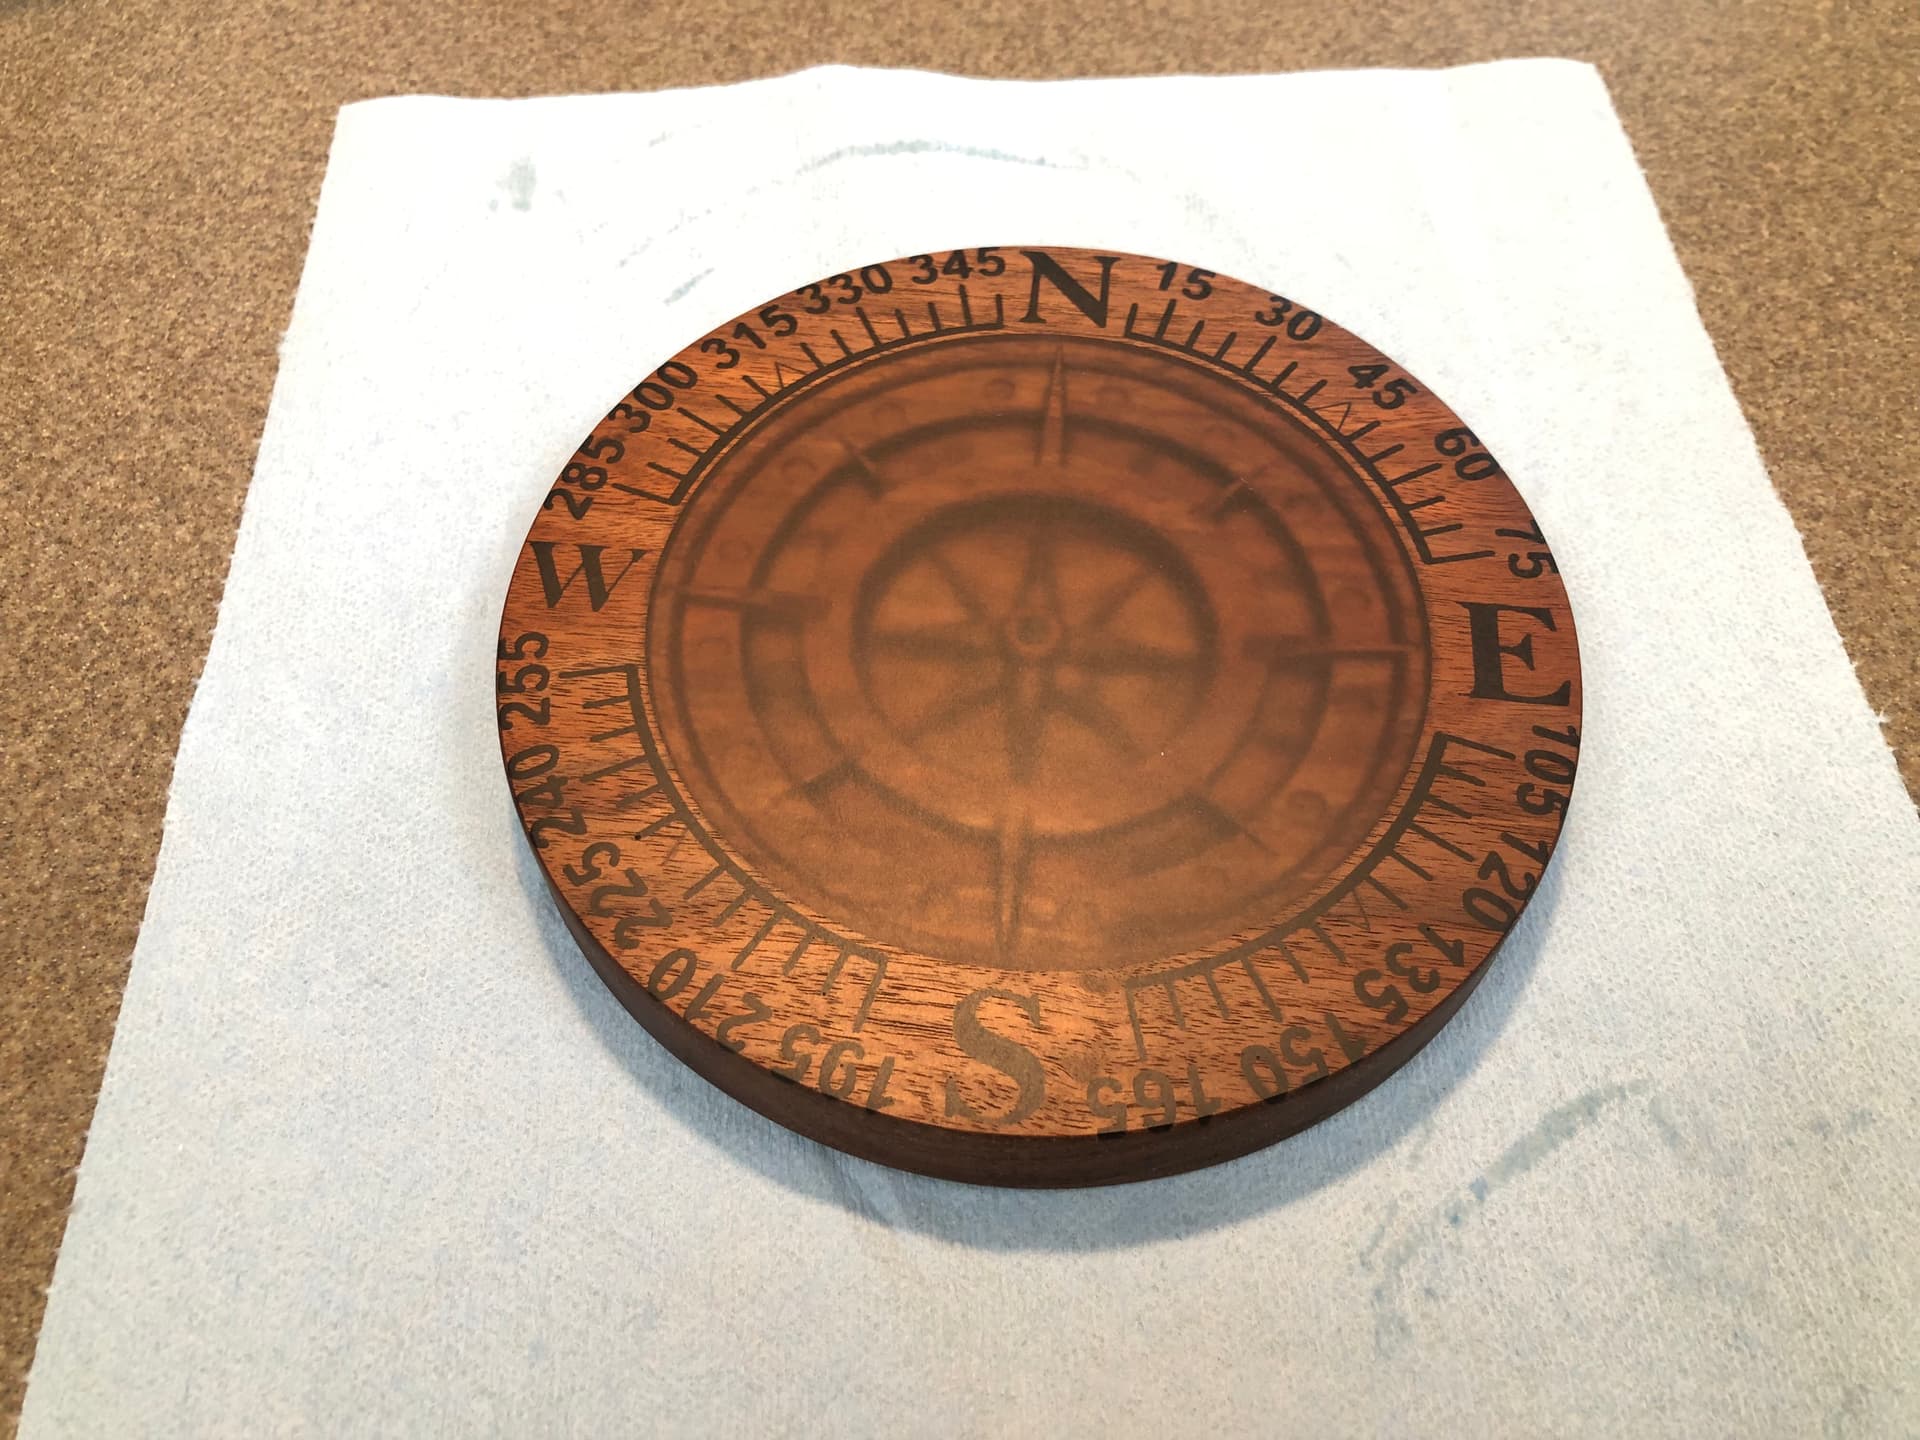
 . Super close to the engraving
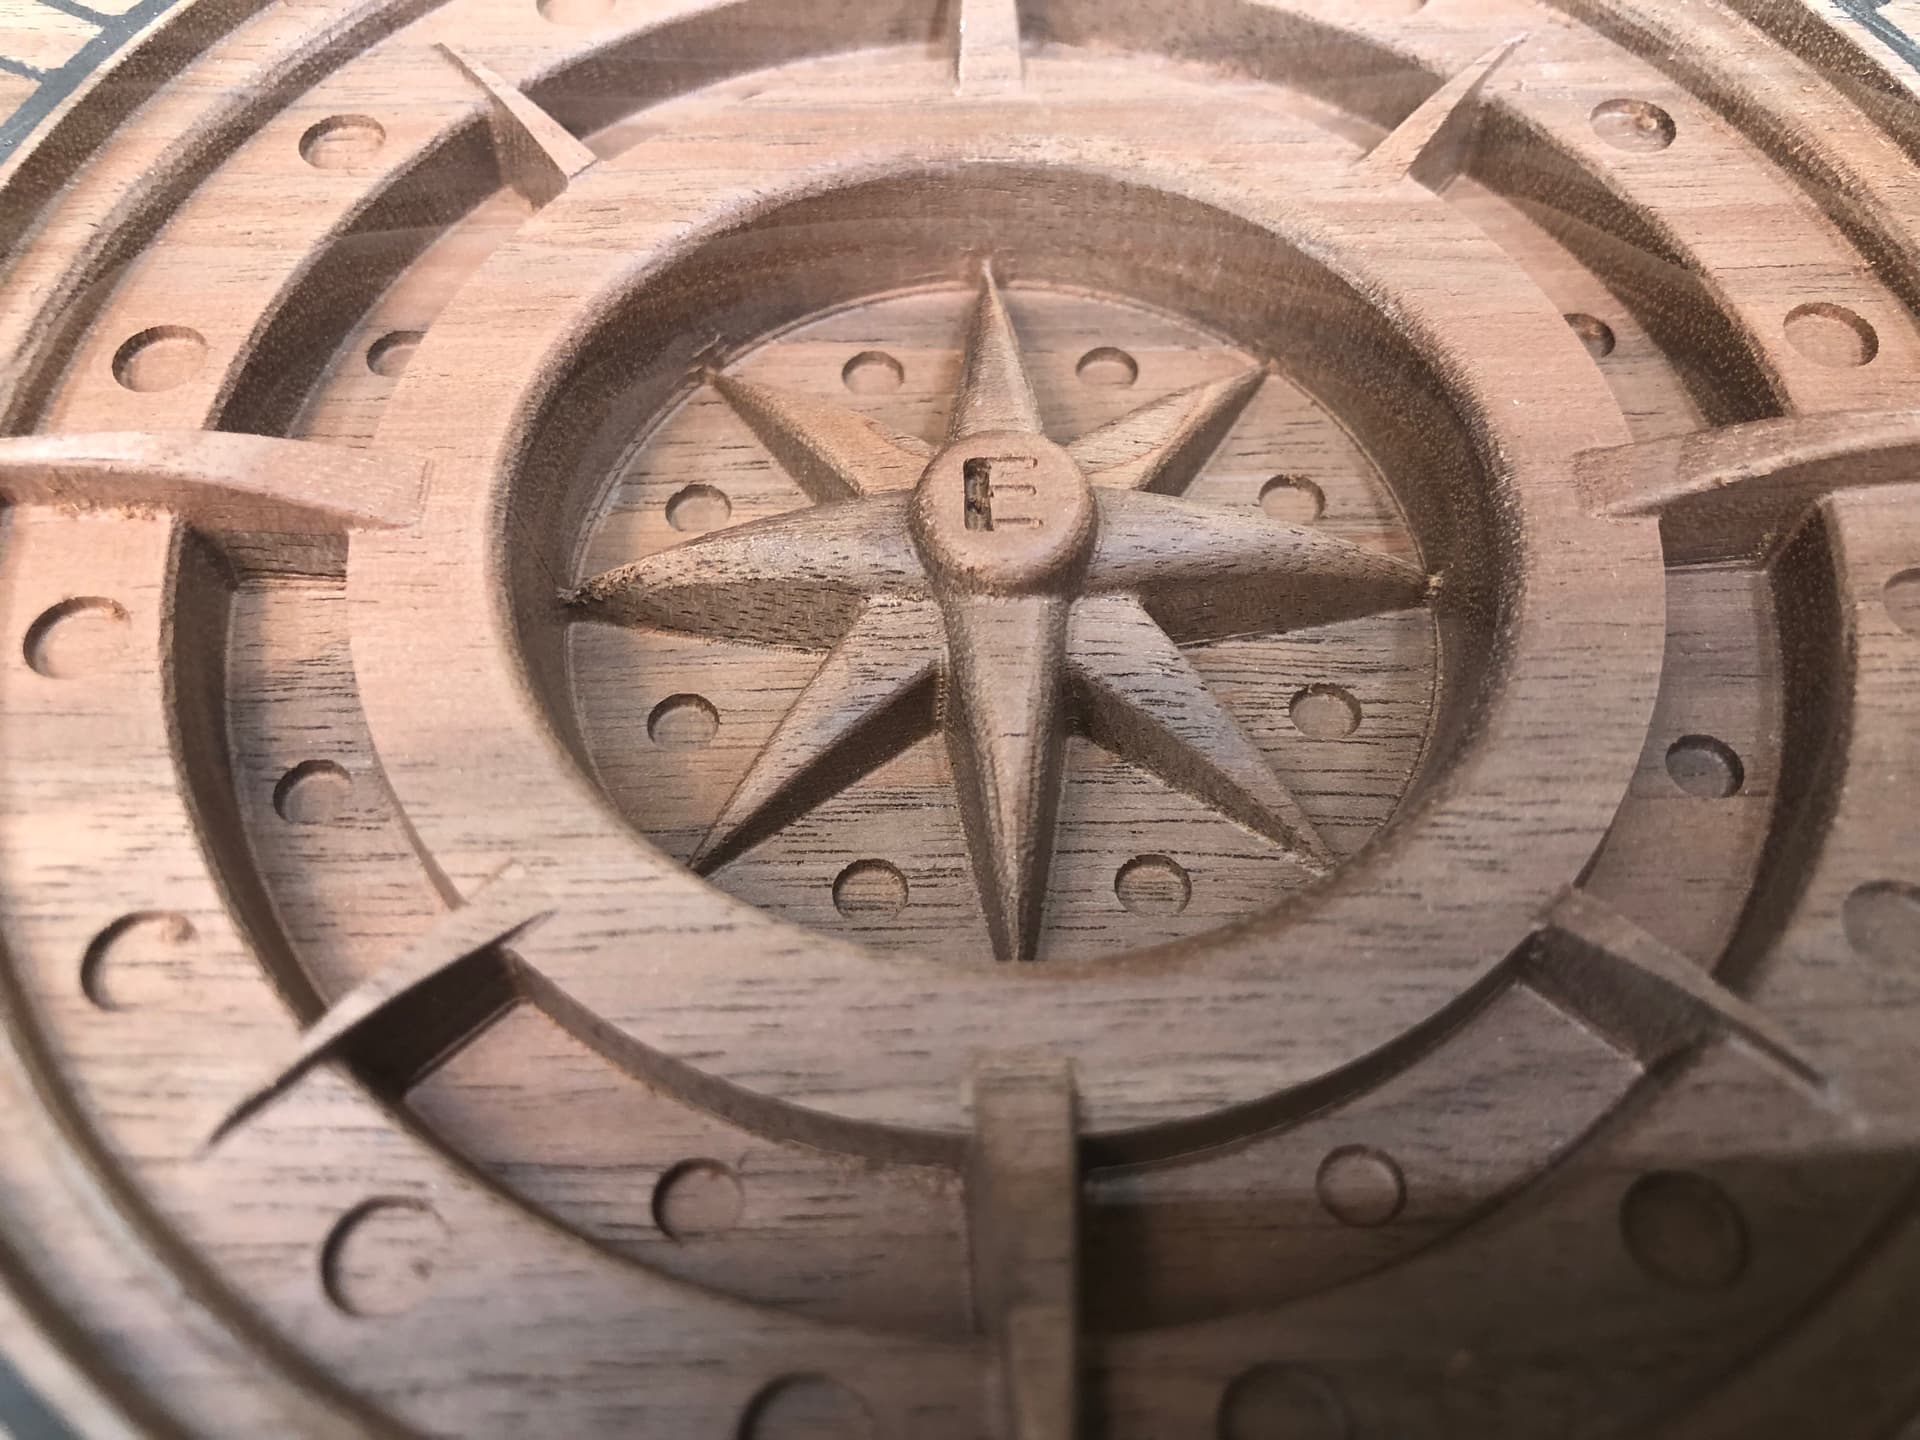