I agree!
1 Like
This not so much
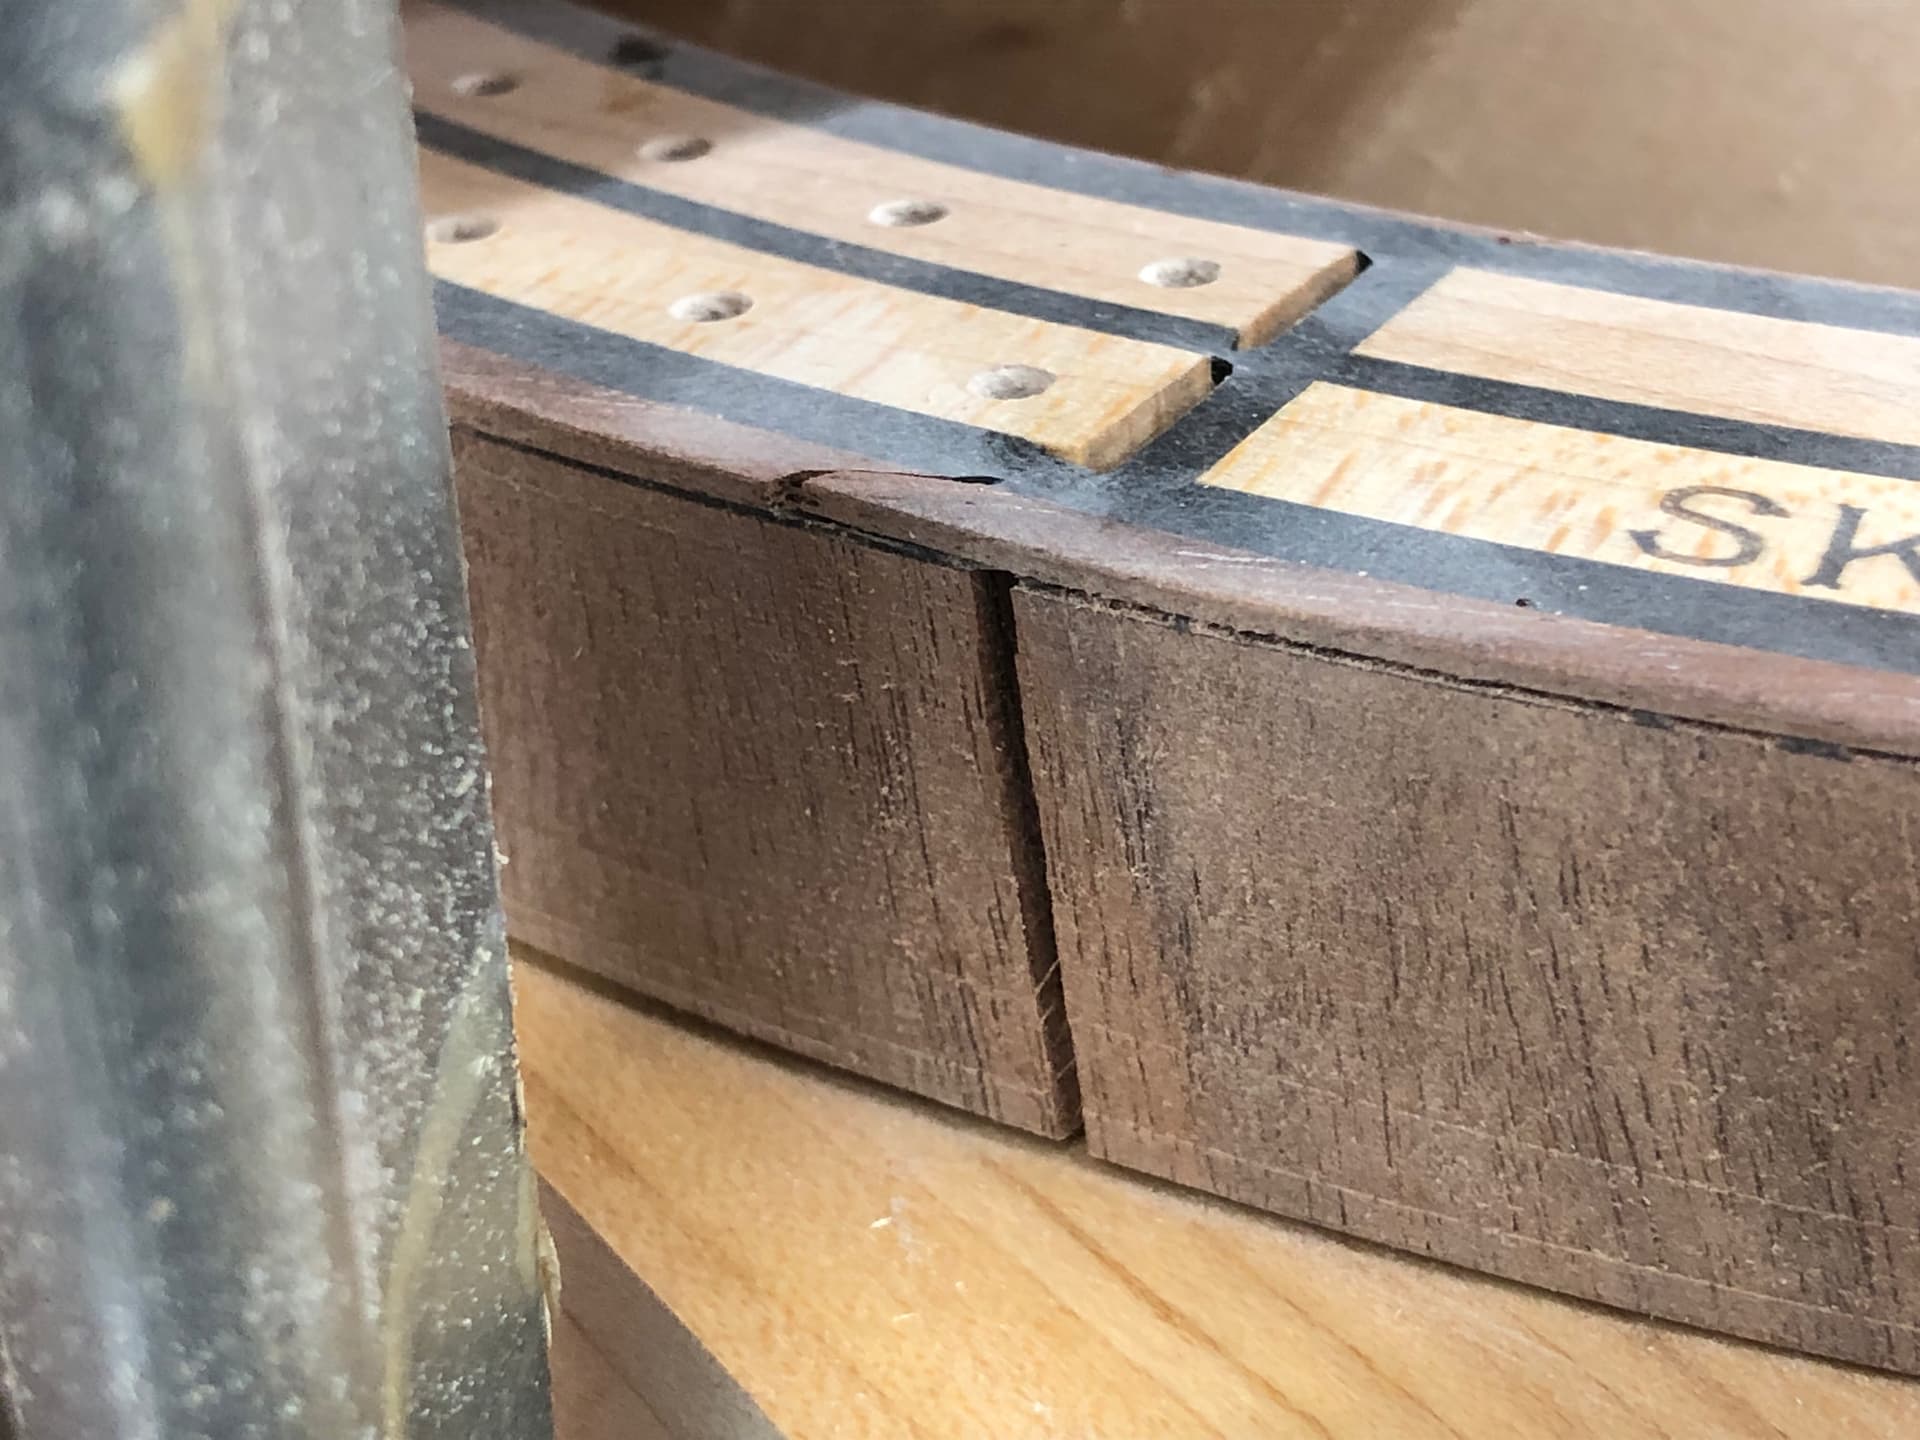
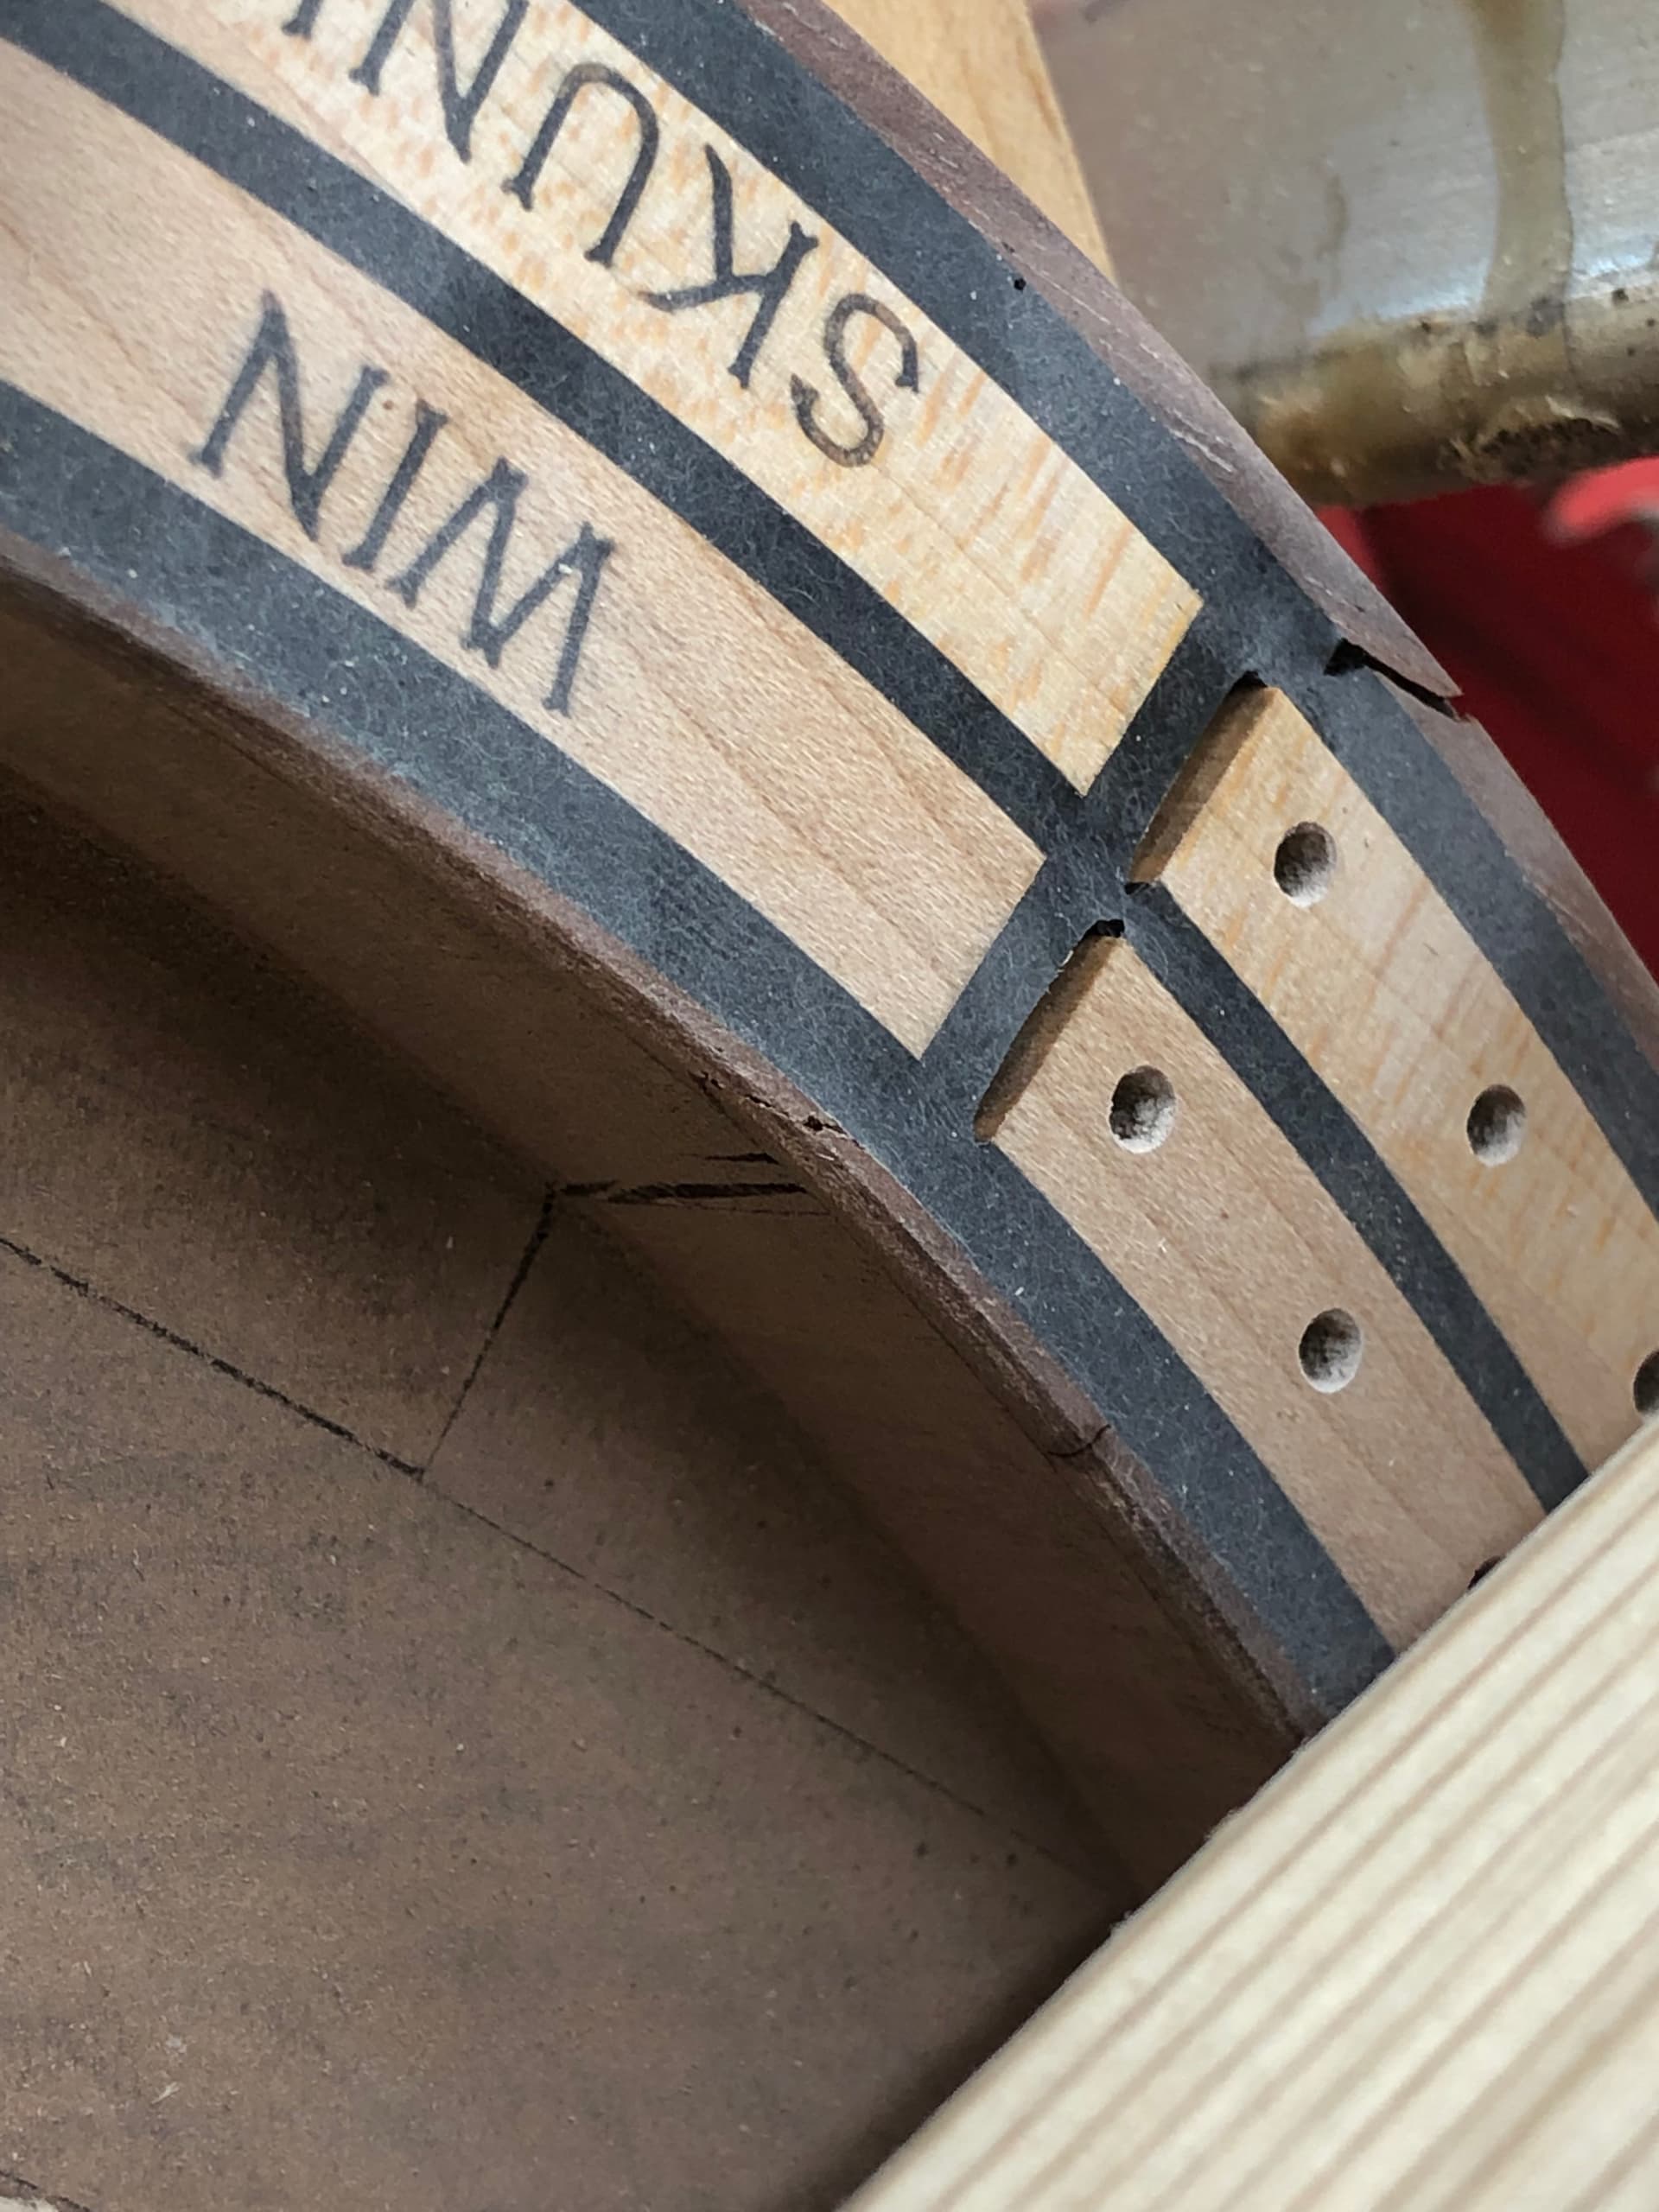
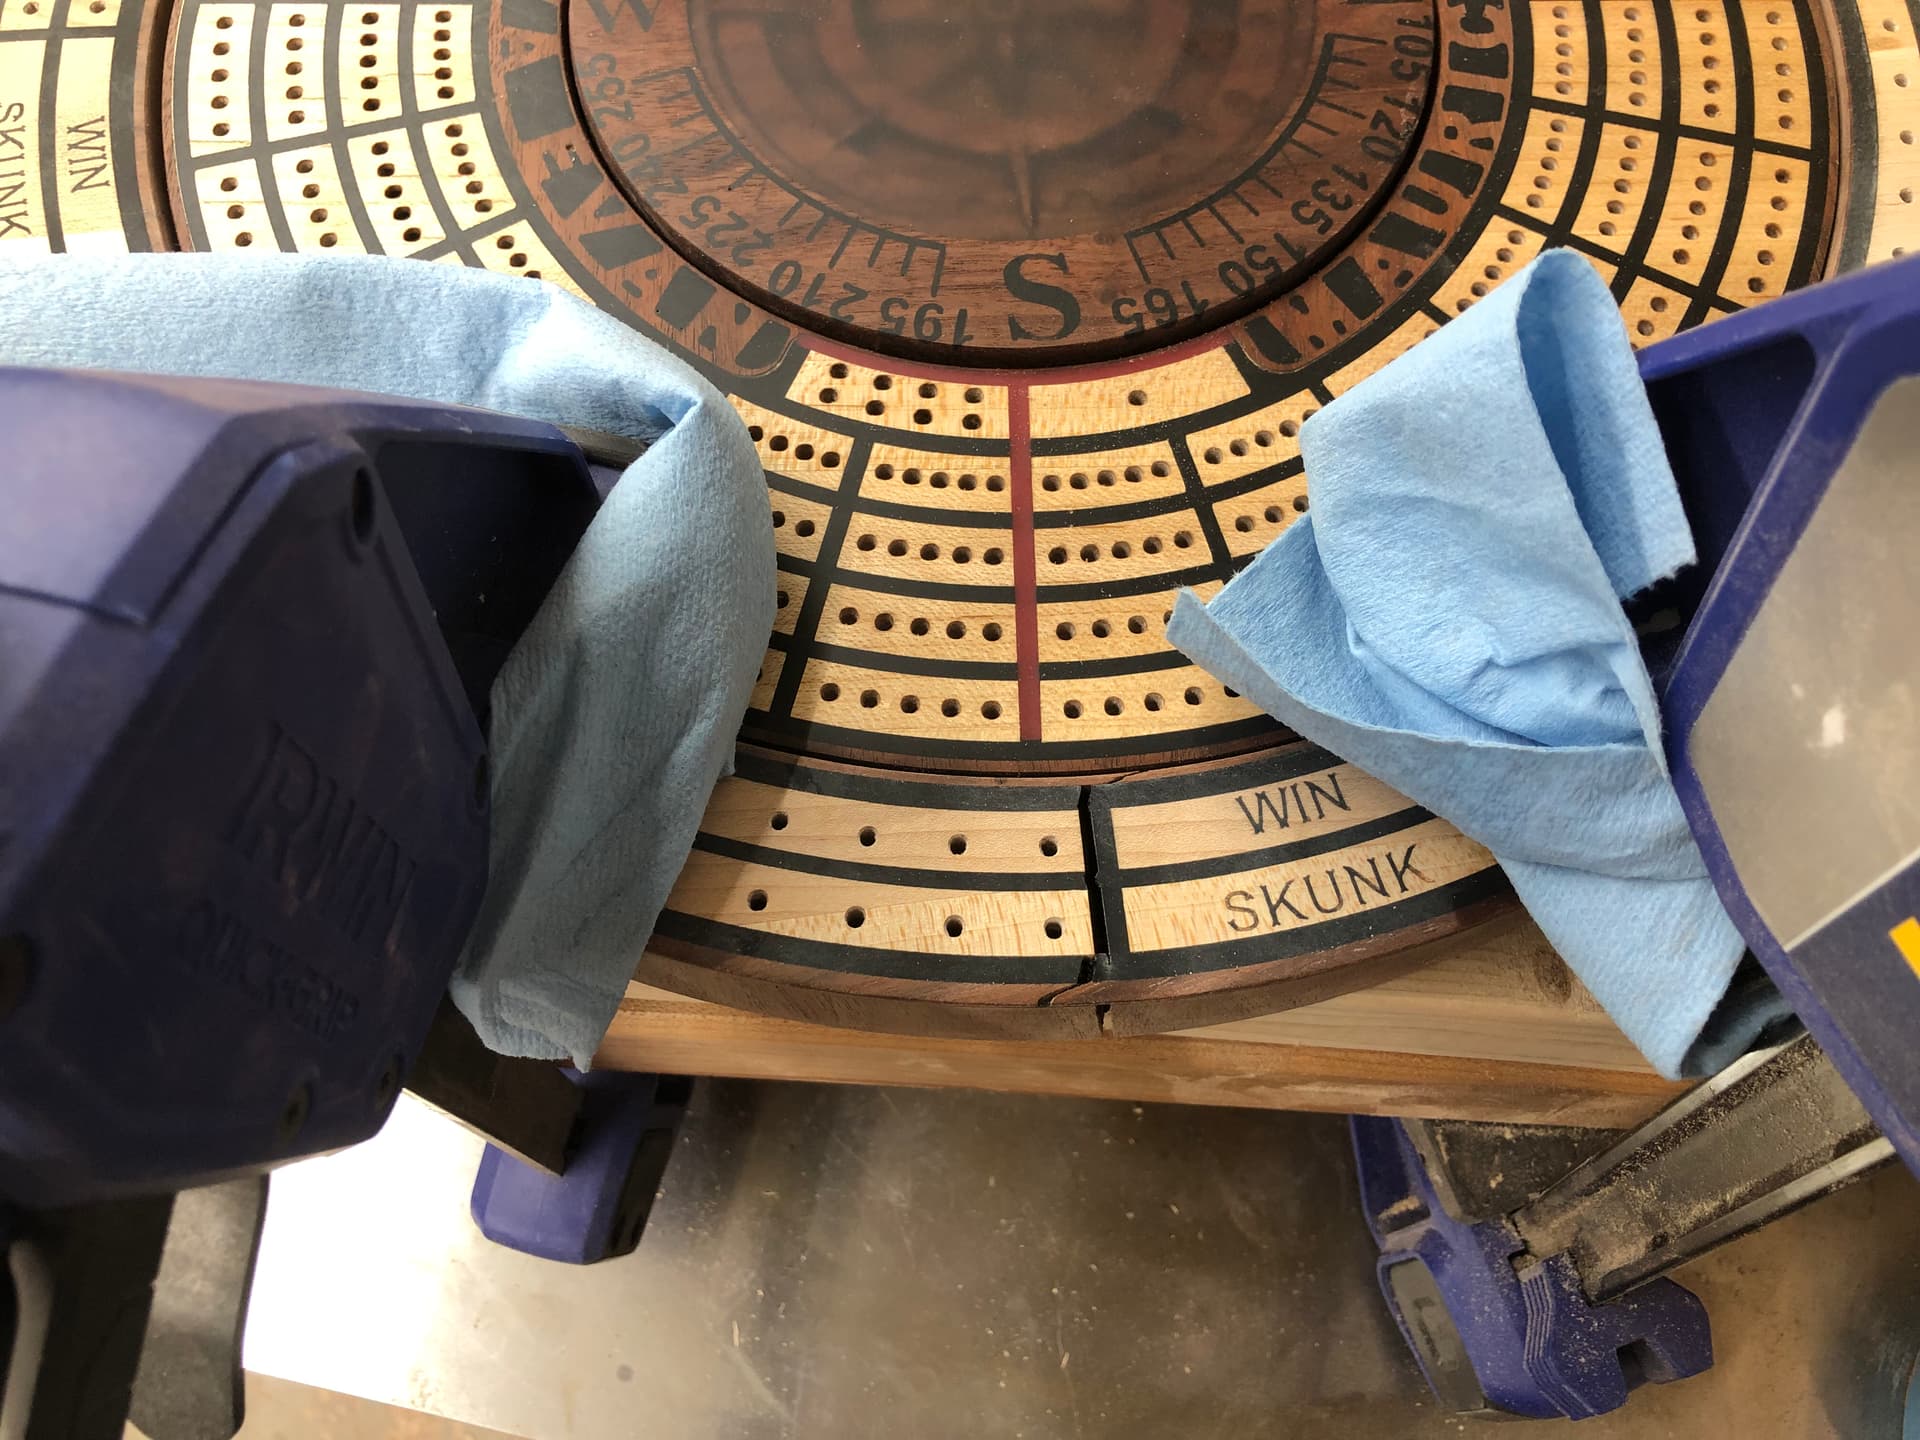
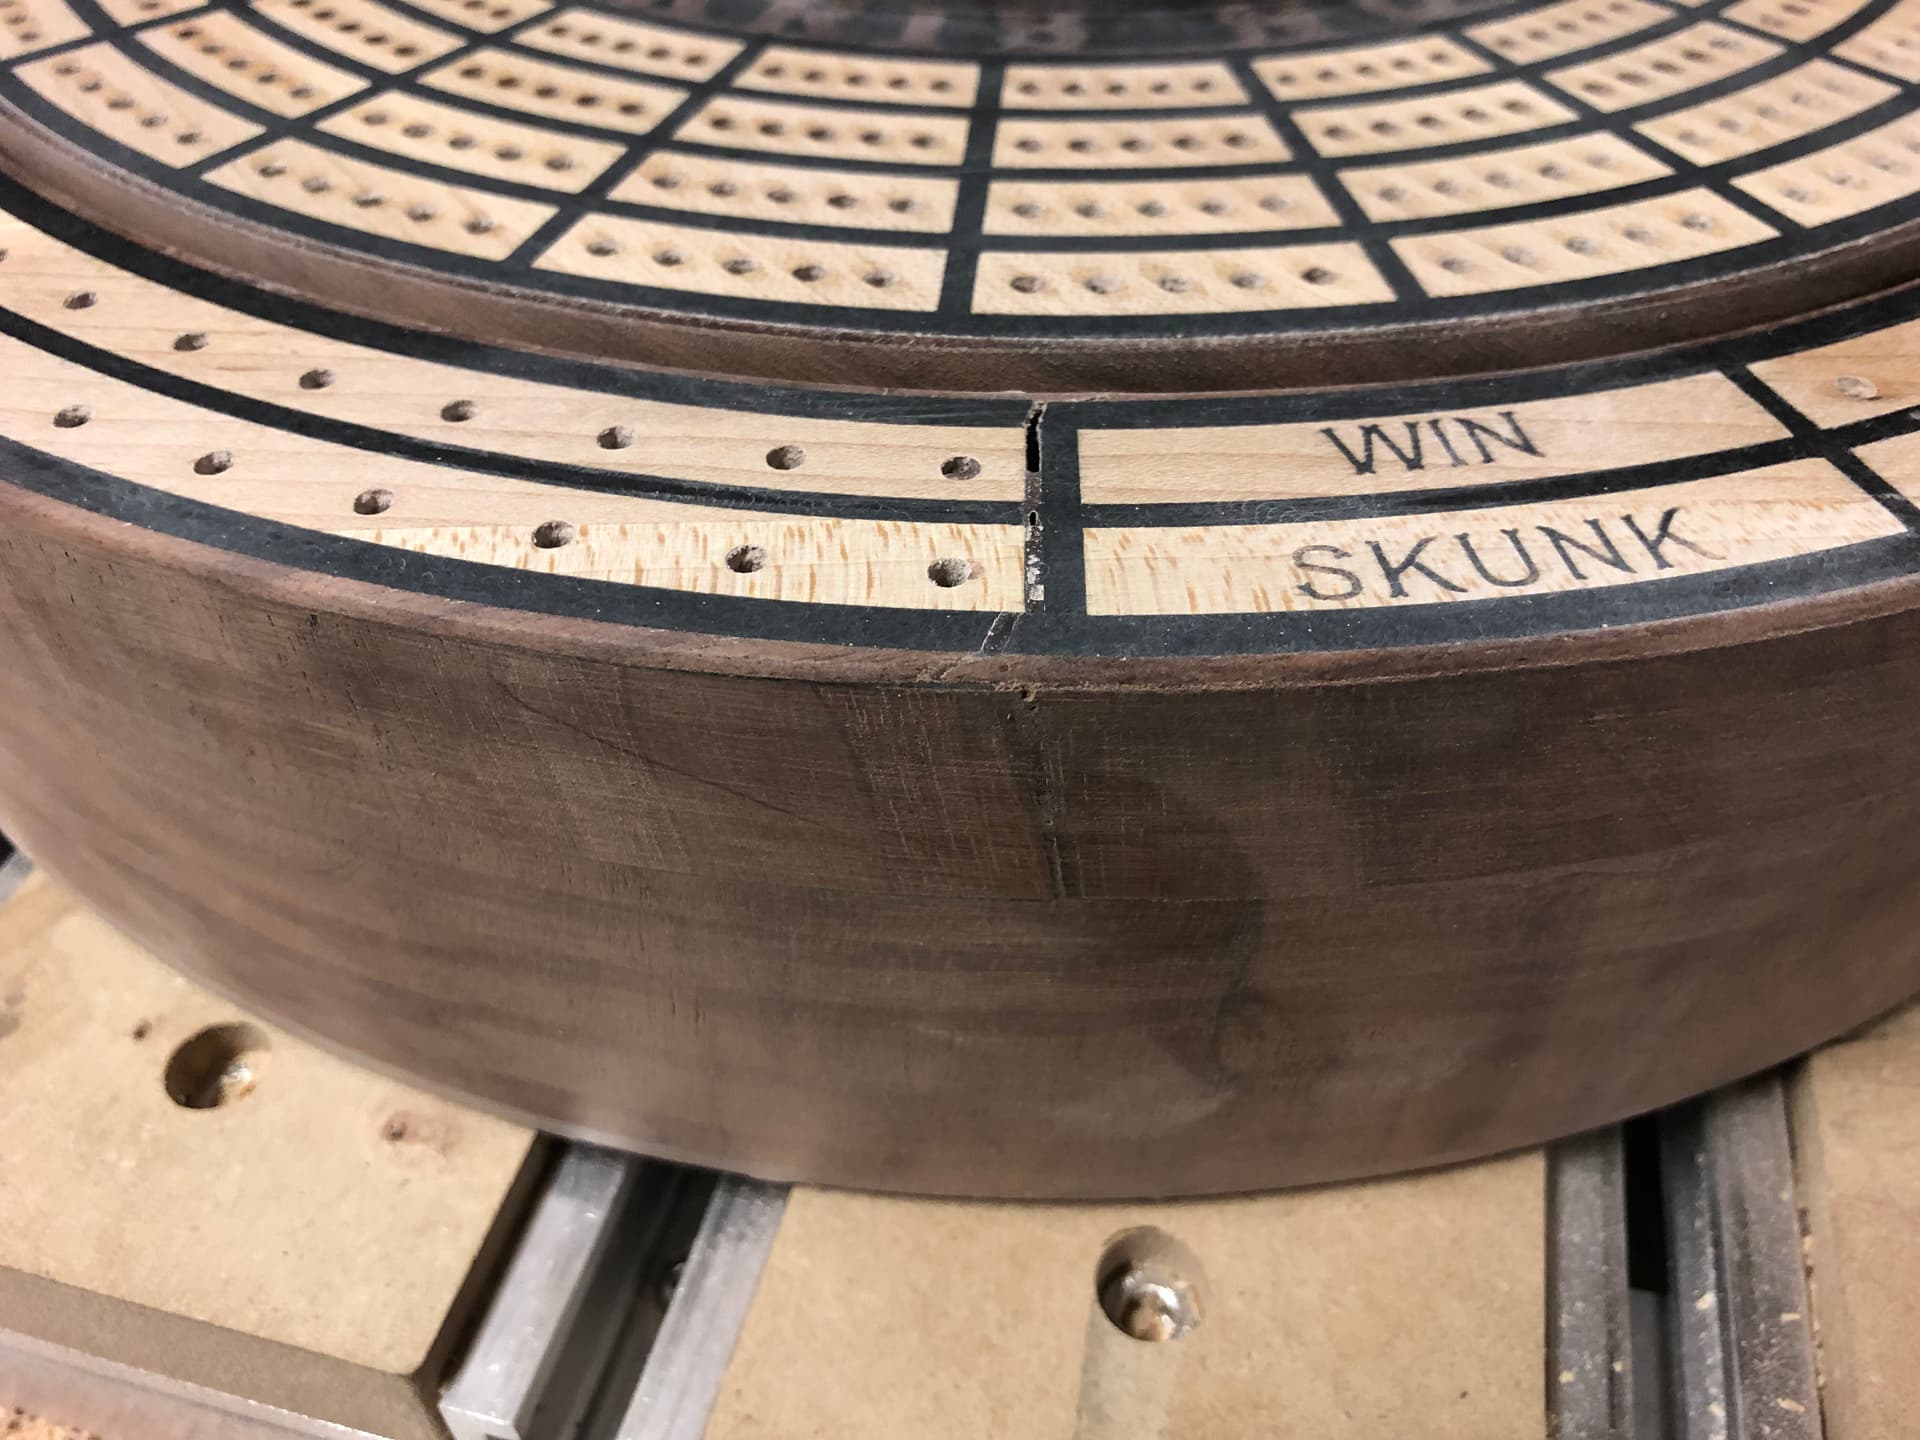
I think it’s still fixable, I have plenty of saw dust to fill in the crack and pour some epoxy to fill the gap. I noticed some moisture come up after I poured the black epoxy. It started to warp heavily when I raised the grain to sand, should of known better than to do that one.
Still forging ahead, next time sanding sealer is going to be used. The minute I hit it with water to raise the grain it warped. Both the outer track that cracked and the inner track. The inner track didn’t start to warp until after I hit it with the oil.
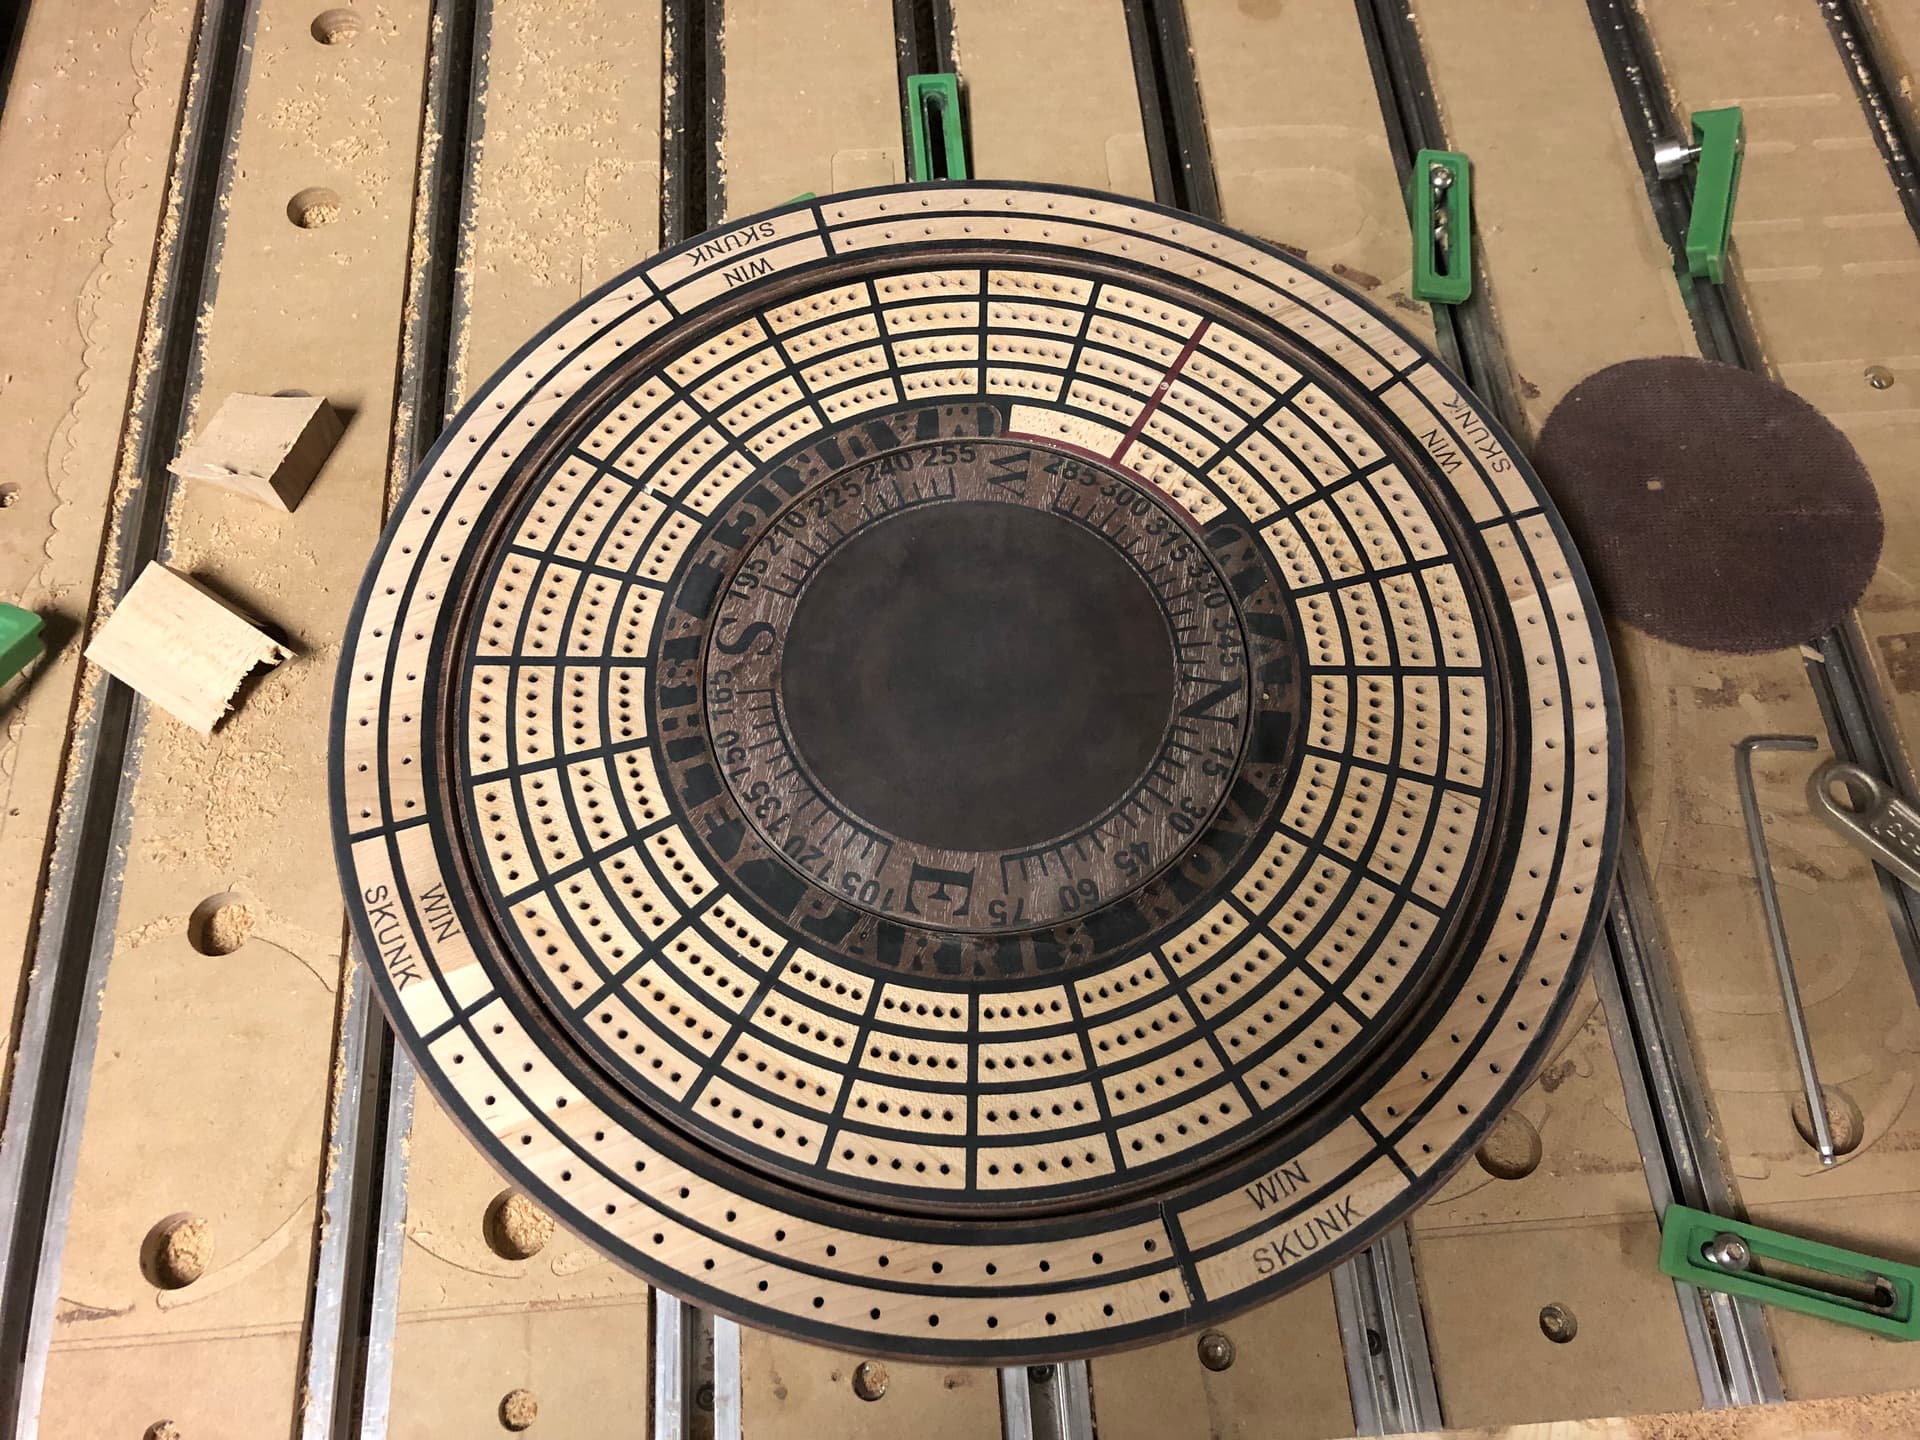
Still forging ahead, I’m hoping the lazy Susan’s being stalled will give it more strength against the warp. Forging ahead to see what the morning brings.

5 Likes
Sometimes the best made plans fail. However failures lead to sucess. You may be able to salvage the project but learning the process was a sucess. Even if you have to start over you learned a lot and hopefully had fun learning.
If you think you can
or
Think you can’t
You’re right
More importantly
If you think you can
You can.
Similar statements but the second one is much more important to us.
Great idea and a lot of planning and thought went into your project. Great job.
3 Likes
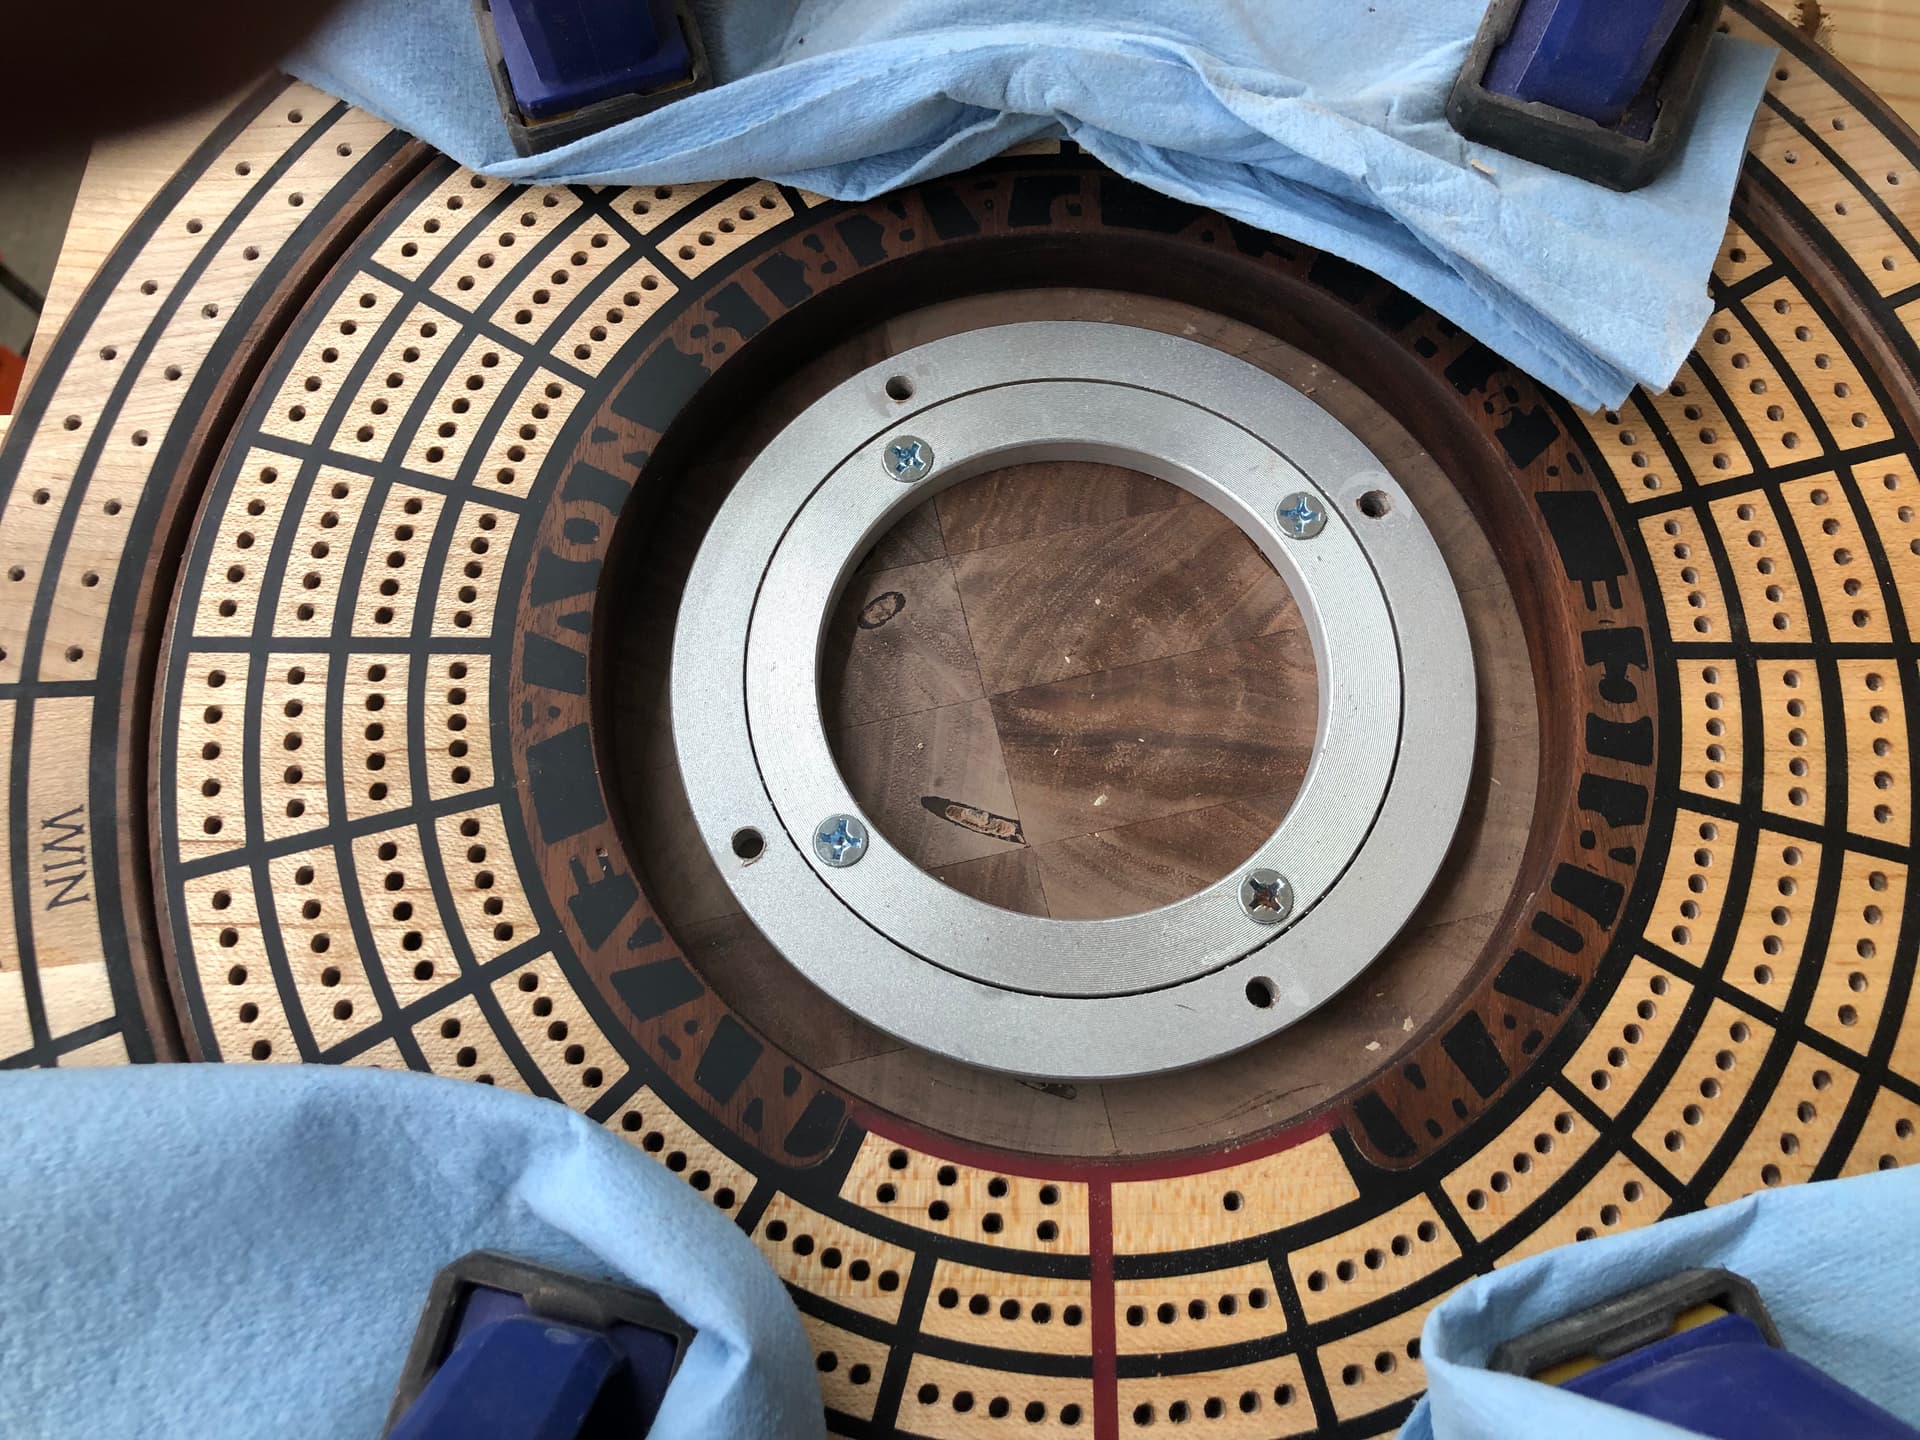
I was able to fix the warp pieces, I’m going to let it sit for another day. I’m going to glue the bottom base together tomorrow.
I have to work through some stuff though, when it warped to kicked the player track over slightly, which is now binding when it rotates on the lazy Susan. I’m going to work though that problem and I should be able to resolve it. My tolerances left room for shrinking/expanding of the wood, but not enough when the base split.
Definitely salvageable and working through the problem.
I was going to rebuild the base that split, but with the warp under control and the crack able to be repaired, I’m going to keep it
3 Likes
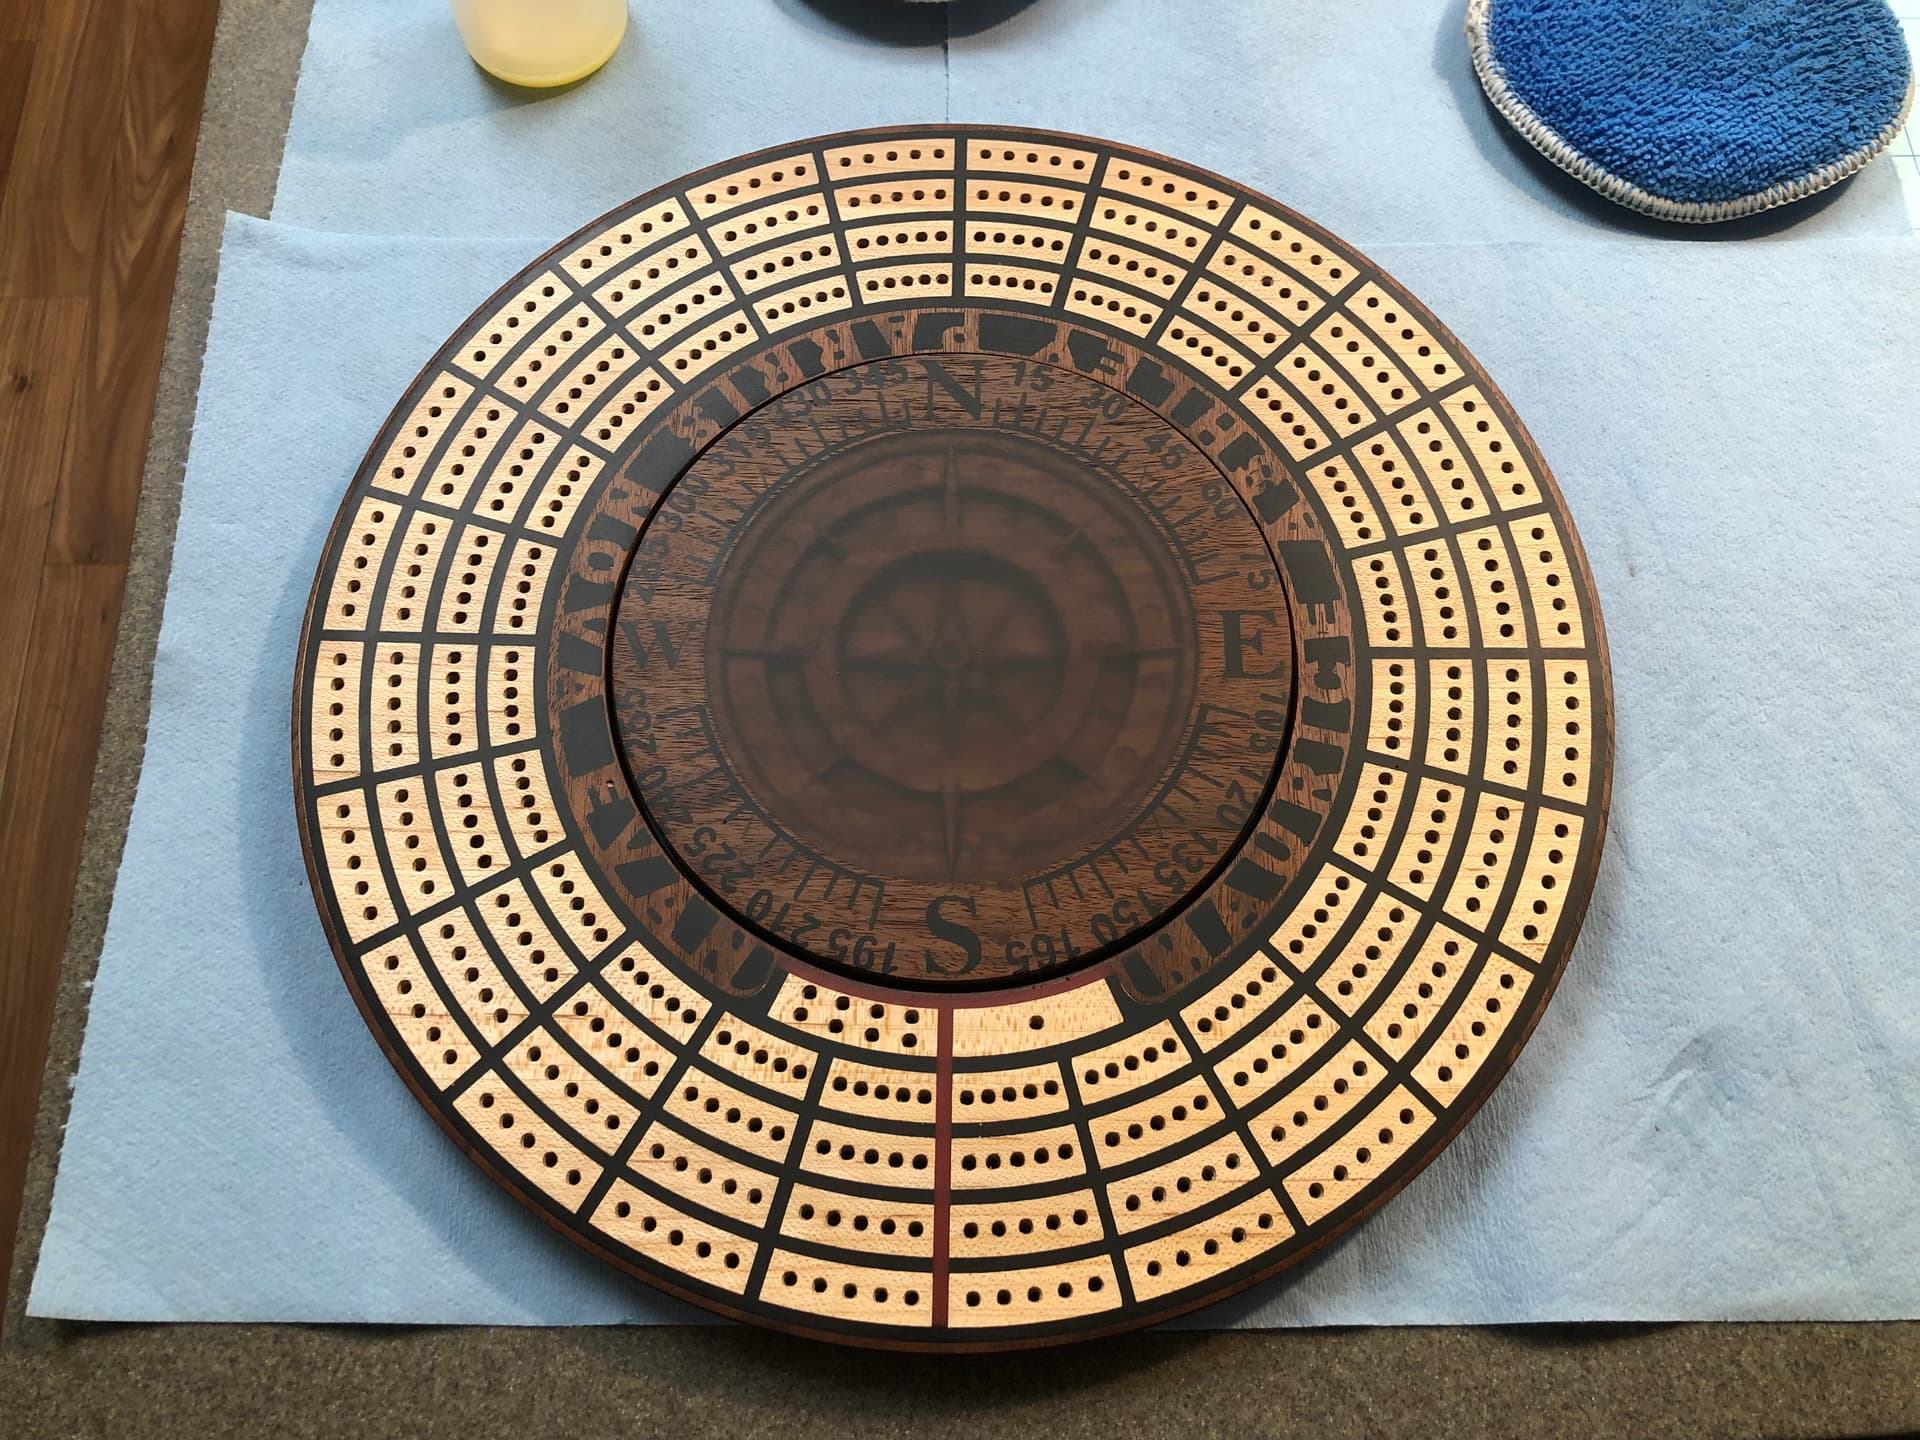
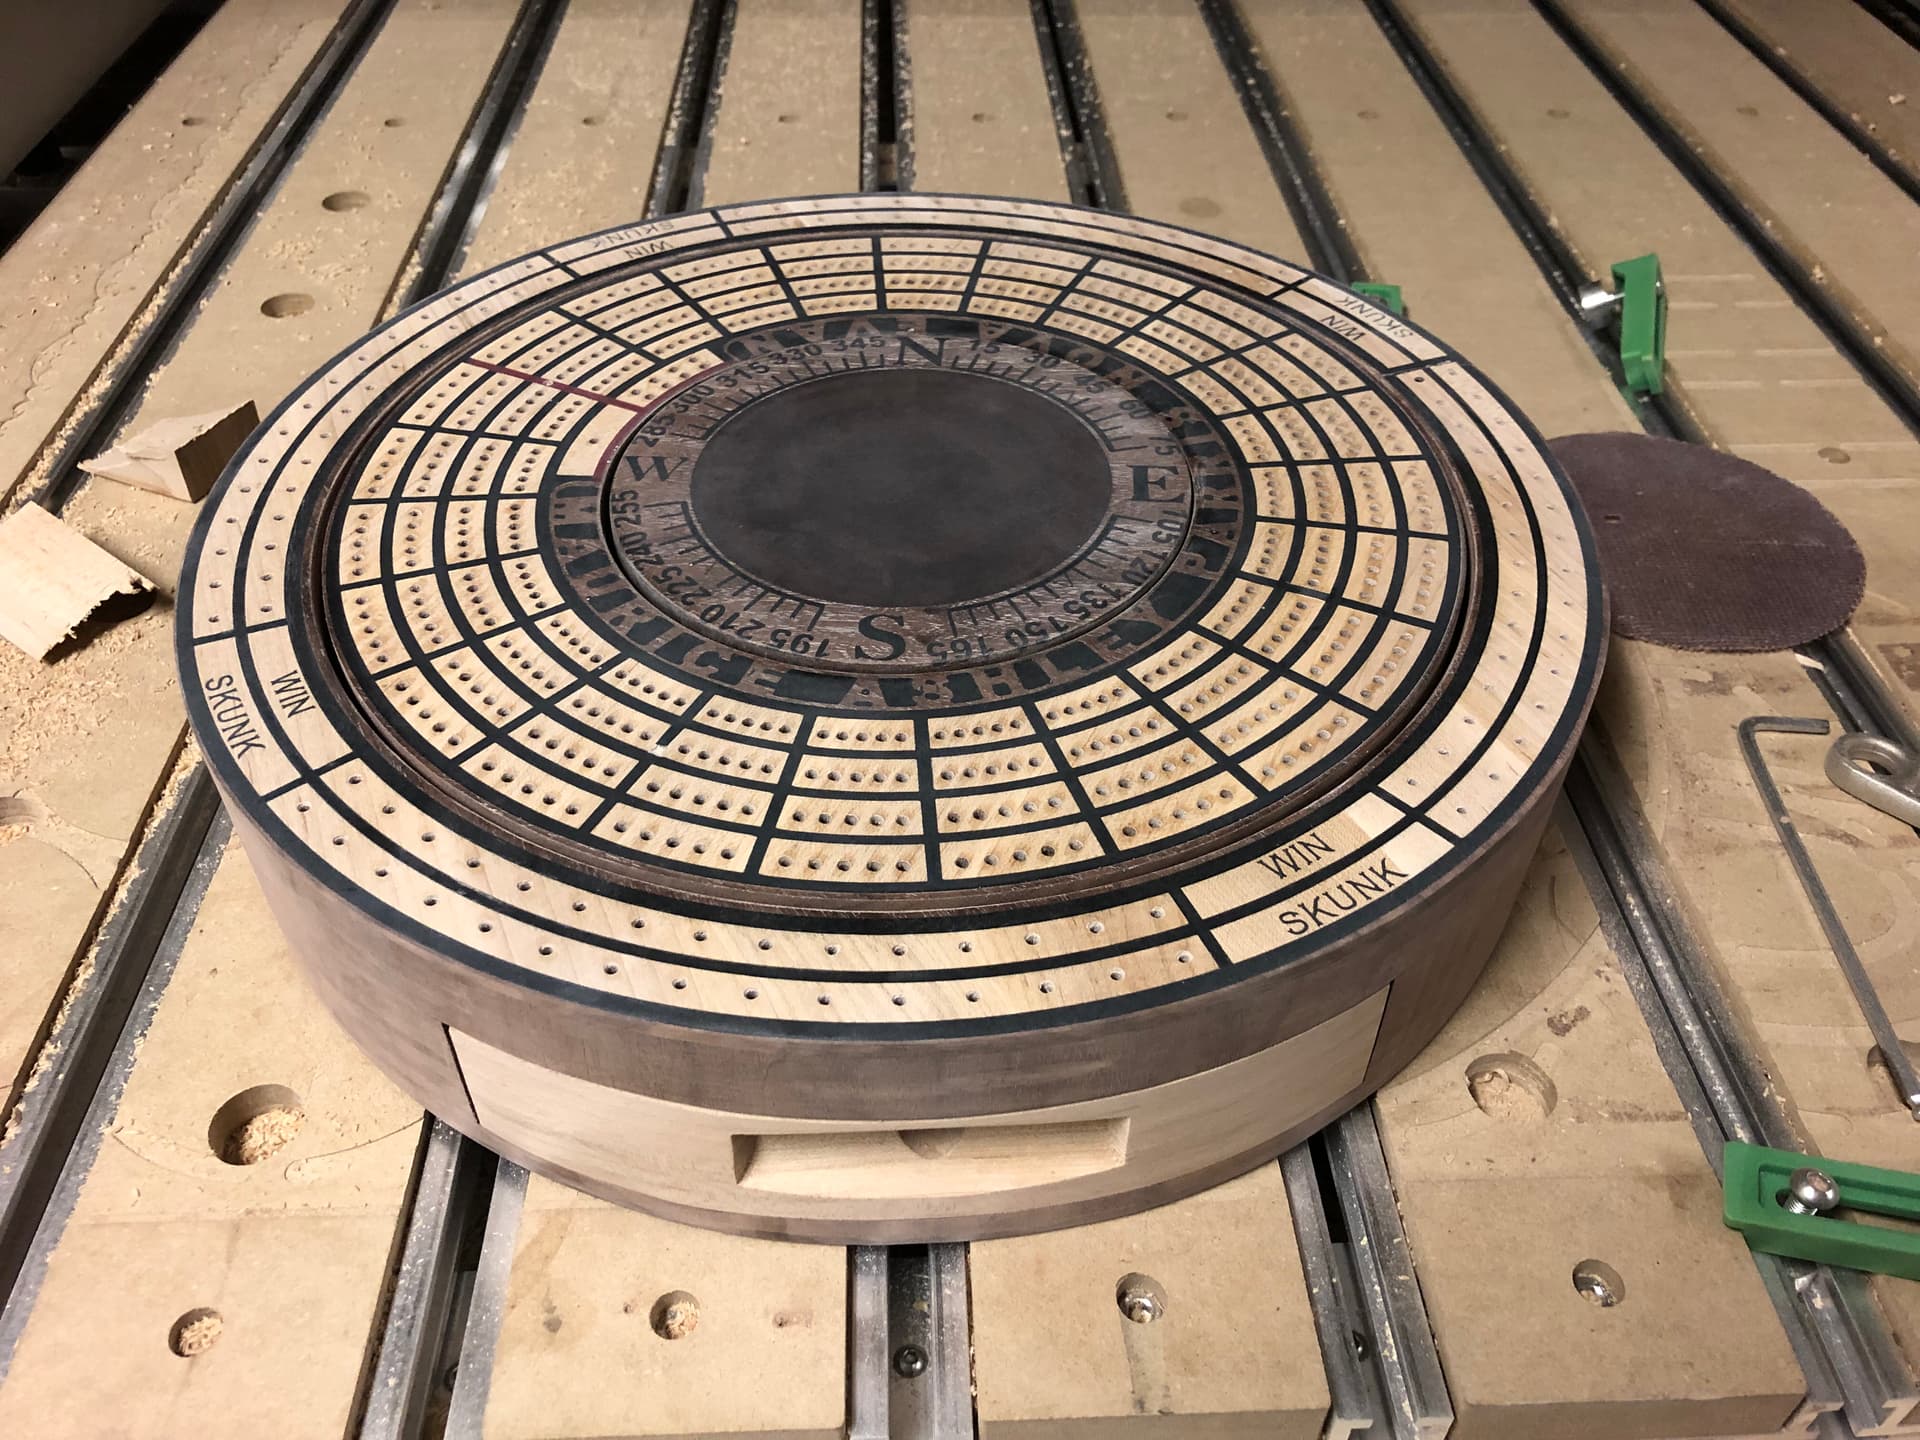
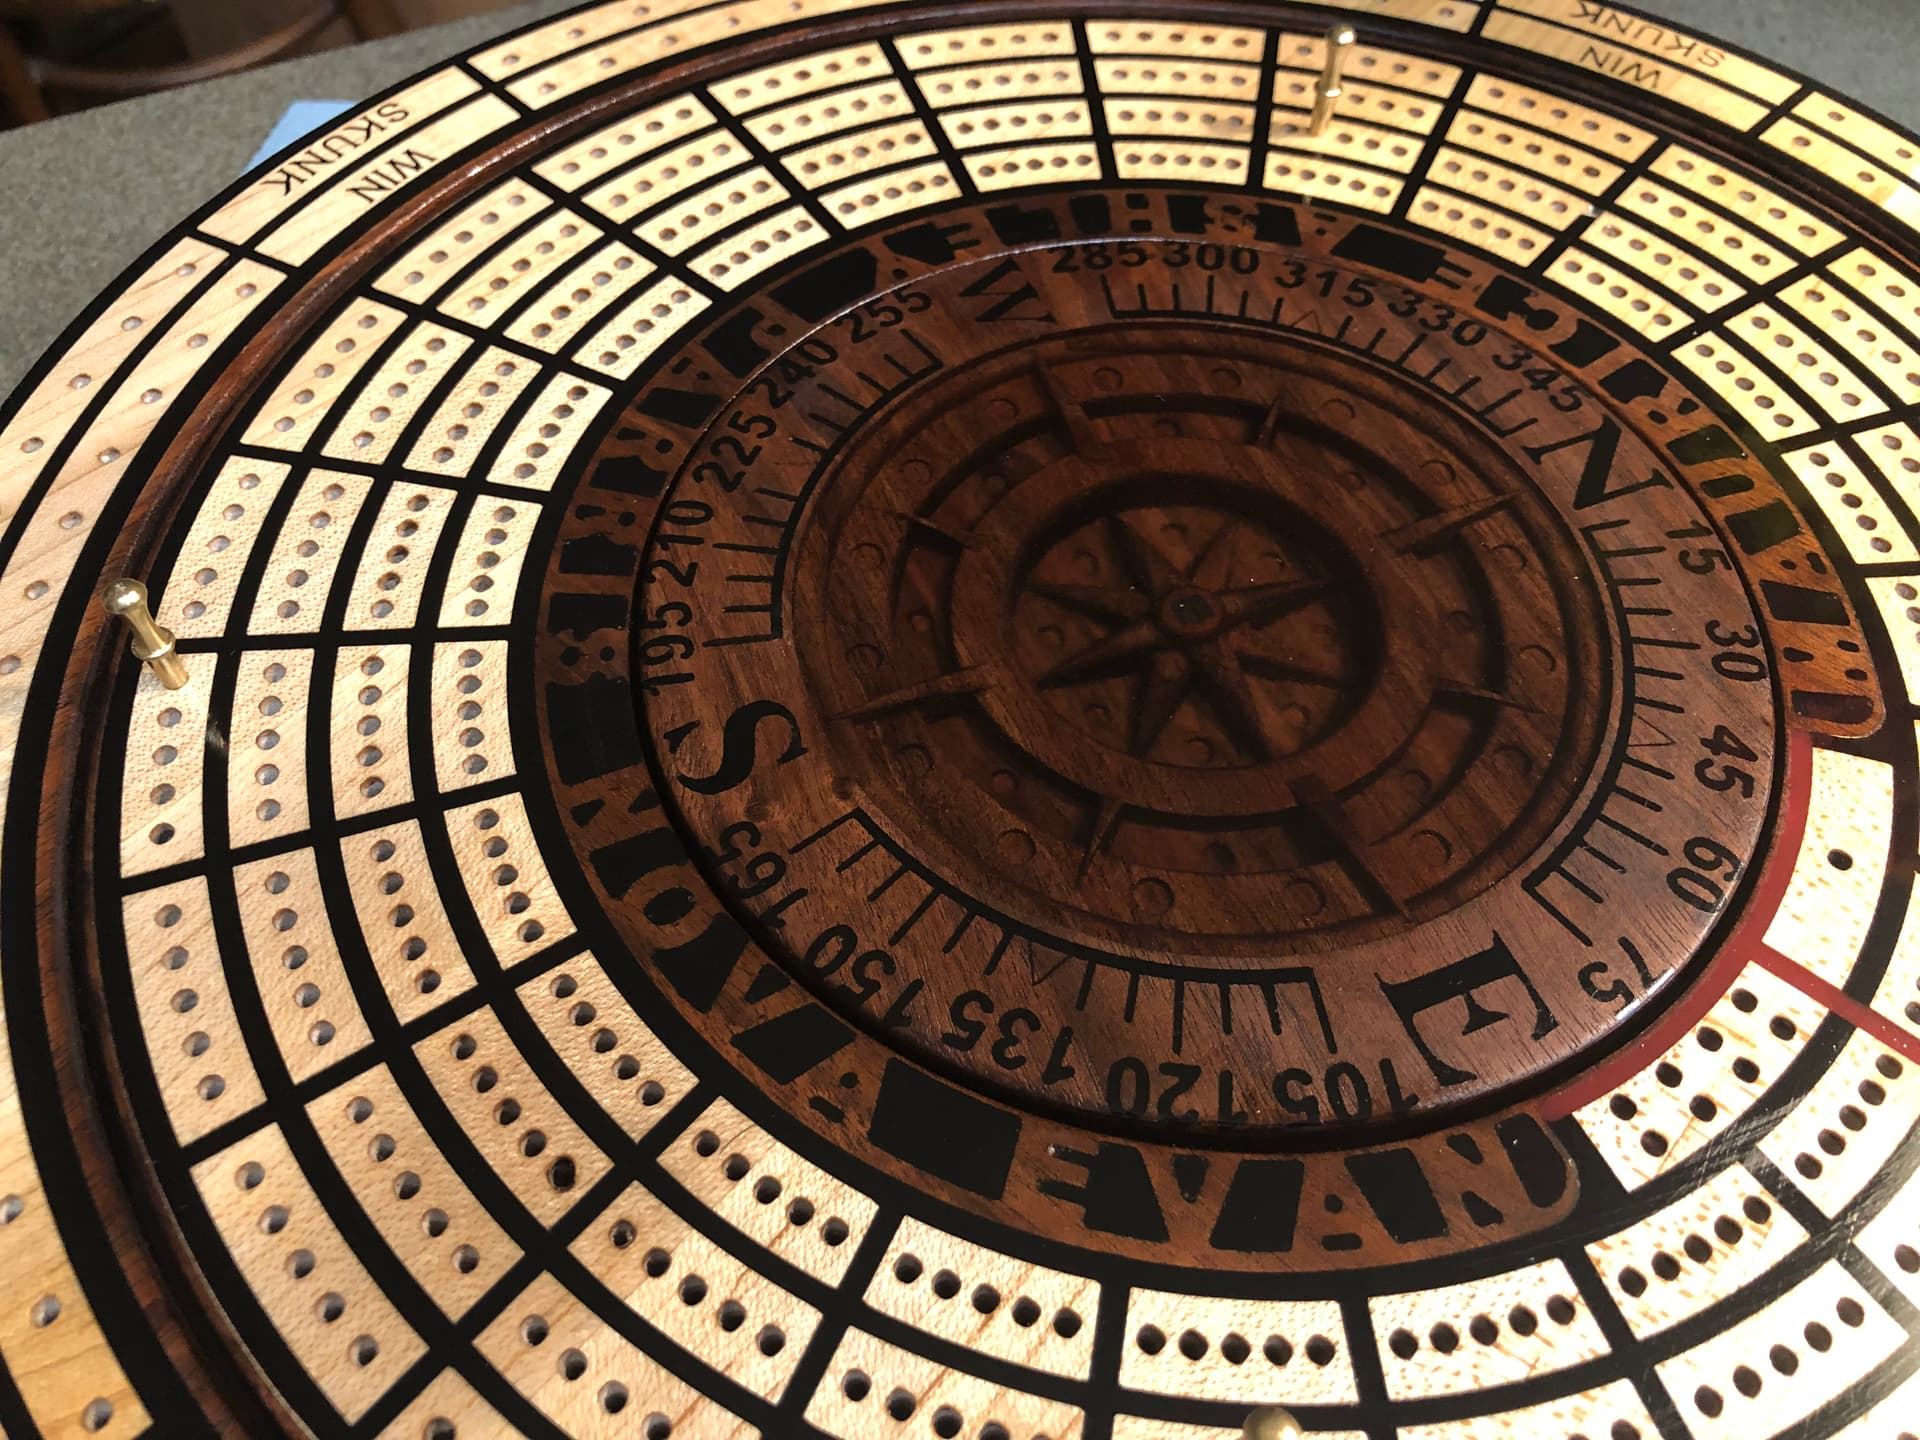
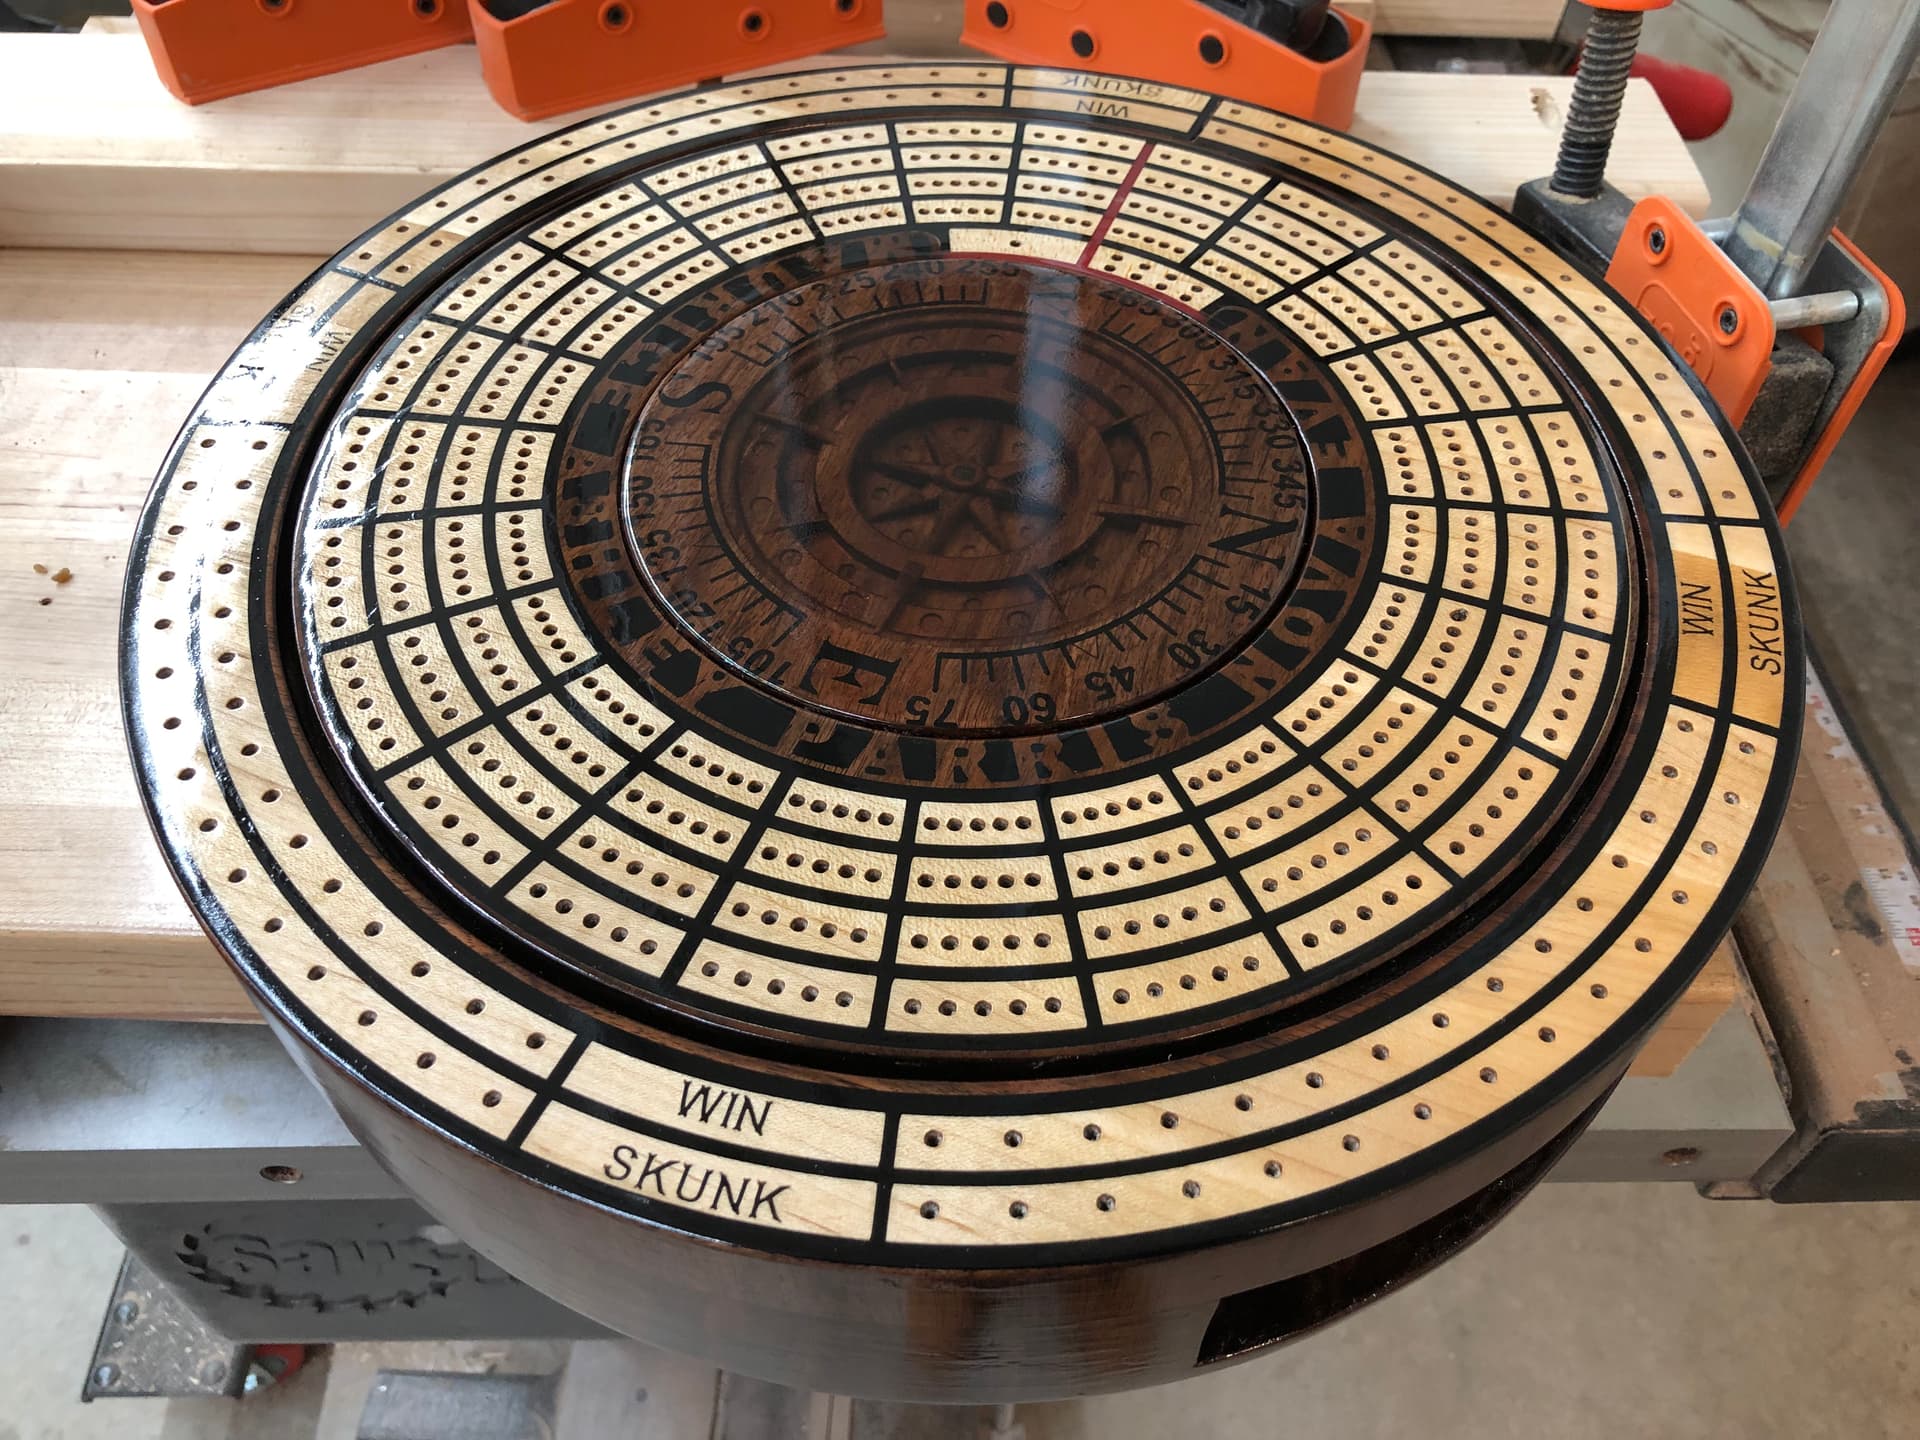
All is not lost…I worked through the problem sets and made it through it. I have some pin holes and the line to address with epoxy, some wood filler and a ton of sanding, but this baby is almost done.
The tracks rotate freely which is super cool. I was worried there for a second!!
I’ll send an update once all finished.
Overall: I learned a crap ton, to much to write out. I’m very pleased with the results and can’t wait to put the finishing touches on it.
12 Likes
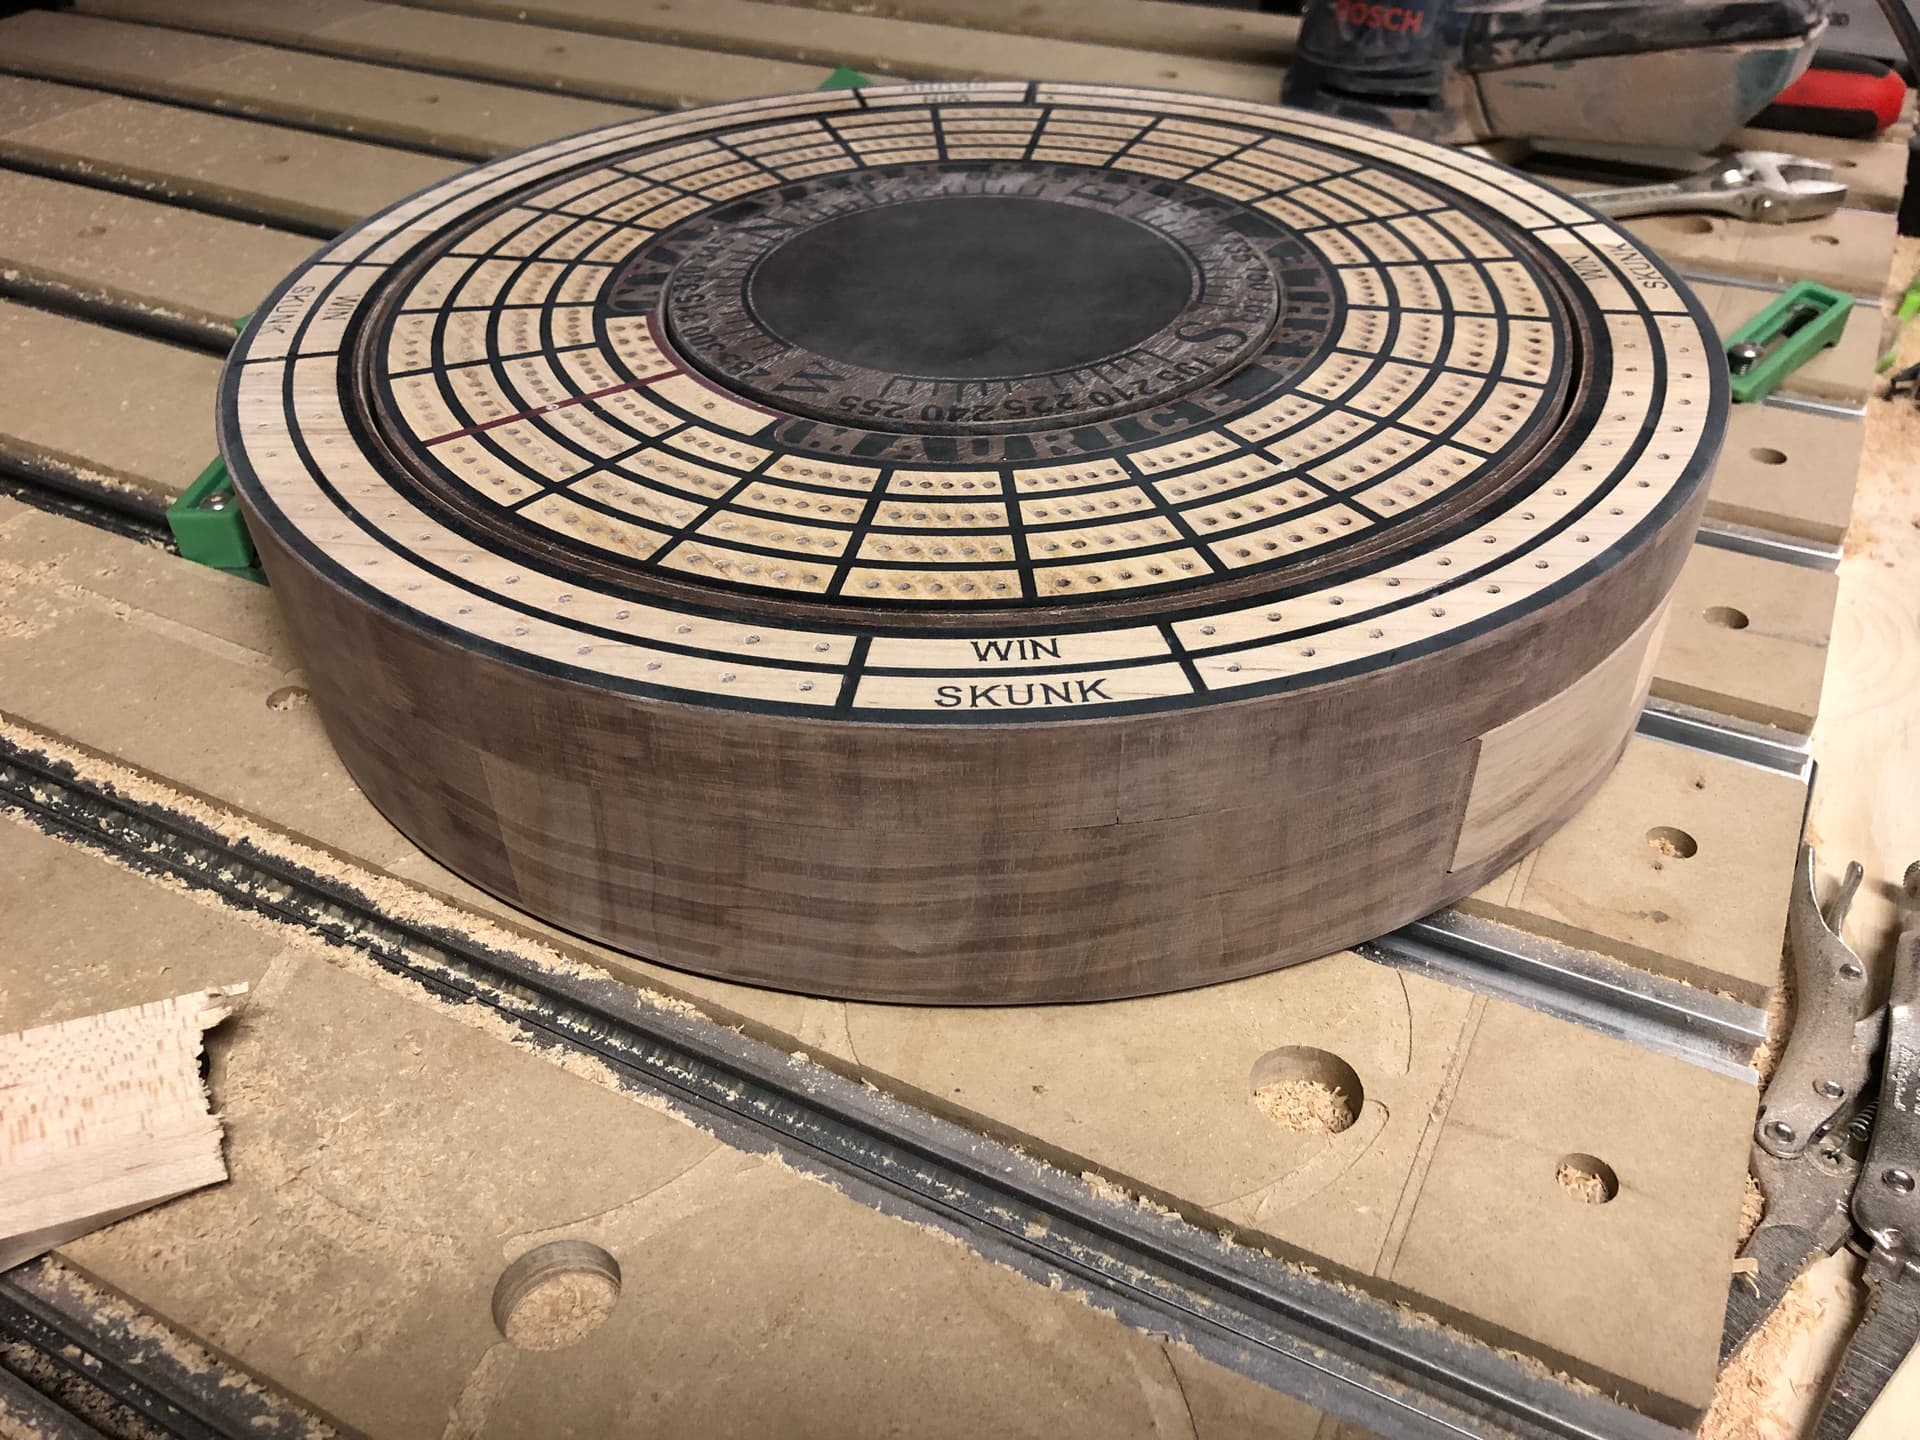
First 3 coats of poly…some small imperfections but damn this thing is starting to look good! Super pleased. When I was applying the first coats, I realized this was my first big wood project besides coasters. I really enjoyed this.
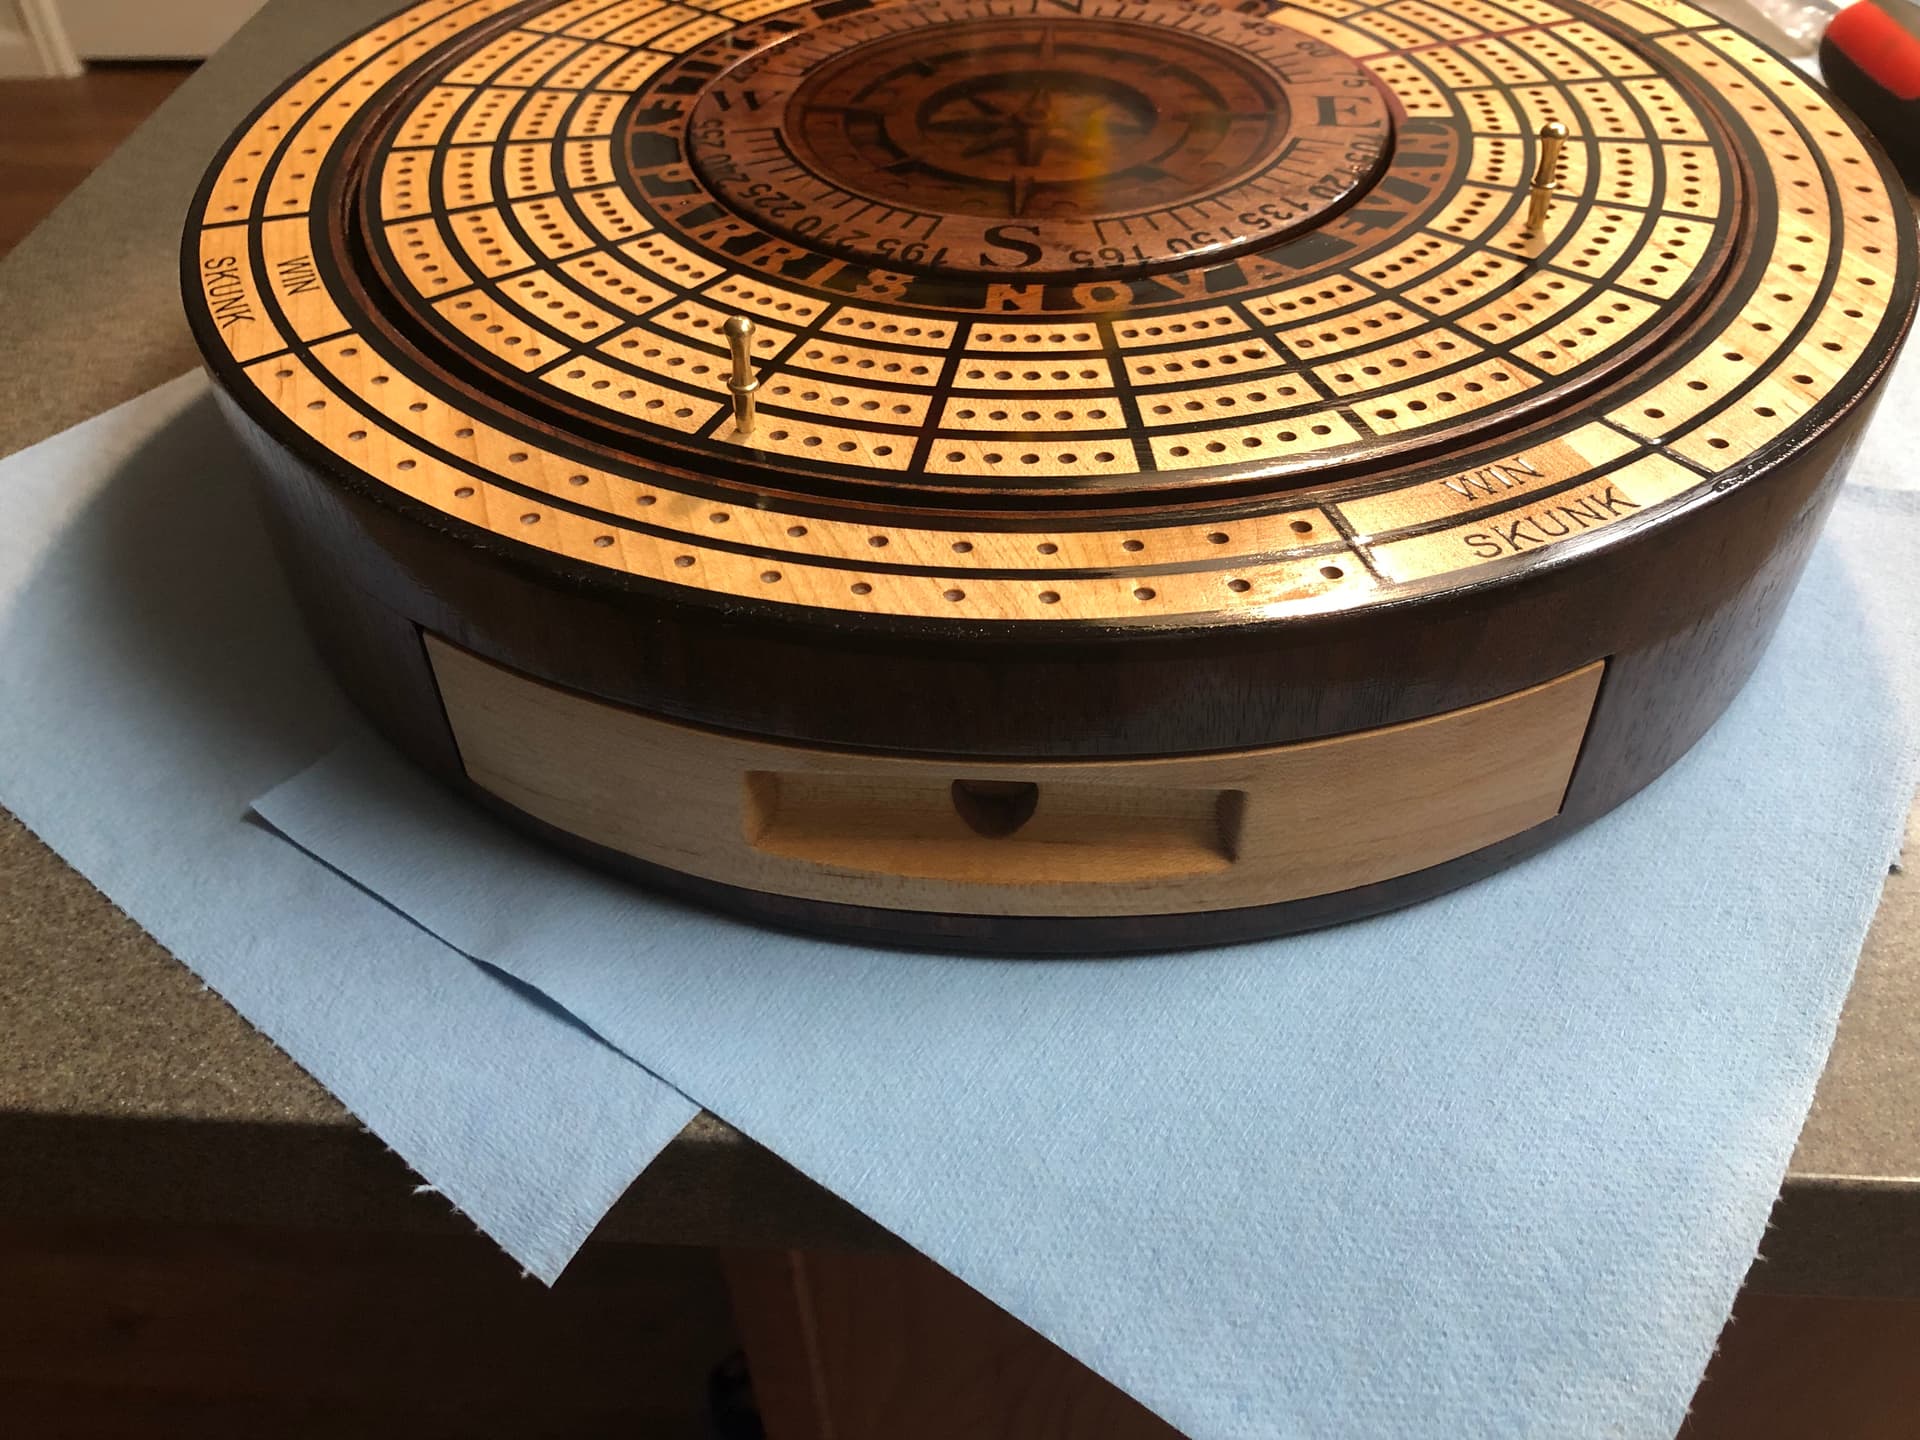

Going to sand down the finish and apply about 10 more coats and then cut and polish it. 
17 Likes
Maurice, its starting to sound like actually playing the game will be a total letdown!  +1
+1
1 Like
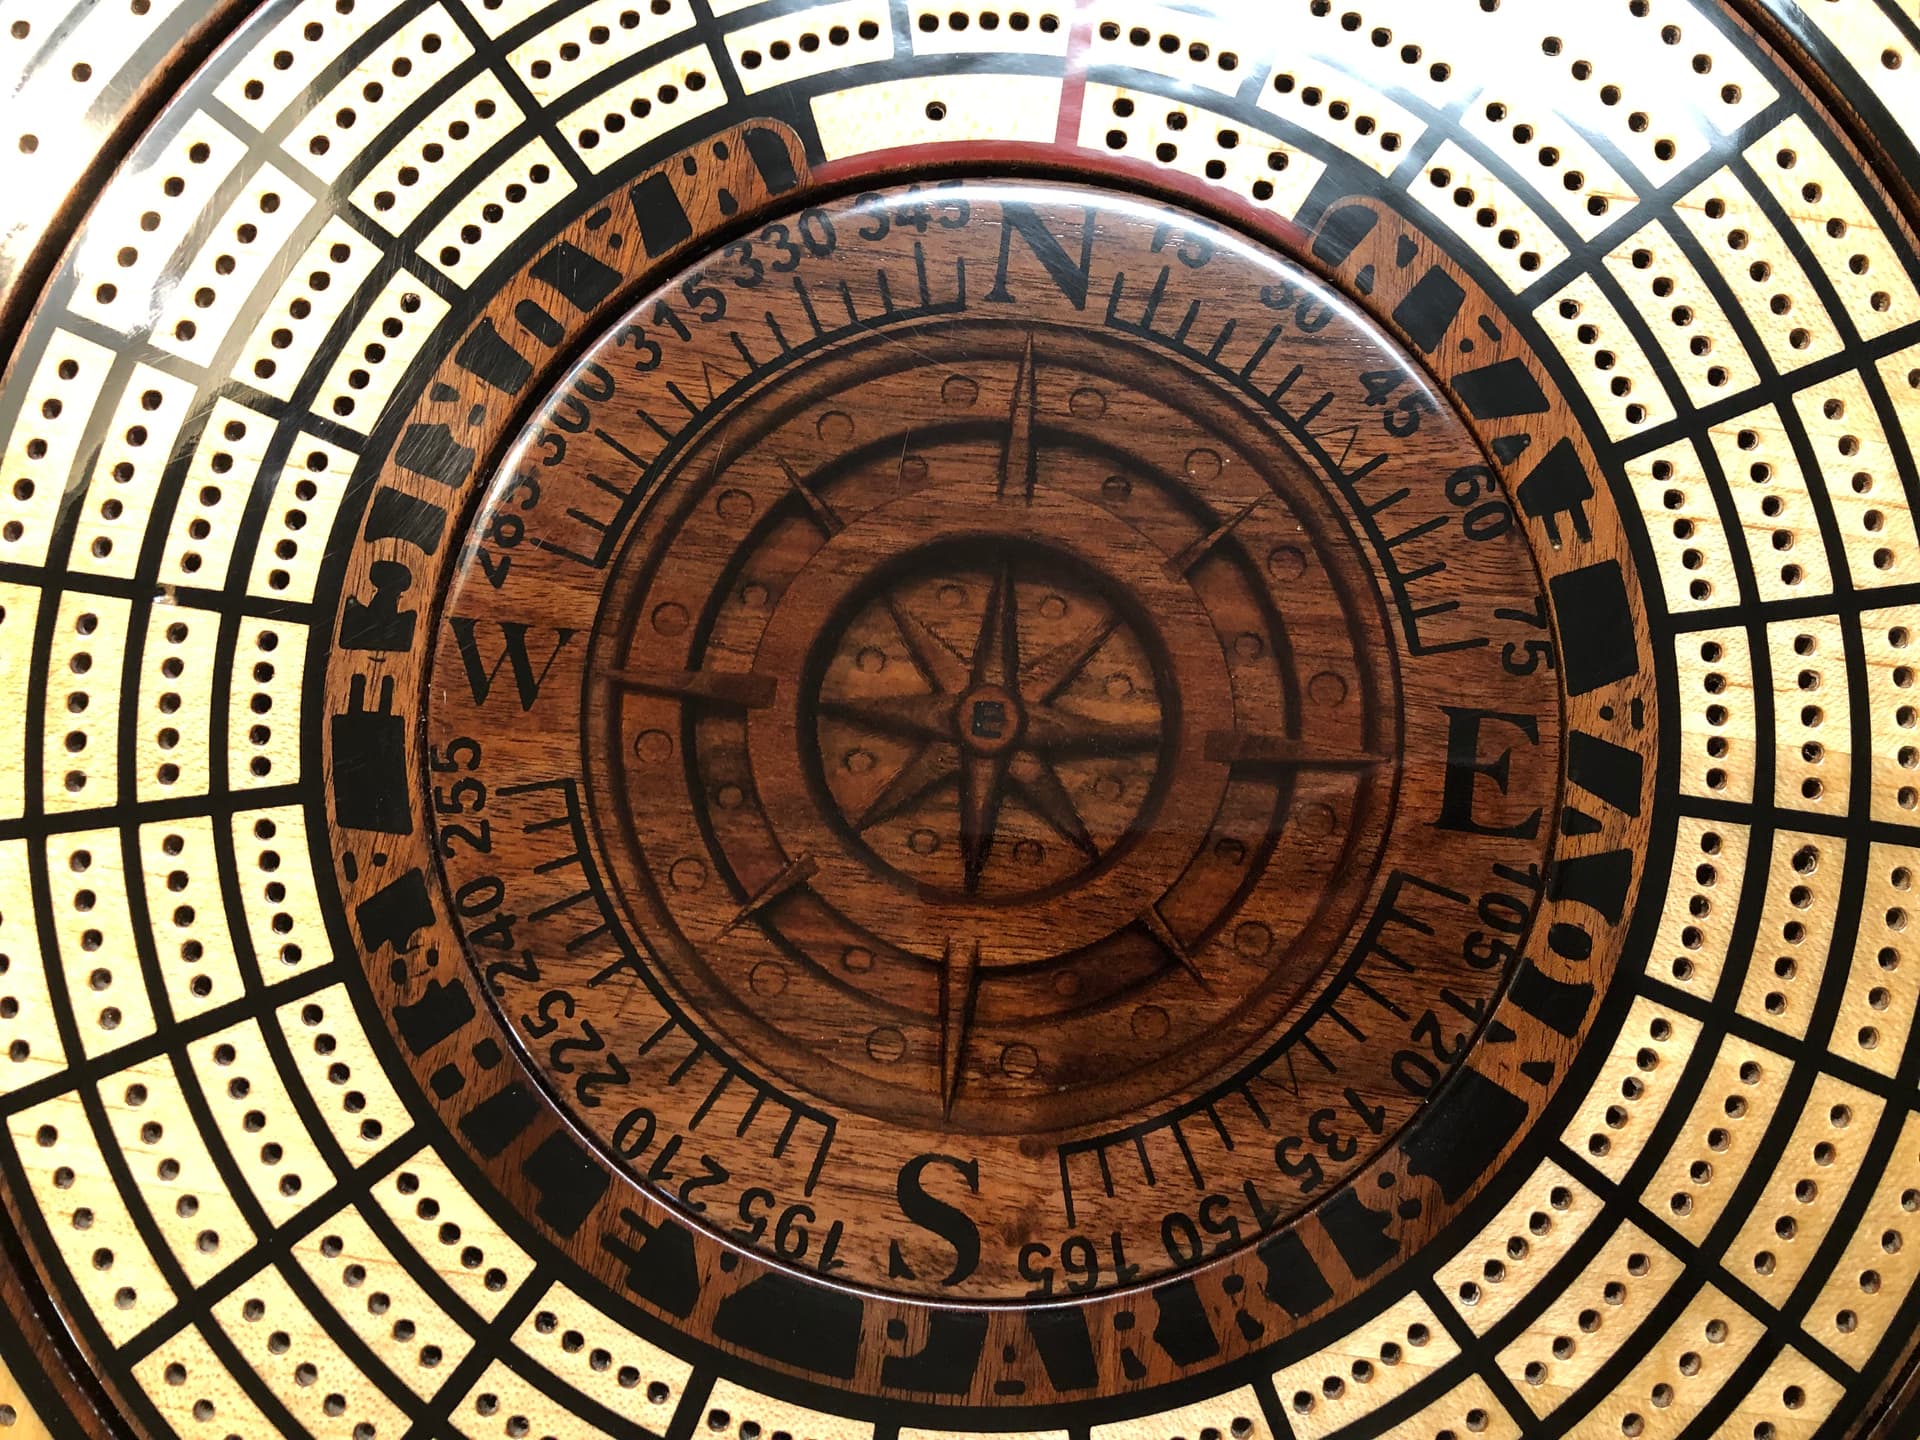
Absolutely stunning. Makes me want to learn how to play cribbage
1 Like
I’ve enjoyed following your journey getting to the end result… a fantastic cribbage board. What are the final dimensions of the board (diameter/height)?