I have used heat on thick epoxy resins before, but not too hot, you don’t want an exothermic runaway reaction
Been there, done that, not attempting that again
Solvents can be used, but they can alter the properties of the epoxy, discoloration and mechanical, might even cause brittleness and cracking.
Wow, that final surfacing pass must have tight tolerances. Do you keep an off cut from the batch to help with each step’s setup? I hope you get a good price, considering how much care you put in these items.
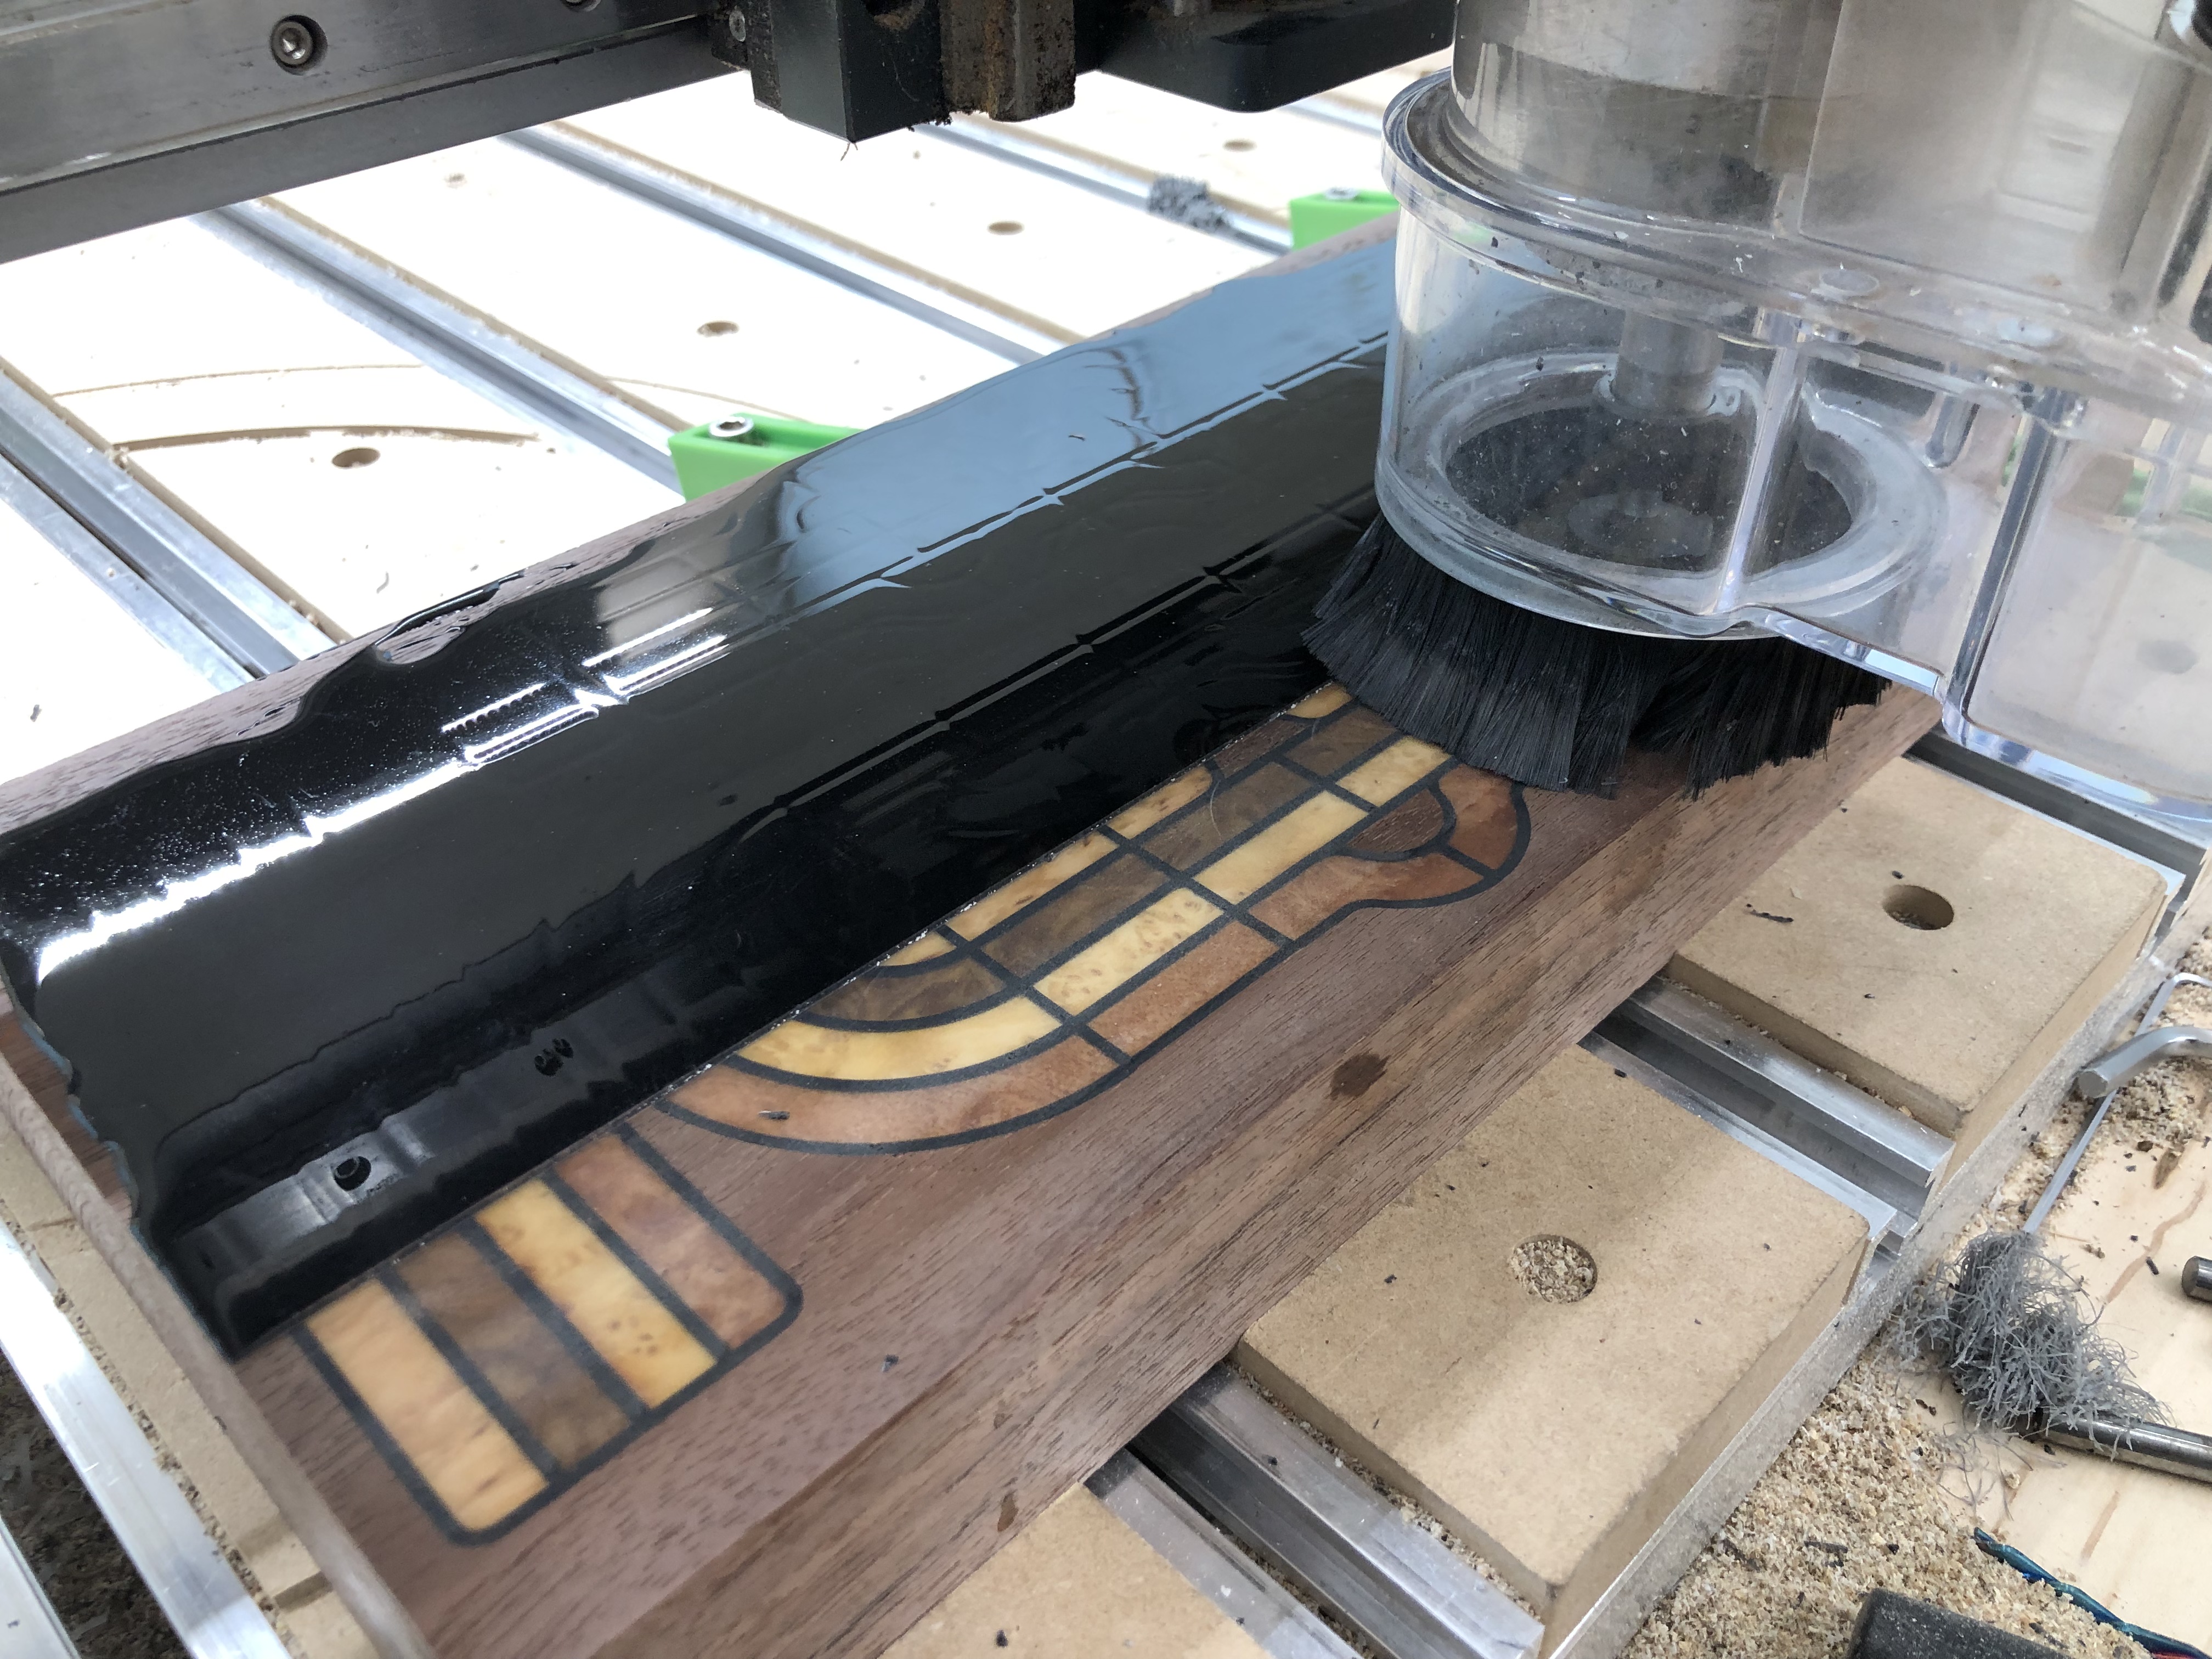
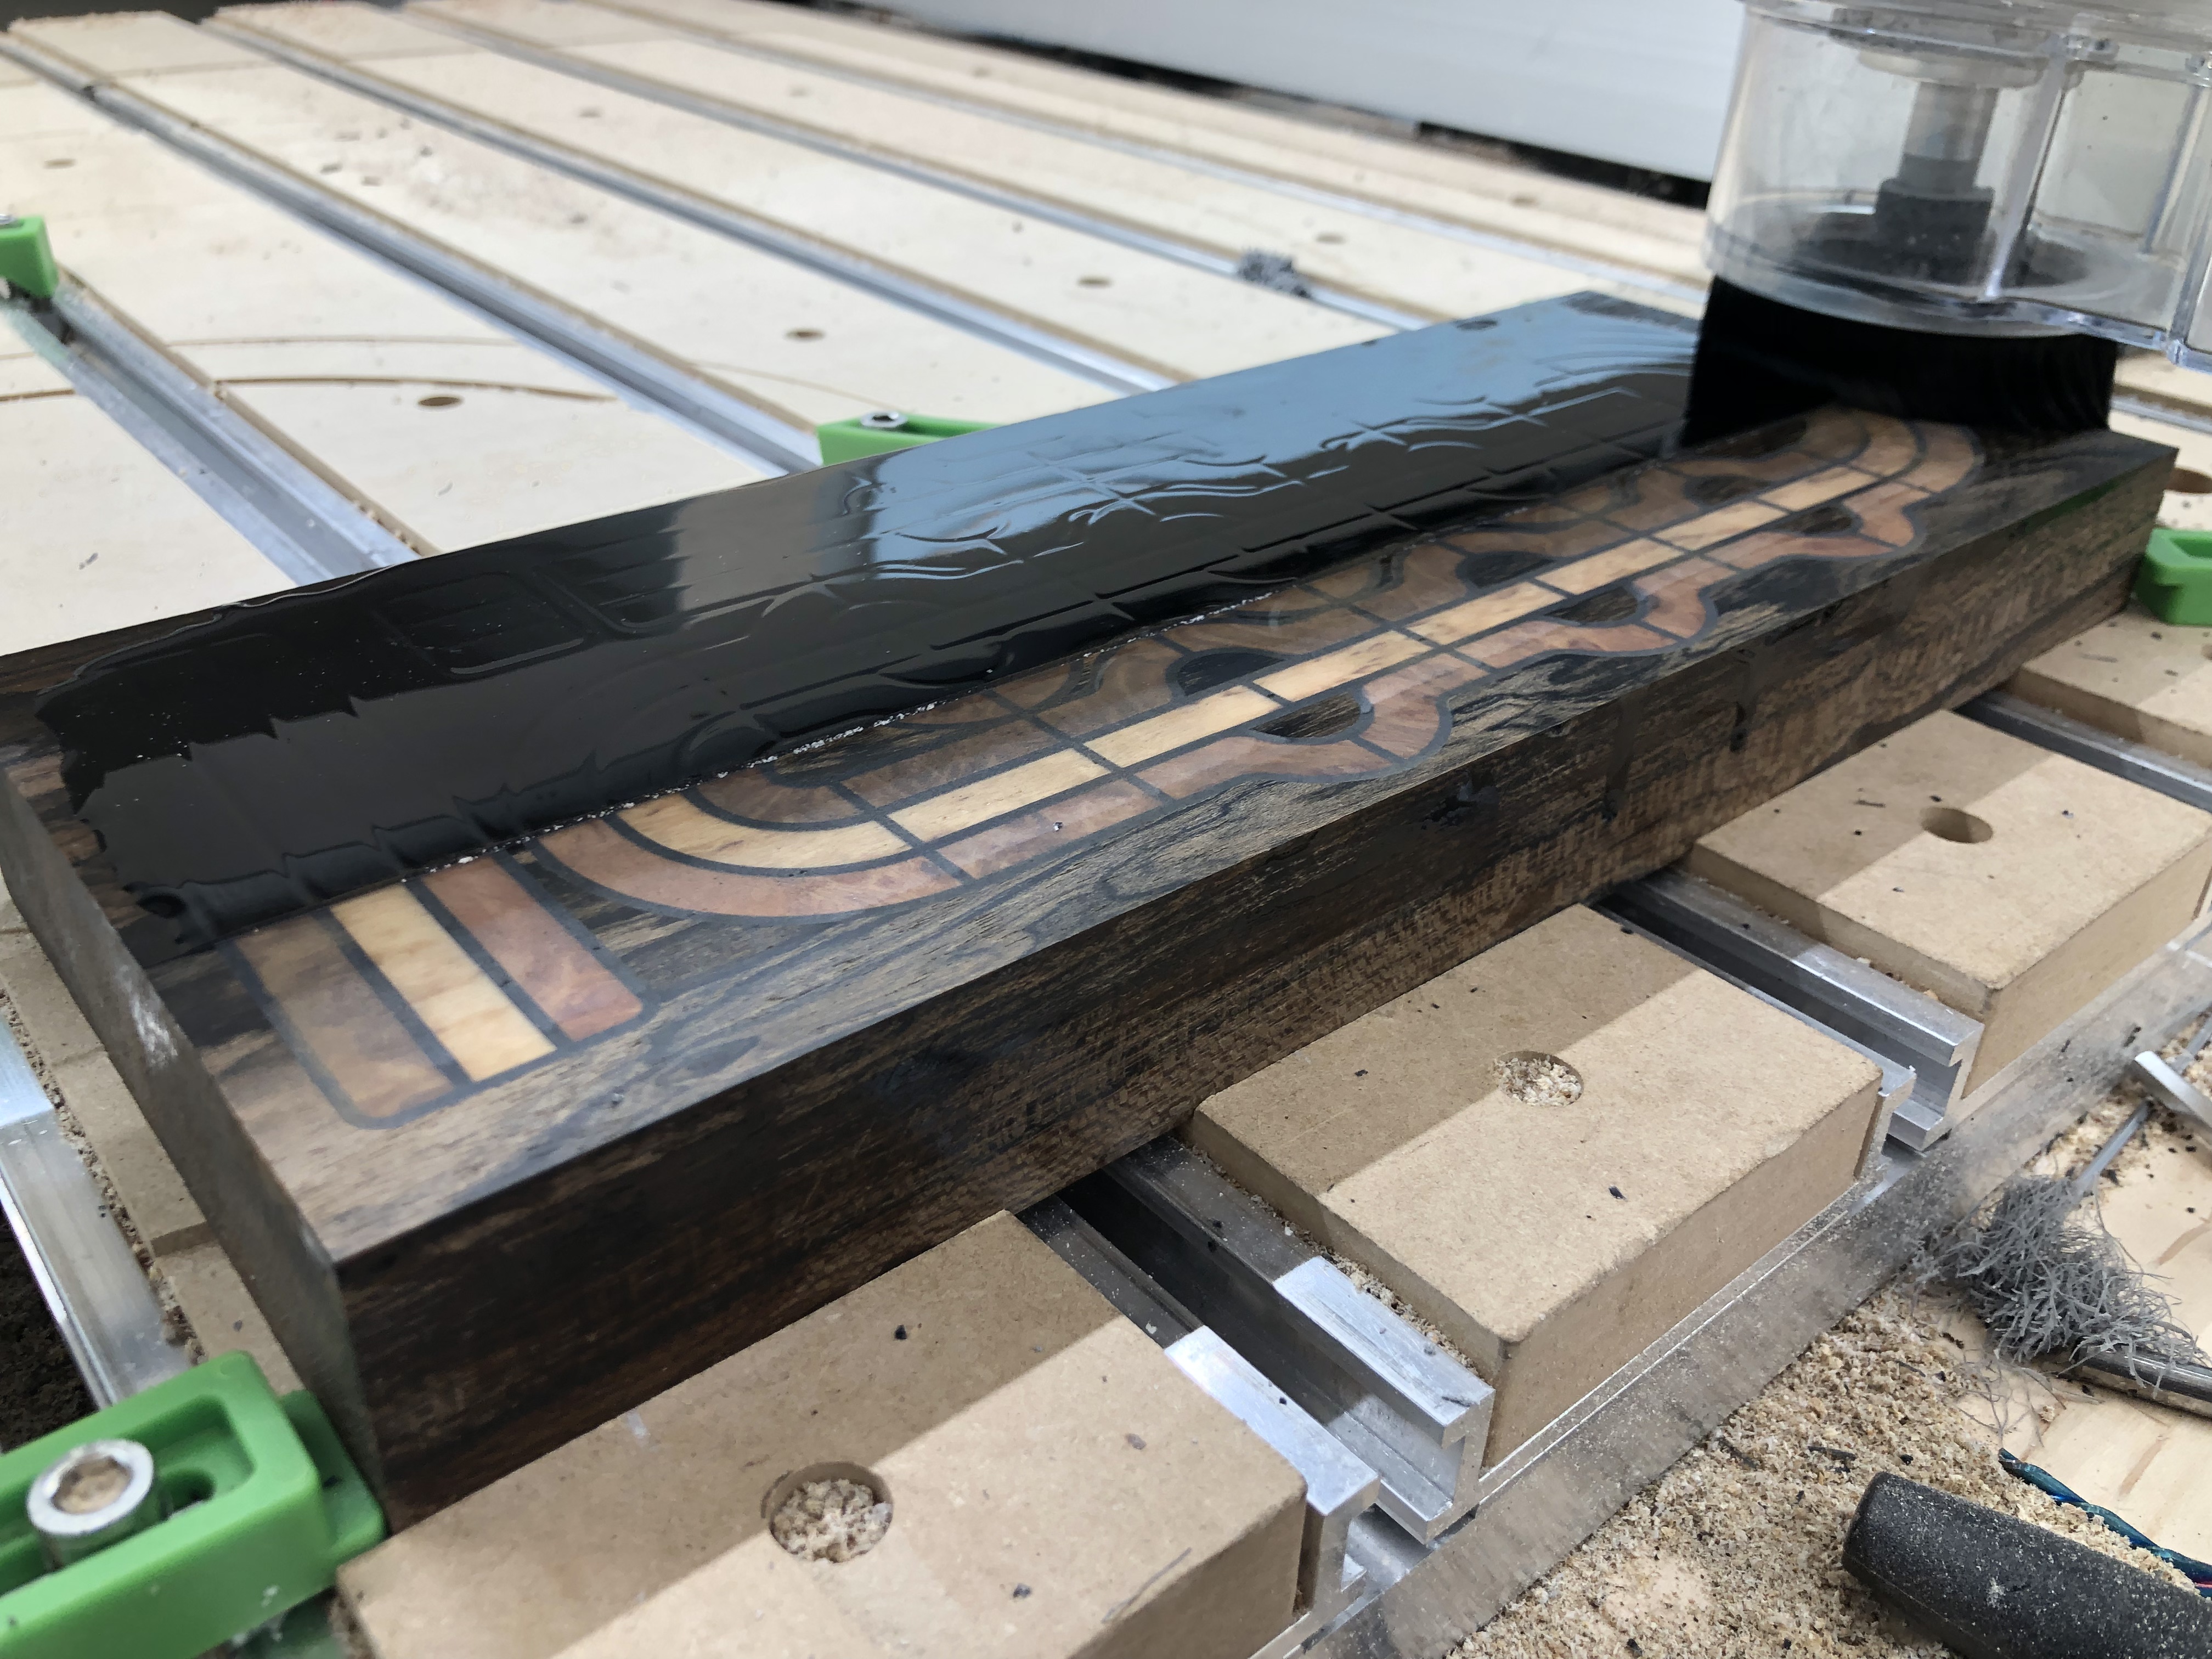
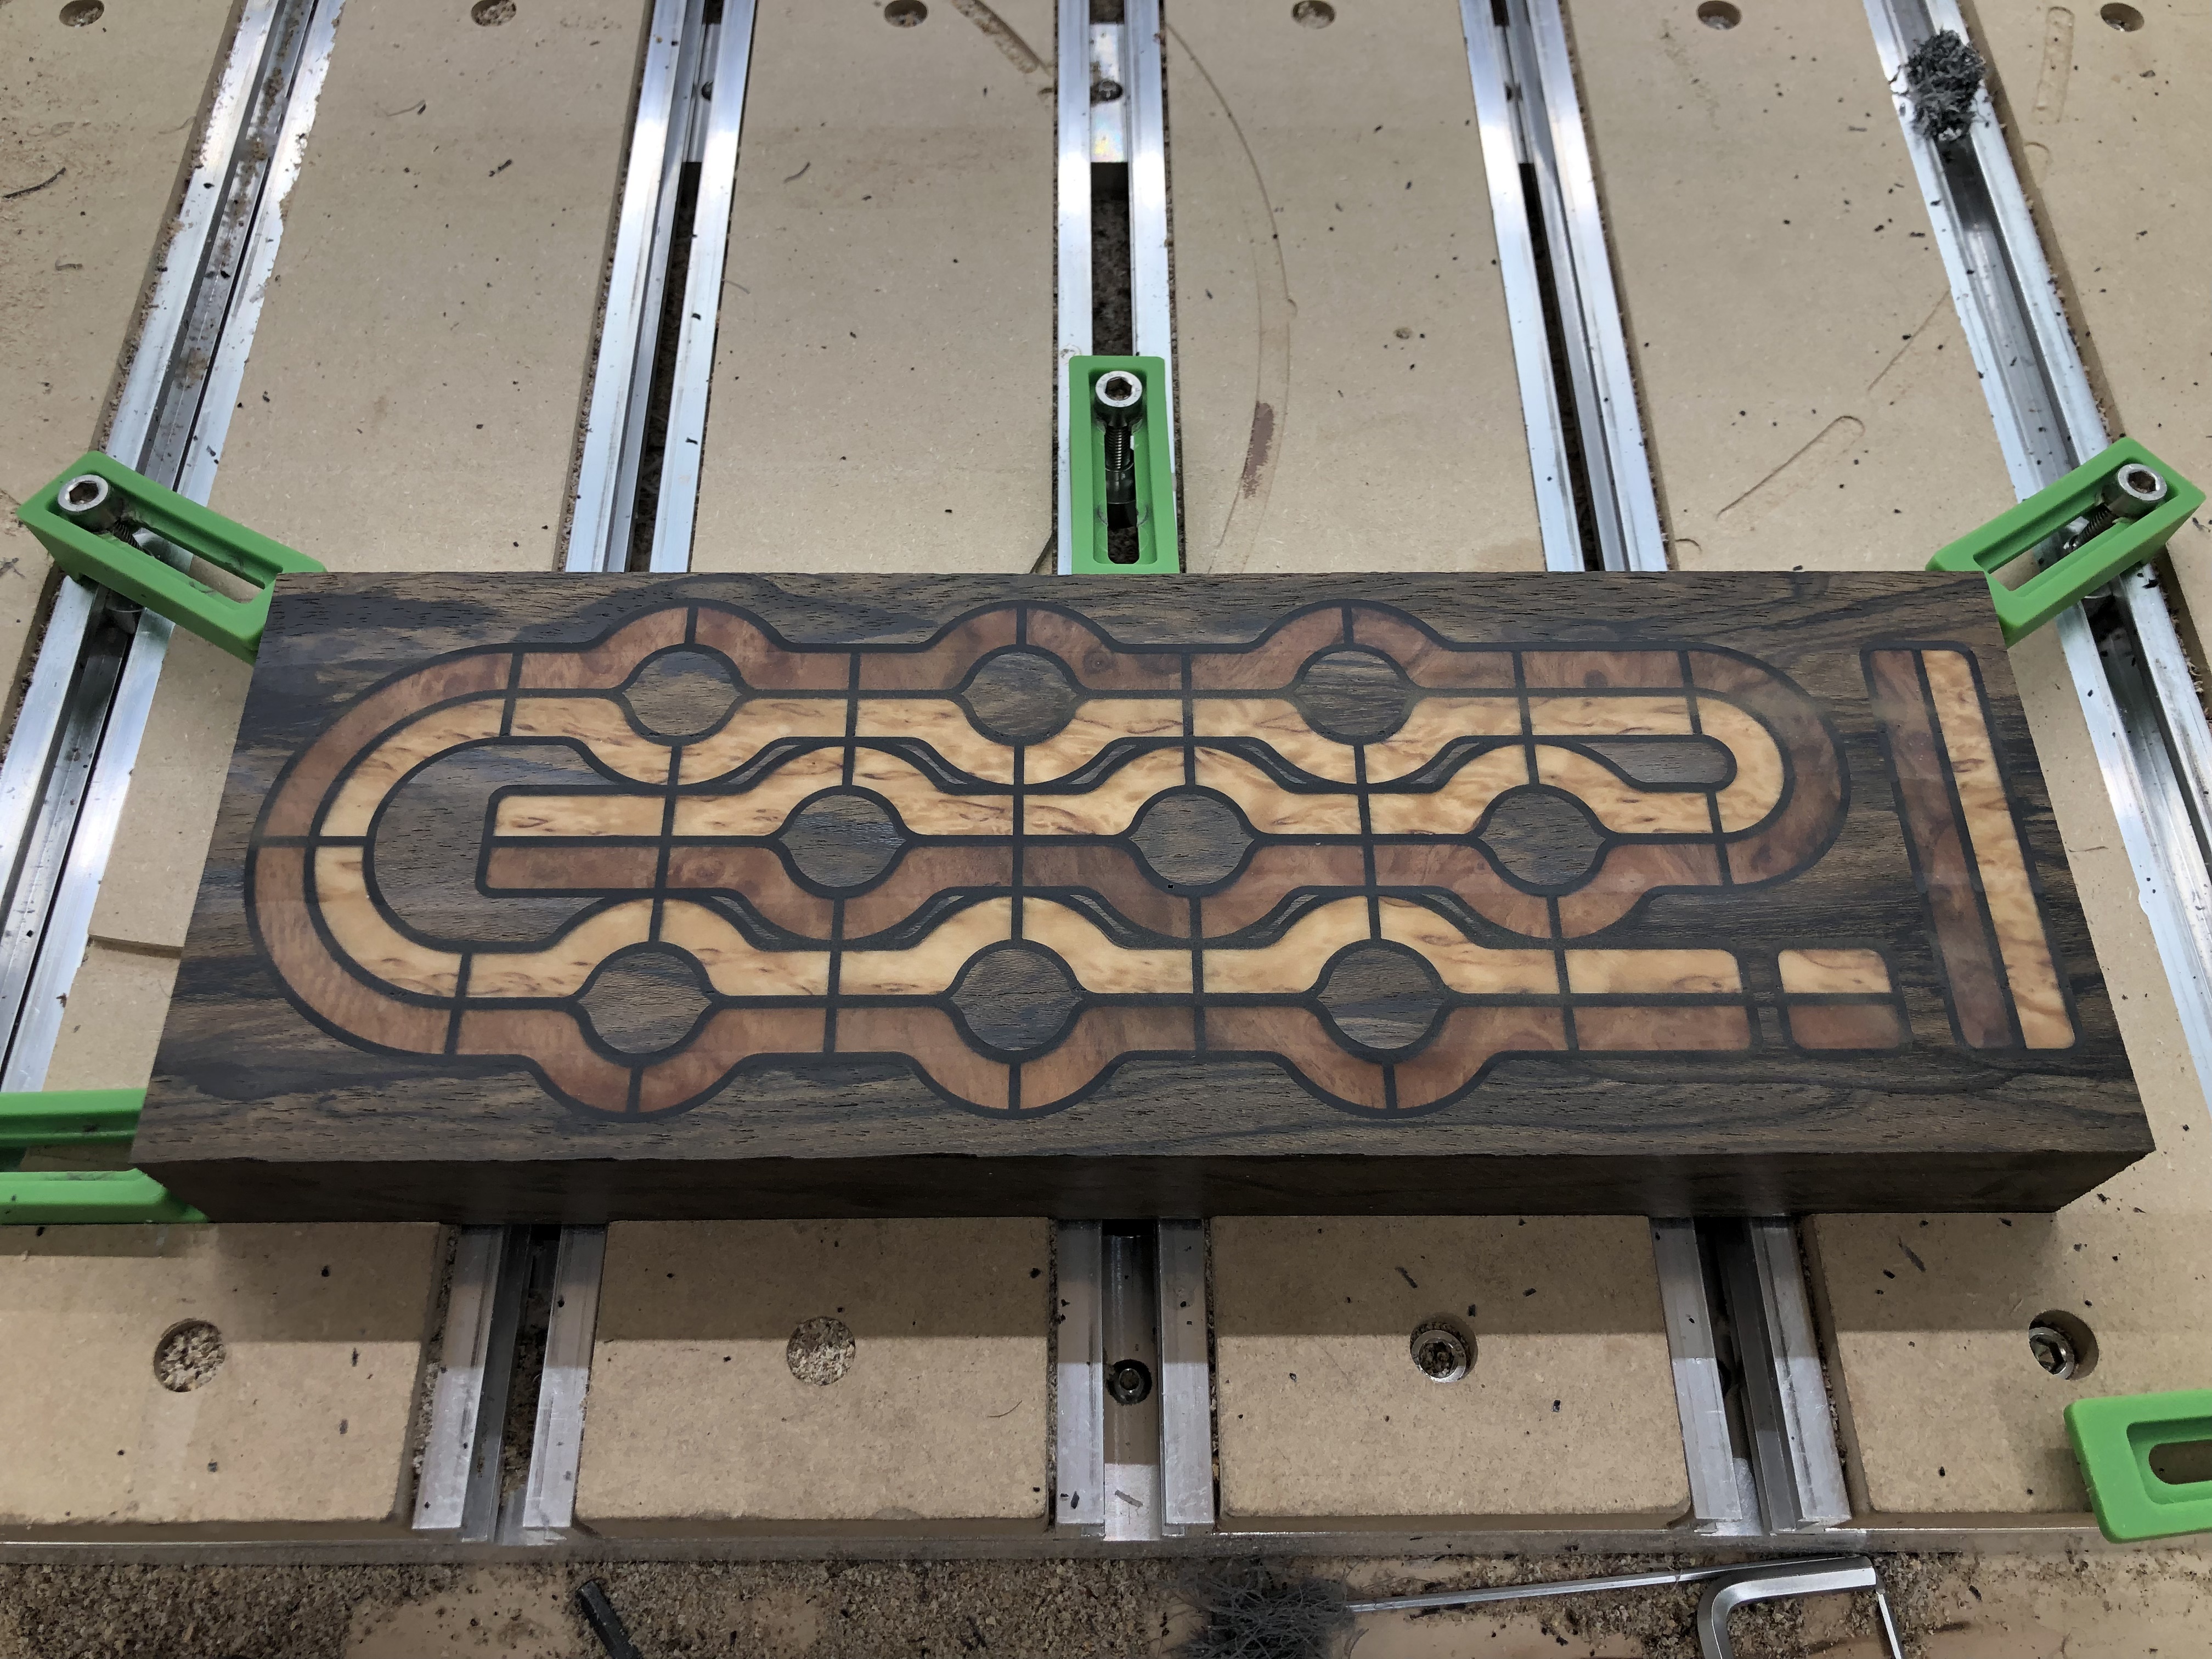
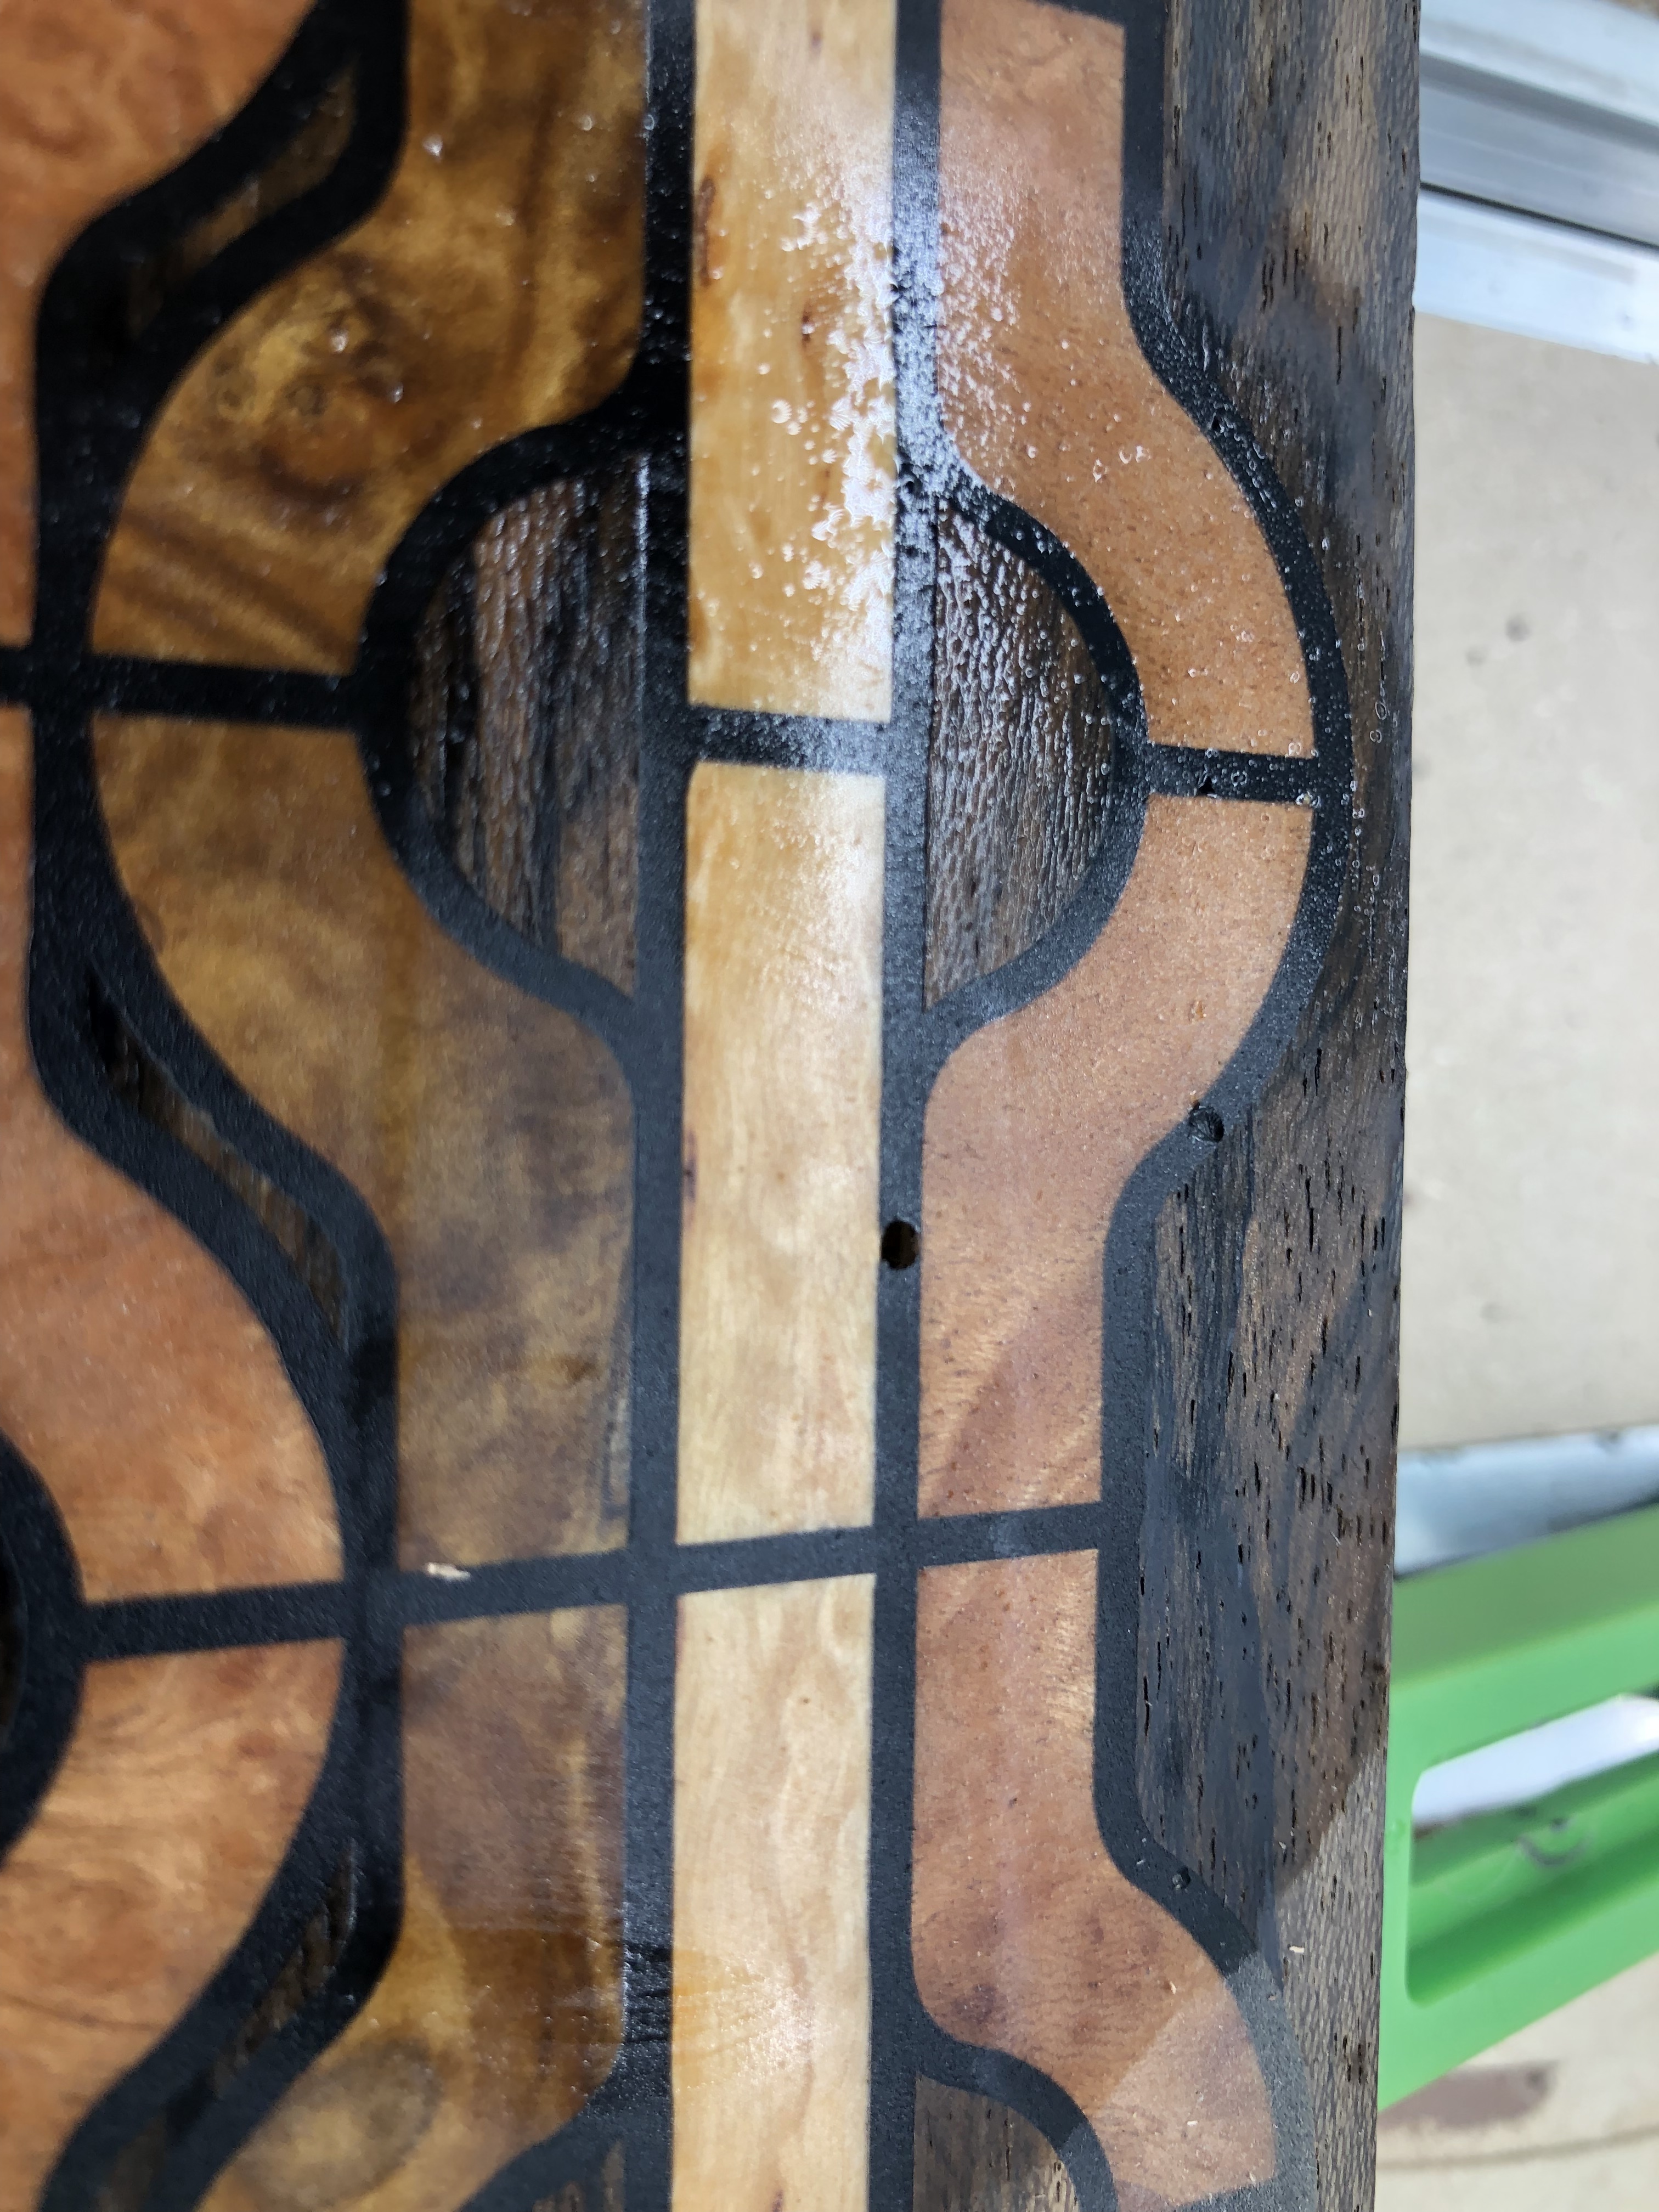
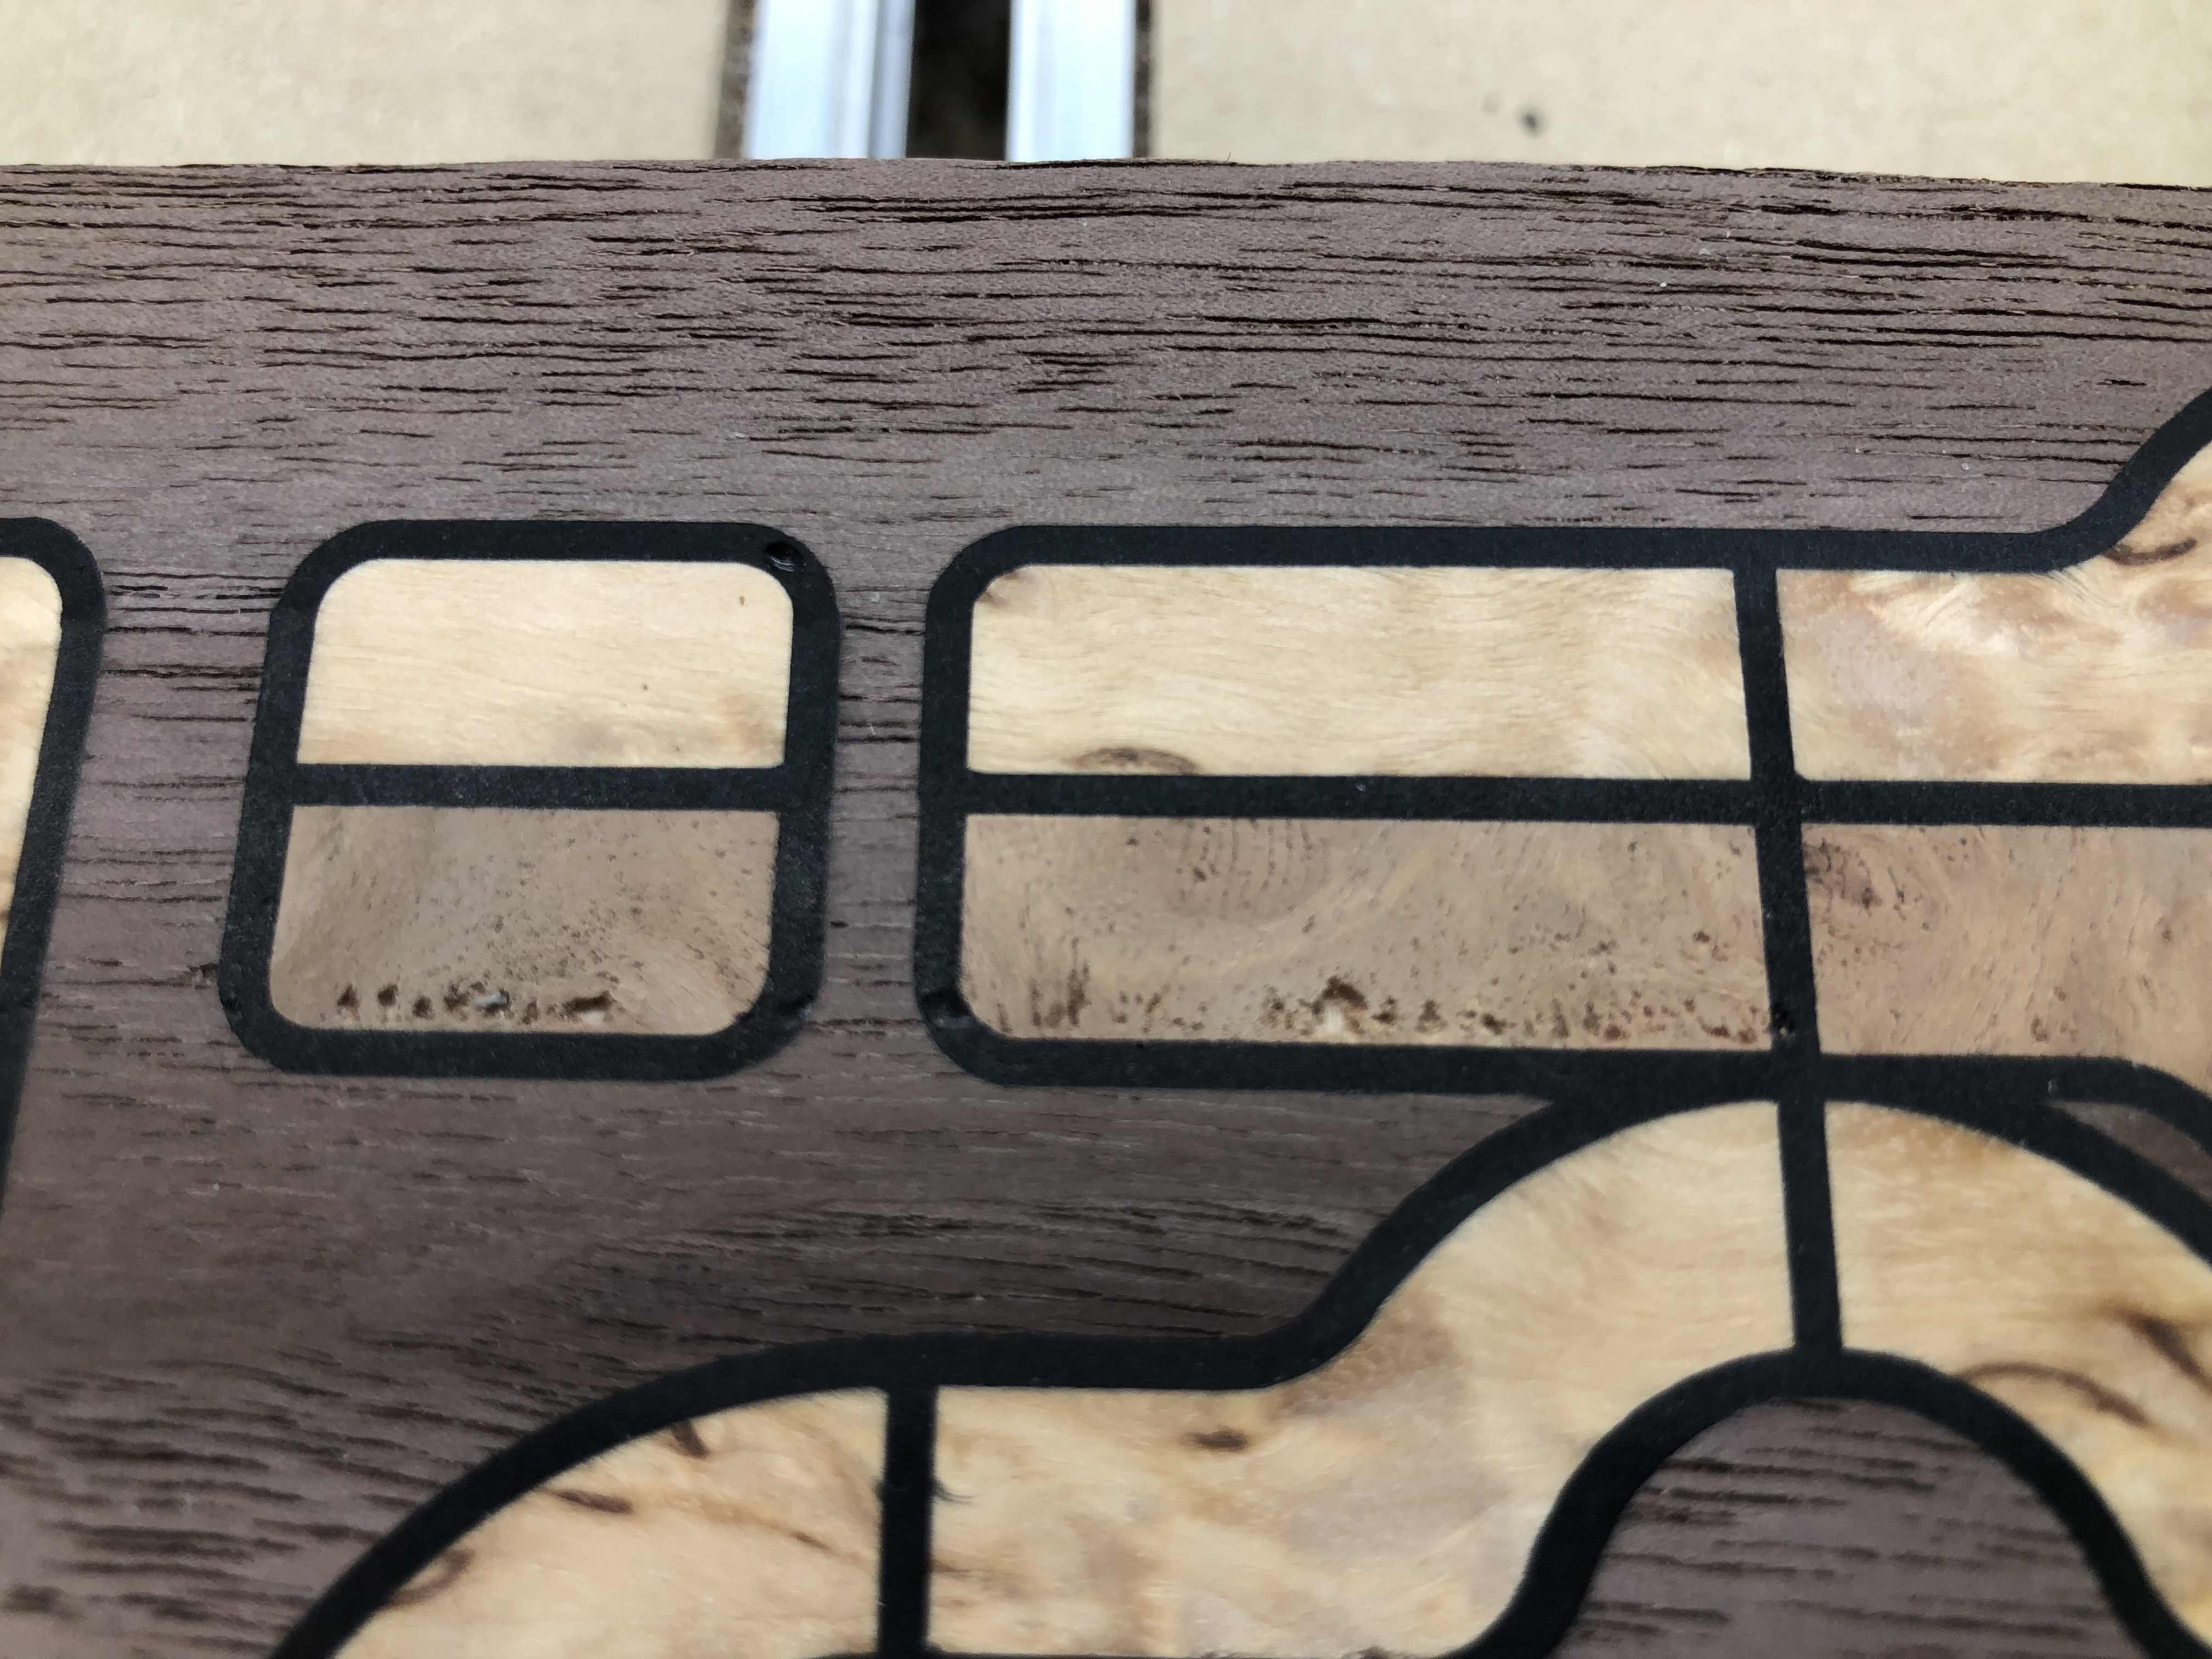
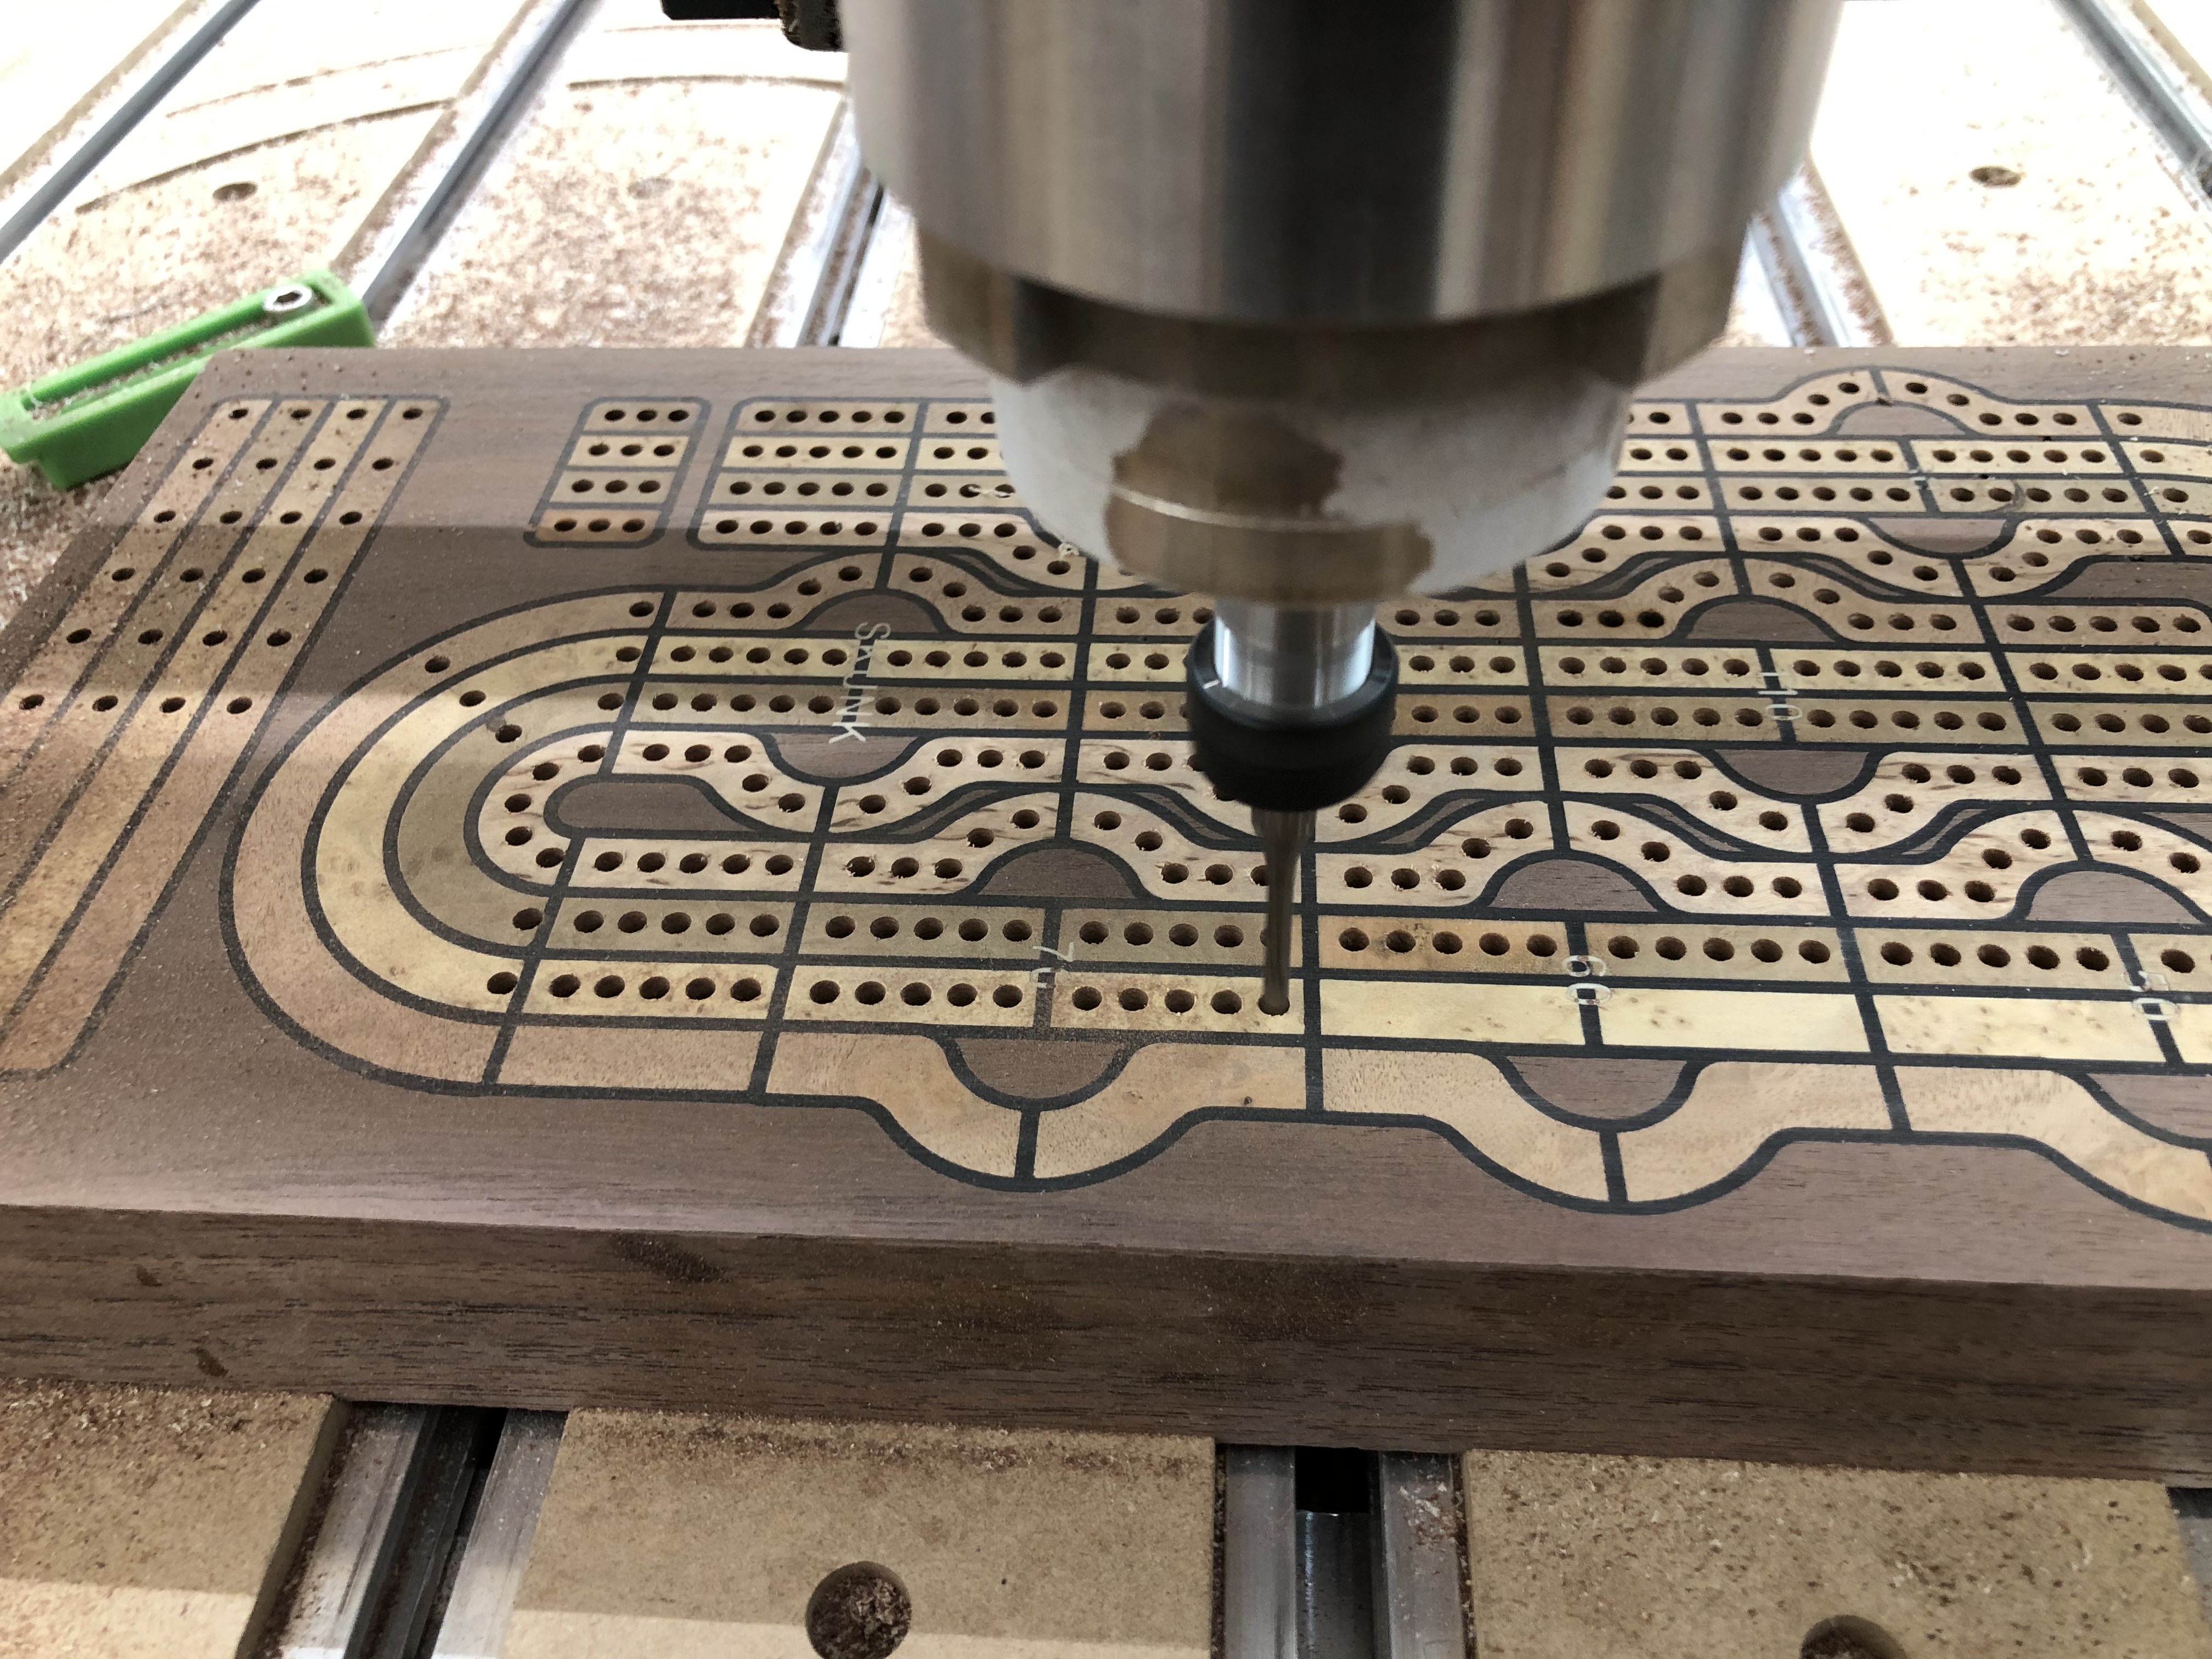
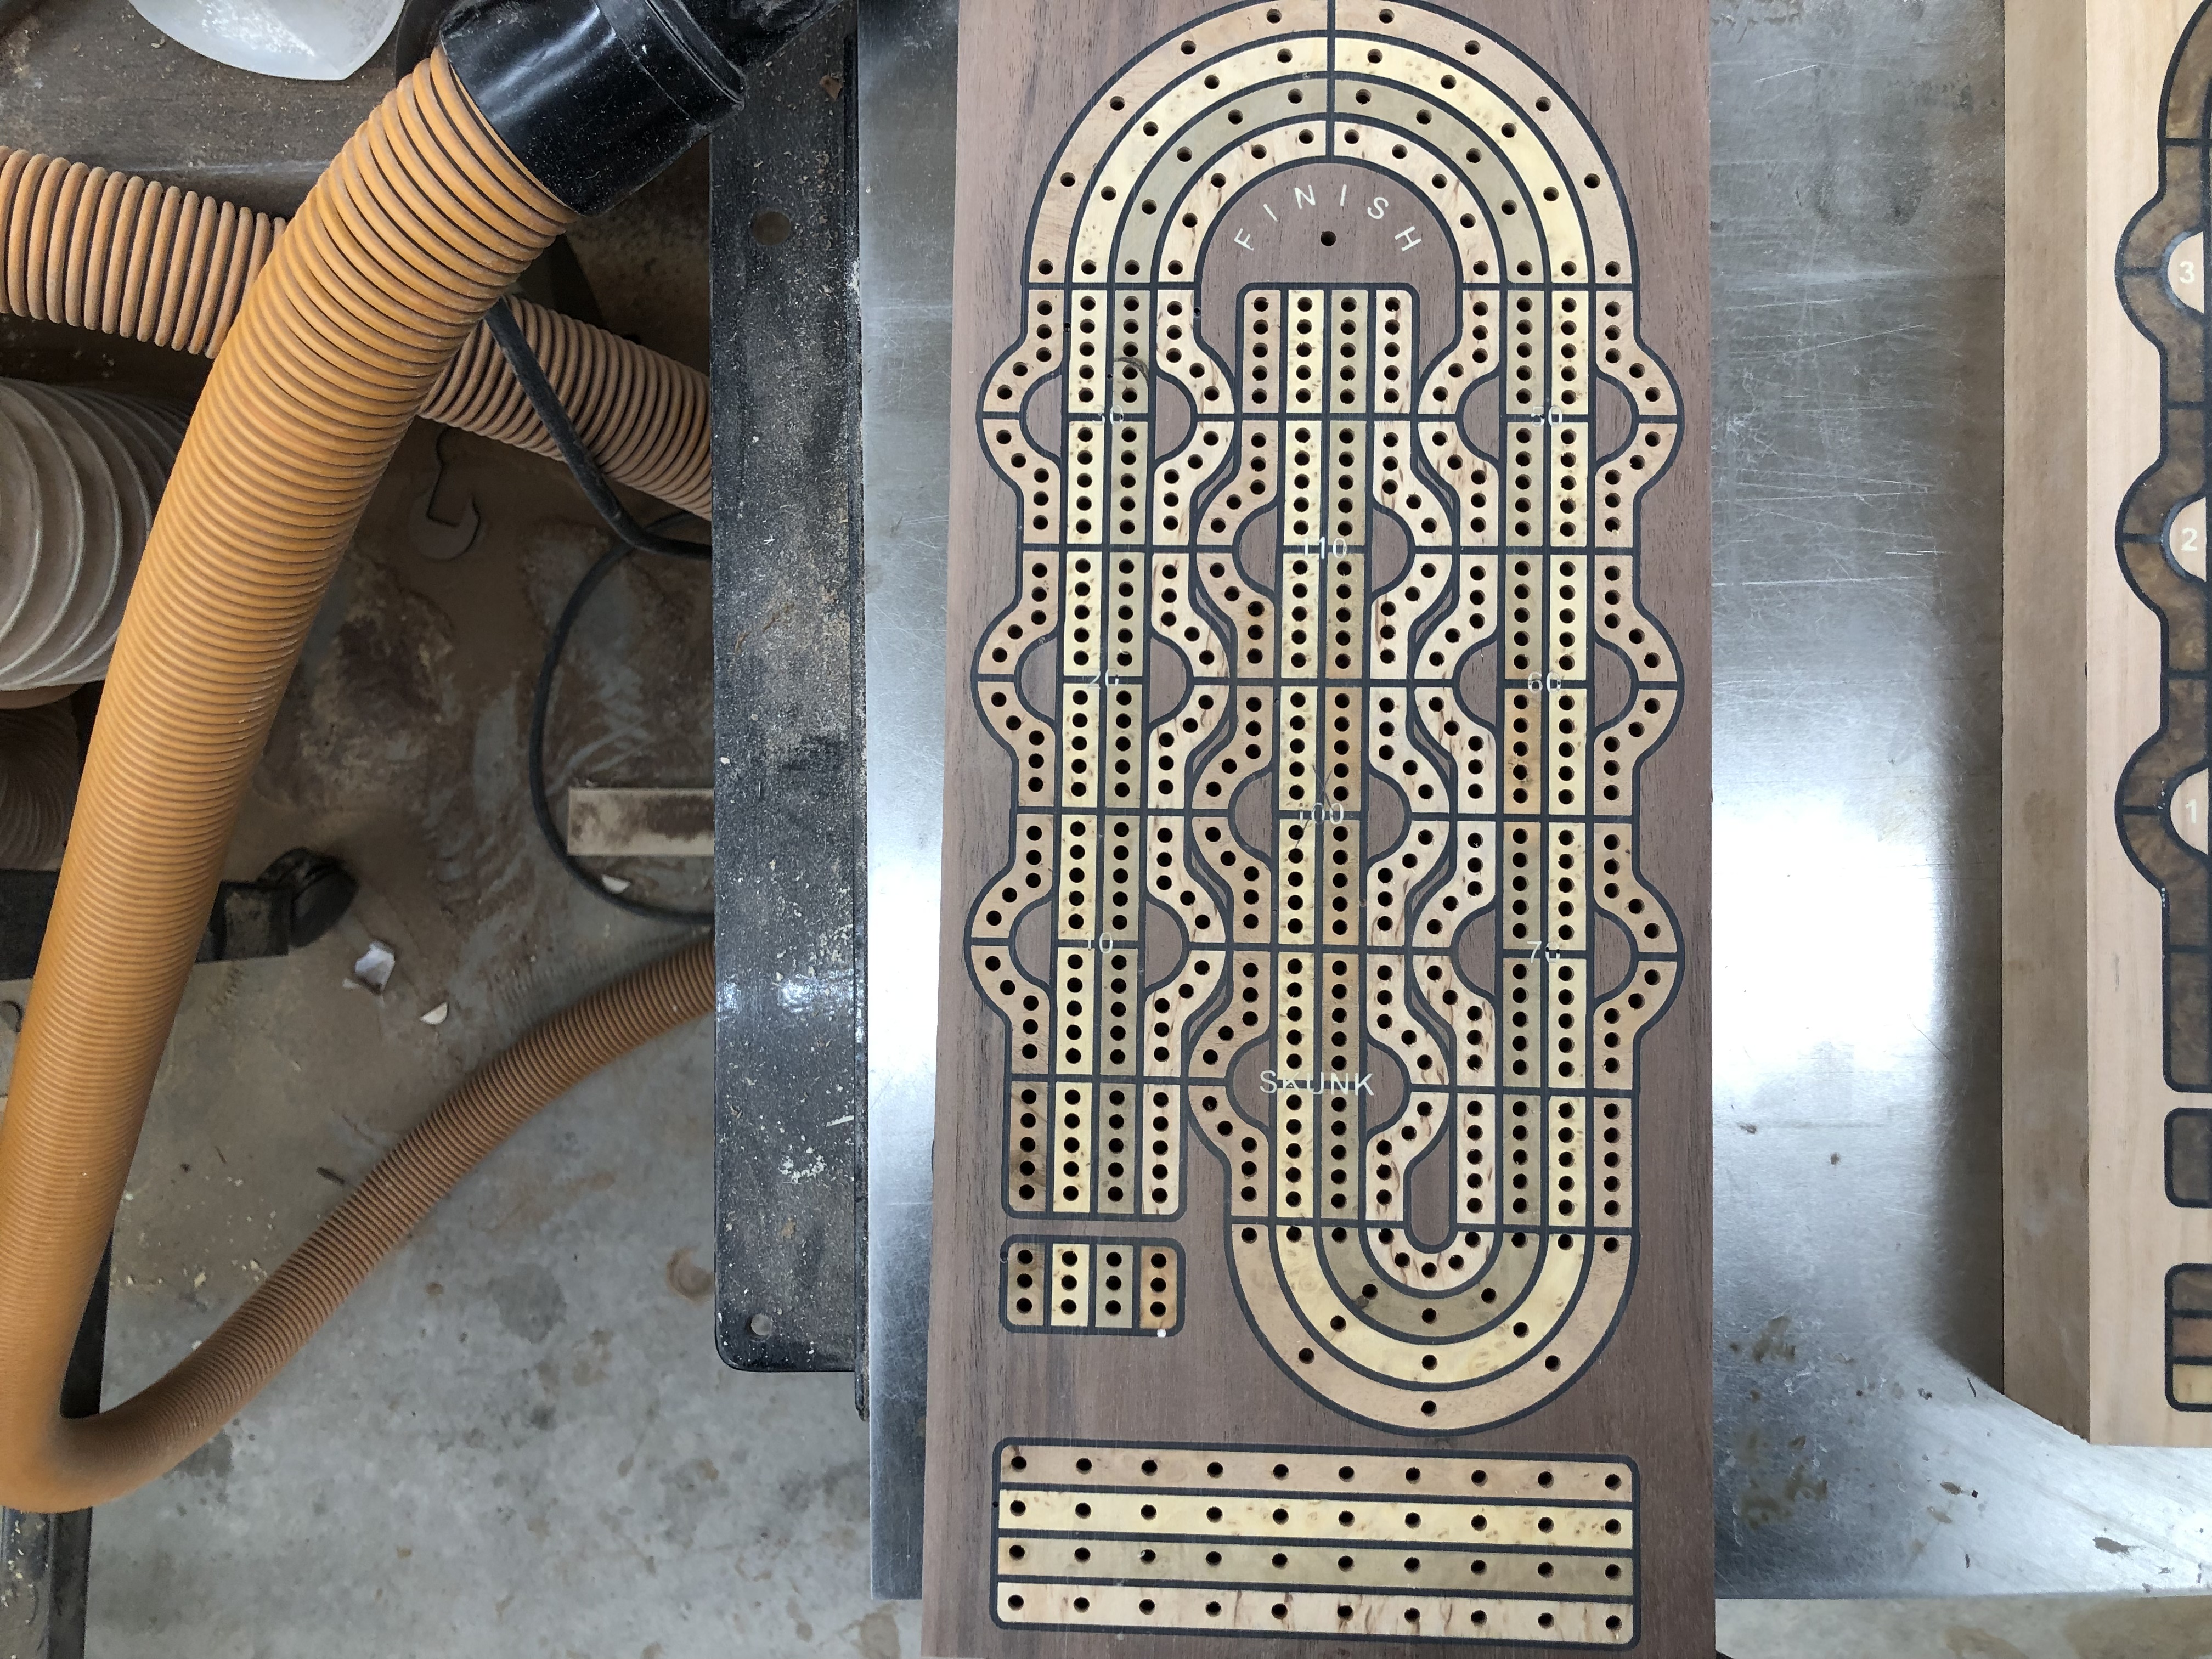
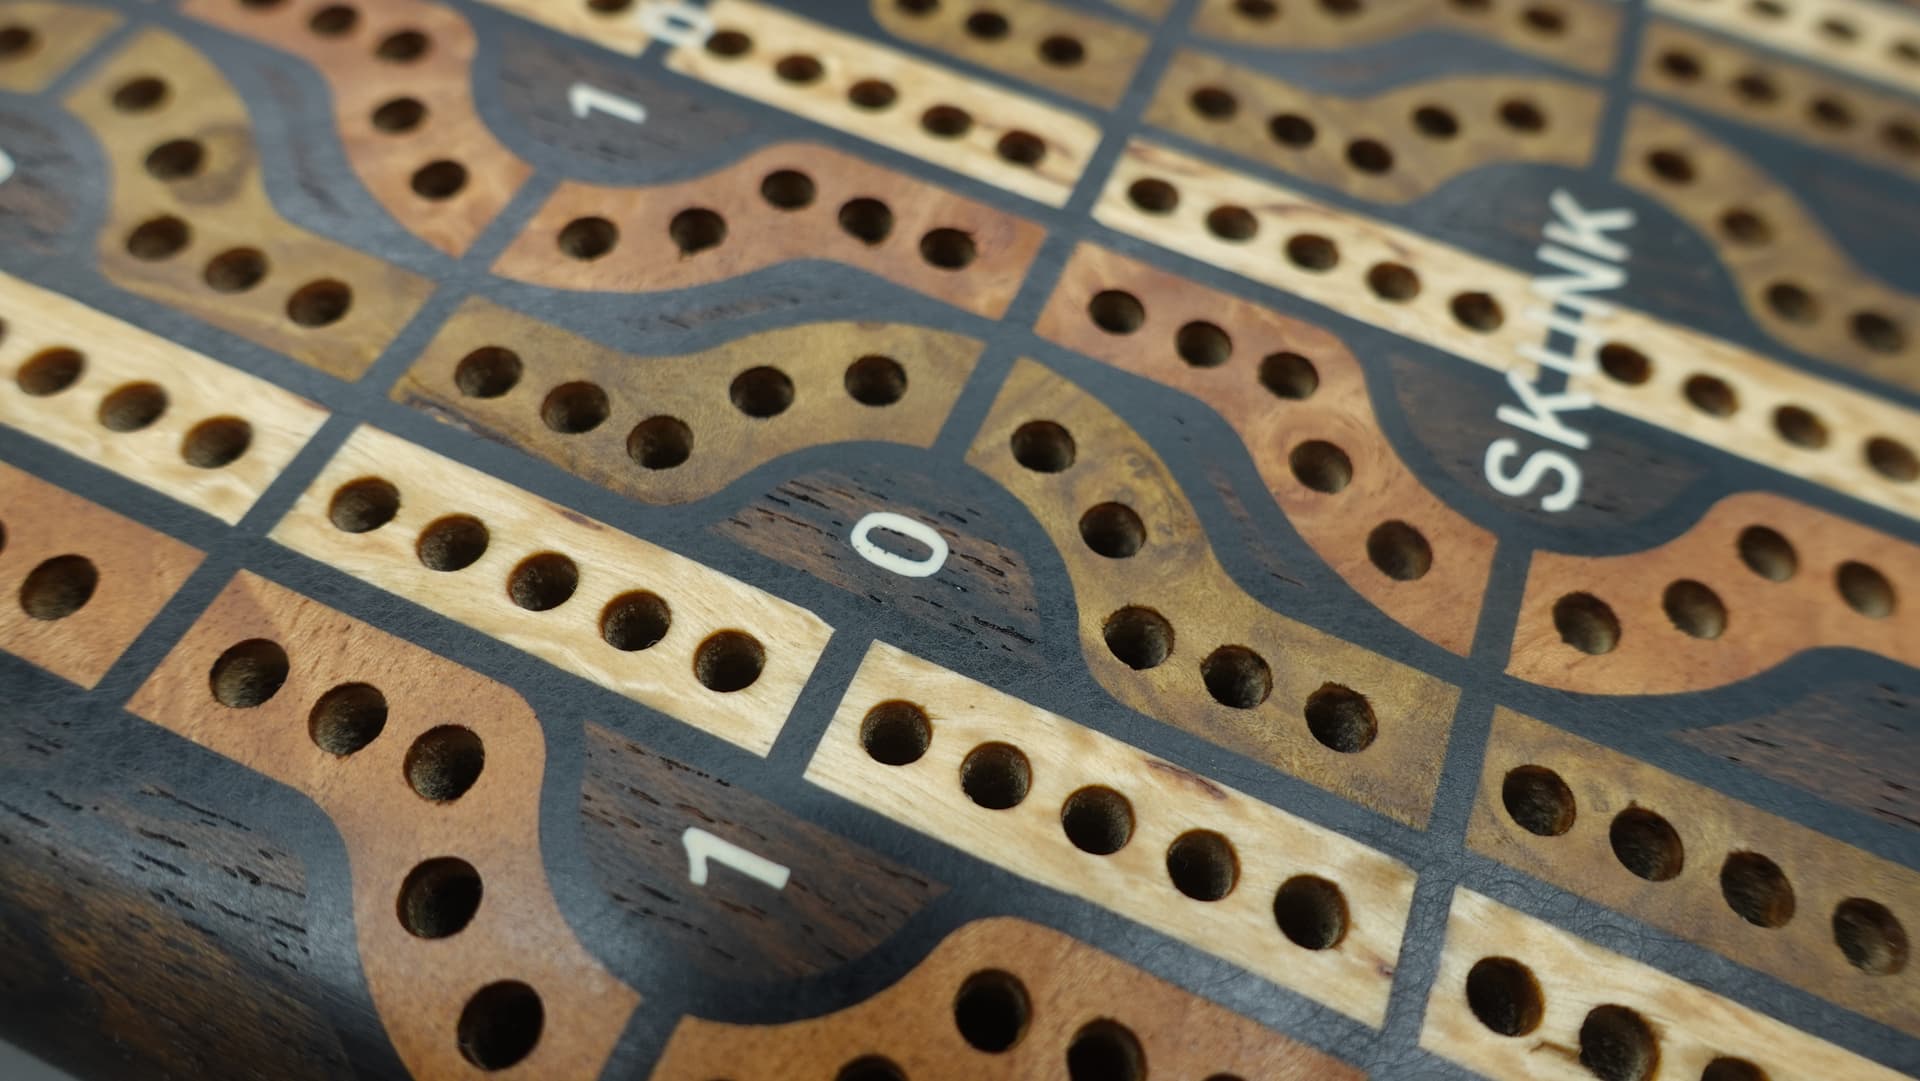
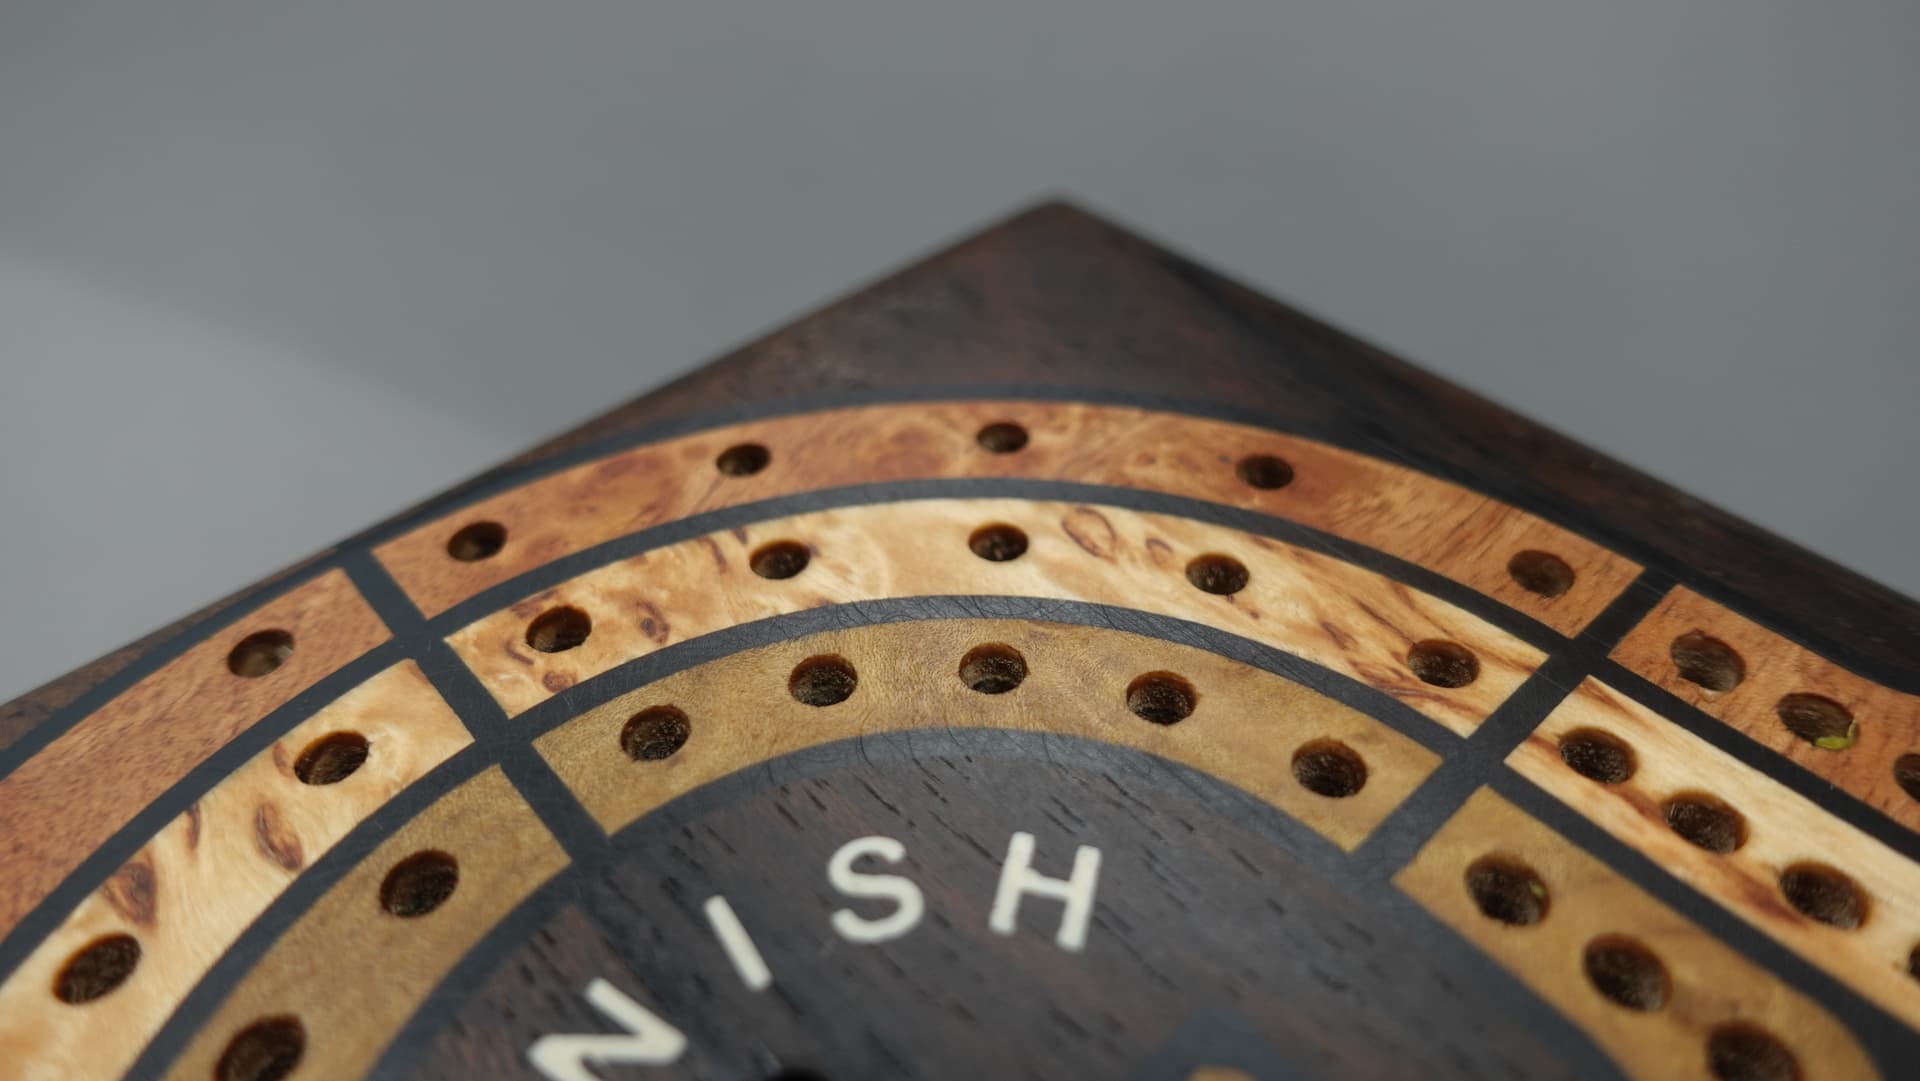
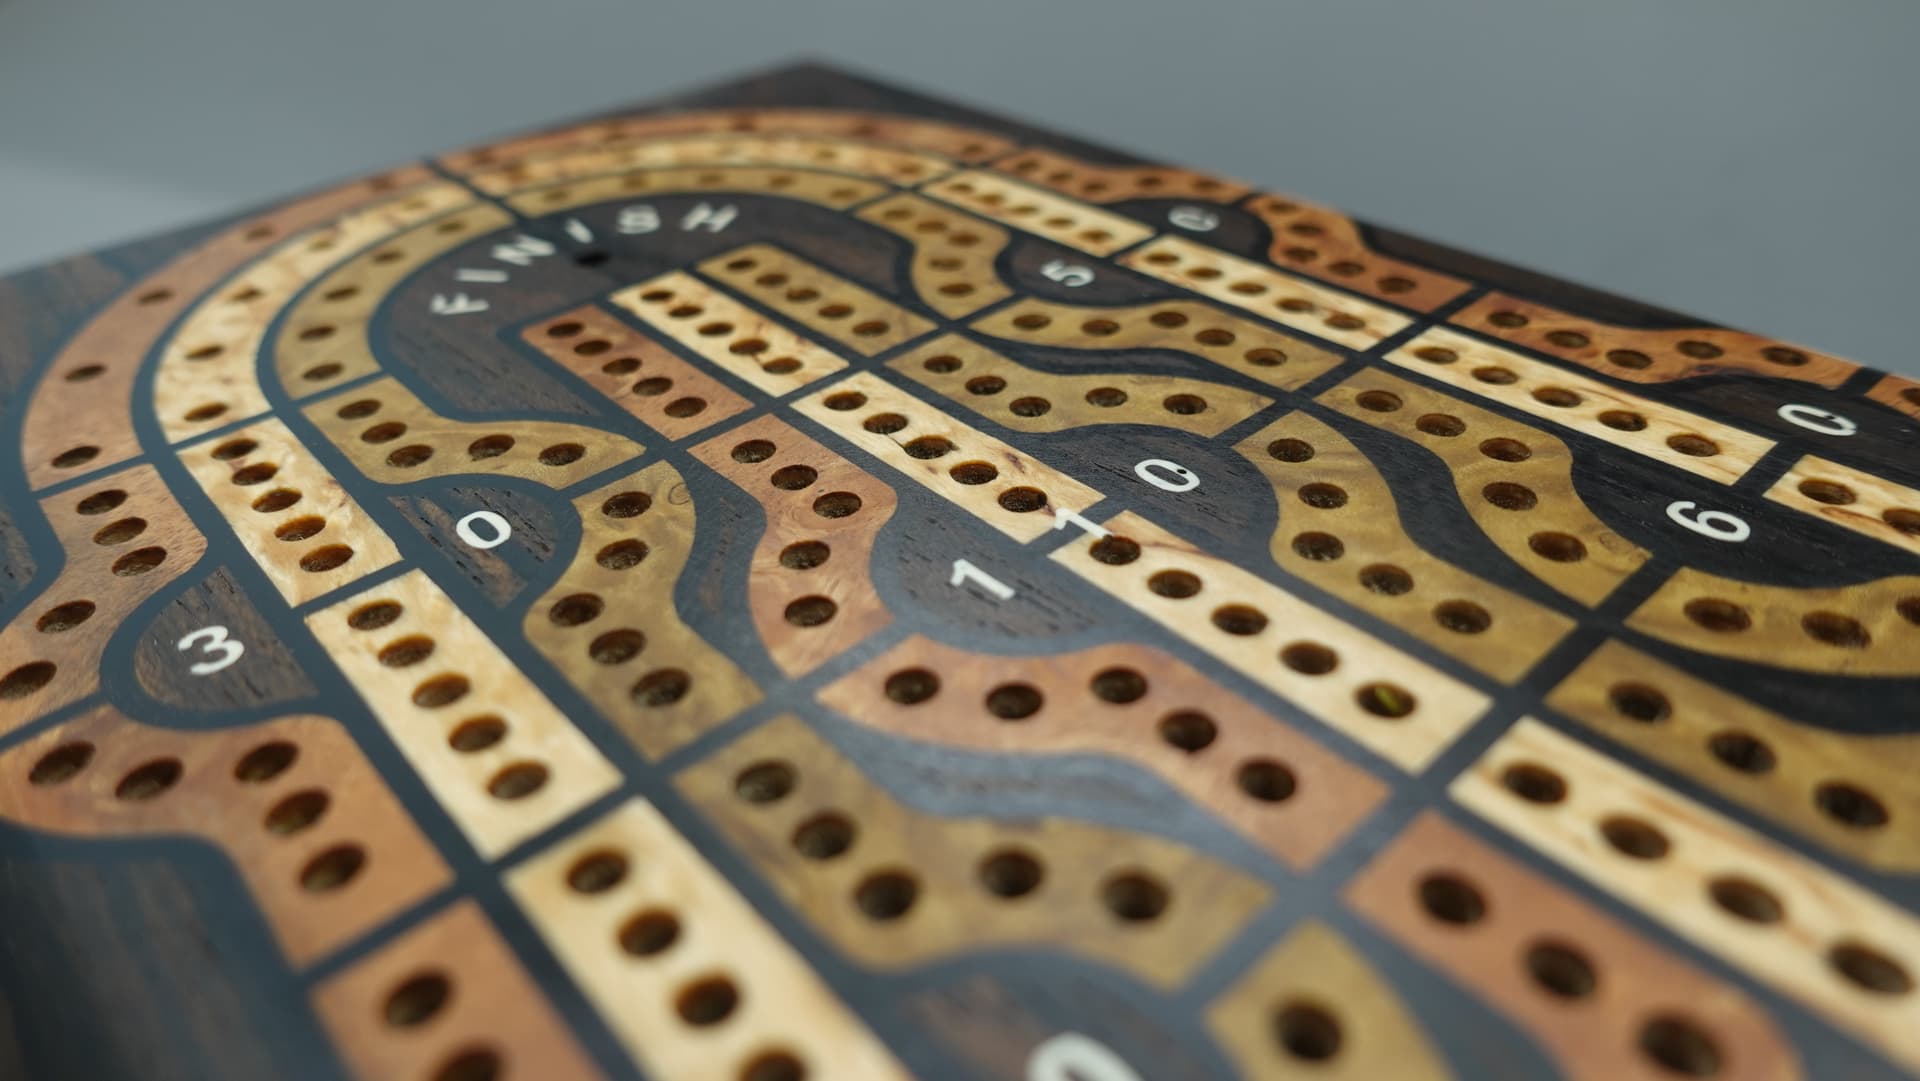
I forgot to reset my Z zero during one of the facing Ops. It cleared out the epoxy and cut into the veneer. You can see chipping and it took a good portion of the Burl out. Which is ok, the walnut isn’t lost as I left plenty of the over all depth to clear out the inlay and start over. Not what you want, but at least I can save the wood.
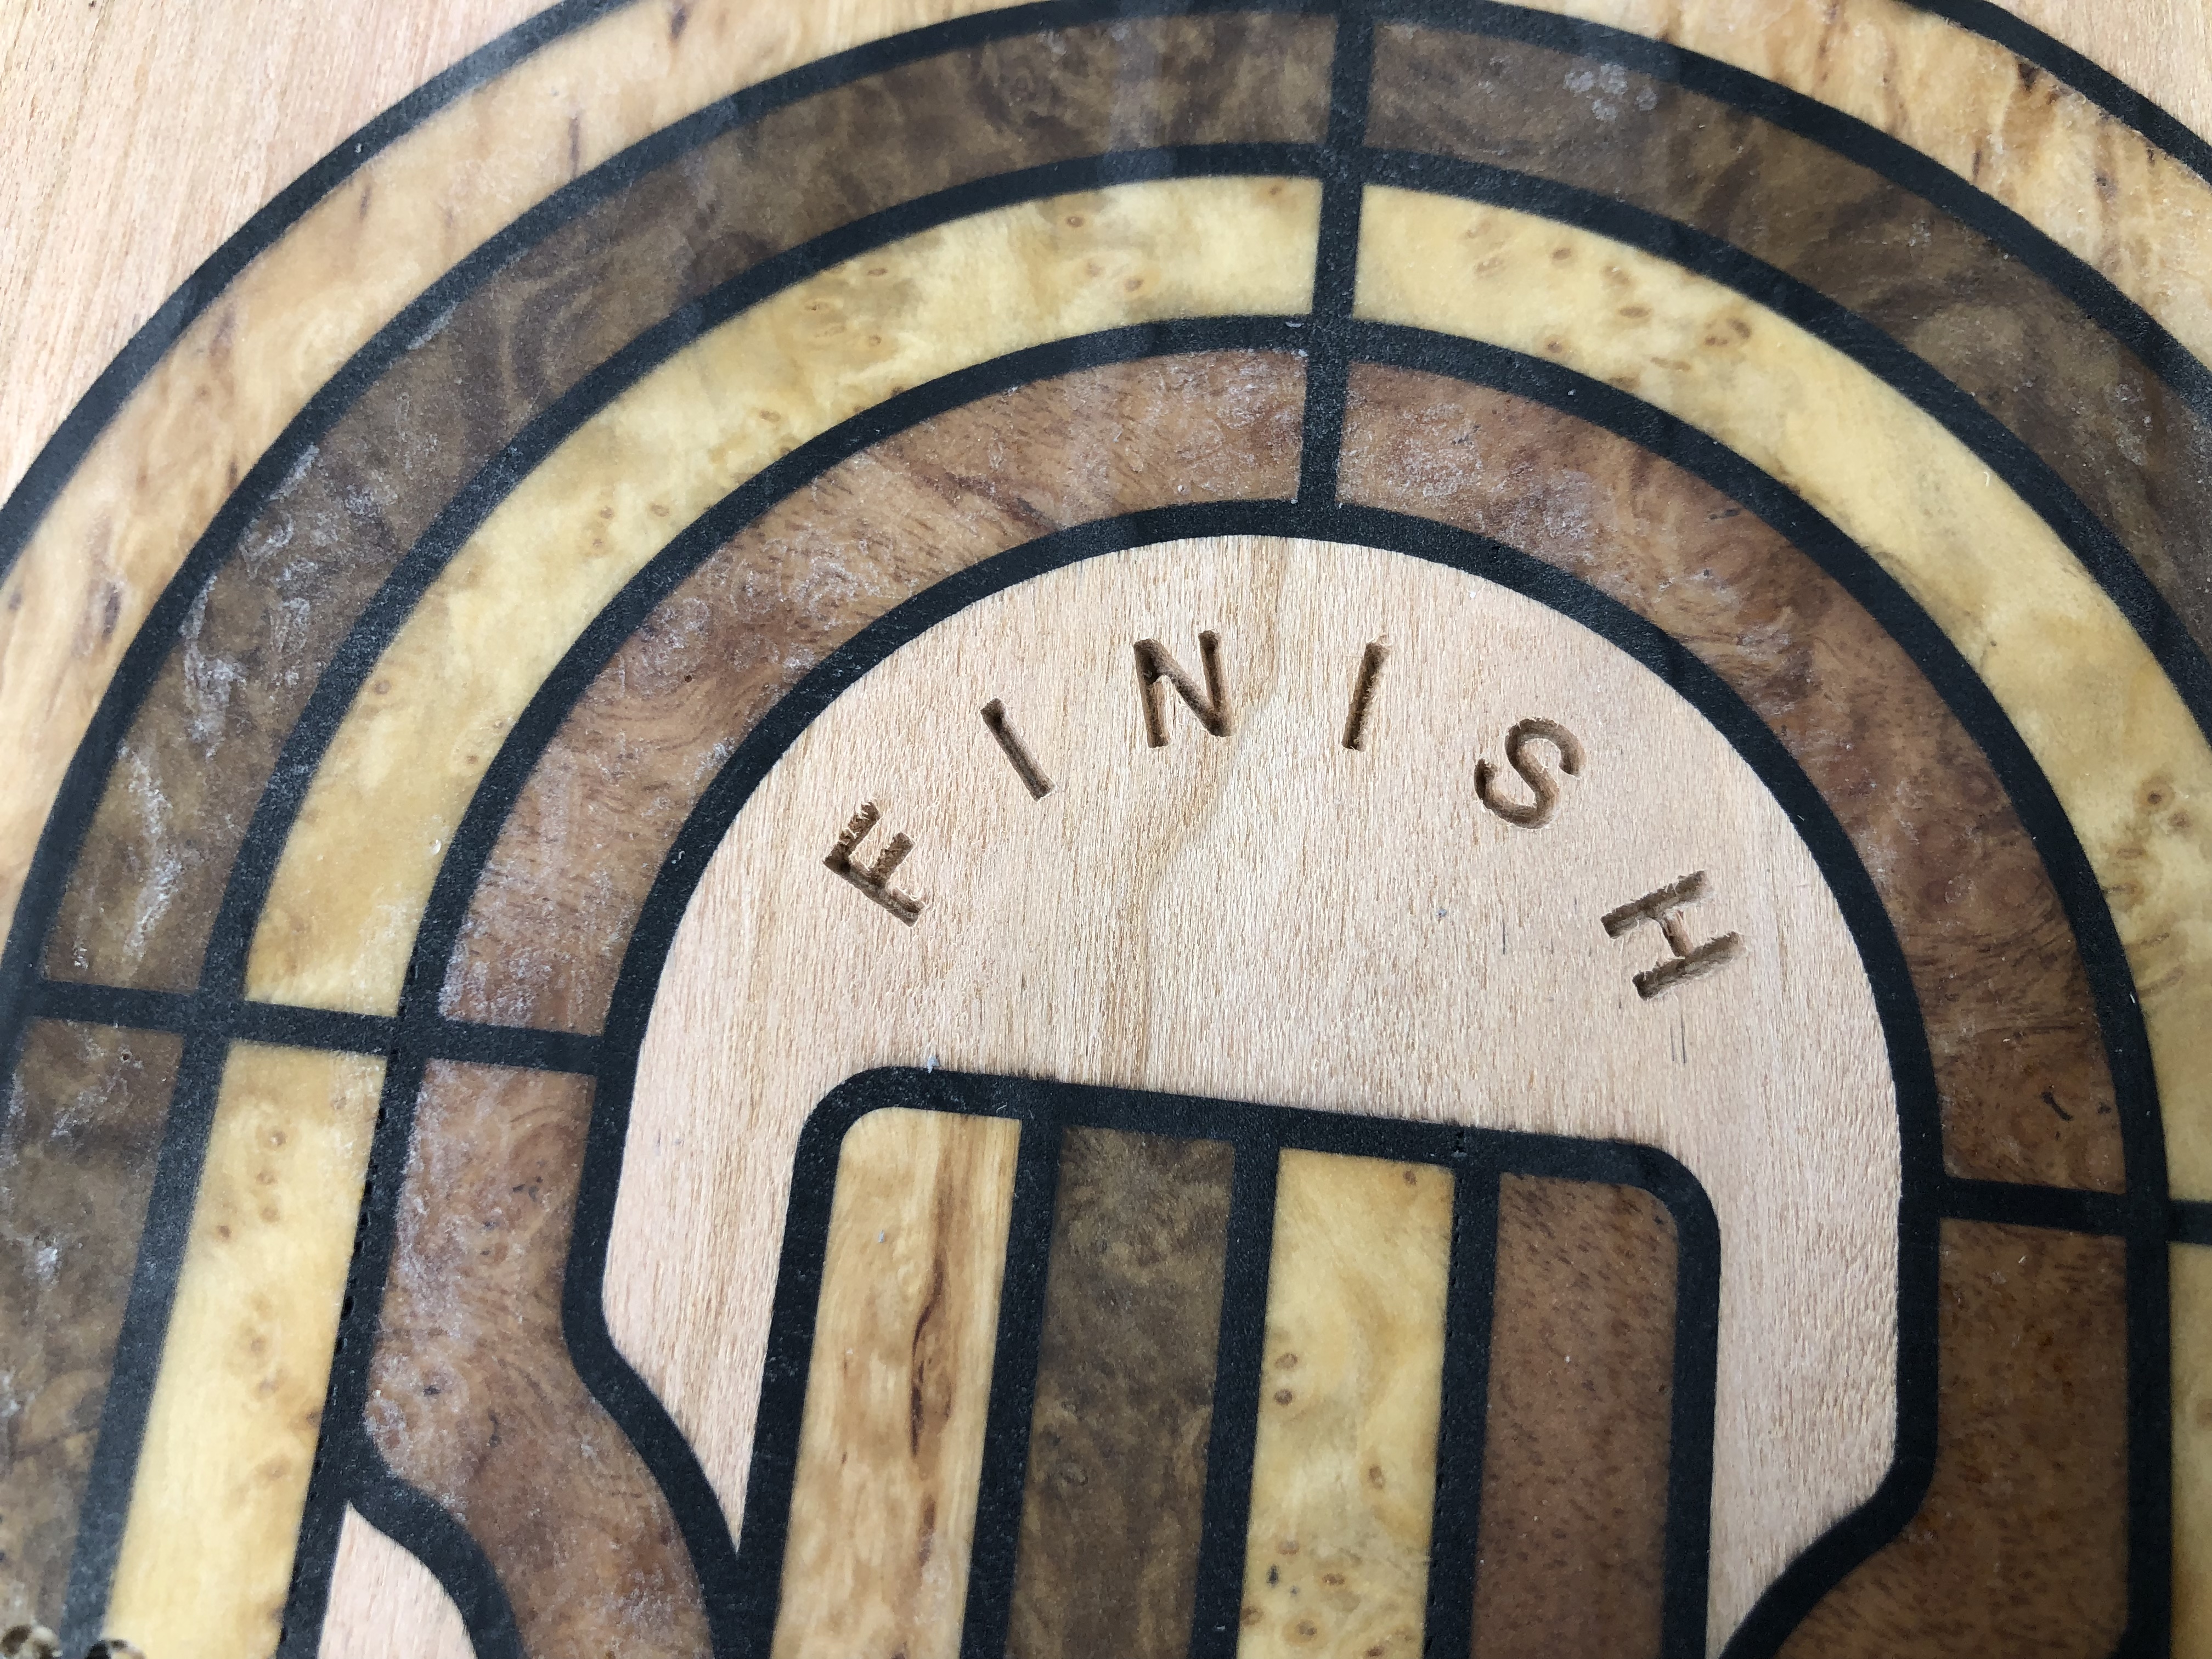
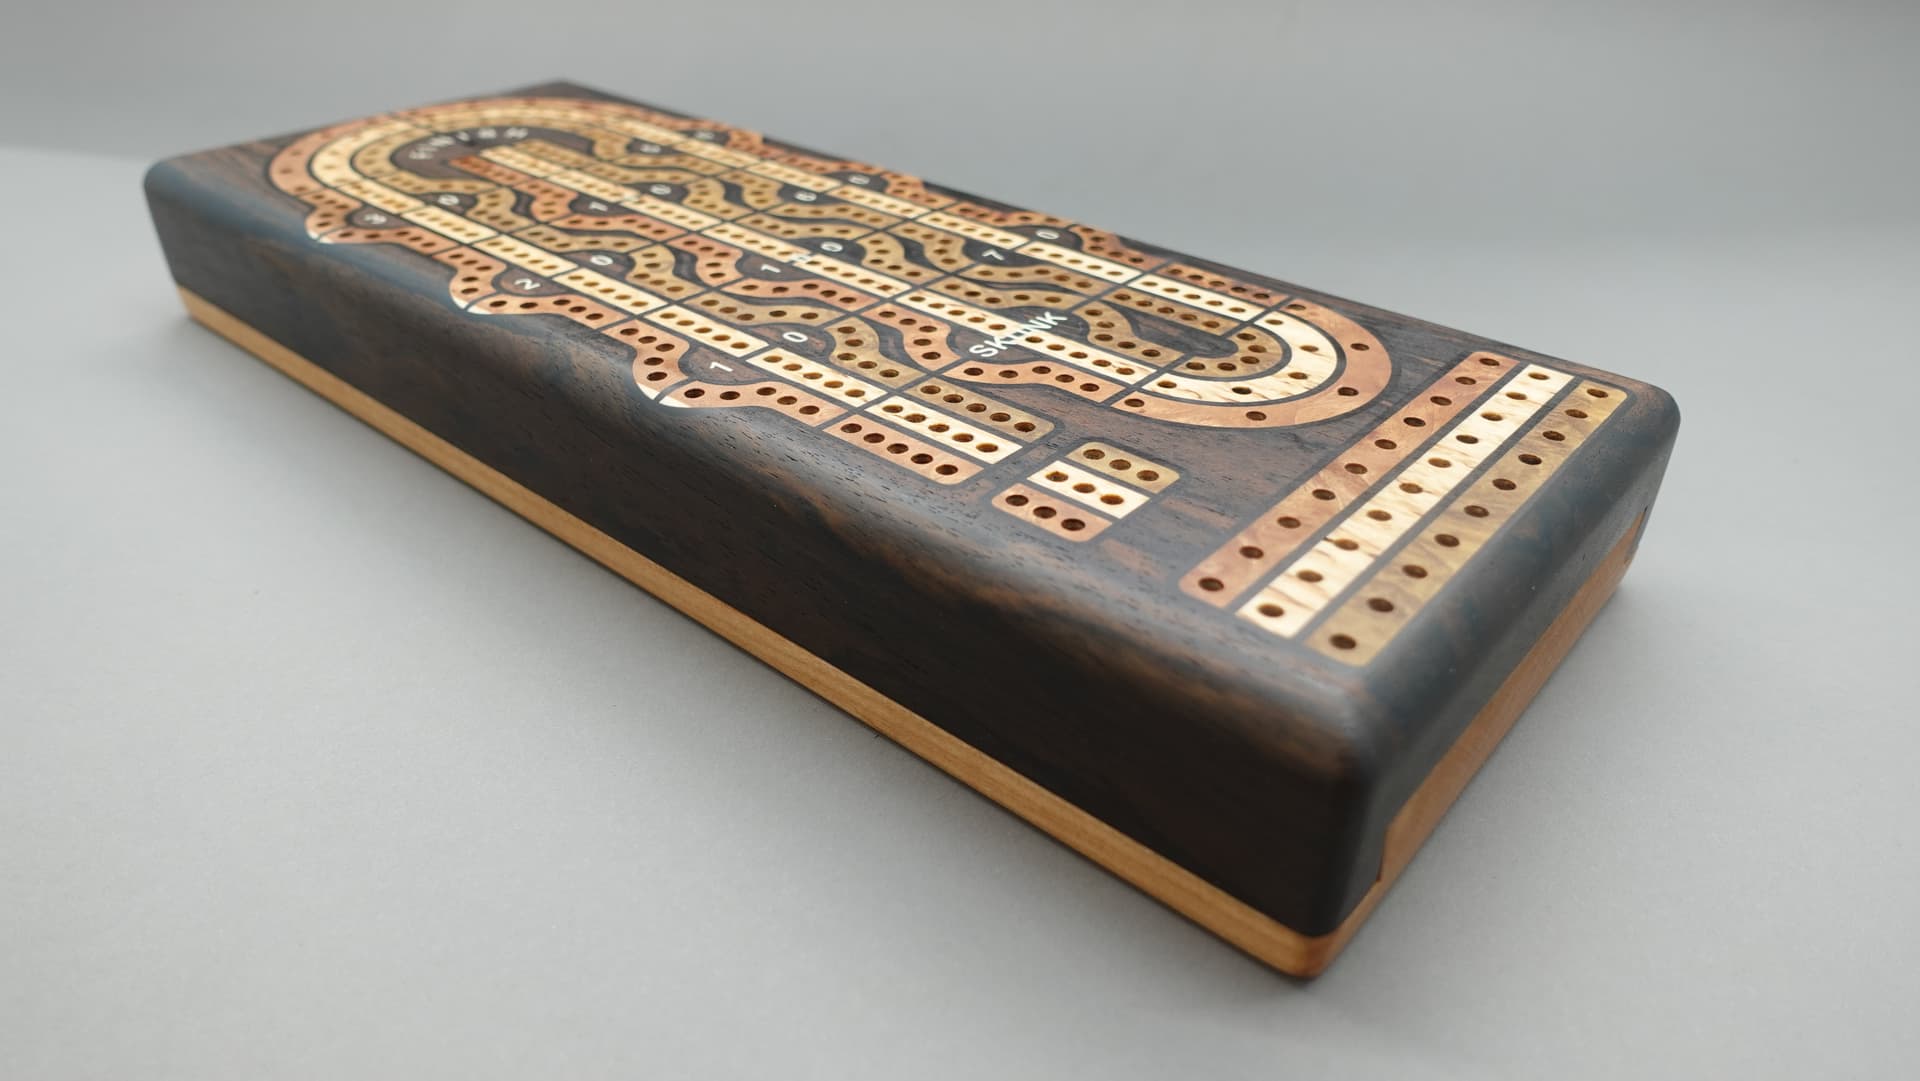
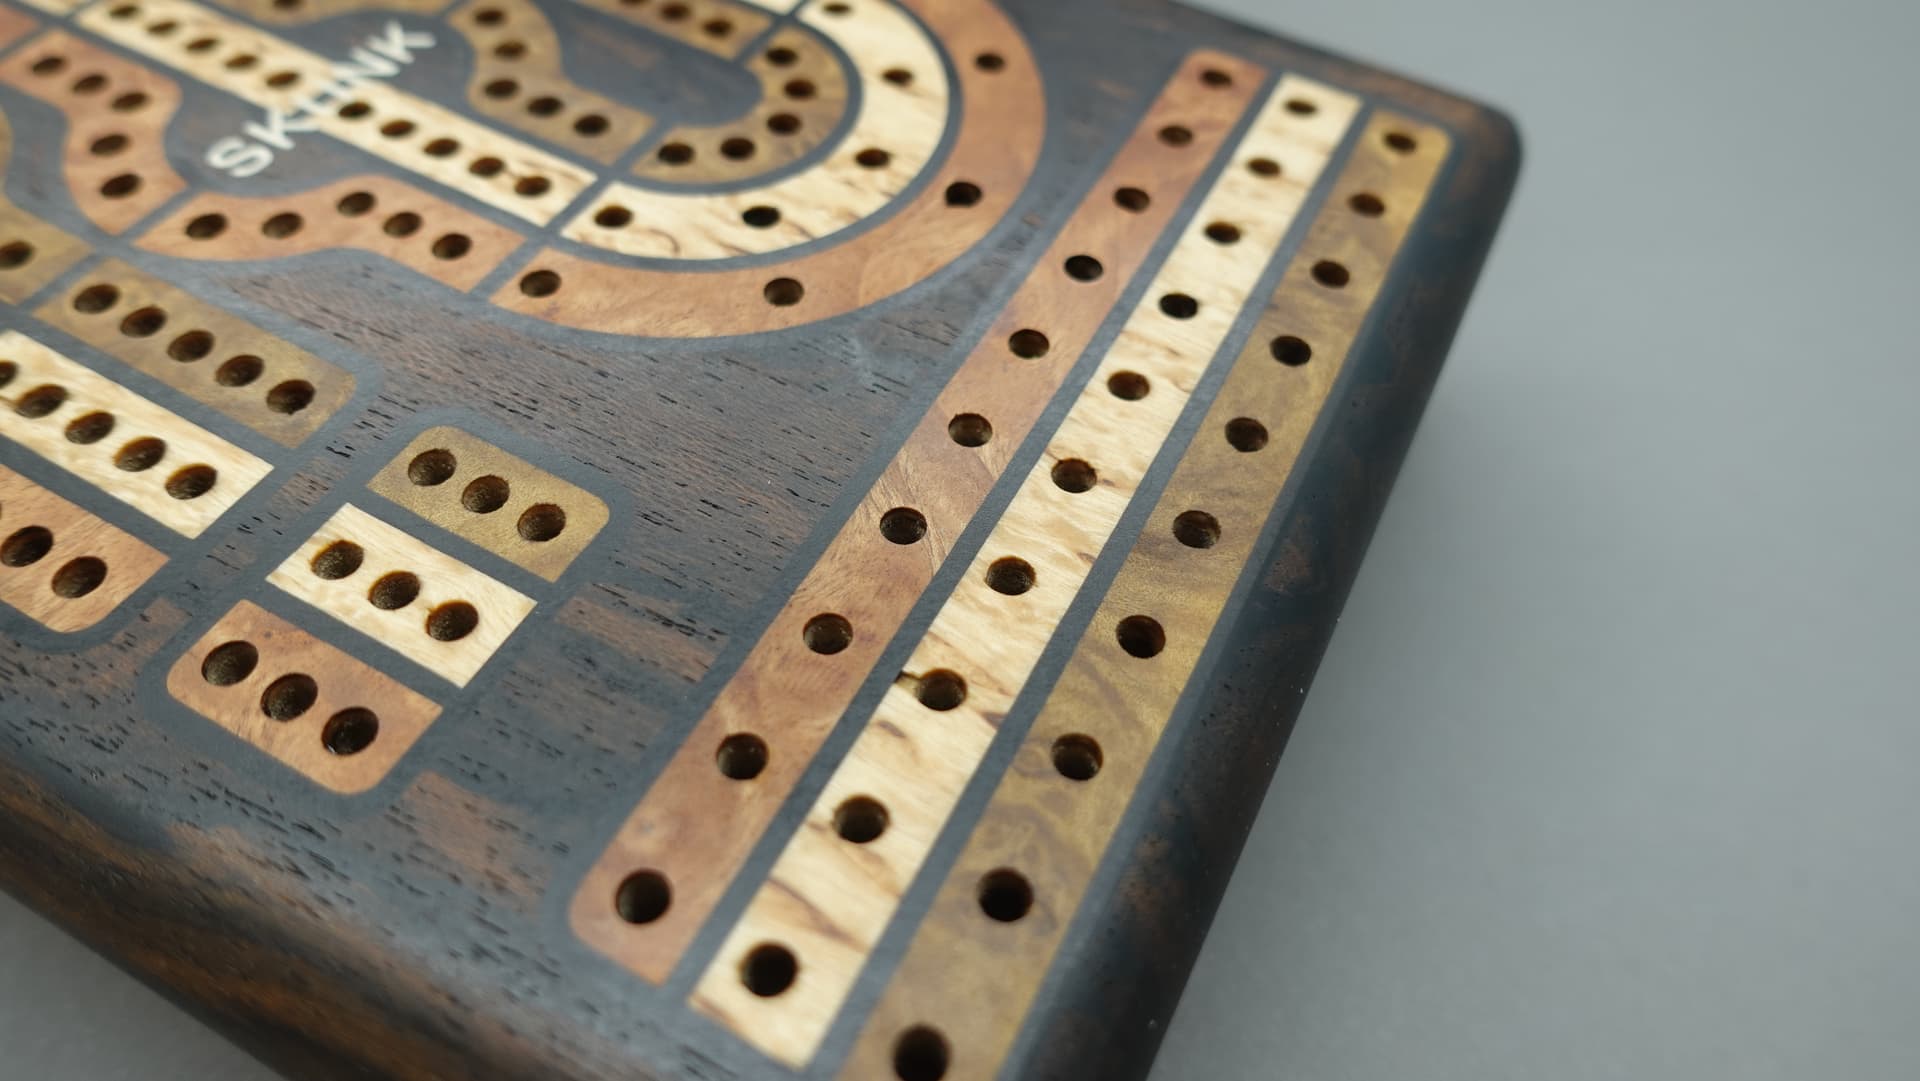
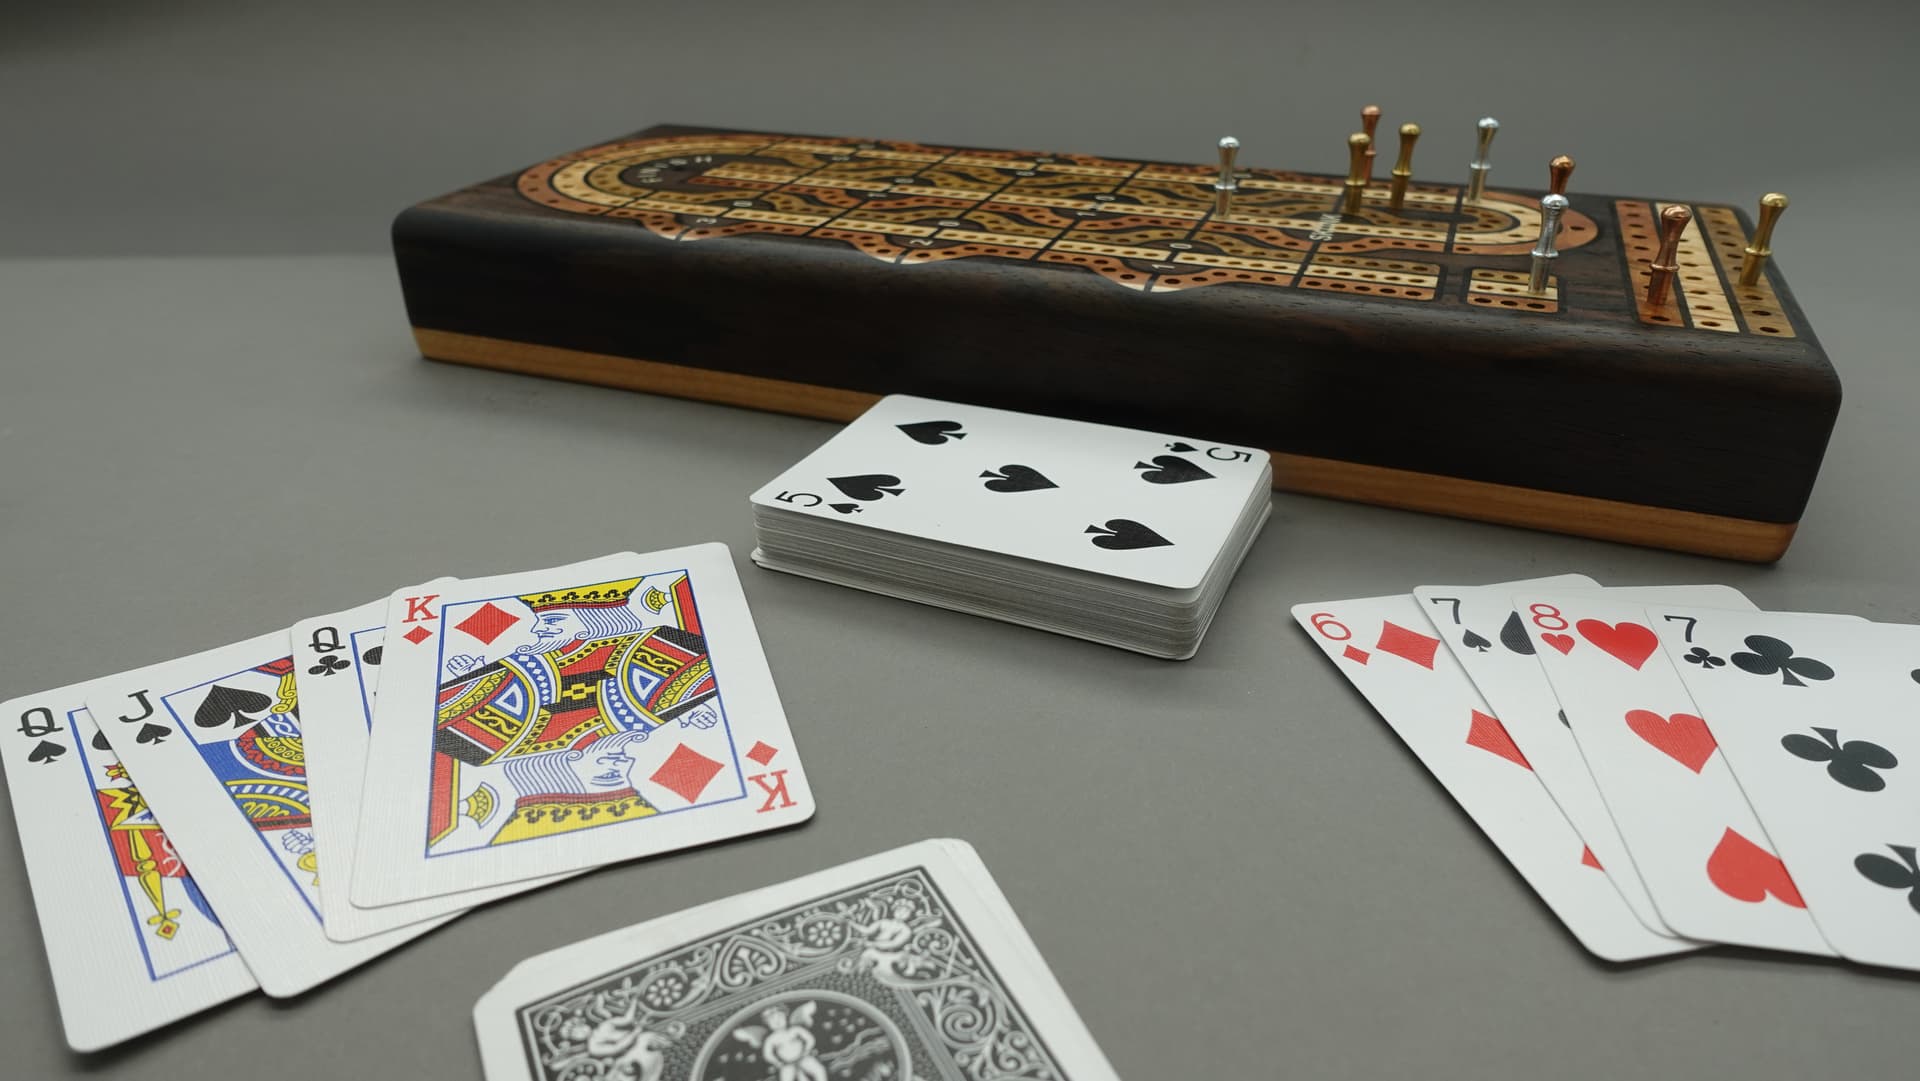
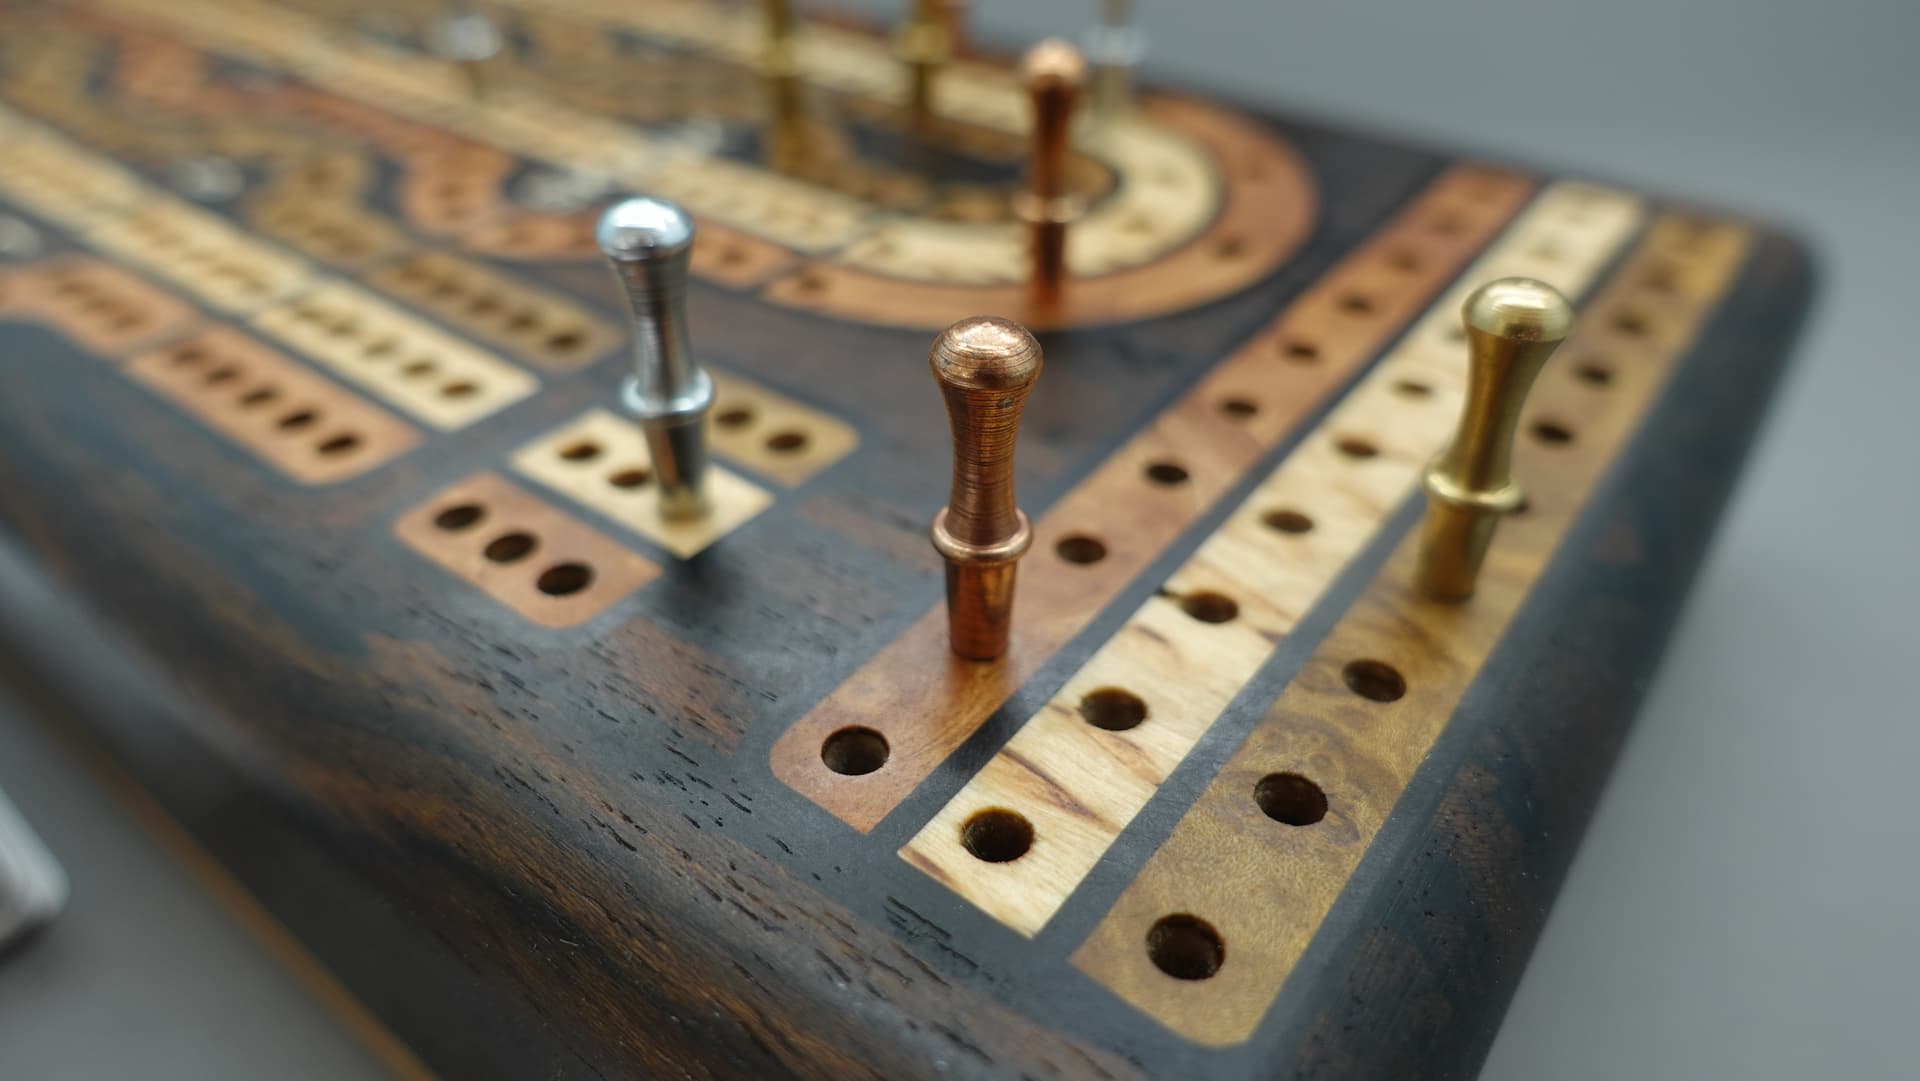
Had to remind myself these are to be used. I’ve had this board for a couple of months now, my wife and I play on it all the time and it’s been holding up to the usage.
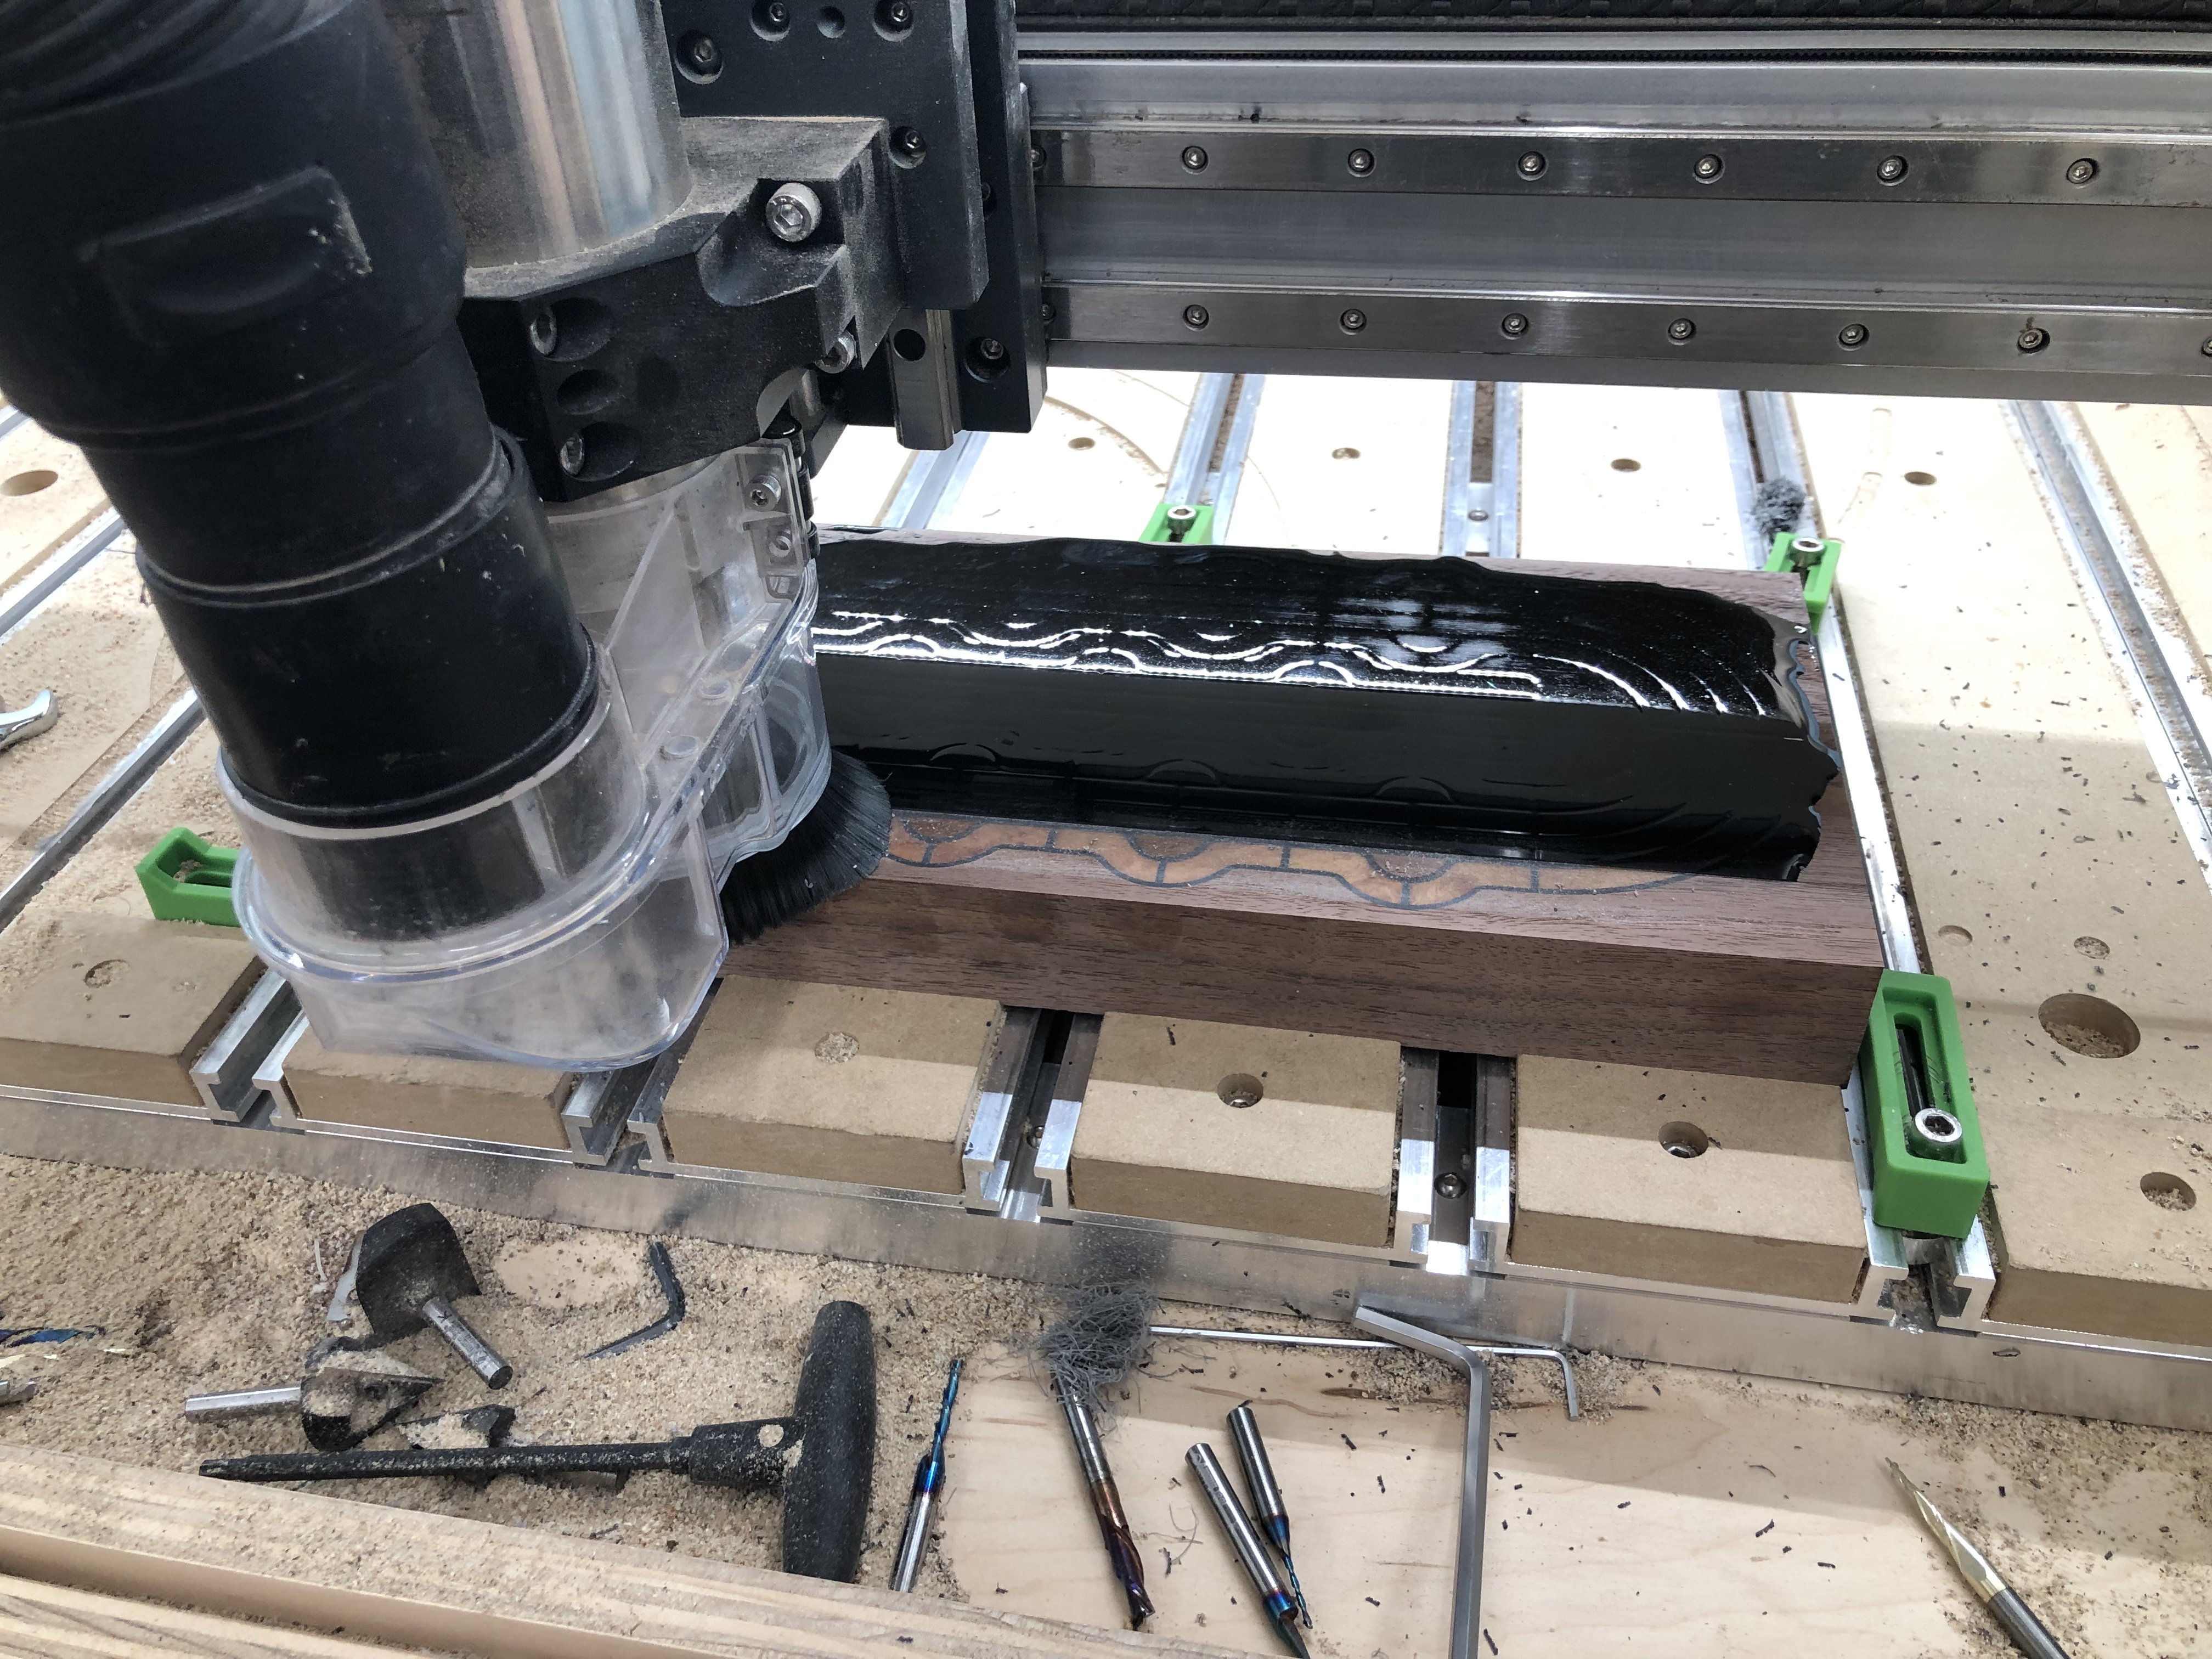
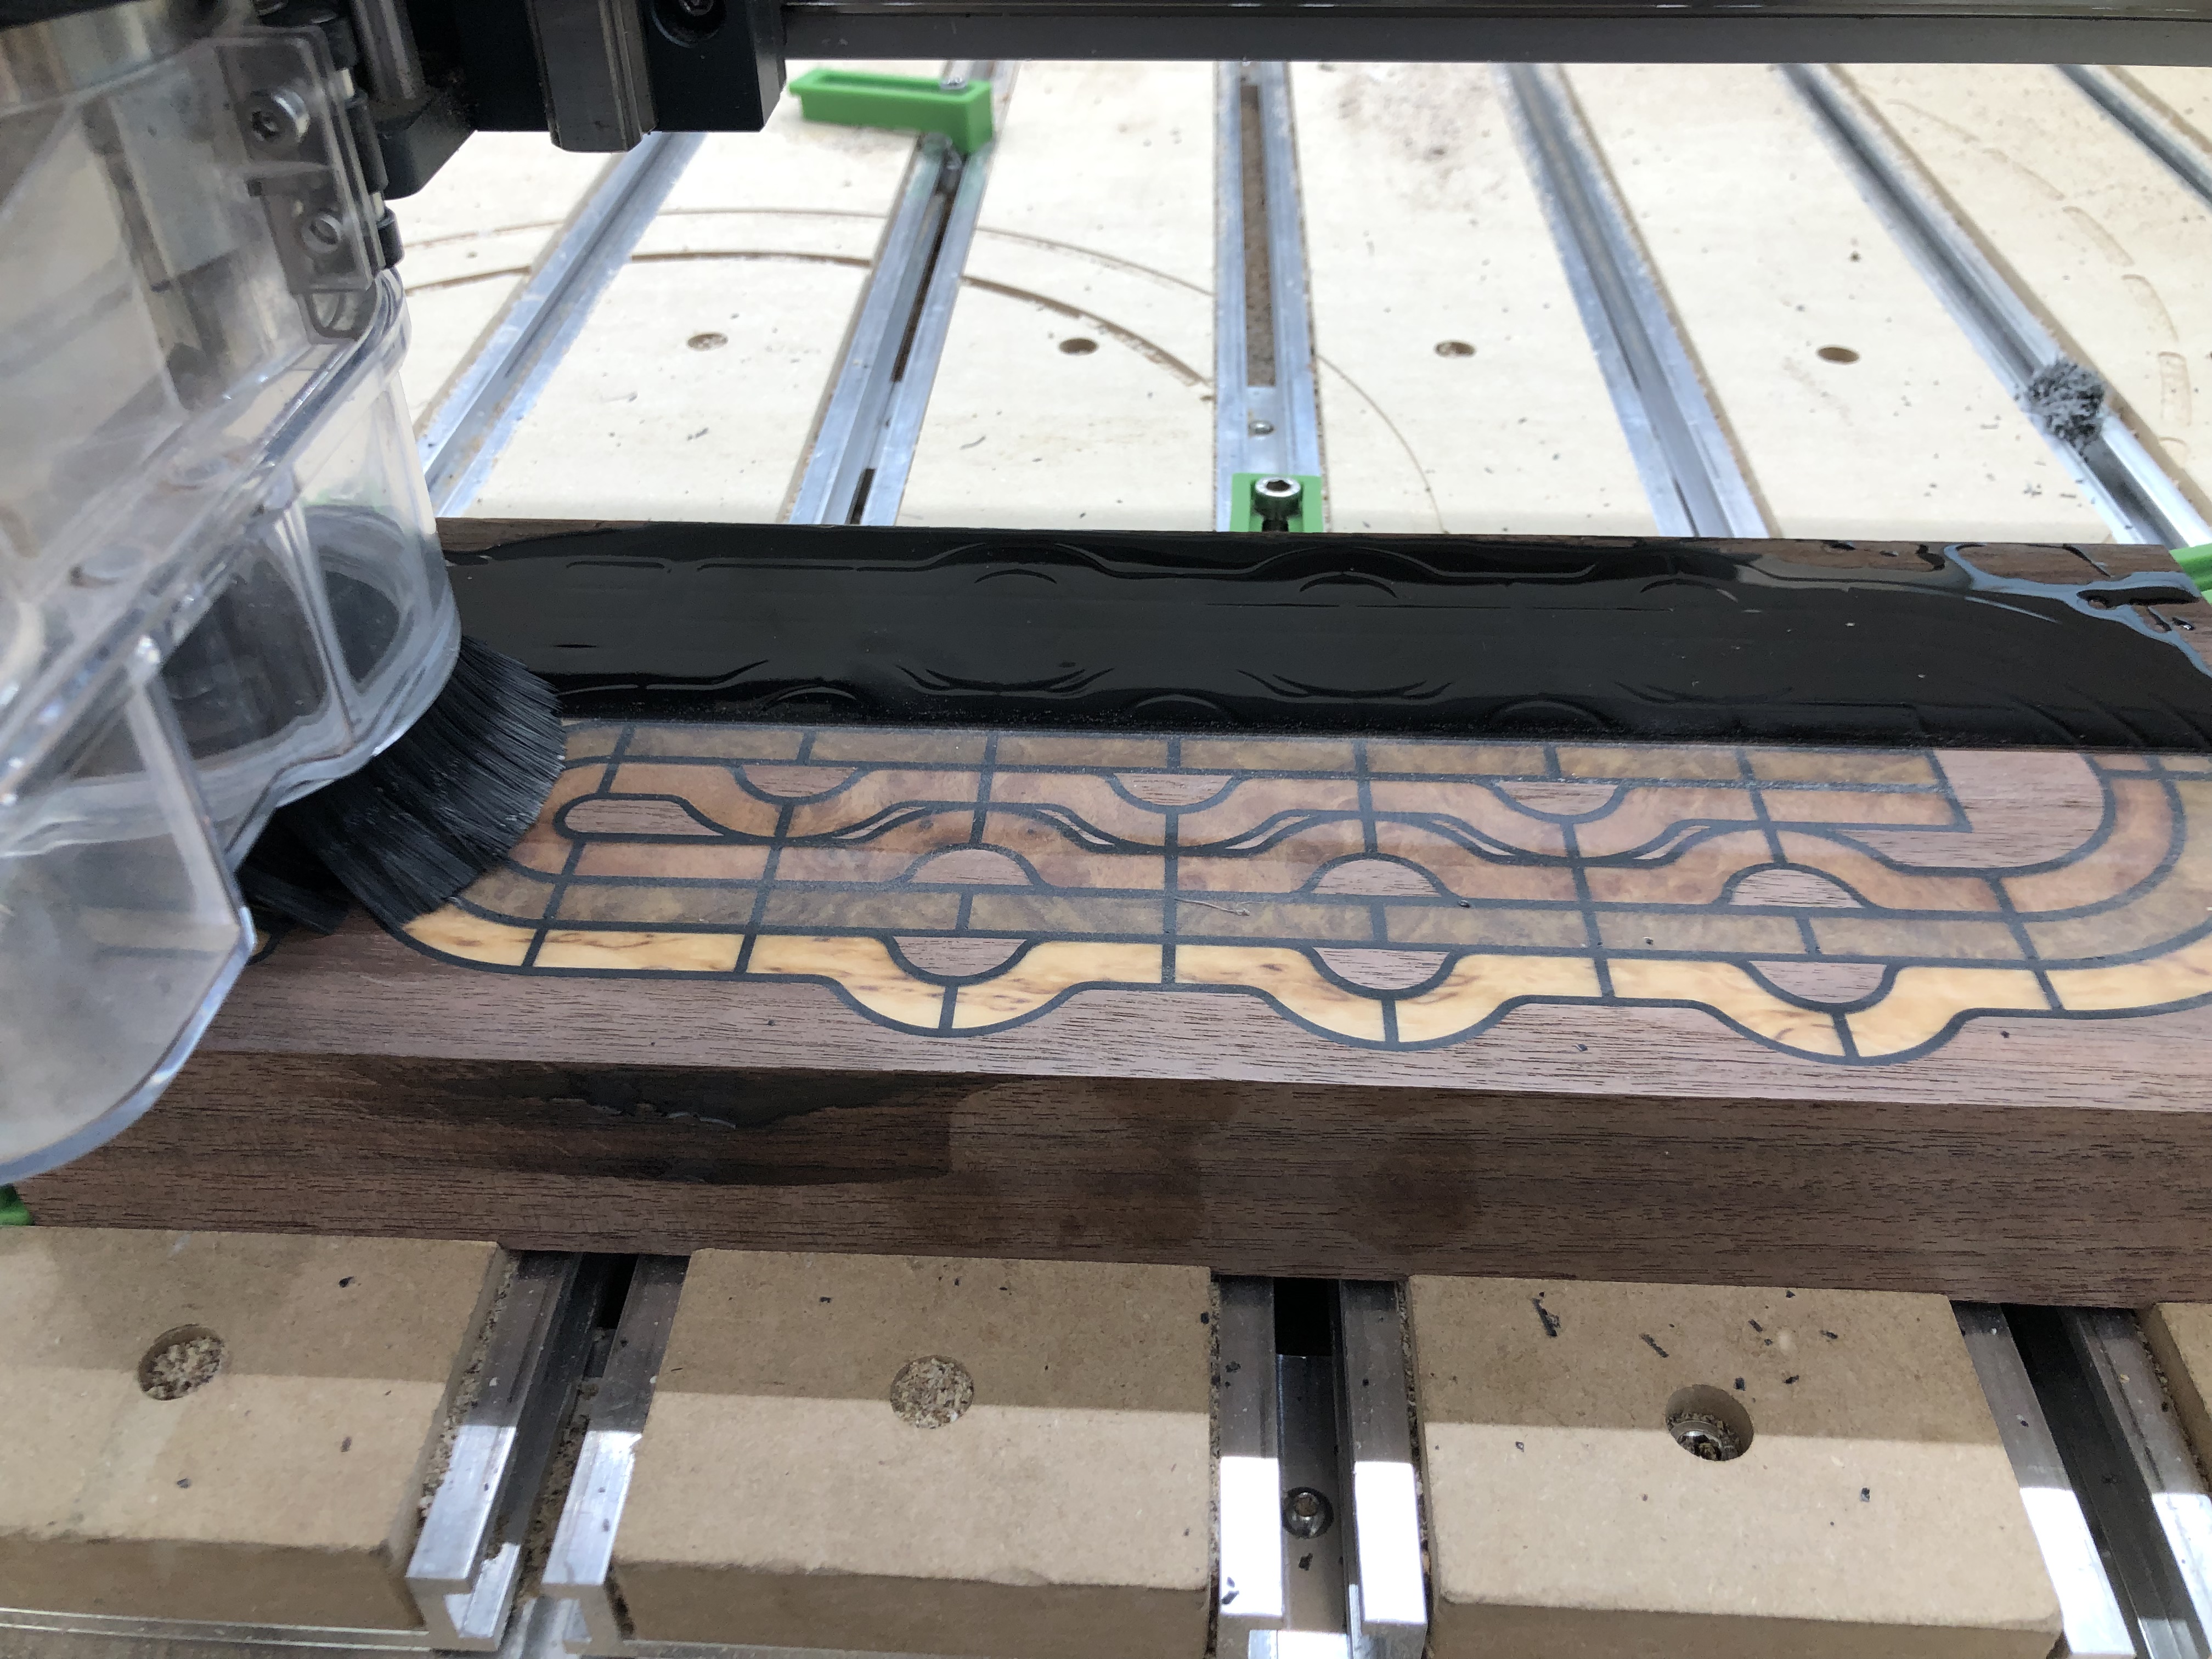
Planners do great work but when it comes to inlay you are flirting with disaster. The planner works well on solid wood. However when you add epoxy and inlays the violent nature can destroy an inlay. Plus epoxy is not easy on your planner knives. Mileage varies. I have had a planner rip out inlay on a project that I was using to clean off epoxy overfill. I was able to fix it but an ounce of prevention is worth a pound of cure. Luckily I have a Jet 16-32 drum sander and that works very well on removing epoxy overfill. You can also surface on the Shapeoko but that takes forever on a larger project and the sander does it in a fraction of the time. You just have to keep cleaning the drum with epoxy. Wood and wood resin are hard on the sandpaper but epoxy is just terrible.
Yep…for those reasons I’ve always faced my epoxy overfill with the Shapeoko. From the pure cleanup perspective, it’s way faster and cleaner on your tools to use it. That, and I can control my depth of cut down to the .001 if I wanted.
Wow, I read and watch this entire post. Amazing, I’m still looking, and hoping to figure out what to do before I make the big leap. If I thought I could accomplish half this, it would be worth the adventure. Thanks for sharing.
@Merick01 - Maurice, where do you source your veneers? I recently bought a sample pack and it’s become clear very quickly that I’ll be wanting to acquire more and larger pieces of select species.
Beautiful work too!
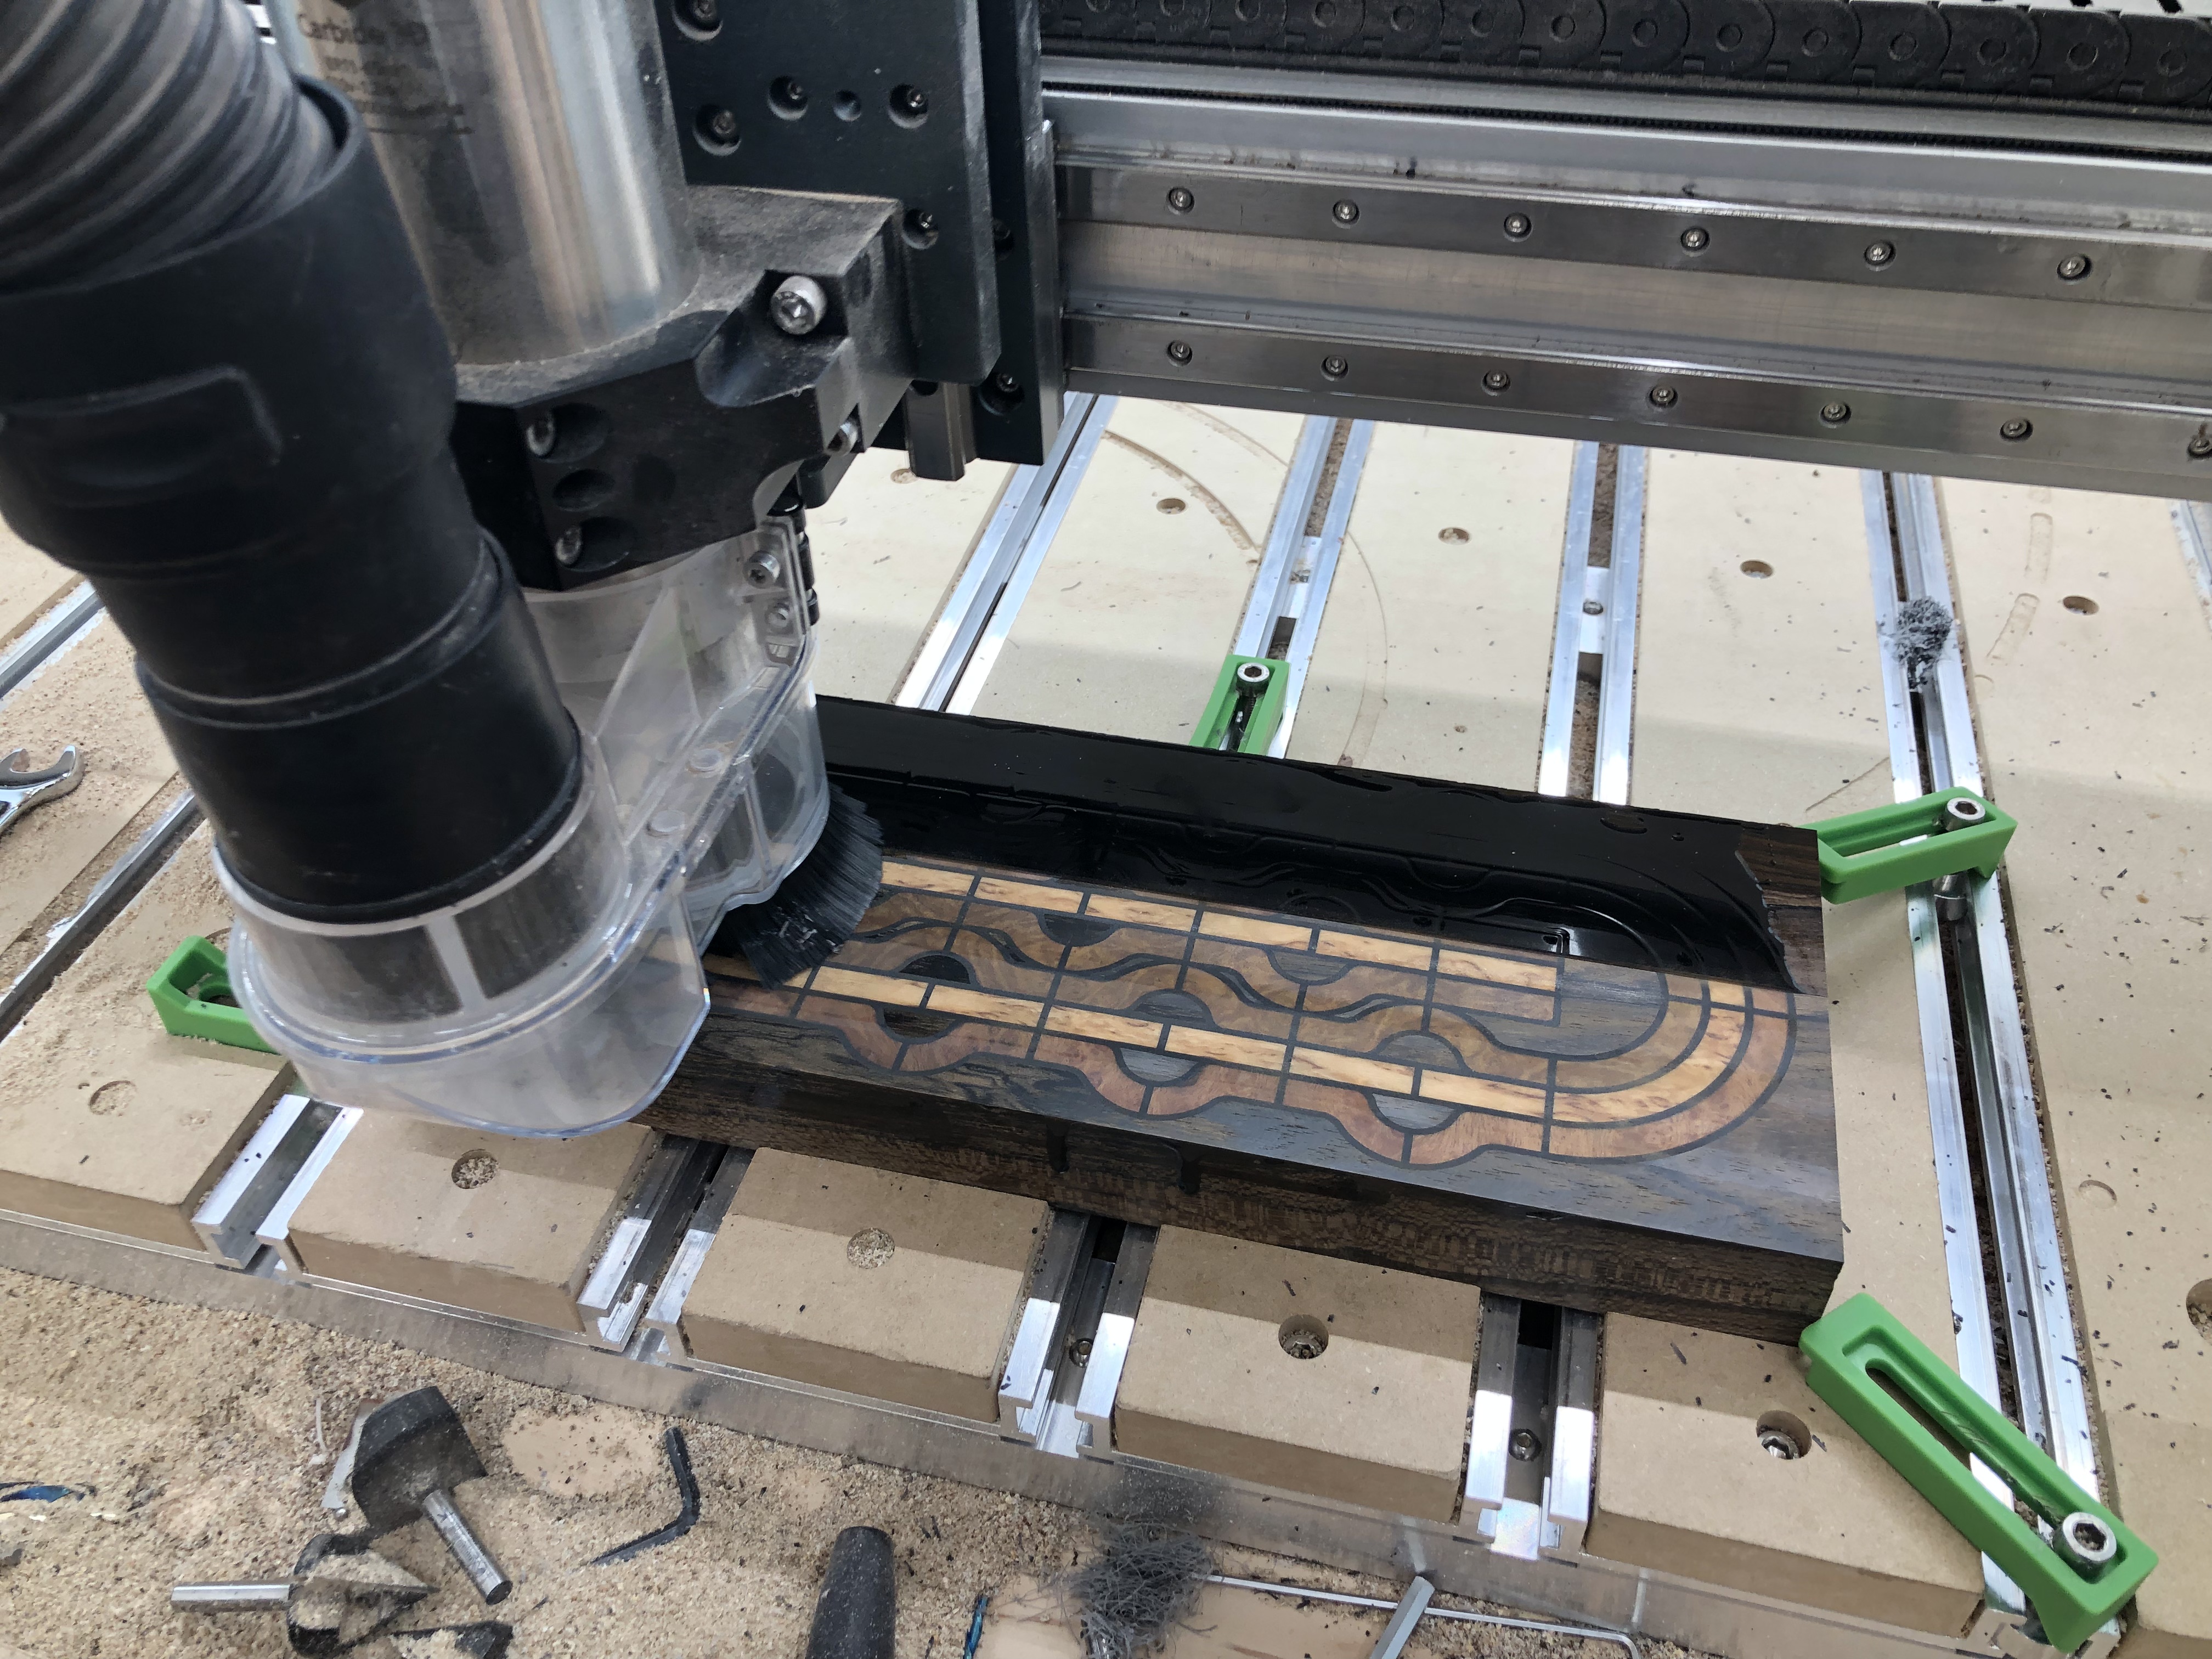
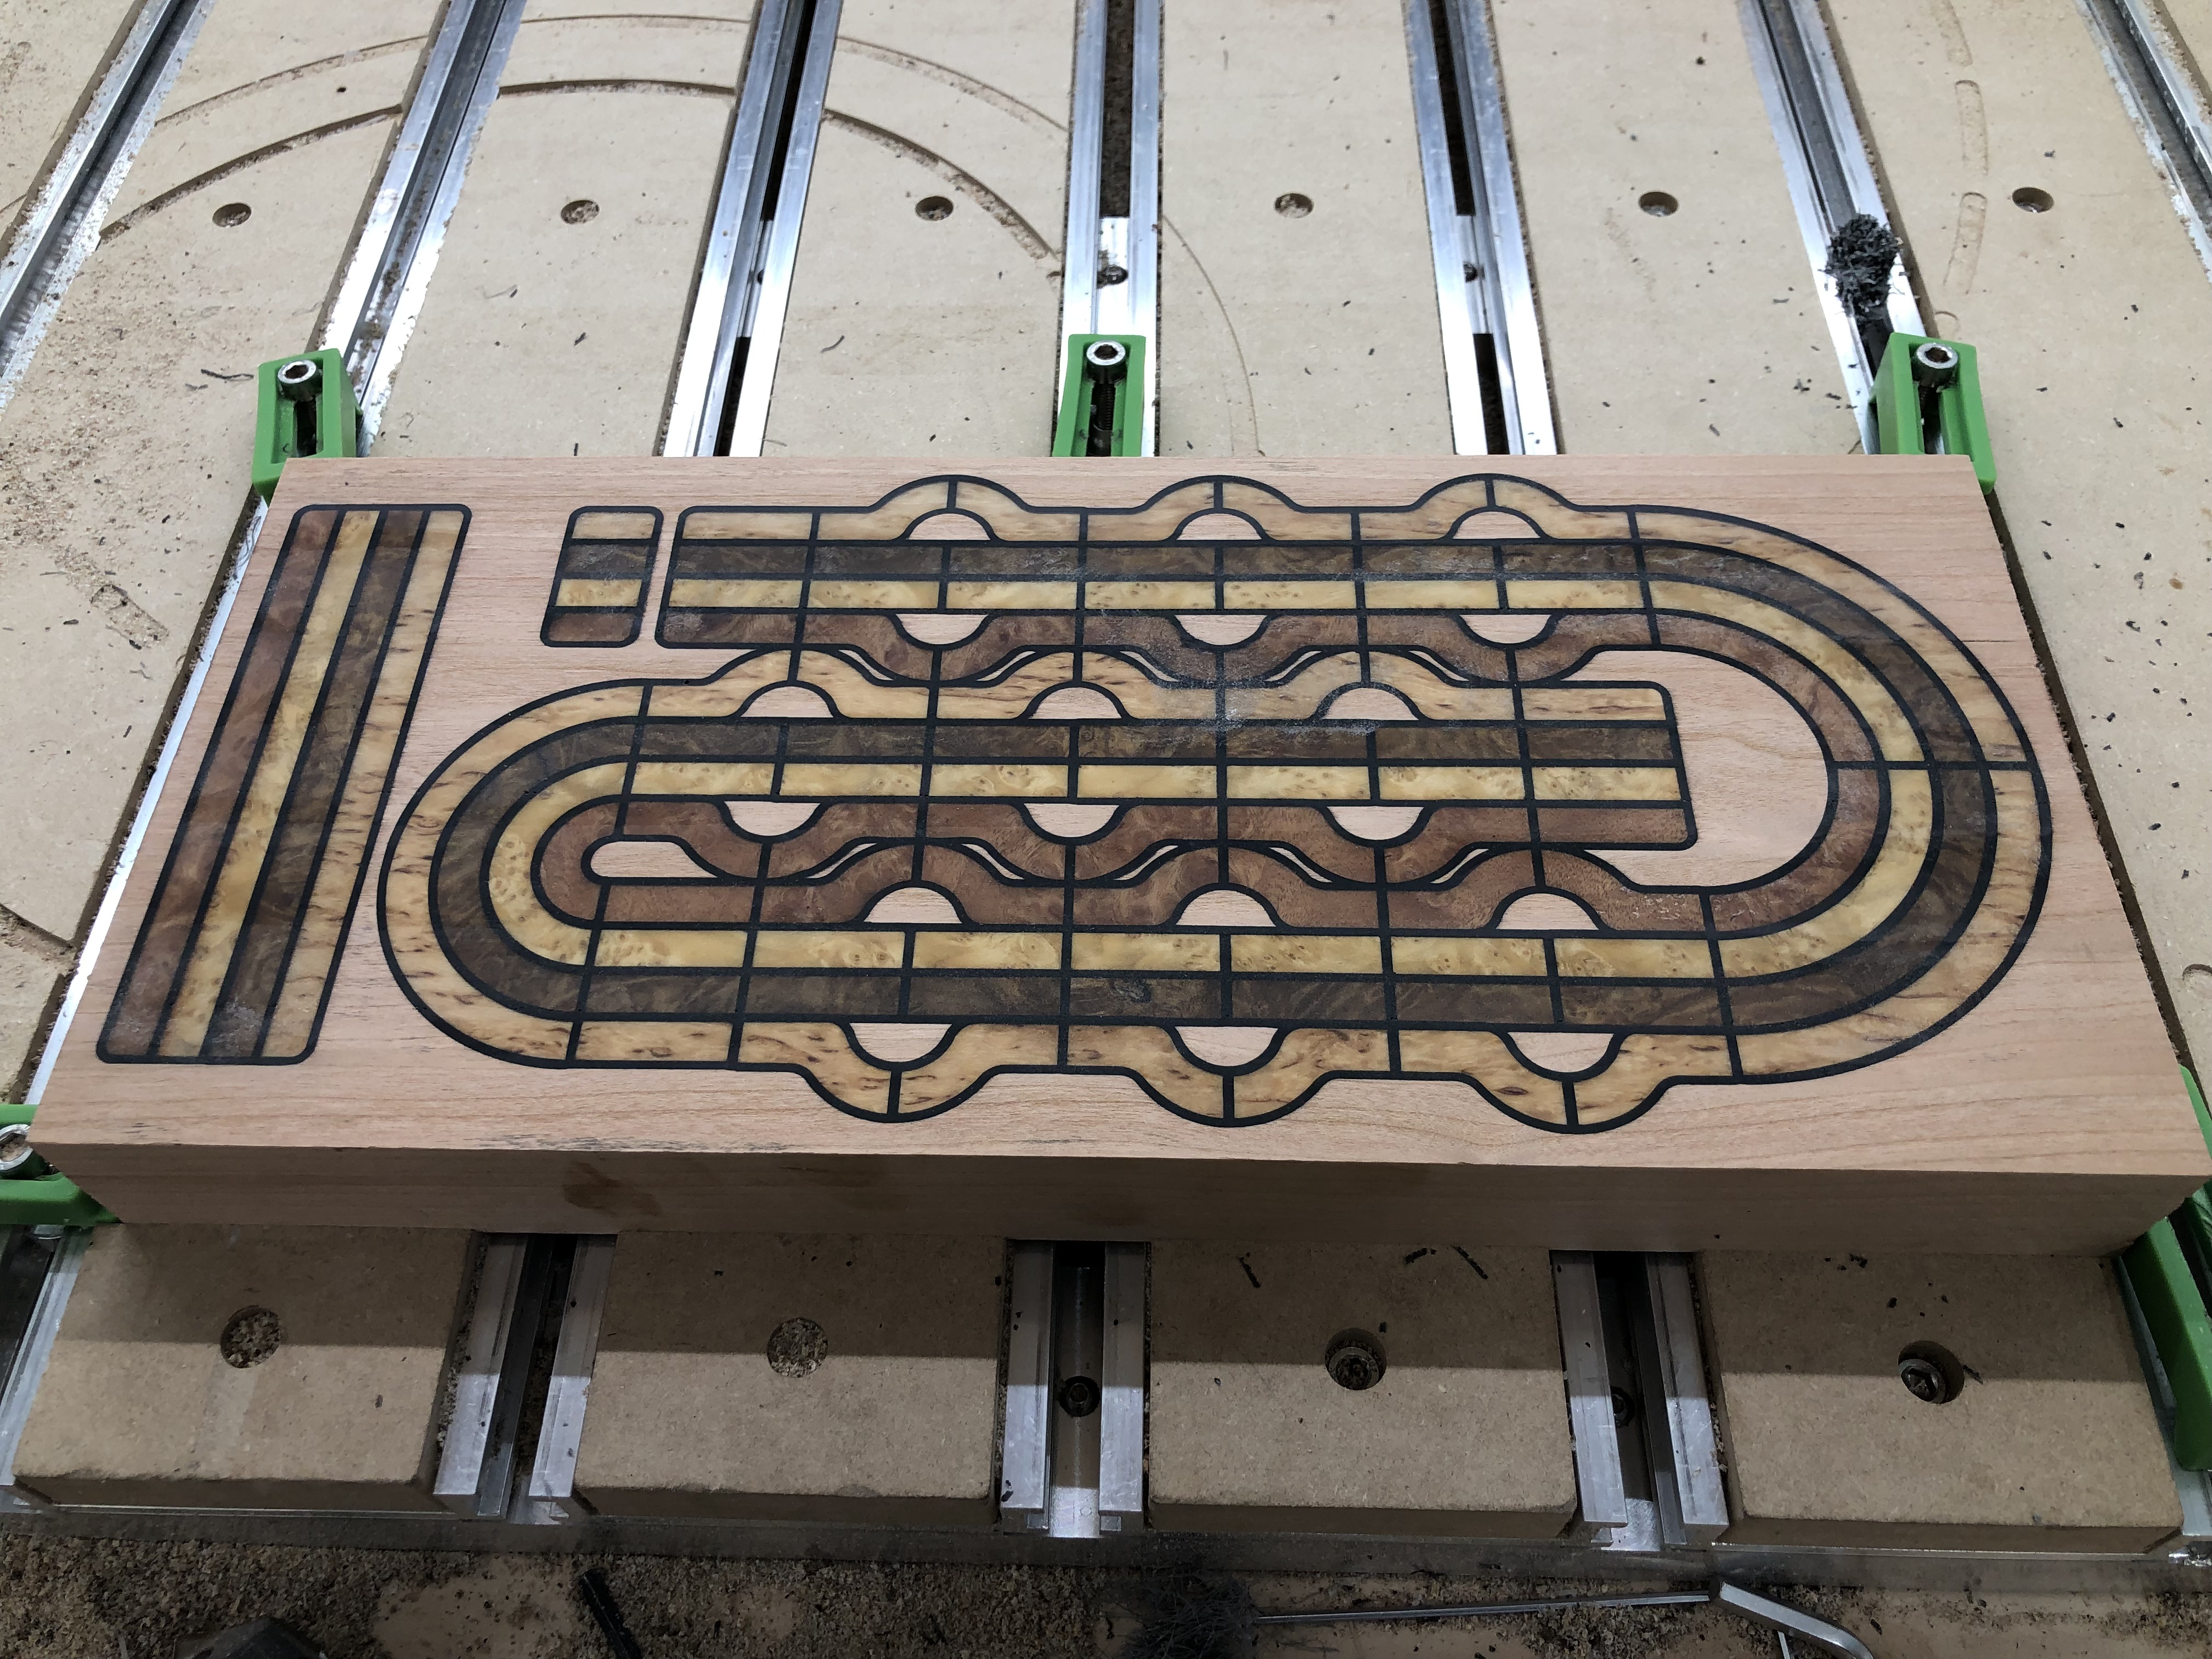
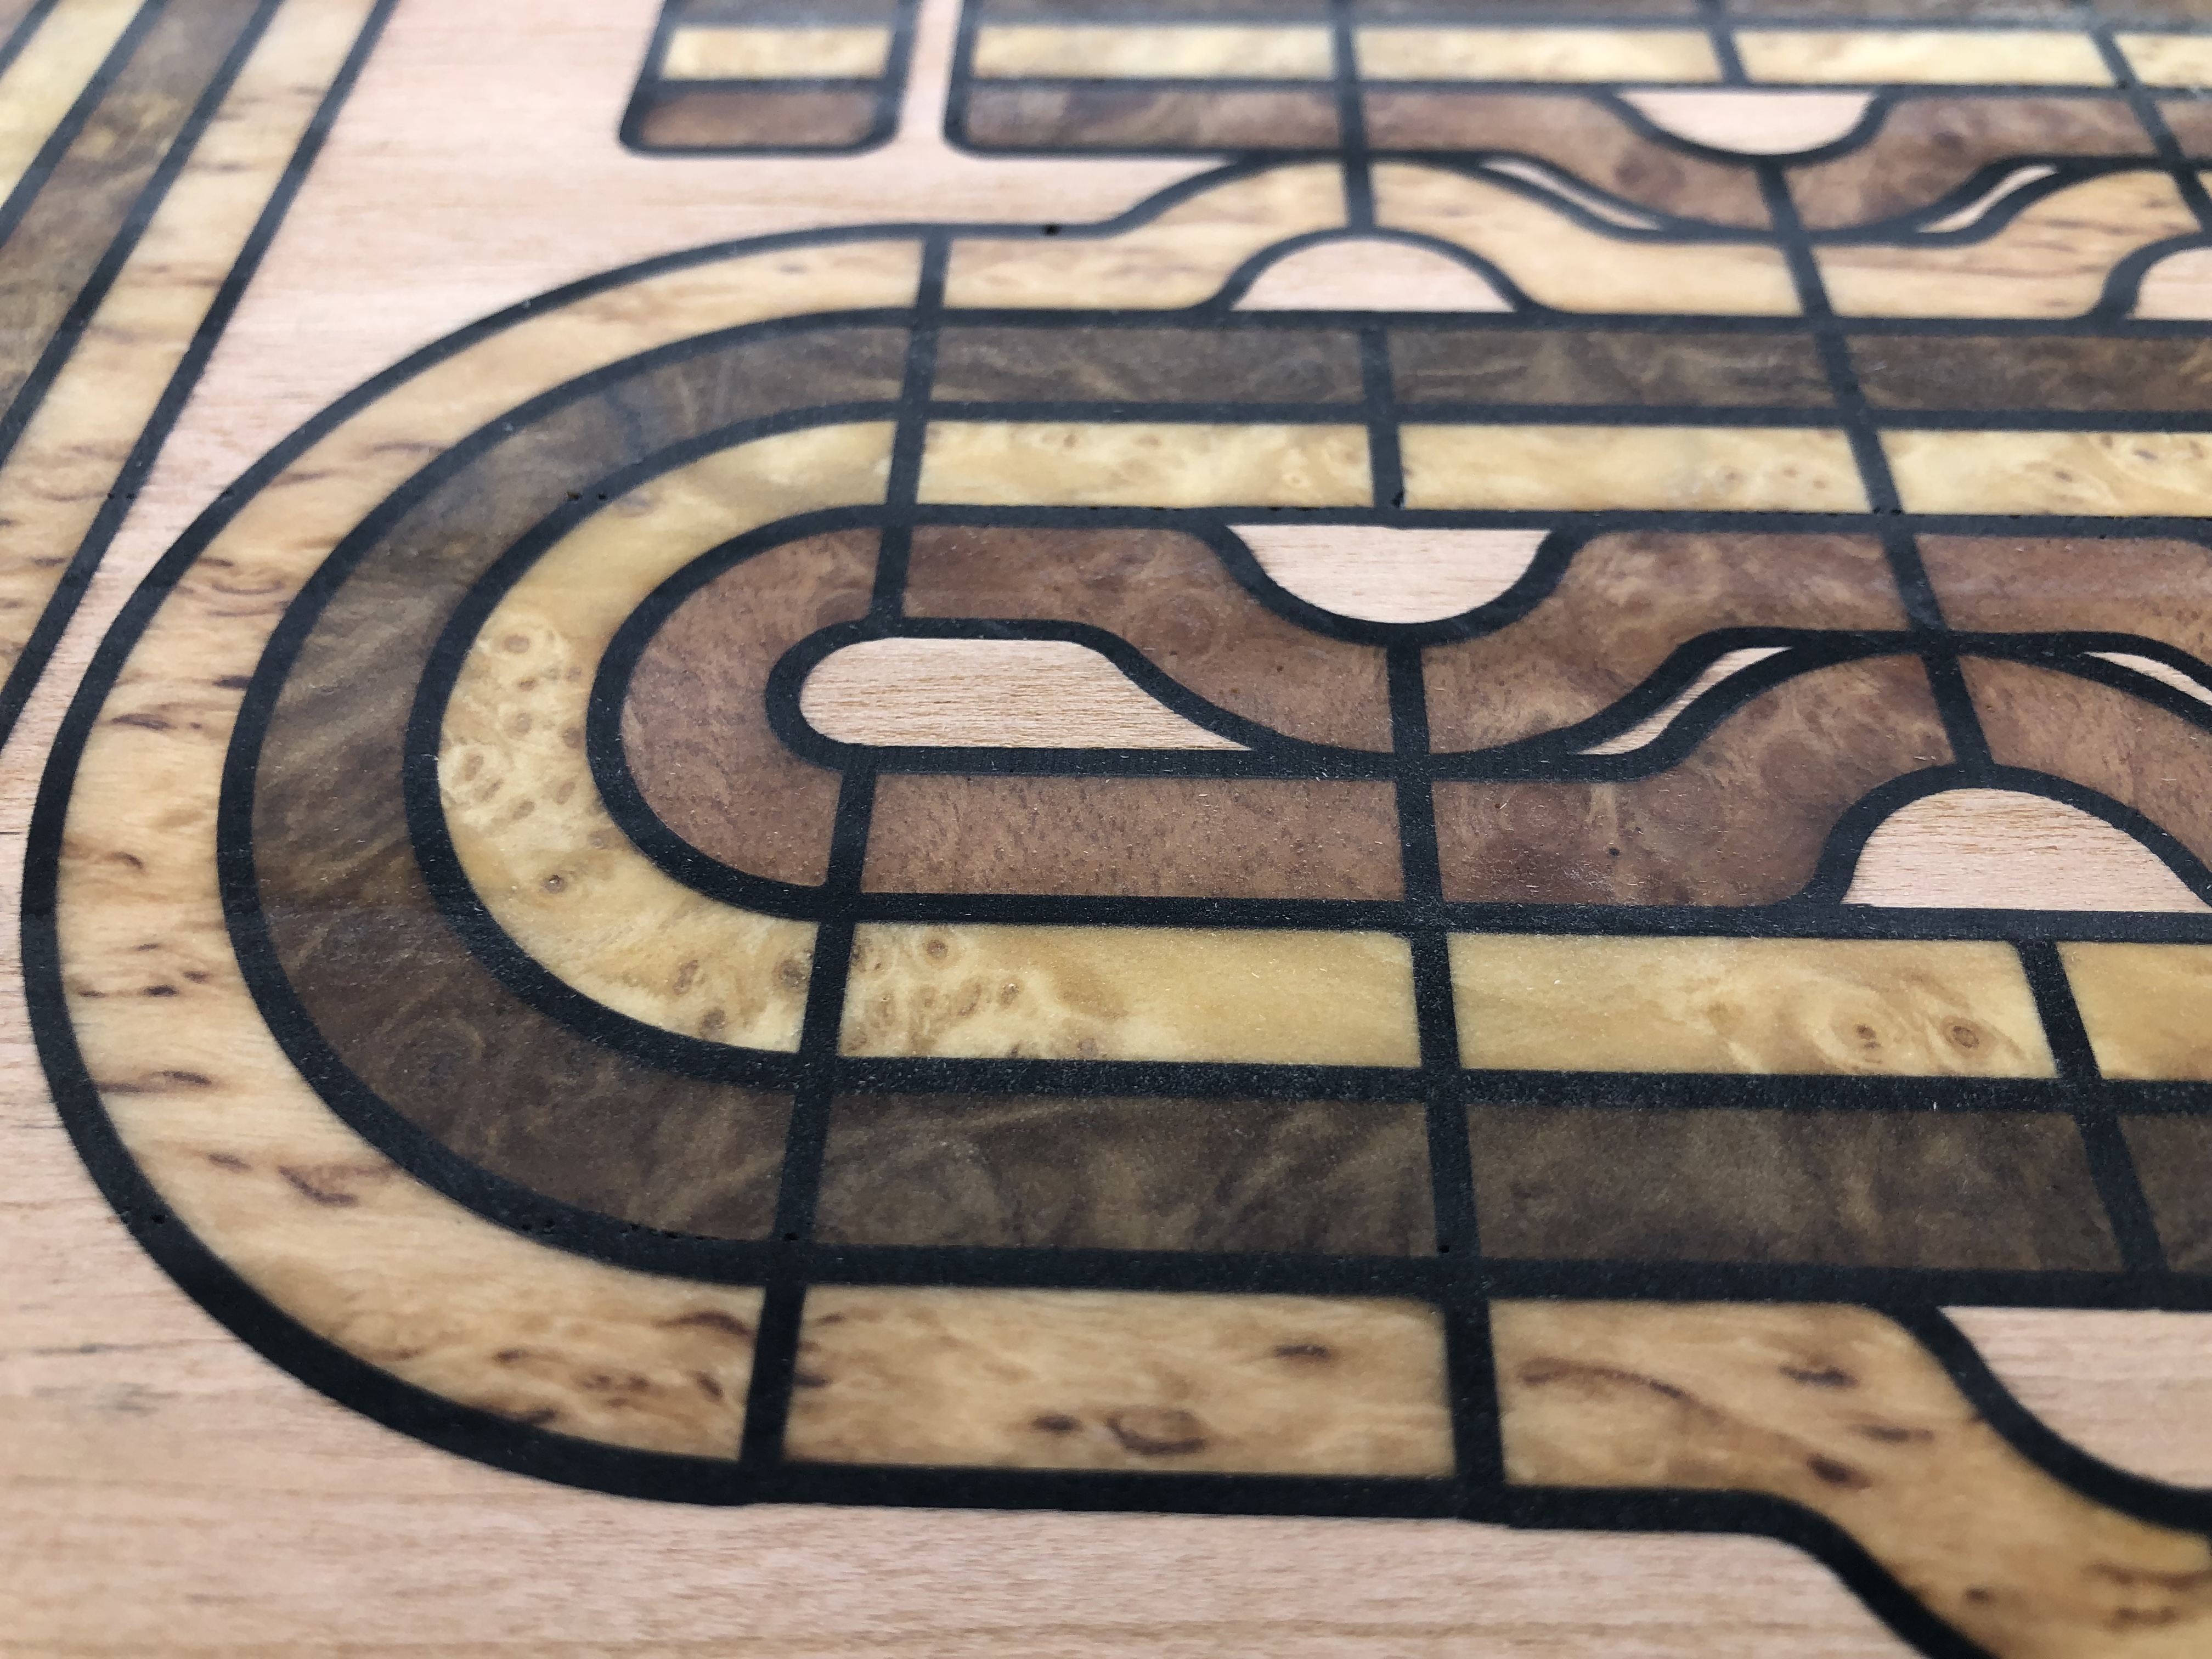
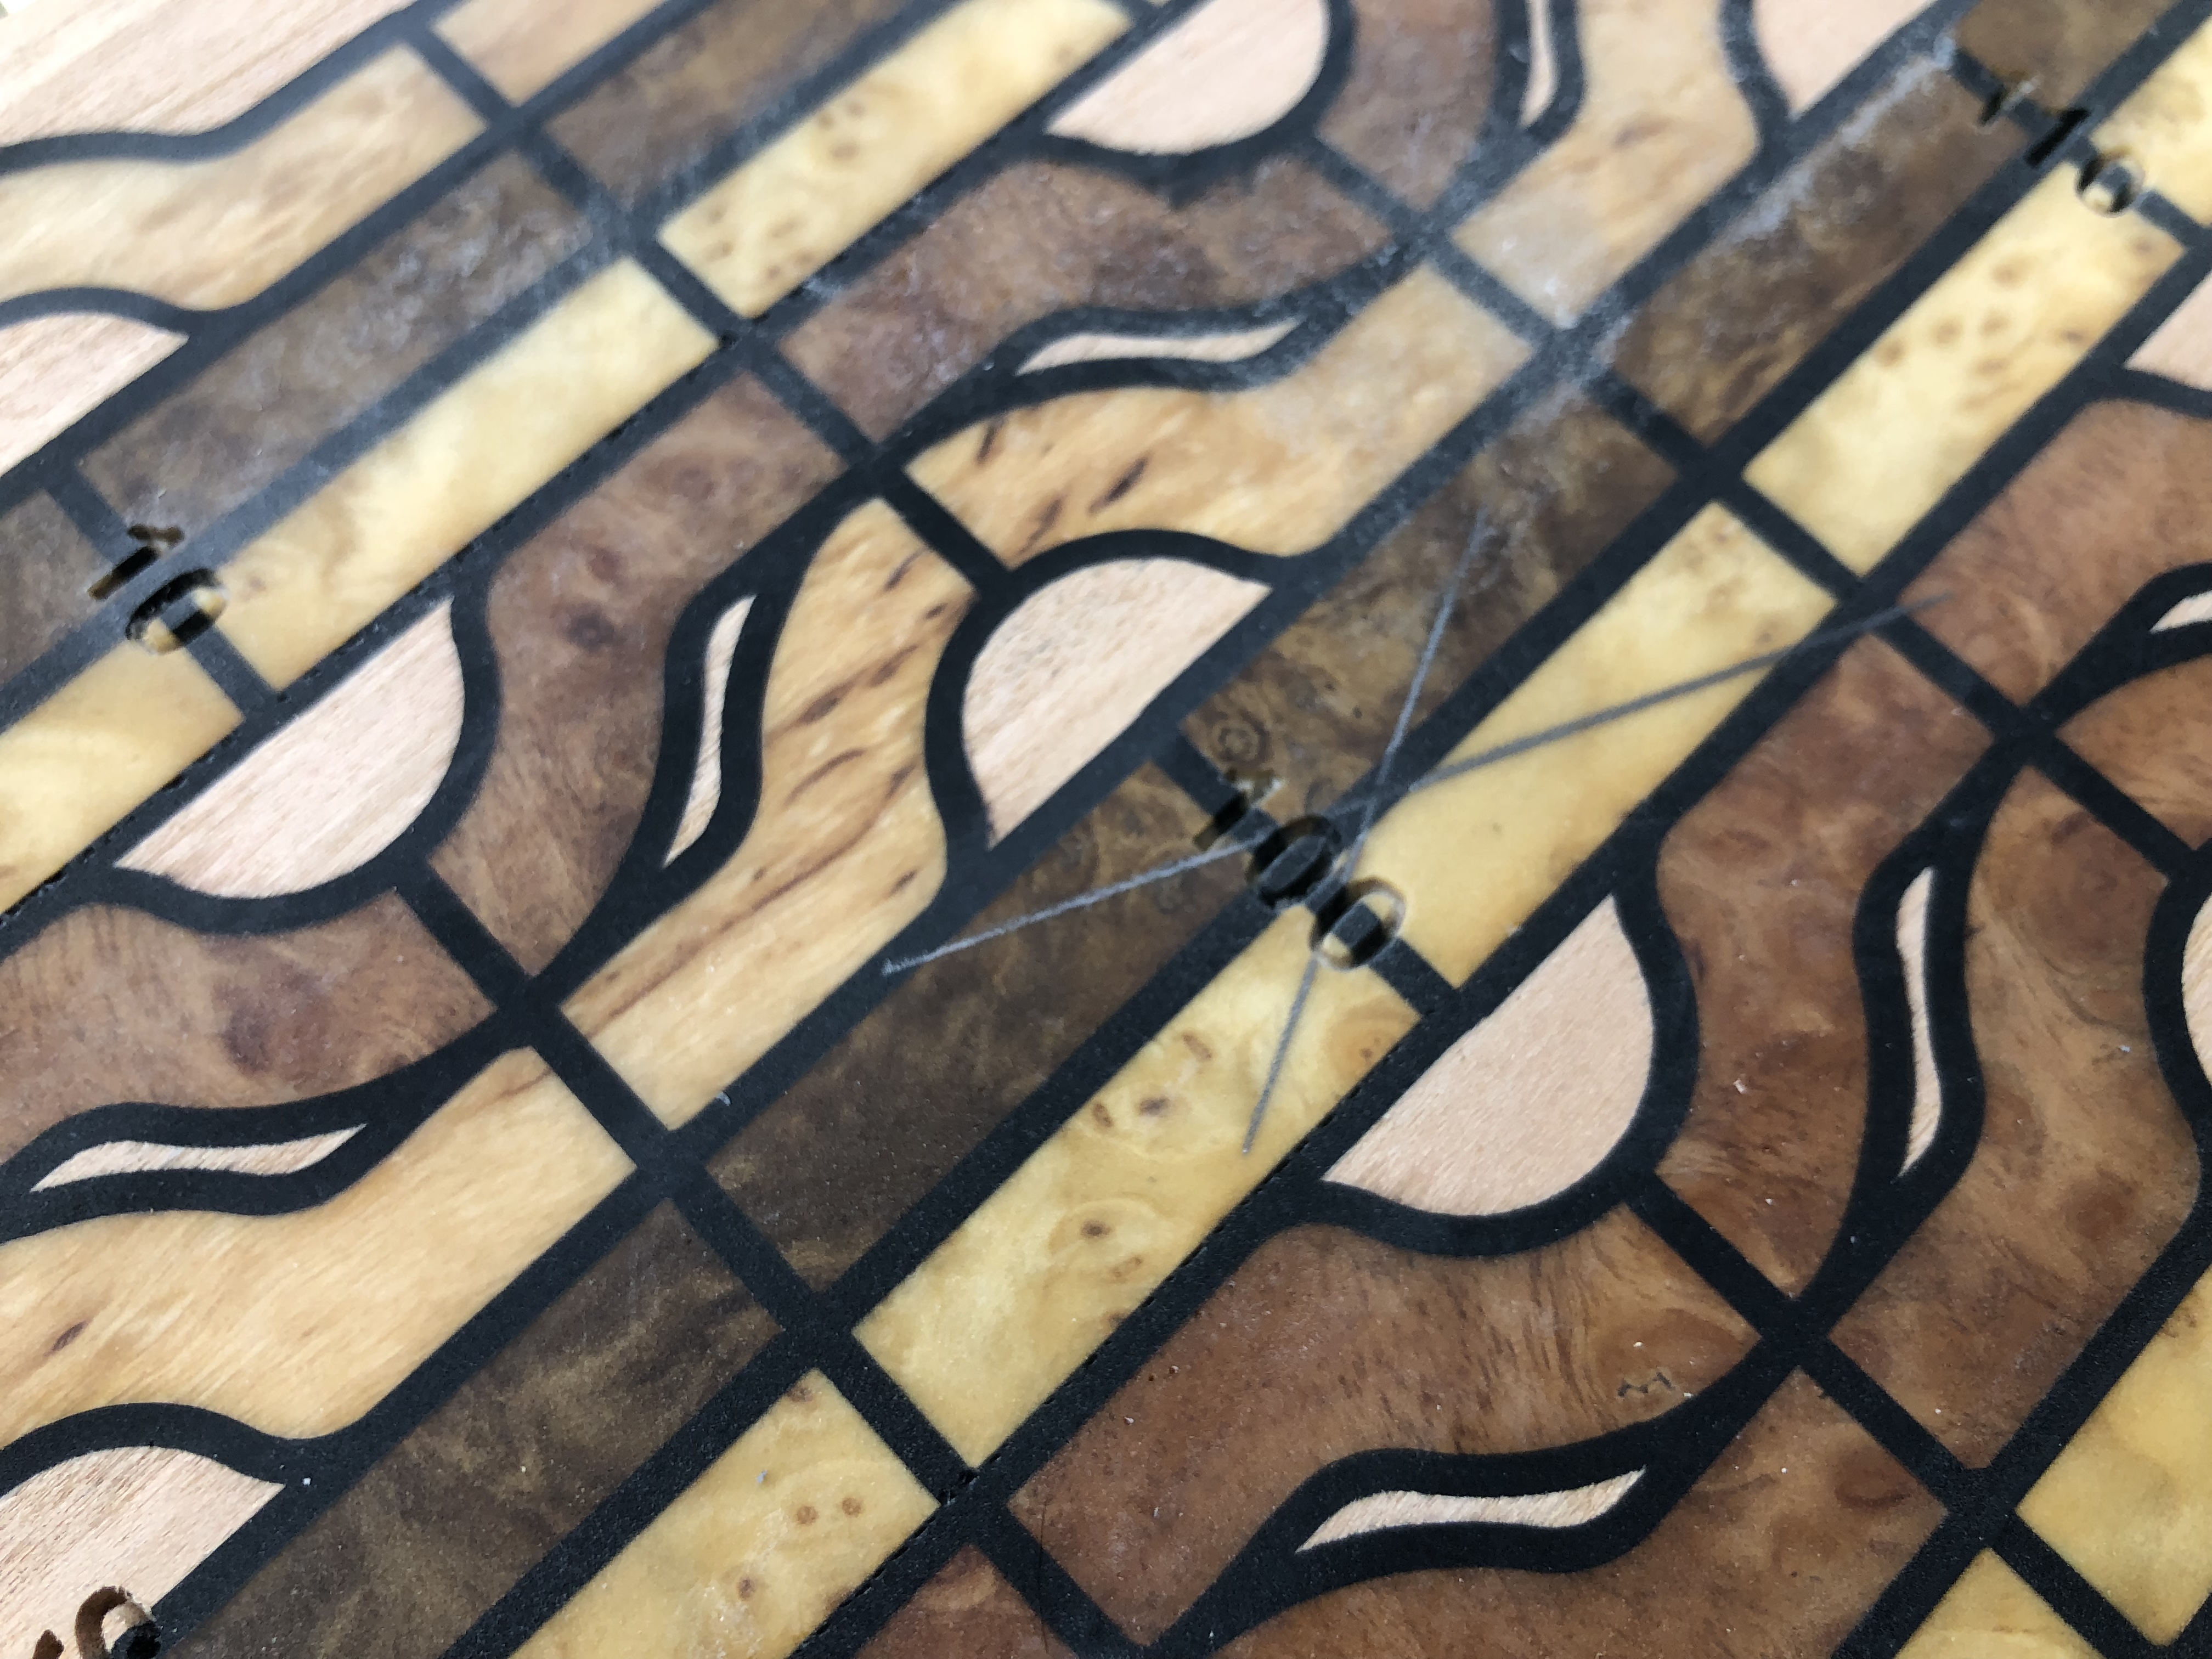
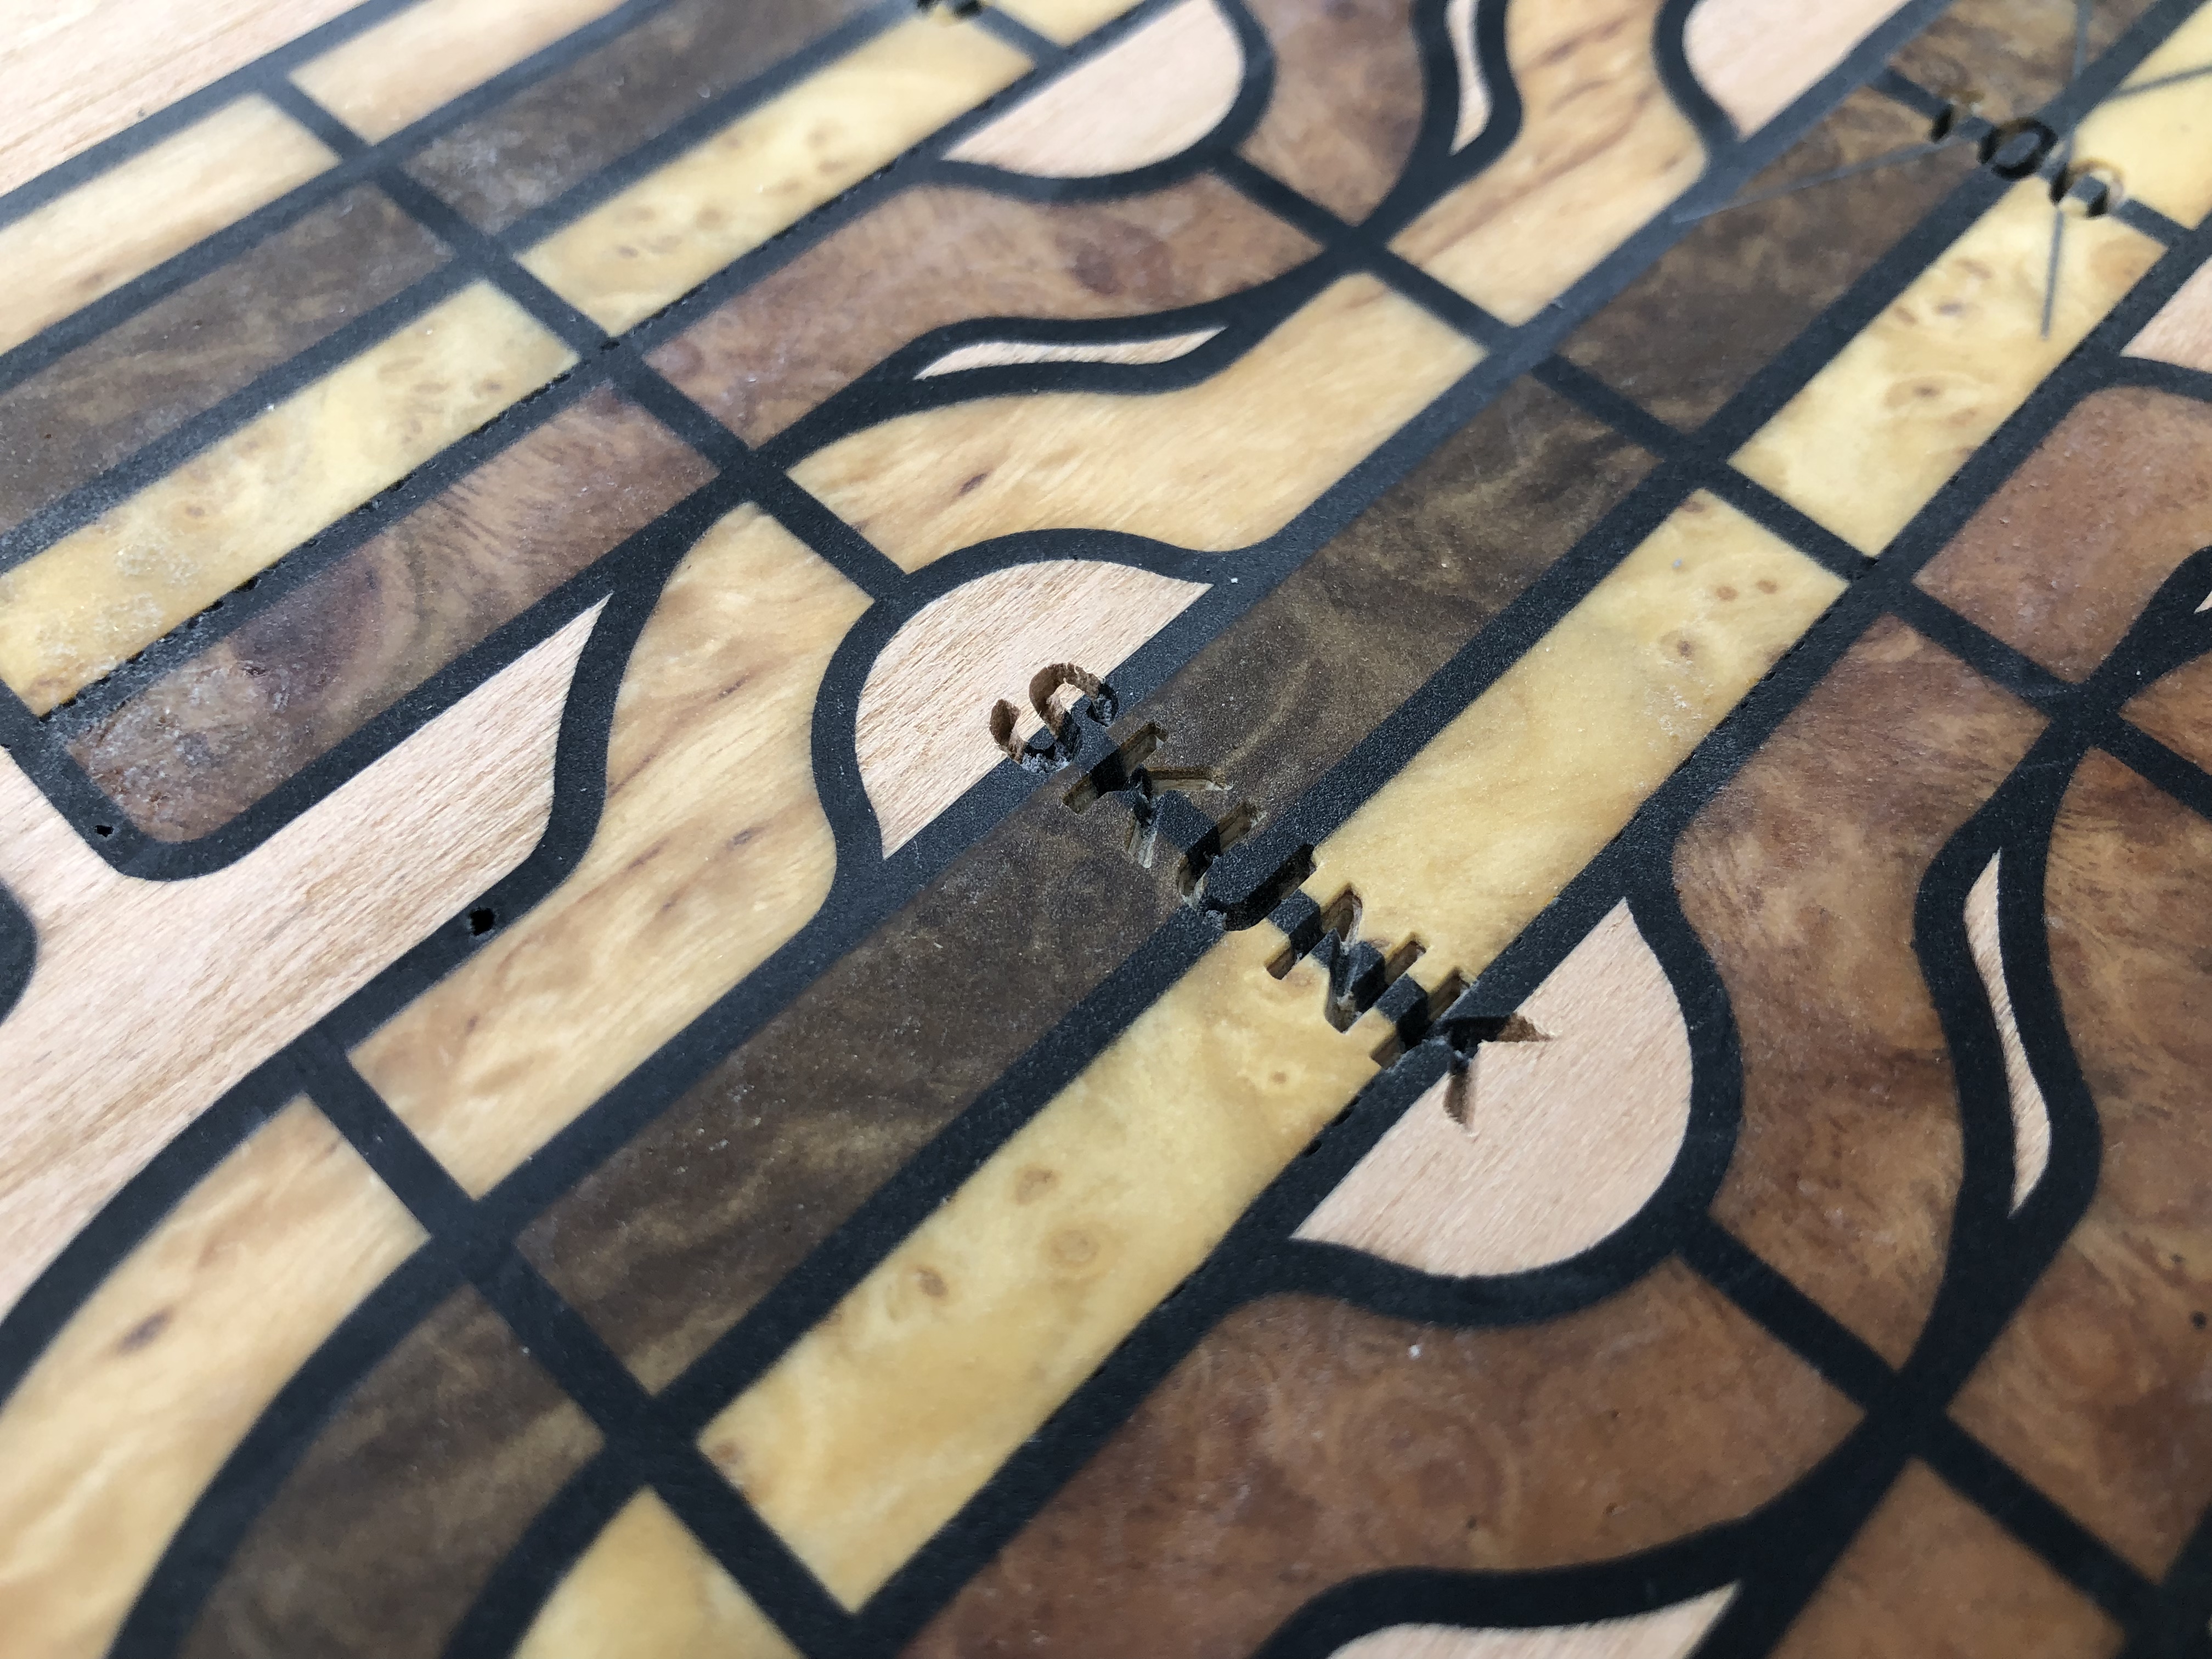
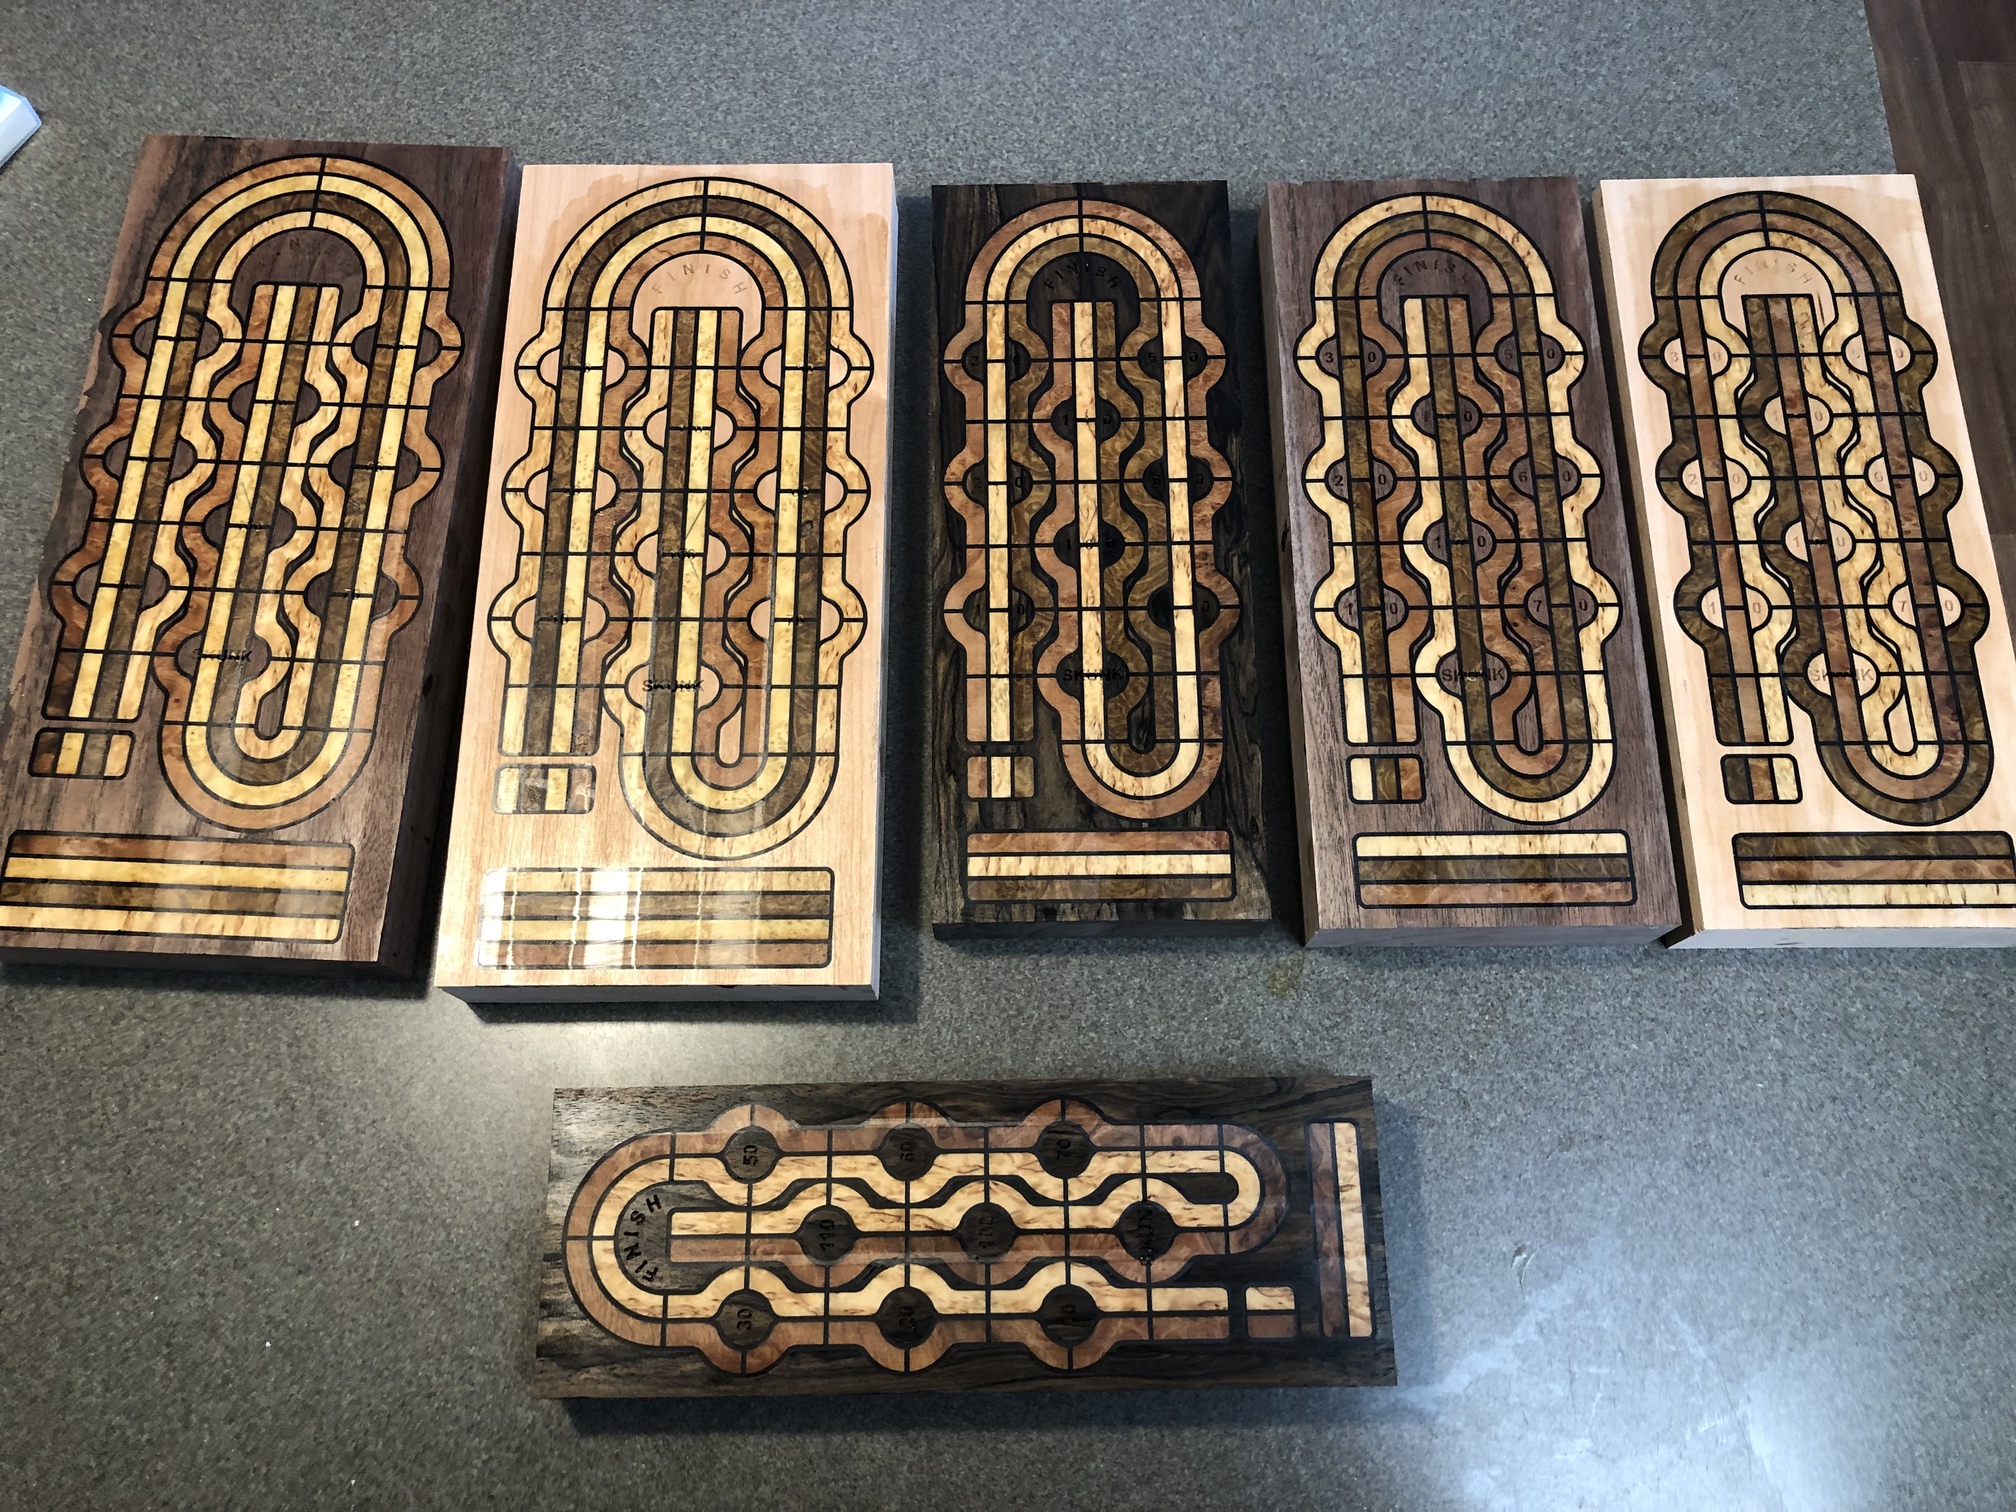
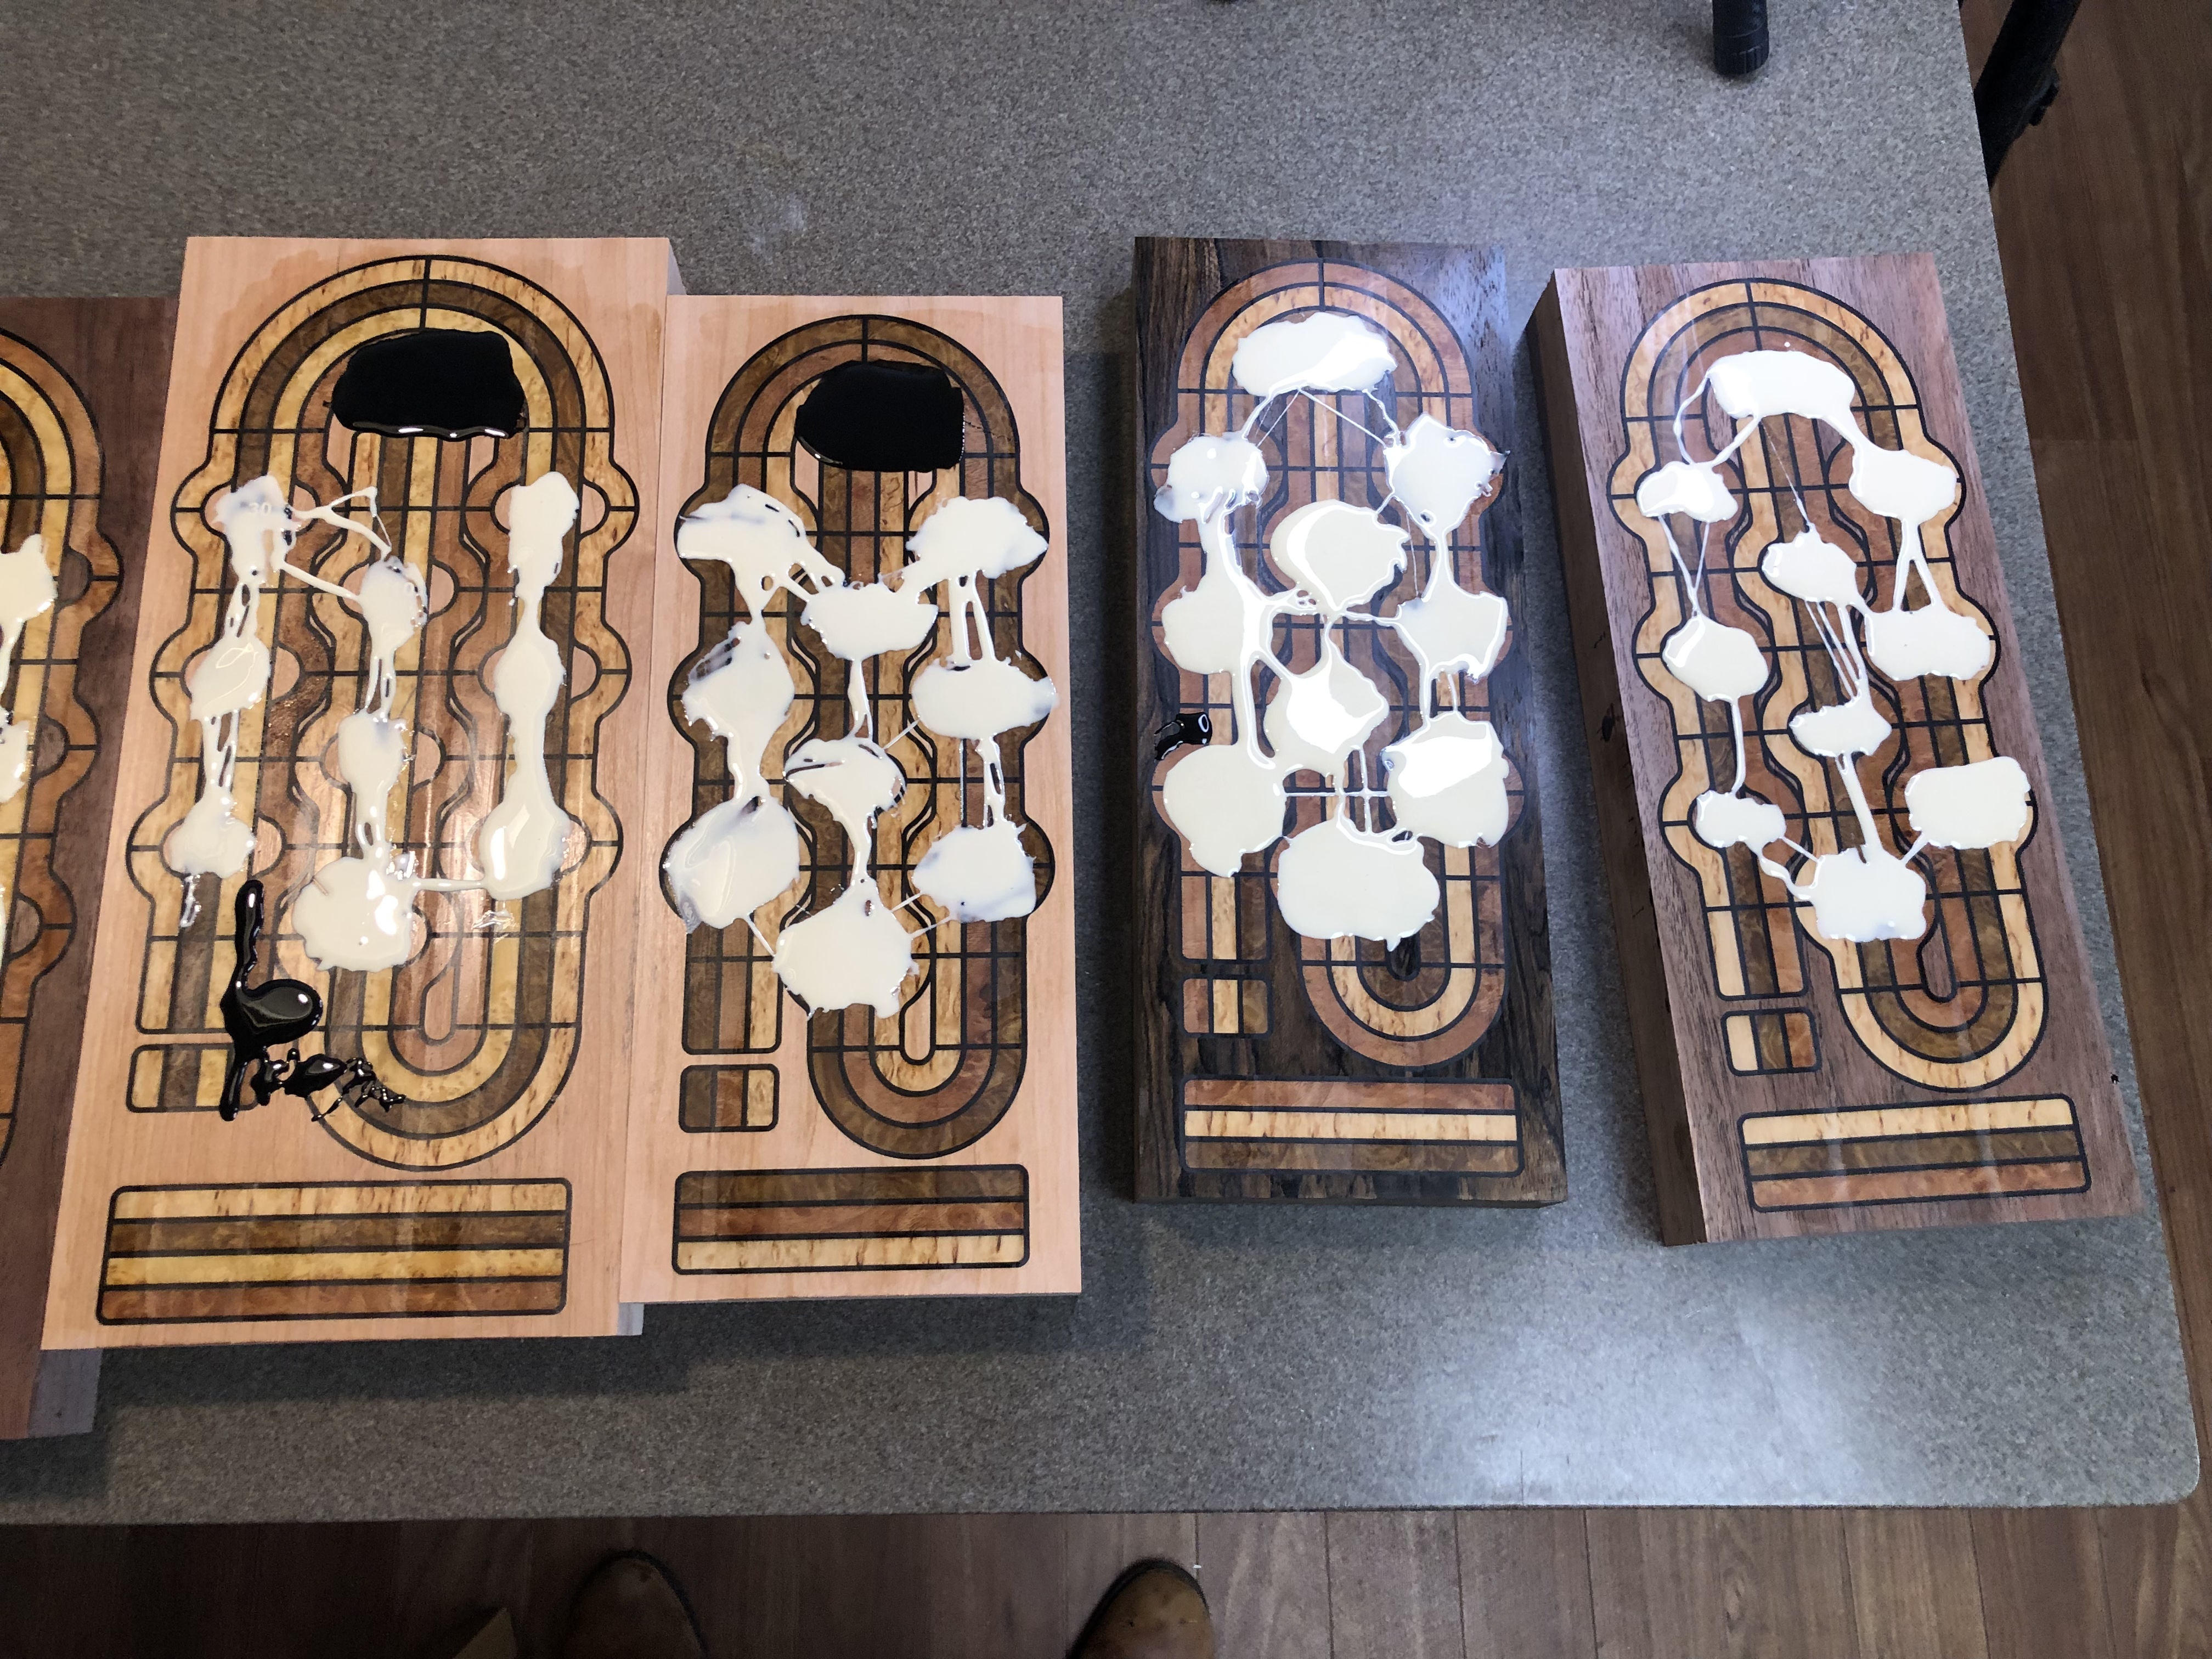
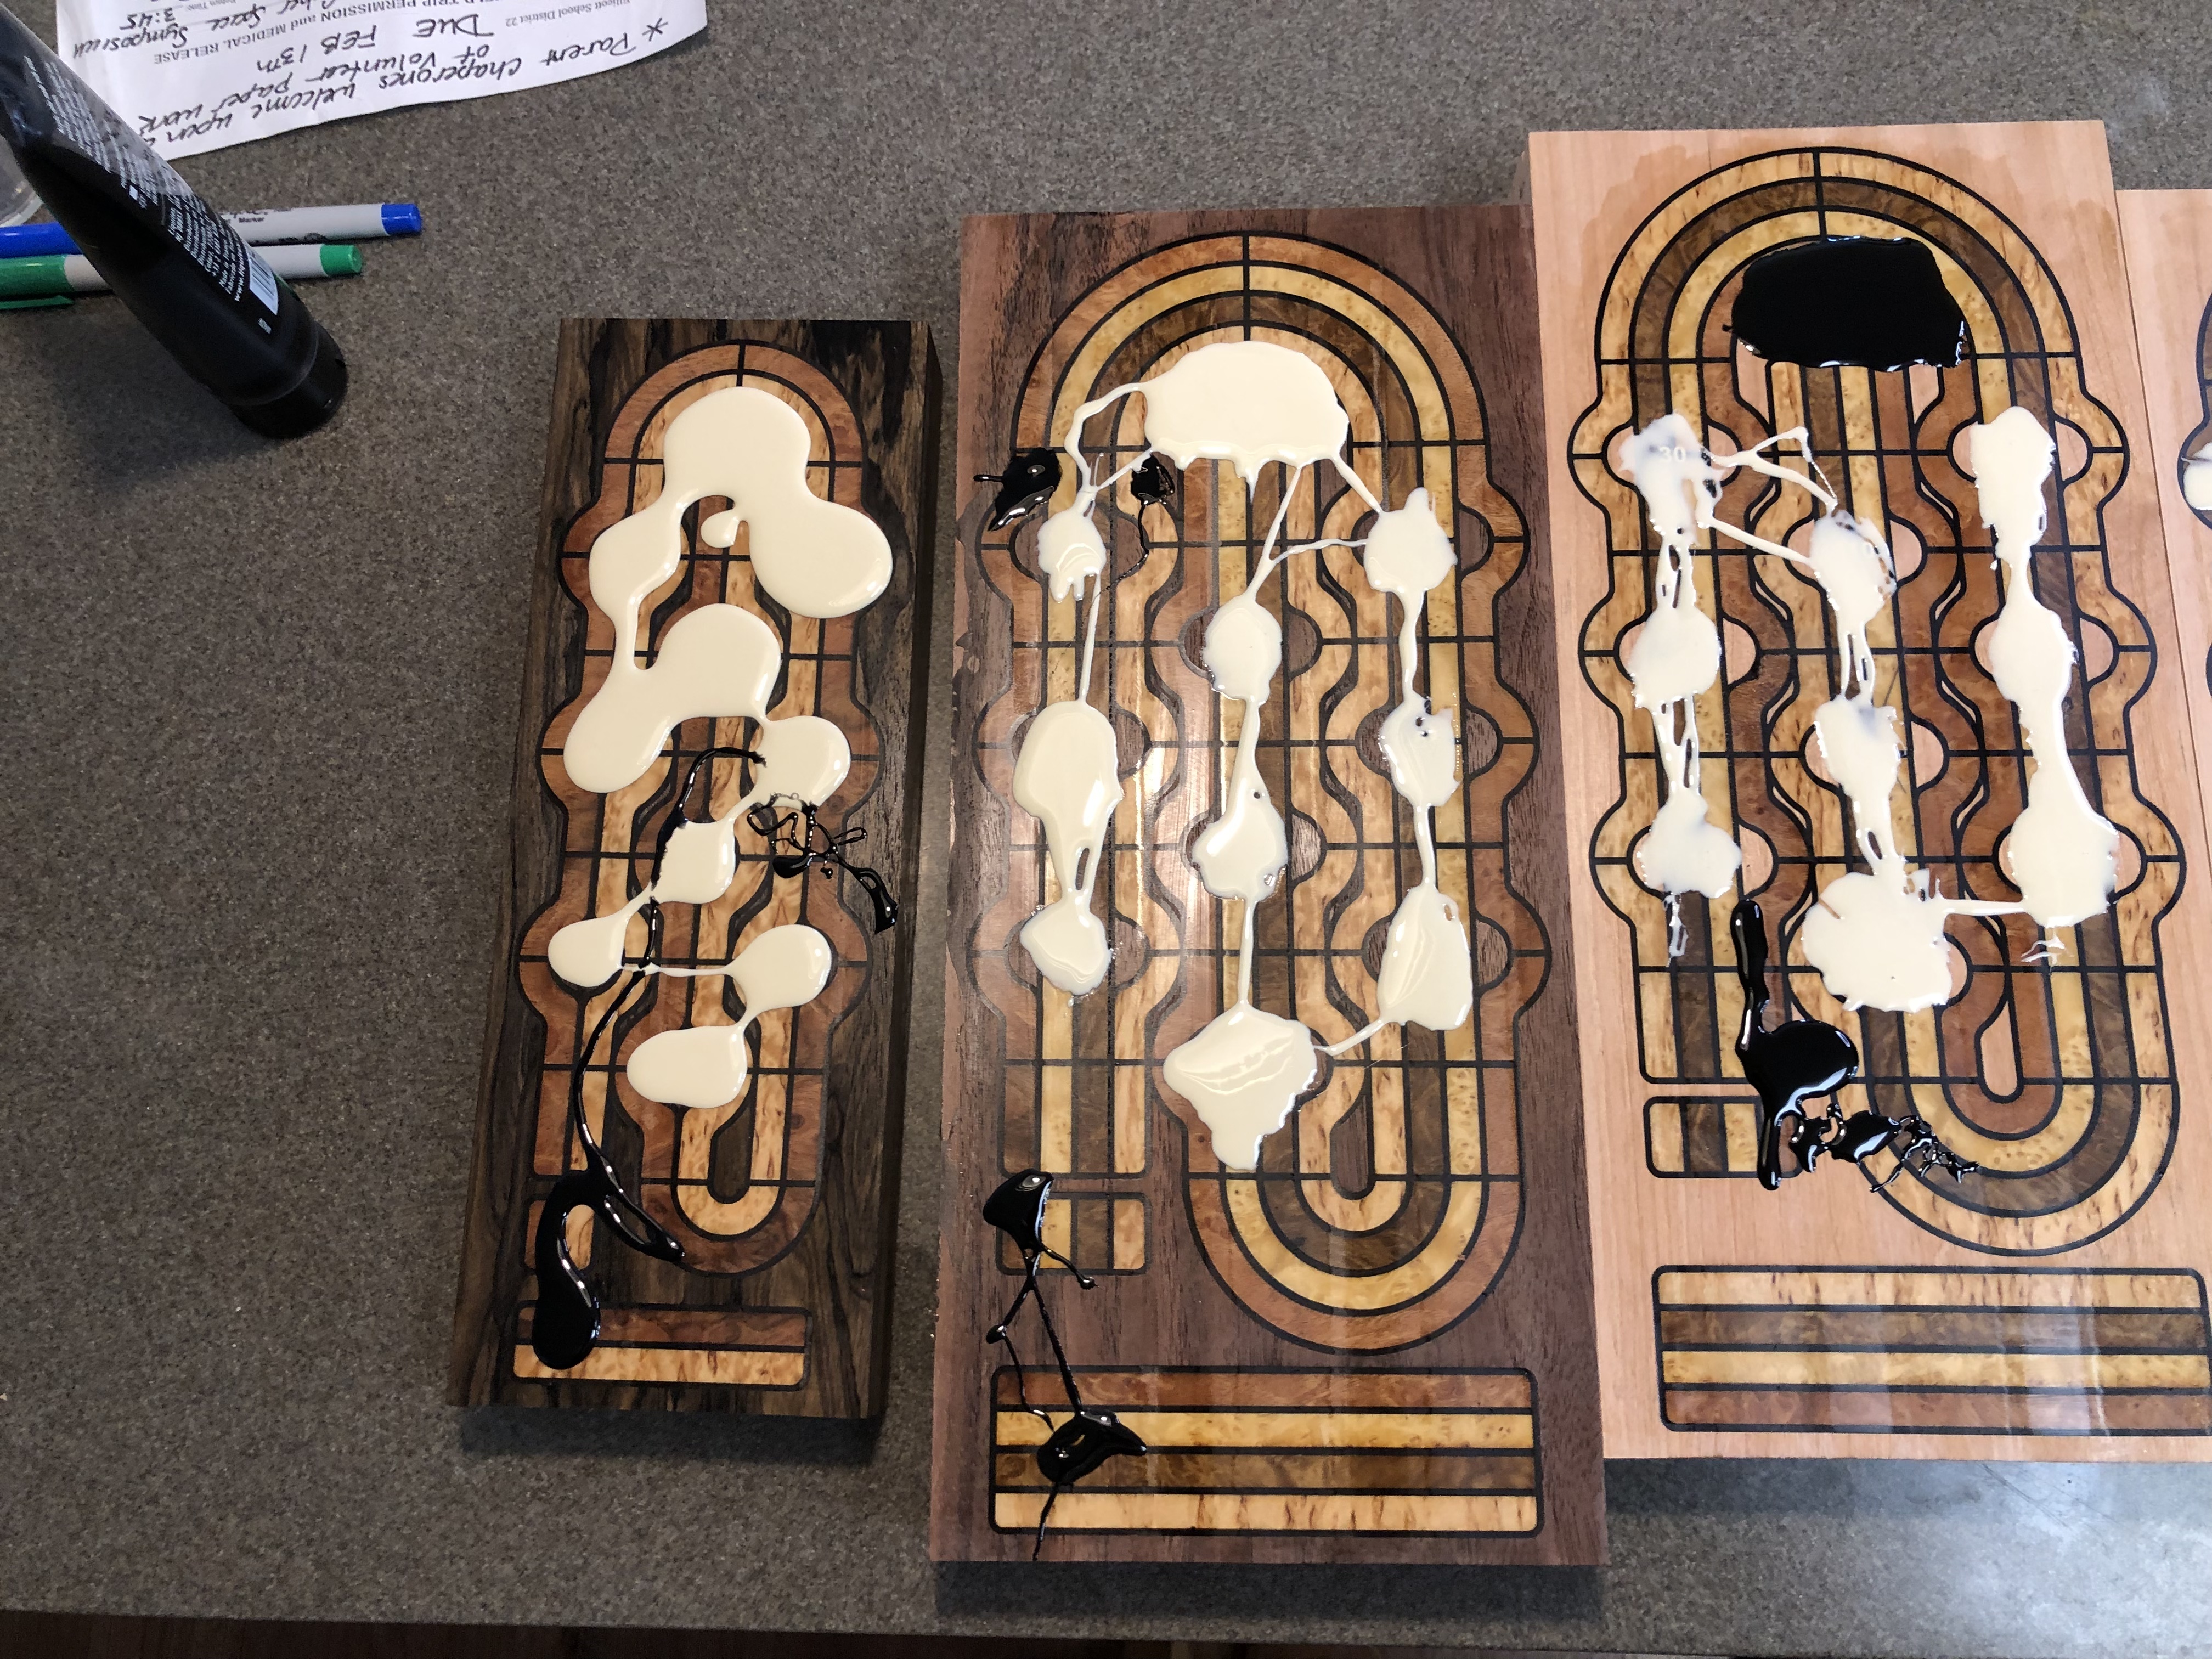
Tonight, I finished a couple of the experimental designs I’ve been working on. Learned a lot, turned out super good, but minor issues.
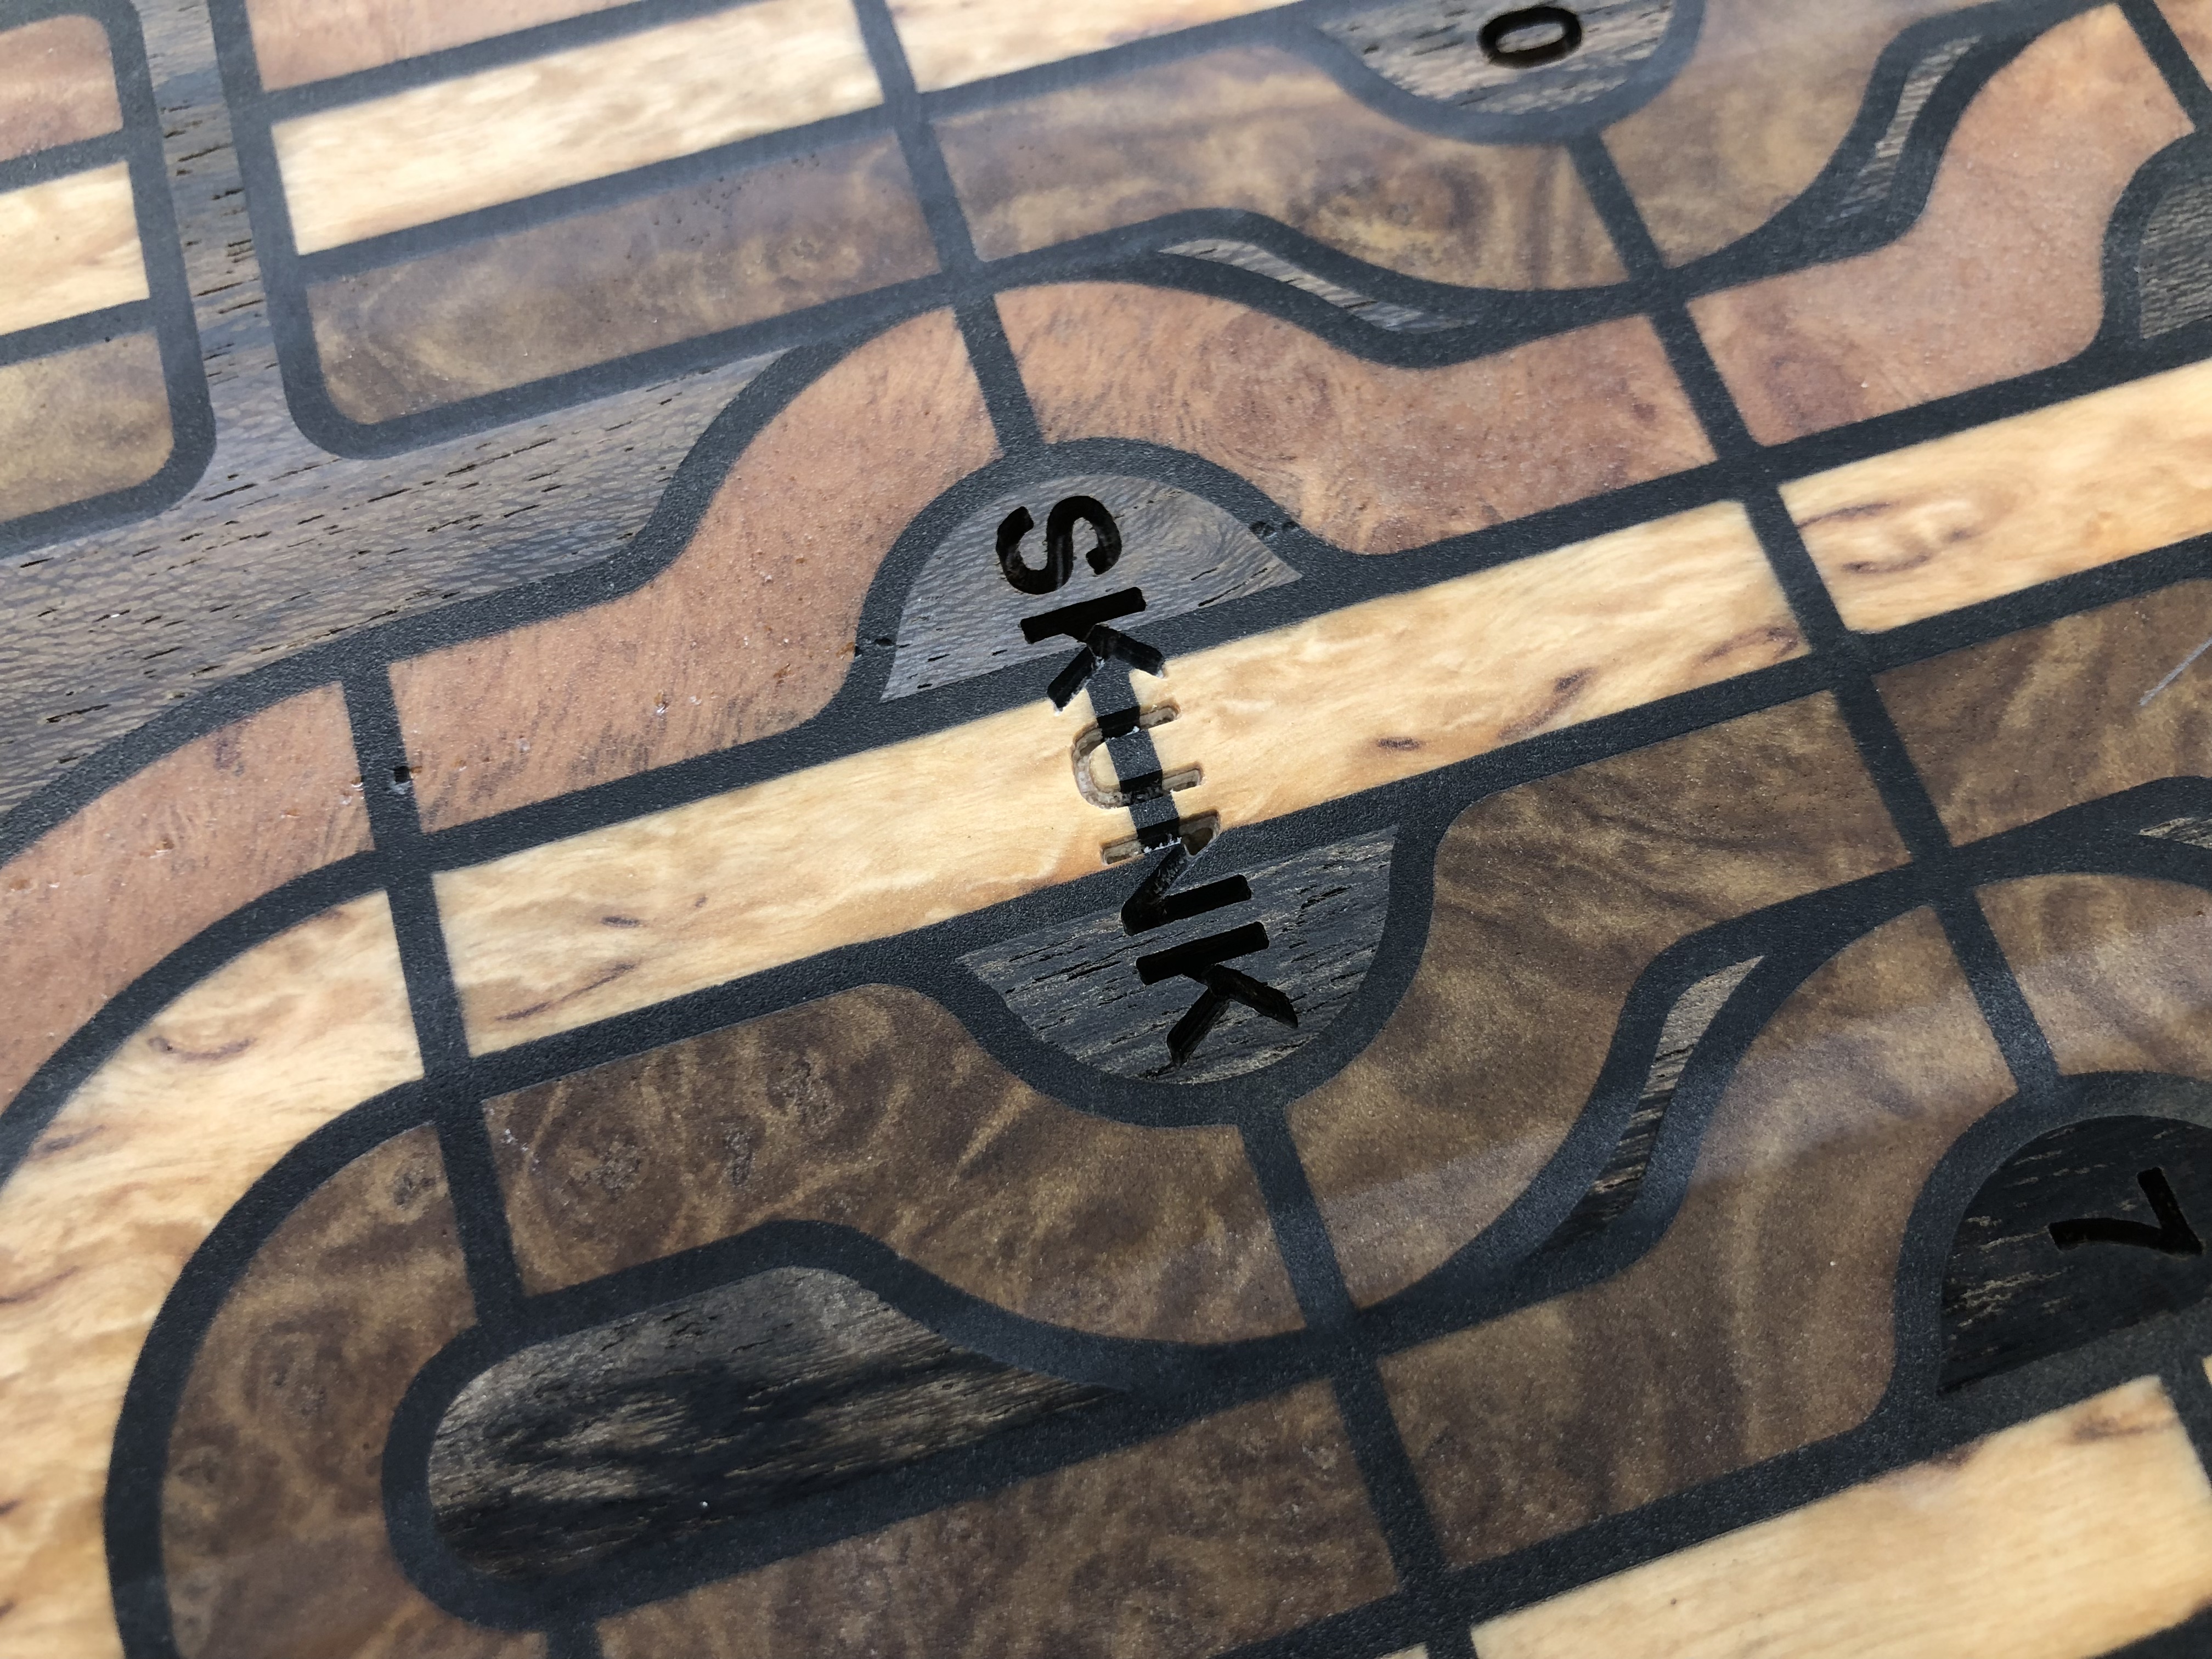
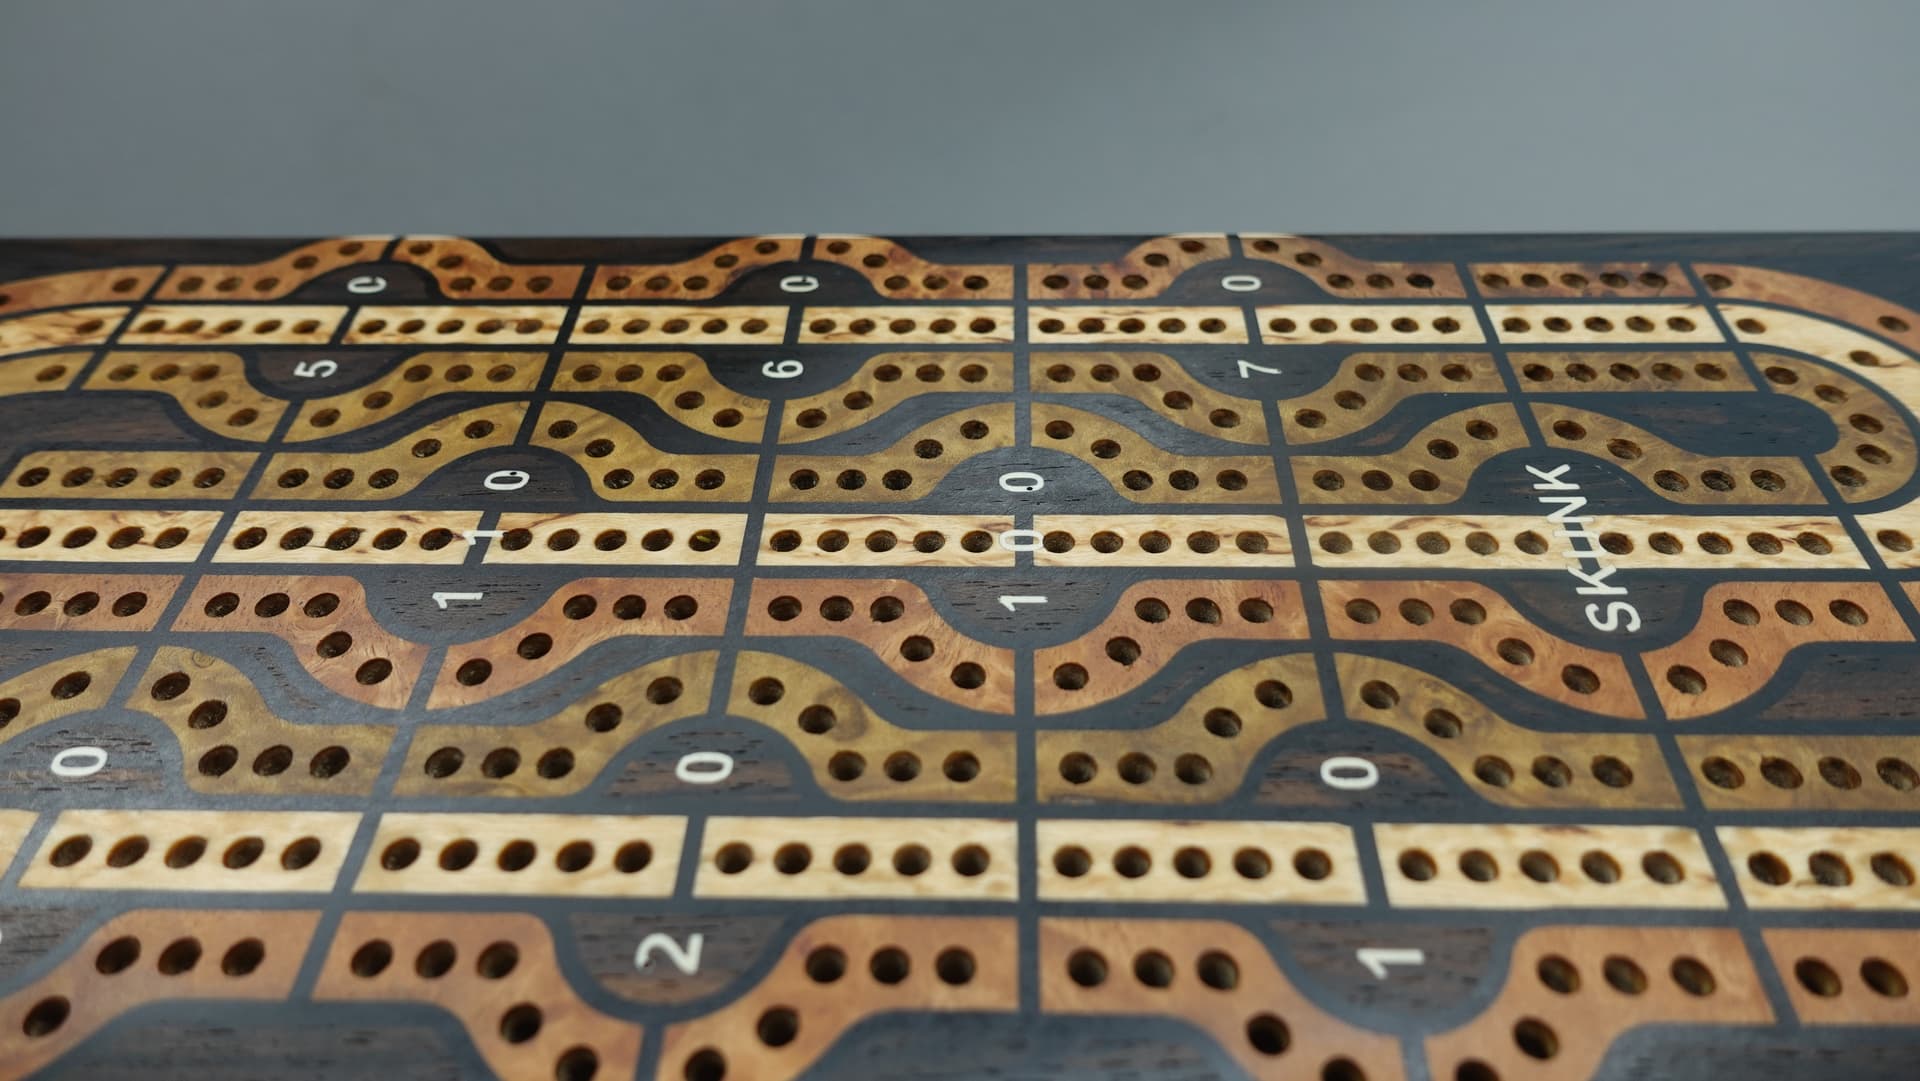
I ended up using the wrong round over for the corners and snipped into the outside veneer. Other than a couple of pin holes, I think I’ve mastered the design to produce these. A ton of work, but it was worth it!