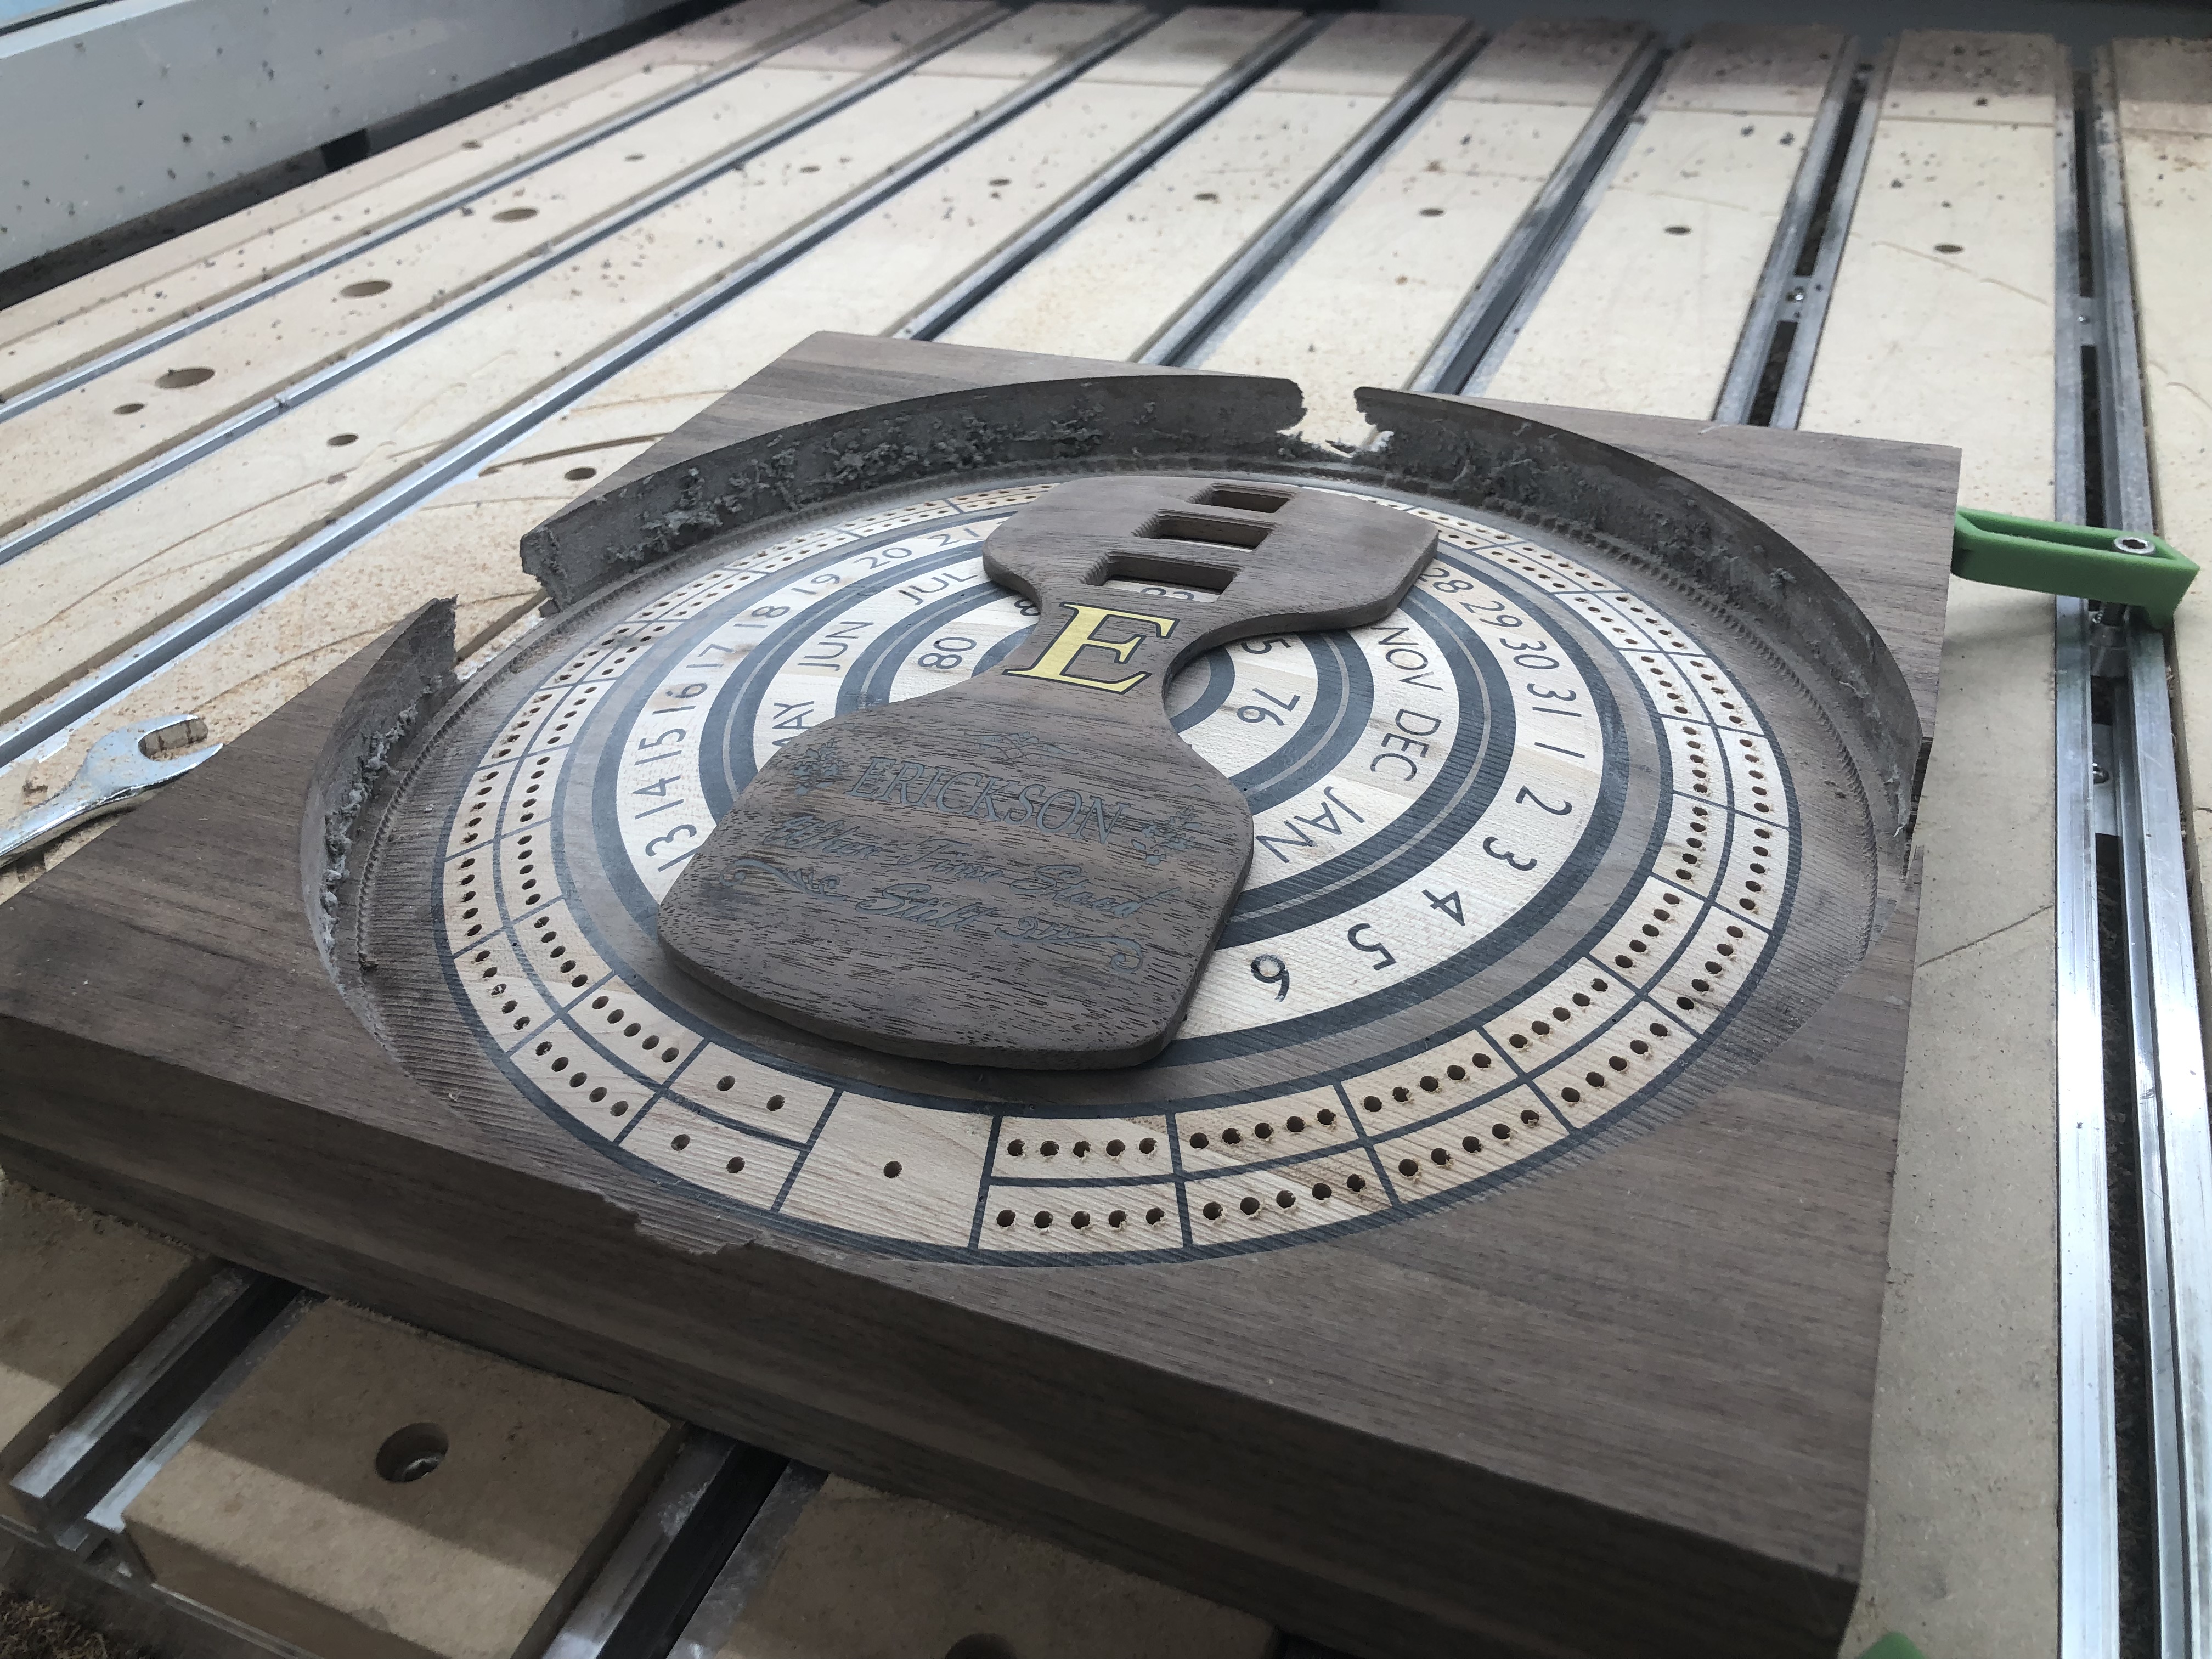
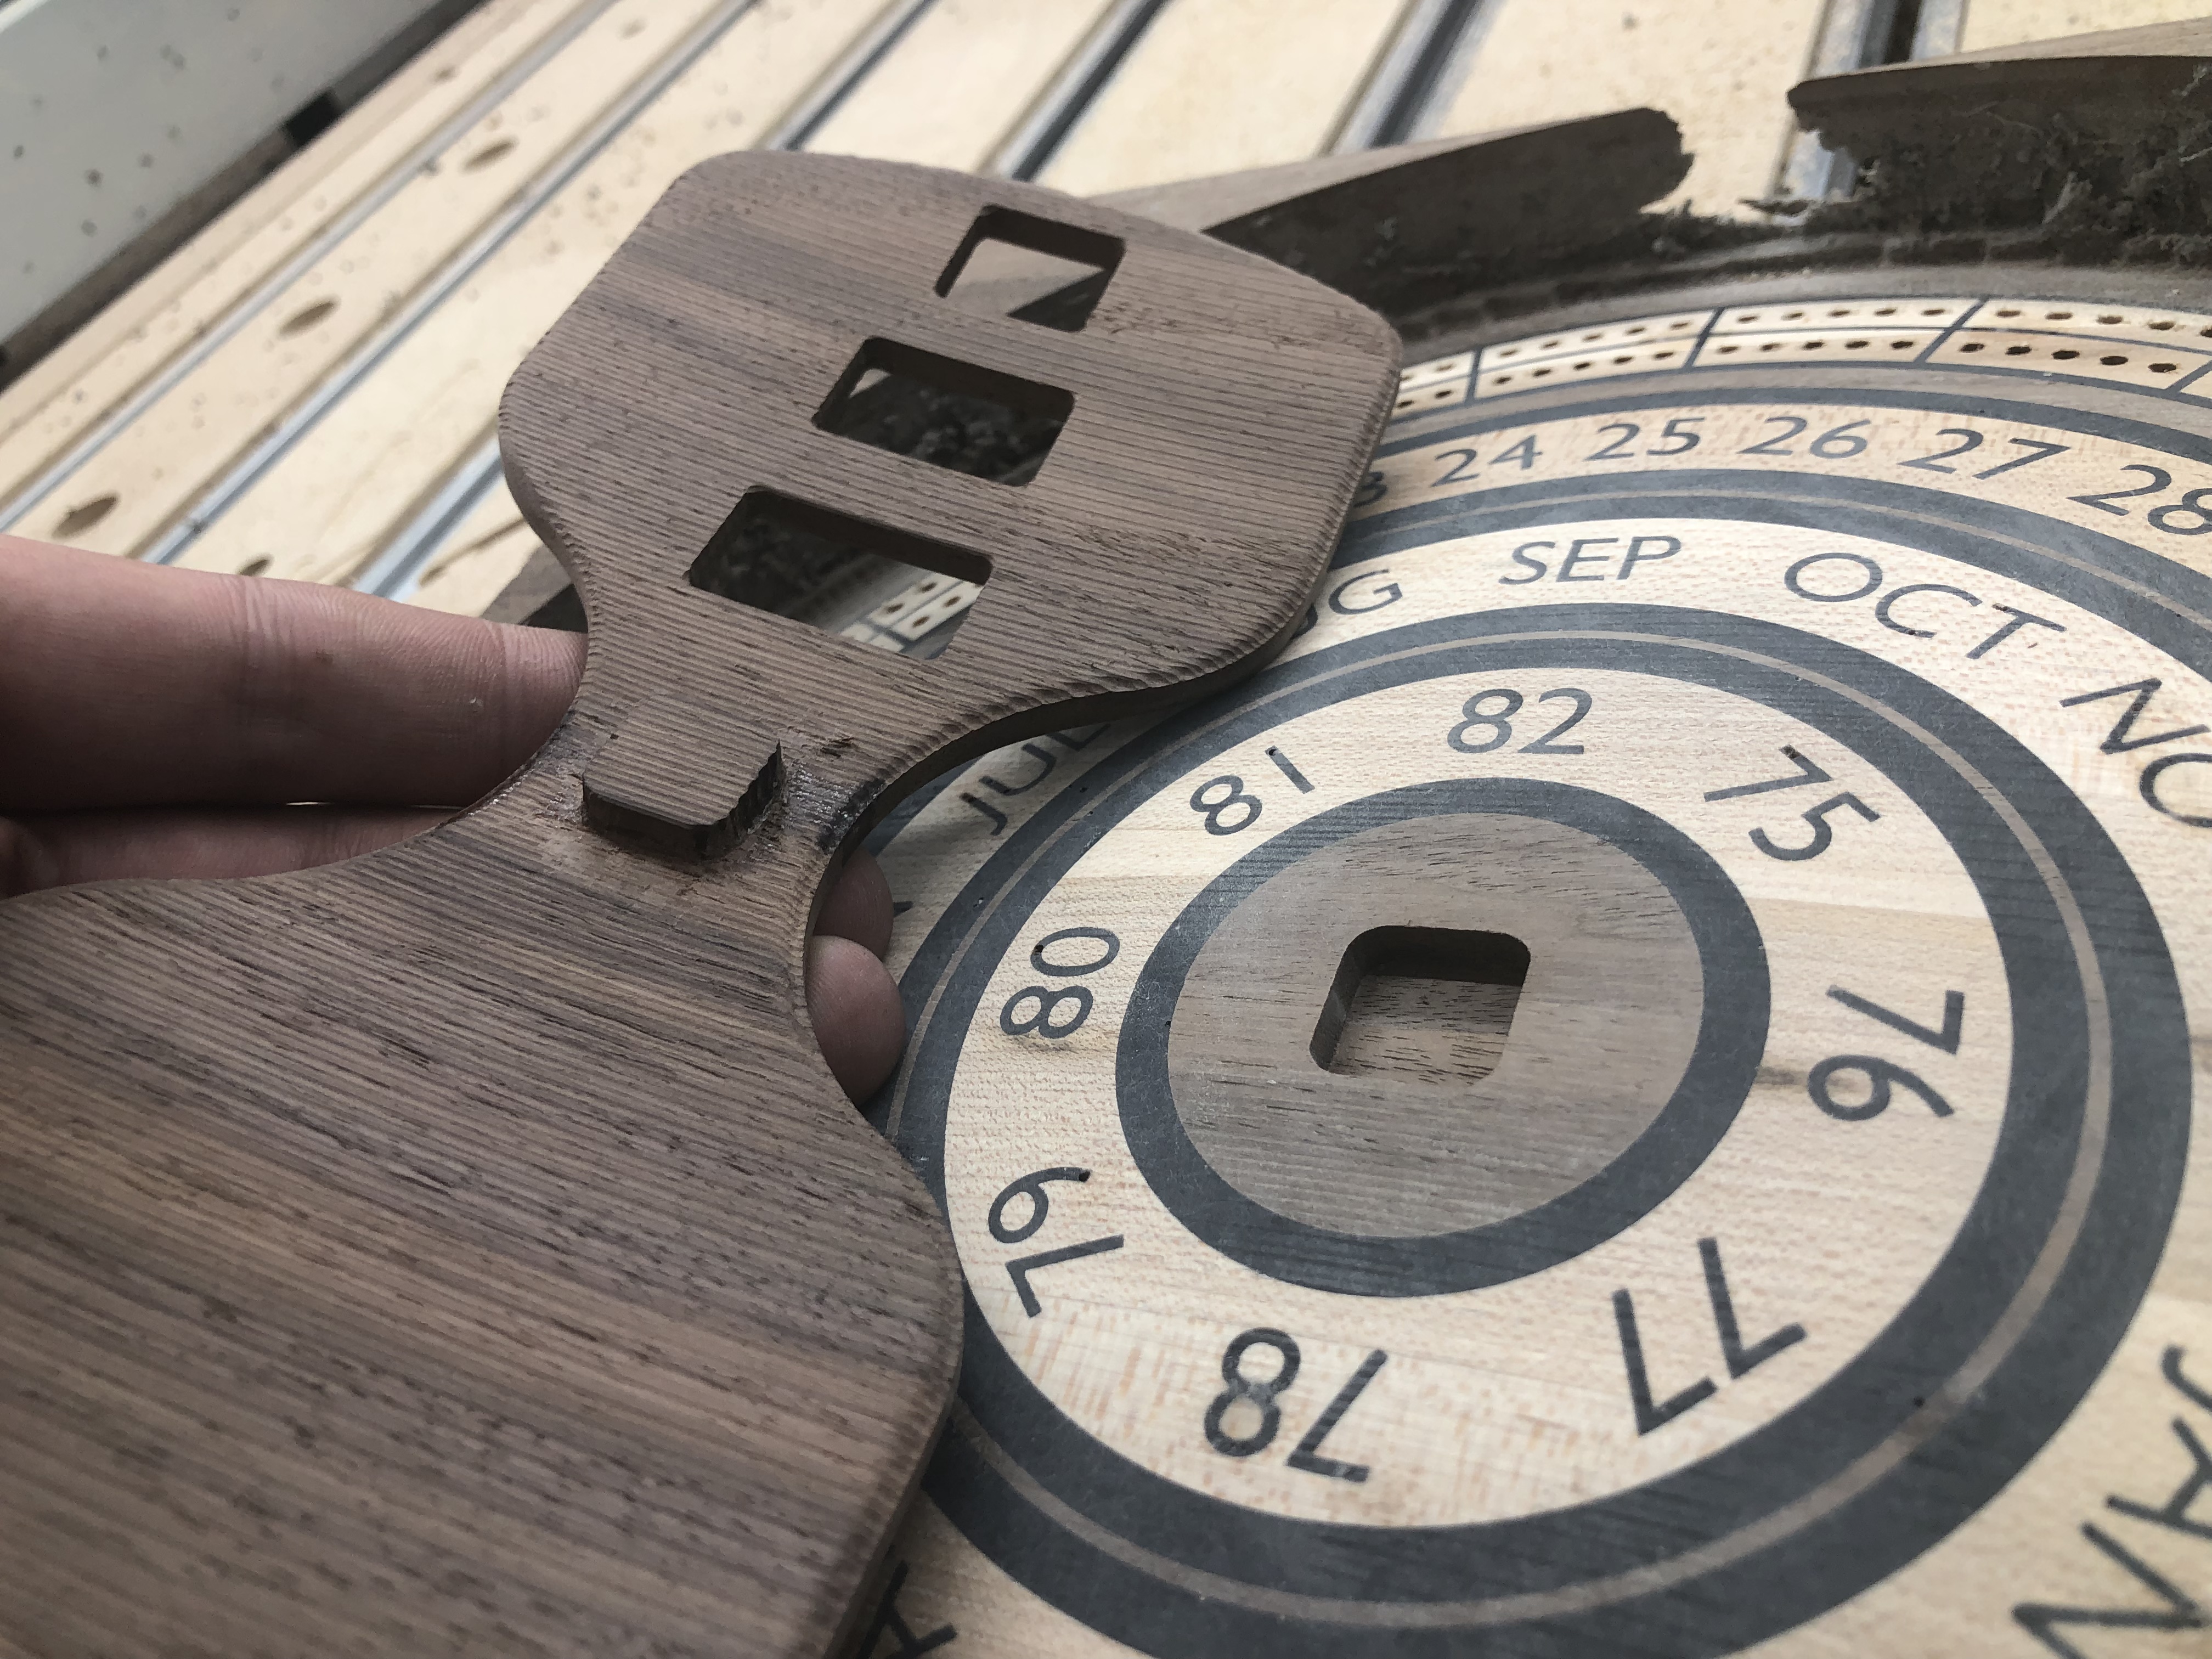
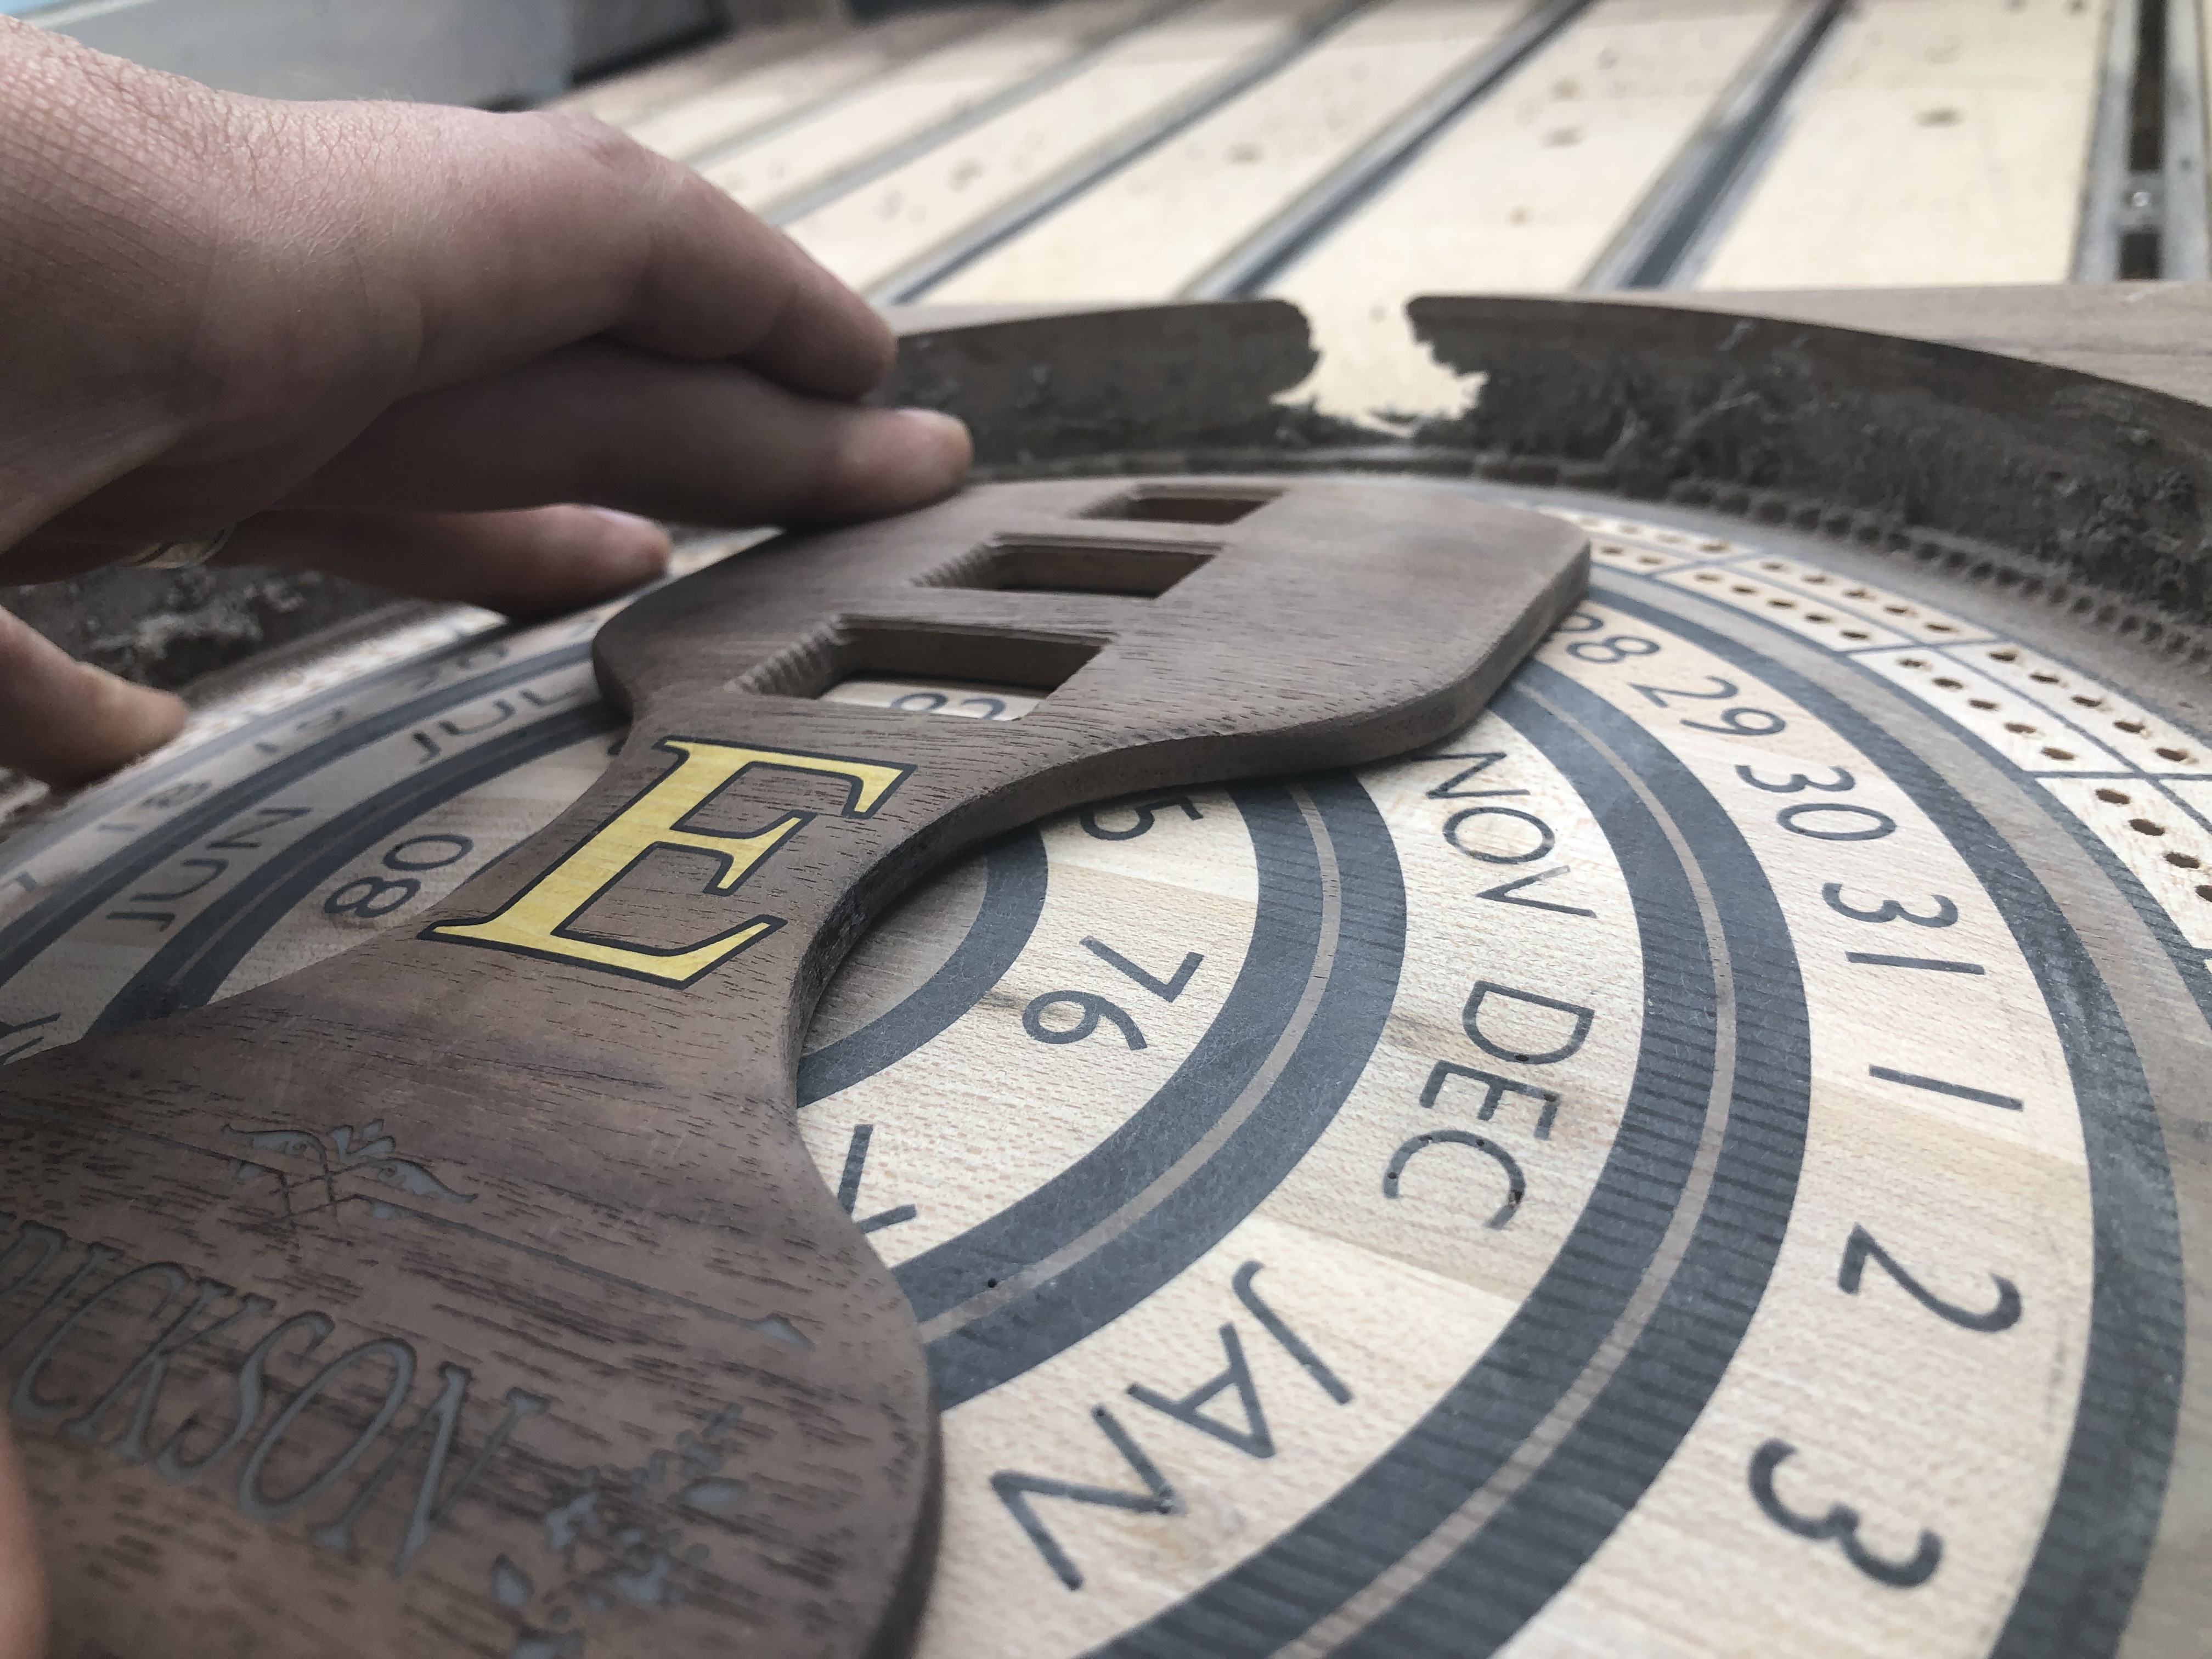
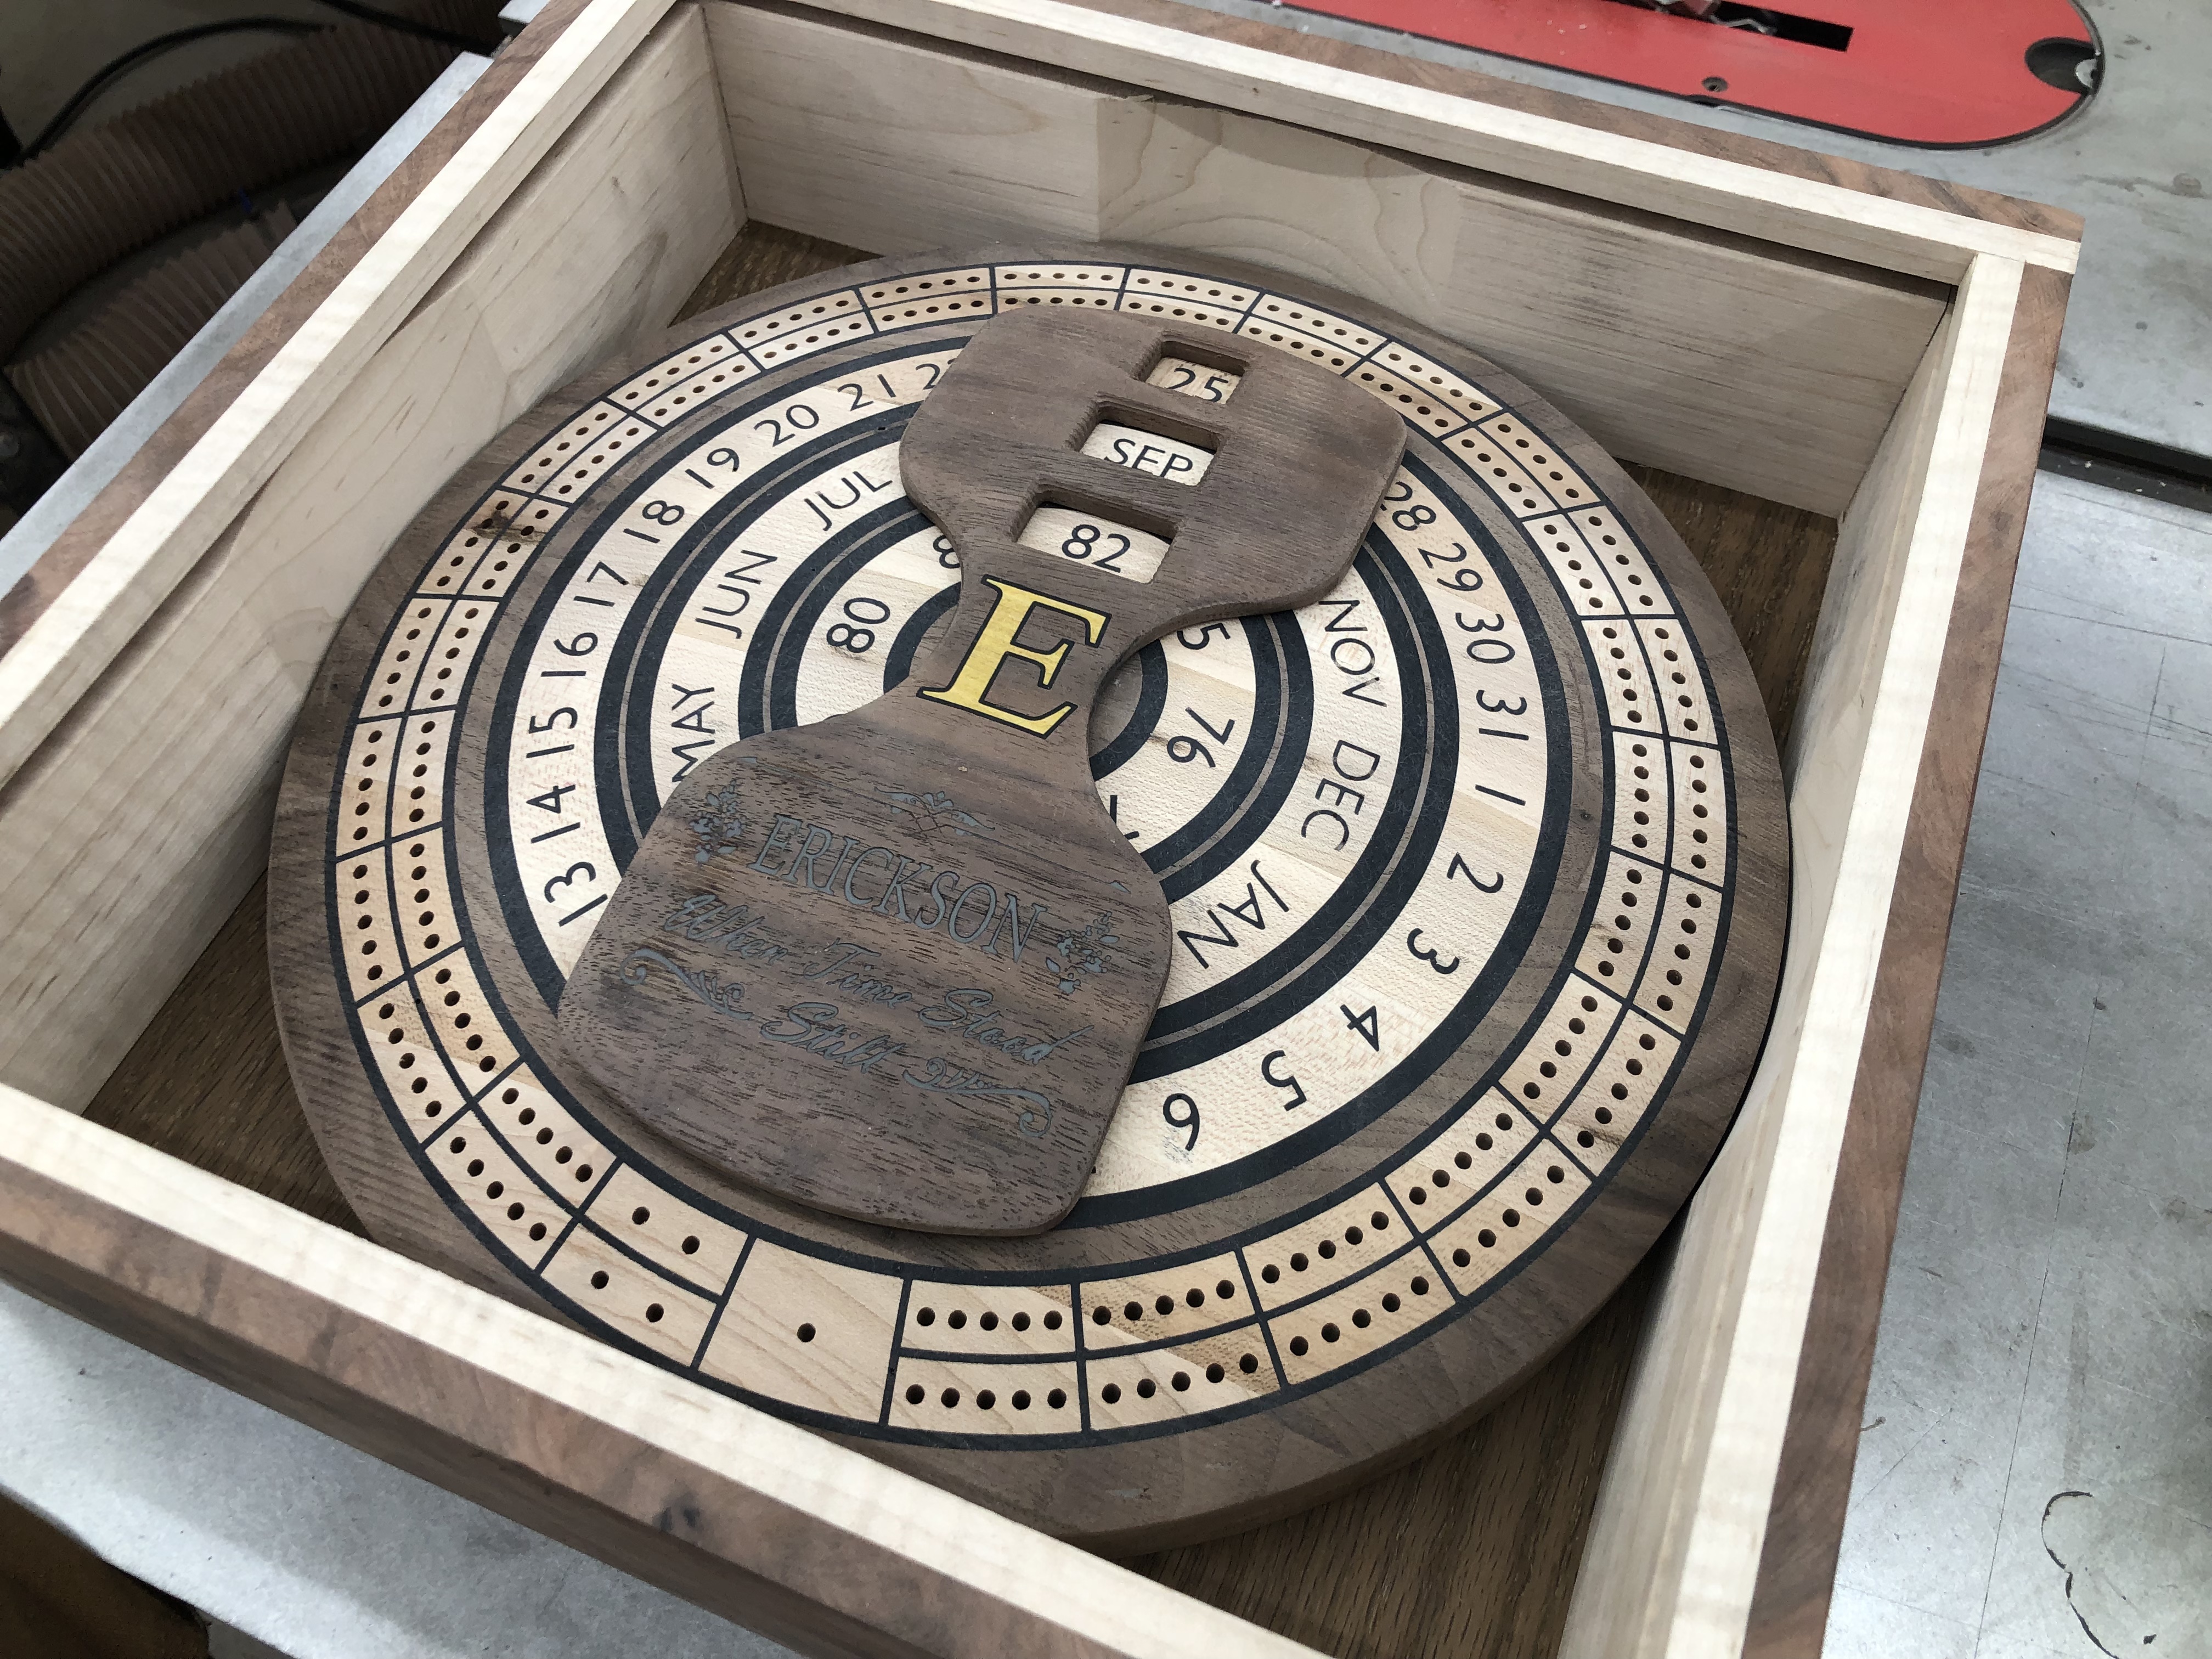
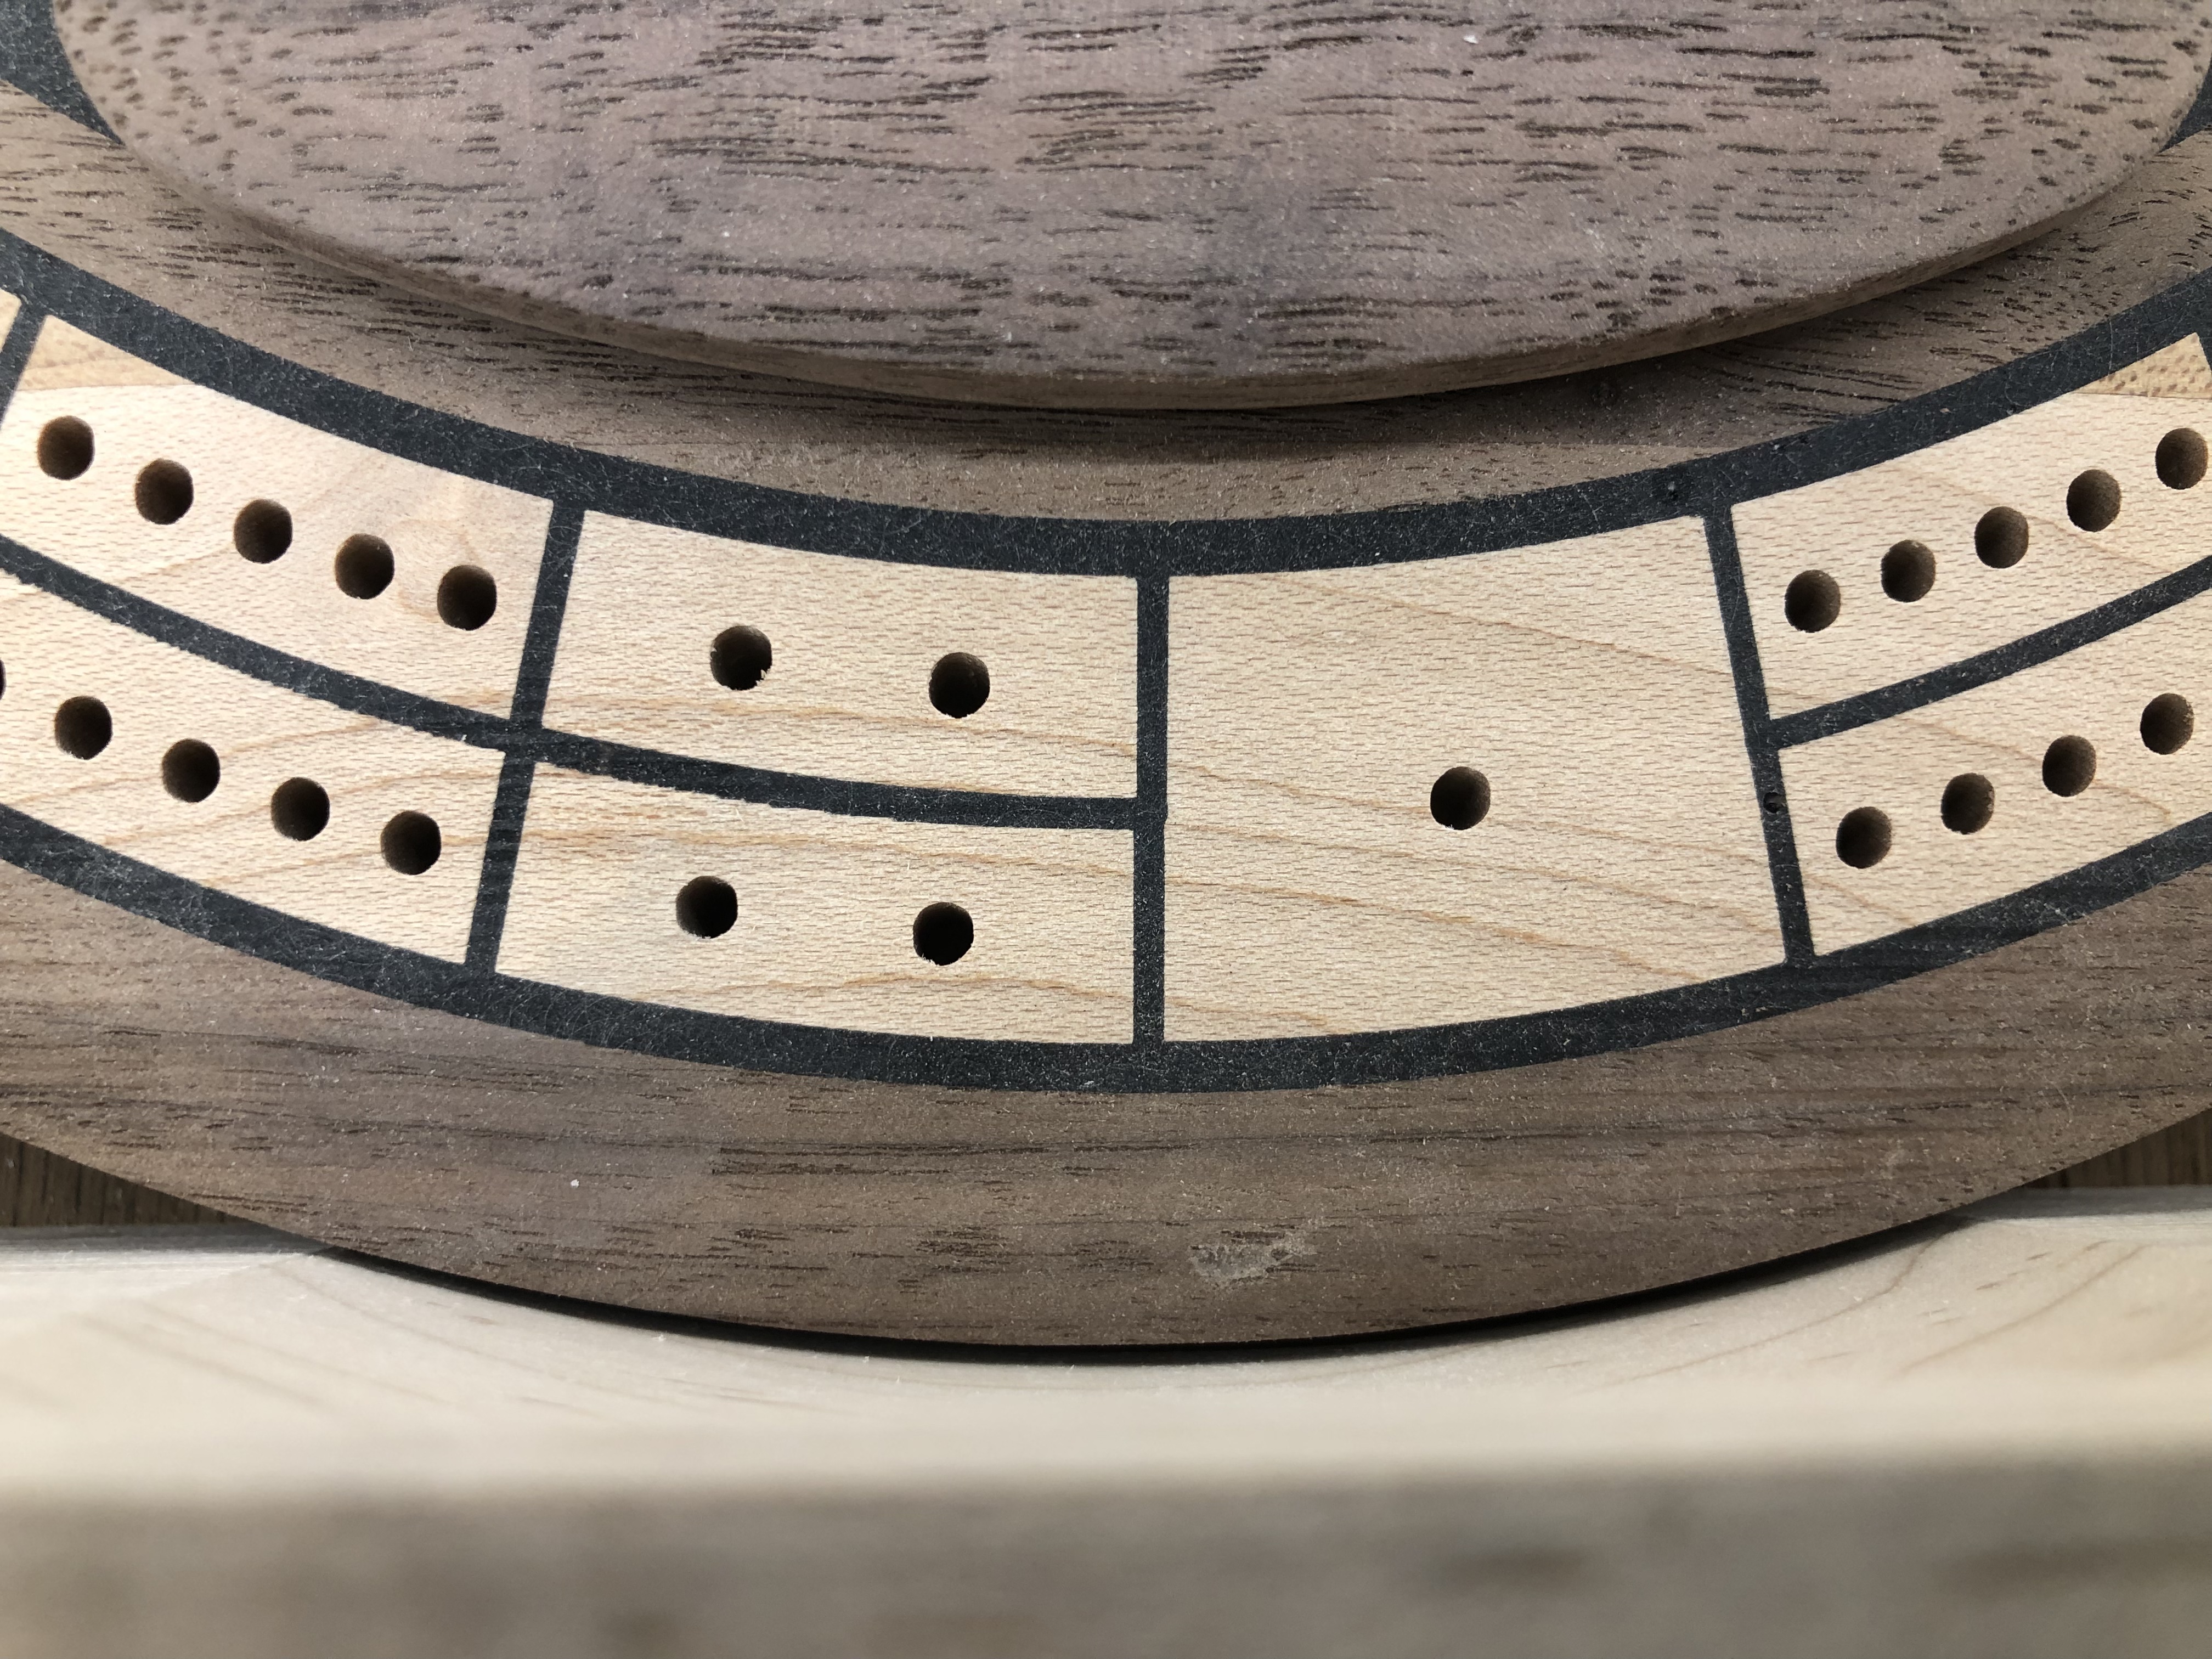
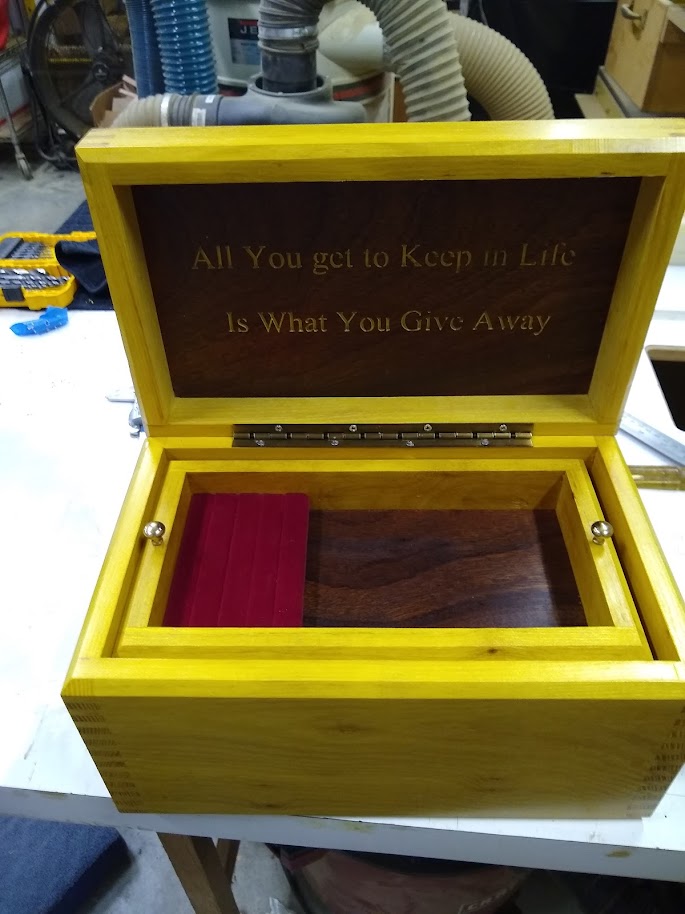
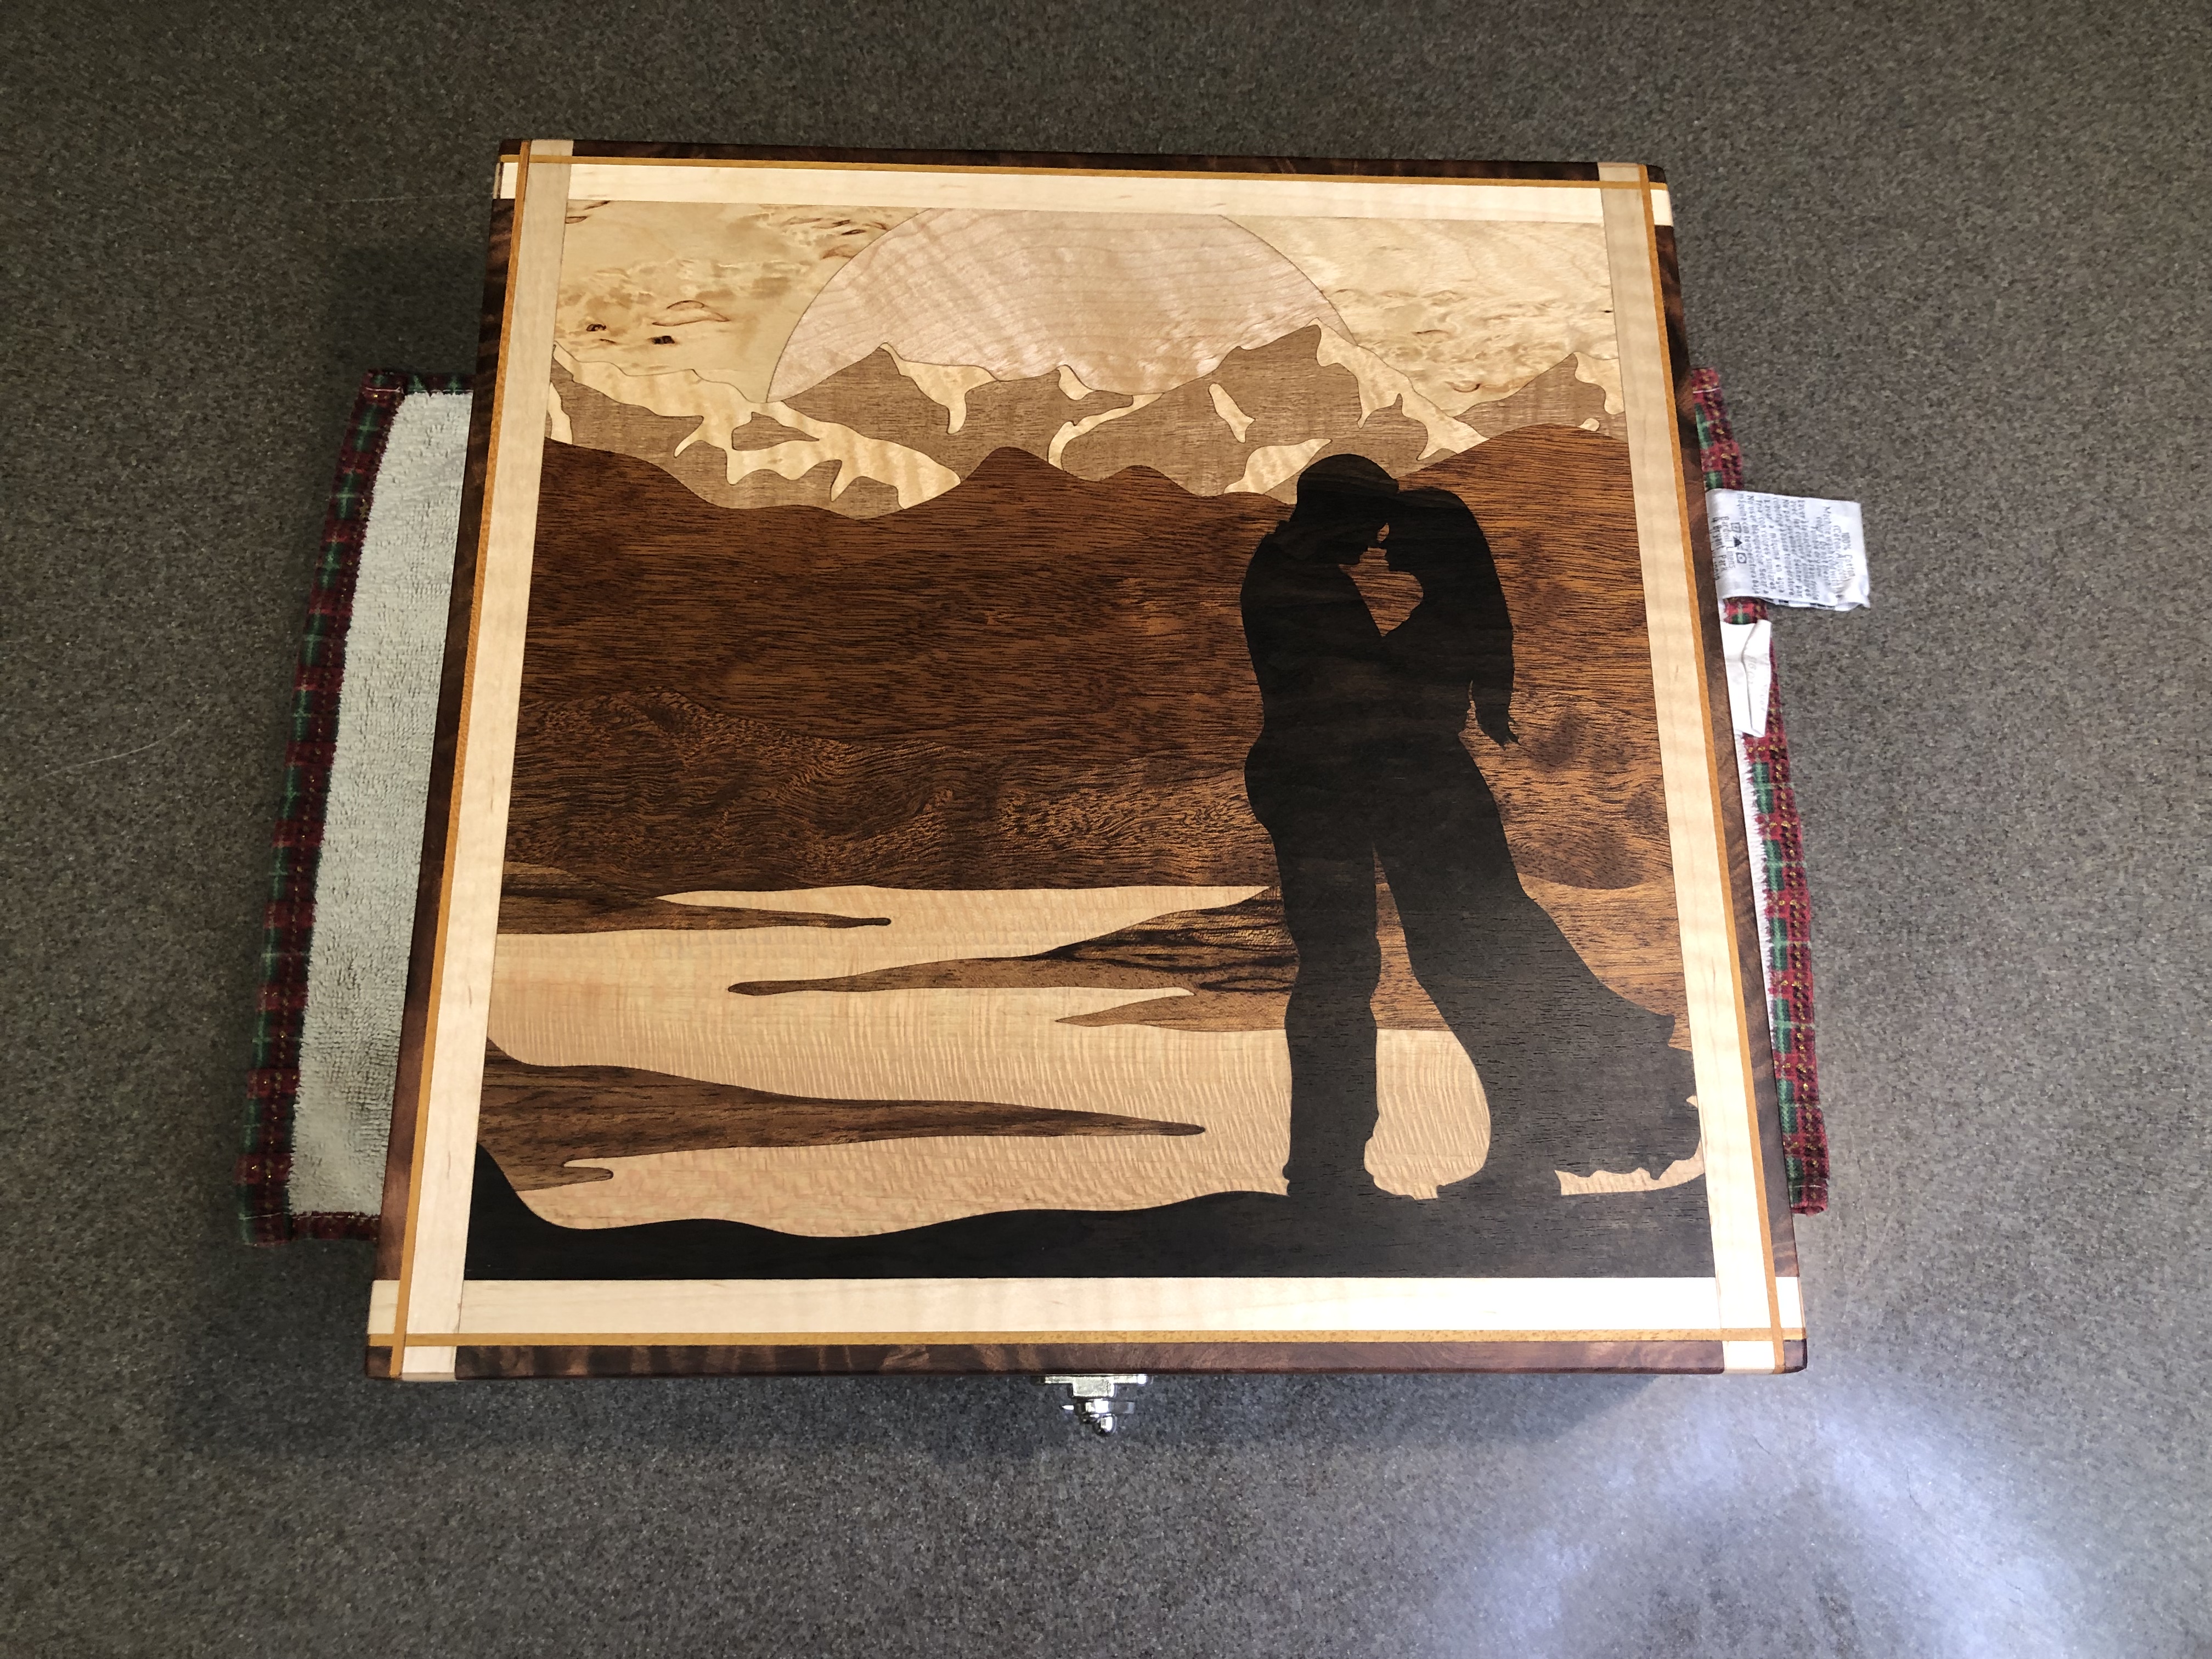
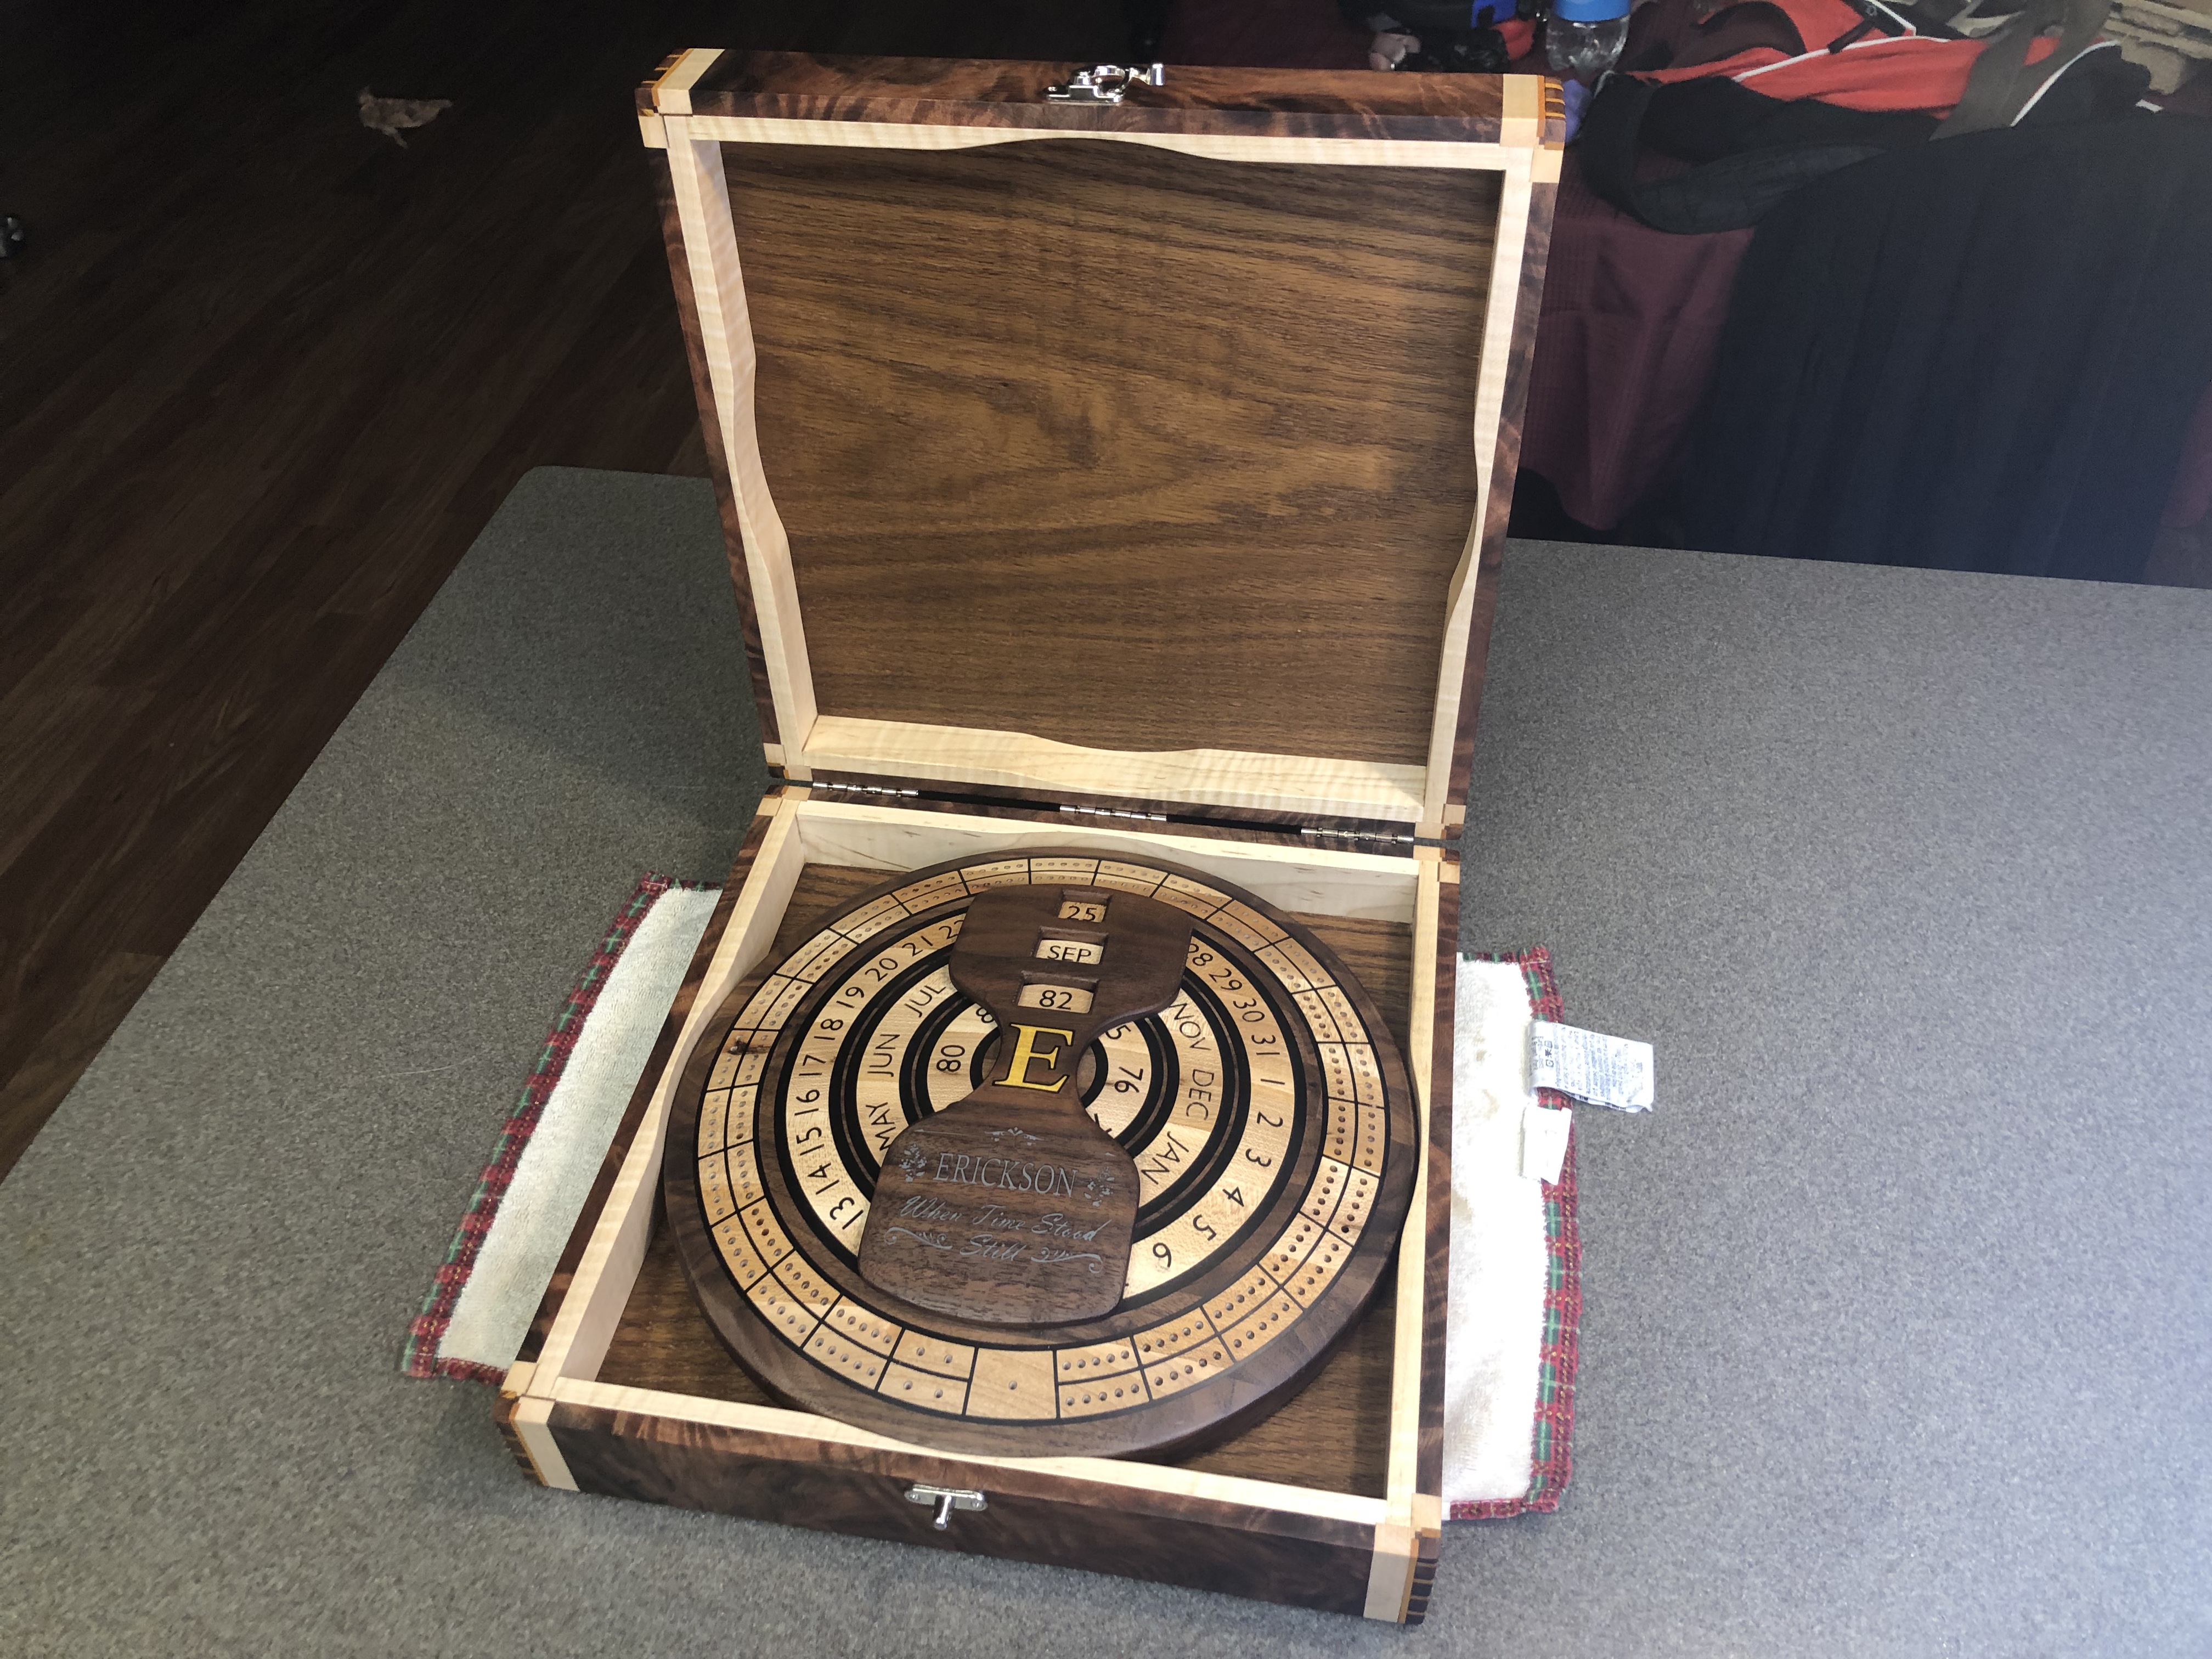
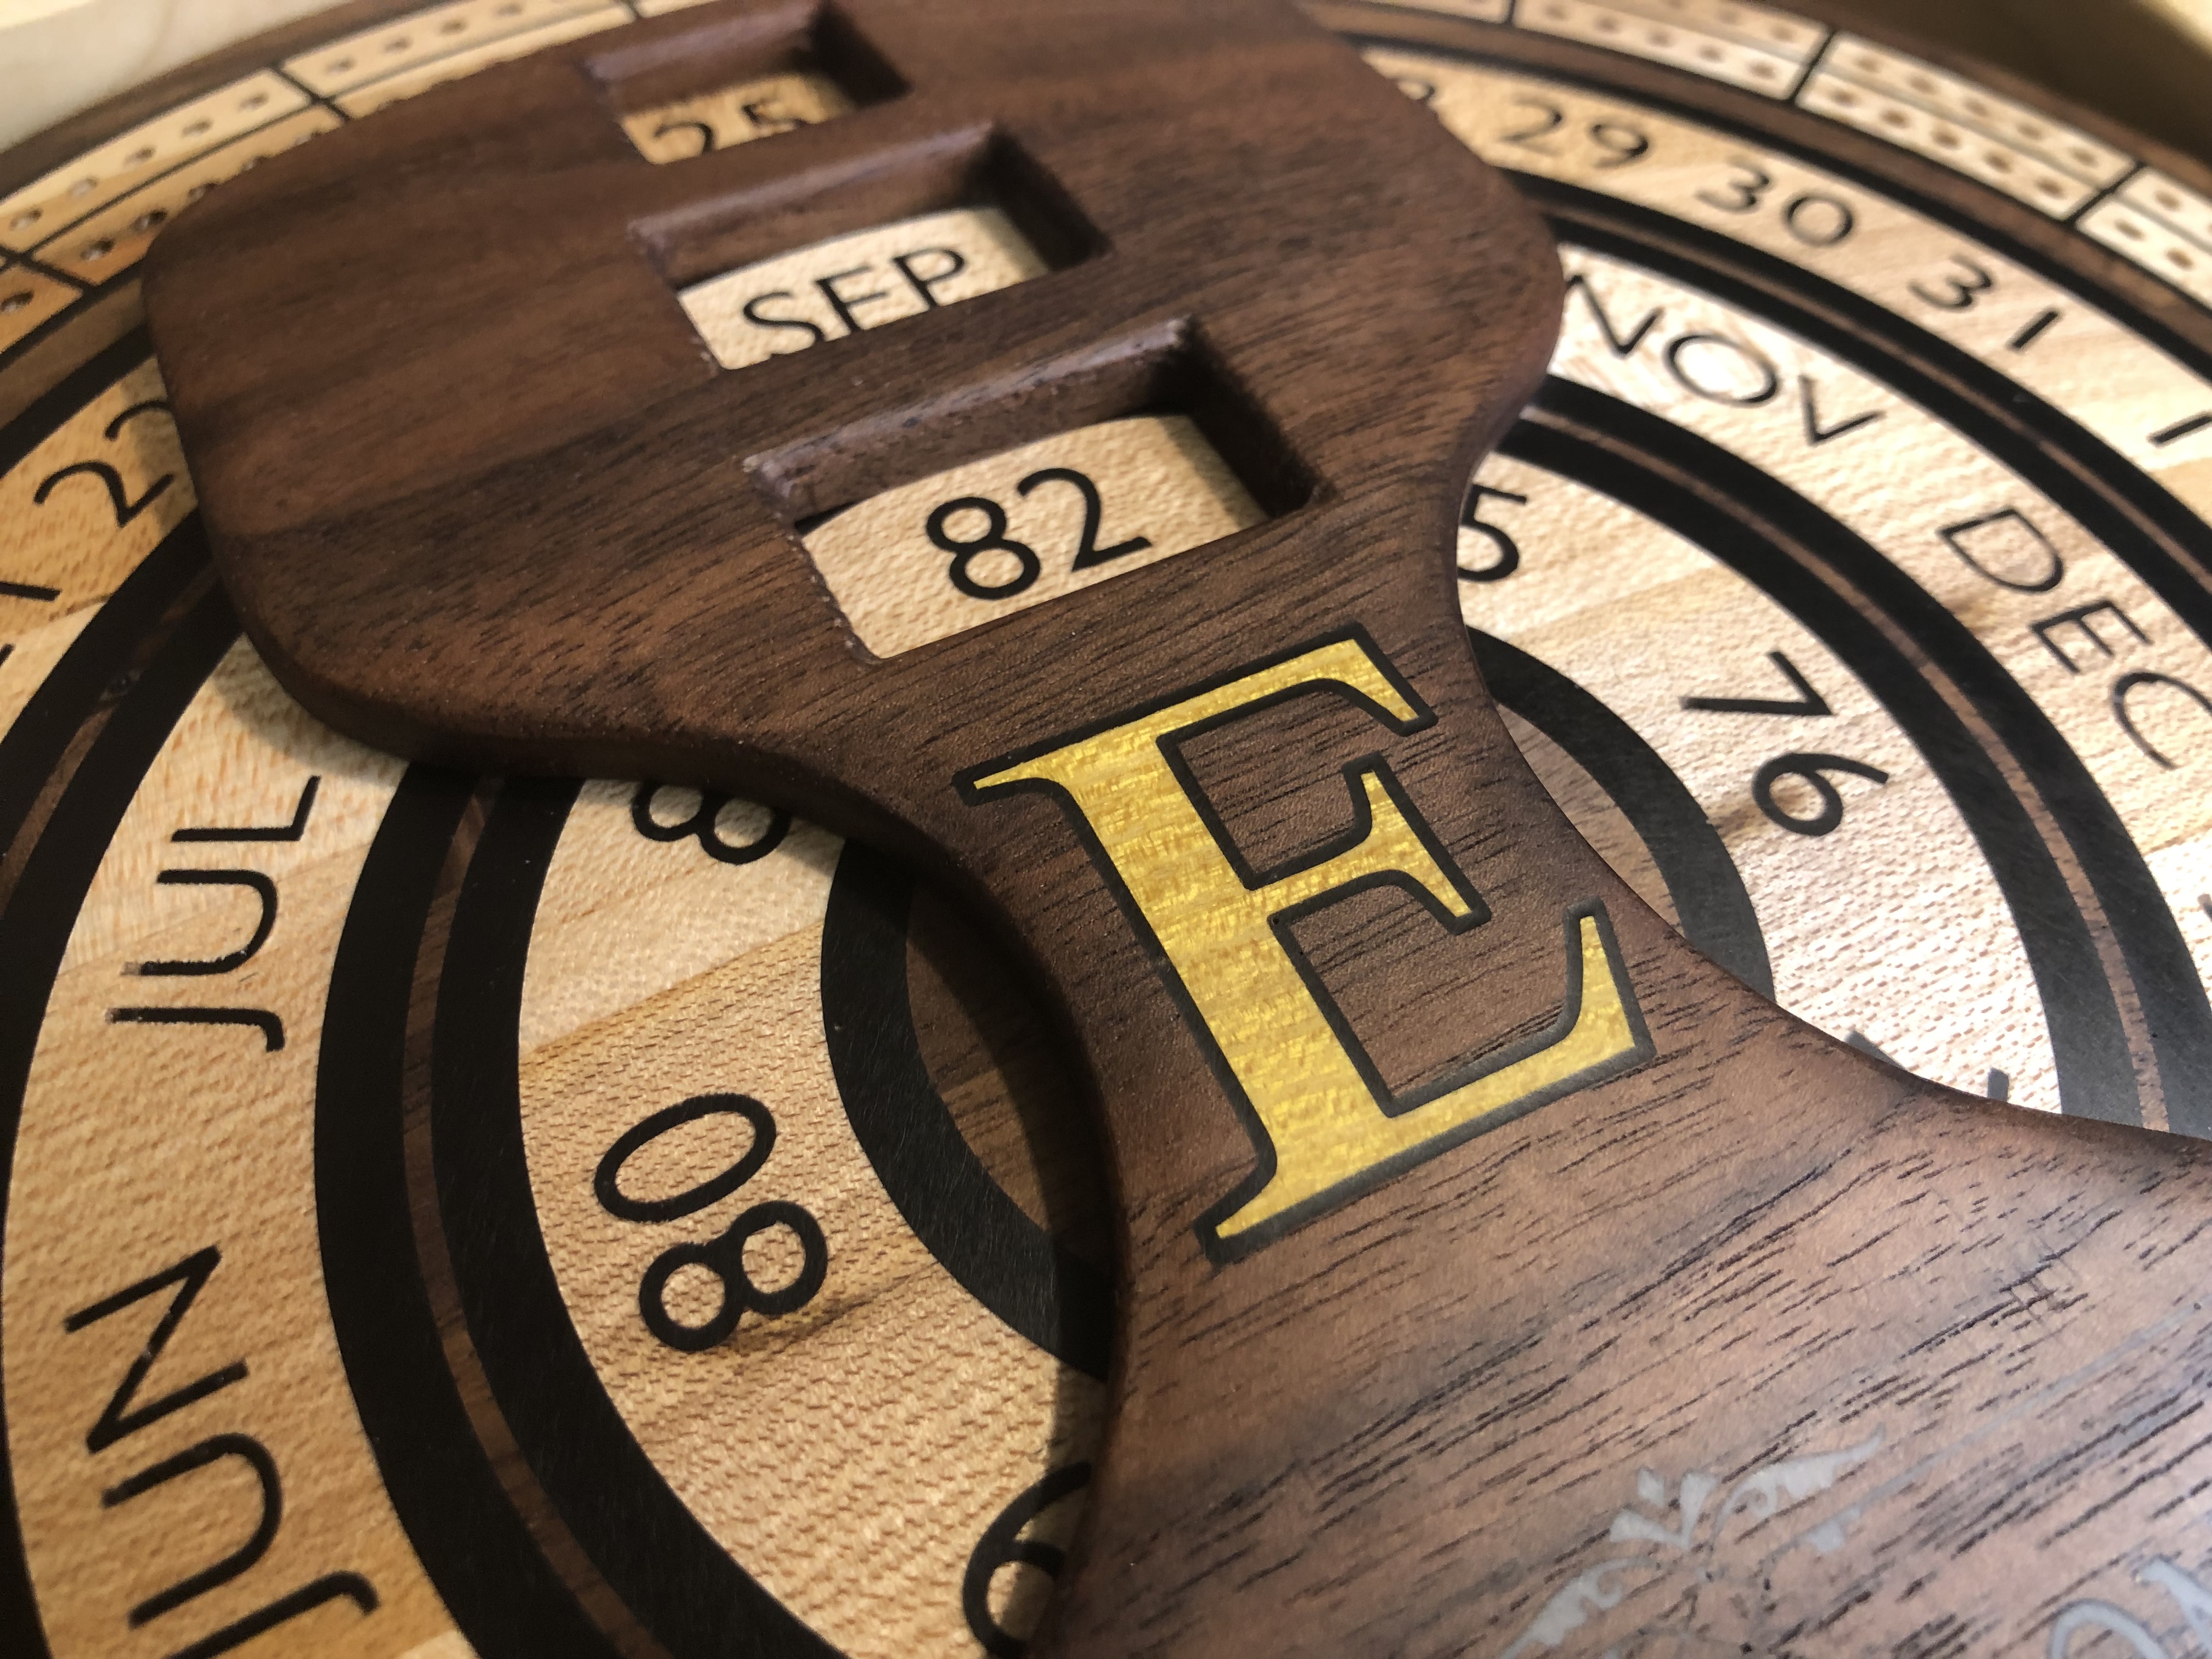
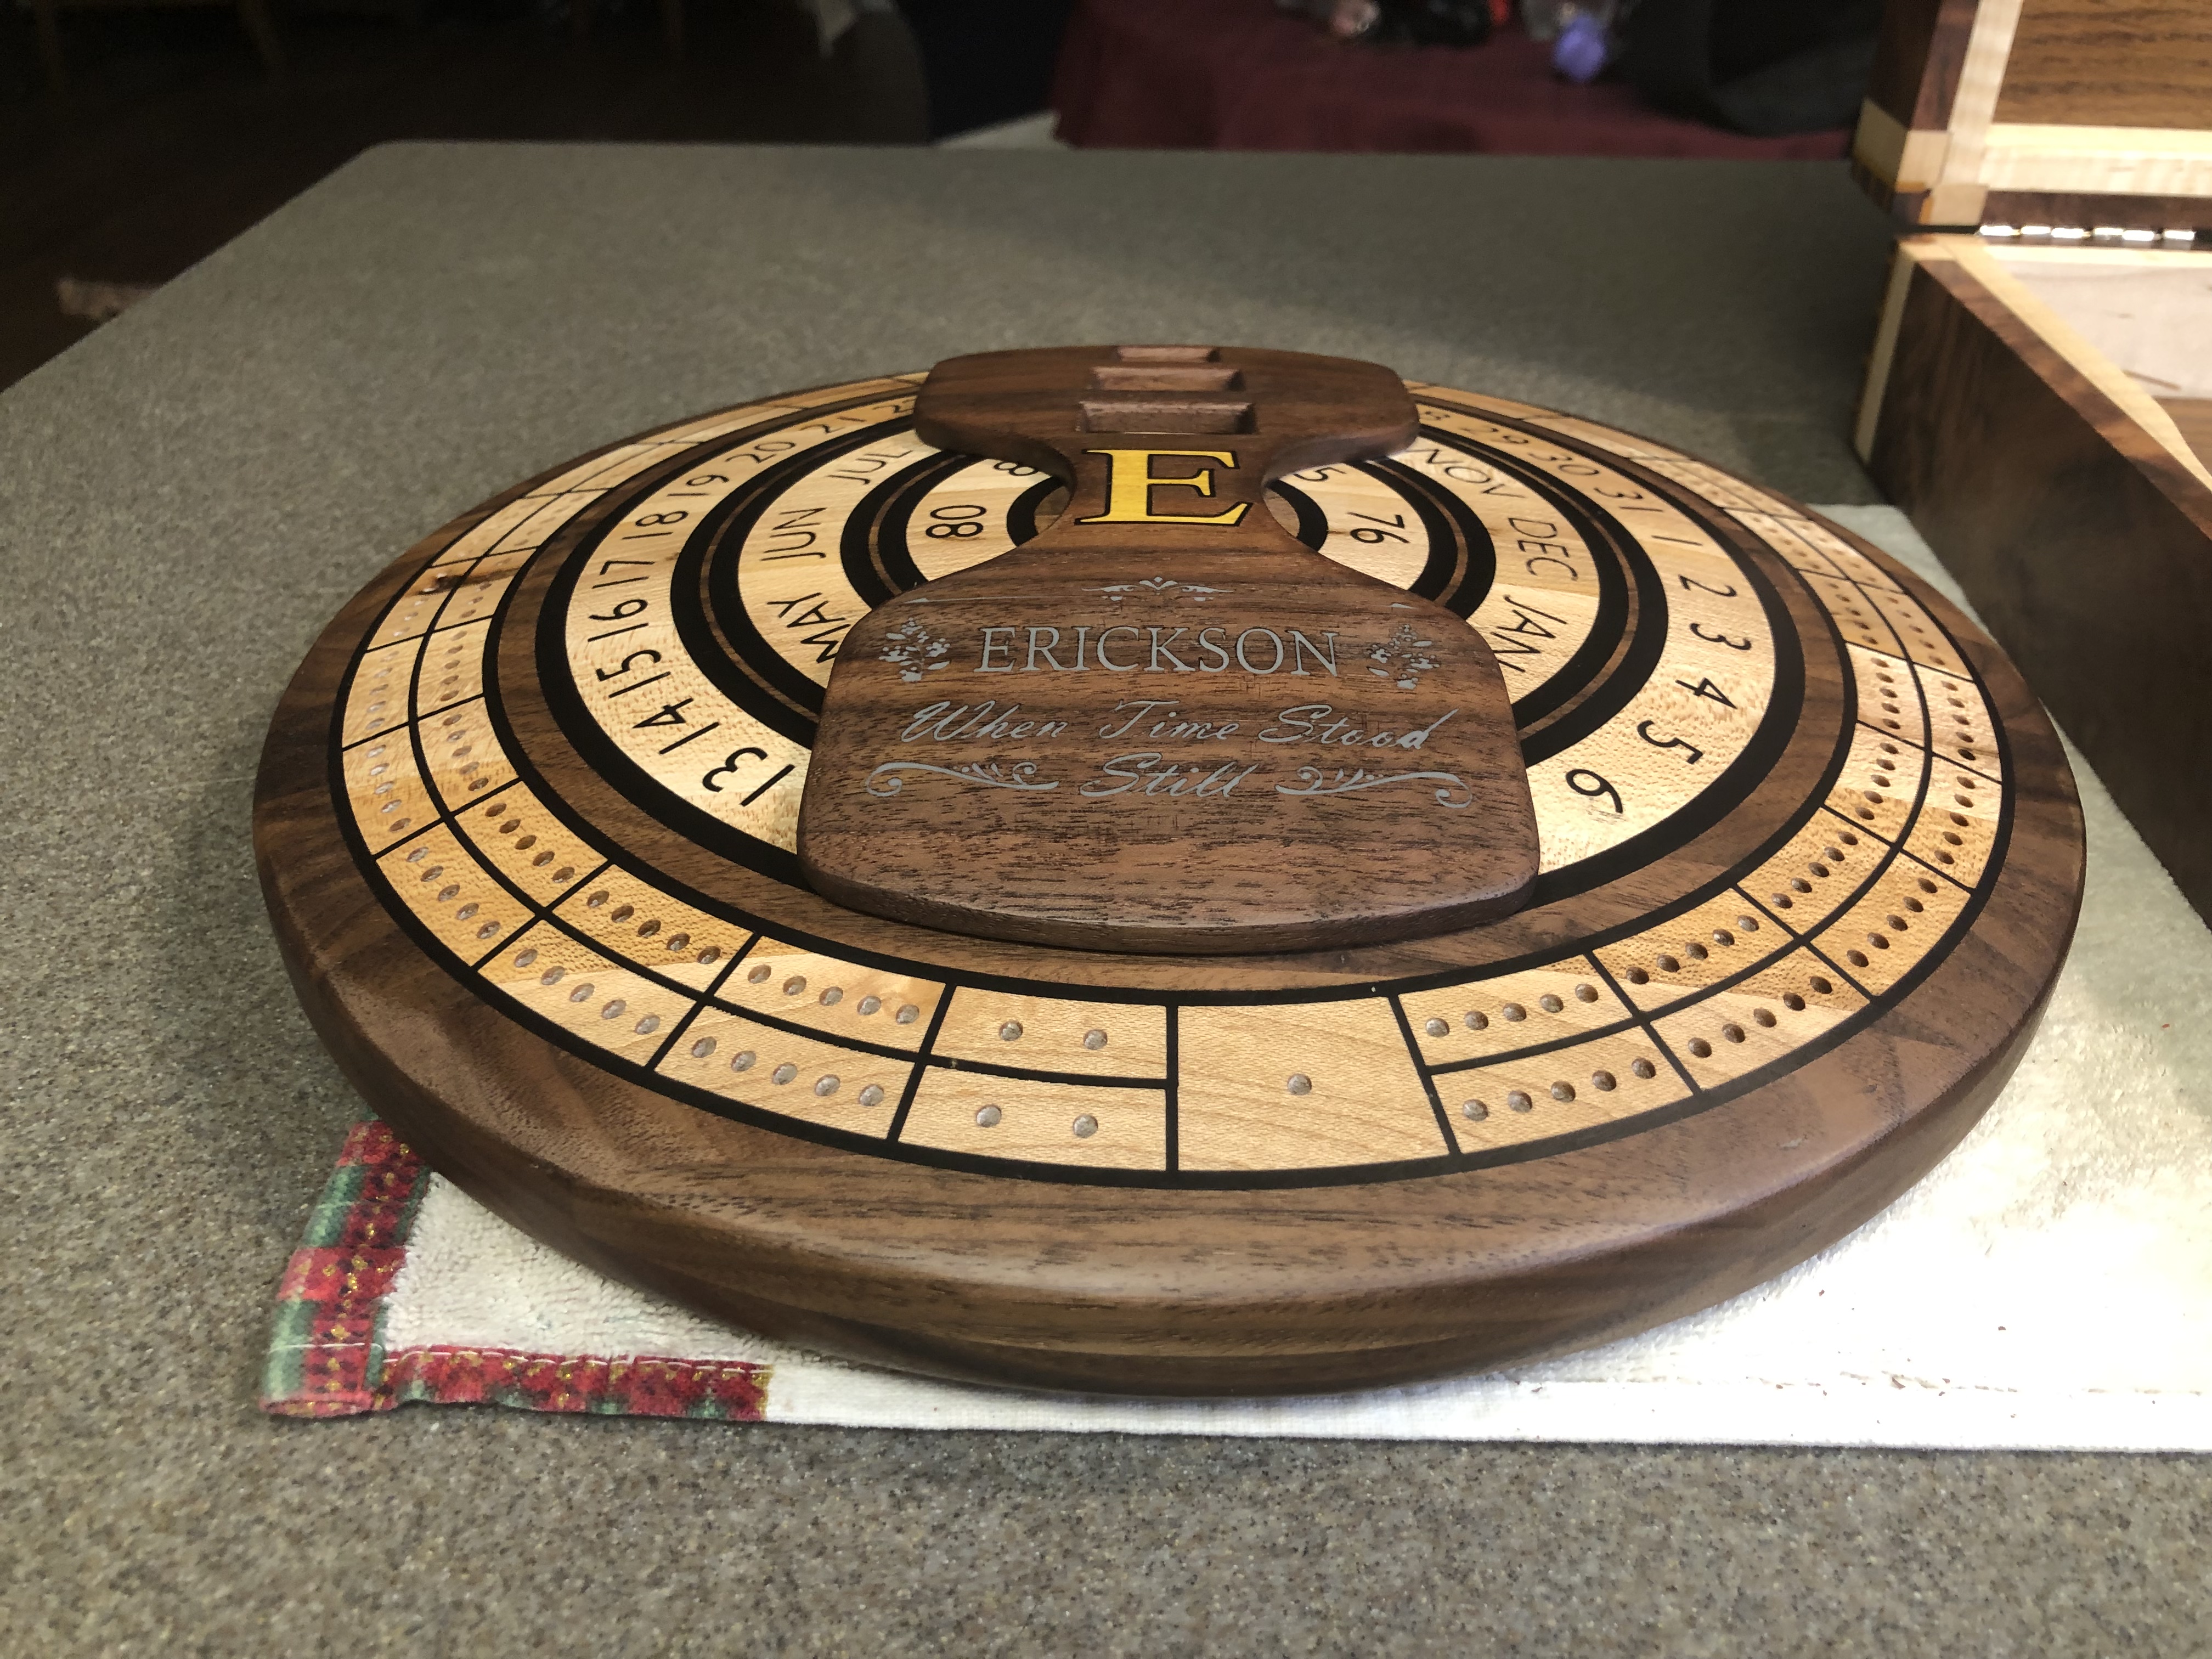
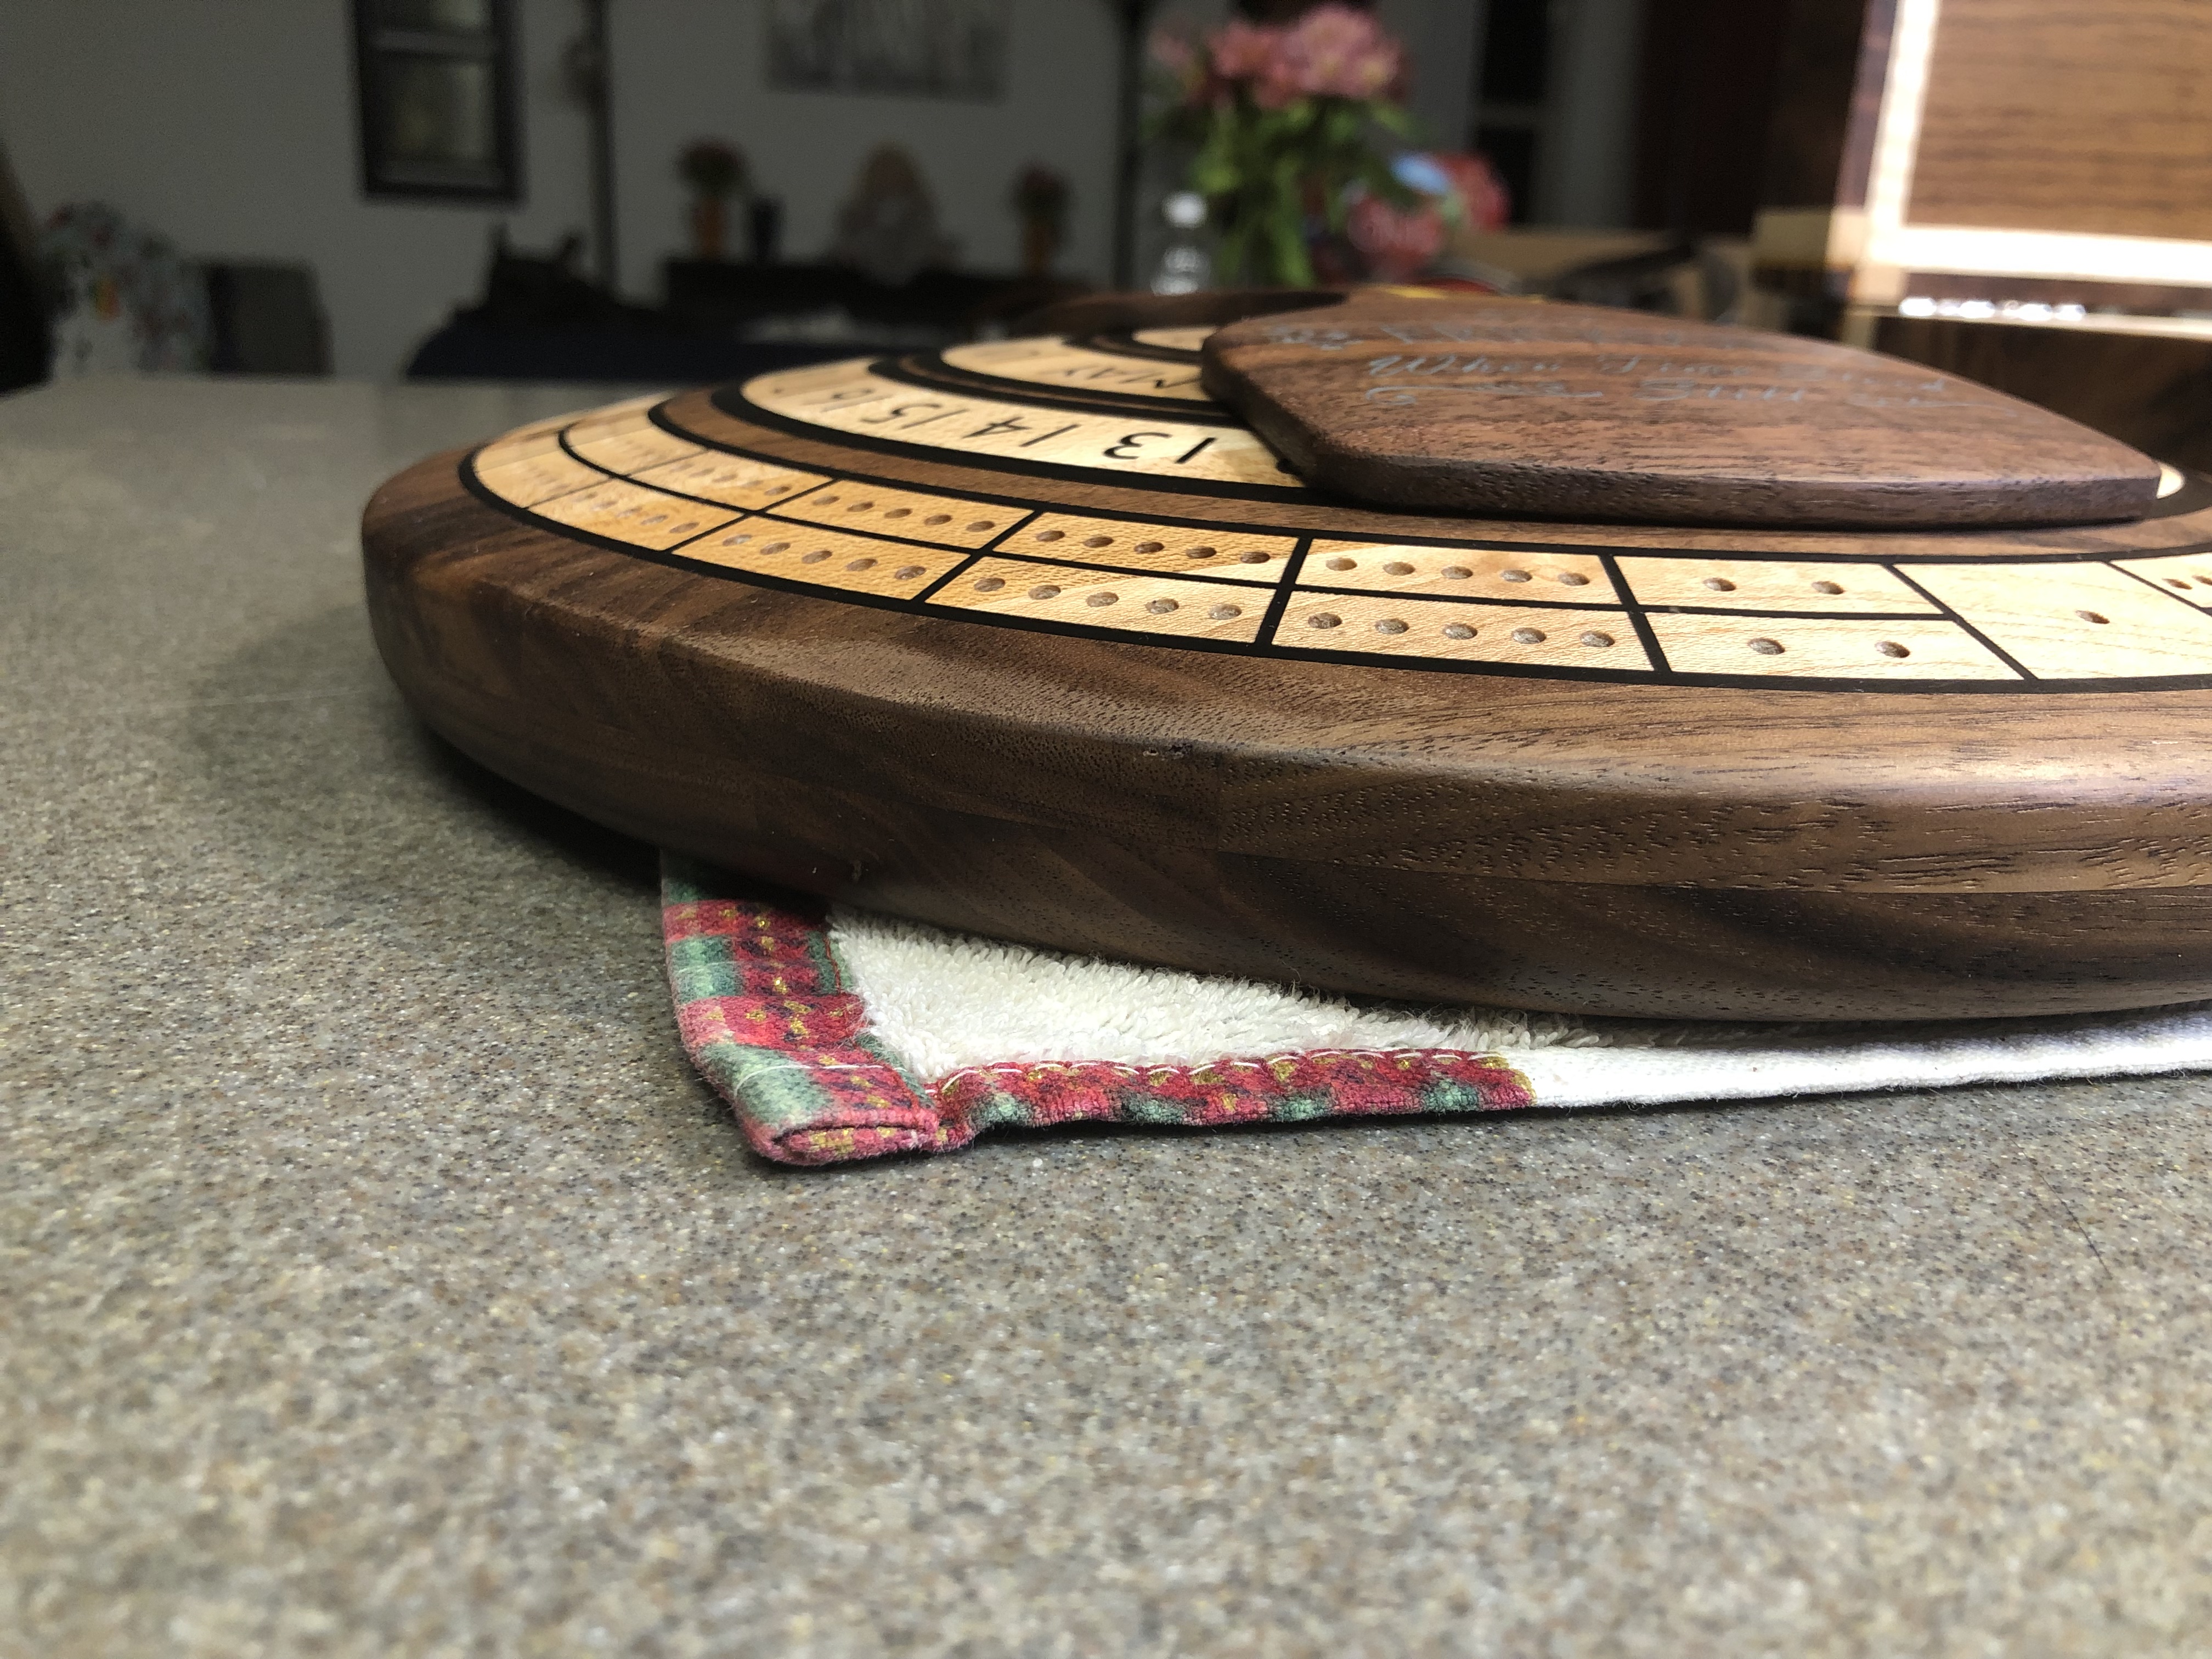
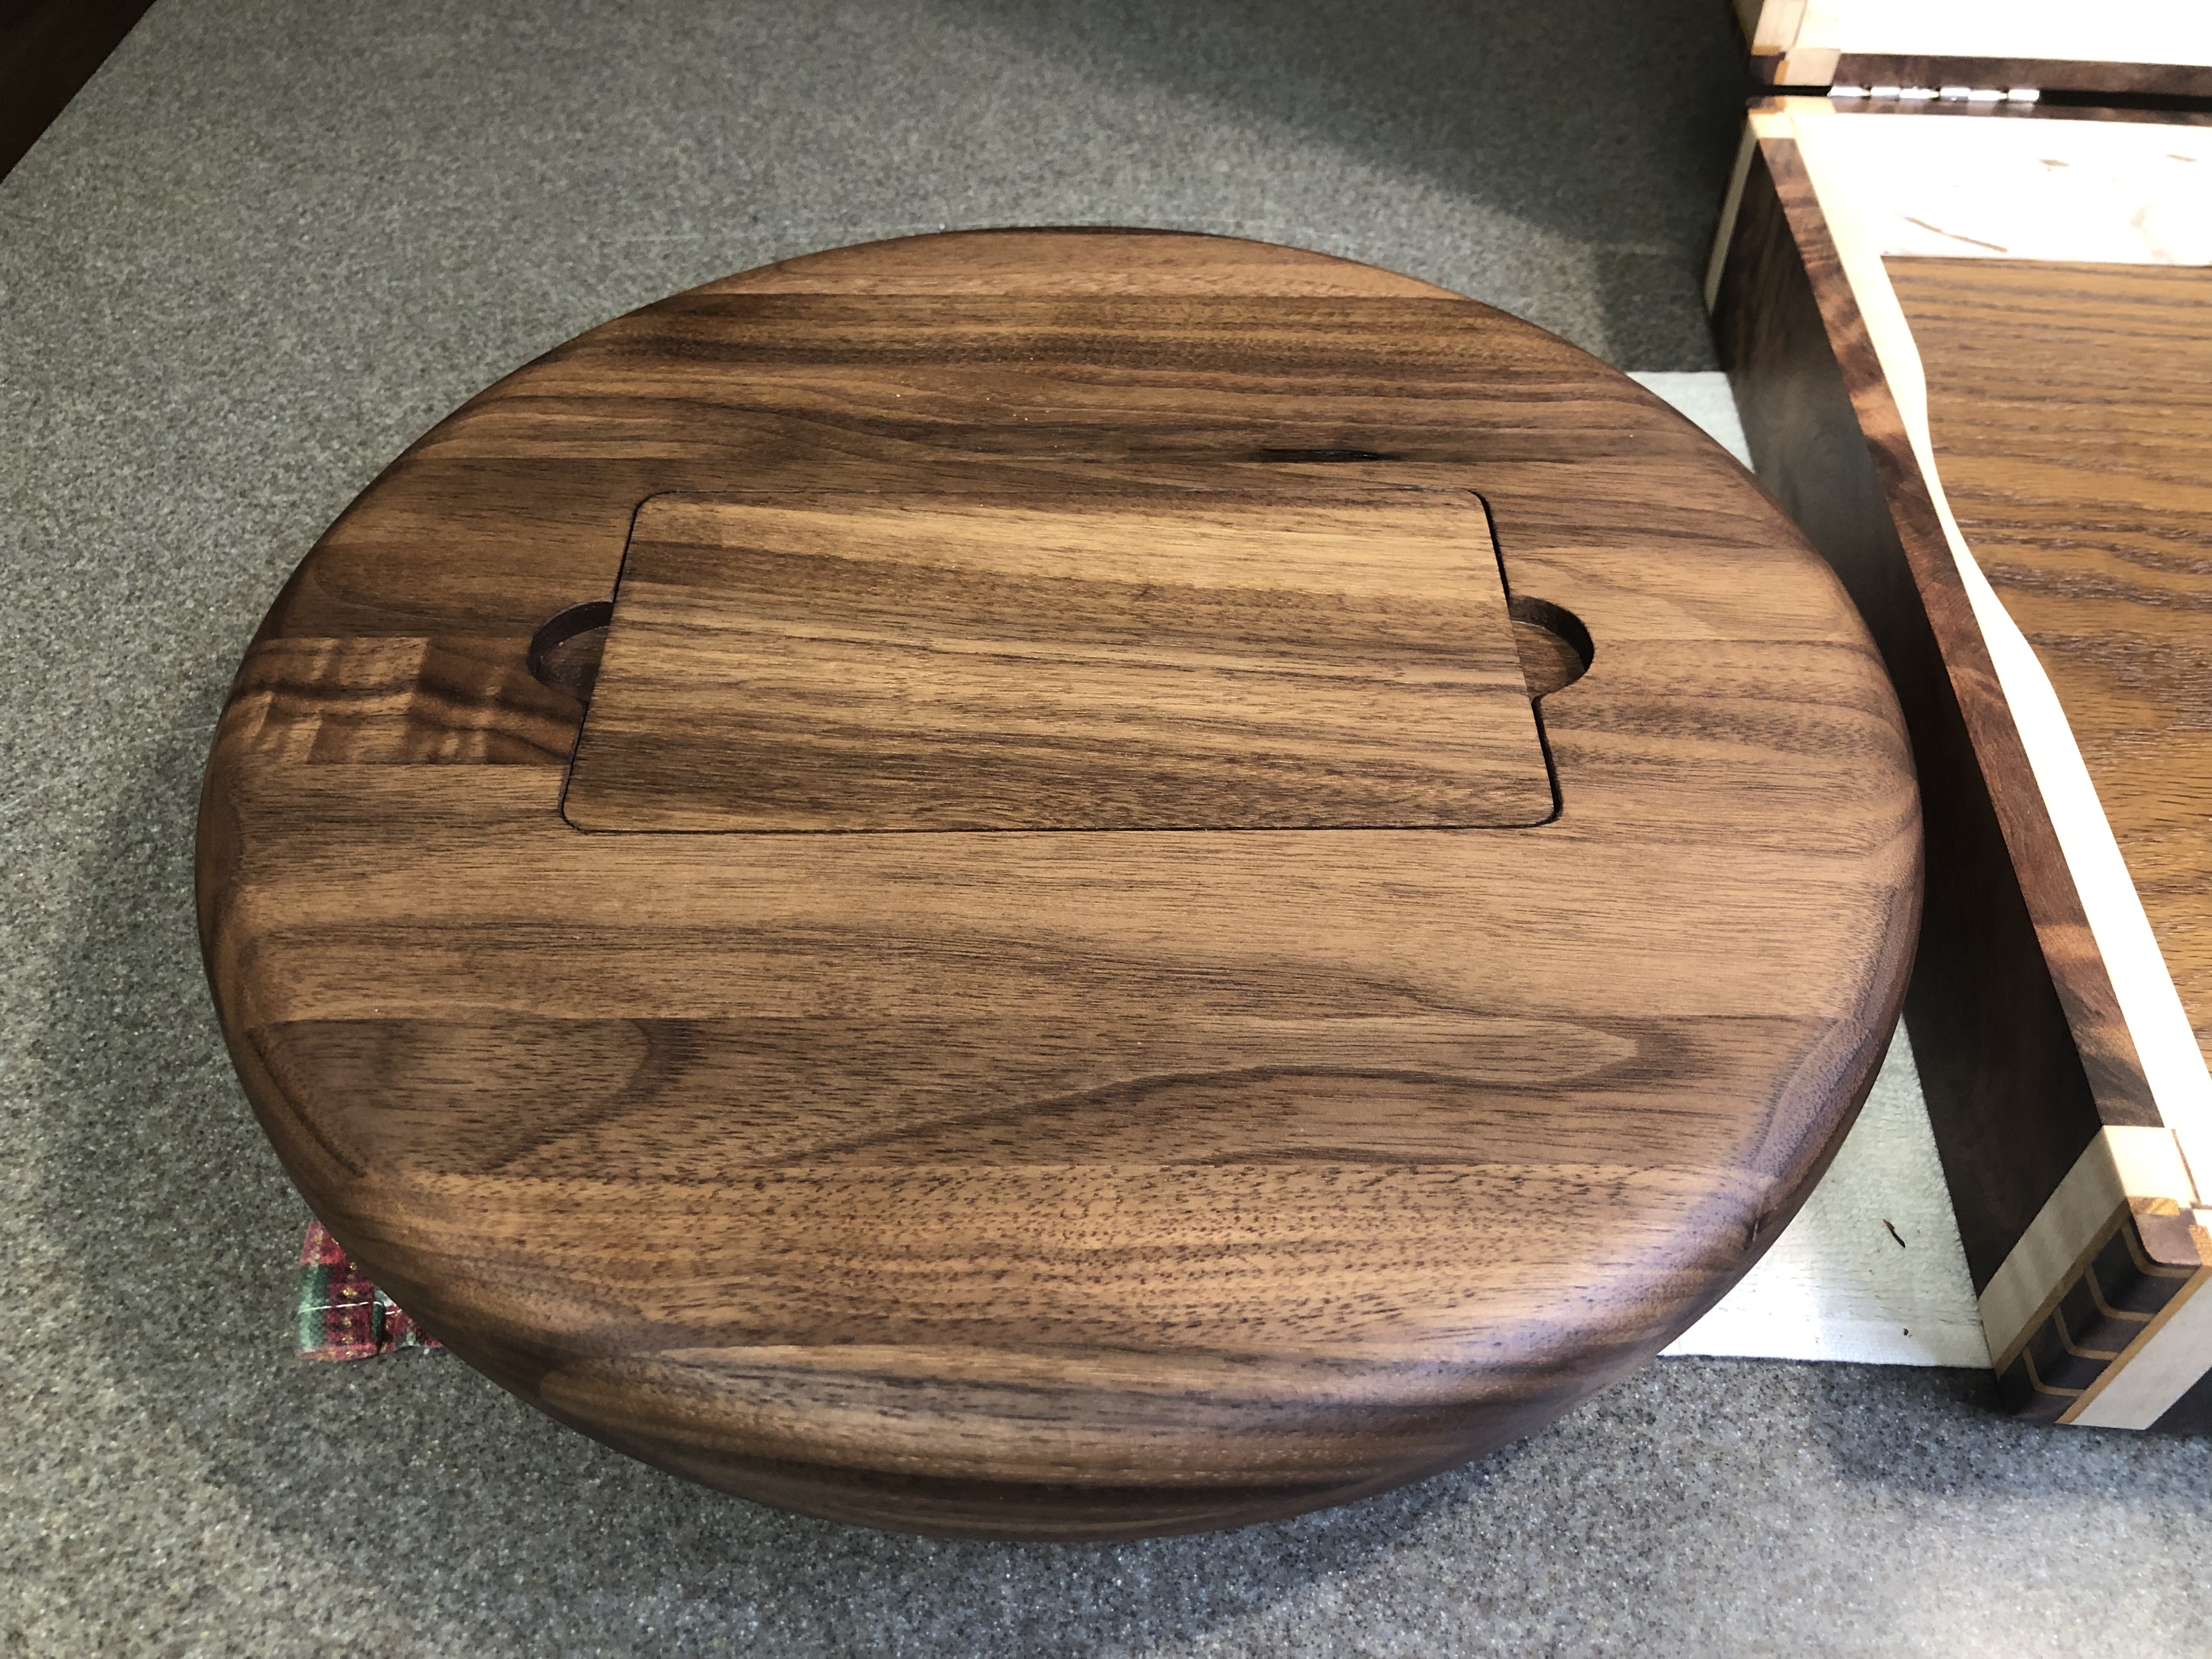
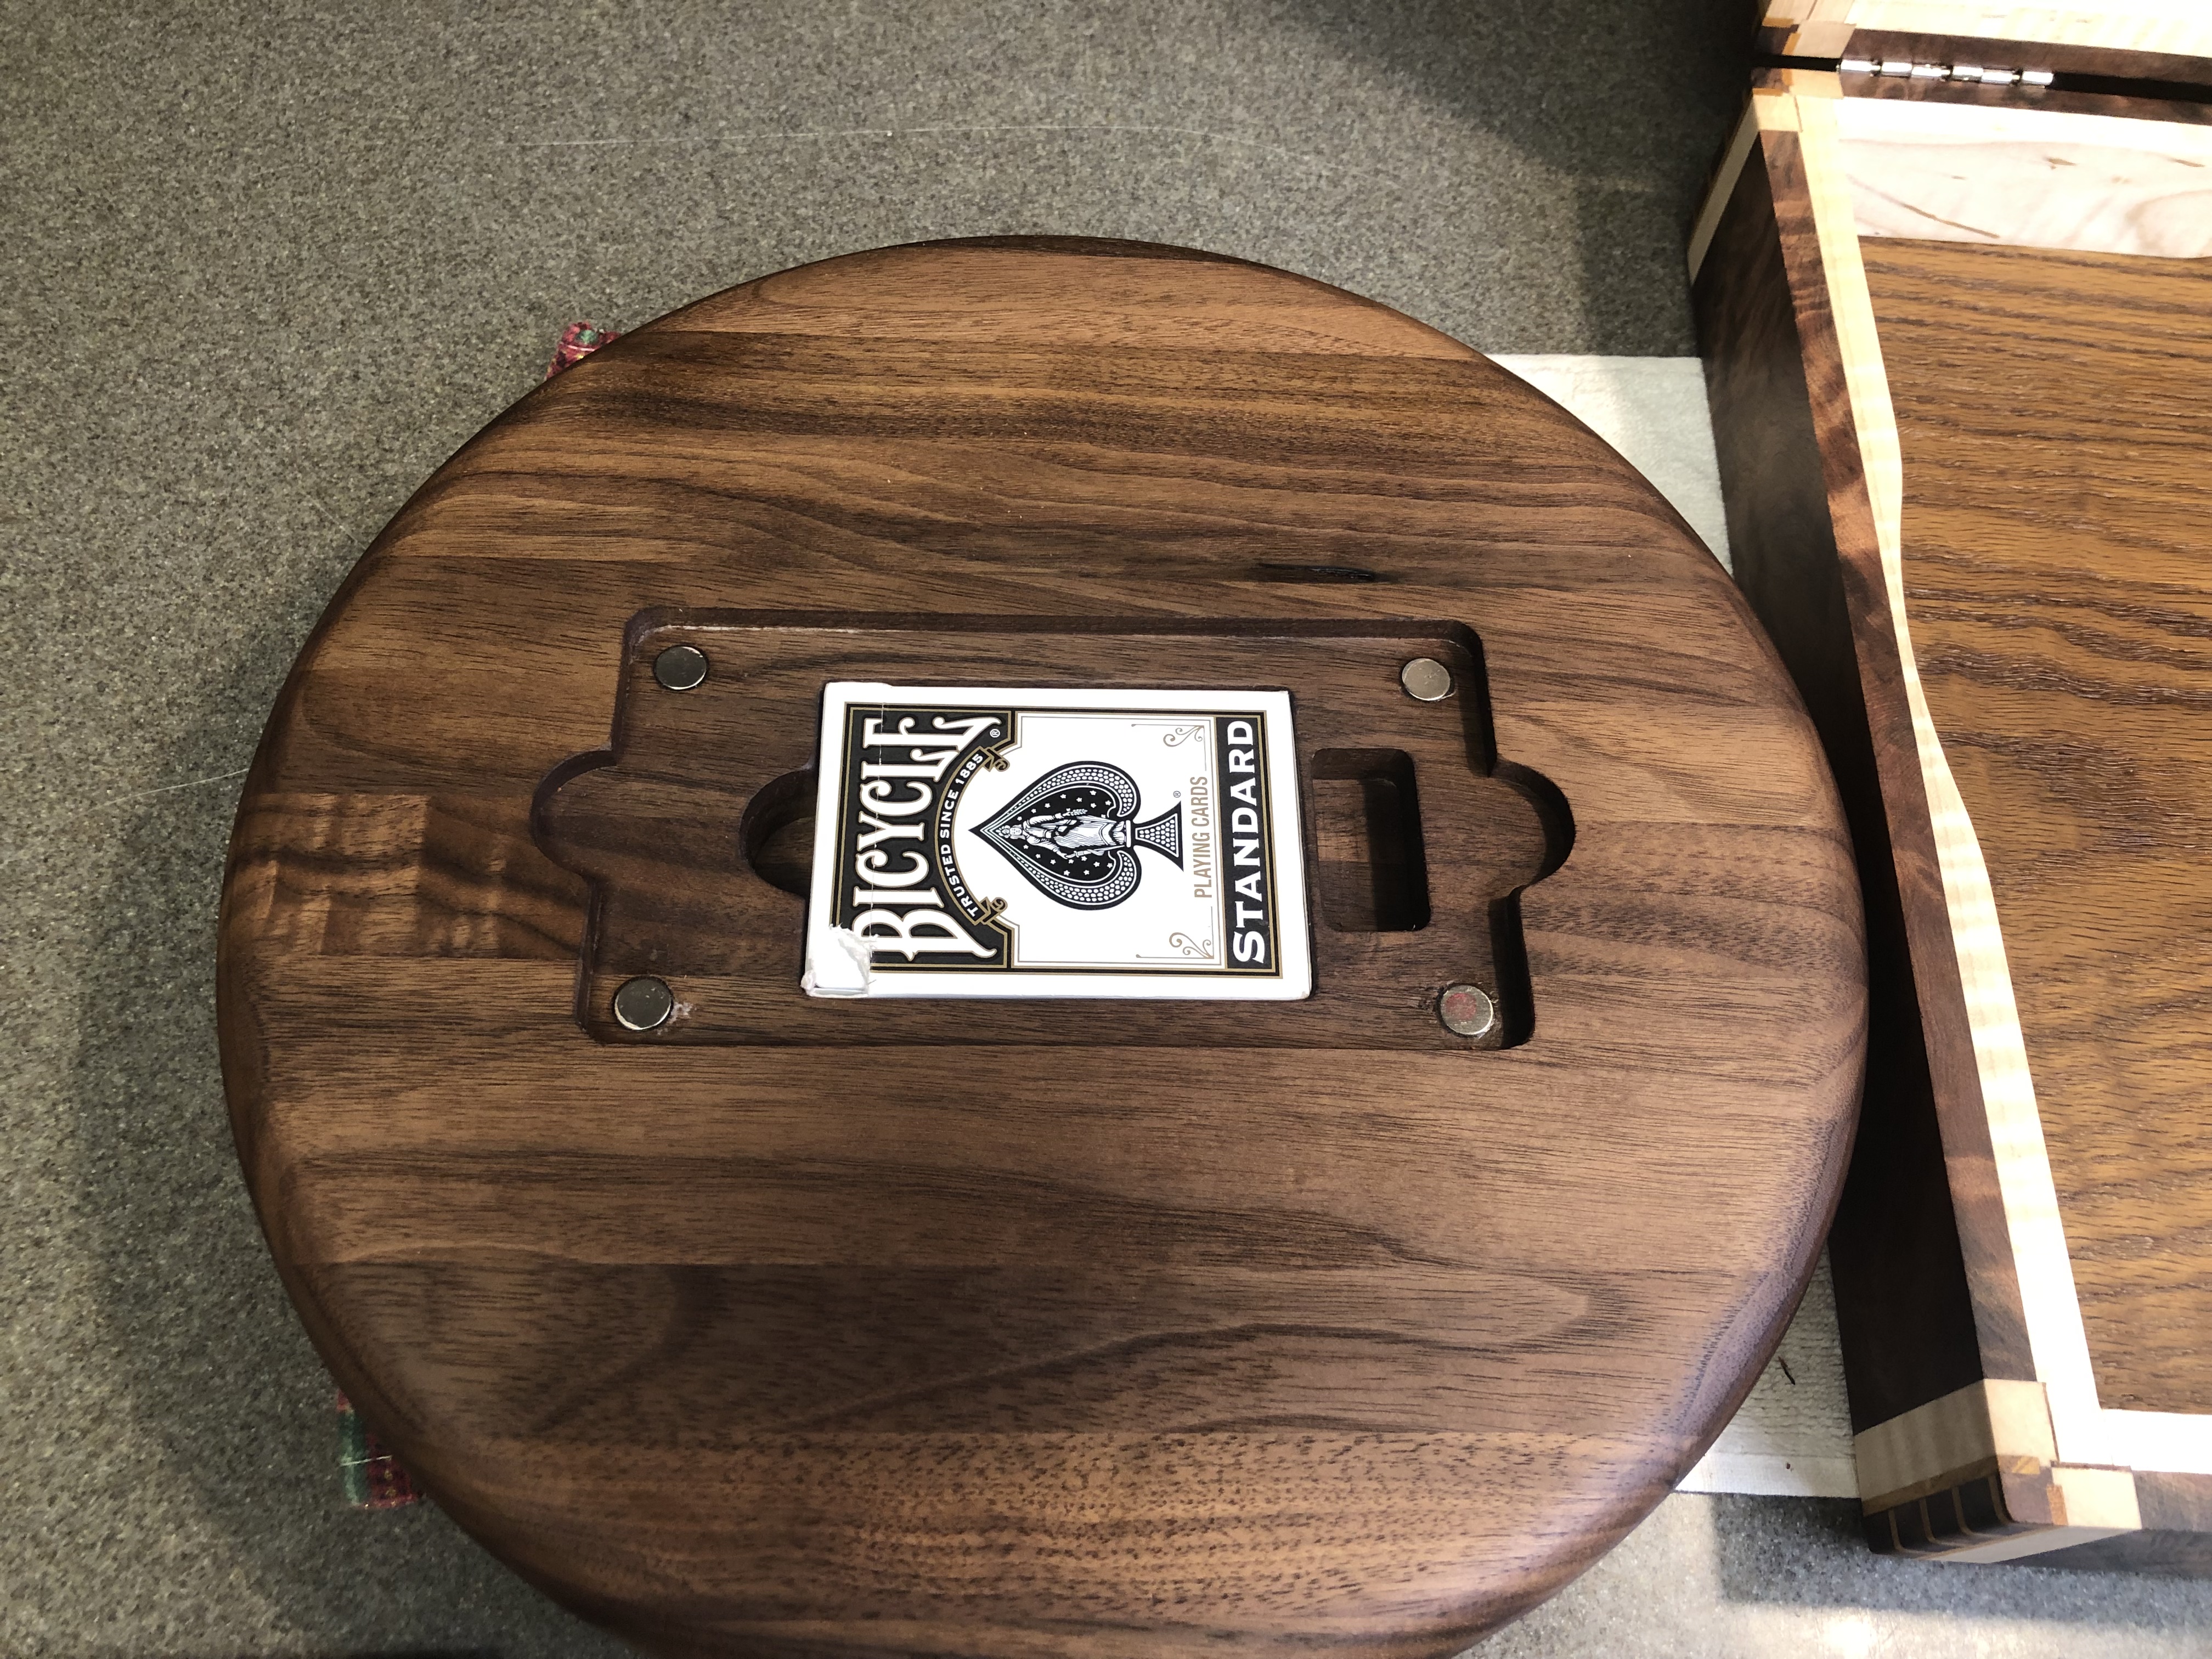
Got off work pretty late, but wanted to make some headway. Drilled the holes and checked for fit of the hourglass top. Everything turned out pretty good. Still disappointed in the bevel, not happy with the black epoxy thickness, but it is what it is.
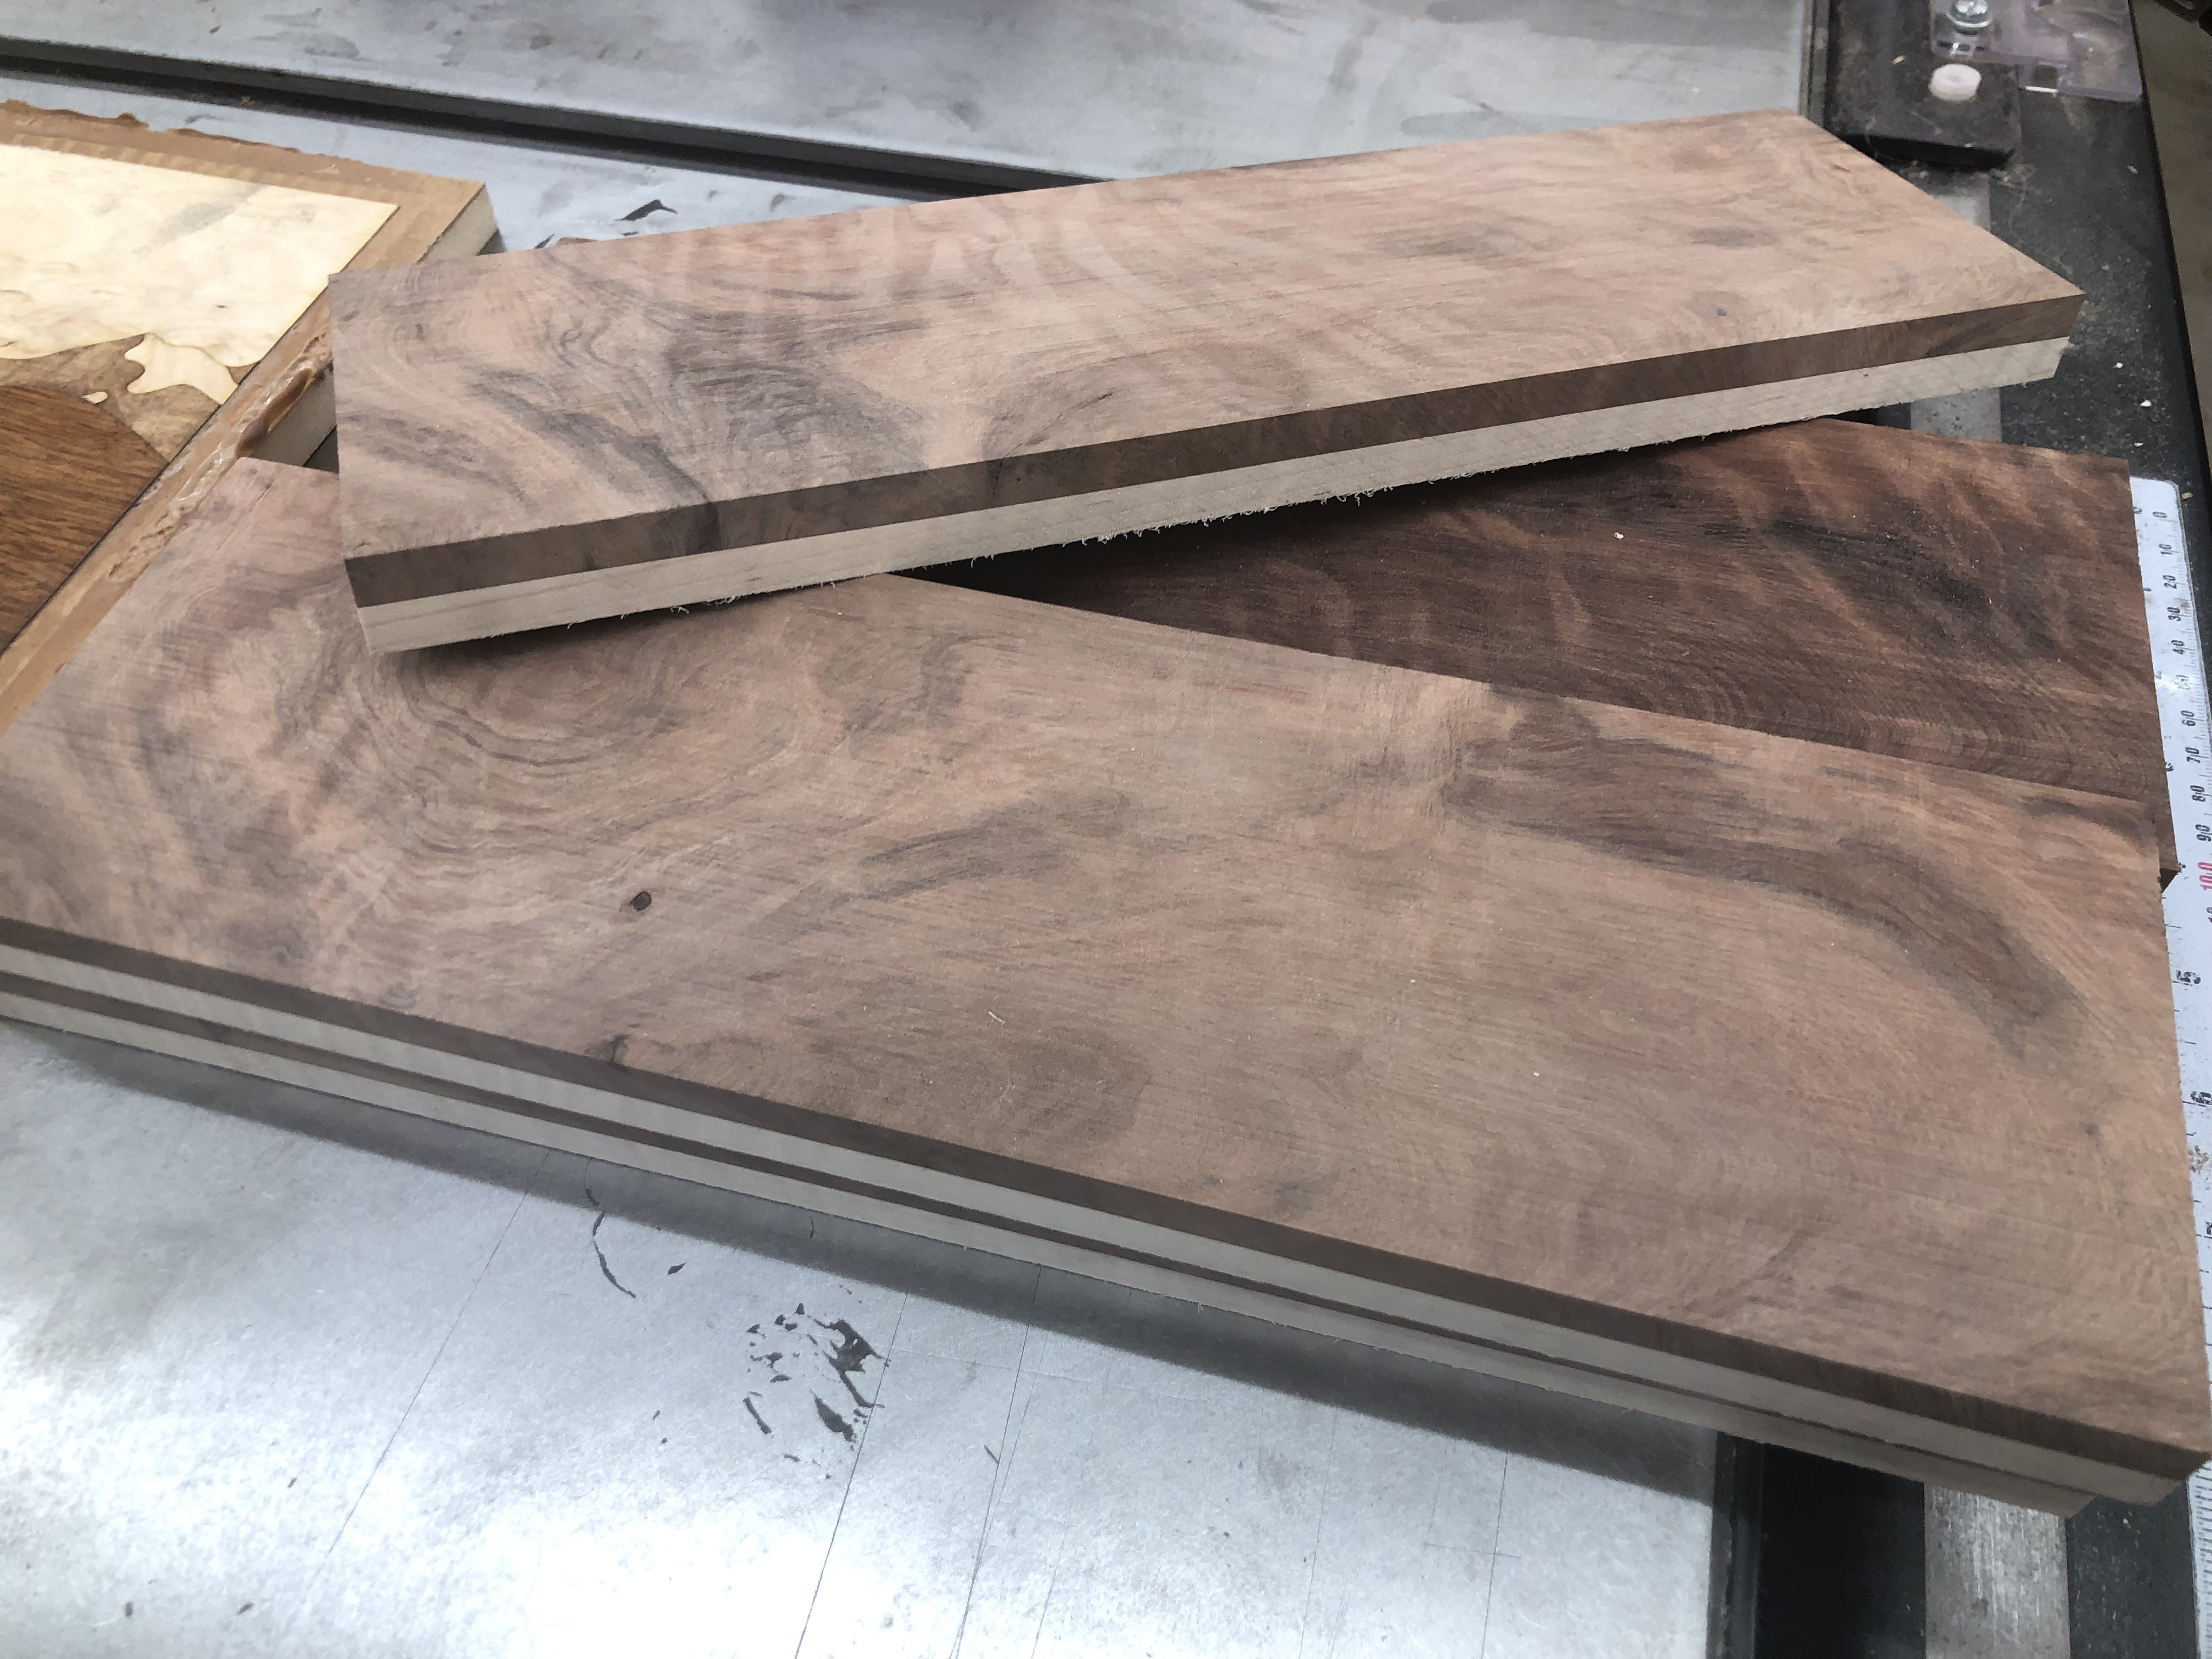
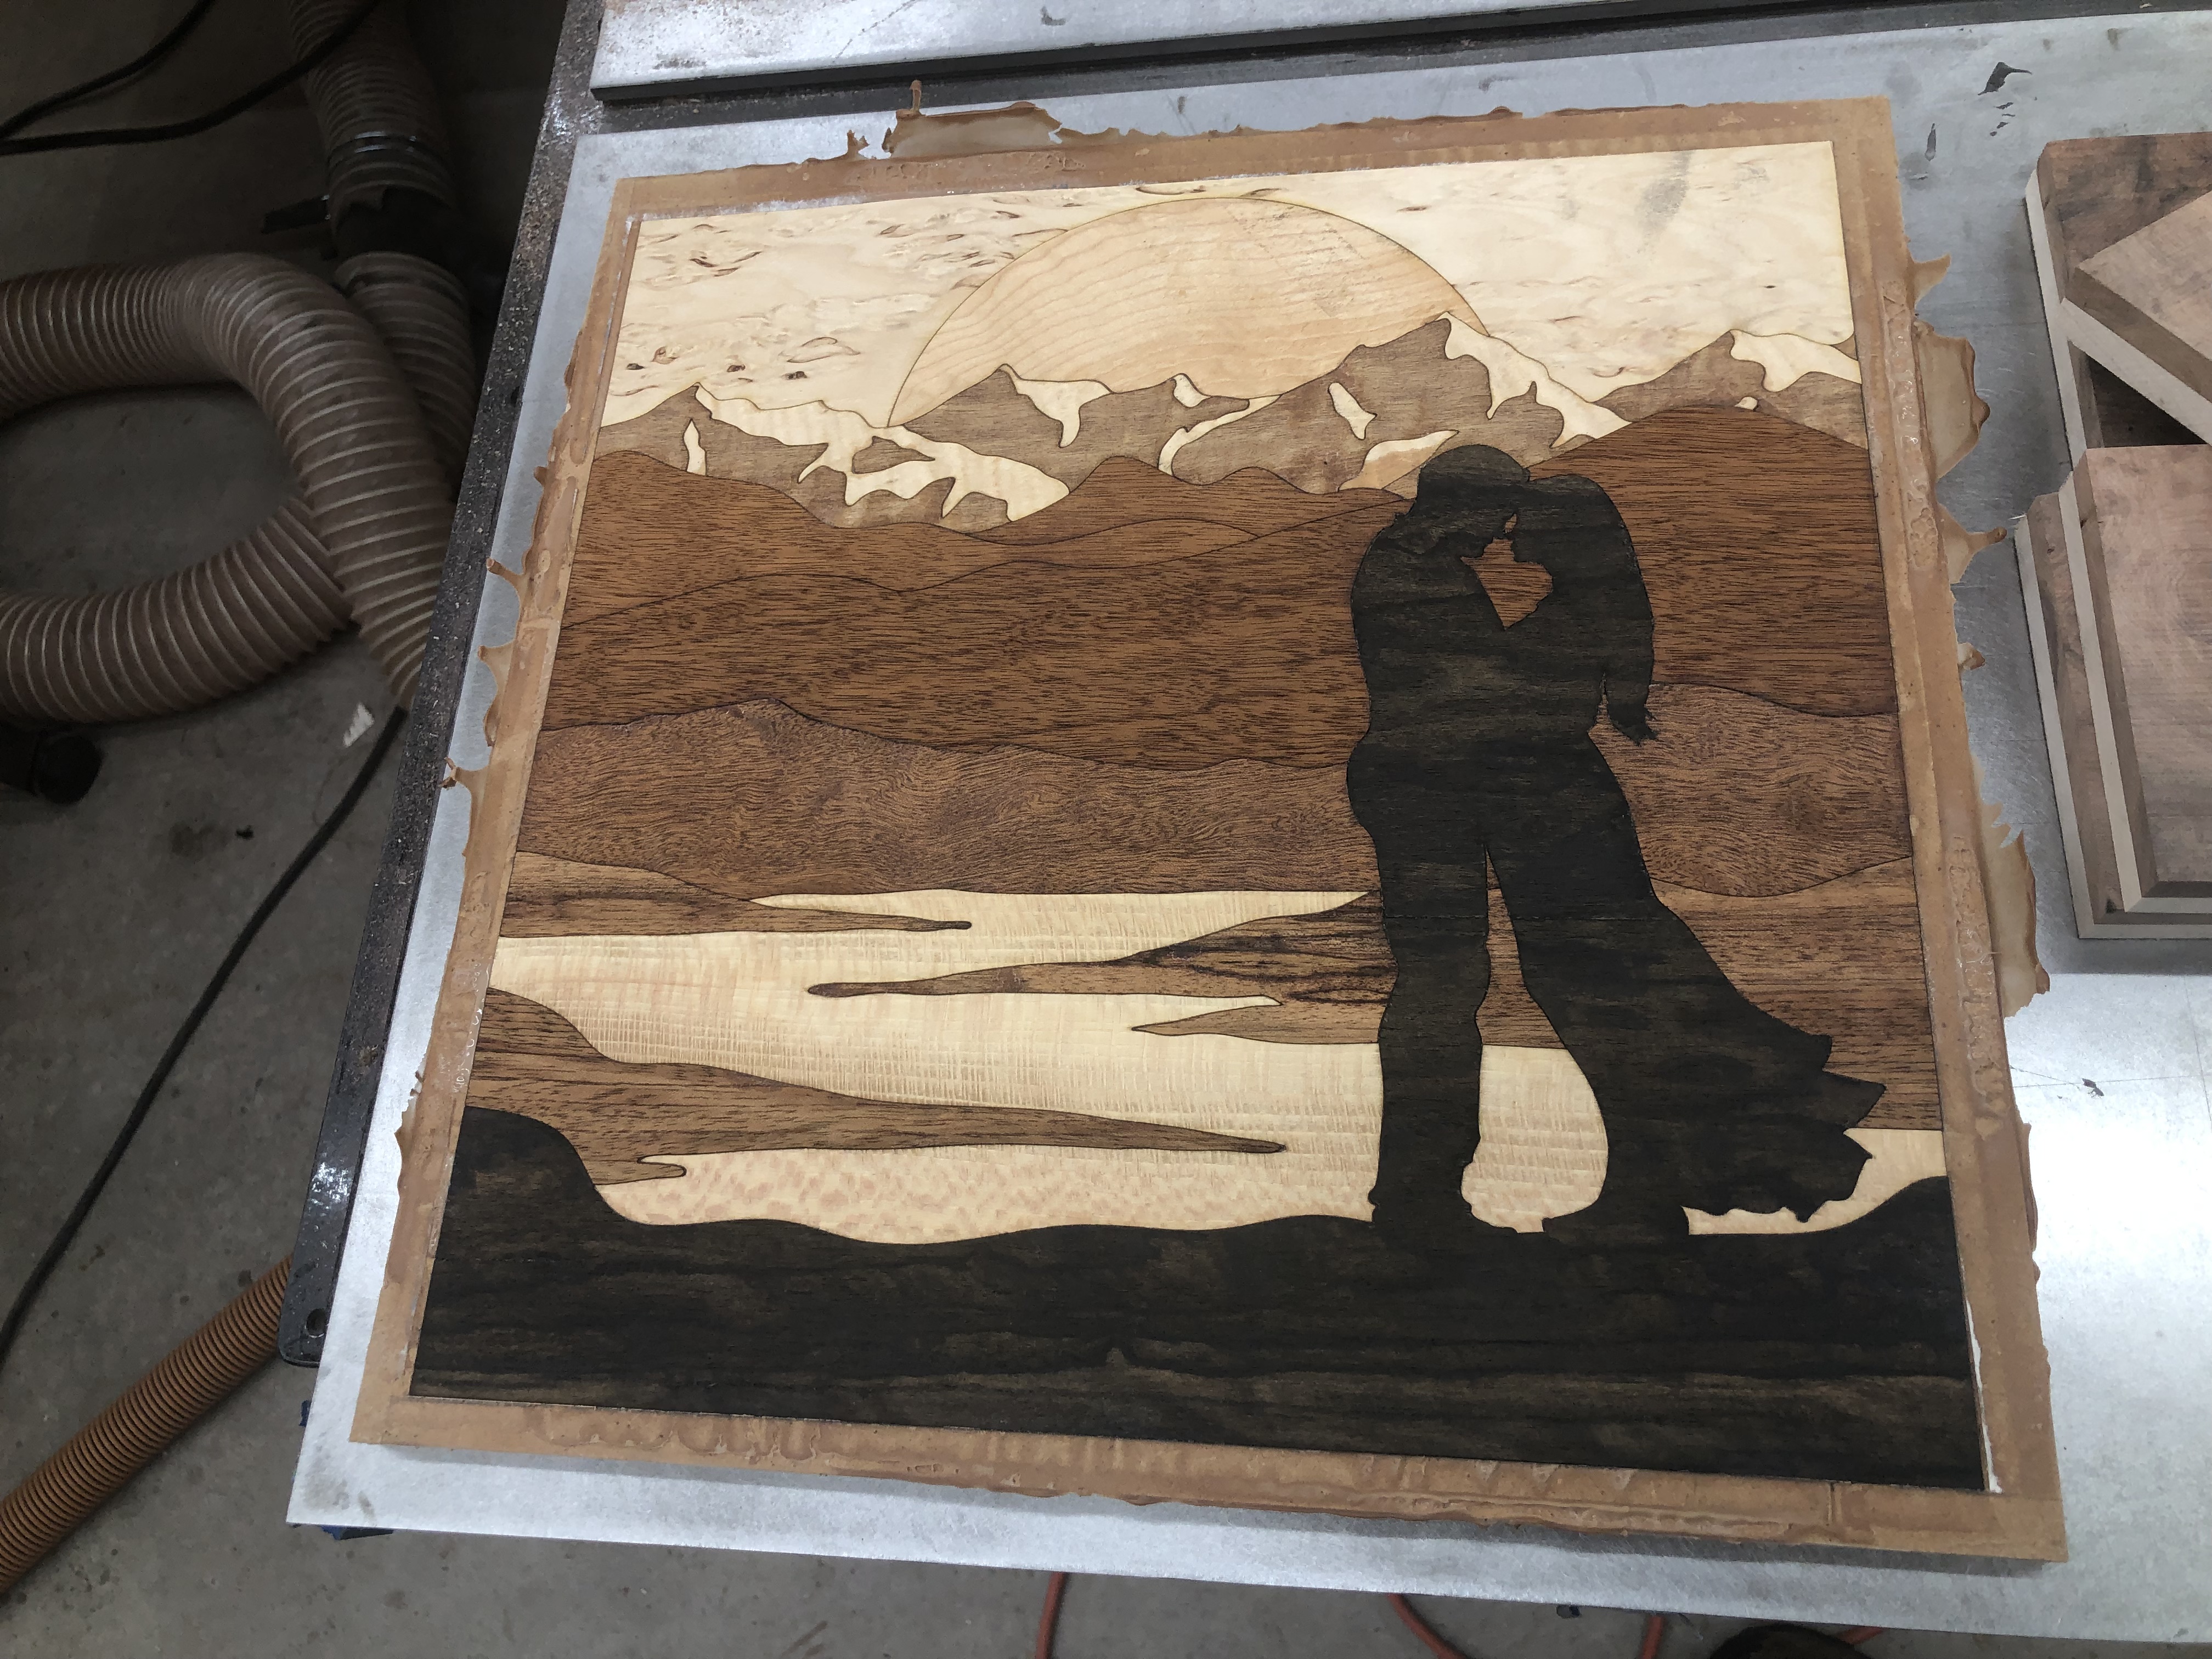
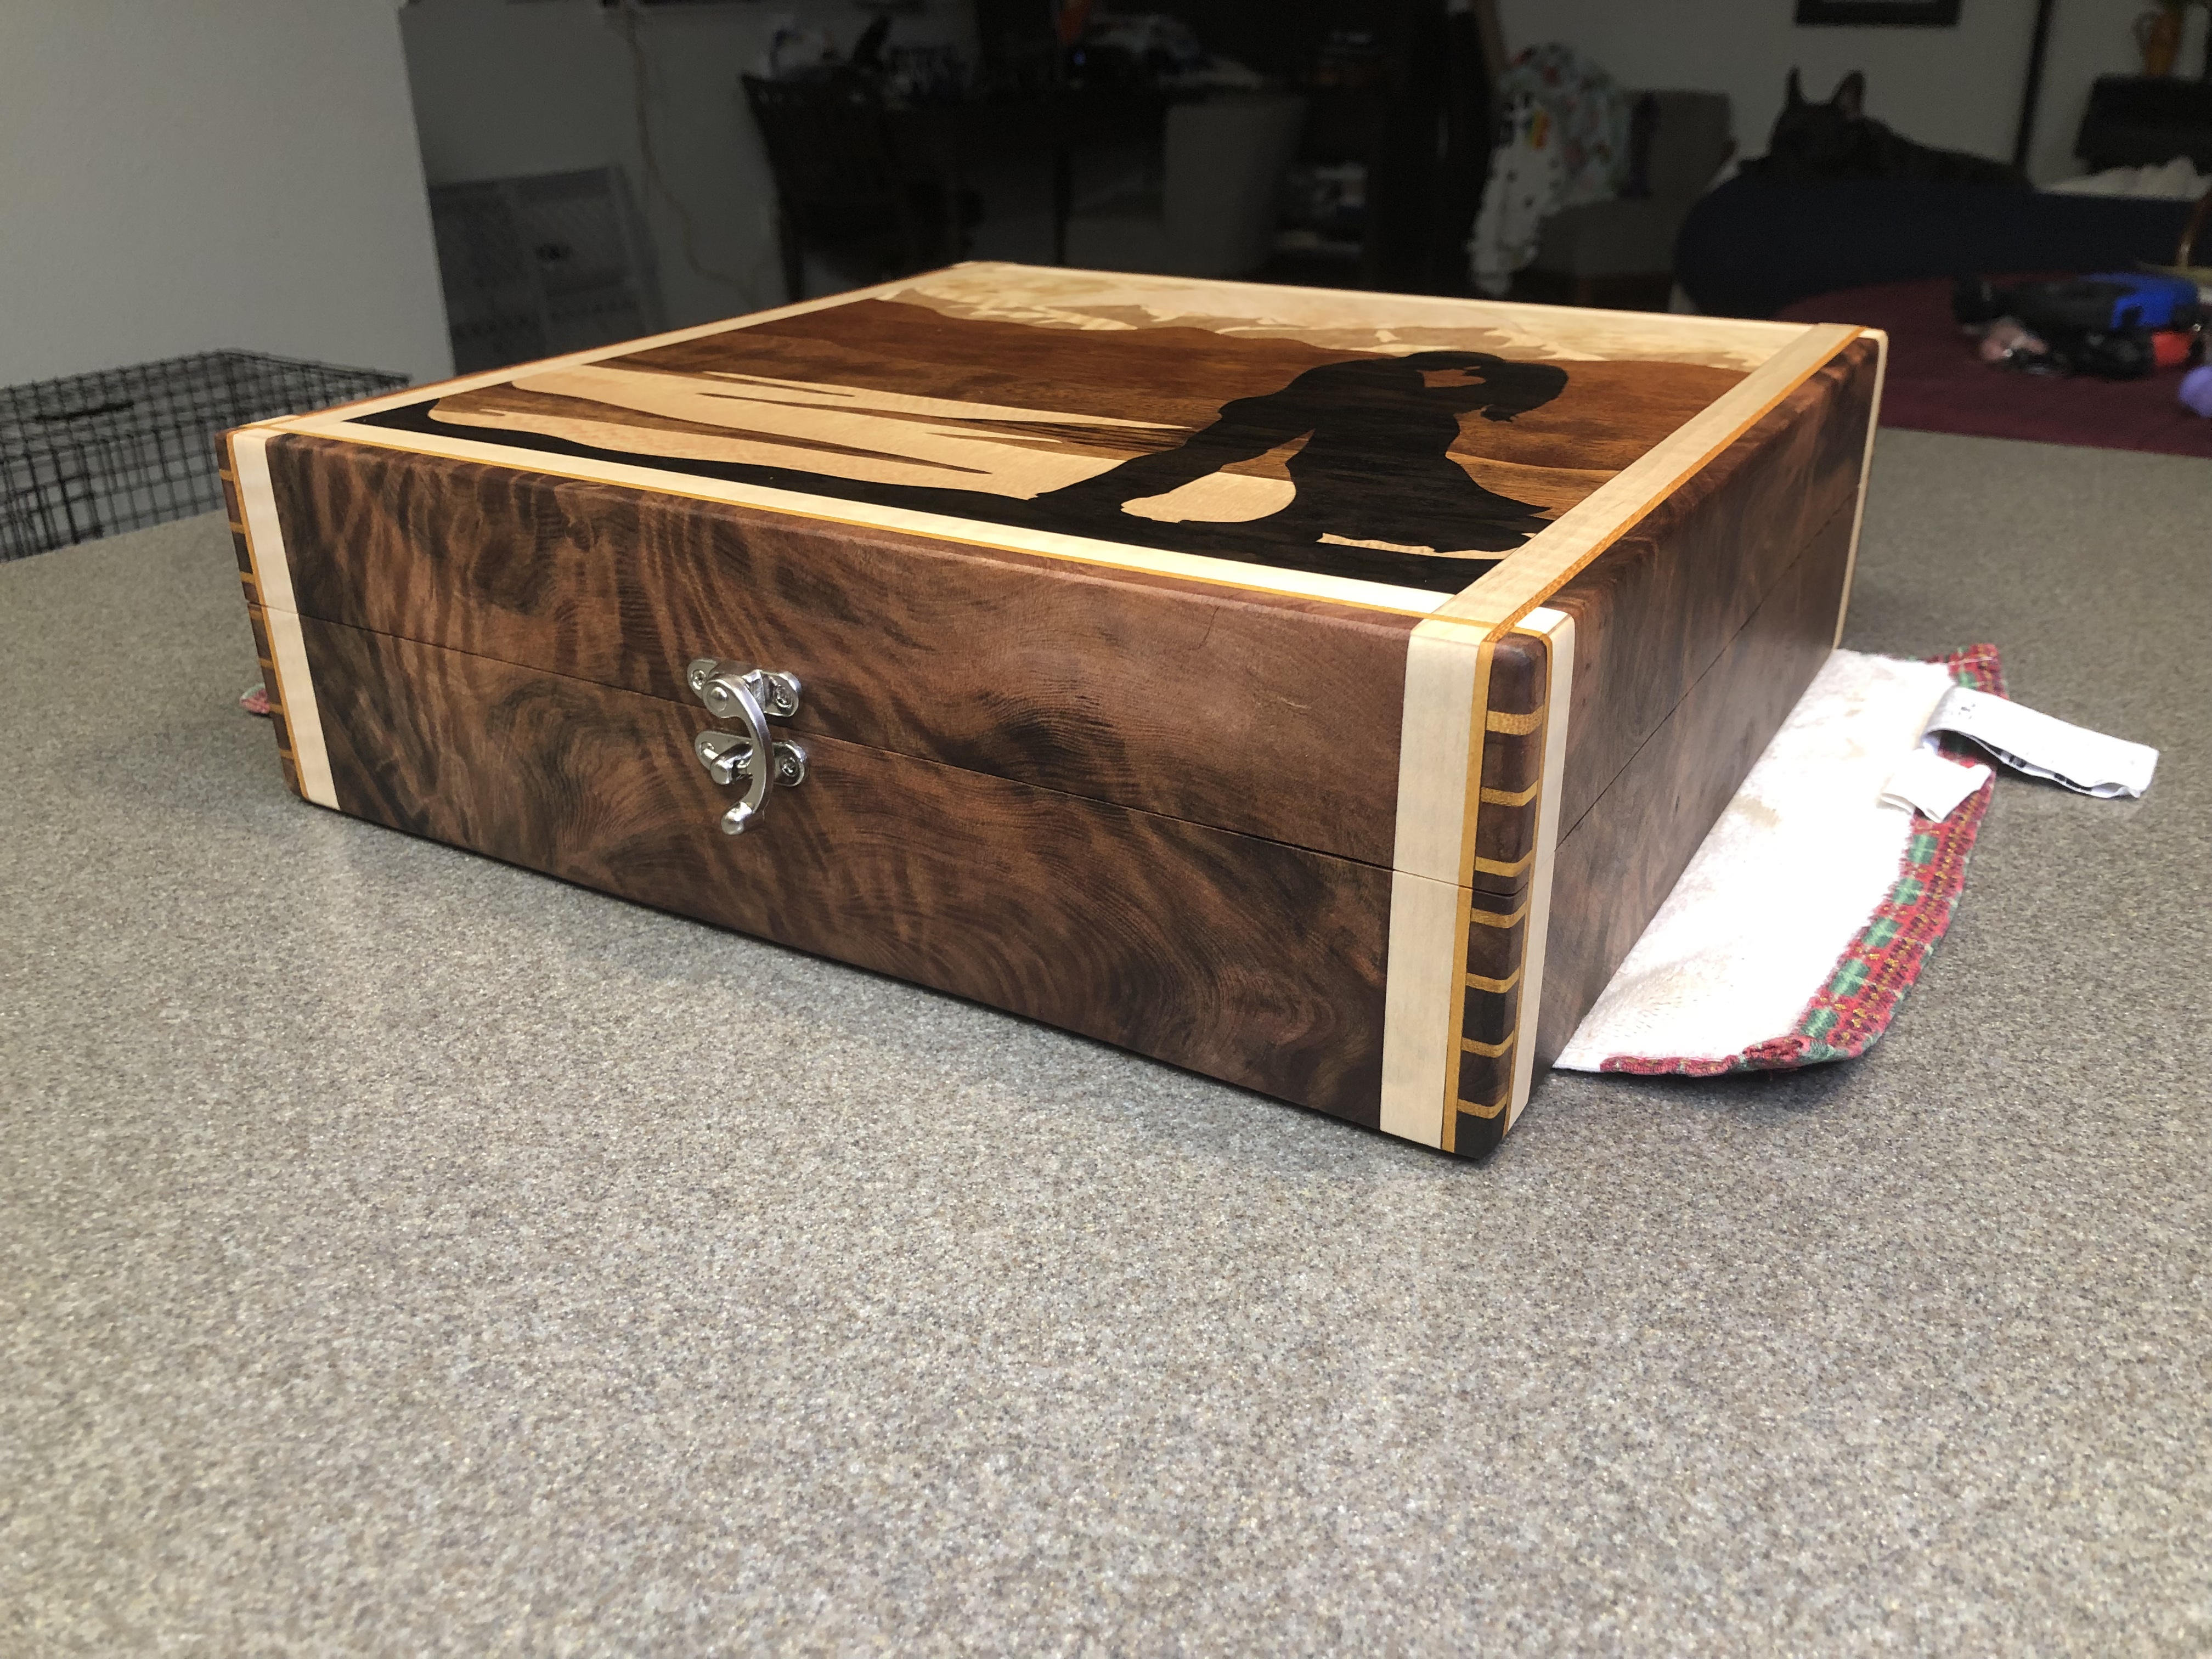
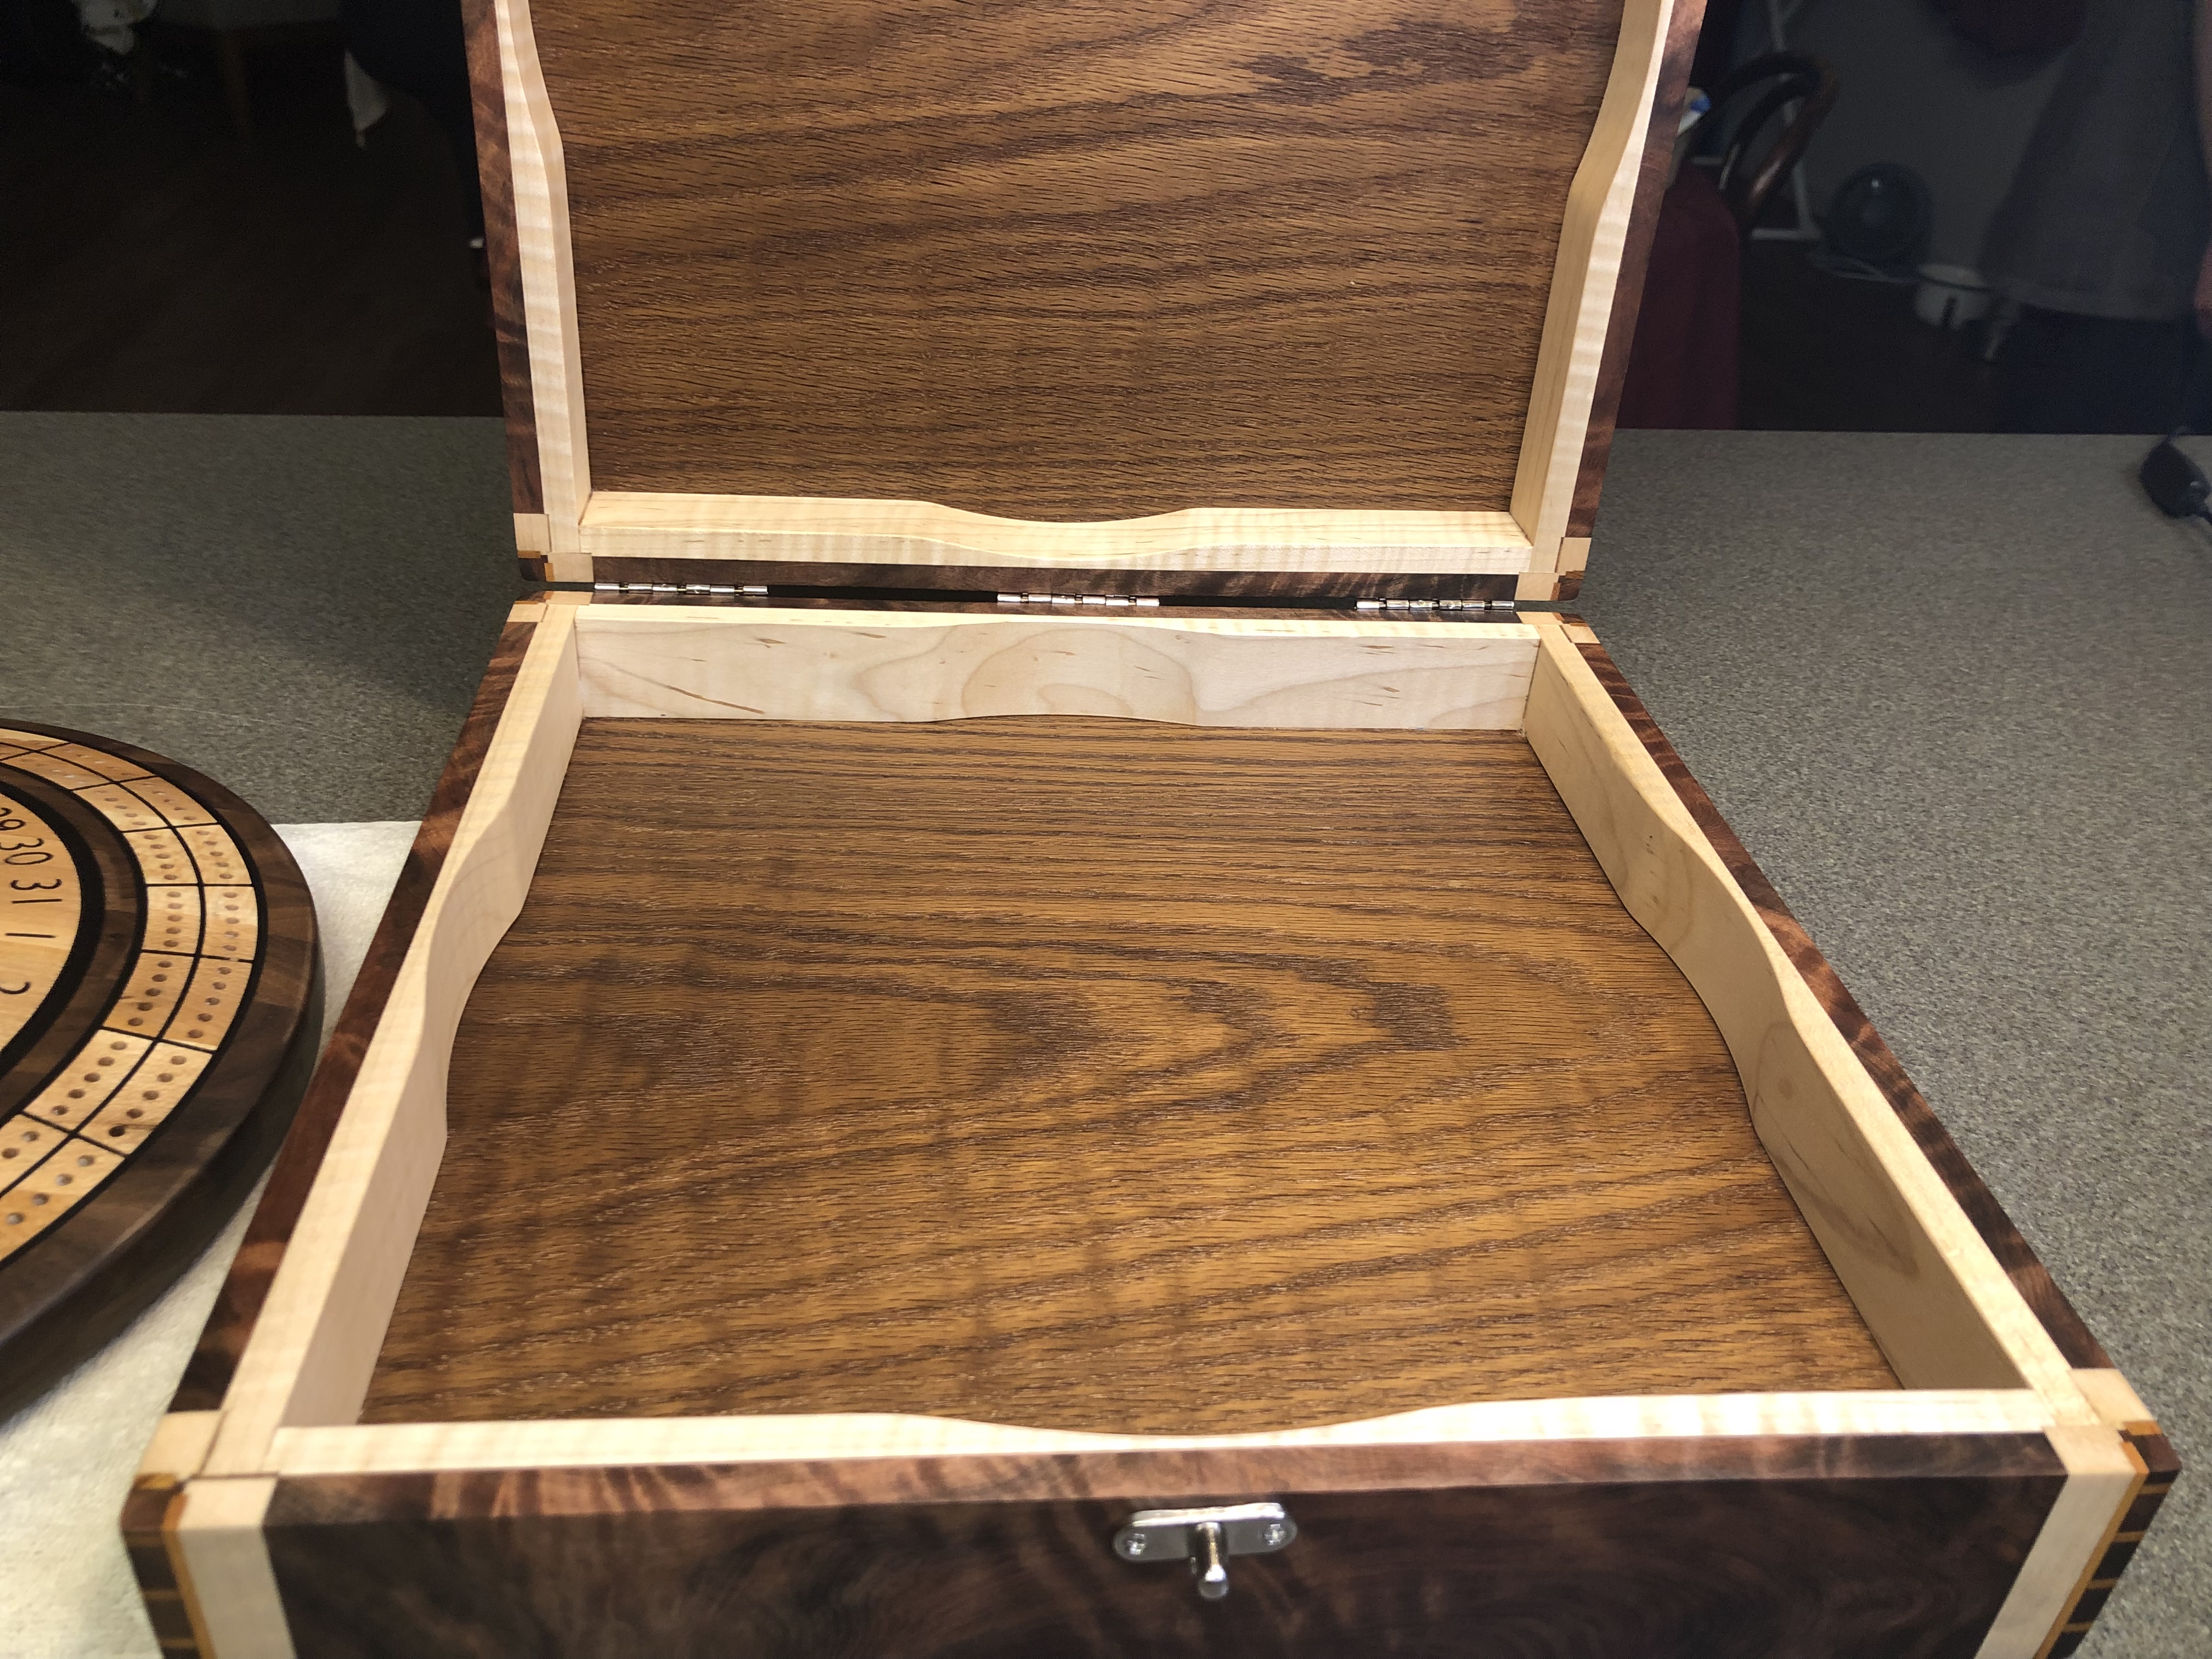
Also did some marquetry and started preparing the box. The OG Curly Redwood held up a lot better than expected. I ended up glueing the curly maple for the inside of the box before putting everything together. I needed a little bit more stability of the softer redwood. Should be pretty neat once done. I got some cool plans for some inlays on the box.
@CullenS you should see all my mistakes and toss aways, big thing is to do hard things and if it doesn’t turn out, rinse and repeat. My burn box is full of mistakes.
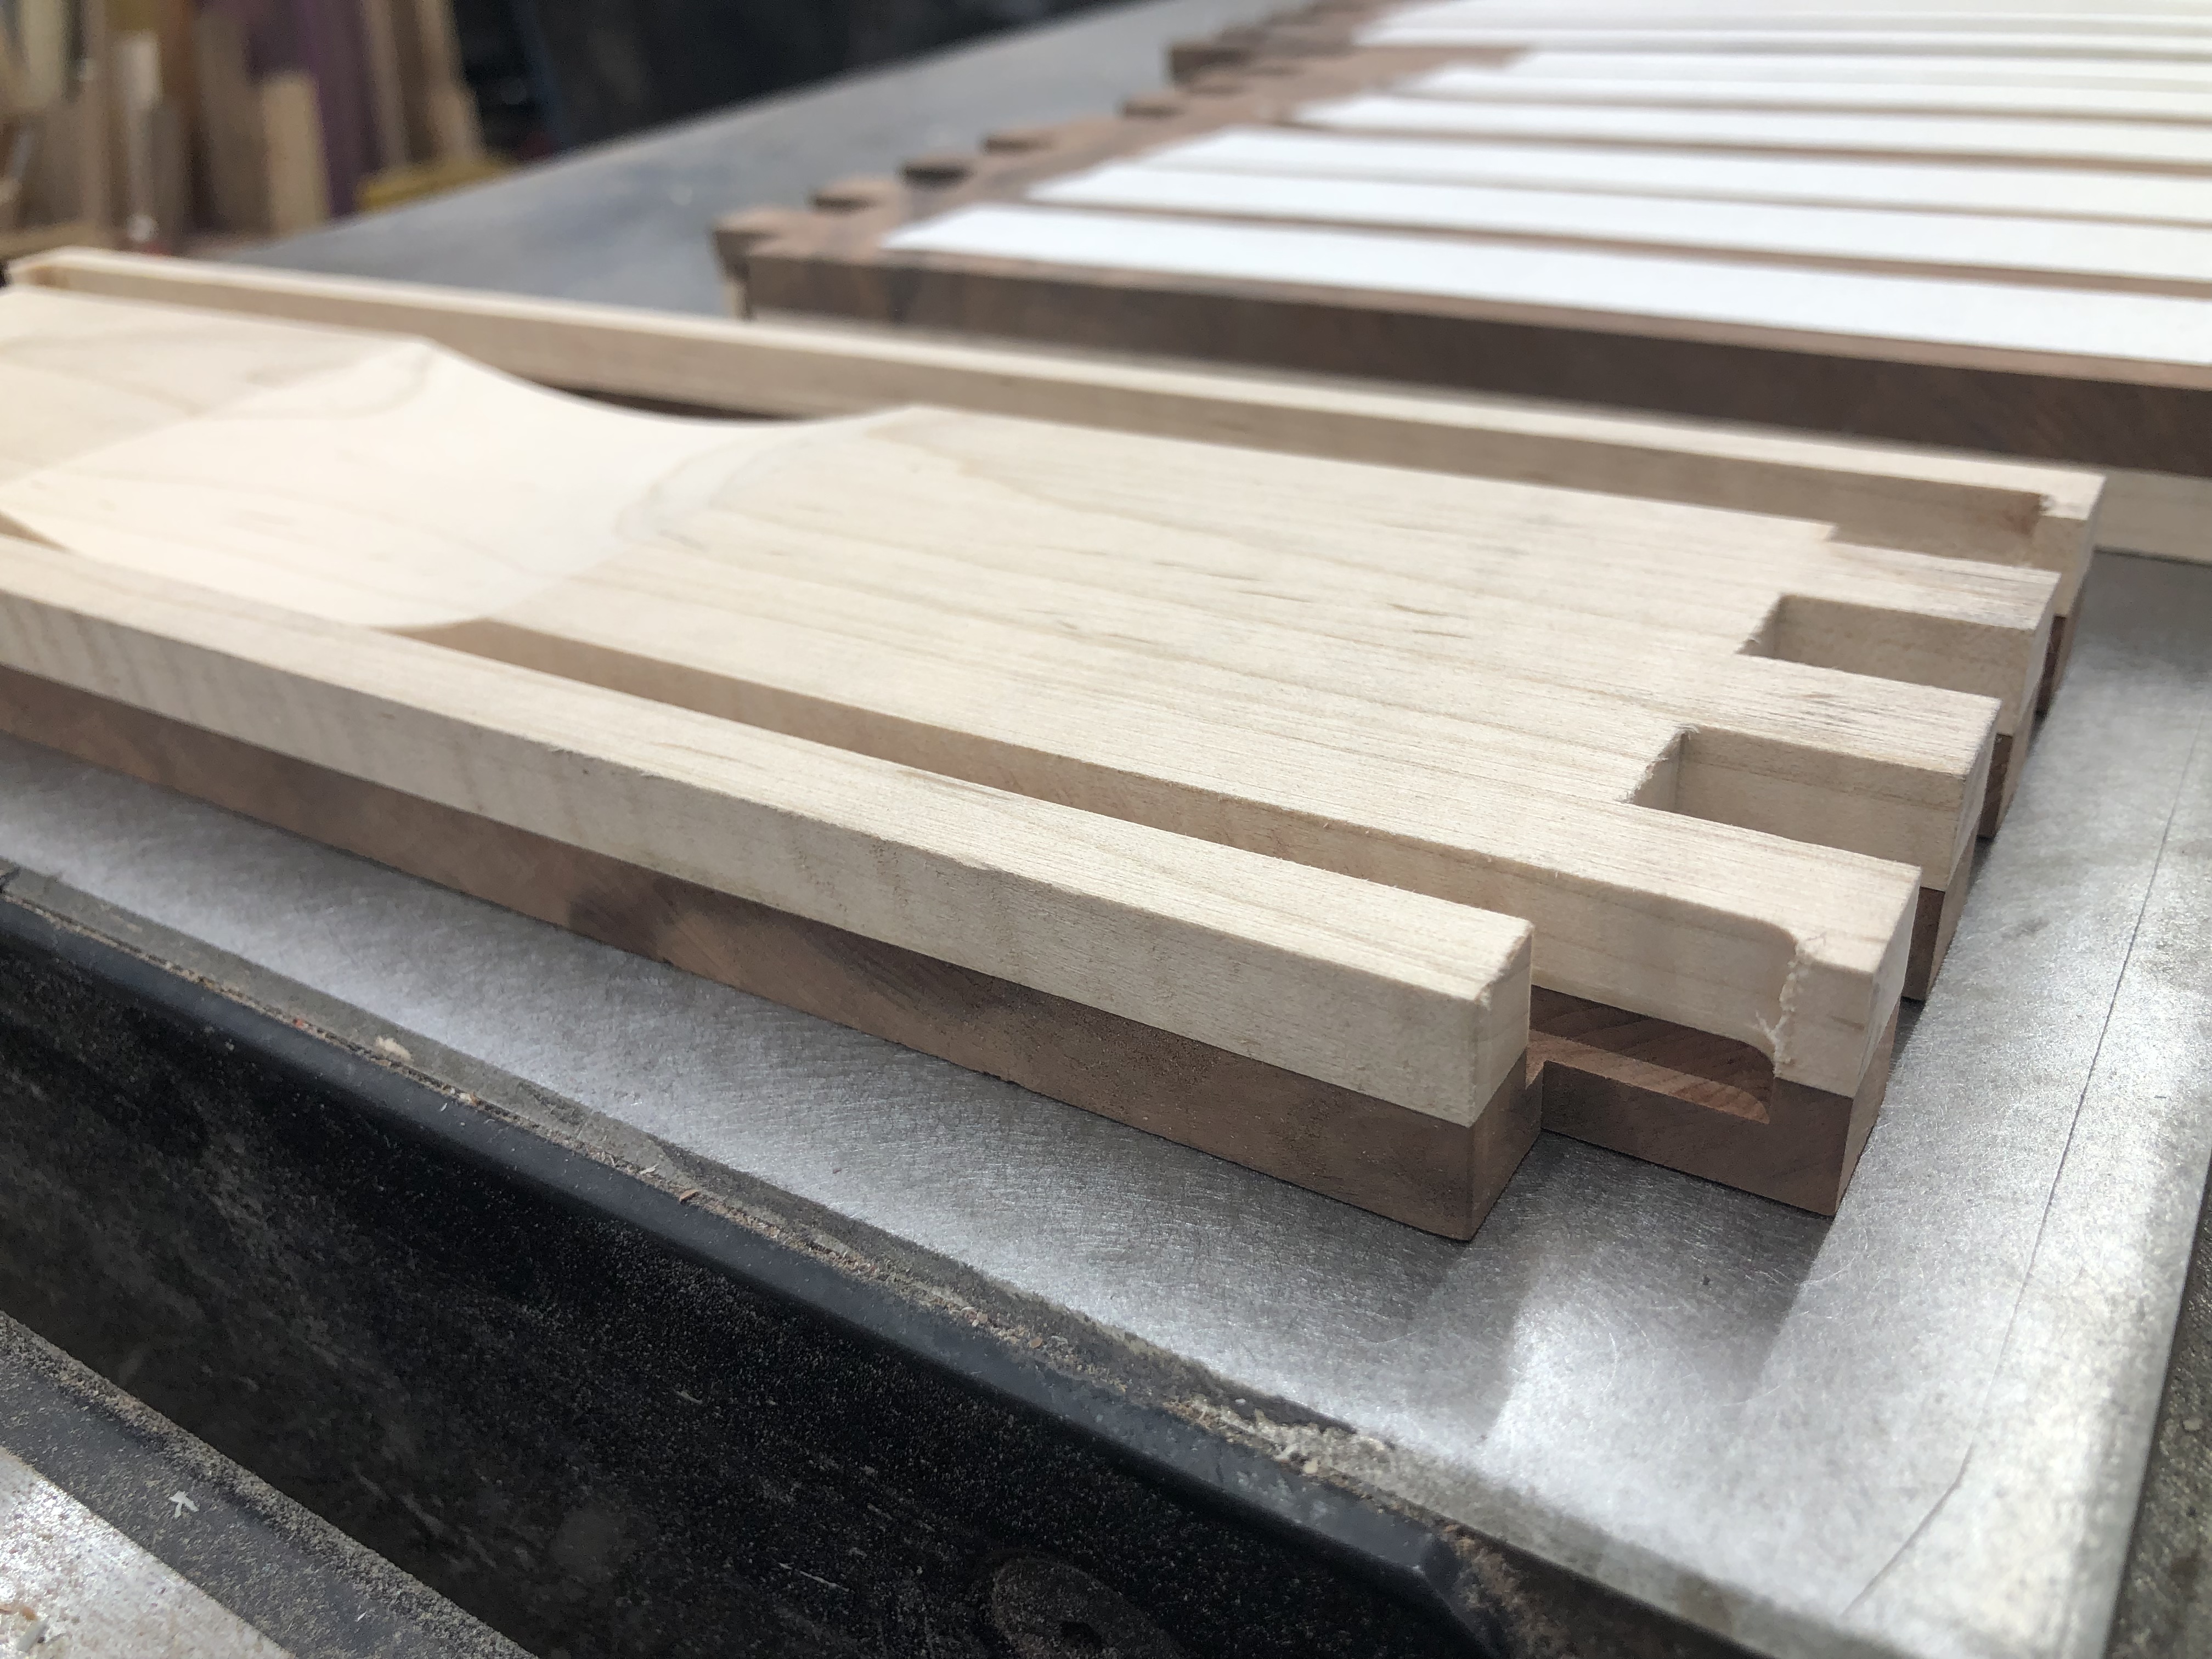
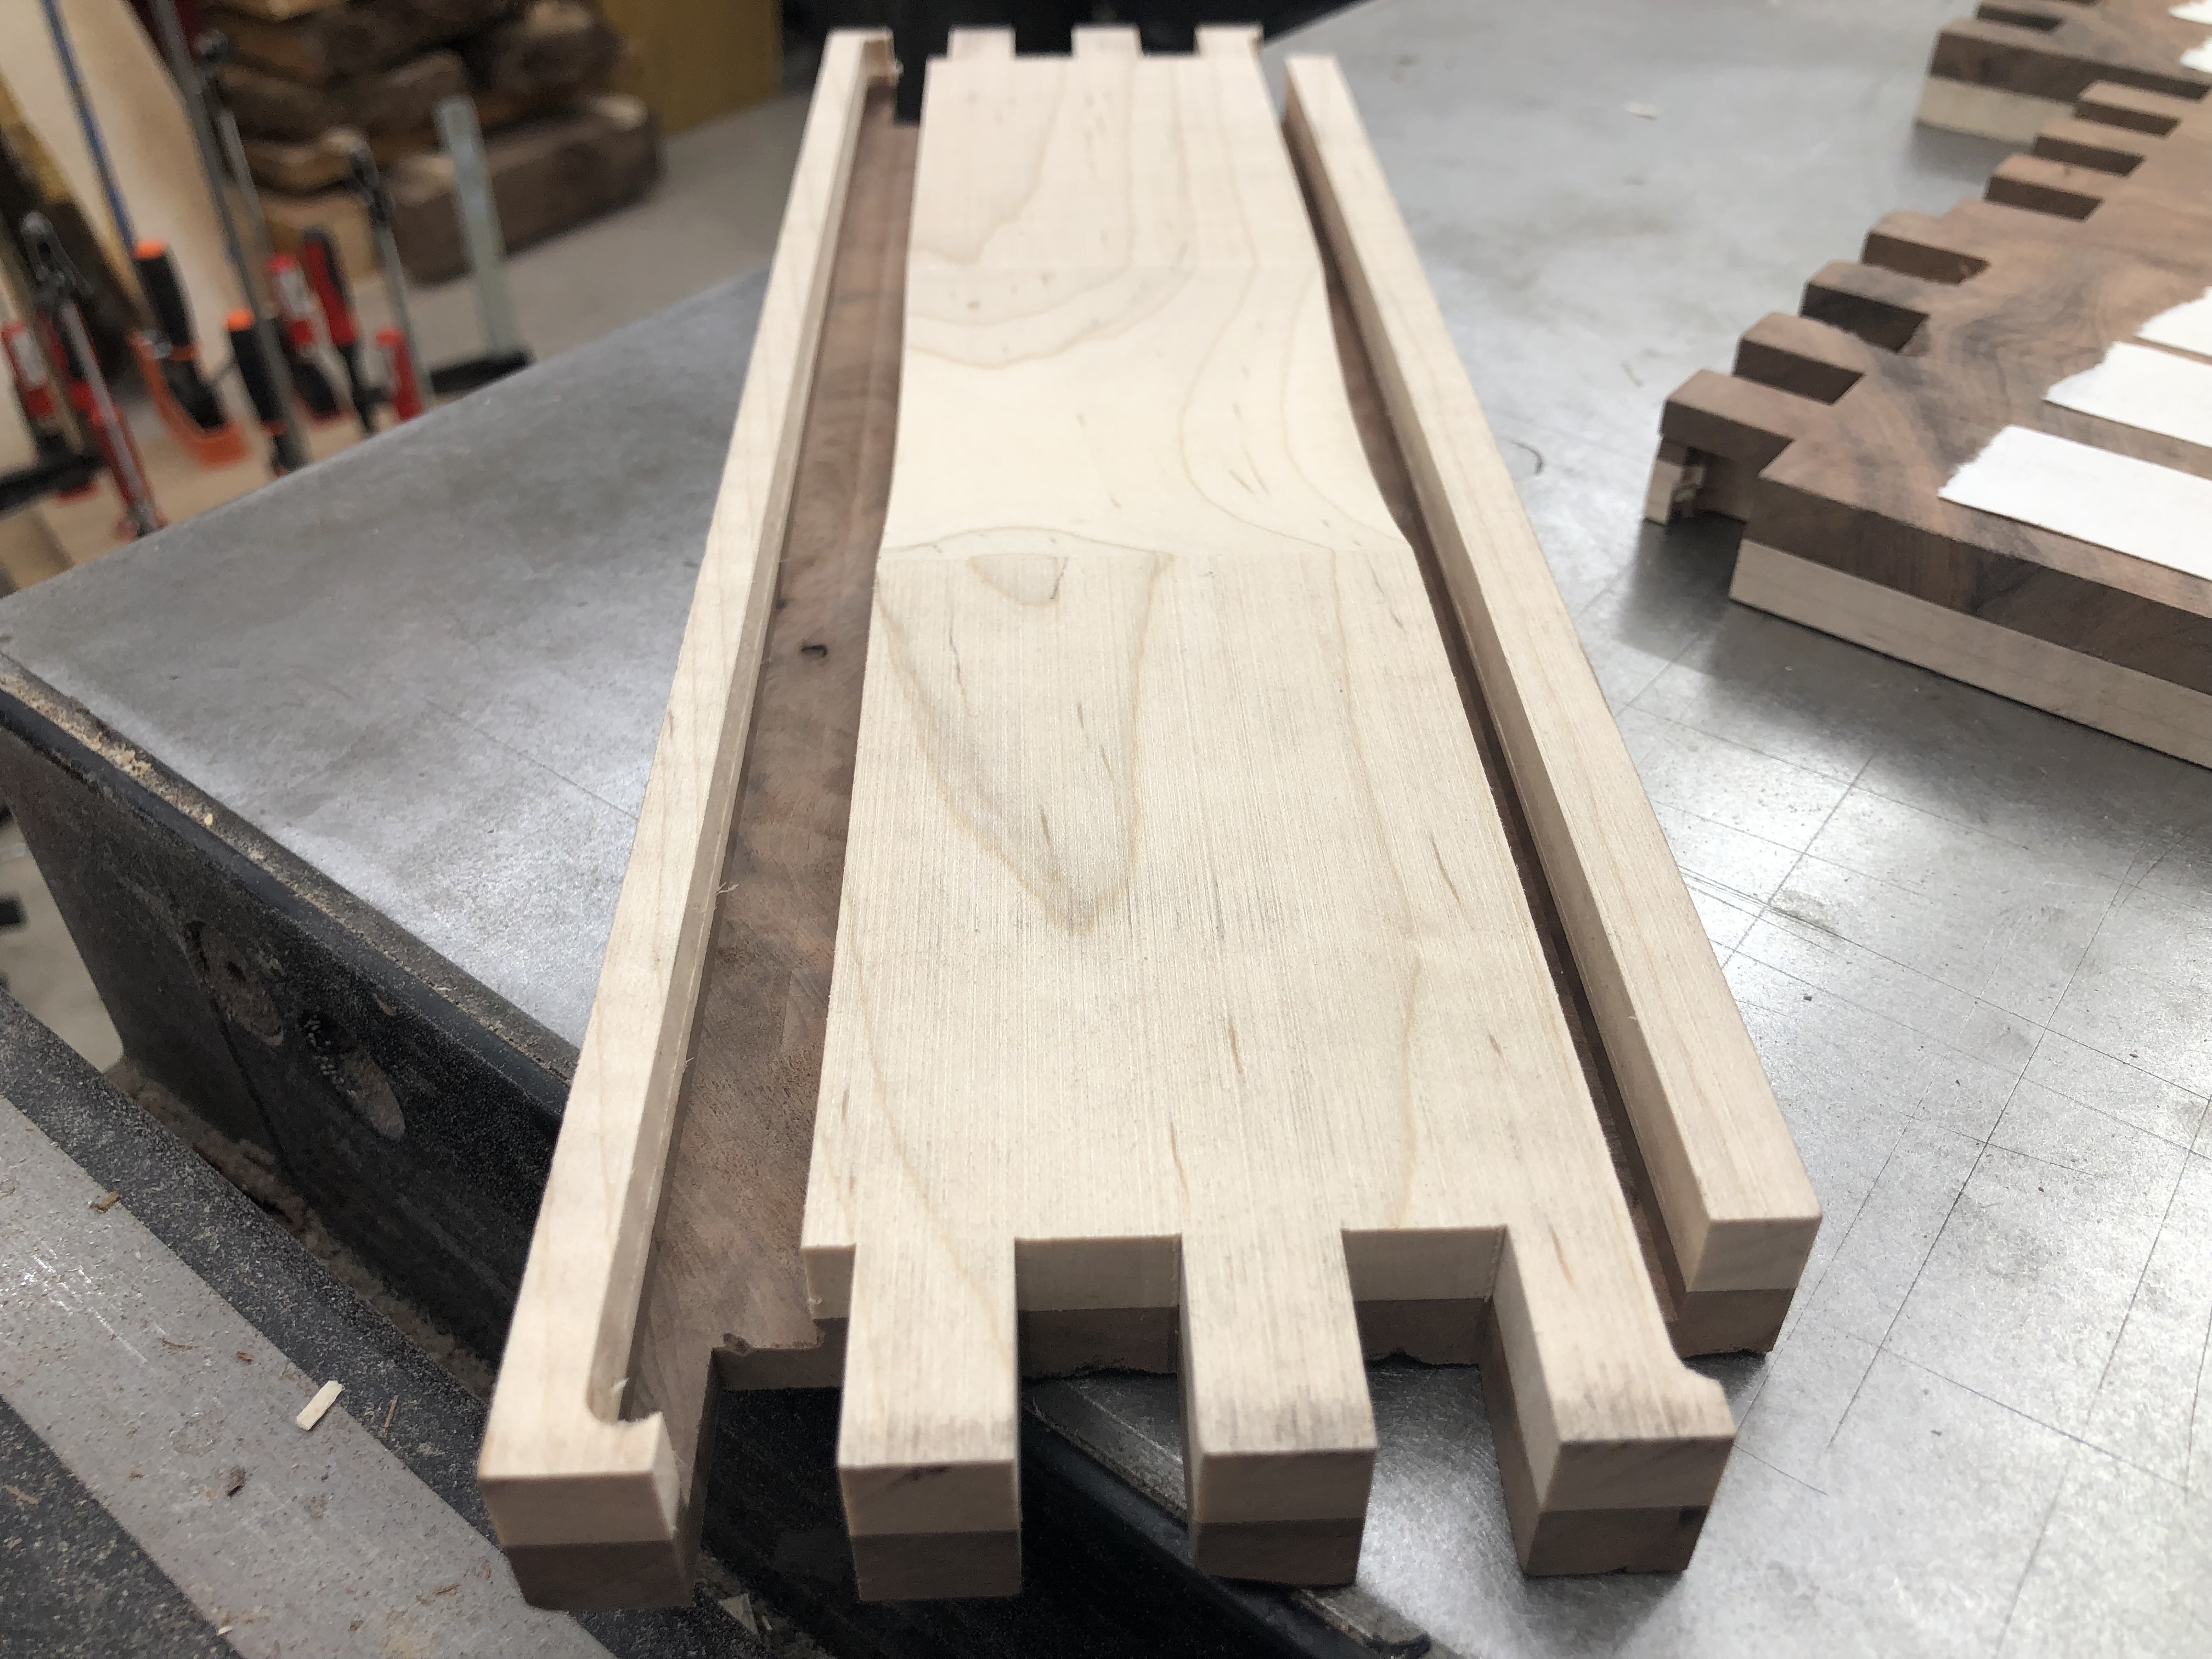
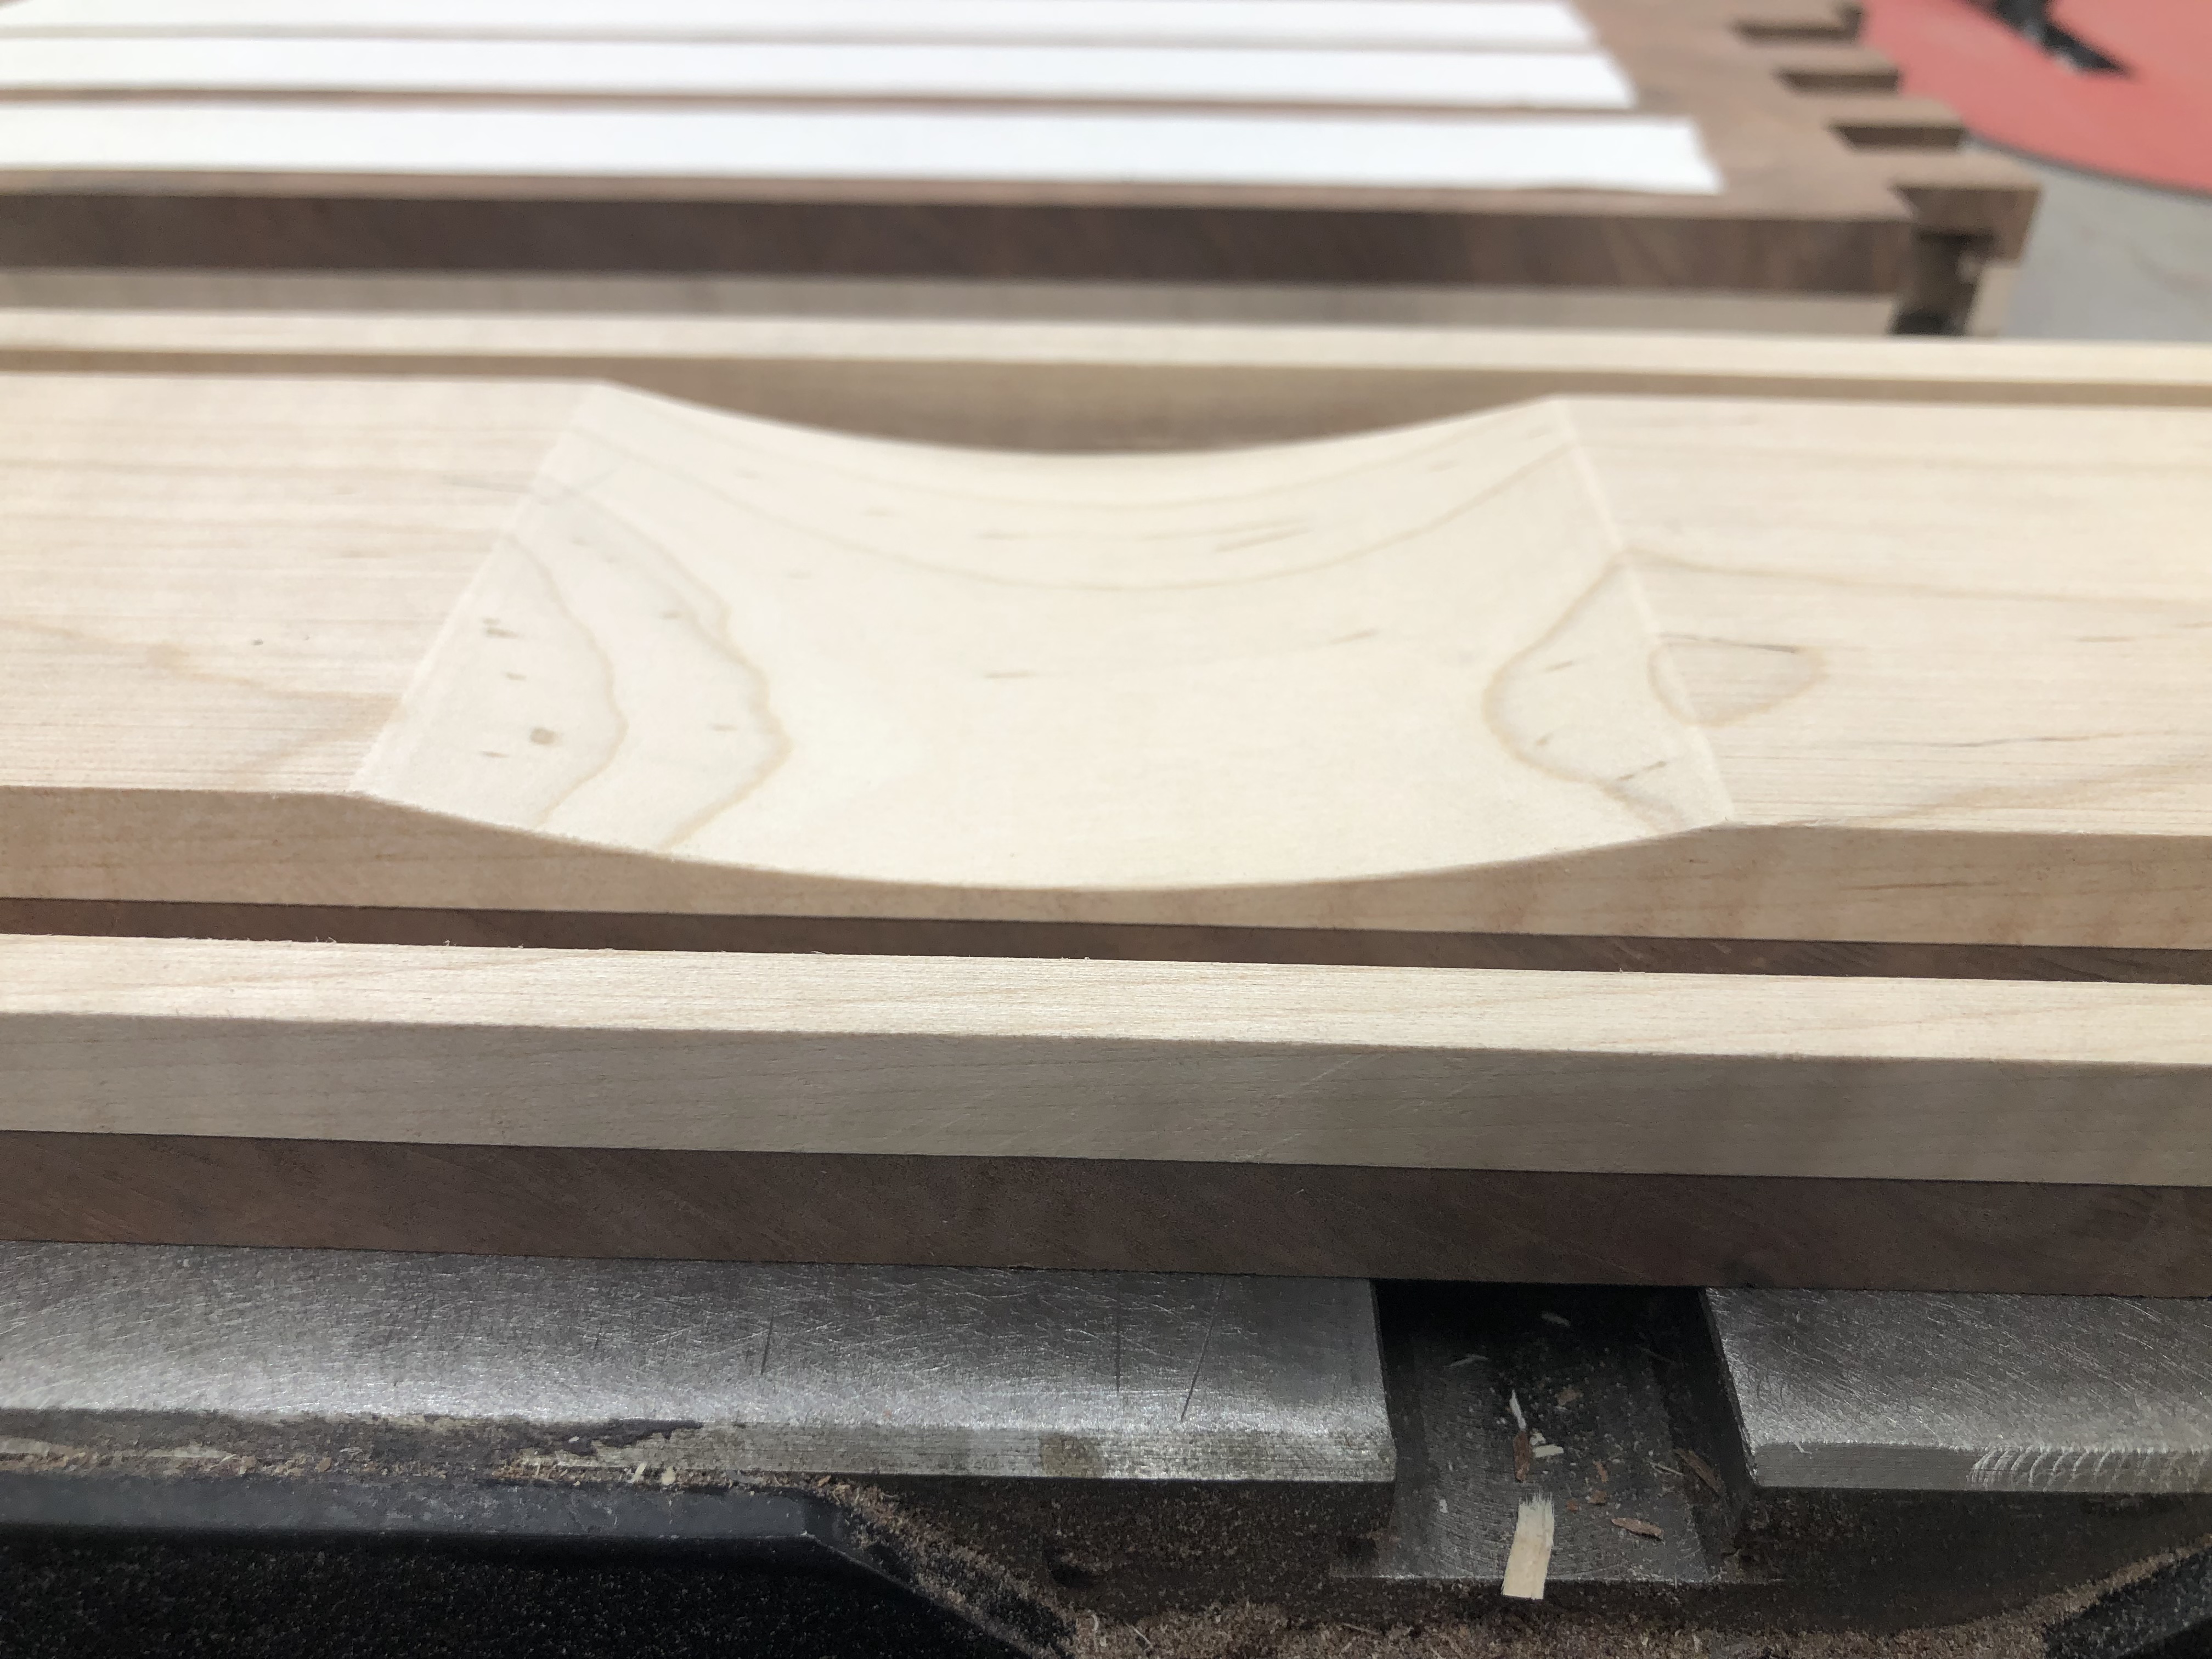
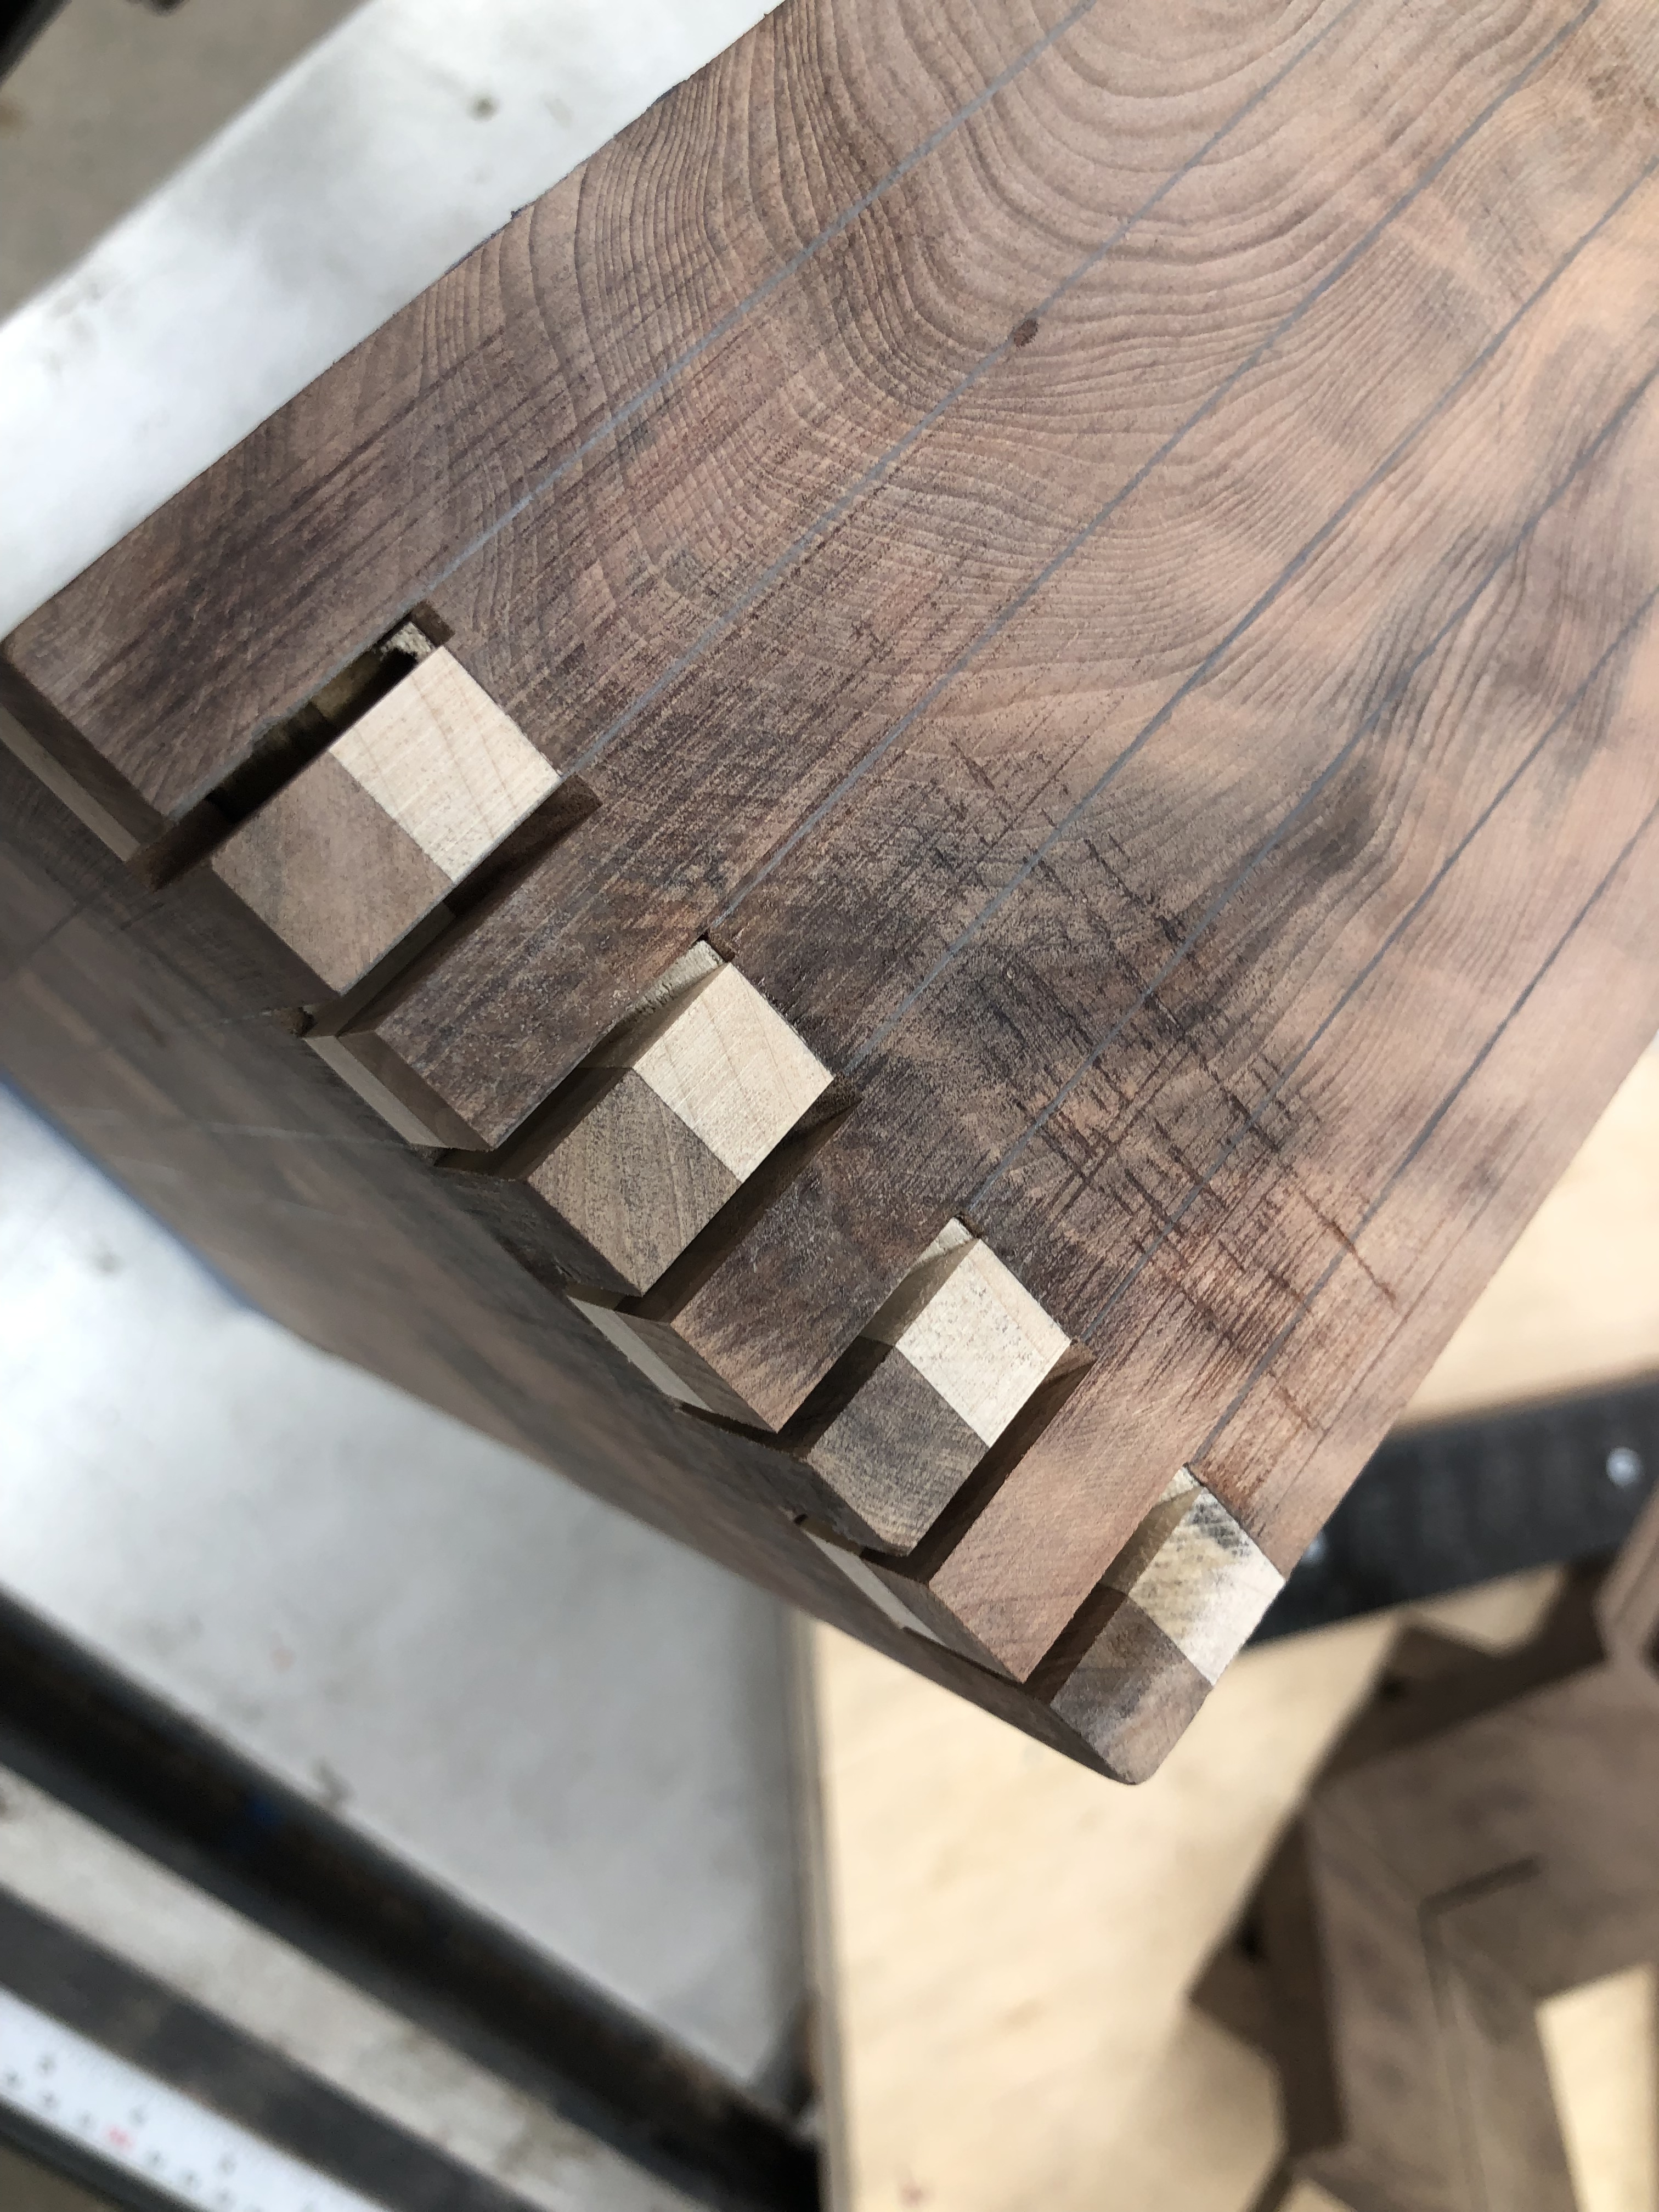
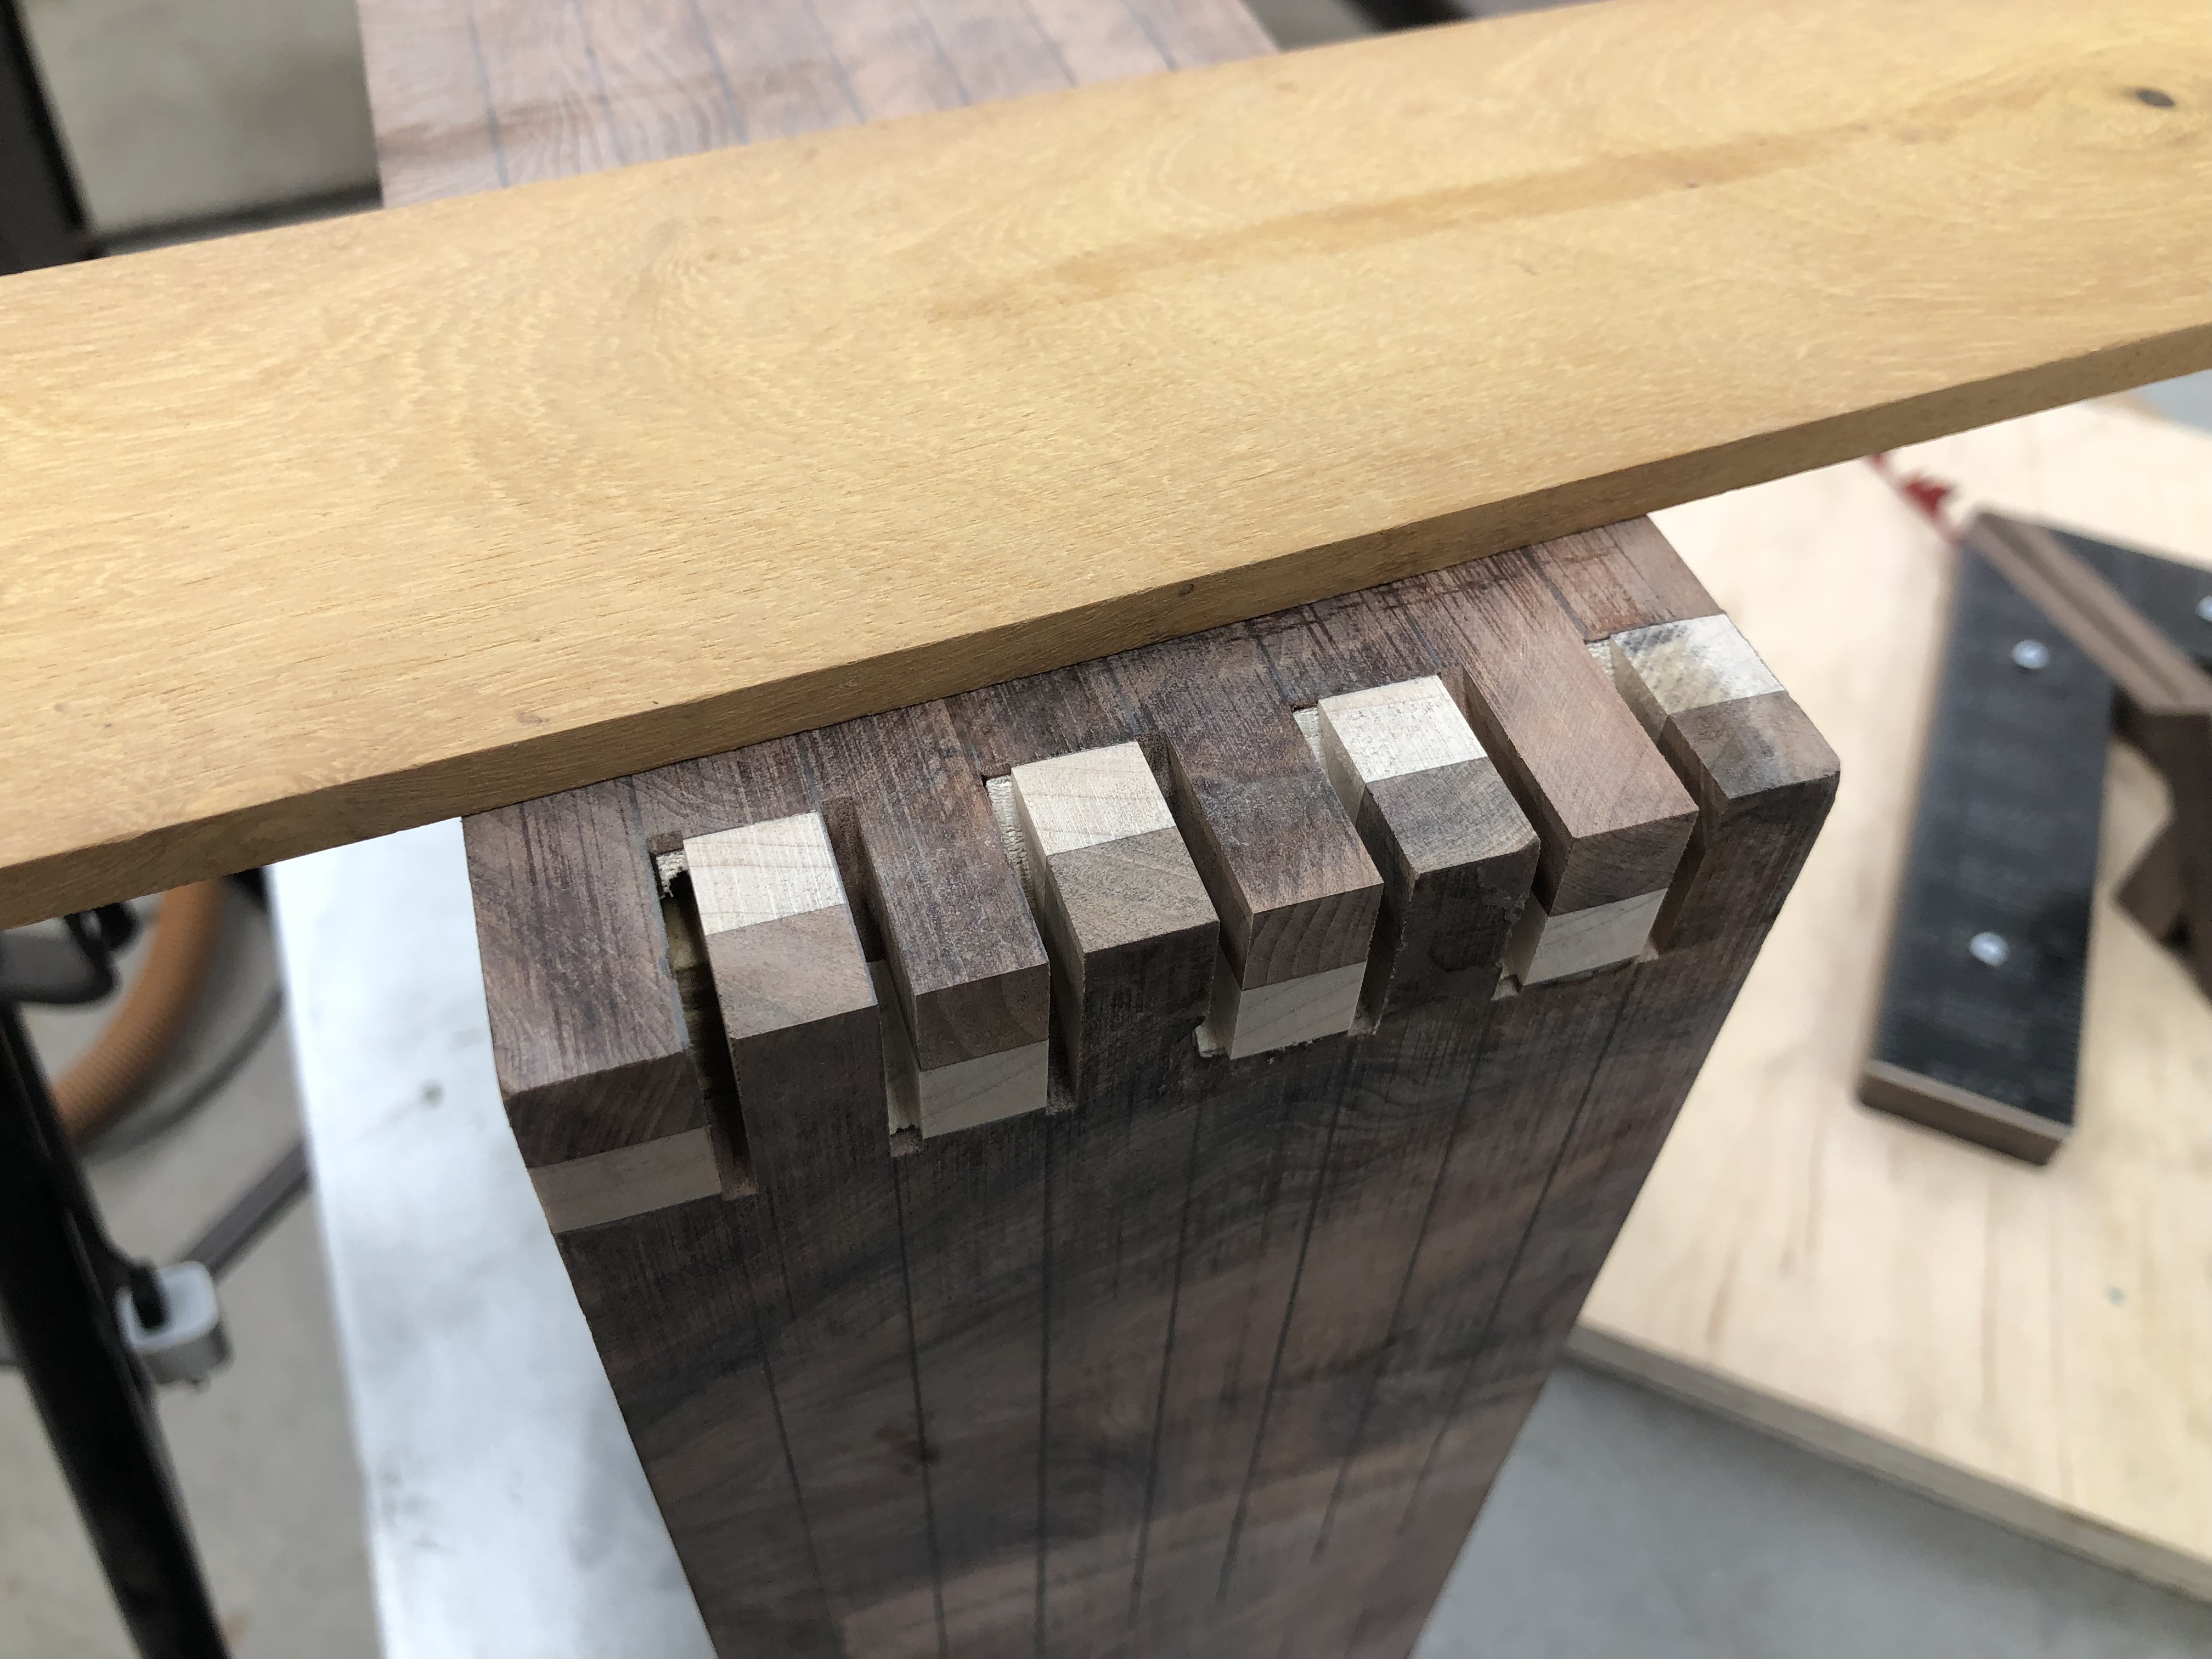
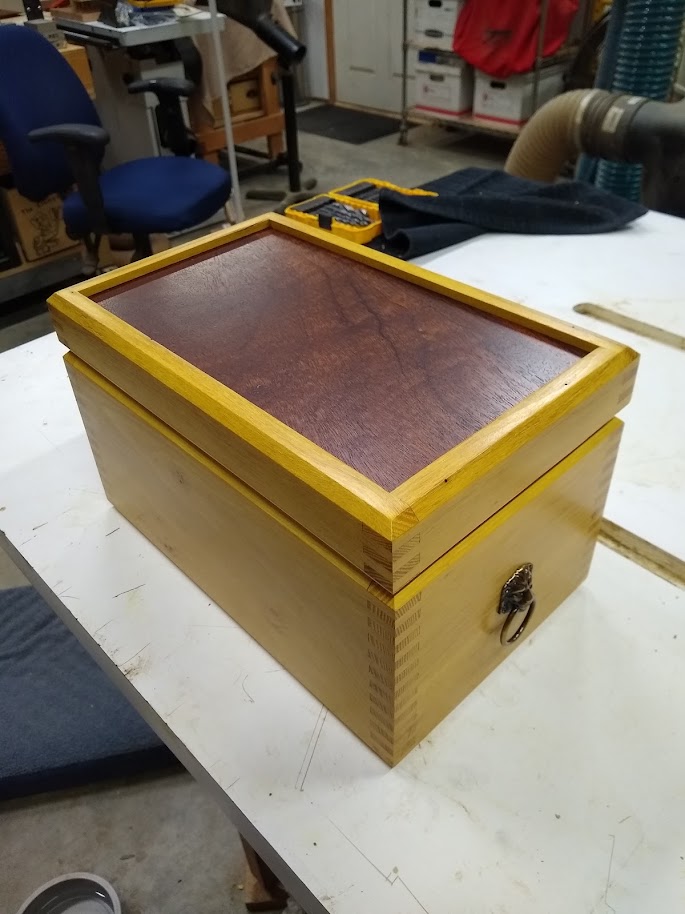
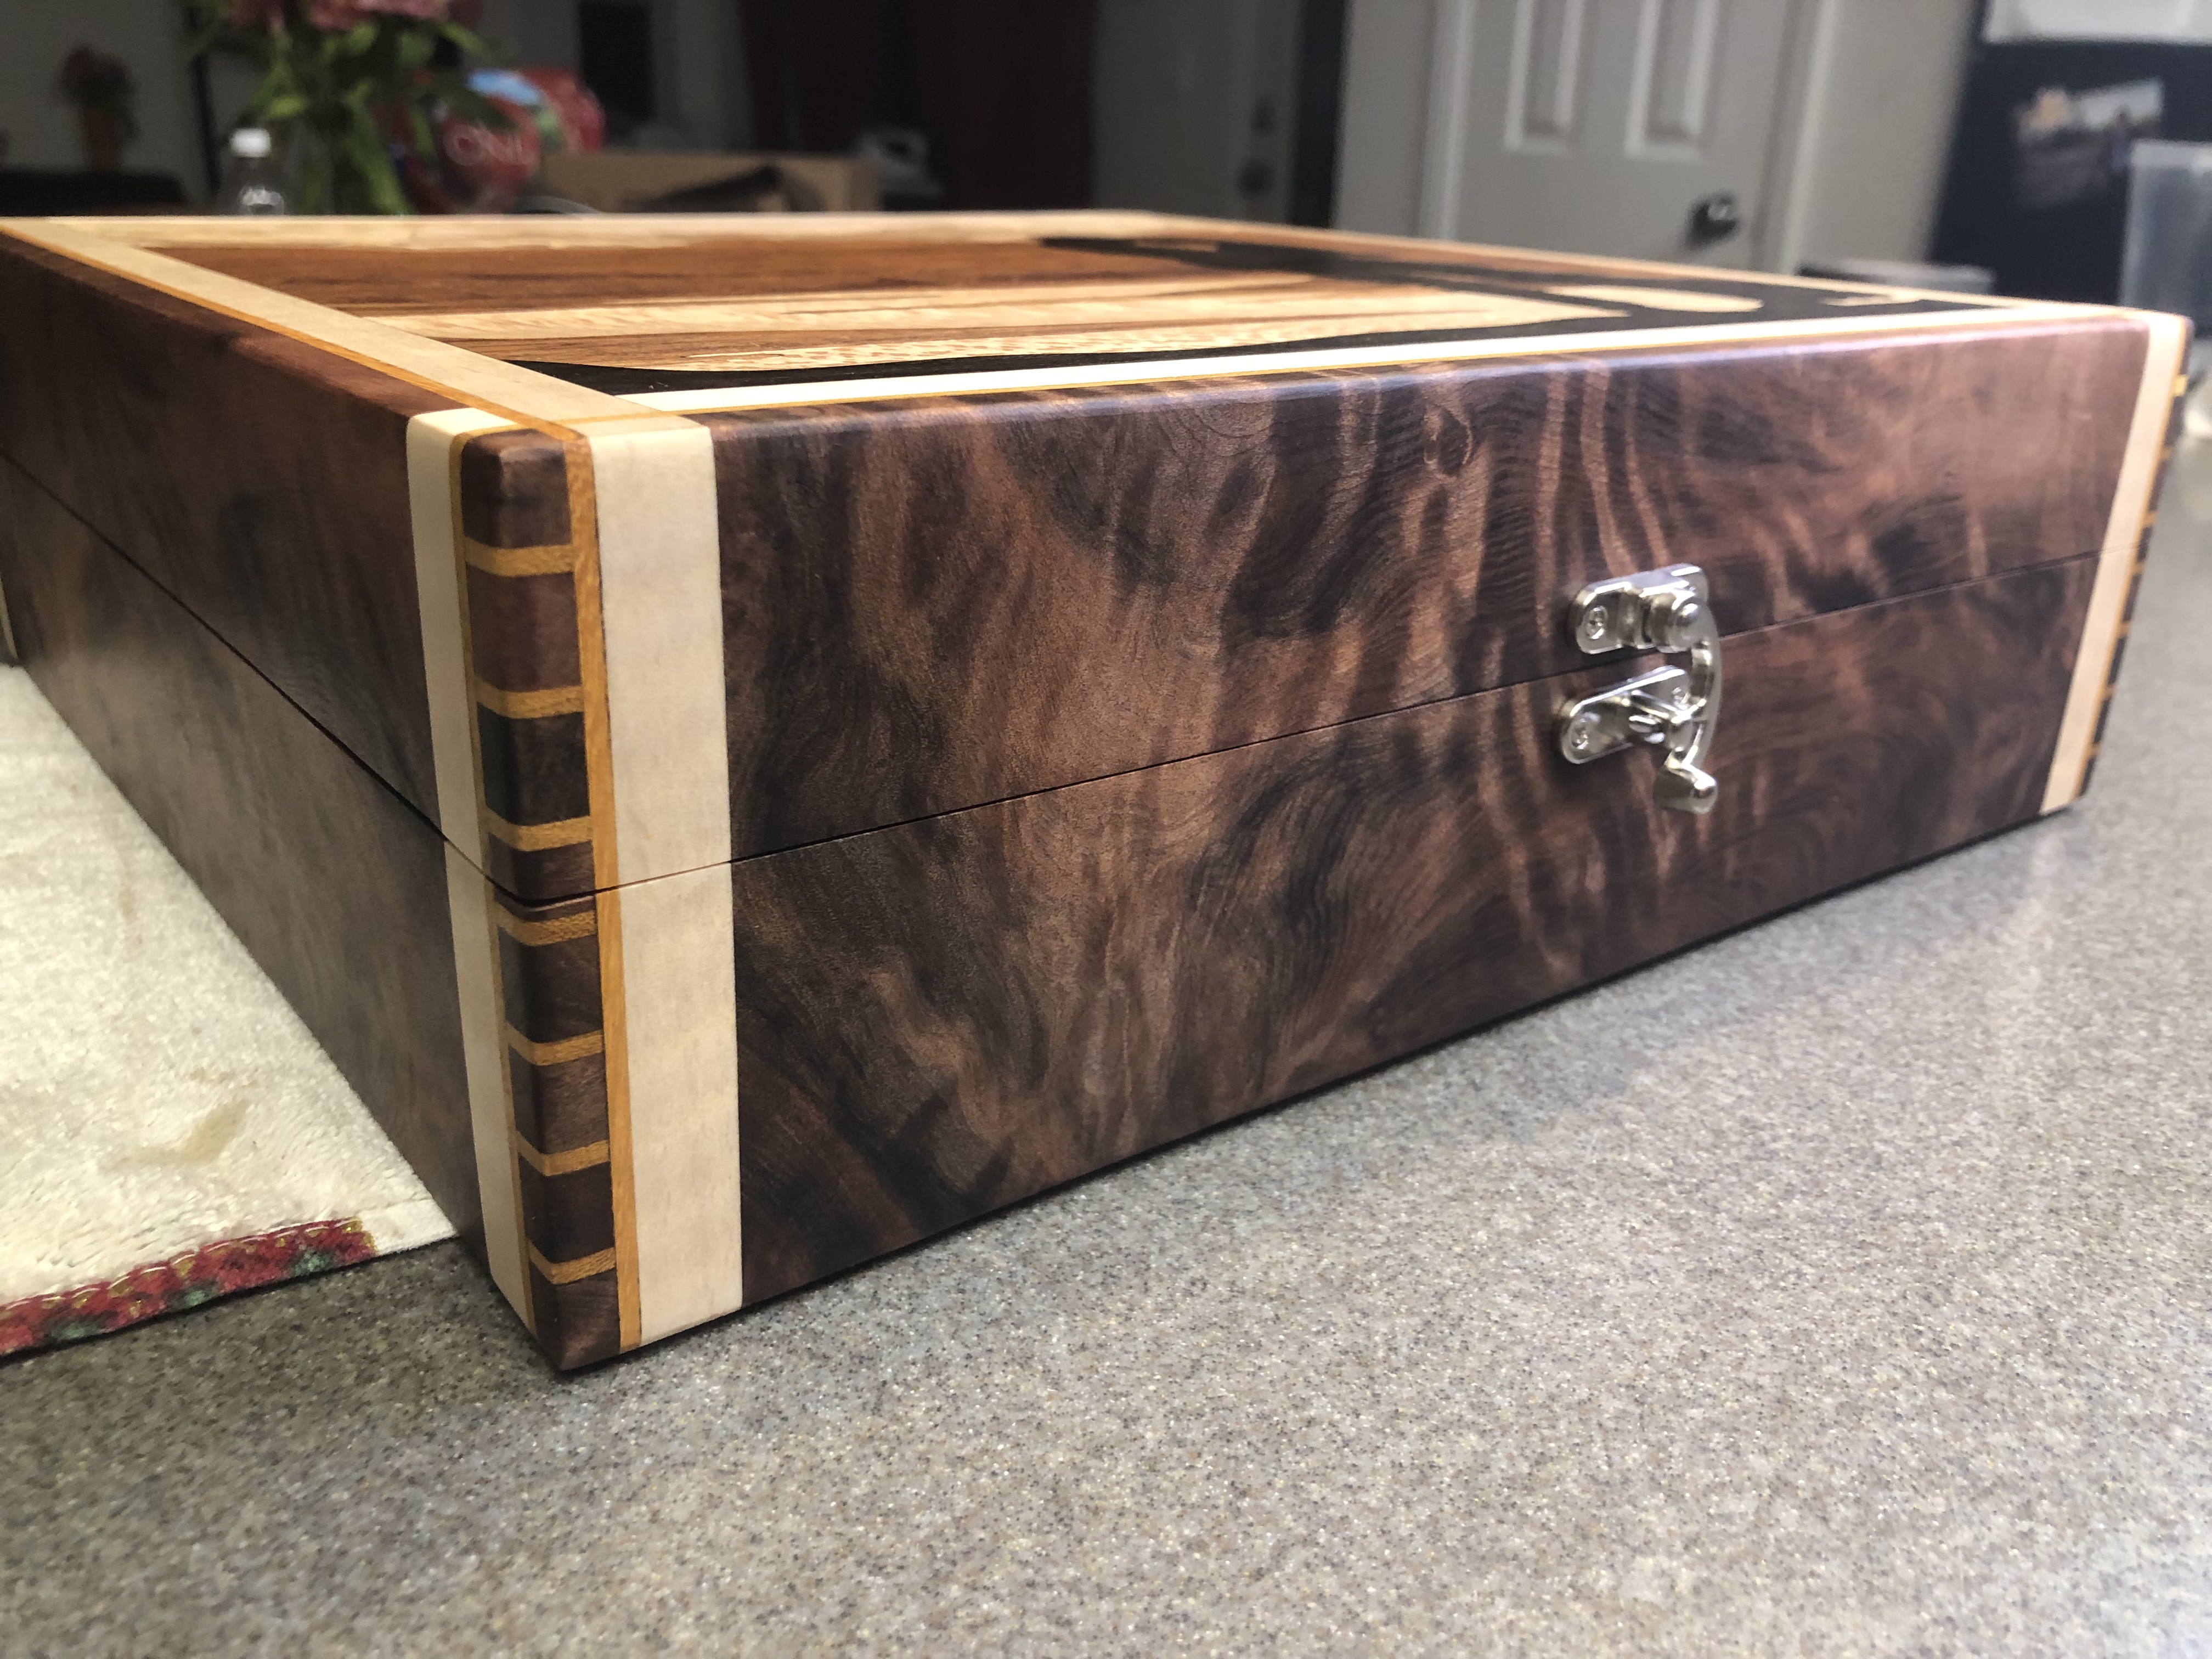
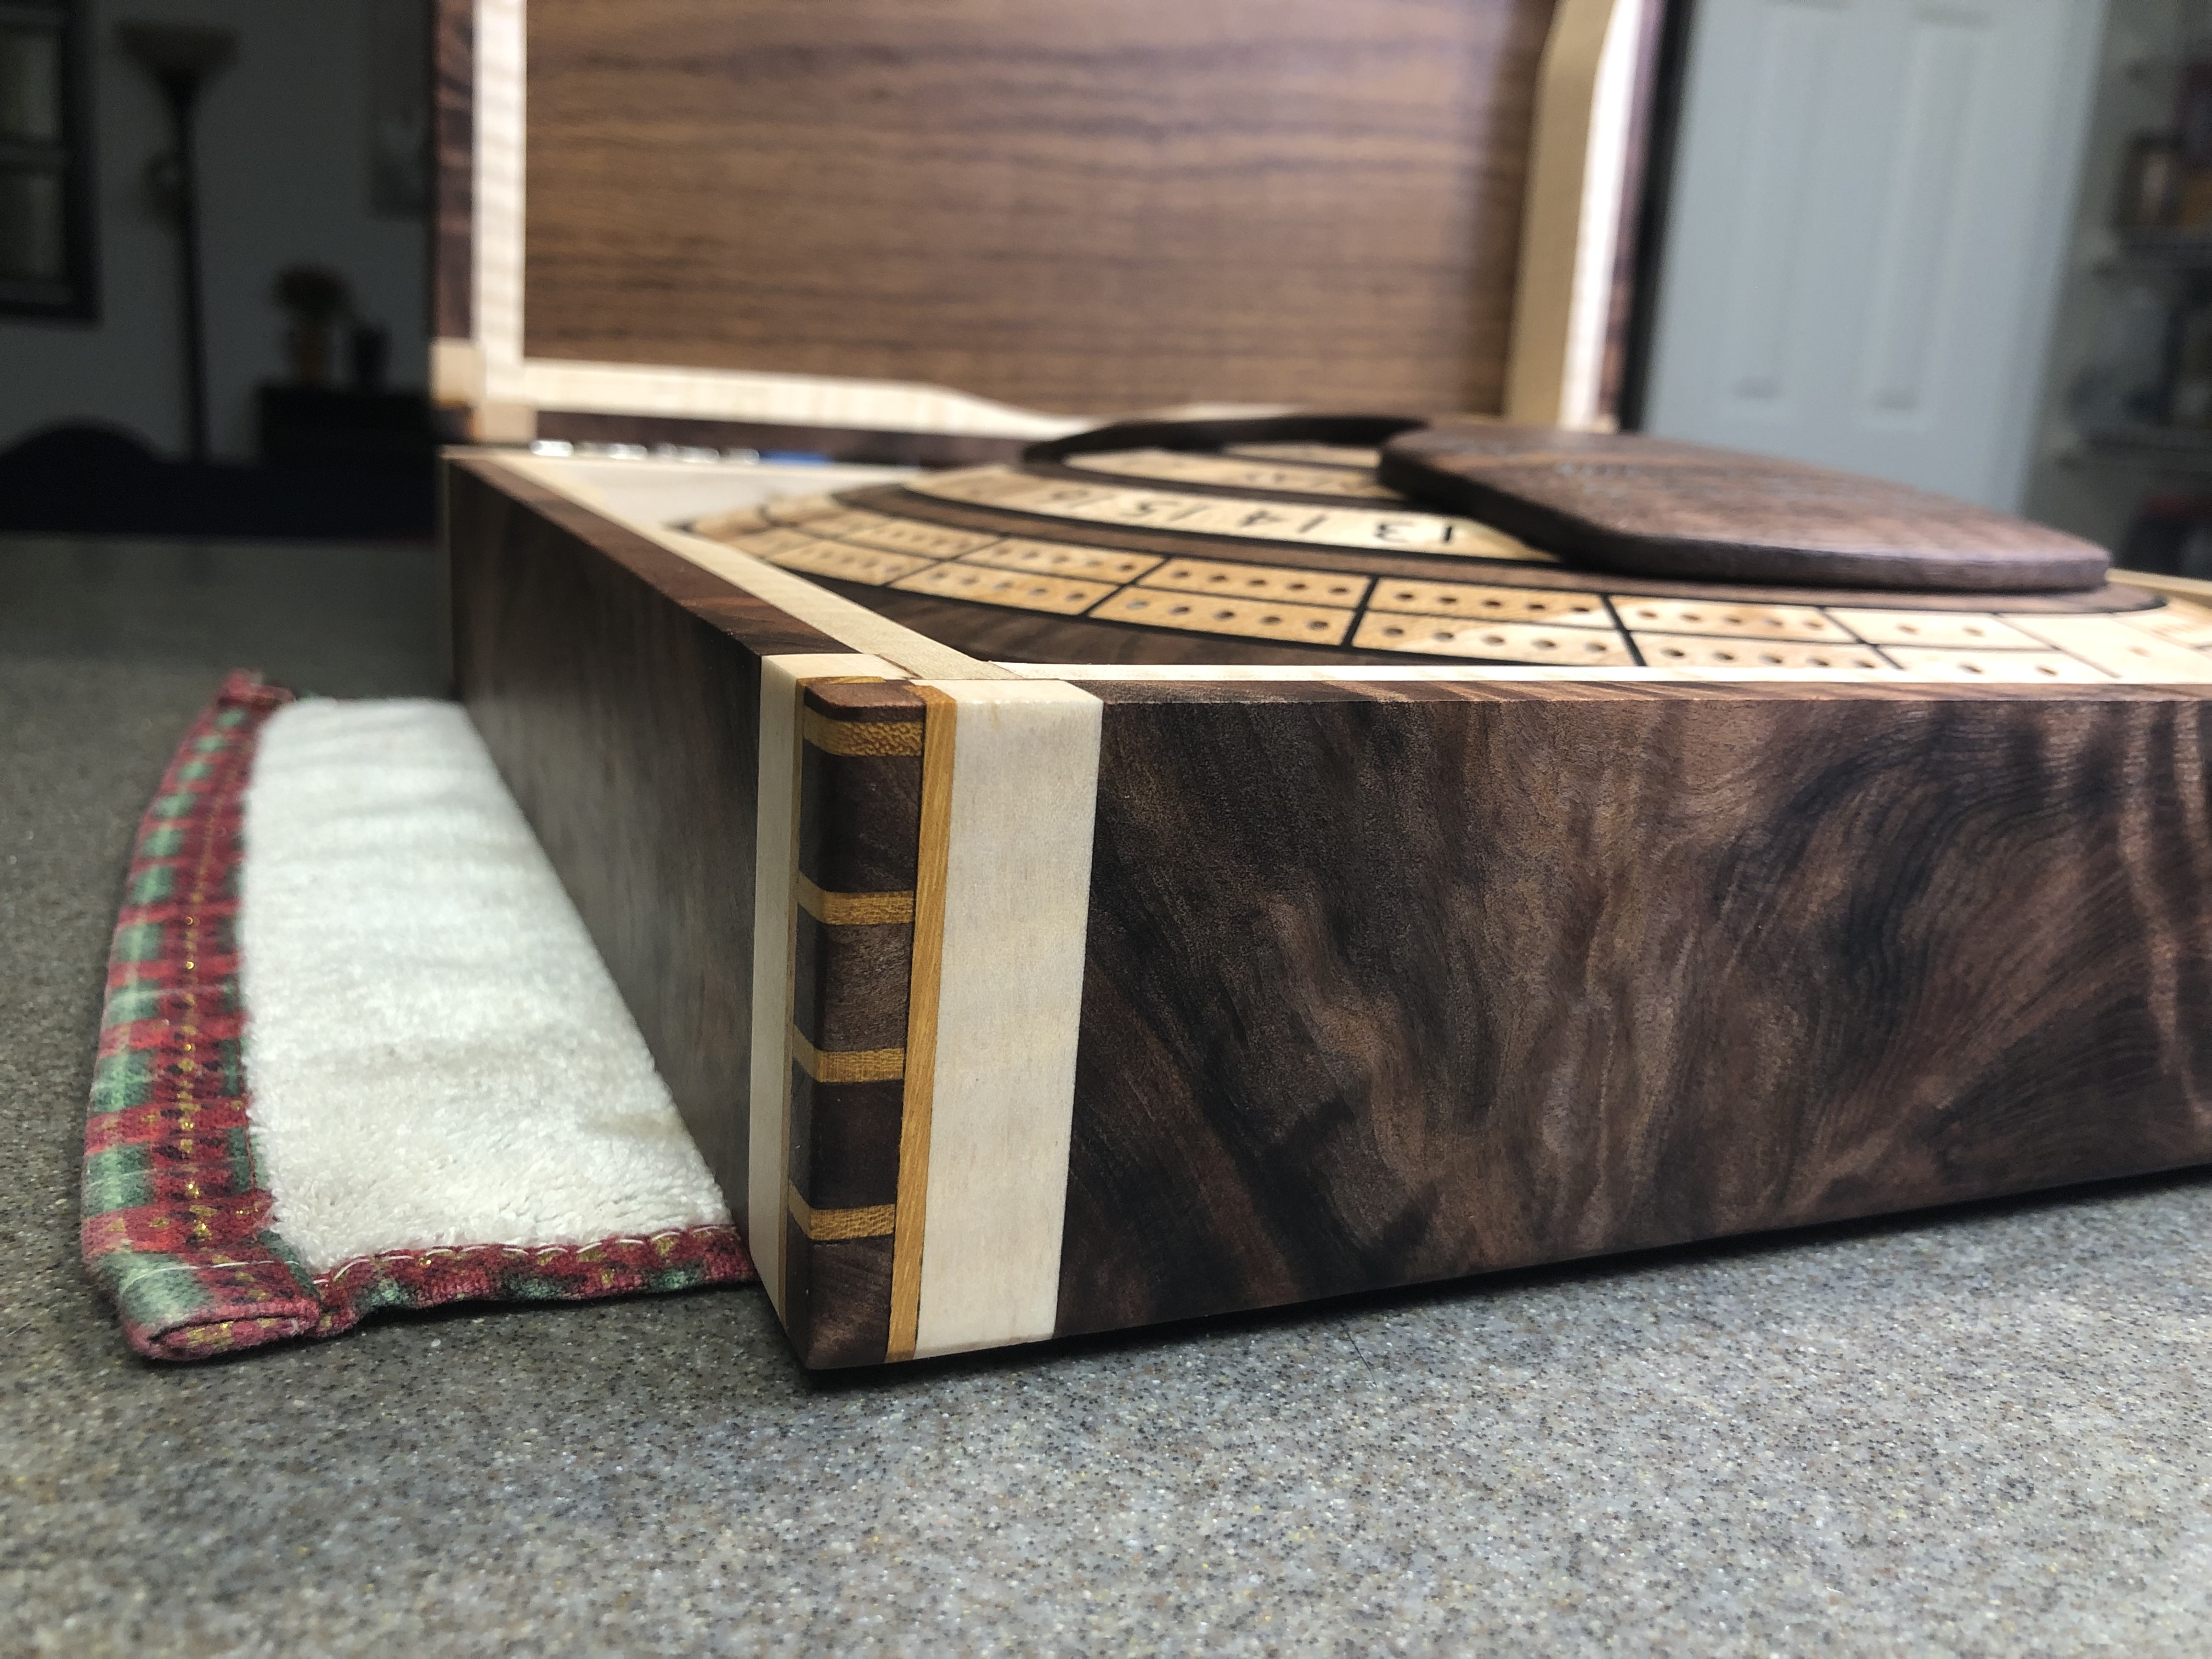
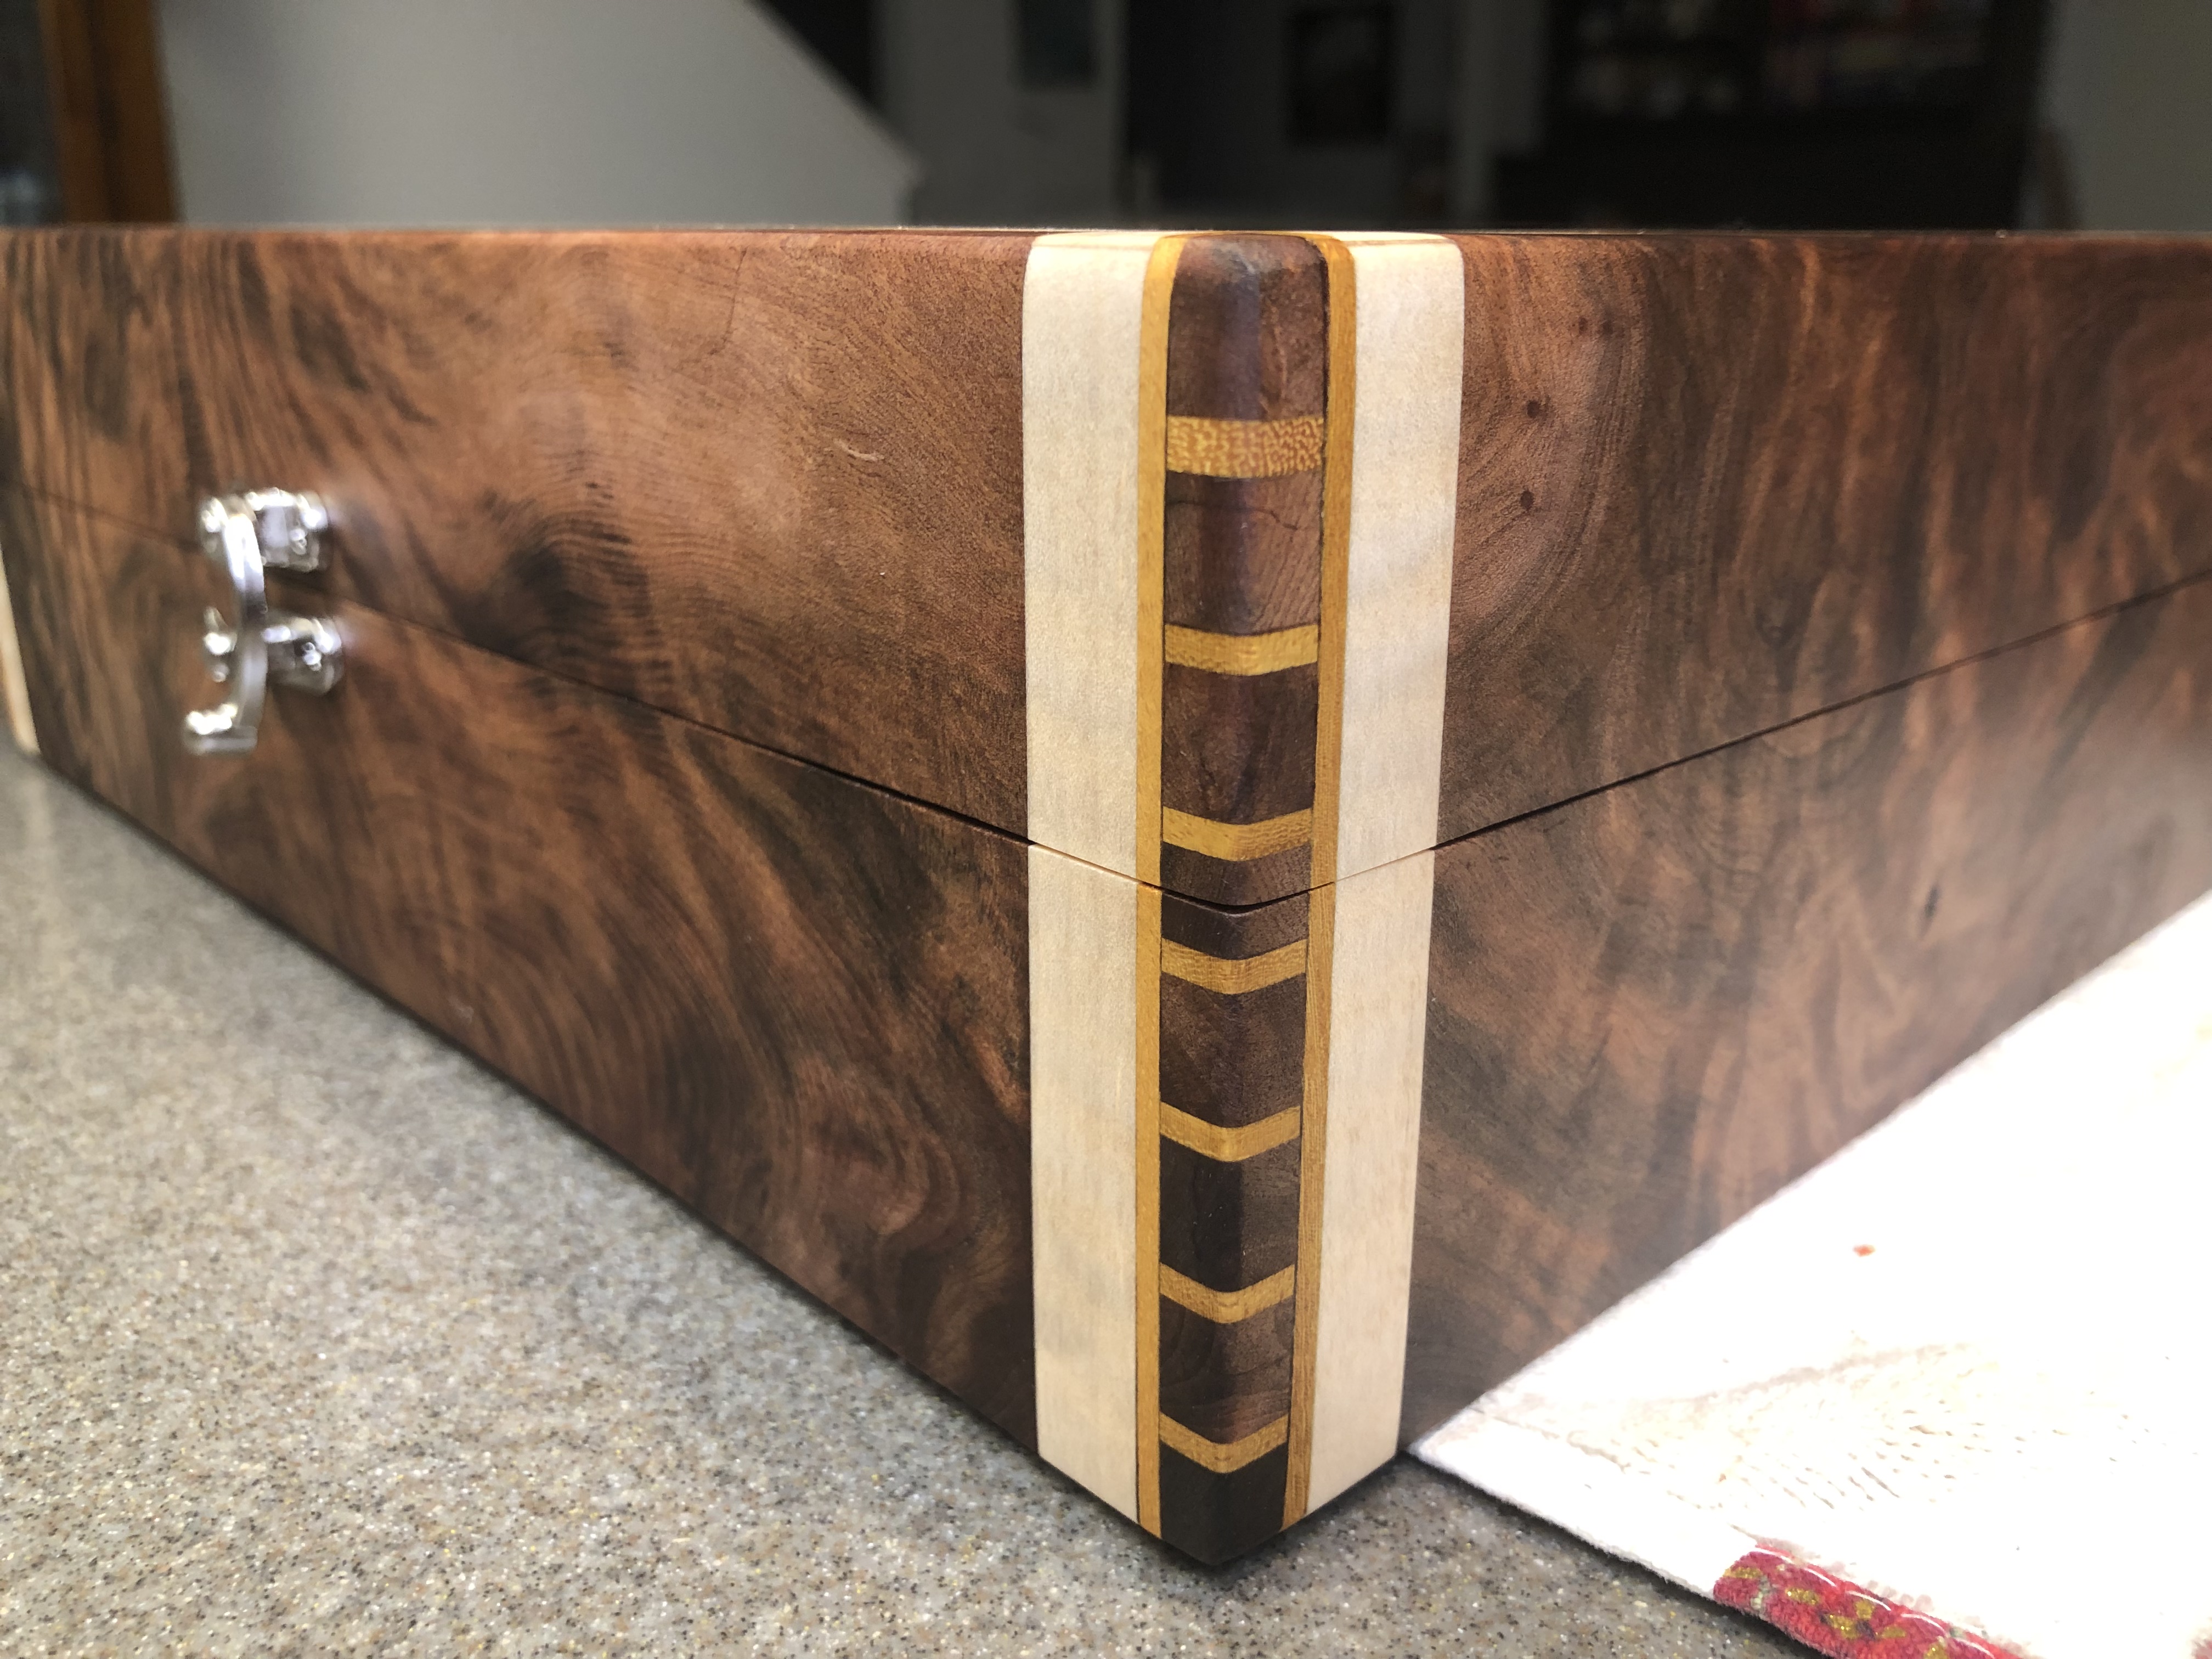
I’m cutting the splines right now, I’ve been going back and forth on using Osage Orange for the splines. I’m putting a 1/2” curely maple around the box as a border, and thinking using that yellow/gold to tie them into the box joint. Not sure if that’s not a good color combo, but wanted the box to tie into the cribbage board E color.
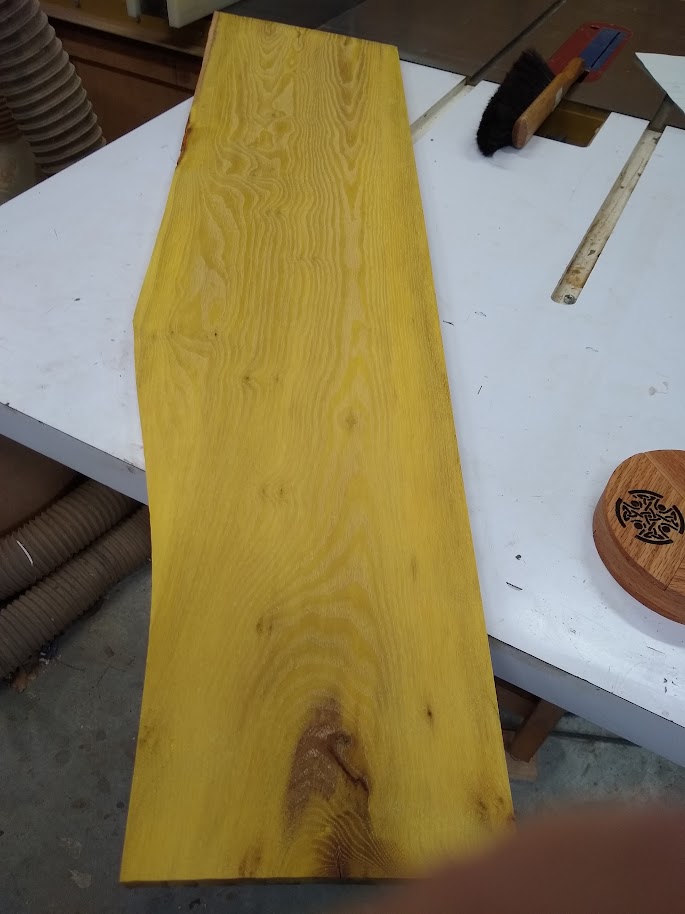
I got a free board of Bodark as a door prize at our woodworkers club. I looked up Bodark and could not find that anywhere. Then I found it is Bois D’Arc AKA Osage Orange. I guess the Bodark is Texas accent for Bois D’Arc. I truly hated working with it. Although it is pretty it is hard and hard on tools. What I really did not like was the yellow/orange dust every where in the shop.
That is very kind of you! Looking forward to trying it. Another question: how do you epoxy the bevels and lettering without having the epoxy run out of those gaps since they are on an angle?
There’s 3 ways, which all require a build up of material to keep the epoxy inside the pocket.
1st way is the most preferred, I cleared out a majority of the material before doing the ball noise contour. When clearing out the material, leave enough material to create the barrier for the epoxy on the engraving and lines. Once cured, run the ball noise profile to clear everything out leaving you will the engraving and black lines within the profile.
2nd: cut the complete profile, use silicone to create the barrier for the epoxy to sit in. You have to build up the height.
(Not preferred!) 3rd: cut the profile, and use a hot glue gun to create the barrier for the epoxy to sit in.
Of course I went with option 3 because I didn’t plan my cut files correctly, and didn’t have any silicone on hand….leaving a terrible mess trying to cut all that out. Heat and glue just doesn’t translate when cutting. My bit was all gummed up and I had a mess on my hands, but it cut everything out. I won’t do that again.
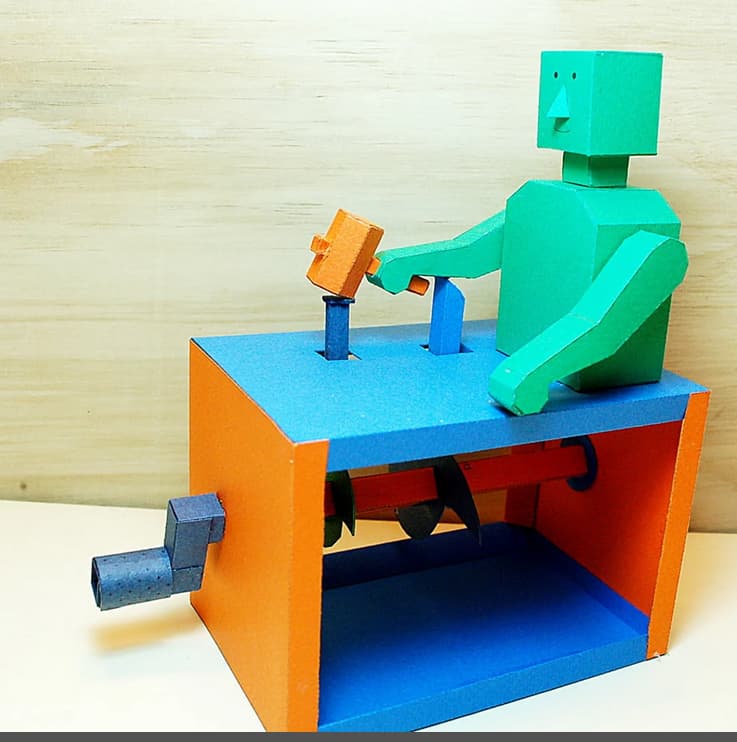
I think the post woodworking is perhaps the most time consuming and as hard as the woodwork itself. I am in a 2x4 contest in October and am currently taking pictures to document my build. Tedious and then the editing. Nice work all the way around. I am making a automaton to show.
Mine will be made from a 2x4. The picture is paper from an etsy purchase of $3.00
Very nice!!! I’ve come to realize I spend the majority of my time on a computer instead of working in the shop. I still haven’t figured out the social media algorithm.
@Dezi I finished up the new design of the jig, in October I’m going to start making it. I will definitely post the file once it’s done. I added a shooting board jig to it.