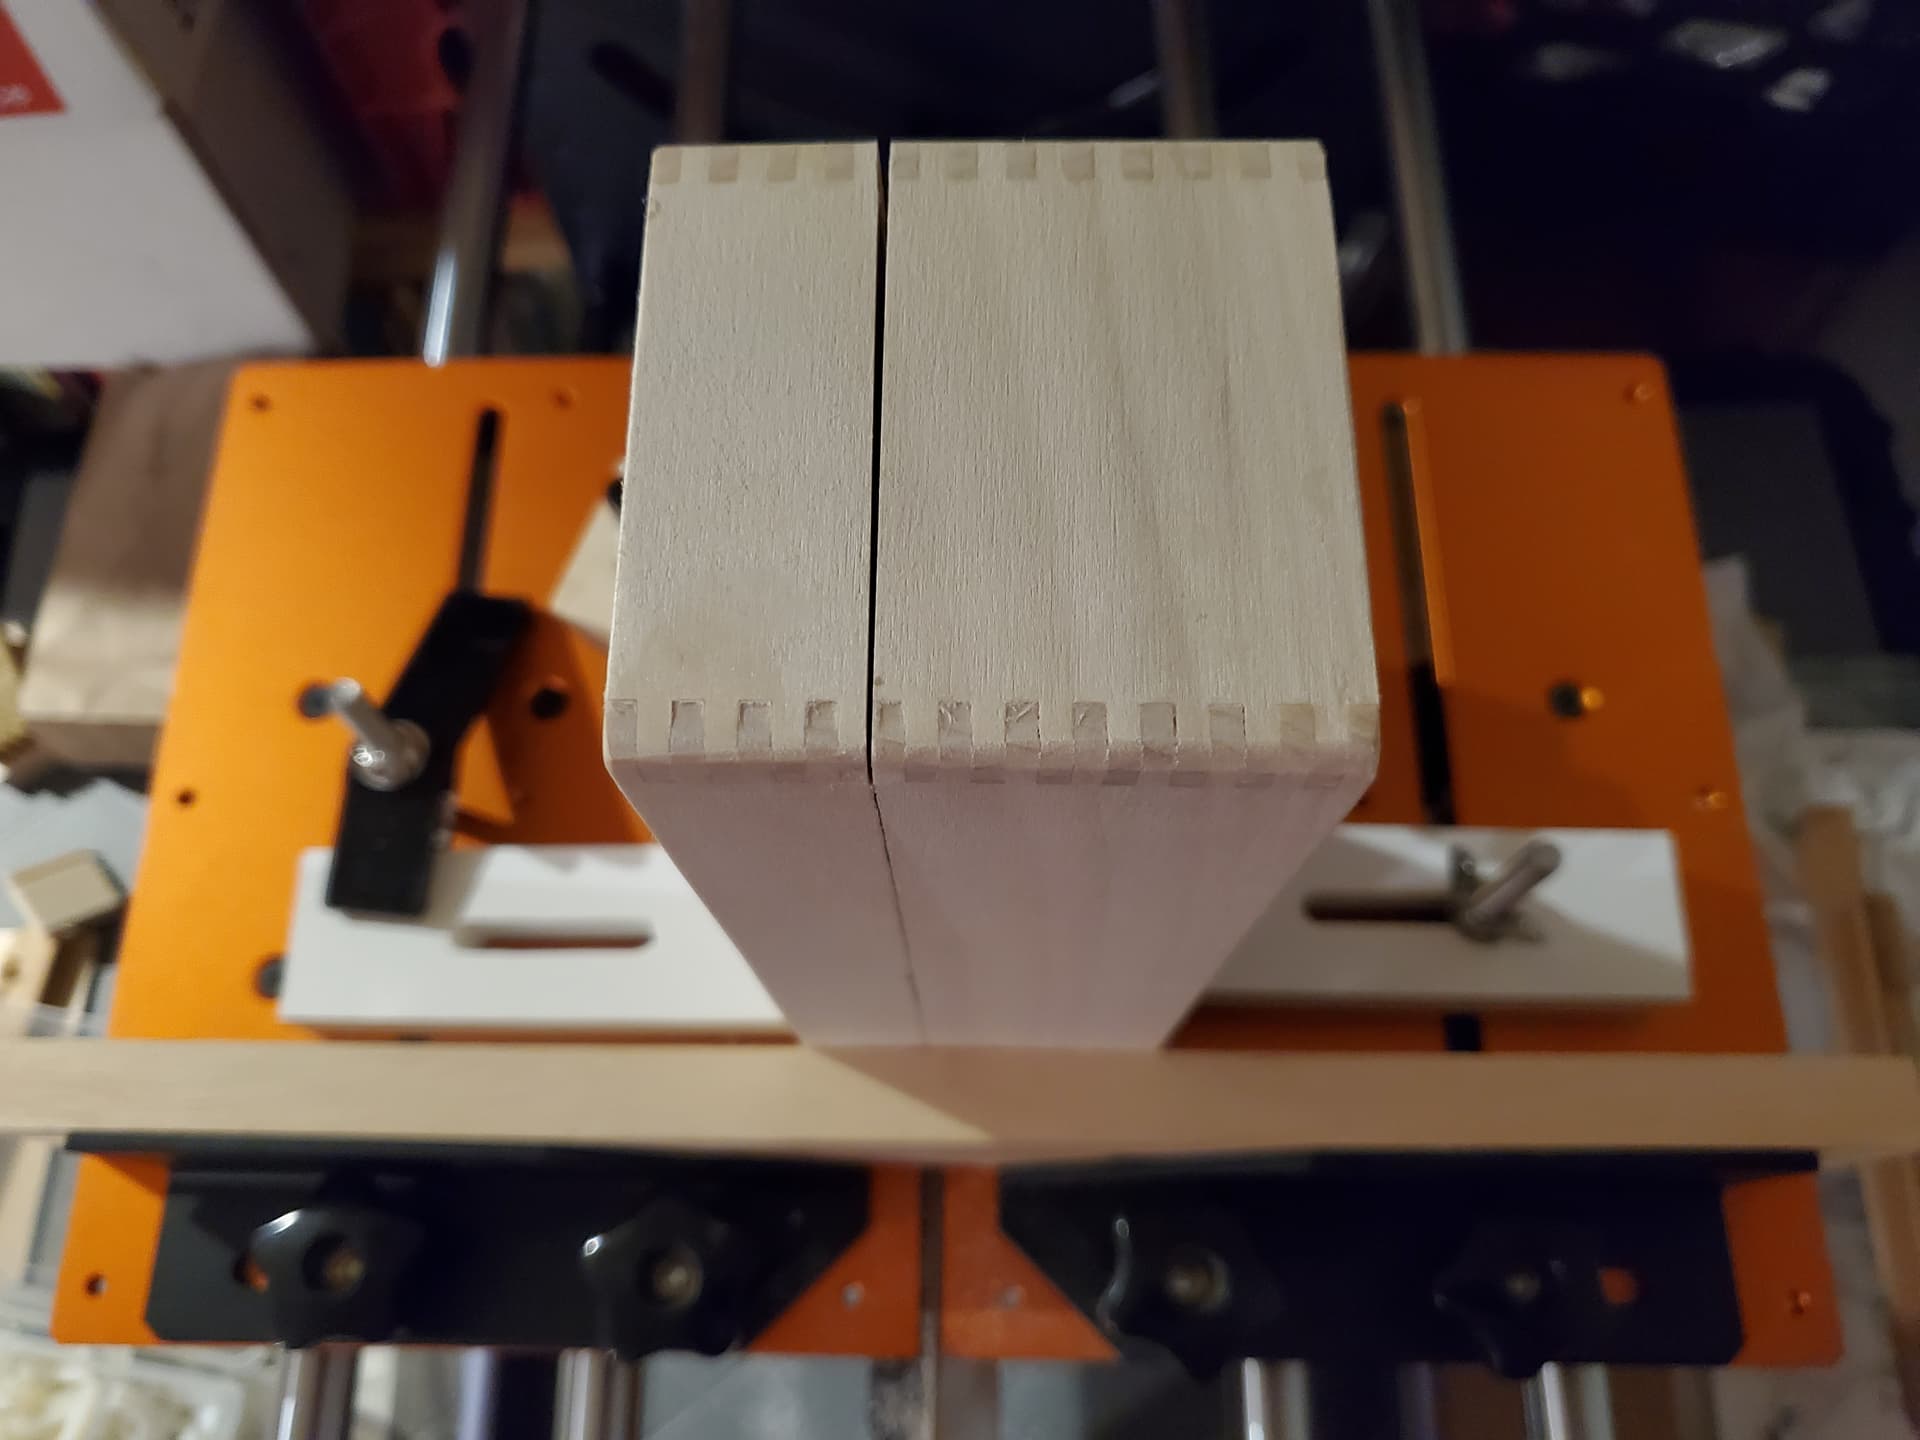
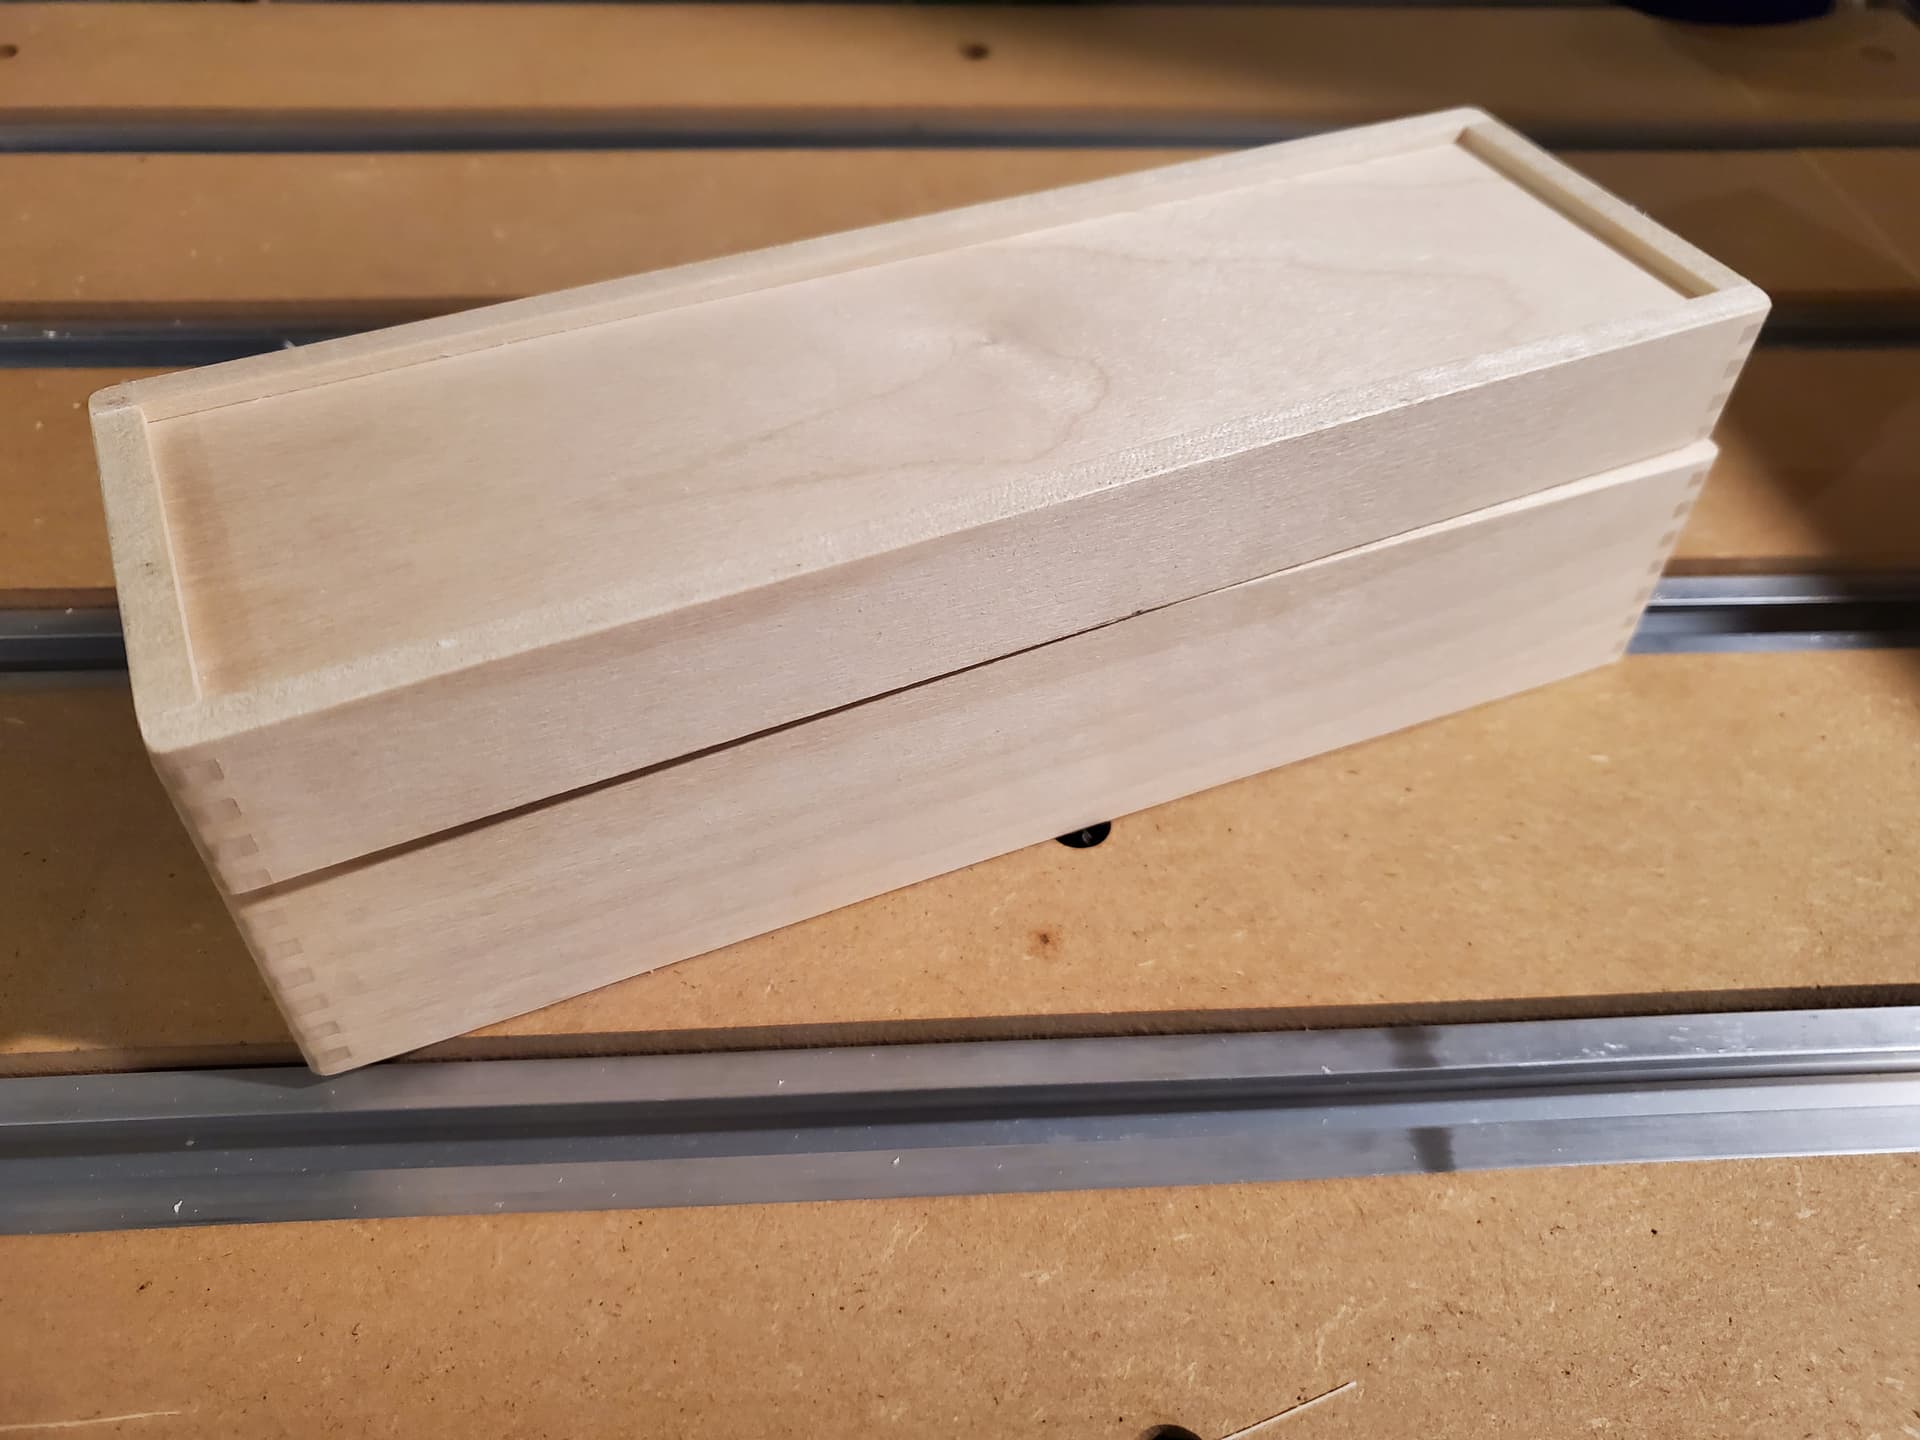
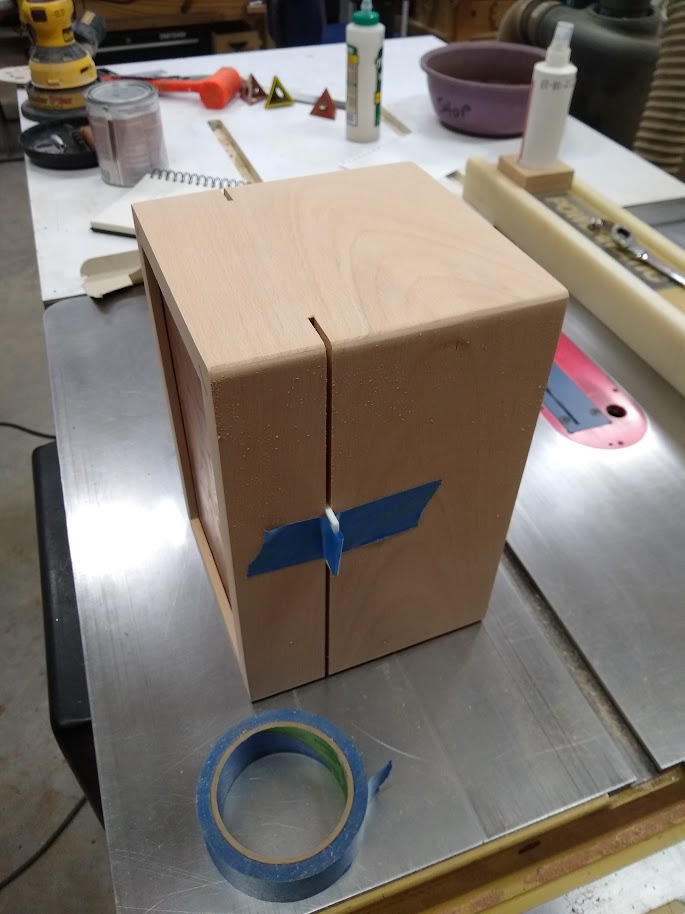
A traditional way to make boxes is to make them all of a piece, and then cut them apart — this can be made easier by cutting a slot, and cutting through at the corners, but this results in losing the width of the slot (or more when a saw is used to finish) in height.
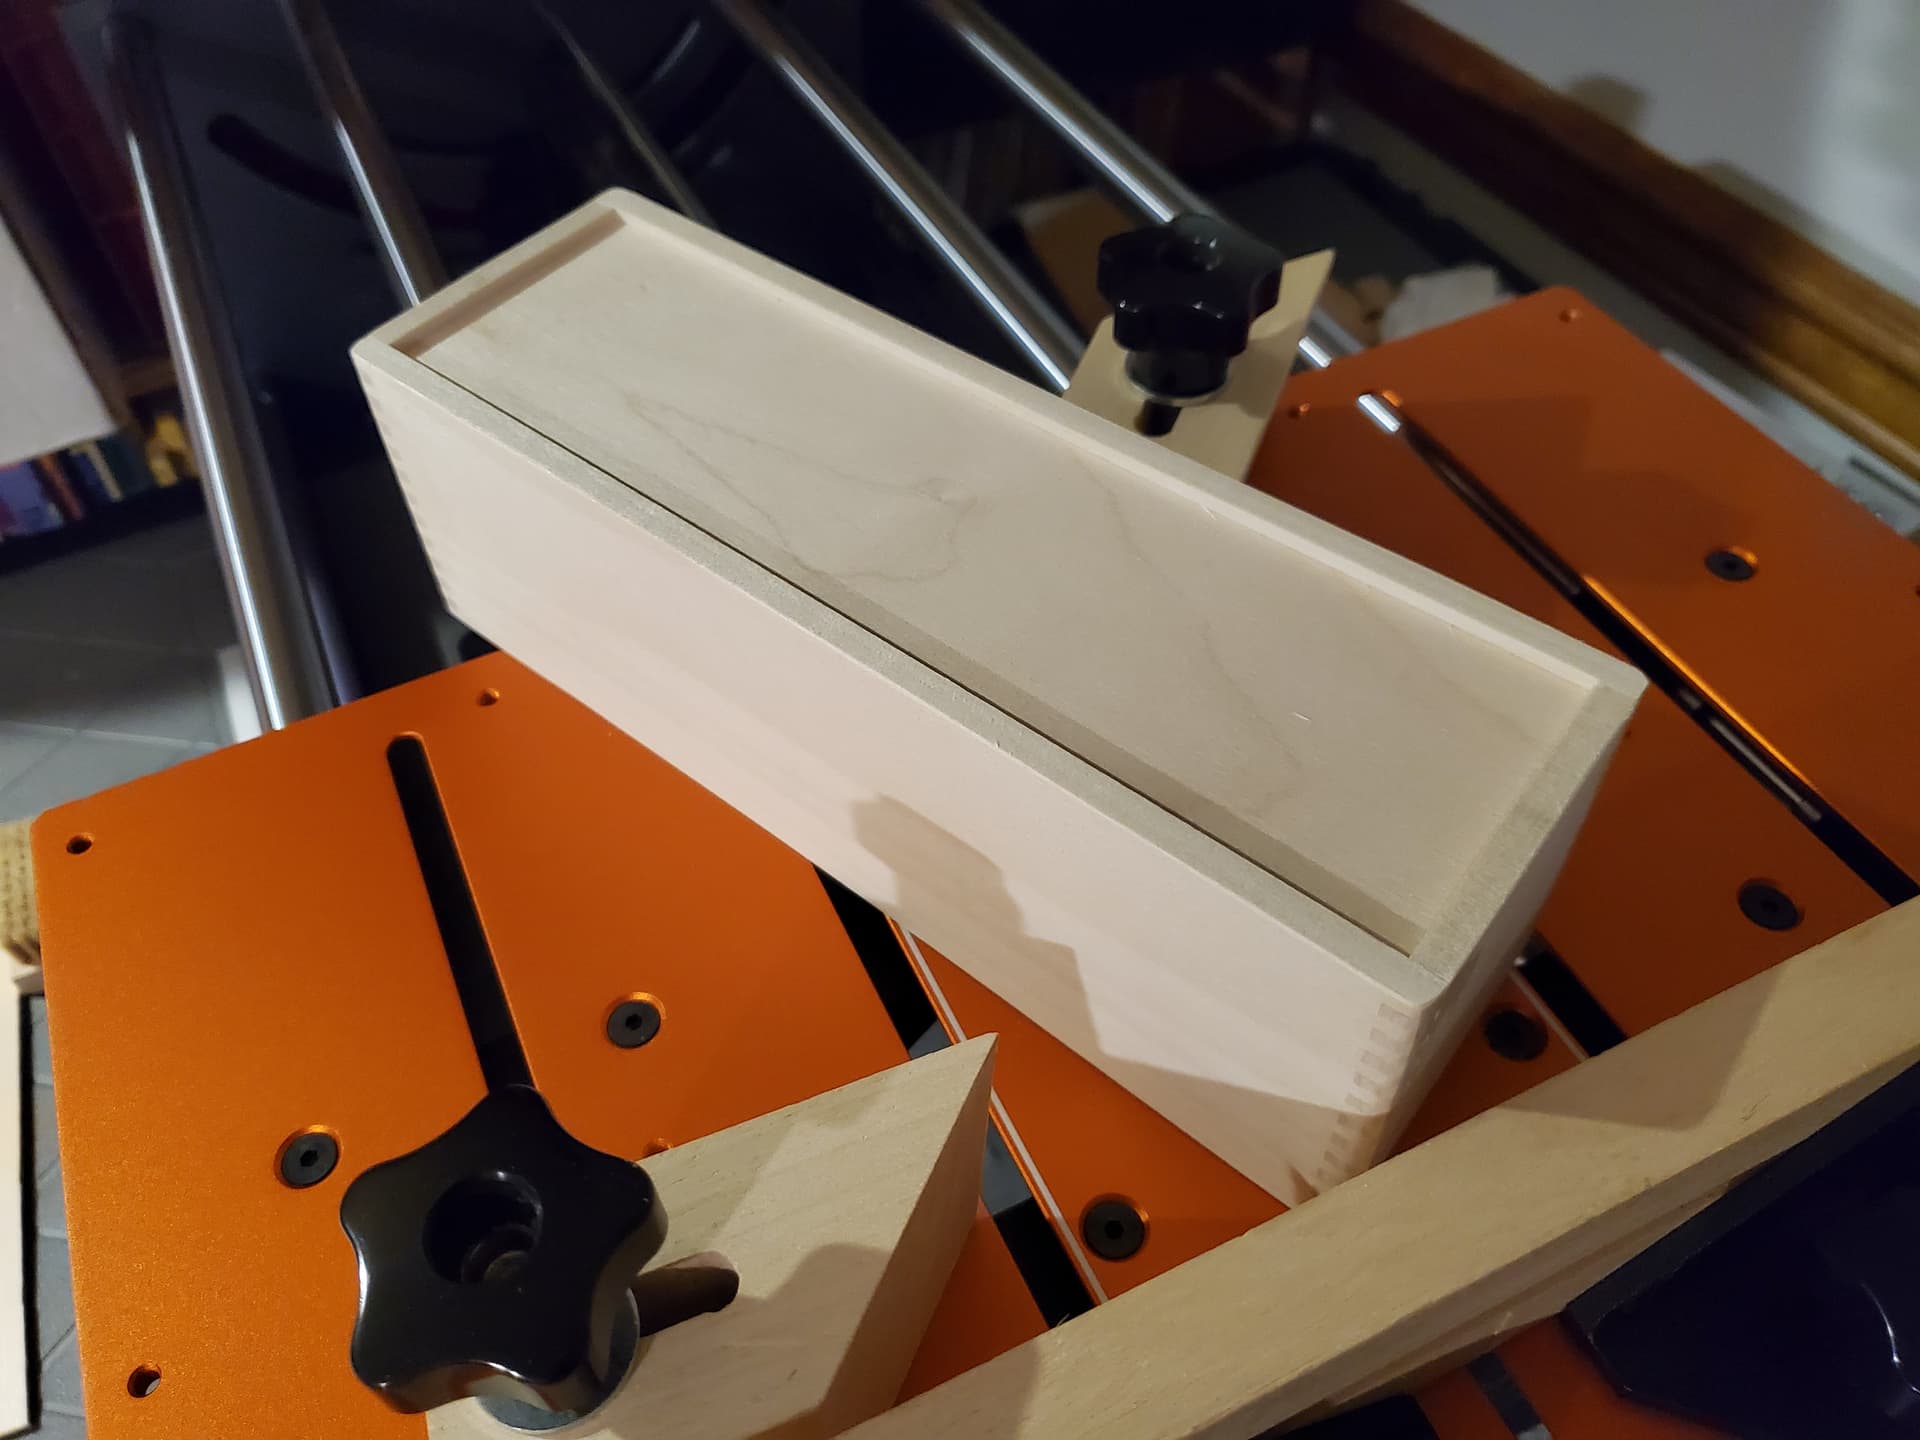
Couldn’t resist picking up a JointMaker Pro when they were recently on sale at Bridge City Tool Works:
I figured you would buy one of those sooner or later. Let us know how you use it in the future. After the box is made you can embellish the top with the Shapeoko.
I’ve been wanting one for a long while, and the sale, and other life aspects pushed me over the edge, now I just need a DJ-3, Tanos MW-1000 Mobile Workstation, Mafell P1CC jigsaw and A 18 drill, shooting plane and board, and a stationary bandsaw for resawing (and a shop which will allow me to get a bandsaw larger than will fit into my basement).
I’ve already used it quite a bit — it’s quite well-suited to cuts which would be troublesome to set up on the machine, or not suited for one of my other saws.
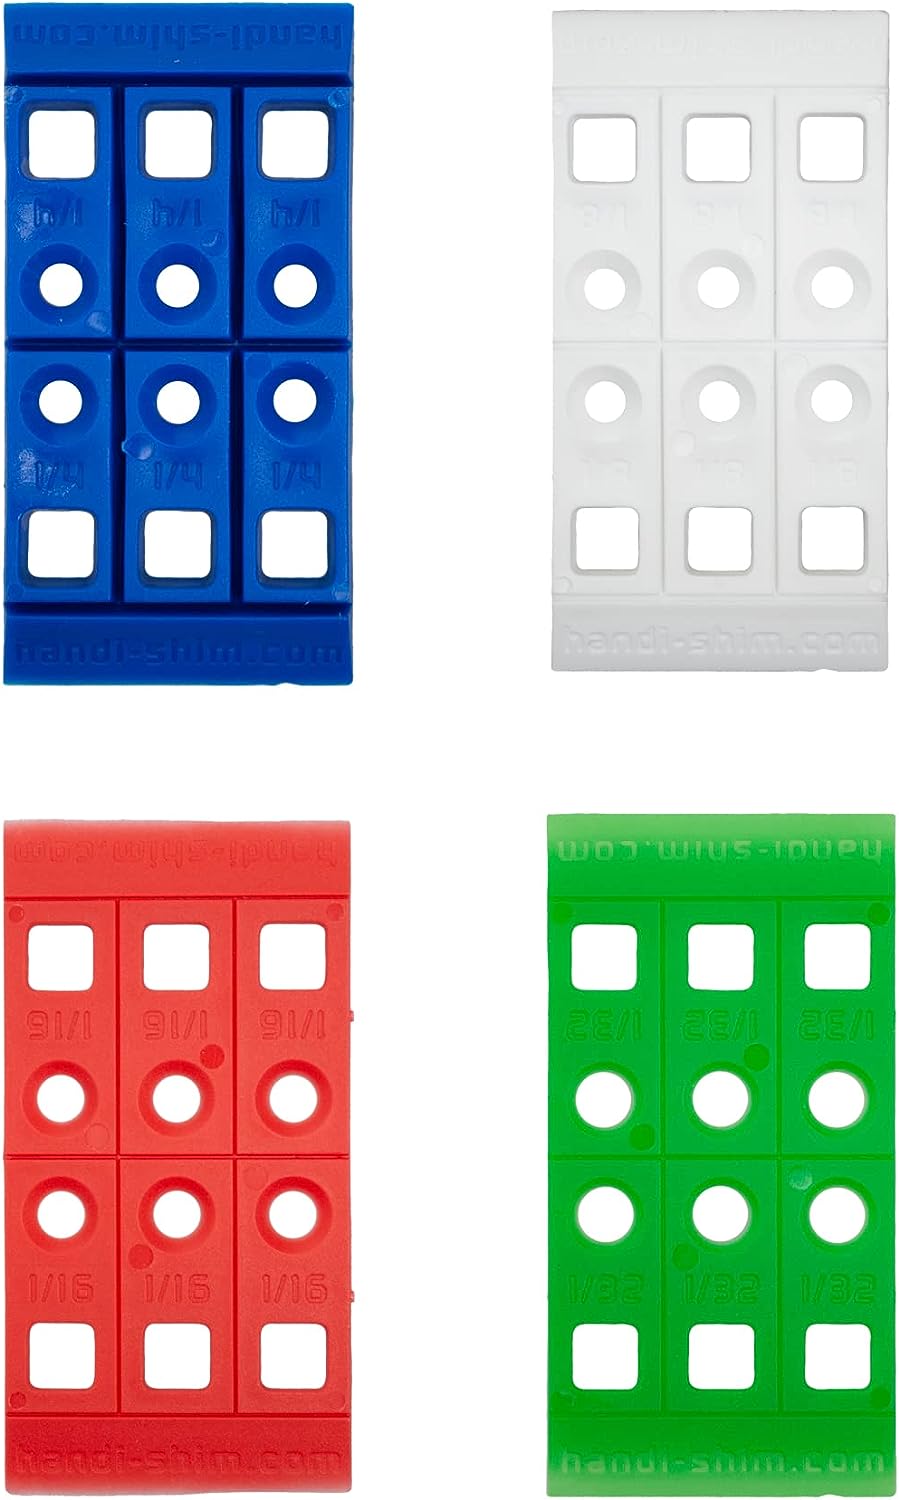
I make a lot of finger joint boxes with the Incra IBox. I cut the lids off all the way. I cut the long cuts first and then put some 1/8" spacers (my TS blade is 1/8". I use painters tape to keep the spacers from falling out. After the 3rd side is cut I add another 1/8" spacer. I have found these little plastic spacers very handy over the years.
I dont like to do the clean up by cutting partially through a box top.
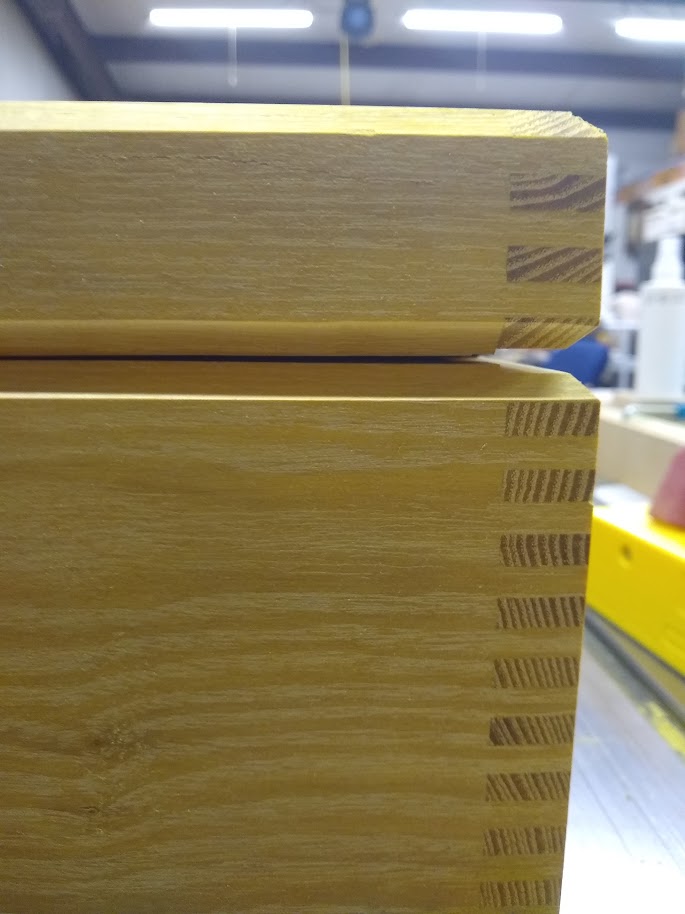
Another trick I like to do on boxes is to cut a 45 degree champher on the edges of the top and bottom. This will hide any imperfections caused during cutting. The shadow line hides any mistakes. The second reason is when applying the hinges it also hides any imperfections there. I always make the back of the lid just a little bit higher so when the box closes it is shut all the way in the front. Trying for a perfect fitting lid can lead to the lid not closing all the way in the front. By making the rear just a little bit higher than the front and the shadow line of the champher the box looks perfect without a lot of fussy trimming.
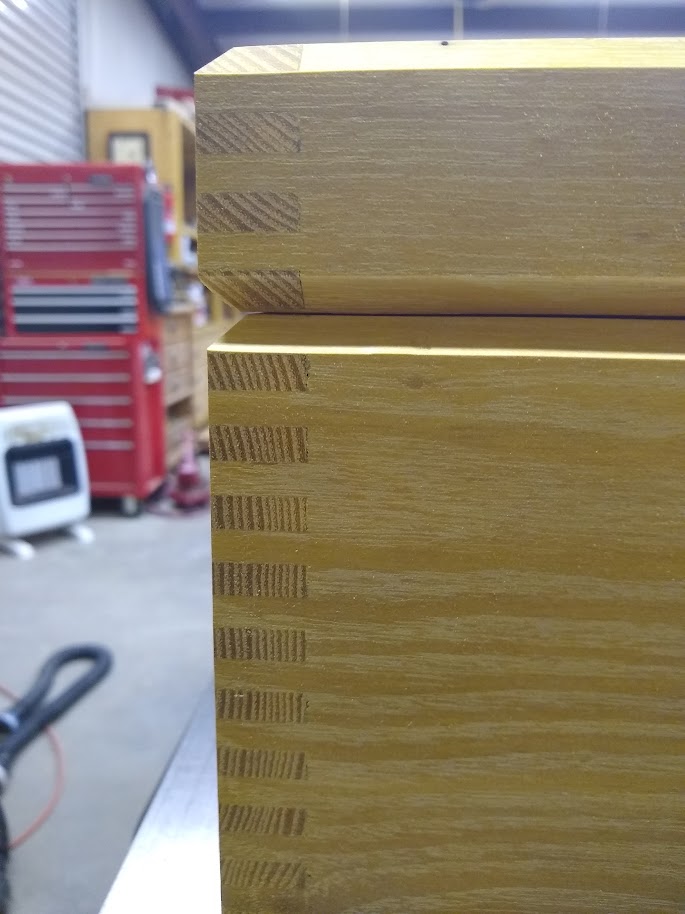
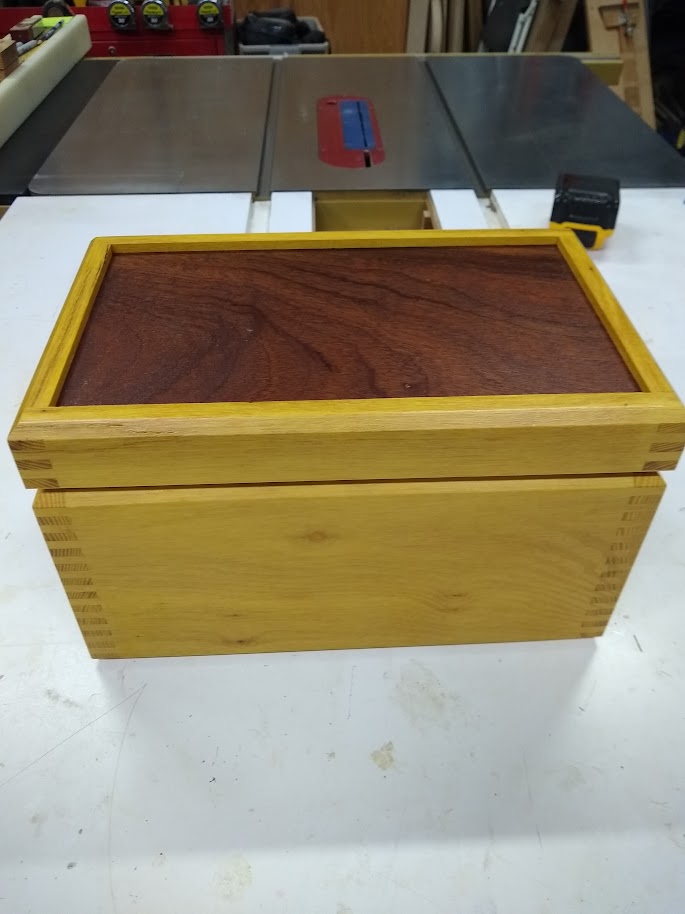
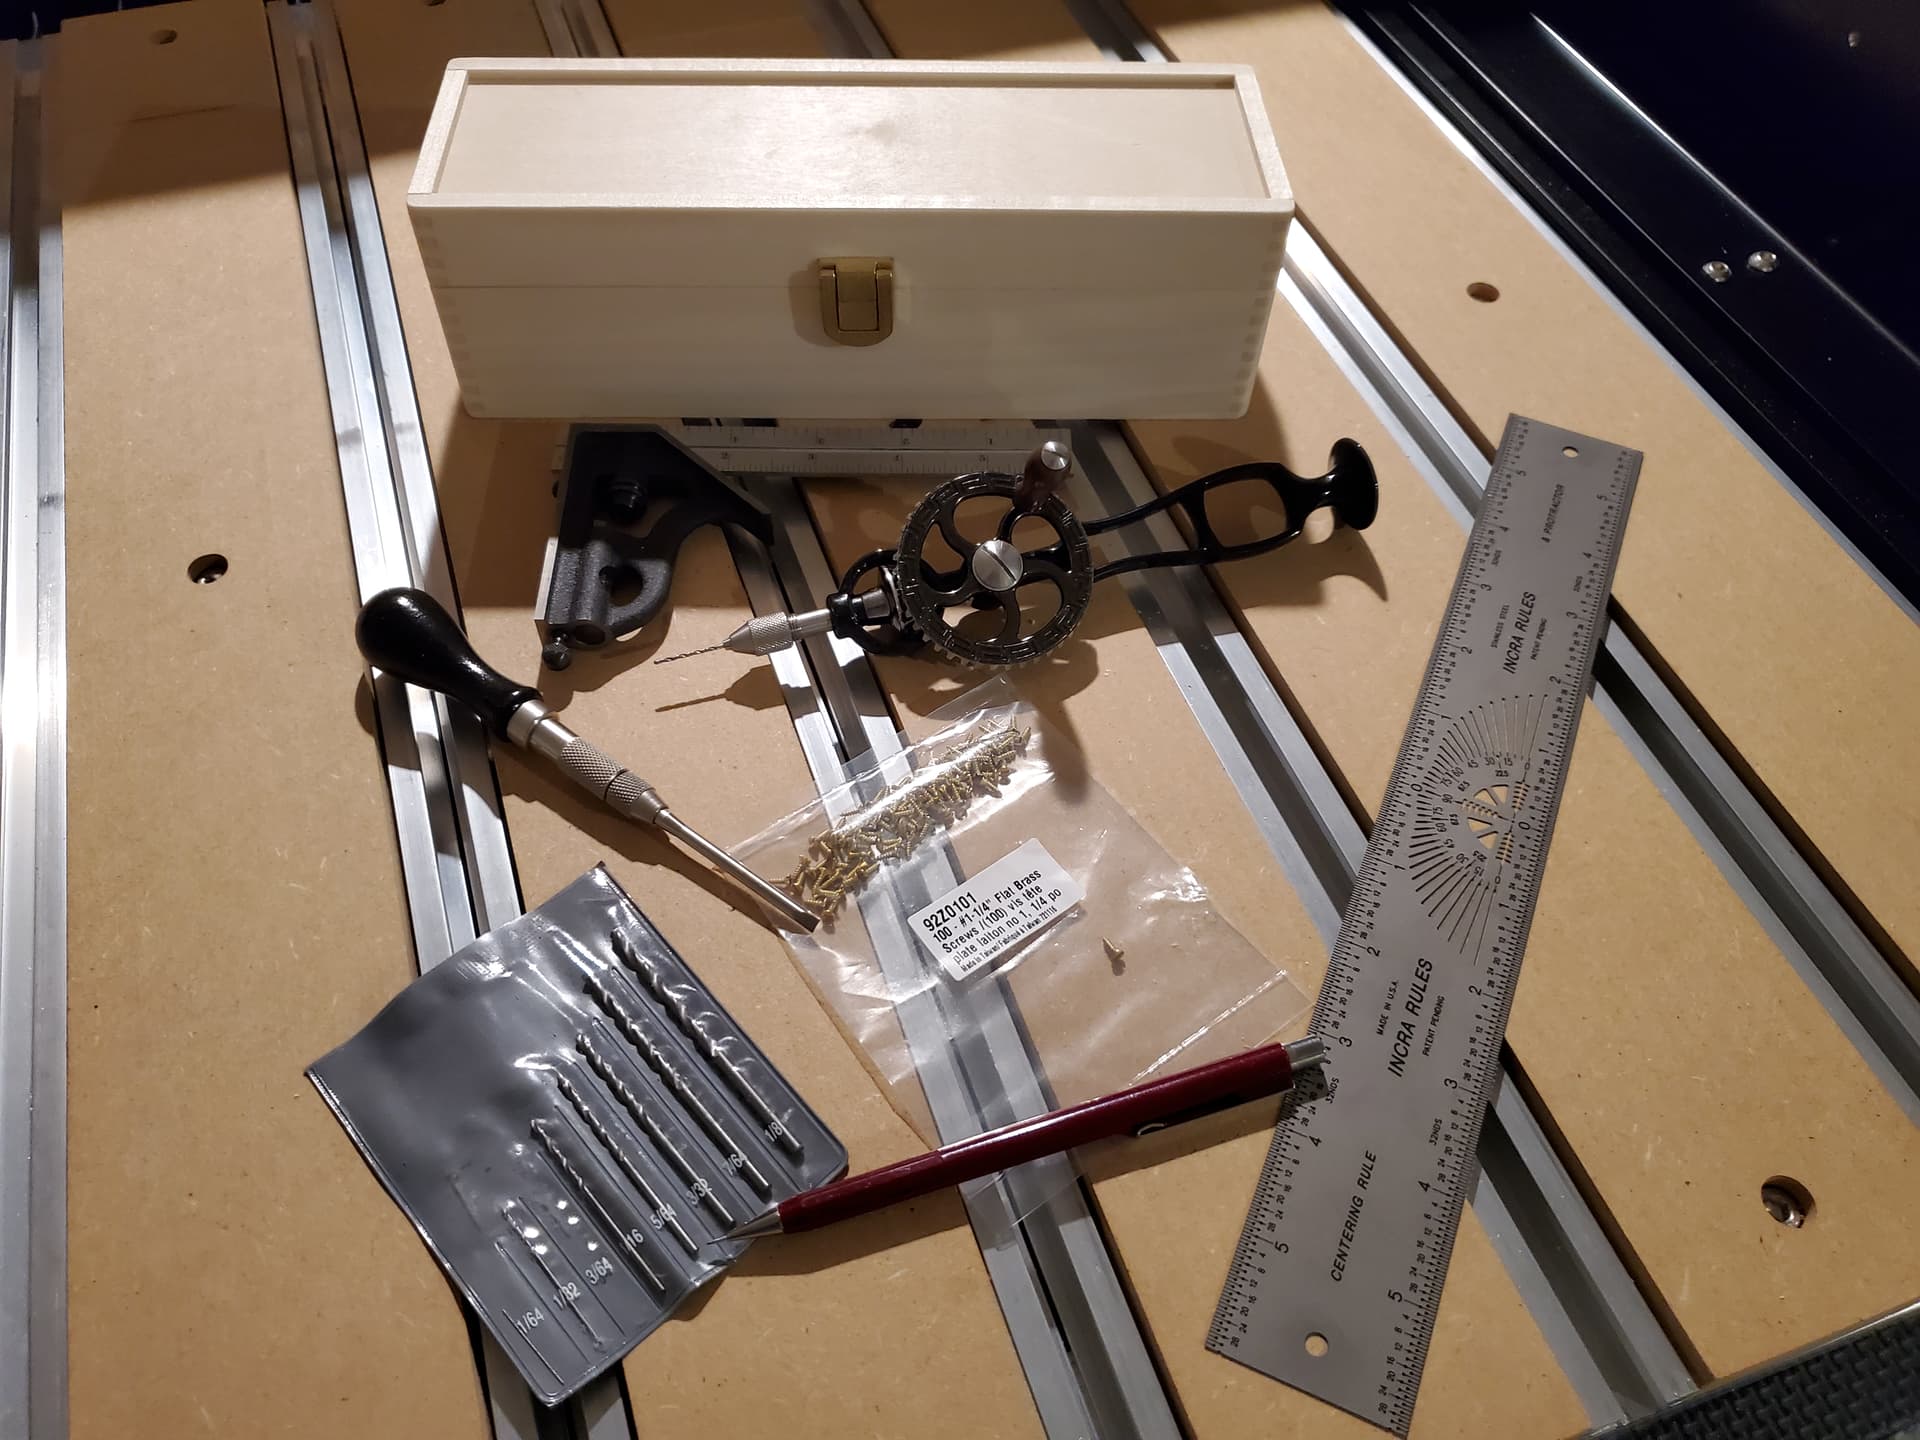
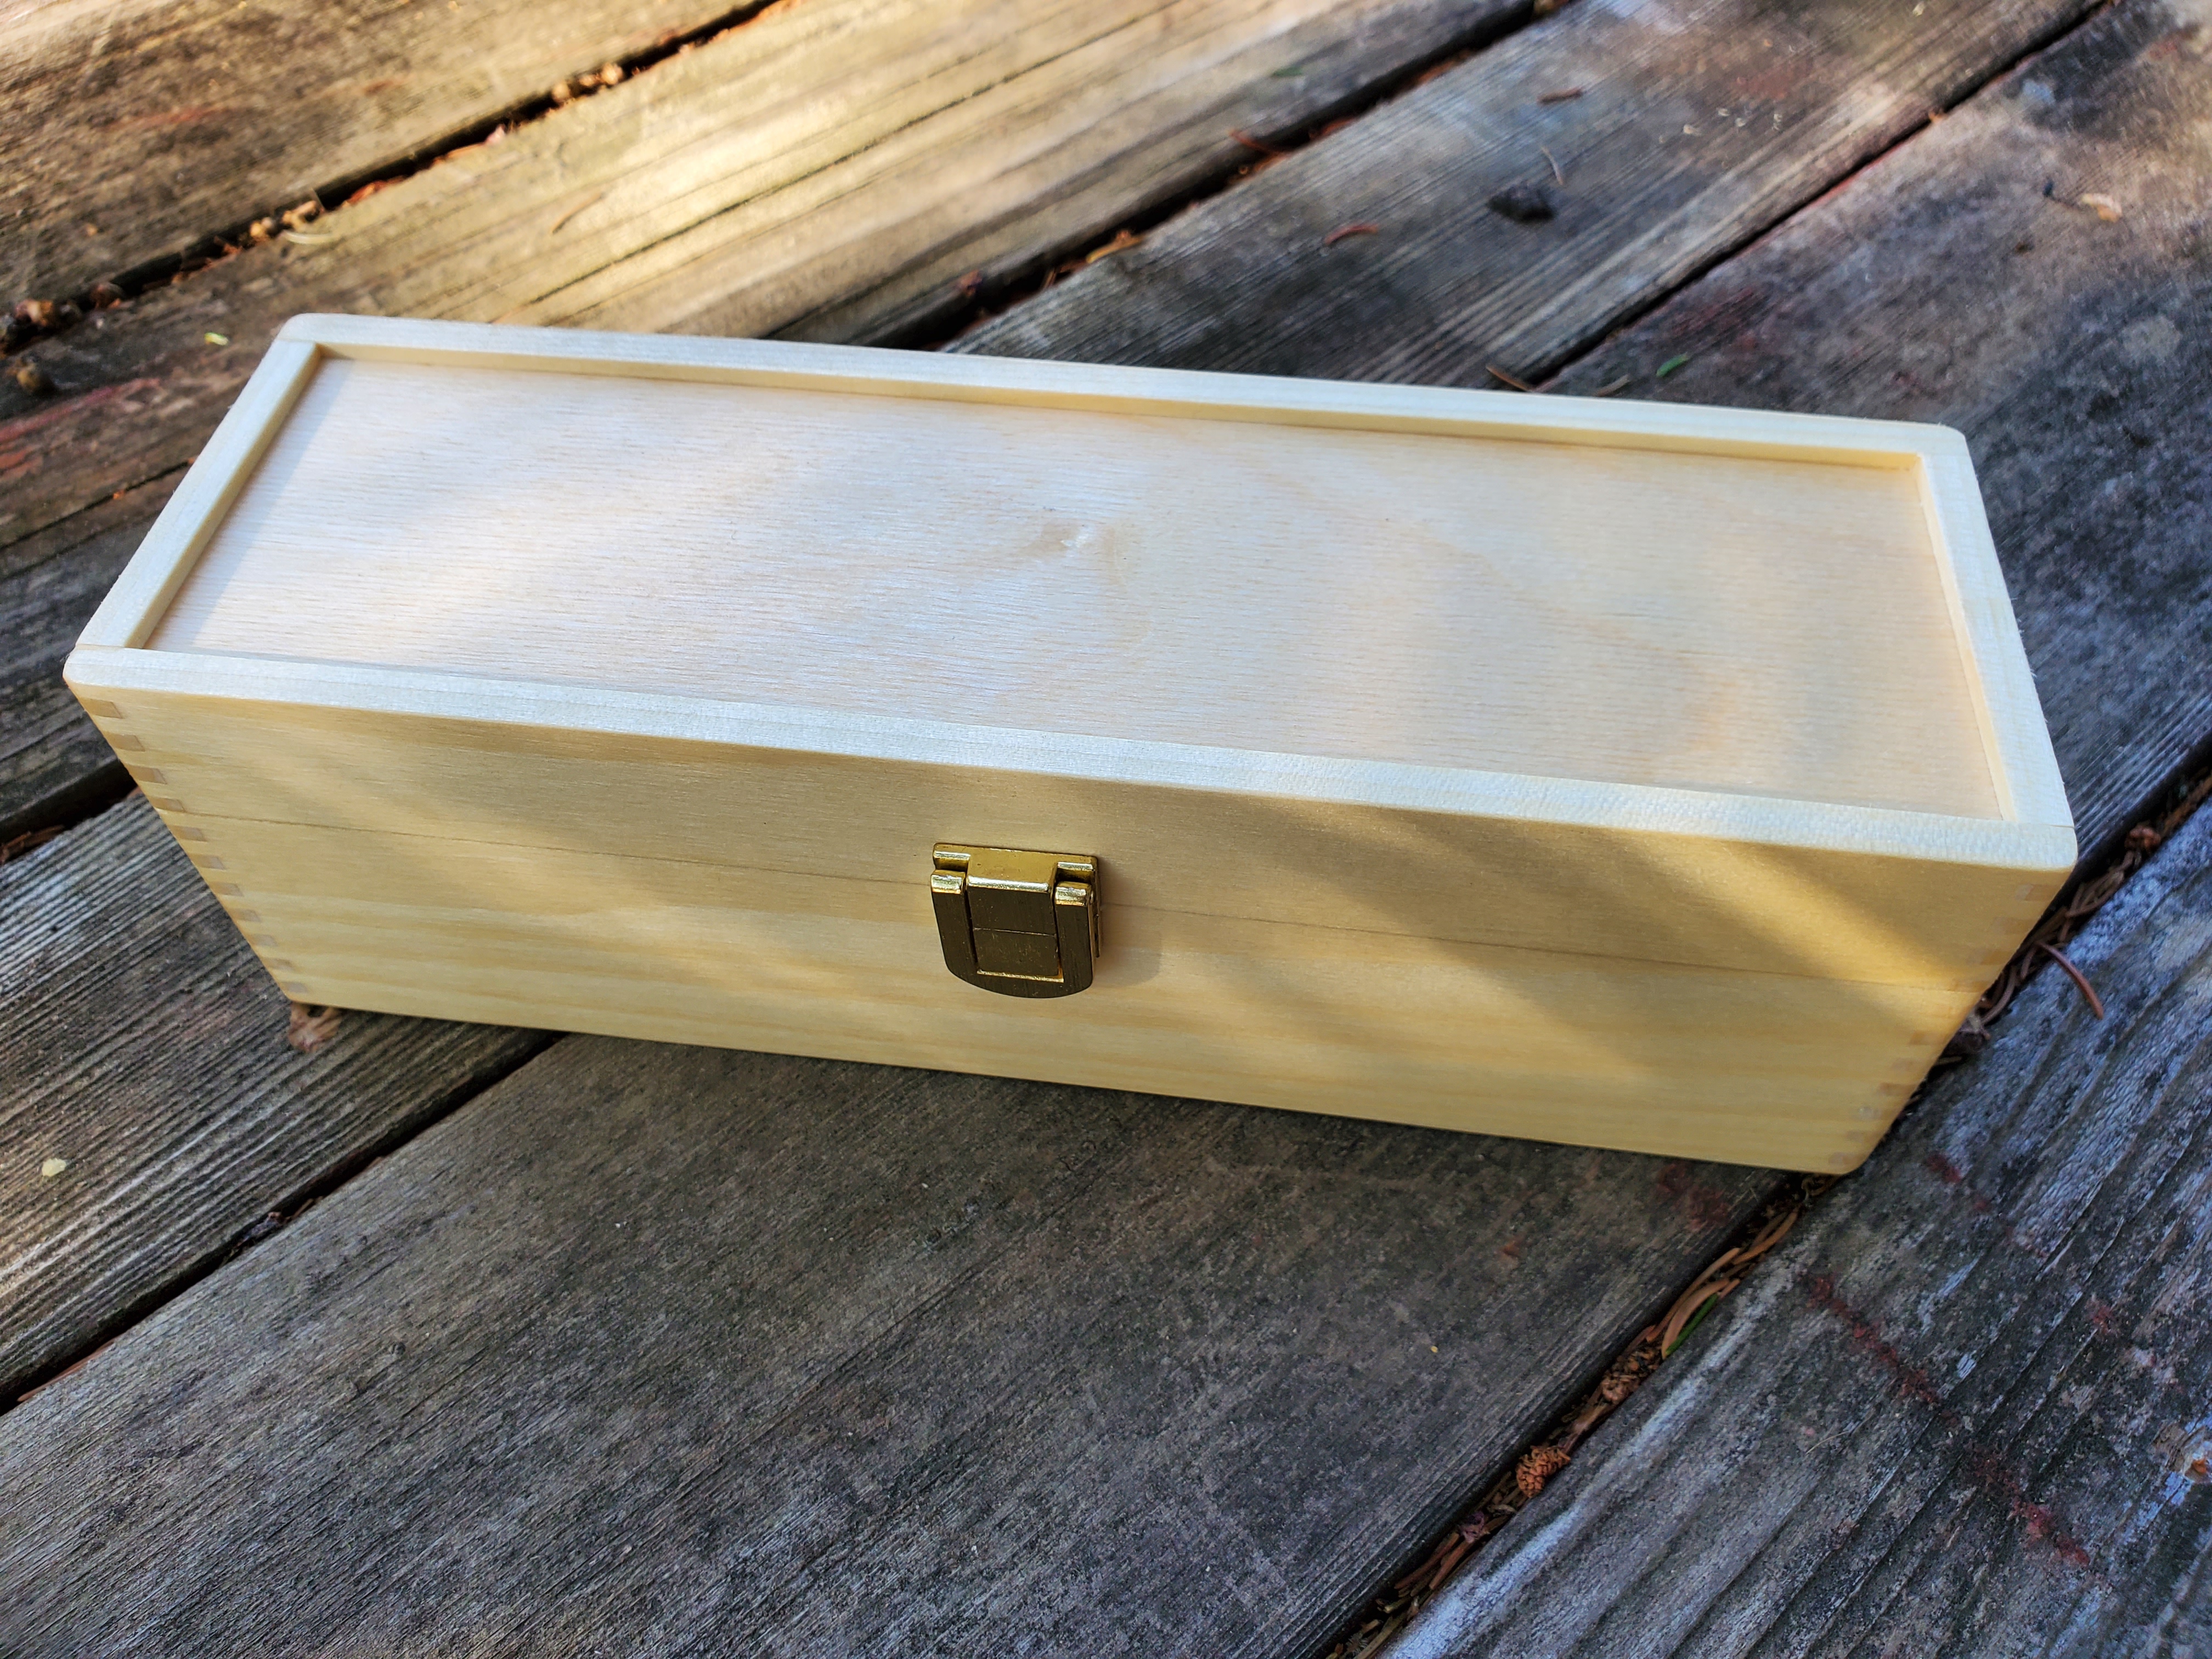
The nice thing is, the JointMaker Pro allows me to get things pretty much spot on, w/o too much fuss or stress — I just need to do some light sanding, a good job of installing the hardware, and then apply a finish (or maybe finish before the hardware).