Figured it might be interesting to flesh out how I got here since my last update. The last update added the X-axis spacers. Here’s the rest of the parts:
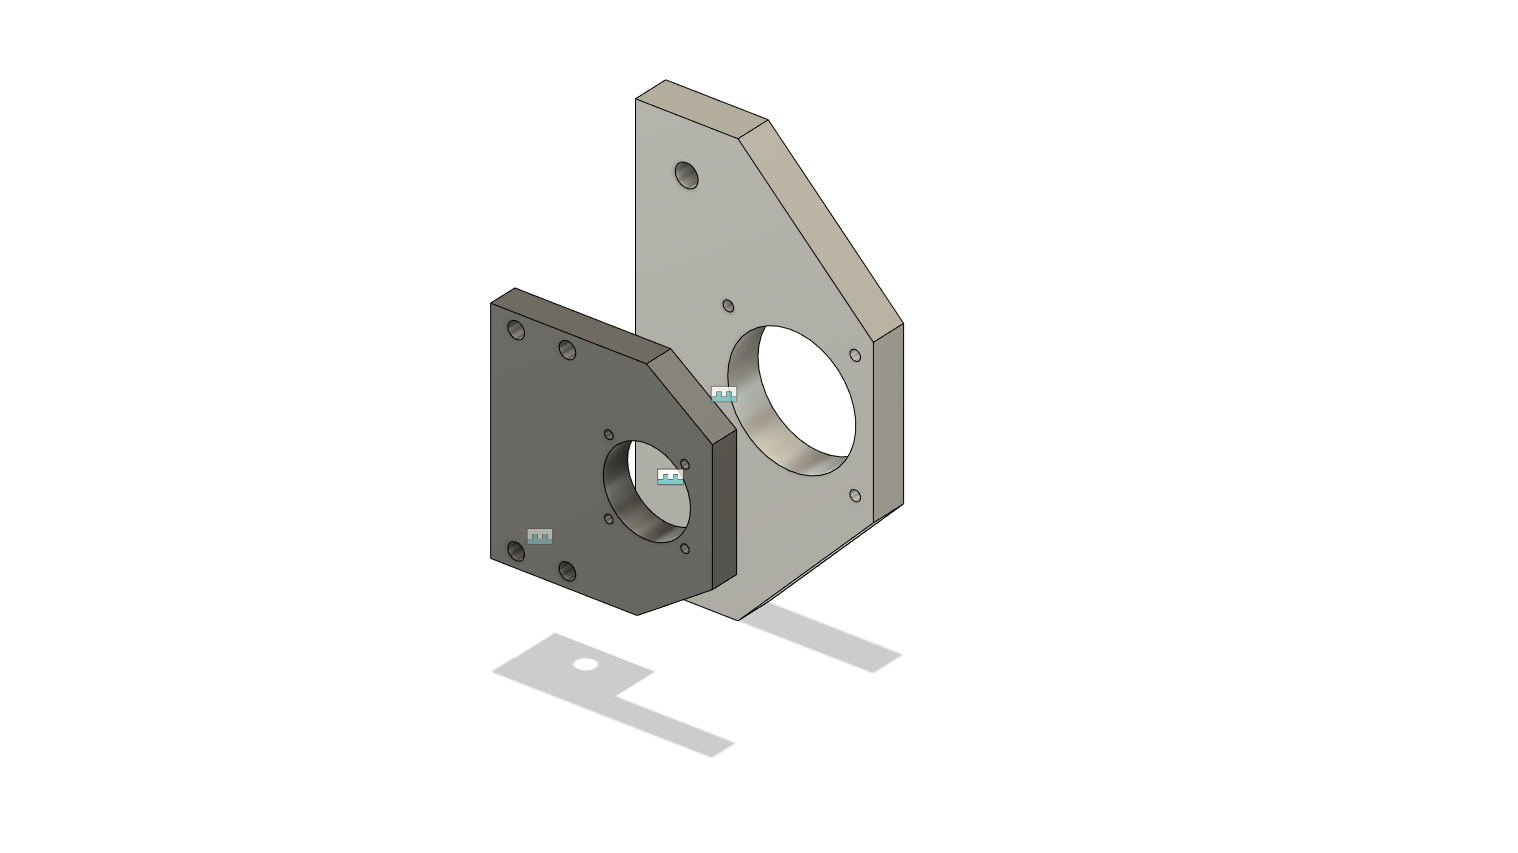
Z-axis plate:
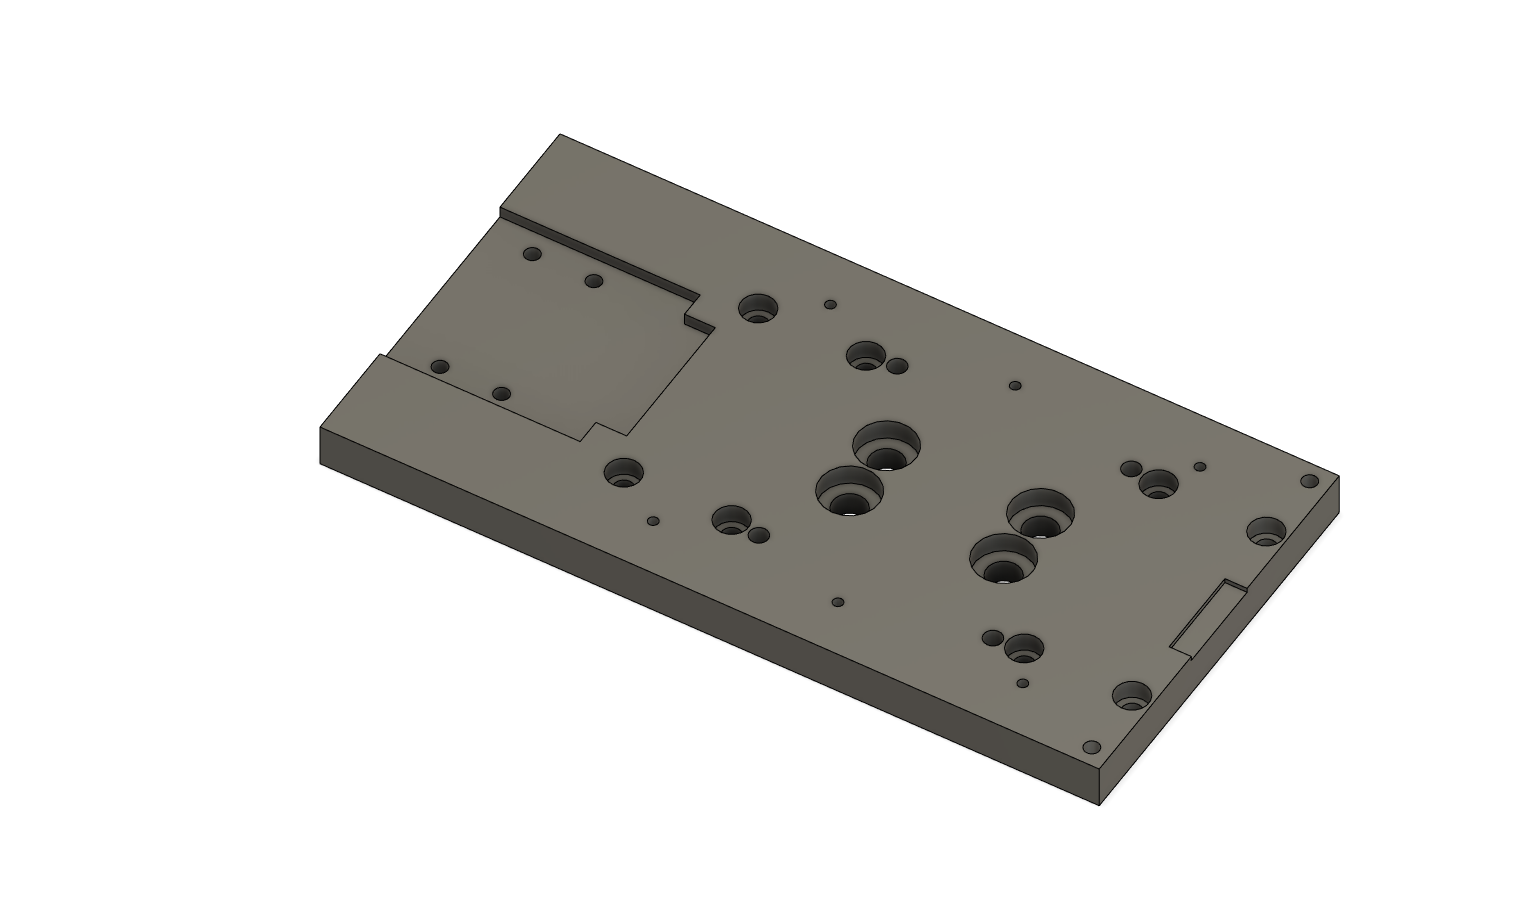
Here are the locating features I was talking about:
They’re just 6mm reamed bores but when I put dowel pins through them, it achieves two things:
- I can rest the dowels on top of the X-axis rail blocks, aligning the plate to be perpendicular to the X-axis, with a high degree of precision.
- I can push the Z-axis rails against the dowels, aligning them to be parallel to the Z-axis with a high degree of precision.
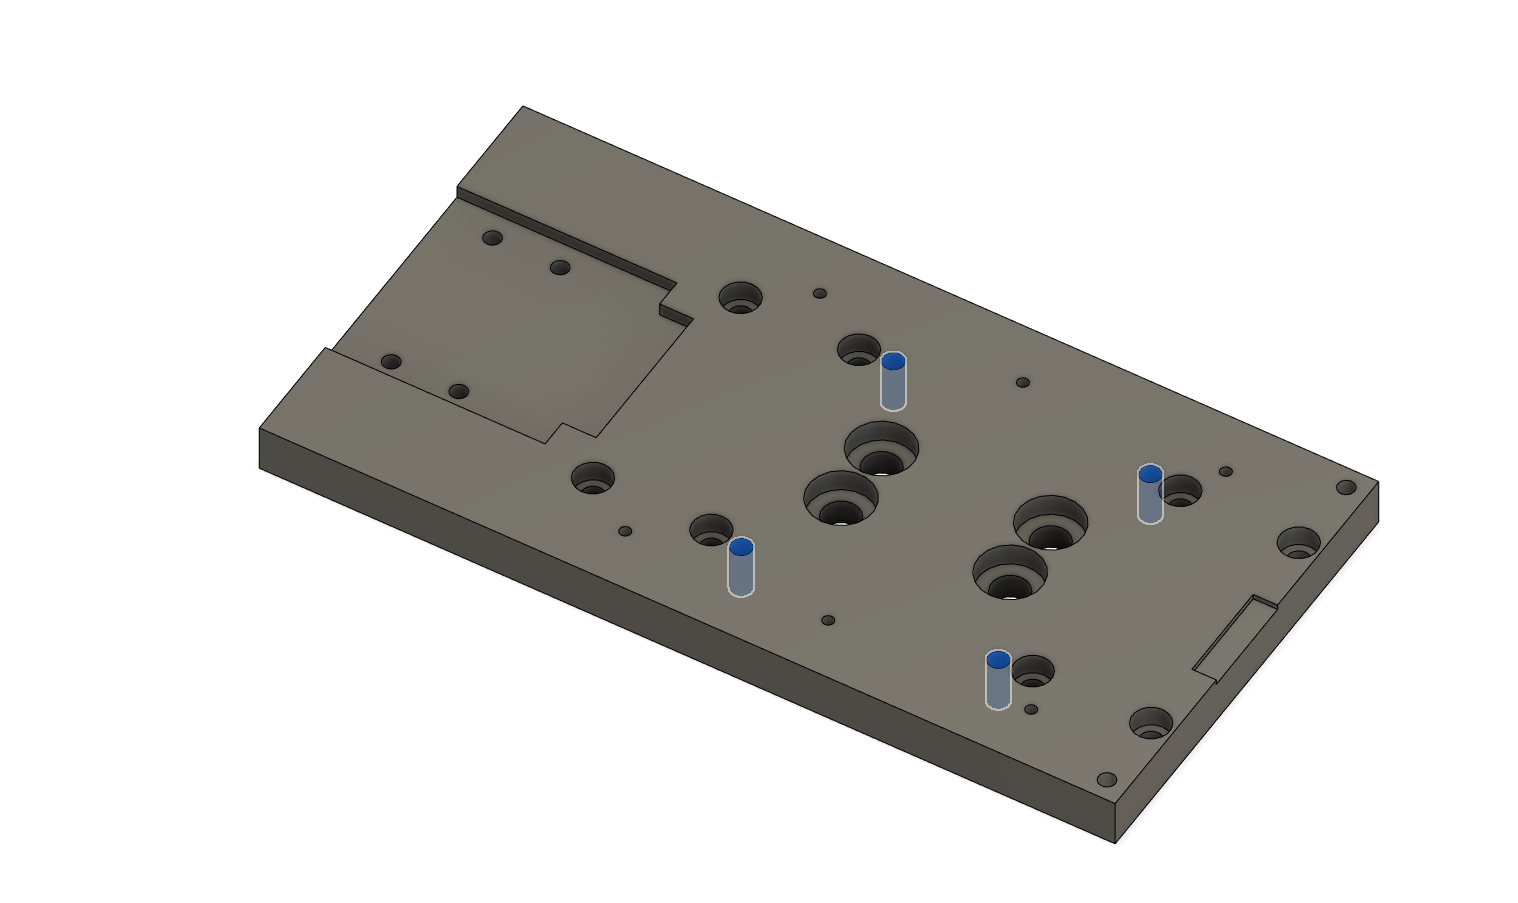
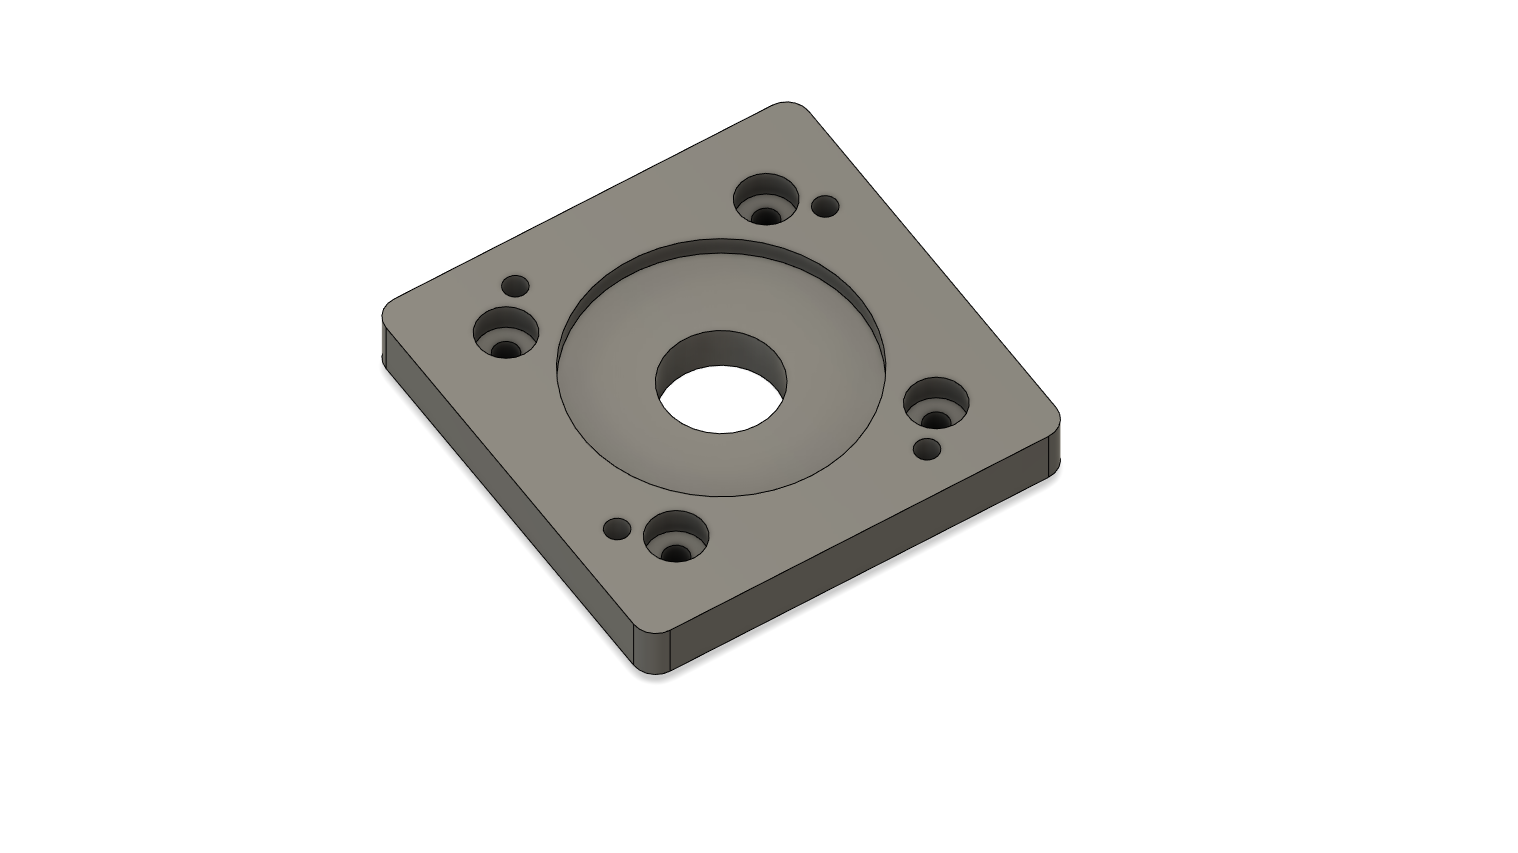
And here’s the spindle plate, with its locating bores:
Again, put 6mm dowel pins through then push the plate so that the dowels touch the Z-axis carriages. Bam, the plate is perpendicular to the Z-axis.
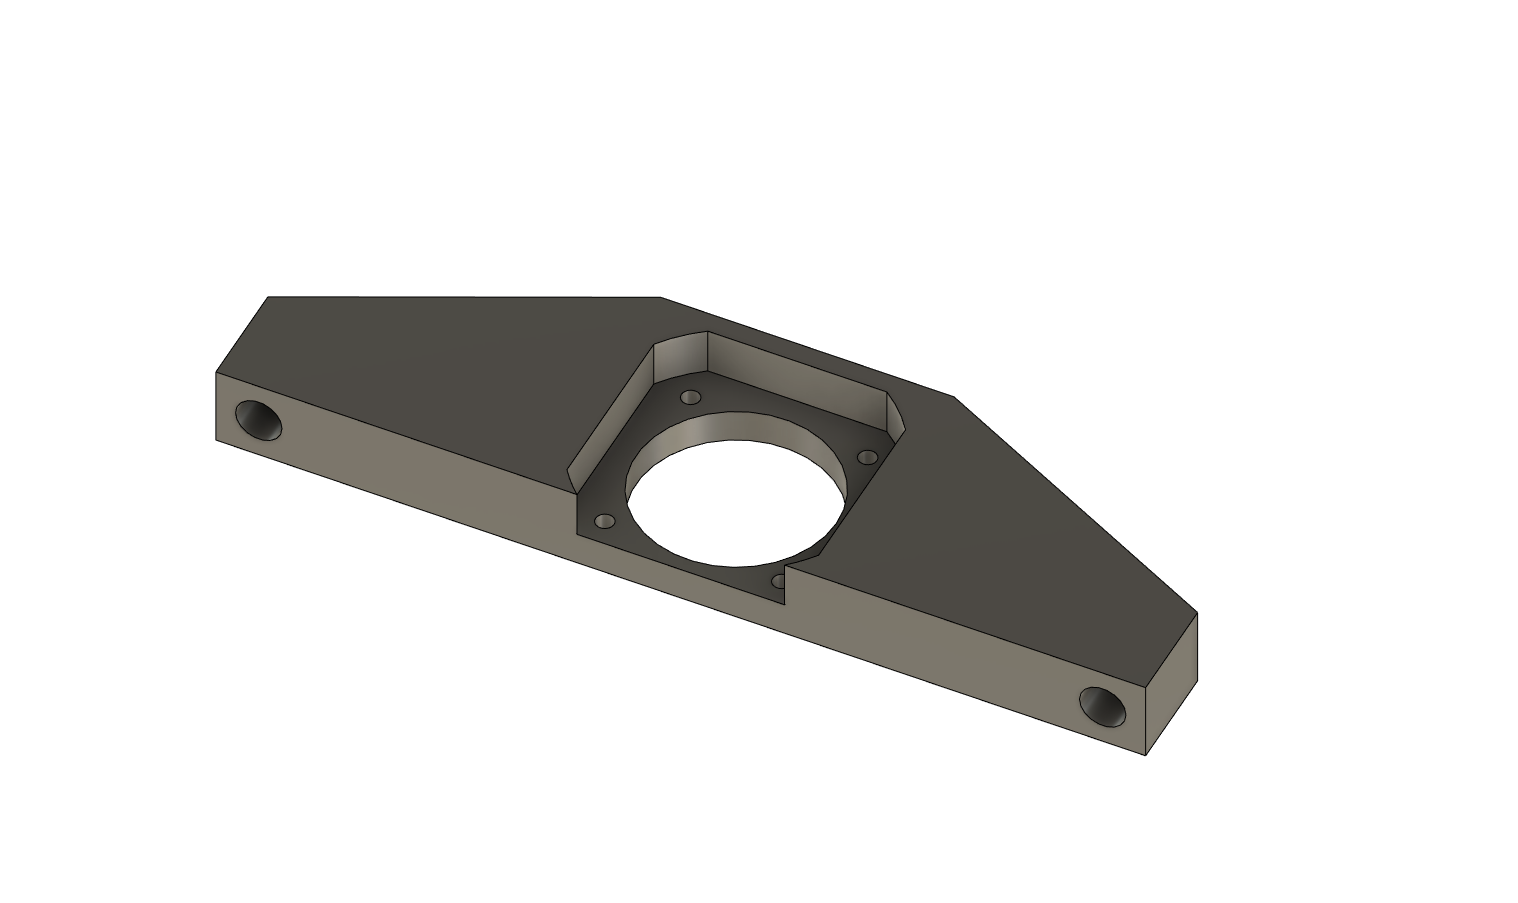
Other parts are:
- Z-axis floating ballscrew support
- NEMA 23 to ECMA 60 adapter
-X-axis motor and ballscrew assembly
Some things I learned:
- The Nomad can’t really handle regular drilling but does okay at peck drilling. This is really handy for getting say 5mm holes into a 15mm plate. A 3mm or 1/8" endmill usually only has ~12mm of cutting length, so can’t do it. A drill can.
- If you need to drill a 6mm hole, it’s just barely on the edge of what the Nomad can do. Better to pre-drill with a 5mm drill then widen it to 6mm.
- Reamers are absolutely my favourite thing ever right now. It takes literally a second for the reamer to go in and out of a hole and it easily holds a 10µm tolerance.
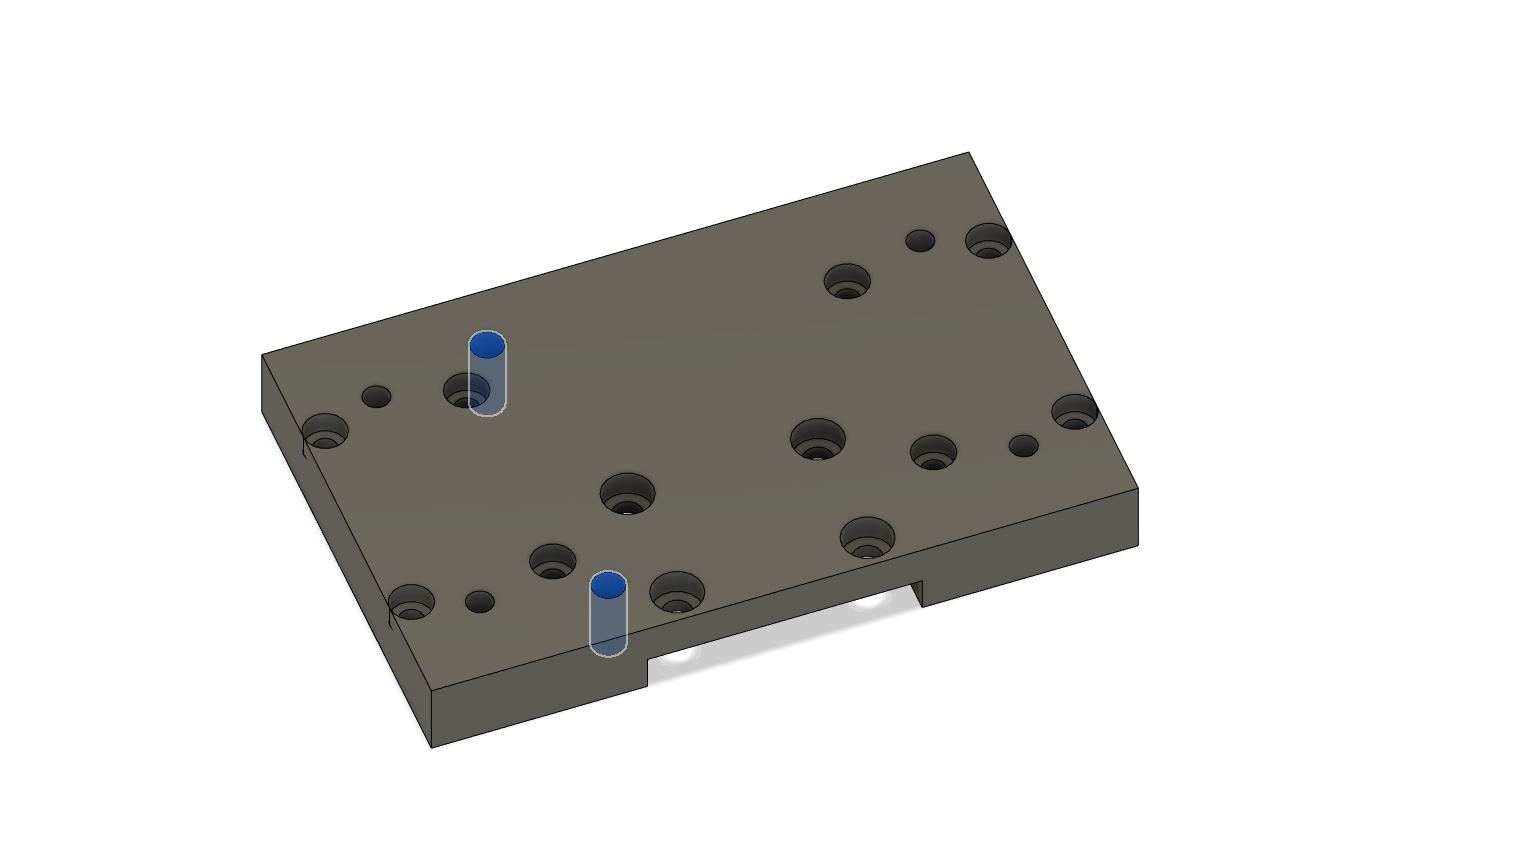
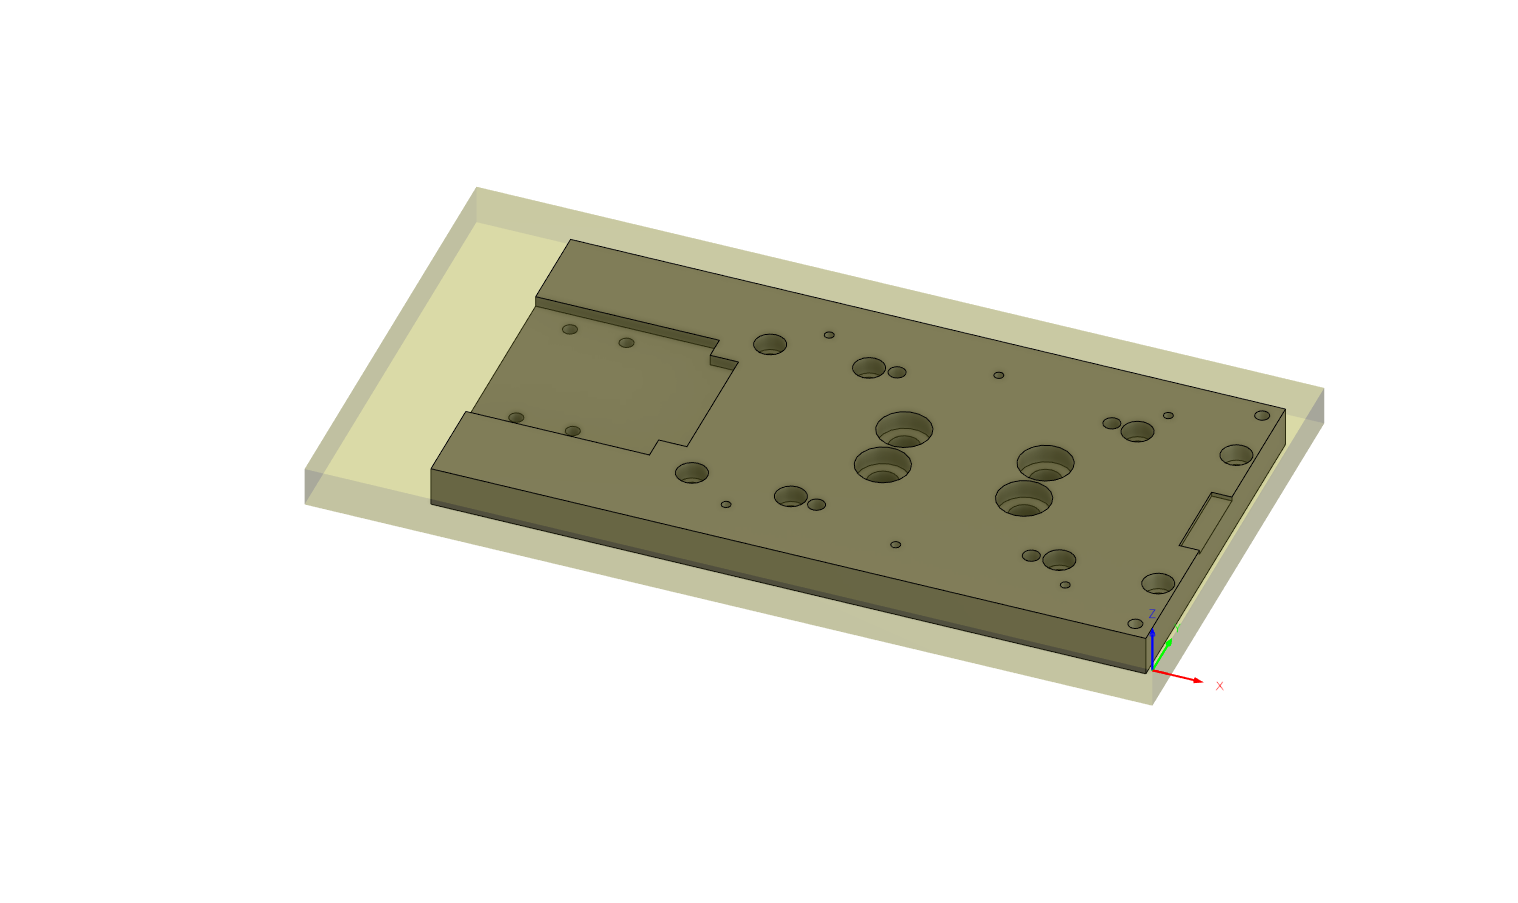
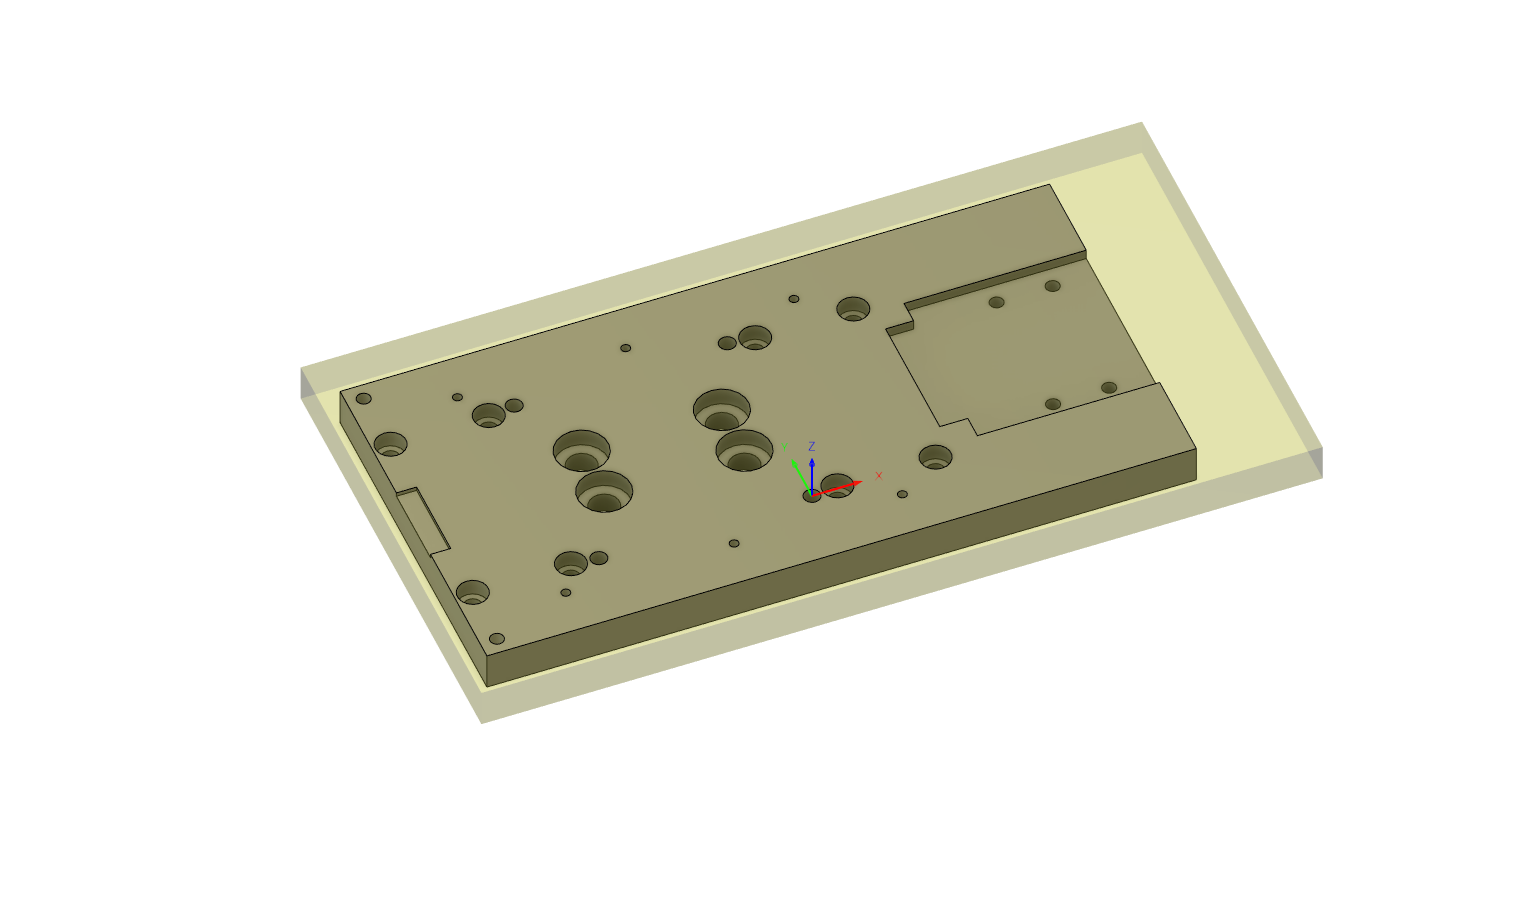
- Reaming + SMW fixture plate = easy multi-sided and multi-op machining. What I did for a lot of these parts was drill and ream a pair of 6mm locating bores in the side of the stock, some multiple of 20mm apart:
Then I can use the pins to flip or rotate the part while keeping everything precise. For example the part above was too large to machine on the Nomad in one shot since it was 253mm long, so I did two setups:- One with all the tight tolerance stuff in one go (e.g. I don’t want to do 2 of the rail holes in one setup and the third in the other, or split up my alignment bores), locating off the stock:
- One with the plate rotated so I could get at the slot for the motor mount and the holes for the X-axis carriages, referencing one of the precisely reamed holes in the plate:
- Aluminium alloy really matters. The larger plate for the X-axis was a 2000 series Aluminium alloy and my drills didn’y like it at all. Spindle kept stalling. The rest of my plates now are EN AW 7019. I bought 30kg of the stuff.
- Tape and superglue is fantastic and gives you a little wiggle room when you want to go all the way through a part without hitting the bed but if you manage to stall the spindle drilling holes, make sure to re-home the Z-axis before continuing… My previously pristine SMW fixture plate now has a few small indents in it from where the Z-axis lost steps and drilled down into the plate when I resumed the job. I think this will be a totally avoidable problem on Daughter of Nomad though because I should be able to configure the servo to throw an alarm to the controller if it’s ever unable to comply with an instruction. Same with the spindle VFD hopefully.

Finally, RIP to several endmills:
- 2 of my beloved 6mm Hartner 3-flute endmills that were clogged with Aluminium while slotting (also lesson learned: don’t slot with 6mm multi-flute endmills if you can avoid it)
- 1 CncFraises 1/8" DLC endmill that lost its tip during a slotting operation (the first endmill that seemed to just die from wear, though this particular one has seen some serious abuse).
- 1 CncFraises 1/8" DLC endmill that was rapid plunged straight into a piece of stock until it was fully embedded (seriously, a full 12mm). When pulled out, it was actually nearly entirely intact, it had just lost its tip.
- 1 CncFraises 1/8" DLC endmill that just committed Sudoku for reasons I don’t quite understand. It was in the middle of a boring operation that had one of those little pillars in the middle. My speculation is that the endmill was brutally murdered by the pillar when it finally broke off.
At least the Hartner endmills should be salvageable if I can get my hands on some Lye to dissolve away the Aluminium.
Next steps for the mill are:
- Properly set up the electronics cabinet
- Set up LinuxCNC
- Properly install all the mechanics, properly squared (mainly need to square X/Z with Y/bed)
- Test rigidity, possibly enhance rigidity (e.g. extra extrusion to support the X-axis gantry, more rigid joints for the extrusion)
- Build an enclosure, maybe something similar (but much less nice) than @CNCInspiration’s enclosure