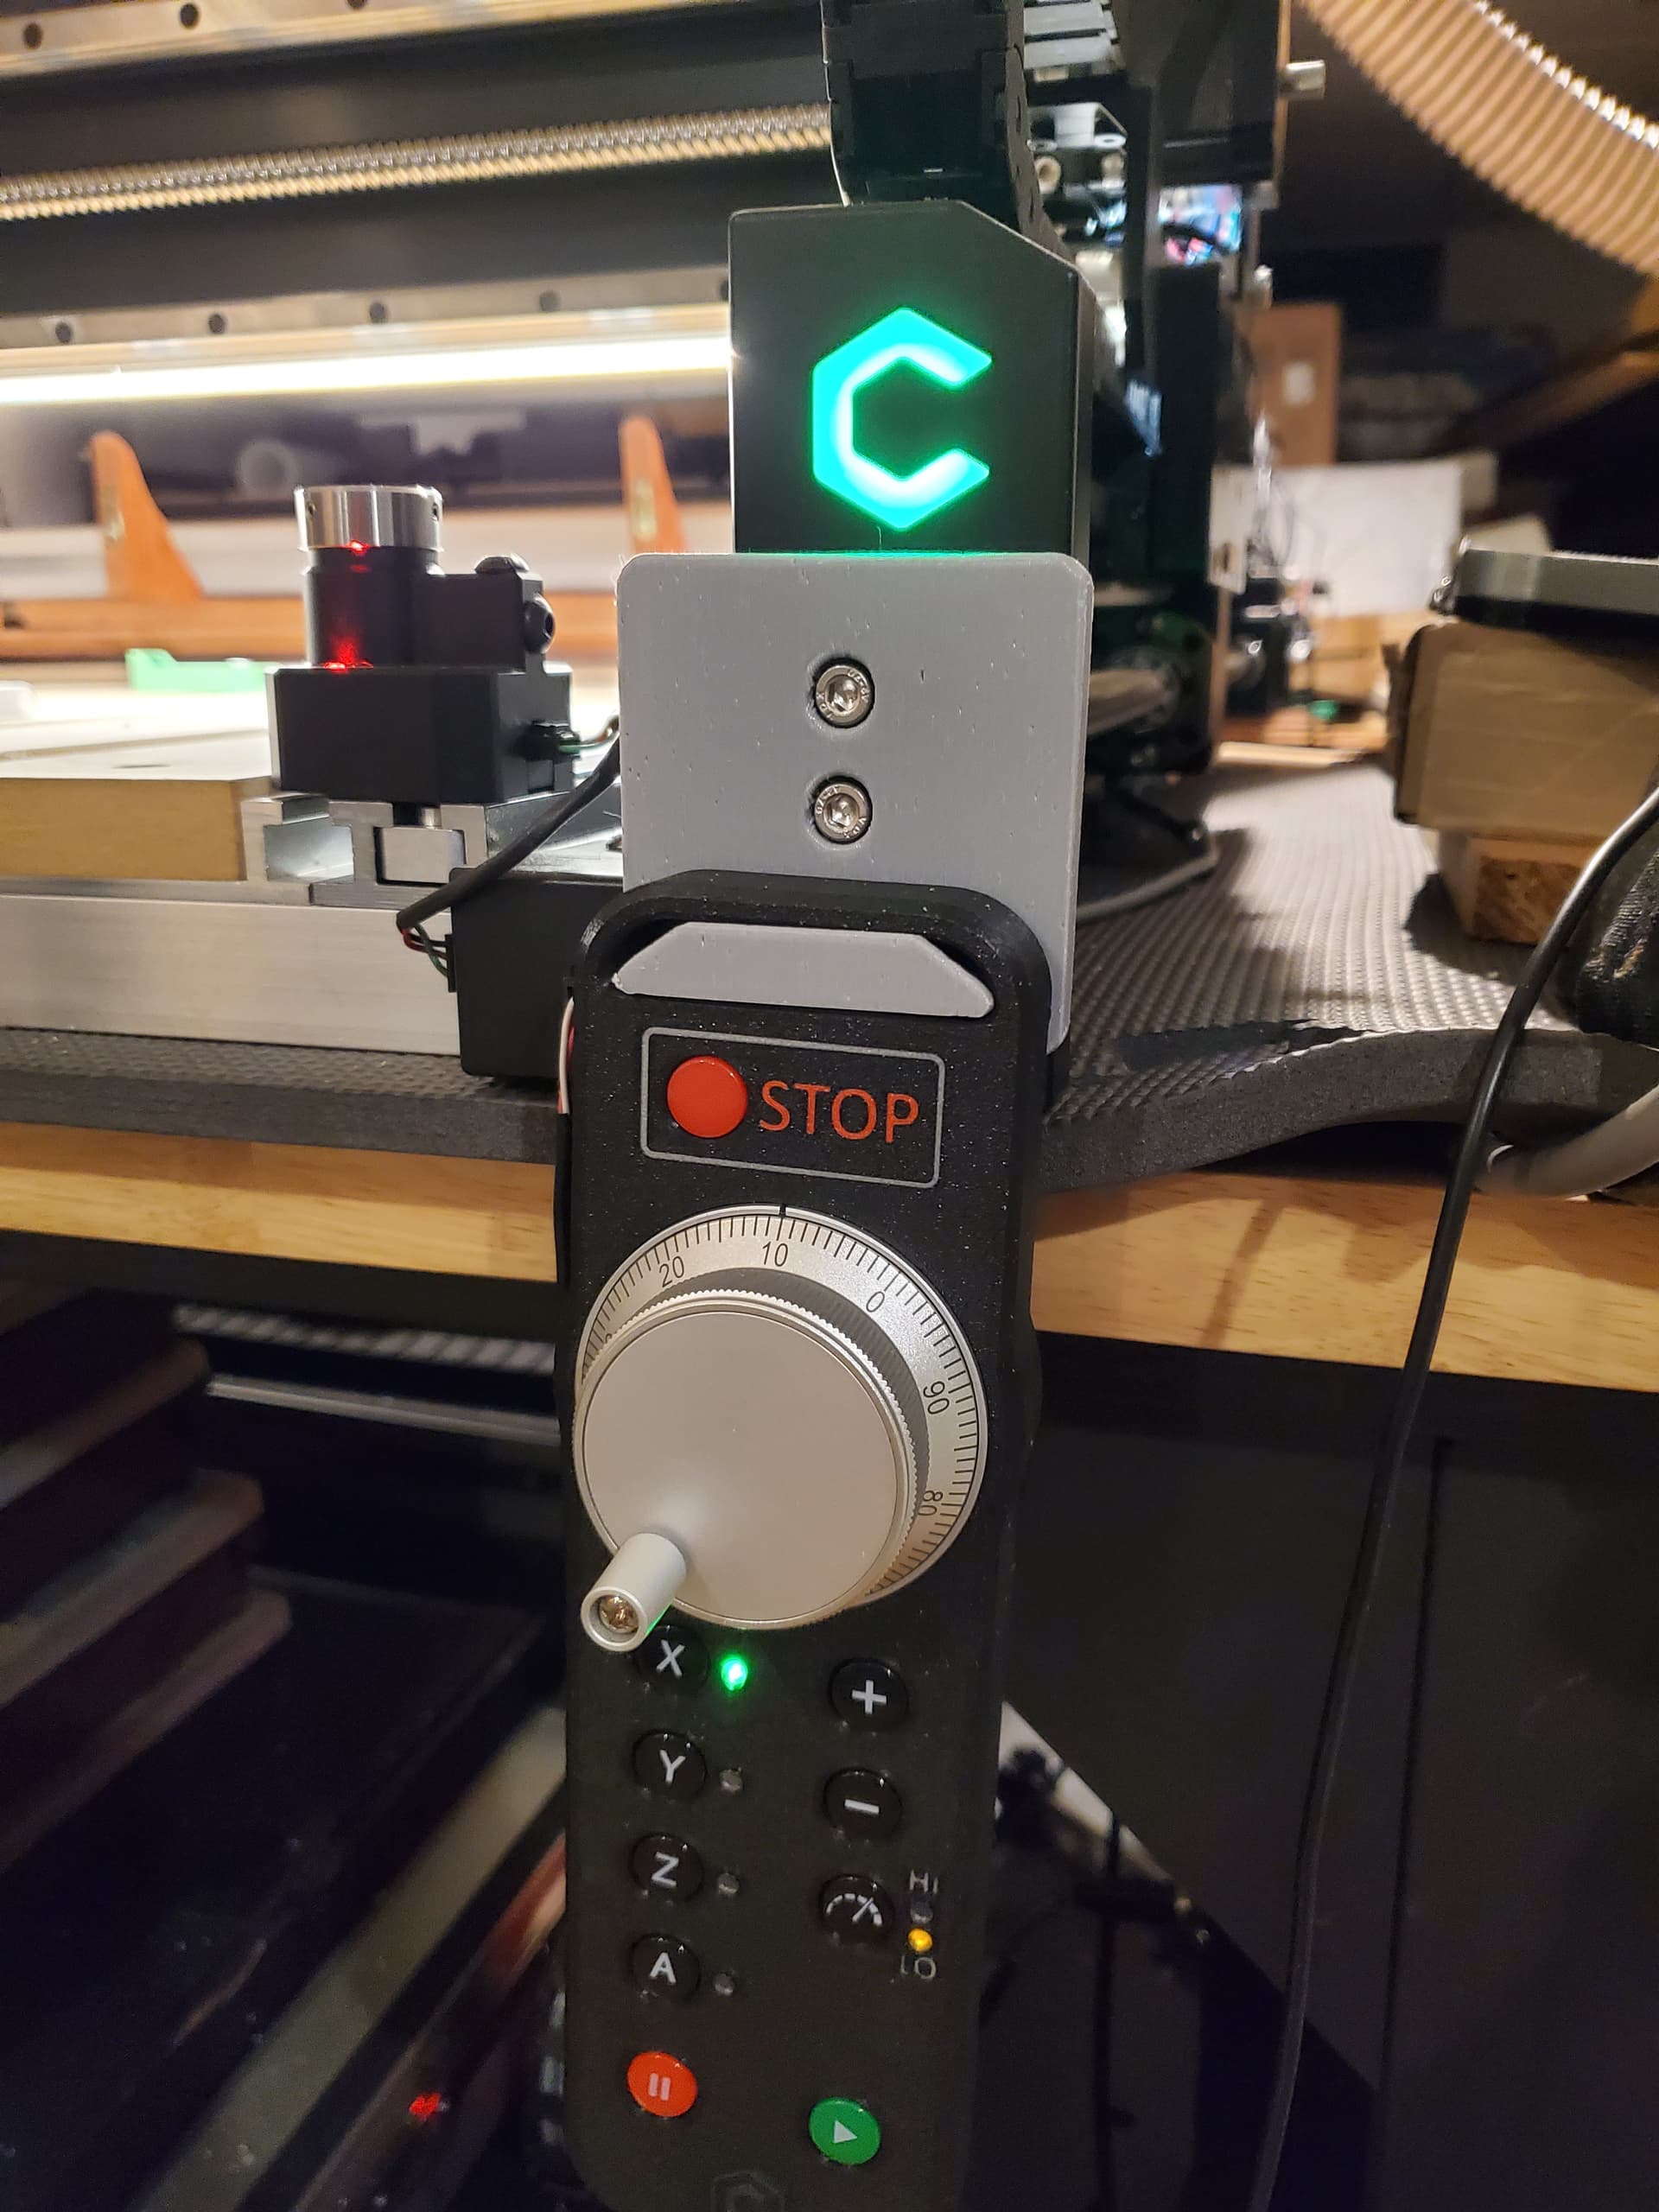
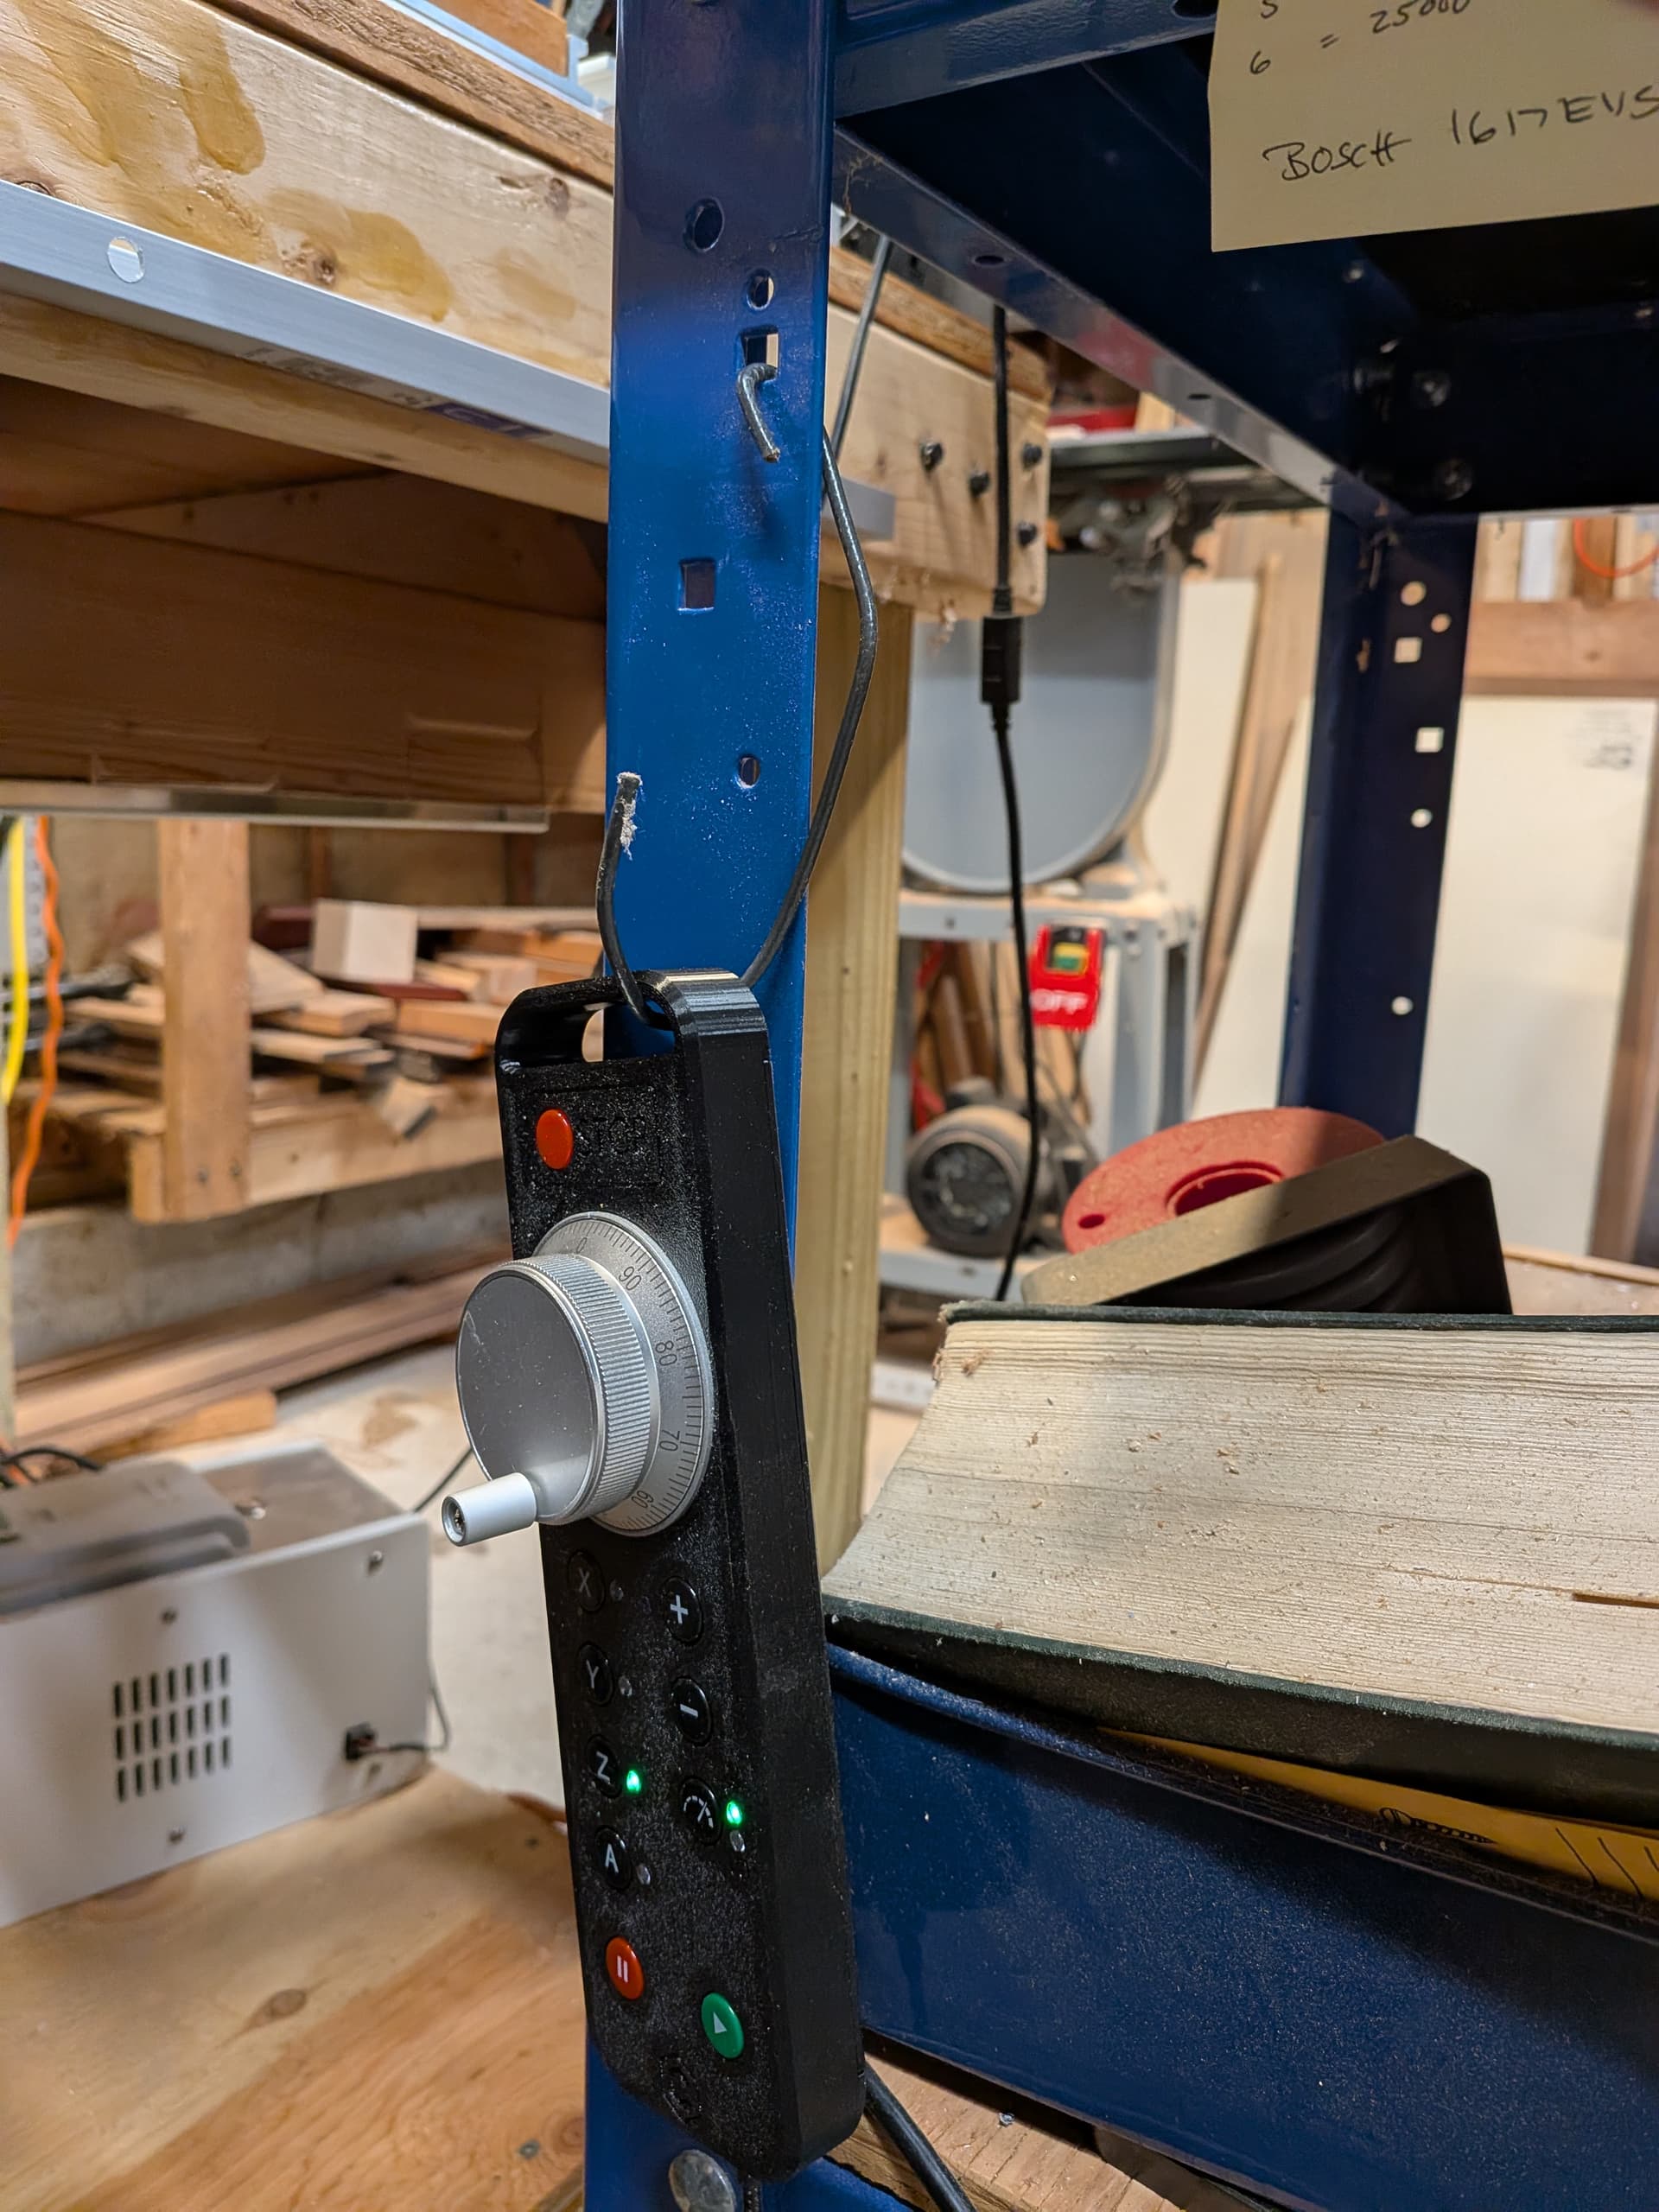
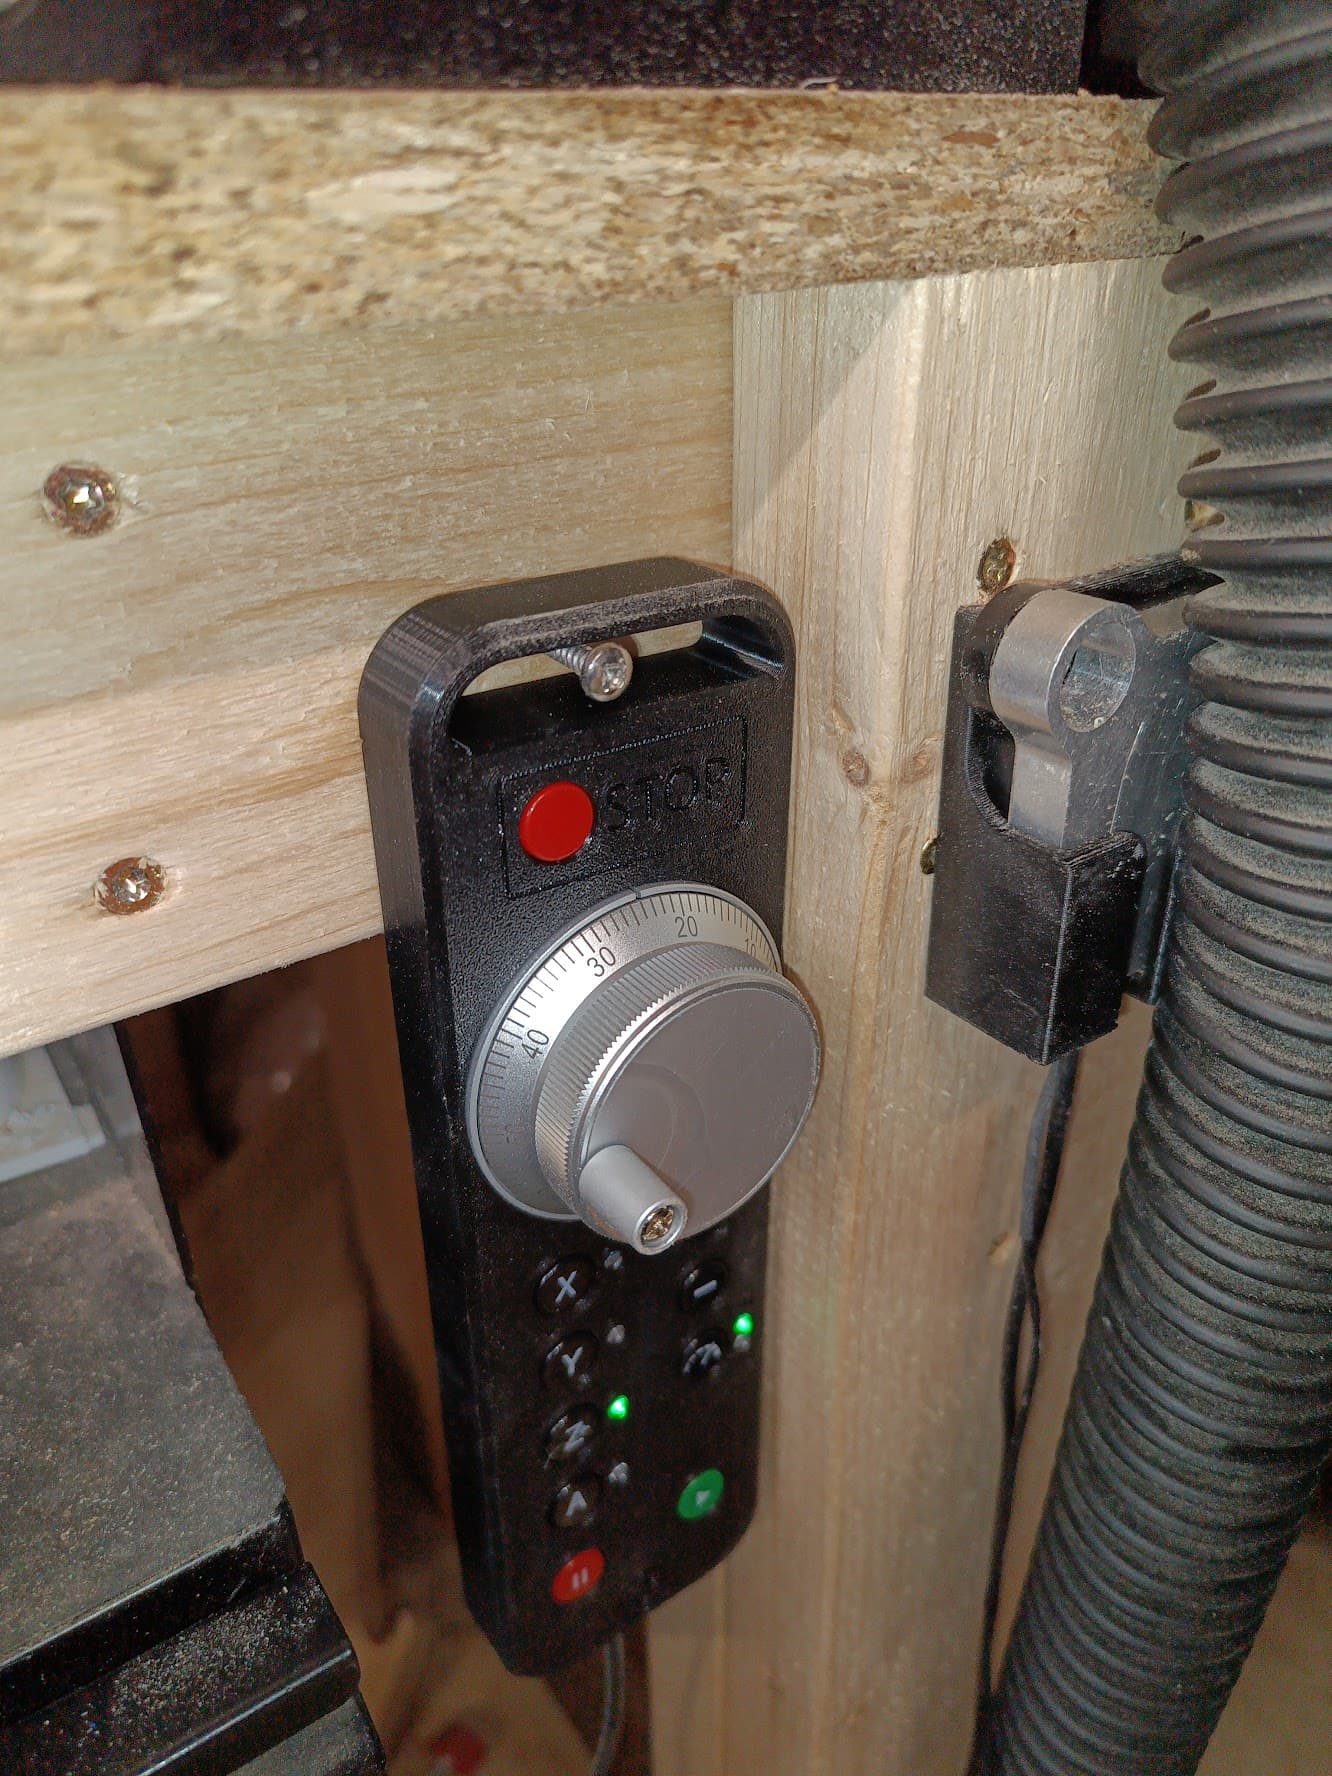
Eventually, I’d like to work up a steel plate as a base for a platform which all the machine controls rest on on the swing monitor arm affixed to the table my SO5 Pro is on, but until that time, a space to hang the Carbide 3D pendant is wanted — since the front plate has two holes in it, and bolts for securing it, using them as an attachment point seems an expedient option.
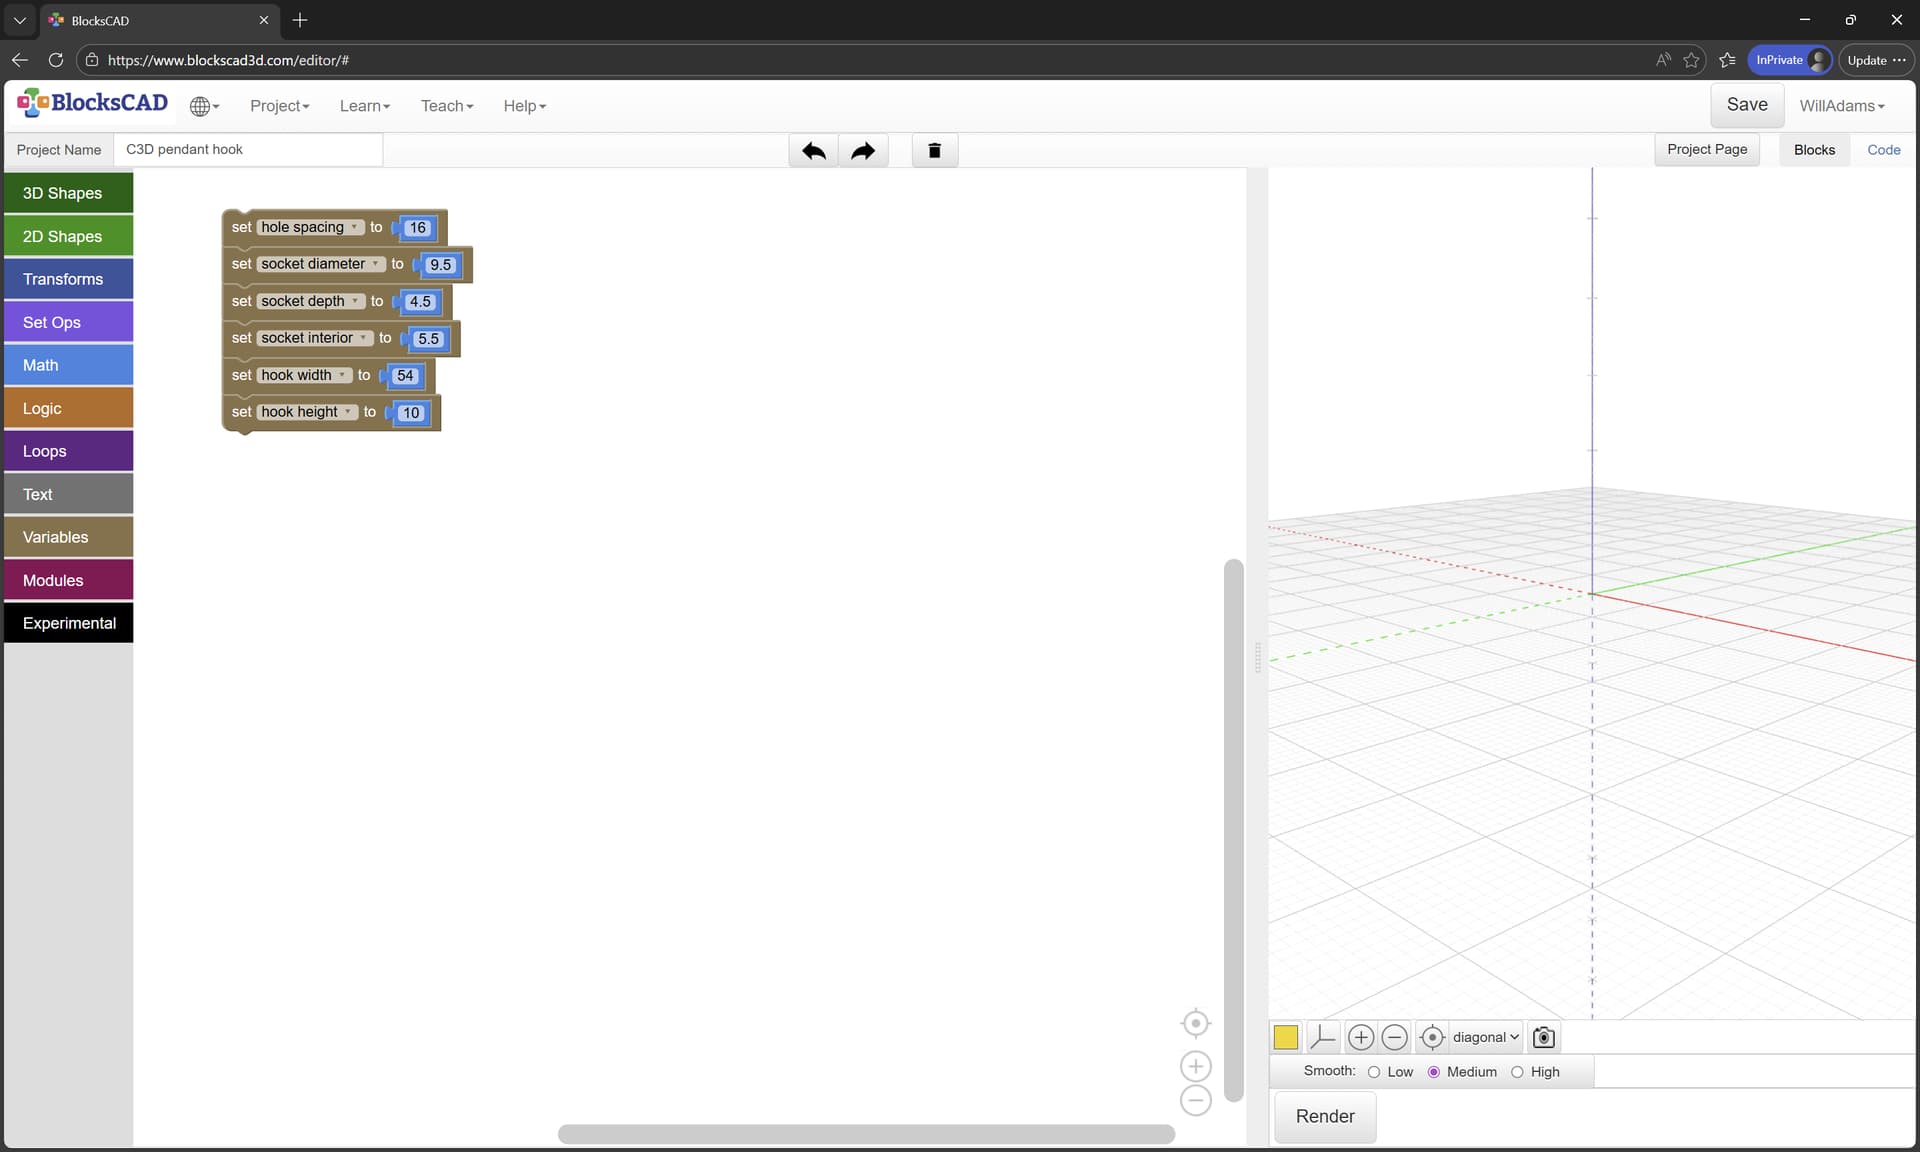
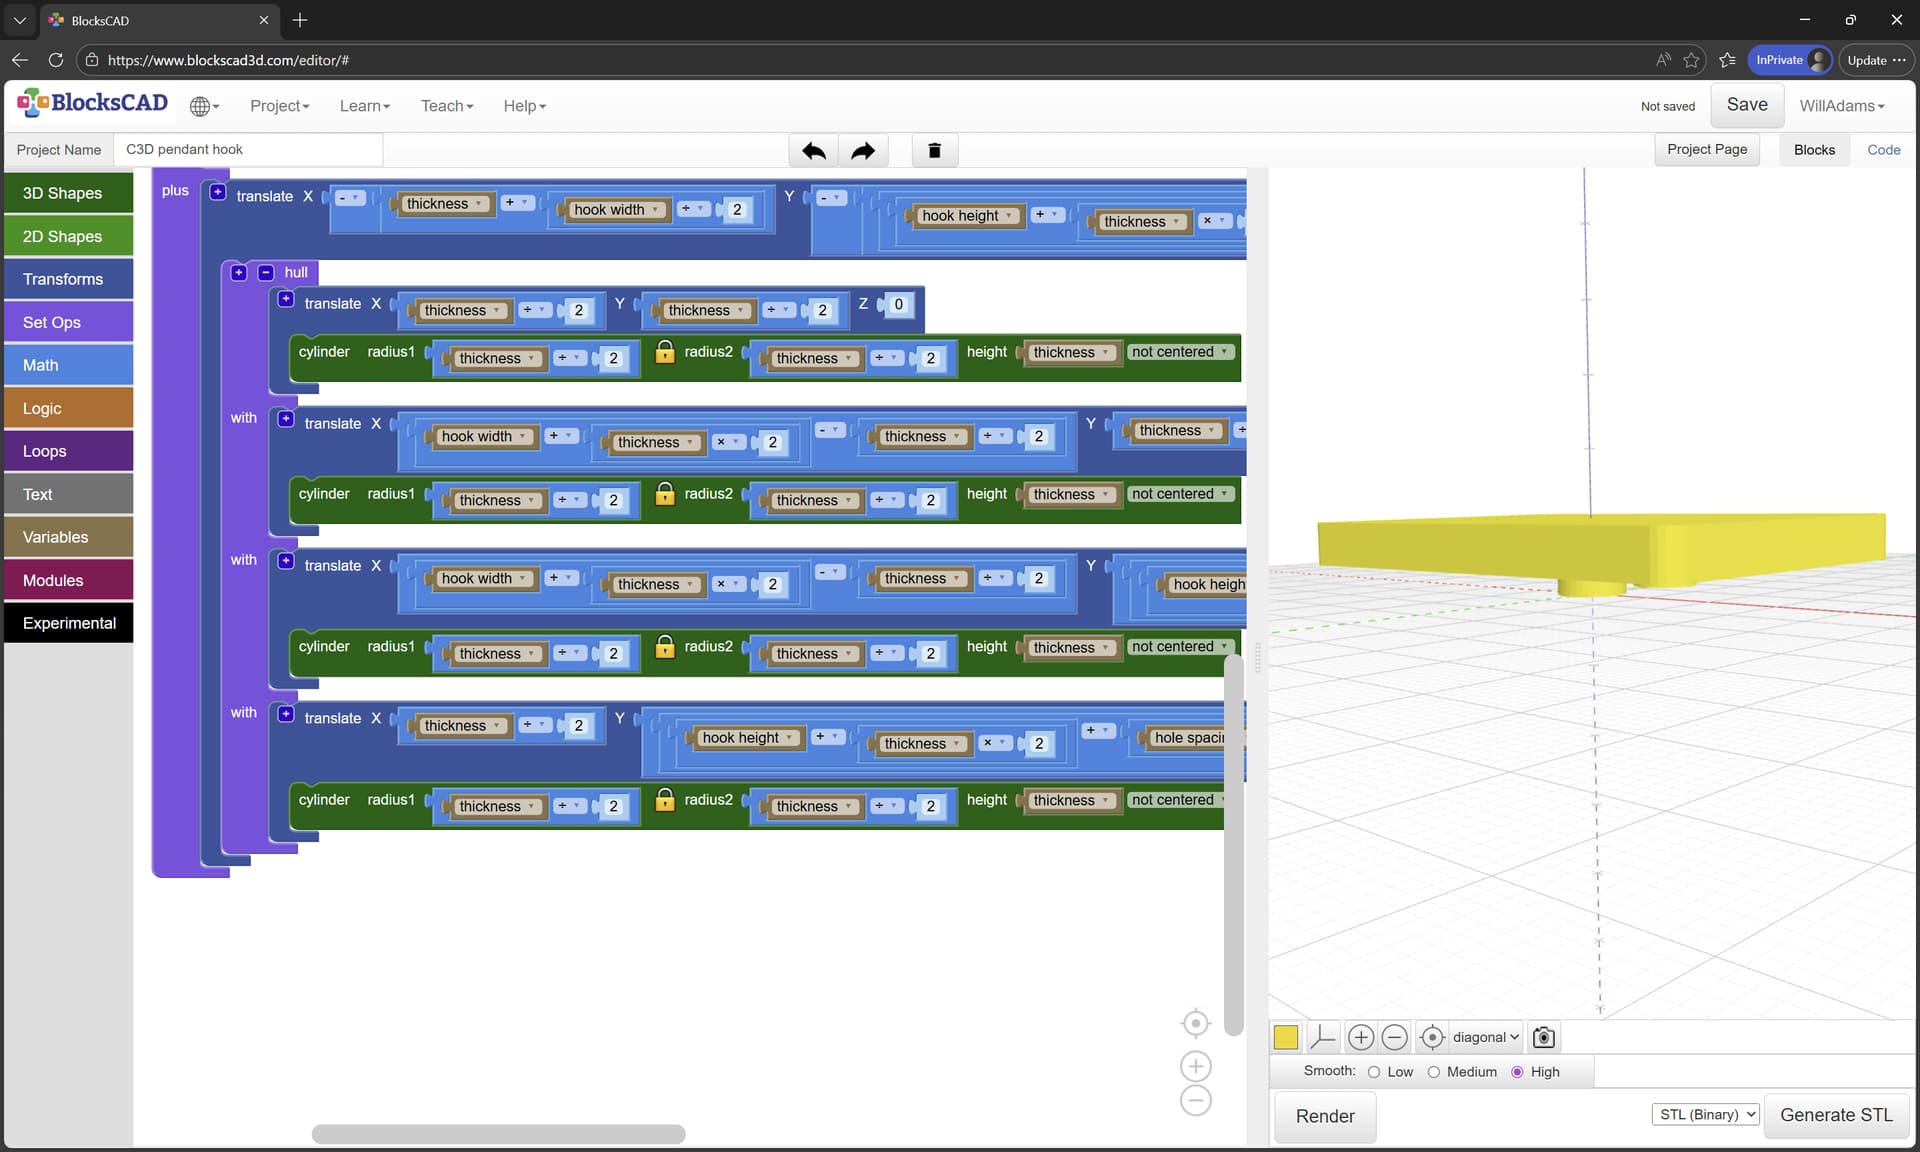
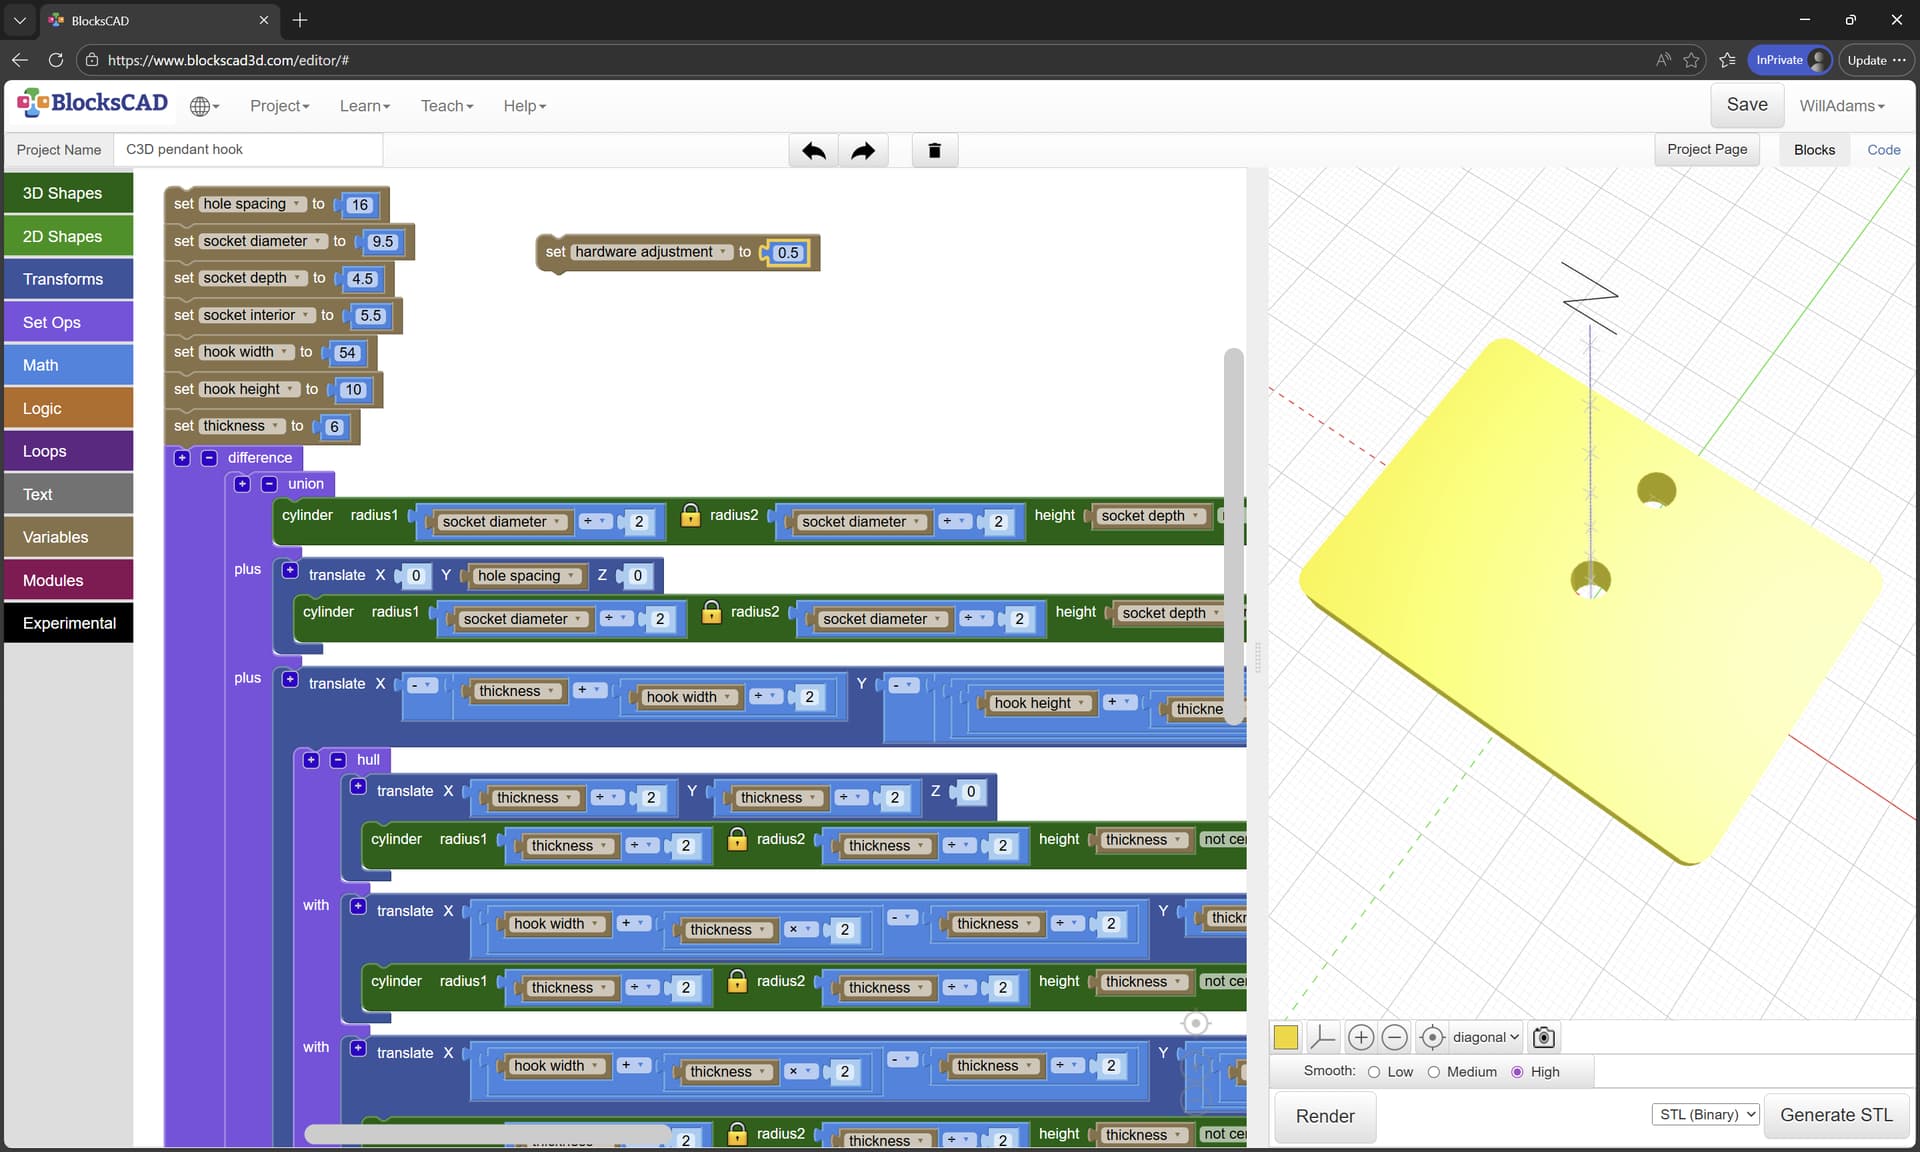
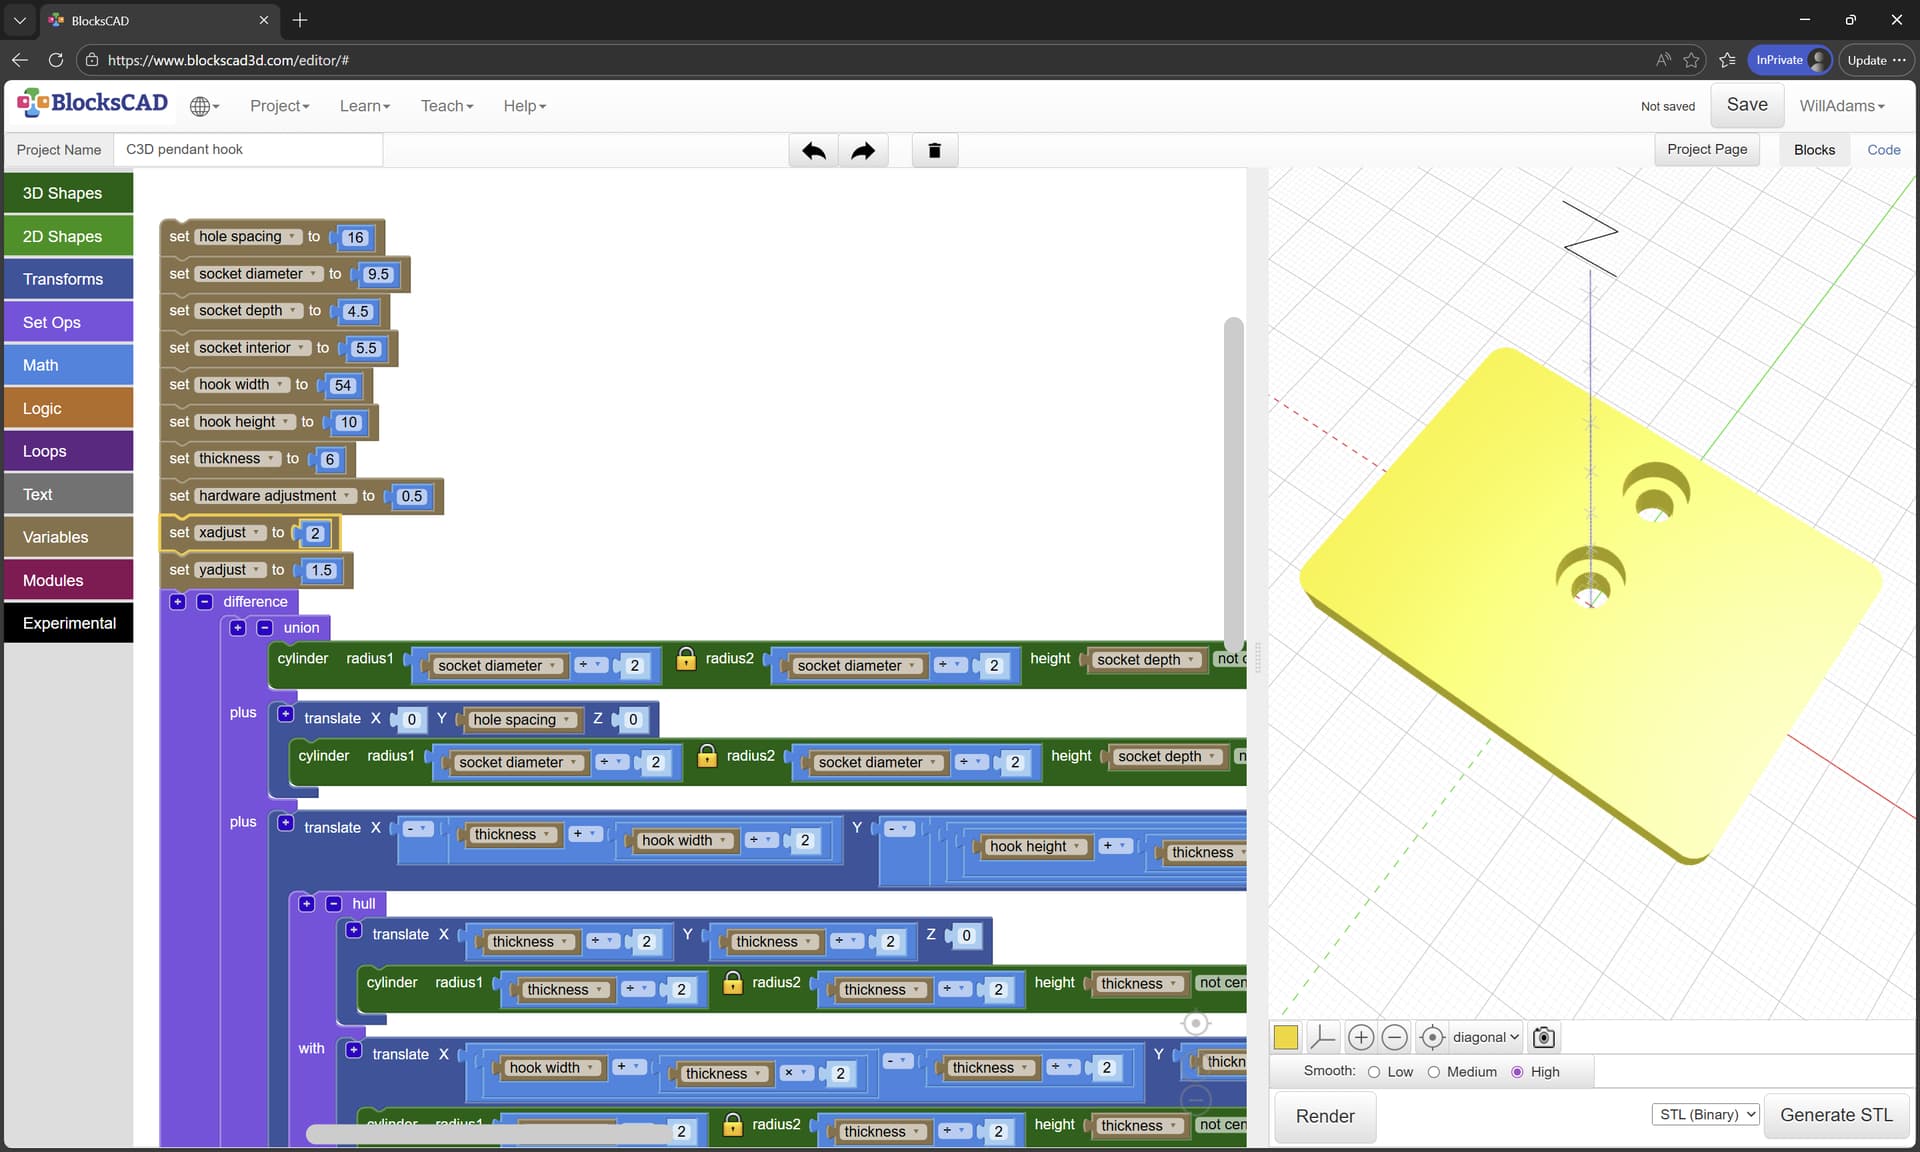
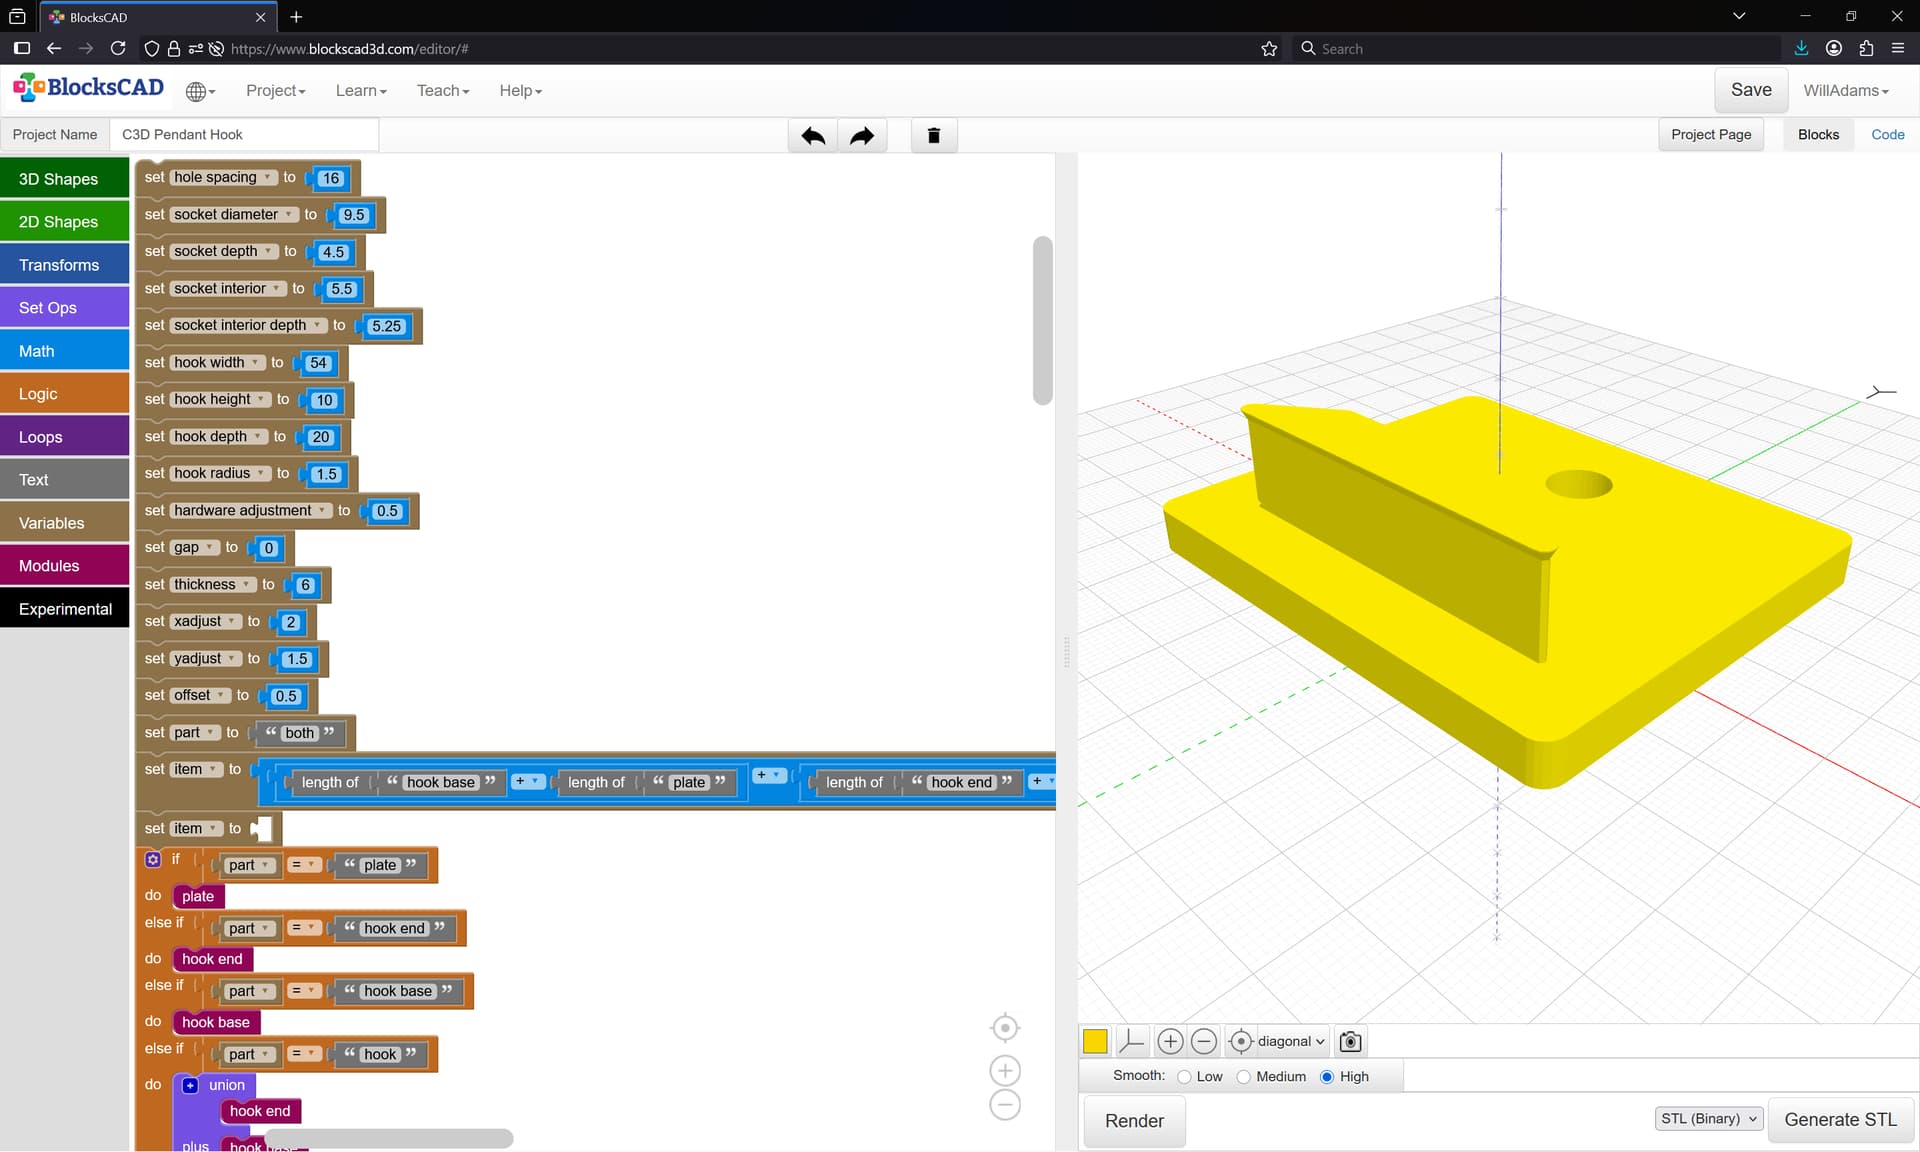
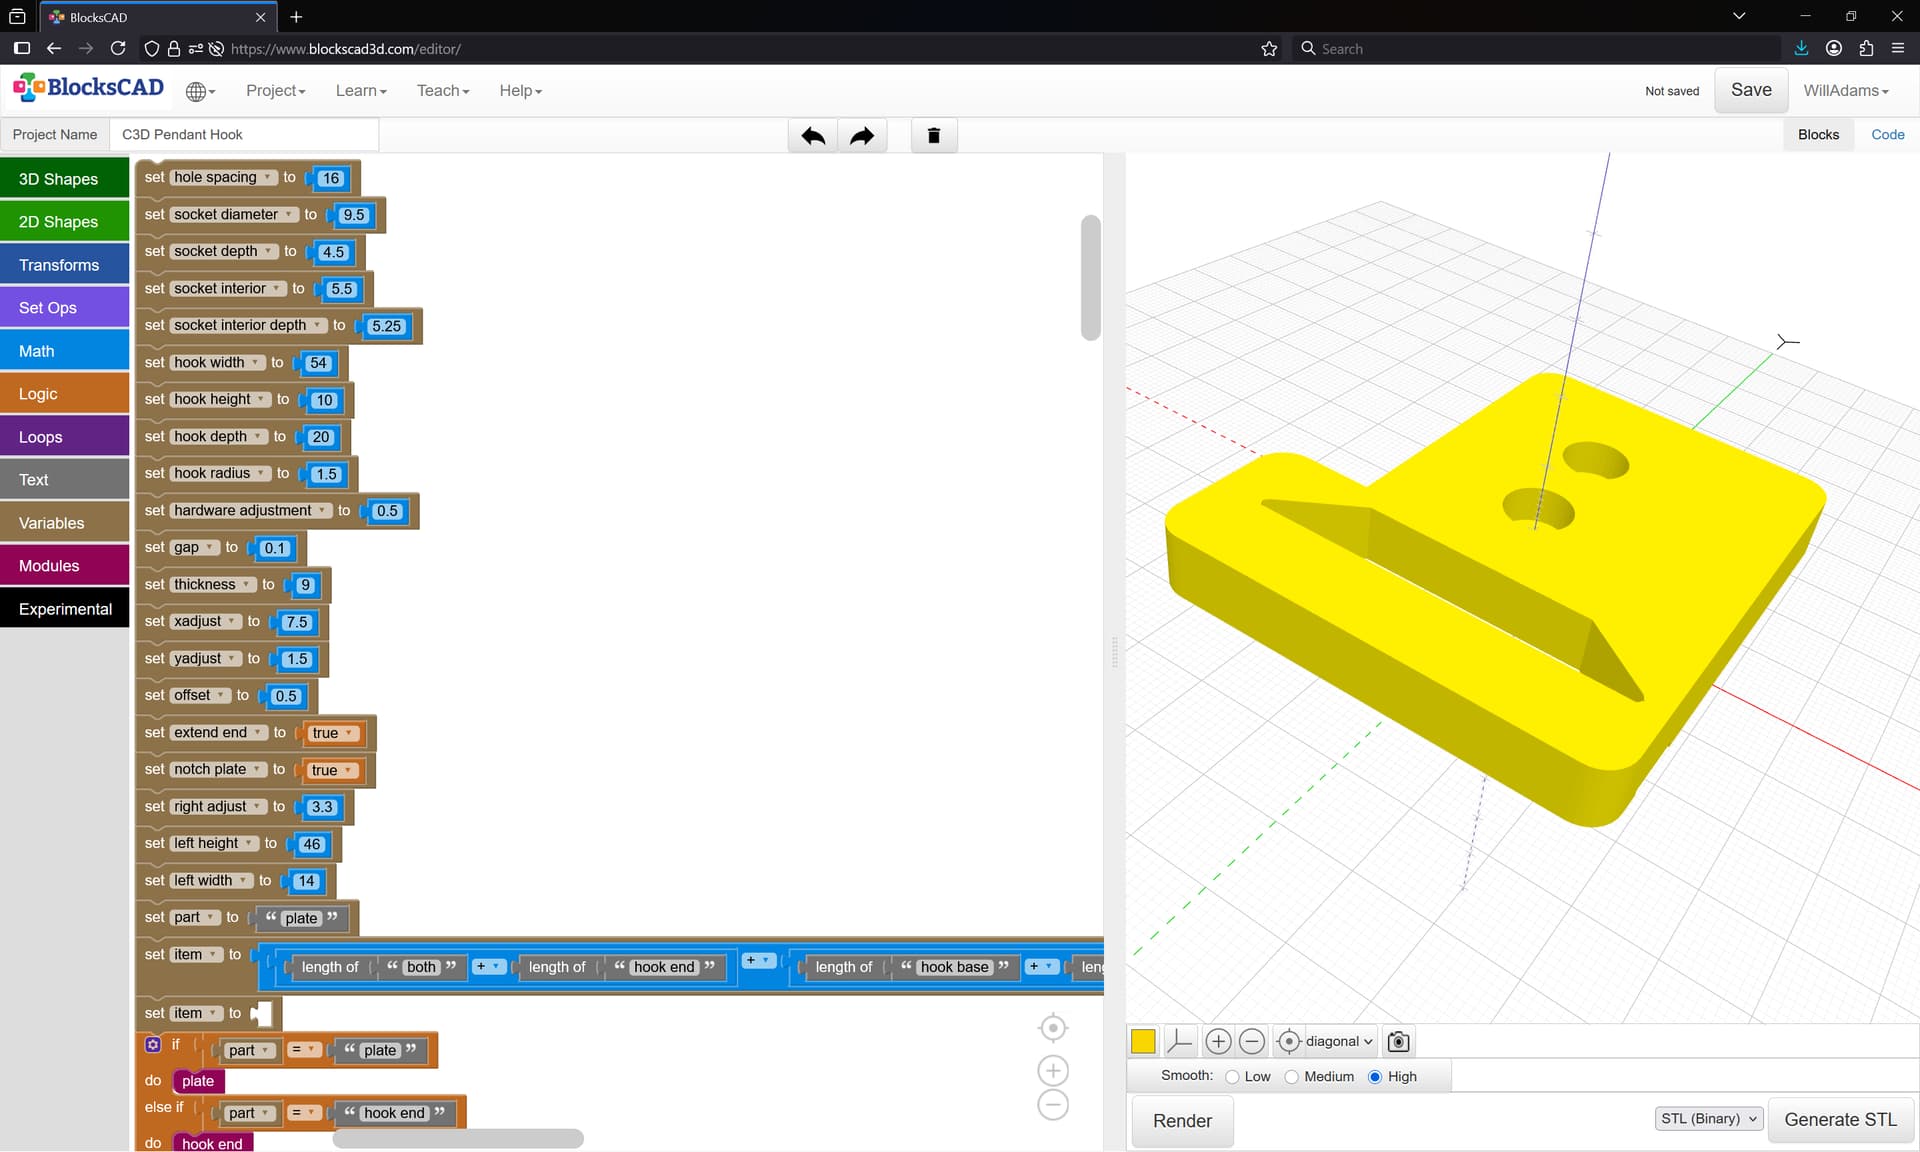
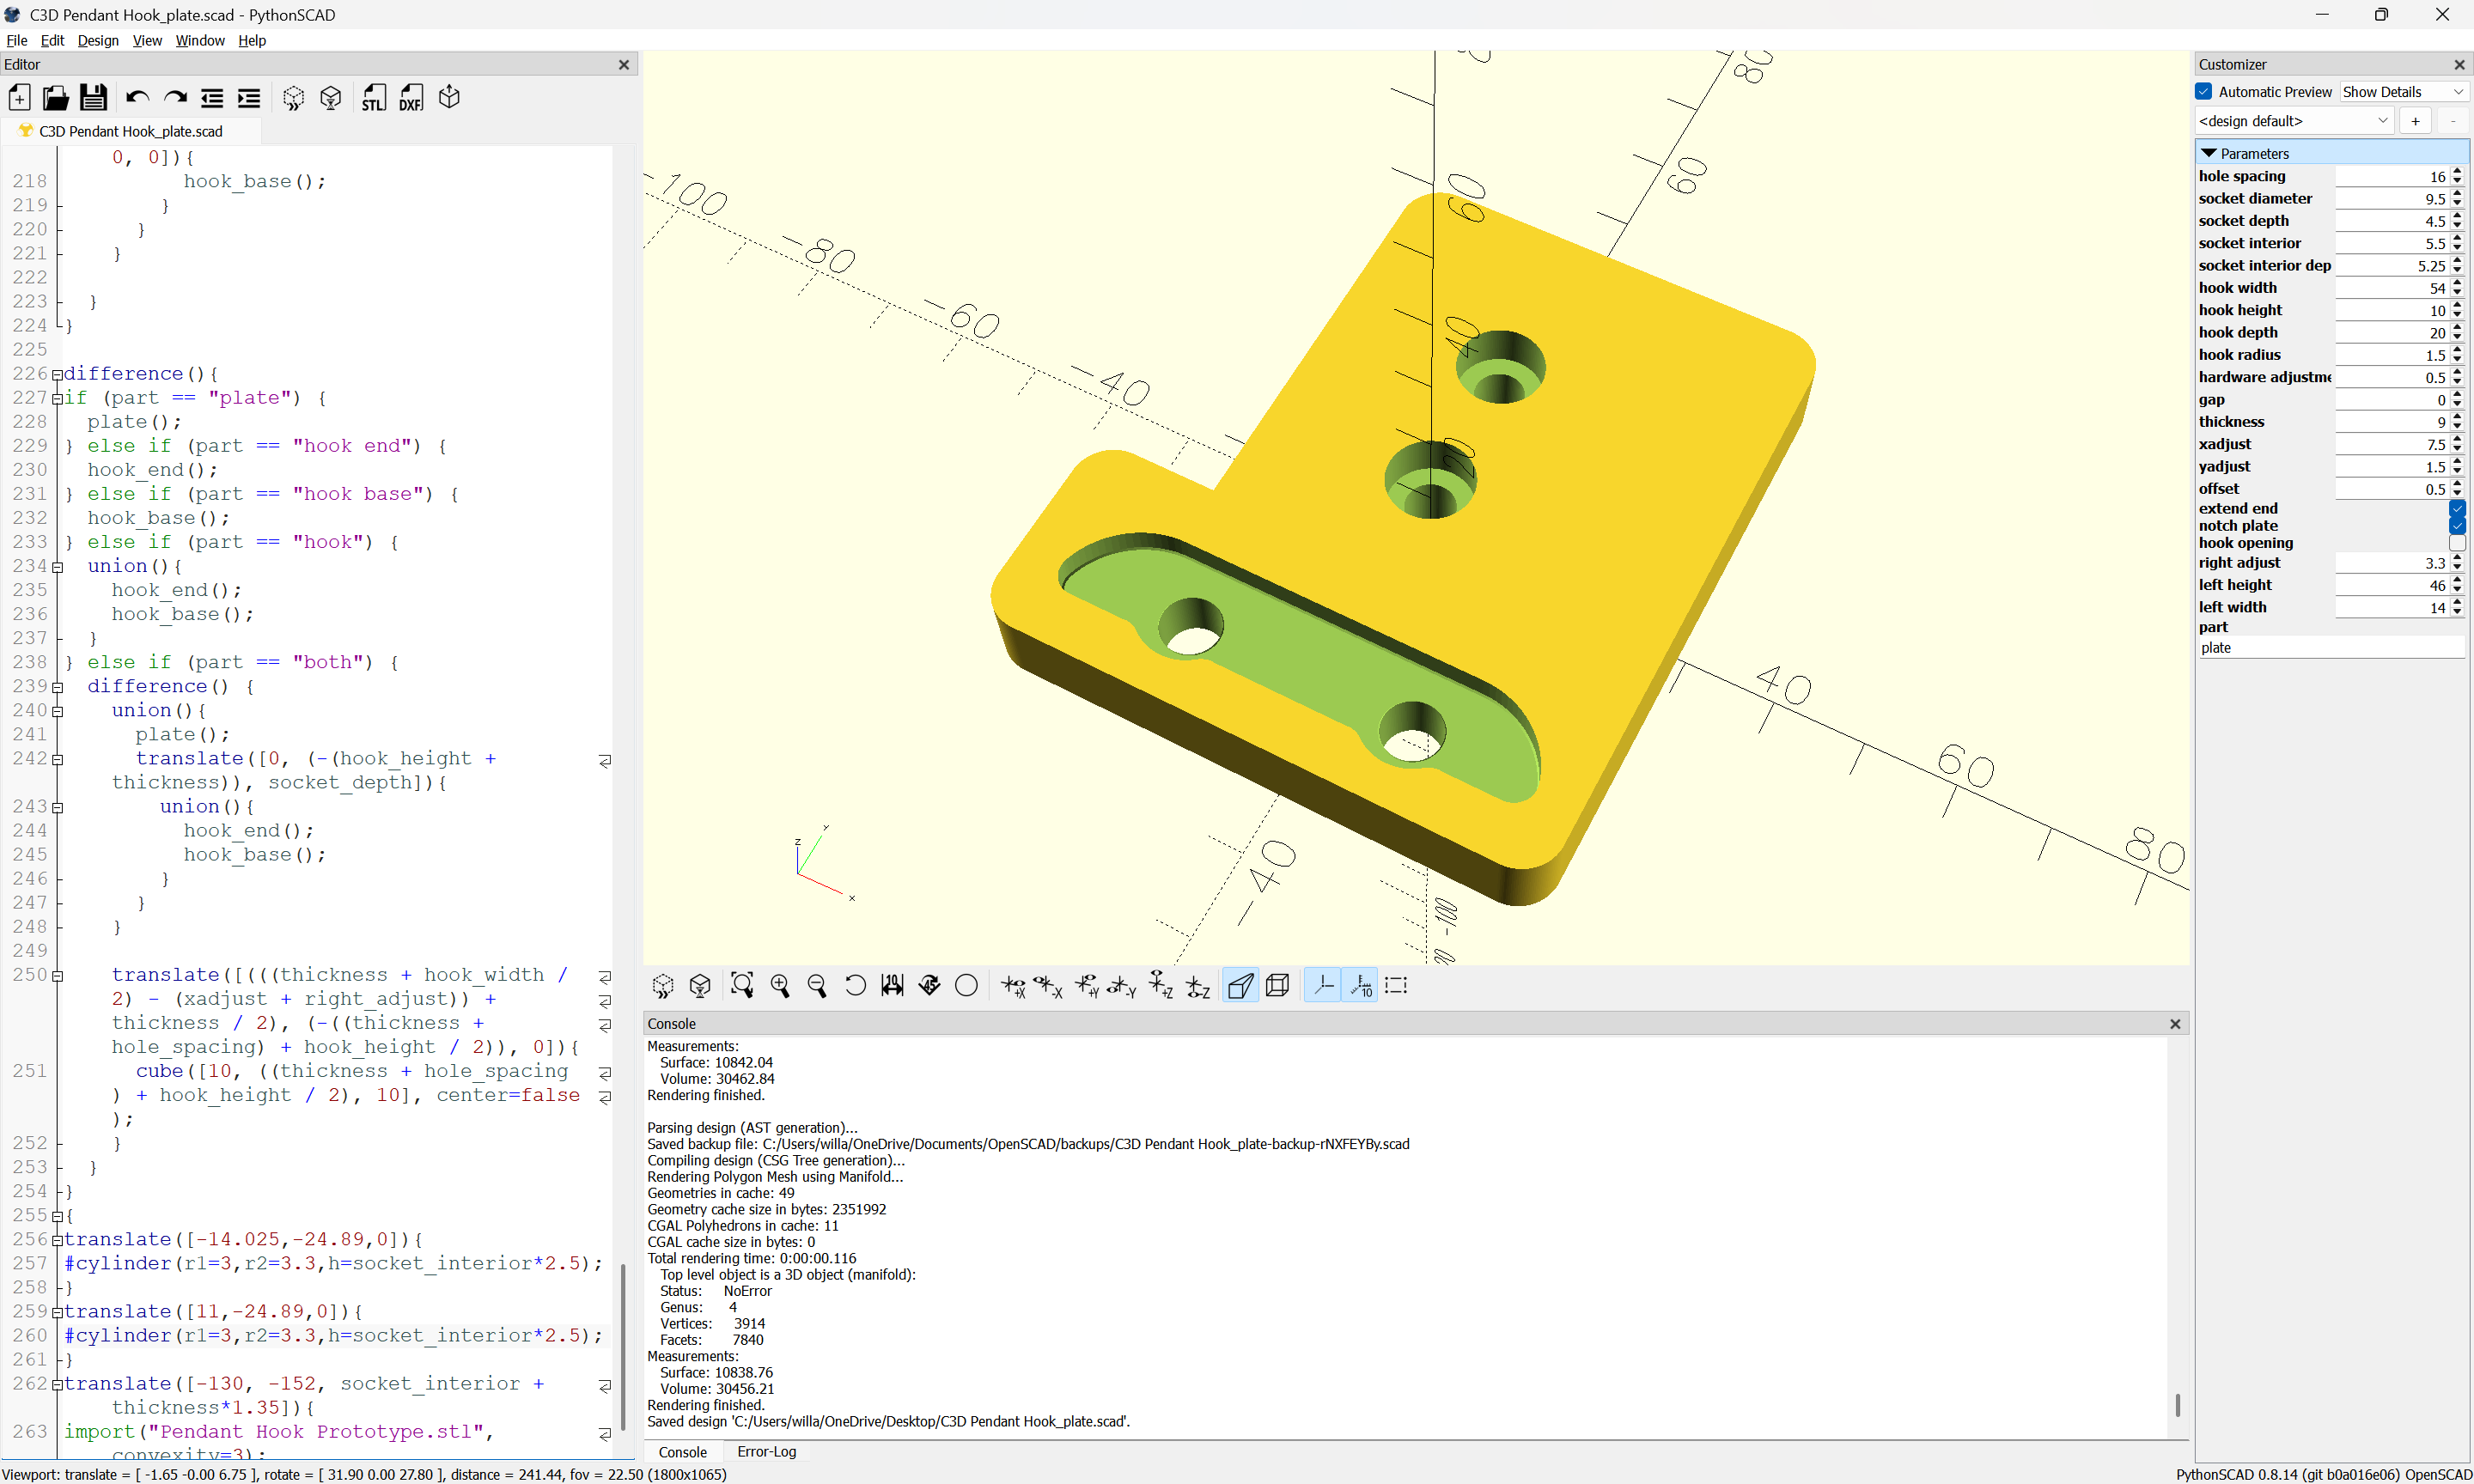
Since this will be a 3D object, and I have failed miserably at actually using every 3D CAD tool I’ve ever used, we will rough this out in BlockSCAD, starting as usual with some measured dimensions:
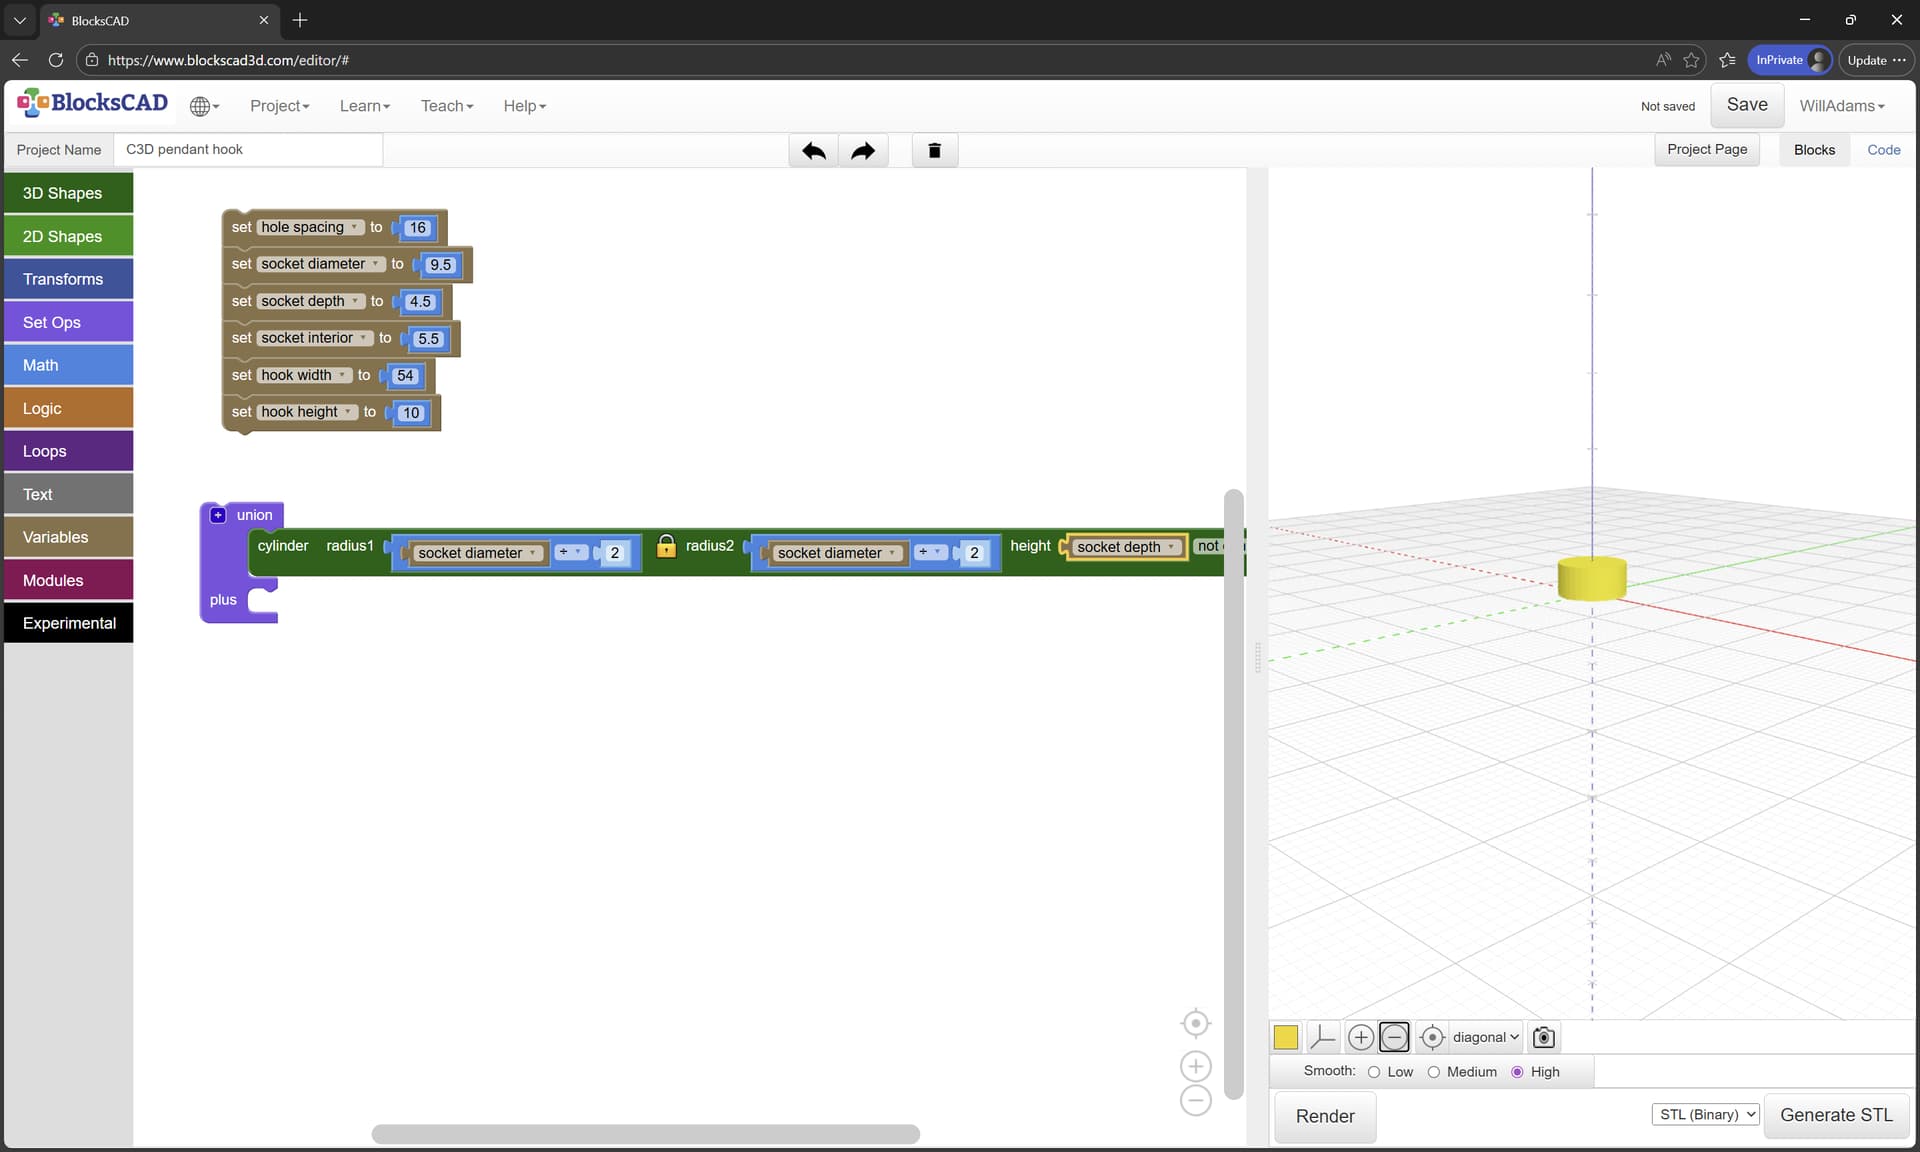
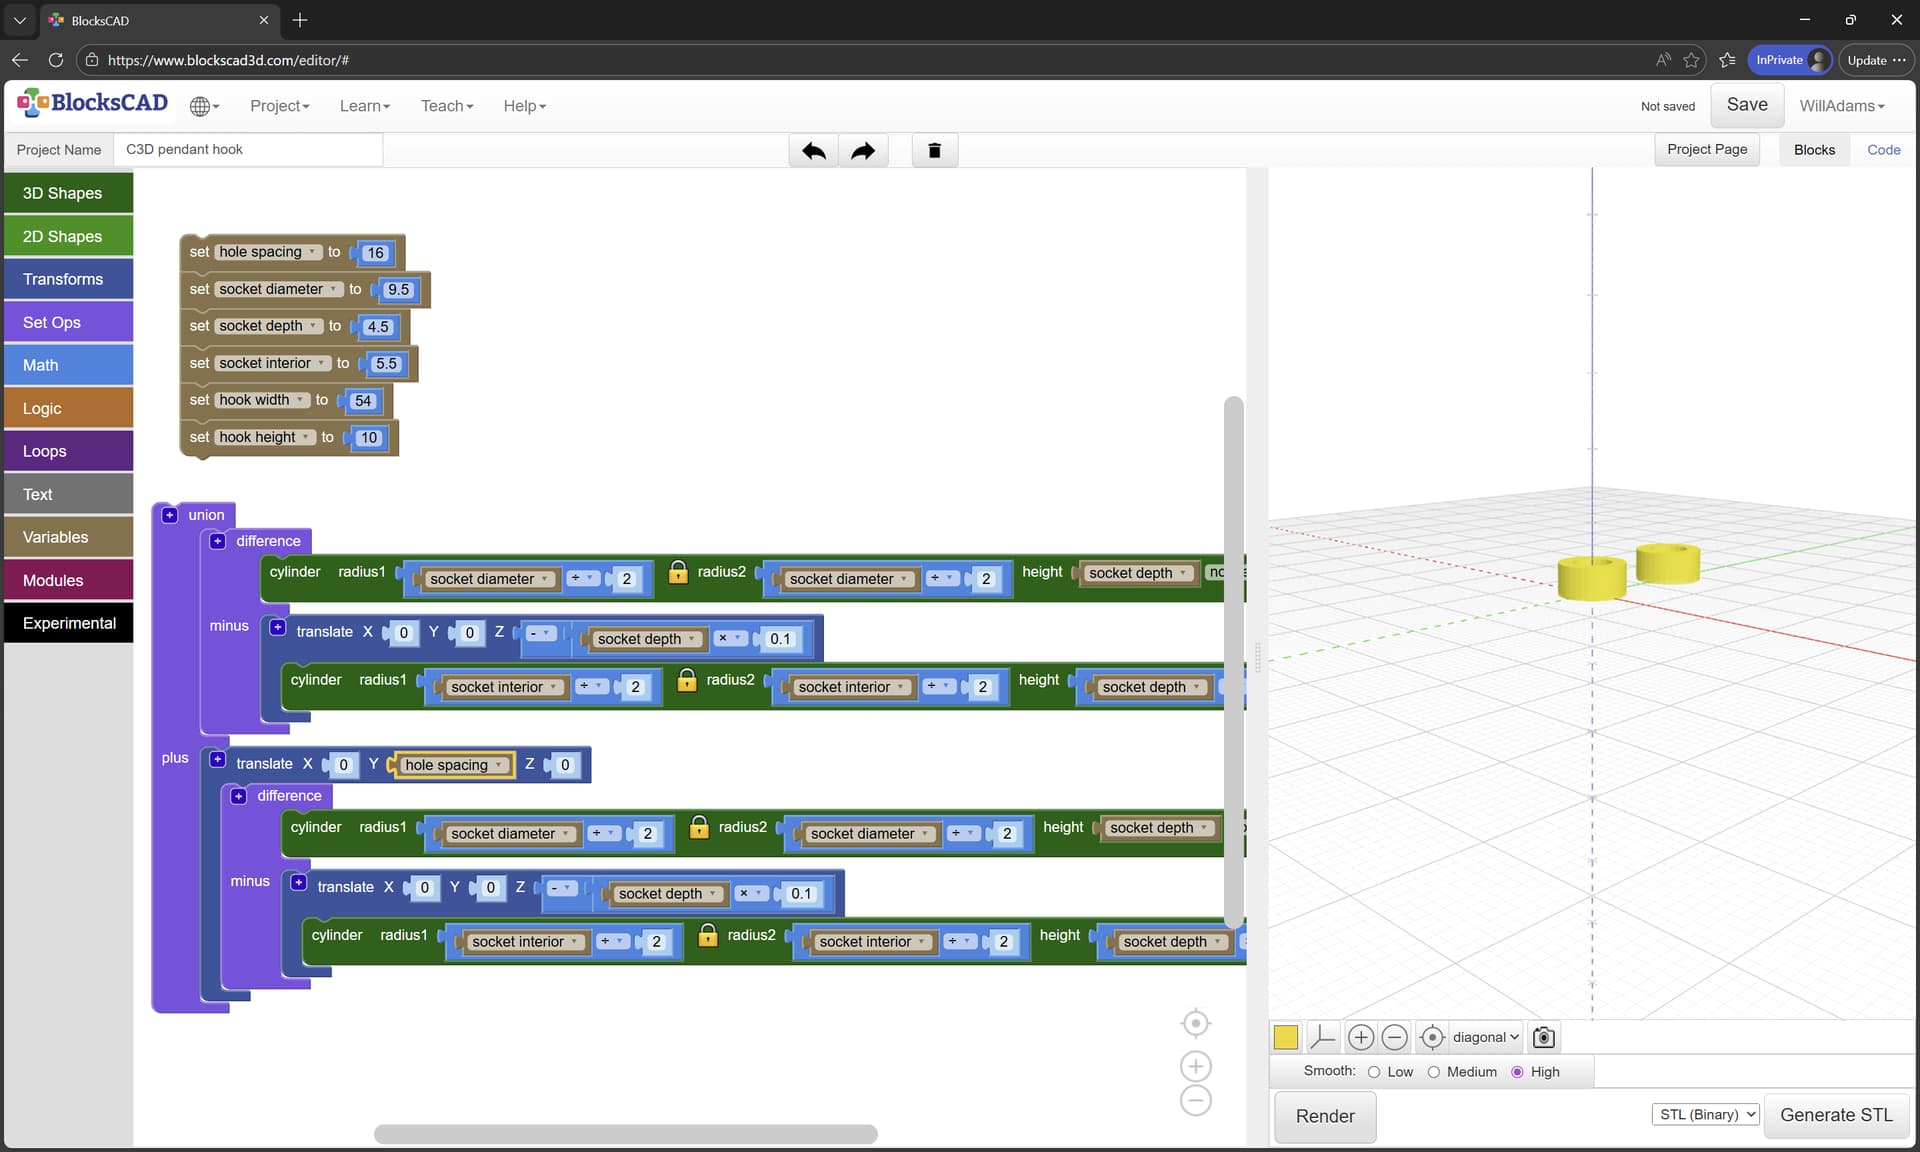
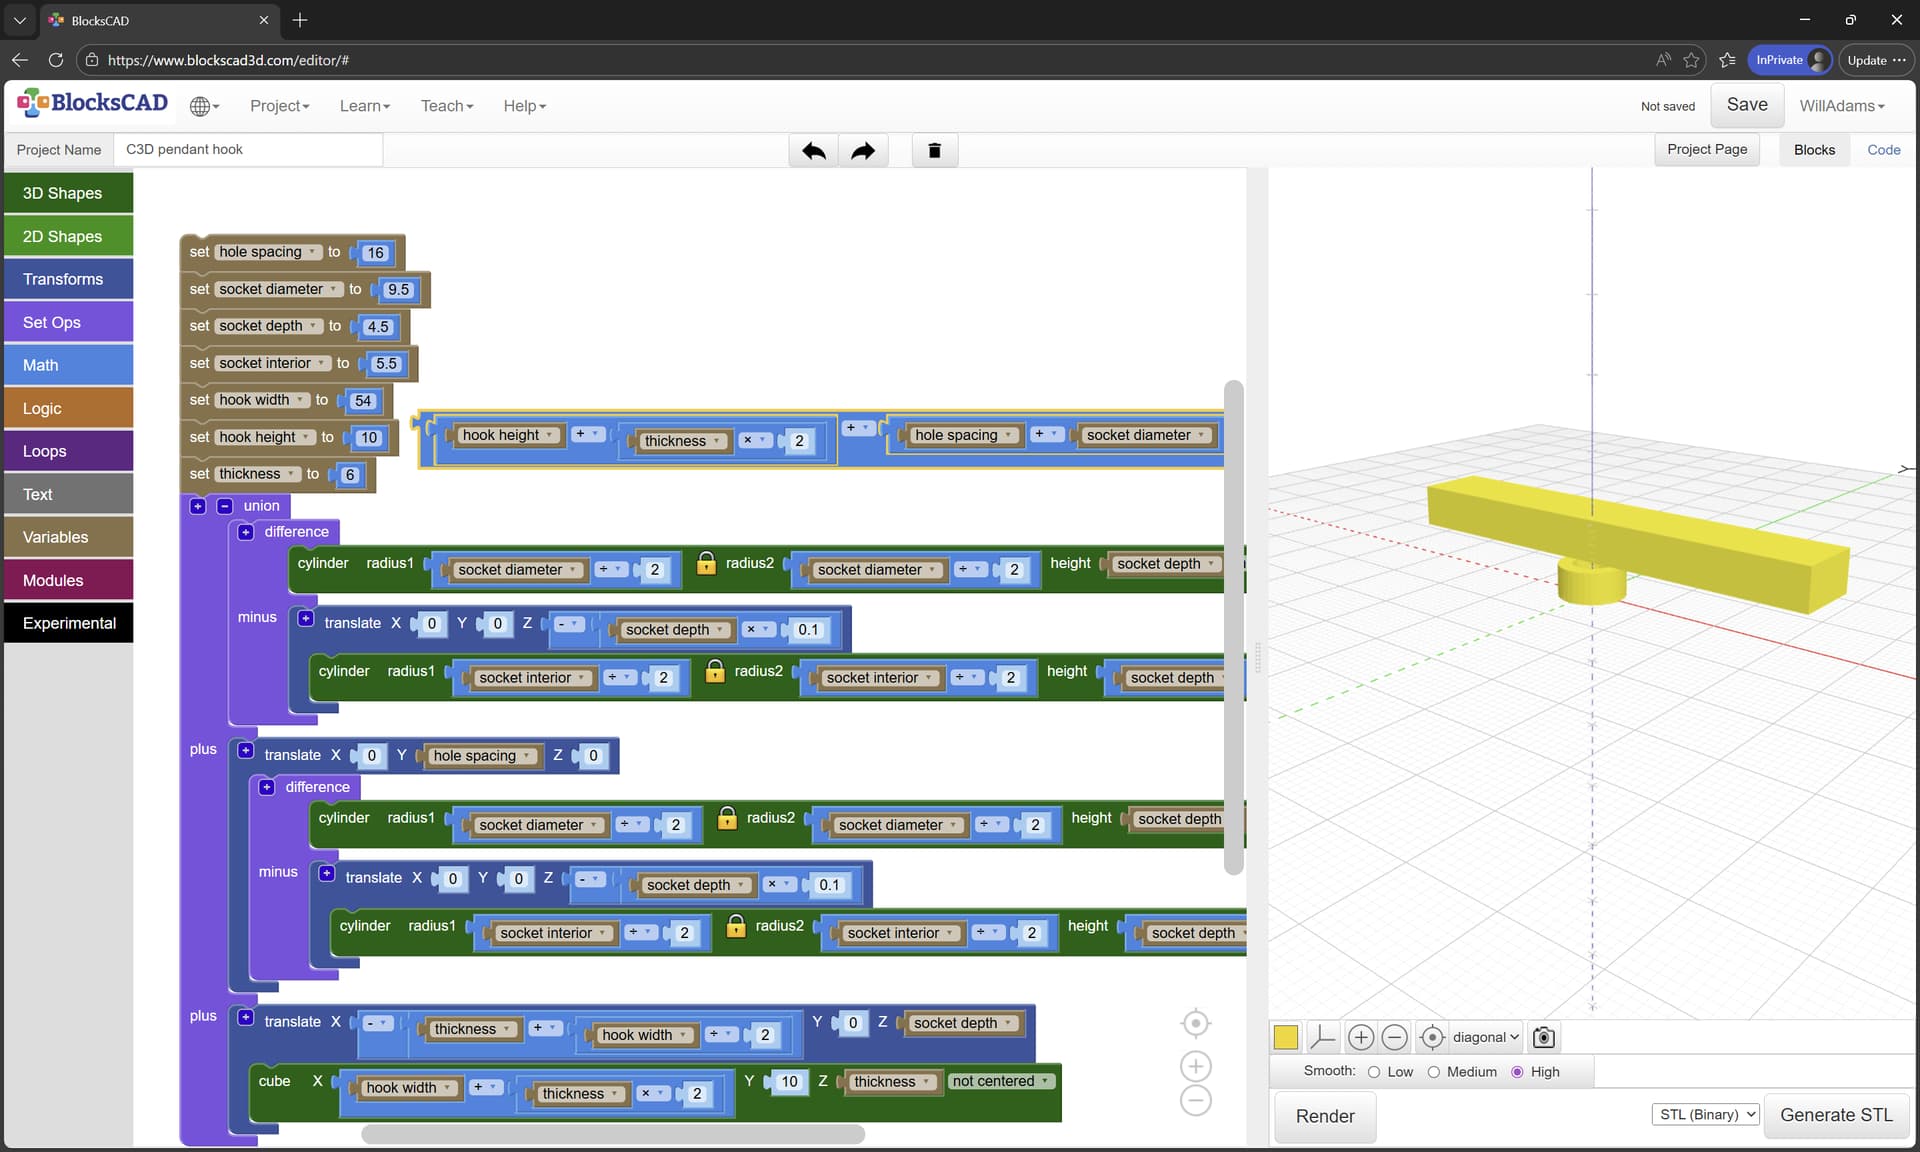
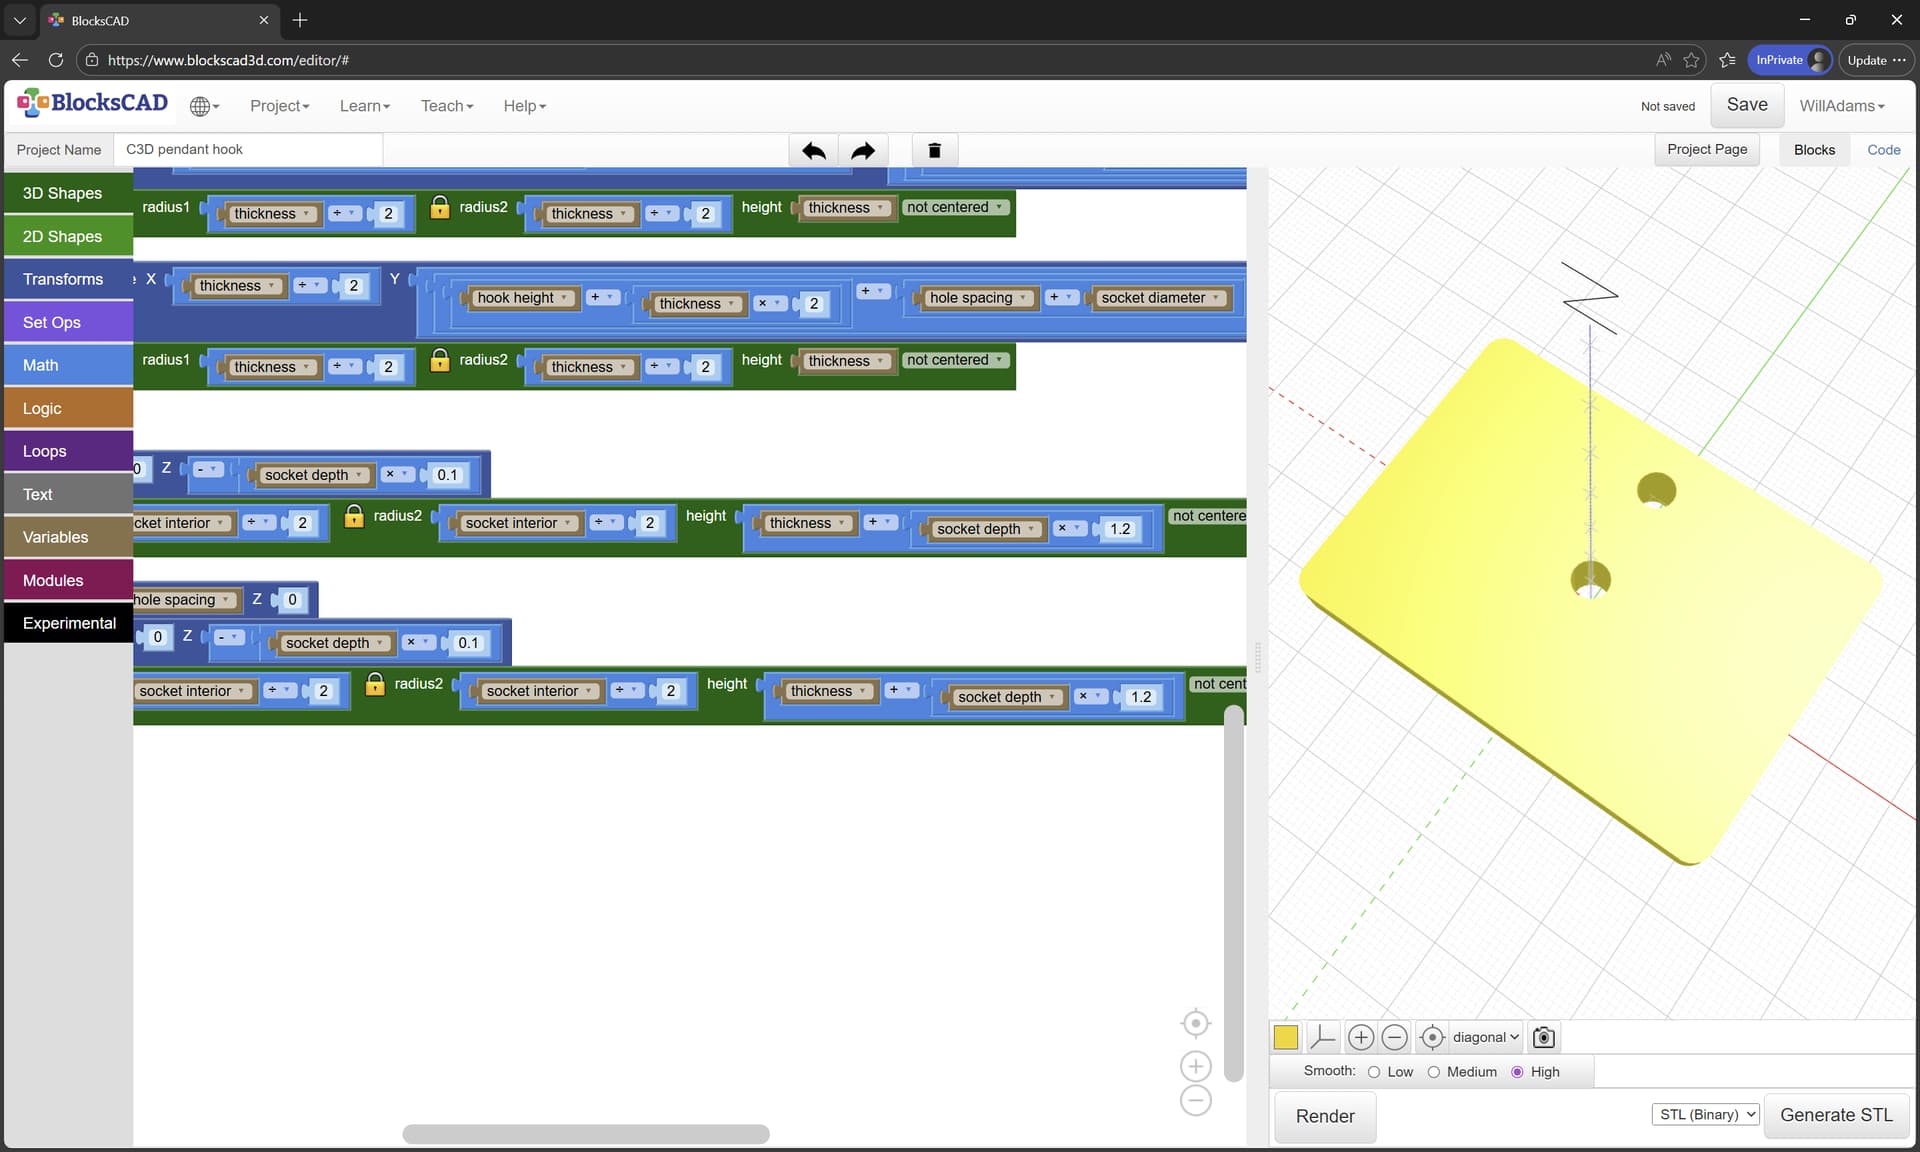
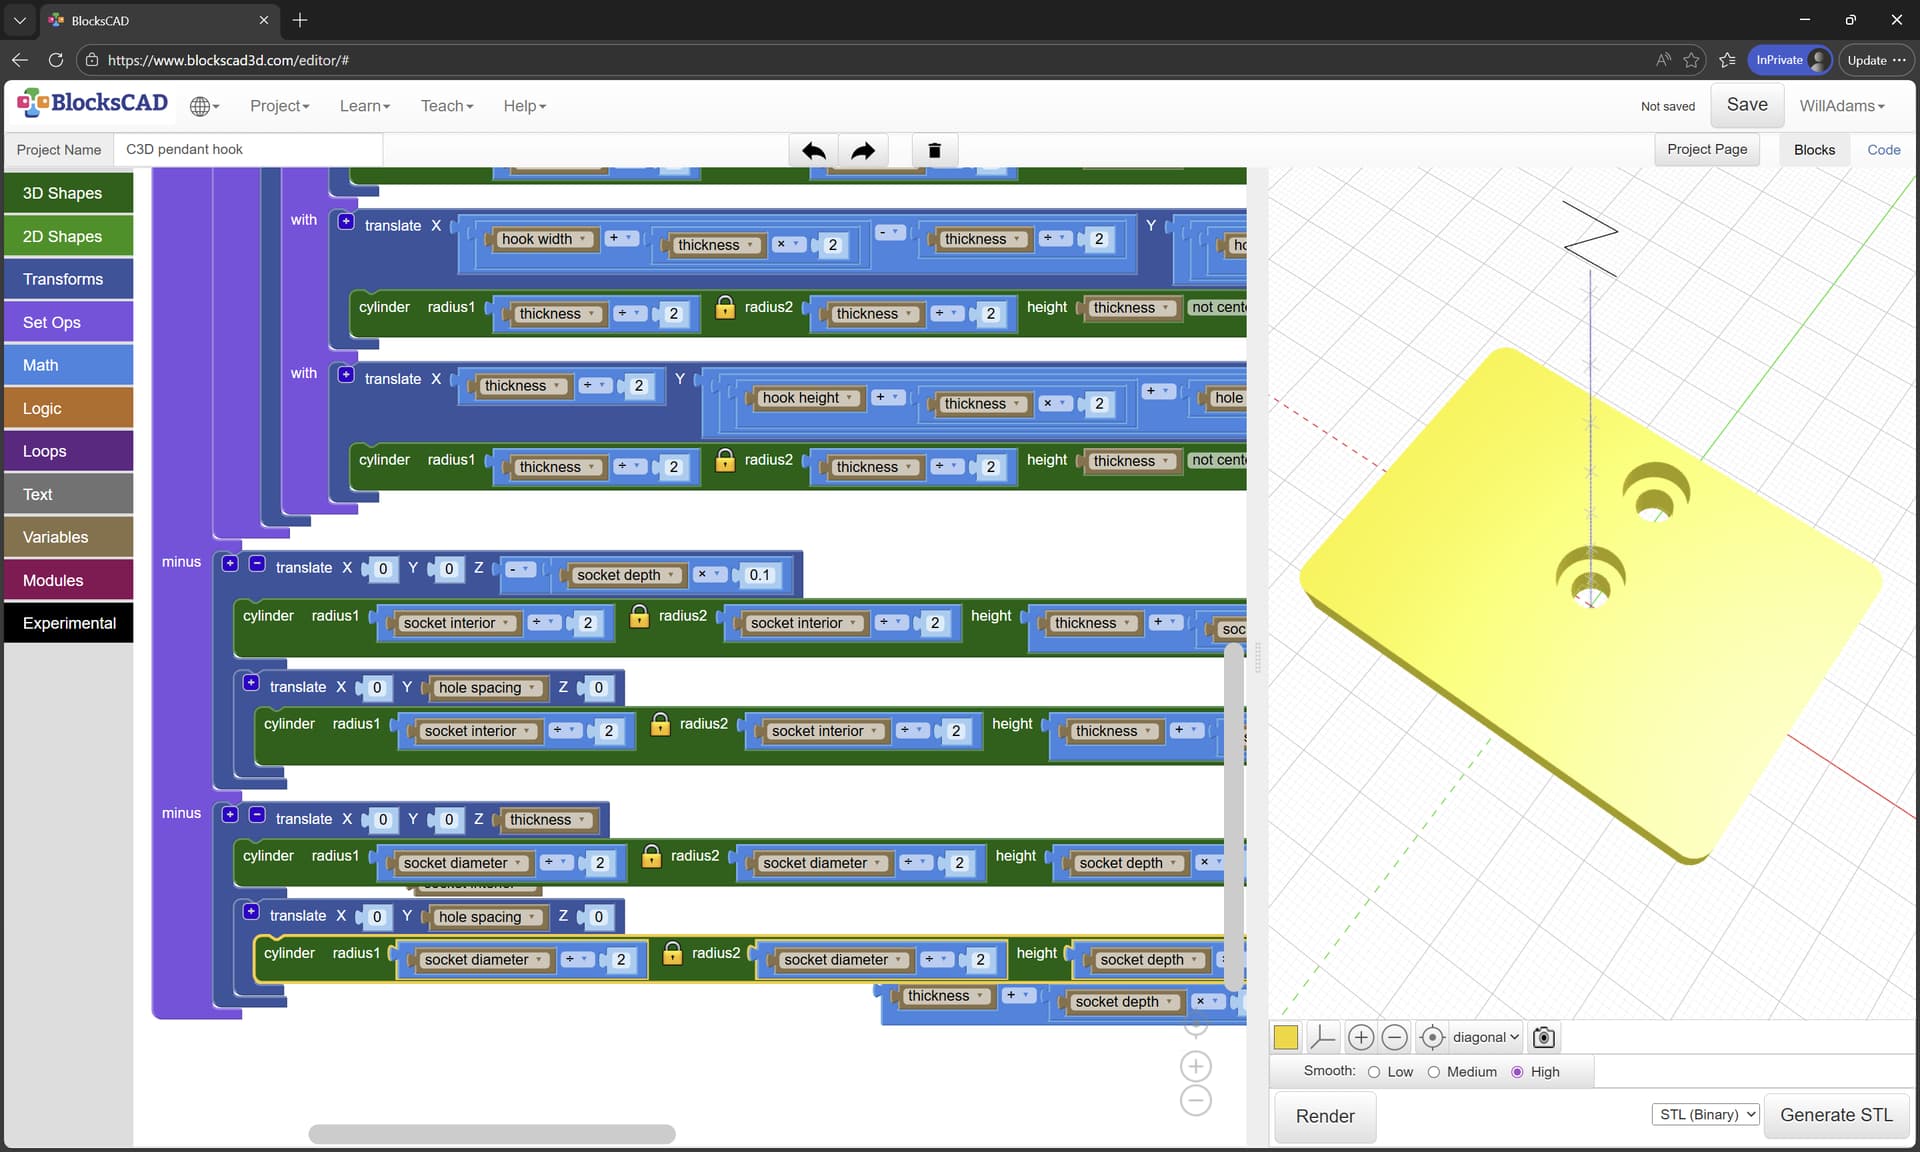
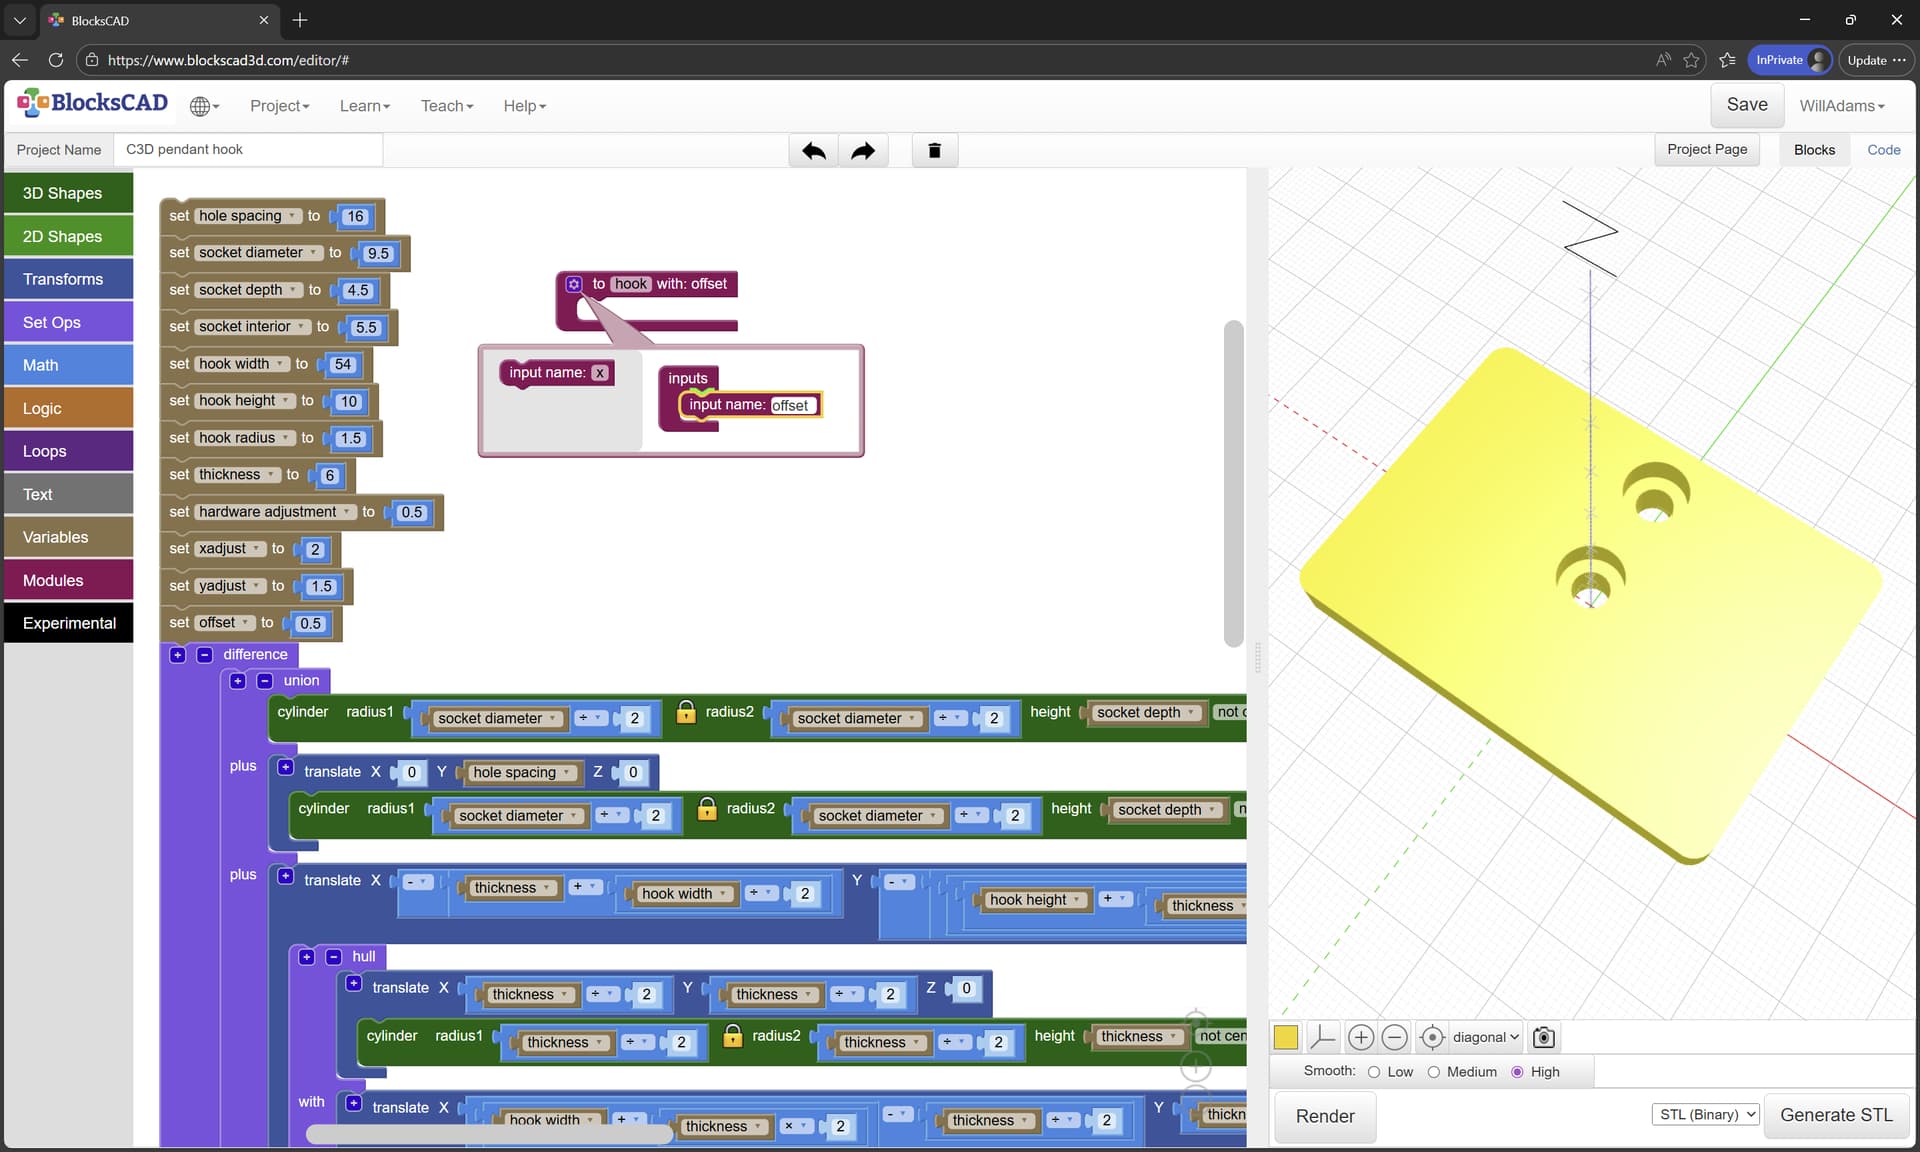
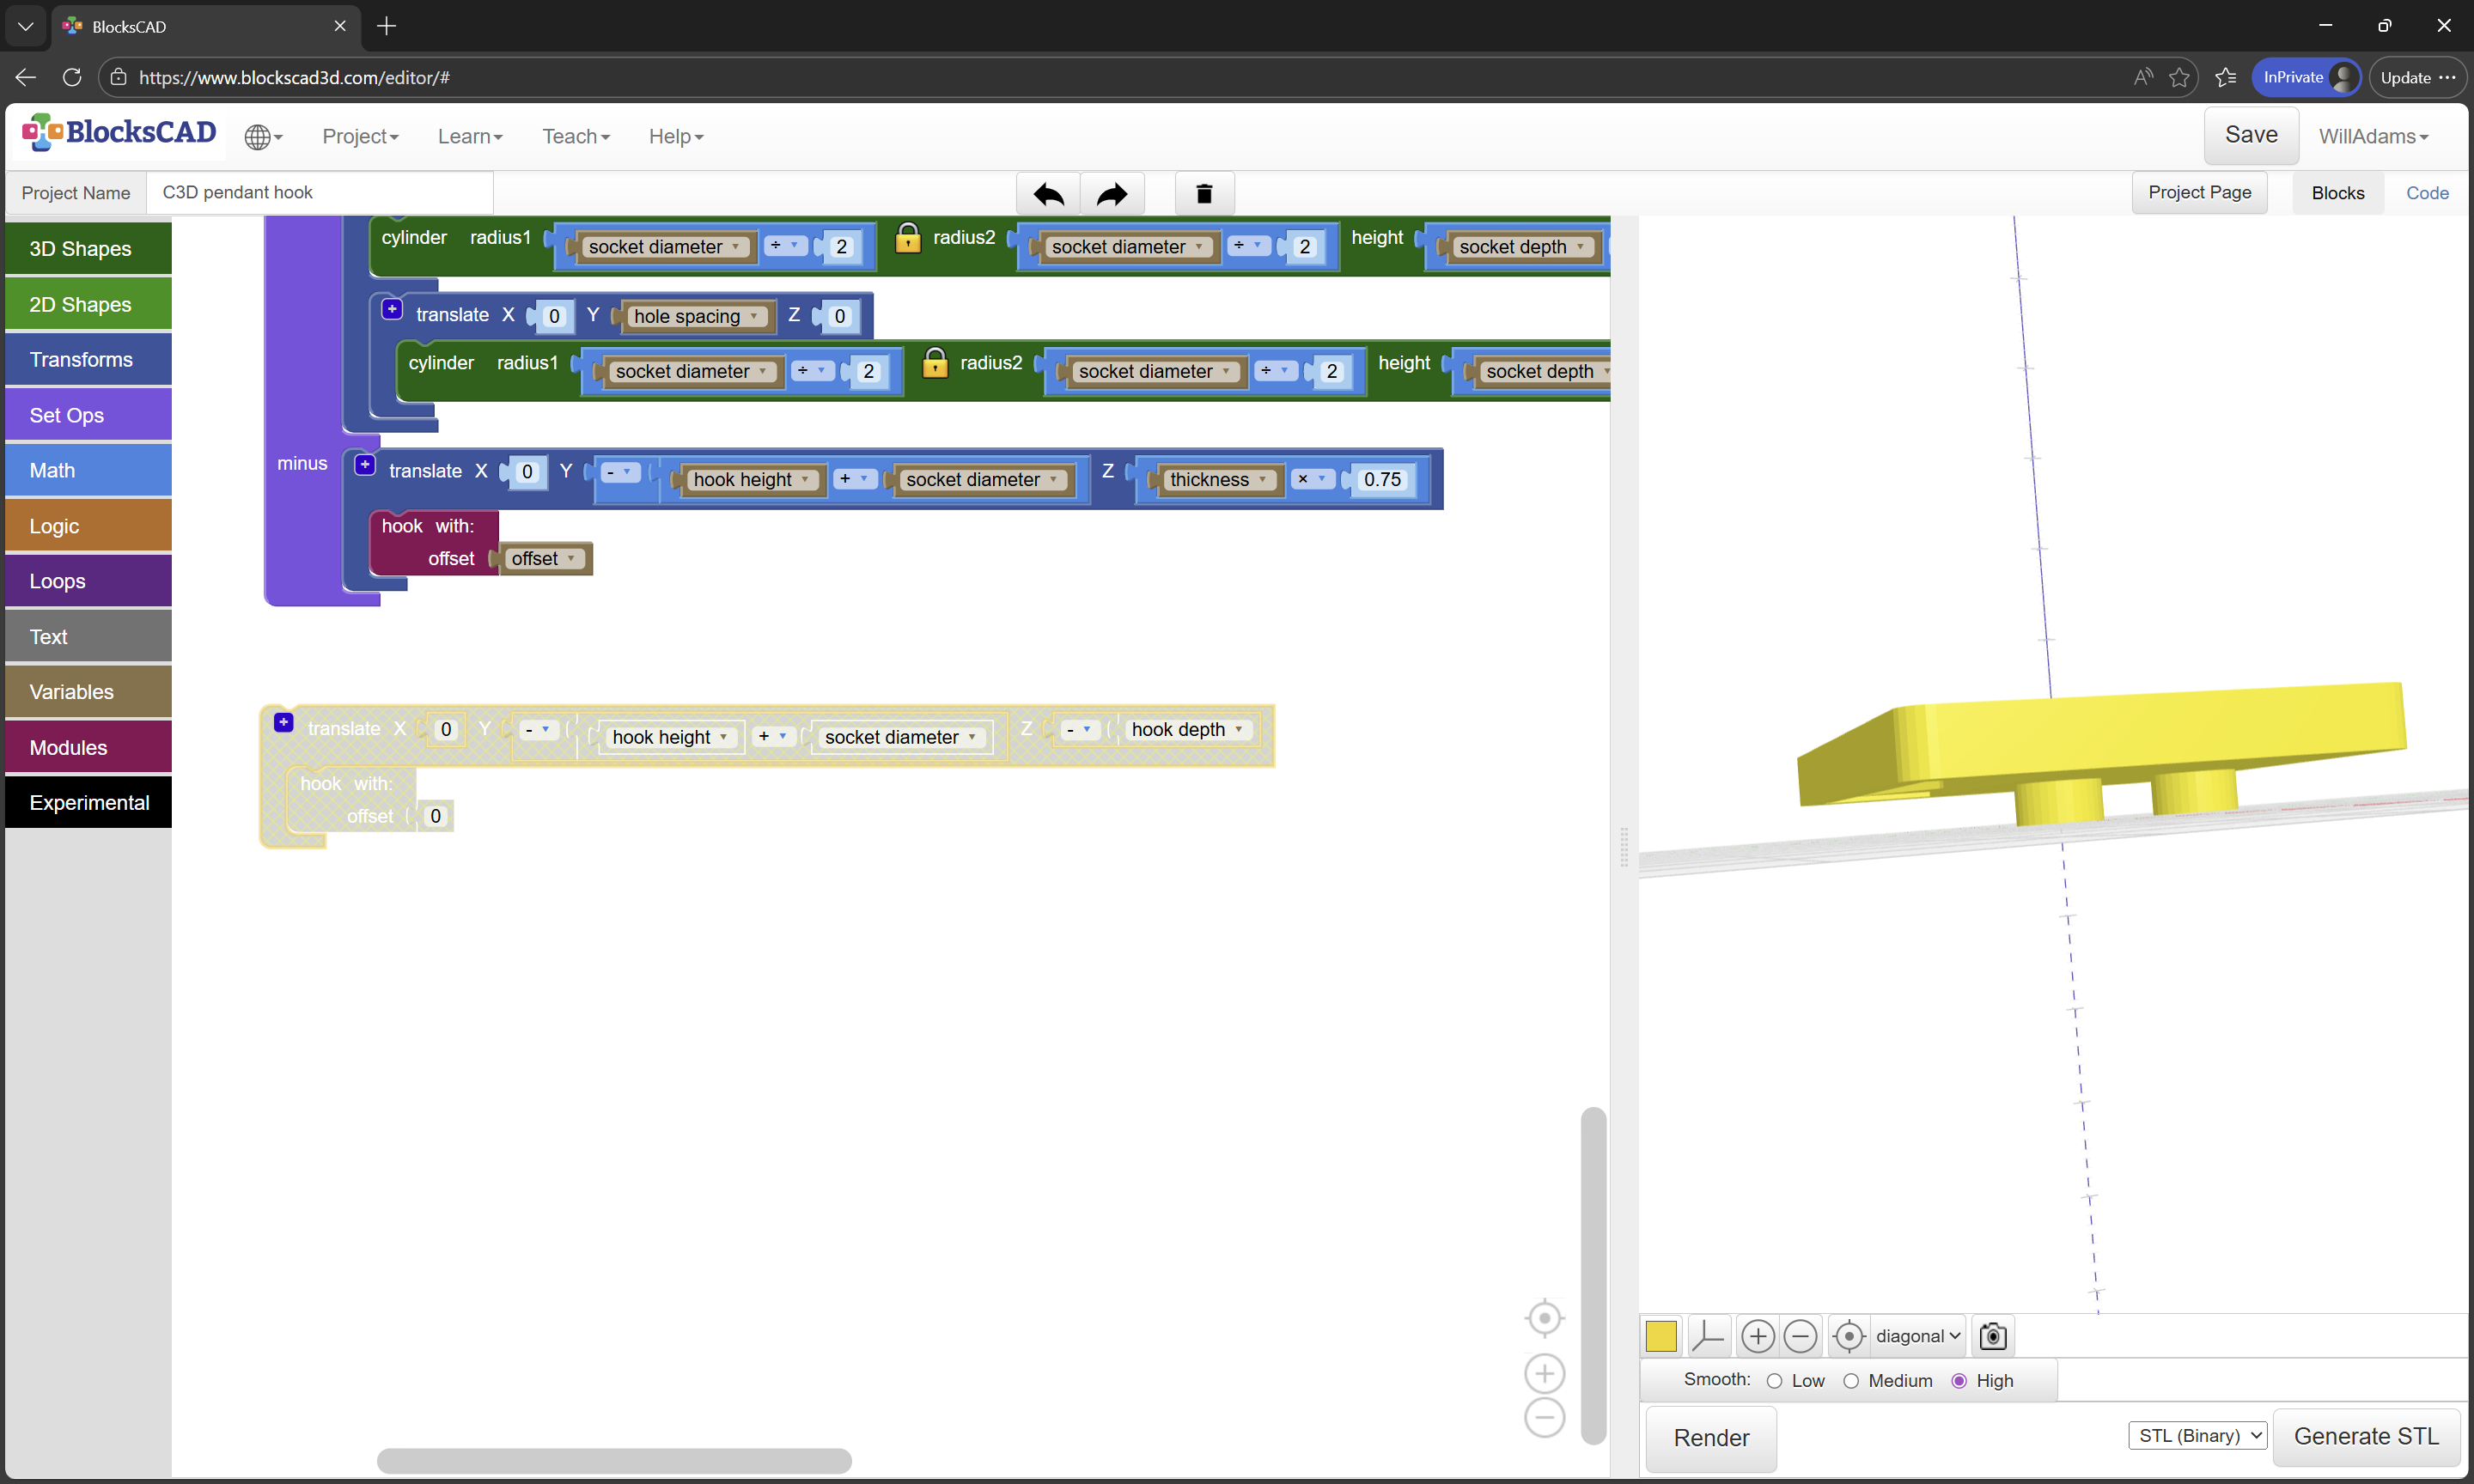
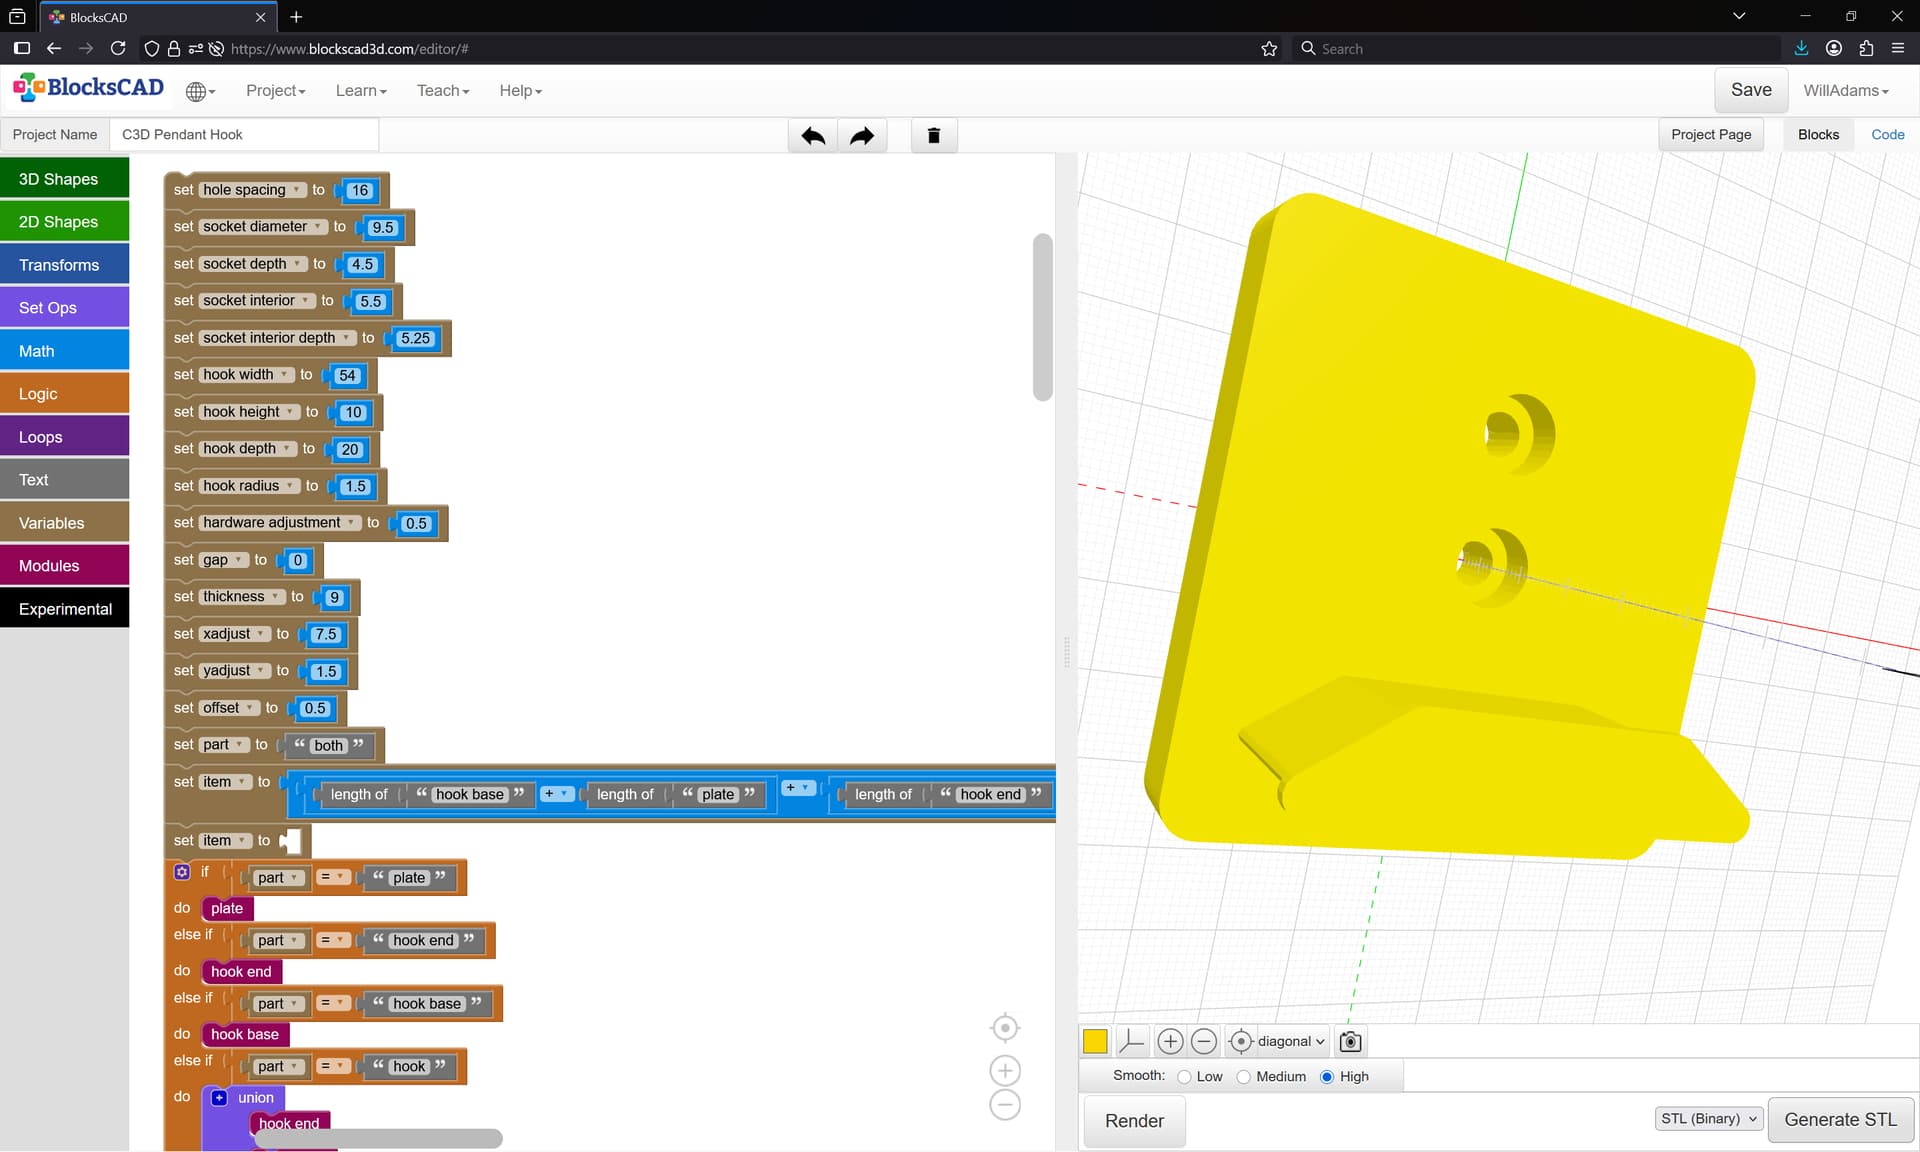
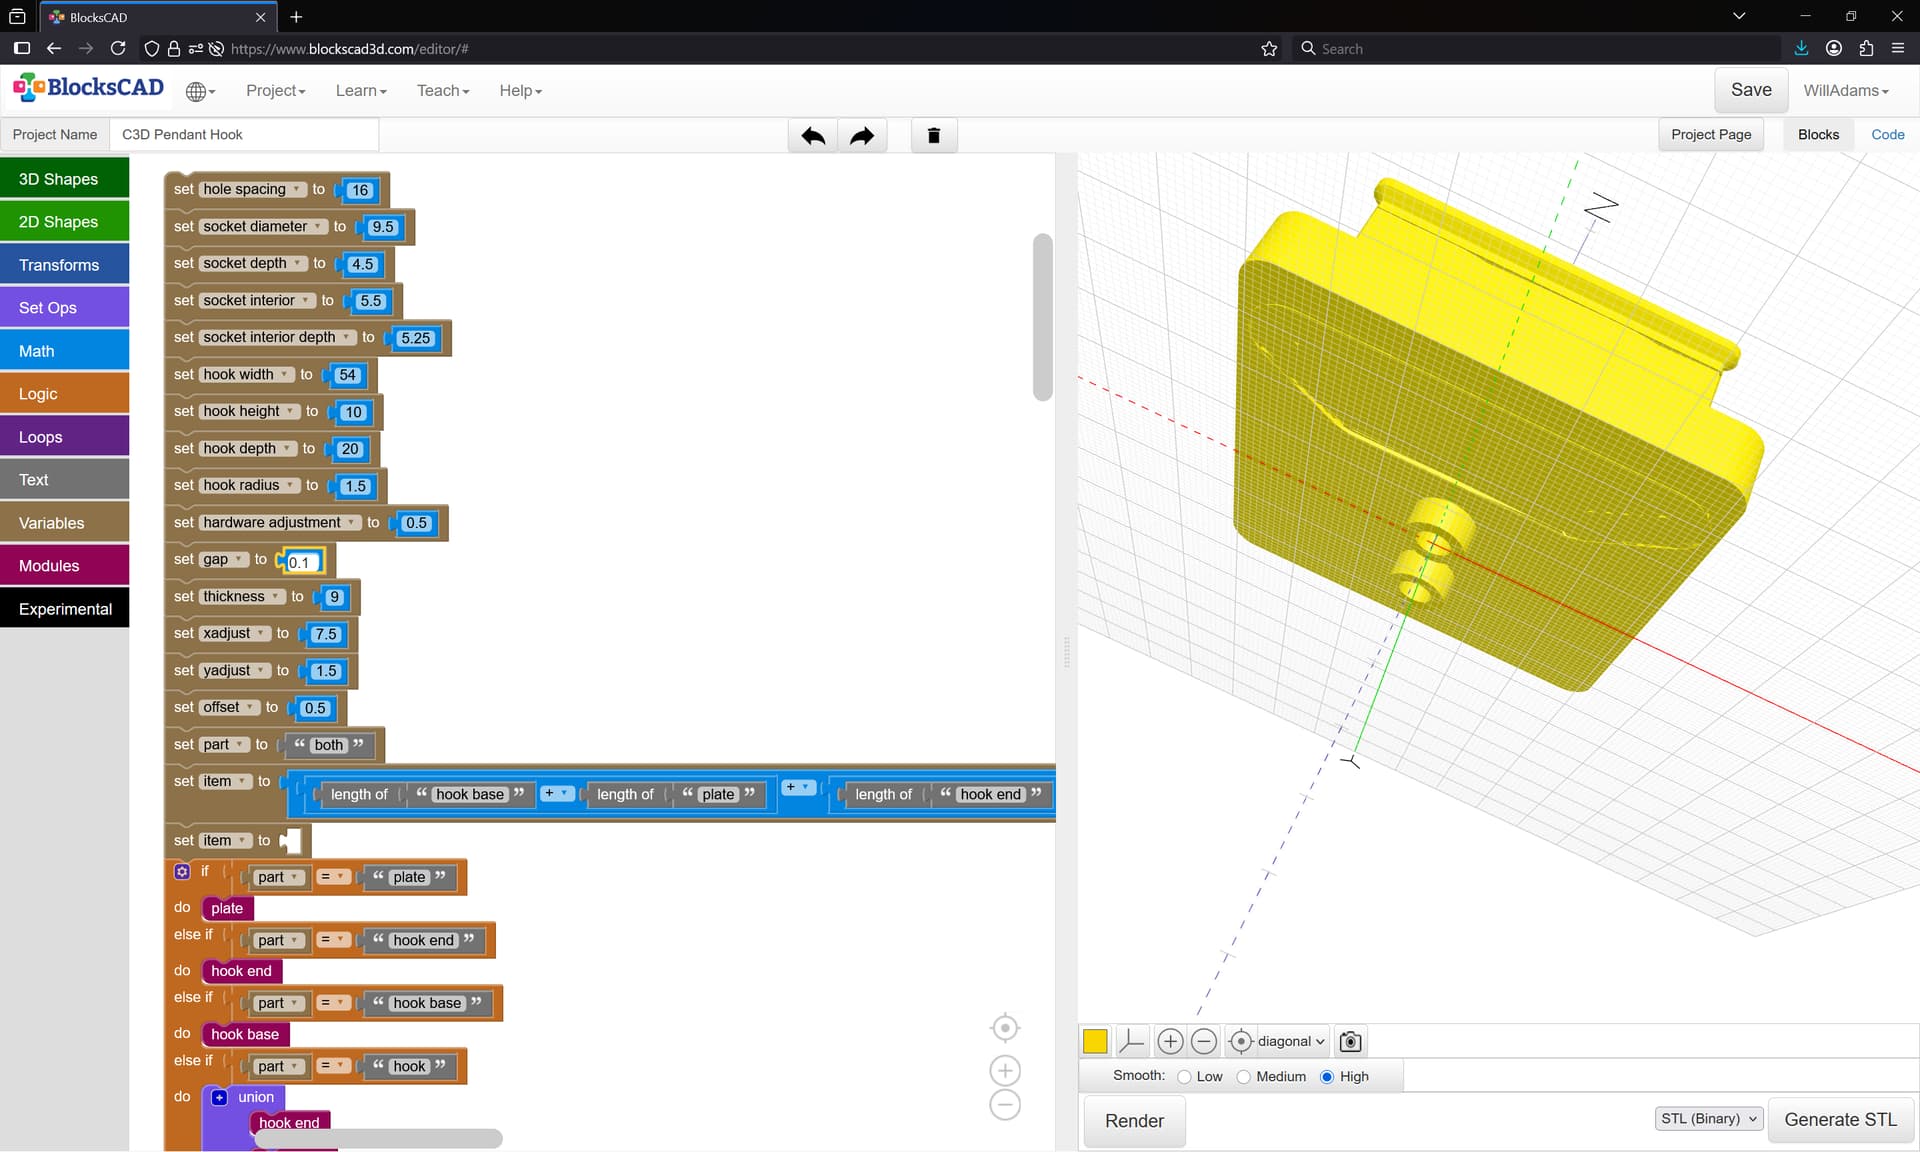
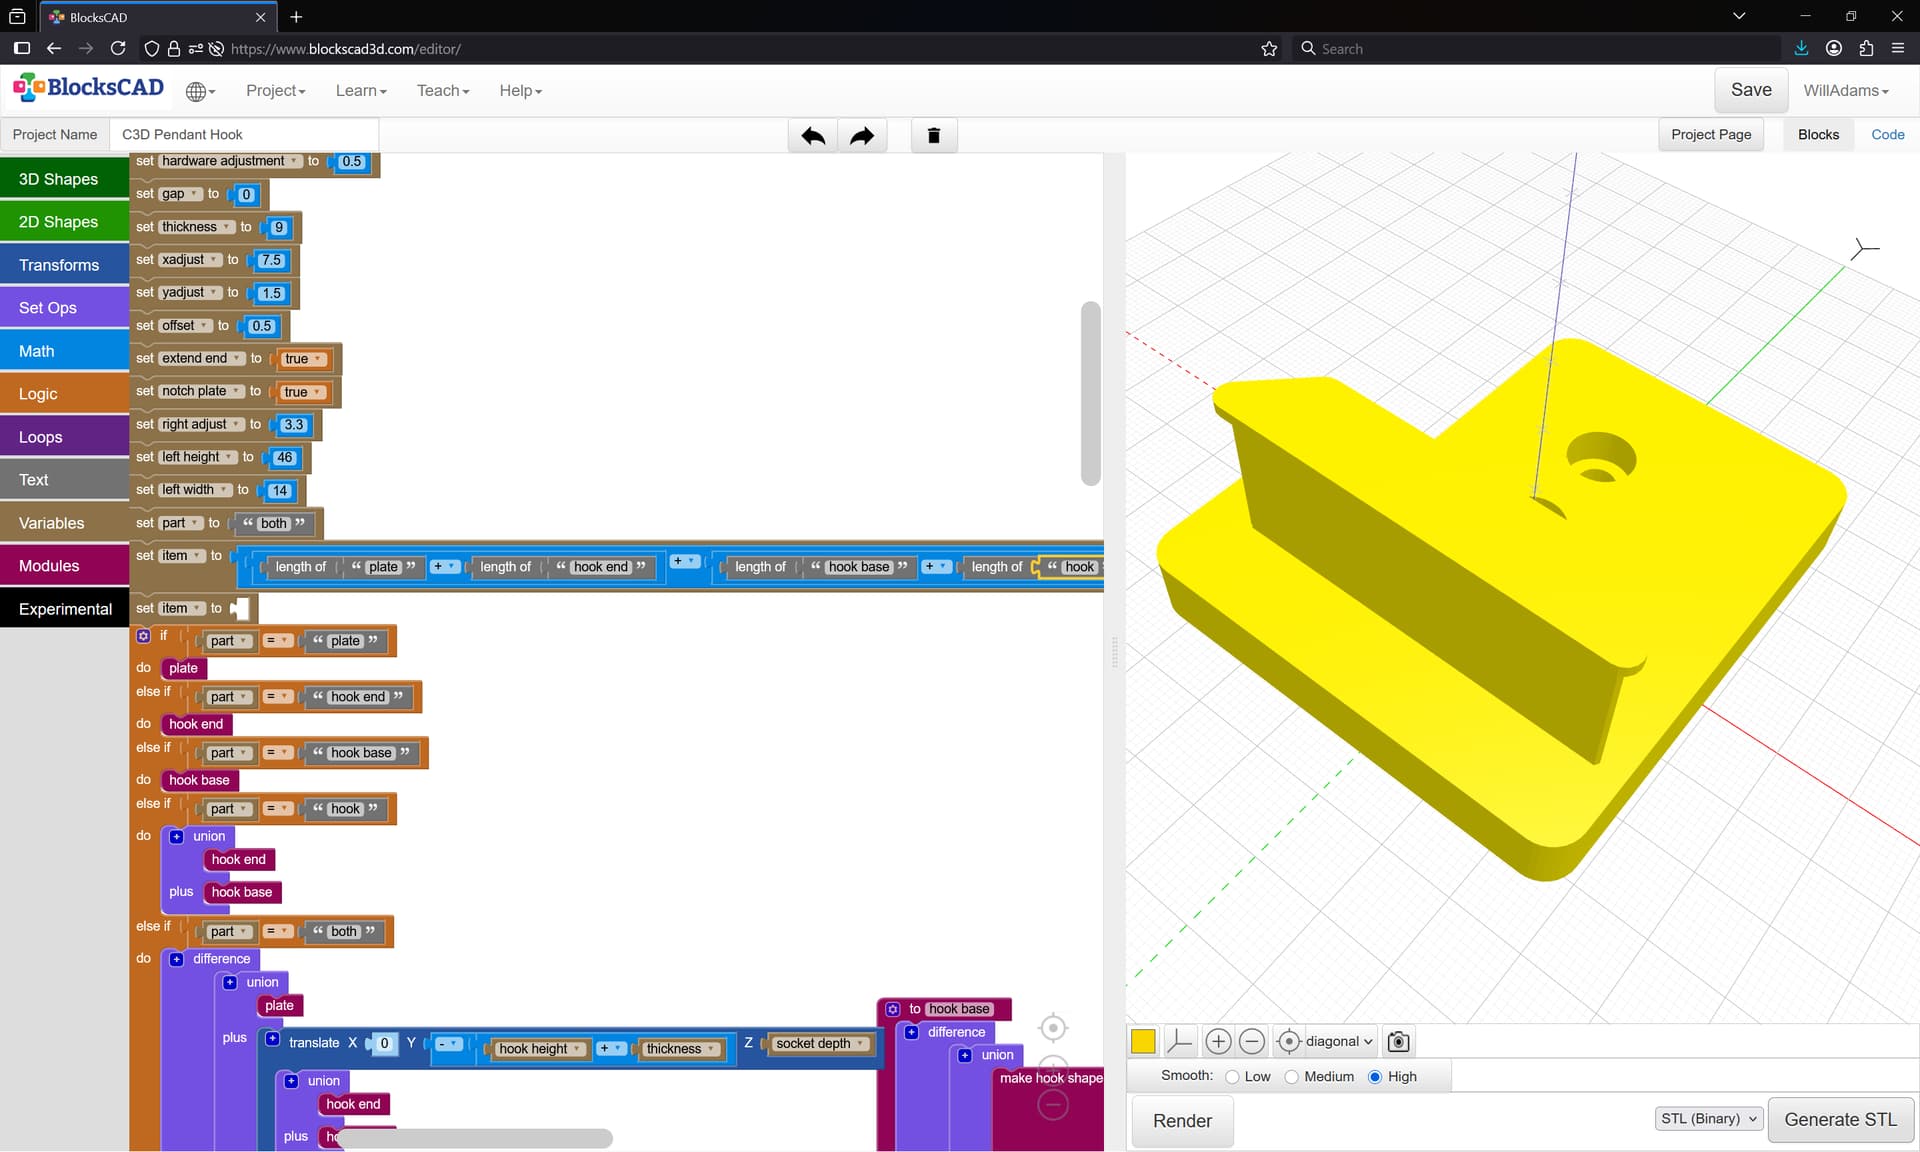
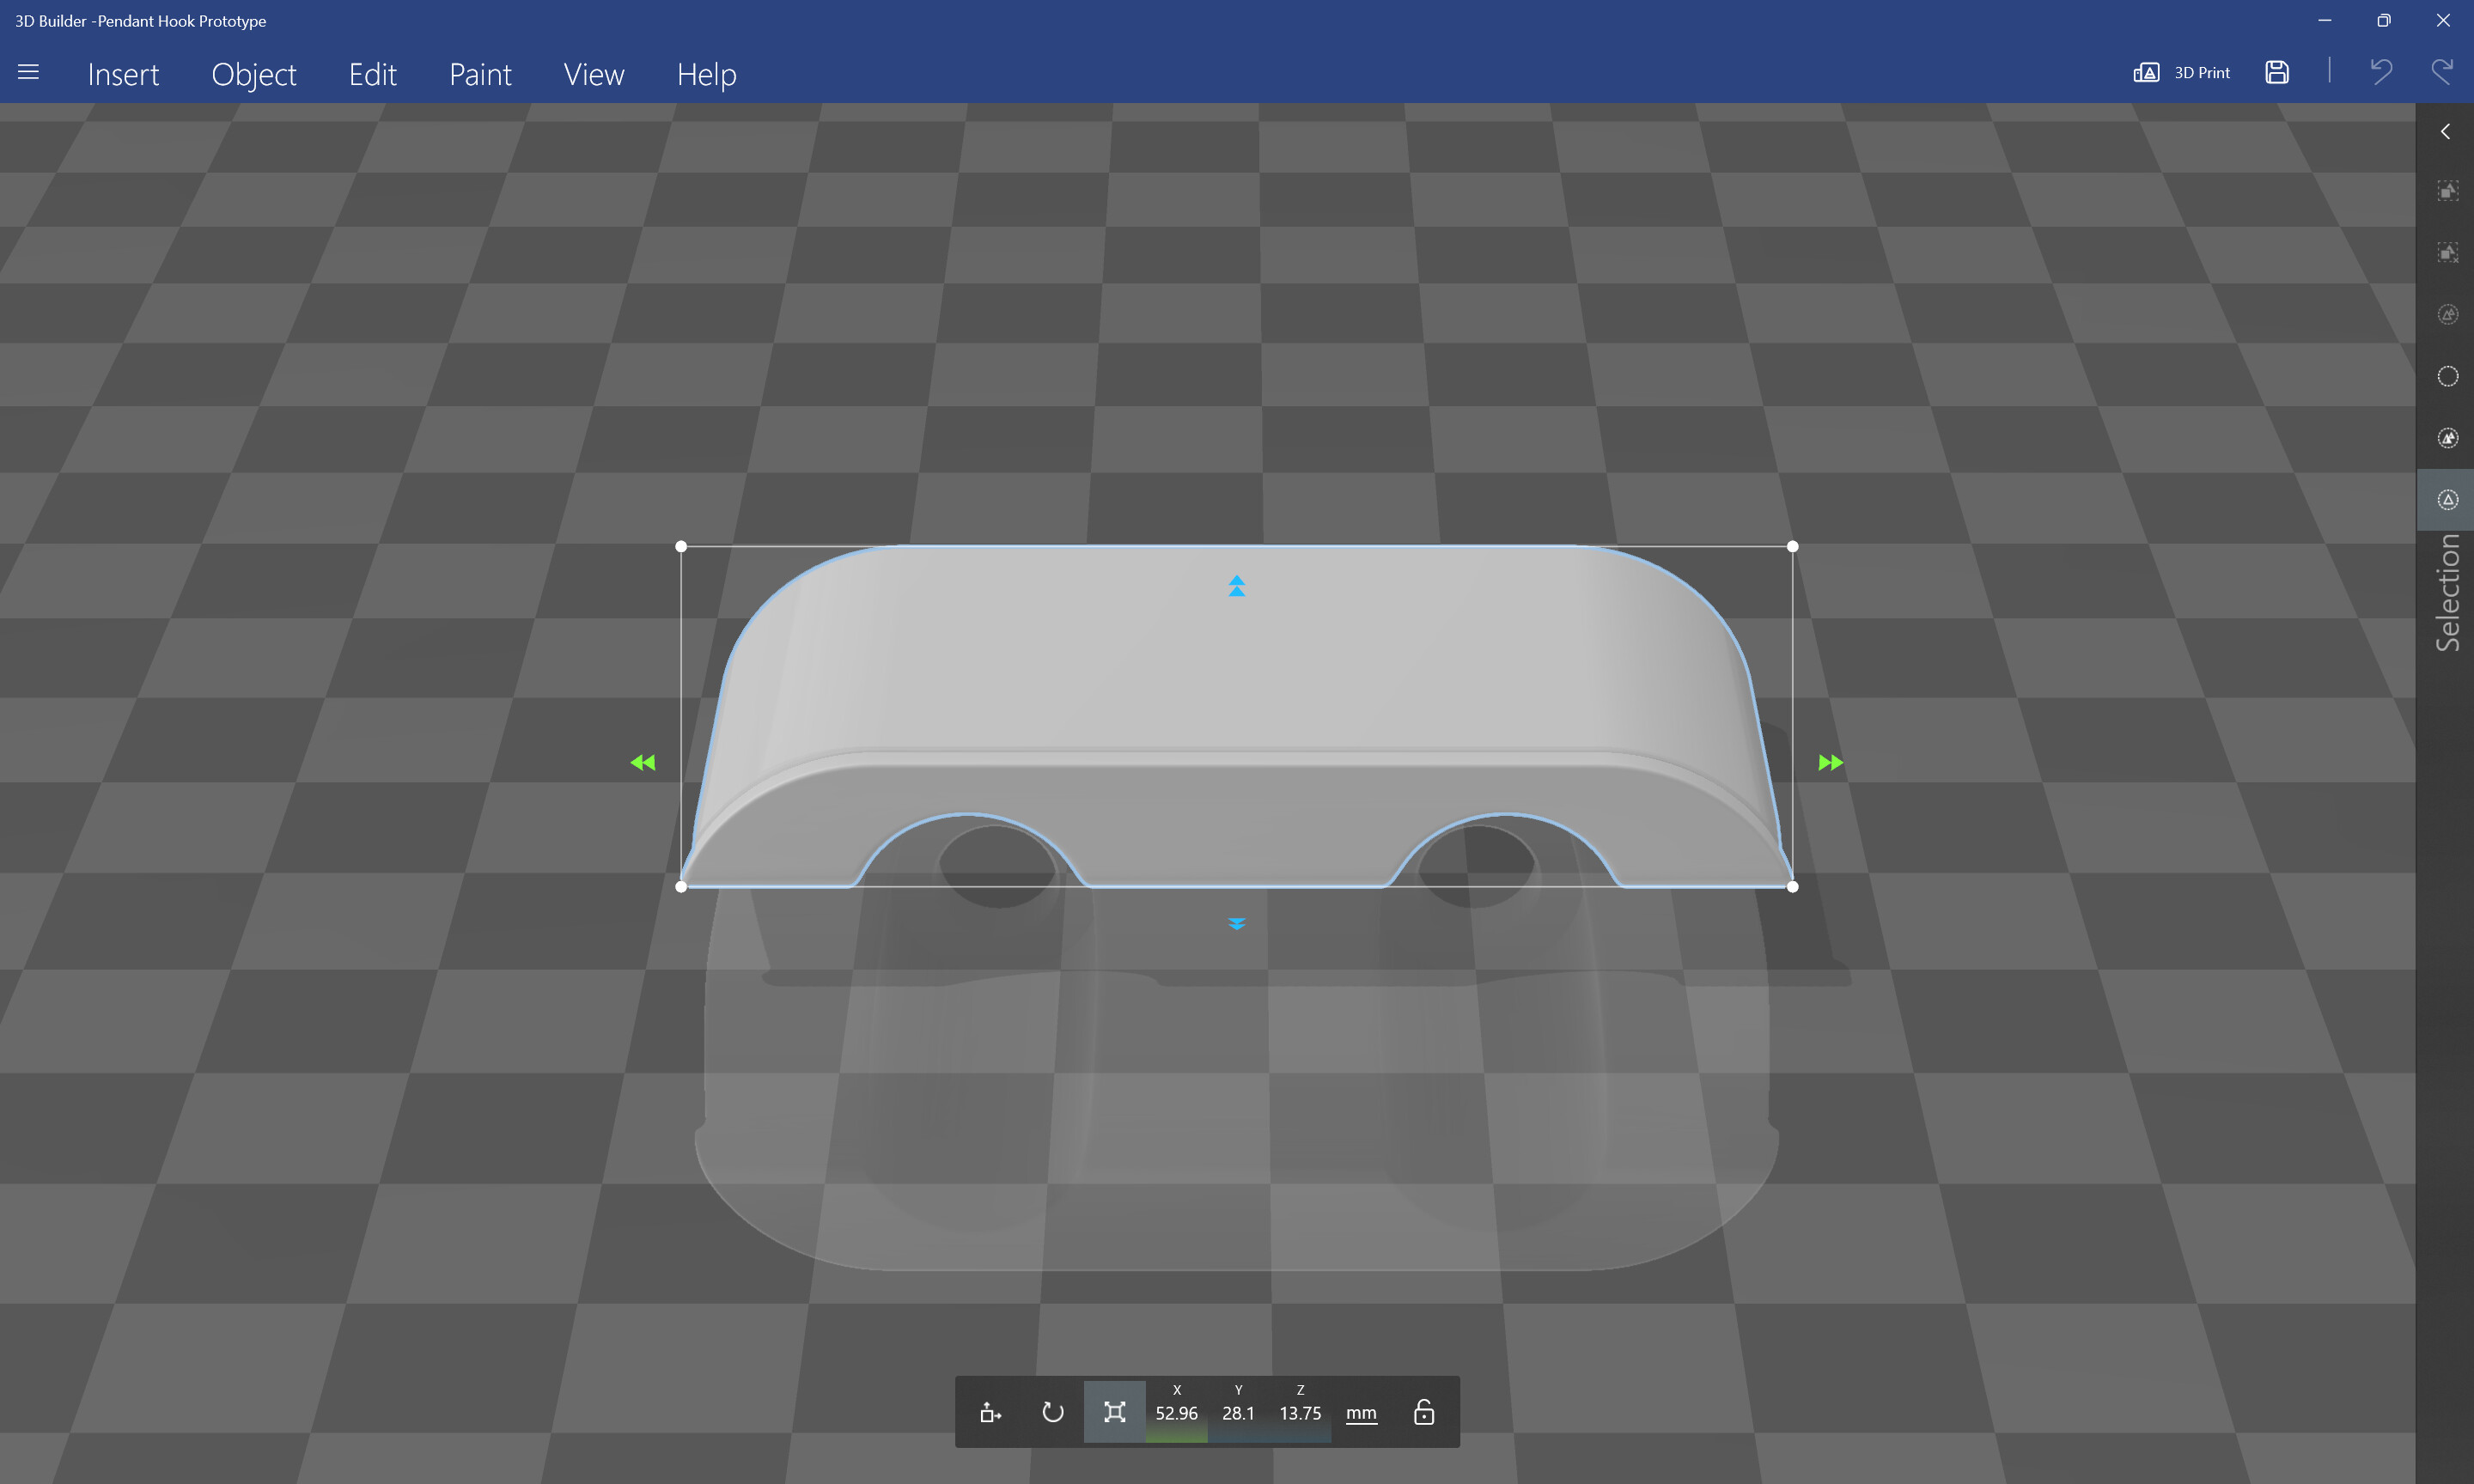
Next, we model the “hook” itself as a module, piercing it through the plate and adding an additional plate which will also be removed so that the two parts will nest/mate.
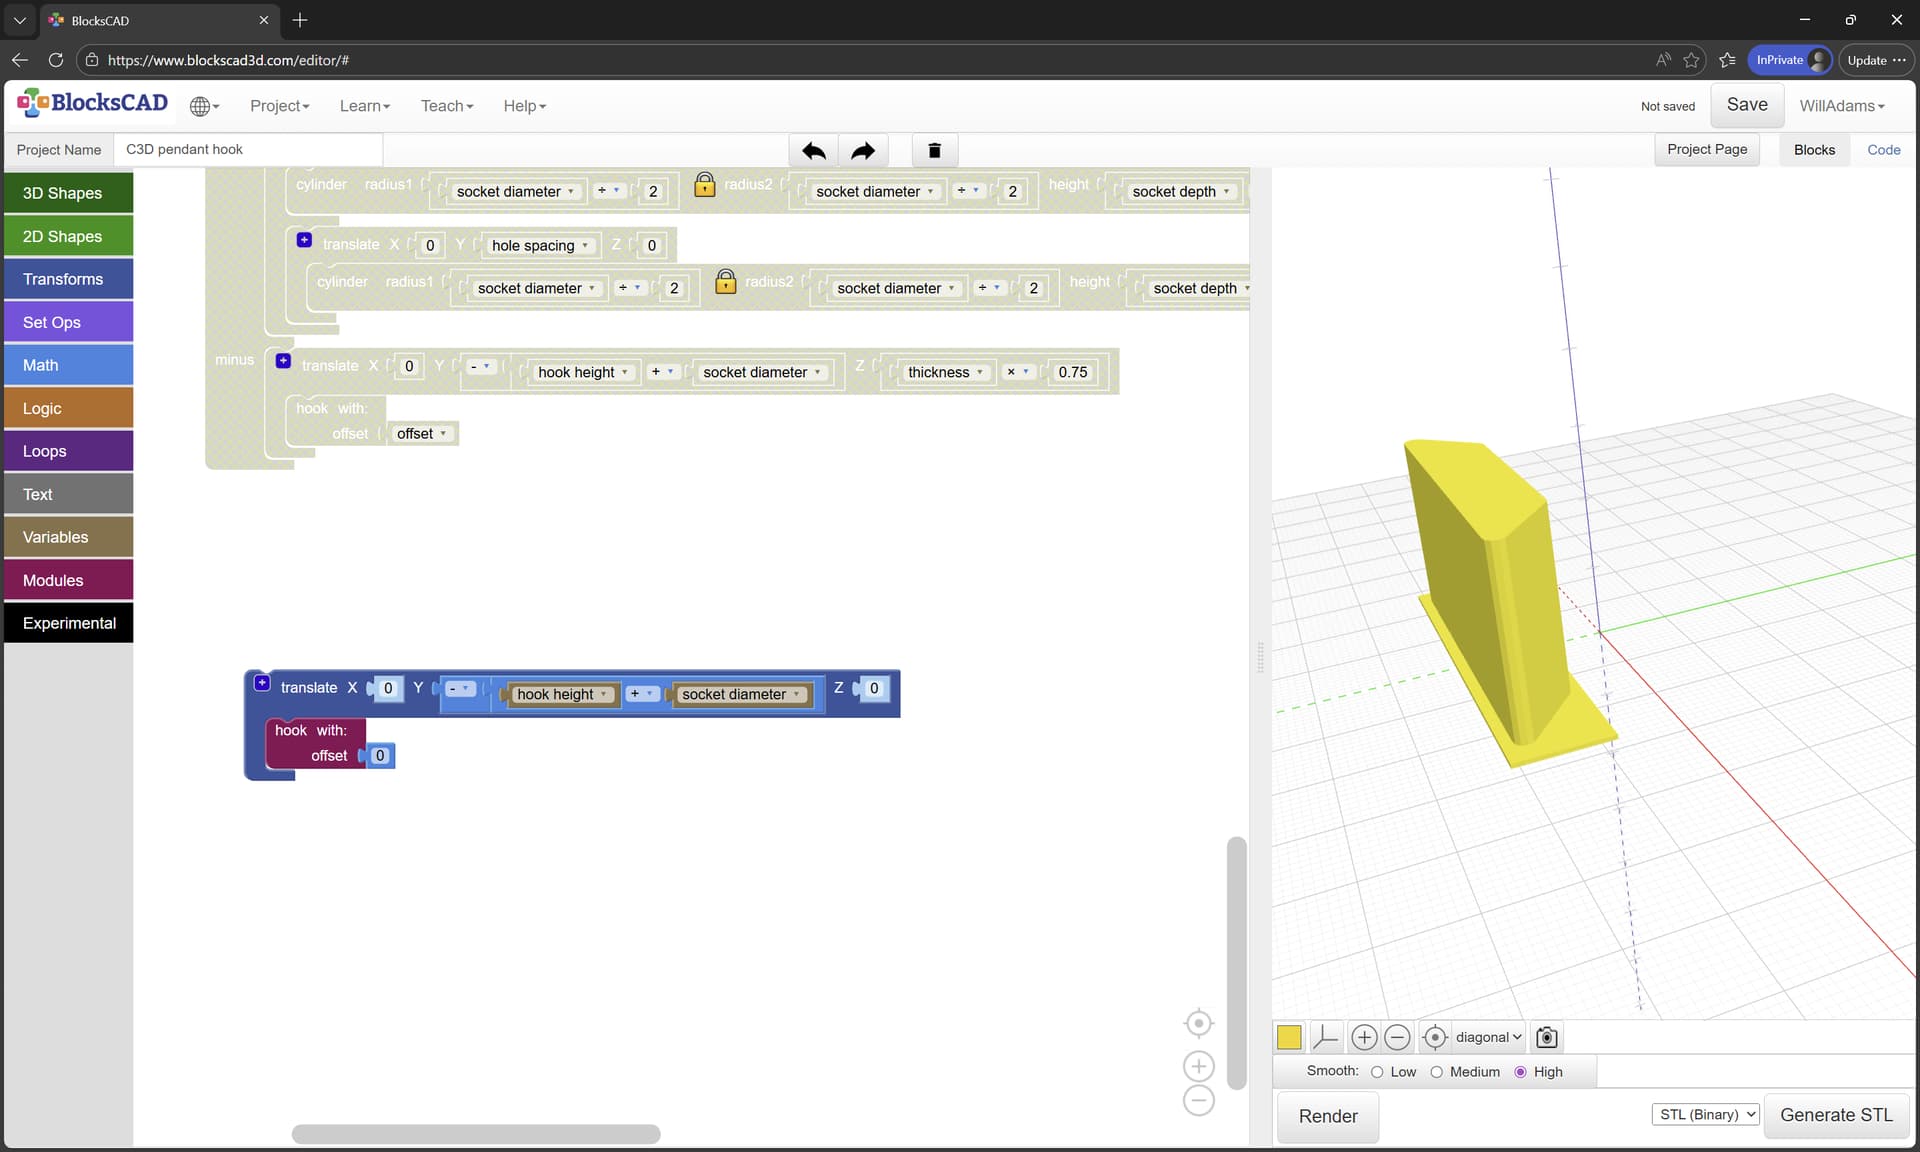
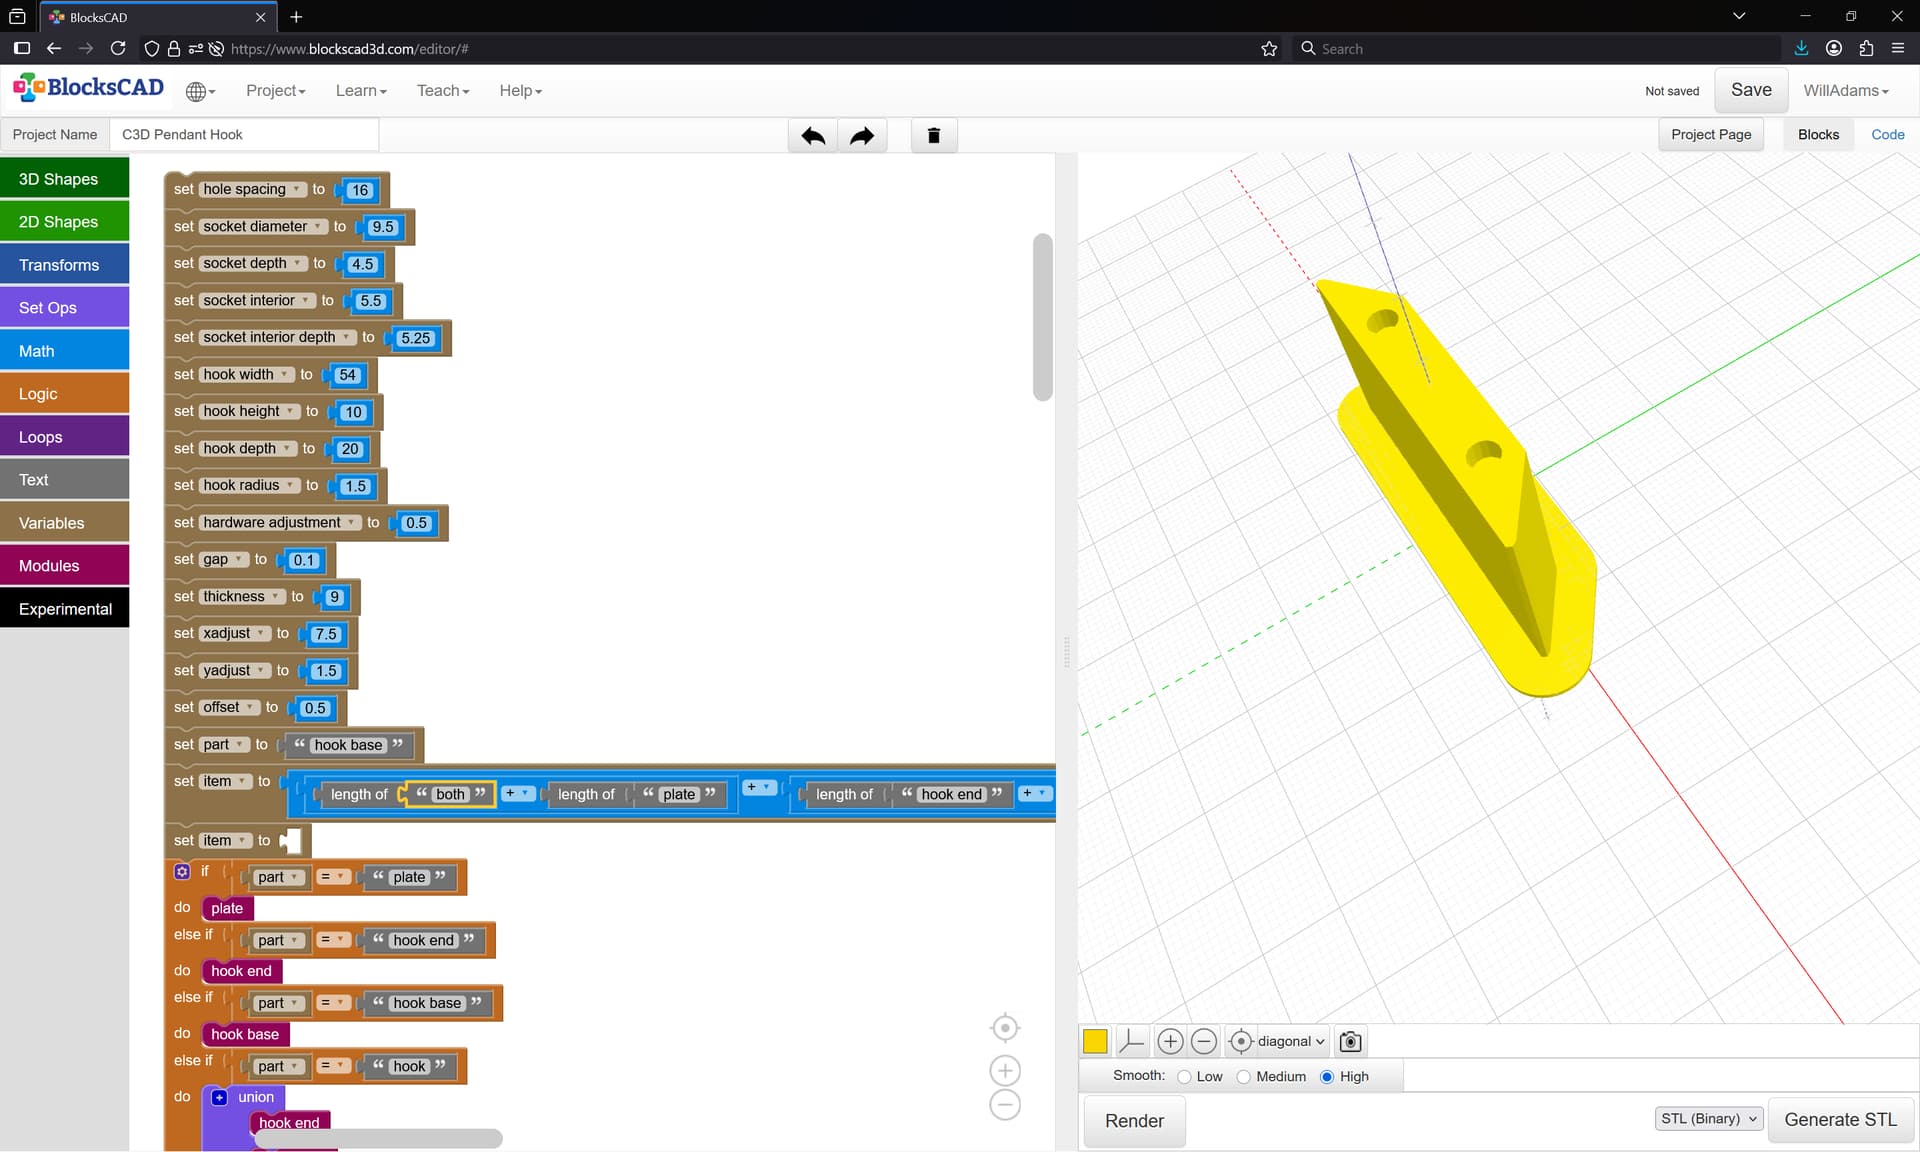
as desired — I believe it would work well if printed in multiple pieces and then assembled, or if the individual parts were cut from suitable materials.
A further improvement would be to arc the sides of the hook to match the interior of the hanging recess on the pendant…
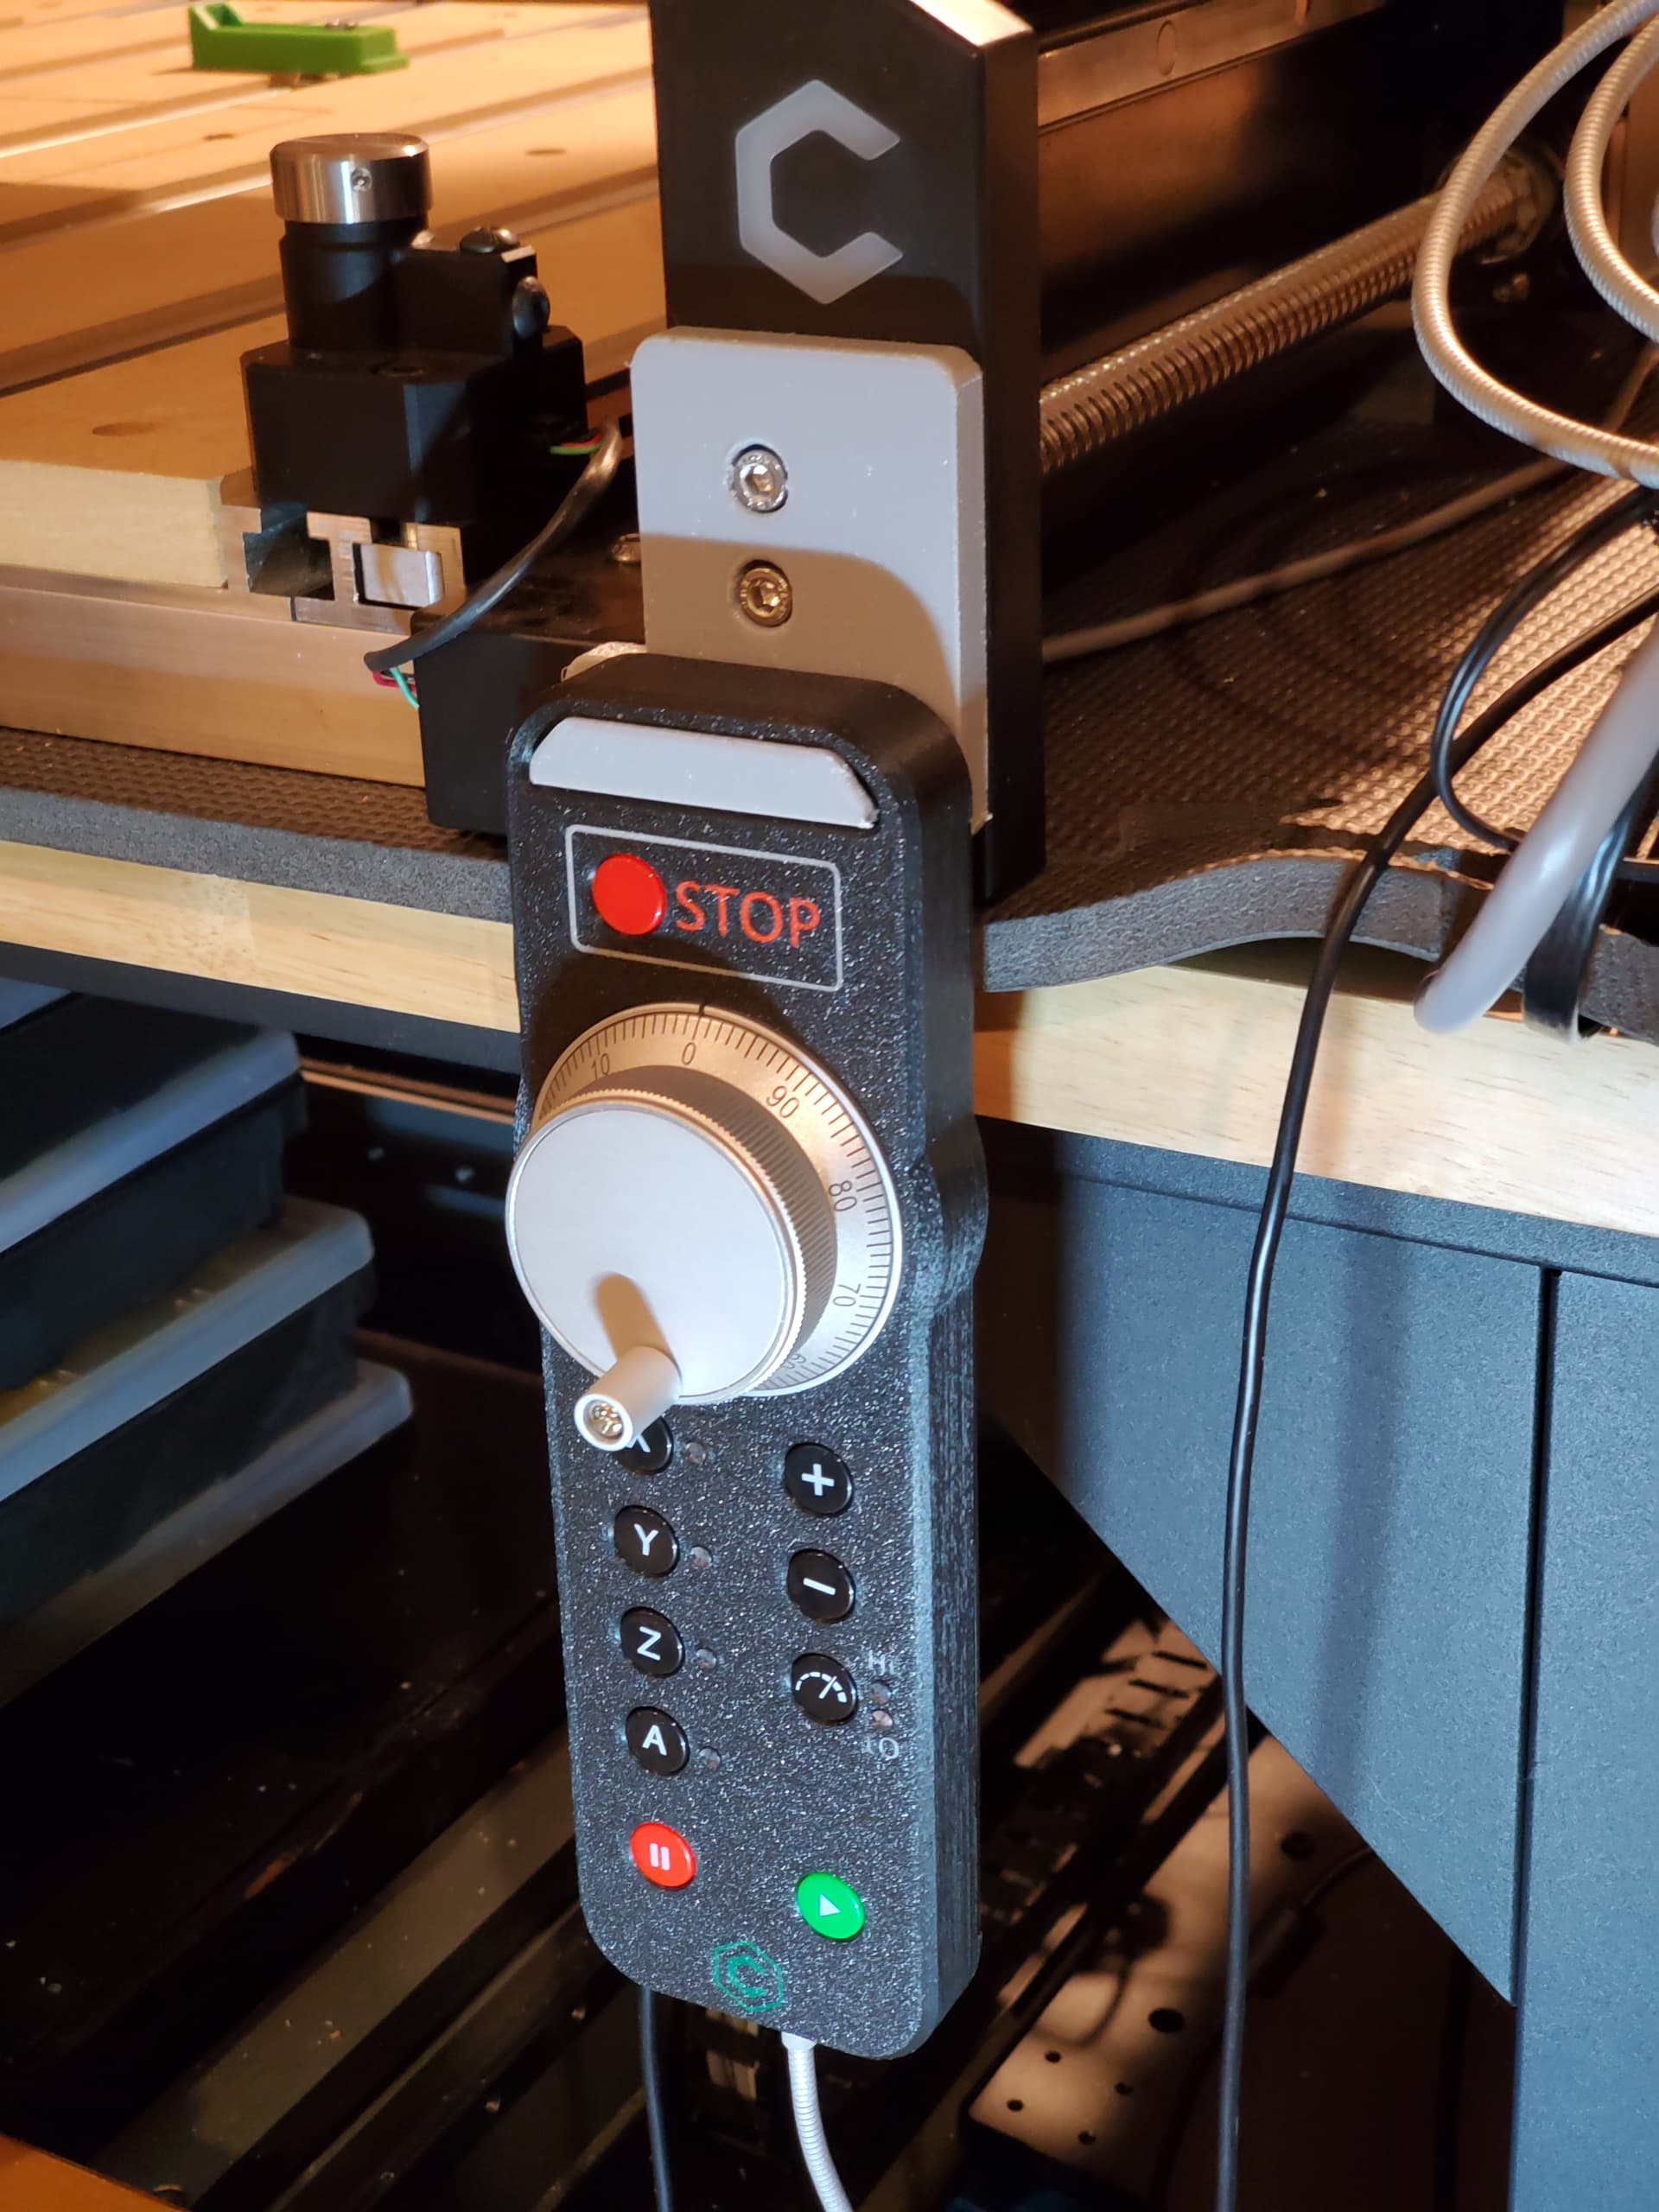
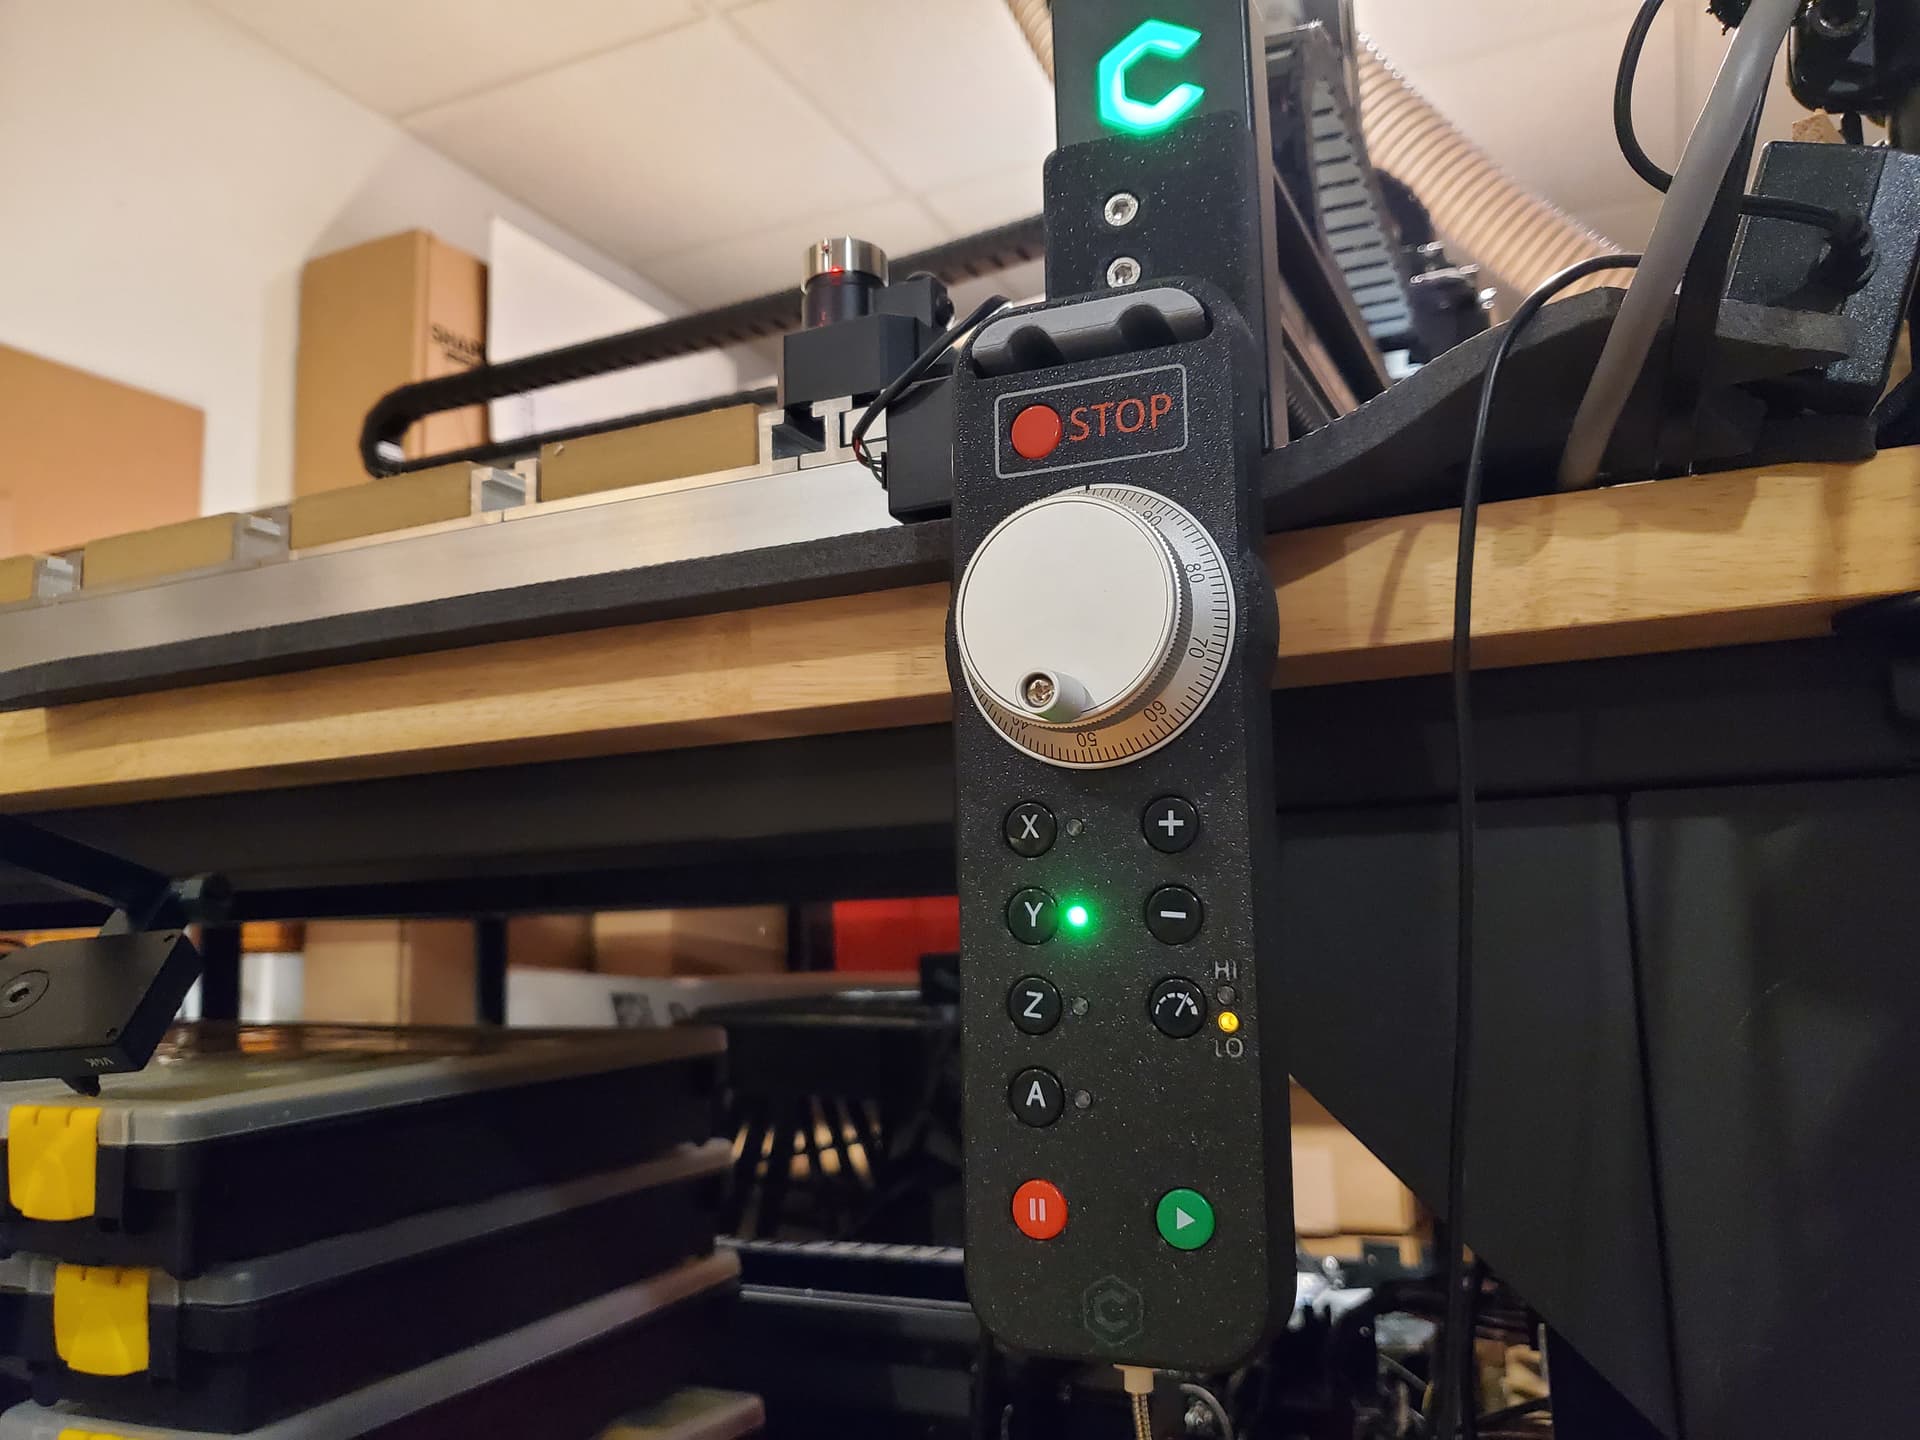
It’s hanging a little canted due to the USB cable being pulled off to one side — should’ve adjusted that. Further, note that in addition to 3D printing a modified shell I inserted a couple of layers of orange film in-between the “LO” light pipe and the LED.
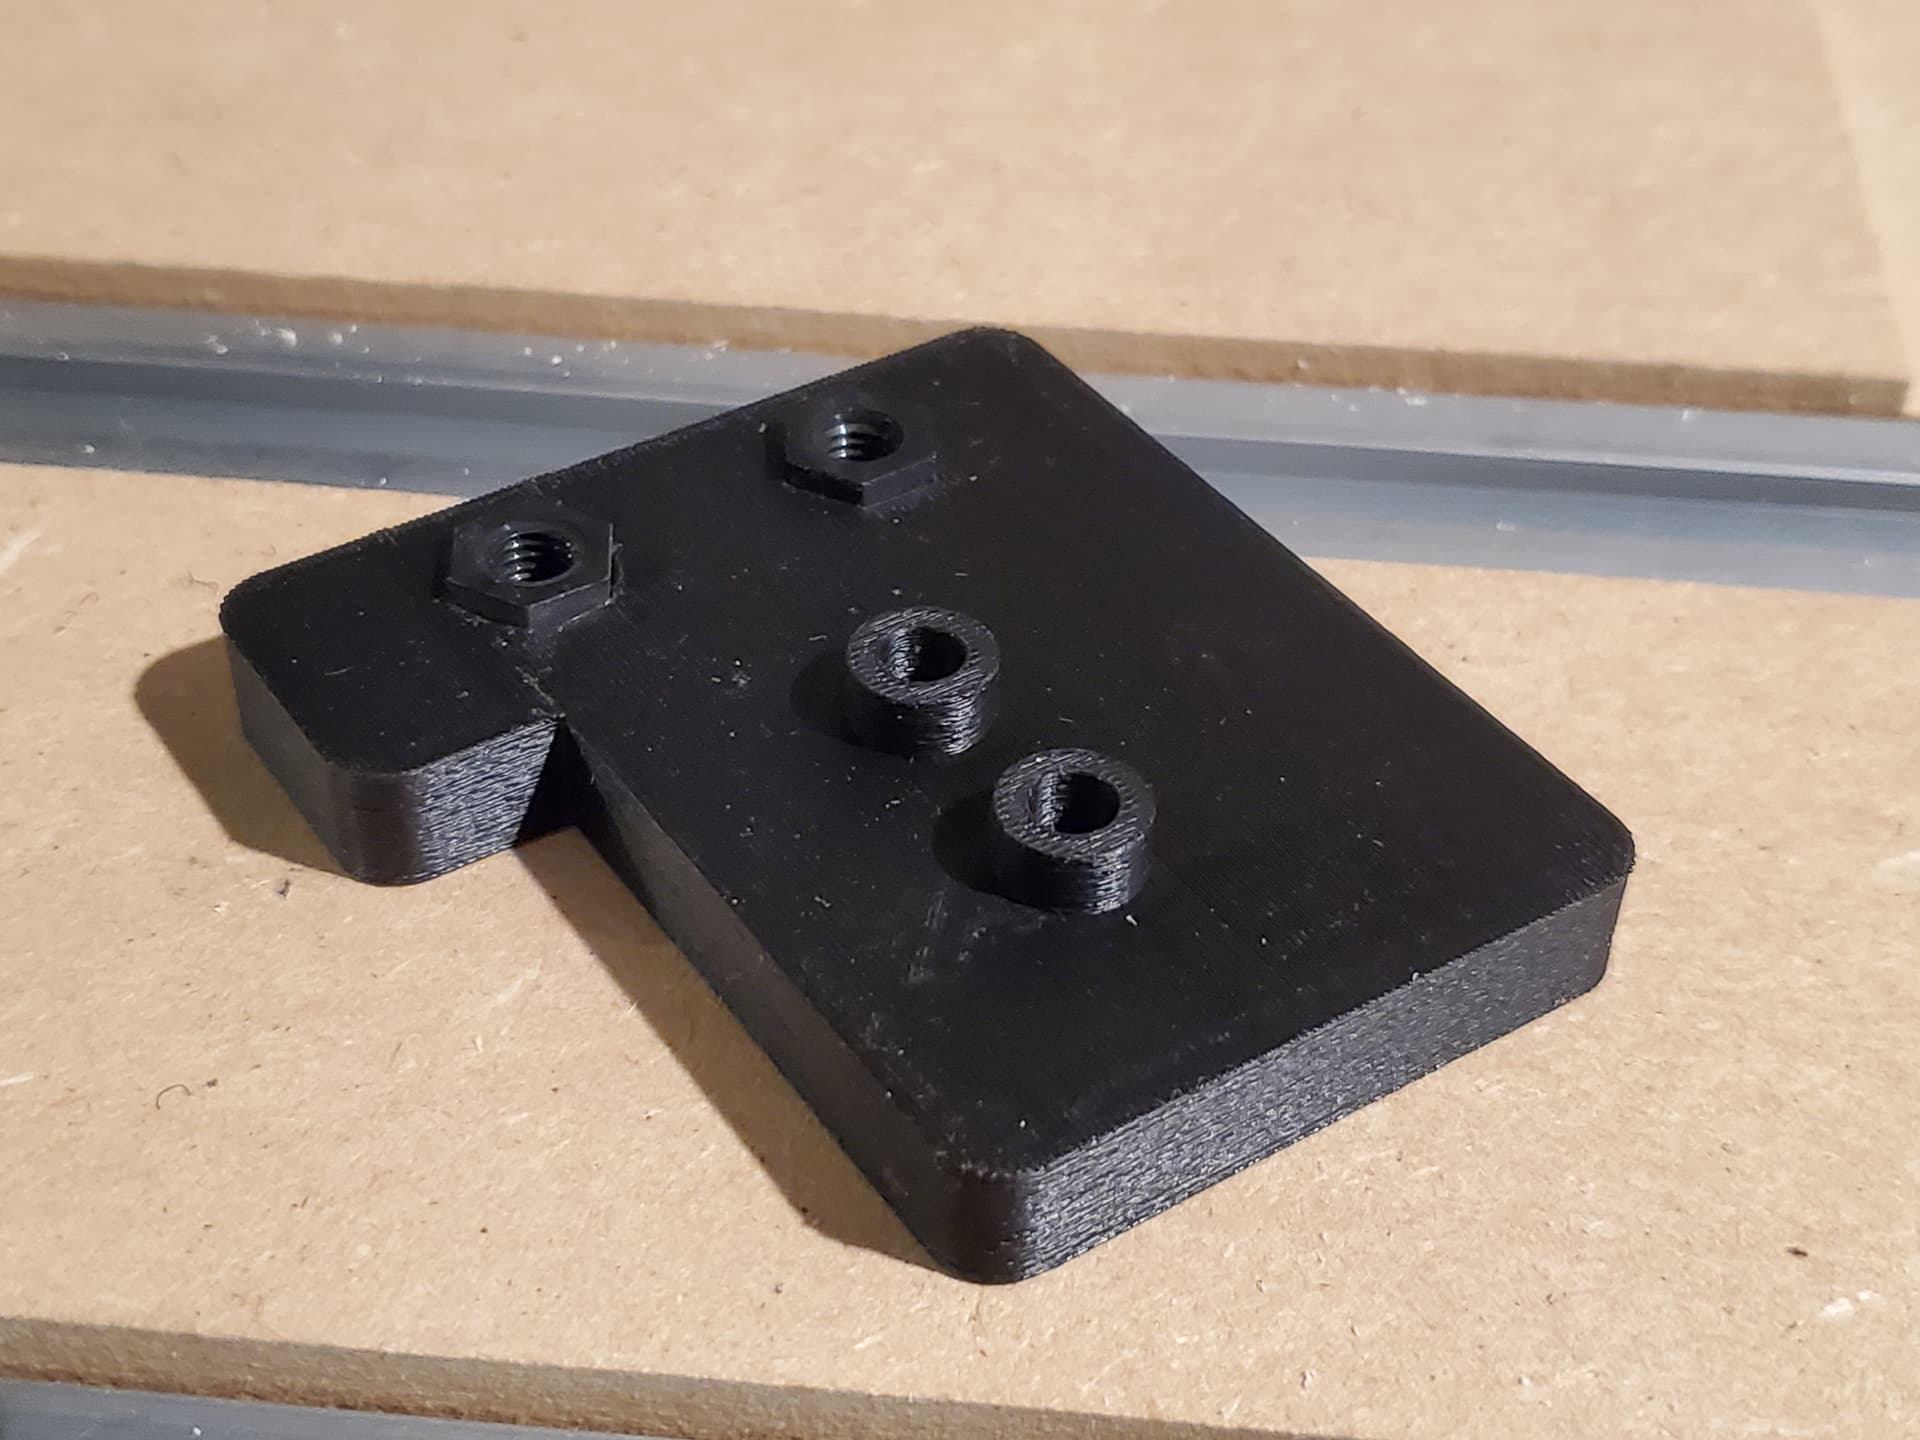
Note that you’ll need two slightly longer M5 bolts, which raises an interesting question — if you replaced the stainless machine screws on the pendant w/ steel, could you then have a plate w/ 6 magnets which would secure it? (as opposed to opening the pendant up and installing magnets in the recesses)
This suggests a slightly different approach — extending the end of the hook so that it can just be filed to match.
One benefit to this design is that it offers a bit of protection to the BitZero connector…
Next up, printing multiple parts w/ different filaments (after further adjusting the end to match the internal rounding), then try manufacture in multiple parts using different materials.
@jtclose I had mine on a small re-bent steel angle bracket (to avoid the point-loading that your wire is producing–what can I say, I’m a mechanical engineer ) until I printed Winston’s bracket yesterday.
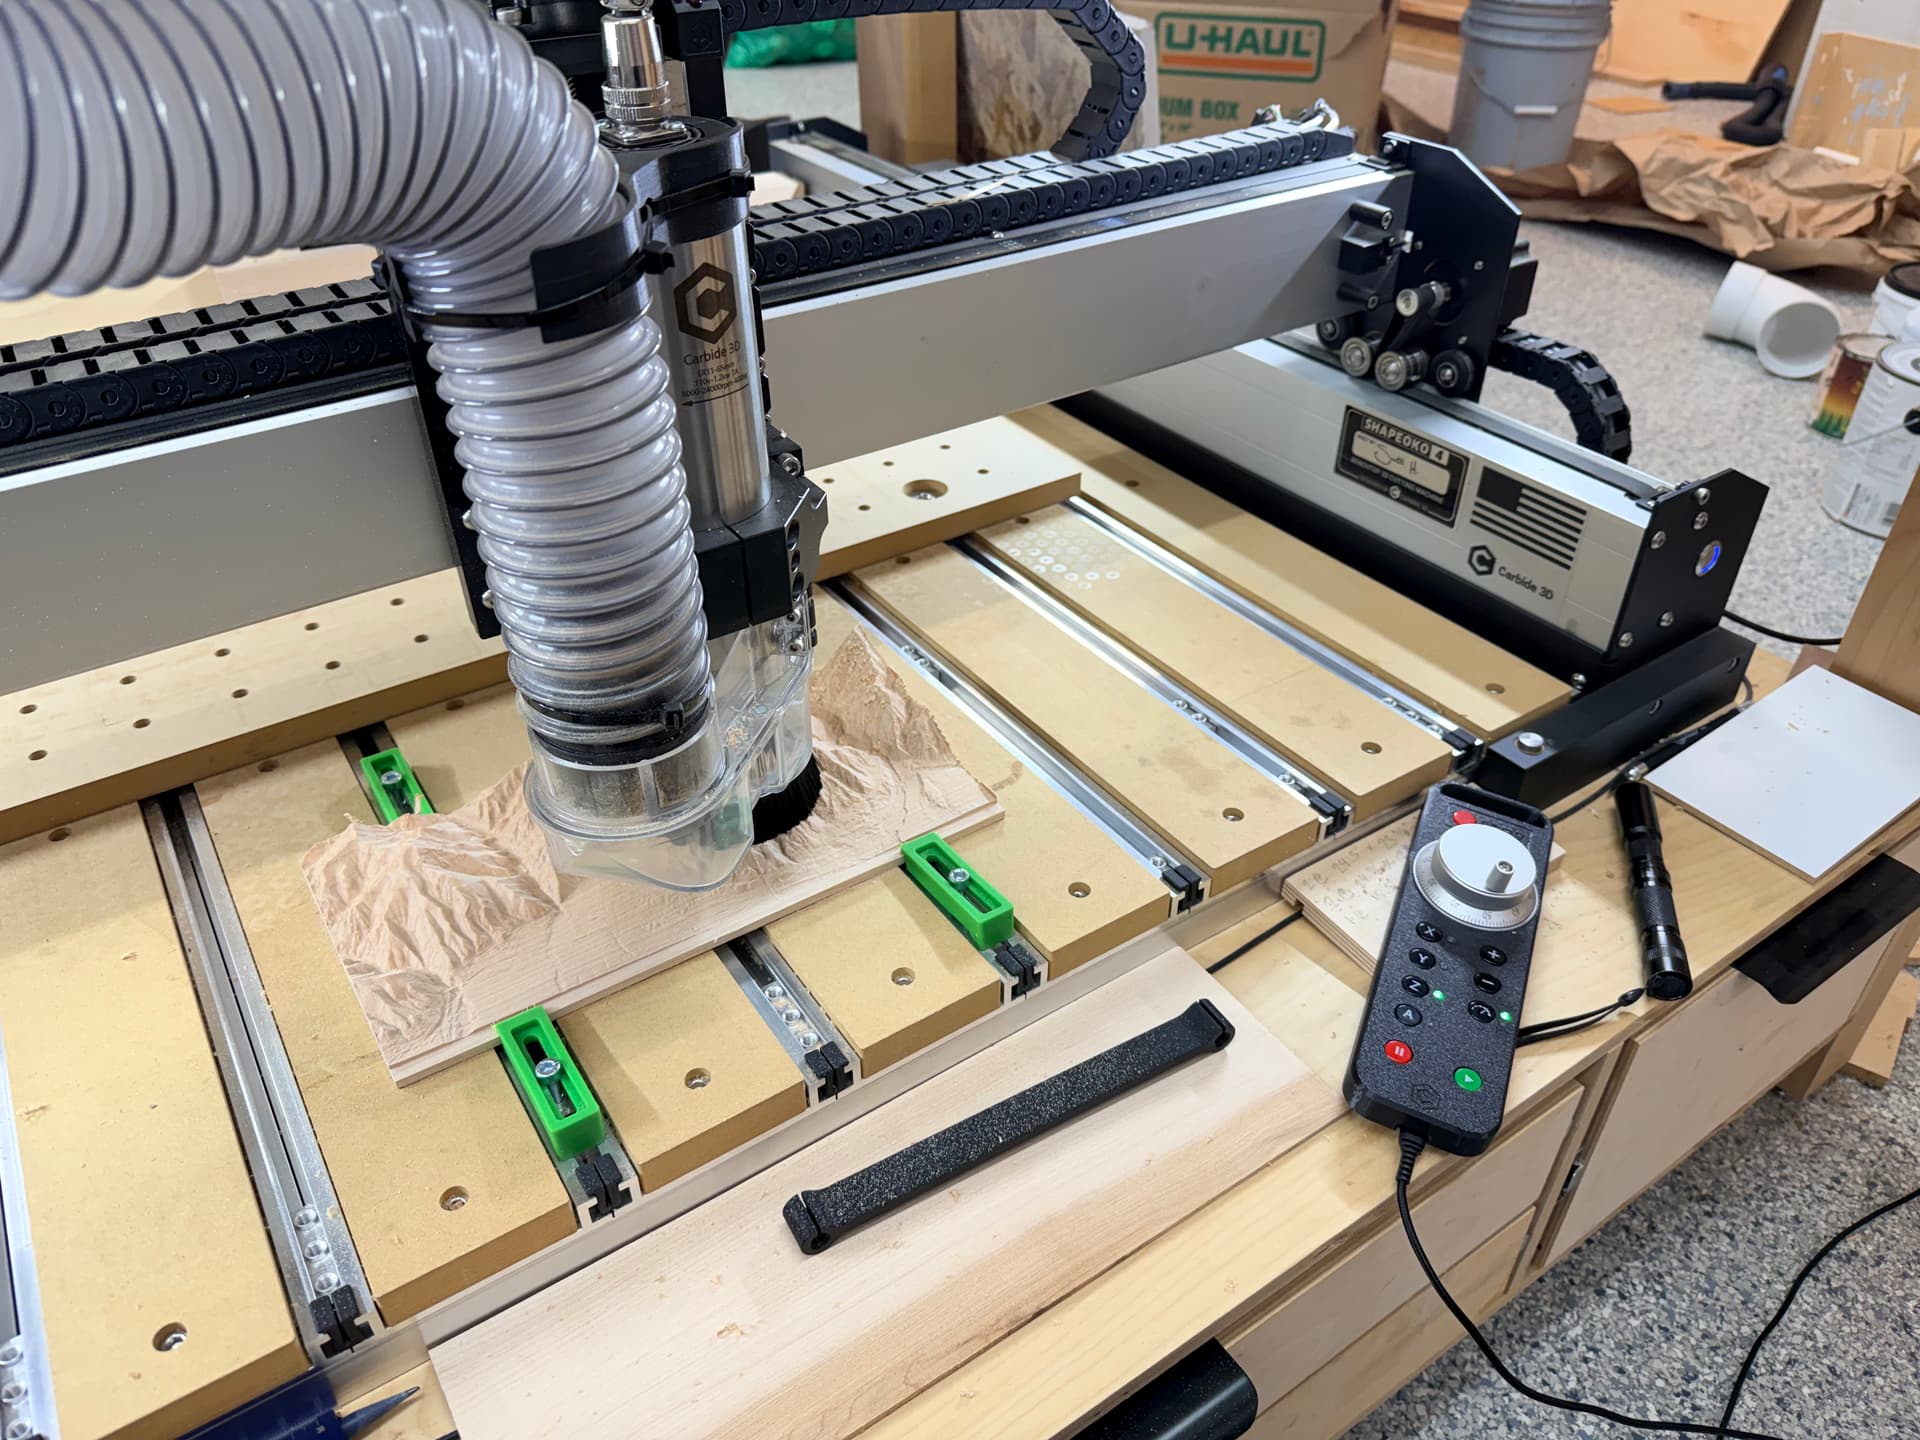
I just finished installing my new 5.1 cross bars, repositioning the gantry forward, and installing my new printed keyboard, USB expander port and pendant mounts.