Designing a soundproof'ish enclosure for my new SO3

Thanks for the advice @Griff. In regards to the feet, would you drill holes in the T-box, puts bolts through and then mount the machine that way? Or can I simply takes the shoes off the SO3, lay down a non-slip mat of some sort and then put down the SO3 on that? Is it vital that the SO3 is level?

You are most welcome. There are as many ways to do this as there are people in this forum so…

My approach is to bolt the frame directly to the torsion box. More rigid then simply setting on top of a heavy mat.

If you choose this route you will need to knock the PEM nuts off the frame so it sits directly on the torsion box.

This is my most recent iteration for the machine Base board (note, not Waste board). The waste board sits on top of the baseboard.

The board itself is 1” MDF sealed top, bottom, edges with several coats of shellac. Since the mounting holes for the XL are outside of the machinable envelope I simply use the frame itself as a pattern for the mounting holes. You want to use a depth stop on the first, larger bit to drill the socket clearance holes. I cut the slots on my router table.

Once the Base board and XL are mated and the XL checked for square and parallel the bolts are tightened and square re-verified.

At this point, using the SO3XL, we bore the holes for the inserts to mount the wasteboard and the dowel holes to locate the wasteboard square to the gantry. Now, once you’ve decided upon your wasteboard design(s) you set your four dowel pins in the base board, locate the wasteboard blank, clamp using the t-slots or using CA/tape. Then bore, slot, whatever and you are assured the result will be square to your machine.

No, it is vital that the gantry is parallel to the cutting surface though.

Once you’ve completed and mounted your wasteboard you will want to tram your machine and then surface the wasteboard to ensure parallelism.

Simple, right?

Have fun, whichever setup route you decide upon, we’re here to help.

I think it helps a lot — work from large–small — precision has to start somewhere — working from a level surface allows you to use a level to check things which is easier than trying to determine parallelism with a reference surface.

The machine will work just fine not level.
HOWEVER… if you make it level, it is much easier to make all other things in the machine square, since you can use a level (both flat and 90 degree) as a measurement anywhere on the machine, instead of having to do relative measurements and compensating for the non-level…
It is important that the bottom is FLAT… so if it’s not level, it should be equally not level across. You don’t want a “twist” in the system.

(most digital levels allow you to do a “set temporary zero” that makes all of this not impossible, but merely a pain in the rear)

2 Likes

One thing that you need to check on is the durability of the Nilfisk shop vac. I don’t think the Manufacturers warranty covers extended use which might last for an hour or more when running a long 3D job for example

1 Like

I suppose.

But my setup is on a garage floor that, per building codes, is not level. Plus, on occasion I roll my system to different locations in my garage. So, it’s never level.

But, the gantry is always parallel and square to the work surface.

If you put levelling adjustable casters on it then you can set it level for setup and alignment.

1 Like

I have also just begun the art of router CNS and the following is noted. The router motor is higher pitched and most likely to disturb the neighbors. The vacuum, but a good shop vac, fein, or similar with low DB rating. adding the noise from the router and the vacuum together its is a might noise to baffle. You need to also consider the routing of the vacuum hose to your dust boot as this will extend over the top of your router, as will your electrical cord to the router. They caution a to running the router cord in proximity of the control wires for the steppers as it may cause interference by induction of the steppers , lousing up your cut. What i did was to get a 5 gal bucket form home depo, cut a circle in 1/2" plywood with my CNC and an attach a low cost cyclone(https://www.wish.com/product/5de4bed6ae2961042c8cb089?hide_login_modal=true&from_ad=goog_shopping&_display_country_code=US&_force_currency_code=USD&pid=googleadwords_int&c={campaignId}&ad_cid=5de4bed6ae2961042c8cb089&ad_cc=US&ad_curr=USD&ad_price=16.00&campaign_id=7203534630&gclid=EAIaIQobChMI8q-Wh6ih7QIV6suGCh0bmgCSEAQYBSABEgKJlfD_BwE&share=web) $17 to catch dust and chips as you carve. The machine makes a lot of this and the dust is an issue for you and others in the apartment The cheap cyclone is $17-20 $, but it saves you for having to fuss often with the filter in your vacuum. I built a table to hold the machine with 2 x 4 and 5/8th inch particle board, glued and screwed. Strong and if you brace it no movement. For your enclosure, you only need plexiglass on the front doors of the cabinet. Make sure you have some air holes to allow the air the vacuum takes is not restricted.

Thanks a lot for all the advice for now. I’ve settled on a design now and started building it. Hopefully, I can post some pictures of an almost done enclosure by the end of the weekend.

3 Likes

Photos please? Thanks

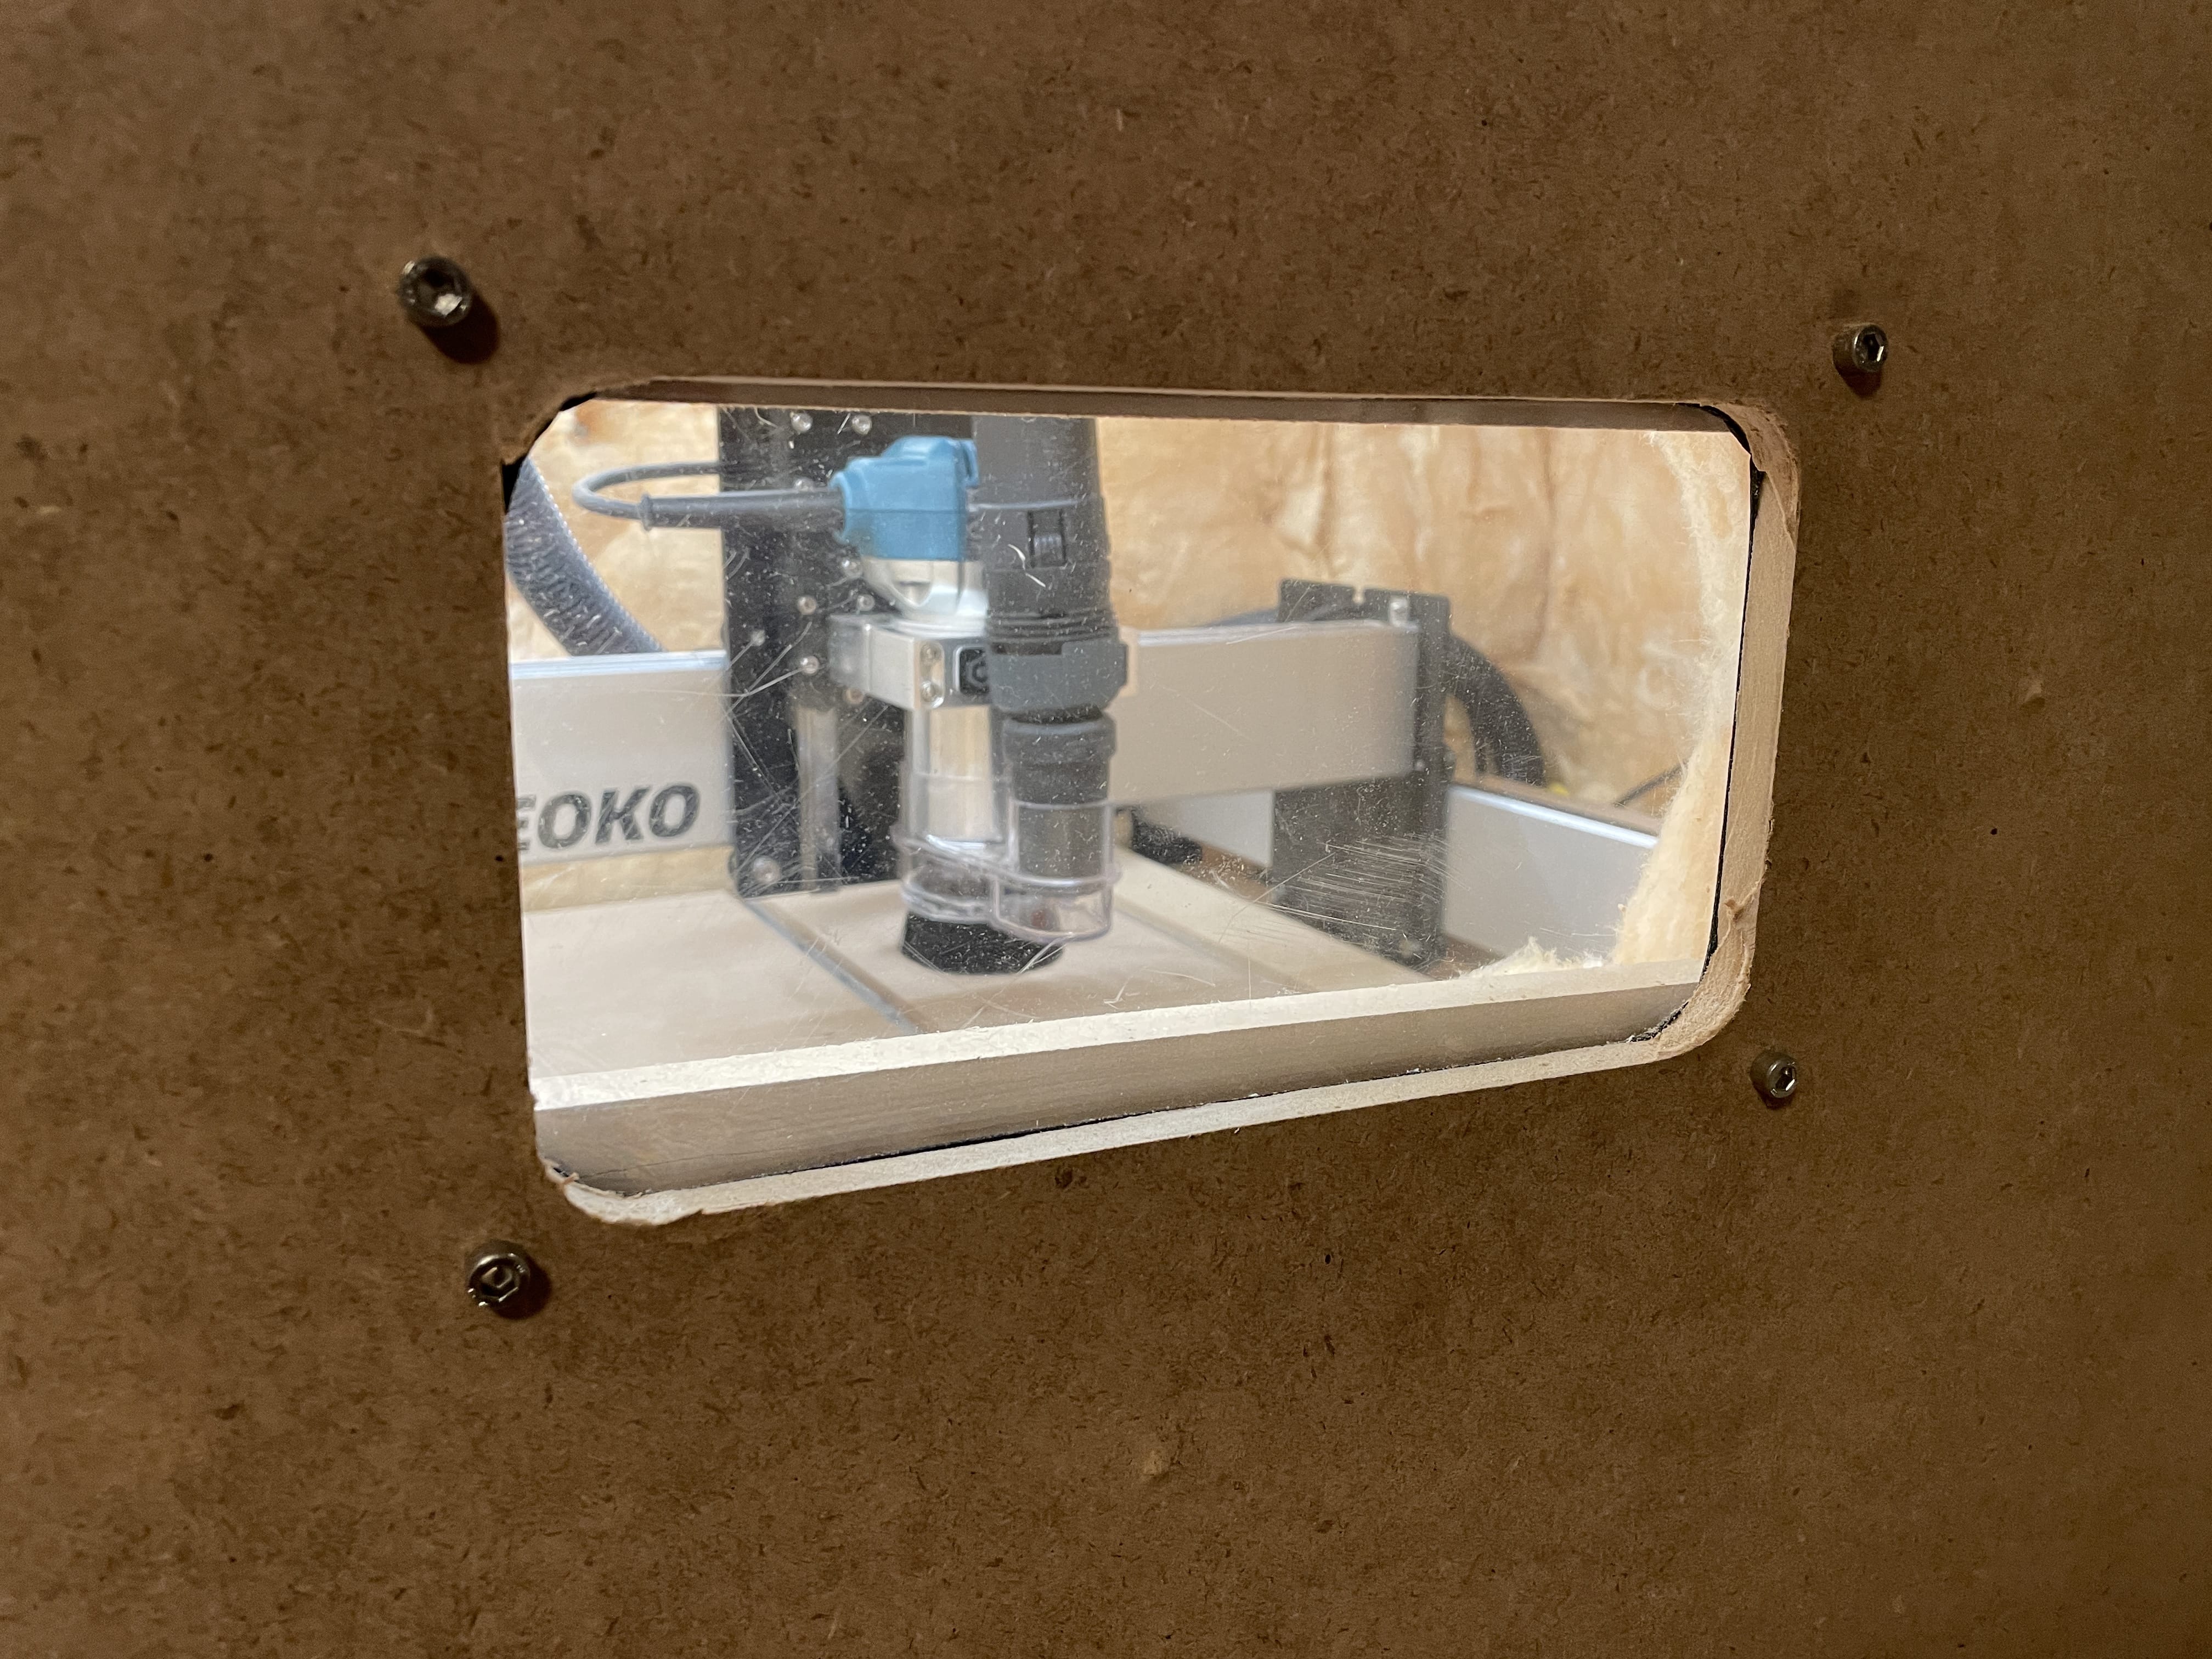
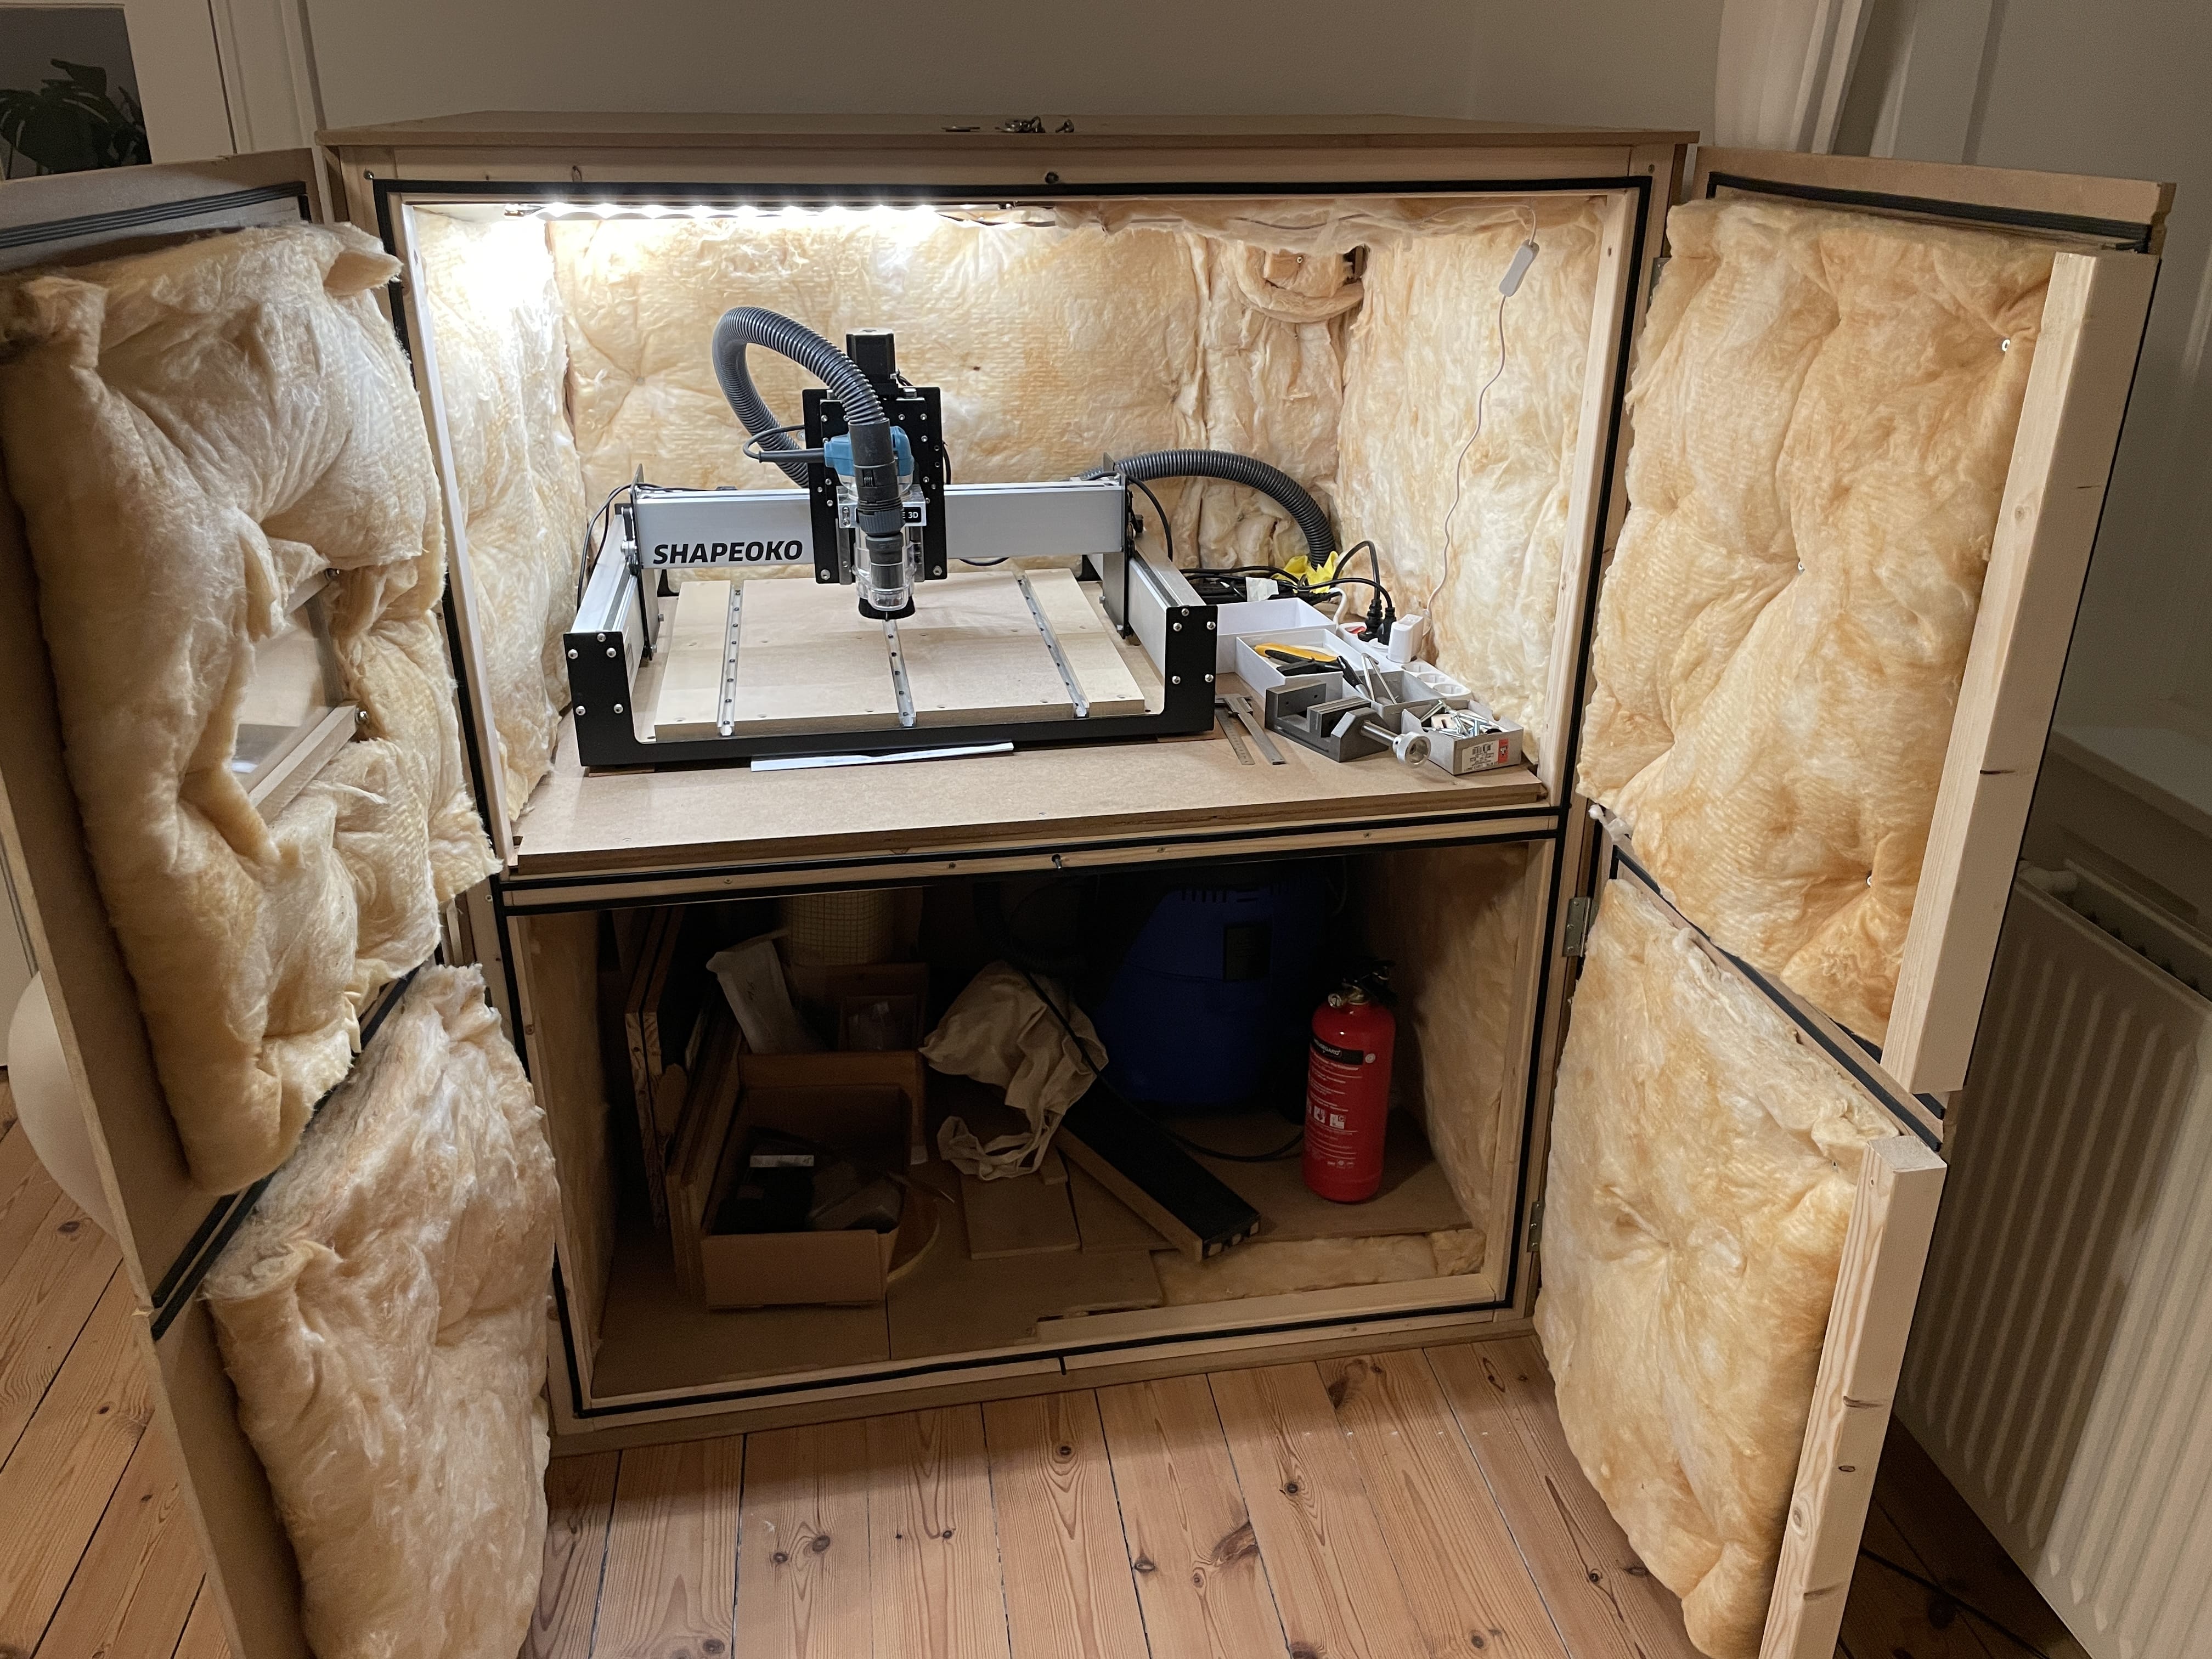
I just finished the enclosure today. It became really ugly (girlfriend is not too happy), but it seems to be doing its intended purpose really well, which is to lower the noise.

Here’s how it ended up:


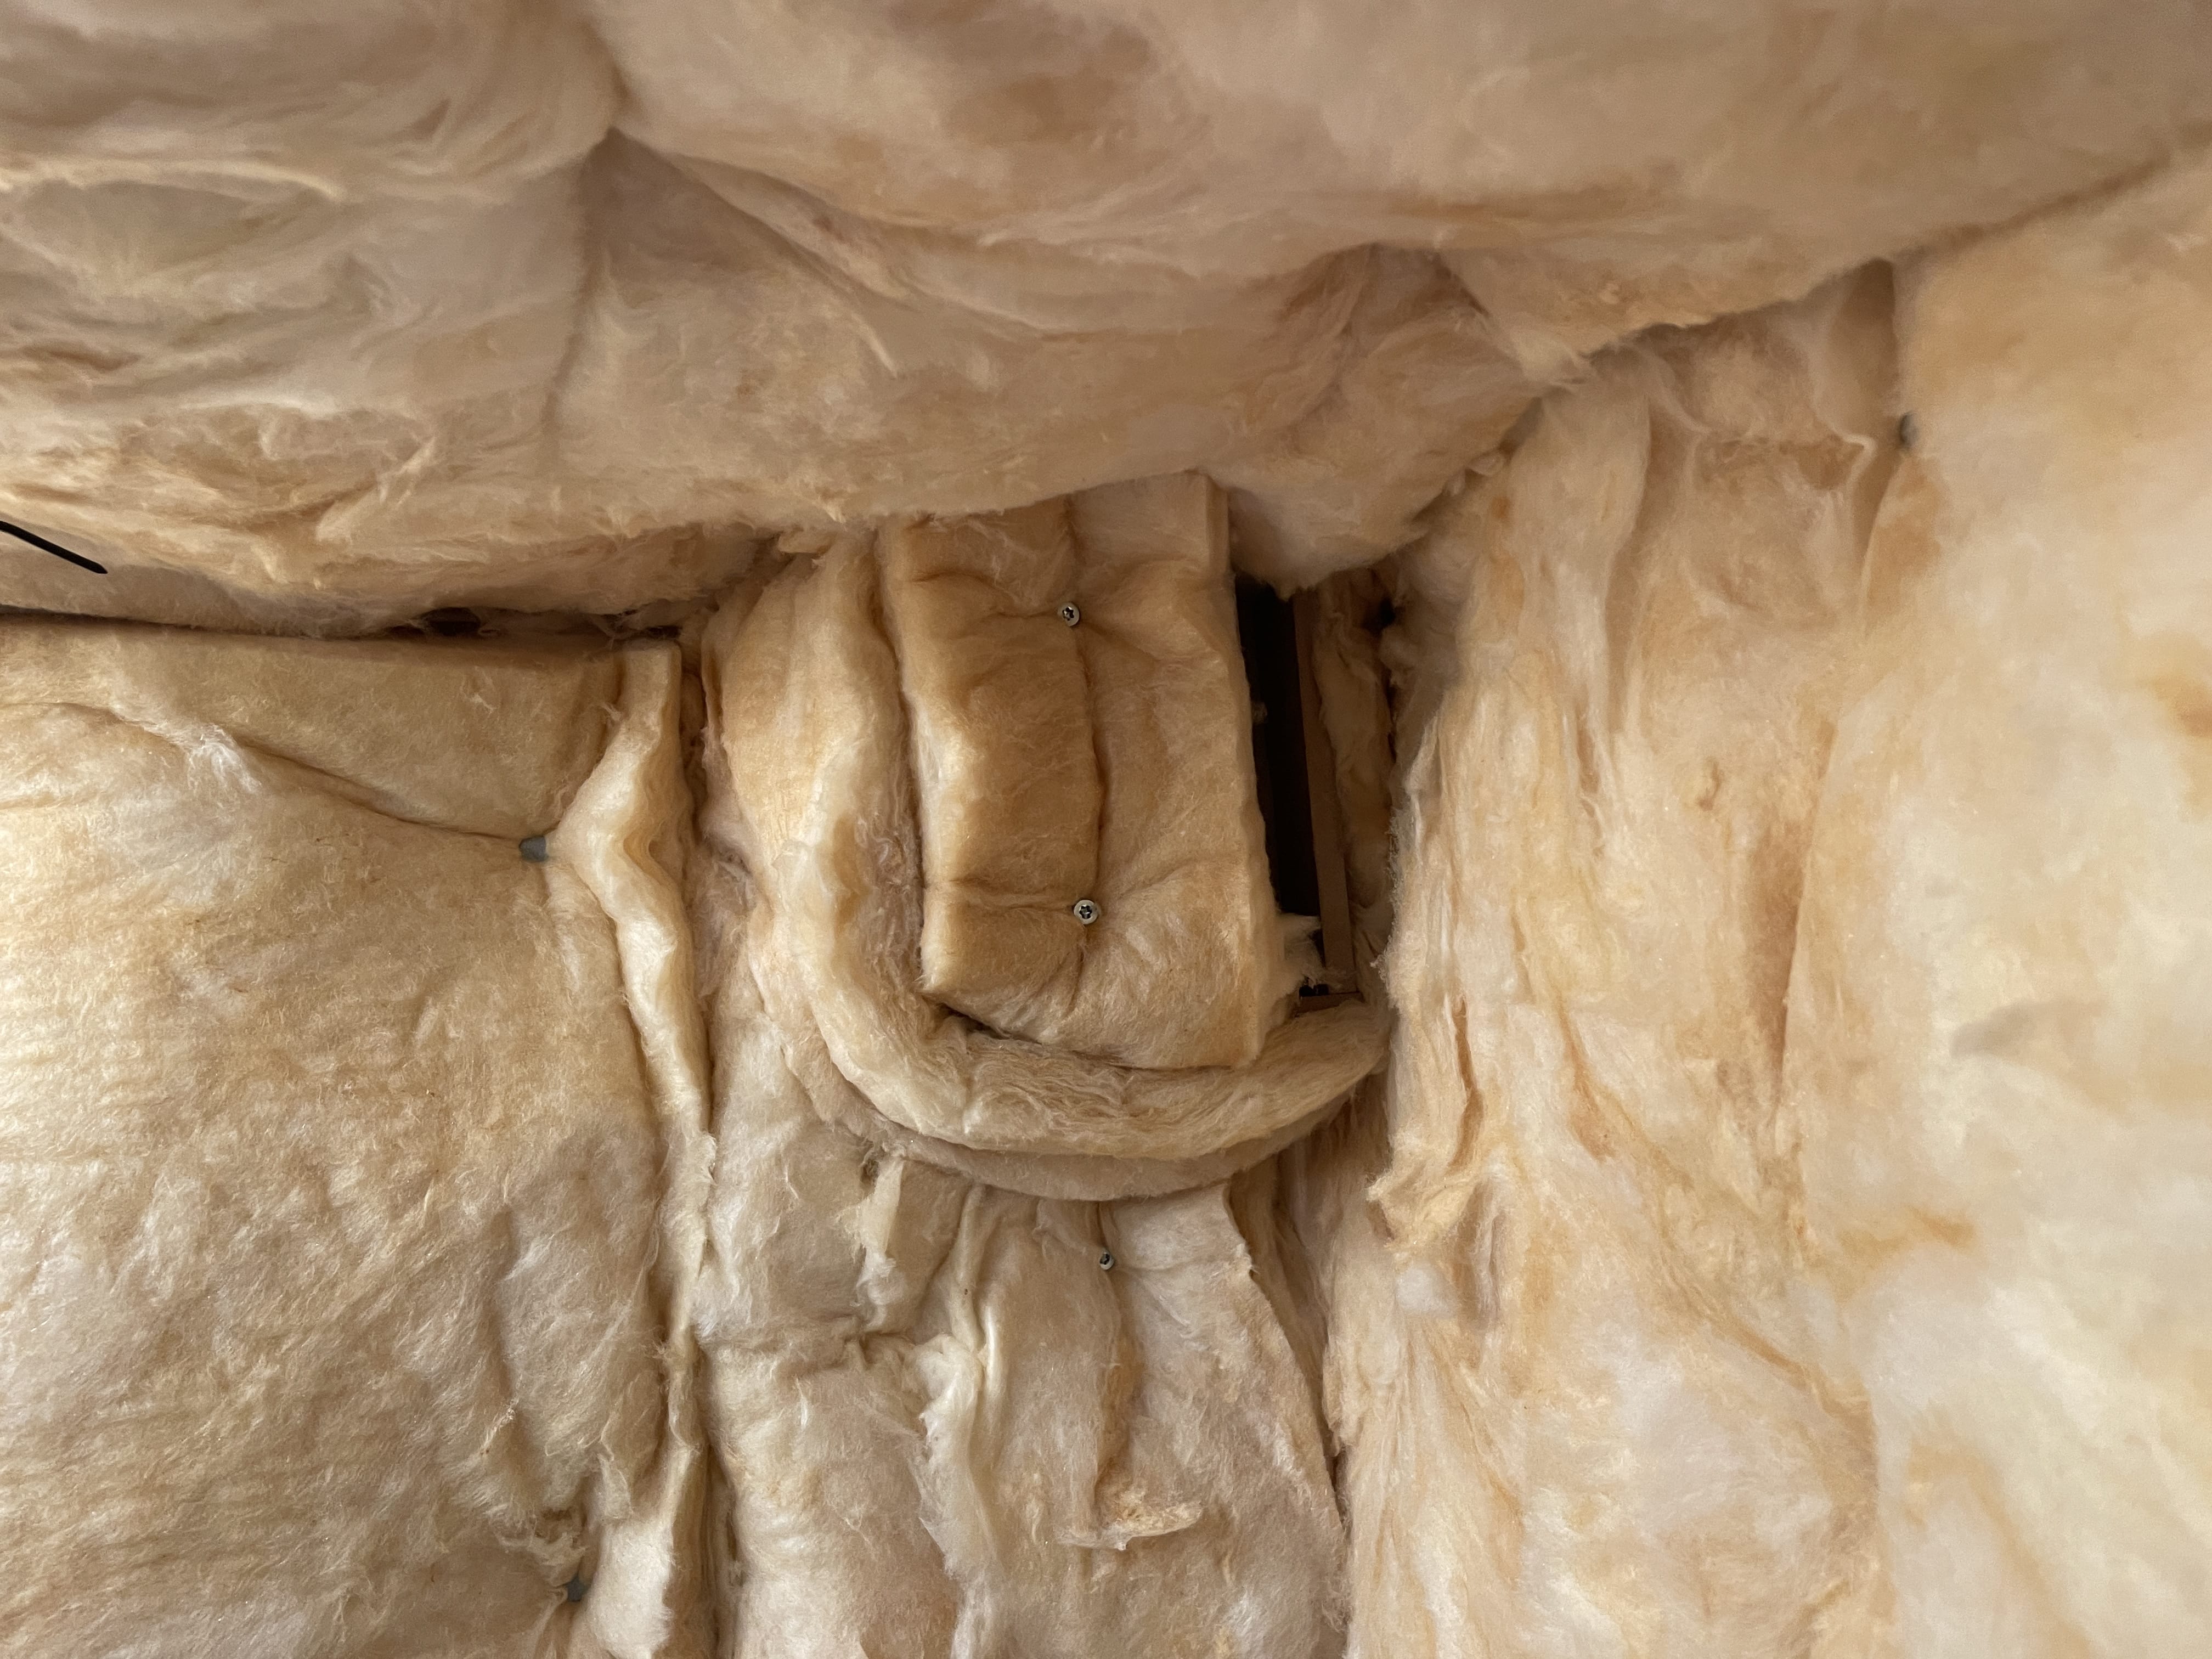
I’ve only tried it with the vacuum on so far and it seems to lower the noise dramatically. I’ve also tried to feel in the baffles in the back and it’s quite clear that it sucks in air from the top baffle and releases air from the bottom baffle, so they seem to work as intended as well.

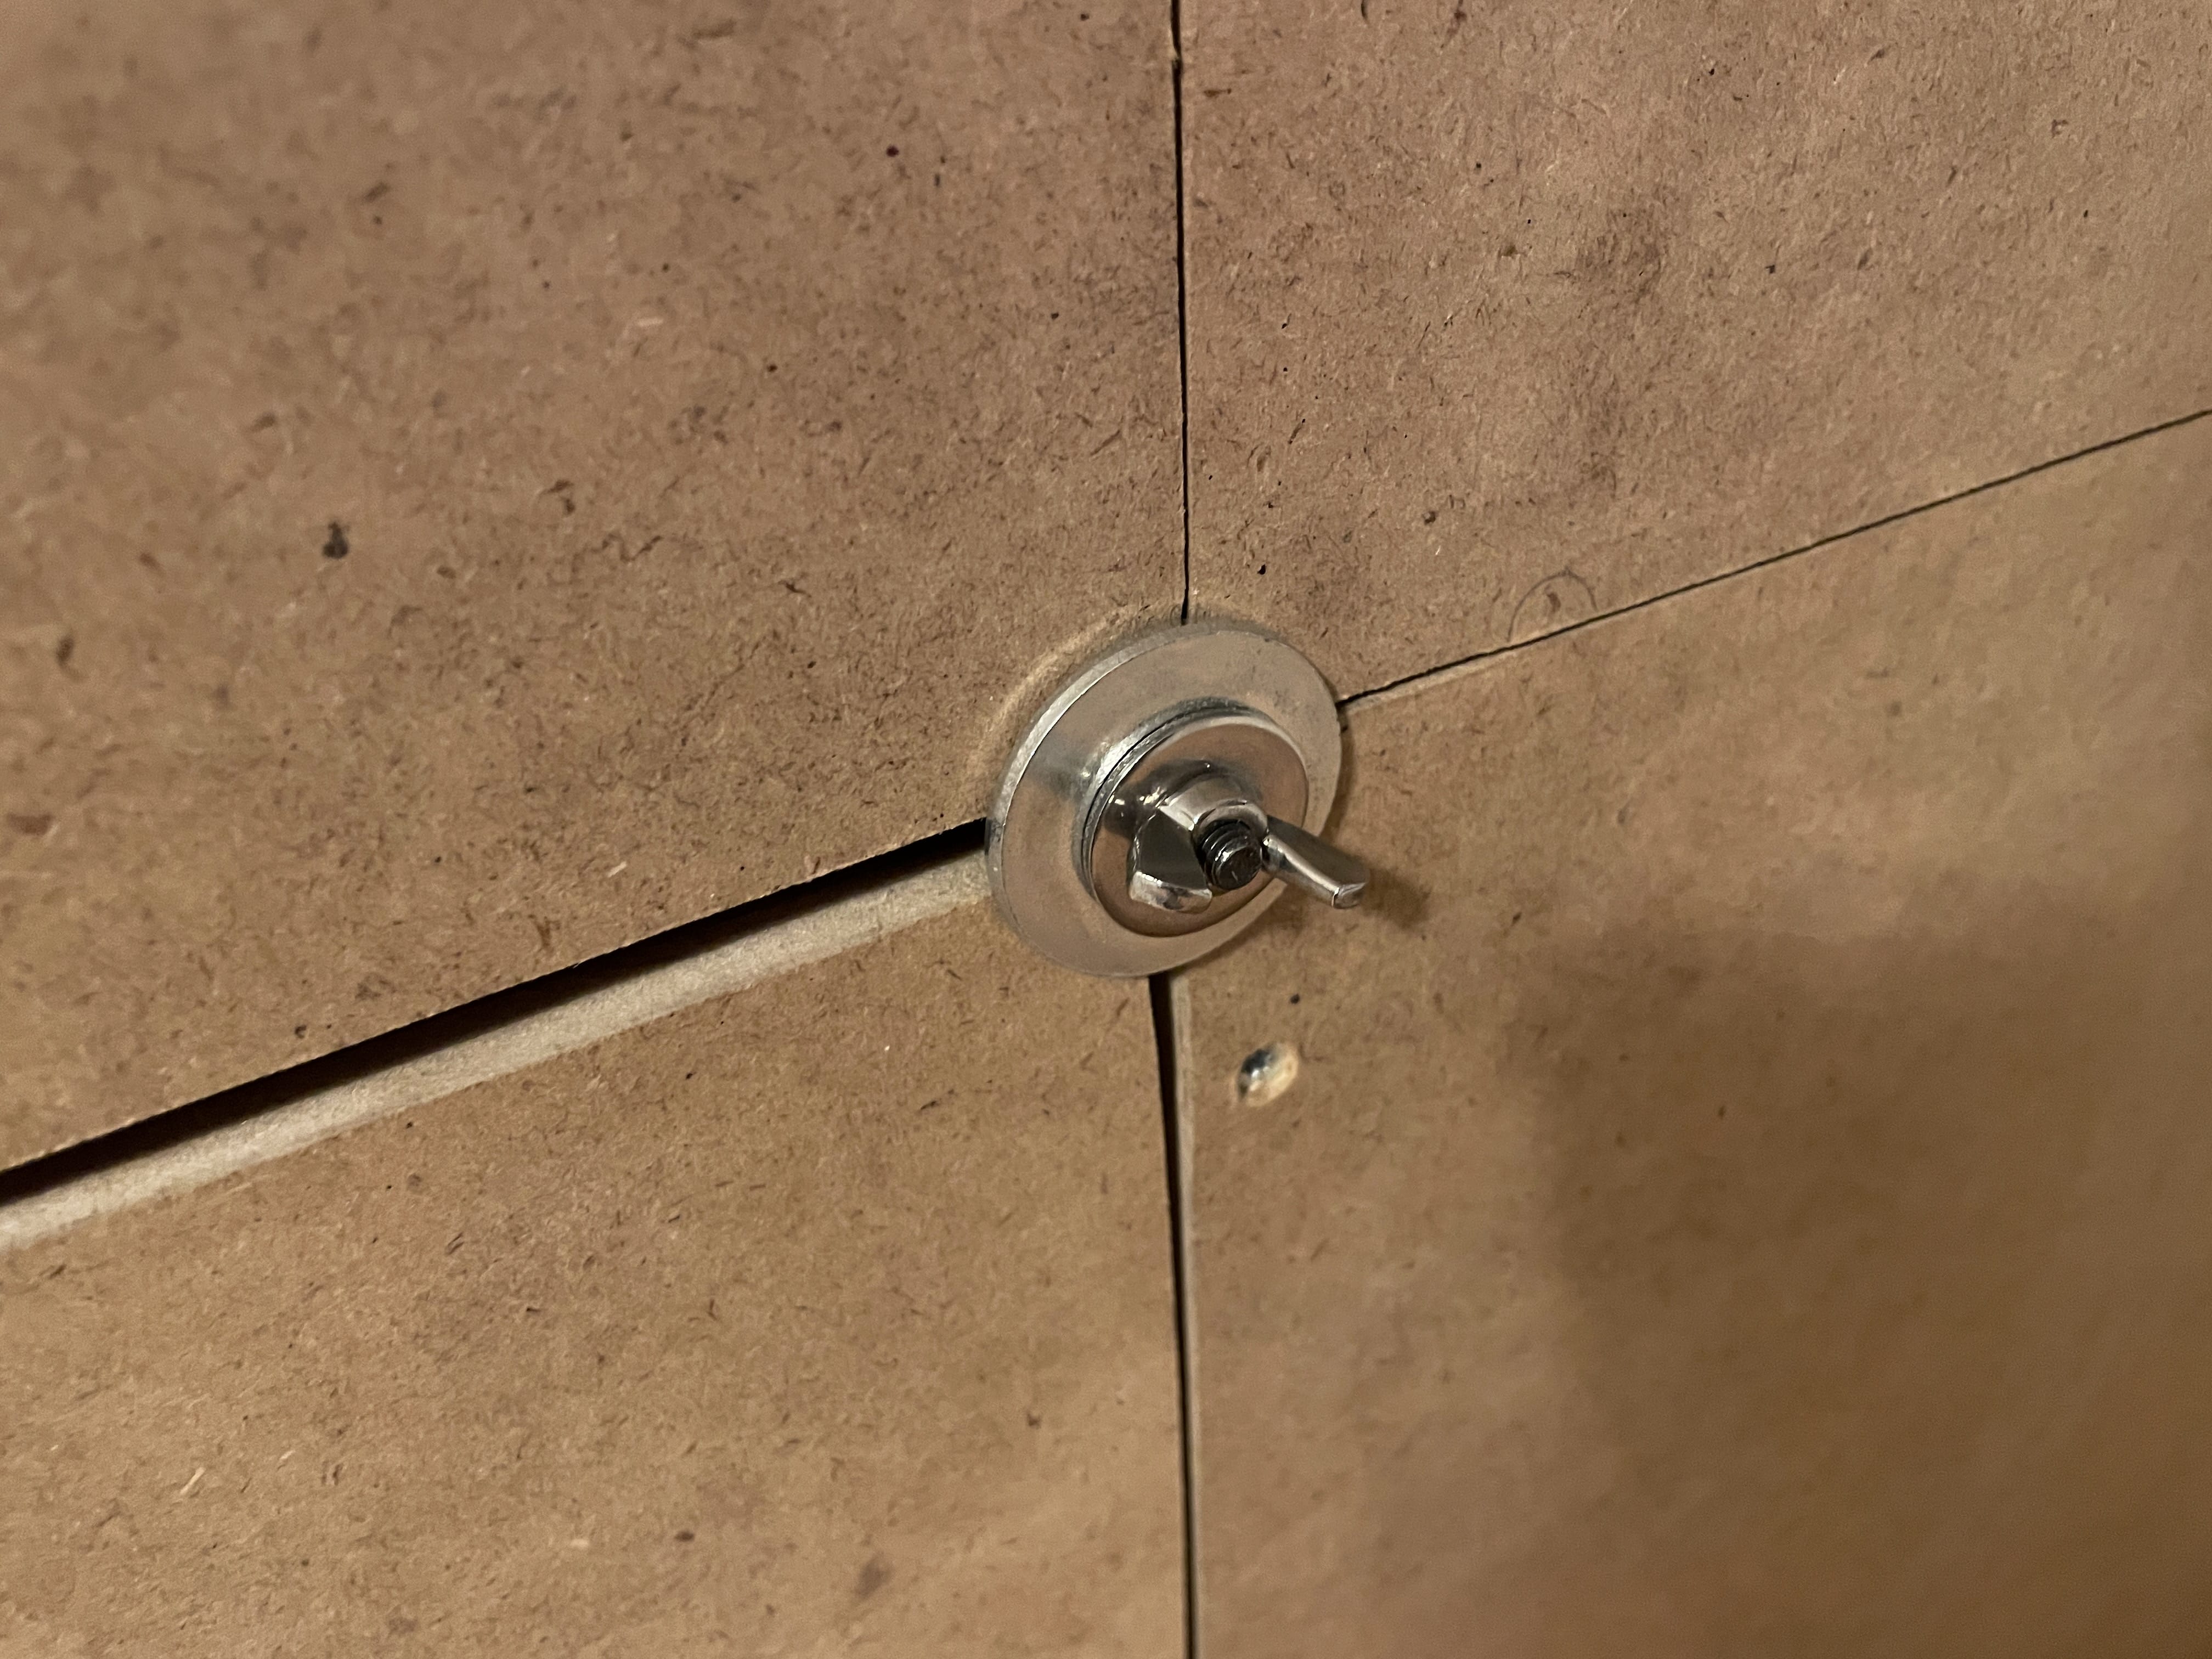
I ended up with a weird solution for locking the doors tight (as you can see in the pictures). It works really well (the seal is really tight), but it’s an annoying solution since it takes some time to open and close the doors. I didn’t know what else to do with the design I ended up with. If you have any ideas let me know!

3 Likes

You could use a speed nut instead:

https://www.leevalley.com/en-us/shop/hardware/jig-and-fixture-parts/101377-1-4-20-and-5-16-18-brass-speed-nuts

with a door lock like that you might want to put an estop button on the outside for the oh **** cases

1 Like

For locking my enclosure door I 3D-printed that thing:

but given your setup there would probably not be a very convenient place to attach it.

What about strong magnets where the washer & nut currently is ? (adding handles, then, to open the doors)

Don’t tell the GF that it’s ugly, tell her that you deliberately left the finish plain so that she could choose how to decorate it :wink:

2 Likes

Use the machine to make a nice covering for the enclosure of plywood (to cover the large areas) and nice wood (for corners/edges)?

1 Like

Would be interested to know the decibel difference. Also, which insulation did you use?

1 Like

Nice work man. As far as the look and feel, I’ve had some ‘gf friendly’ success with mdf and masonite surfaces - as polished as they are - in achieving a faux grain look and finish using a heavy colored varnish. See attached photoshop barn door sketch to get the idea. Chicks love this kind of look coupled together with something else more modern in the same room.

3 Likes

@sushidub Haha… love it :slight_smile:.

@Intohouse I should be making some initial tests today. I’ll try to measure the Db and post on here.

1 Like

This topic was automatically closed 30 days after the last reply. New replies are no longer allowed.