I’d run a few of these before with mixed results but I also hadn’t made any attempt to calibrate the machine so I wasn’t worried about errors. I spent some time this morning checking square (I wish the assembly instructions had me square the base frame while it was easier to measure diagonals, before a giant moving gantry was in the way) which it was, aside from one Y rail that was just slightly off which seems better now. The spindle mount is a little off so I’ll need to address that before I mount a router in there, but for a pen should be fine.
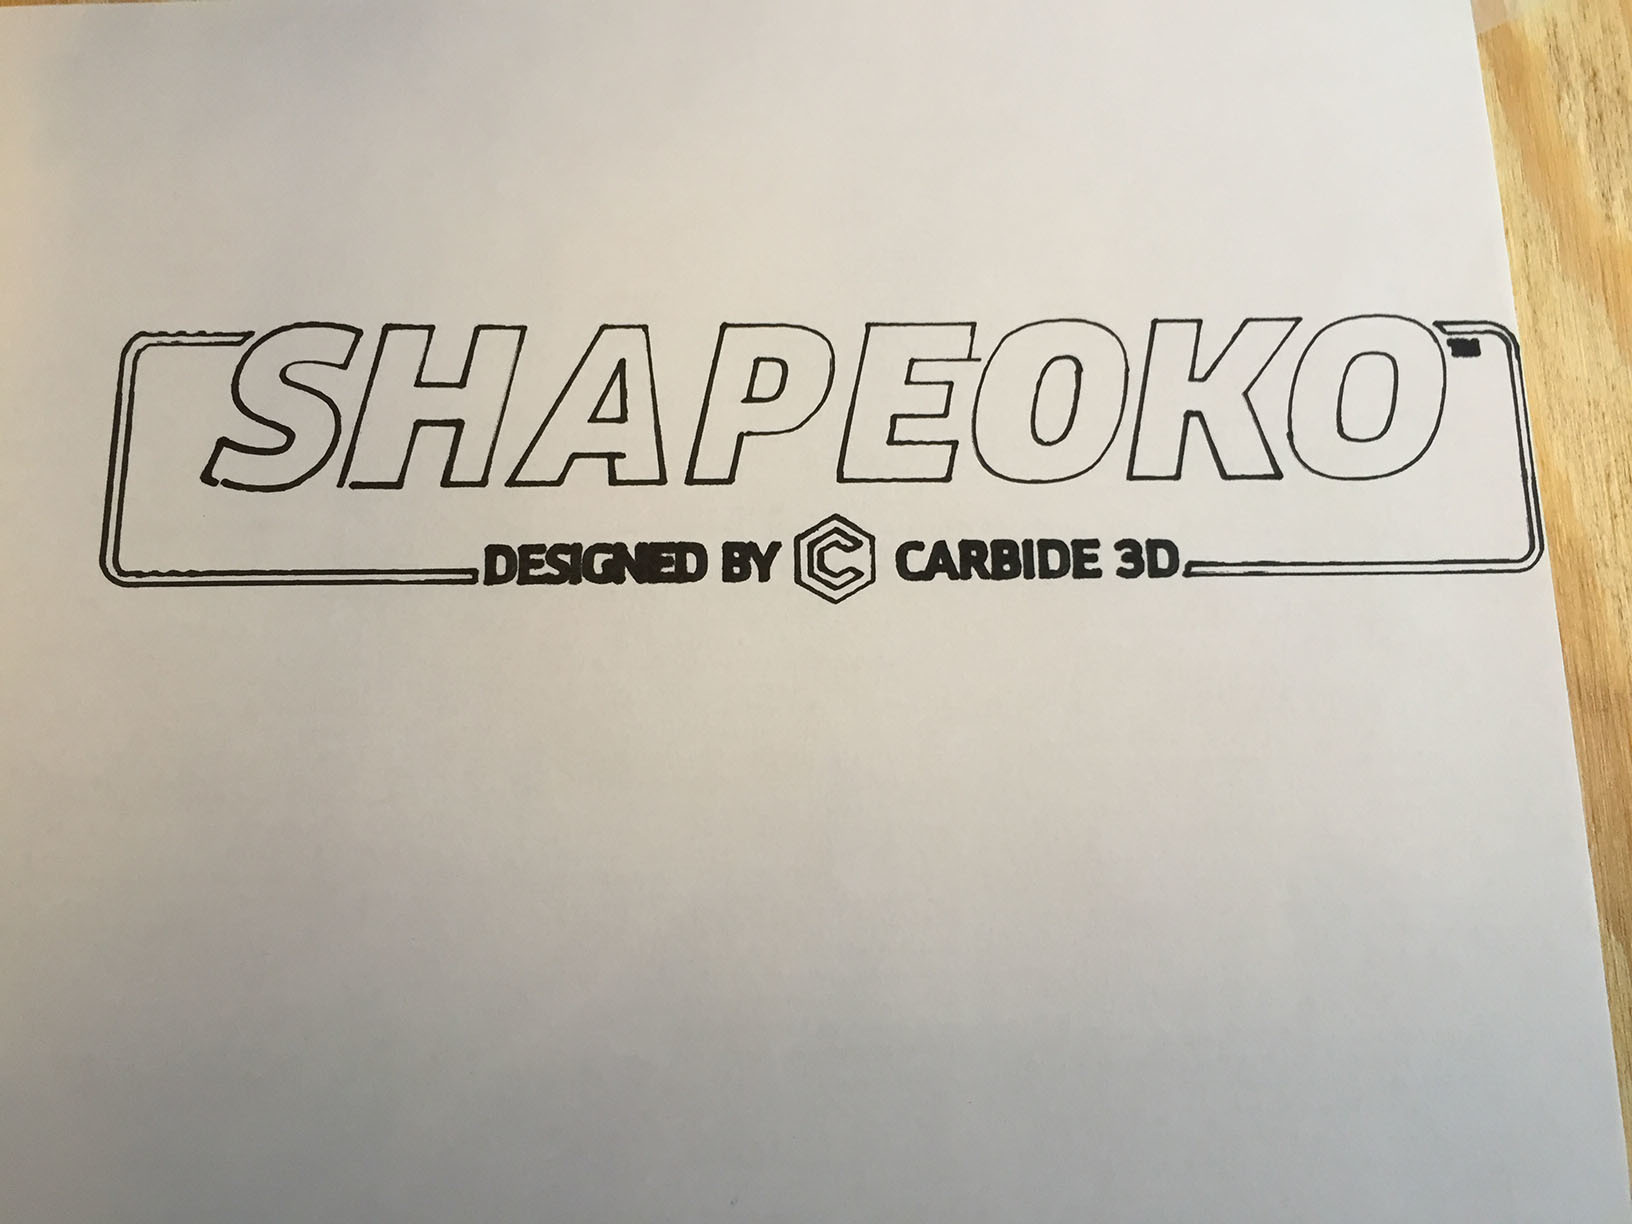
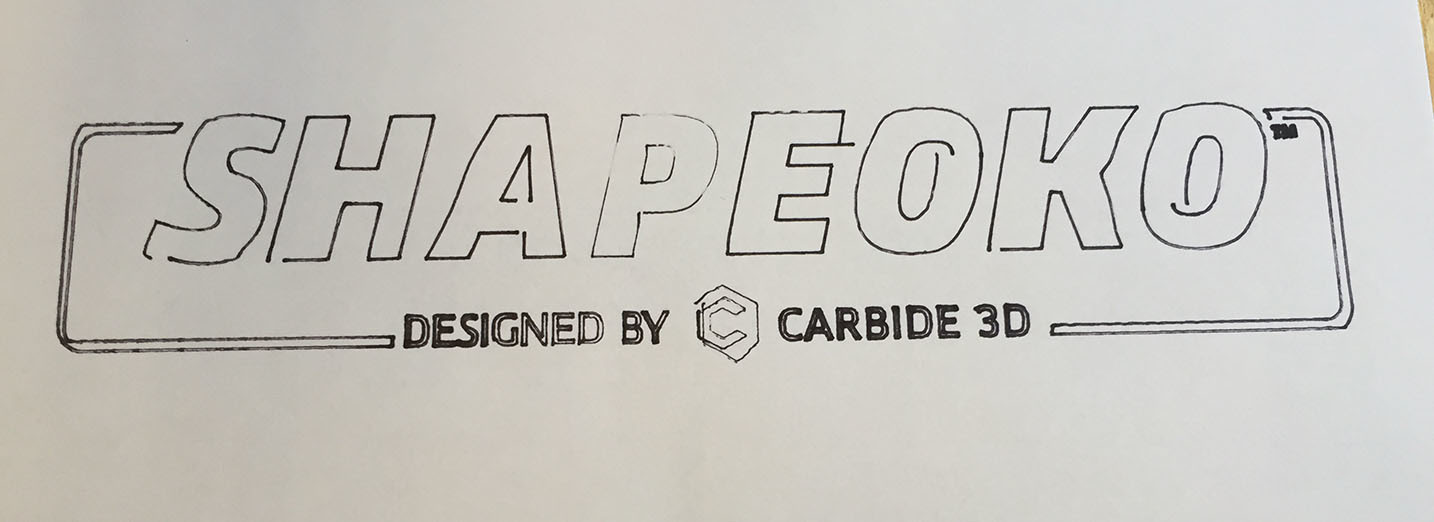
Overall not bad but there’s a few glaring issues and I’m hoping maybe these are things peole have seen before. Mainly you’ll notice on the A and E one of the horizontal lines extends far beyond where it should. Interesting to me is the line doesn’t seem like it’s been shifted since they meet at the opposite corners, but actually longer. Using my dial indicator I found the Z-axis wasn’t moving 1mm when asked to, but slightly less, so I adjusted it to 41 steps instead of 40, is that reasonable edit to have made (or does it indicate a different issue) and if so is that what I need to do here, measure against a ruler or known object and figure out how many steps off the x axis is?
That X-axis issue seems to have made little issues throughout, the first O’s center is less oval than the second, the P has a little mark on the inside ‘D’ shape where it’s gone over, the S and H at the start have slightly incomplete shapes.
There’s a wavy pattern in the horizontal lines to the left, part of the framing. I think this could be inconsistent contact by the pen over the plywood underneath it, it’s aligned on the table Y axis but it’s also aligned on the wood grain.
Before we go into machine details, please tell up a little about how you secured the paper to the non-flat plywood and how you secured the pet to allow for this. PS: it’s not a plotter, everything may be fine.
Rich, fair point about it not being a plotter. The plywood is flat I just checked, I was guessing off the image as I was less concerned with that ripple pattern compared to the incorrect line locations.
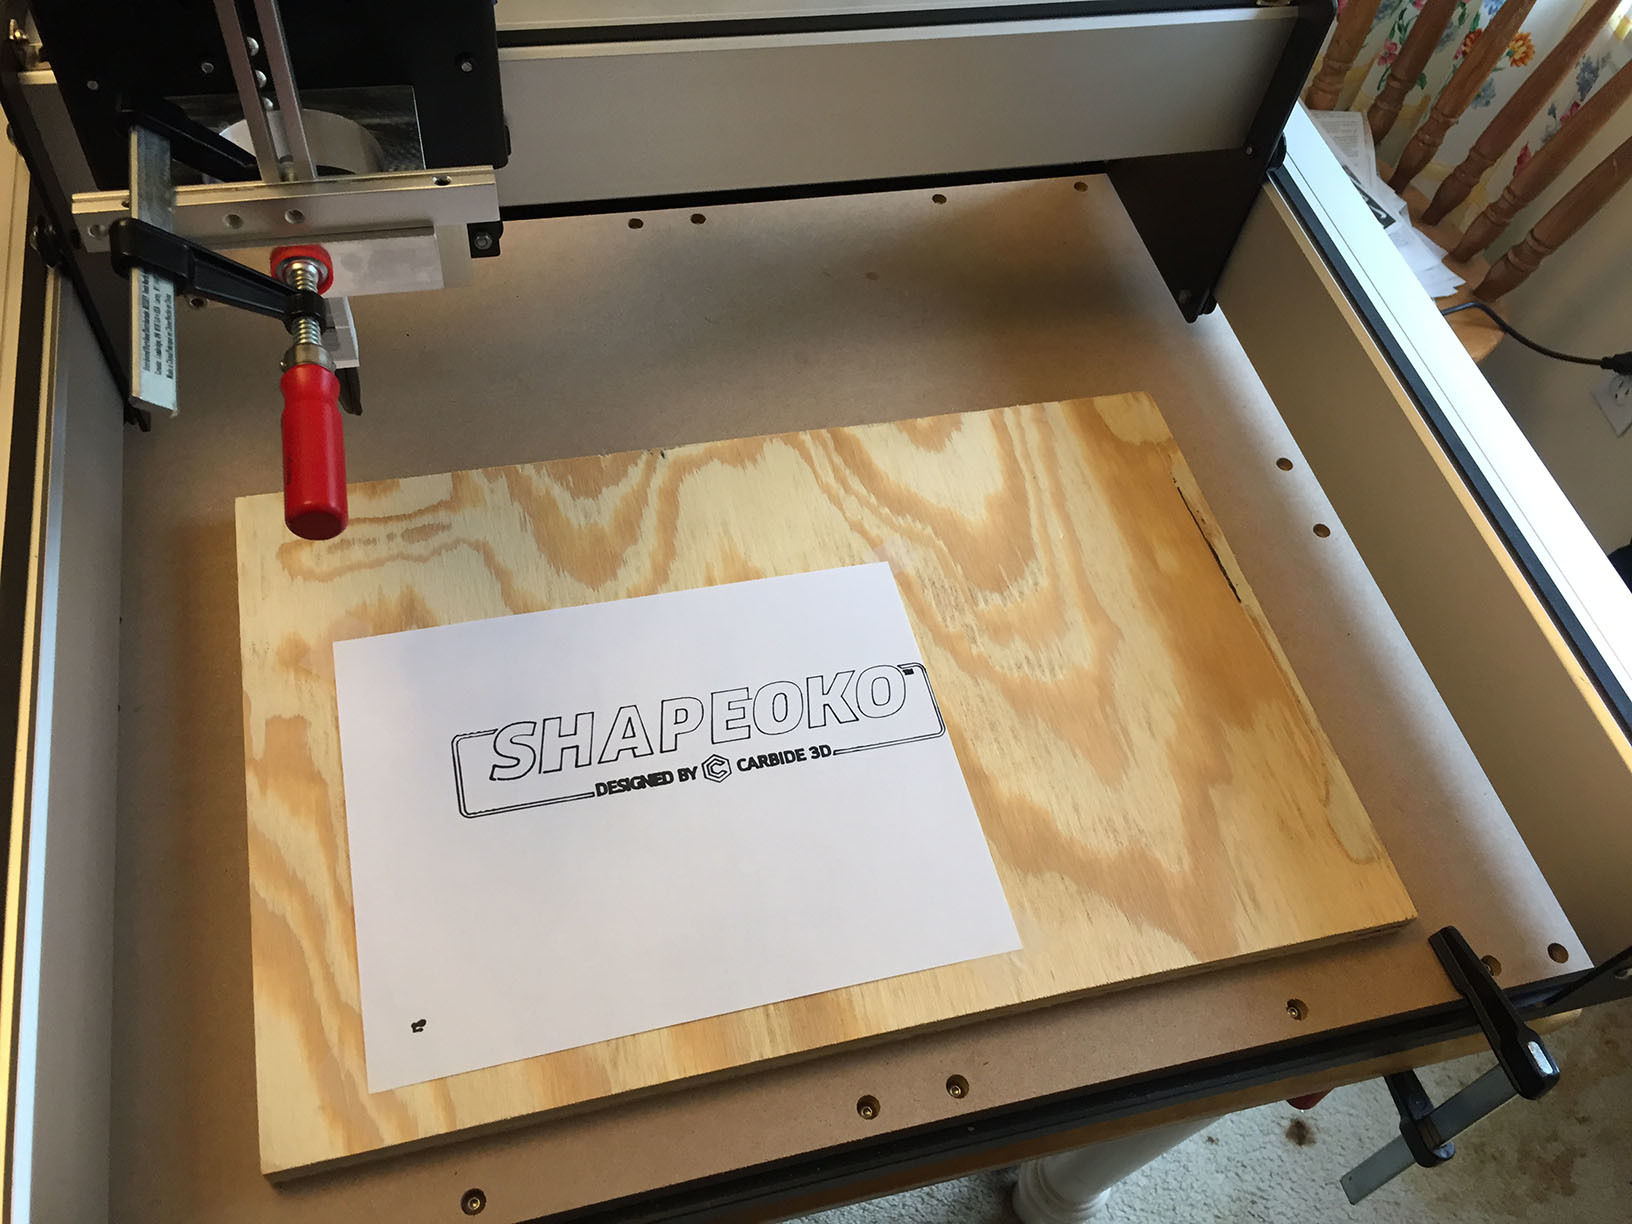
I have a dial indicator jig used for testing table saw blade alignment that has a simple C channel in it which fit the marker well, the marker was held in the c channel with a few dabs of glue and a hefty application of simple scotch tape. The paper was secured in all 4 corners with tape as well. You’ll notice in the picture below this gave me a nice cross piece to rest on the spindle mount, and that was then clamped in place. I didn’t notice the paper shifting or marker deflecting while it was running.
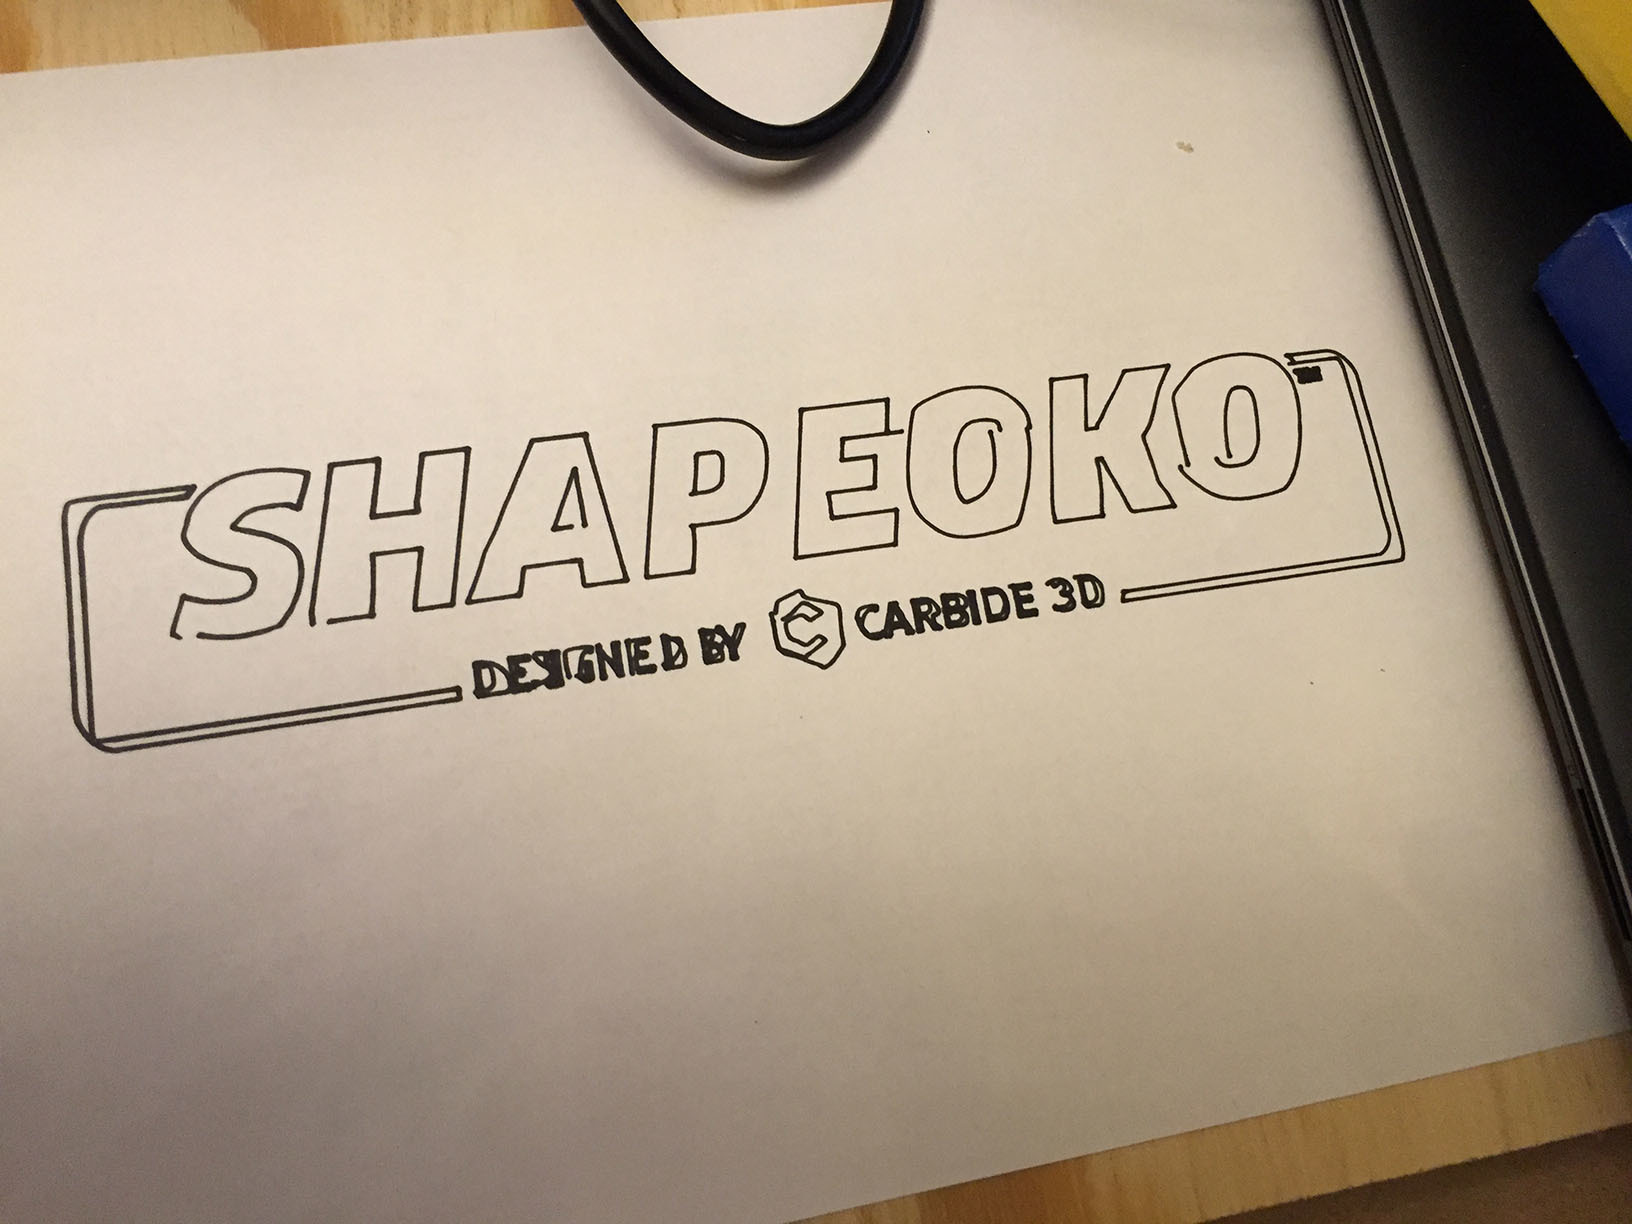
While many elements are different than prior tests, interestingly the gaps in the bottom of the S and the H are there in the older tests that I hadn’t thrown out, obviously not sure abut the ones I discarded.
With the old motor plate, it was much lower to the table, and we could use a rubber band to attach the pen to the router mount. This allow the pen some up and down movement and produced a sharper image. My smooth and very flat metal table helped too. Try making your pen a little less ridged. The best mount is a spring mount allowing for some up and down variation.
Belts are tight?
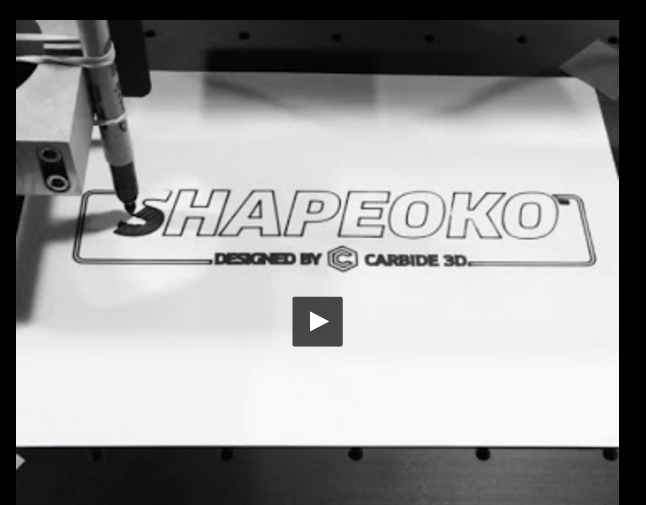
EDIT: It’s a picture NOT a movie: (Meaning it’s a picture OF a movie, so it won’t PLAY)
I havnt had a problem running hello world on the new plate,my pen plotter is spring loaded tho as the rubberband trick no longer worked for me,as rich stated i would check the belt tension and also check the pullys to make sure they were set right on the flat spot and not slipping
Thanks guys, I would have never guessed making the pen less rigid would help. The belts seem tight, but I have no comparison, I simply followed the assembly instructions’ suggestion to pull enough through the clip so that the clip would ‘rest’ about a quarter inch from the end plate, and then use the screw to pull it tight. I got the newer kit that comes partially assembled but I’ll check the pulleys. I know with the machine ‘on’ the gantry does not move with any amount of pressure I feel comfortable putting on it by hand.
Sigh. I guess I’m going to try for a different board behind it, I’ll be honest the paper wasn’t perfectly secured but I held it down so it was fine for most of it. Those same strange tails on the P and E and the off-center middle of the first O. What’s baffling me is not that it’s a little weird it’s how consistent the weirdness is.
Should have done this before my last post. The loosest belt (which isn’t to say it was loose, just compared to the others) was the x belt so I tightened that a little and reran it (hoping, since the issue seems to be tracking on X) with very similar results.
I guess the springs are probably sized to more or less counterbalance the router, and since the use case is with the heavy router installed I just figured that was also the appropriate test case.
Anyway, for whatever reason that’s how I did it. I didn’t attempt Hello World without the router. The router itself can mount at different heights in the clamp, and at first (on my XXL) there was a max z depth that the stepper could reach (pushing against the springs) without slippage. Now that slippage can be the belt, or it can be that the set screw in the pulley is tightened against the rounded area of the pulley shaft rather than against the flat spot on the pulley shaft. My pre-assembled carriages arrived with the set screws tightened against the rounded part of the shaft not the flat spot.
I haven’t double checked how far the z stepper can push against the springs since I became aware of those issues and tweaked them. It goes far enough that the guide wheels (or whatever they are called) start to get wobbly – that is, farther than I would want to use it in running any actual CNC job.
2 usb extensions and a powered USB hub I’ve eliminated the computer as being the issue (ran it to my much more powerful desktop in the adjacent room). Same results sadly.
Matt, yeah I removed one of the springs since it was only lowering/raising a pen.
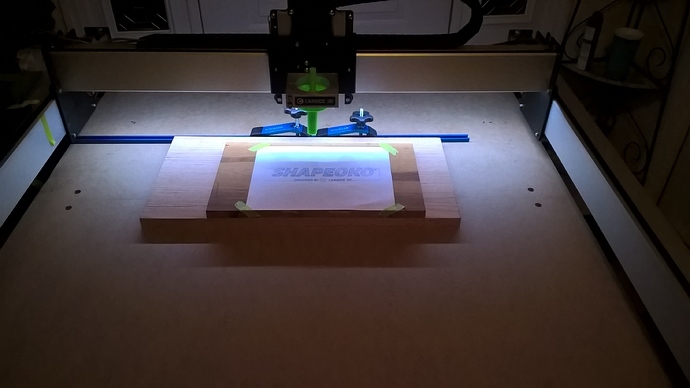
I really appreciate everyone who has commented and given me things to try. Latest attempt involved a normal sharpie instead of a pen sharpie and using my trim router as a place to rubber band my marker. (Note to Carbide3D, the z-axis limit switch plate interferes a bit with installing the router, not sure if anything could be done about that, but as someone who uses his trim router as a trim router also it might become annoying).
This time I made a video so I could watch back what happened, I don’t see any major deflection of the marker or anything like that during the run. The O’s came out particularly bad (1:15) and exemplify the problem I’m having.
Took the X-belt off and checked it for damage, nothing I could see. I redid the tension on the v-wheels using the eccentric nuts, I think it’s a little looser now without introducing slop into it, but still no go. My only working theories are a) there’s some movement in the table the so3 is sitting on, the problems are so consistent that I’m having trouble believing that’s it though or b) gremlins.
Tomorrow I may be bored enough of the problem to throw and end mill into it and see if I still have the problem when carving something, just making me nervous to run it when I’m not convinced it’s working right.
What’s holding your plywood in place? Is the Sharpie scooting the plywood across your wasteboard? I think you’d notice that while watching. And your router is cinched tight? All your v-wheels?
Double stick tape, and yeah I was looking for that, I made the video not just so I could show the problem but also so I could review it myself. The fact that there are certain errors that keep coming up makes me want to rule out any kind of random explanation such as the paper or wasteboard shifting.
I thought I figured it out, I slowed down the x/y axis max speed a bit and it seemed slightly (very slightly) better, so I thought my kitchen table moving around a bit during operation might be hindering things, so I moved the fully assembled machine for the first time (damn that’s heavy, but then the box was too) onto the floor where I ran it, uncomfortably. Machine didn’t move at all as it ran, same result.
I’m still sticking with X belt (20%) and or Pulley (80%) is spinning on the shaft. Trust us. Loosen the set screws, slide (push) the pulley off, and NOW make sure that a set screw is aligned with the flat. Tighten both screws, and you’re fixed… Trust me…