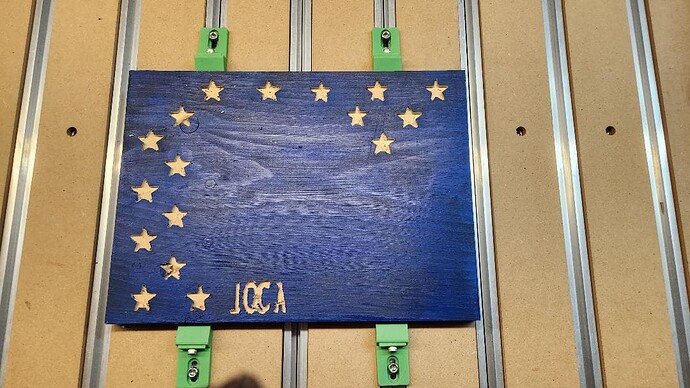
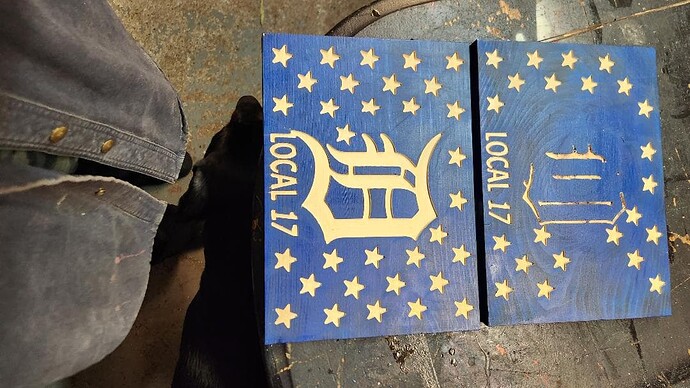
I have cut several pieces using same saved picture now it messes up everytime i try to cut again.
Please post the .c2d file, photos of an attempt at cutting (ideally one of which is still clamped on the machine) and step-by-step notes on how you secure your stock and set zero relative to it and manage all tool changes.
fixed stars d local 17 -good.svg.c2d (374.7 KB)
stock is very secure
set zero is to bottom left tool is already installed so i just hit resume
didnt cut stars properly and some letters cut backwards
Looks like lost steps along the X-axis. Checkthe machine mechanically. Per the machine operating checklist: Machine Operating Checklist - Carbide 3D , the basic points of adjustment for a machine are:
-
Pulley set screws — verify that these are in-place and secure — for further details on checking them on a Shapeoko 3 see: Checking Pulley Set Screws - Carbide 3D — be sure to check all axes/pulleys (including Z on machines w/ belt-drive Z-axis, for an HDZ, check both coupler screws).
-
(for the SO3/4, X- and Y-axes) V wheels / eccentric nuts: Tightening Eccentric Nuts - Carbide 3D
-
(for the Pro, and SO4 Z-axis) Lubrication of the linear rails: https://docs.carbide3d.com/assembly/linear-guide-maintenance/Linear_Rail_and_Guide_Maintenance_02-17-2021_v1.0.pdf
-
Belt tension (see the relevant step in your instruction manual, e.g., Step 5 Belting - Carbide 3D) Note that the X-axis motor is held in place on standoffs and if those bolts are loose this can cause belt tension issues. Also, belt tension for the Y-axis stepper motors needs to be even/equivalent on each side — a significant difference can cause skipping on one side eventually resulting in lost steps on both. Measuring belt tension, squaring and calibration
Ensure that all screws are in place and secure, esp. on the linear rails on a Pro.
ty i will check these out
This topic was automatically closed 30 days after the last reply. New replies are no longer allowed.

