Door panel help, PLEASE!

I’m relatively new to the CNC game. Still trying to learn the software. Well I’ve promised my wife I could make something that I’m struggling to follow through on. I’d appreciate it if some of you more seasoned folk can help me out.

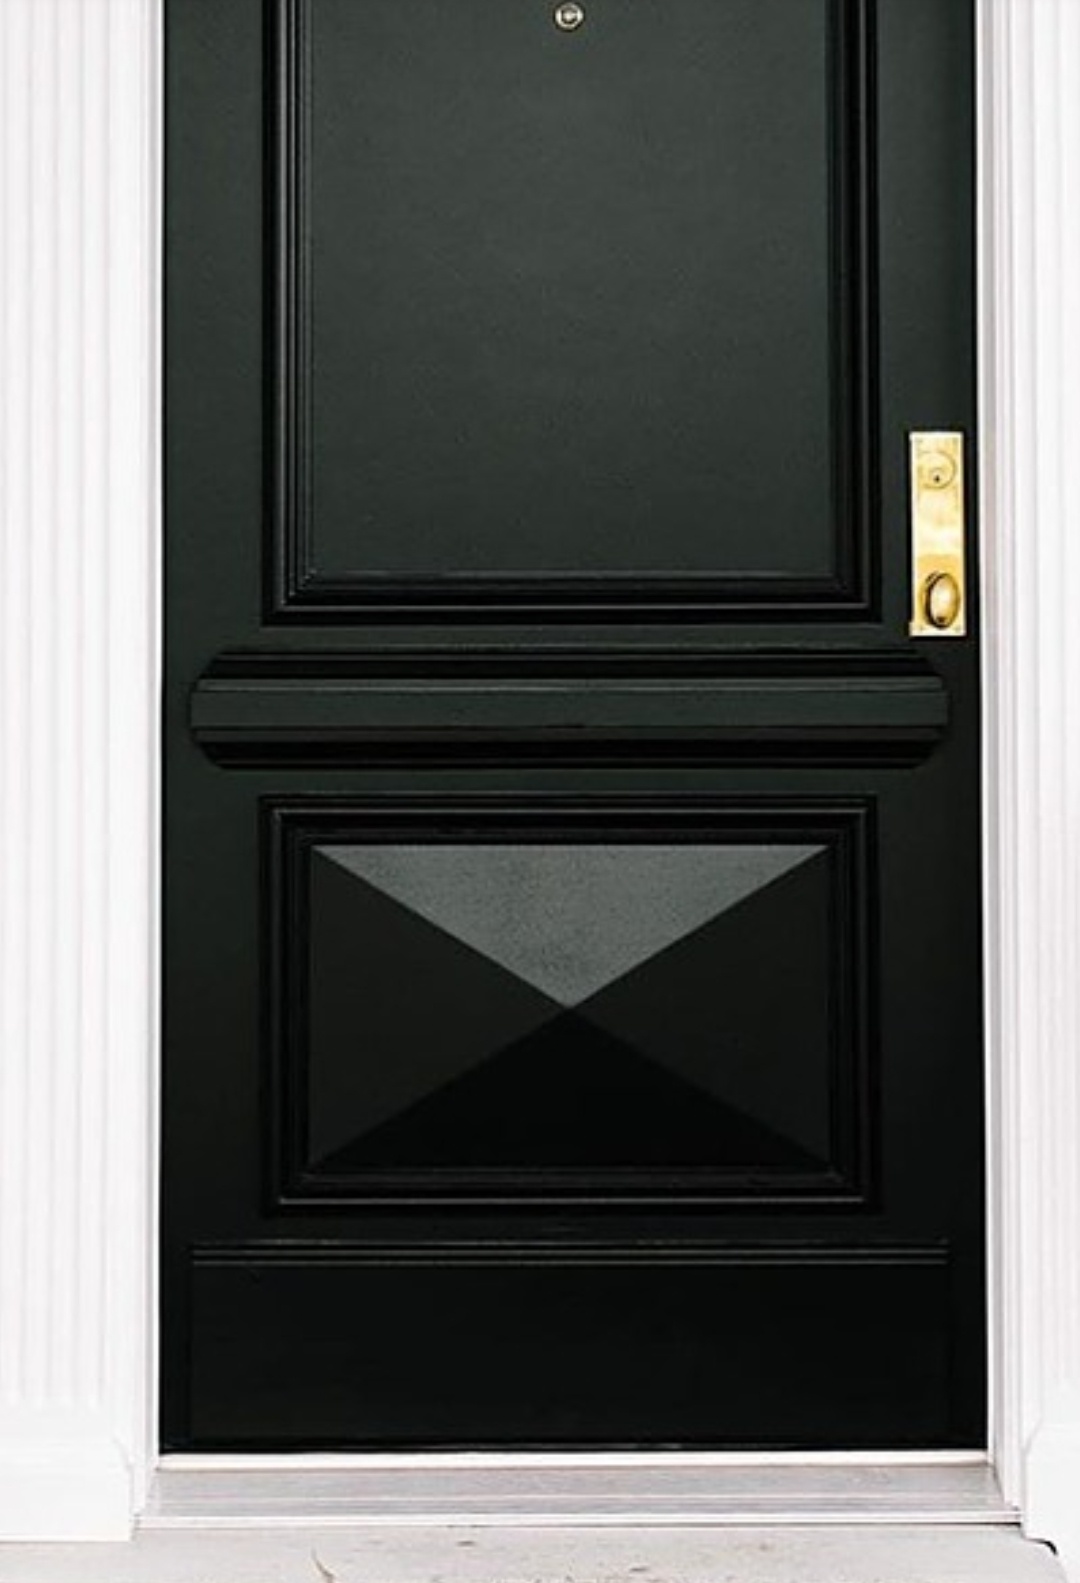
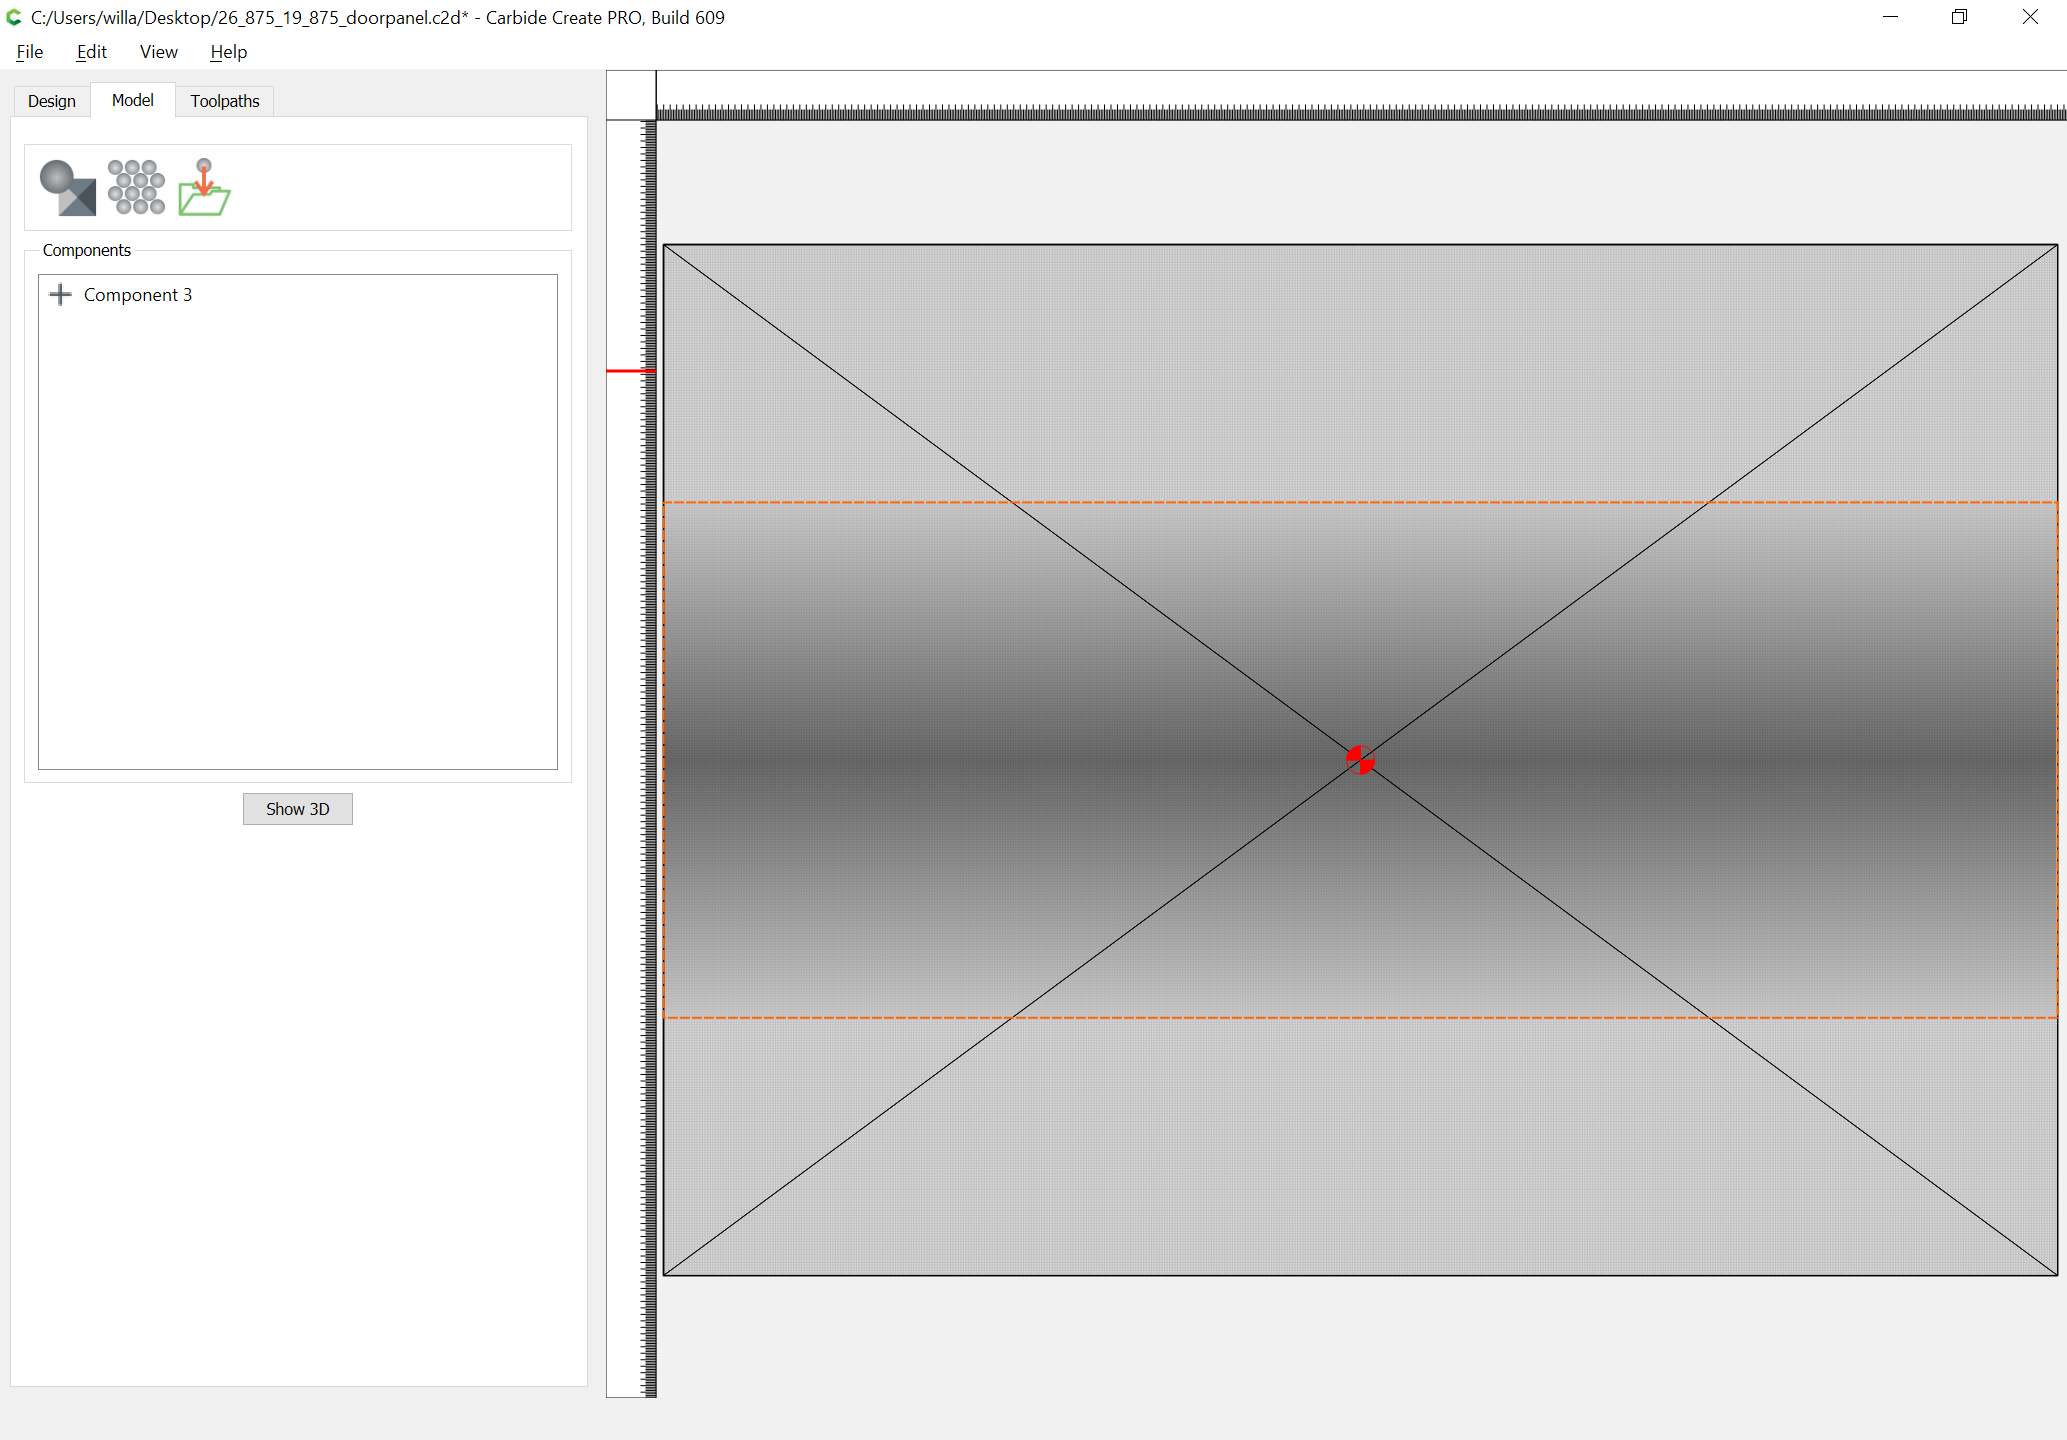
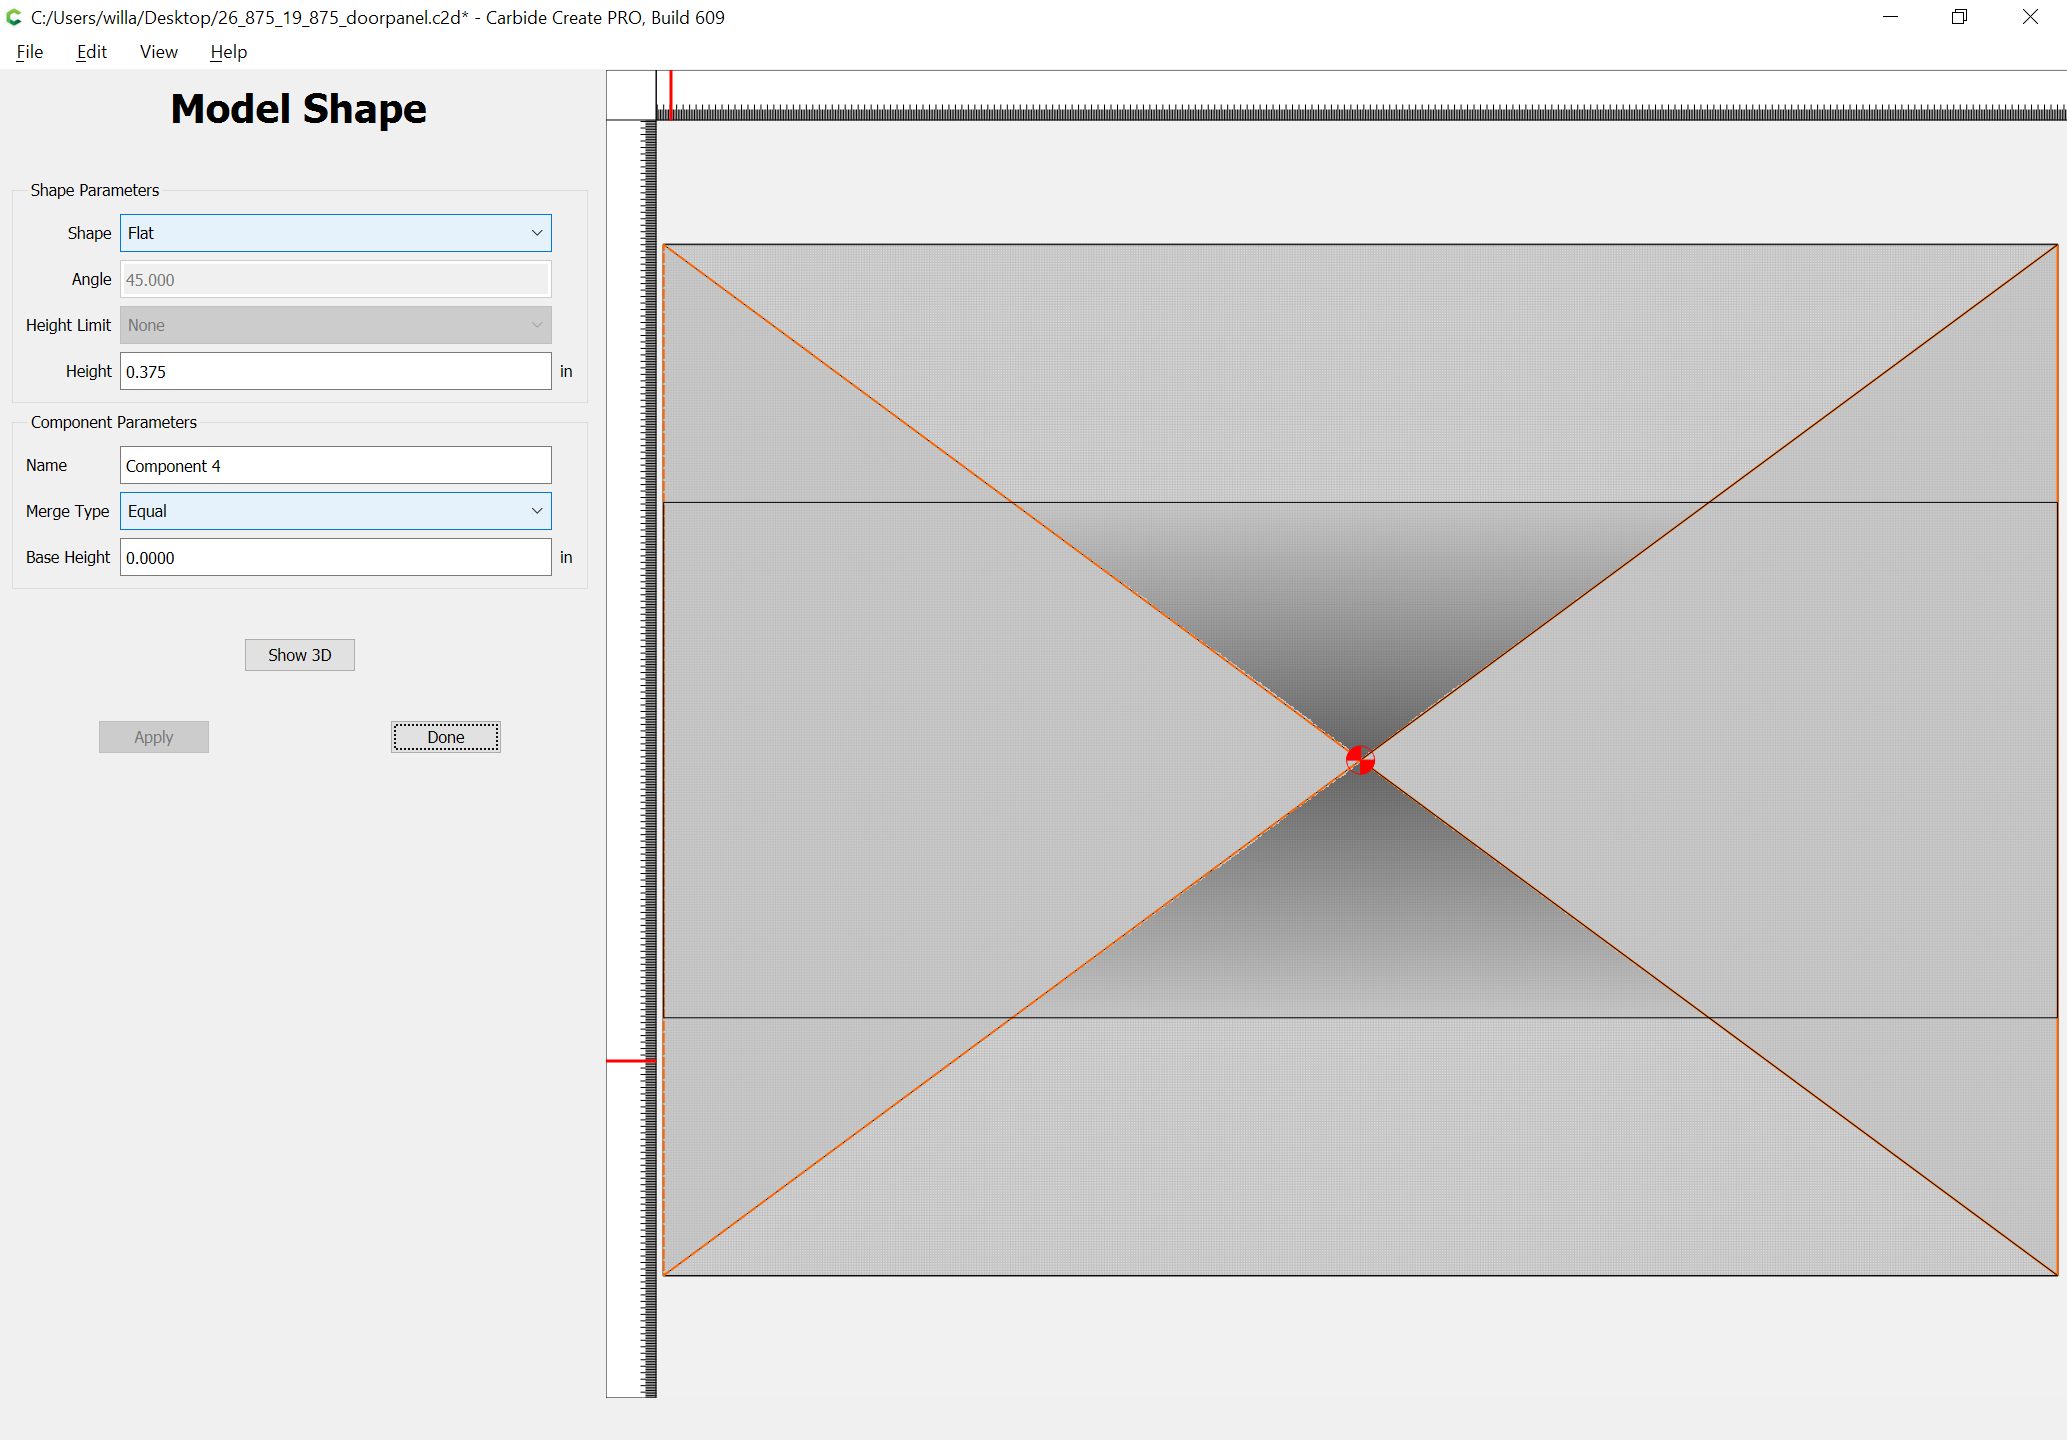
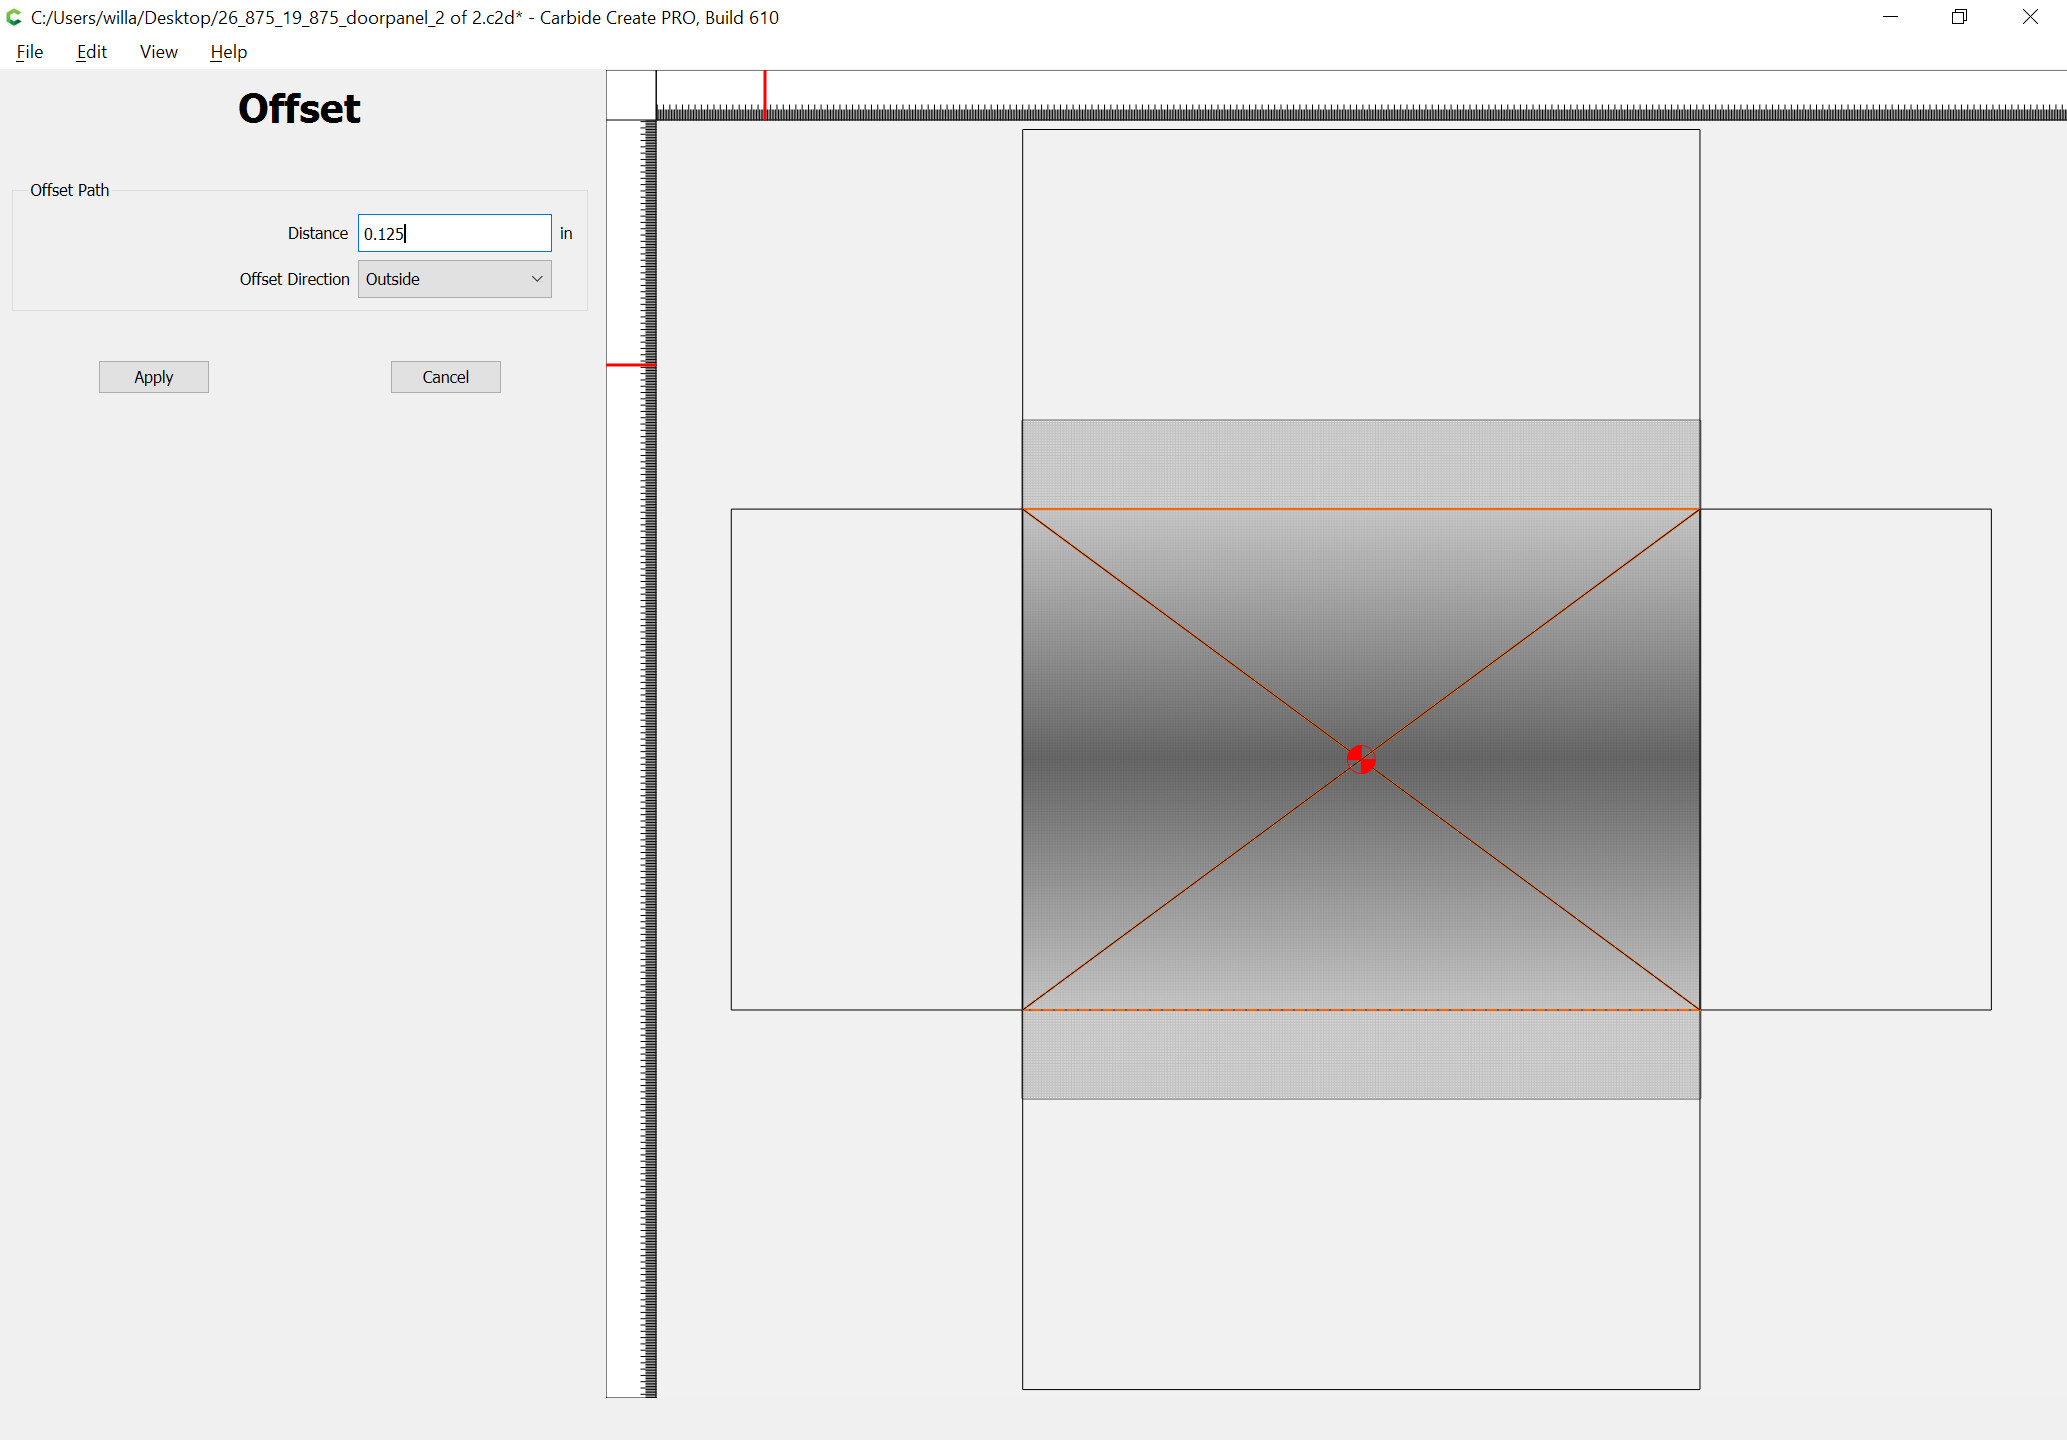
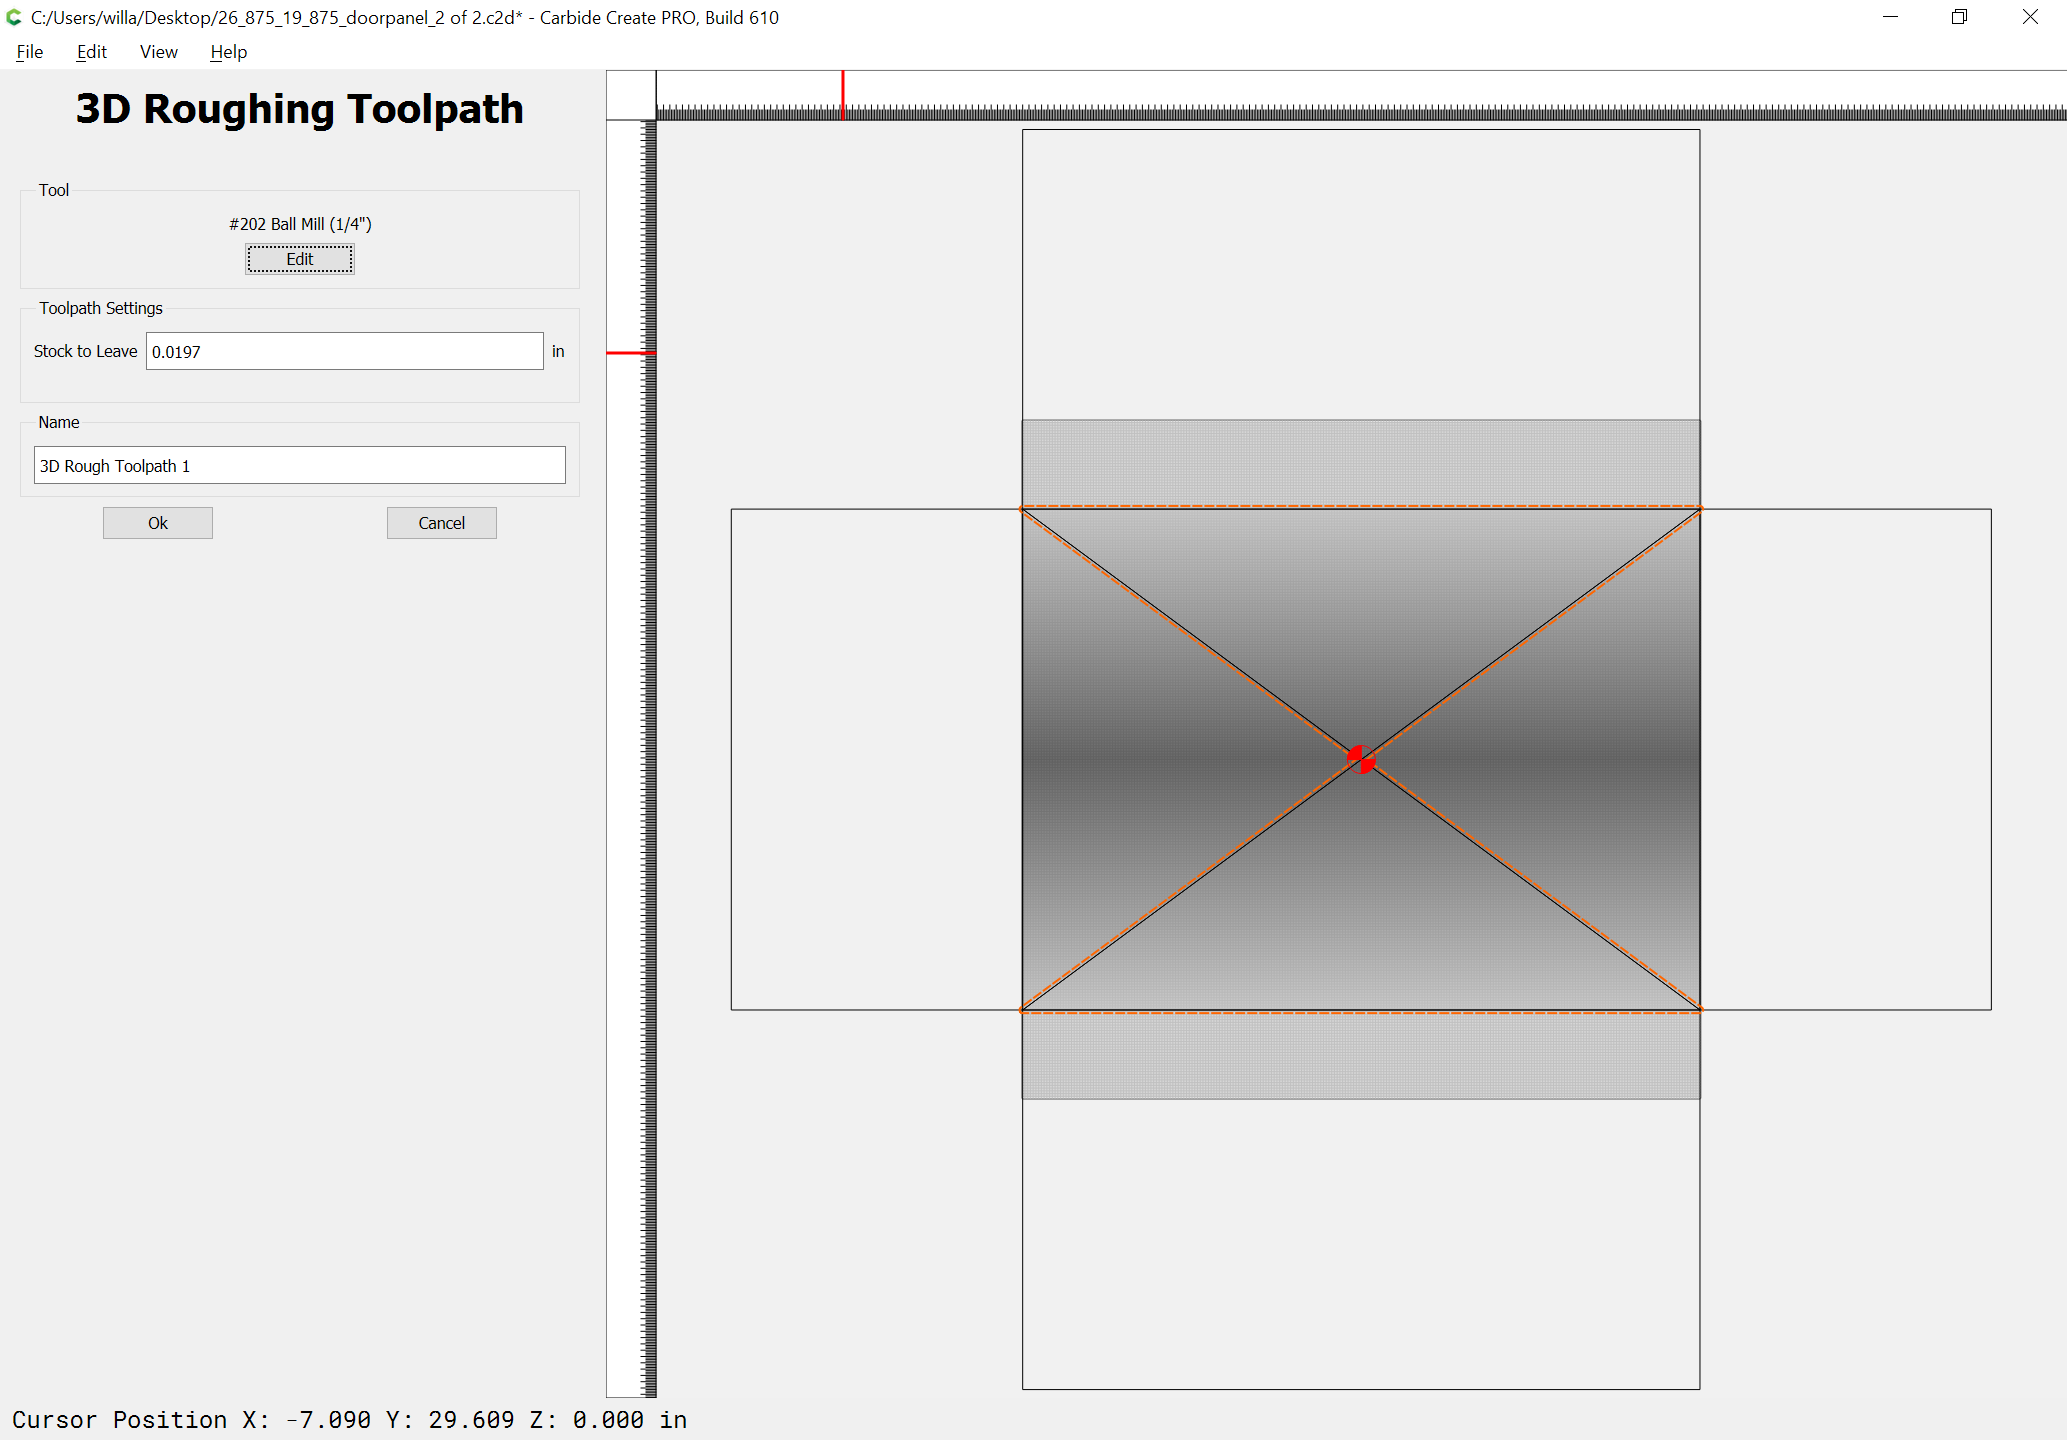
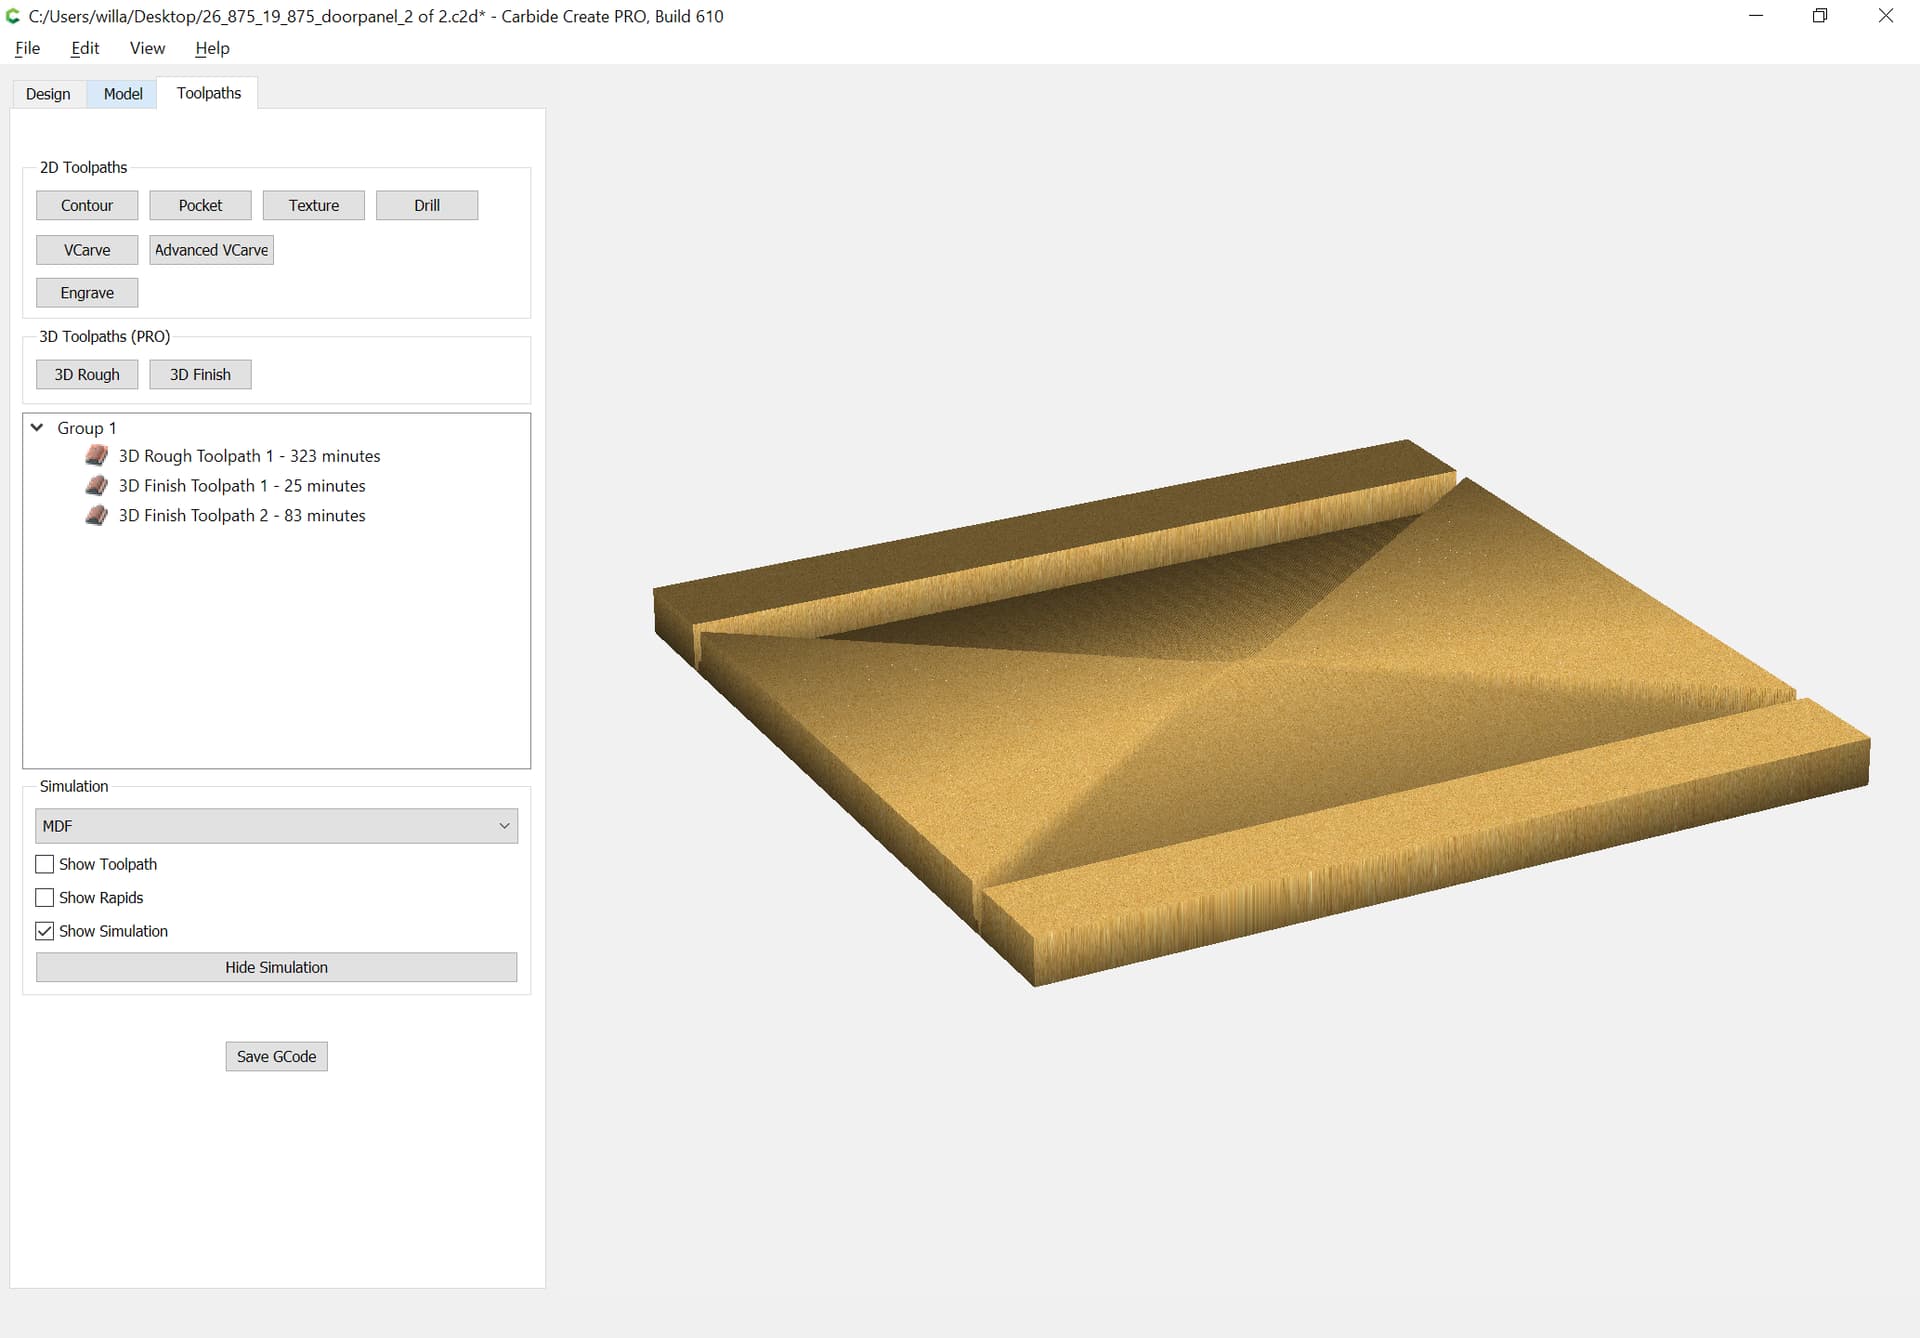
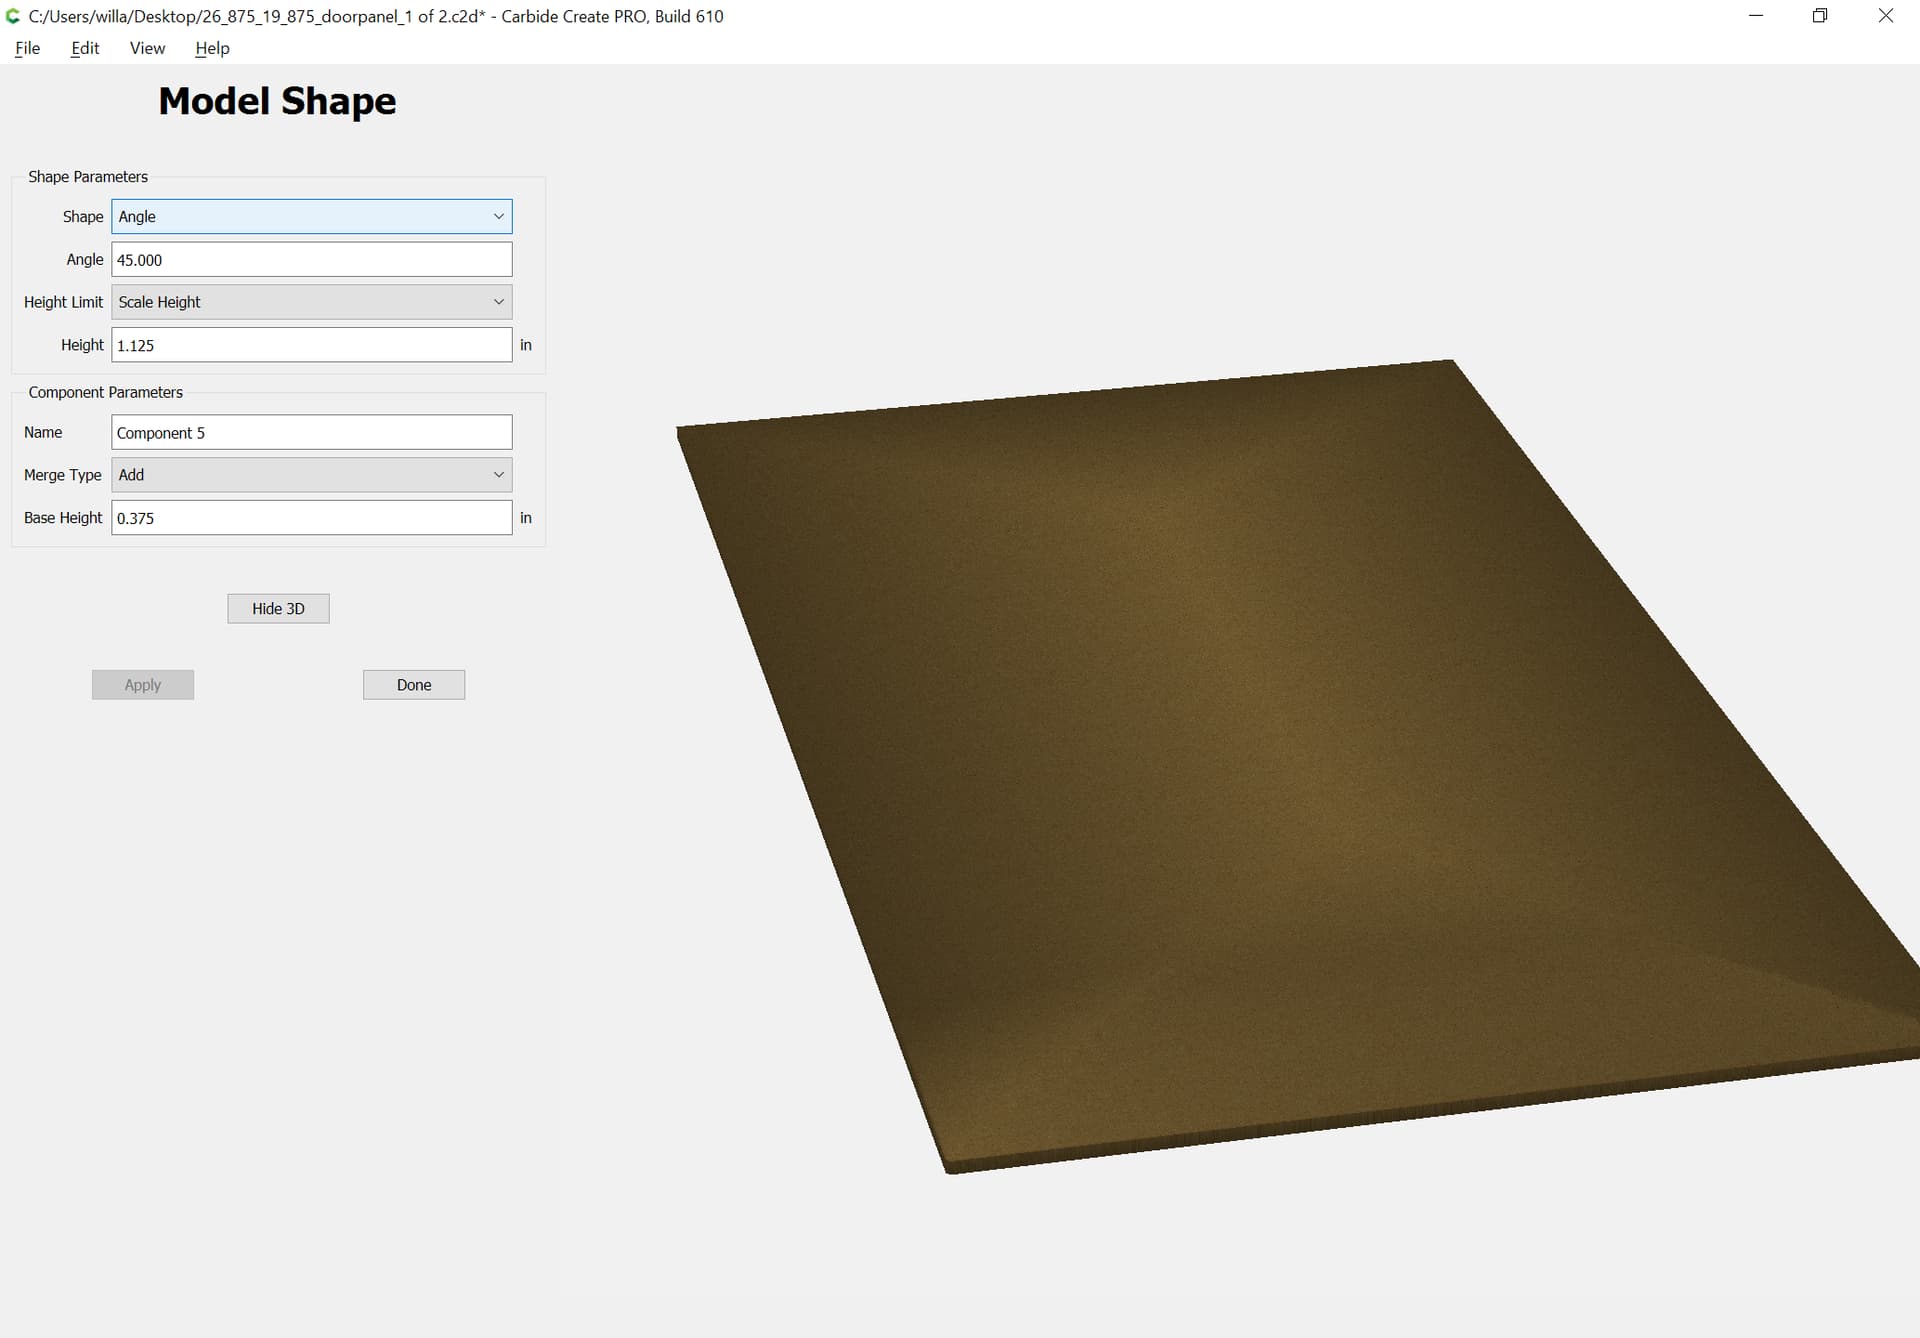
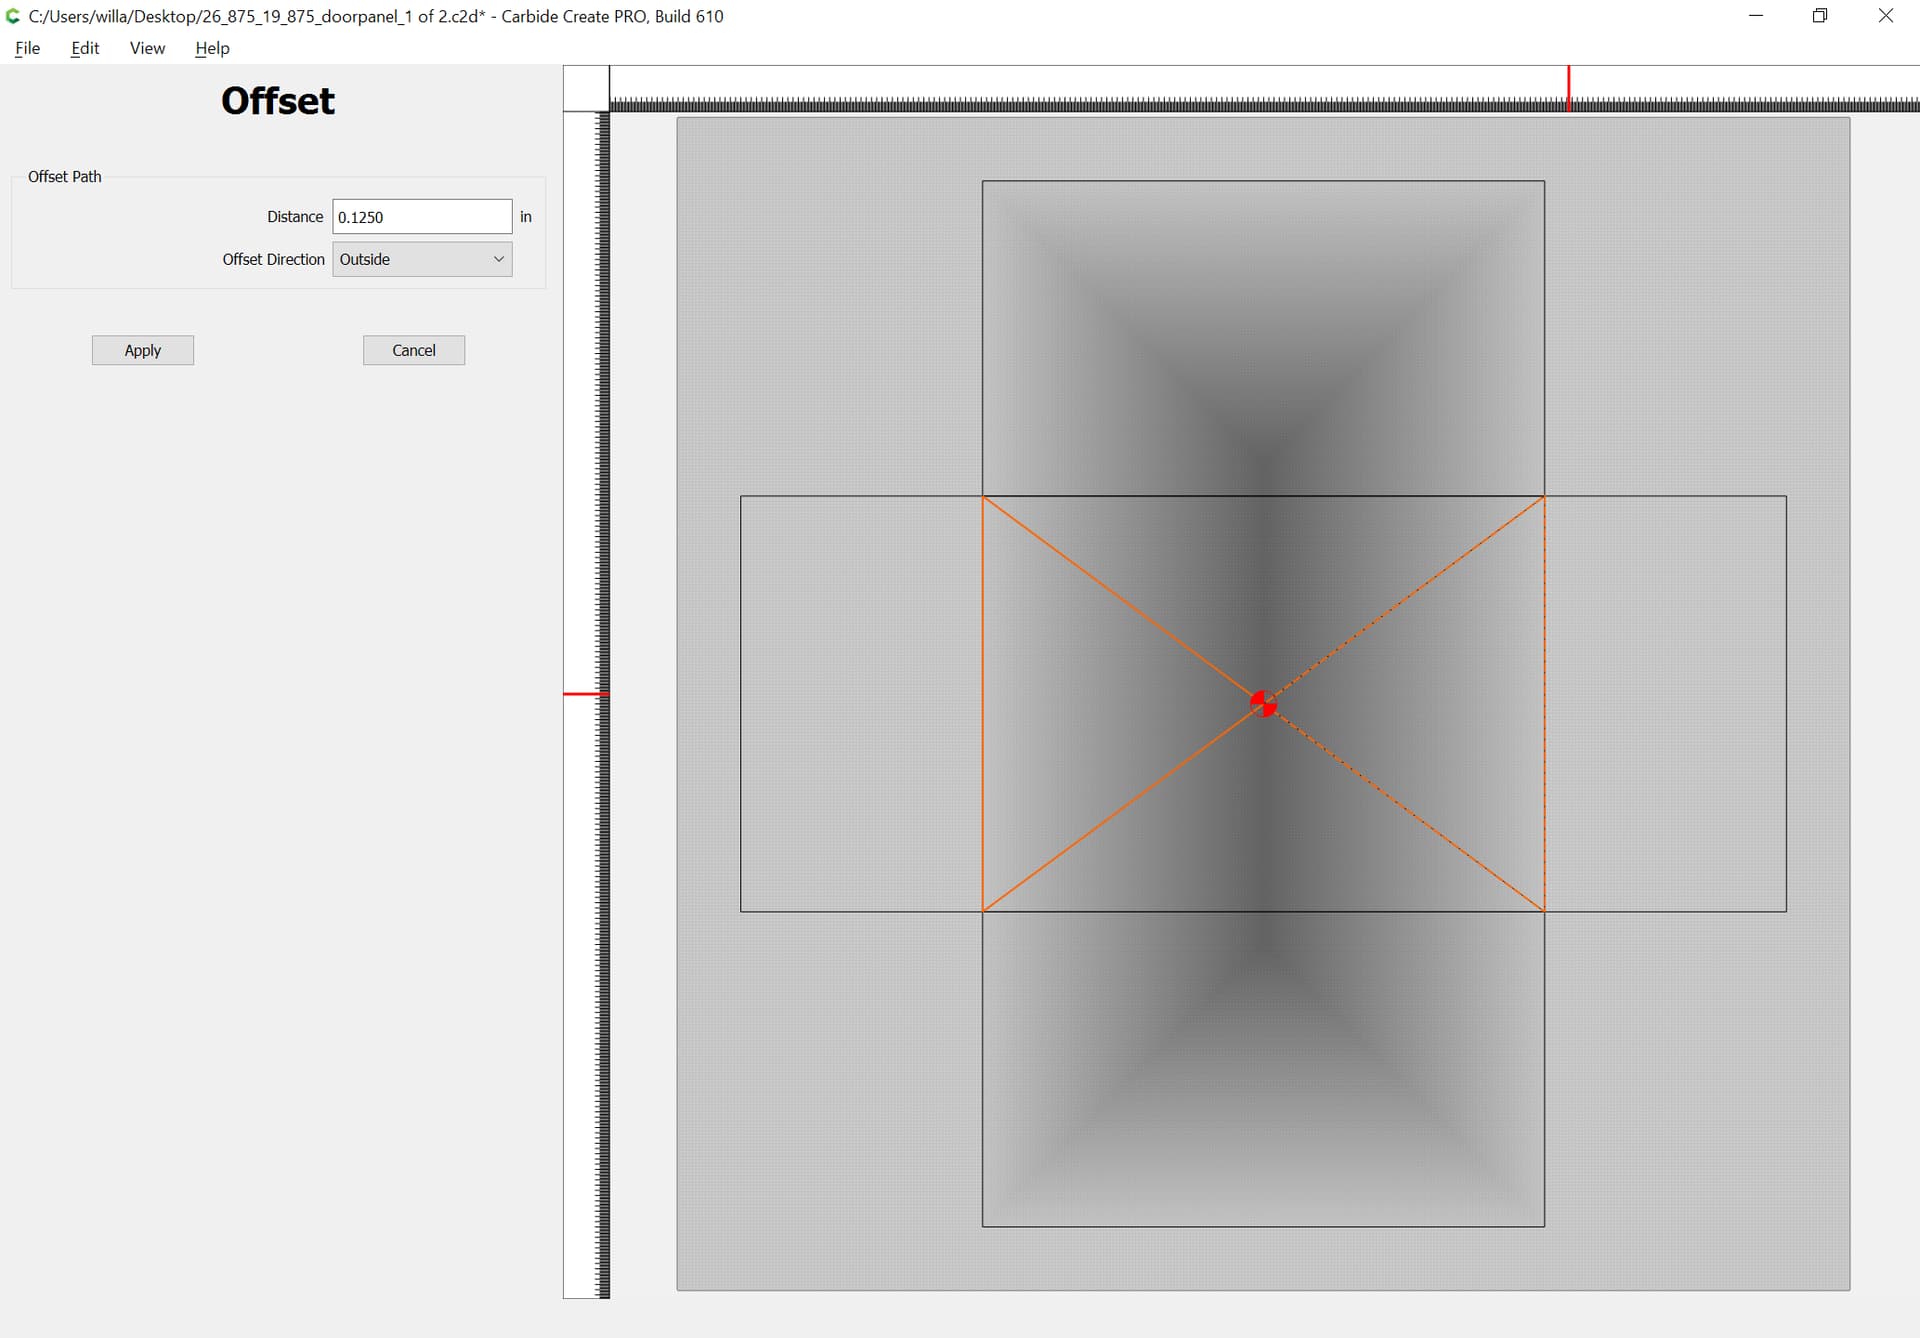
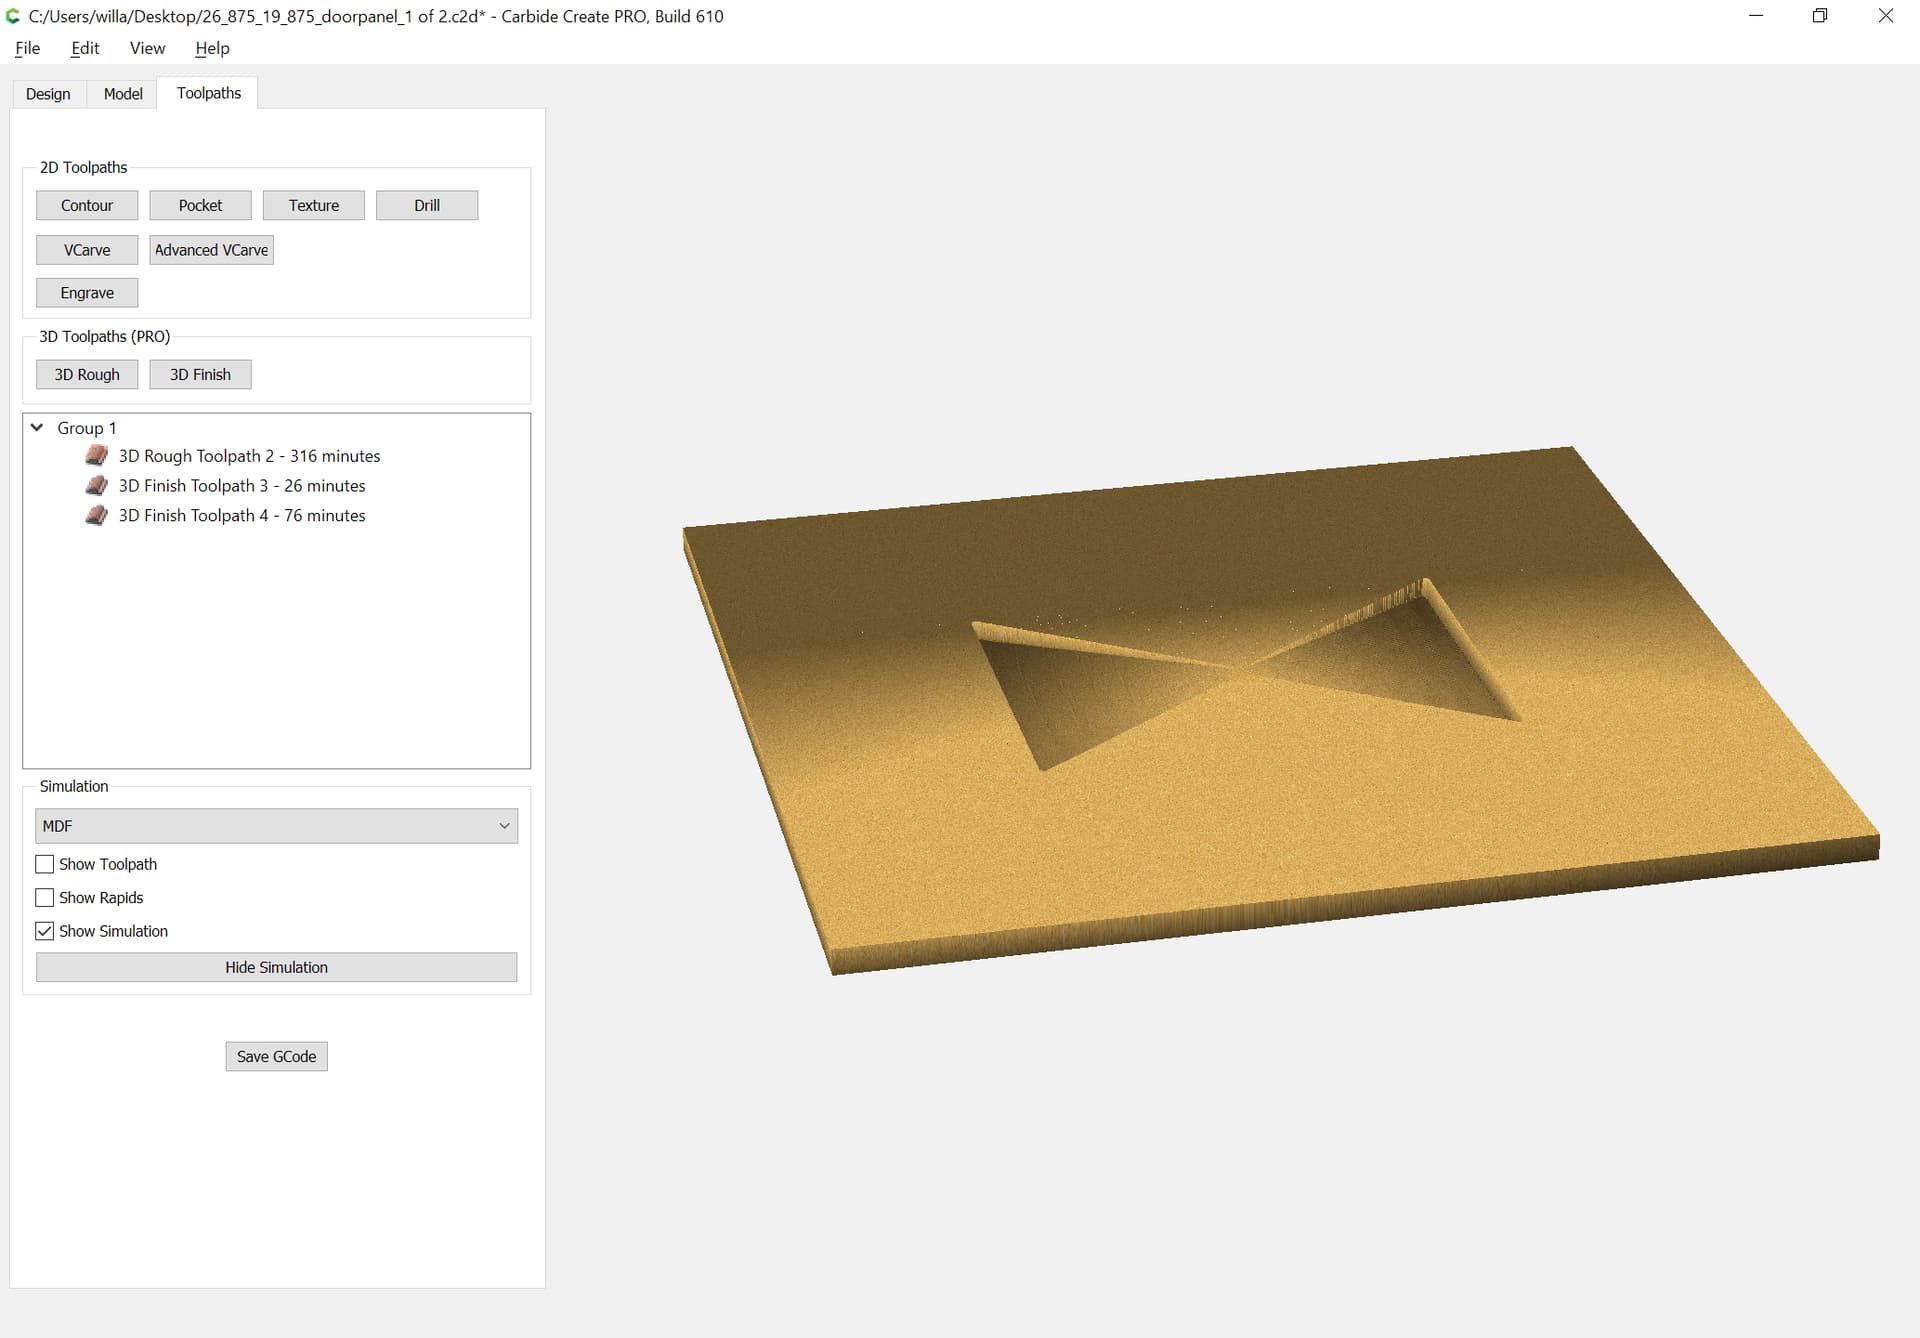
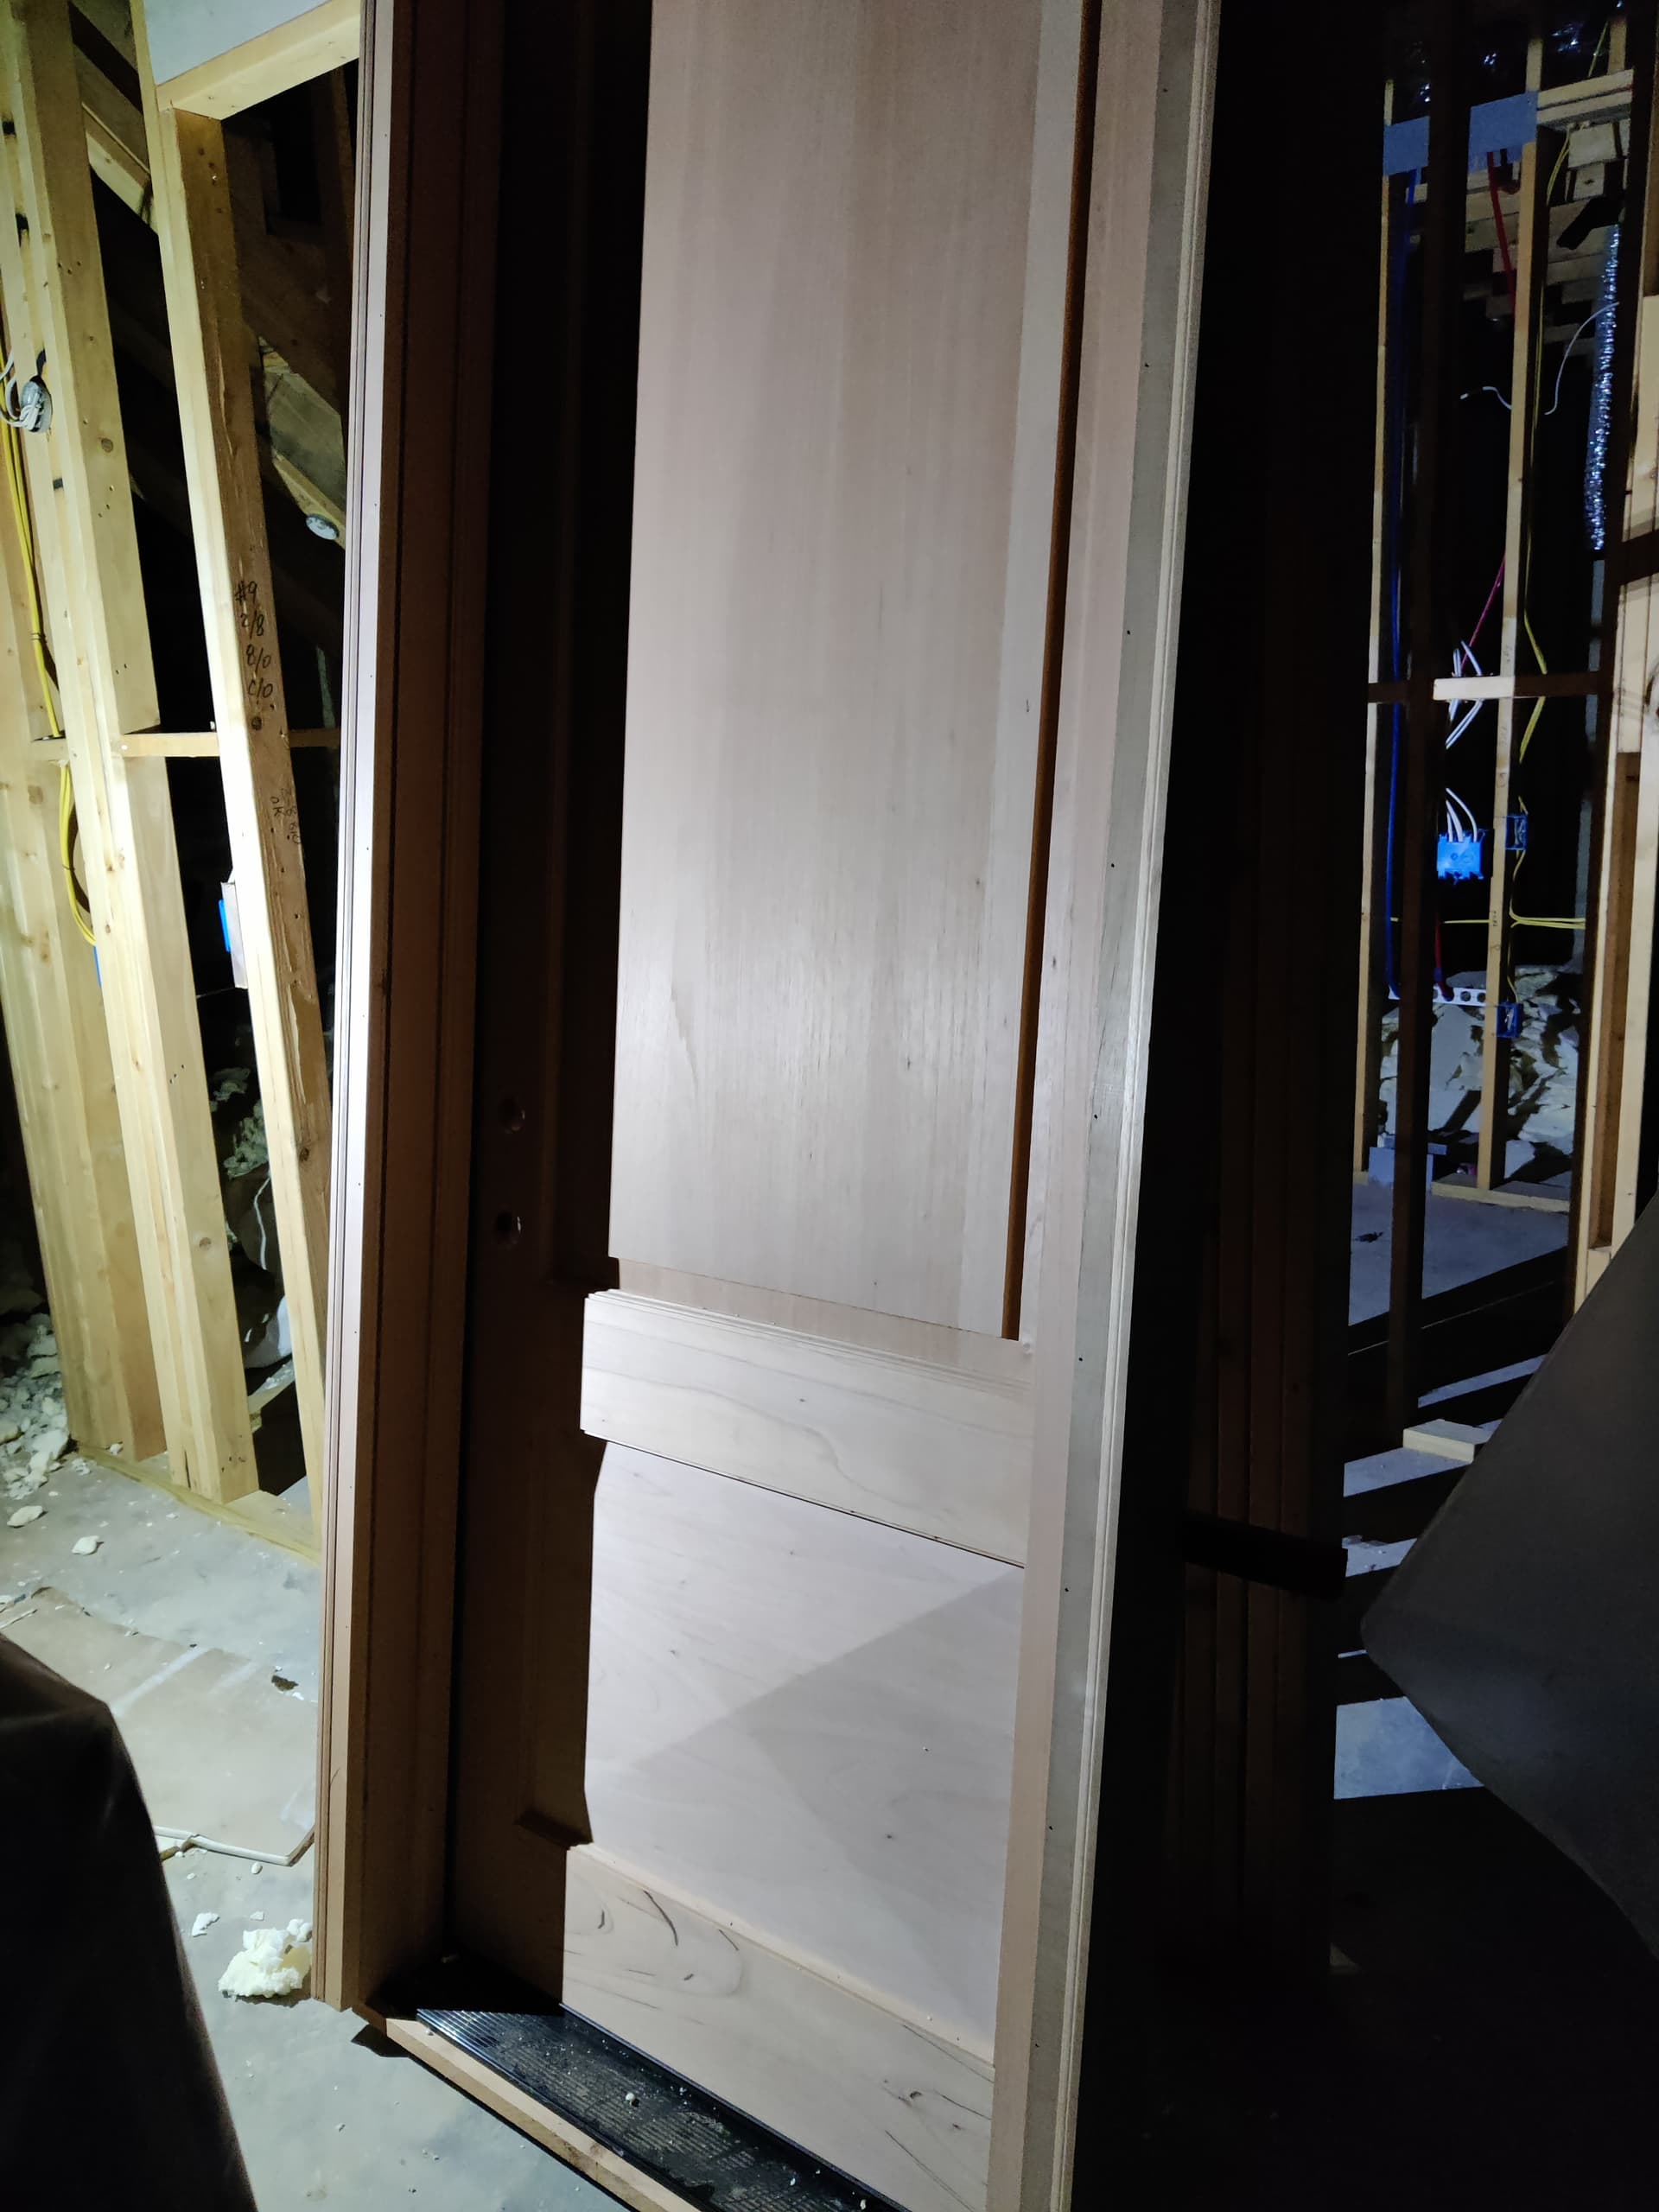
It’s a door panel that measures 26 7/8" X 19 7/8". From top to bottom the stock will be 1 1/2" thick. The actual diamond shape will be added to the rectangular base of 3/8" thick. So the height of the diamond shape will be 1 1/8" (to give the 1 1/2" total). The dimensions of the diamond shape will be offset to the inside of the total length & height dimension by 1".

I’m really having trouble modeling it in carbide create. Please help!

Uh, we covered this:

Yeah, I thought so too. But carbide create will not render the grayscale image correctly in 3D.

Post the file you’re having trouble w/?

Sorry, I’m not sure how to do that.

To model this in Carbide Create it should work to make the file twice the size and model something half height across the width:

Then subtract things down to the base height:

I’m trying, and I wish this made more sense to me. But I’m still struggling to understand and follow your instructions.

Please write in to support@carbide3d.com and we’ll do our best to get this sorted out.

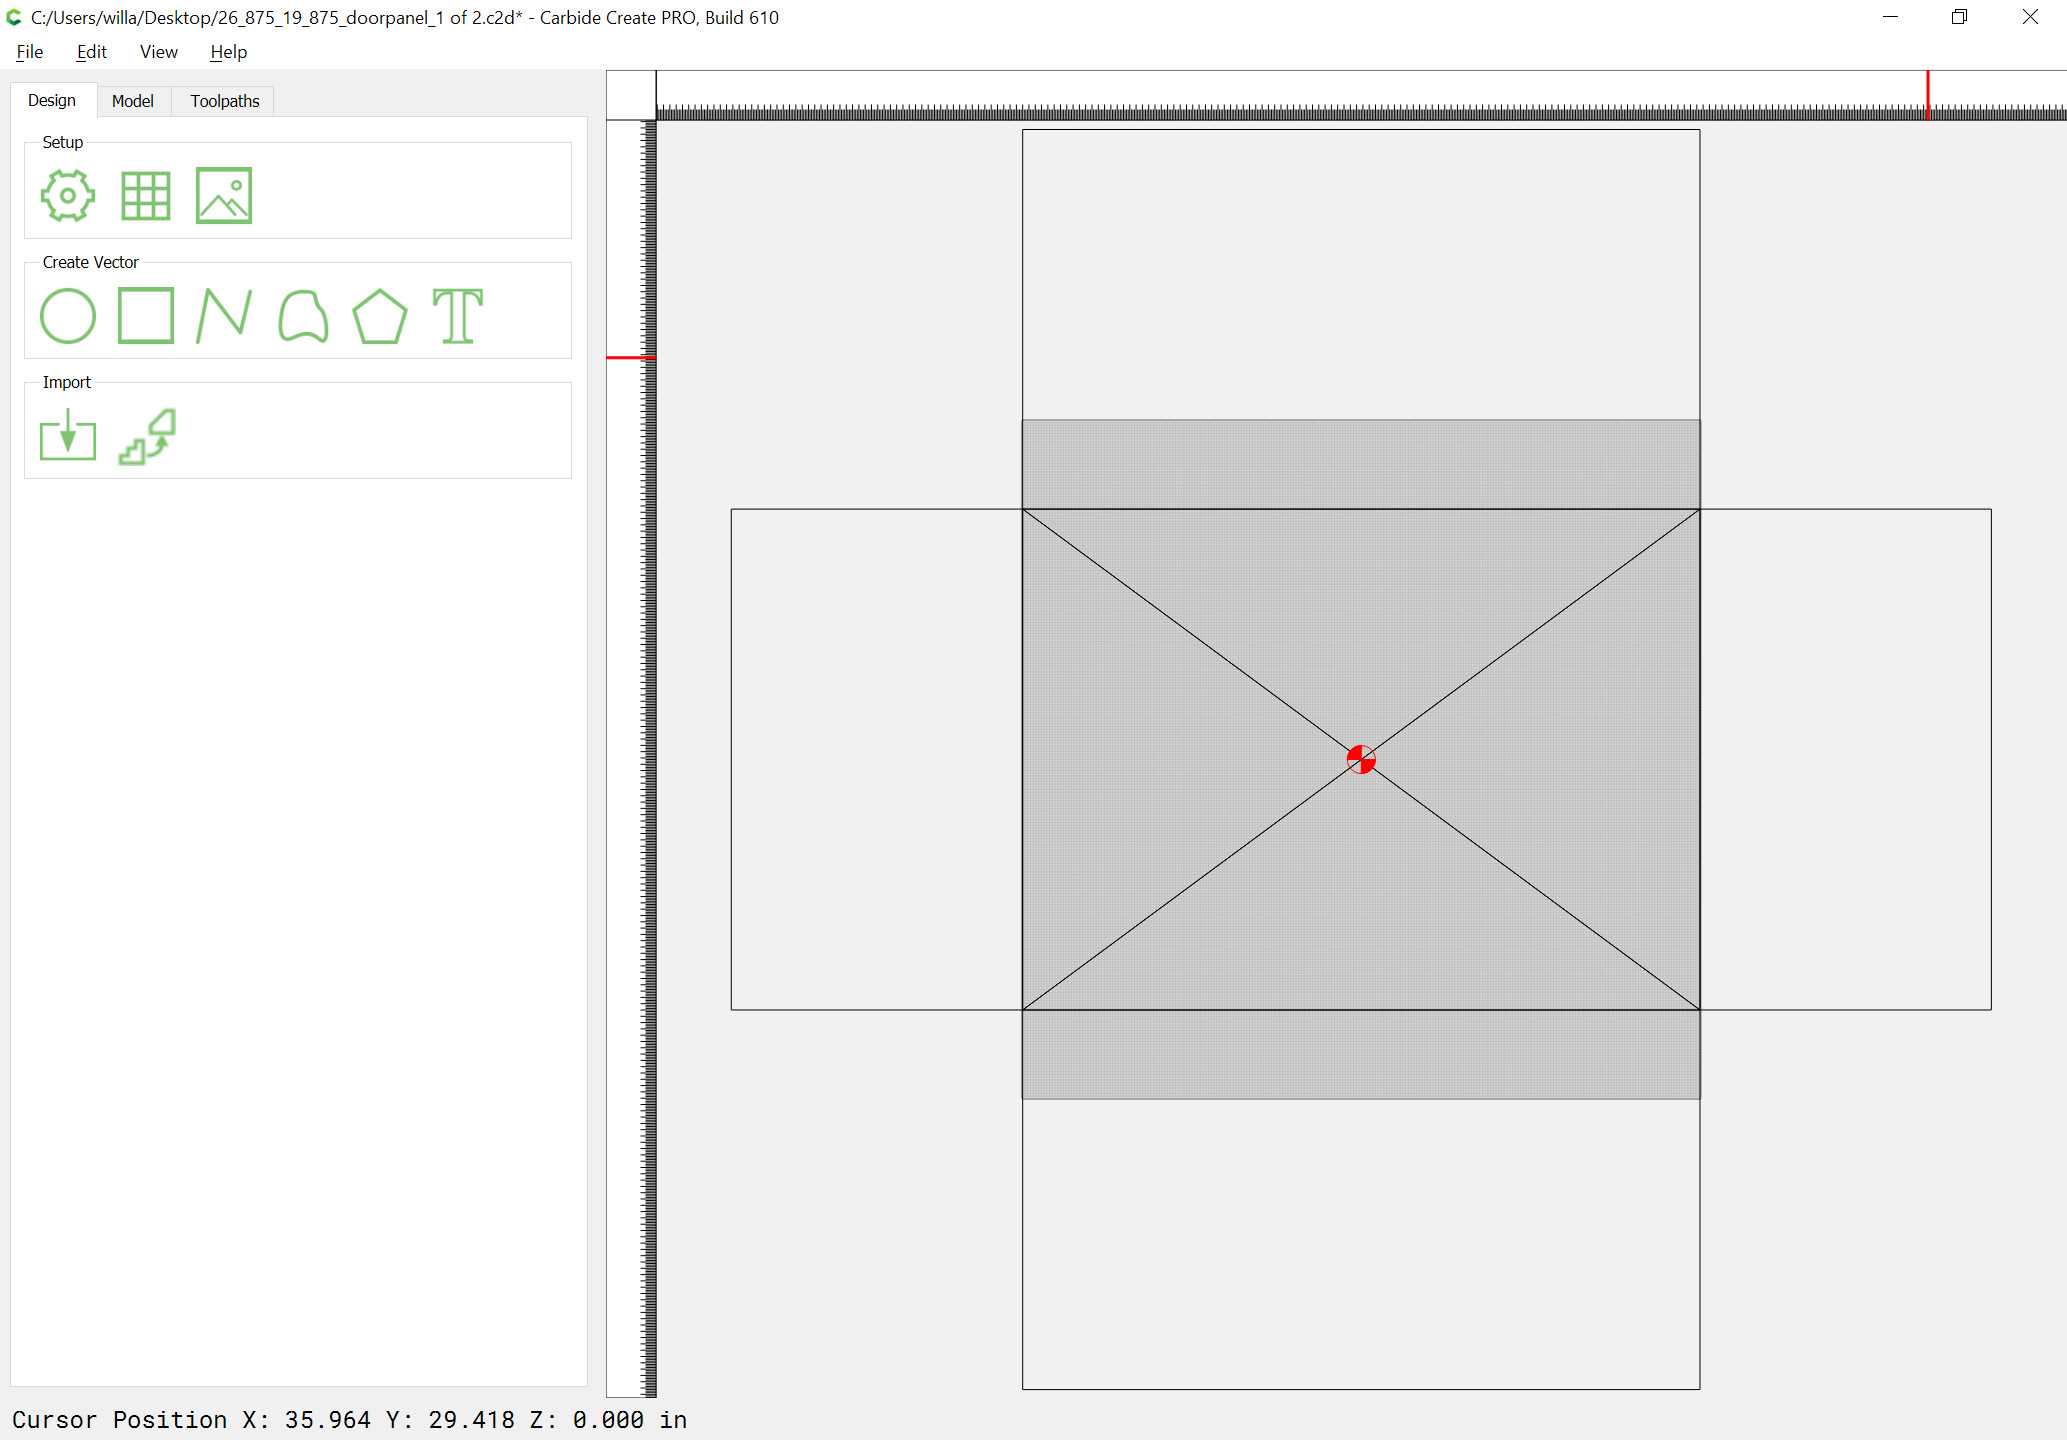
While I’m not able to puzzle out a way to 3D model this in Carbide Create, it can be cut in Carbide Create — just the stock size as a square and make a series of rectangles and triangles:

Then dupe it as two files and model the top/bottom and left/right slopes in each and cut them:

To do the cutting, select the triangles which one wishes to cut out and offset by the radius of the endmill which will be used:

Cutting the two attached files sequentially should yield the desired cut:

26_875_19_875_doorpanel_2 of 2.c2d (98.2 KB)
26_875_19_875_doorpanel_1 of 2.c2d (96.3 KB)

1 Like

Thank you. I’ll give this a shot. I hope at some point my mind will work the way yours does (at least to a degree) with this stuff.

1 Like

We went through that file and just found the problem. CC was not importing PNG files with a transparent background correctly. It’ll be fixed in CC 611 when it’s released.

8 Likes

Here is the finished product from your amazing help! Thank you so much!! Sorry, the only pic I have now is from in the dark.

5 Likes

This topic was automatically closed 30 days after the last reply. New replies are no longer allowed.