Are there any tips tricks for getting double sided machining spot on, I’ve been trying for a few days now (my 5th attempt) and I am always 2 or 3 mm out.
The part I am machining is 183mm long so it is too large fort the flip frame. I am close but not close enough…
Tim,
Using the same Mid Line that the flip frame uses, you can machine matching 6mm holes into your stock, turning your stock into a flip frame.
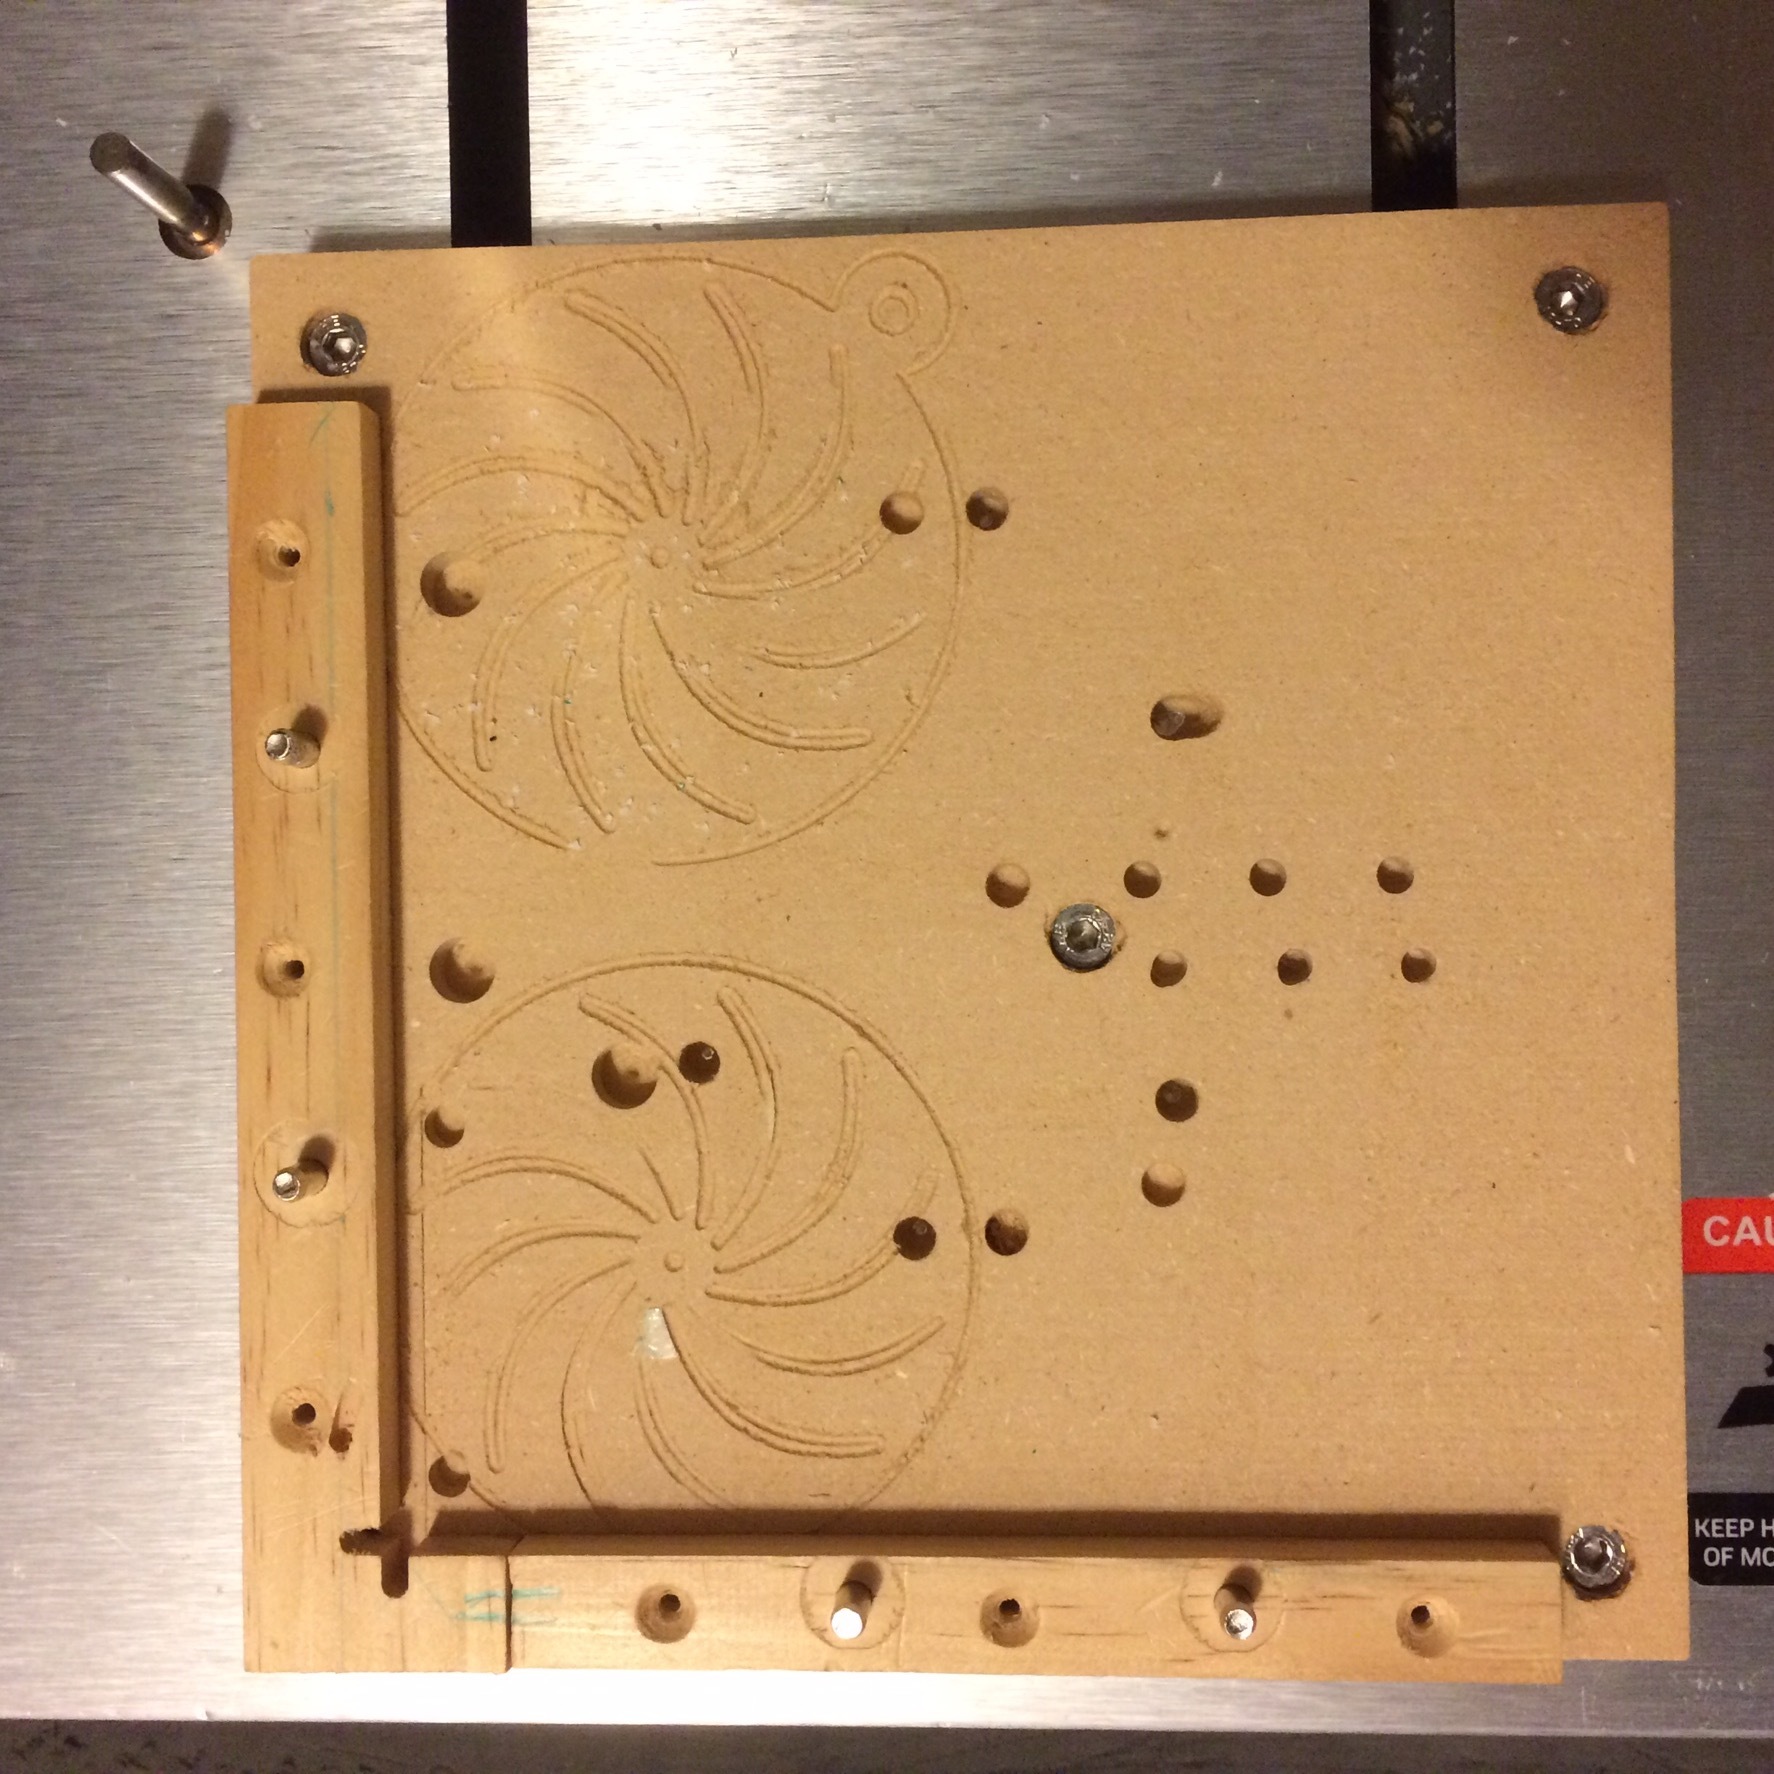
I use the vise to hold my stock, and machine the 6mm holes using templates I made that match the table.
Apollo’s advice is great, as always. As a new Nomad user, you may also find this thread useful - I personally found it super helpful when I was first trying the same experiments, and to this day I think of flipping in terms of the Millenium Falcon doing loops or barrel rolls:
This solution, created by @FlatBaller, will make flipping things a great deal easier, if you care to try it:
And here’s a photo of what I’ve come up with, which has the advantage of being removable when I want to machine stuff that takes up the whole bed:
I used a couple small pieces of scrap wood I had around, screwed them to the spoil board, then used the nomad to cut my angle so it would be square to the machine. I also had it mill some dowel holes all the way through, and I find that these are sufficient to keep the wood in place during milling. Note the dog bones at the corner, very important. I use this setup regularly to do two sided machining jobs, using only double sided tape to hold the stock, with very good results. The key thing is being able to register the stock along two sides.
For me, I’ve found a method that seems to work well enough (after long and painful trial and error) with the low-profile vise, as long as I’m careful.
The thing about MeshCAM’s 2-sided job types is, it generates two zero points – one on the top front left corner of the stock, and the other on the lower left rear corner. So I’ve found this works for me:
Measure the stock dimensions carefully.
a. It REALLY helps to have your stock square
b. Measure along the edges, concentrating on the left edge
Define your stock by the measurements in MeshCAM
Zero to the top front left corner of the stock
Make sure to set the Program Zero to match in MeshCAM
Run the Top .NC file generated by MC
Flip the stock, rotating around the X axis ONLY
Re-zero the Nomad to the new top front left corner of the stock
a. If you look at the model in MeshCam, you’ll notice a 2nd “zero” point at this same location (the short red, green, and blue lines crossing at the corner of the stock)
Run the Bottom .NC file
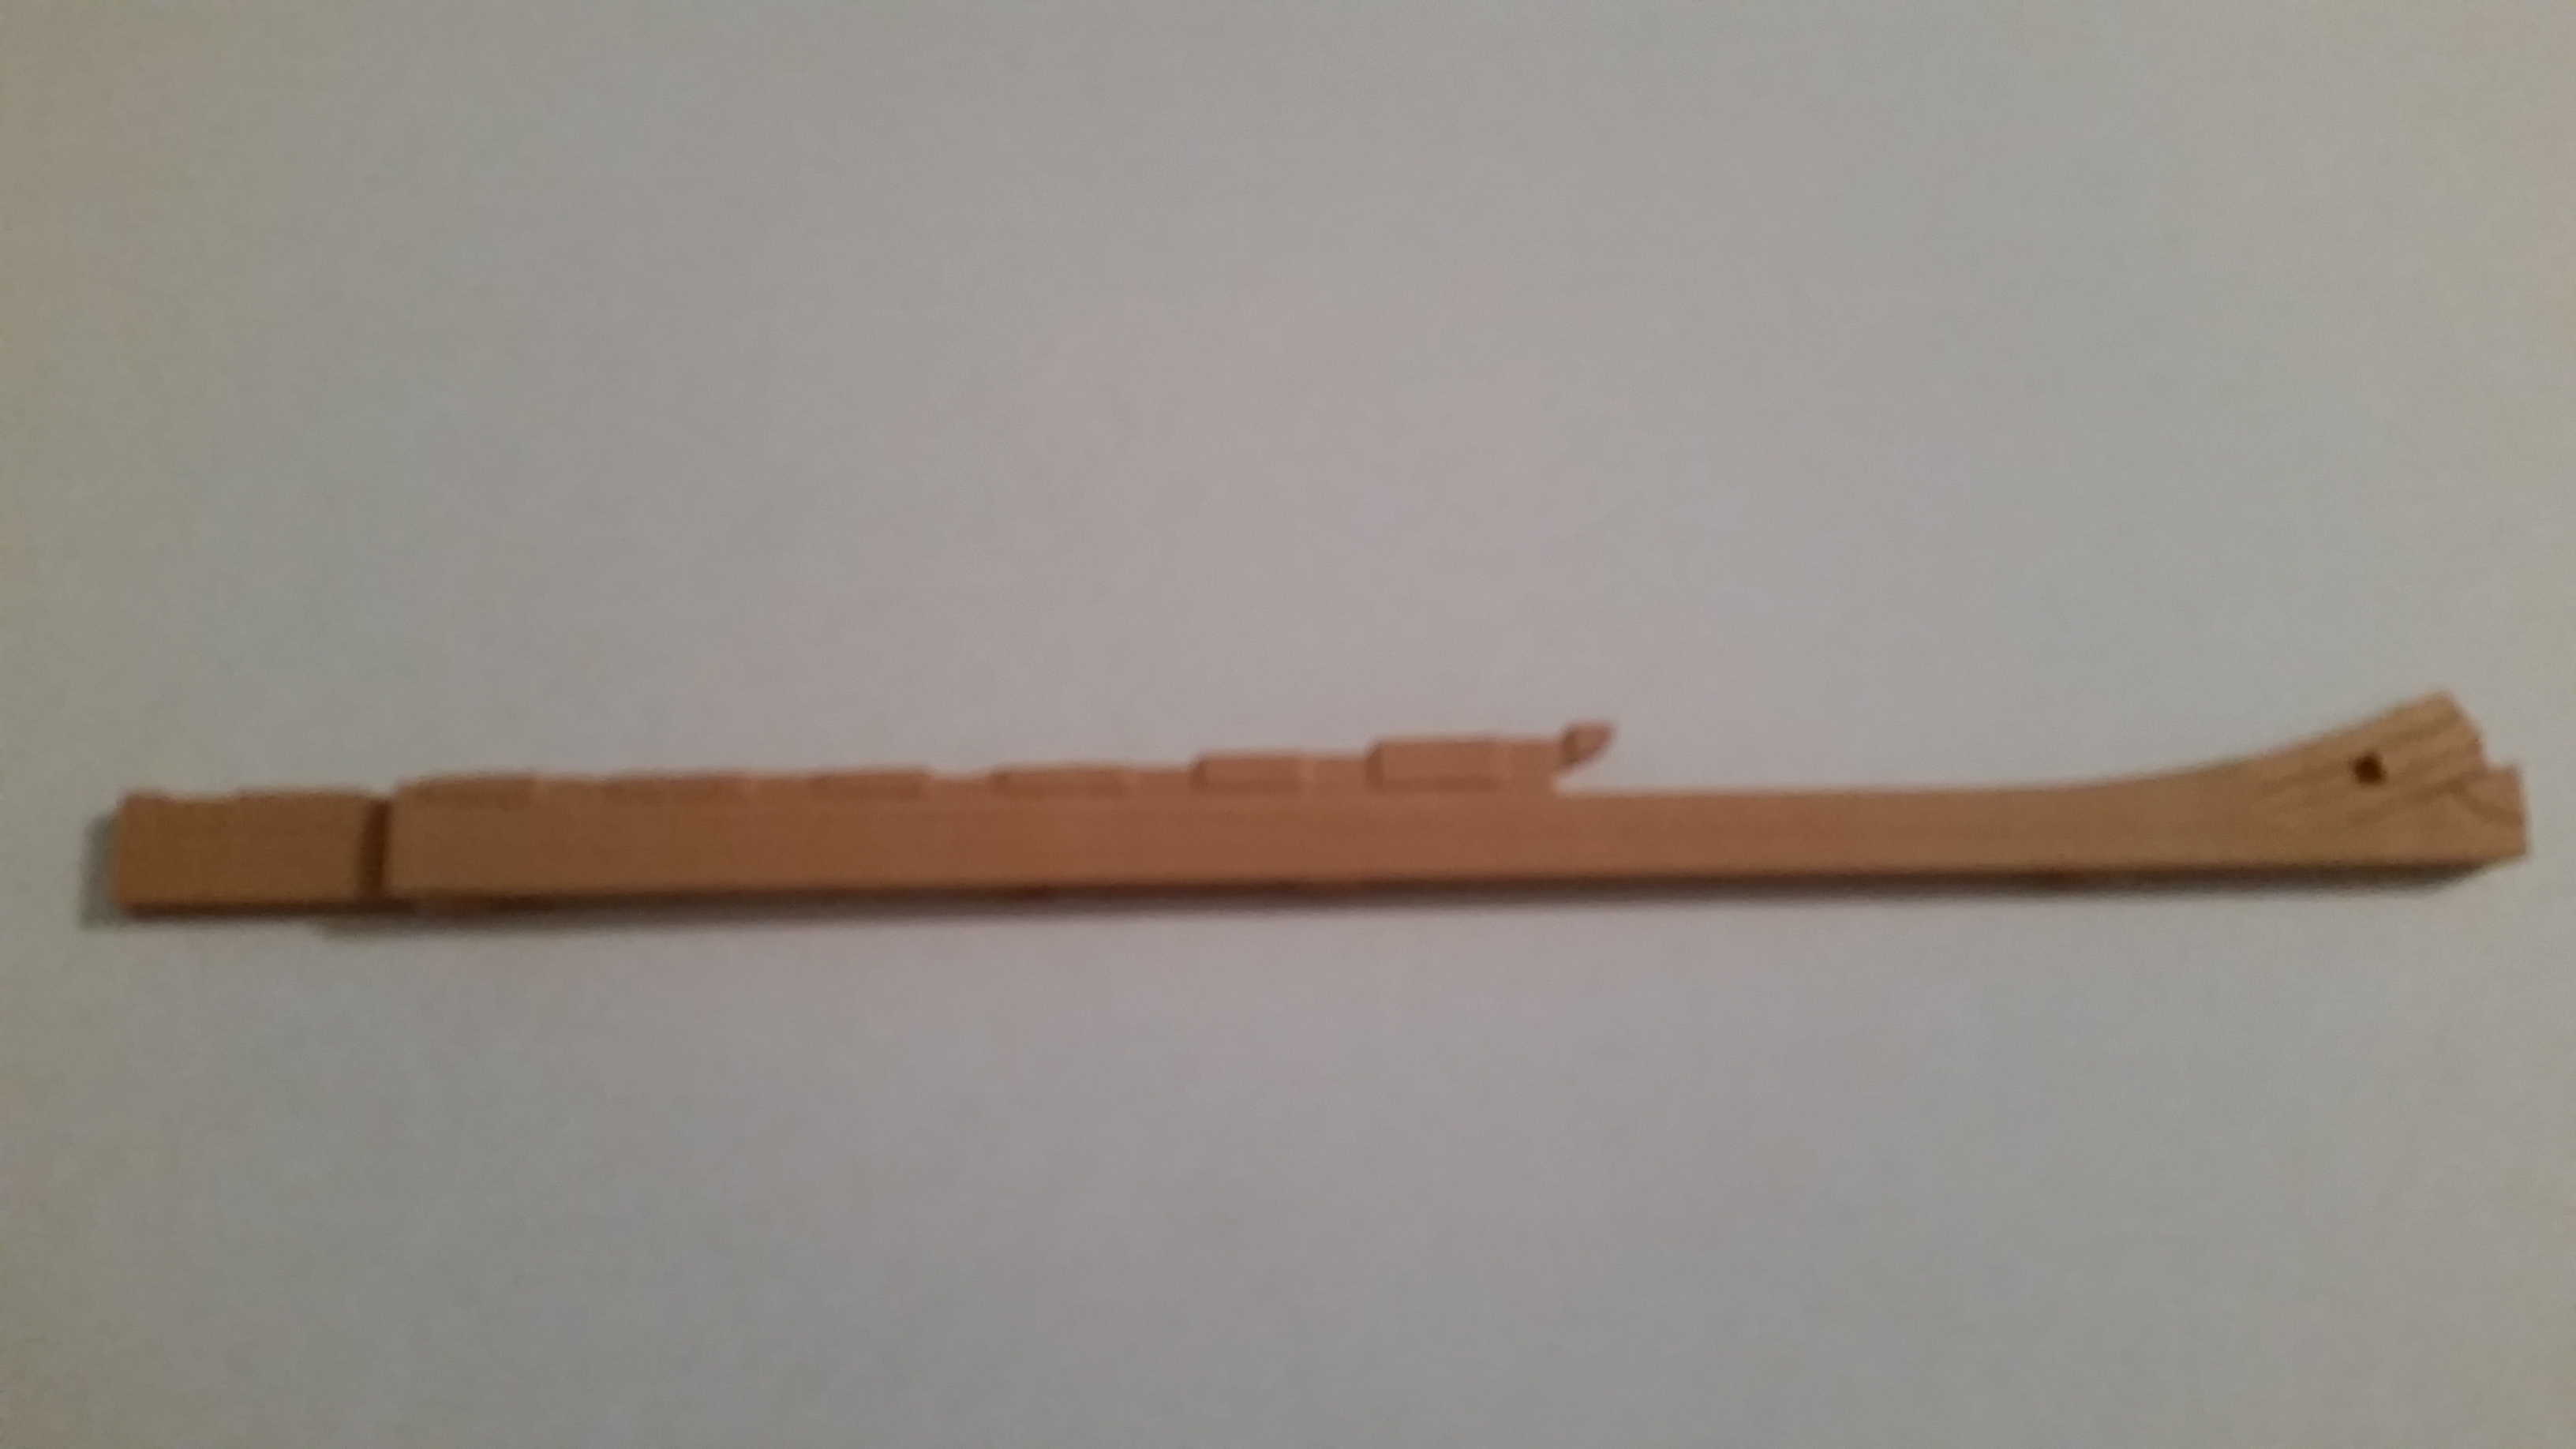
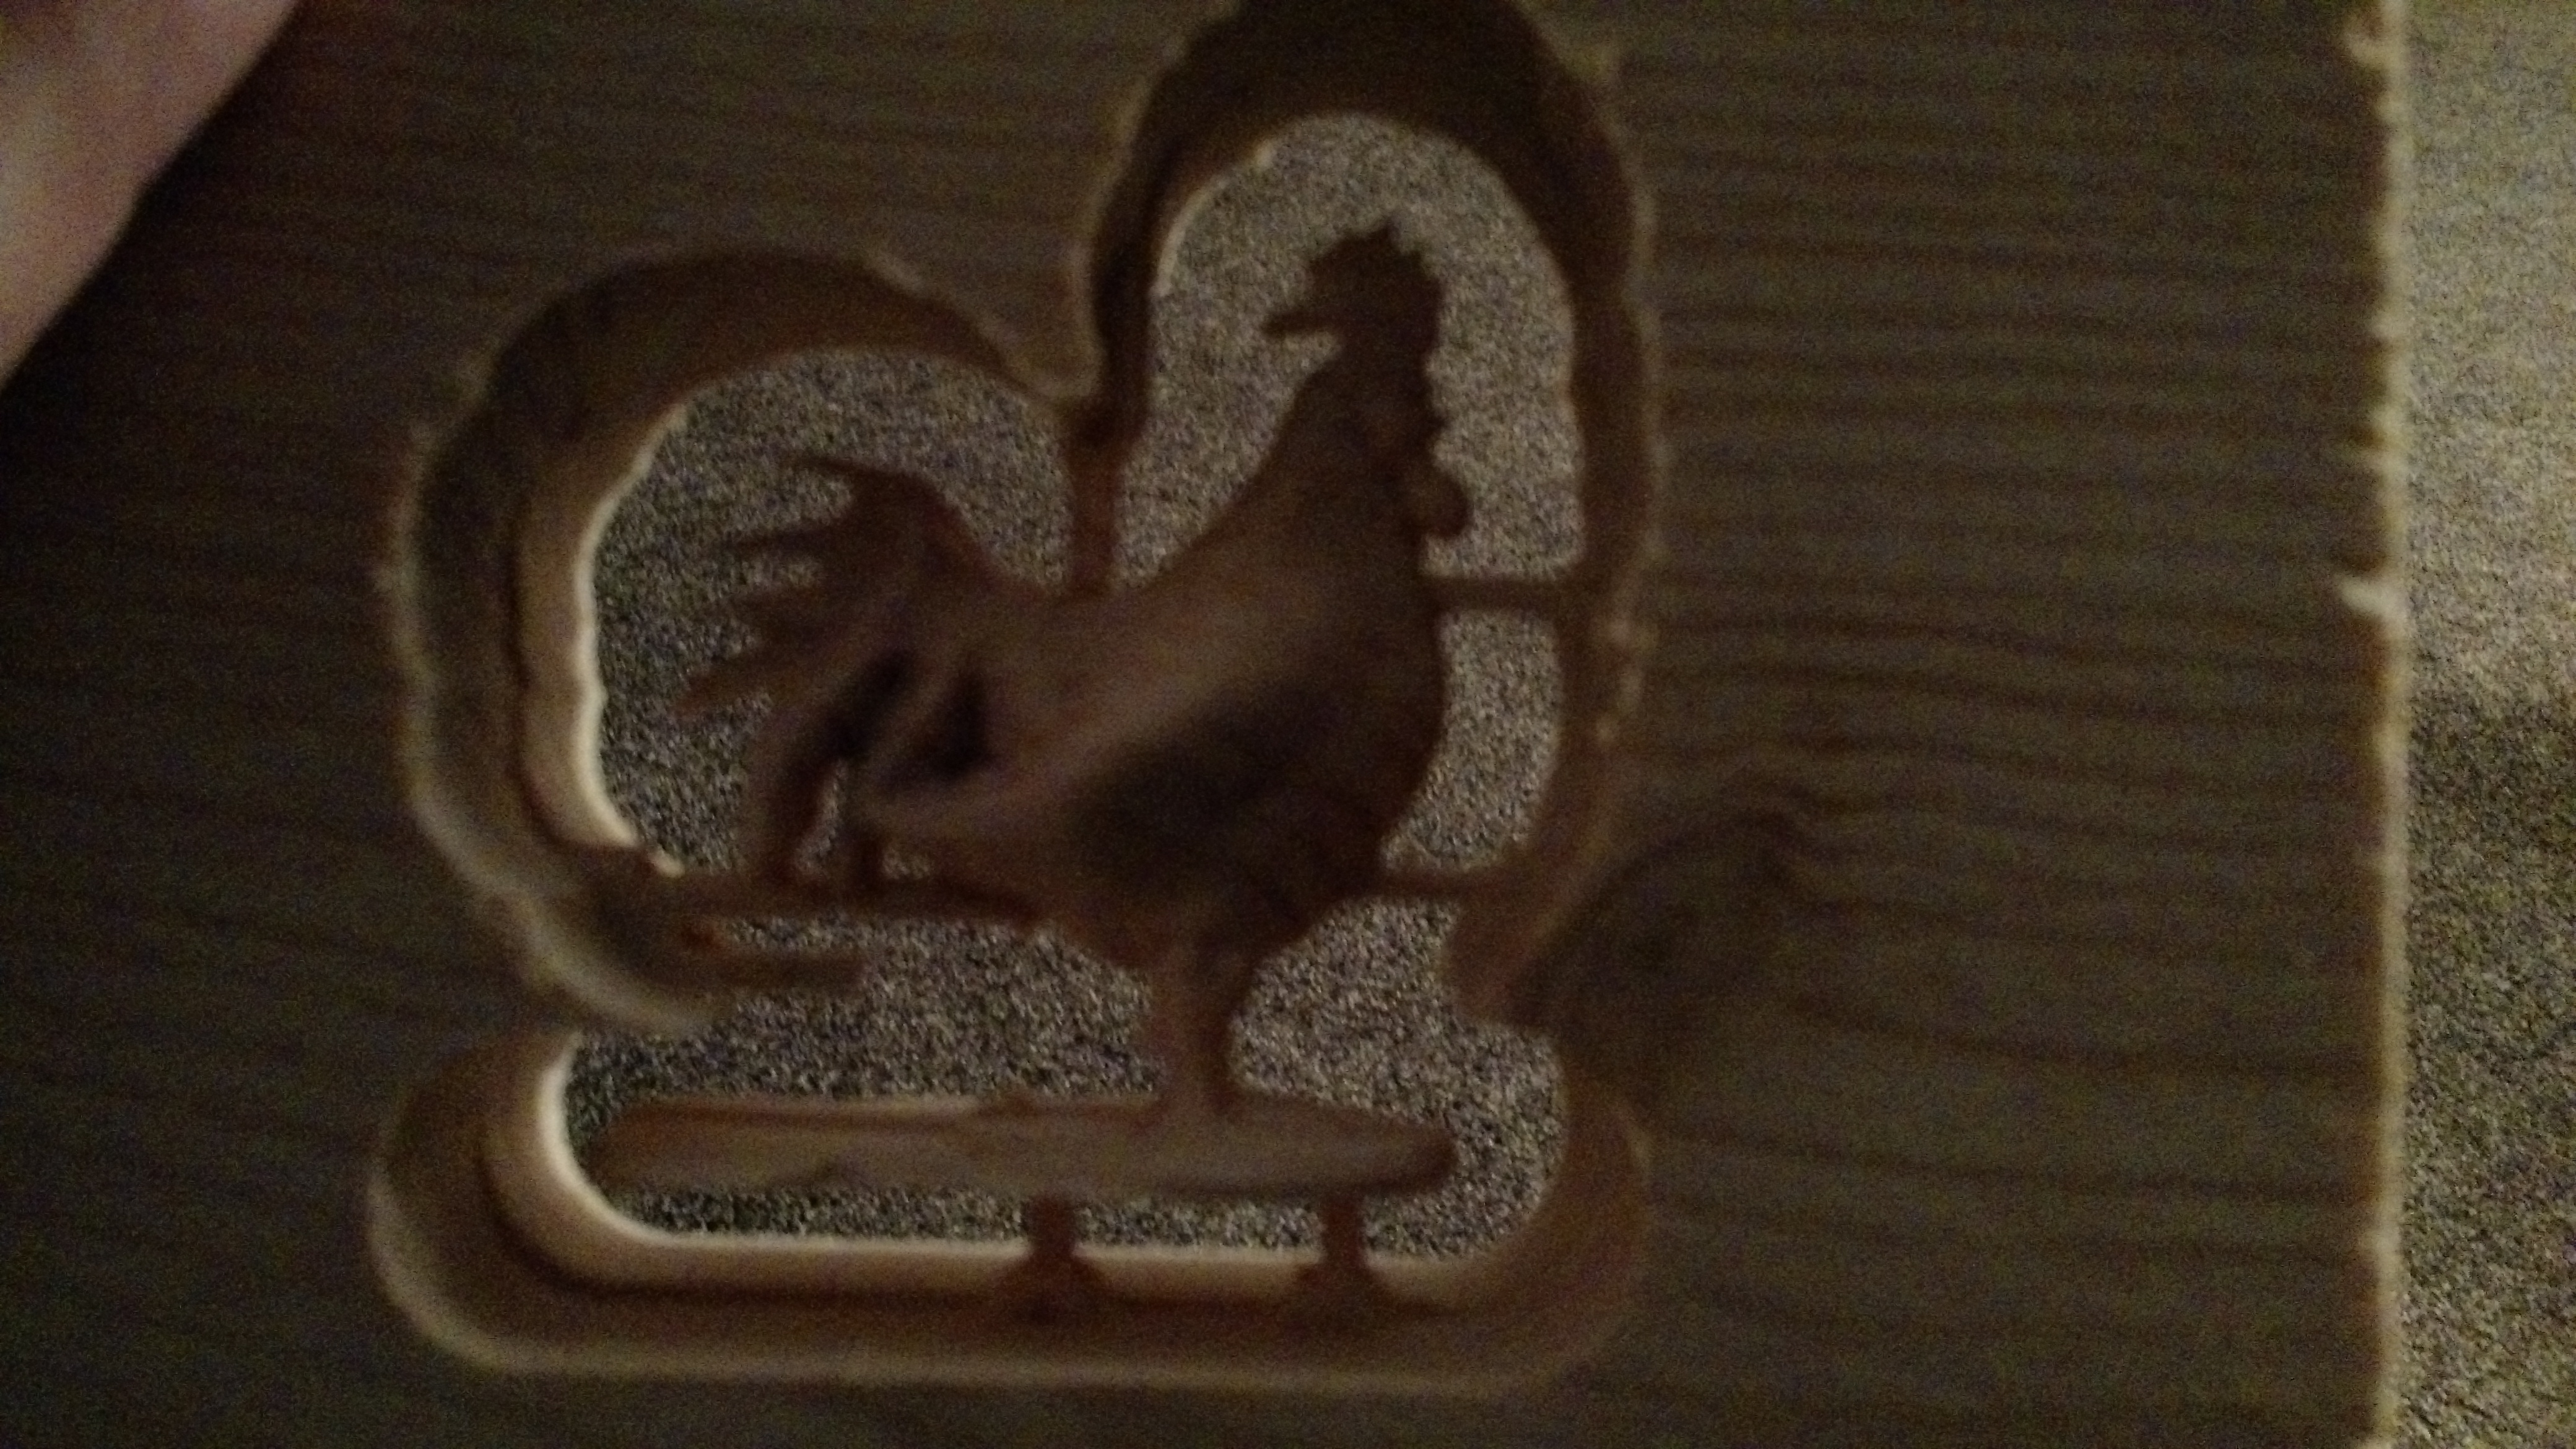
This has worked pretty well for me so far. The re-zeroing saves me from not getting the stock perfectly positioned along the Y axis every time. And as long as you measured the Y-axis dimension of your stock along the left edge (the side shared by both “zero” points), your stock can even be non-square across the X axis. That being said, while making your stock square on all edges and flat on the critical sides (top, bottom, and left a minimum) may not be the law, it is a VERY good idea. I just found I could get away with some non-square stock on some edges/sides, as long as I was careful. I only mention this dodge because it helped me get in useful practice with some scrap lumber that I couldn’t get squared up conveniently. This is an example of a piece I did that way – the lumber was “pretty square”, but not “machinist square.”
Thanks Skyfire I did a test out of scrap cedar last night got onto side B and got a GBRL error, but it was lined up pretty well. I will try again at the weekend with my good swiss pear stock.
So far I’m learning the hard way. Single side machining fine but all of the parts I want to create are double sided.
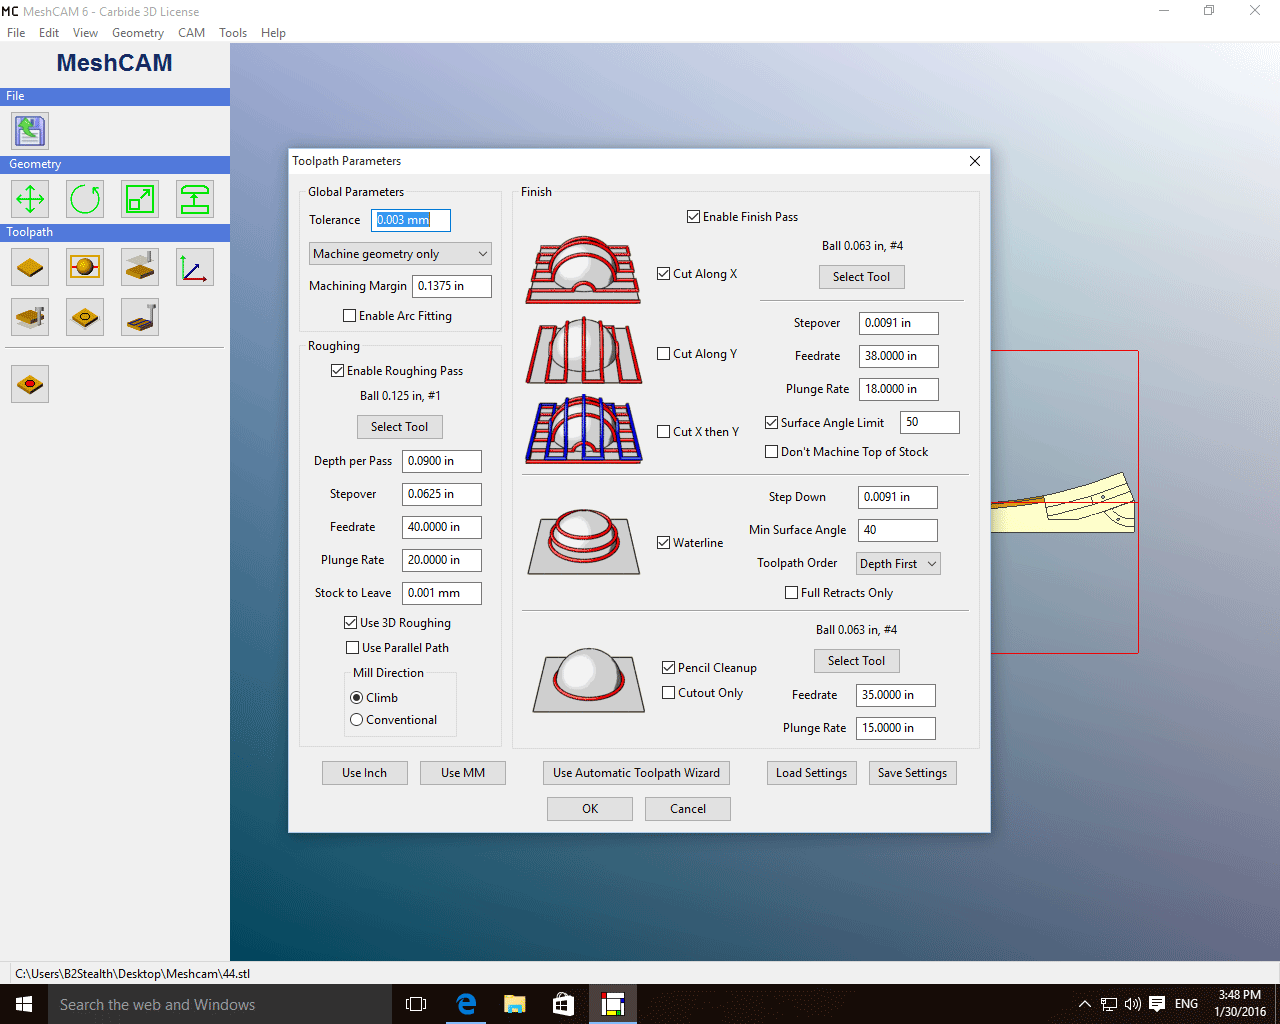
Here are the parameters I used, double sided in meshcam using down pins matched to the nomad bed. But it slightly out of line by 2mm on the left hand side of the stock when I start side B.
I use the rapid position centre to zero each side.
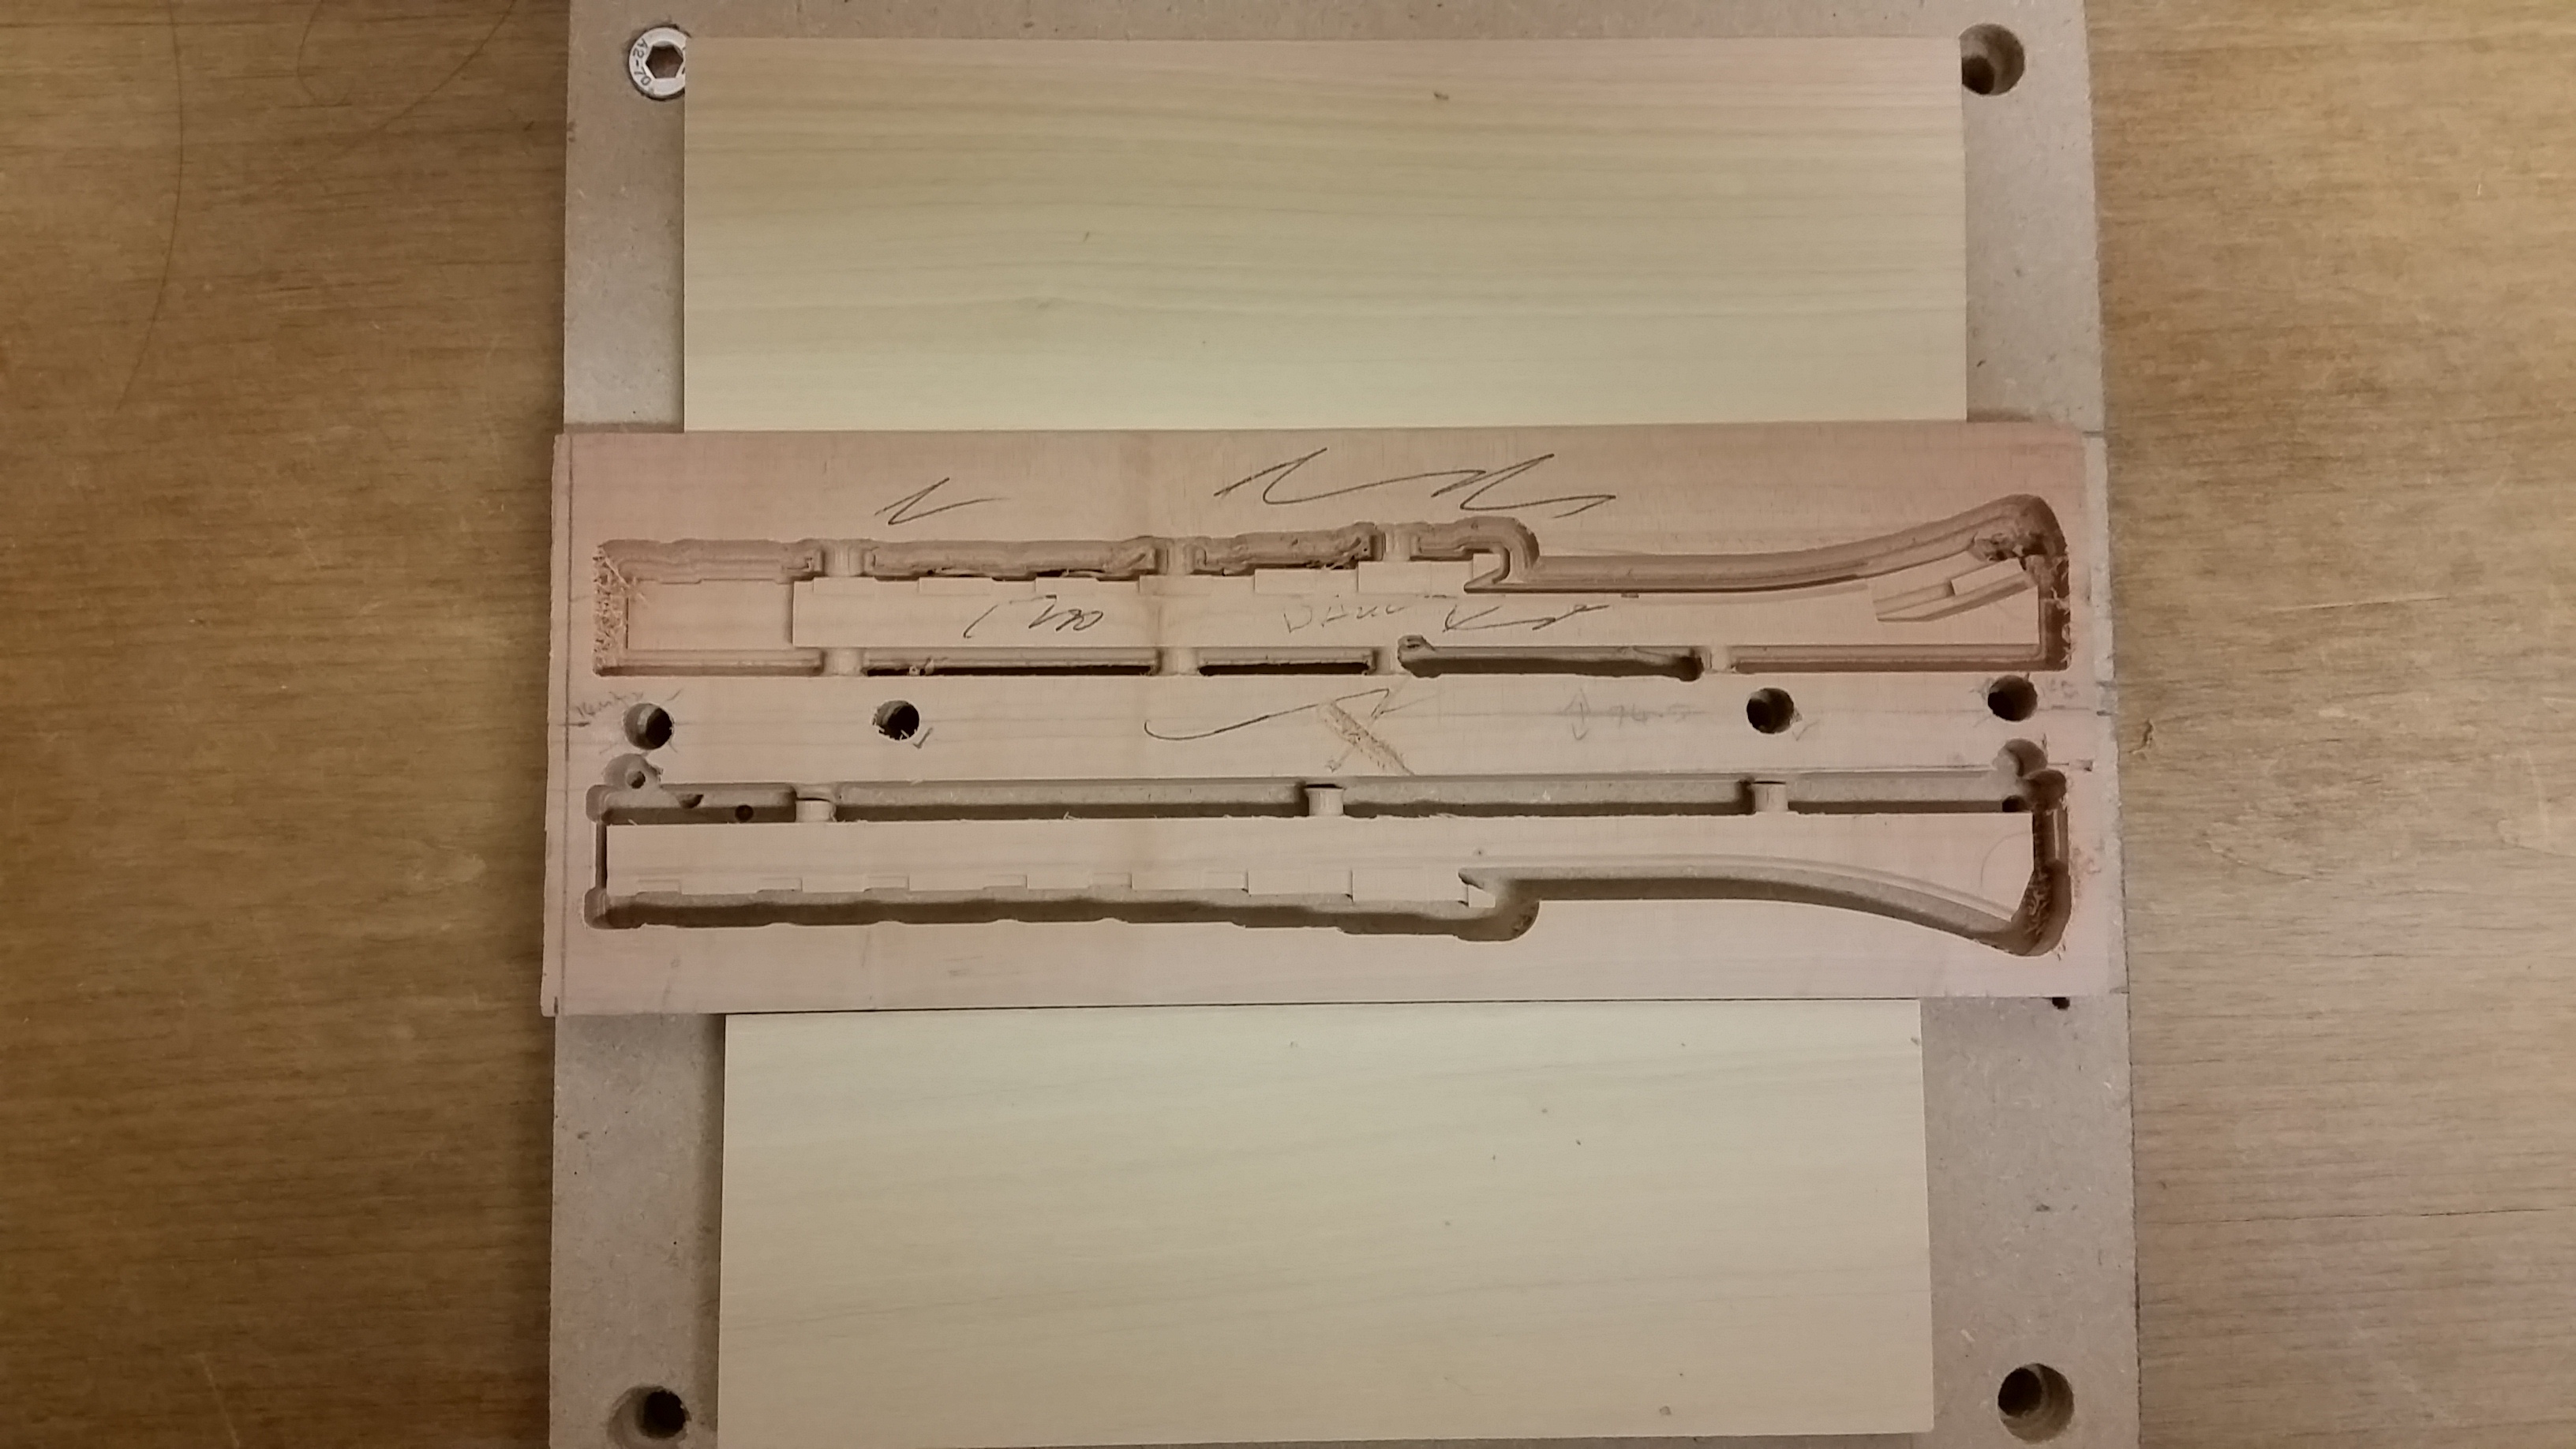
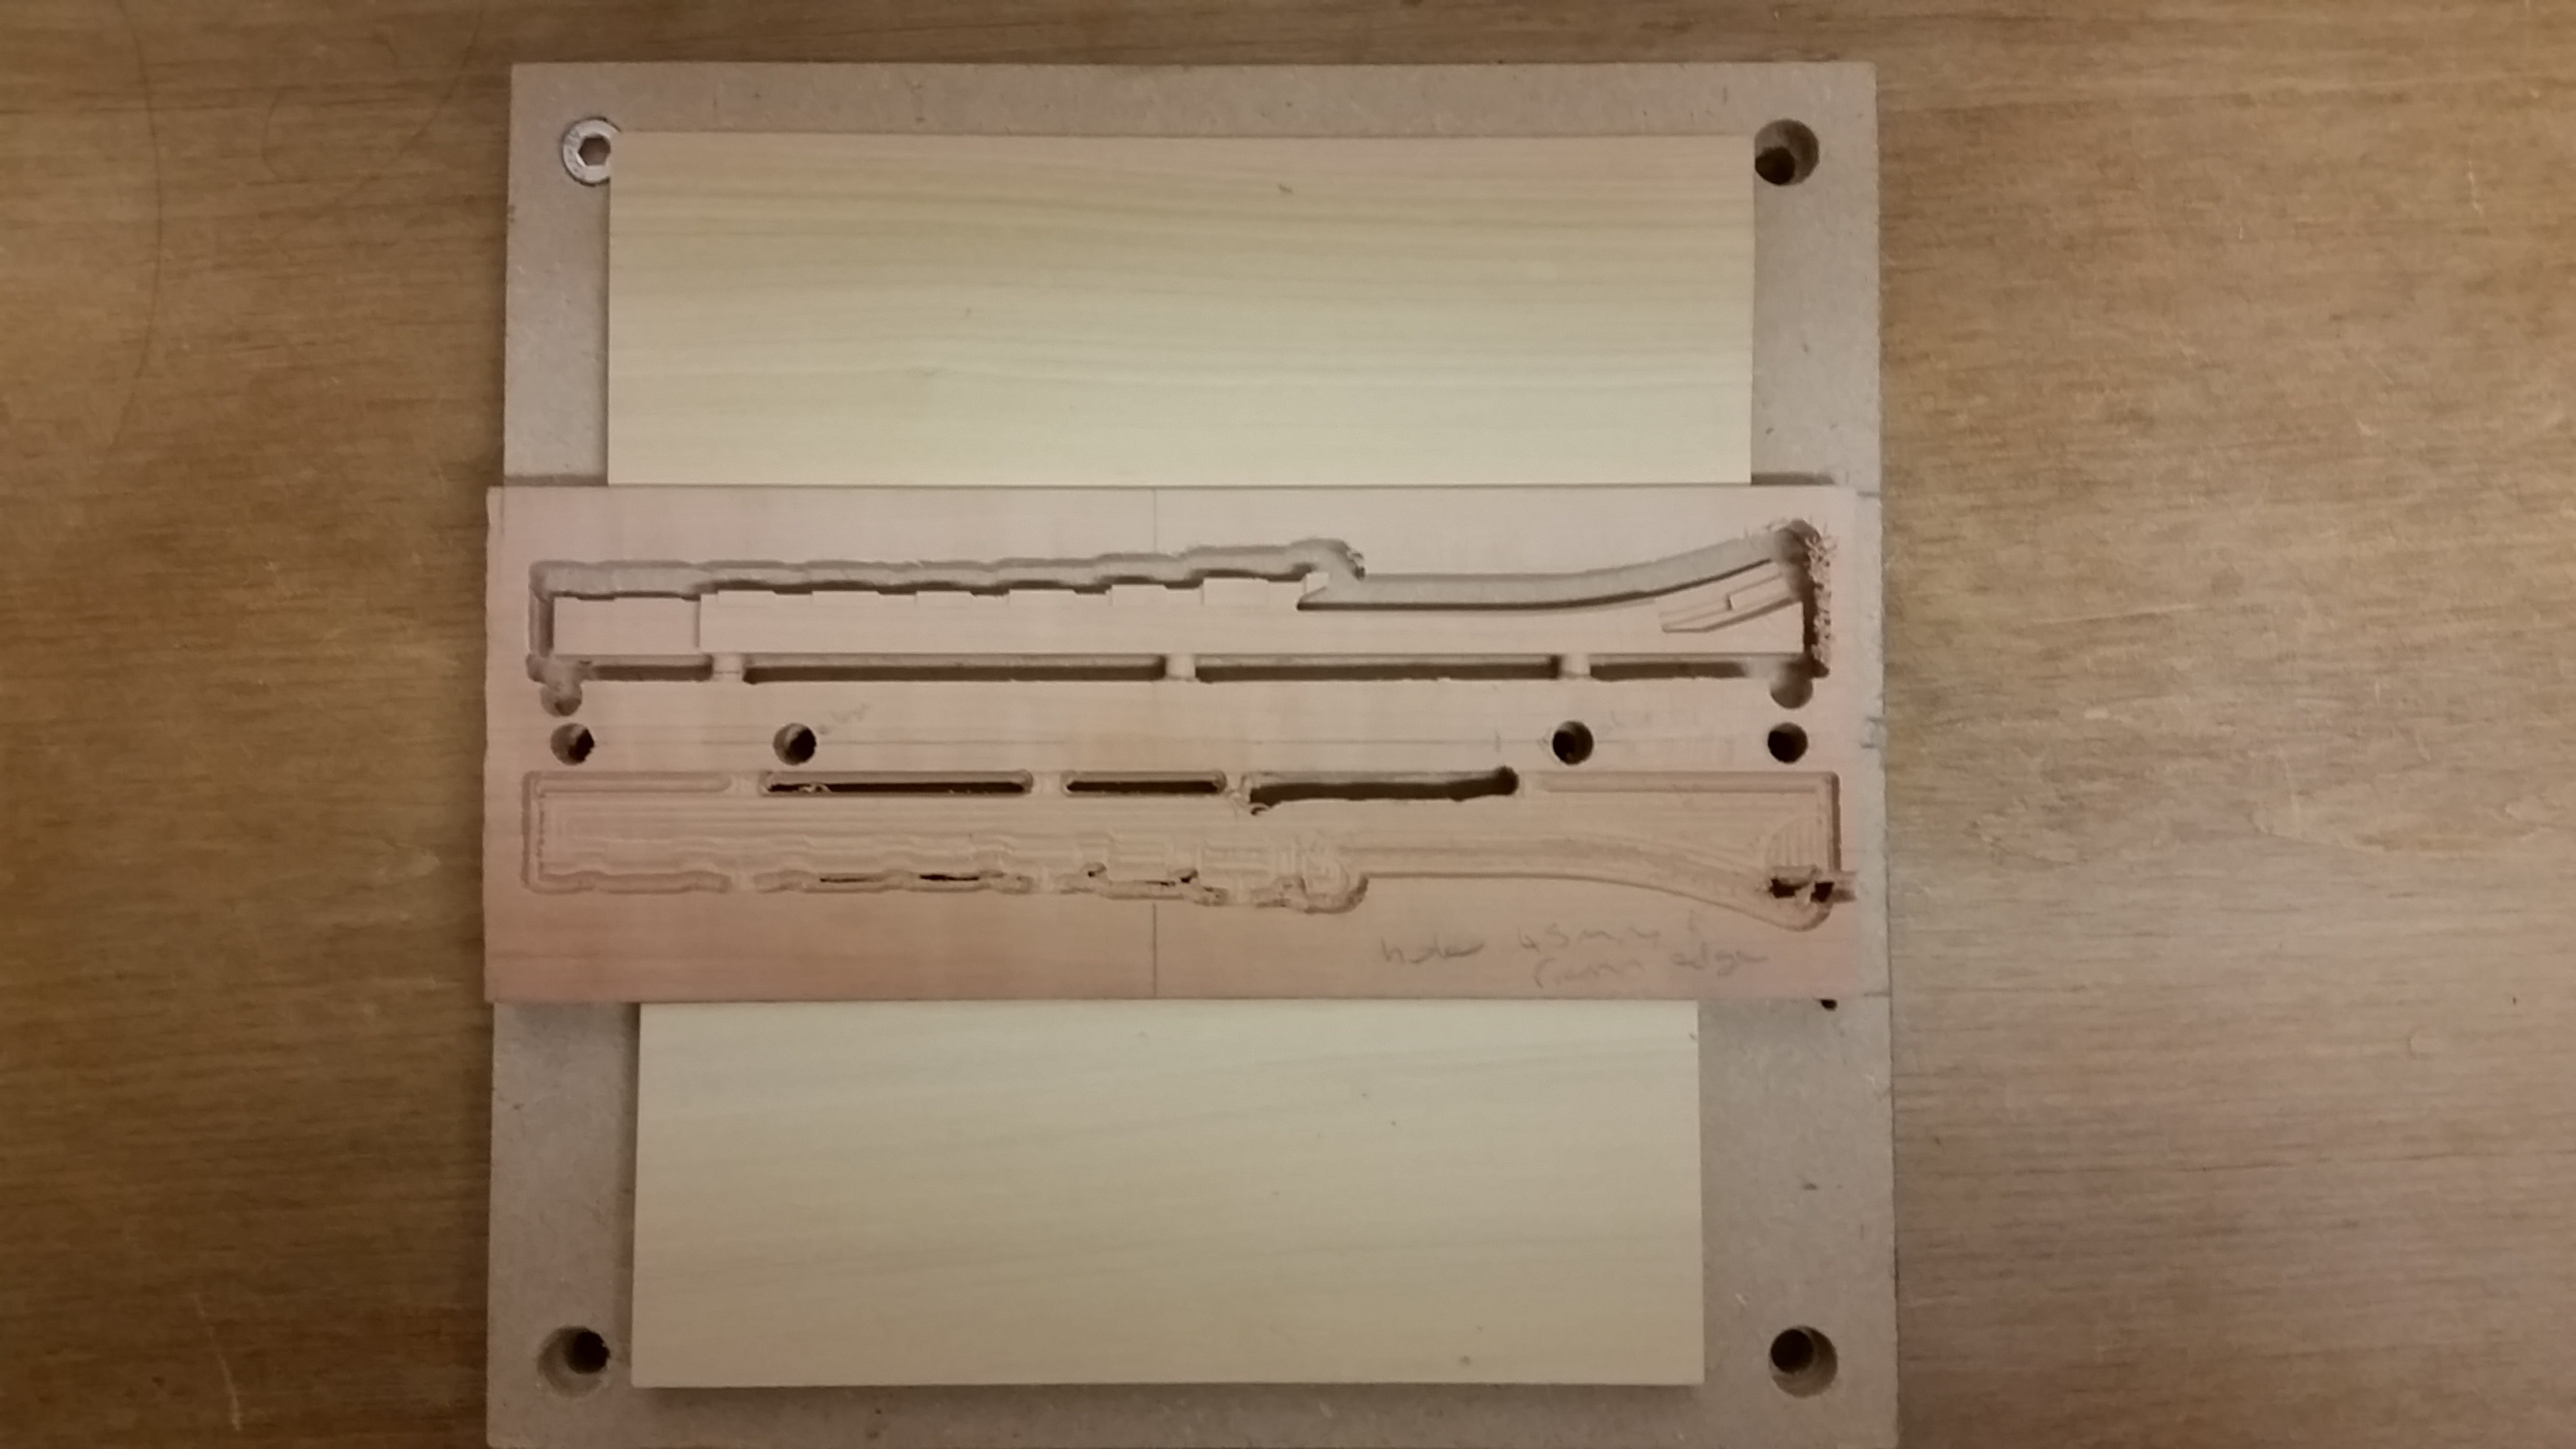
My stock is 203mm x 74mm, I think I may have just figured out my own question as my dowel holes in the stock are slightly off centre, I will try and try again


 Looking good from here! That looks like a very ambitious project. Thank you for sharing your progress.