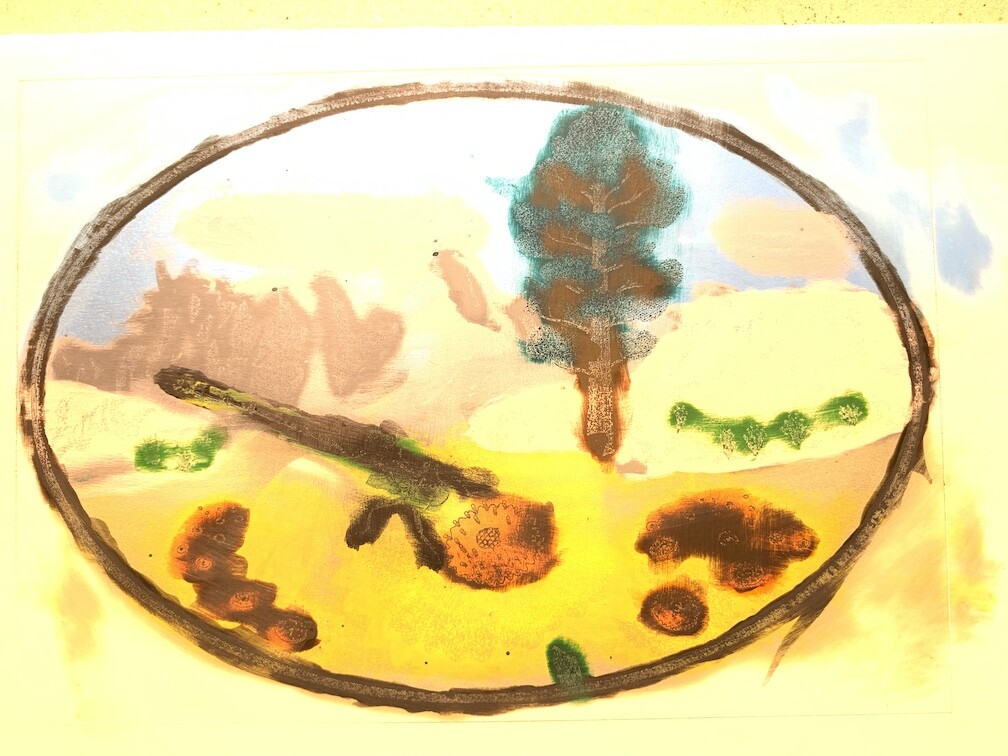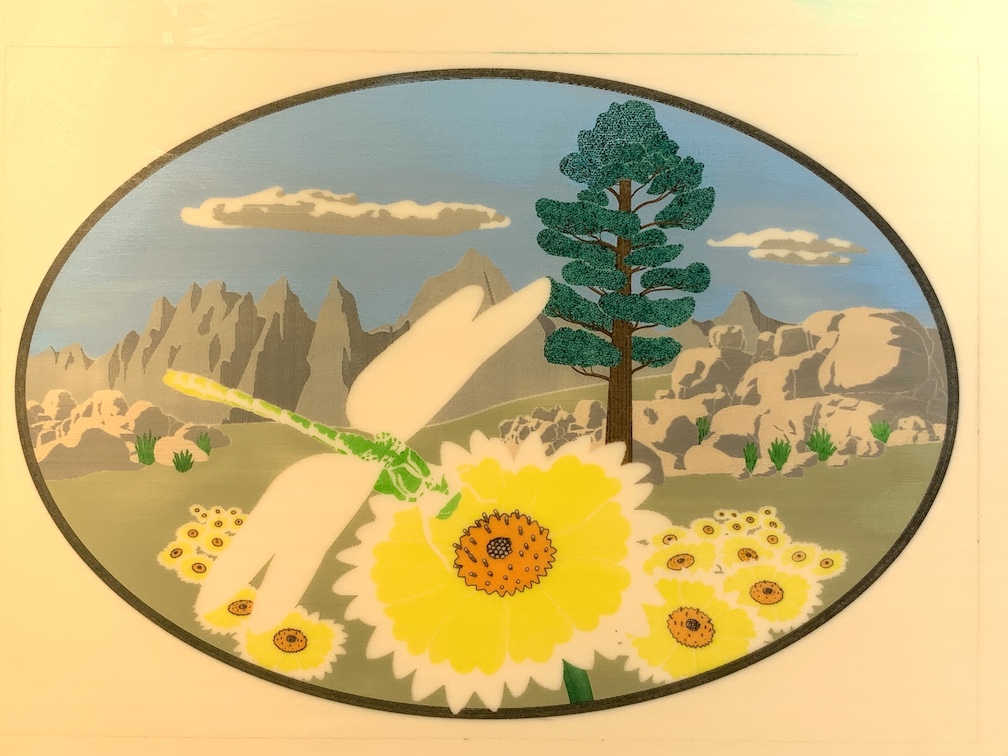
As requested, some detail about how this was done. This is a process in development, details are guaranteed to change! I still have work to do in getting more uniform toning in the large fields, especially the sky, more on that later. The oval measures 130 mm x 90 mm, the image is about correct size on my monitor. I’ll cover the art creation now.
Creating the Art
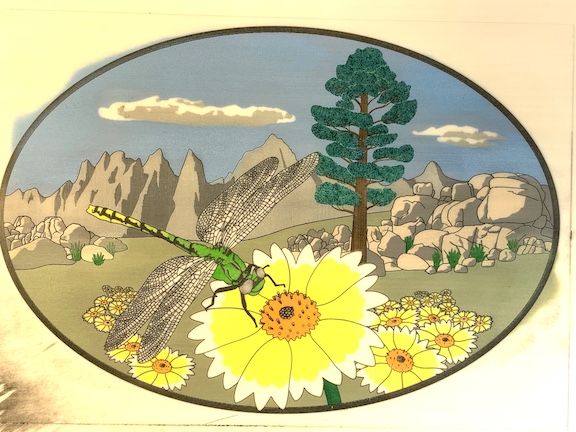
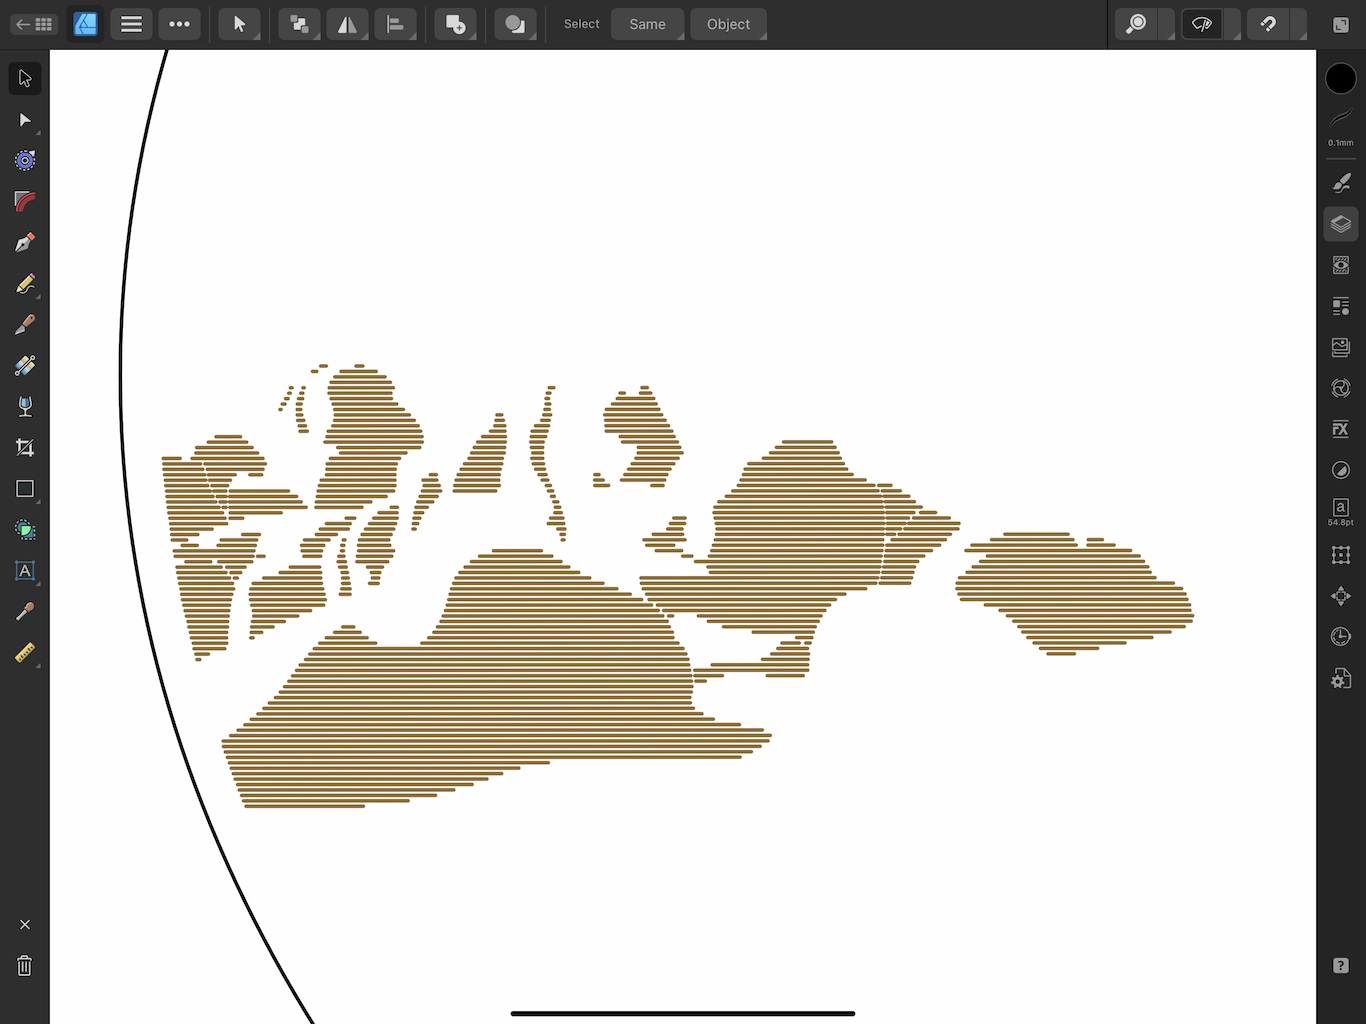
I used Affinity Designer for the art, I’m sure Illustrator will do, possibly Inkscape. The first step once a motif is established is to create the outlines of the principal features. I frequently rely on photographs for a guide. In the case of the mid-ground rock formations I snapped a pic off the TV screen and traced vectors over the prominent features.
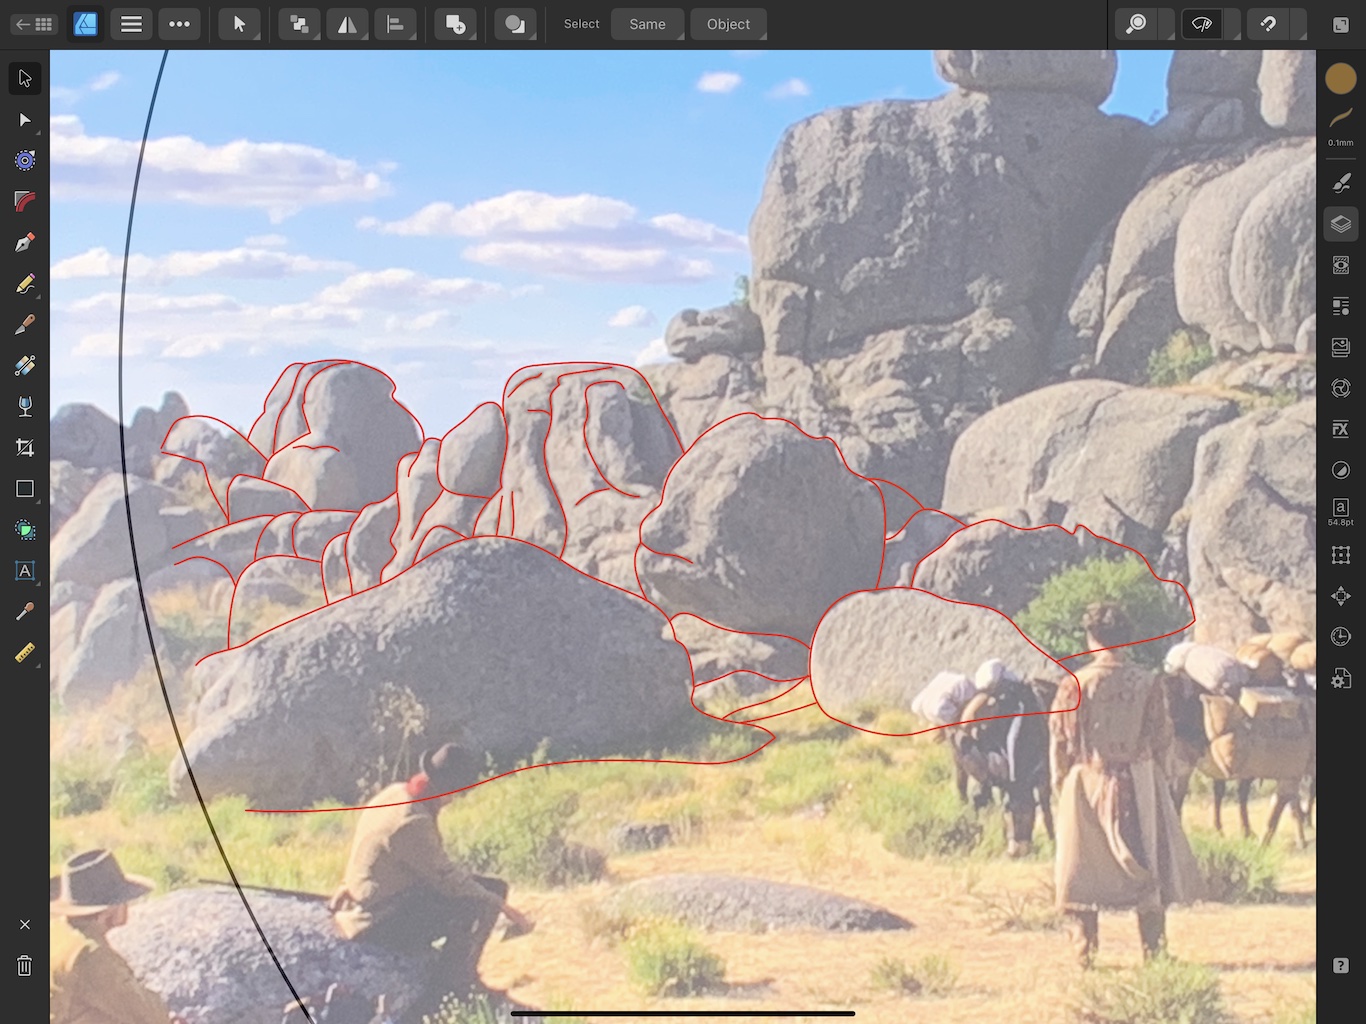
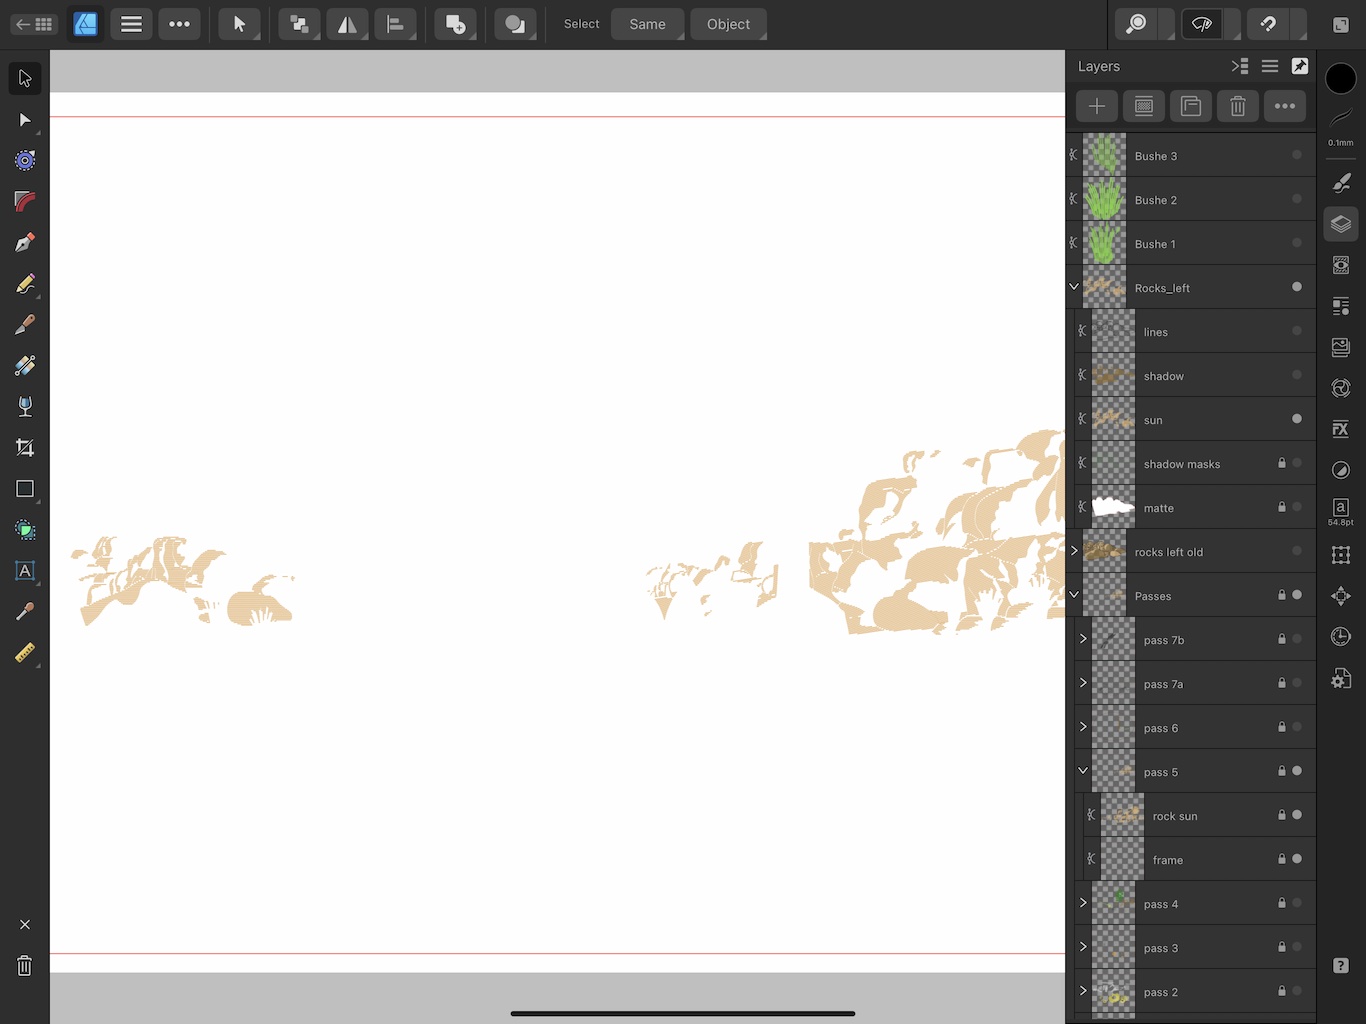
These lines will be inked in black later on but also used to create the color fields. To do that I create masks which will distinguish ‘sun’ from ‘shade’.
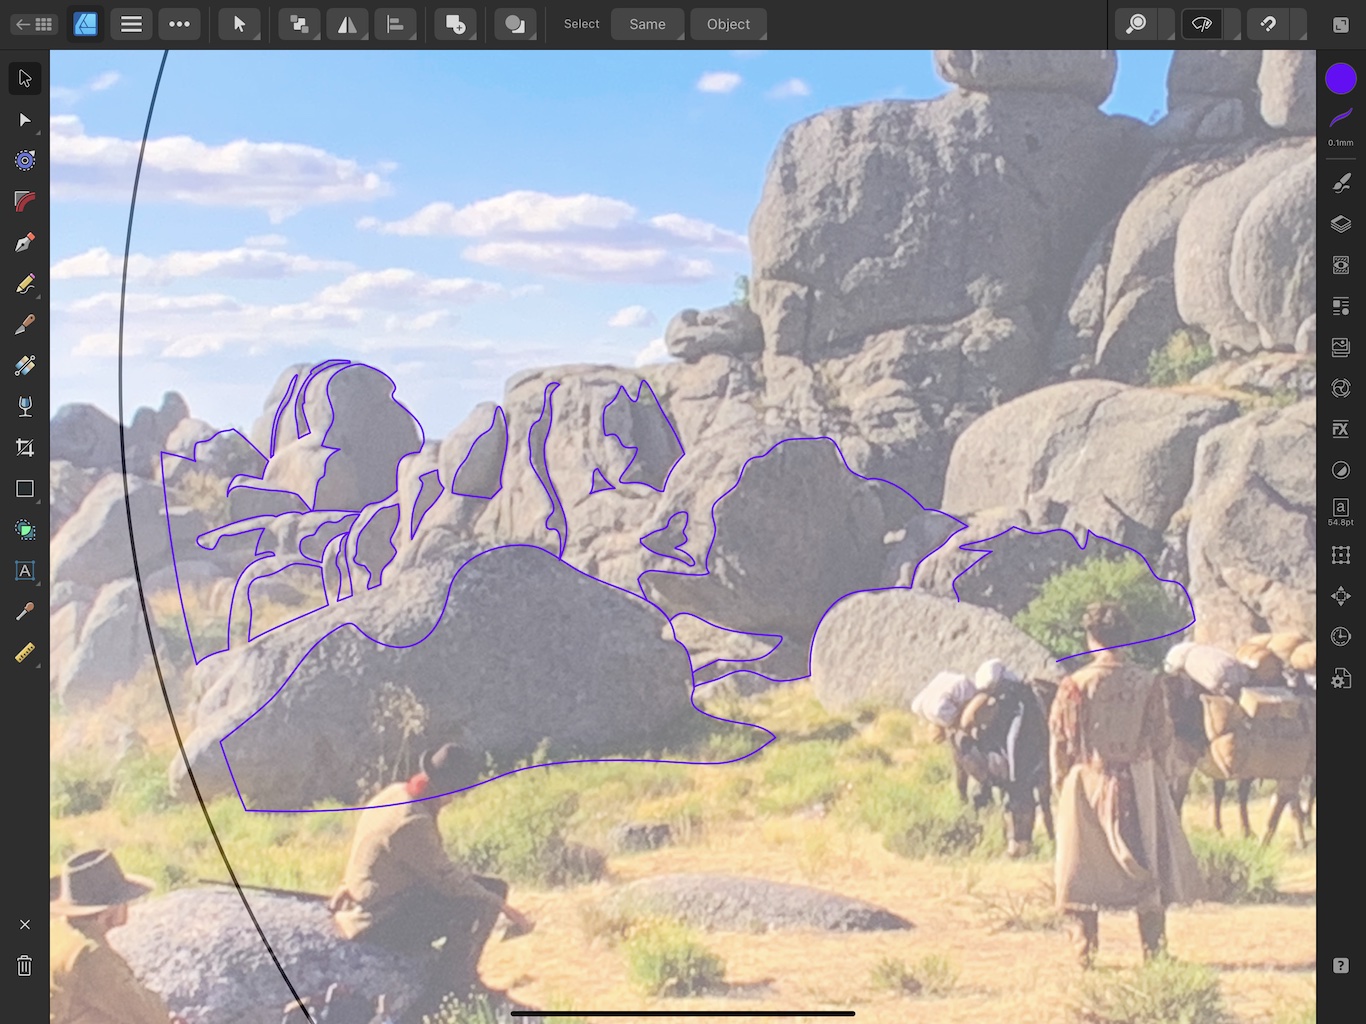
The enclosed areas here are the ‘shade’ with will consist of parallel lines to take up the ink. I prefabricated a set of parallel lines with 0.15 mm spacing which seemed the best after testing.
In Designer there is a command called Divide which will clip those parallel lines to the other curves but leave them as vectors useable for SVGs.
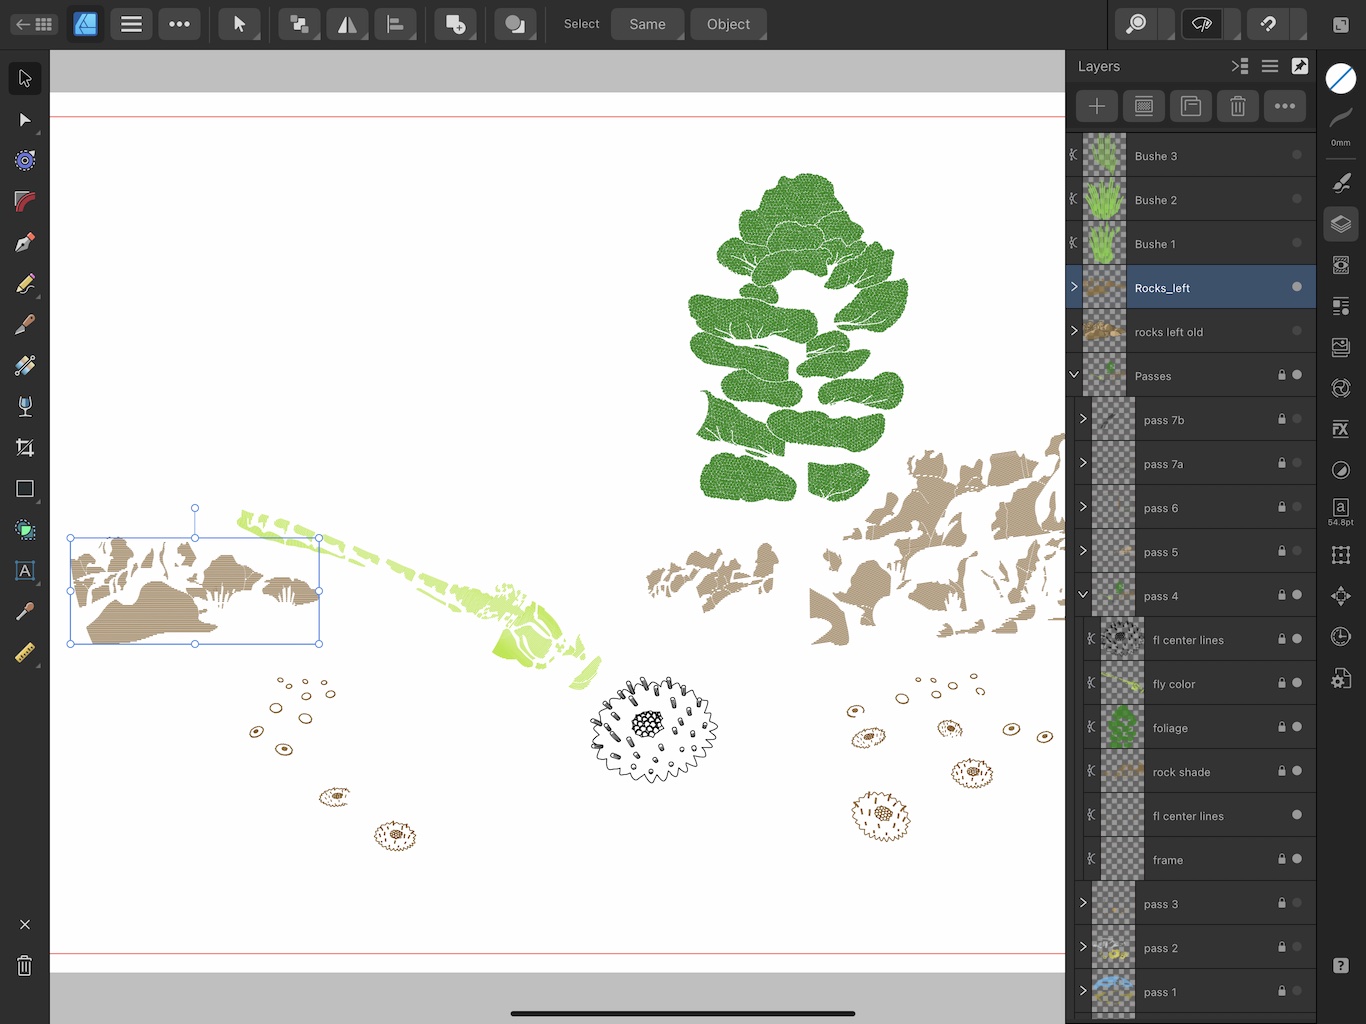
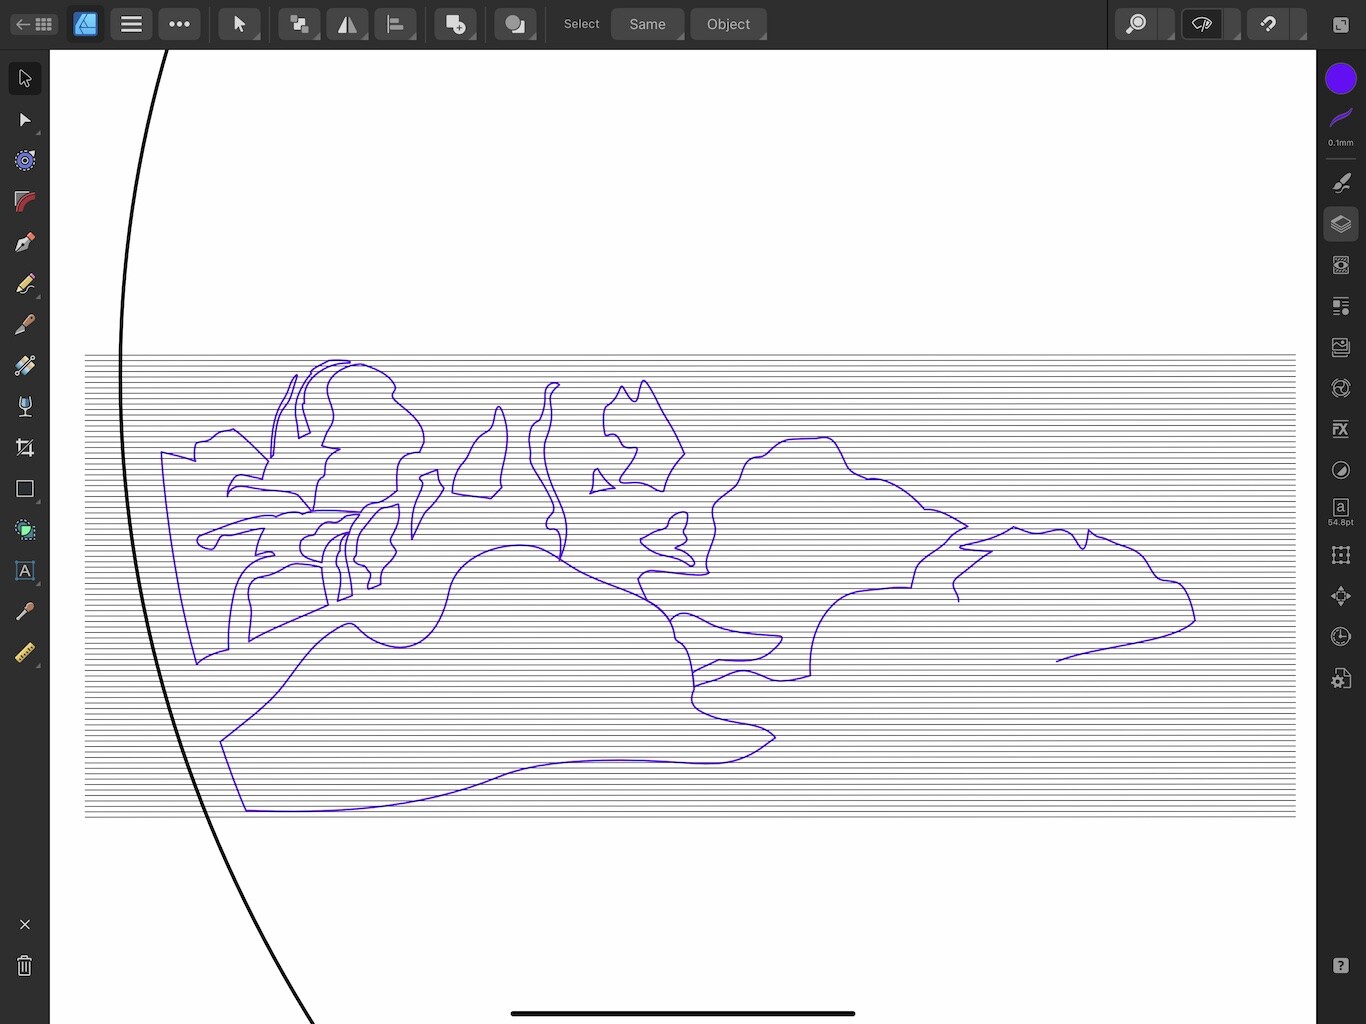
It’s a bit more work creating the ‘sun’ fields having to incorporate the outlines drawn earlier. Shown together and colored:
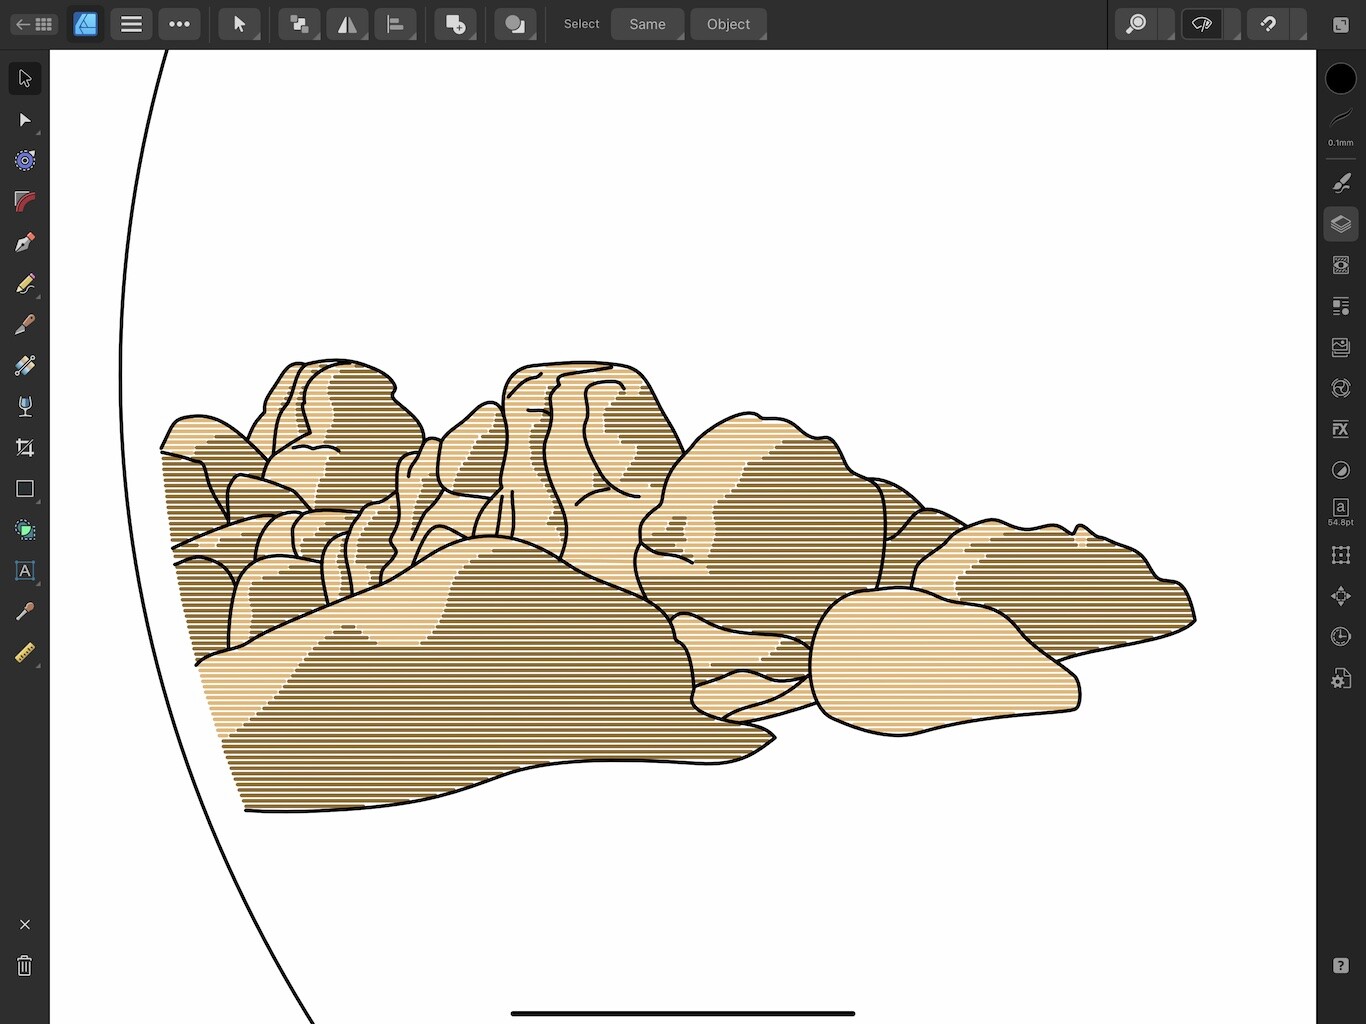
Note: I found it best to NOT engrave over other lines. I typically stop lines at the edges of other lines (drawn at 0.10 mm width). Yes, enormous work. So, if Im using a matte for, say, both the sun and shade as with the rocks, I will size the matte line at 0.10 mm and use Designer’s Expand Stroke function to give me two lines 0.10 mm apart, one for the sun area and one for the shade.
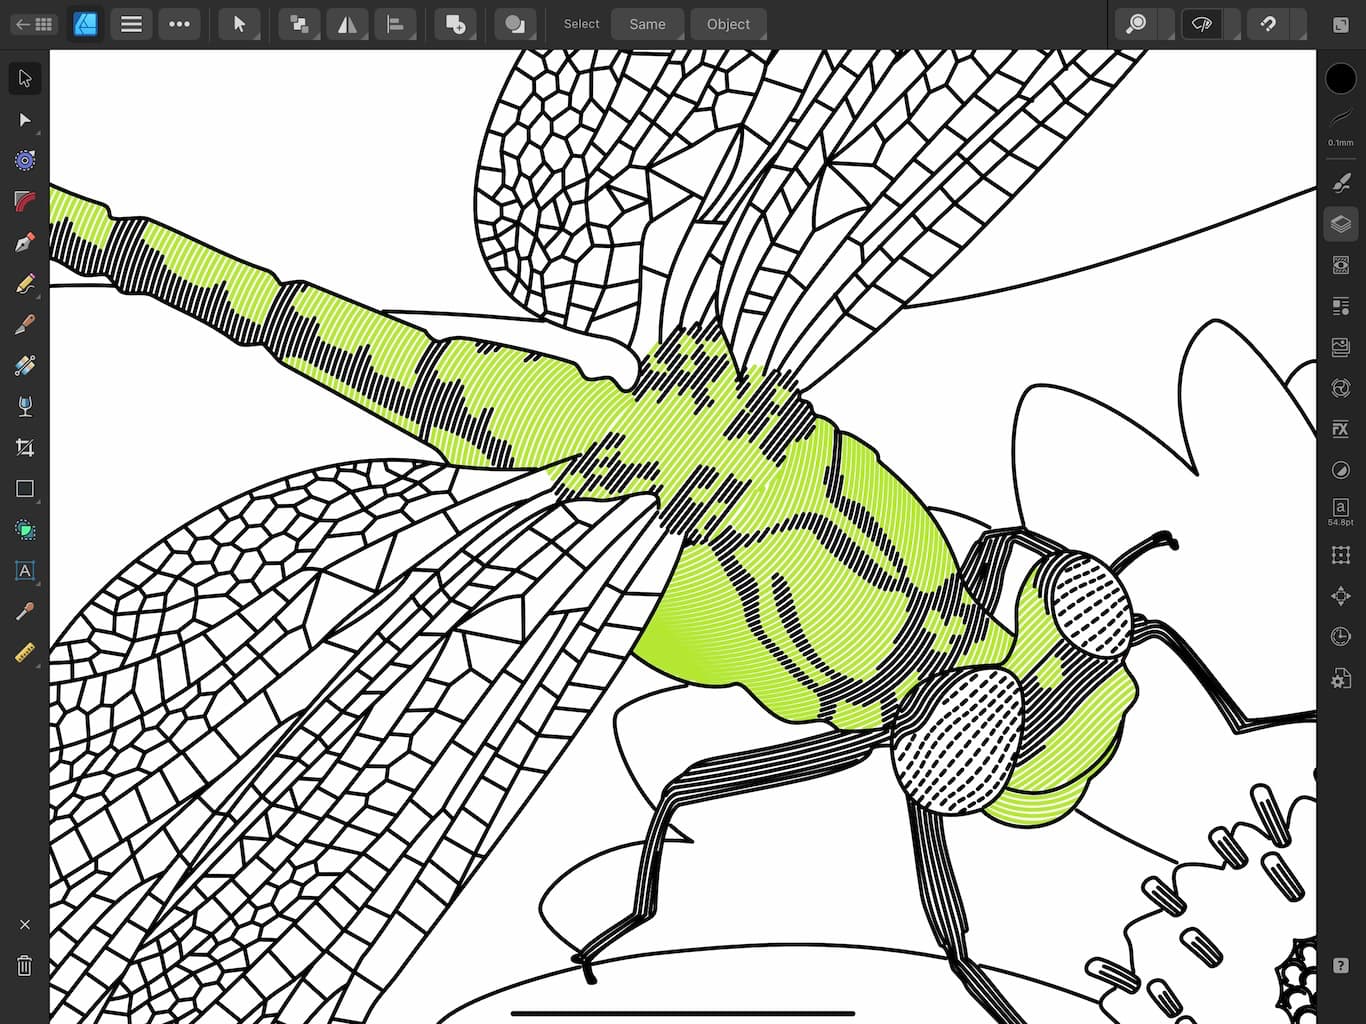
For the dragonfly, I curved the line grid in areas:
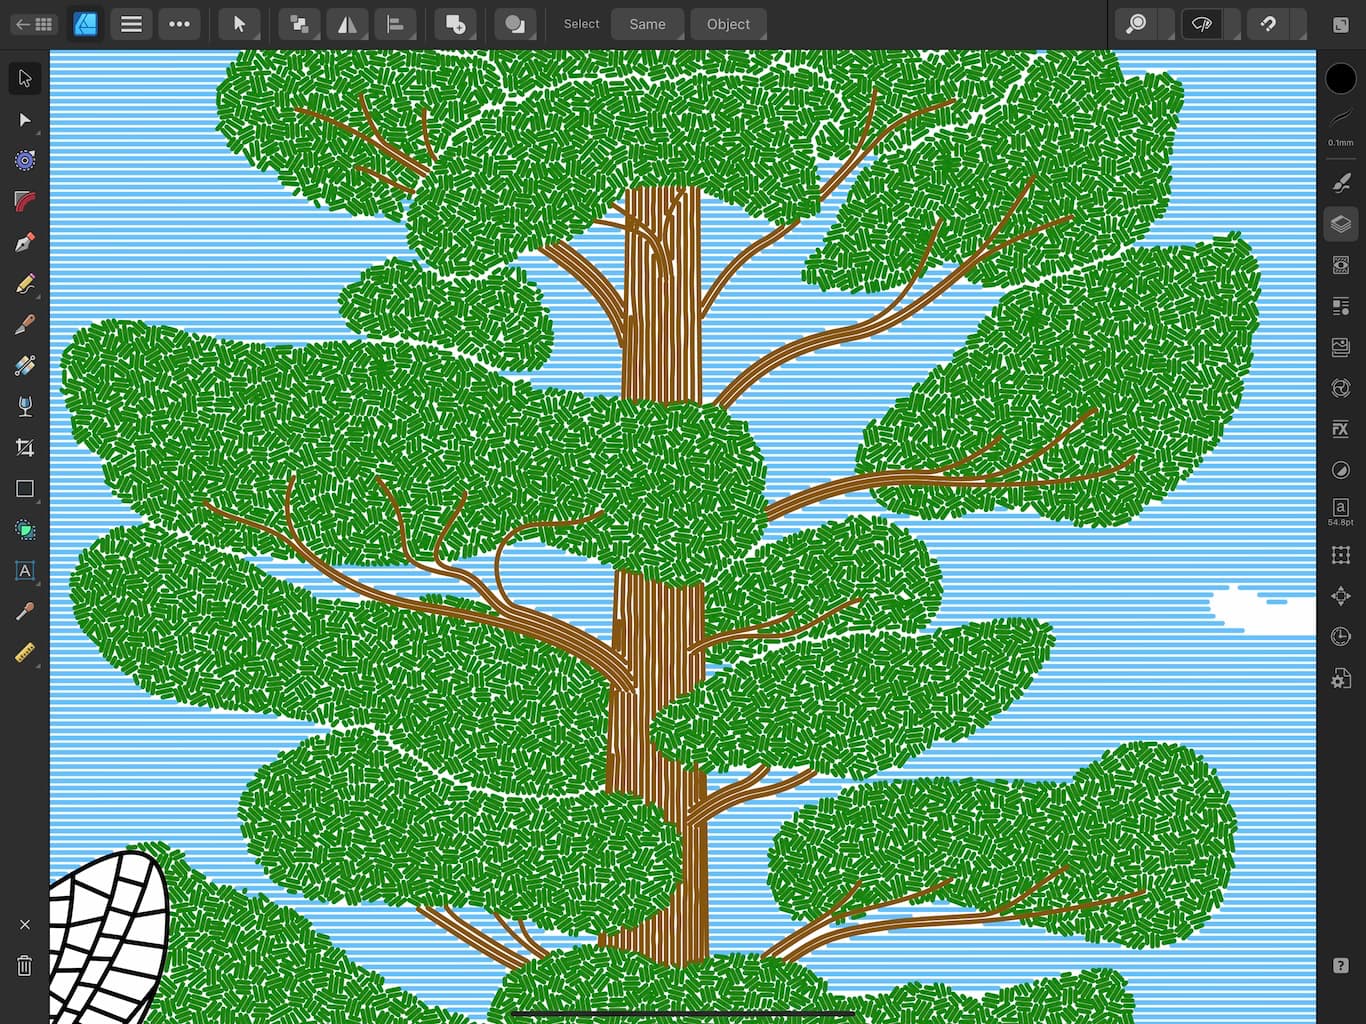
The foliage was also cookie cuttered out from a somewhat random pattern of vector lines:
After all the art is complete I separate the elements into “passes” which can be engraved then inked without the ink contaminating neighboring areas. Here’s pass 1:
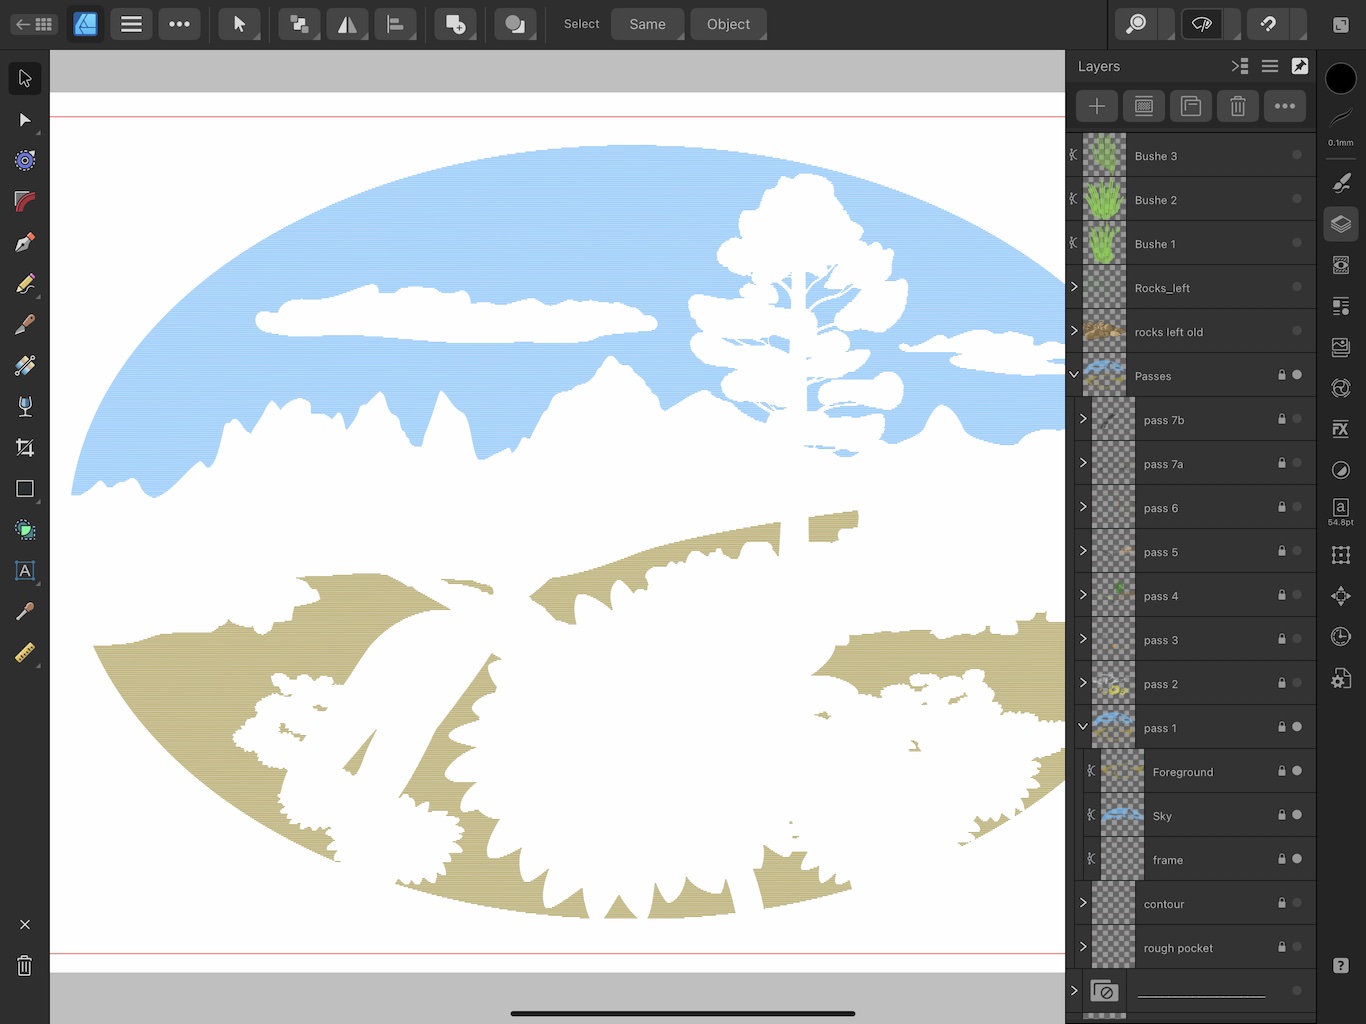
Likewise, passes 2 through 7: