WillAdams
February 18, 2025, 4:49pm
1
as requested on support…
Given the image:
and the dimensions:
There are three possible approaches:
create in Carbide Create Pro using the 3D tools there
create in a 3D CAD/modeling tool of some sort, export as an STL, import that into a 3D CAM tool and then prepare toolpaths
draw things up in profile and assign No Offset Contour toolpaths to the appropriate depths
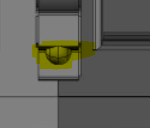
Given a prototype base:
[image]
How to make it in Carbide Create?
First, we have a pixel image with some dimensions:
[F-86 base scan with measurements]
We import that into Carbide Create:
[image]
using “Set Background”:
[image]
and adjust for size:
[image]
[image]
It’s then a matter of drawing and toolpaths and so forth (we will try to do it w/o Create Pro, but will also show that).
For reference, there is an overhead view as well:
[DSC00036]
Since the latter is well-covered in concept at that lin, we will cover the first two here…
WillAdams
February 18, 2025, 4:55pm
2
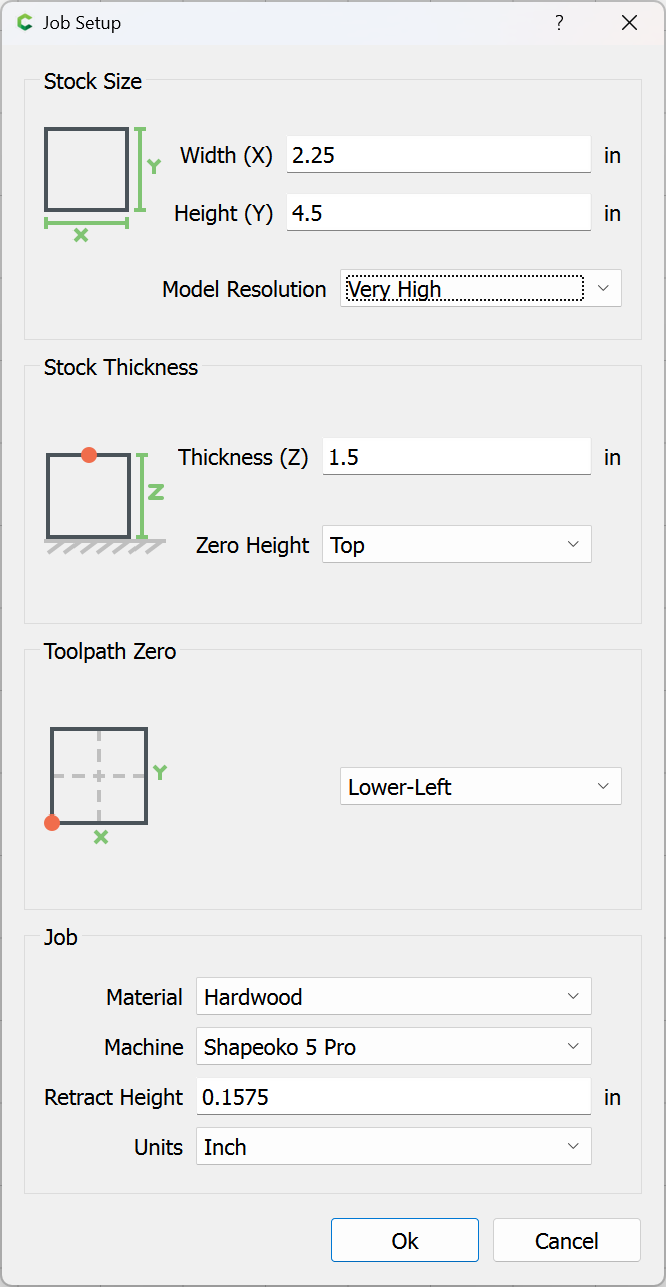
The first drawing includes a bit of a base, so we will round up the dimensions to arrive at:
Ok
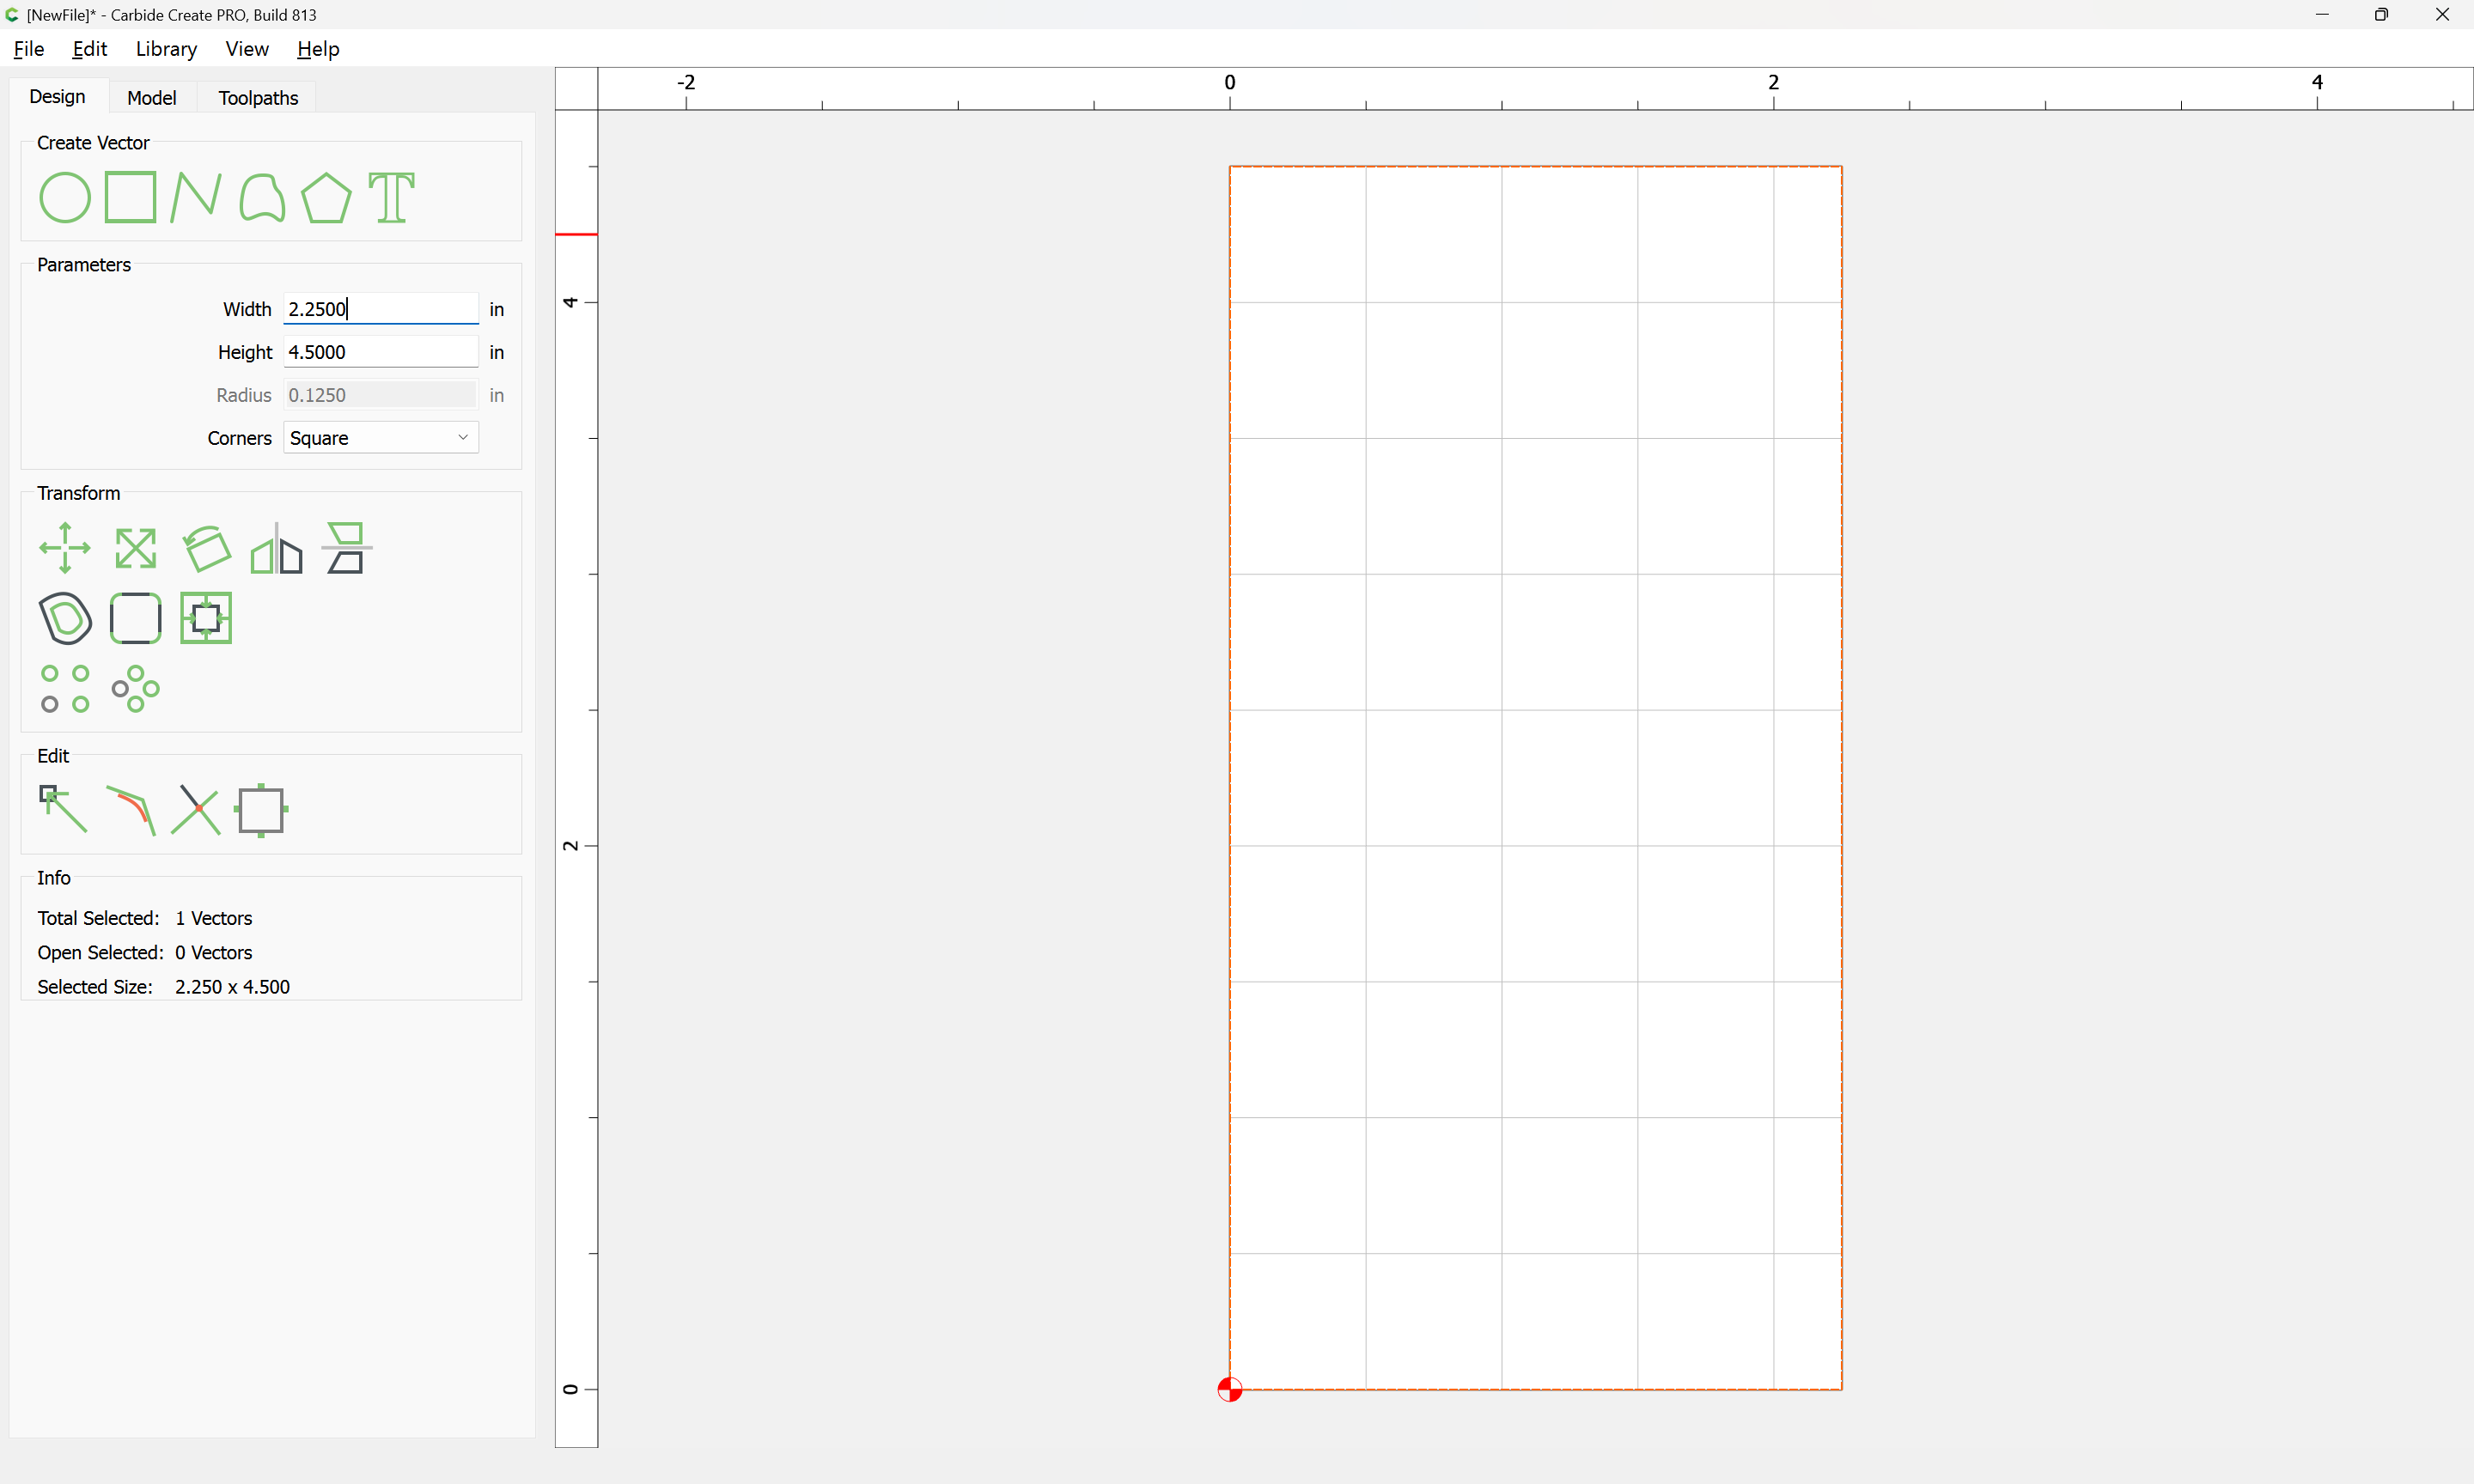
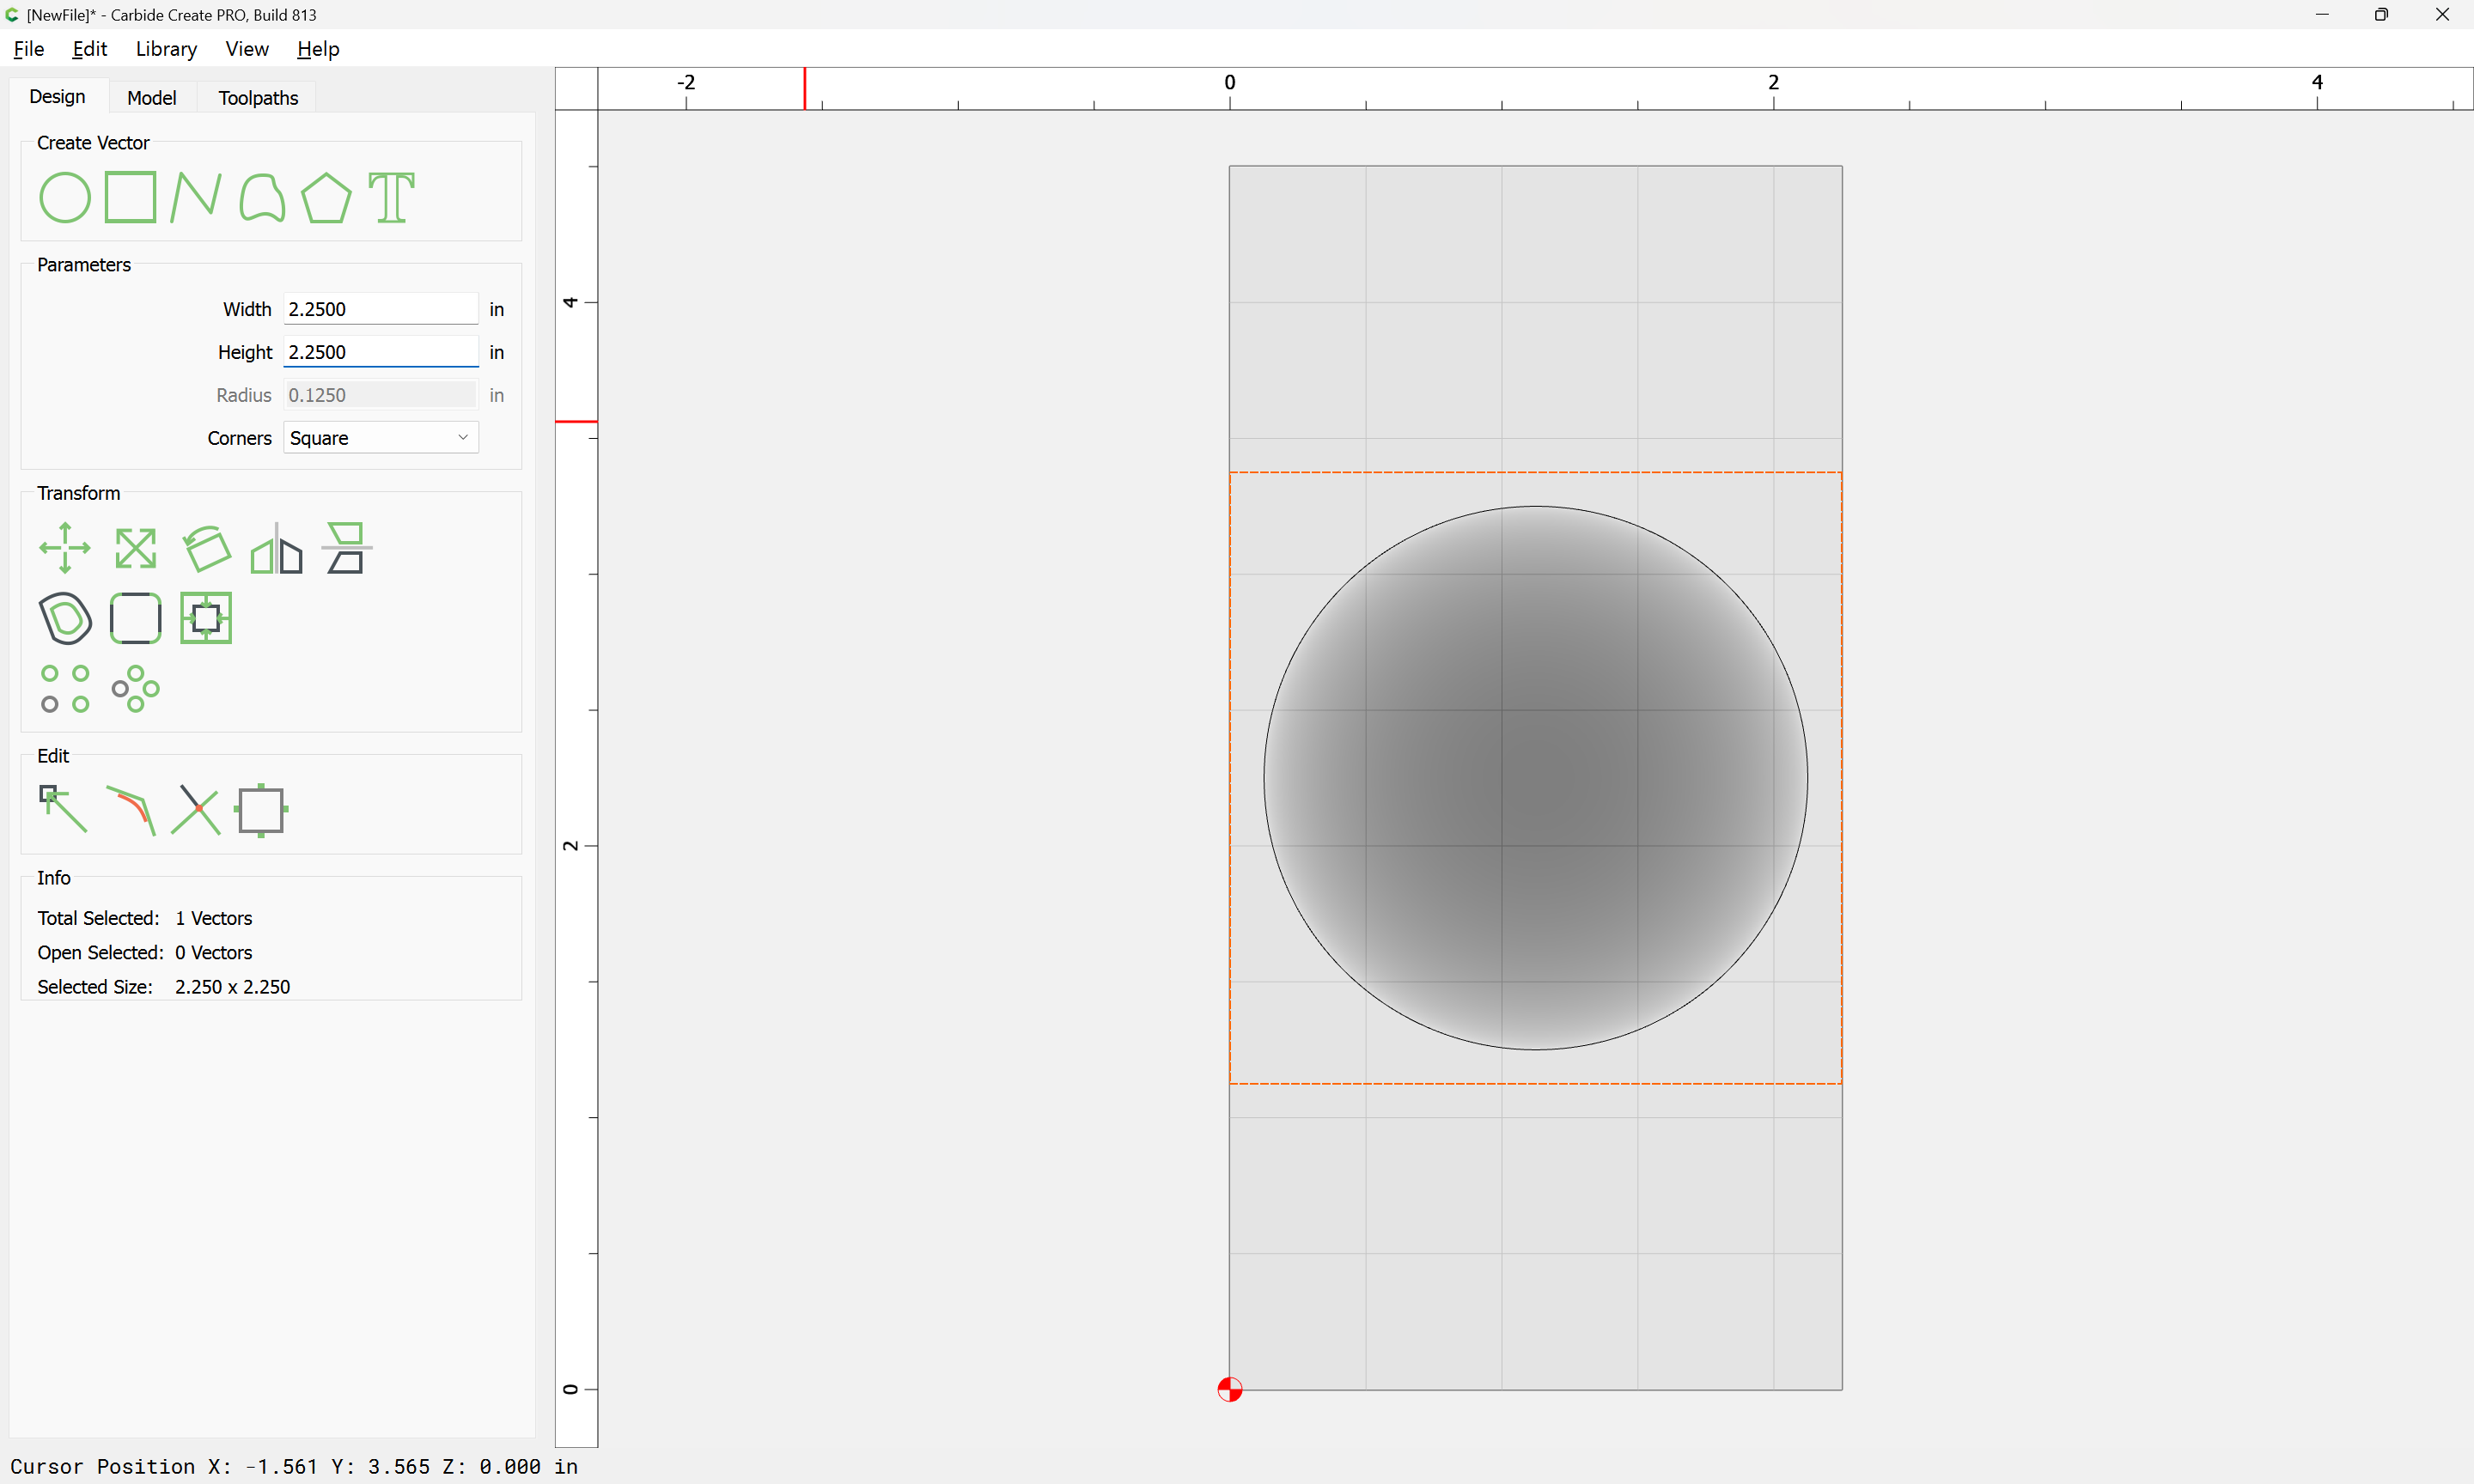
Draw in the base:
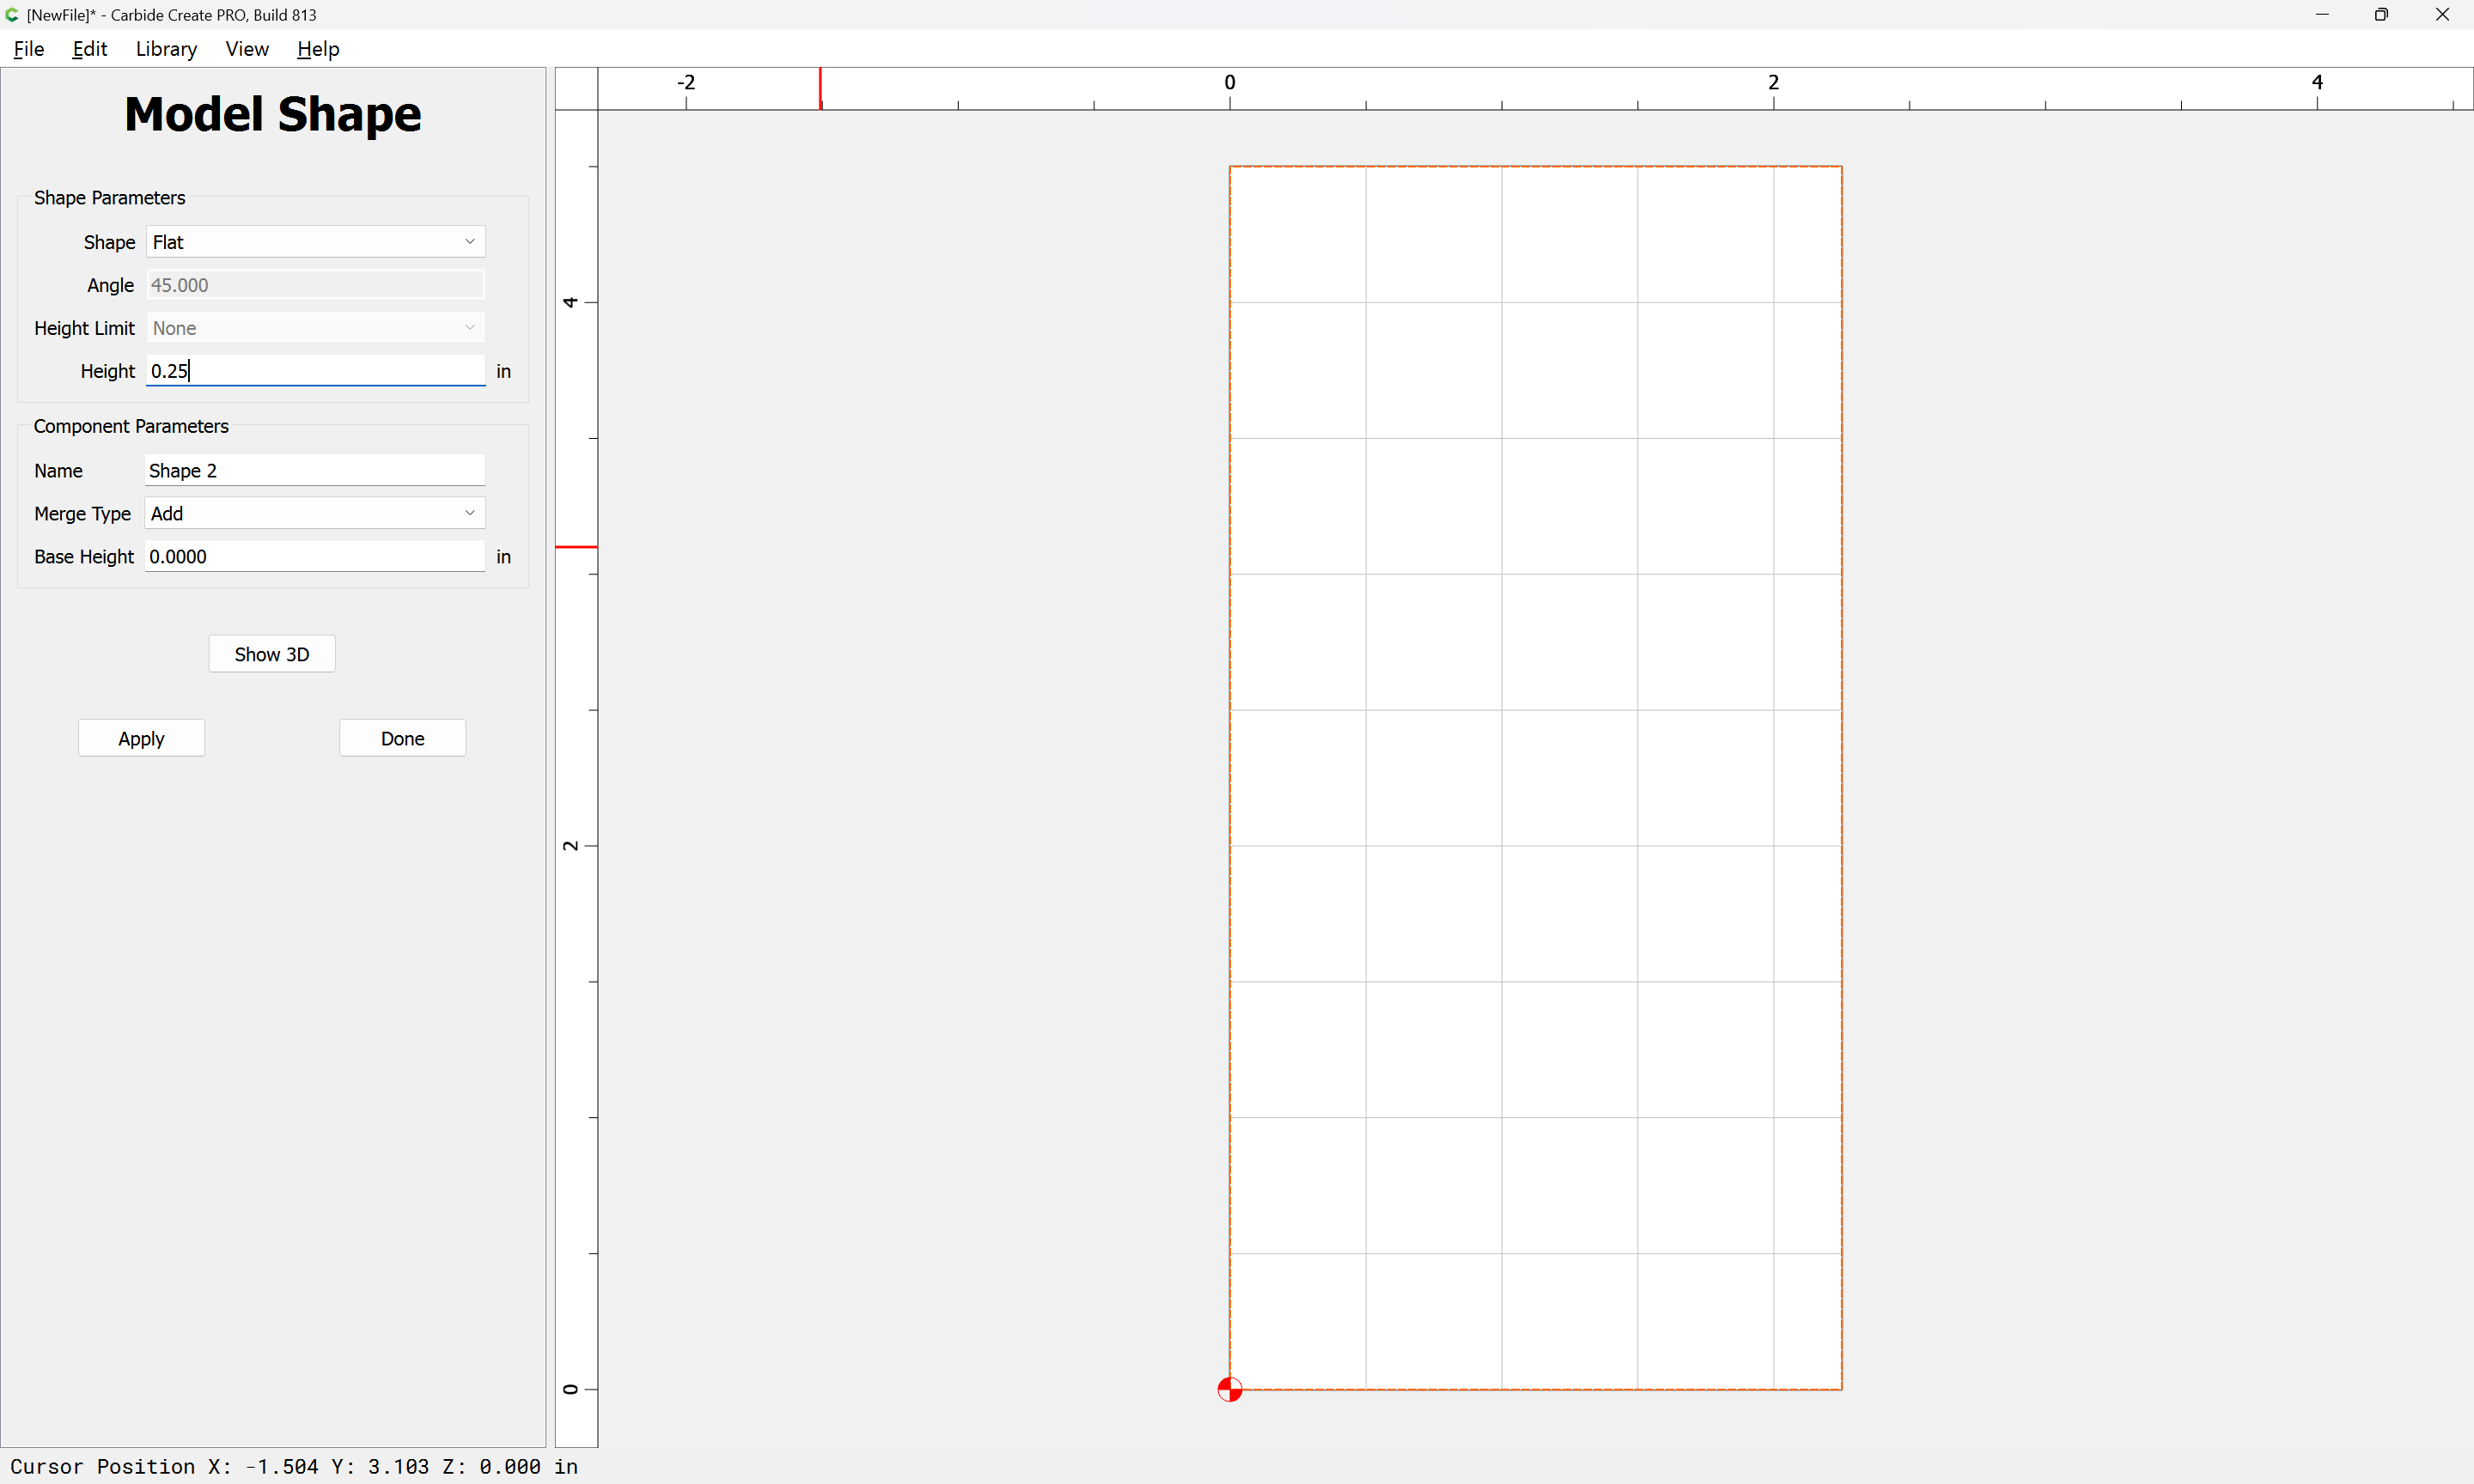
and model that:
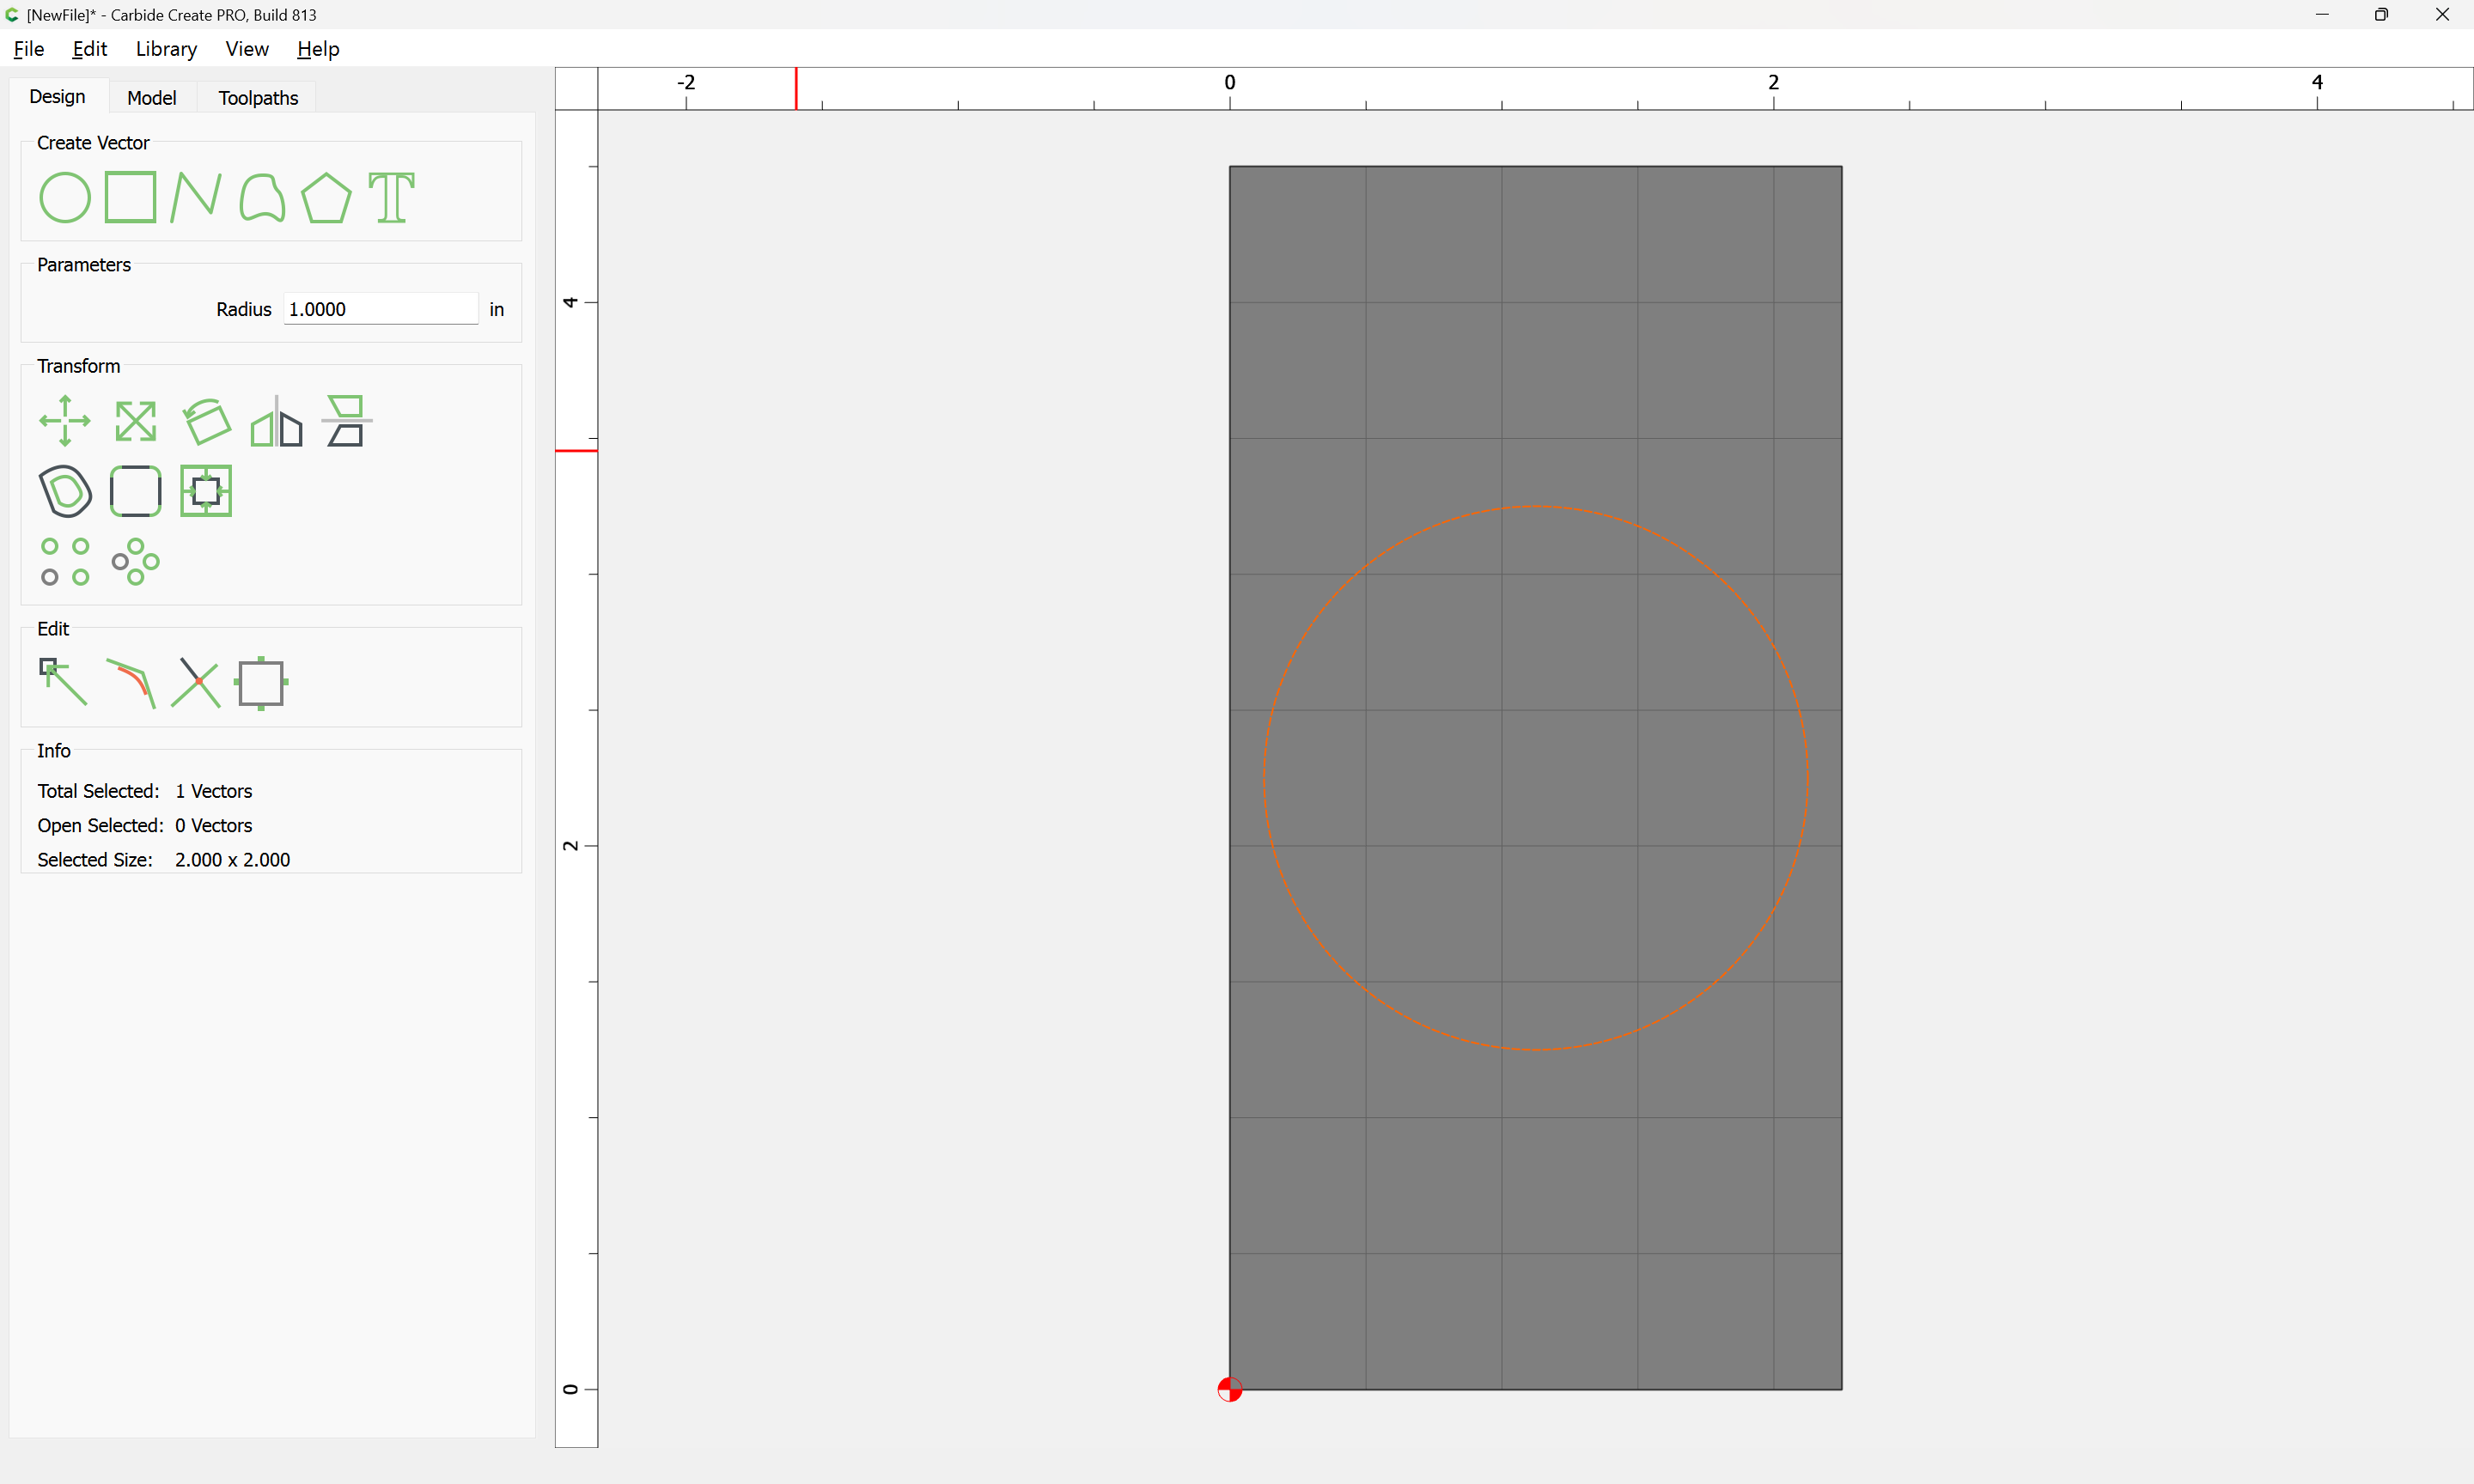
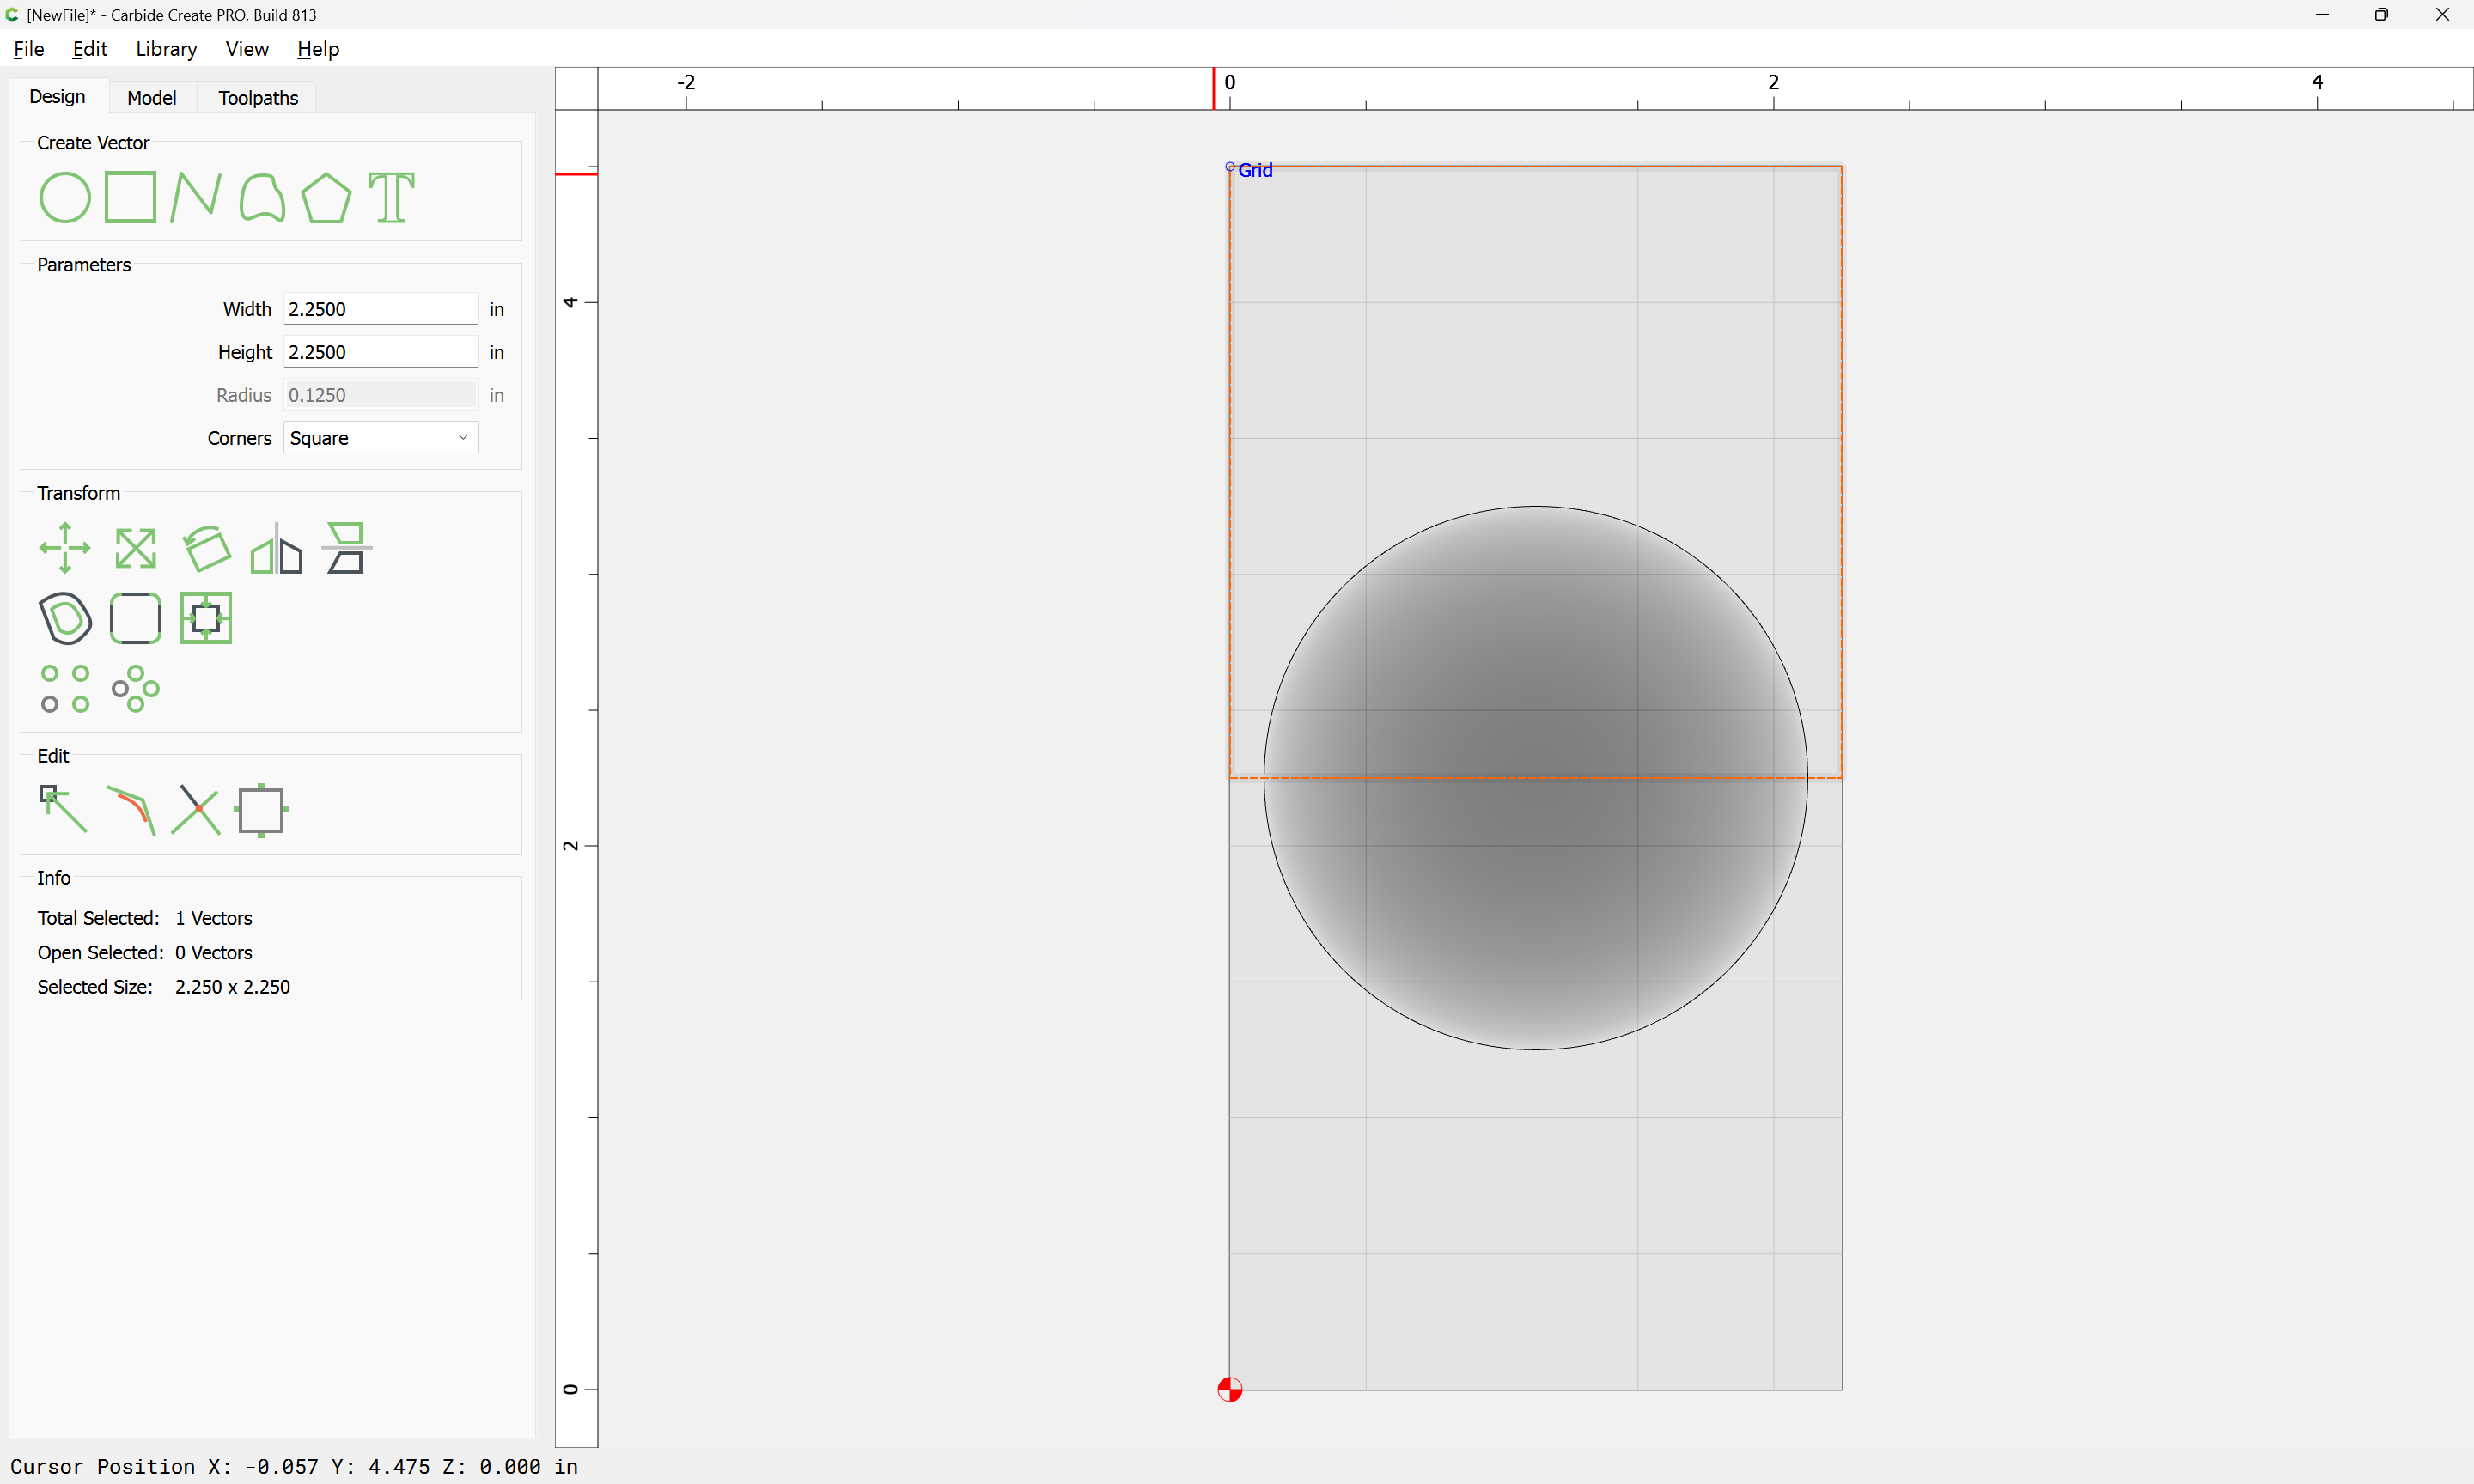
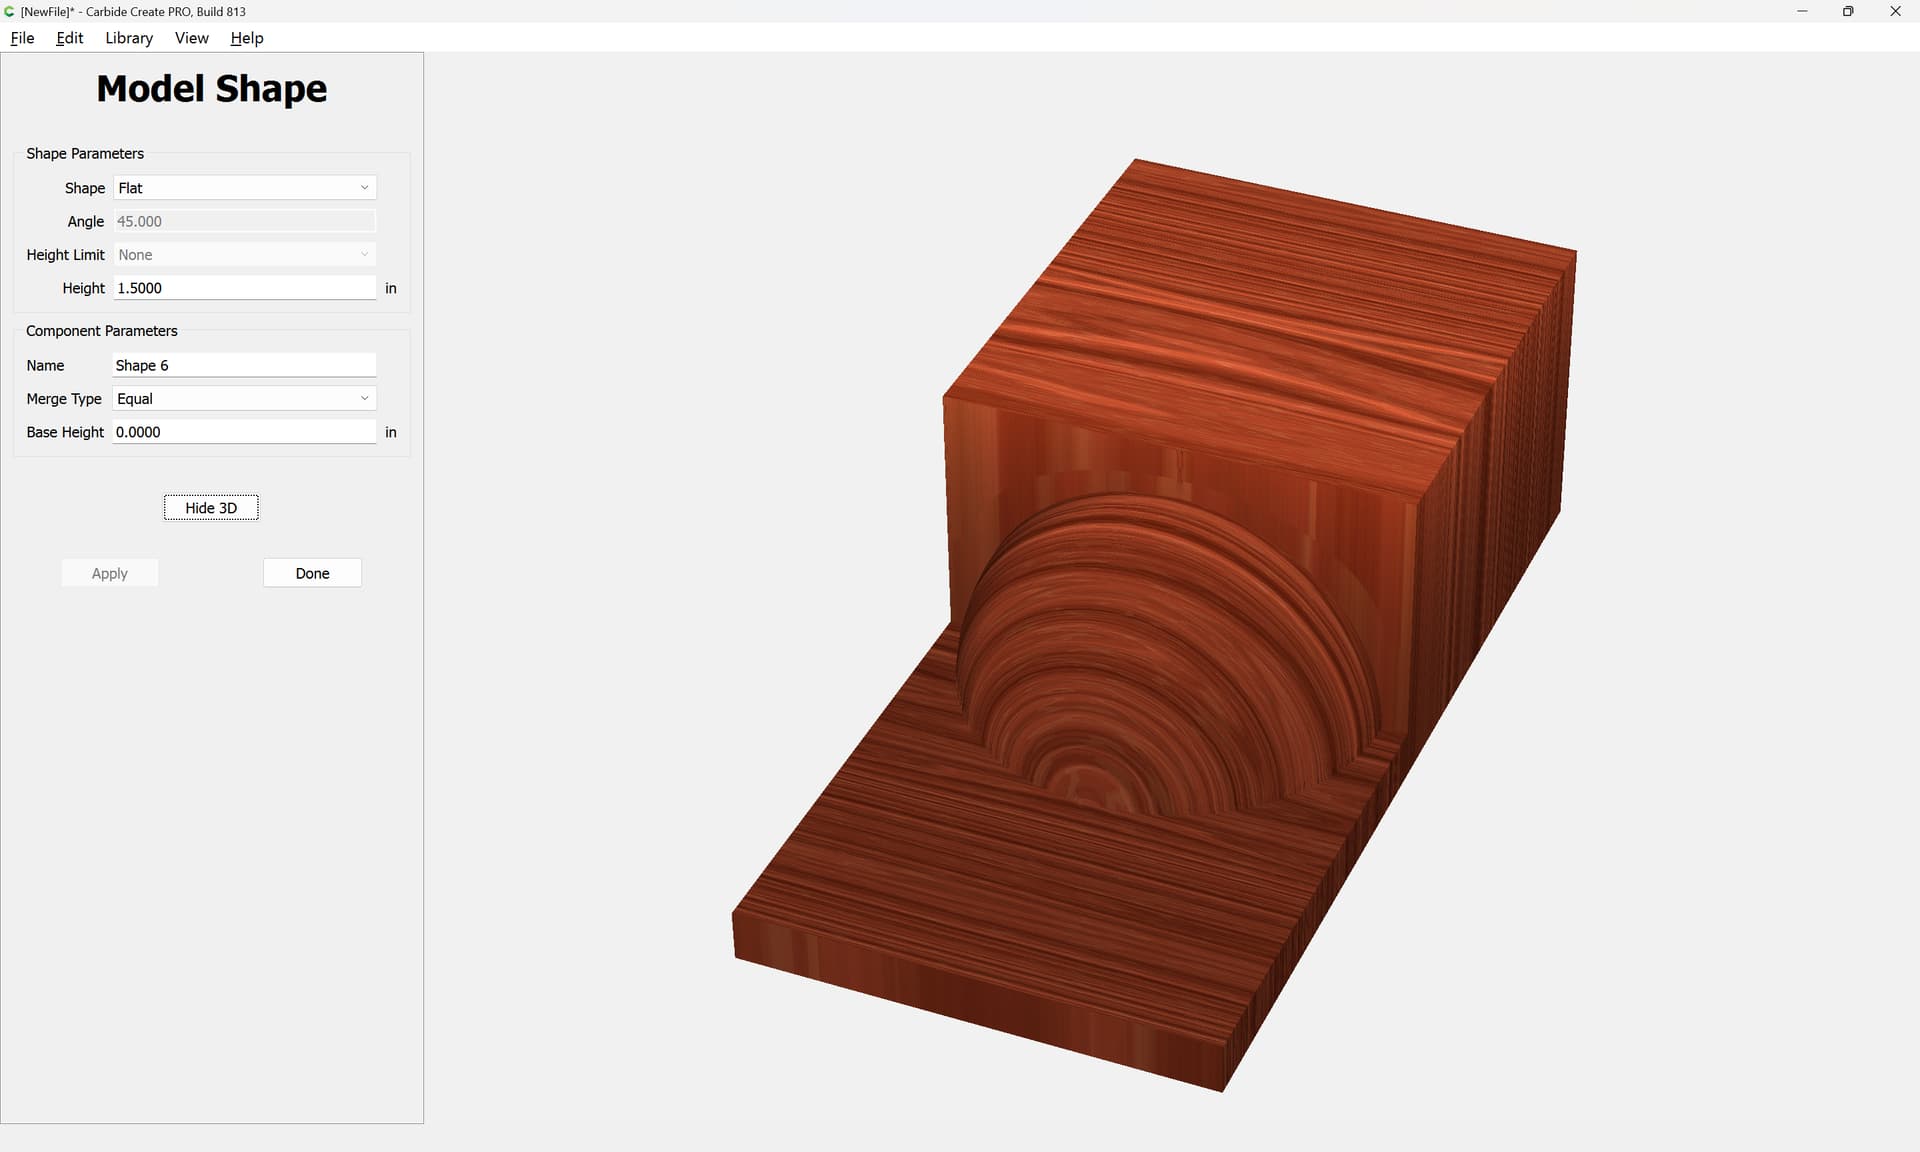
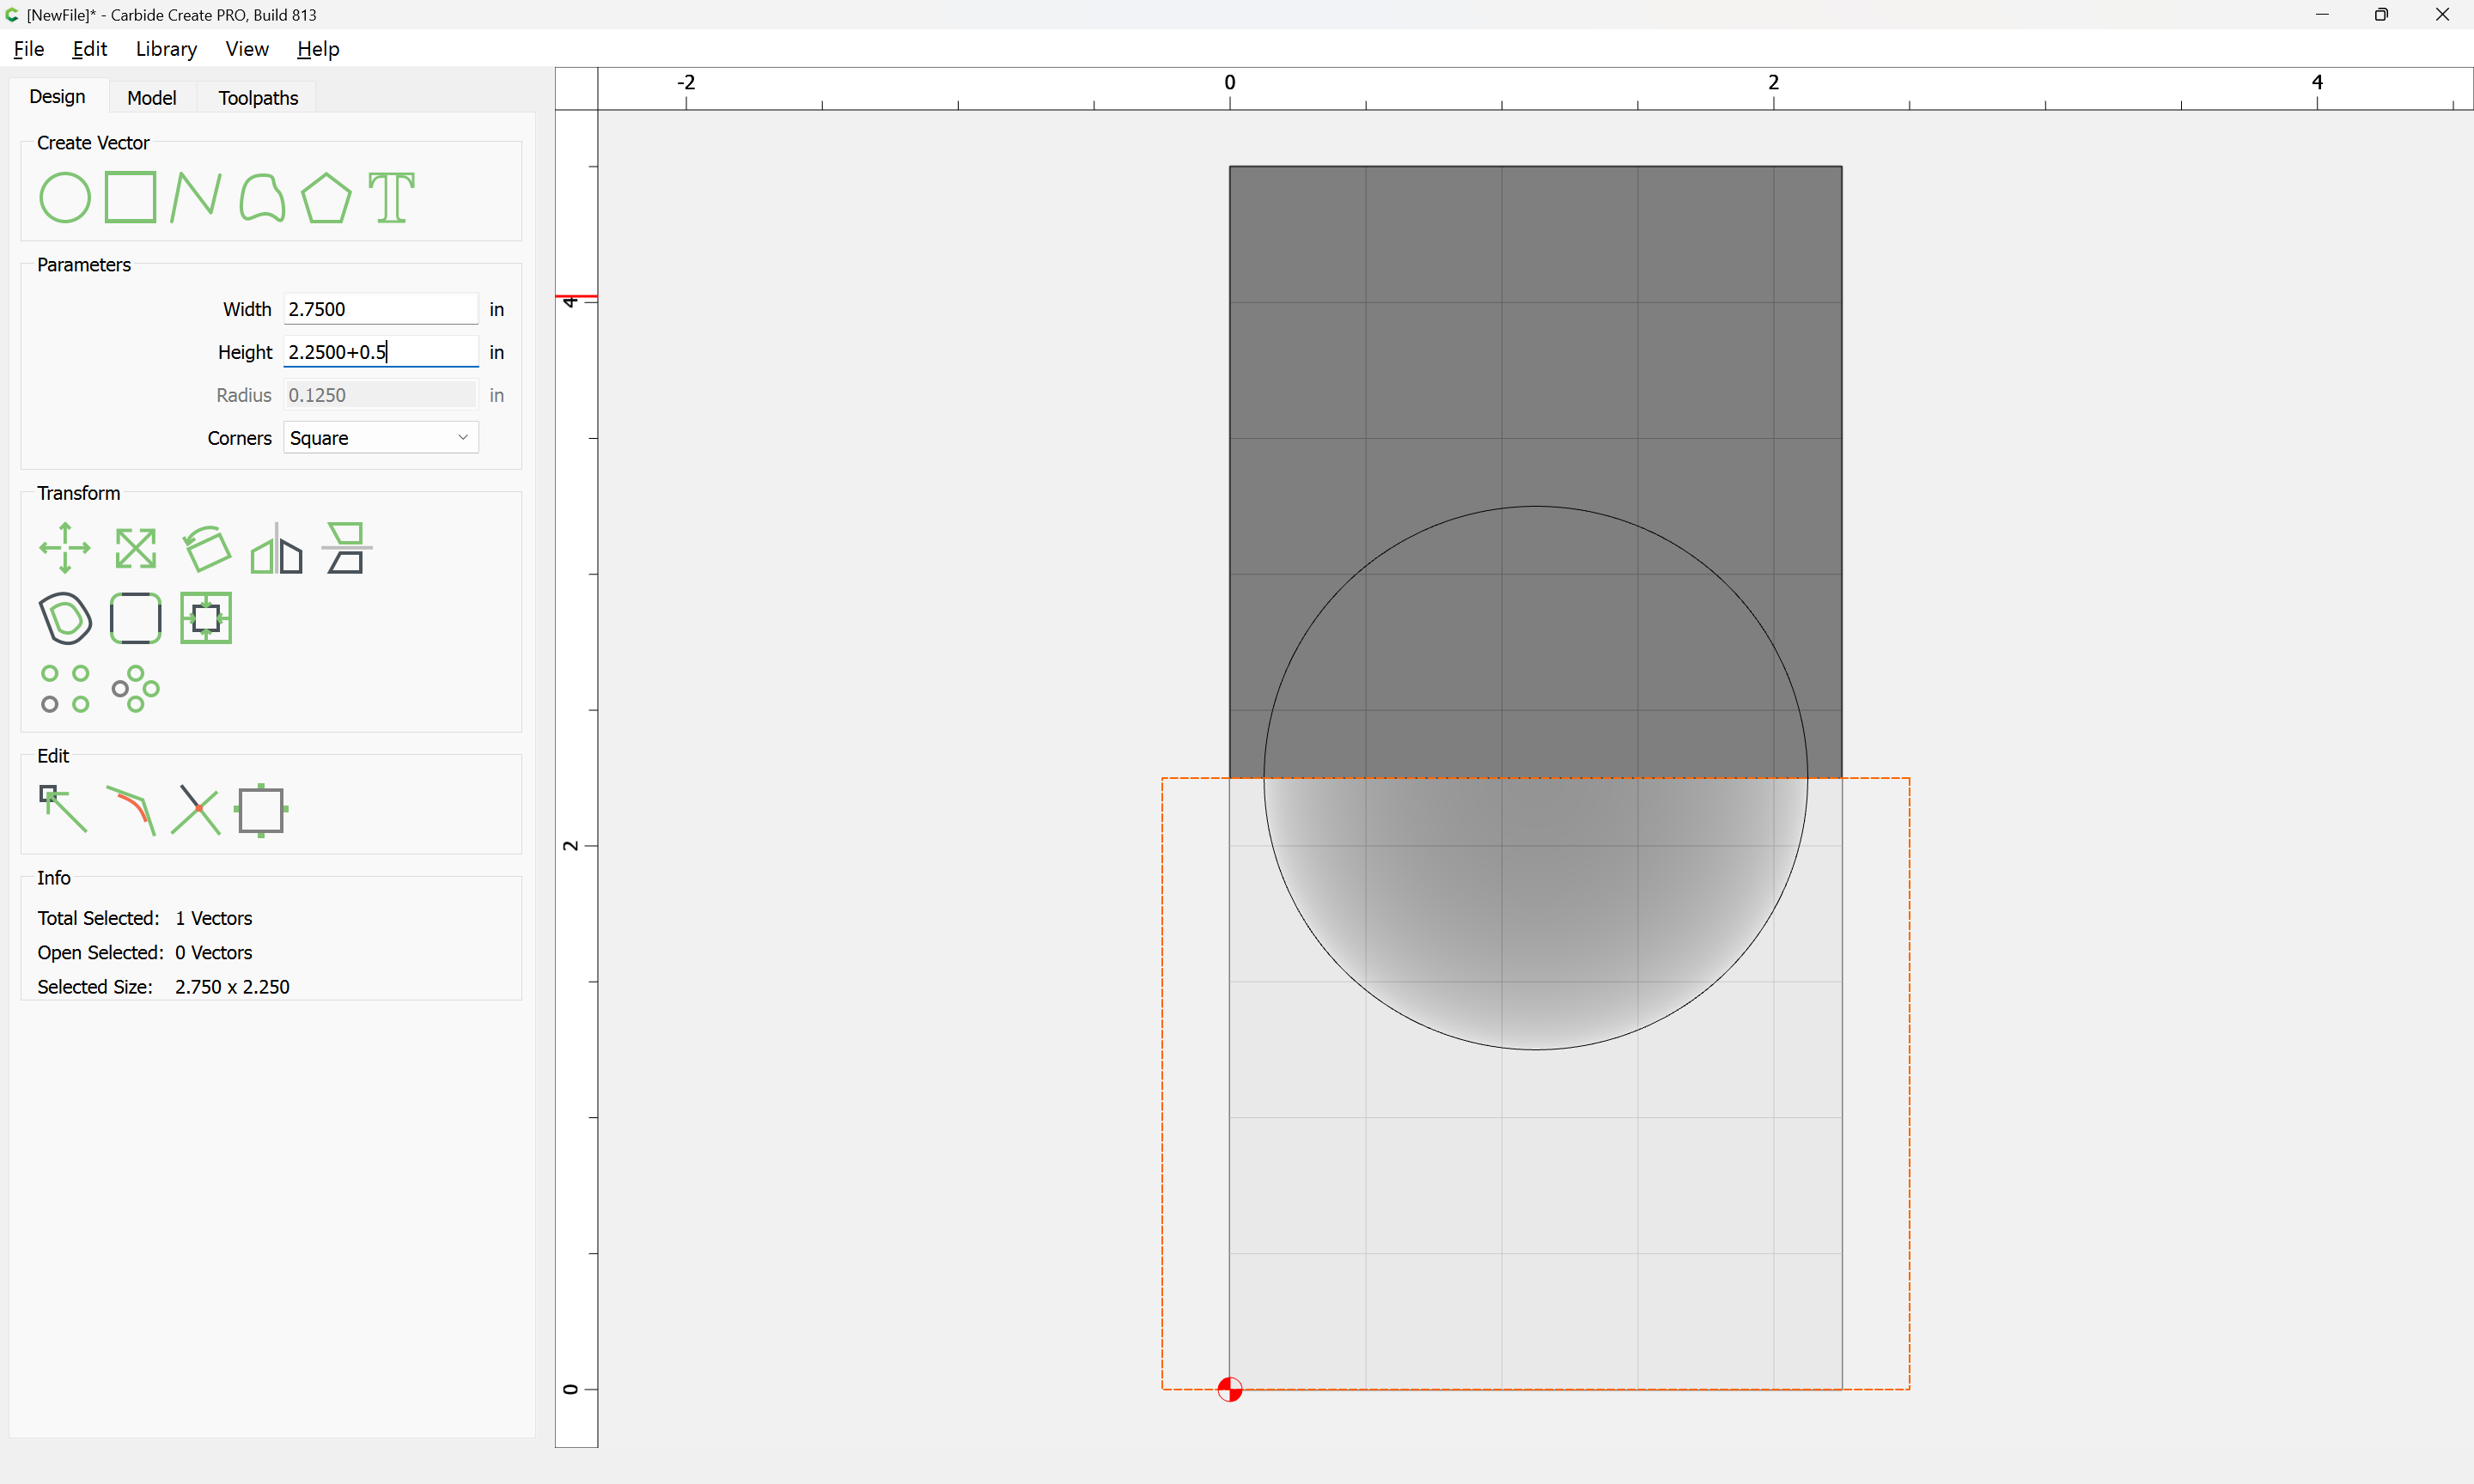
Draw the circle for the partial hemisphere:
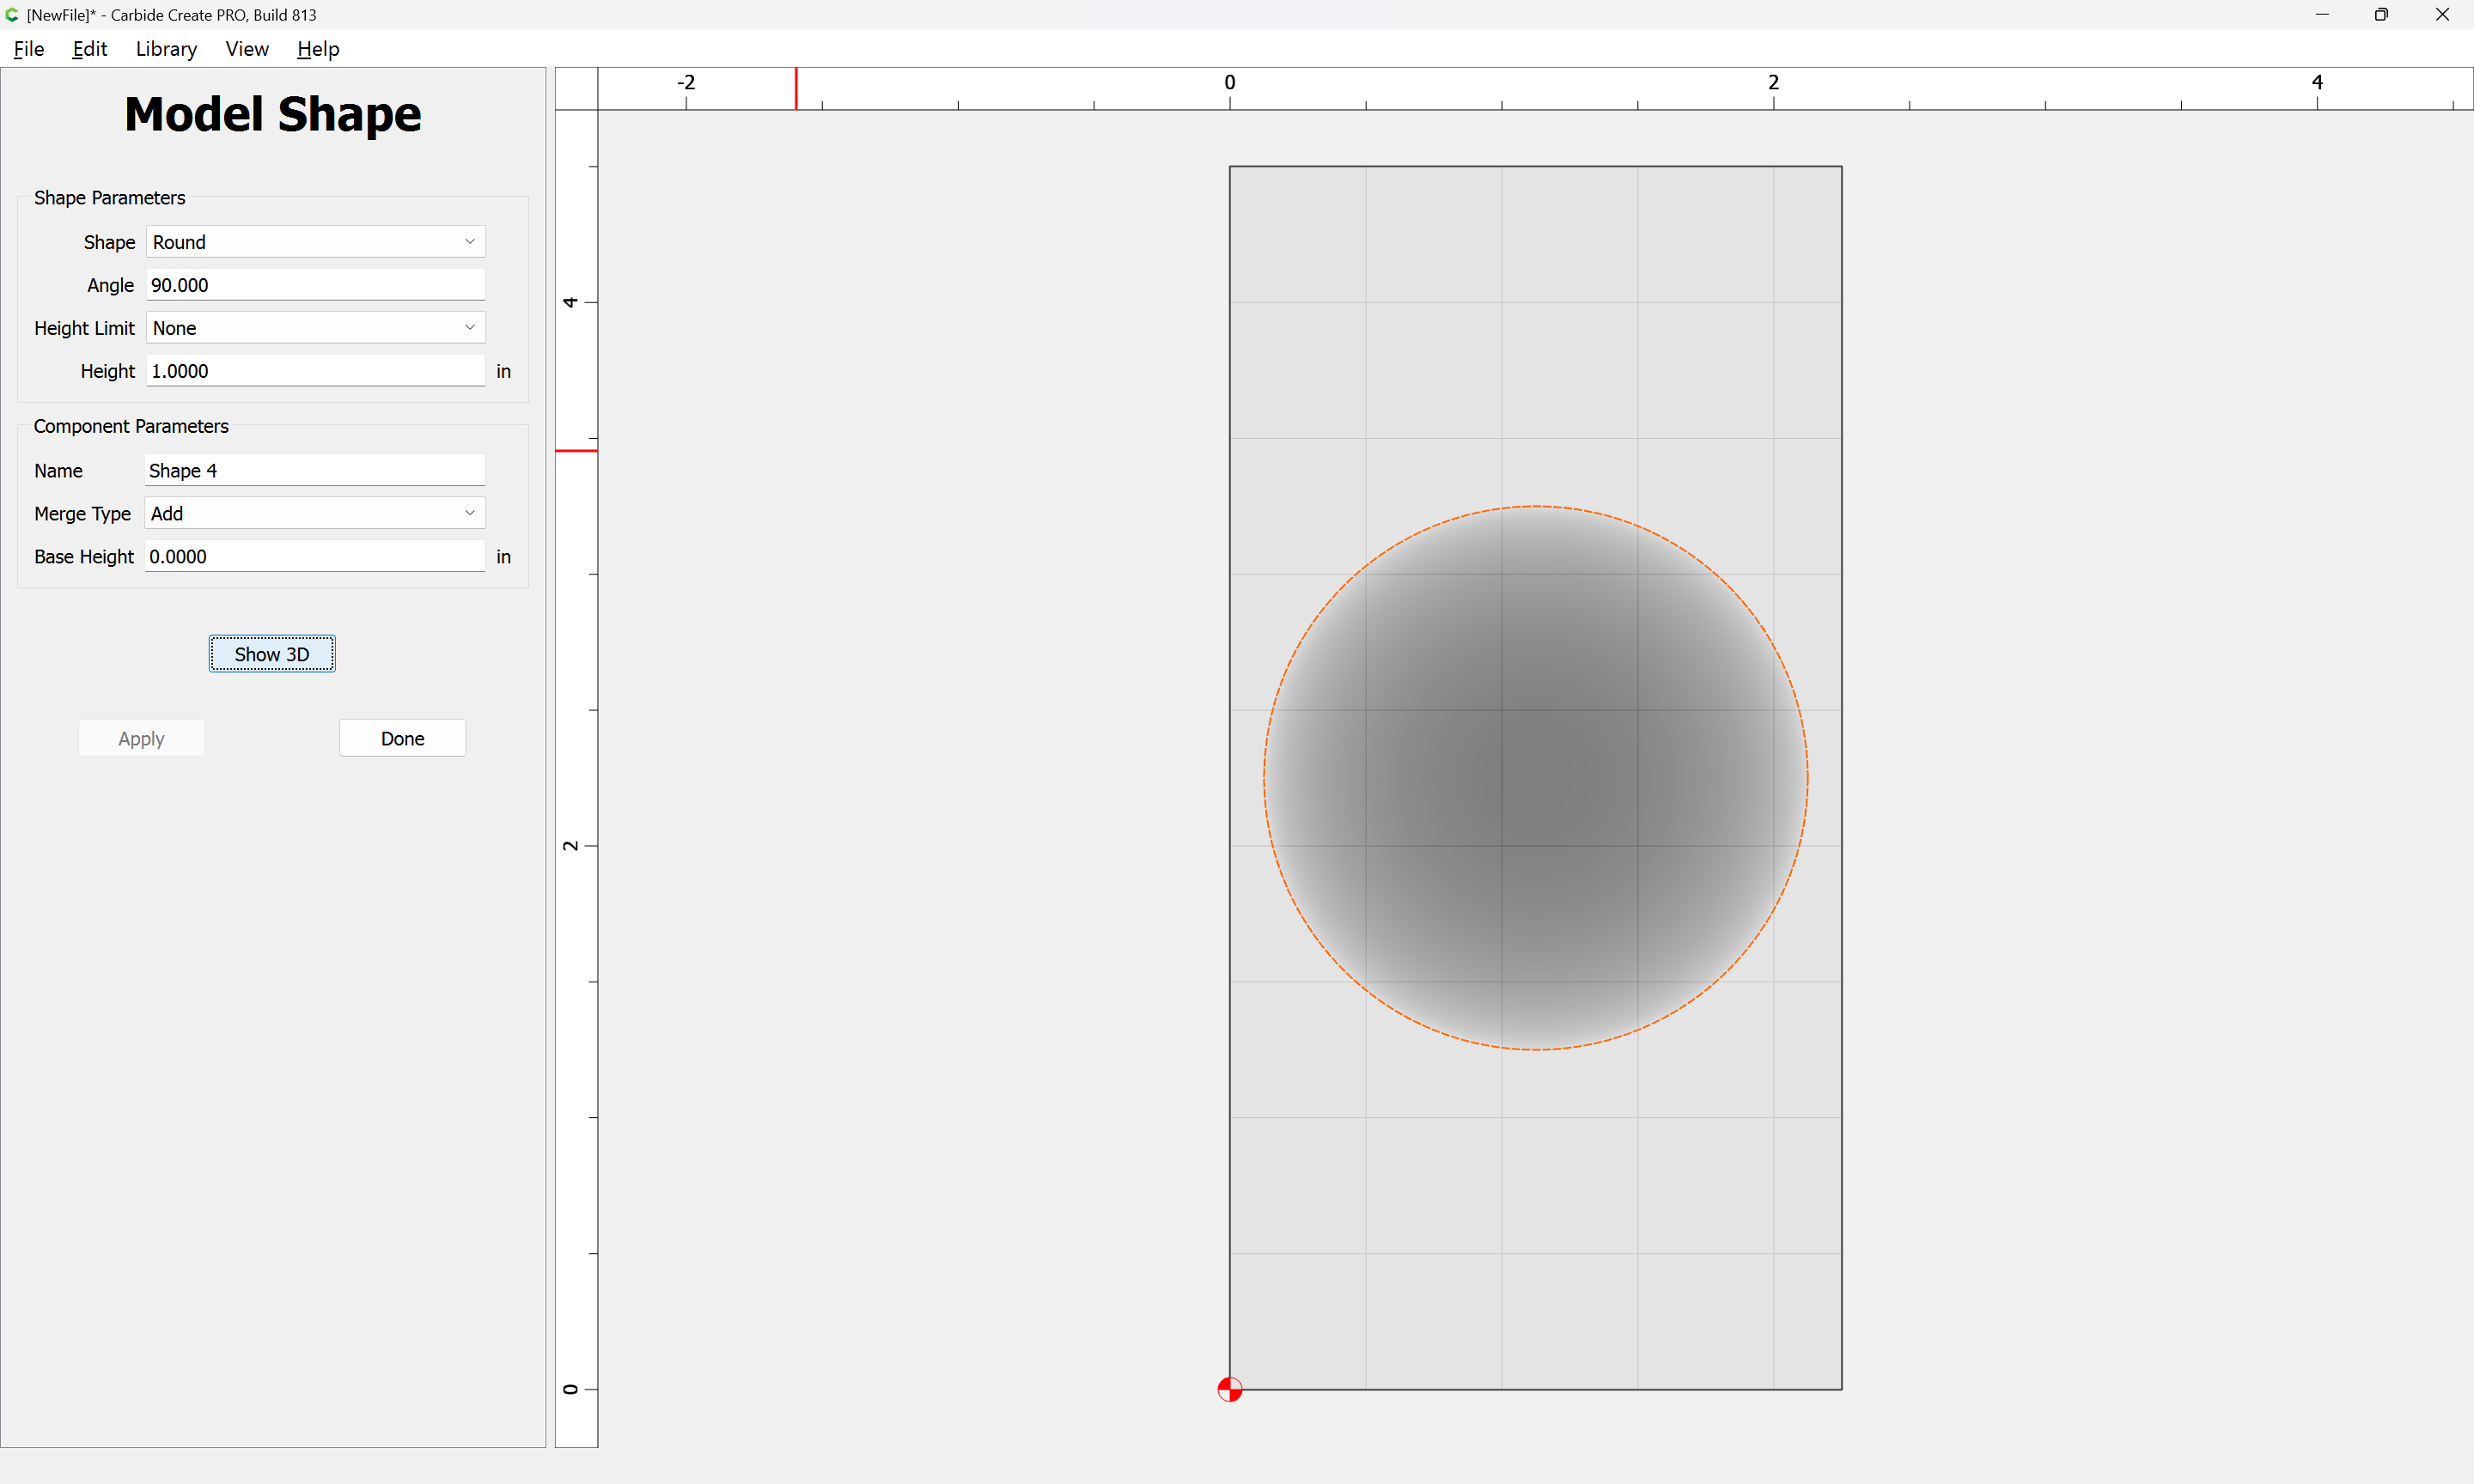
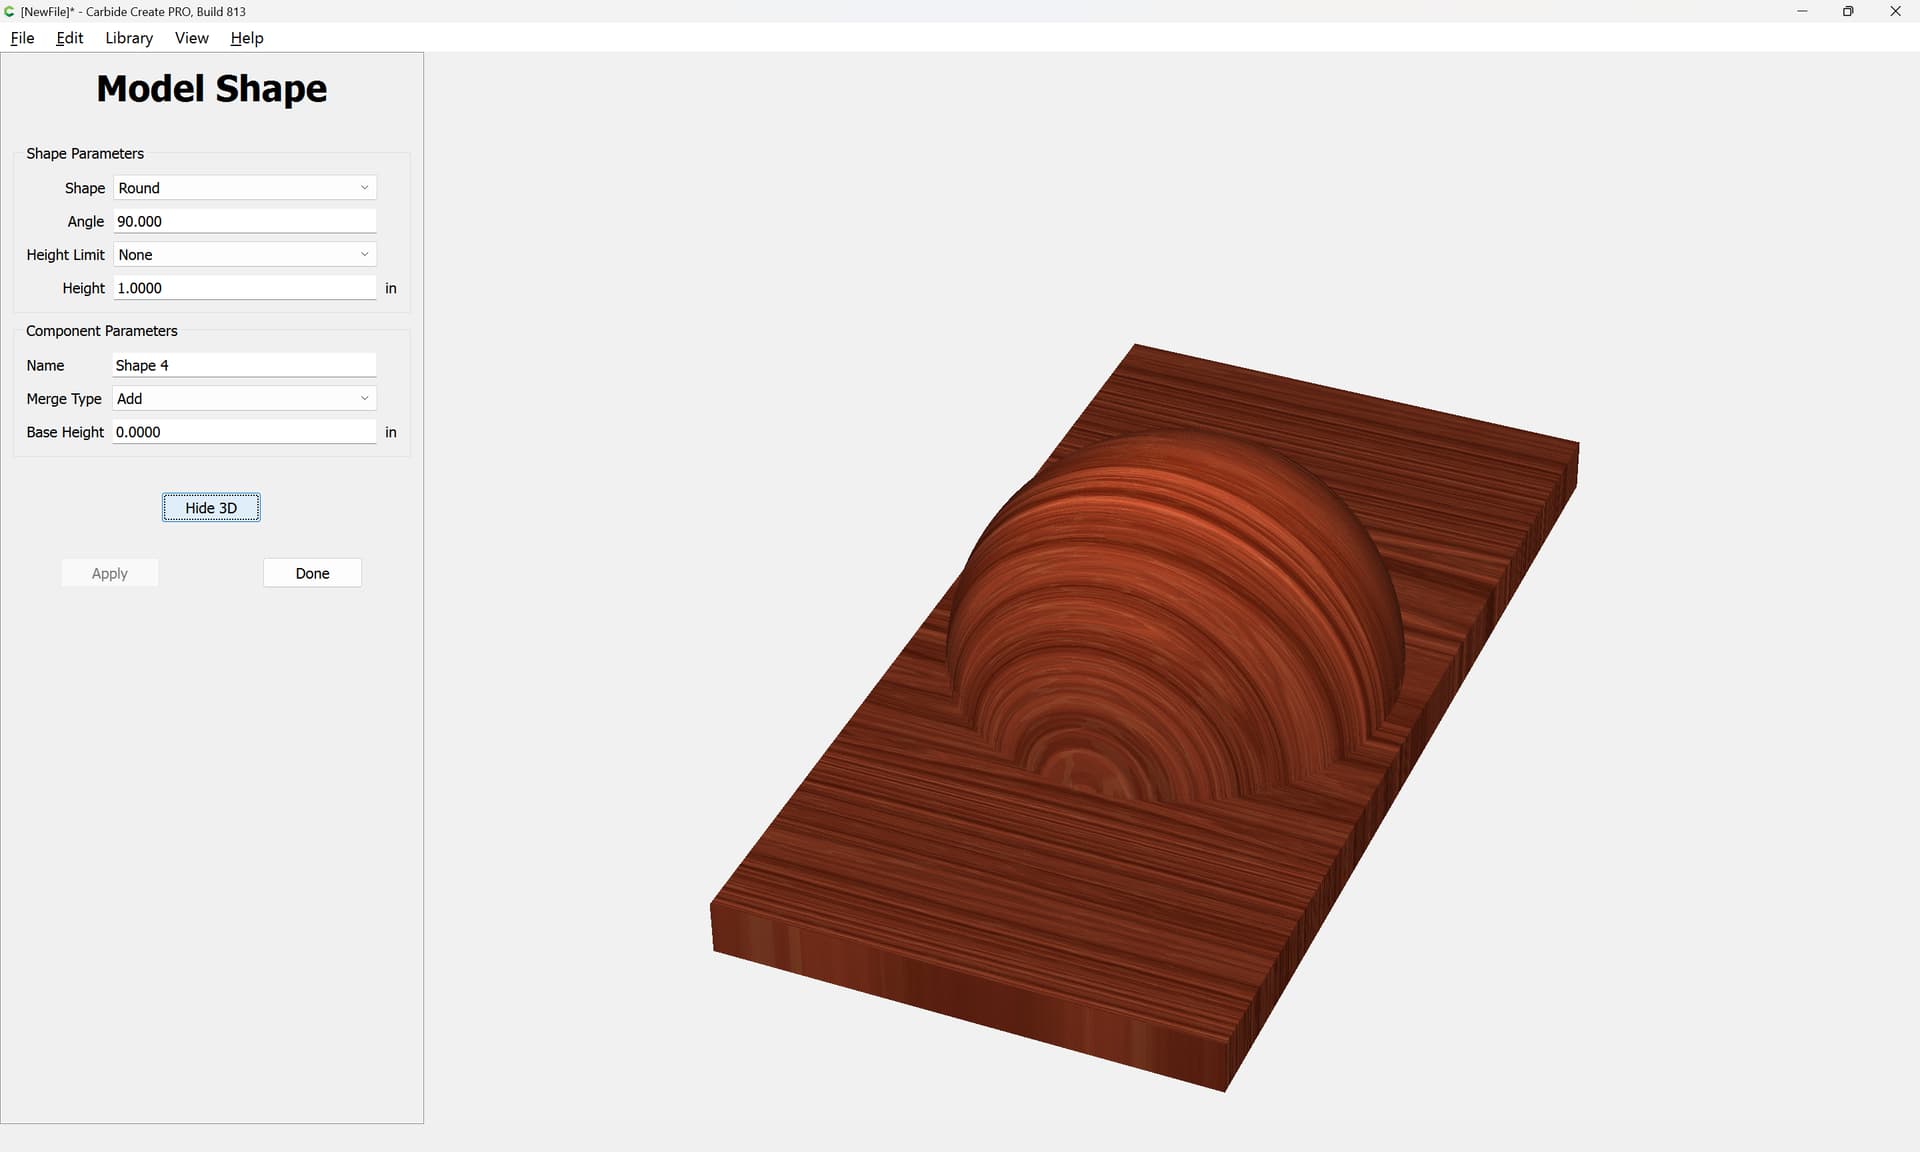
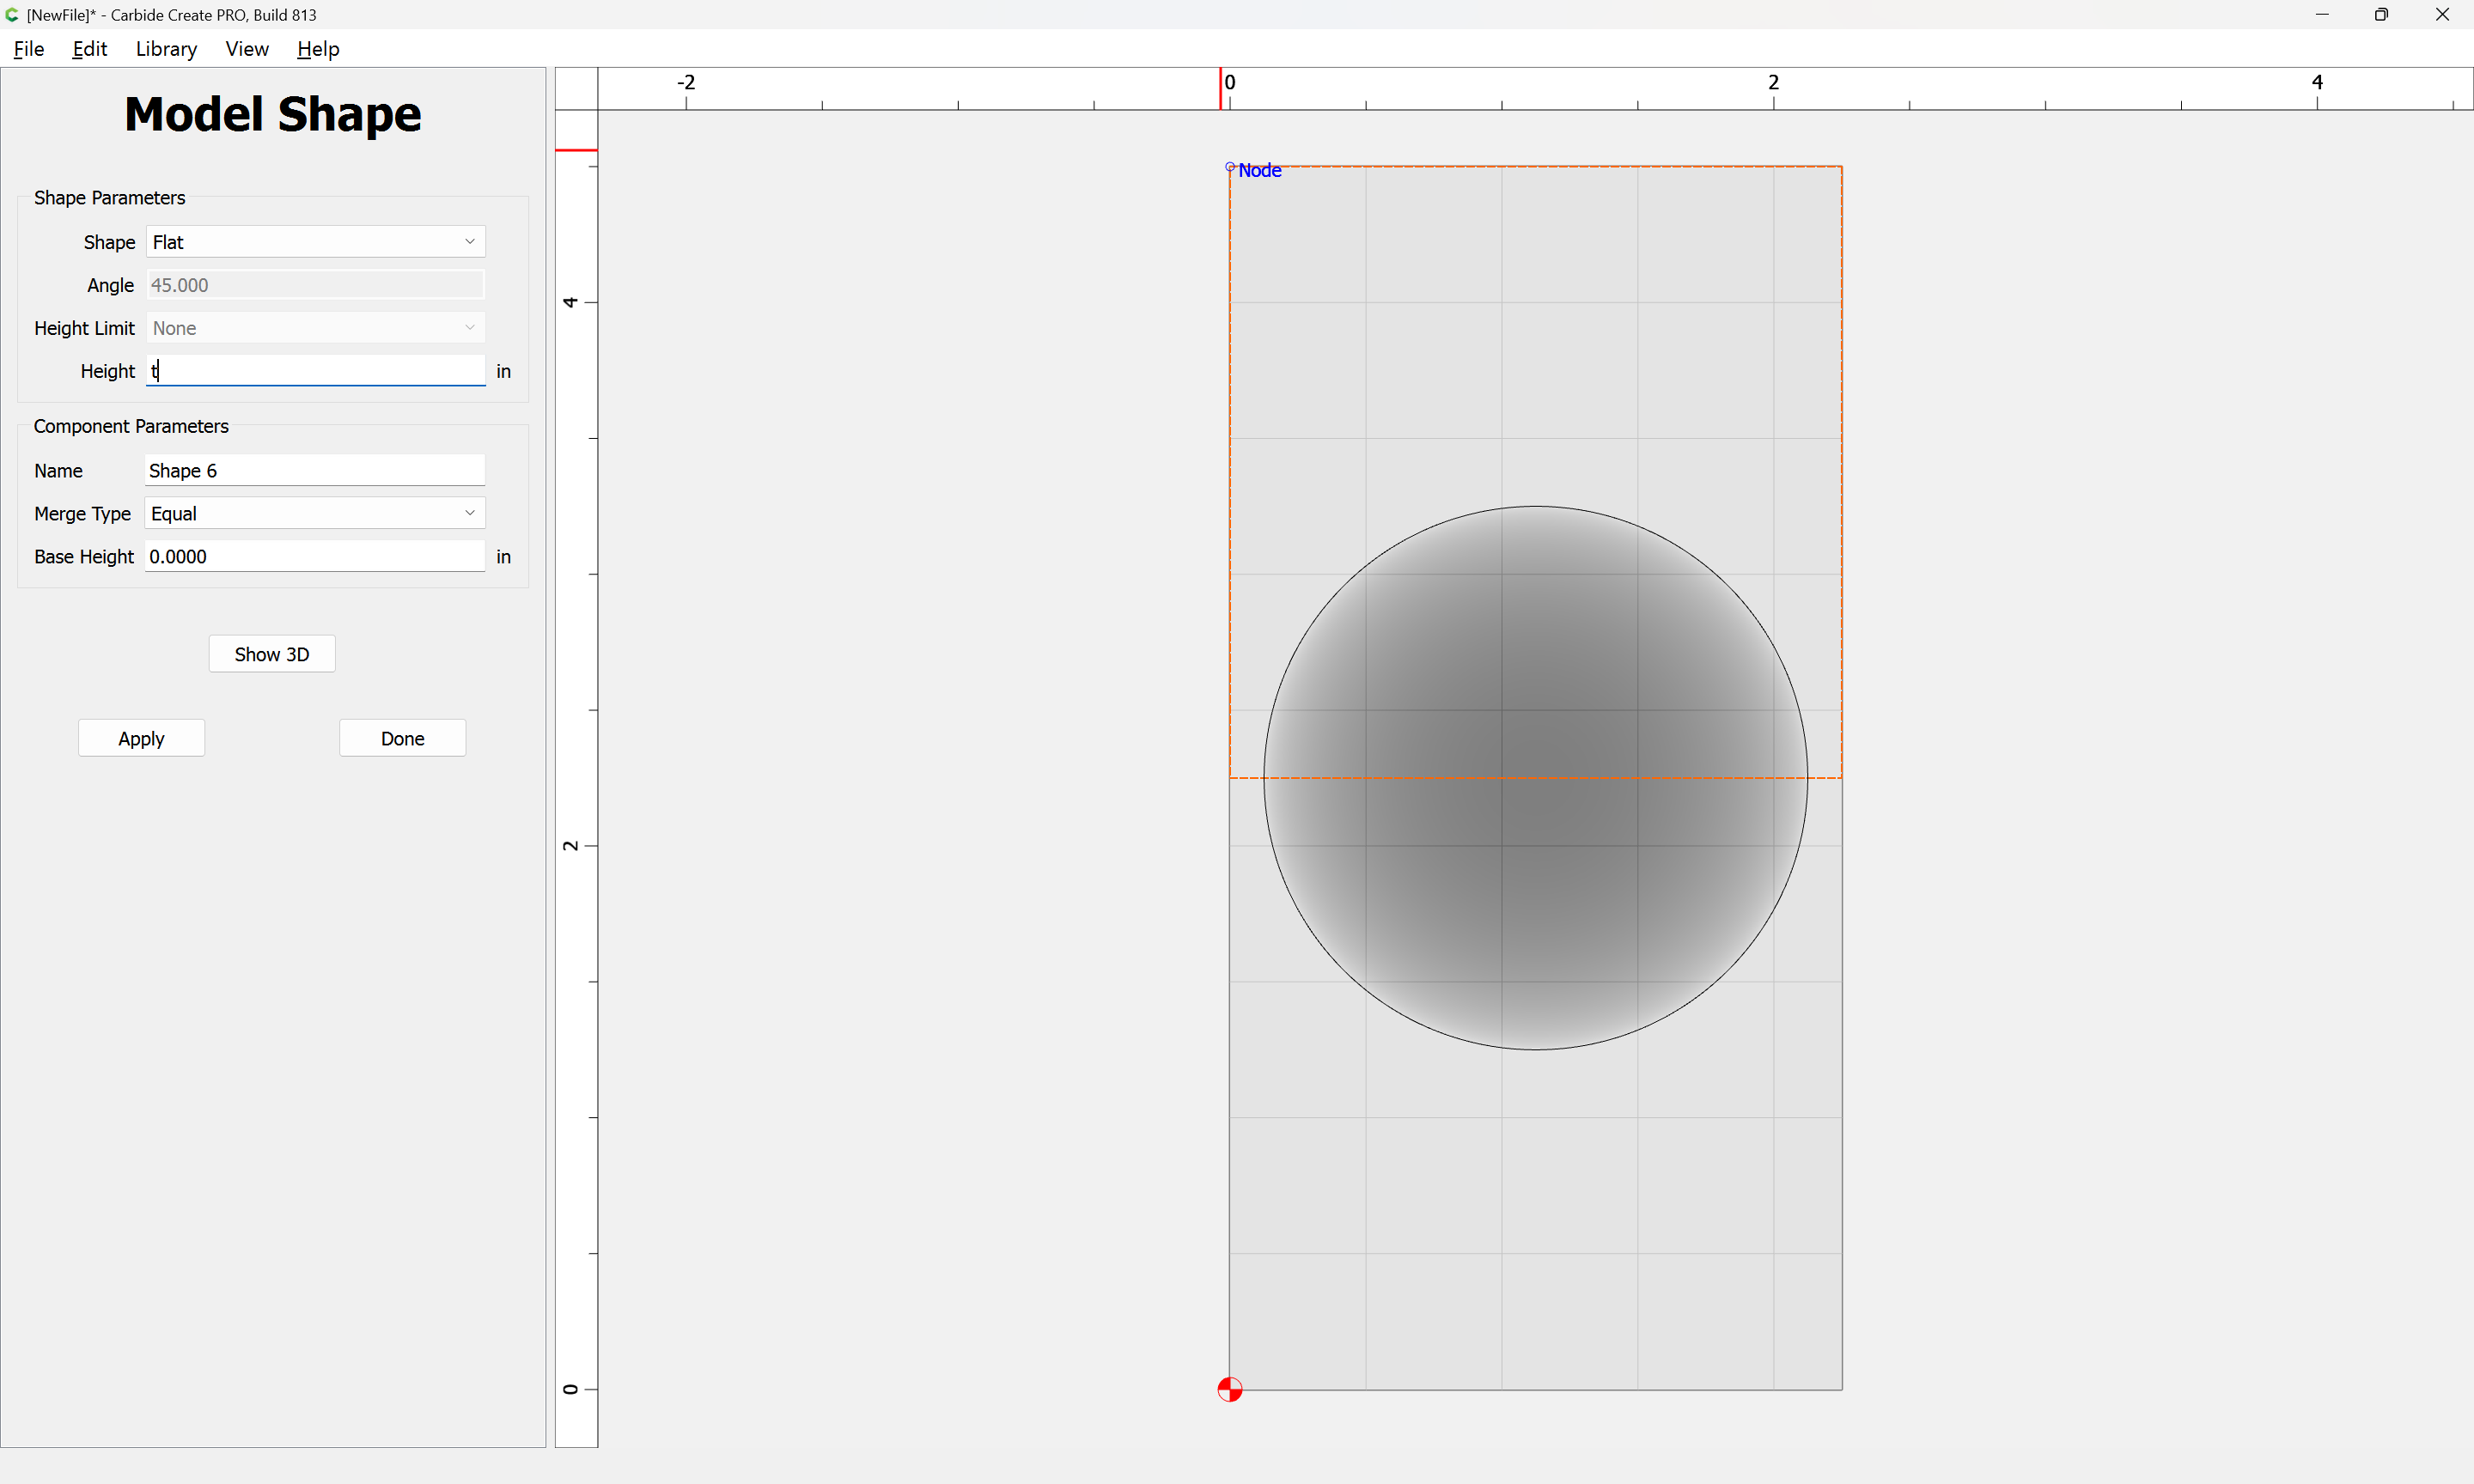
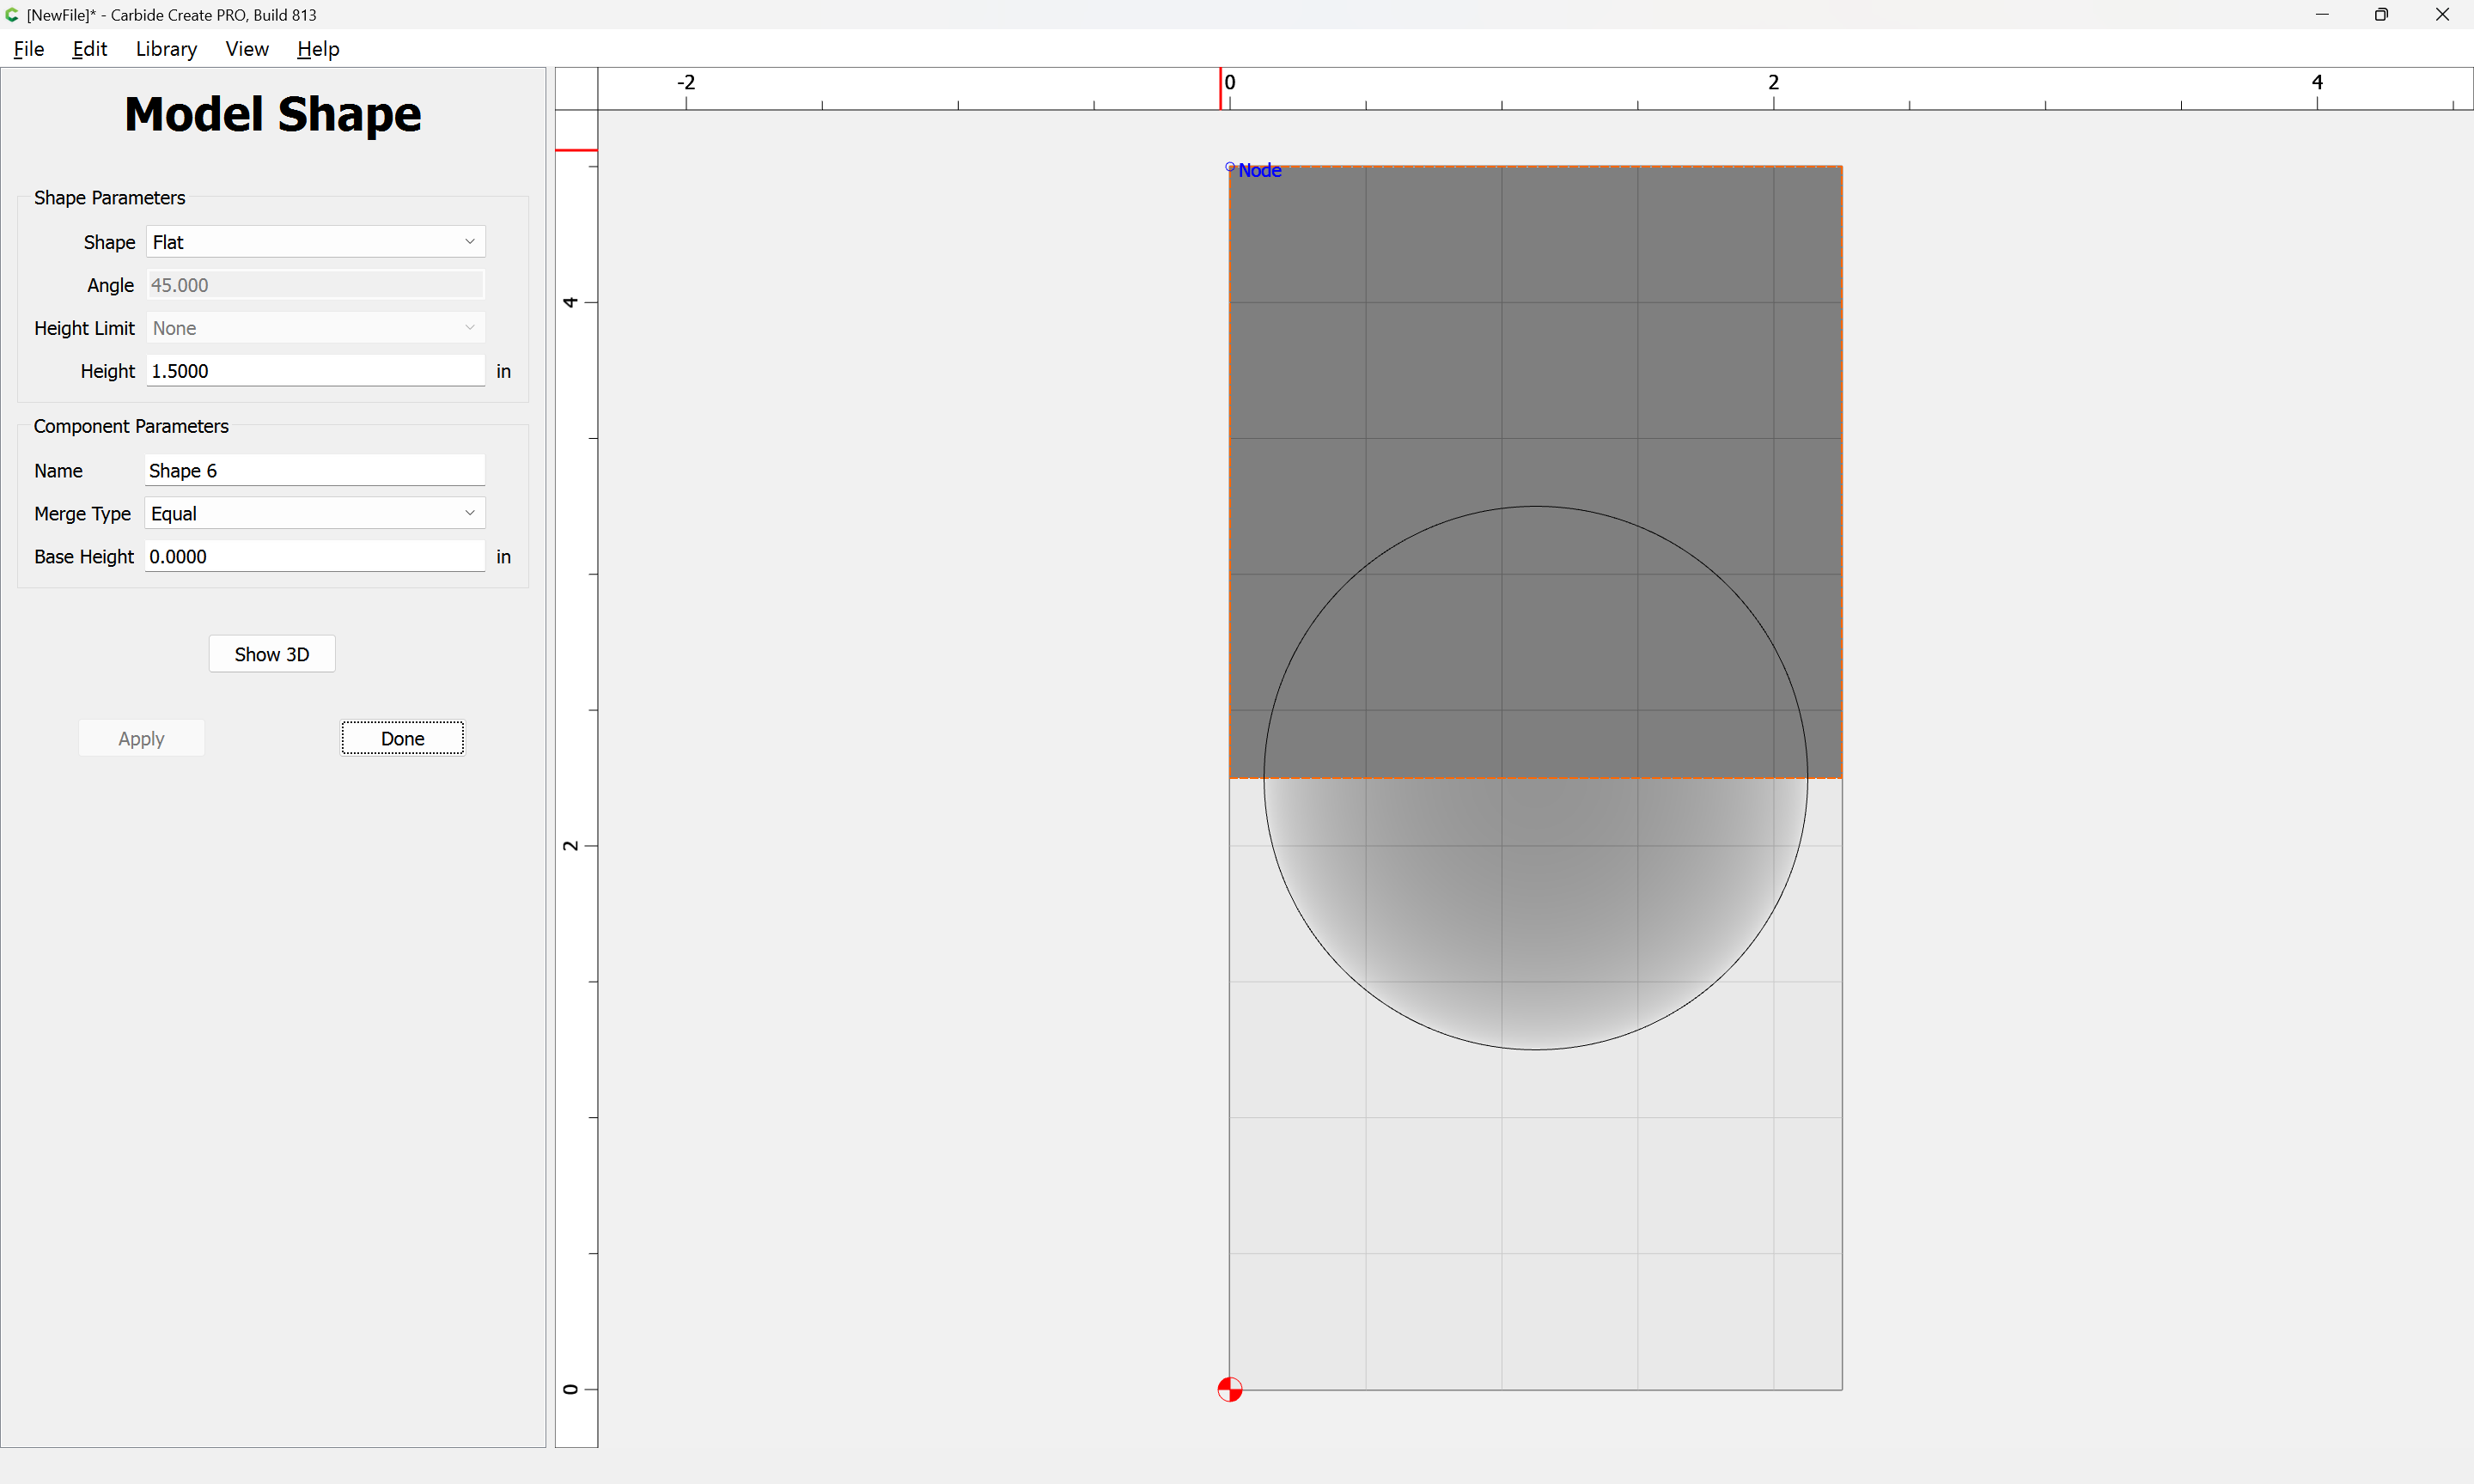
and Apply and Show 3D:
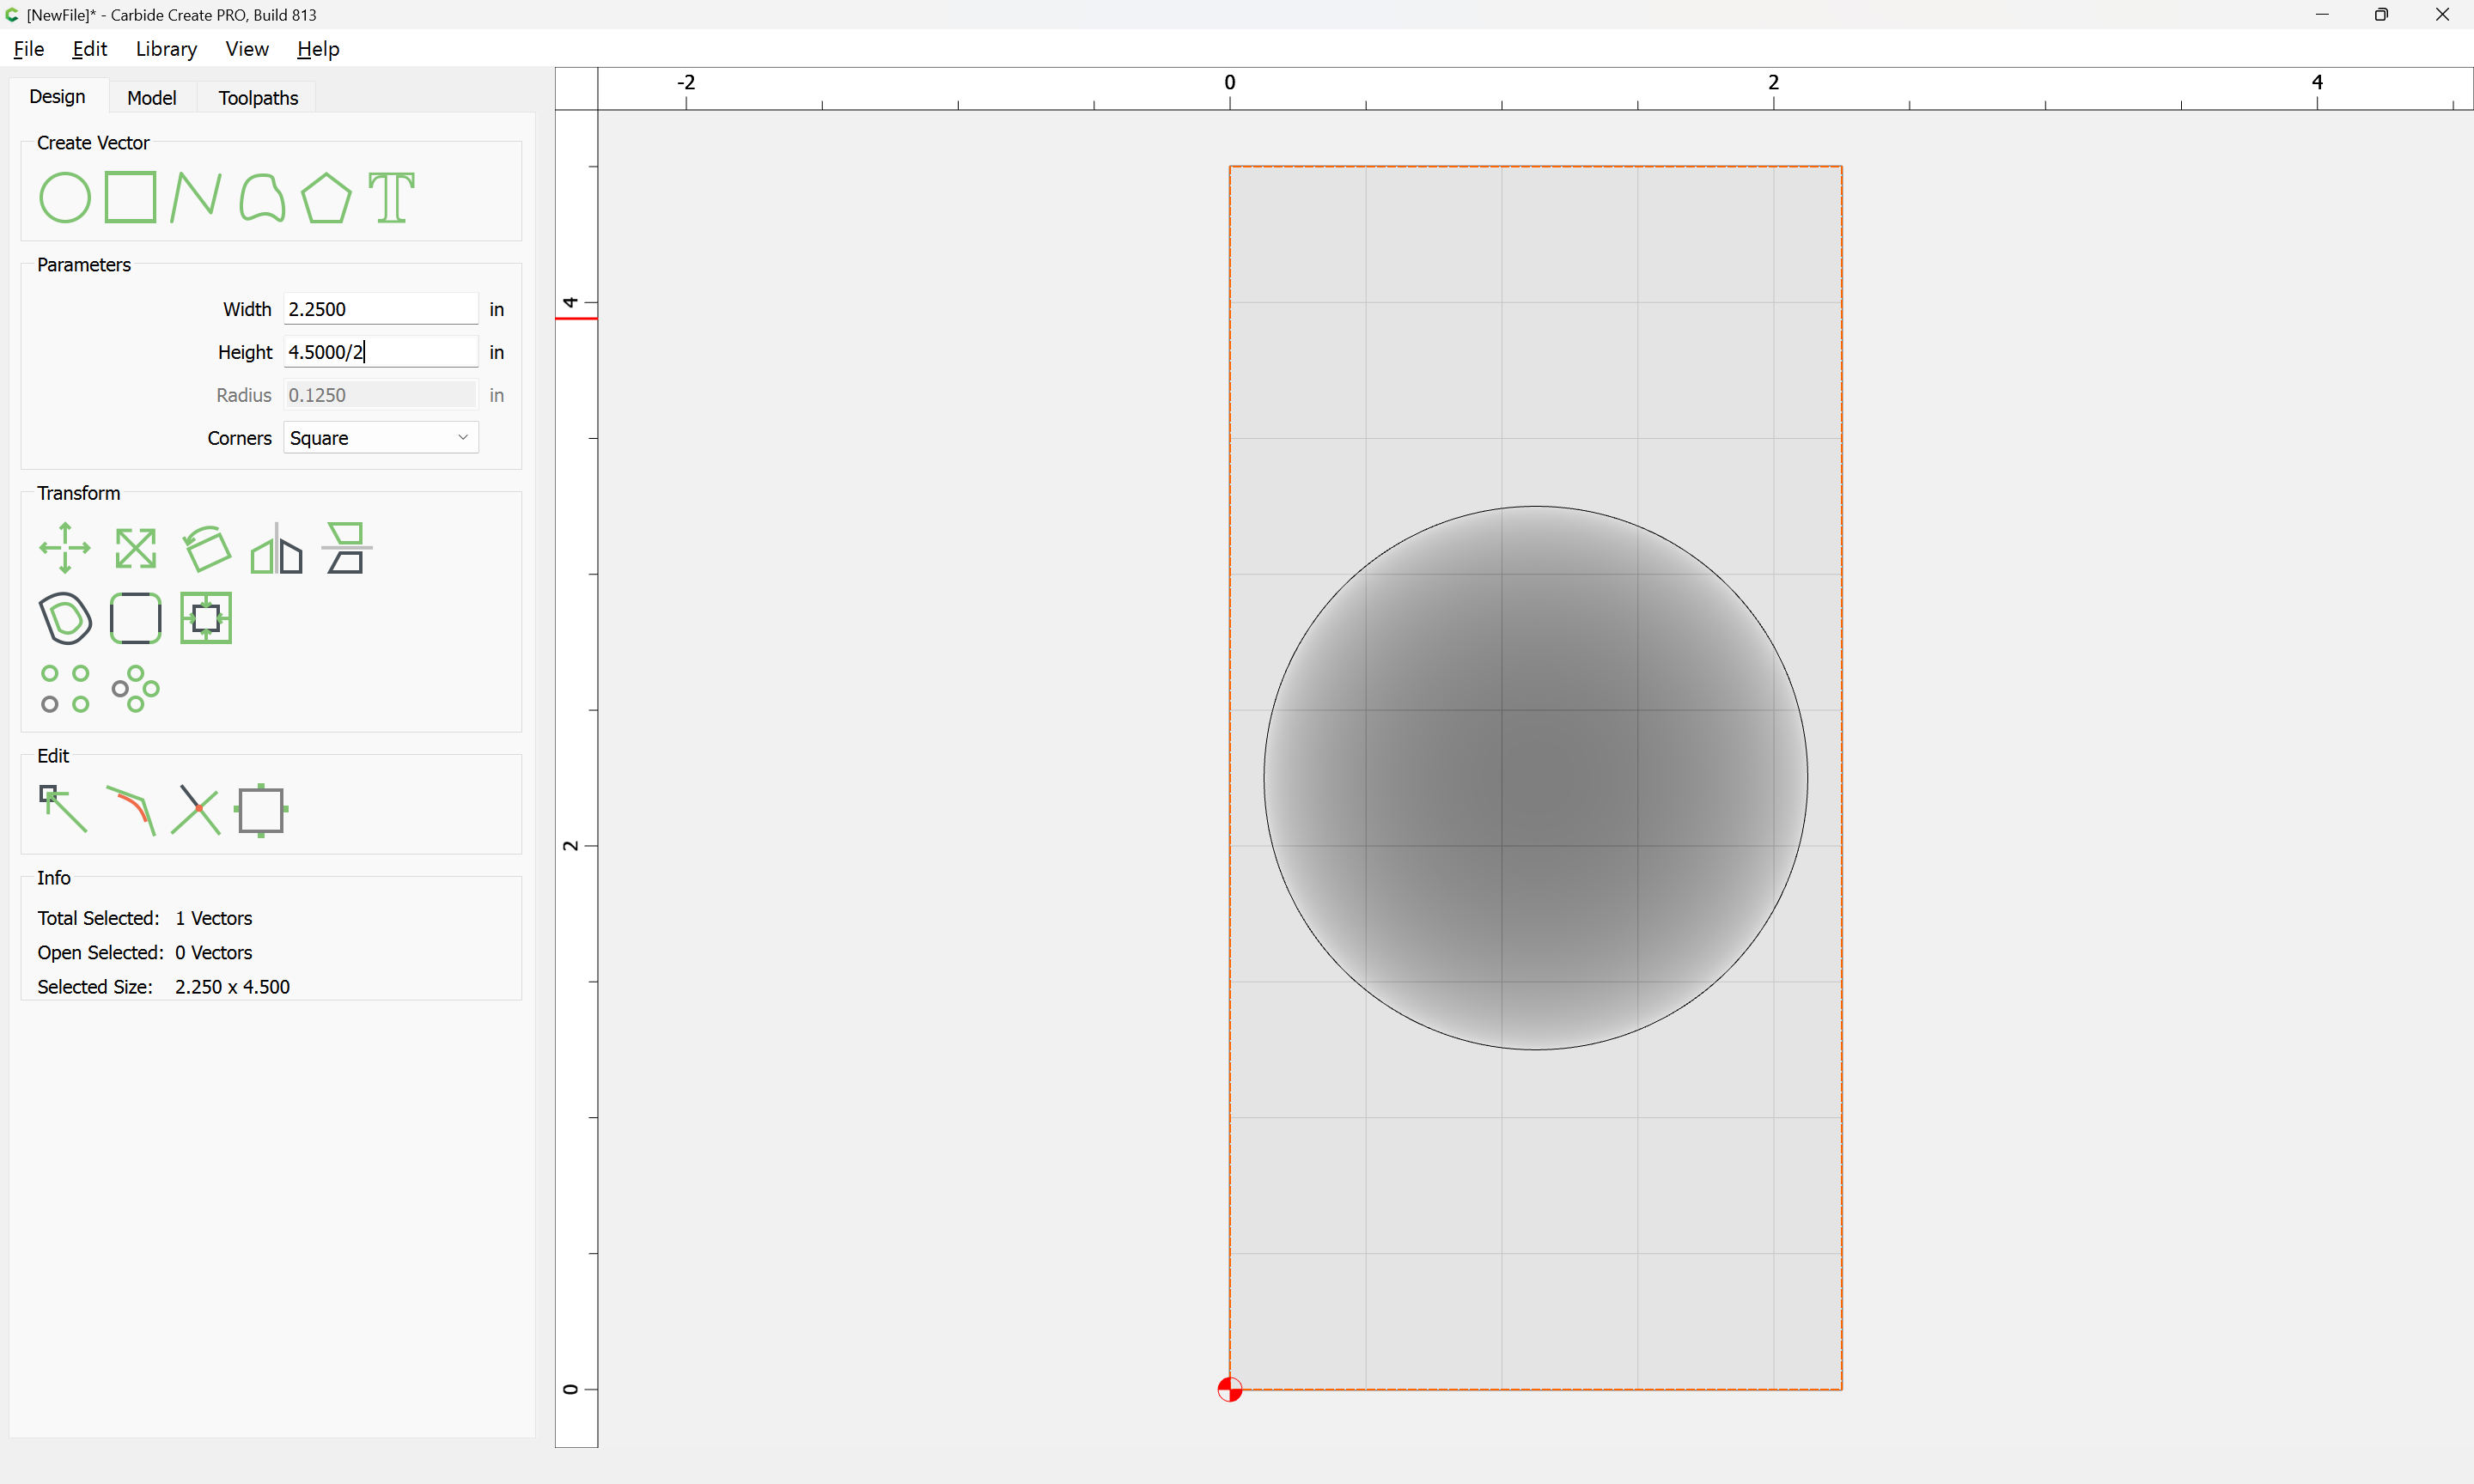
Select the rectangle and halve it:
and then position it relative to the sphere:
and apply a 3D model to it with appropriate settings:
Apply
Show 3D:
WillAdams
February 18, 2025, 5:04pm
3
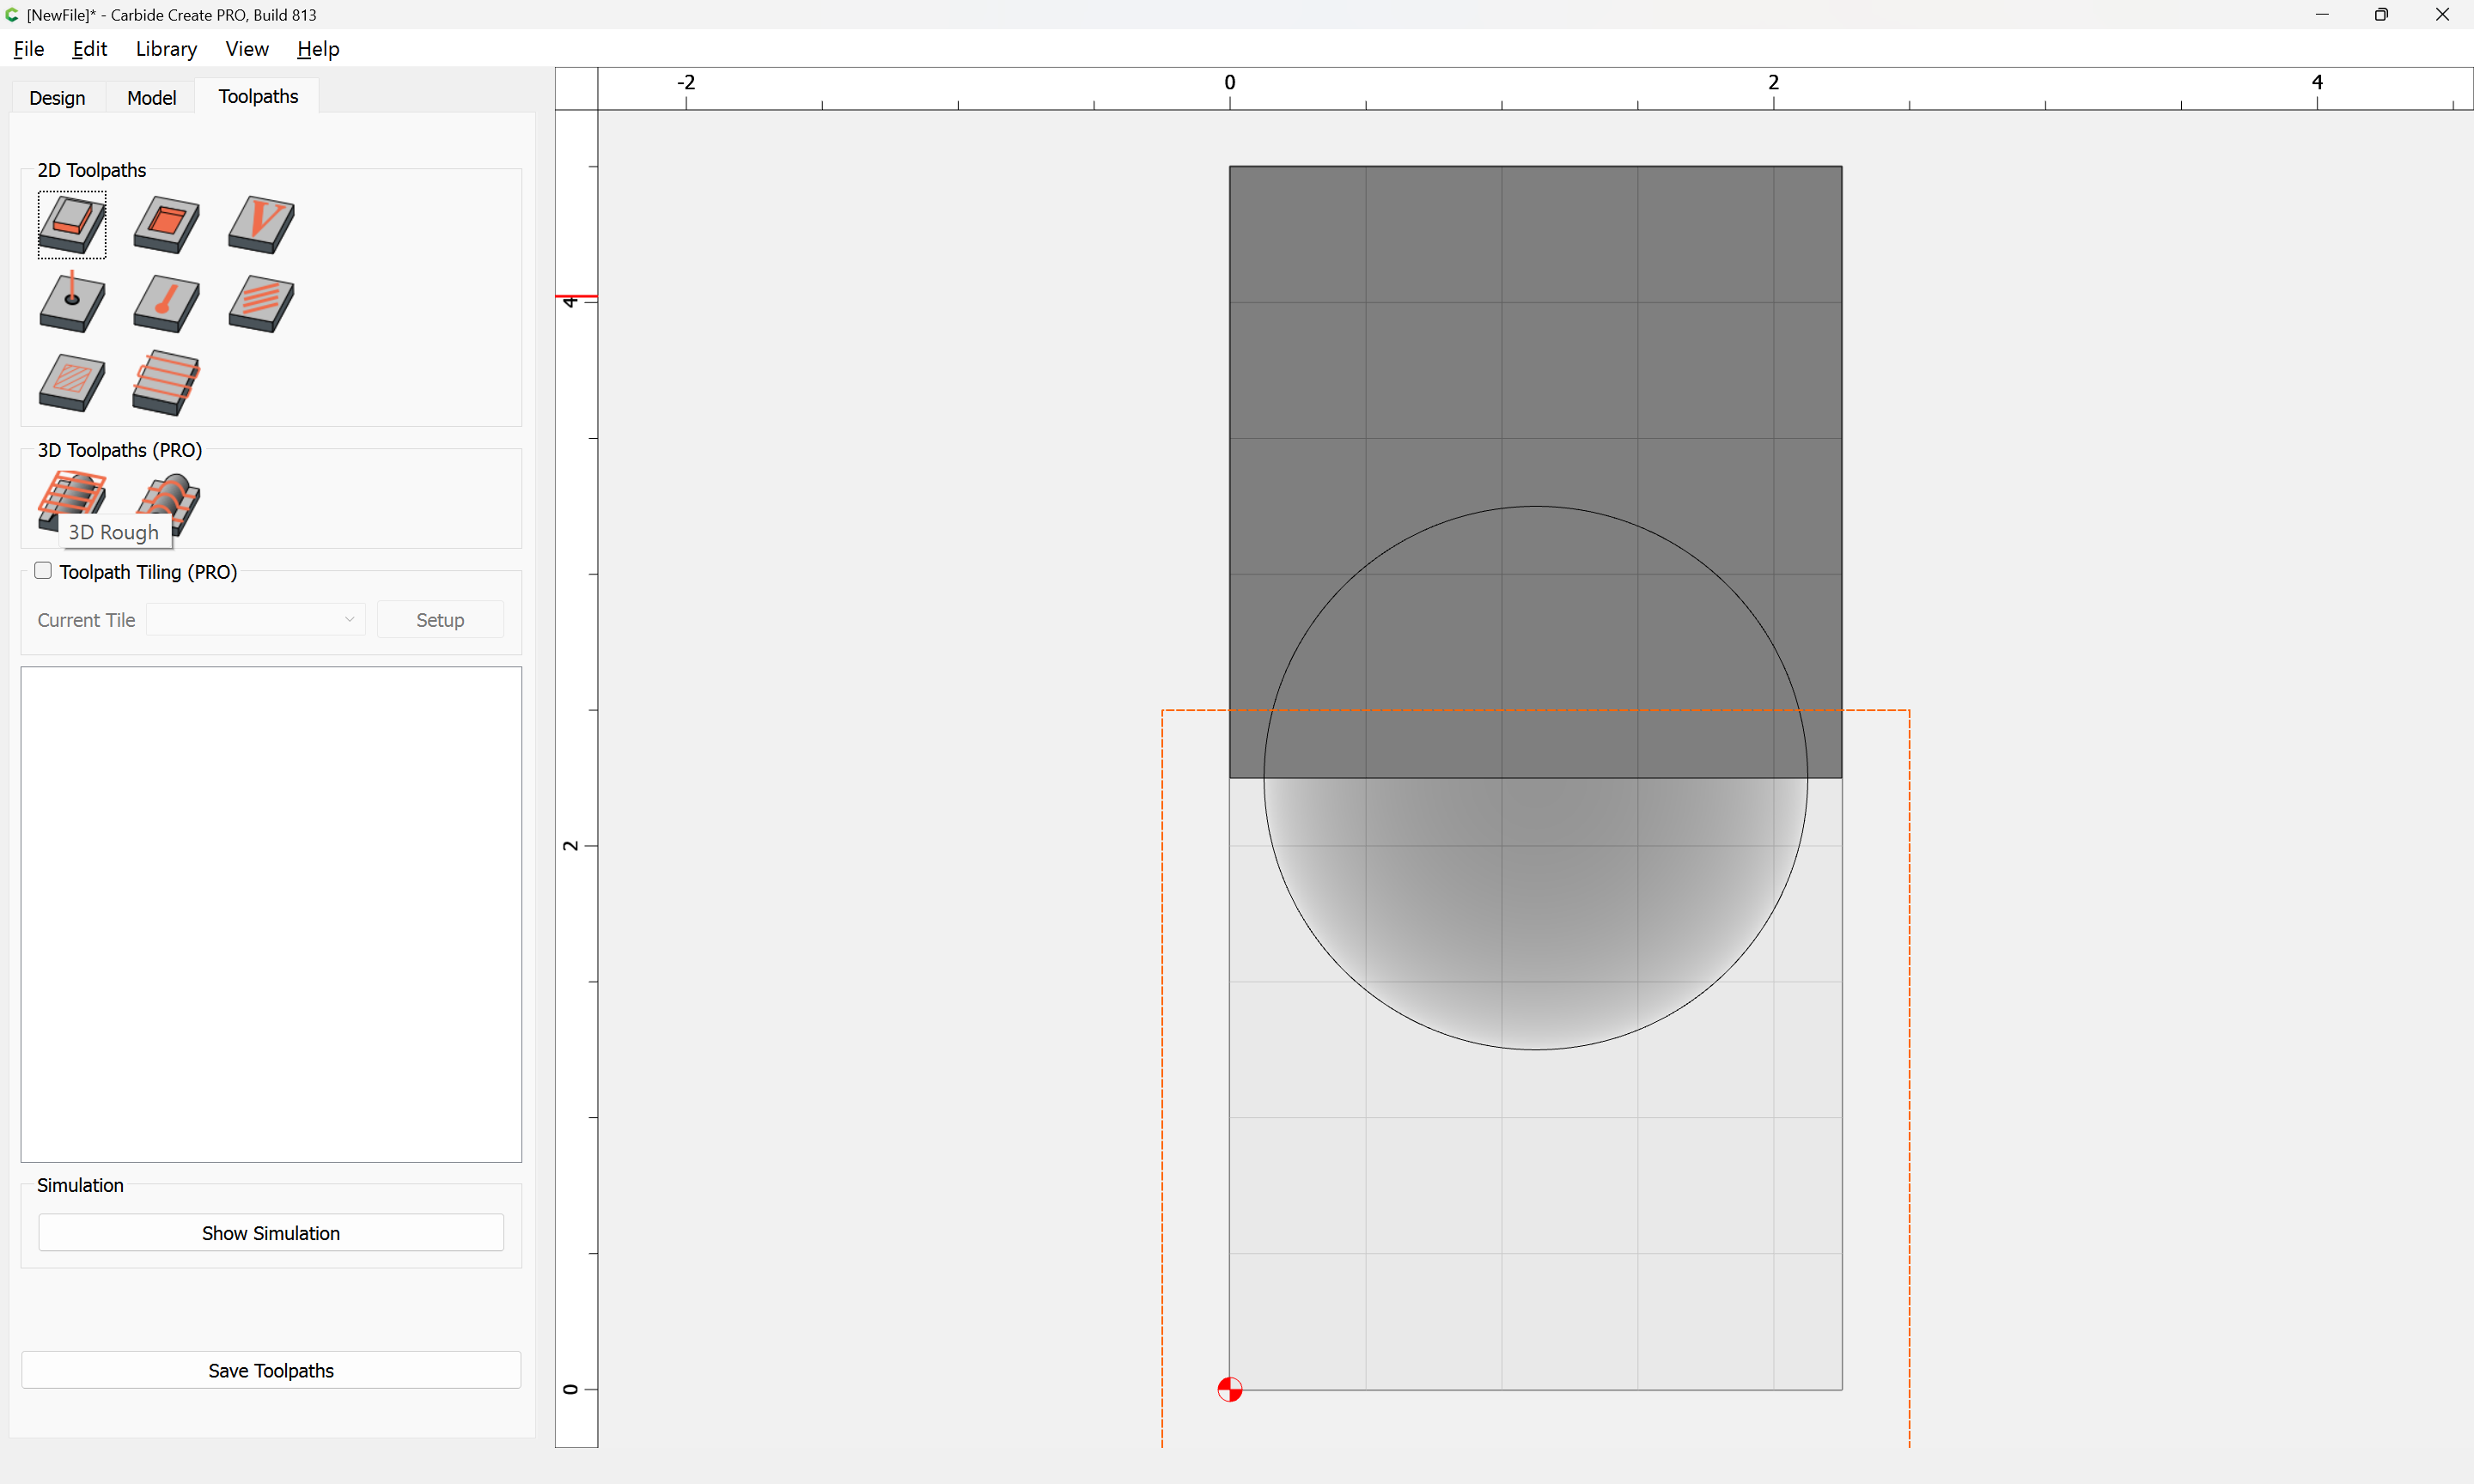
Add geometry which describes the area which one wishes to cut:
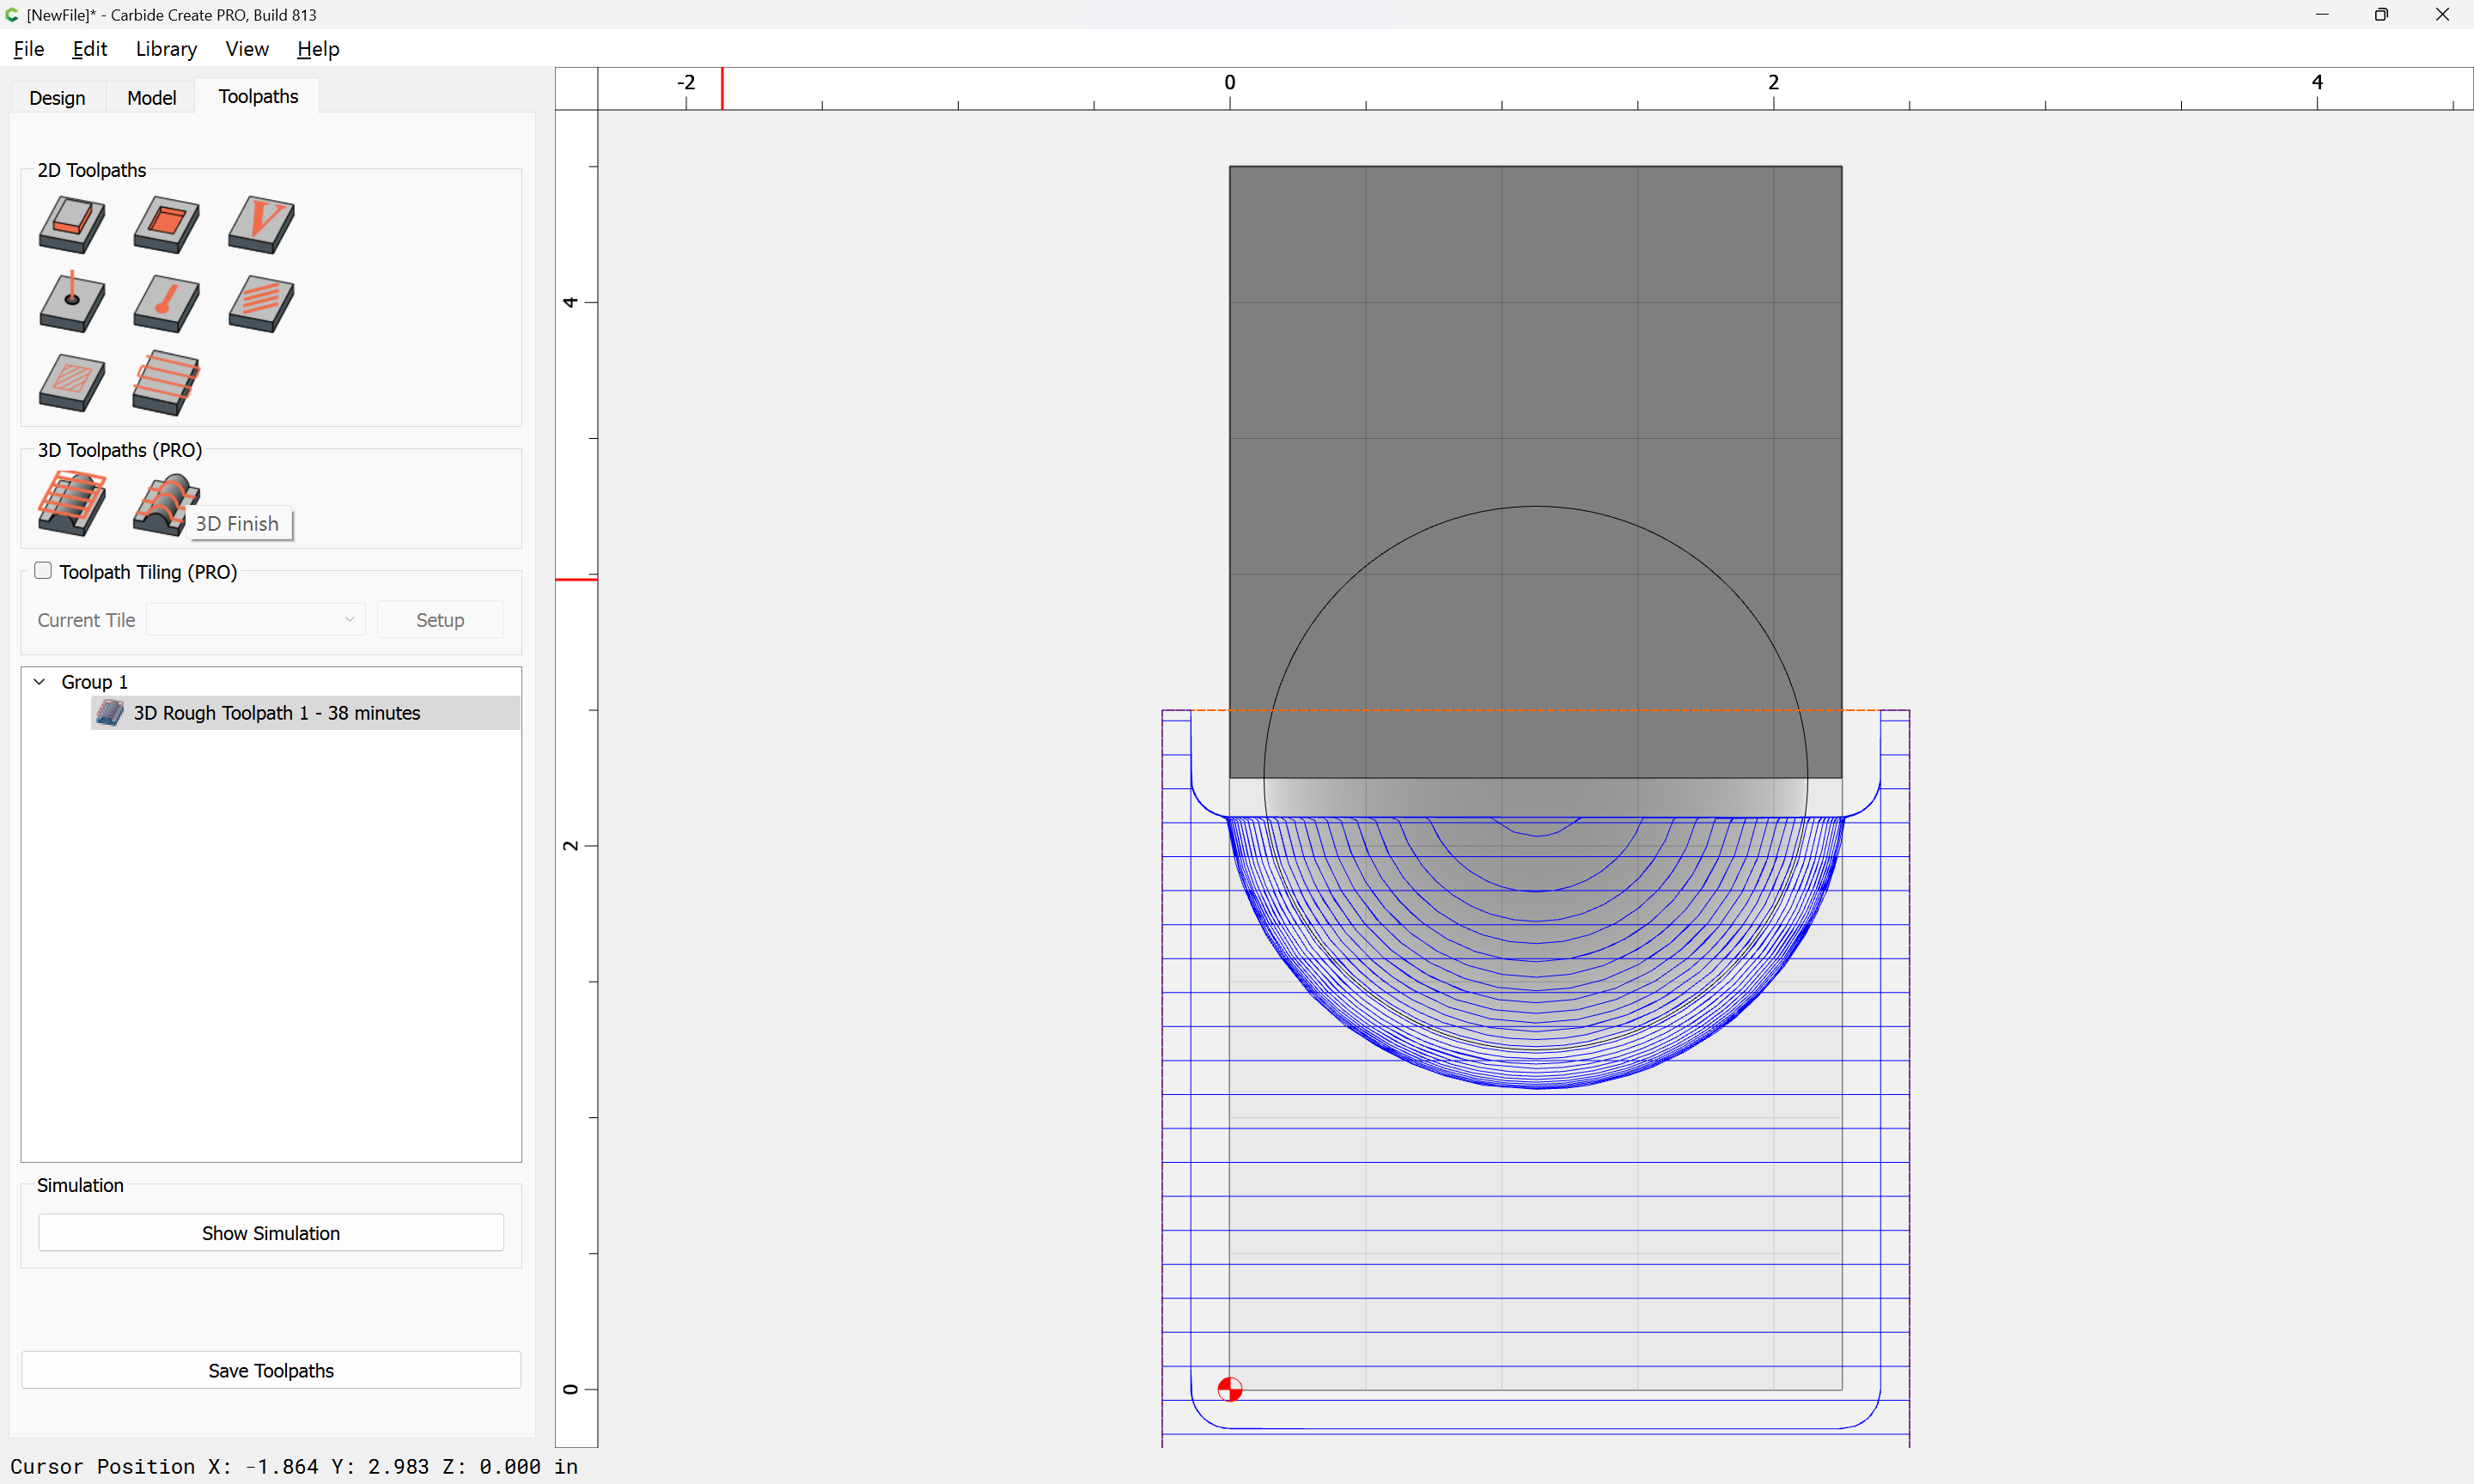
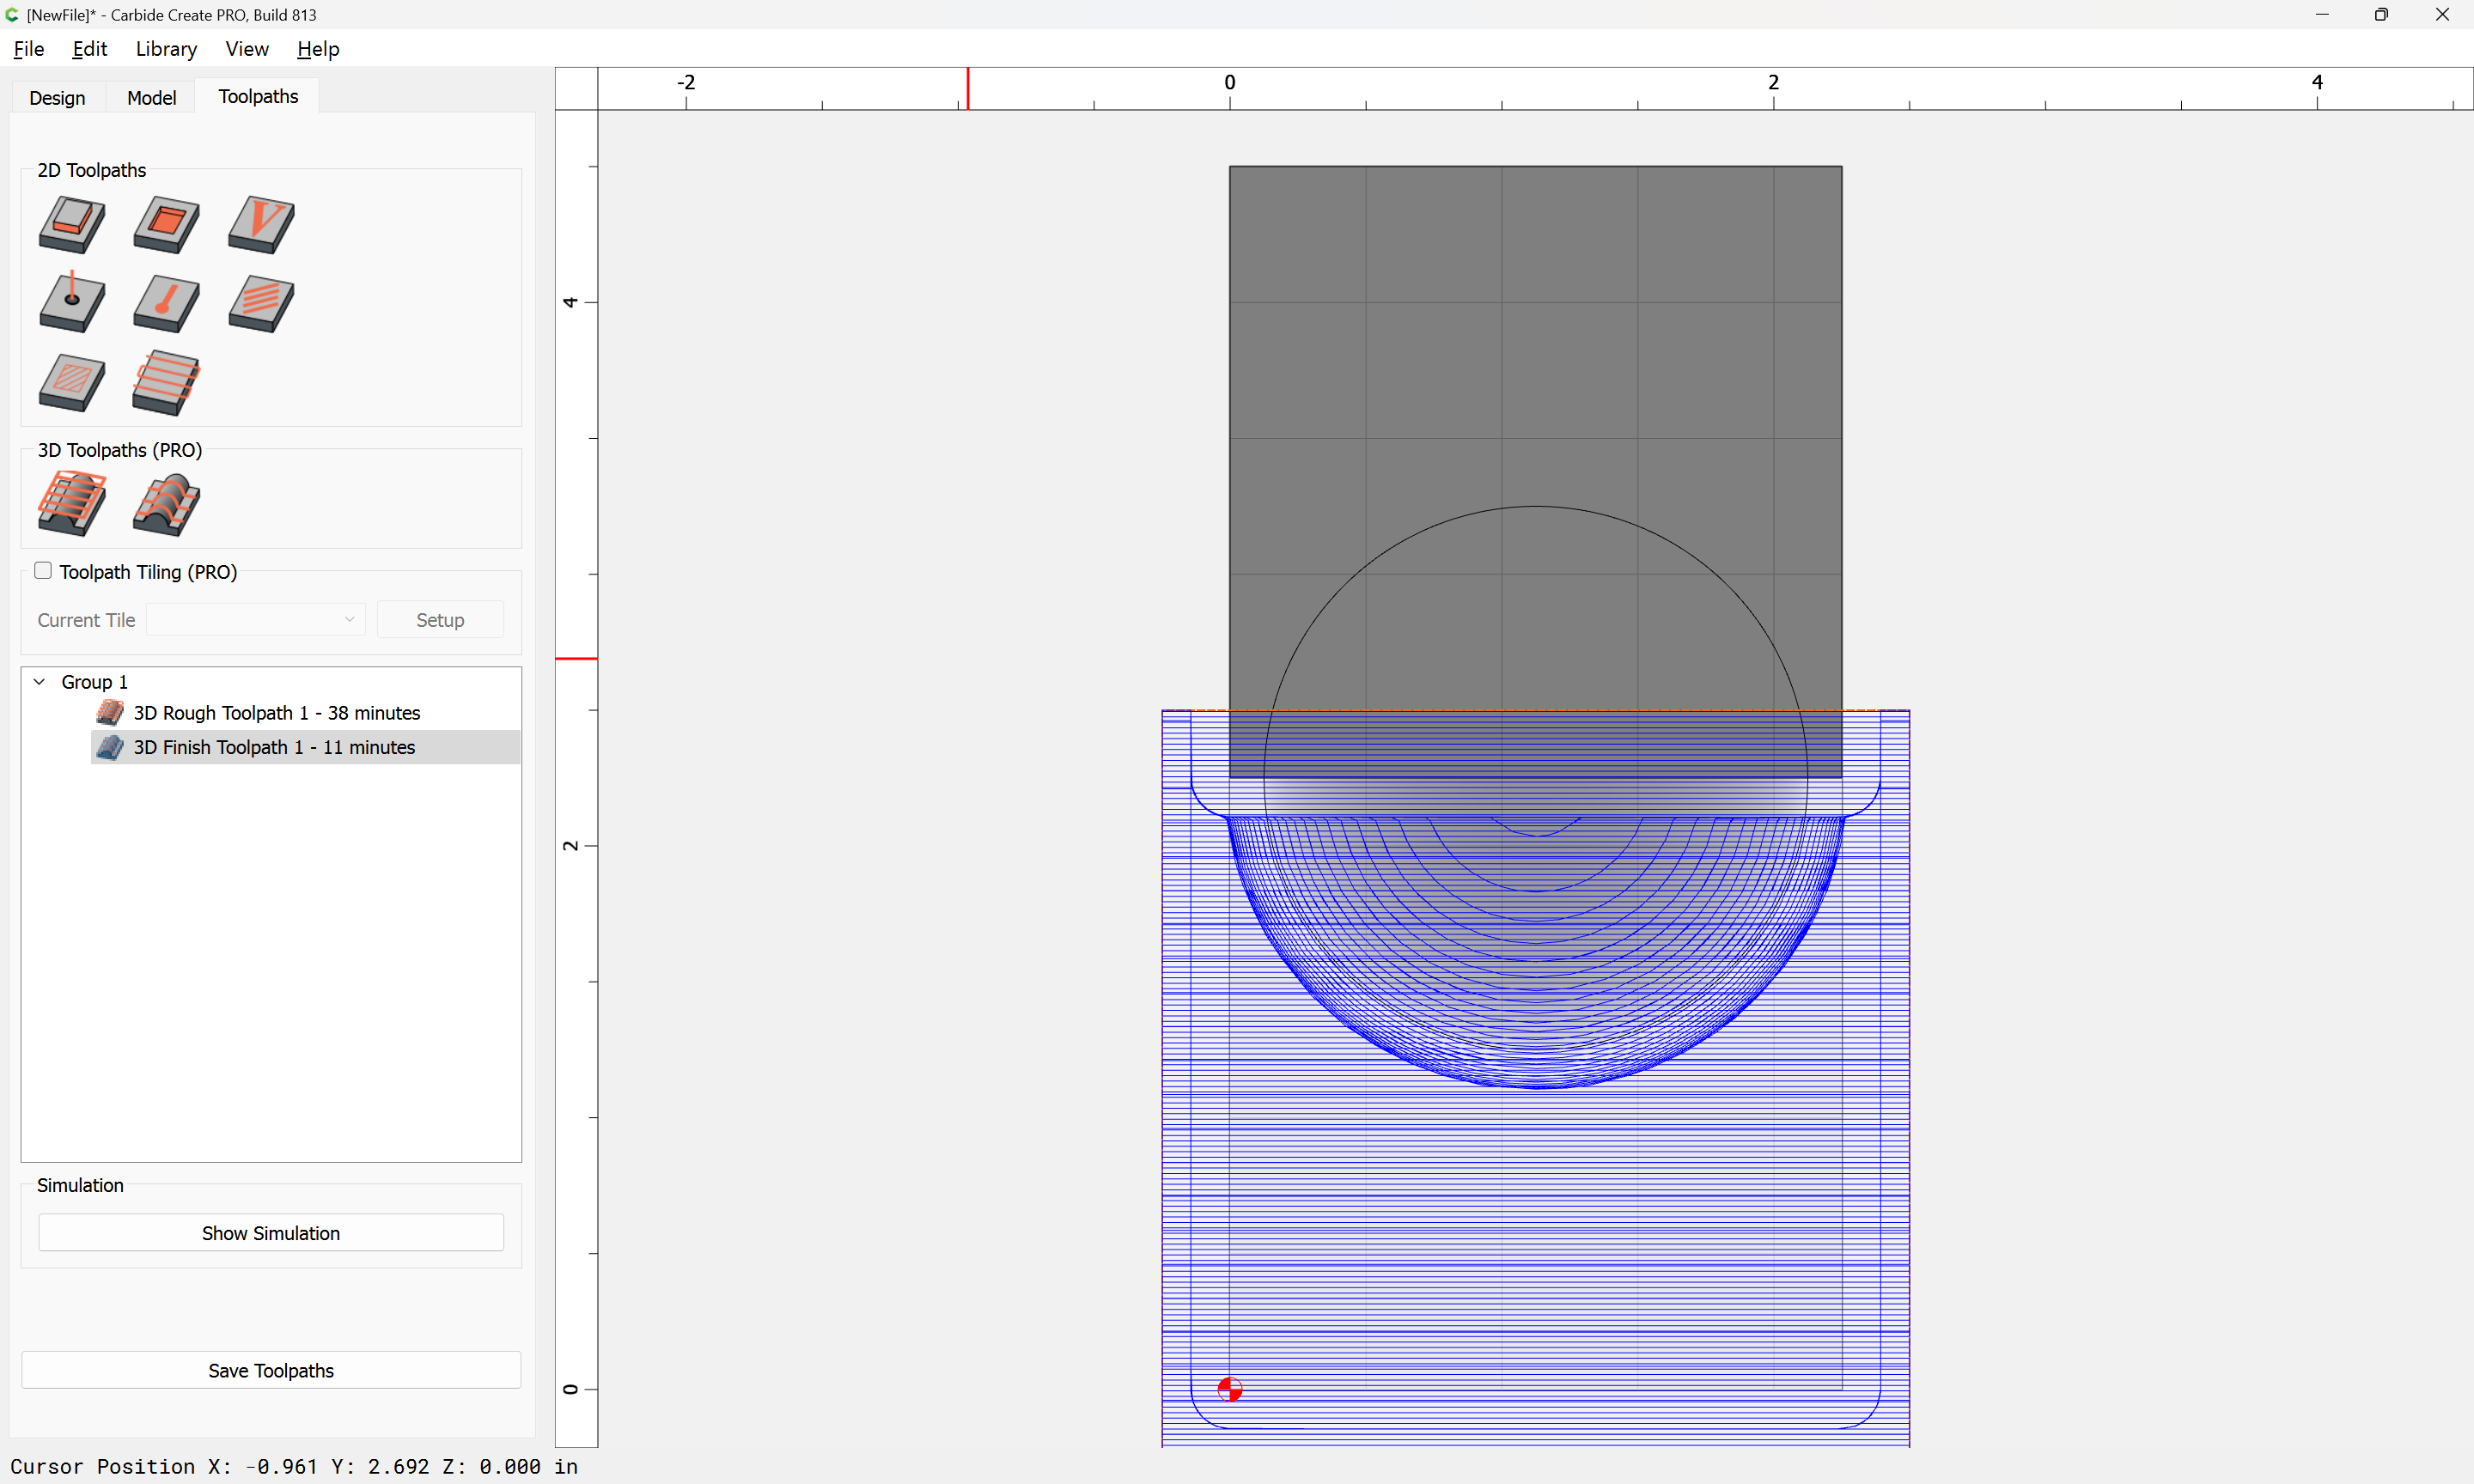
and then assign a 3D Roughing toolpath:
Note that it is up to the user to source a “long-reach” tool which will allow cutting the model w/o hitting the vertical face. The #201 was selected out of expediency, and should not be used for an actual cut along such a tall feature.
Ok
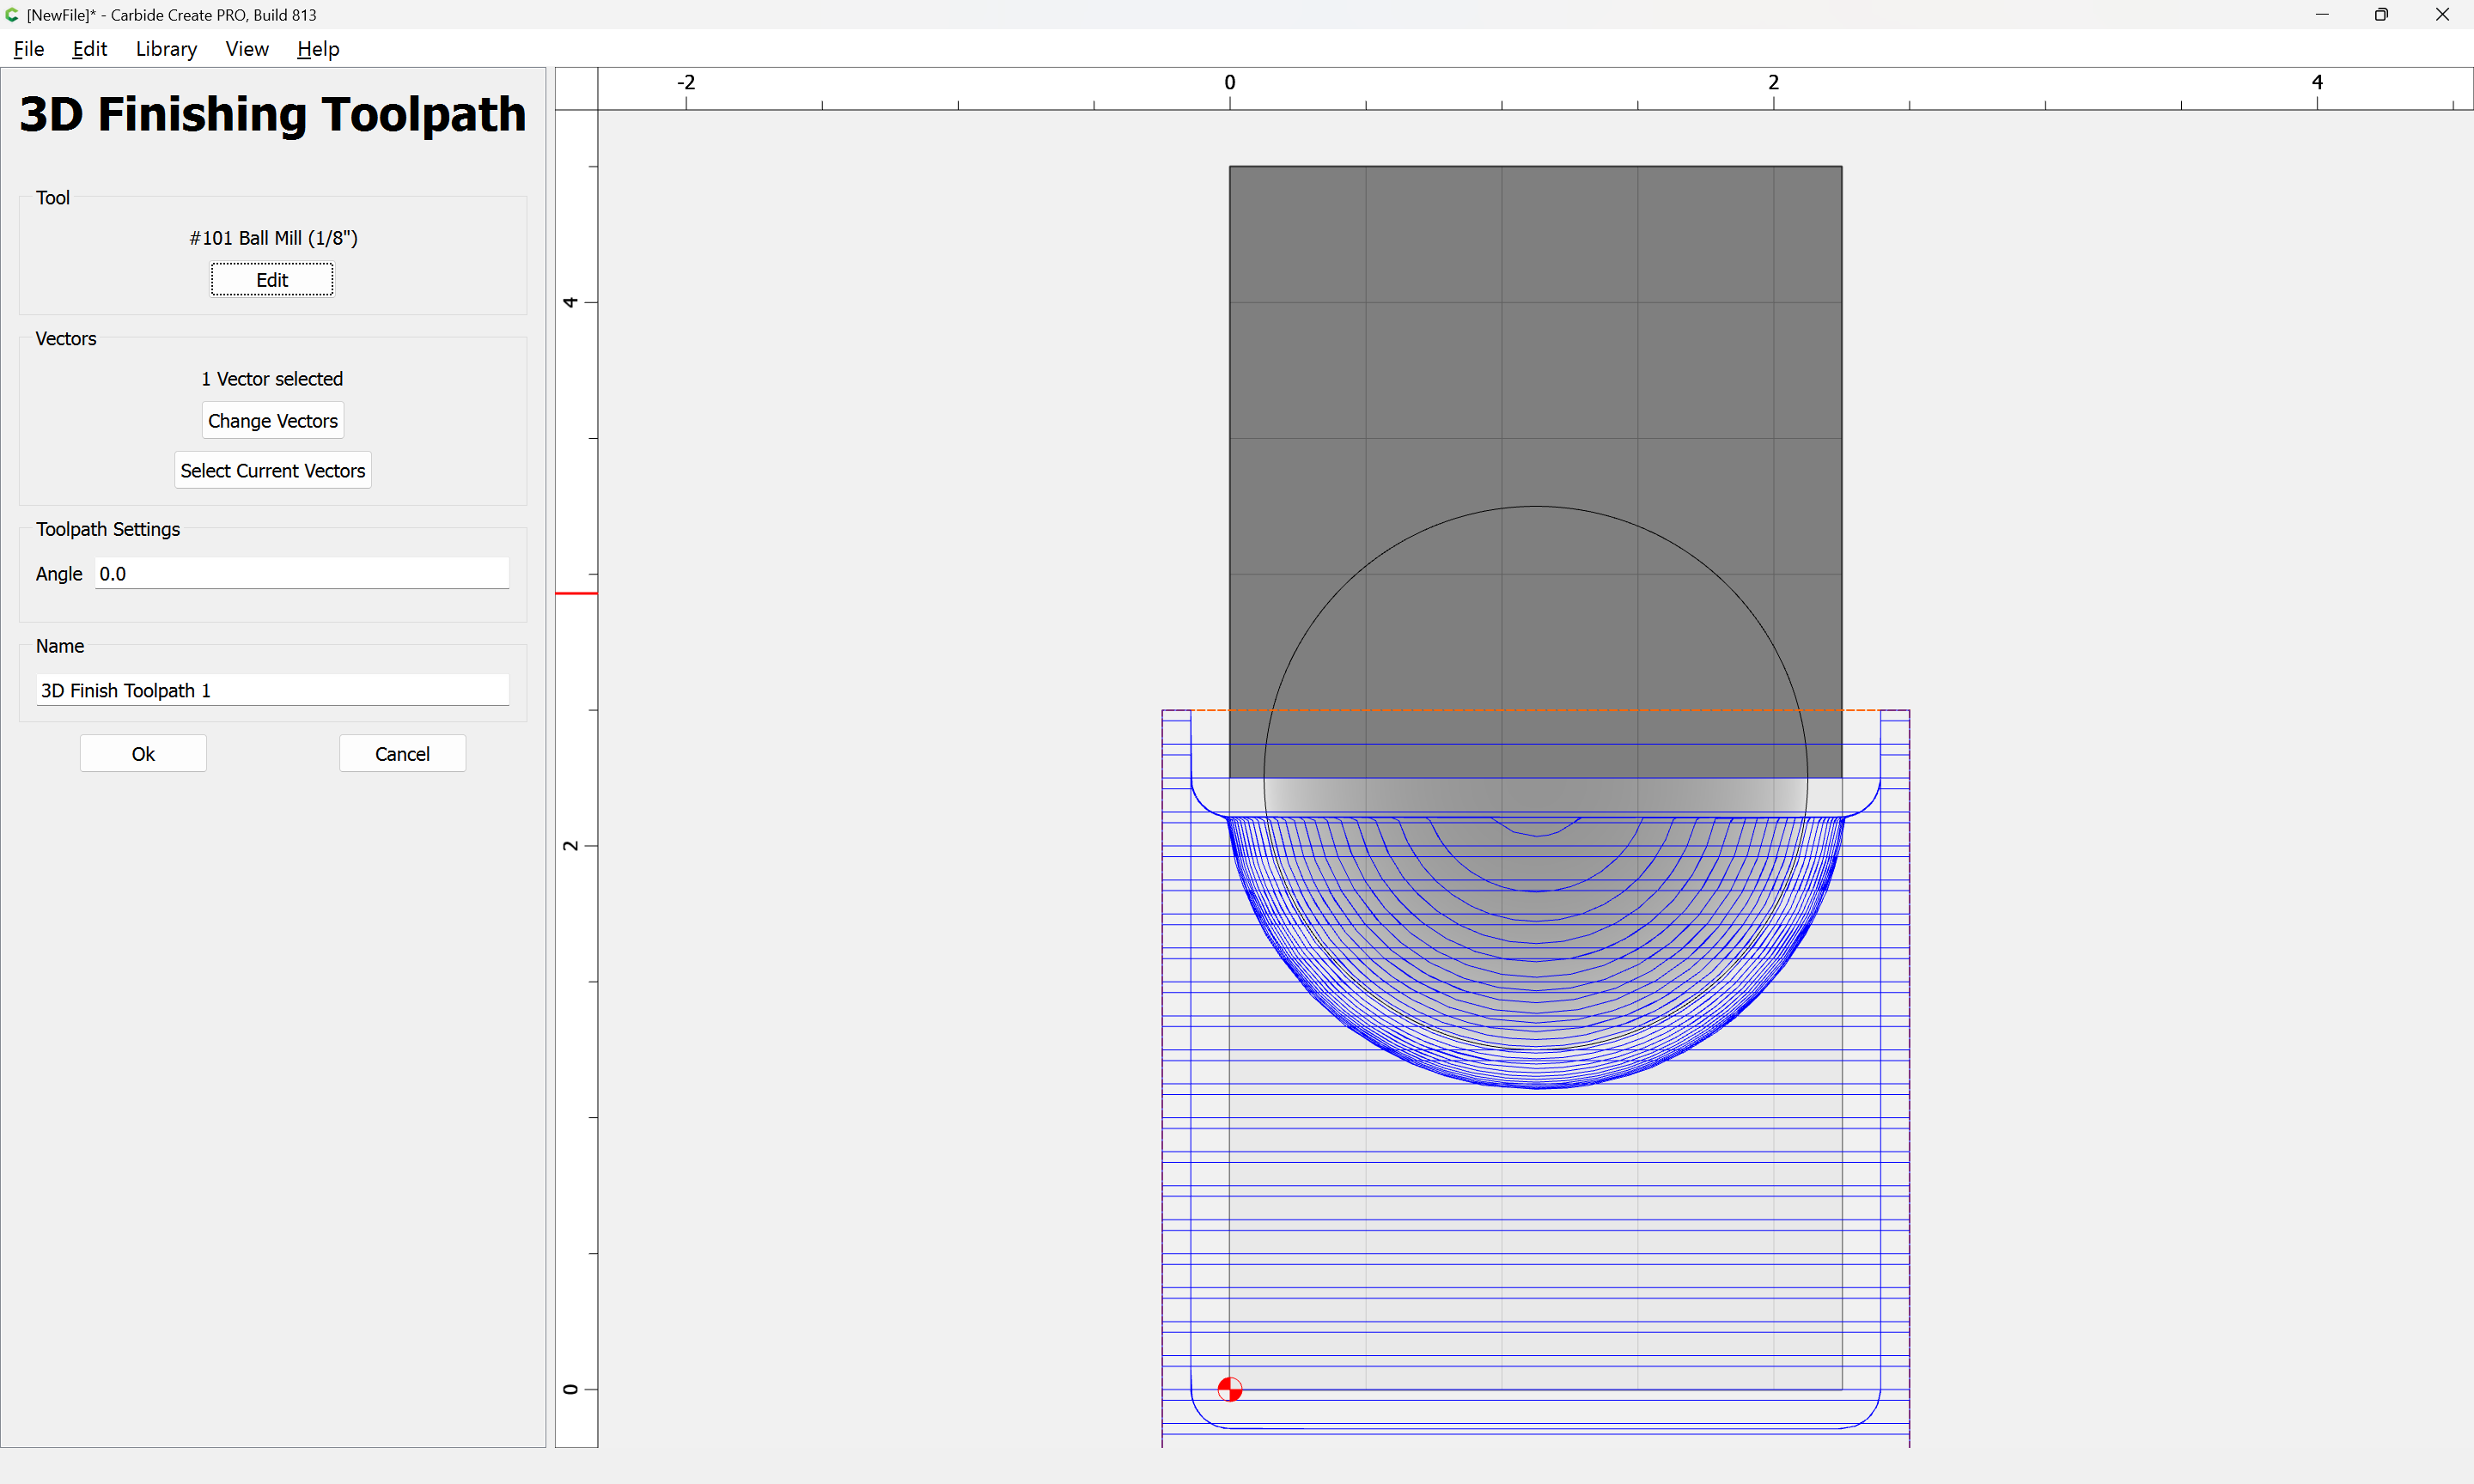
Then assign a 3D finishing toolpath with a suitable tool — given the design, multiple tools may be necessary, and note that it will not be possible to accurately cut the sharp interior angles without additional setups/toolpaths.
s
(same caveat applies here as regards how tool geometry interacts with part geometry)
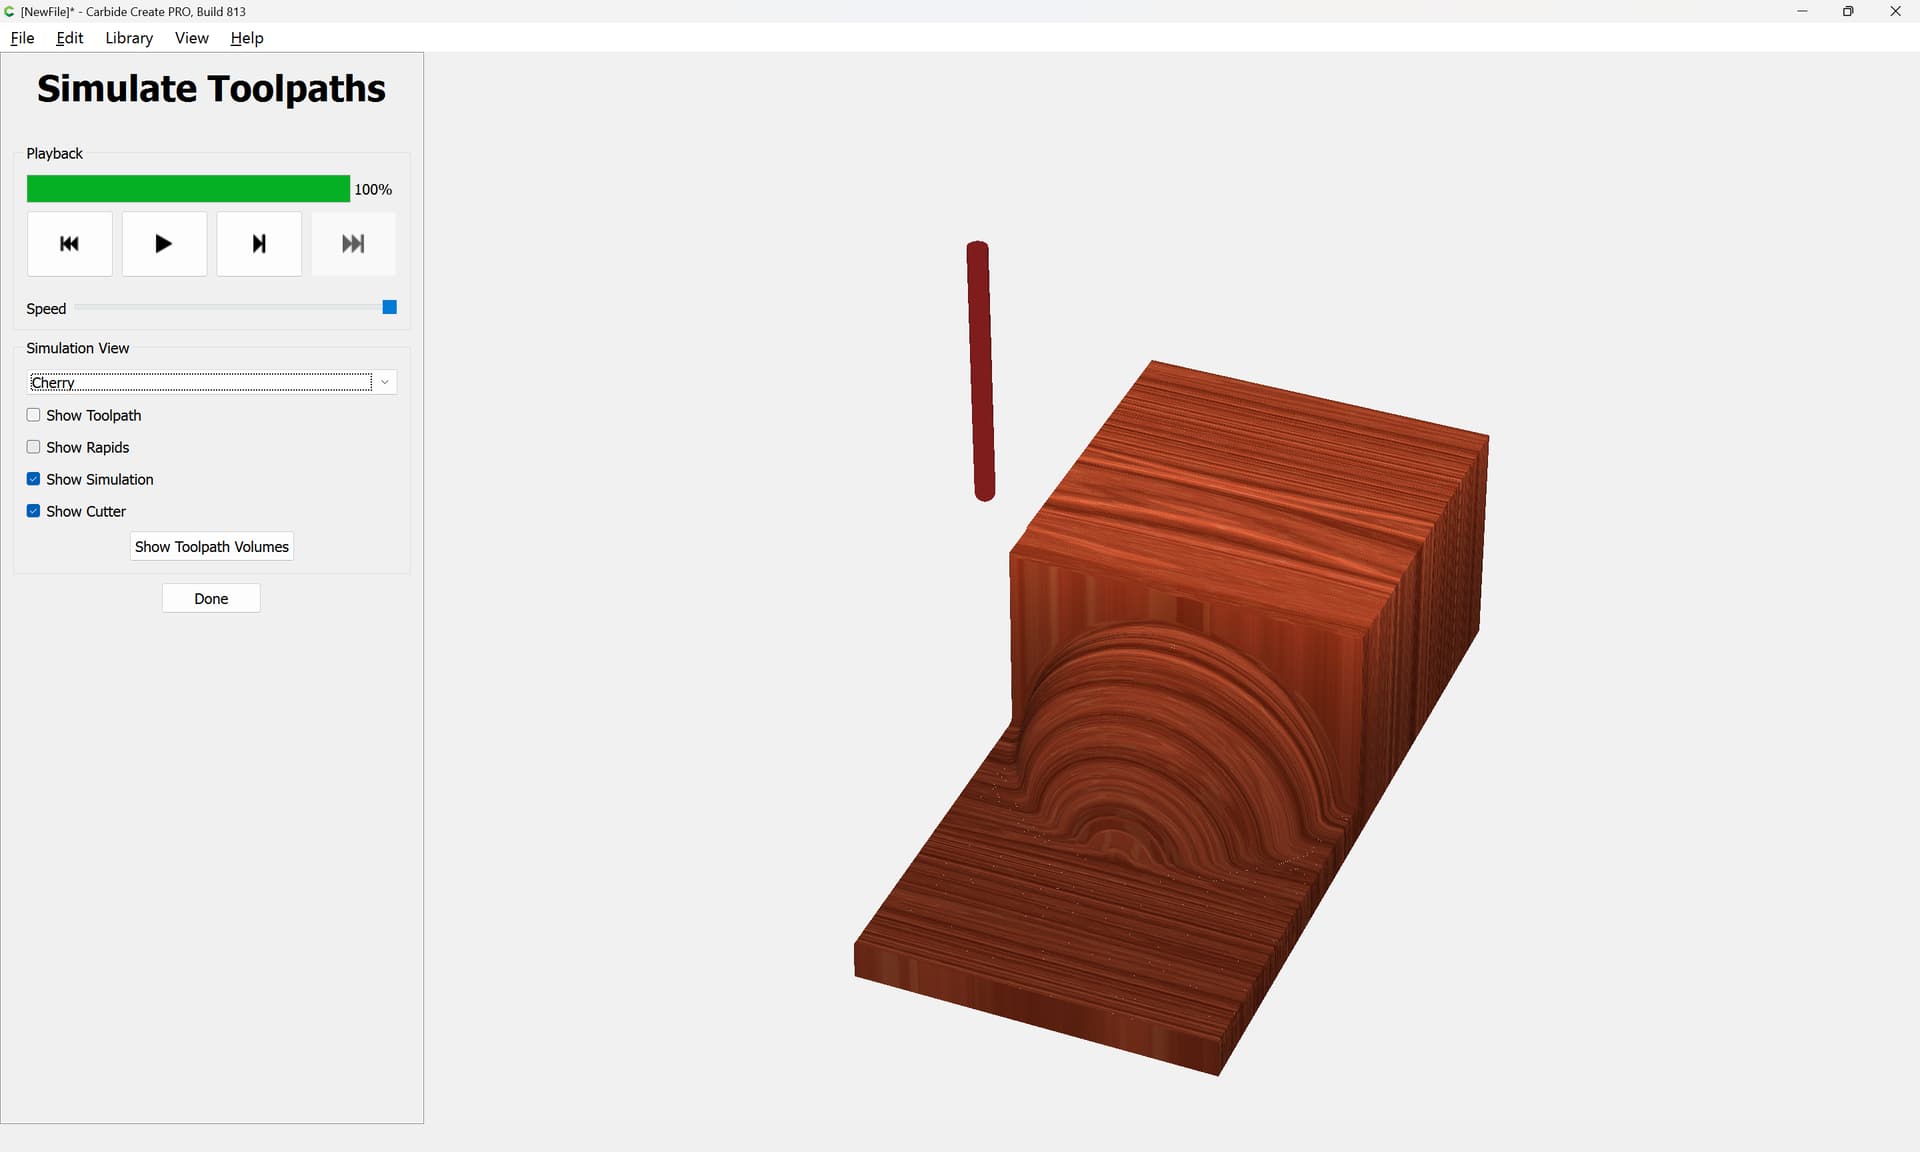
which previews as:
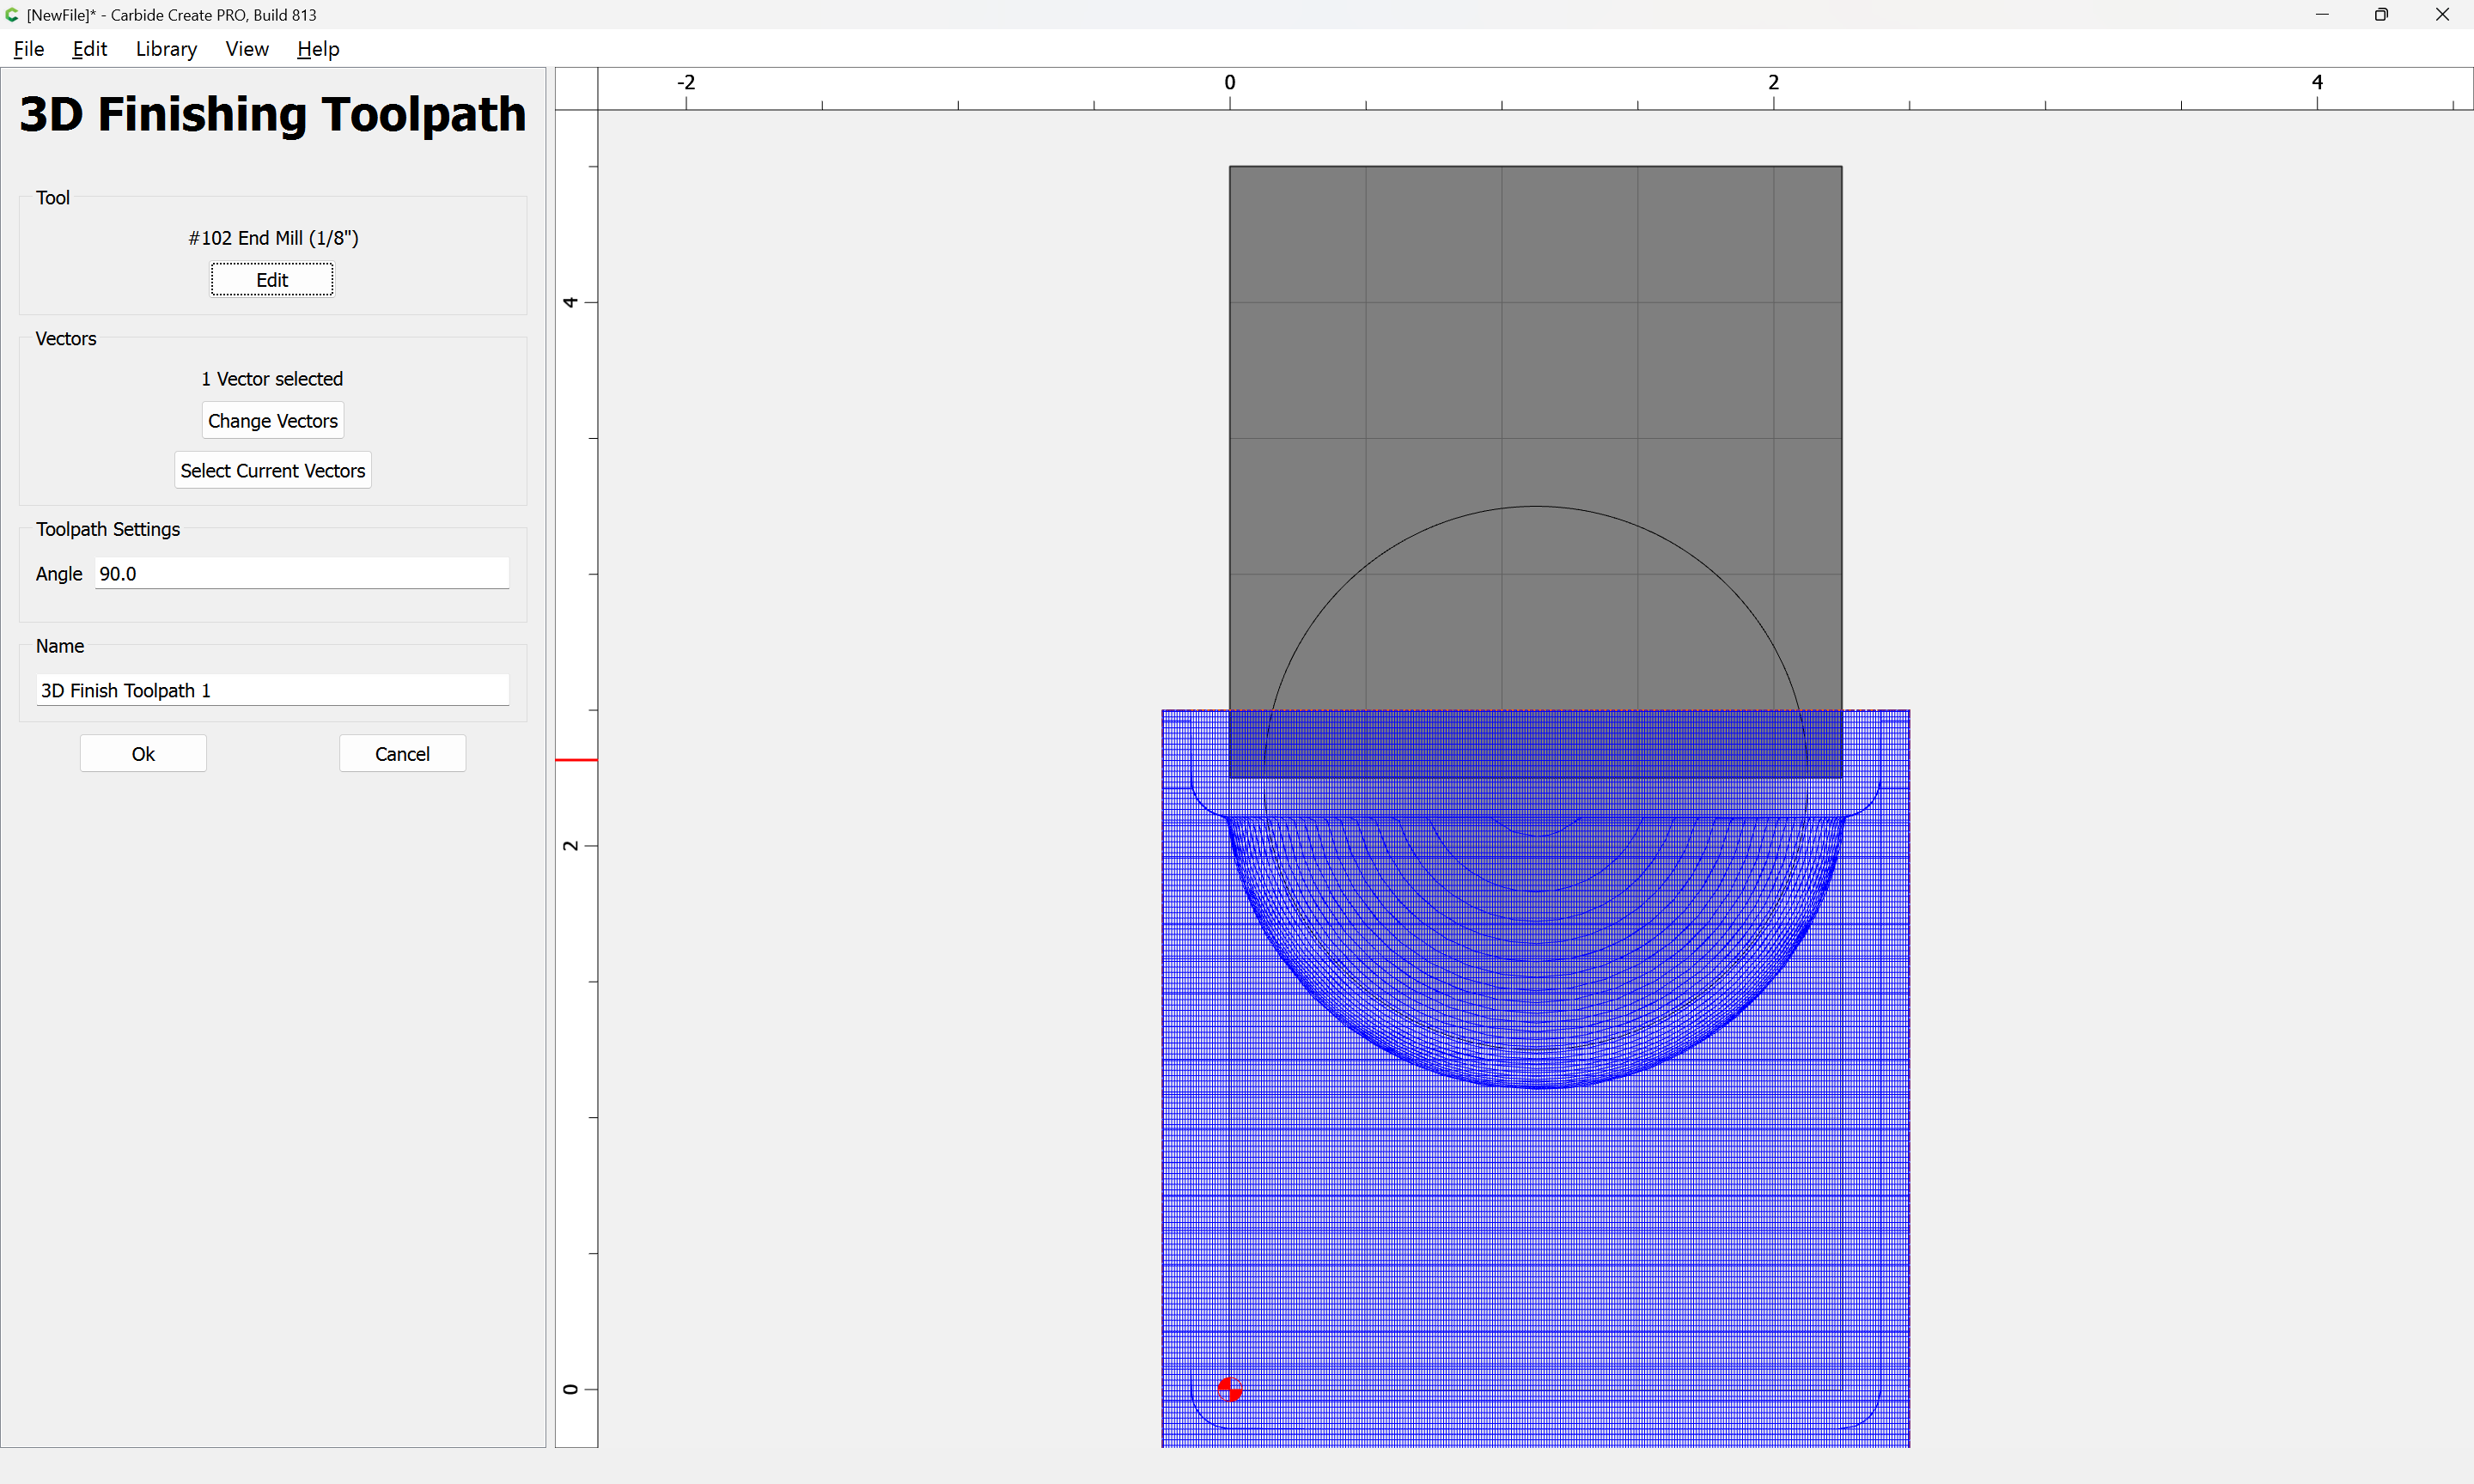
Adding an additional 3D Finishing toolpath with a square tool will get one roughly half of the interior angles:
(and using a smaller tool allowed minimizing the other)
2 Likes
system
March 20, 2025, 5:04pm
4
This topic was automatically closed 30 days after the last reply. New replies are no longer allowed.