I wish there were a “Wild” category where I could post this, but here goes.
I have been considering buying a long digital readout scale, out of convenience to do X/Y calibration over the full travel length of the machine. Then realized these scales have a digital output that can be read by a microcontroller. Then realized that this could be used to provide positional feedback to the motion controller. Then realized that this is nothing new, and other CNC people have been doing this for years.
The free space on the X and Y extrusions is calling for such a mod, but I guess the problem would be I/Os on the stock controller board. So, a couple of questions:
did anyone go down this rabbit hole before ? I could not find anything in the posts, but I may not have used the right keywords.
is the actual circuit diagram of the shapeoko controller board available somewhere ? I guess it is not public, but I would really like to know how the various signals physically accessible on the board are connected to the Arduino pins at least, to figure out if ANY of the I/Os could be reused to read serial data at a few tens of kHz. This would then require a severe hack of the GRBL code, of course.
Of course I could also use a completely different controller, but the challenge of repurposing some of the I/O capabilities of the existing one is too strong to overlook.
Yes, this sort of thing has been done — my understanding is it’s a standard feature in industry. The only hobbyist implementation I’m aware of was the LoboCNC. My recollection is that it was based on the affordable availability of positioning encoder wheels from PS3 controllers and when that supply dried up the machine became untenable.
Right, I had not thought of fitting the scale on the axis/extrusion just for the calibration procedure, good idea.
The other point about not having any input available on the grbl controllers is maybe only a matter of creatively hacking the firmware, repurposing some I/Os of the Arduino. I’m especially interested in those “Reserved” pins on the board
But if as Will mentioned the arduino is packed almost full (memory wise), it might be a dead end.
Most economical DROs are fairly slow to settle, compared to what is required for real-time work on any CNC router.
Instead of a constant closed-loop feedback one might check the DRO at intervals. For example, it might be possible to check the DRO each time the Z is about to descend. That is, if the gerbil sees code that will lower the Z, it checks X/Y encoders and makes any necessary adjustments, then continues running the code.
The IOs could be accessed, but the issue will the grbl code. I think you could grab the serial data to have a DRO of what grbl is reporting. That’d still be pretty cool without the closed loop feedback.
There are stepper drivers which can compensate for missed steps.
excellent point, which instantly kills my idea
Back to my backup plan: using two DRO scales to at least automate the mapping & calibration of the belts across the work area (another one of my shapeoko fantasies right now)
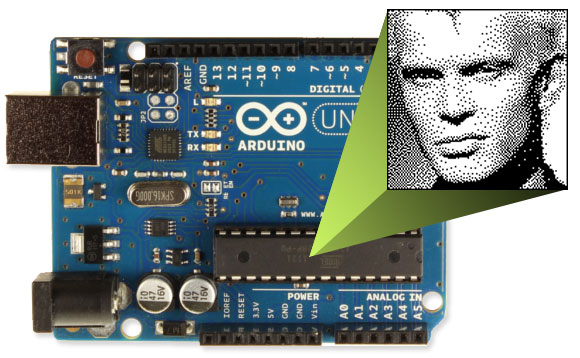
Commentary on how small Grbl compiles down to in an image:
Its 2kb of memory laughable even by early 80s standards. Here you go, a picture of the Arduino with enough bits of 80s phenomenon Billy Idol to completely fill its working memory:
I have a slight (or glaring) issue, when y’all suggest the Stepoko as a compareable alternative. It only has 3 stepper drivers, compared to the Carbide 3D motion controller, so you can’t drive the slave Y-Axis motor.
There will be a new version of grbl “soon” that will be based on a more capable board. That said, I think writing the code to adjust motion based on feedback would not be a trivial task.
Probably better off putting time, effort, and money into a machine where loss of position isn’t a concern. The goal should be that the machine moves the way you tell it to.
There’s already precedence for this ---- bCNC for example has code to probe a surface, then import a G-Code file, and adjust it so that it conforms to the surface as it is cut.
The downside is that this converts any G2/G3 arcs into an approximation of straight-line segments.
this thread keeps on giving me fresh ideas, thanks. So new proposal:
map the entire work area for local inaccuracies/calibration factors. A set of two DRO scales would help automate/speed-up the process for collecting this data.
then implement an offline compensation of the G-code files, that parses the files and adjusts the displacement distances depending on X/Y position.
run the modified G-code file on the unmodified shapeoko.
Not as good as actual positional feedback, does nothing against lost steps in the motors, but much easier and no need to mess with GRBL.
This is a common technique in large or custom machines, where obtaining tight tolerances on the mounting surfaces for things like linear rails is not viable. I’ve seen it done with a Faro laser tracker inside a gantry mill (20’x80’+x12’). Mount the balls on the spindle and move it in various positions throughout the work envelope and use that to build an offset table. Siemens has a built in option for implementing this in their 840D controllers.