The front door/window of my enclosure used to be a single giant panel that I would put in place/remove by lifting the whole thing and putting it somewhere nearby on the floor. It was the most inconvenient thing one could think of (but…lazyness and no interest in making a proper door earlier)
I don’t have enough space around the machine to make regular doors, so I went with something that would open vertically, with hinges at the top.
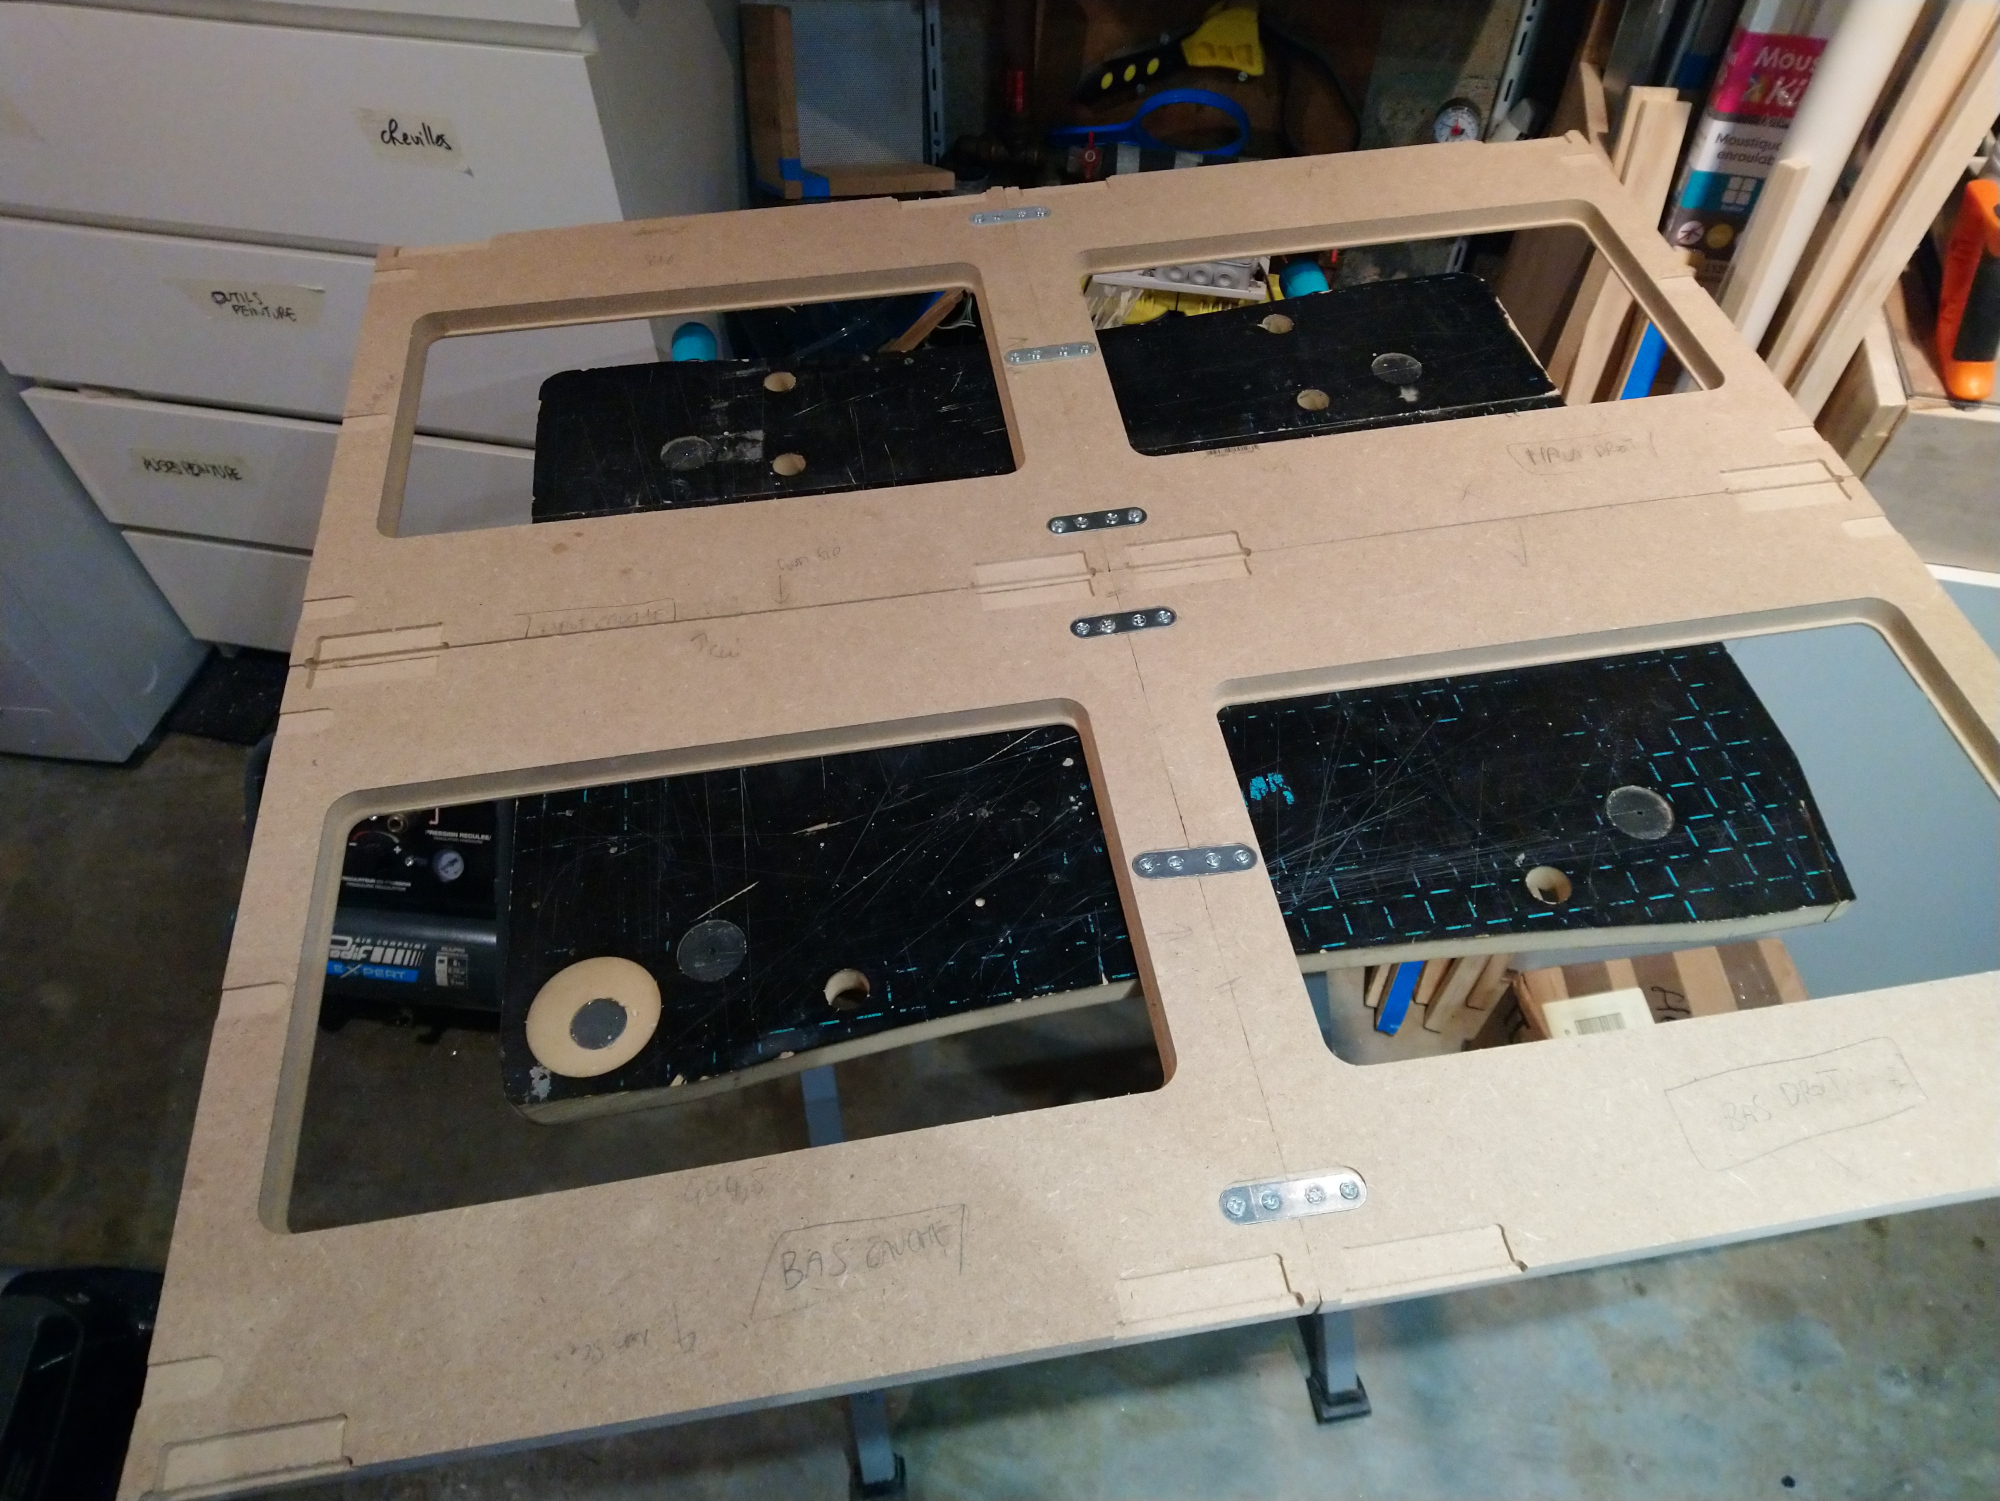
I checked what thick MDF sheets I had left…and of course I had no piece large enough to fit my enclosure dimensions. But I did have pieces large enough to make four quadrants that I could assemble, so I did that.
Cutting each quadrant was an “interesting” exercize since their dimensions happened to be at the extreme limits of what my SO3 can cut:
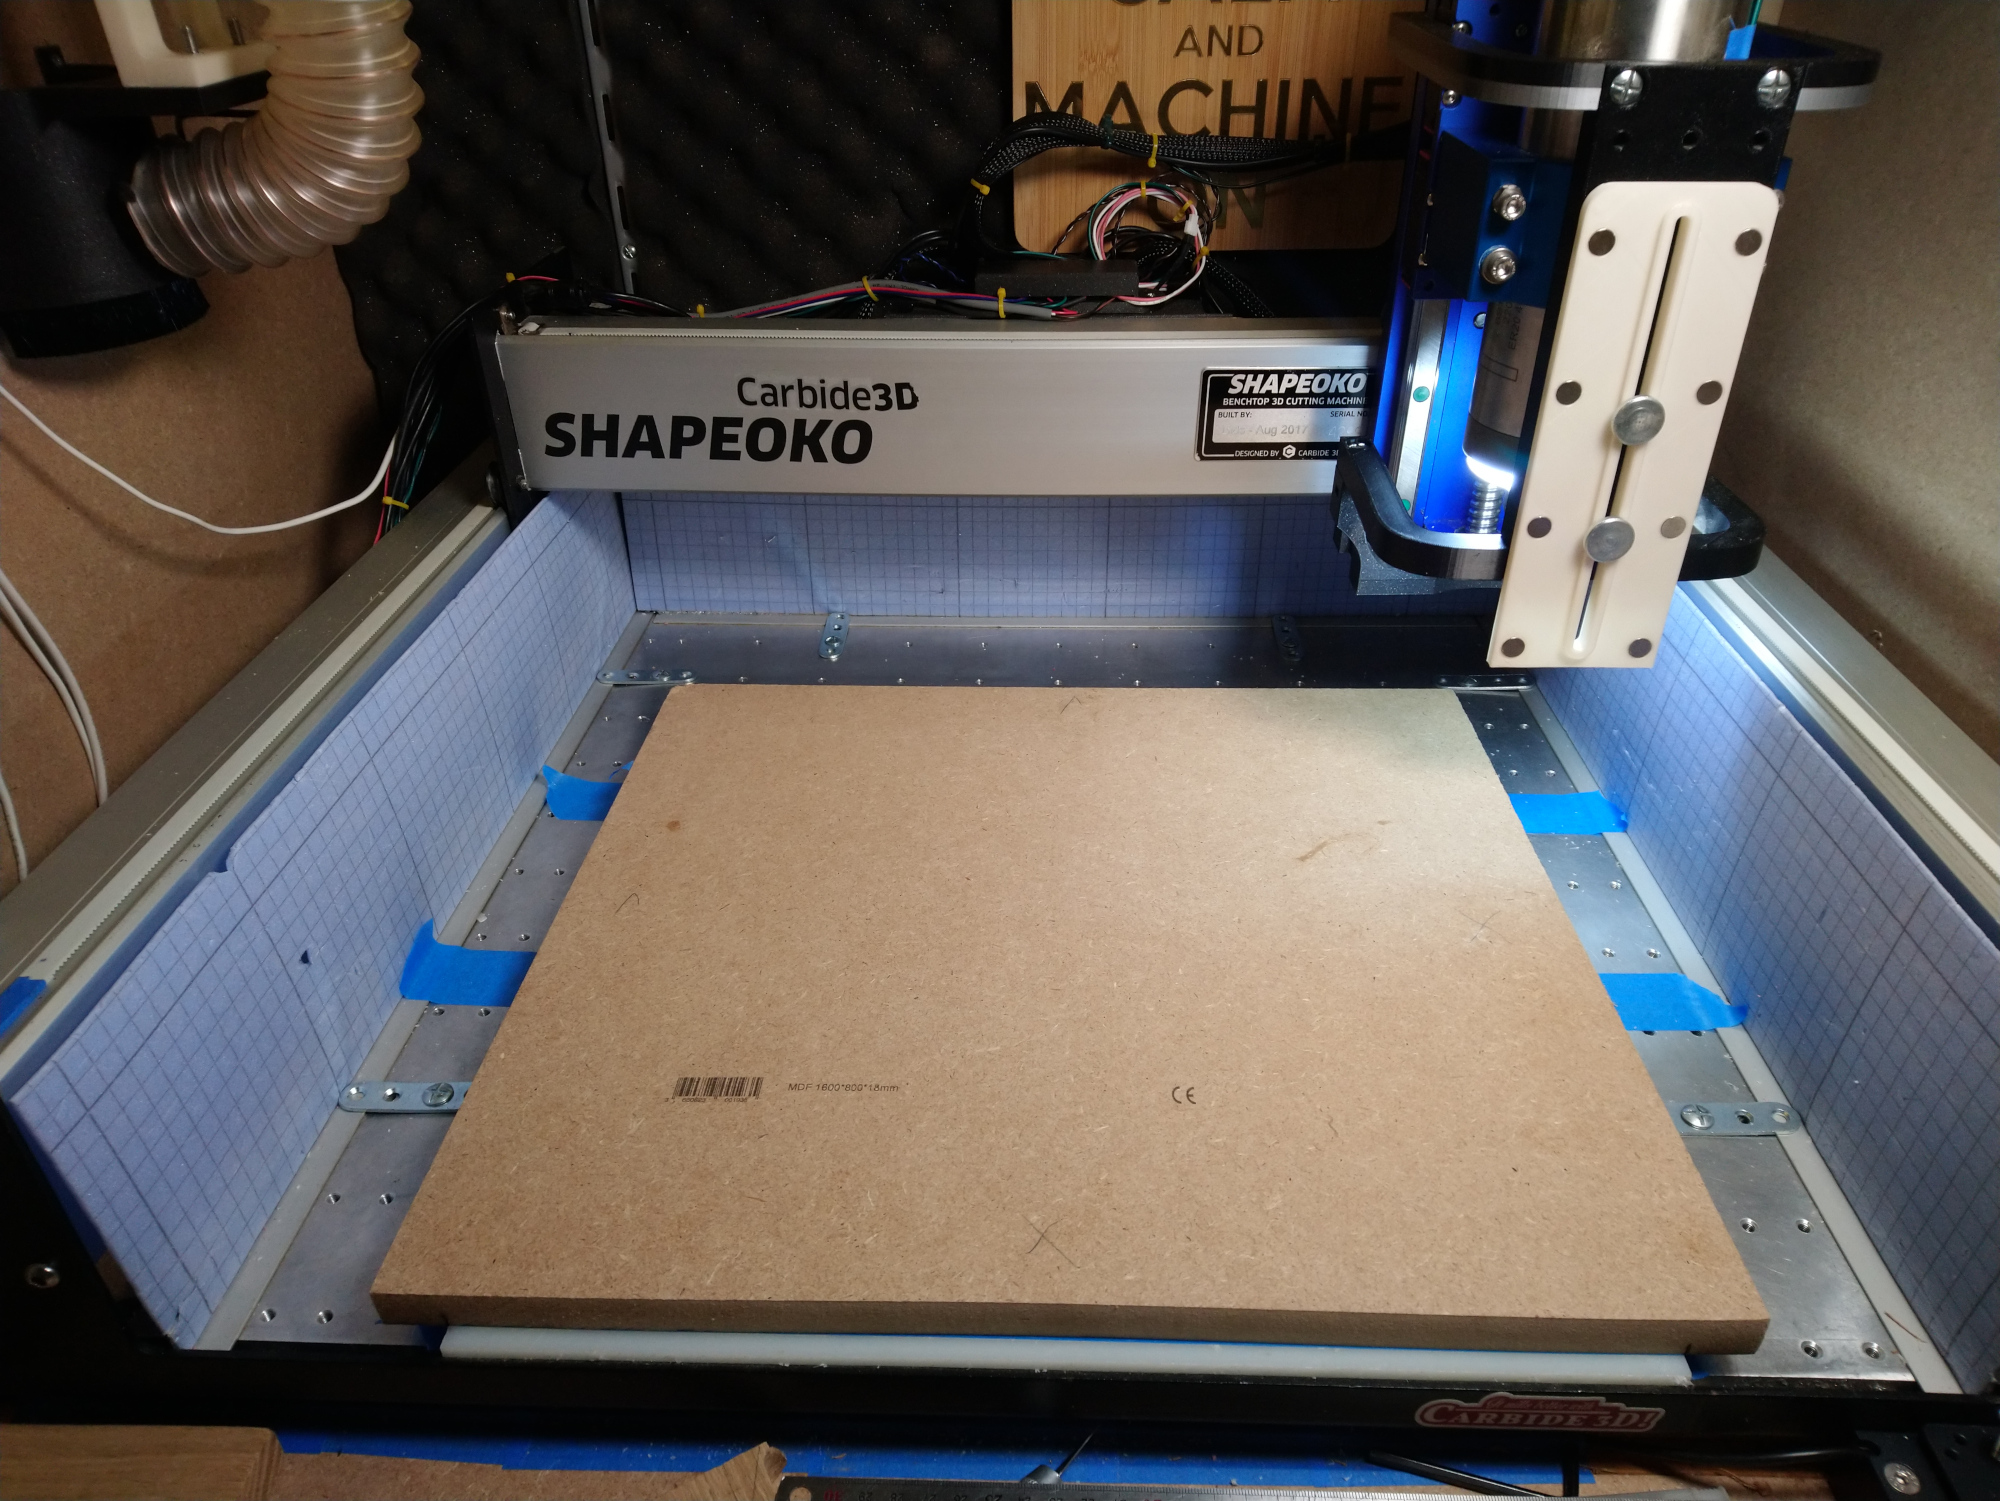
That’s my wasteboard in white under there, and I needed to cut up to the edge of the MDF. I should have taken a picture, I ended up having 1mm  margin on the left AND the right side…it required very careful positioning of the stock. Oh, and when you’re at the work area limit like that ? Probing XYZ on the lower left corner makes for an interesting crash against the left rail
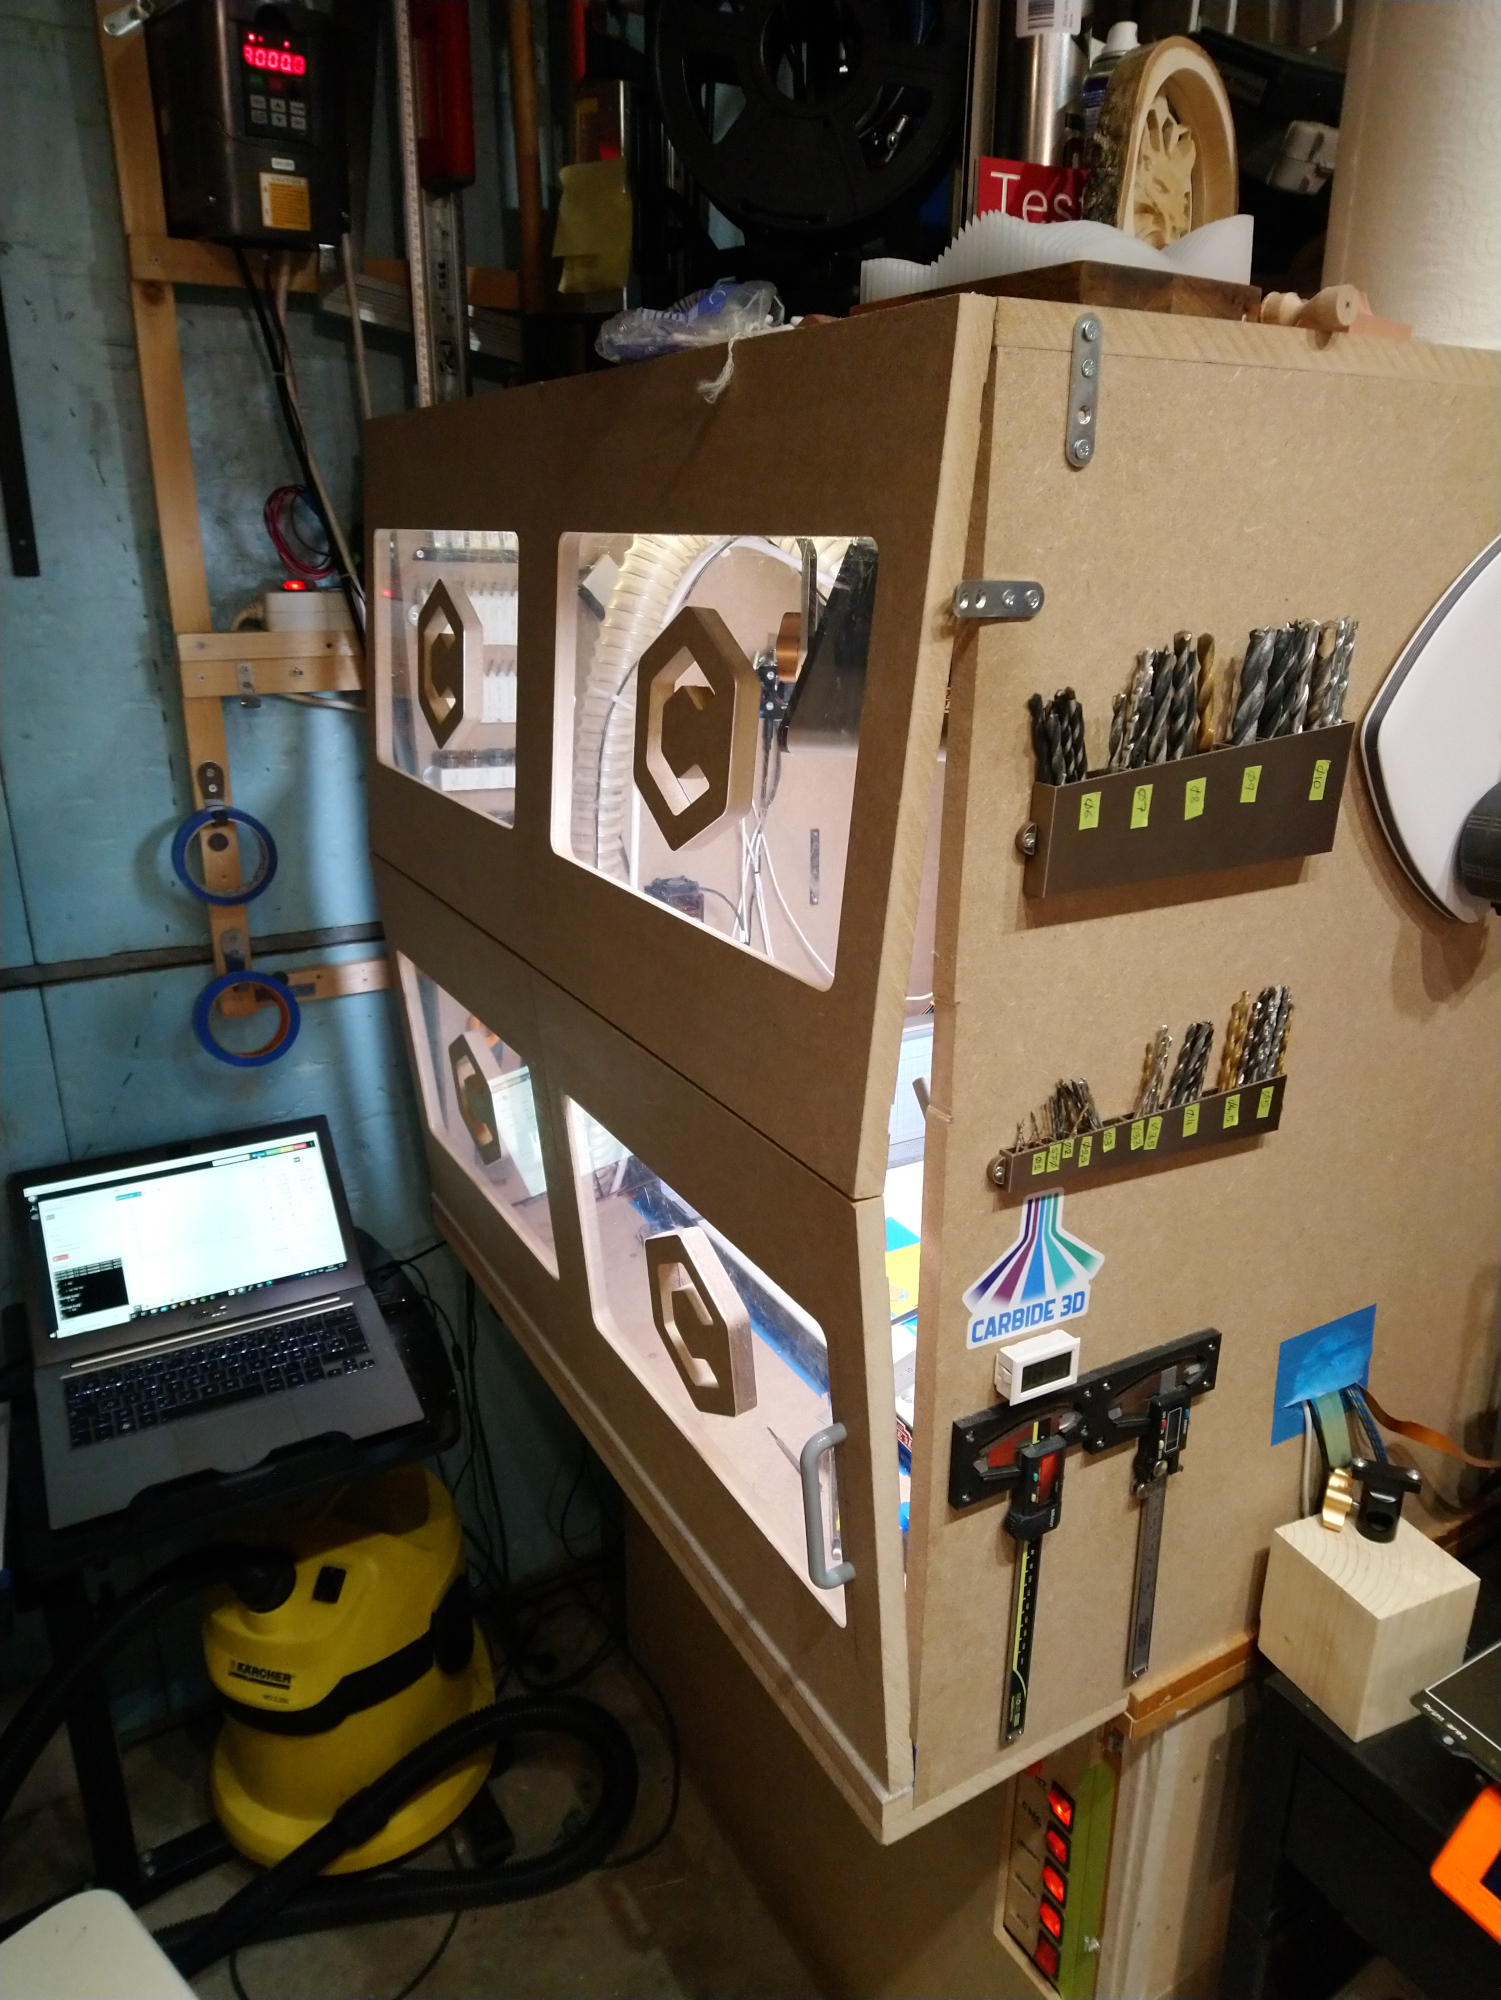
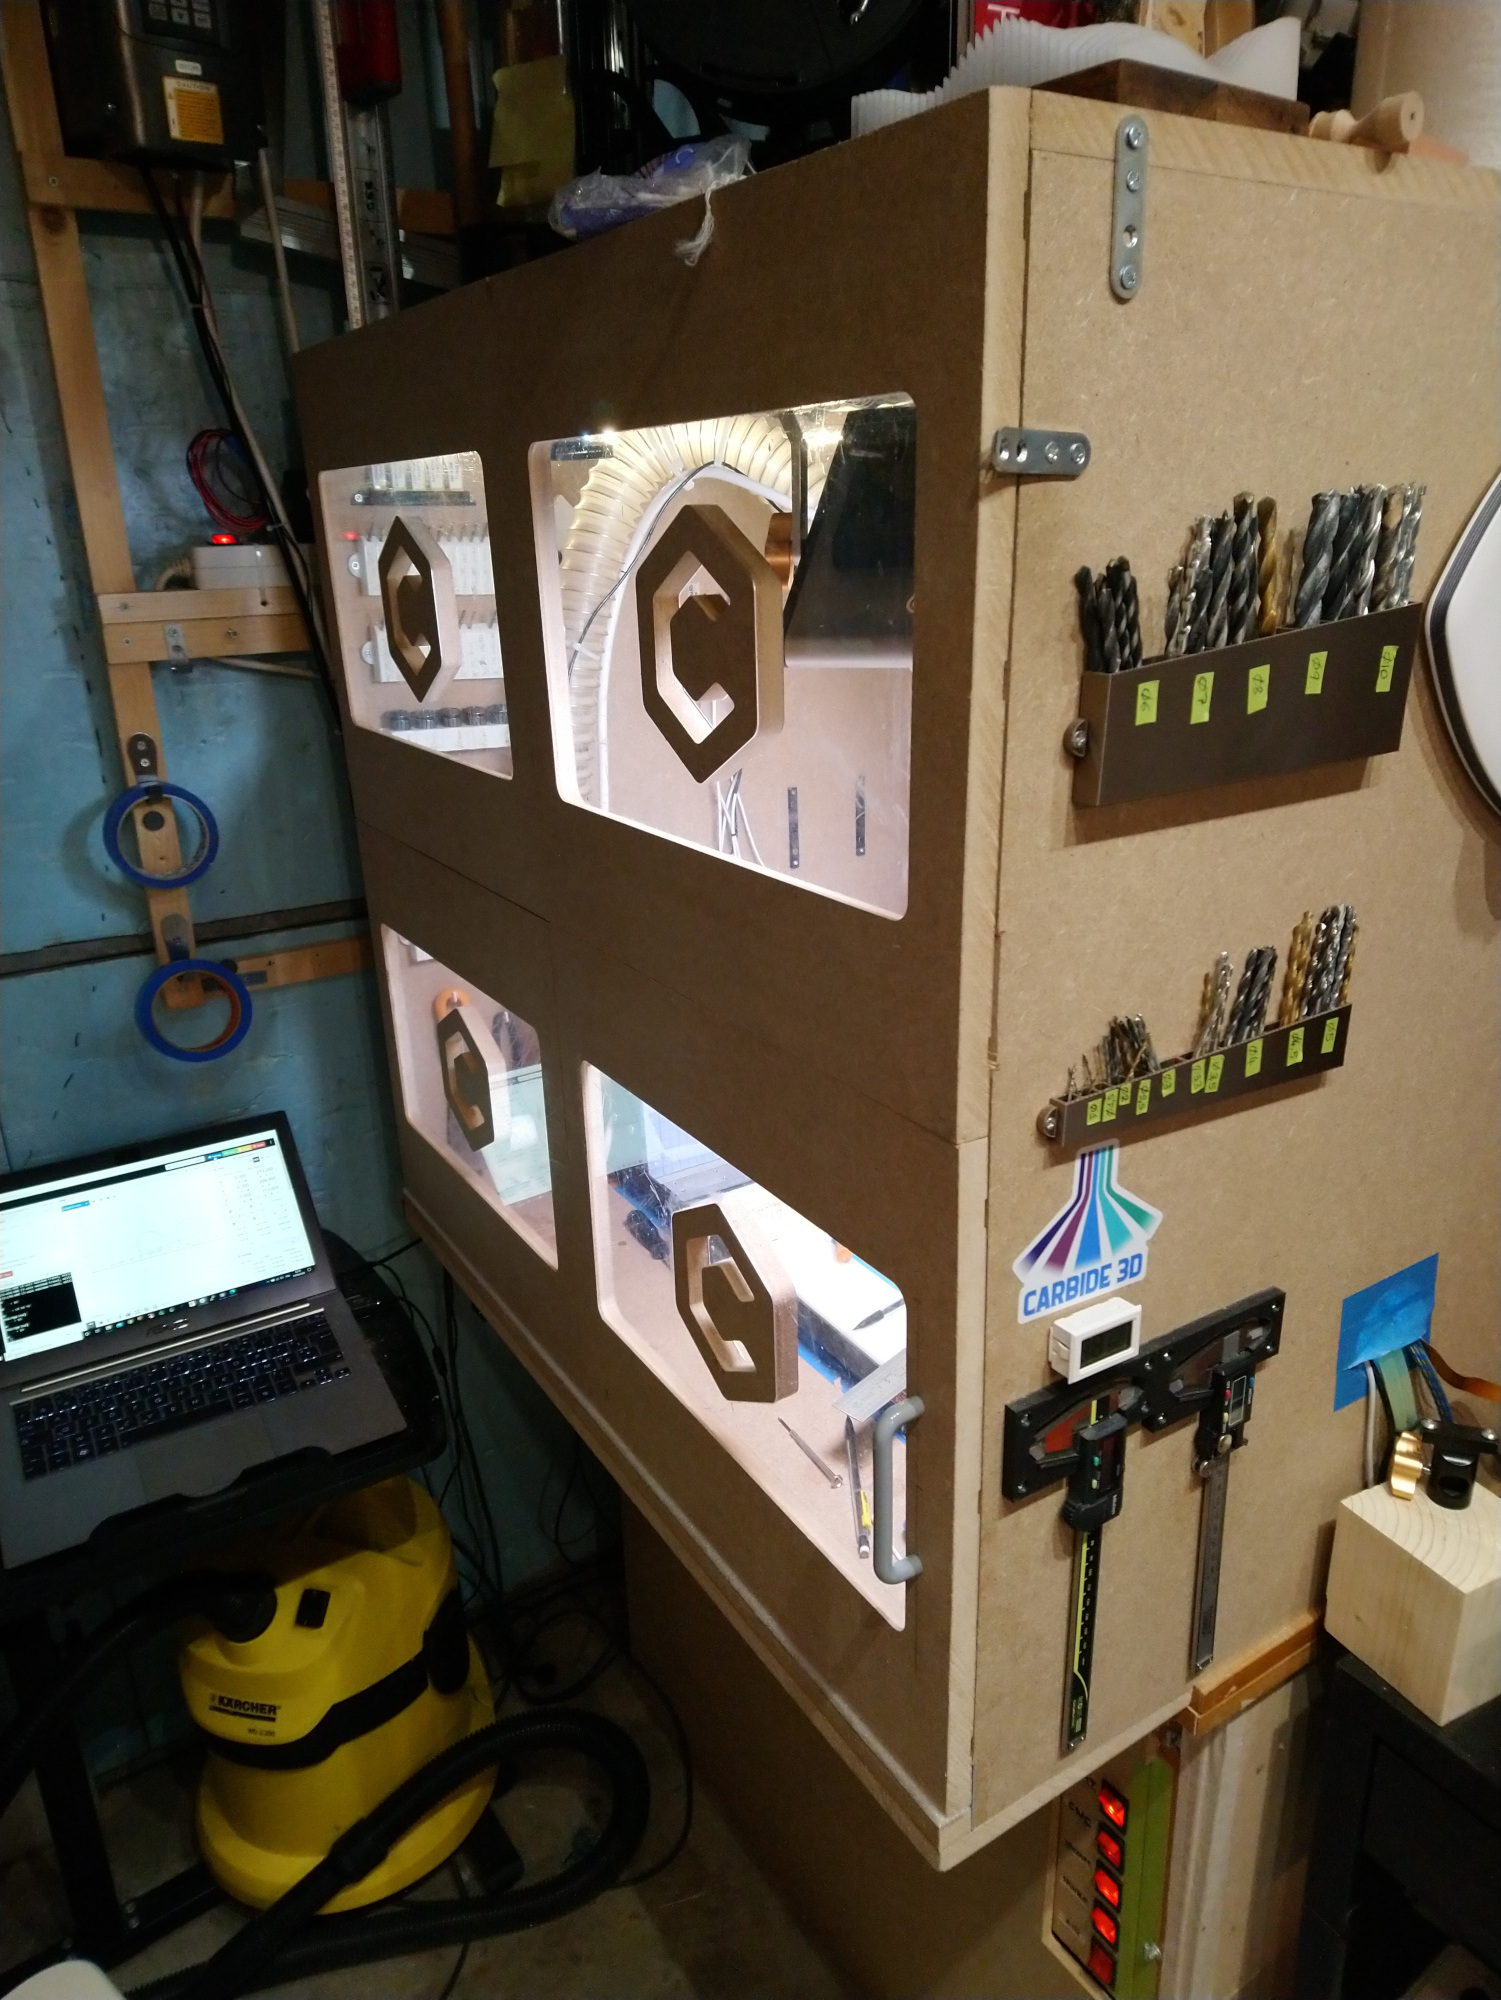
Anyway, I cut the four quadrants, and stitched them together (yes, one of those is crooked)
I added the hinges, and installed this thing on the front of my enclosure:
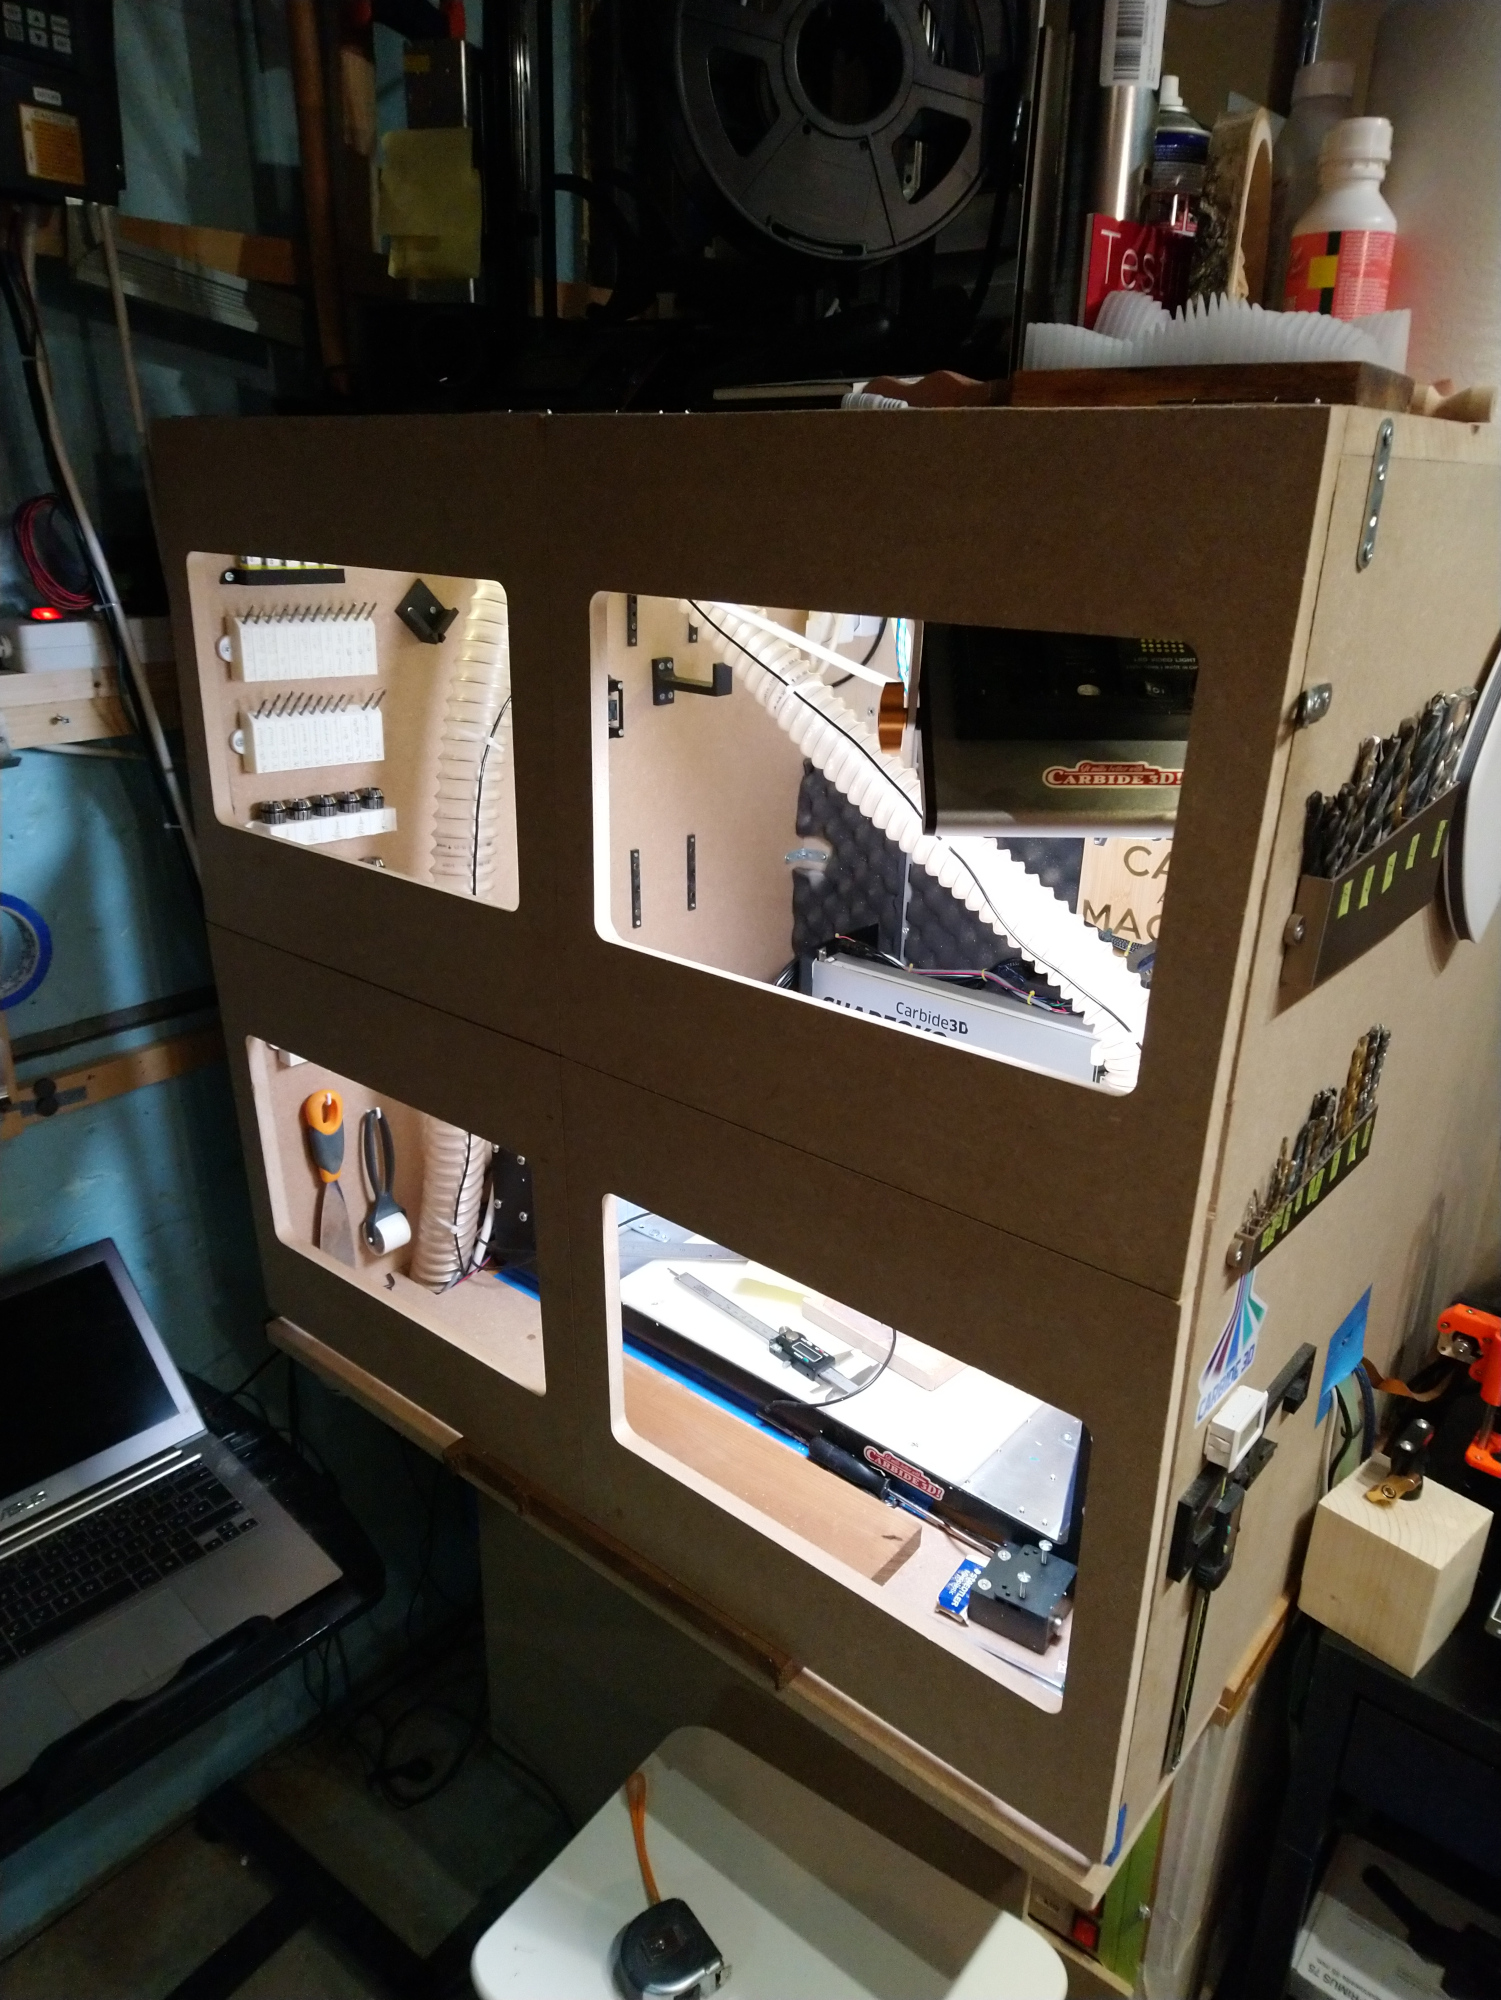
I reused the old scratched acrylic window pane from my previous door to cut smaller windows out of it, and I thought, let’s have a little fun and insert & glue an MDF piece inside a cutout in the acrylic:

The hinges work exactly like I wanted:
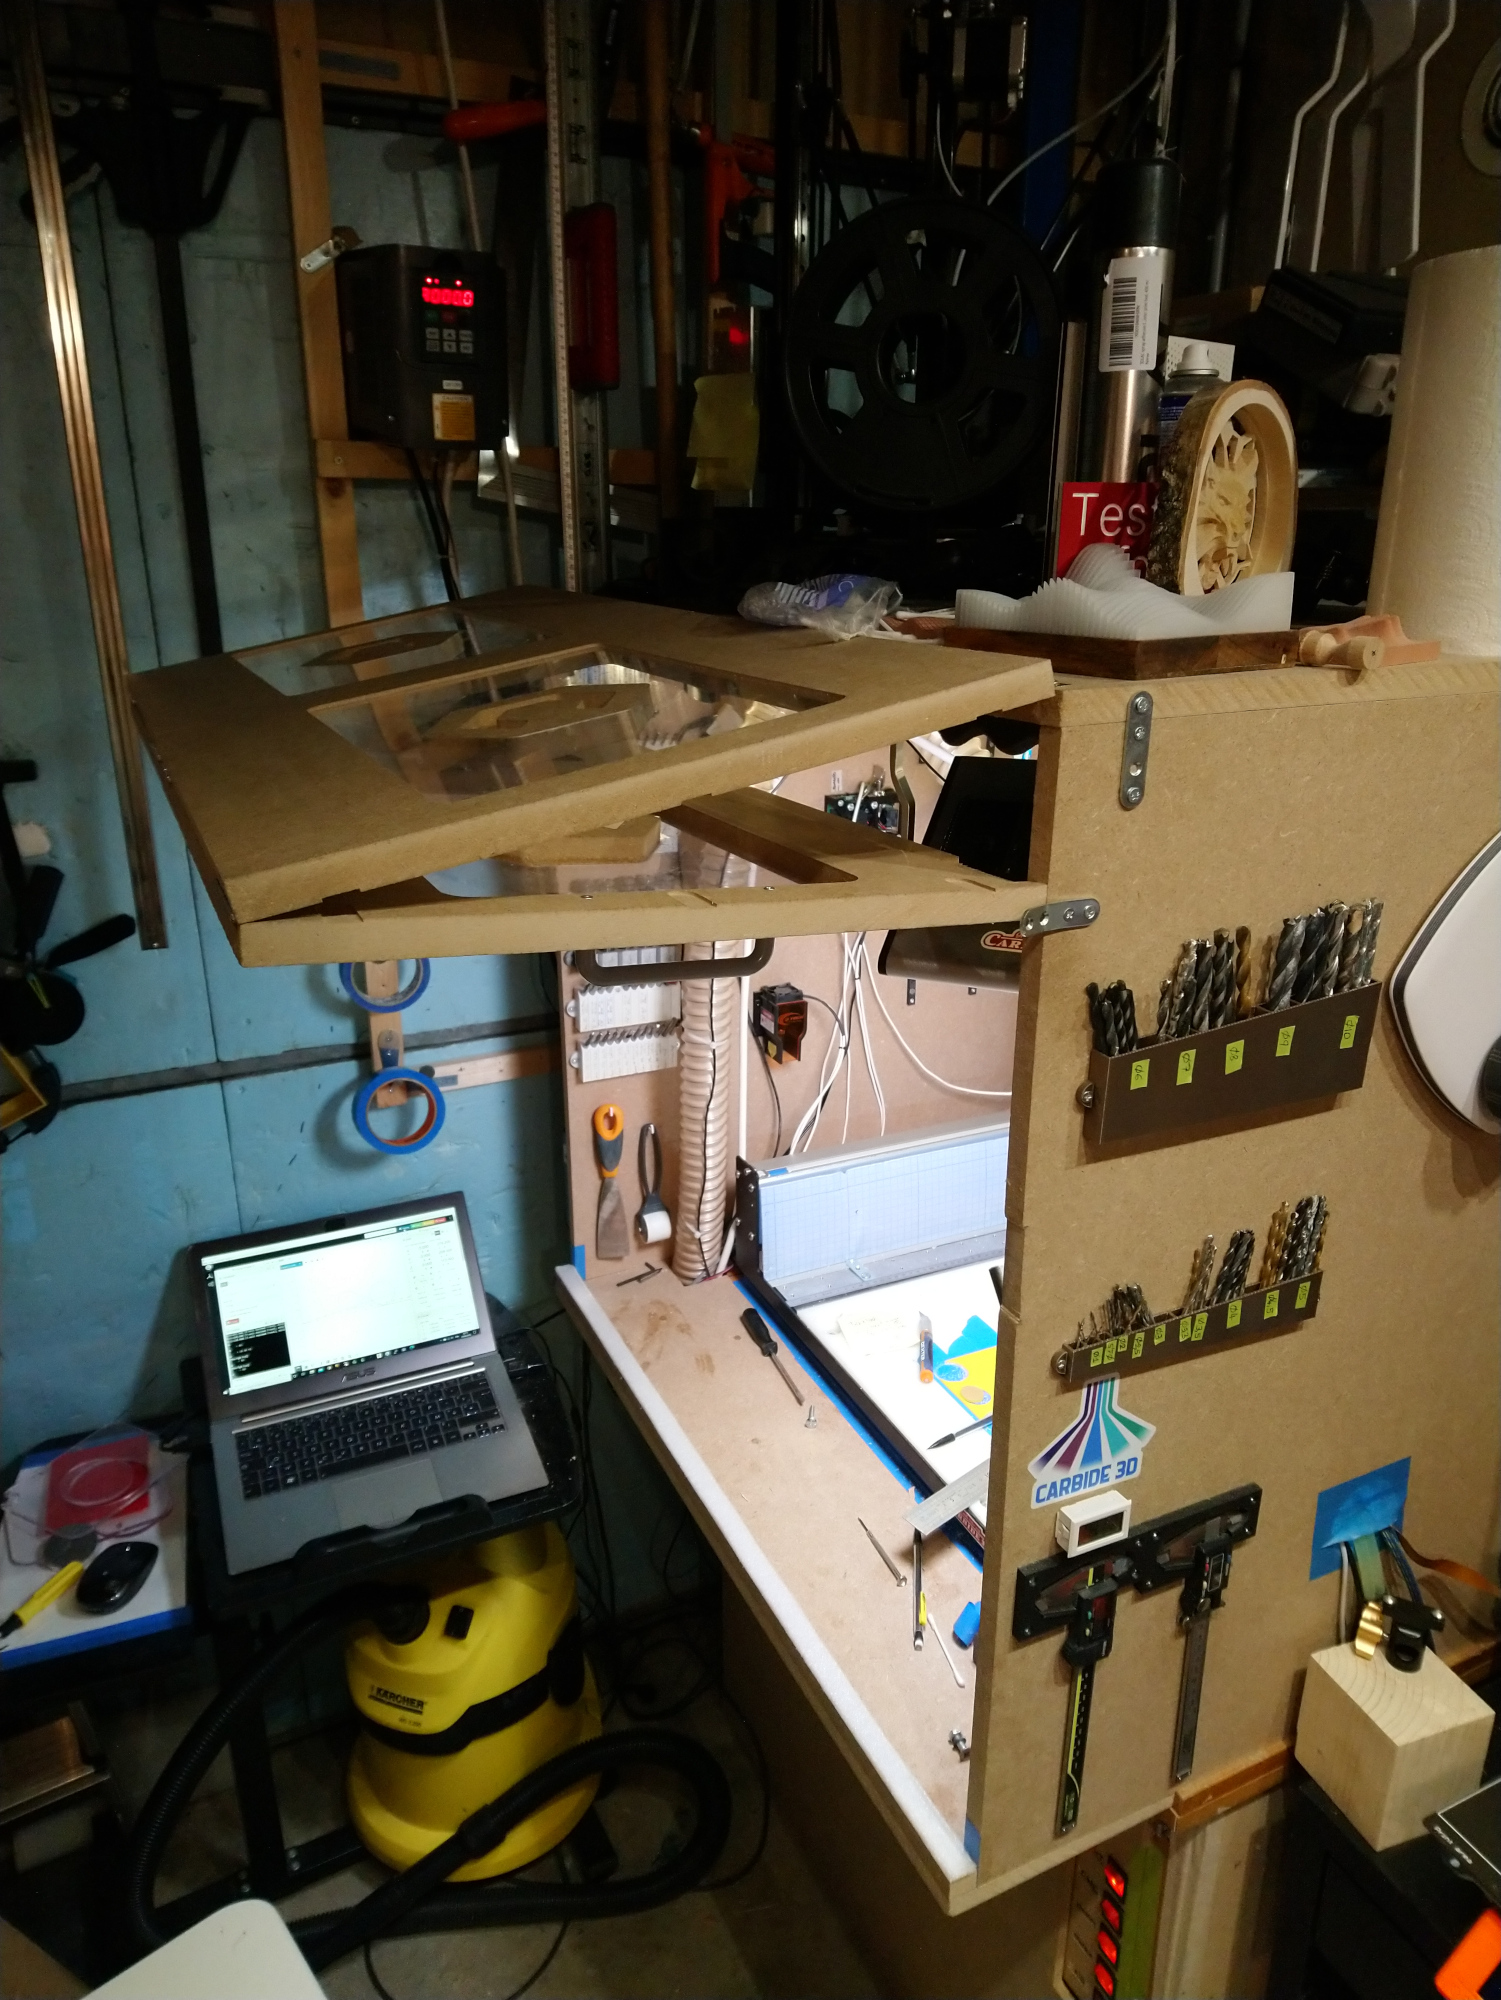
I added a strip of cushion/foam at the bottom, so when I close the door, there is just enough resistance that initially the door is like this,
and a small push locks it in place nicely:
Just a door, but a fun week-end project overall.
