Got a request to draw this:
from the Unofficial Shapeoko group: https://www.facebook.com/groups/1846133132130334/permalink/2784841698259468/
So here’s one way to do it.
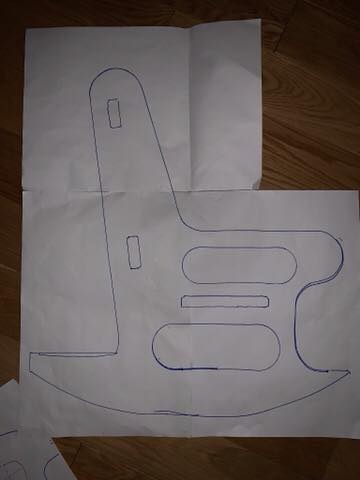
Got a request to draw this:
from the Unofficial Shapeoko group: https://www.facebook.com/groups/1846133132130334/permalink/2784841698259468/
So here’s one way to do it.
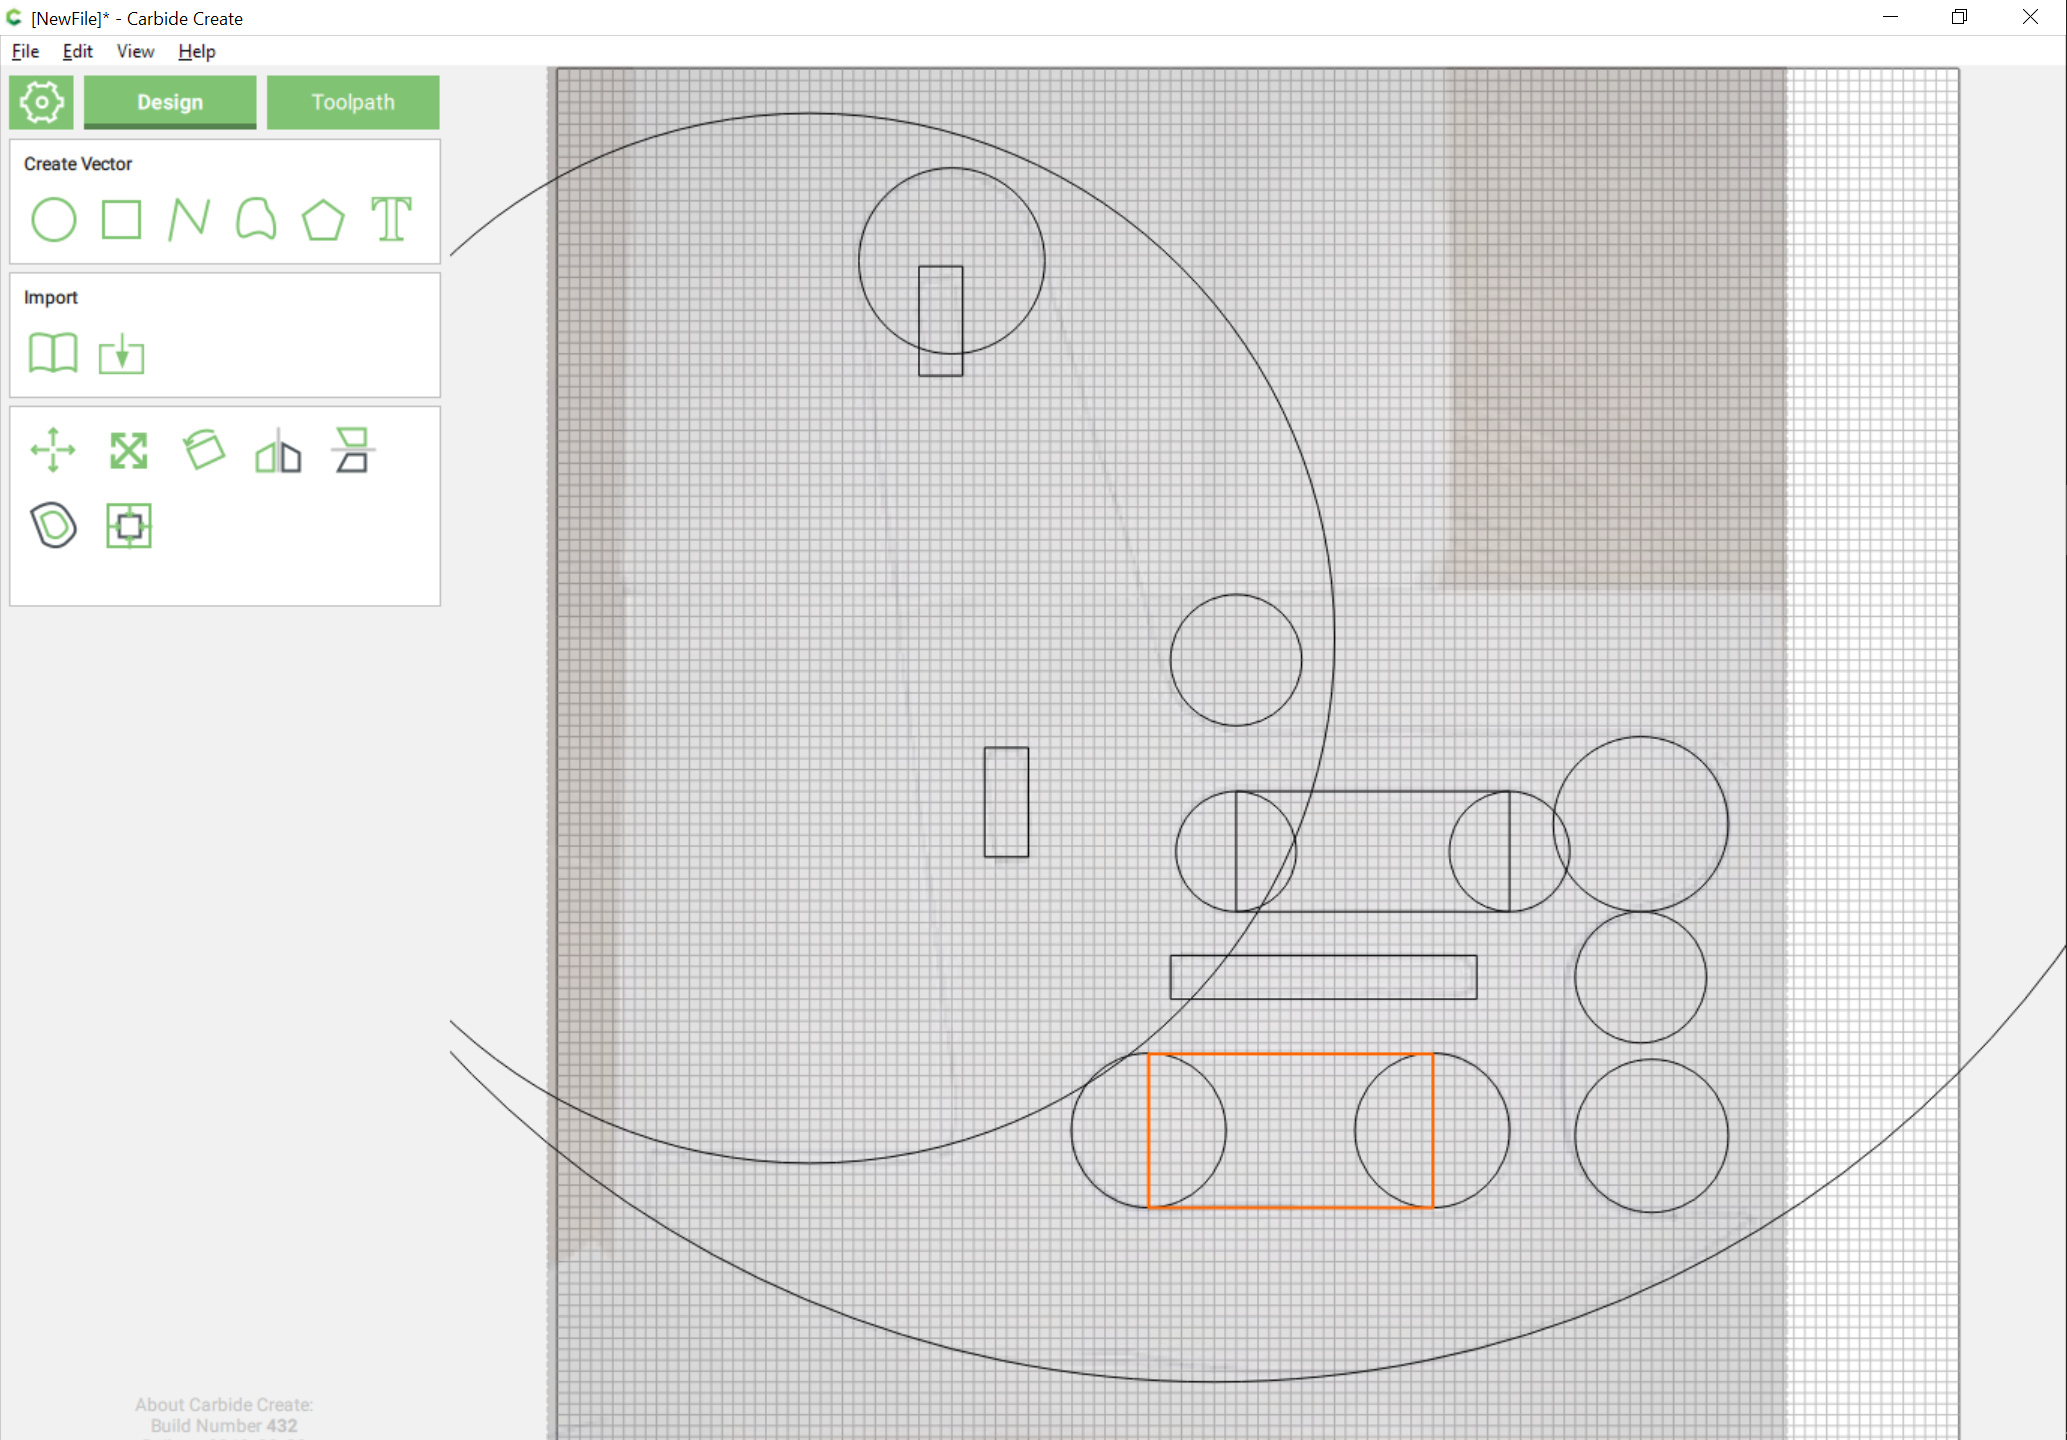
Begin by launching Carbide Create, setting the stock size appropriately, importing the image, scaling it if need be, and positioning it as desired:
Identify everywhere some regular piece of geometry can be drawn in and do so:
Note that in some instances it is easiest to draw things twice as large as they ought, since Carbide Create draws from the inside out (note the size of the selected rectangle which was drawn by clicking on the lowest node of the left circle and uppermost node of the right circle it is super-imposed on), then scale them down to half their size (0.5 scaling factor):
and then drag them into position:
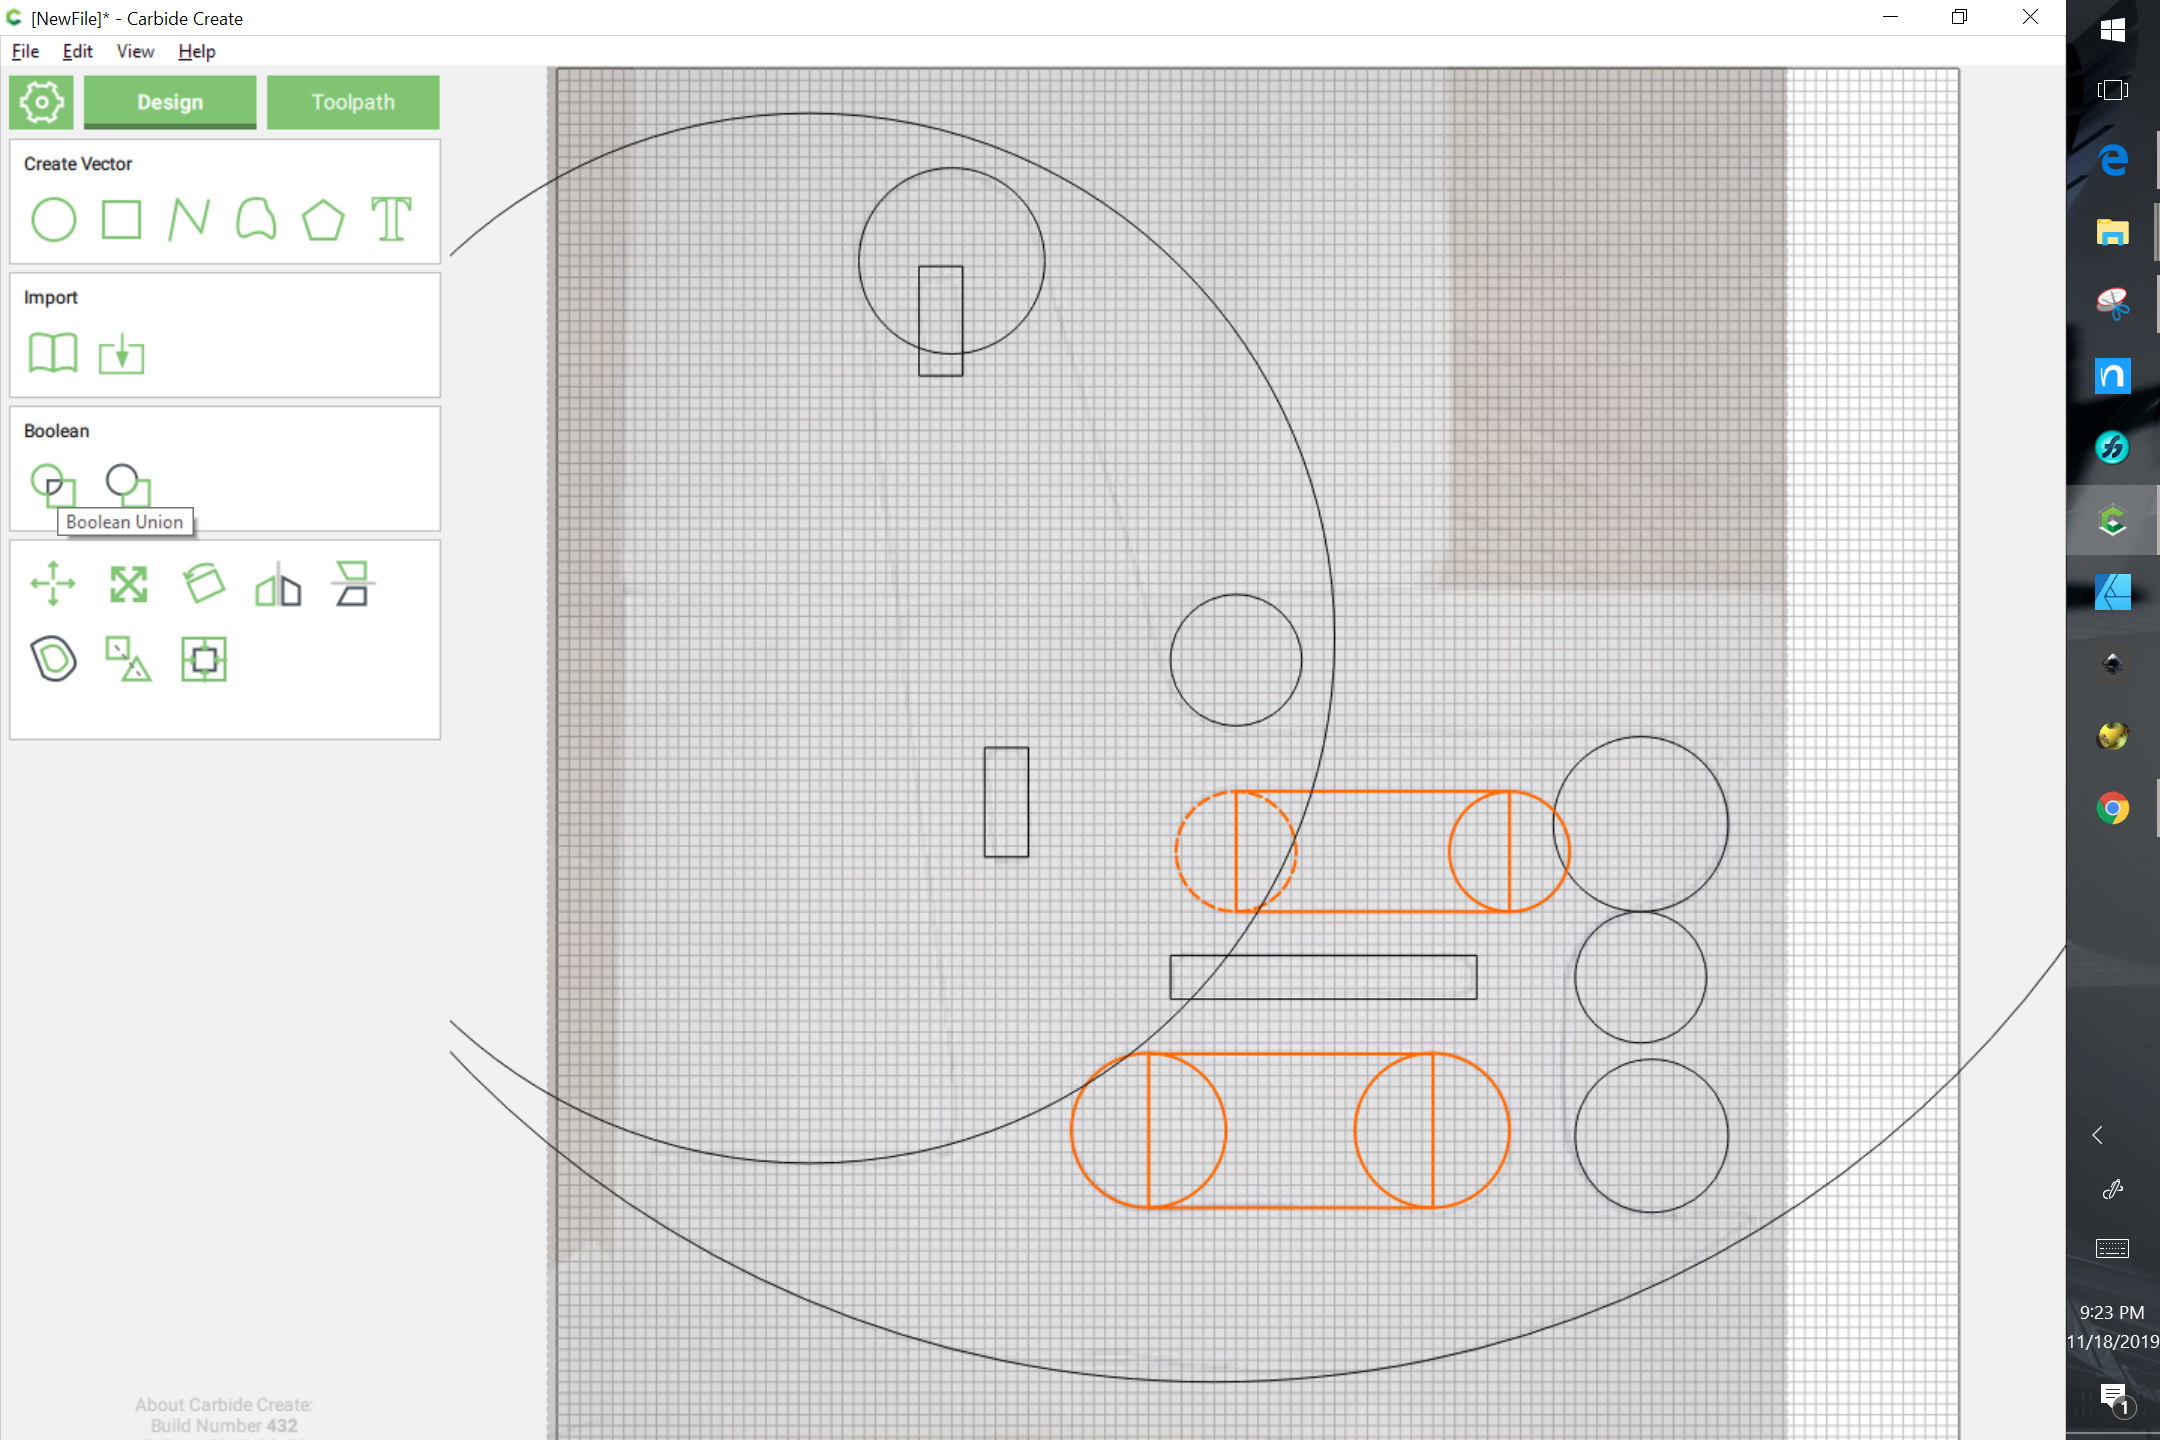
Union the things which are ready for it:
and finish drawing in elements:
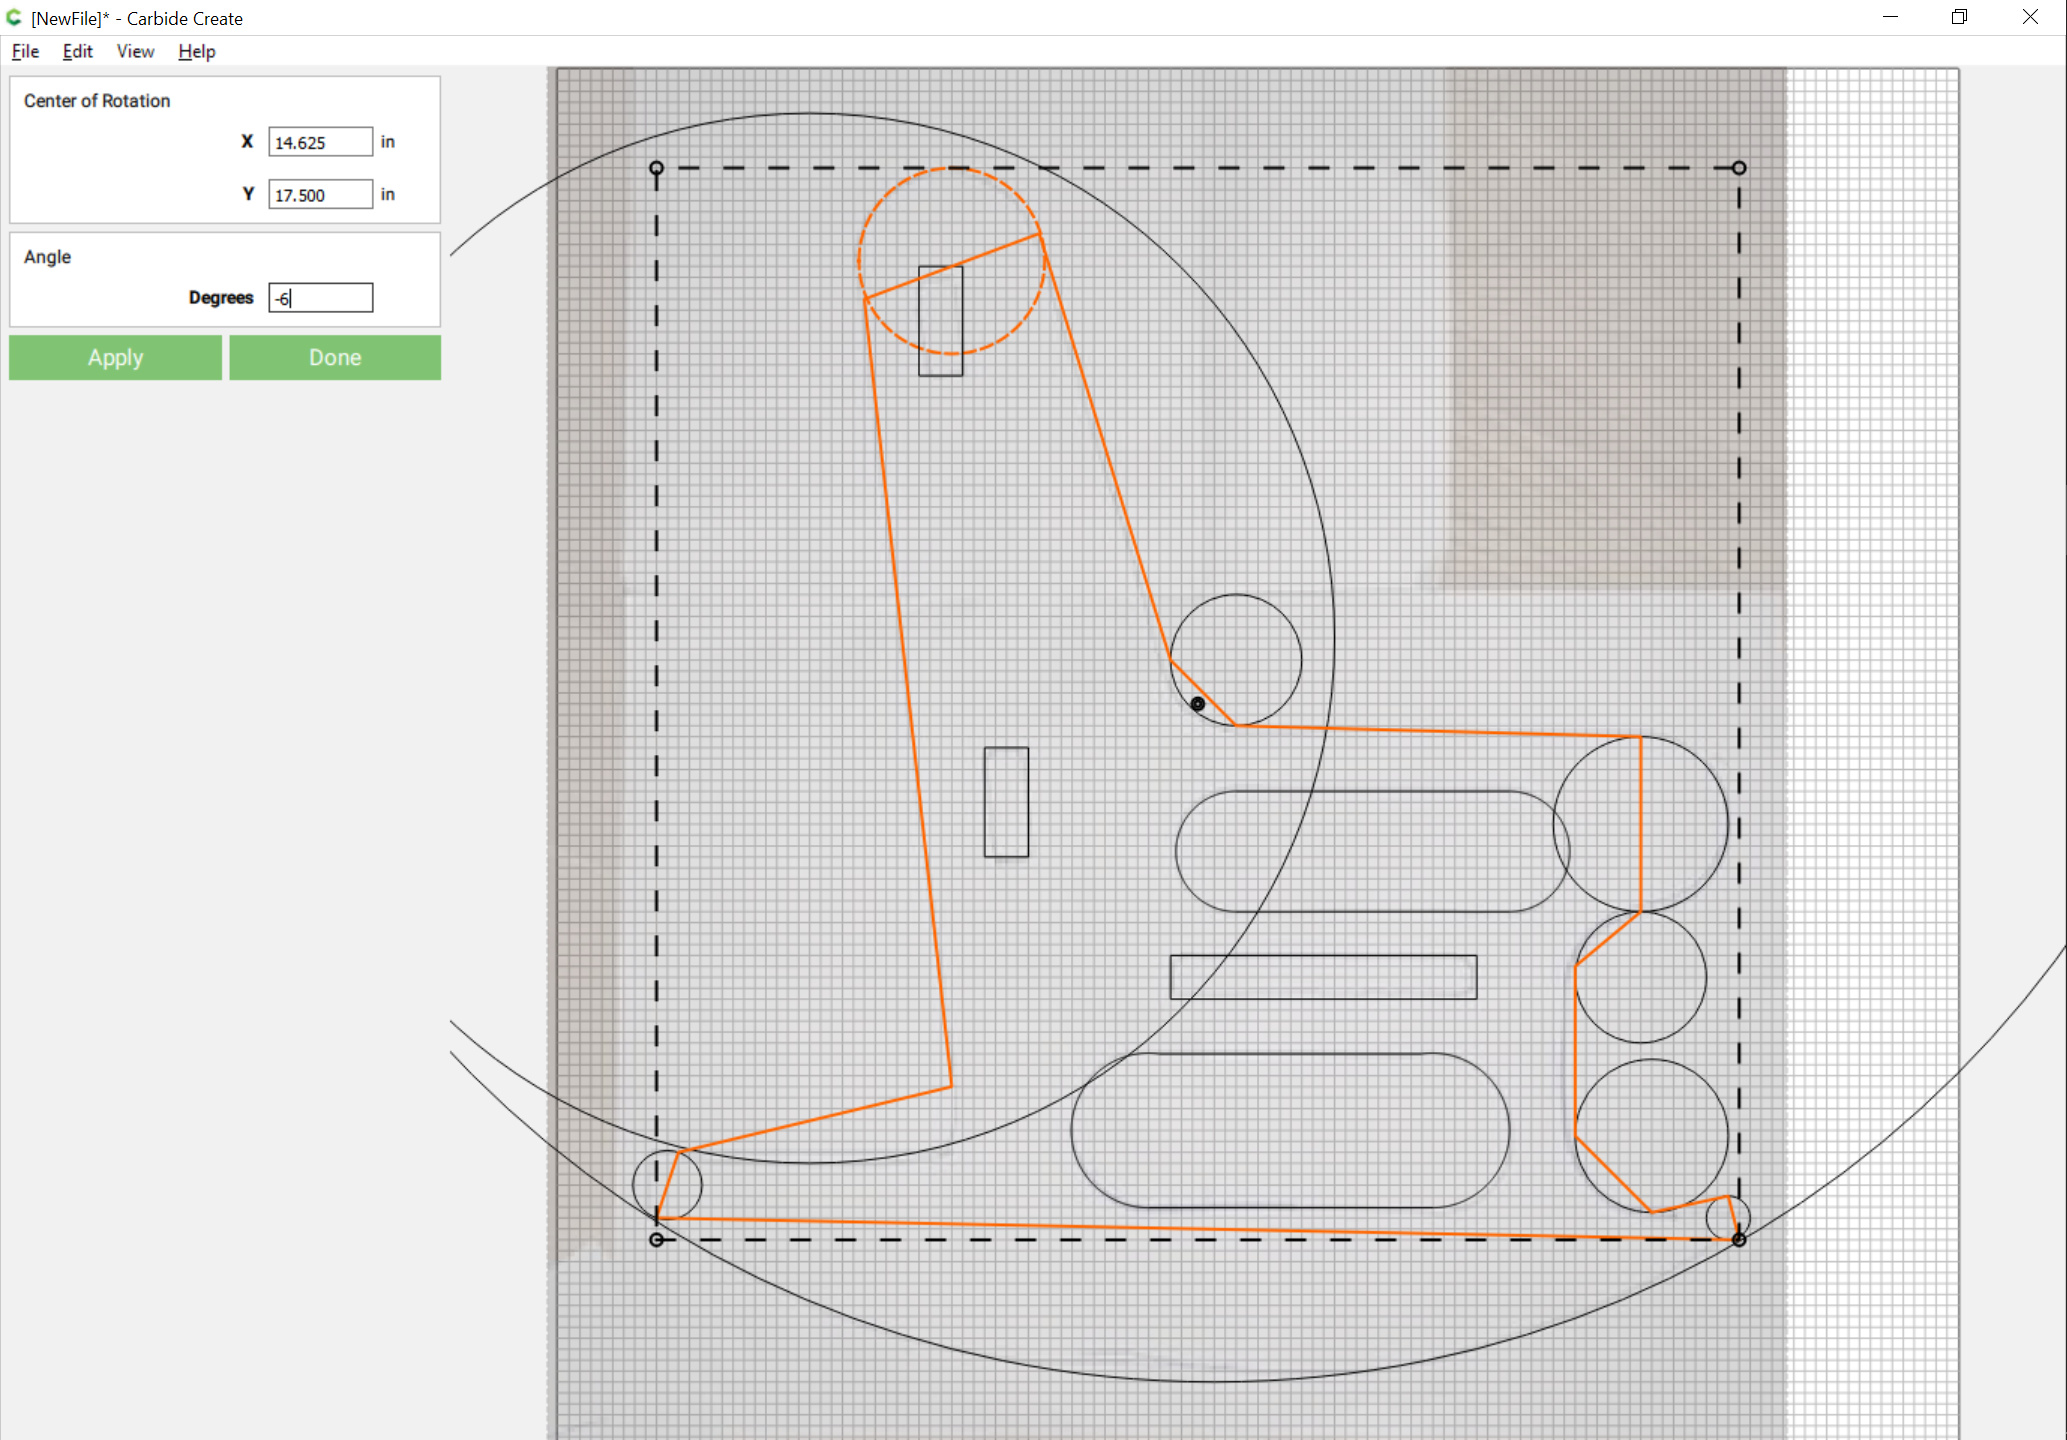
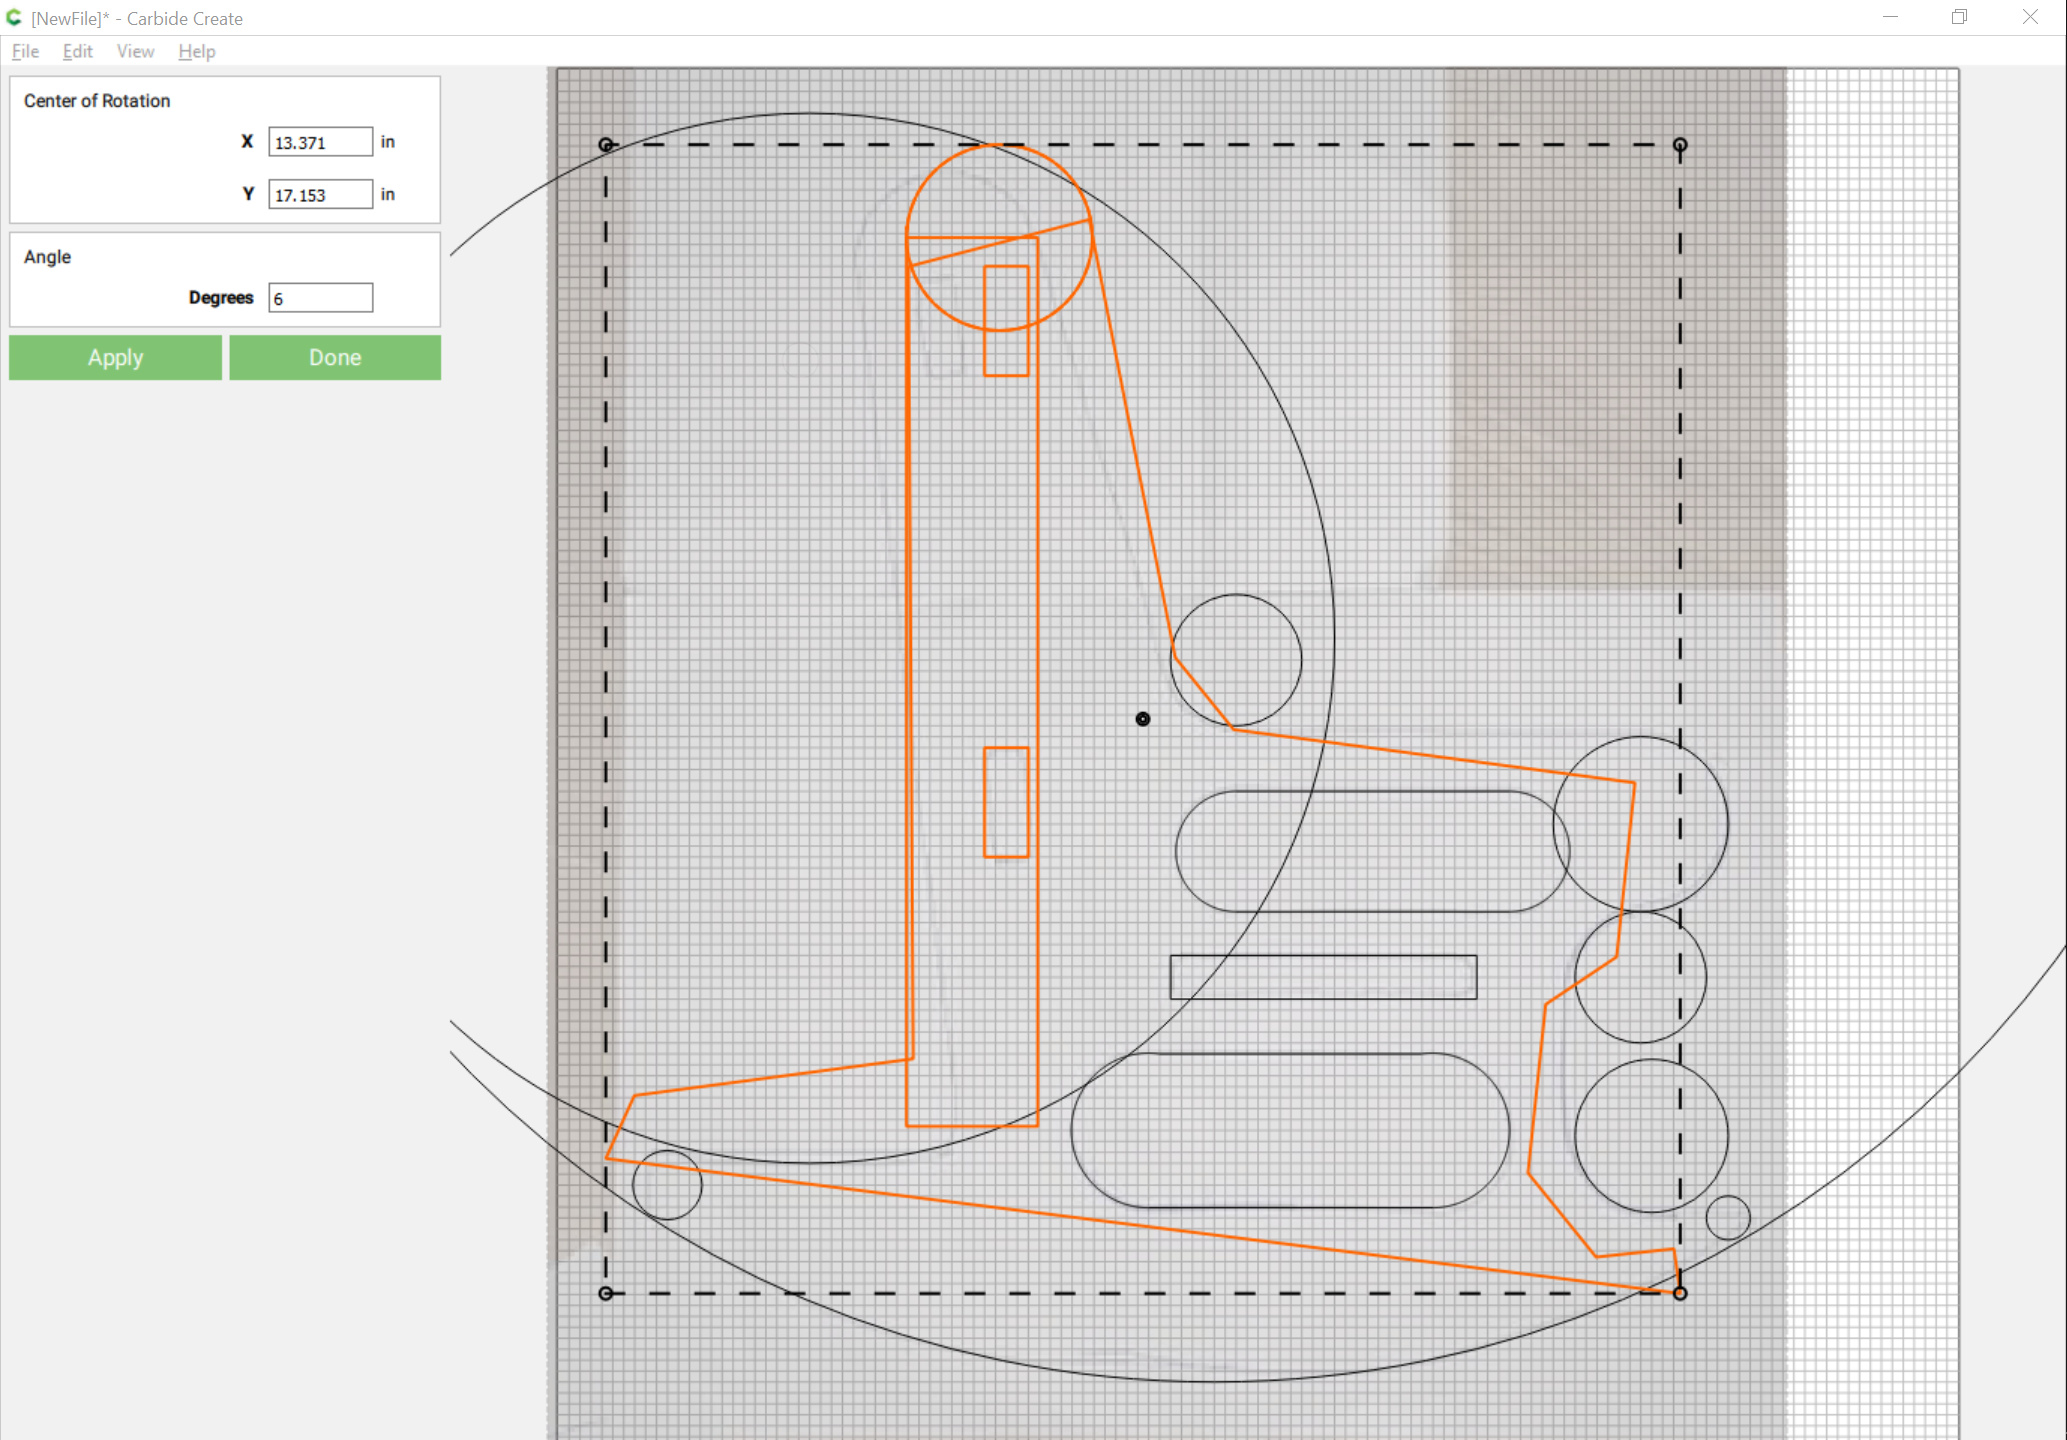
Use the polyline tool to draw in a rough outline of things which will give one approximate angles:
and select the parts which one wishes to work with and rotate them, noting the angle and iterating until one determines the correct angle of rotation:
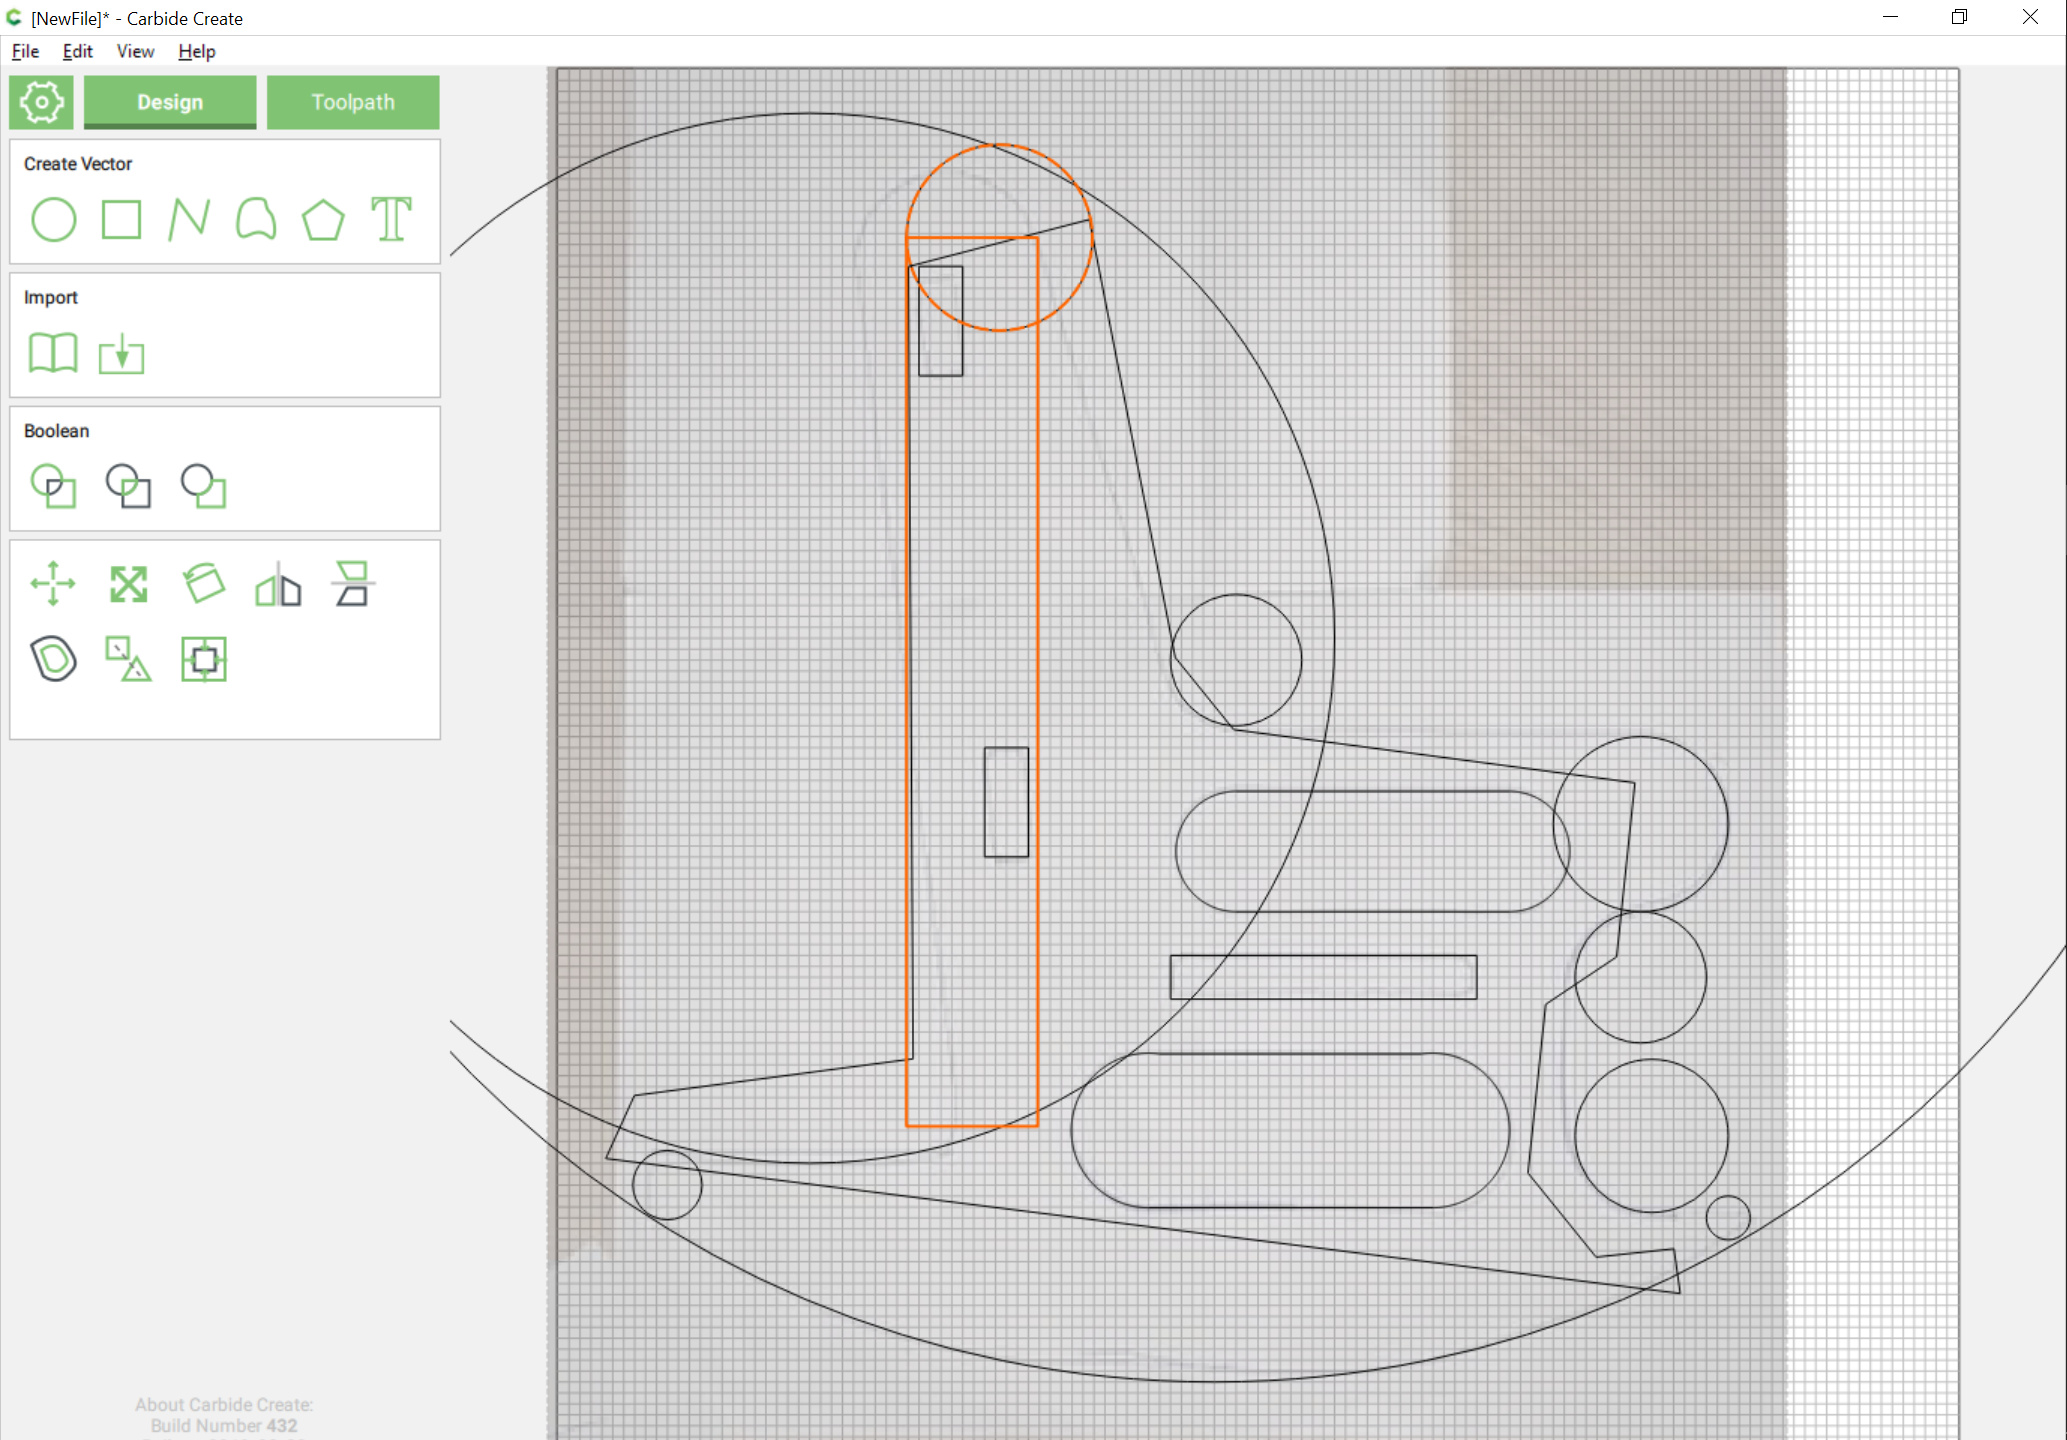
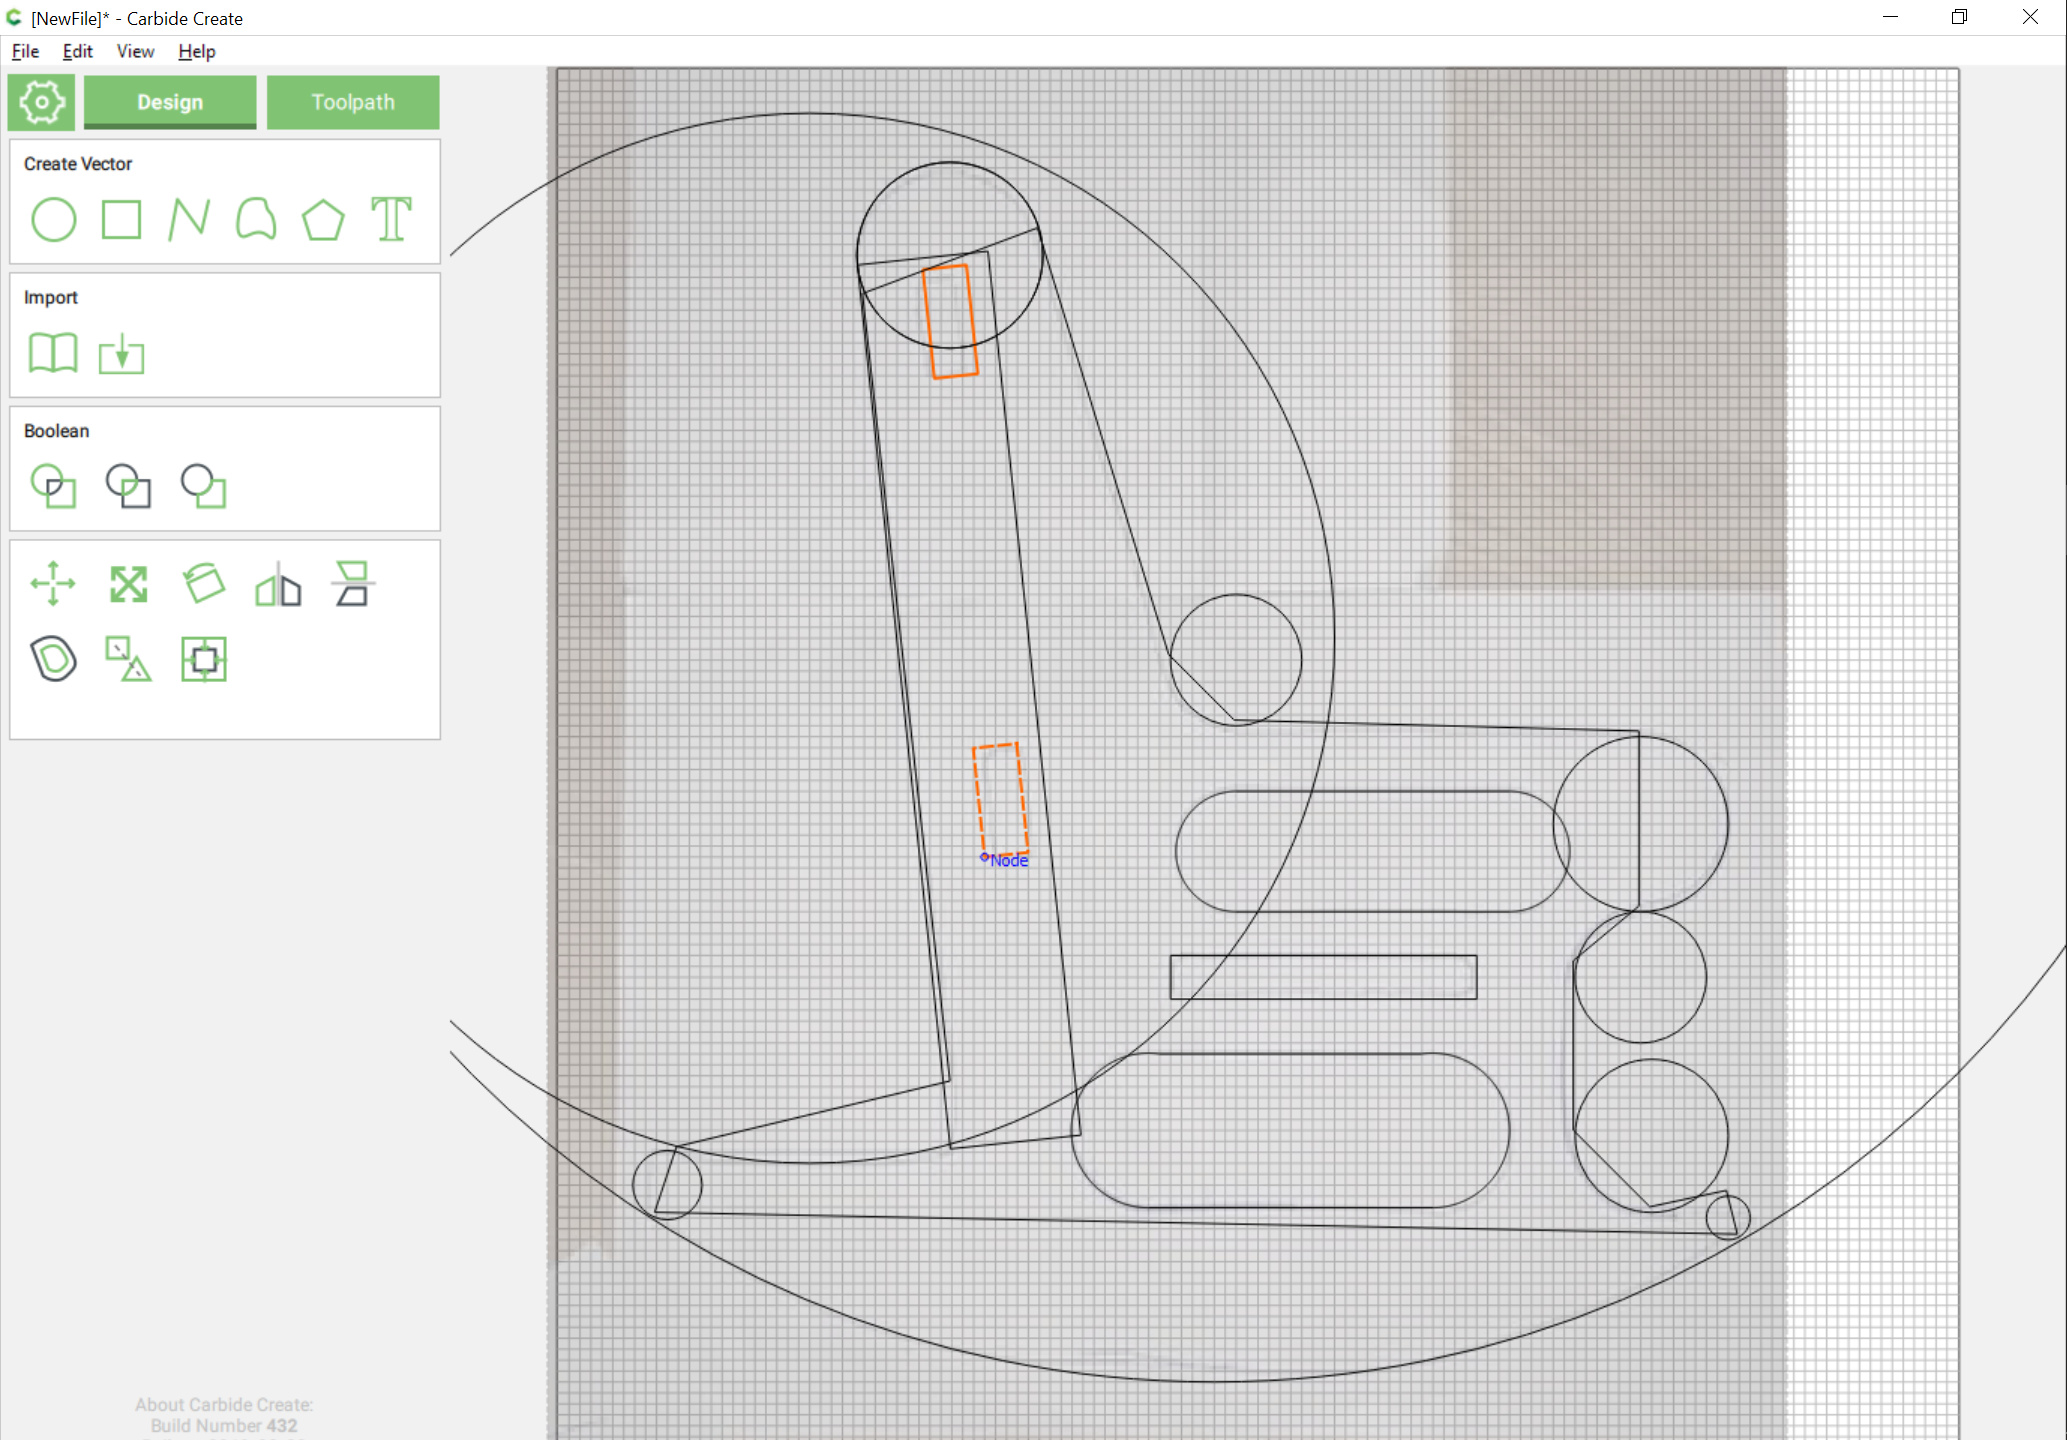
rotate, draw in geometry which is properly aligned and which will snap to nodes:
(note that since circles now rotate in Carbide Create it will be necessary to duplicate the circle and align it with the original)
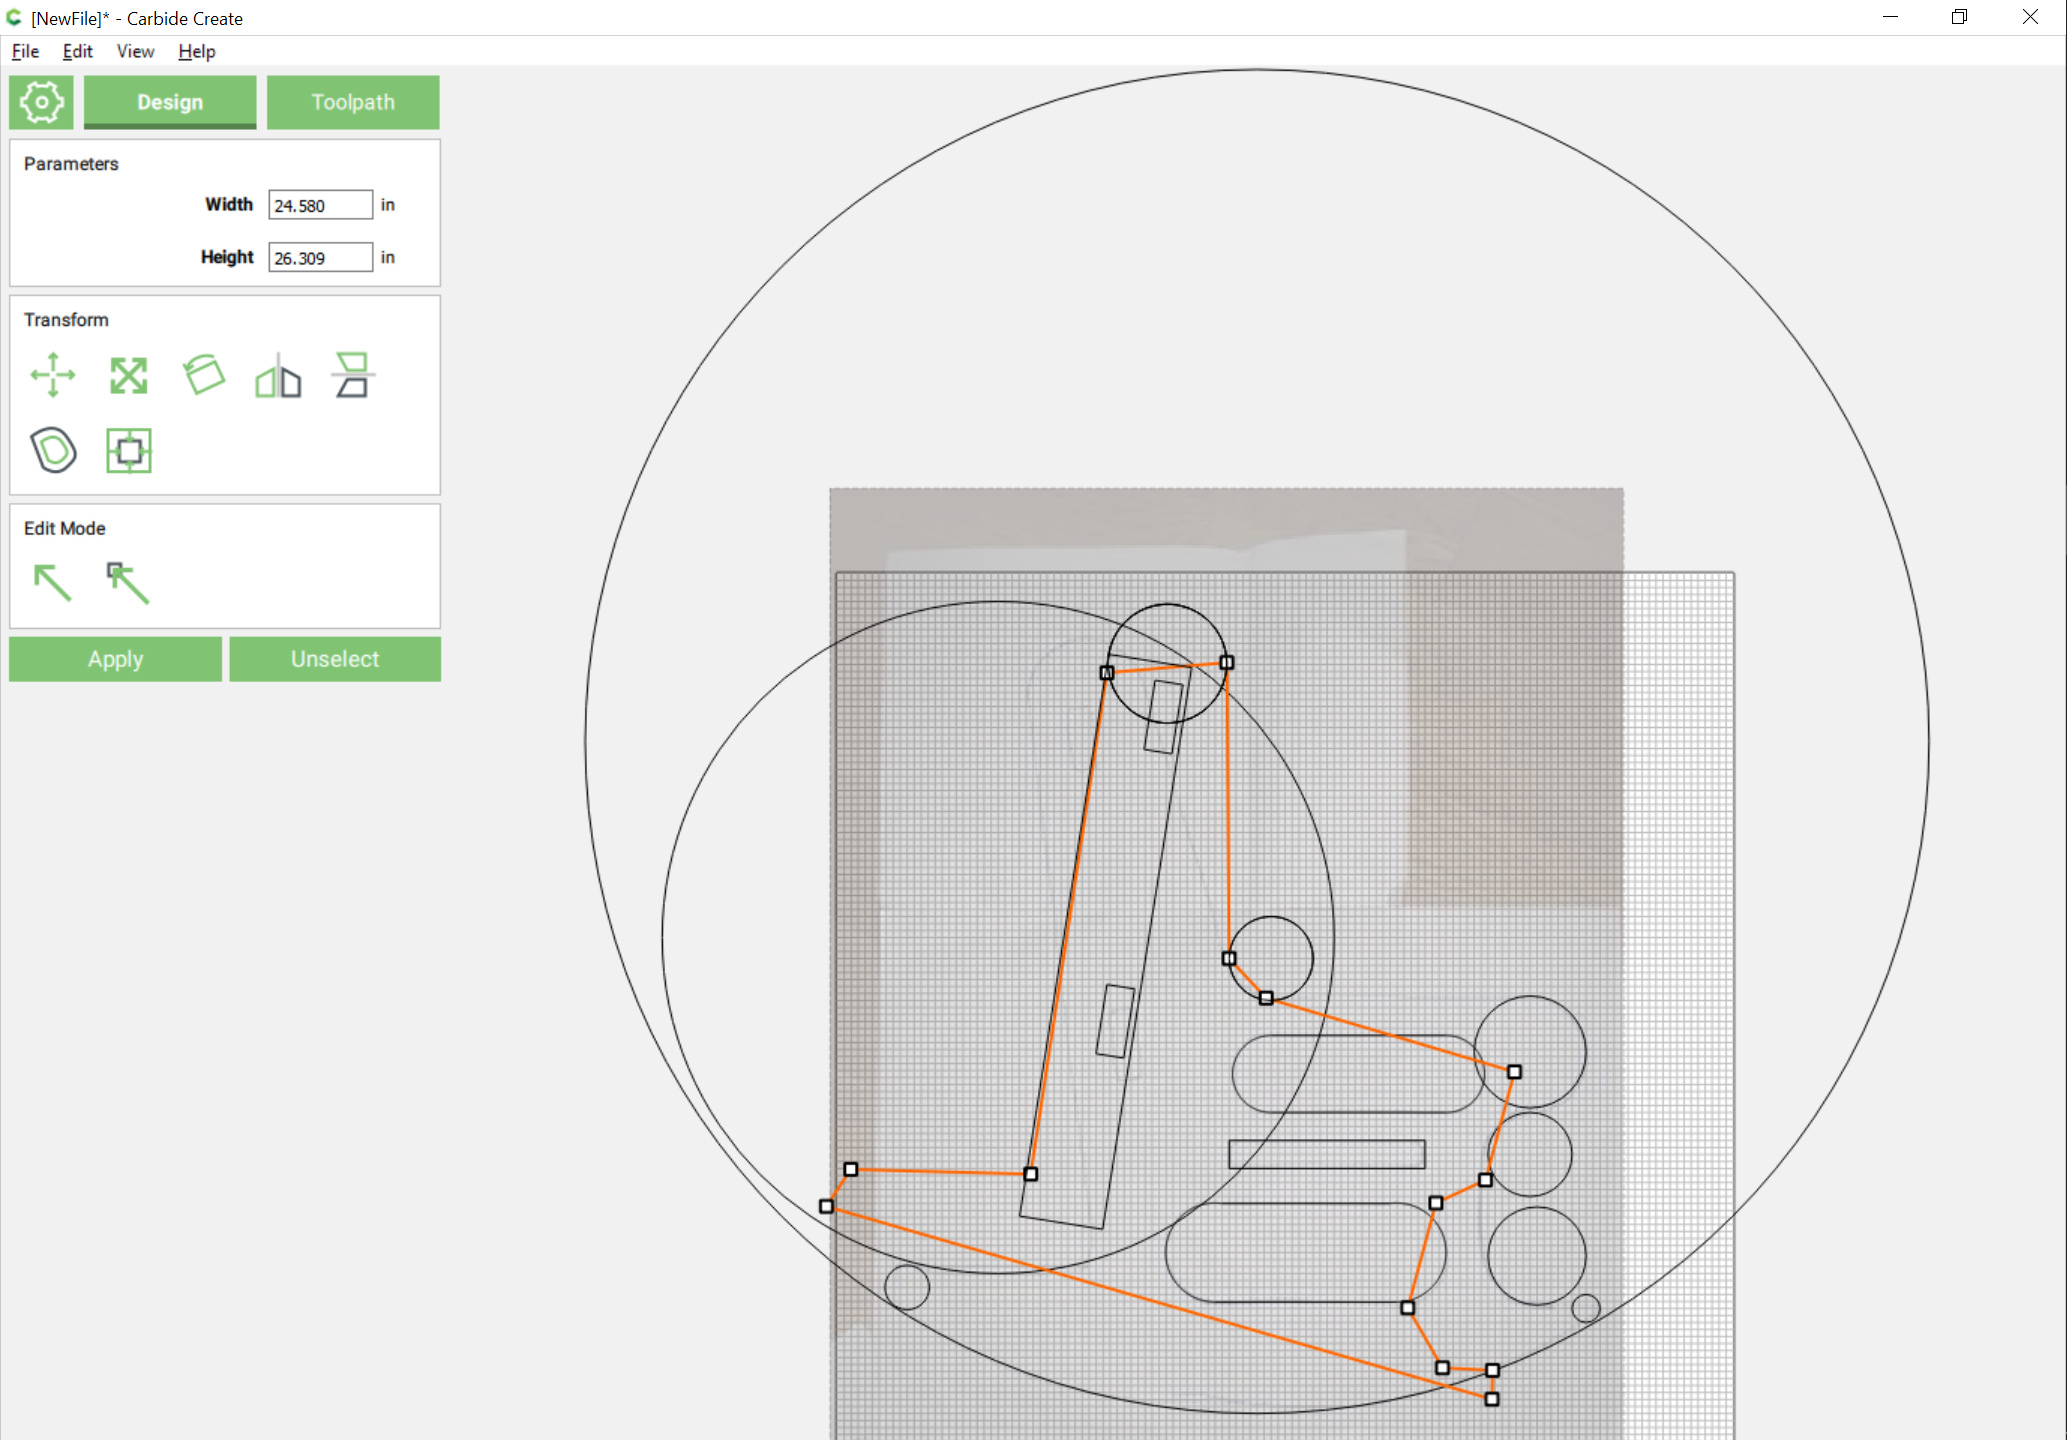
Unrotate things (after aligning elements which need to be aligned with the plane of rotation and then adding them to the selection):
and adjust the positioning of any elements which aren’t properly placed:
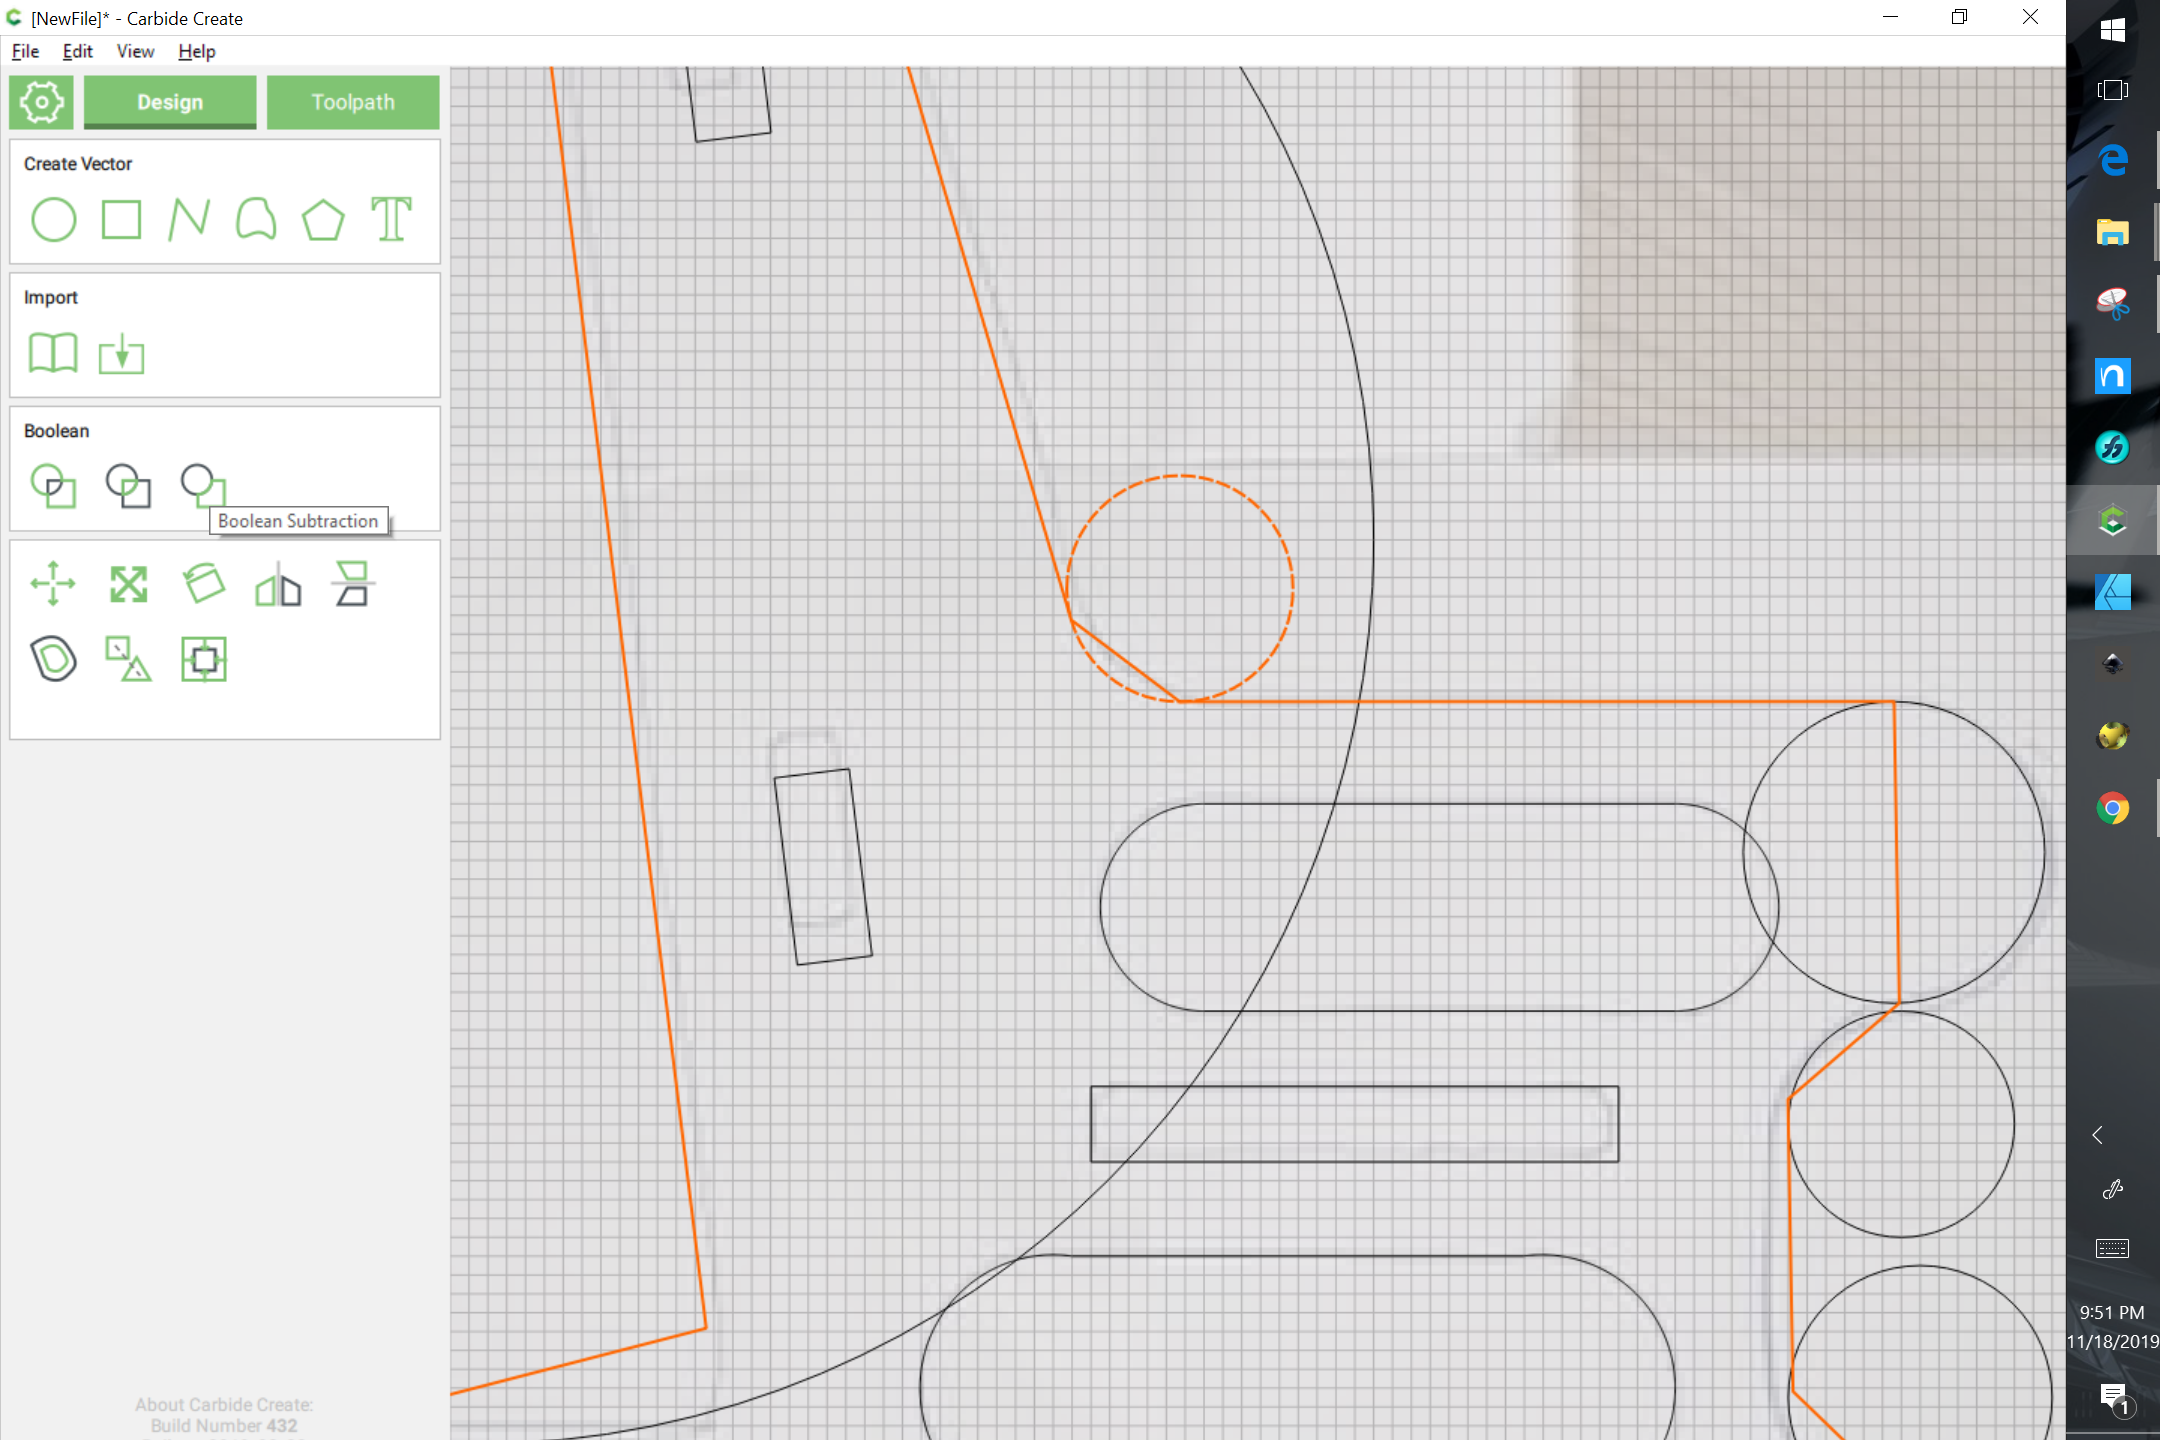
Repeat this for any other angled elements — note that rather than draw in additional geometry one can instead node edit the polyline and snap the nodes in place:
Once finished one may use Boolean union/subtraction to create the desired shape:
et voila!
Attached.
childrockingchair.c2d (989.6 KB)