Does anyone have any insight on surfacing epoxy on the Shapeoko 5 Pro? I just need to hone in on my feeds and speeds using the Whiteside 6210 surfacing bit. One of my struggles is the plunging mid-machining when it comes back around to do the next pass, it drops in and screeches/chips out the epoxy.
Your question is about how to surface epoxy on an SO5. I have no insight into that but I quit surfacing on my Shapeoko. I have a 1632 Jet Drum Sander. I remove the epoxy down to the point where there is just an onion skin left and then finish with a random orbit sander.
Even if you want to remove your epoxy with the Shapeoko I would recommend you do not go all the way down to the surface. It never fails for me that I say one last pass and BAM that is too much. By sanding the last onion skin off you have more control. Once committed on the Shapeoko you can lose fine detail by going too deep.
I am sure SO5 folks will jump in with advice using an SO5 to knock down epoxy overfill.
1 Like
Appreciate the advice. I do have a drum sander but the issue with that is I’m trying to avoid having to use a sled to have a flat reference. It never seem to fail that after I pour, the bottom is never dead flat…
I would start out at your slowest RPM and take a chipload of up to 0.005"
So at 8000 RPM with a 1" 3 flute tool, that would be about 110 IPM
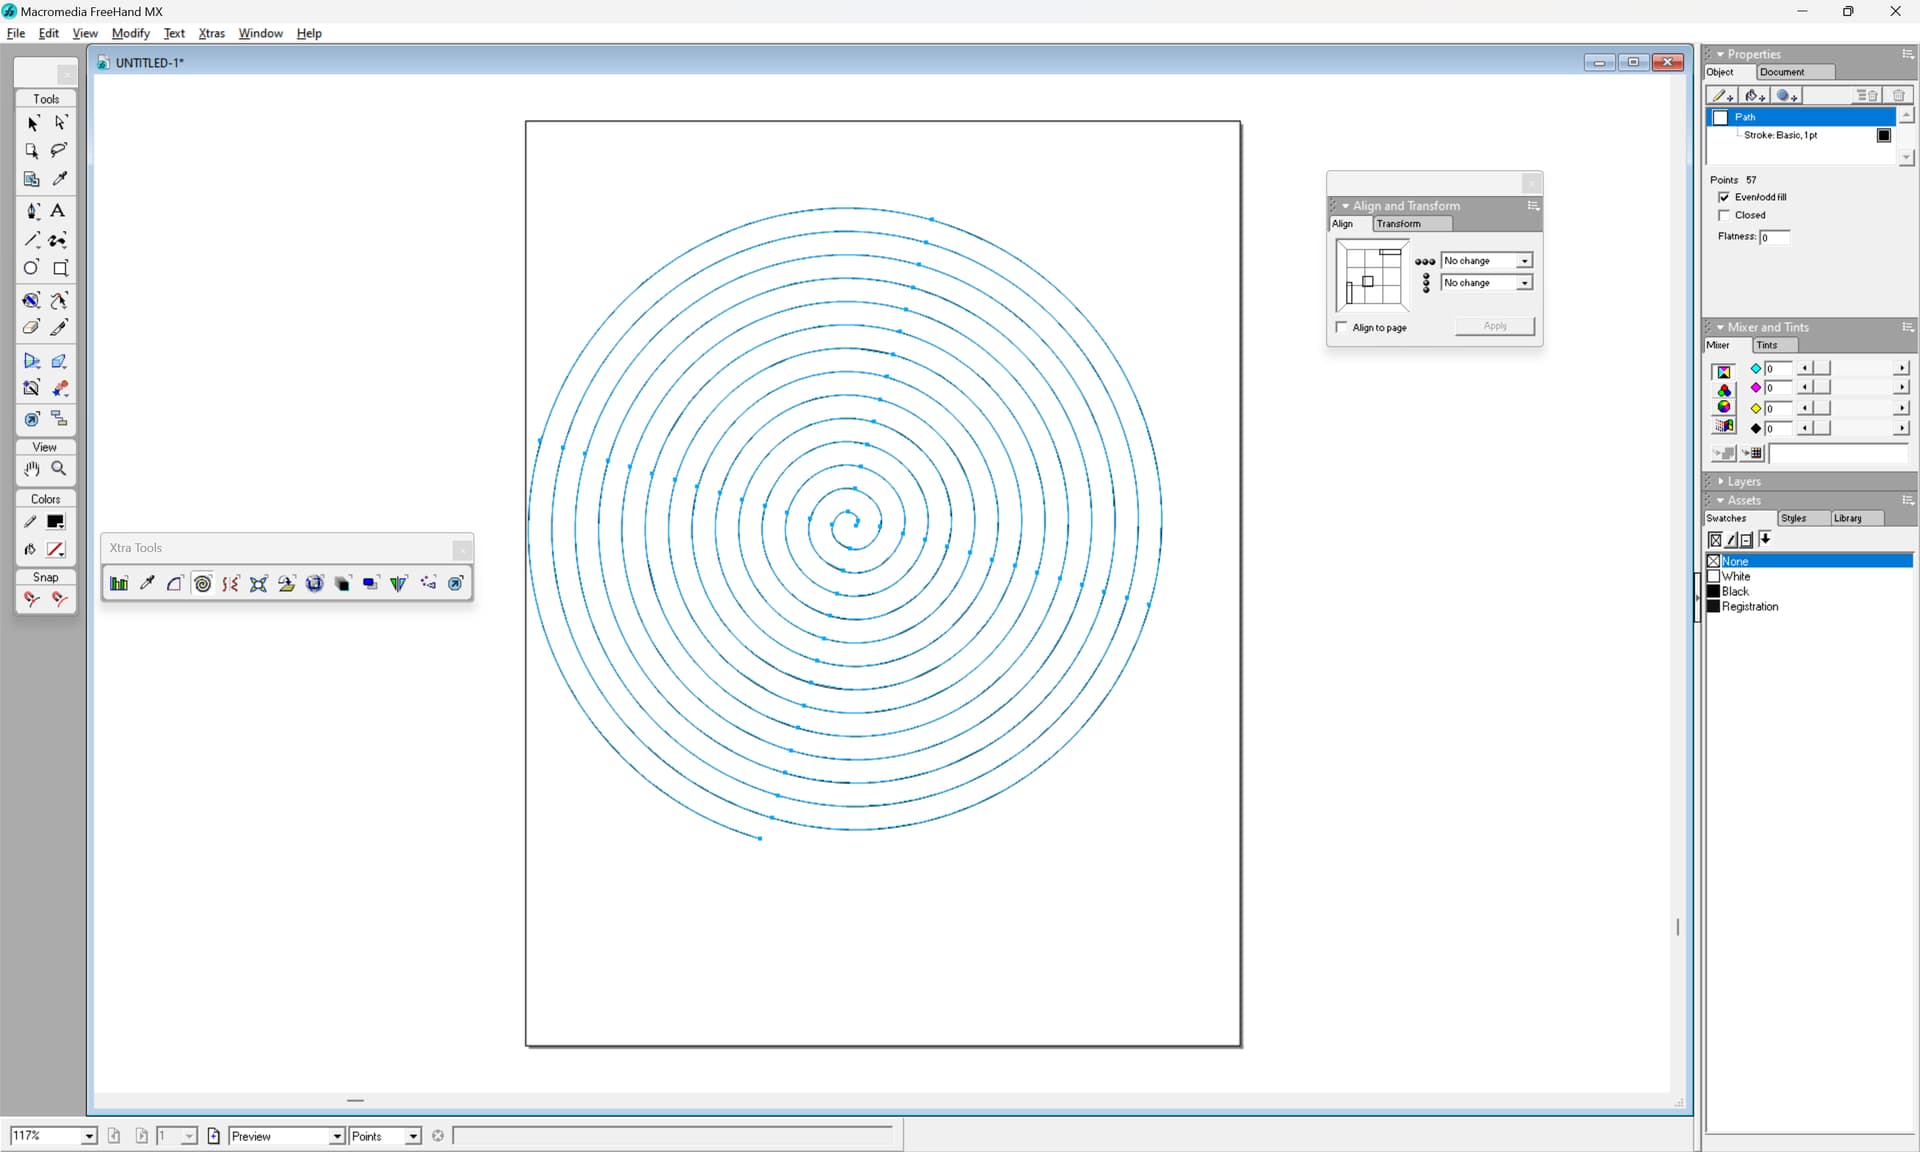
To avoid the plunges, design your own toolpath and start outside the part.
Use contour with no offset
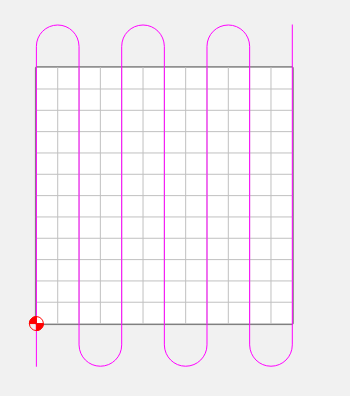
This one has an odd number of passes. With an even number you can ensure the first & last pass are climb cutting the edges. If it starts on the wrong side just mirror the vector.
5 Likes
This is interesting and something I recently experienced while trying to surface a large slab. The plunge was pretty scary at 0.05" DOC with a 1" surfacing bit. Ramping at a low angle made it slightly less scary but increased the duration of my uneasiness. A custom toolpath like this makes the most sense and something I didn’t think of doing - kind of annoying though.
I like that you can draw your own toolpath rather than being limited by what’s offered.
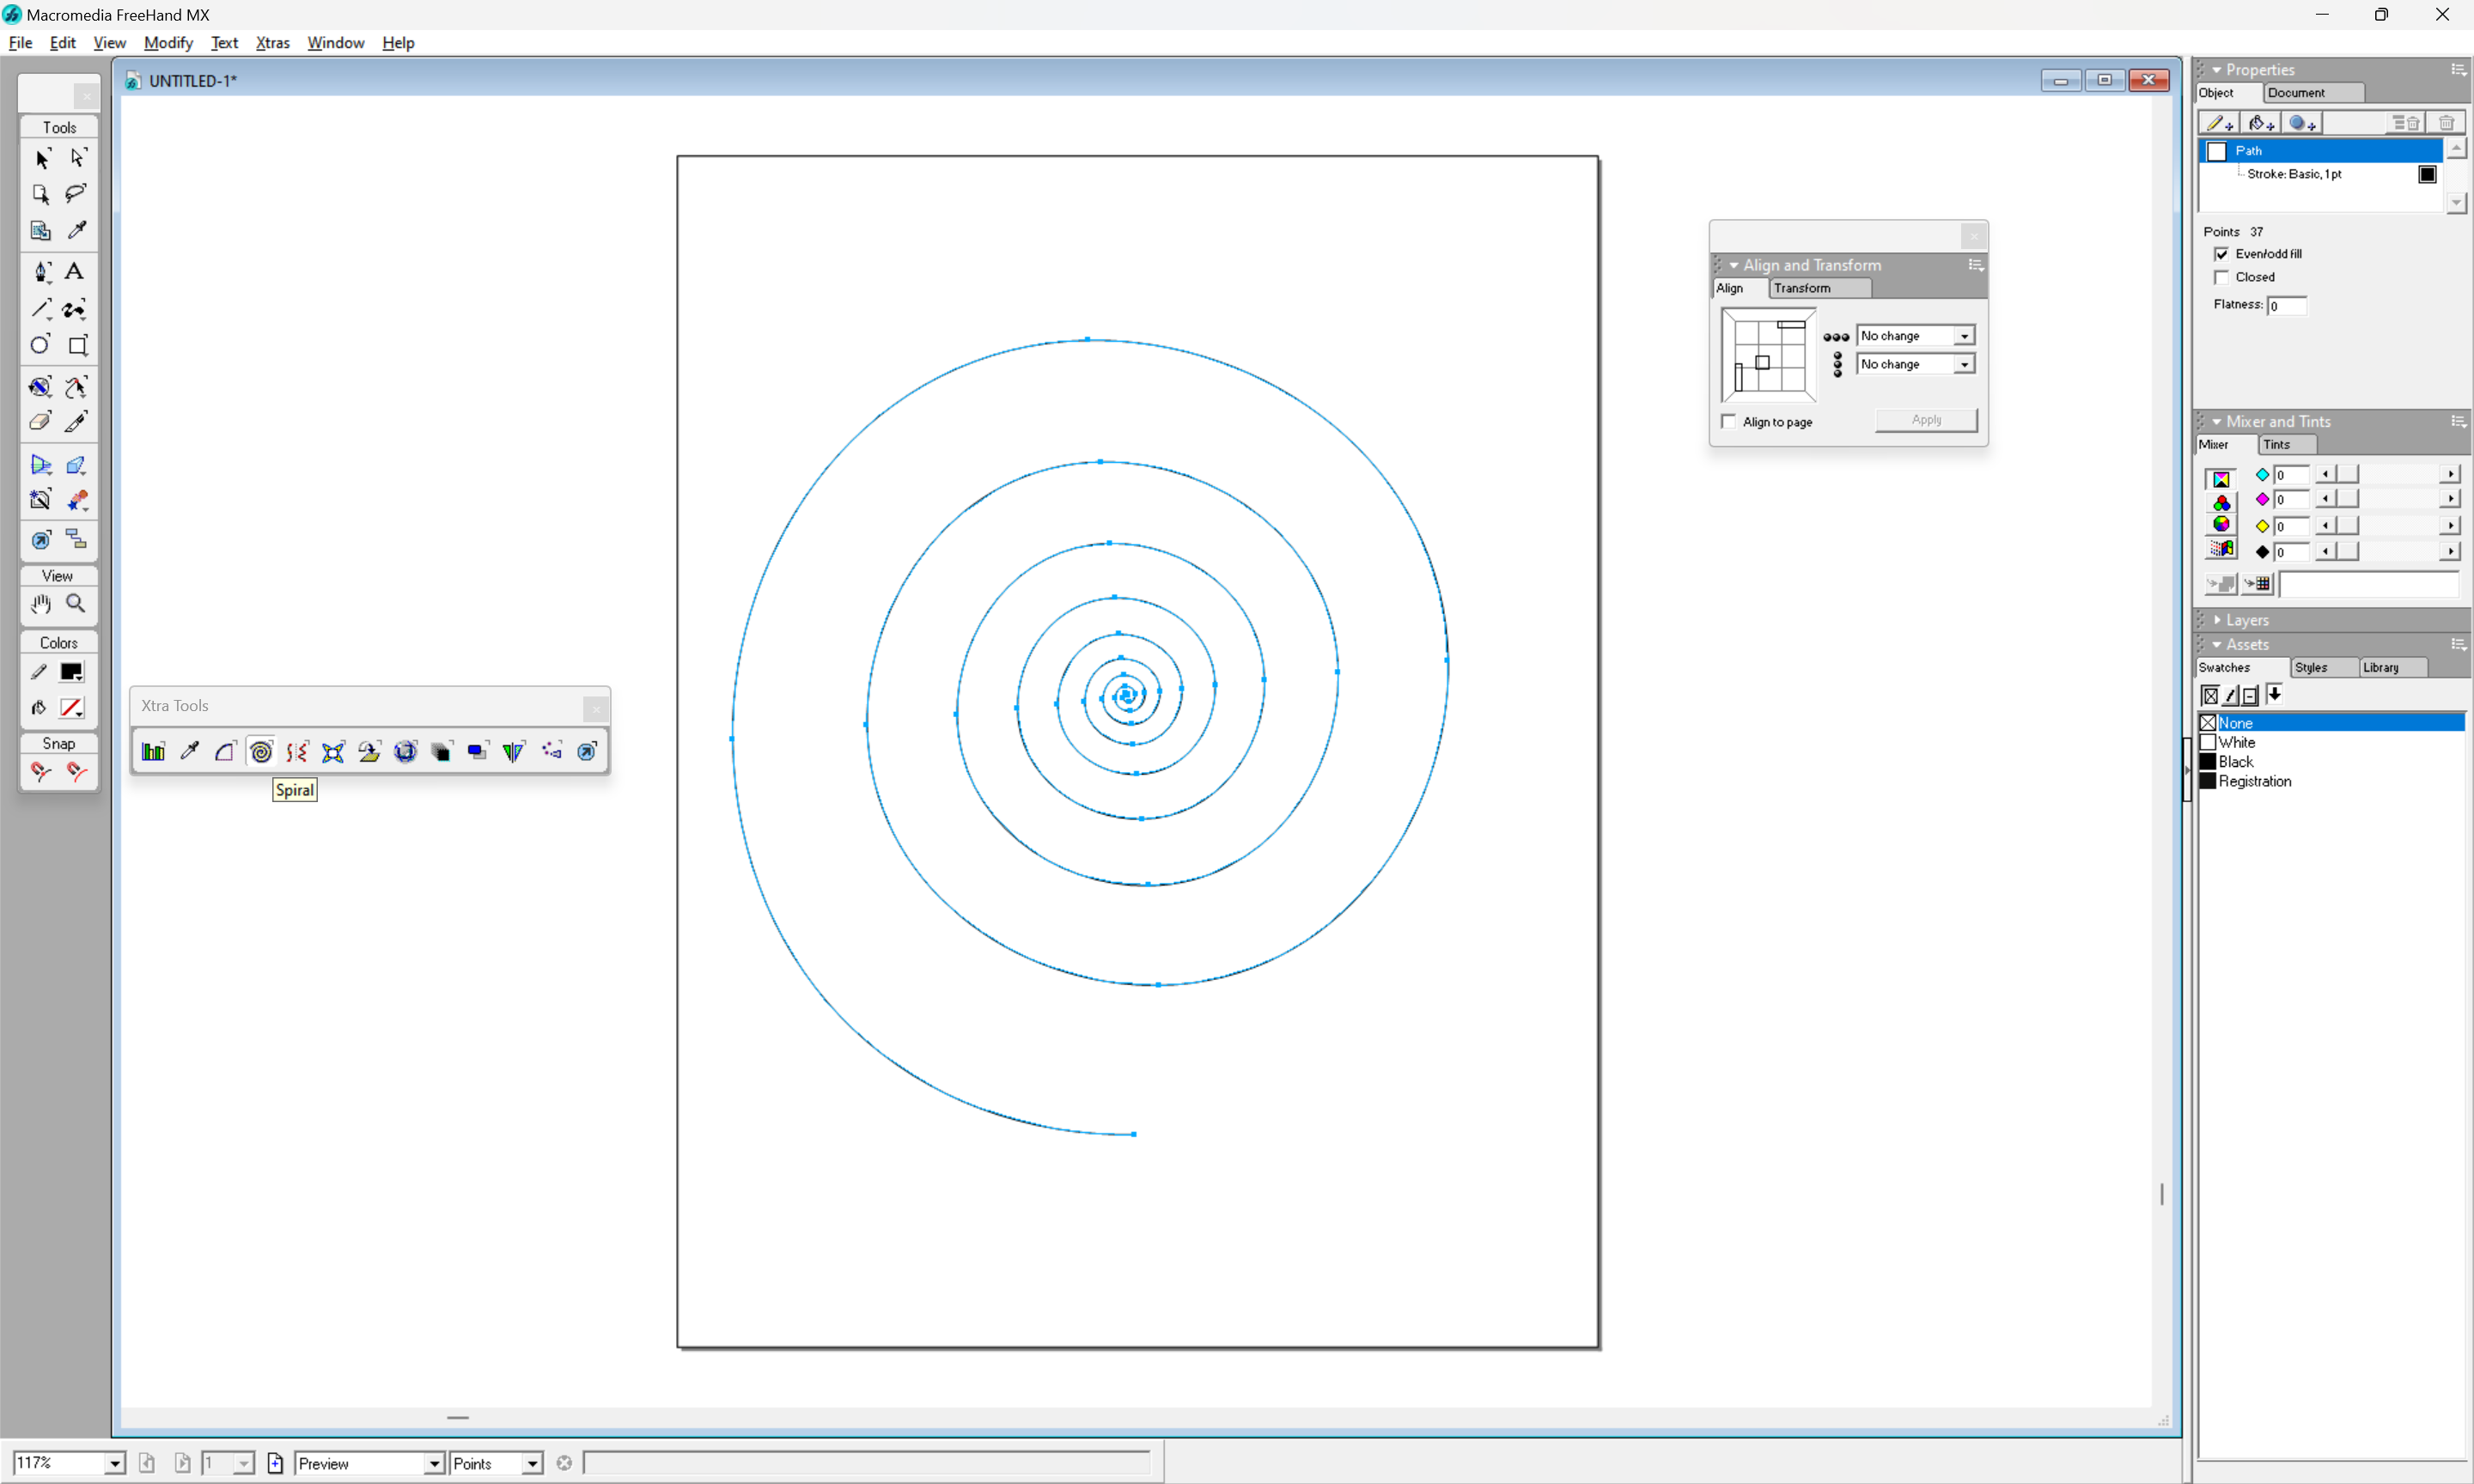
I use this one often to do round pockets or surfacing.

2 Likes

WoW, never thought of that either. Thank you for the idea! I’m almost positive I can do that in Carbide Create but does it have to be a closed vector in order to create the toolpath? I’m sorry, I’m still fairly new to all of this…
No, if a Contour (usually No Offset) is applied, then the geometry need not be closed.
For making such toolpaths see:
2 Likes
Thank you again for your help on this!
One other suggestion could be to try a different surfacing bit. With epoxy I was having some issues with a whiteside one so I switched over to a carbide insert bit and it came out much better. Your mileage may vary.
This topic was automatically closed 30 days after the last reply. New replies are no longer allowed.