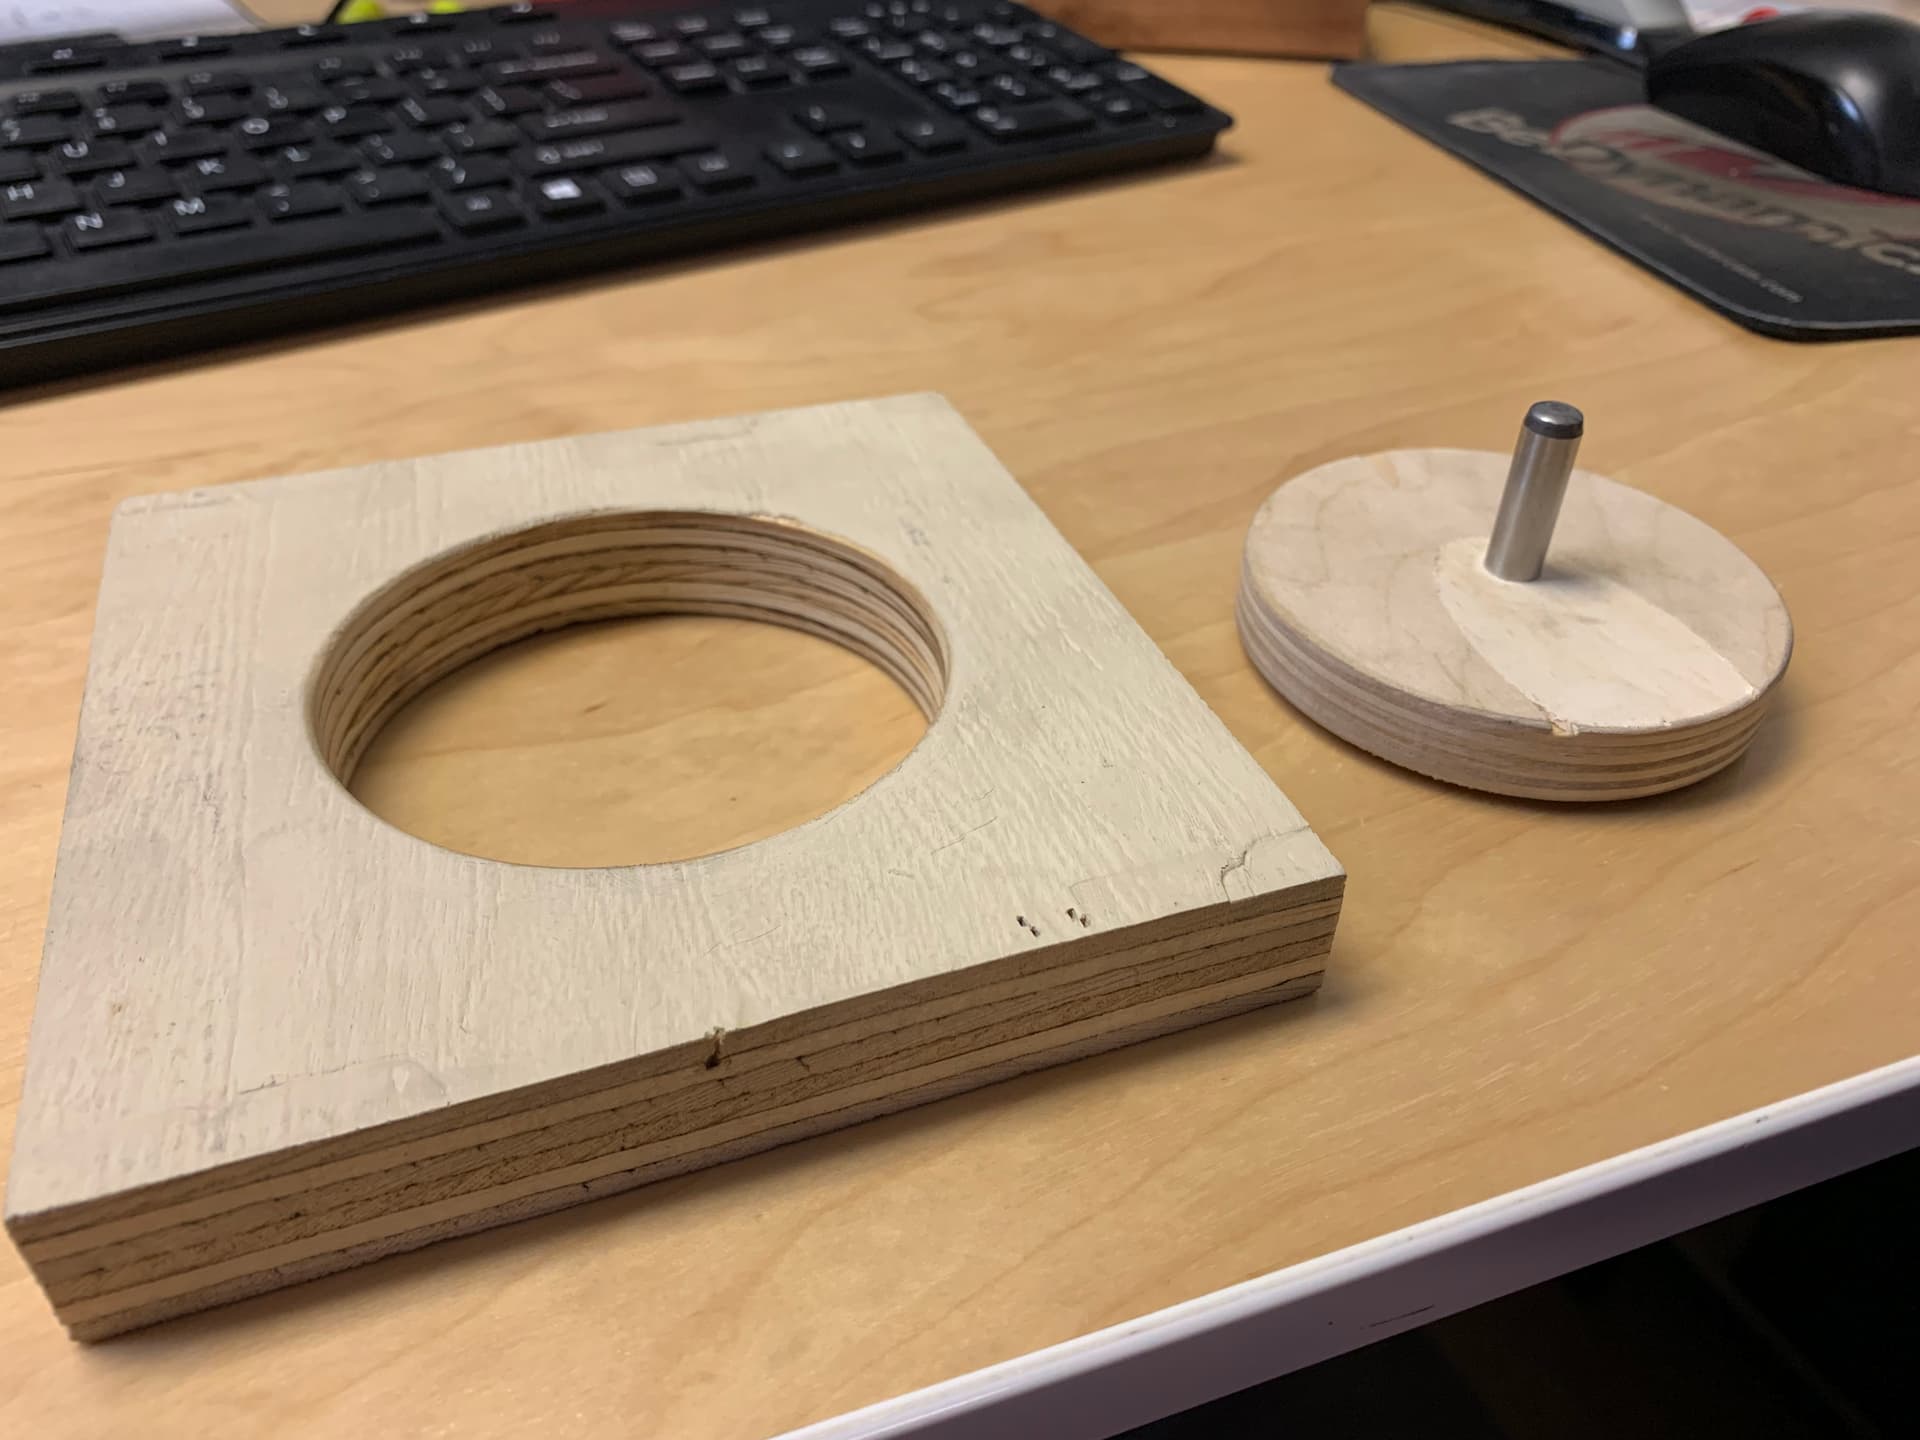
I have a 5"x"5 jig with a 3" hole.(hole isn’t perfectly centred) I’m using it to hold a part on the 2nd op as I can’t cut the entire 2" depth in one setup. I probably should have cut the inside and the outside of the jig, but I didn’t so what are you going to do??
How do I find exact center of the hole? (without making a new jig) I sent the machine to it’s center using the rapid position feature and made a dowel hole. I then made a puck with the same dowel and cut the outside so that it would fit snug into my jig. I put the puck on the dowel hole and slid my jig onto it and clamped everything down. I though I had it figured out but when I ran the 2nd side program I have a big misalignment. Is there a way to find center of the hole using the probe?
Thanks
Try this with a sheet of paper over the hole.

I suspect the XY axis probing routine would time out before traveling 1.5" to hit the side of the hole.
And, the edge of the hole would have to be conductive to trigger the probe.
If everything isn’t perfectly square, your dowel & puck method is centering the bottom of the hole. I presume your part is sitting in the top of the hole. This could account for the discrepancy.
You can manually execute/emulate the probing routine.
Move your probe (1/4" dowel) to the center of the hole. (as visually close as you can get it)
Move X to the left until it is just touching the side of the hole & zero X
Move X to the right until it just touching (I use a light behind the probe to do touch-offs)
Now, instead of hitting “Zero X”, type in half of what the X reads.& hit enter. (should be close to 2.750. half of that would be 1.375. If it reads 2.700, half would be 1.350)
Now move the X to zero & repeat the above process with Y
If I’m looking for really close tolerances, I sometimes repeat the X process again after Y has been zeroed.
If you clamped the part so the hole was off to the right & back, you should have extra stock on the front & left. Machine the front & left to exactly -2.500, and mark the lower left corner for reuse.
One consideration here — does your machine movement match up w/ your measuring tools?
See:
Ok makes sense. If I understand correctly, you are doing this just by sight? and not using the touch probe.
I really thought going to the
center zero of the machine would have worked.
Here is the Jig I made.
Yes, I hold a flashlight behind the probe(dowel) or tool so the light is reflecting right where it will touch.
When it’s close, move 0.001" at a time until the light doesn’t get through.
You can also spin the spindle with your free hand until you feel it rubbing.
Even with my old eyes, this method is very accurate. I’m cutting aluminum parts with some tolerances in the 0.000 - 0.001" range on my HDM.
Your dowel & puck solution should work IF the machine is calibrated, squared & trammed.
I think that’s the issue, it’s not perfect. I usually don’t make parts that need this type of accuracy. I’ll give your method a shot. Thanks for your help
This topic was automatically closed 30 days after the last reply. New replies are no longer allowed.