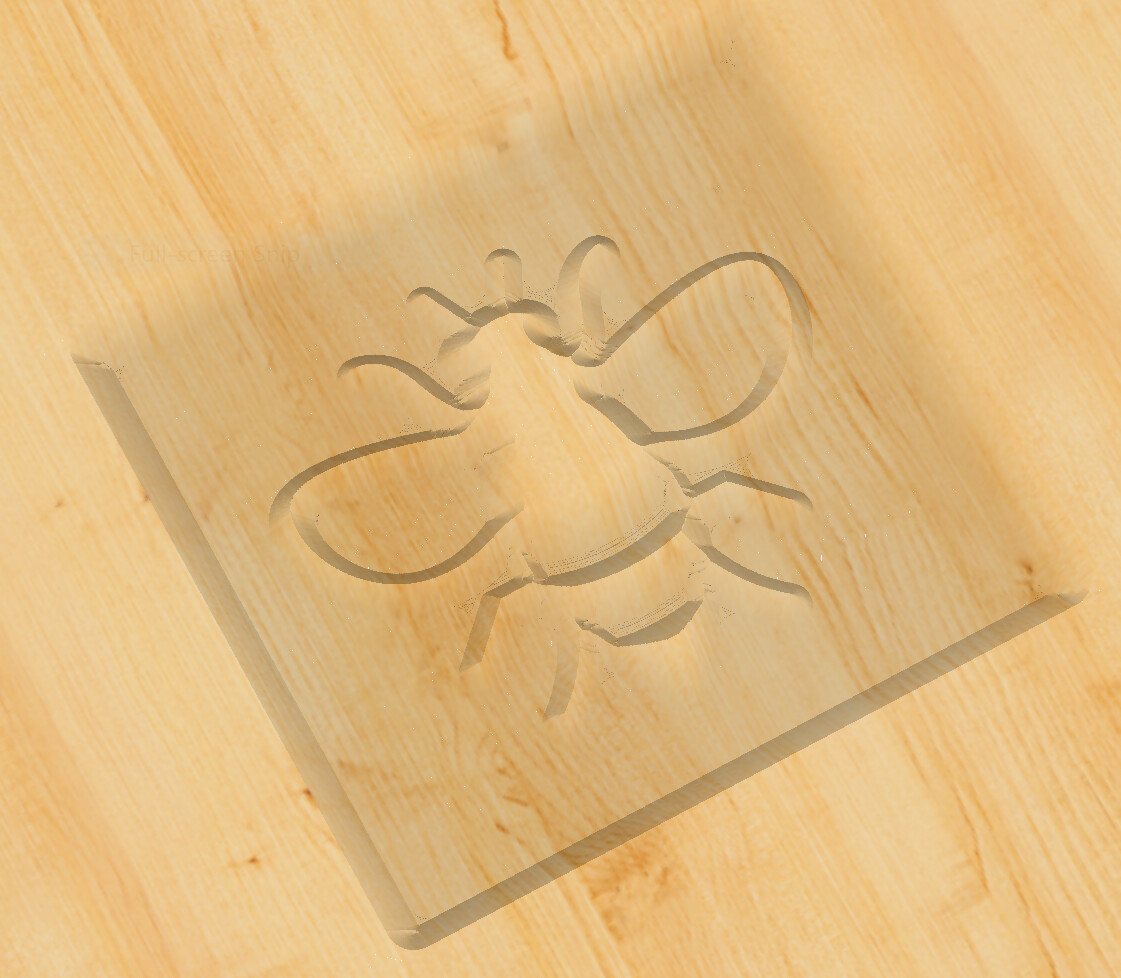
I researched as much as I could (handle) before plunging (get it?) into the world of inlays, and started with something quite simple, to get my feet wet.
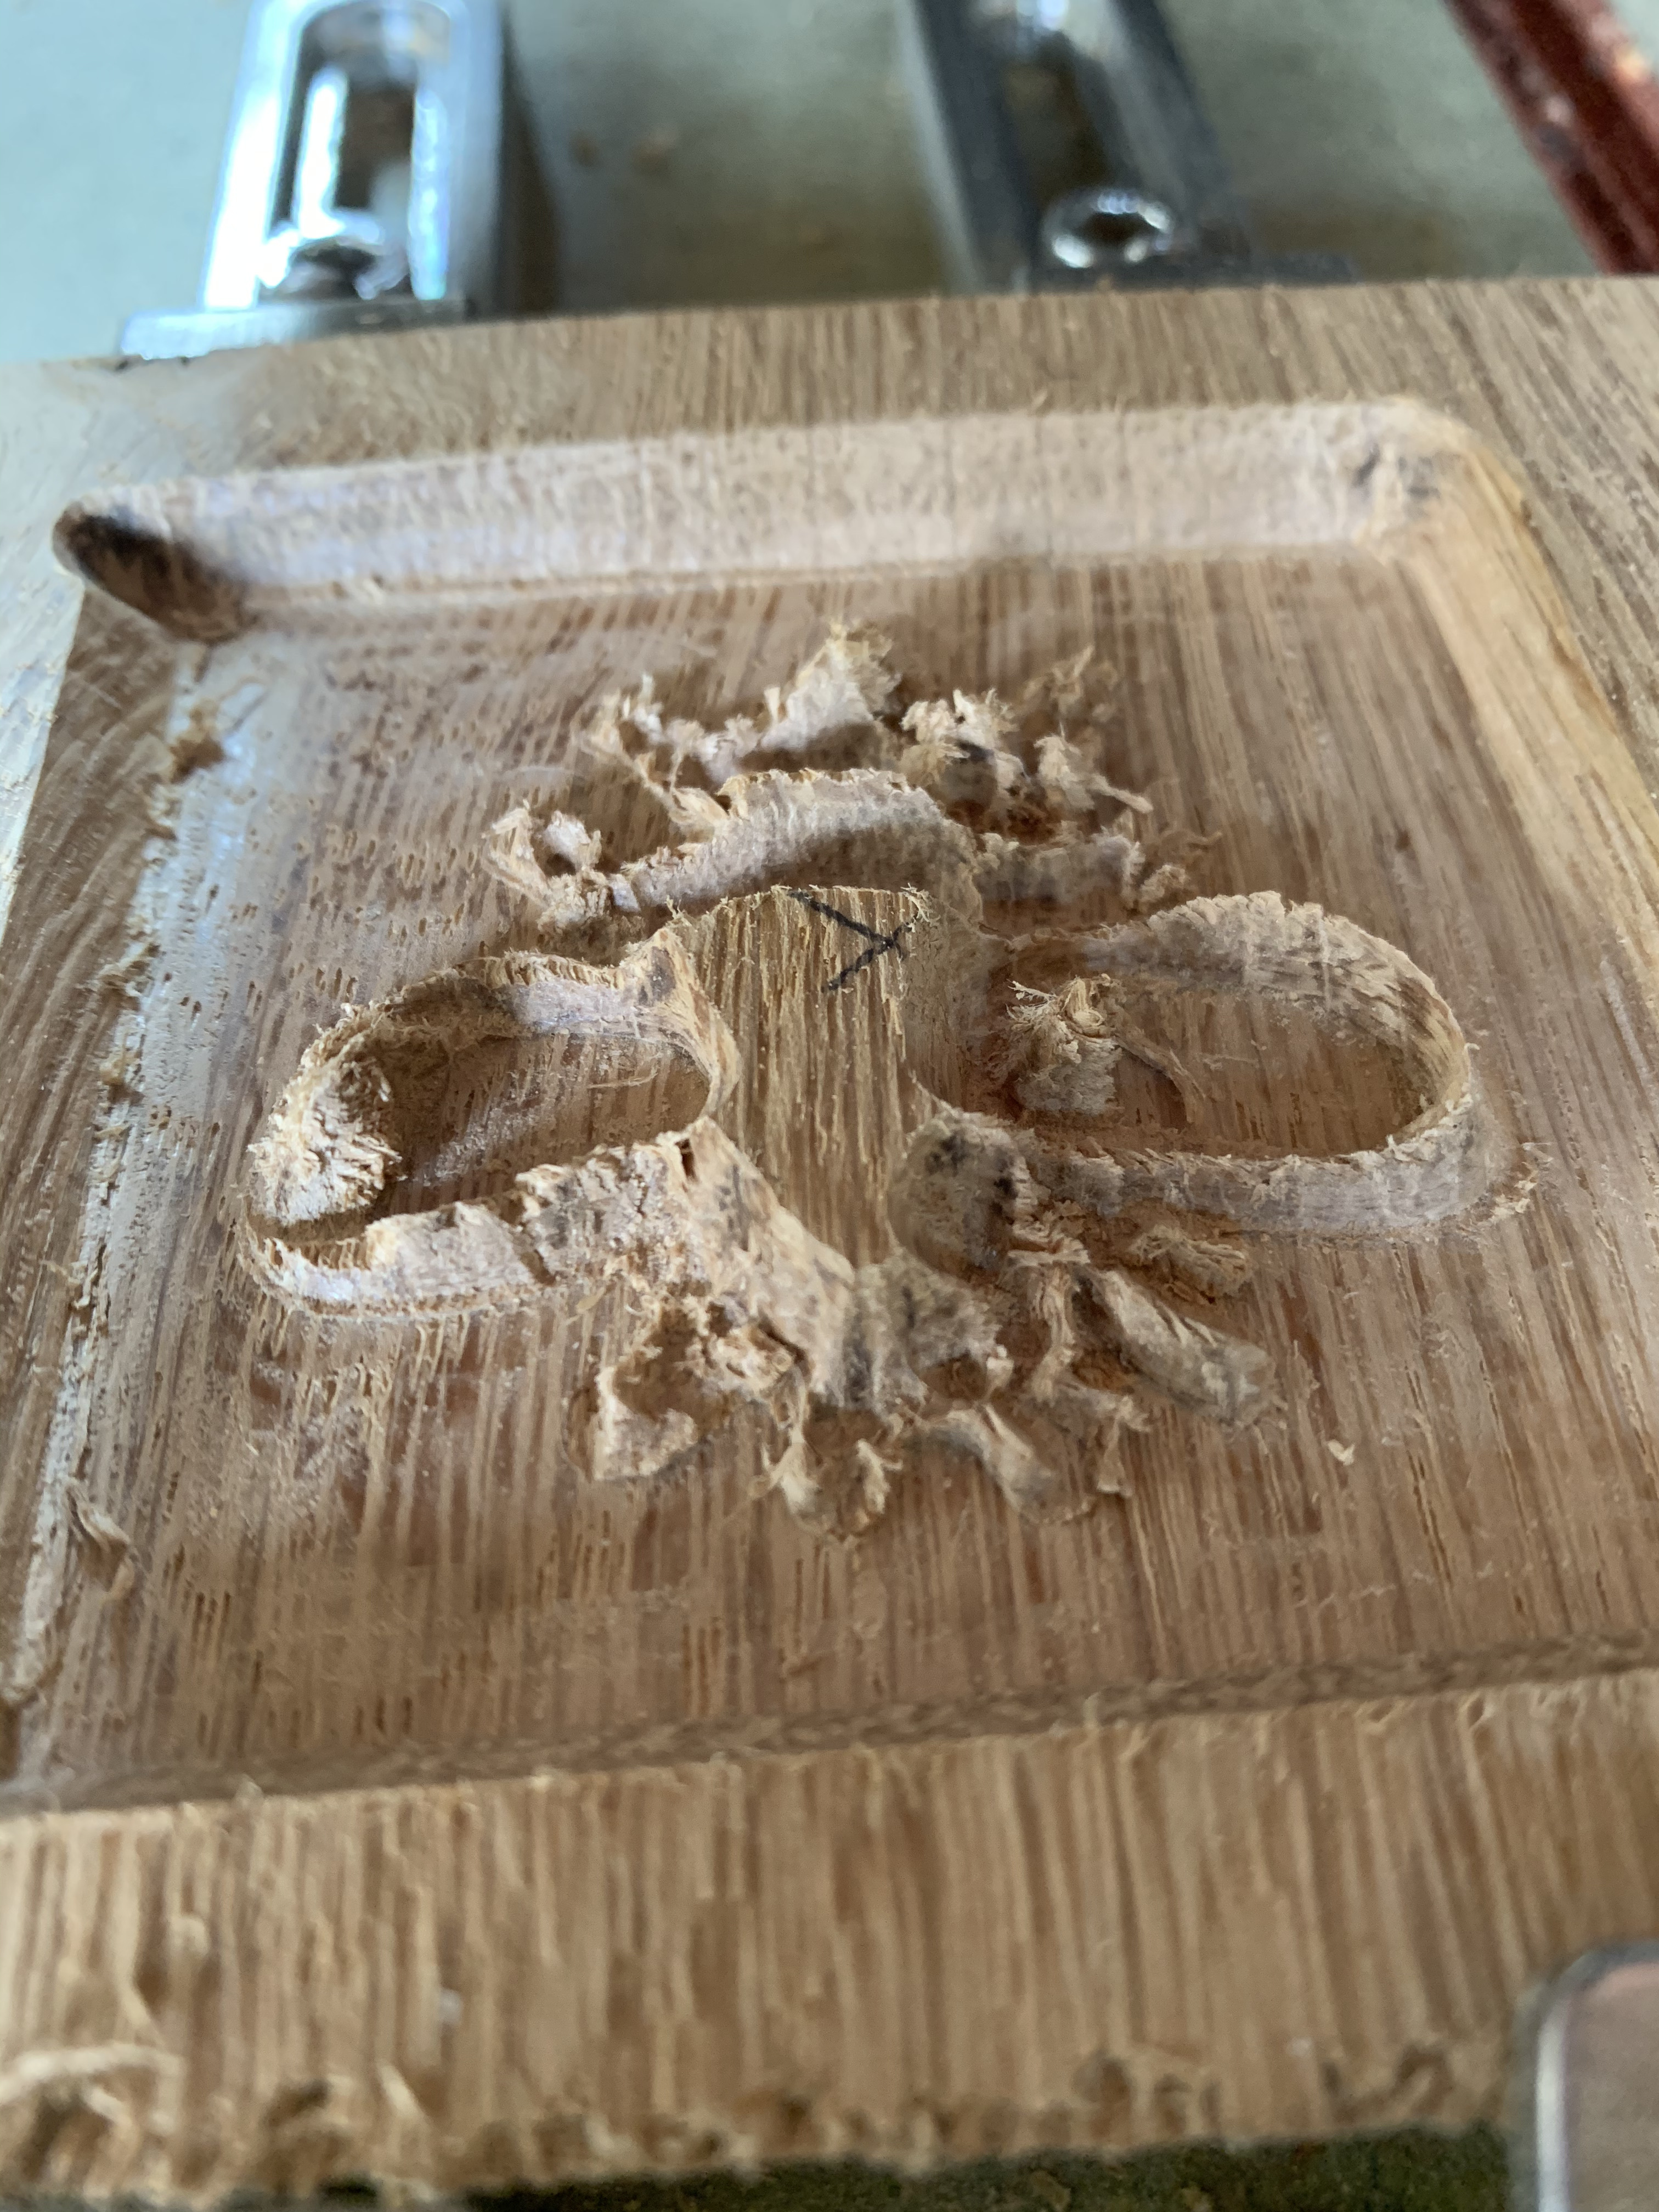
Although the inlay fitted the gaps weren’t consistent, leaving a deep hollow in the body of the bee.
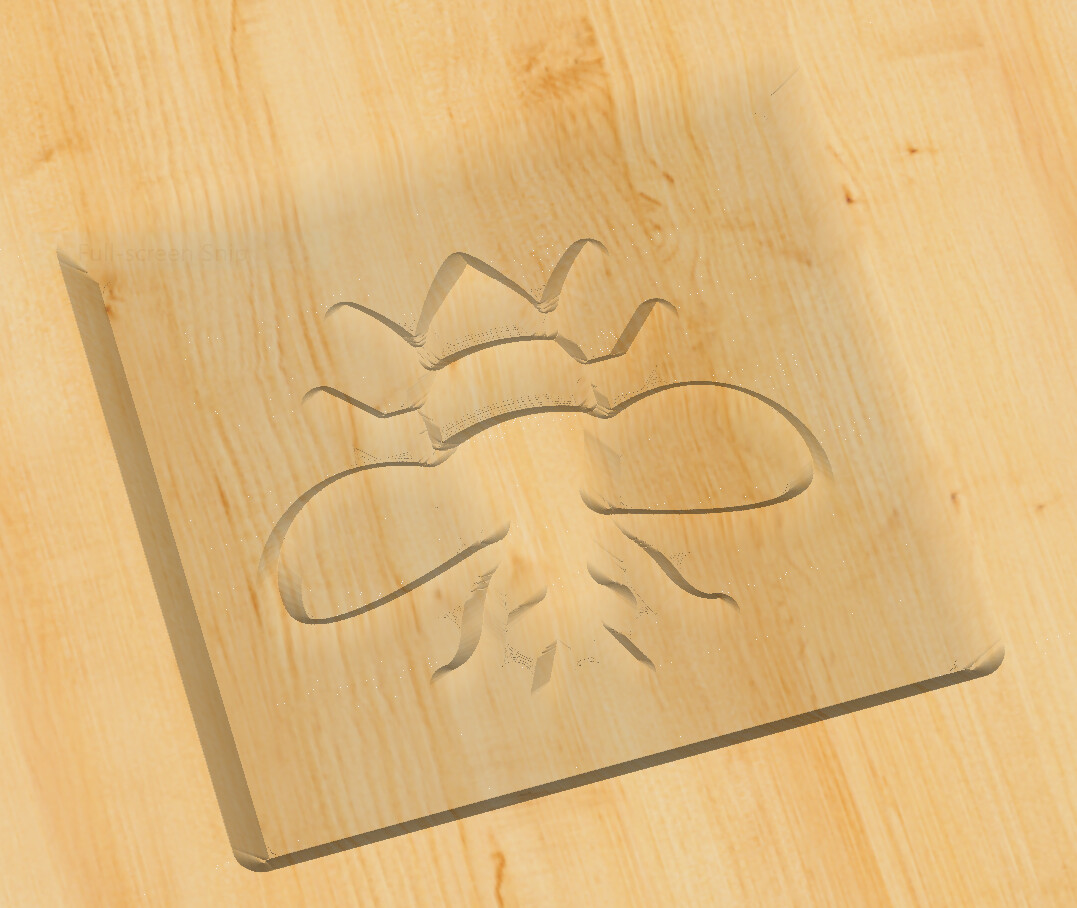
I’ve attached the two files, but am using a 1/4" 60 degree V bit, with an Advanced VCarve toolpath with the following settings:
Pocket: S = 0.0", D = 0.2"
Inlay: S = 0.0", D = 0.175" - I’ve assumed a 0.025" for the glue gap.
I know there are lots of YouTube videos and spectacular threads on this forum - and I’ve read/viewed a few of them several times, I promise - but I’ve probably confused myself by trying to learn the principles in VCarve Desktop and converting the practicalities into CC.
Yep, as per the relevant screen in CC. Sorry, should have made that clear.
Erm, no. I didn’t see your post…
So, I translate that as:
Pocket: Start = 0.0", Max Depth = 0.2", making the pocket depth of 0.2"
Inlay: Start = 0.175" (Pocket less glue gap), Max Depth = 0.175" + however big the saw/clamp gap has to be.
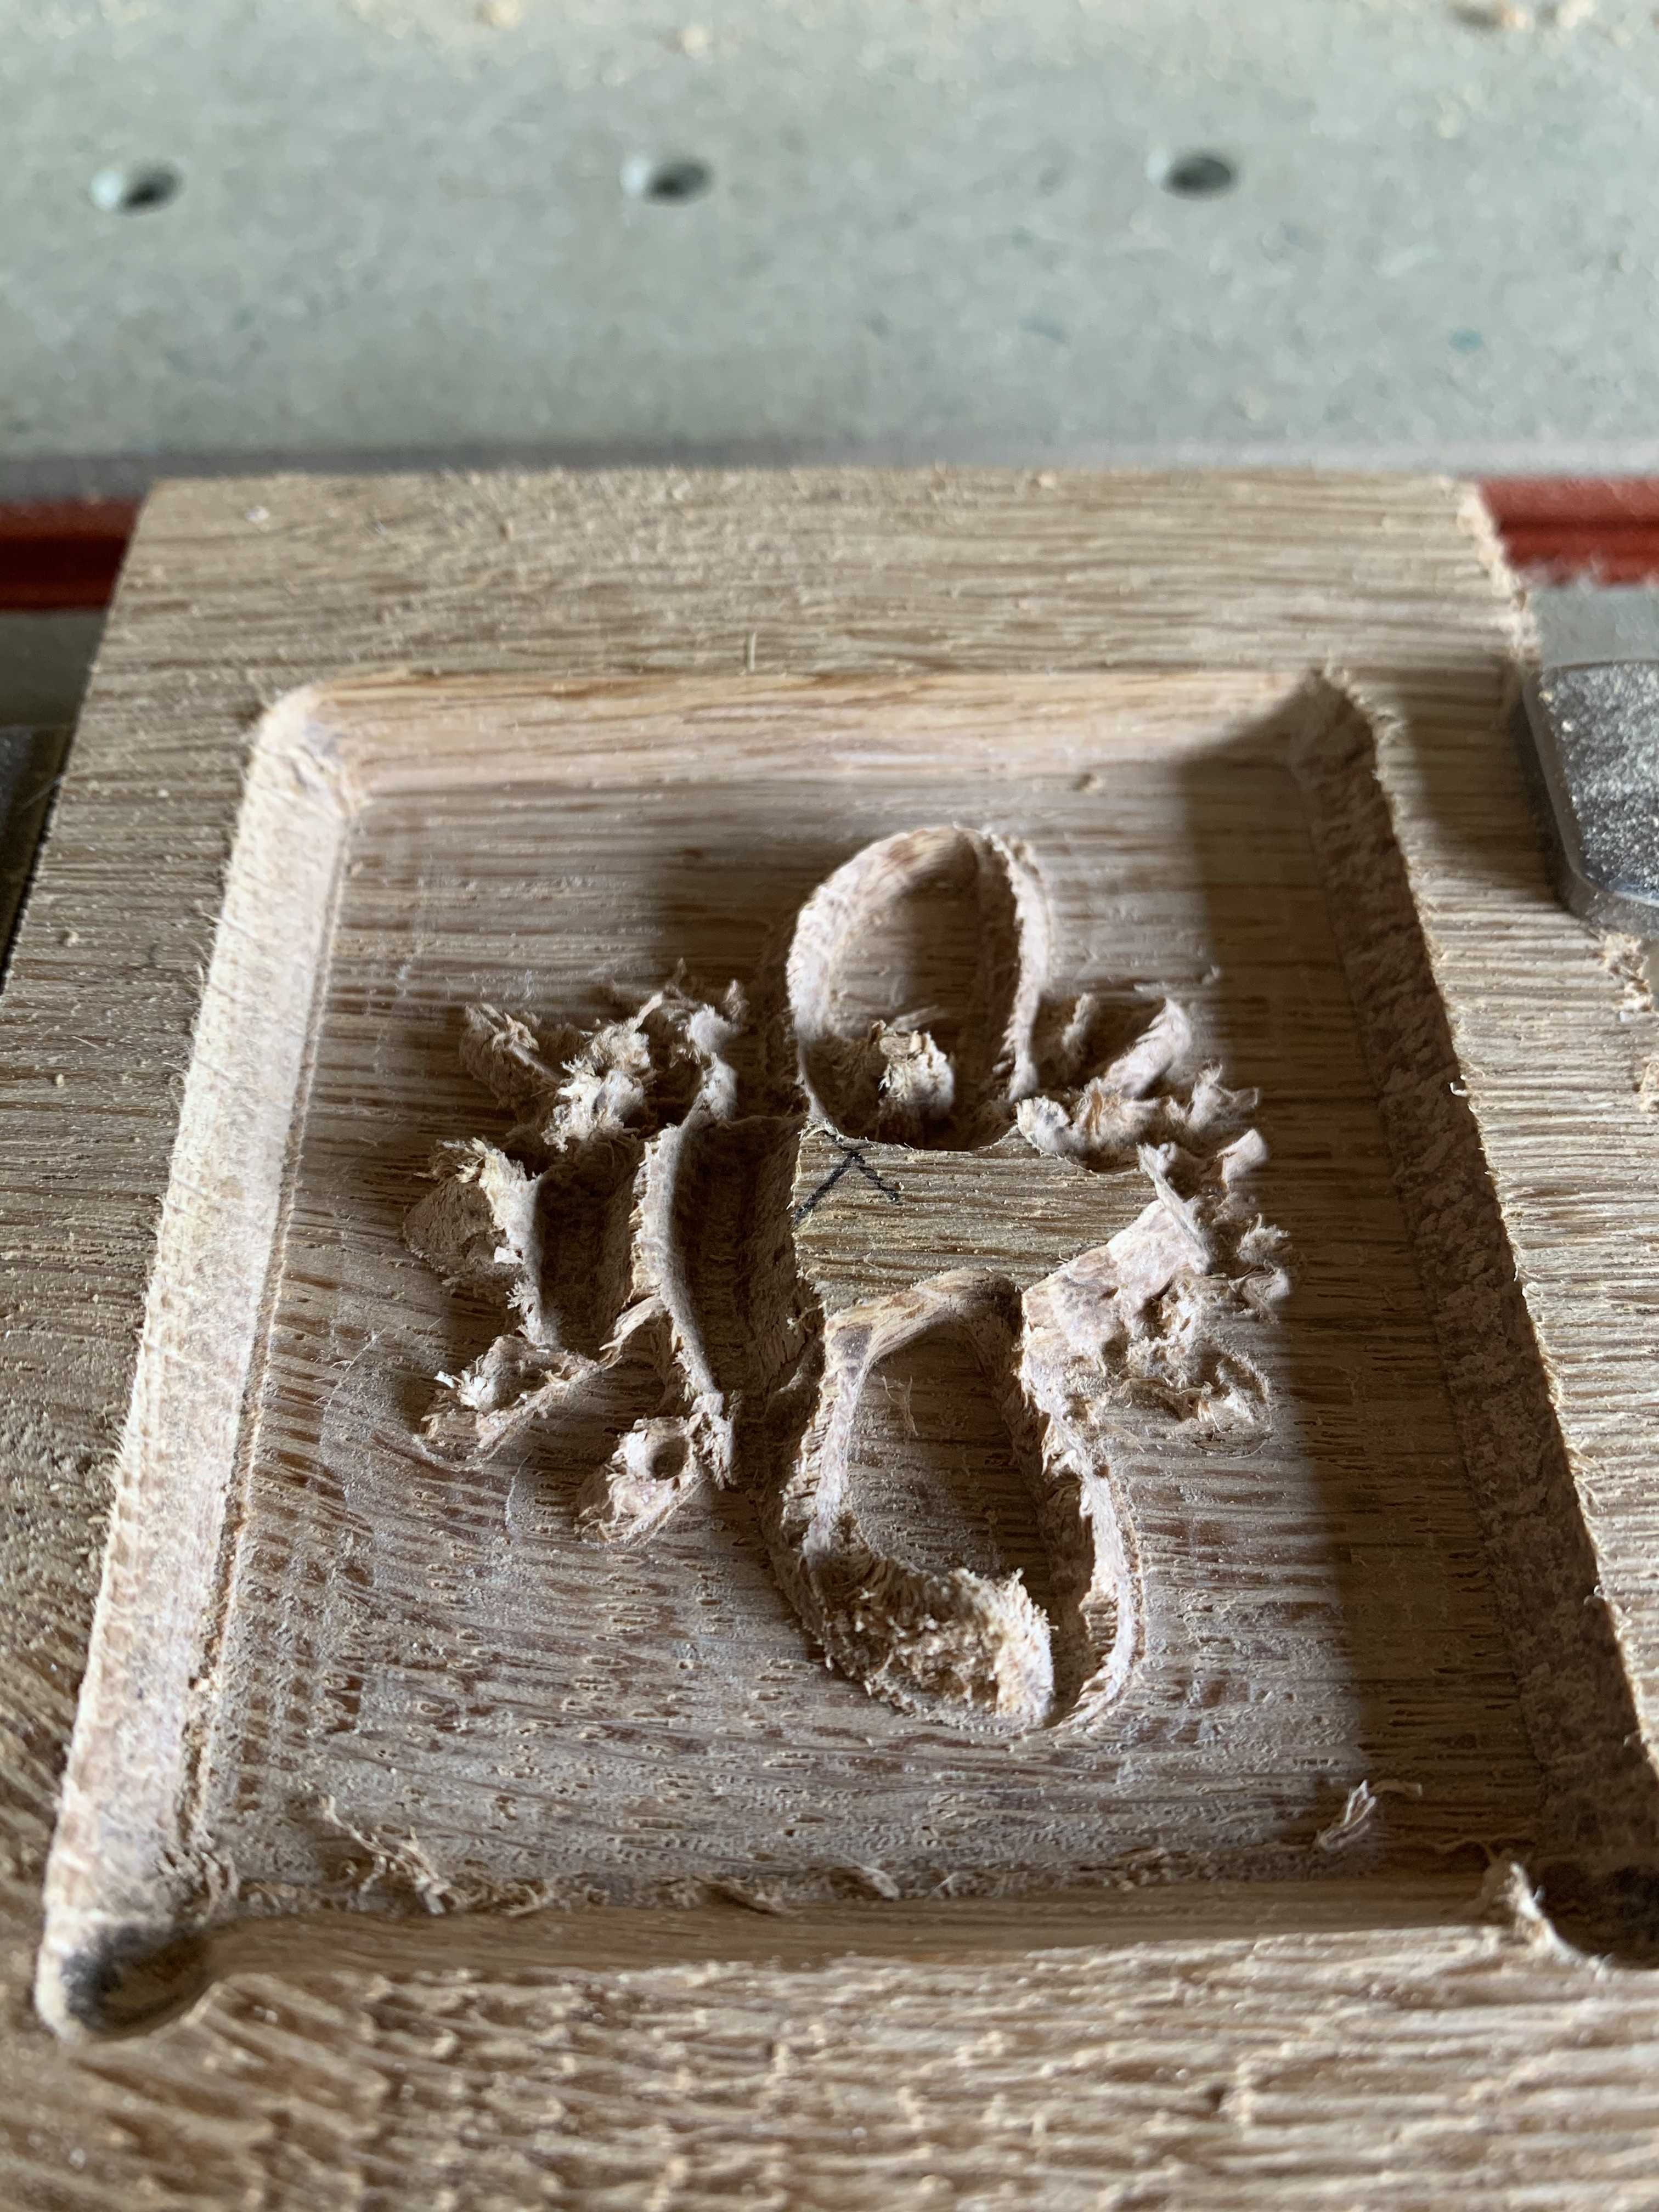
Ouch.
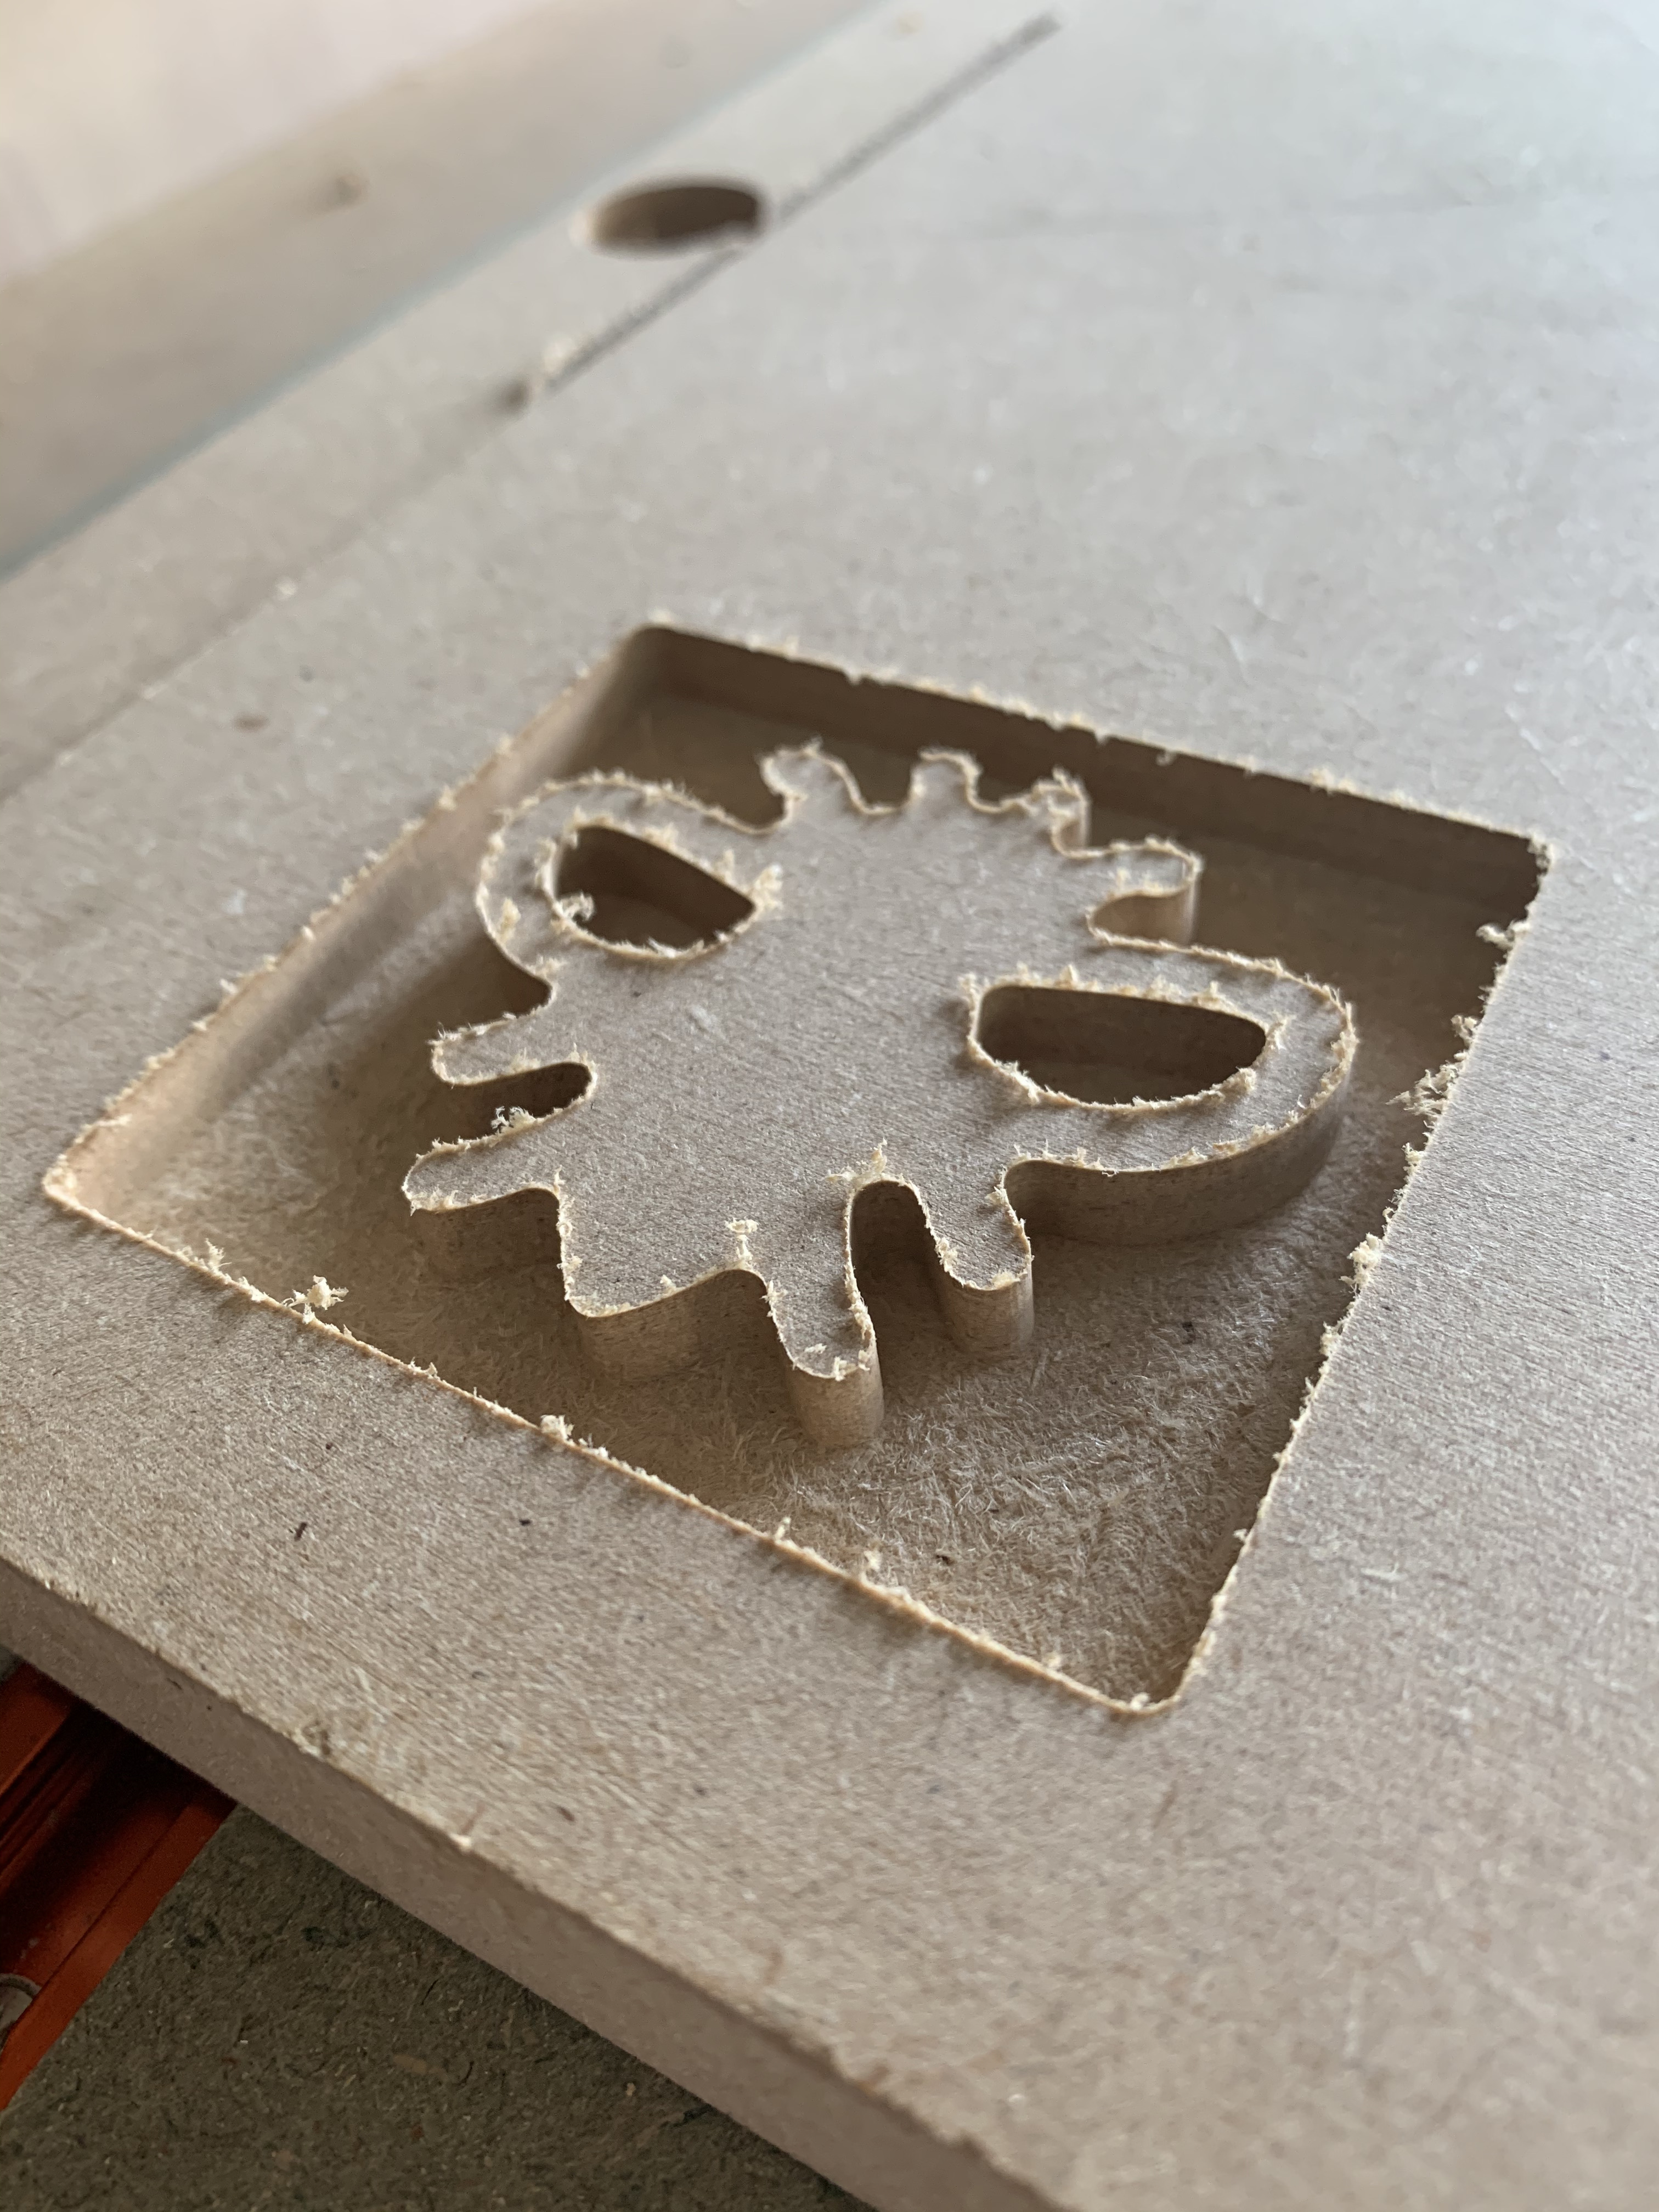
I suggest you try the exact same cut in MDF, see what happens then.
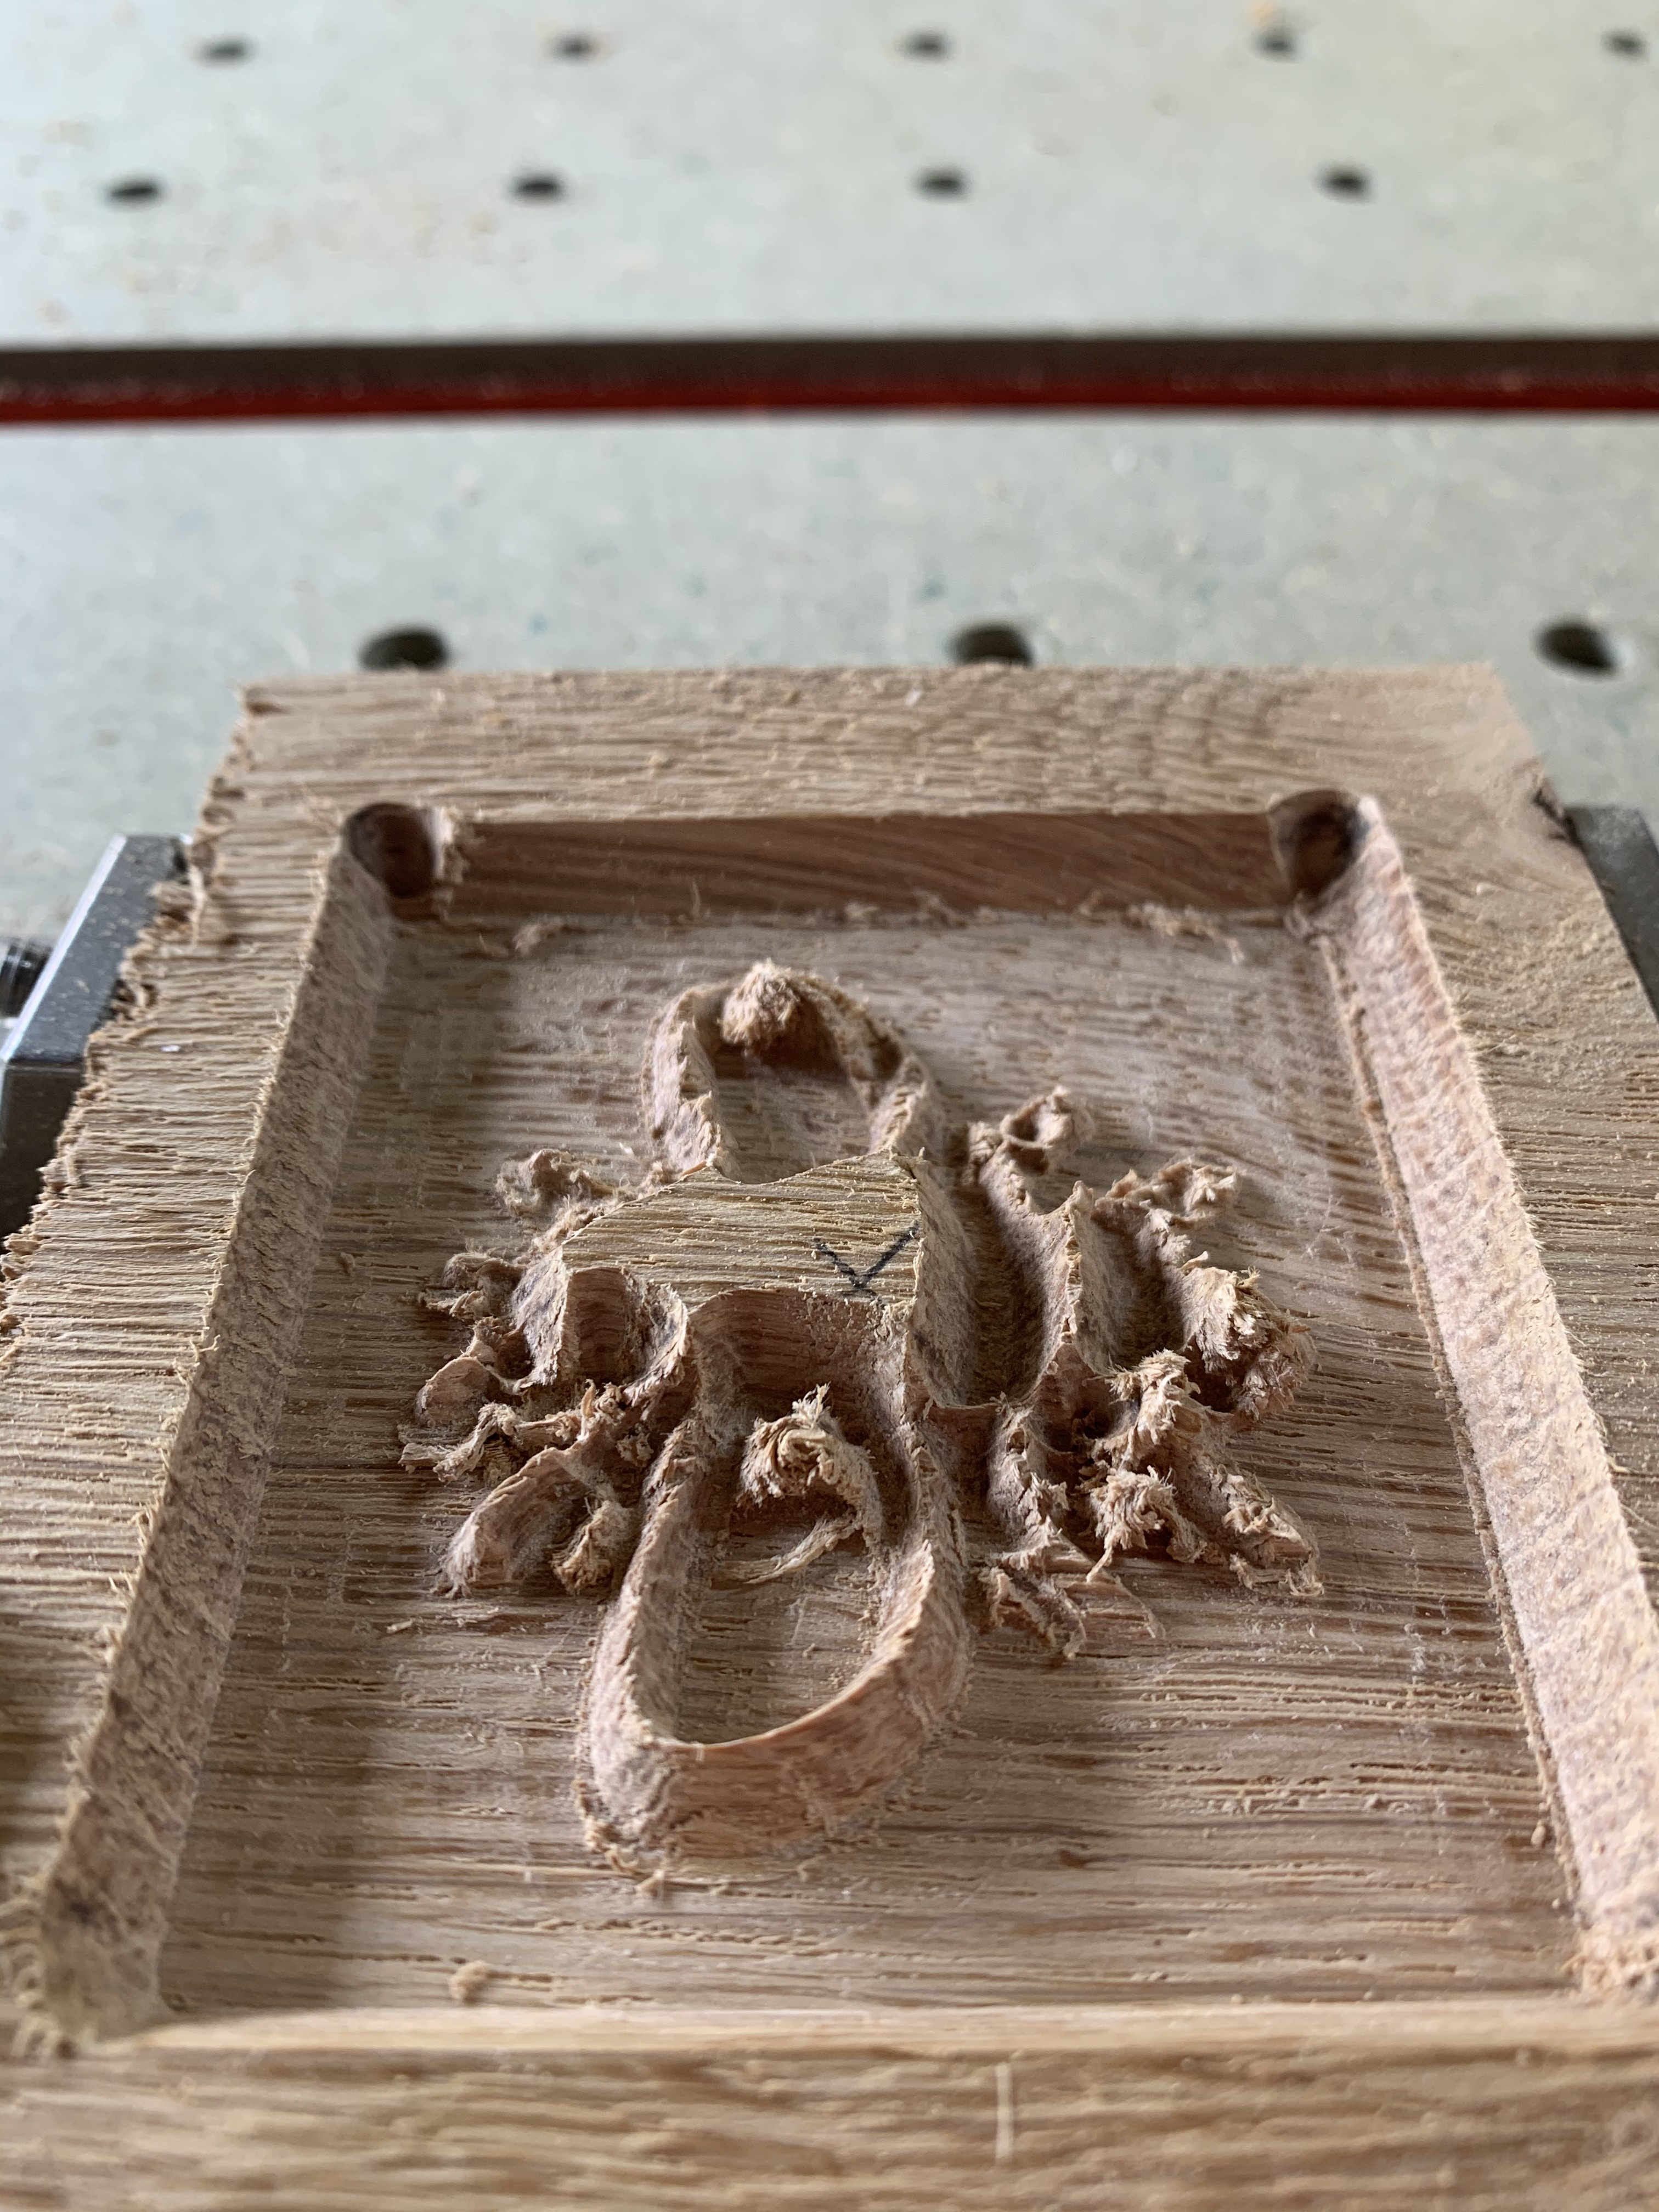
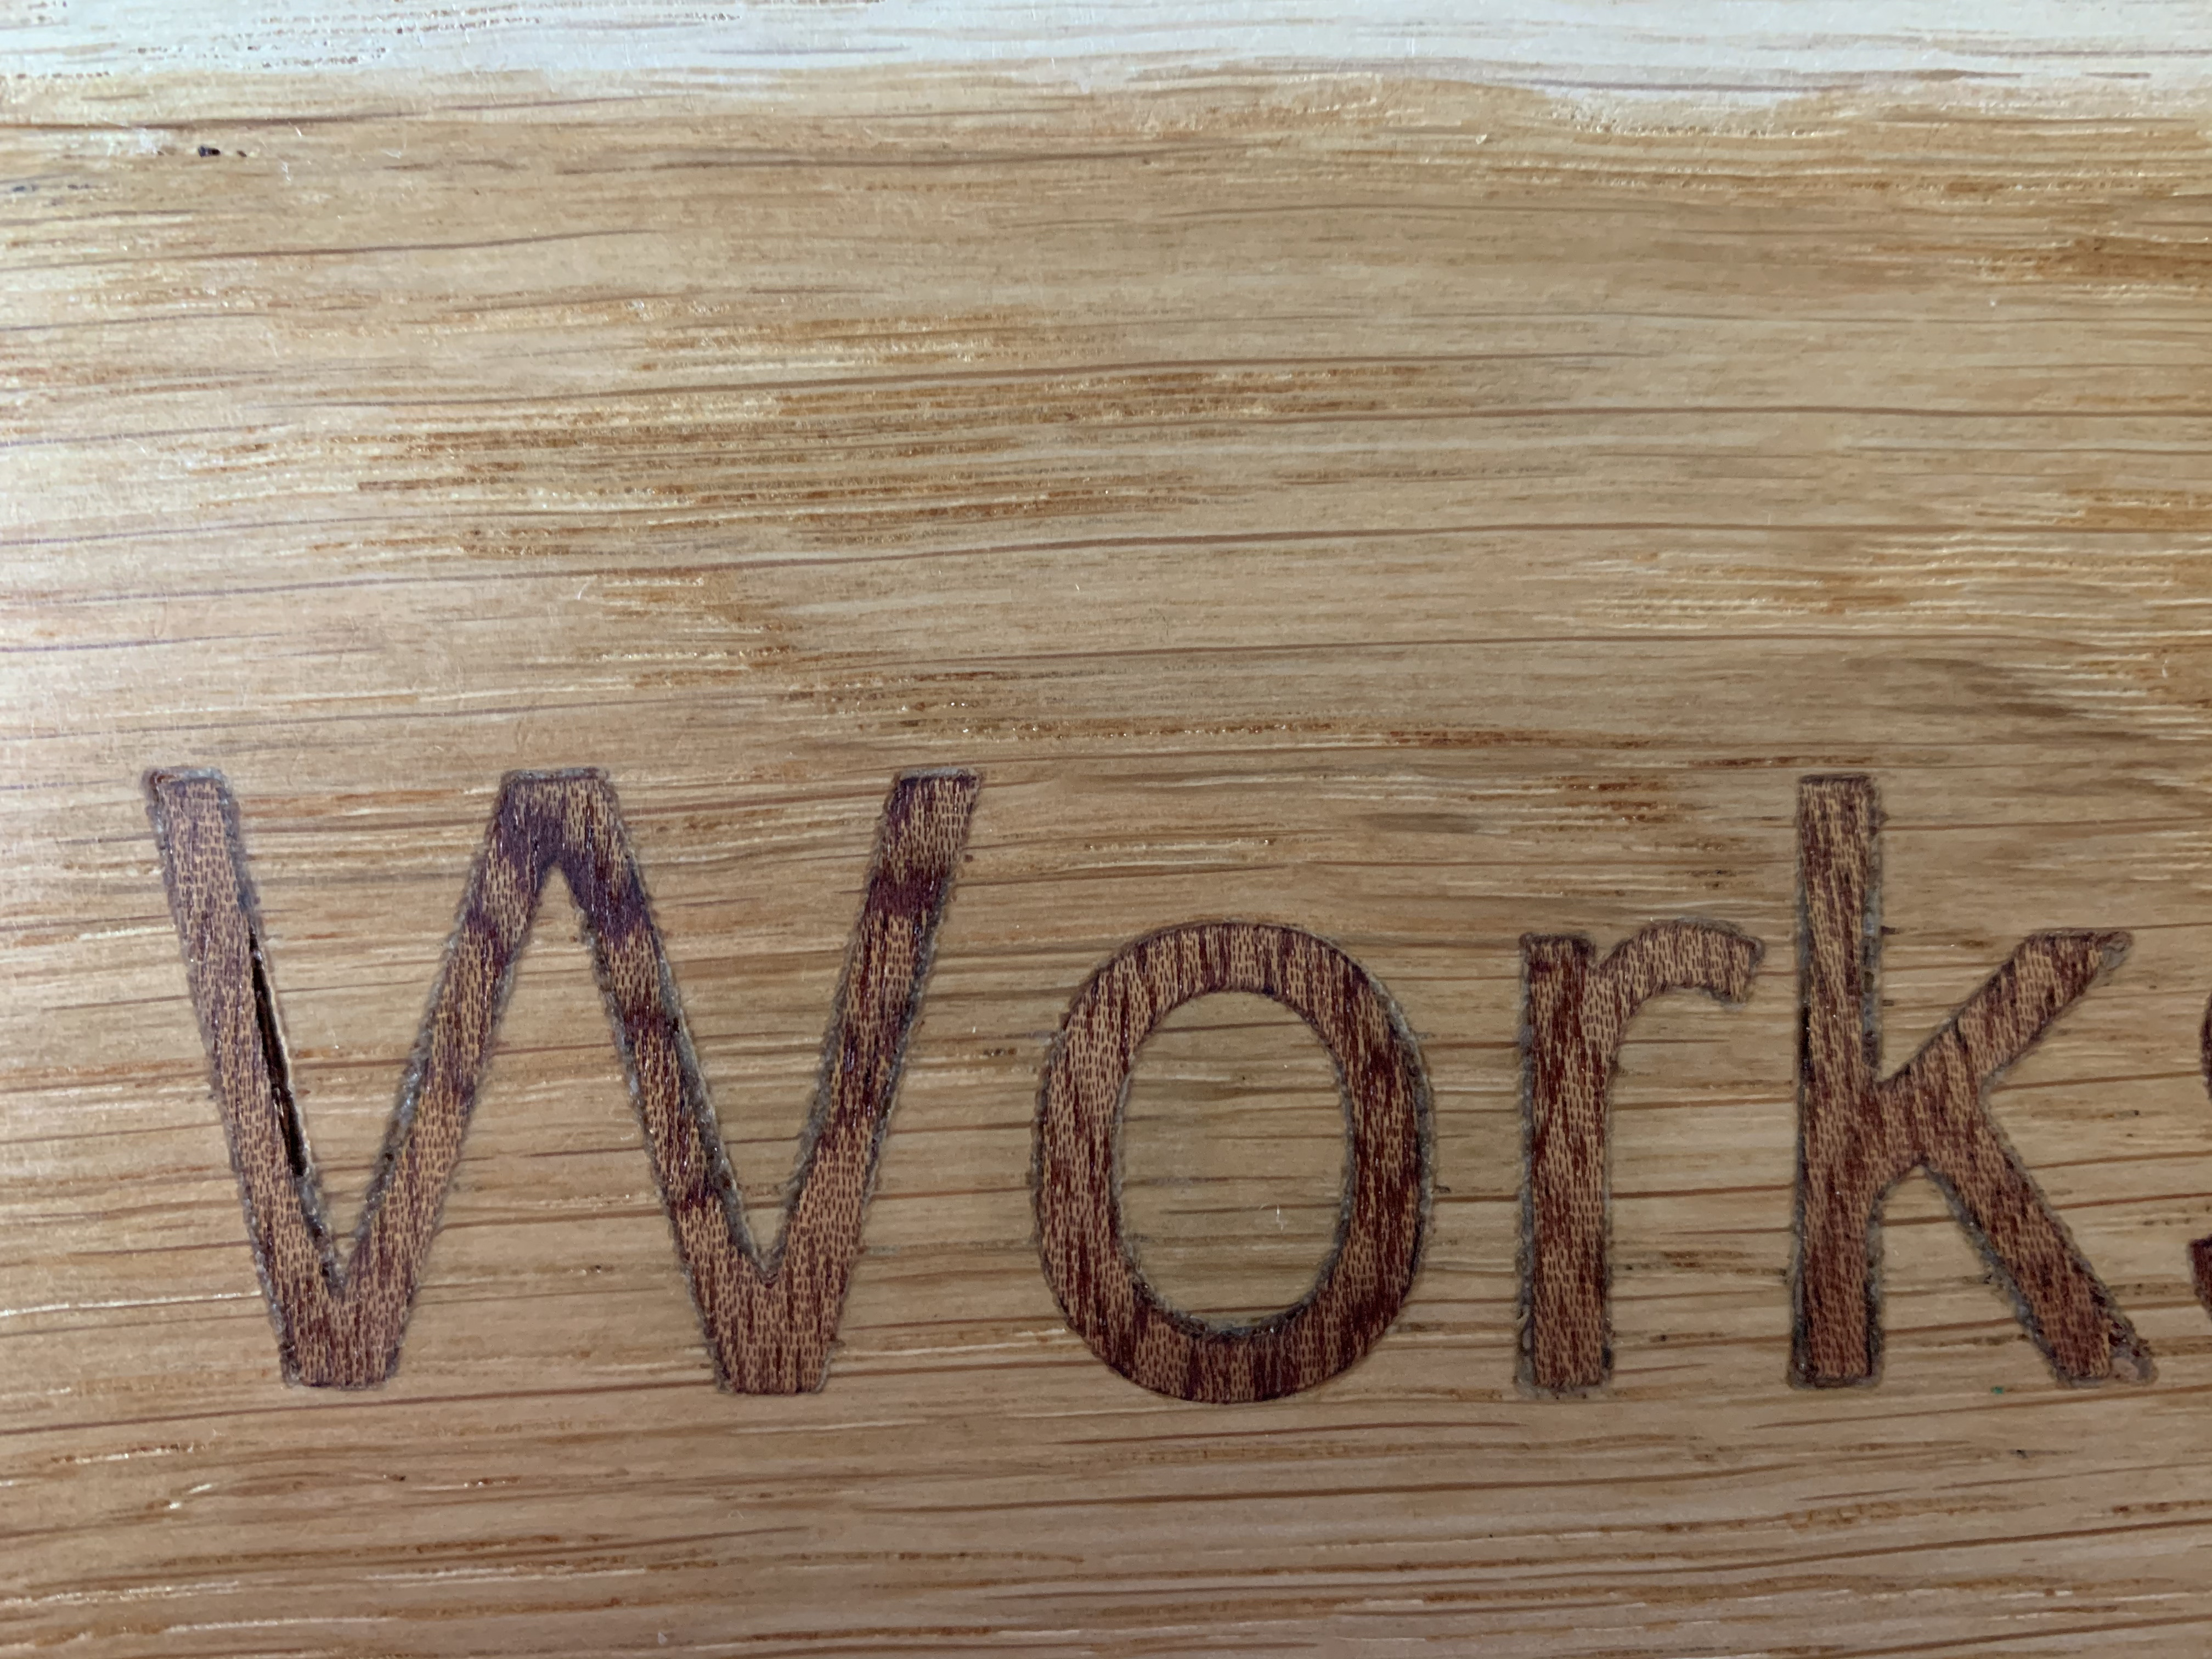
Some woods (what kind was it? oak?) tend to tearout when vcarved with a less-than-perfectly-sharp bit, but not to that extent. And the feeds and speeds look correct (you could increase feedrate, but still this should work).
You could also retry at lower depth per pass for the sake of checking if this changes anything (but 0.08" is perfectly reasonable)
I suppose the clearing part of the toolpath with the 1/8" square endmill went well, and things got weird after changing to the vbit ?
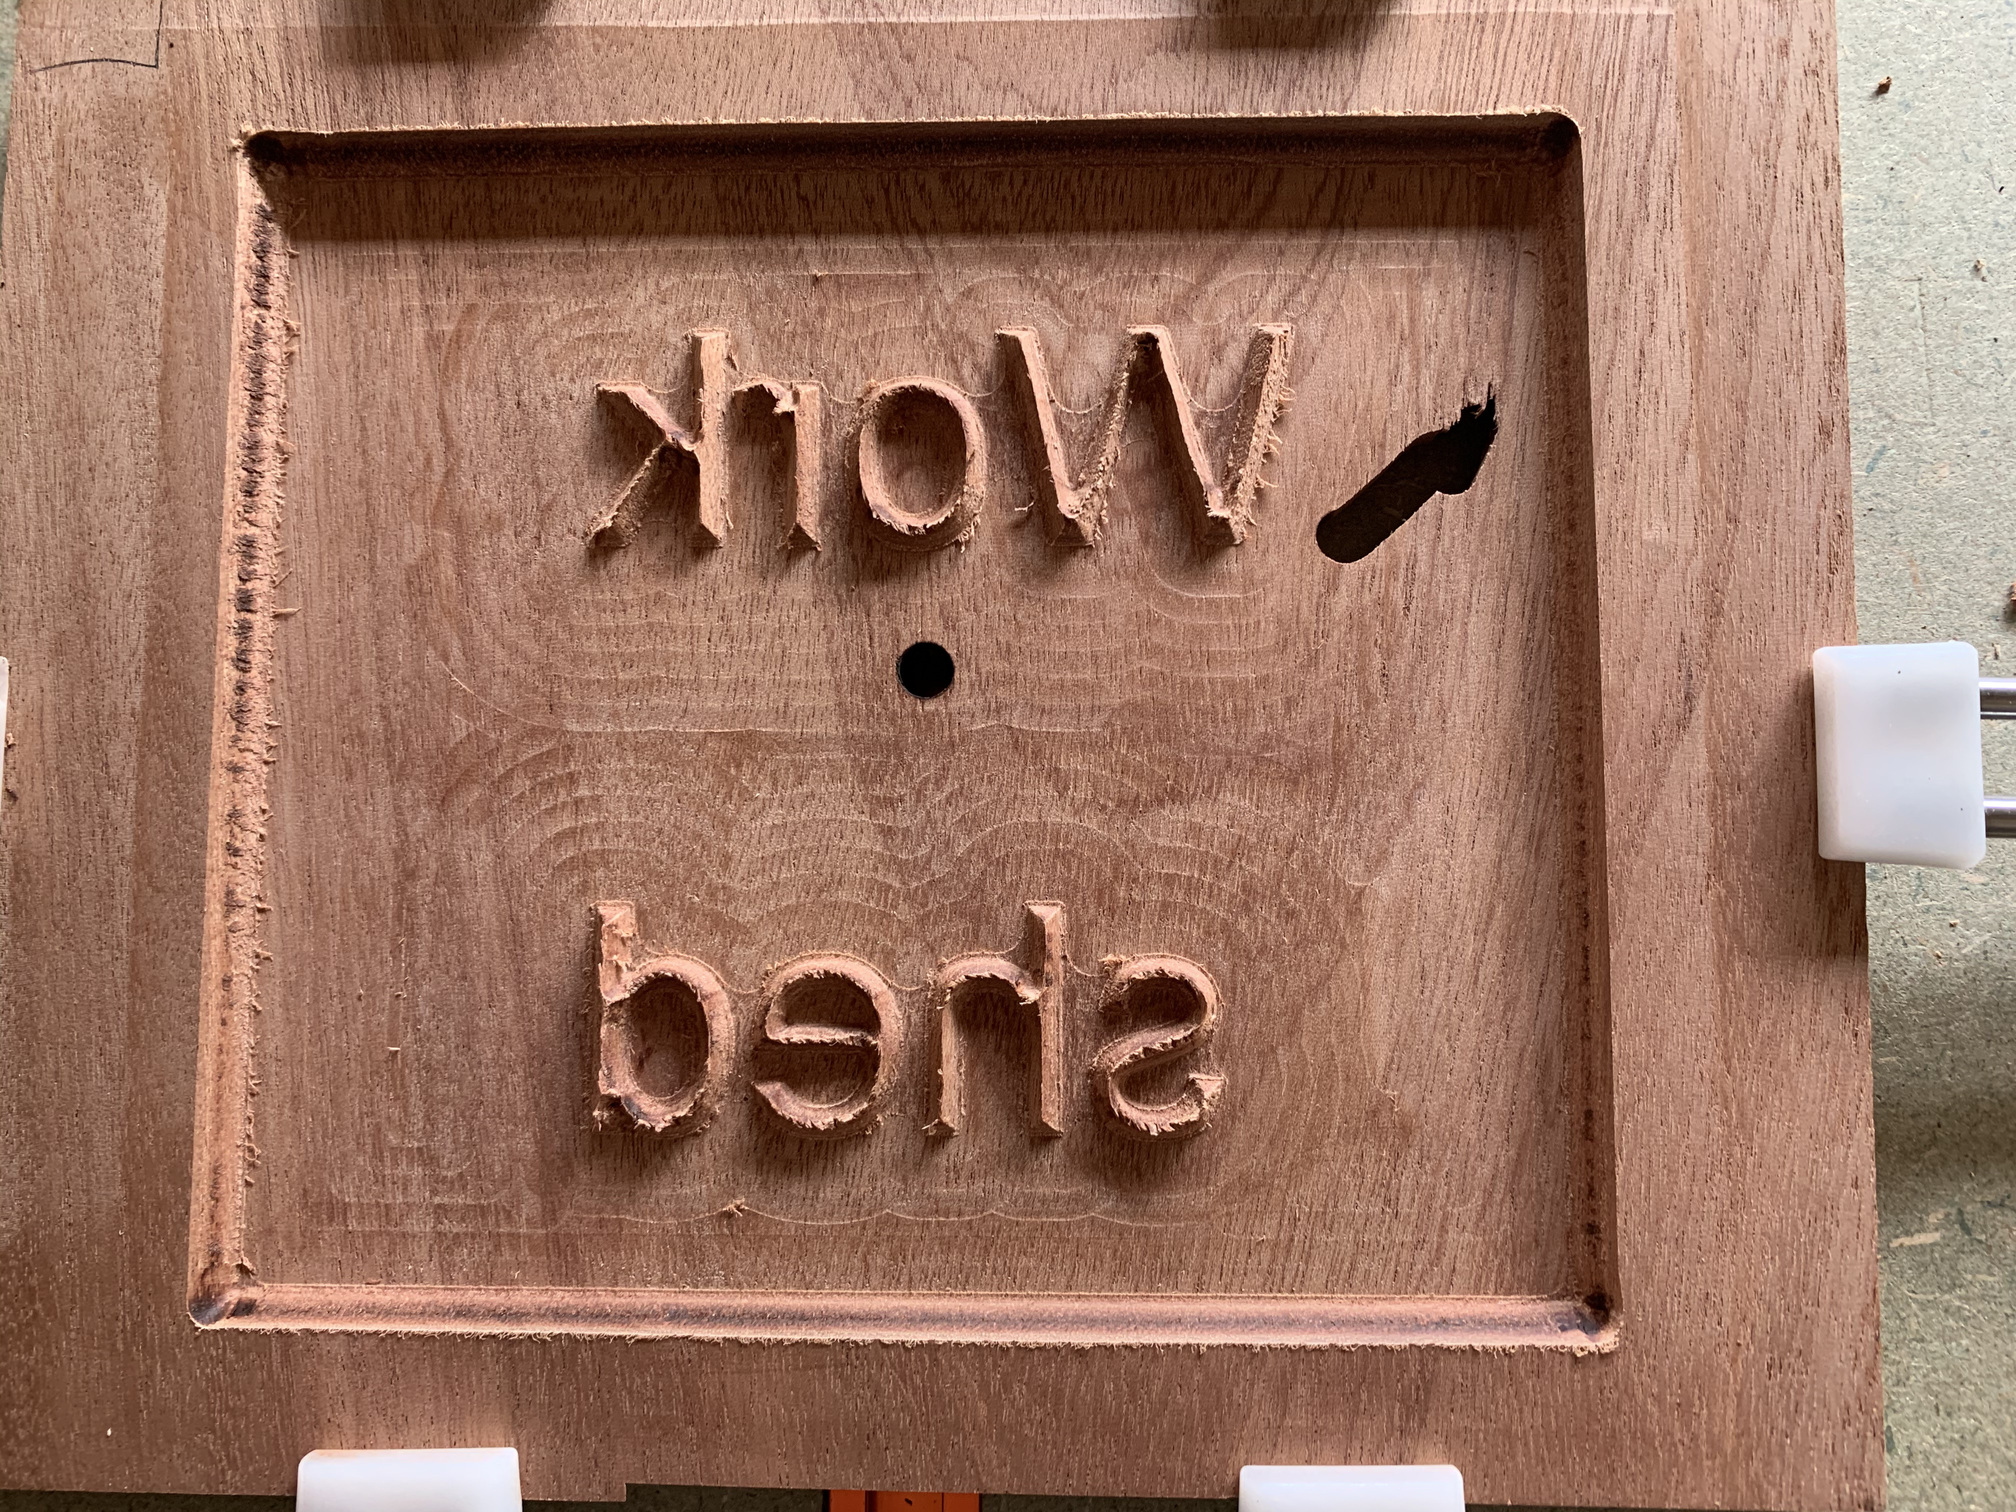
Well at least the corners look right now. MDF is not great for vcarving as it won’t hold tiny detail, but you should still not have such major tearout. Is this with a reasonably sharp/fresh #302 V-bit ?
Let me have another look at the design & Gcode files.
Well I can’t spot anything obvious on the files. Maybe just the fact that this is a relatively small piece, the legs of the bee are 0.05" wide, (but that should not be a problem).
I would suggest you take a step back and try a simpler, larger test v-carve cut, in MDF for now.
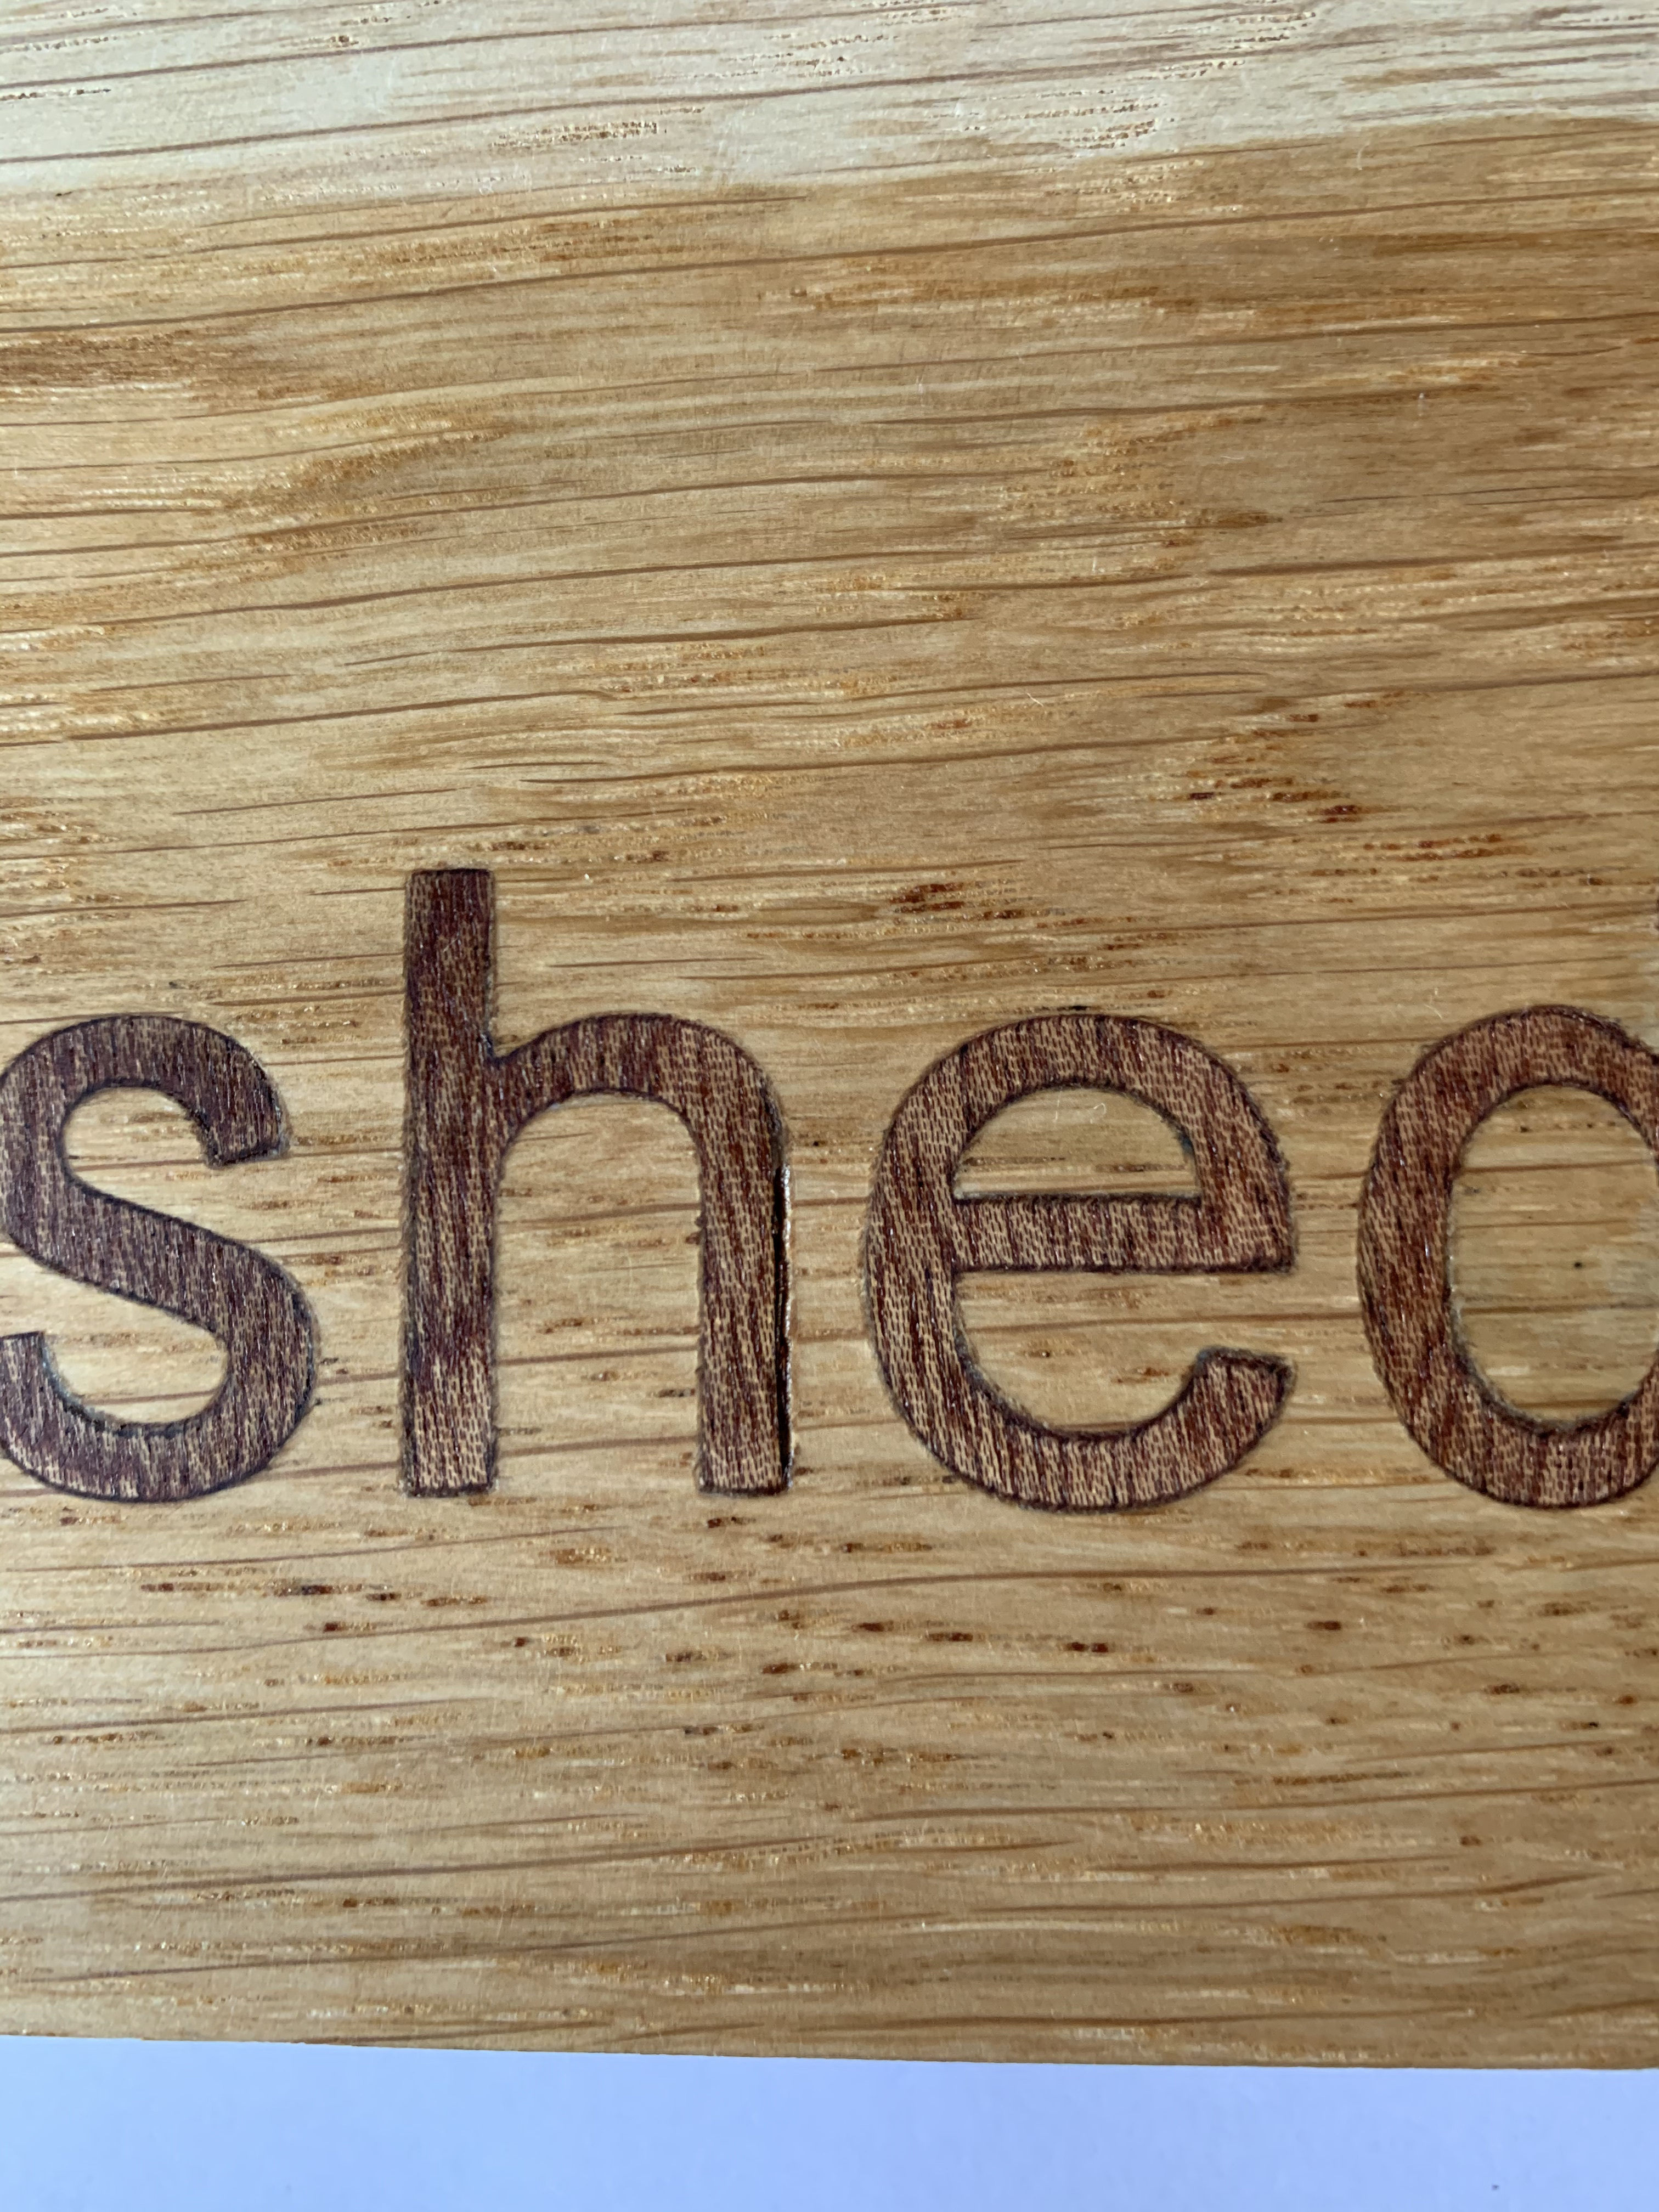
For example, make a project with a 1" tall “TEST” text, and vcarve that. It may give us hints as to what is going on.
Do you have another V-bit you could try, to rule out the possibility that it’s the tool ?
Yeah so I would try creating a test design with that tool, another one for the 60° tool, and run both.
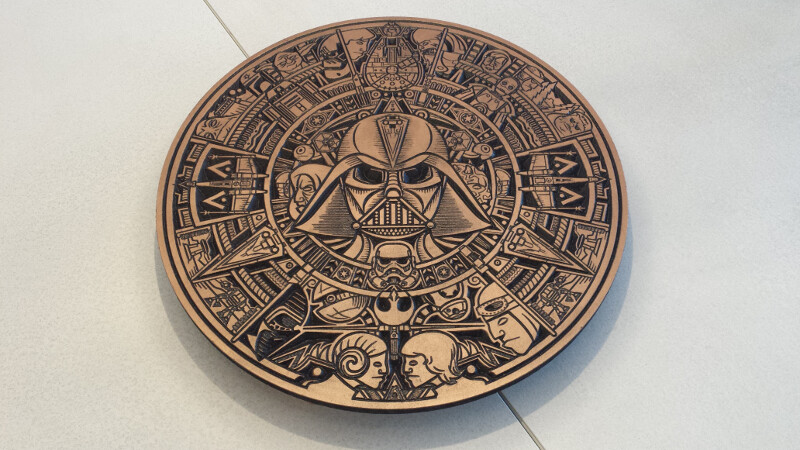
Don’t worry, there is no reason why your machine can’t produce perfect vcarve jobs. Probably the ONLY mdf project of mine I still like is this one, and that was on my (back then) stock SO3 with the #302:
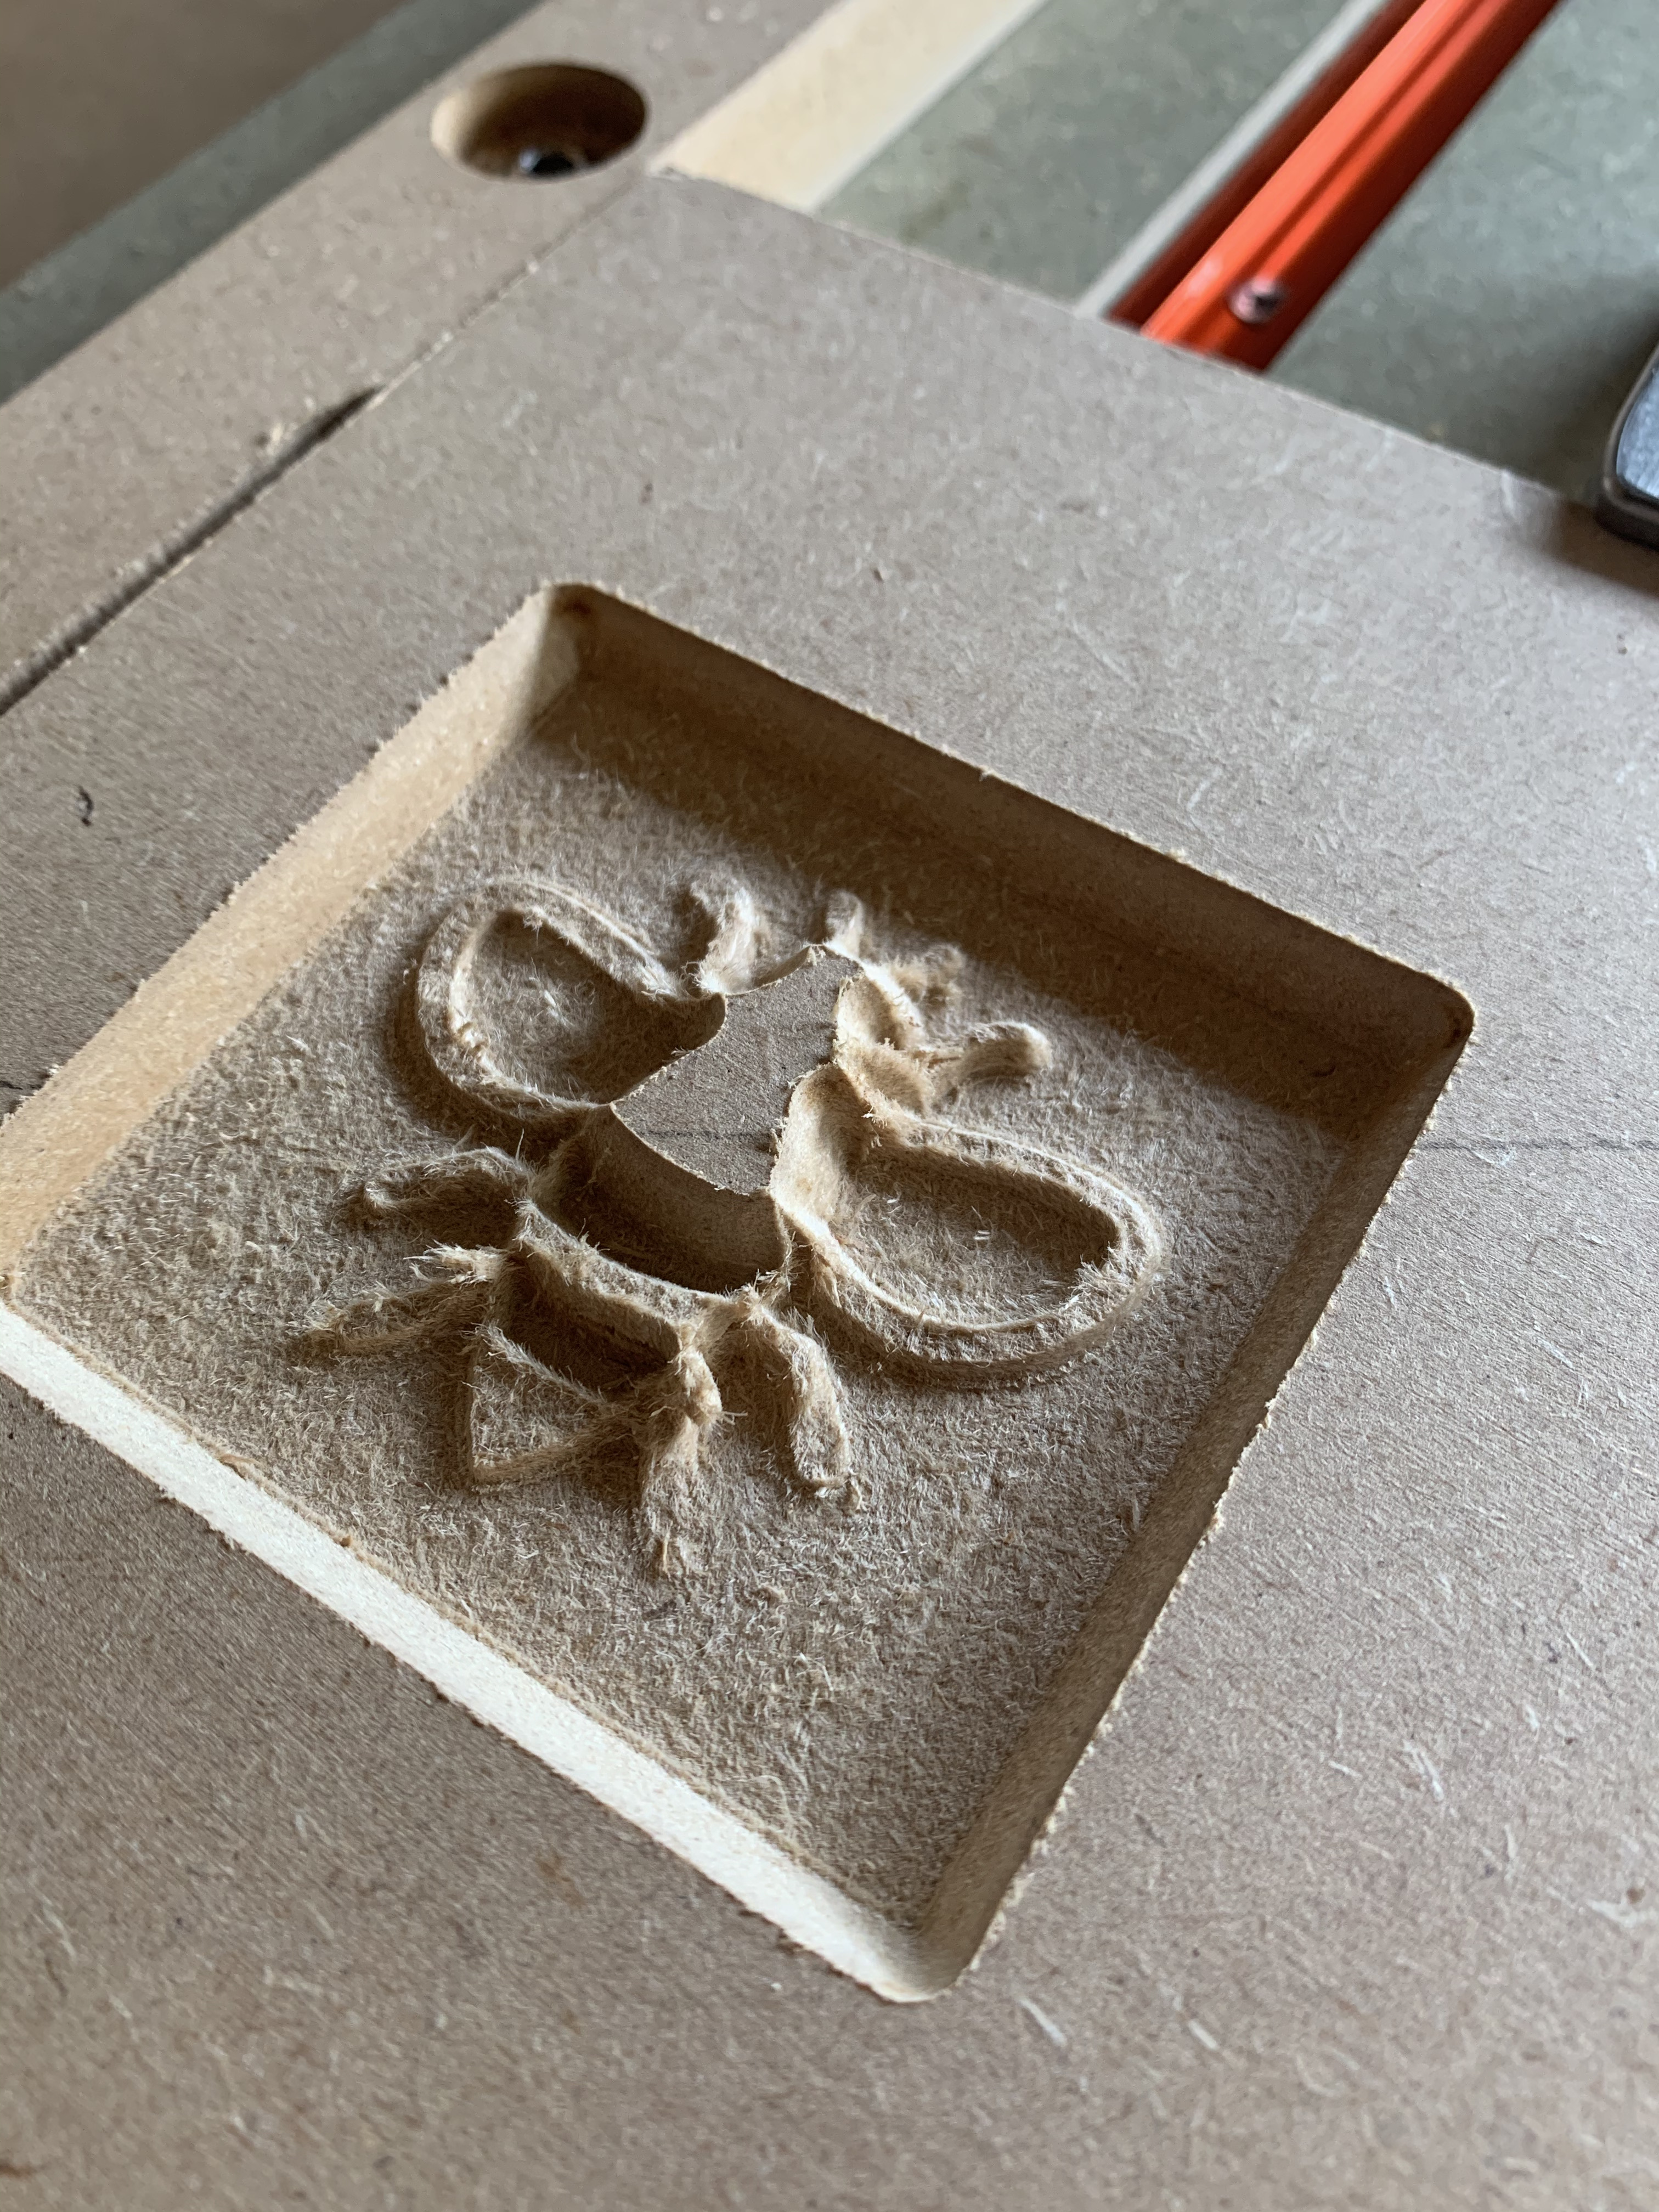
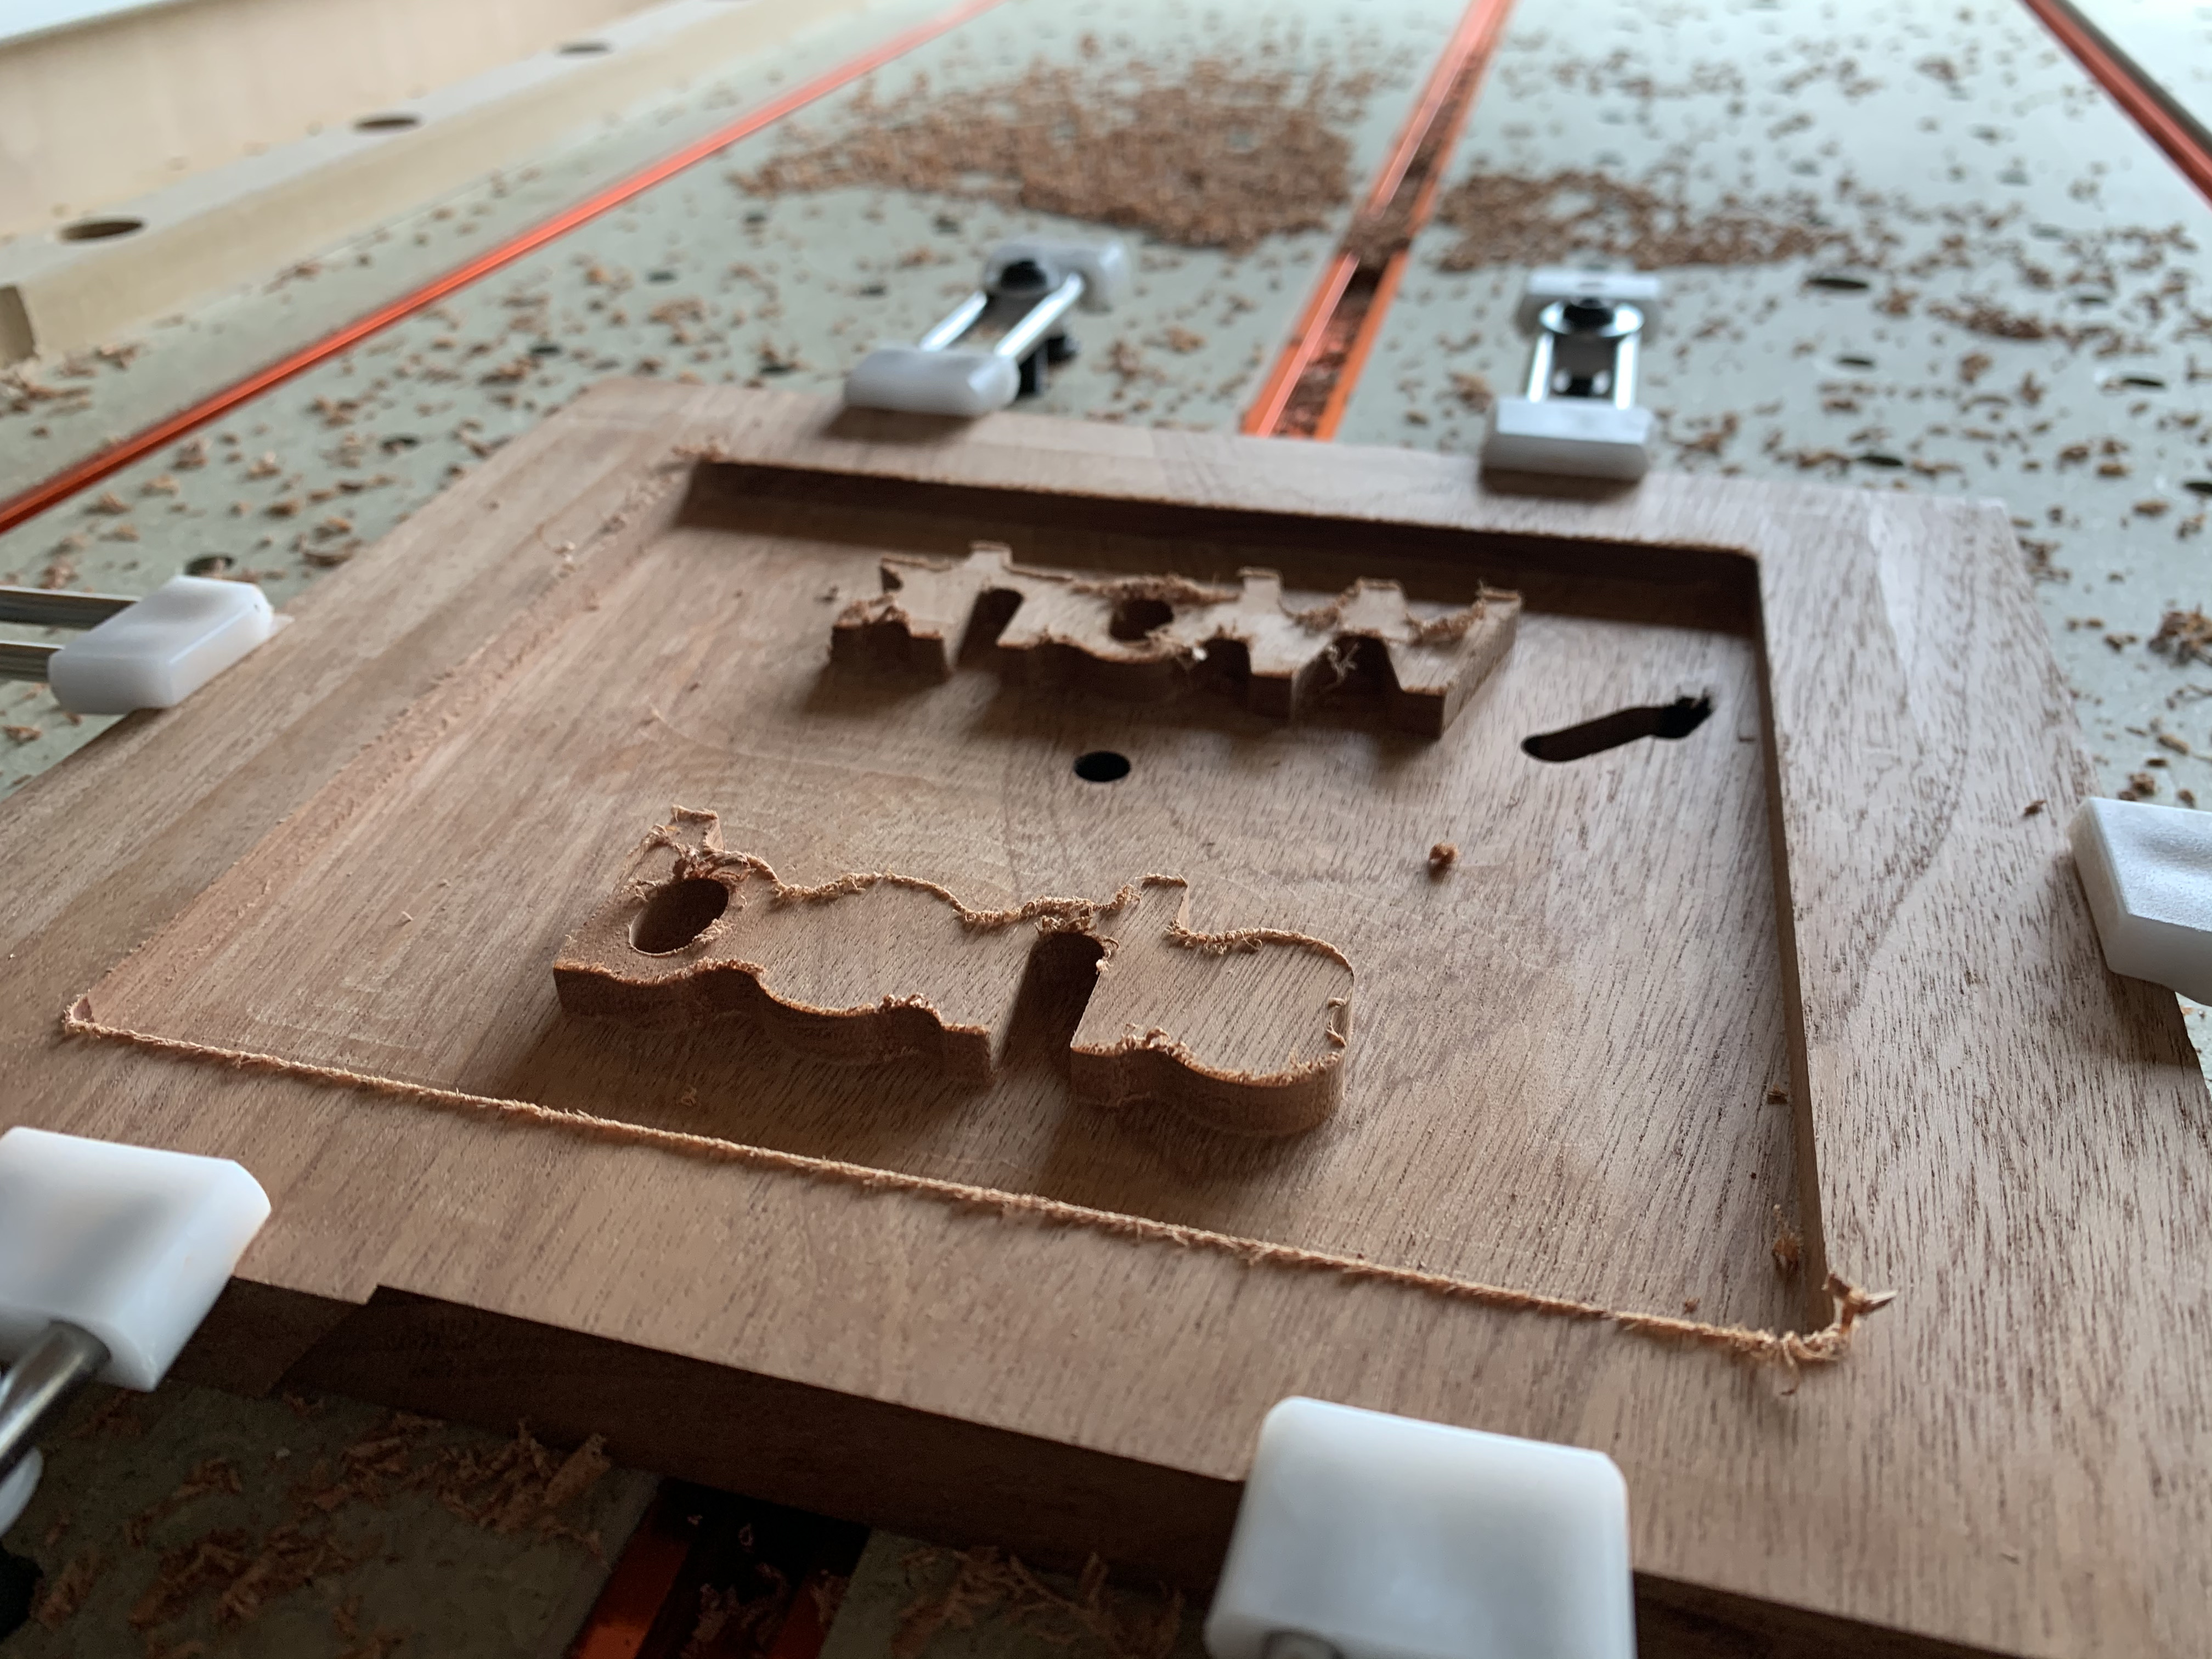
That is better, the wood may not be the best one and/or the vbit may not be as sharp as it could, but it could still turn out to be quite ok since the residual tearout happens on the top edges of the male part, which end up hidden in the female inlay grooves anyway. We’ll see !
Remember, the top of your male inlay is not meant to look good, especially on narrow details. Some of it is not tearout. By intent, the tops of the narrow features will be carved away.
The part that you will see is a few mm down from there.
Trust the math. Trust the process. Coat with glue. Clamp like a gorilla.
(And use a tighter grained wood next time)
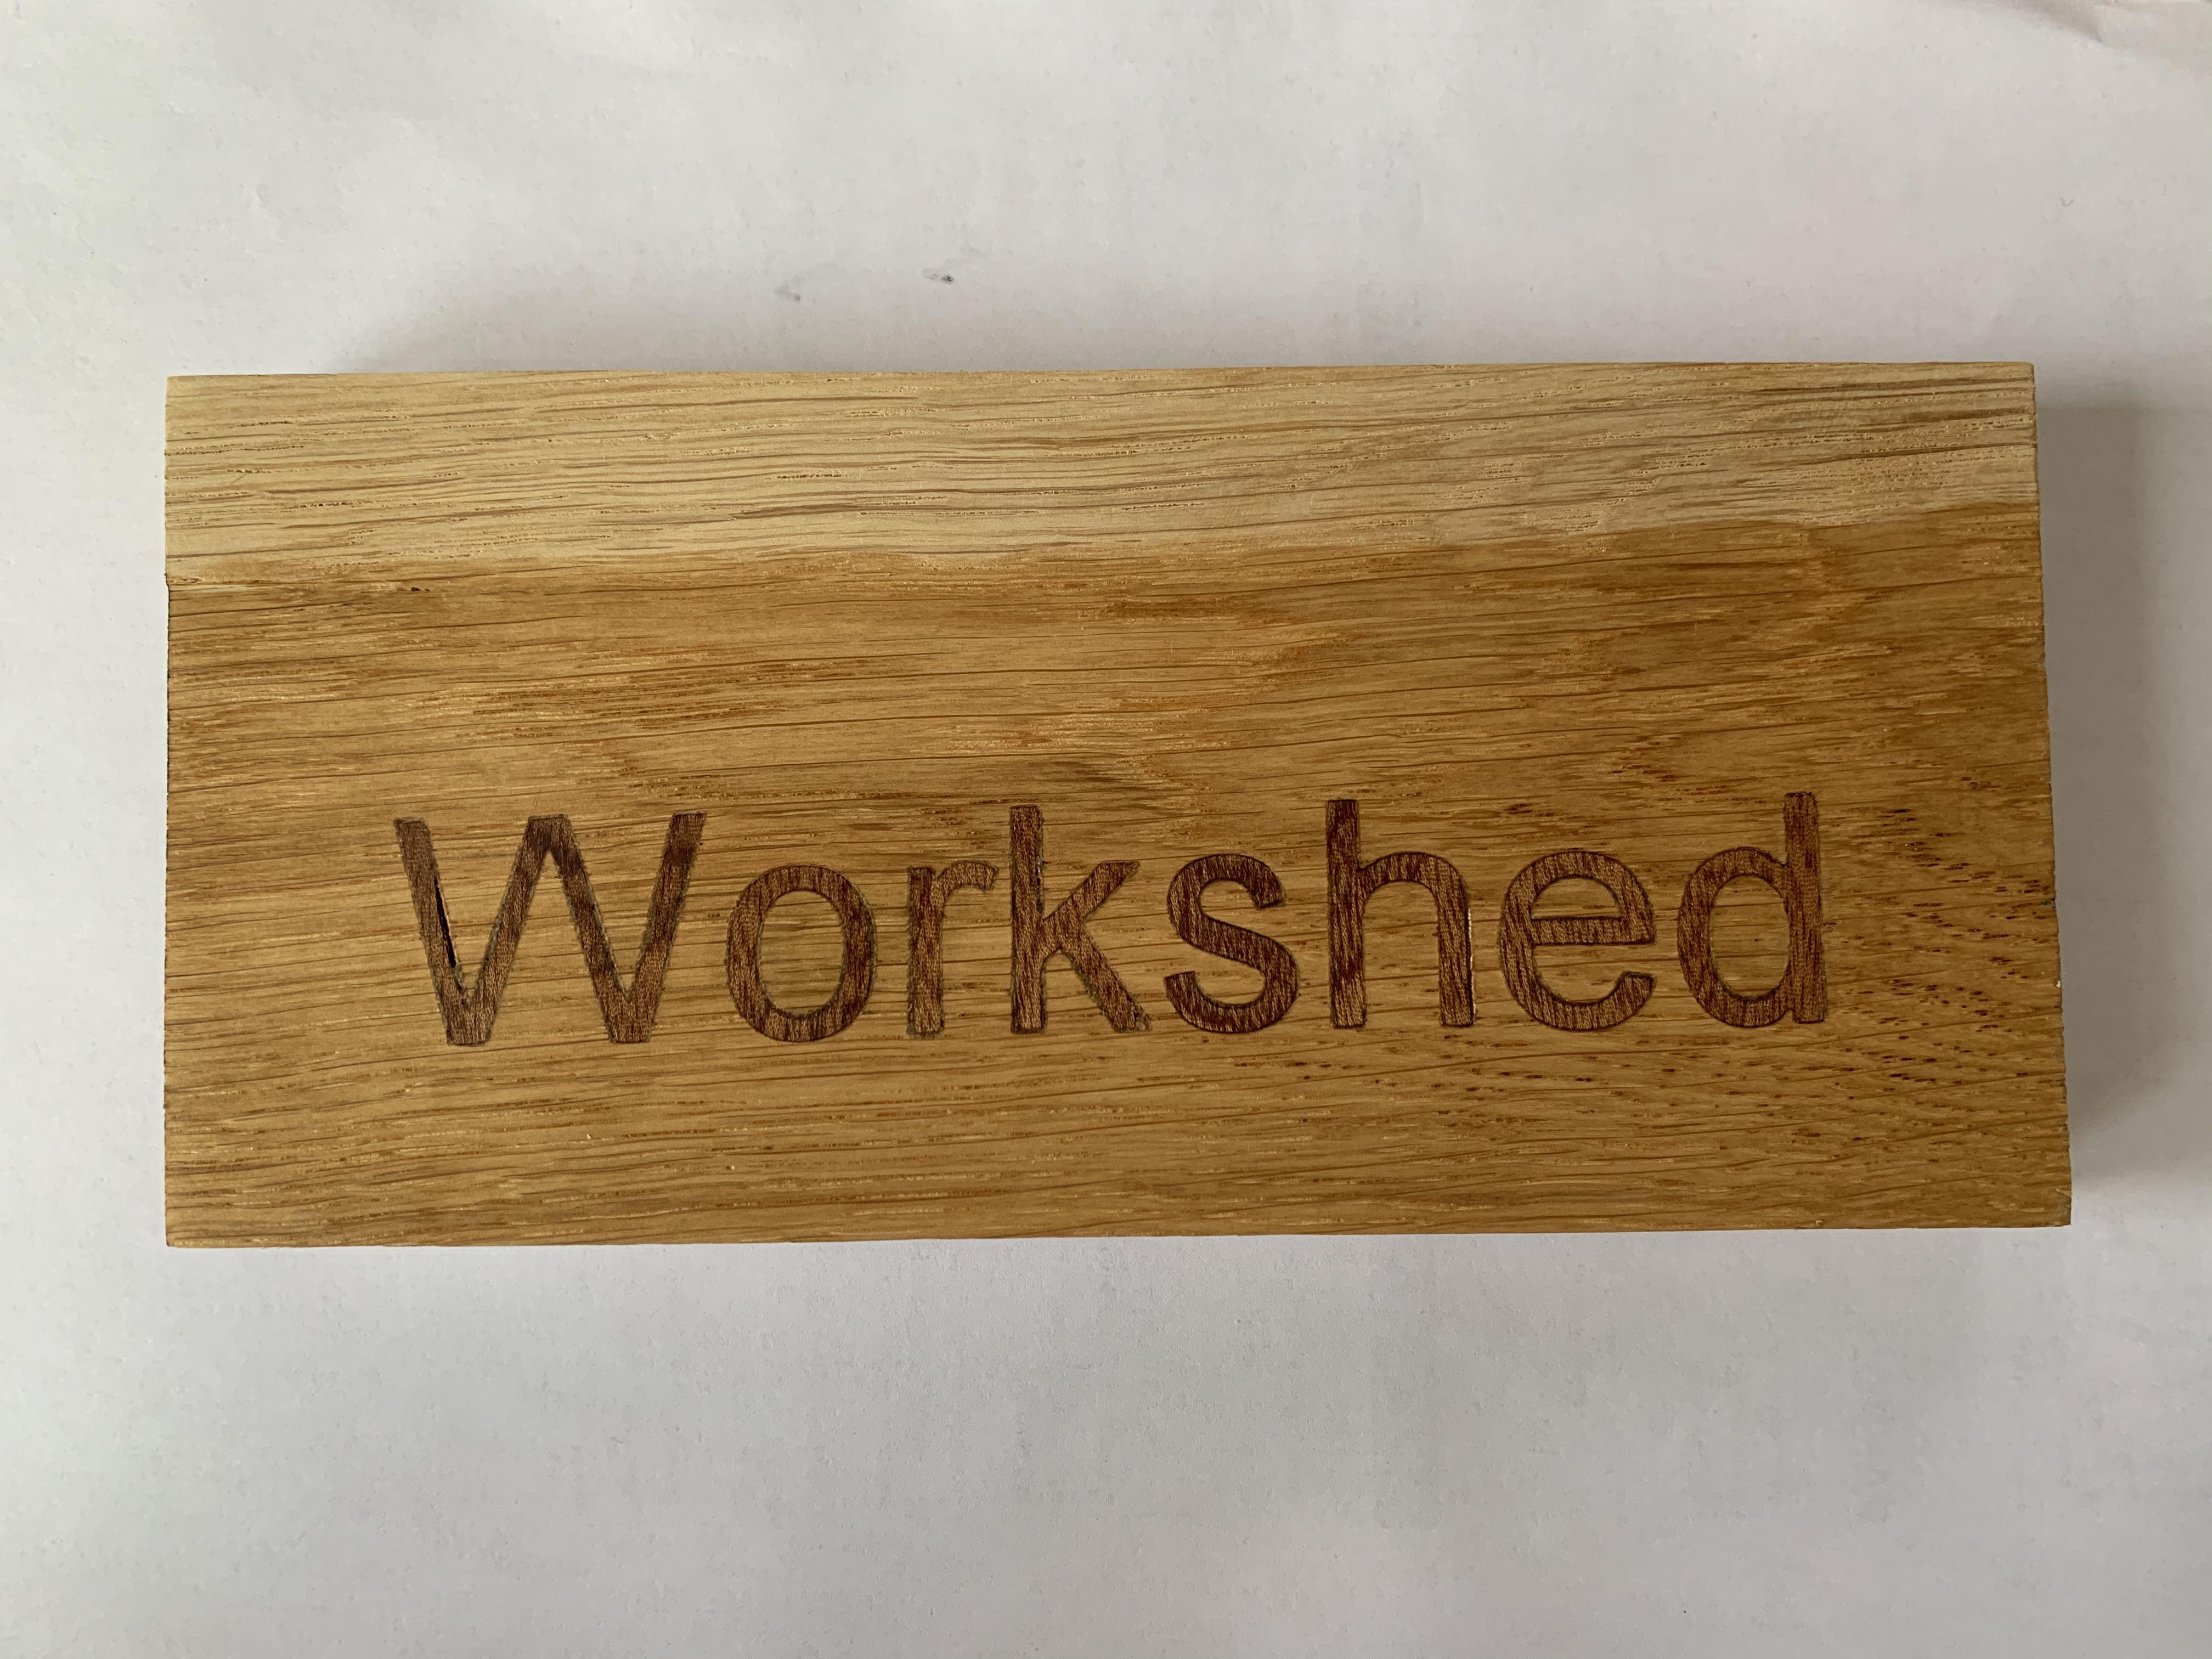
when you glued the male part in the female part, how much did it stick out from the surface before sawing/surfacing/sanding ?
Since most letters came out just right, I suspect the “W” problem is unrelated to the design process, it must be a cutting mishap?