One thing I have not seen mentioned concerning Belt Tension, the number of teeth/cogs per measured length when under proper tension. That is the only drawback I see to using tandem belt drive.
I like the direct drive to belt for accuracy, but when you try to use two of them…well you are at the mercy of the manufacturer.
I’ve just looked at those, too.
The Flashforge Adventurer 3 (not-Lite) is available from Amazon(UK) at £379, for delivery on Tuesday - but then I’m back in the wrong end of the ball park. Some cheap ones are available for £180, though!
Maybe I’ll put this on hold for the time being, but thanks anyway.
1 Like
The belts seem to have a pretty consistent construction (at least the Gates and reprap.nl which I’ve used) and also a good consistency of tension modulus within the same batch which means they stretch to about the same tensioned length if the belt tensions are matched.
I dug into this a bit in my measuring belt tension thread, specifically looking at balancing up the two Y axes.
1 Like
I considered it when I thought about using a single bi-shaft stepper on the y movement
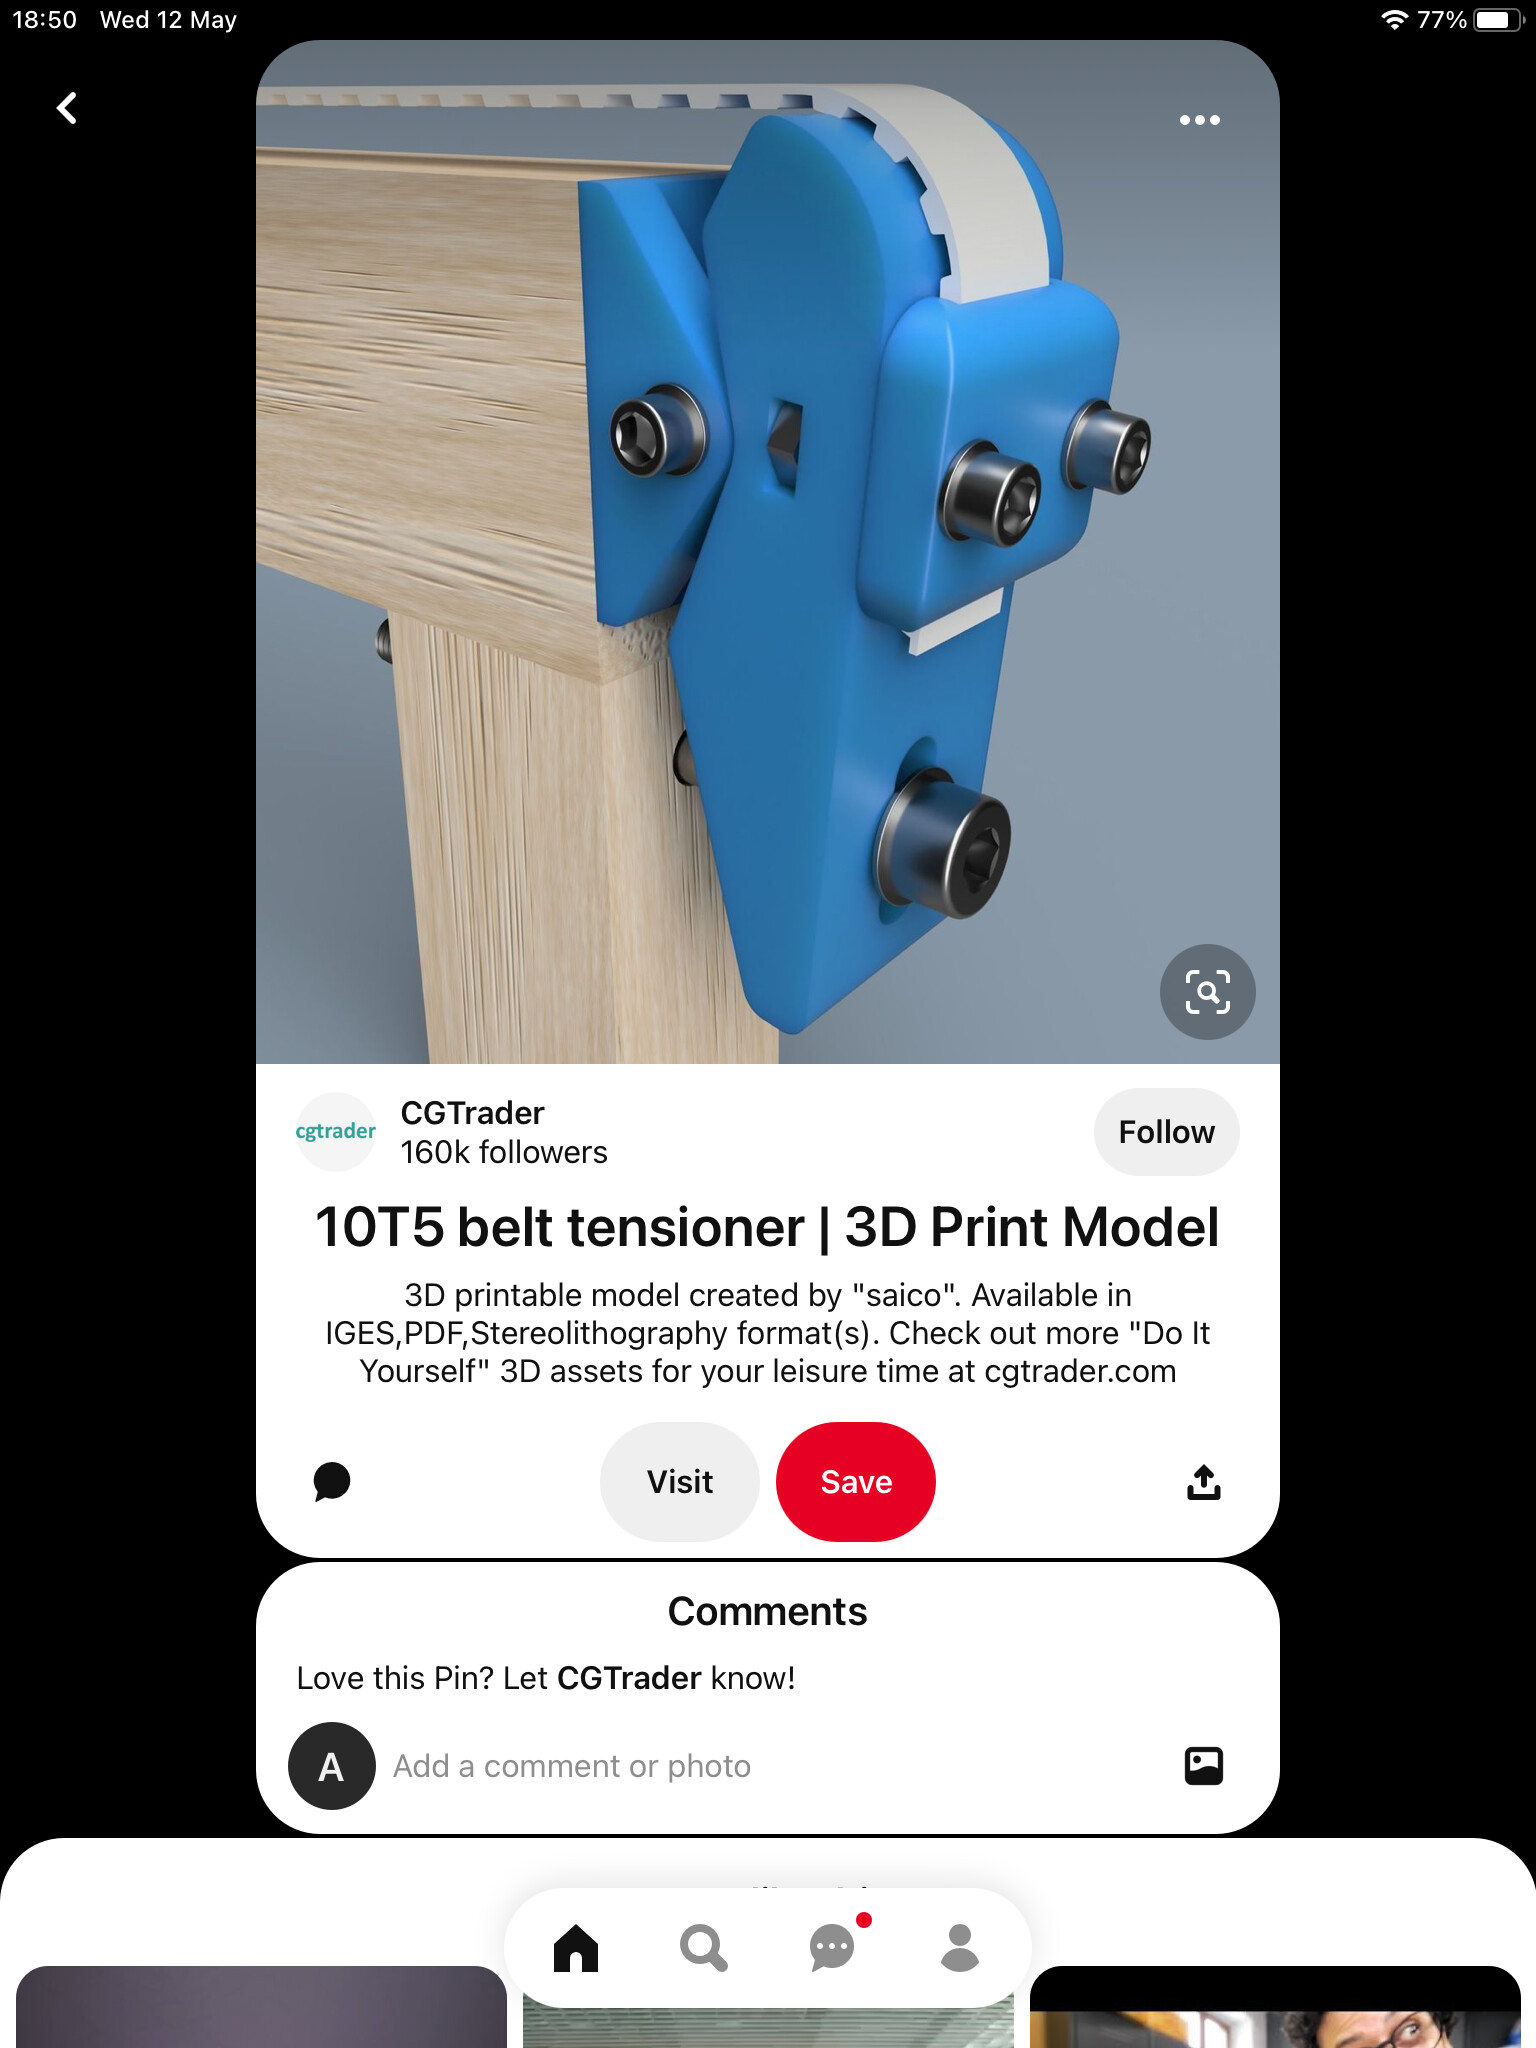
and fwiw, I agree I like the GATES brand green stripe belts. (always look for the green stripe)
I told you!
Great…Glad to hear it! Got any pics (luckily the tensioner covers the butchered slots)?
That’s about how I did it. I had some really cheap, maybe diamond coated, versions. Still was not fun.
The front and rear plates make up the base of the machine. That would have to be entirely replaced…easier to muck the way through the slots. The Y plates (at each end of the X-extrusion) need to be 10ga steel to maintain proper spacing.
1 Like
Some of the most frustrating things I’ve had to do are jobs that are obviously a job for a CNC which I can’t use my CNC for because this is part of it…
1 Like
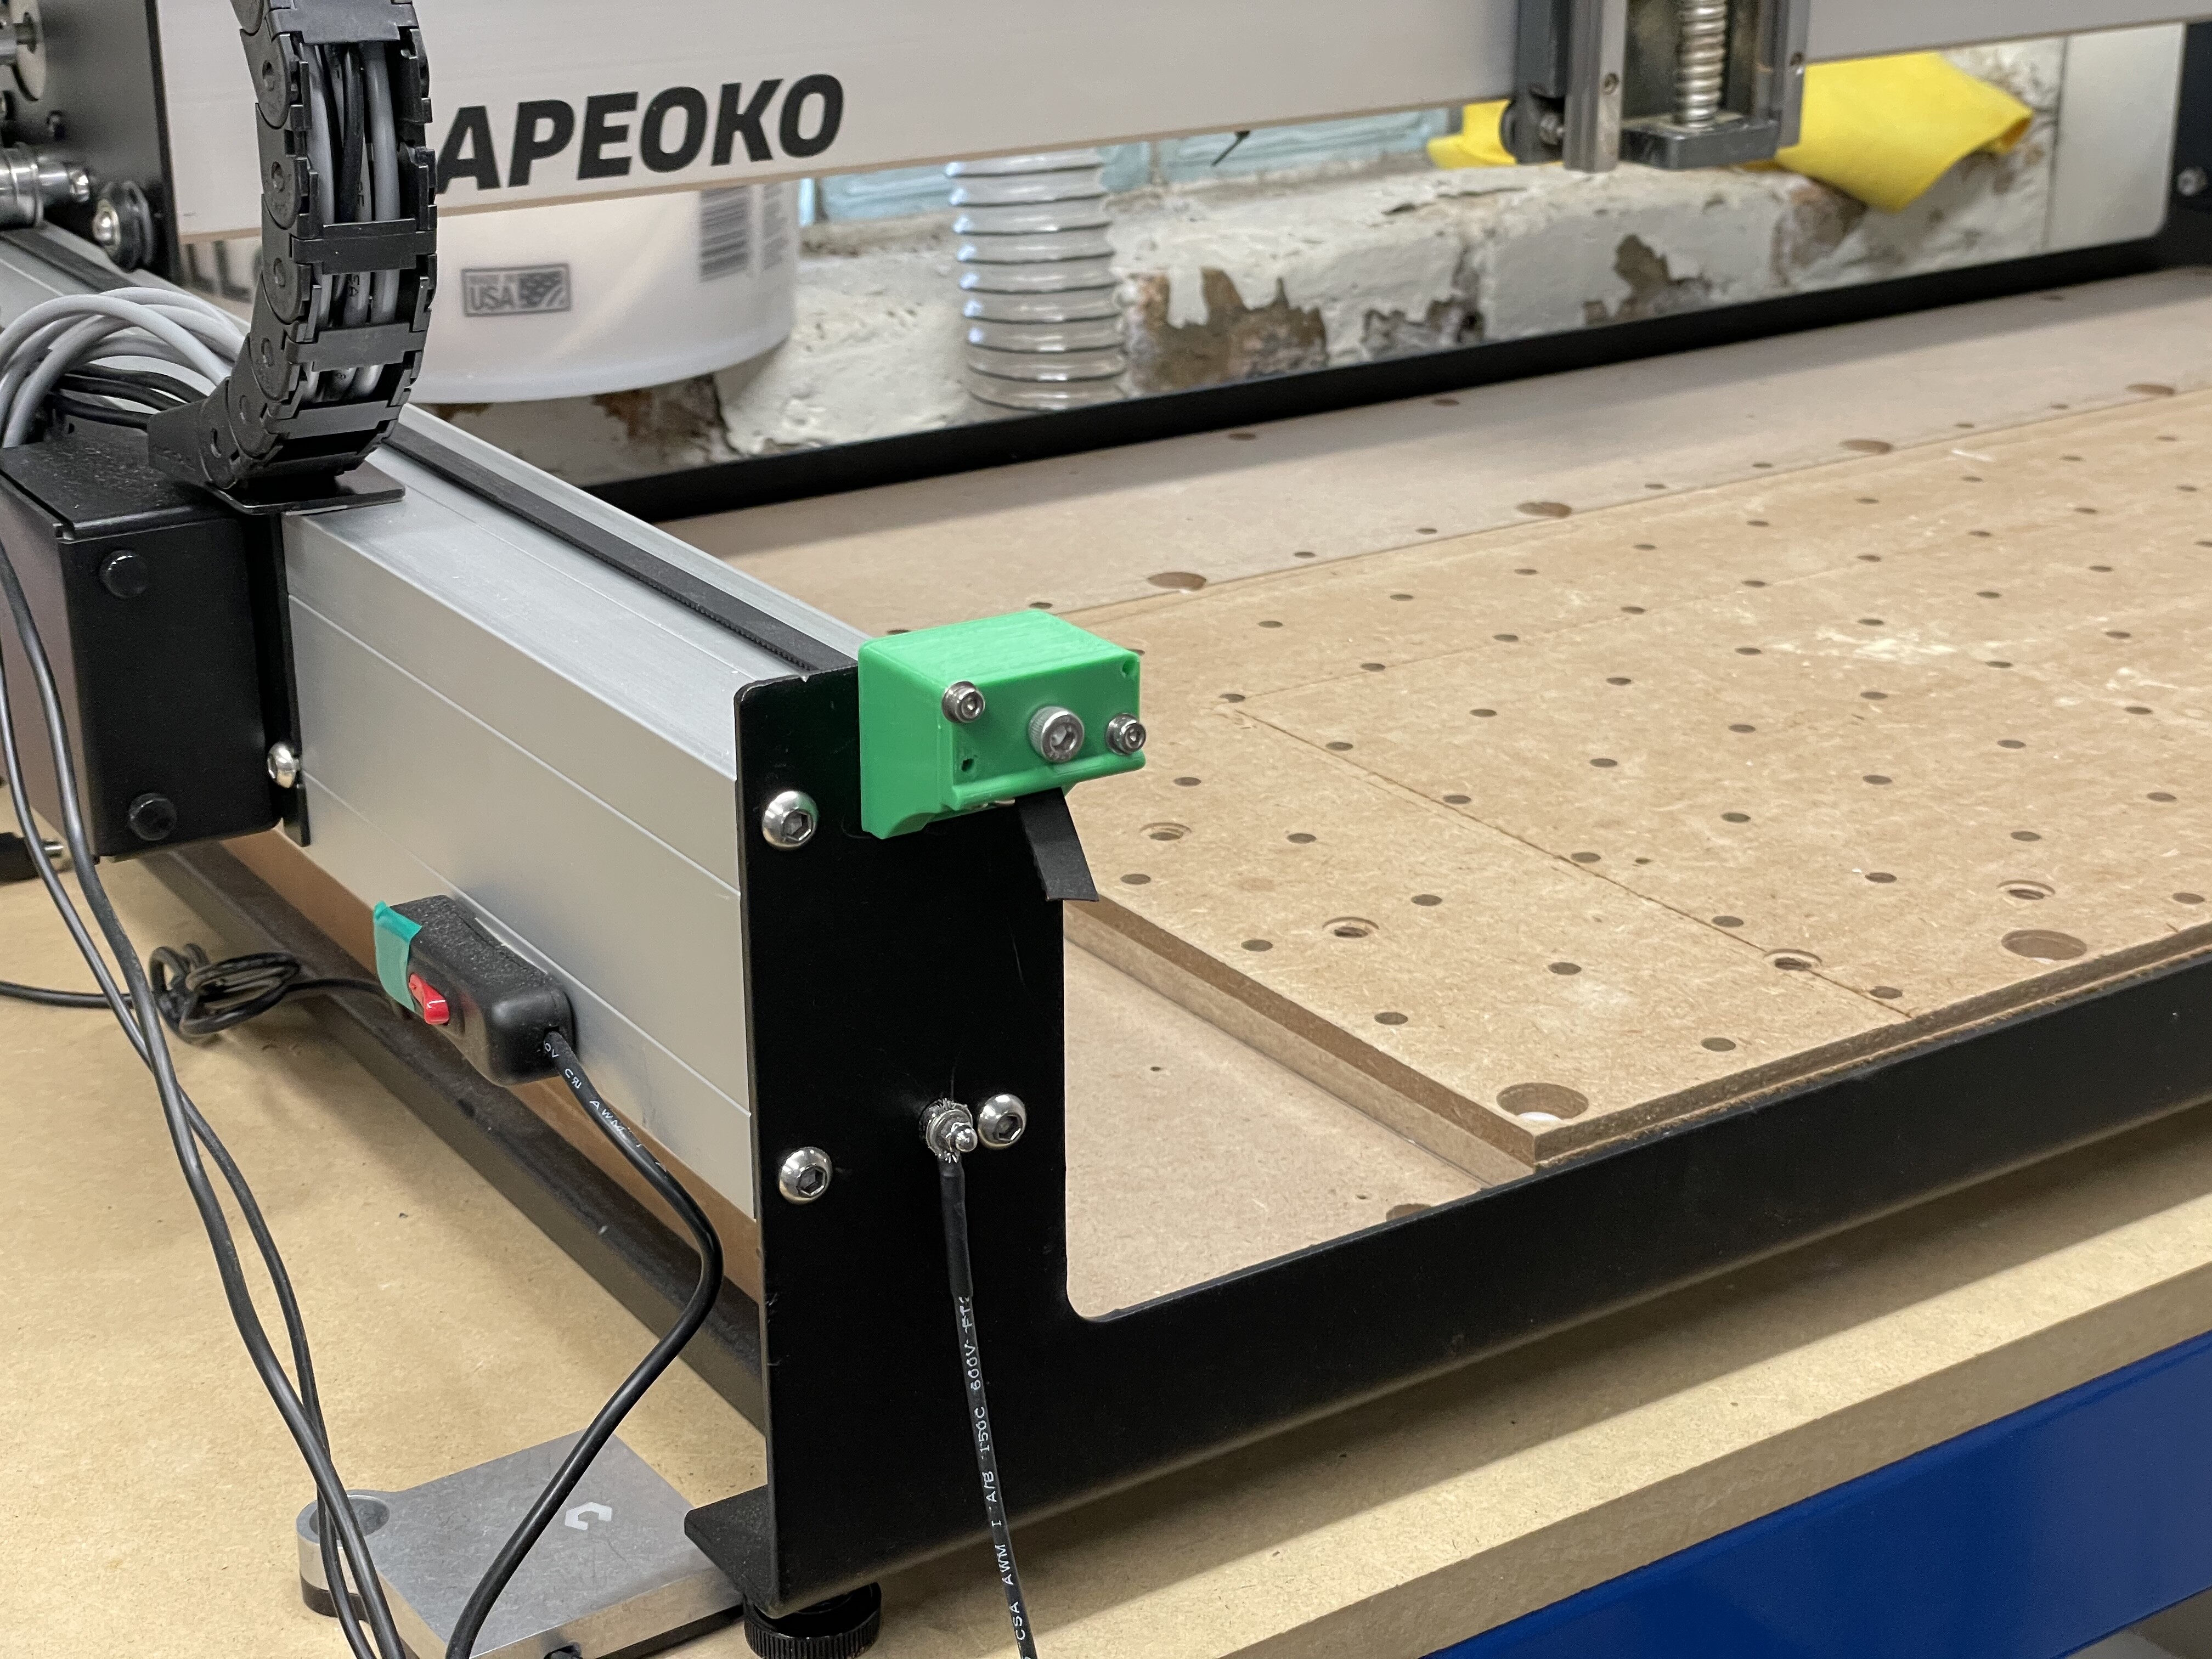
I’m glad the covers hide the slots. Here’s a good shot. And fortunately my PETG filament was cool Carbide3D green!
6 Likes
Everything print and fit pretty easily for you?
Yeah everything was perfect. Fwiw I have an i3MK3.
1 Like
On the subject of 3d printers…If the Prusa mini had been available i would have definitely bought it.
I have an Creality Ender 5 that i got for a pretty good price and it prints very reliably. At work we had an old ender 3, it was really quite fussy.
Just to update. The new drill bits from Amazon made the drilling much easier. Apparantly I was drilling with a spaghetti noodle previosly. They were 3mm rather than 7/64"…glad I didn’t need tighter tolerances. The slotting part was still a chore with some cheap diamond rotary bits.
All three belts are now easily tensioned!
3 Likes
I have another tensioner version that I am still testing. When I cut my slot, I used a coping saw after drilling a couple holes. Wasn’t to bad as long as I used some cutting oil.
2 Likes
That sounds like a more controlled method. I’ll have to get a coping saw for future moments where I use the wrong tool for the job. Any recommendations on saw or blades?
I used the highest tooth count blade I could find at Lowes and then tossed it when I was done. It was cheap and I bought a couple in case I broke one in the process.
2 Likes
I am in the process of designing my own tensioner that is similar to this that can be mostly machined on the Shapeoko out of Aluminum. It will require a drill press or some fixturing to make the cross holes though. The big difference though is that the adjustment screw will be above the belt and will push the lever out from the frame rather than being on the bottom pulling in towards the frame. This will mean one less hole that will need to be drilled and tapped in the endplate.
2 Likes
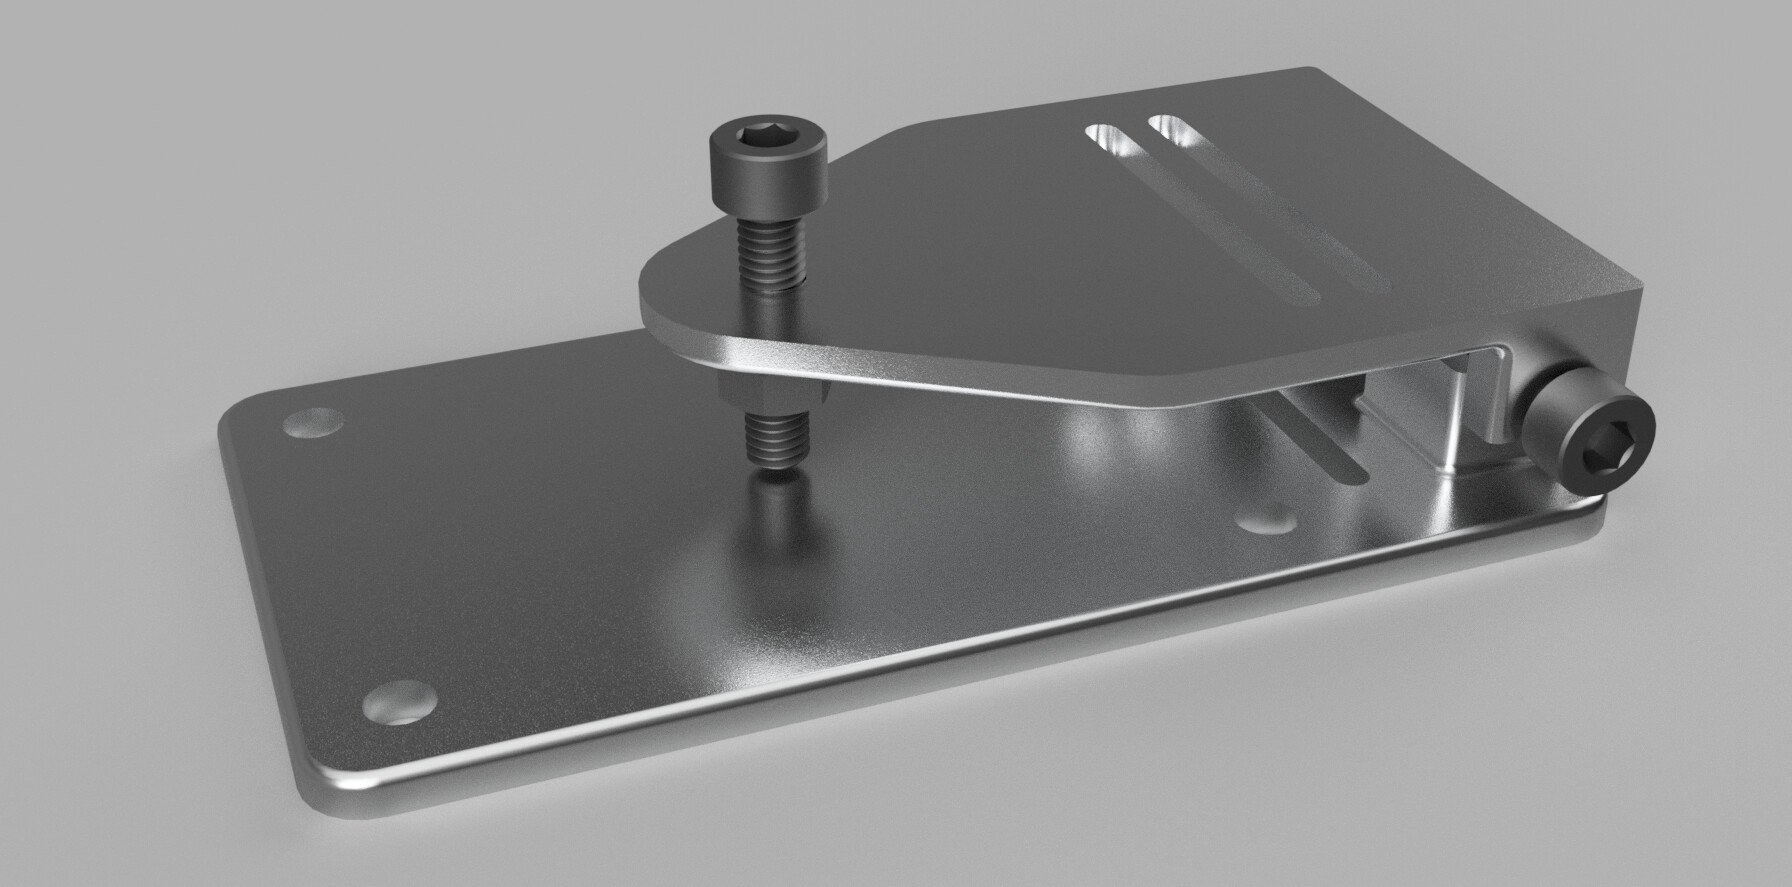
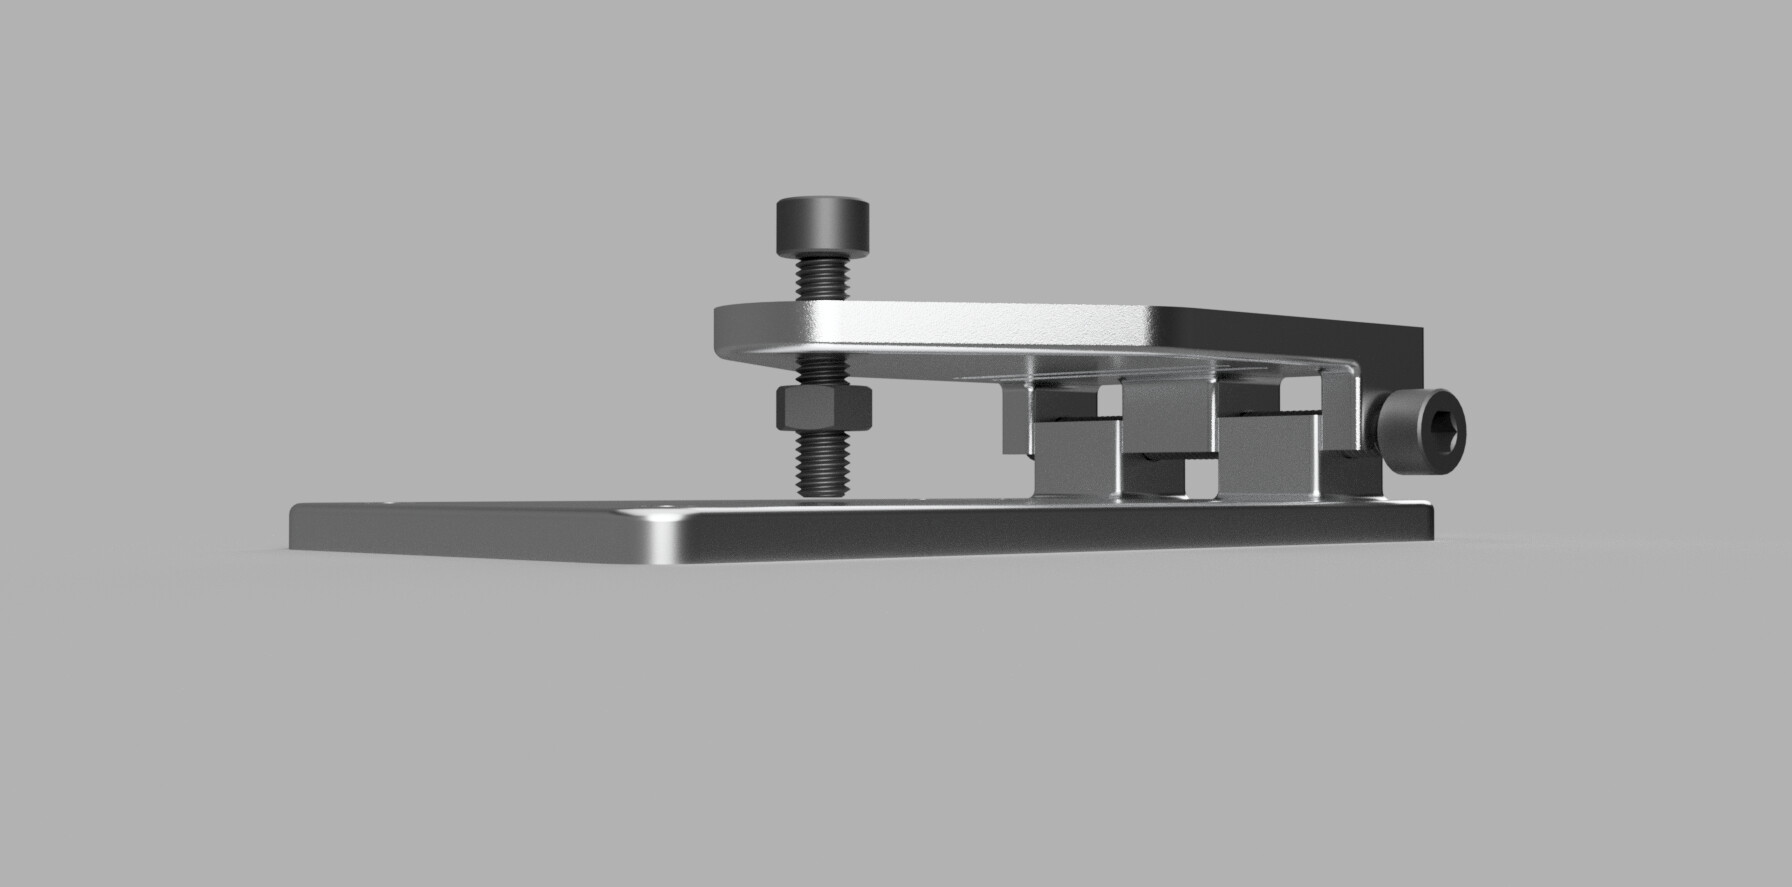
Nice design! You’ll get some precise tuning with the mechanical advantage of the screw combined with the lever. Careful you don’t overtighten… You won’t feel the resistance.
I’d recommend using a couple existing holes for mounting.
How do you prevent the belt from slipping?
I am debating shortening the length of the lever to reduce the force this will be able to introduce.
The holes are spaced so they should line up with the existing holes that hold the rails in place. I am debating also removing the bottom ones though as I dont think they will add much to the stability and they require quite a bit of material to be hogged out.
As for preventing slipping, I plan on just looping the belt out one hole and back through the other and then zip typing them together. That has worked well on my 3D Printers.
1 Like