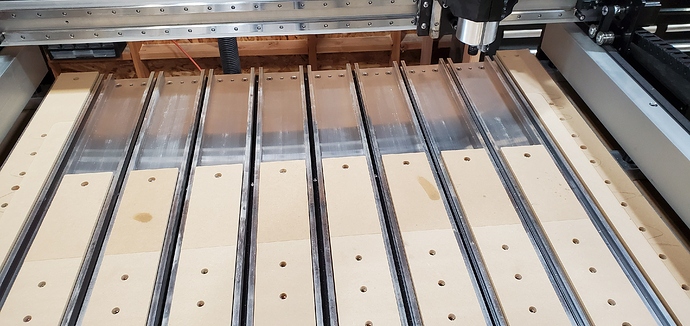
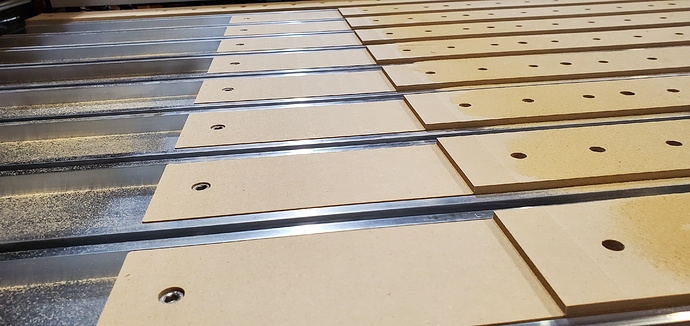
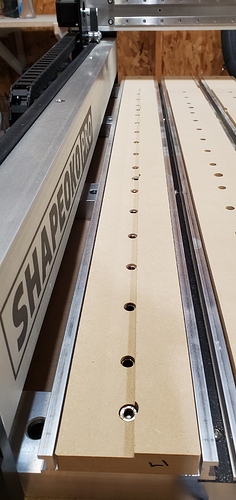
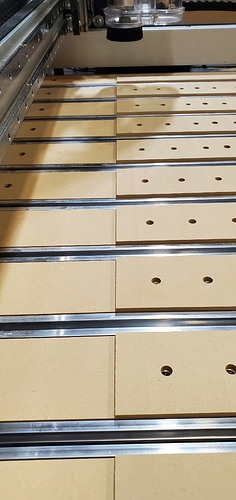
Here’s my method for getting a raised area to level in the machine working area on the Shapeoko Pro:
1 - Make a leveling program for the workable area and level it the least amount possible. You’re basically looking to make marks on where to cut. I had to remove 0.020" to get it everywhere. I made a program that was an inch wider so my 1" surfacing bit would get as much as possible. I also numbered my slats so I wouldn’t mix them up.
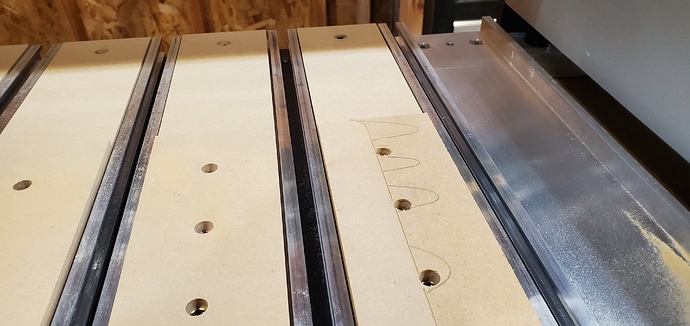
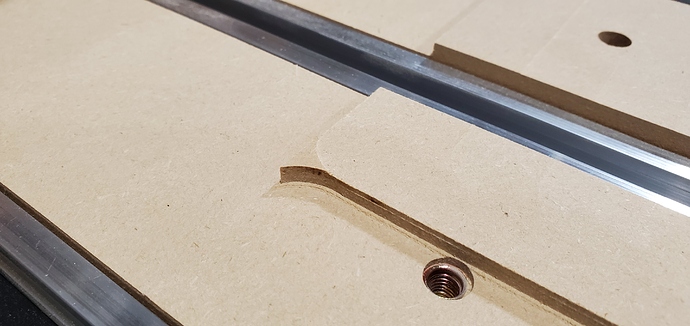
2 - Scoot all of the slats forward a mounting hole to give you access to the rear of slats that was not leveled. In order to know how low to machine so that I wouldn’t hit extrusions or the bolt heads, I went to the extrusion tops, then added 0.020" This cleared everything on my machine. Carbide 3D did a good job matching the height of the hardware that holds the slats on to the top of the extrusions. ![]() Nice detail. I set that height as my zero, raised it 0.100" and just jogged manually while cutting. I then did return passes at zero. Not the fastest way, but it worked well. I machined up to the ridge left by the initial surfacing. I just scooted the rear slats back, But now that I’ve done it, I recommend removing the 8 center slats, and putting the outside two side by side and finish removing the rear area on them.
Nice detail. I set that height as my zero, raised it 0.100" and just jogged manually while cutting. I then did return passes at zero. Not the fastest way, but it worked well. I machined up to the ridge left by the initial surfacing. I just scooted the rear slats back, But now that I’ve done it, I recommend removing the 8 center slats, and putting the outside two side by side and finish removing the rear area on them.
3 - Do the same process, but sideways to remove the material outside the work area on the outside two slats.
Overall this took me around an hour. But you don’t have to do it again until you replace the slats. You have around 0.200" of MDF you can remove before you start hitting extrusions and hardware. I wanted to avoid cutting the slats where the machine couldn’t reach as that would remove all the bolt holes for the side slats and the rear holes of the rest. That would leave the rears unsupported.
