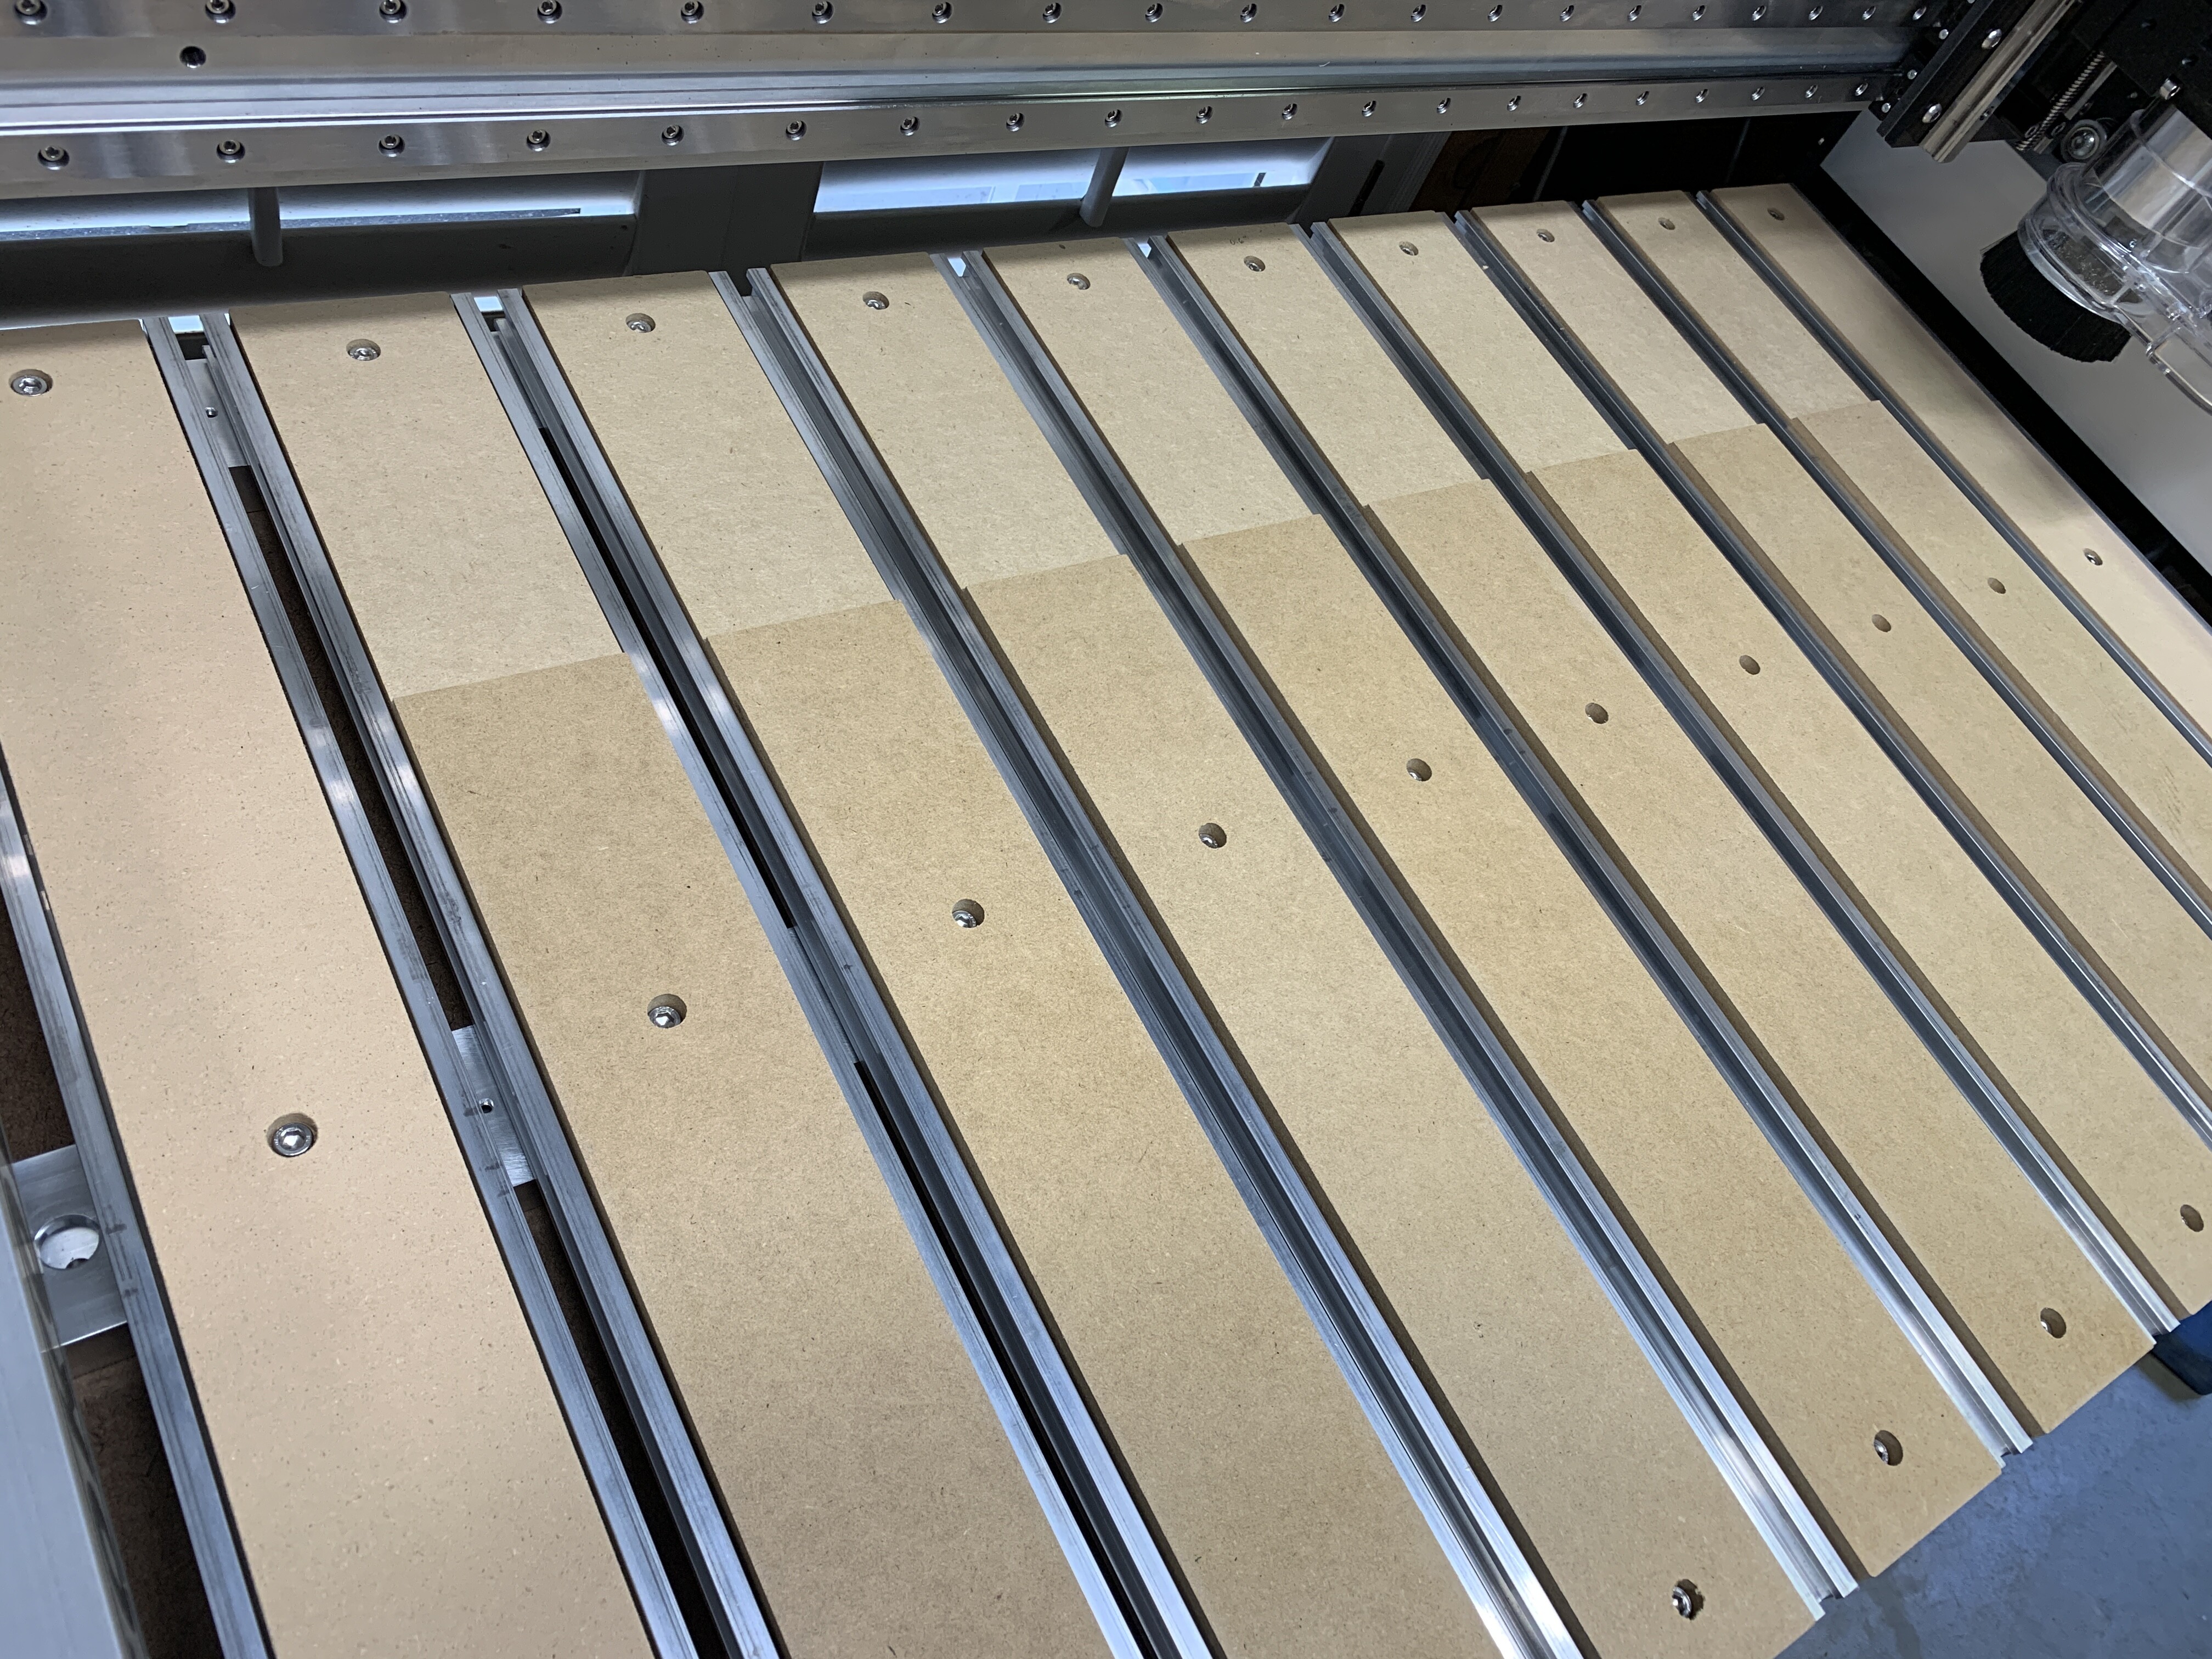
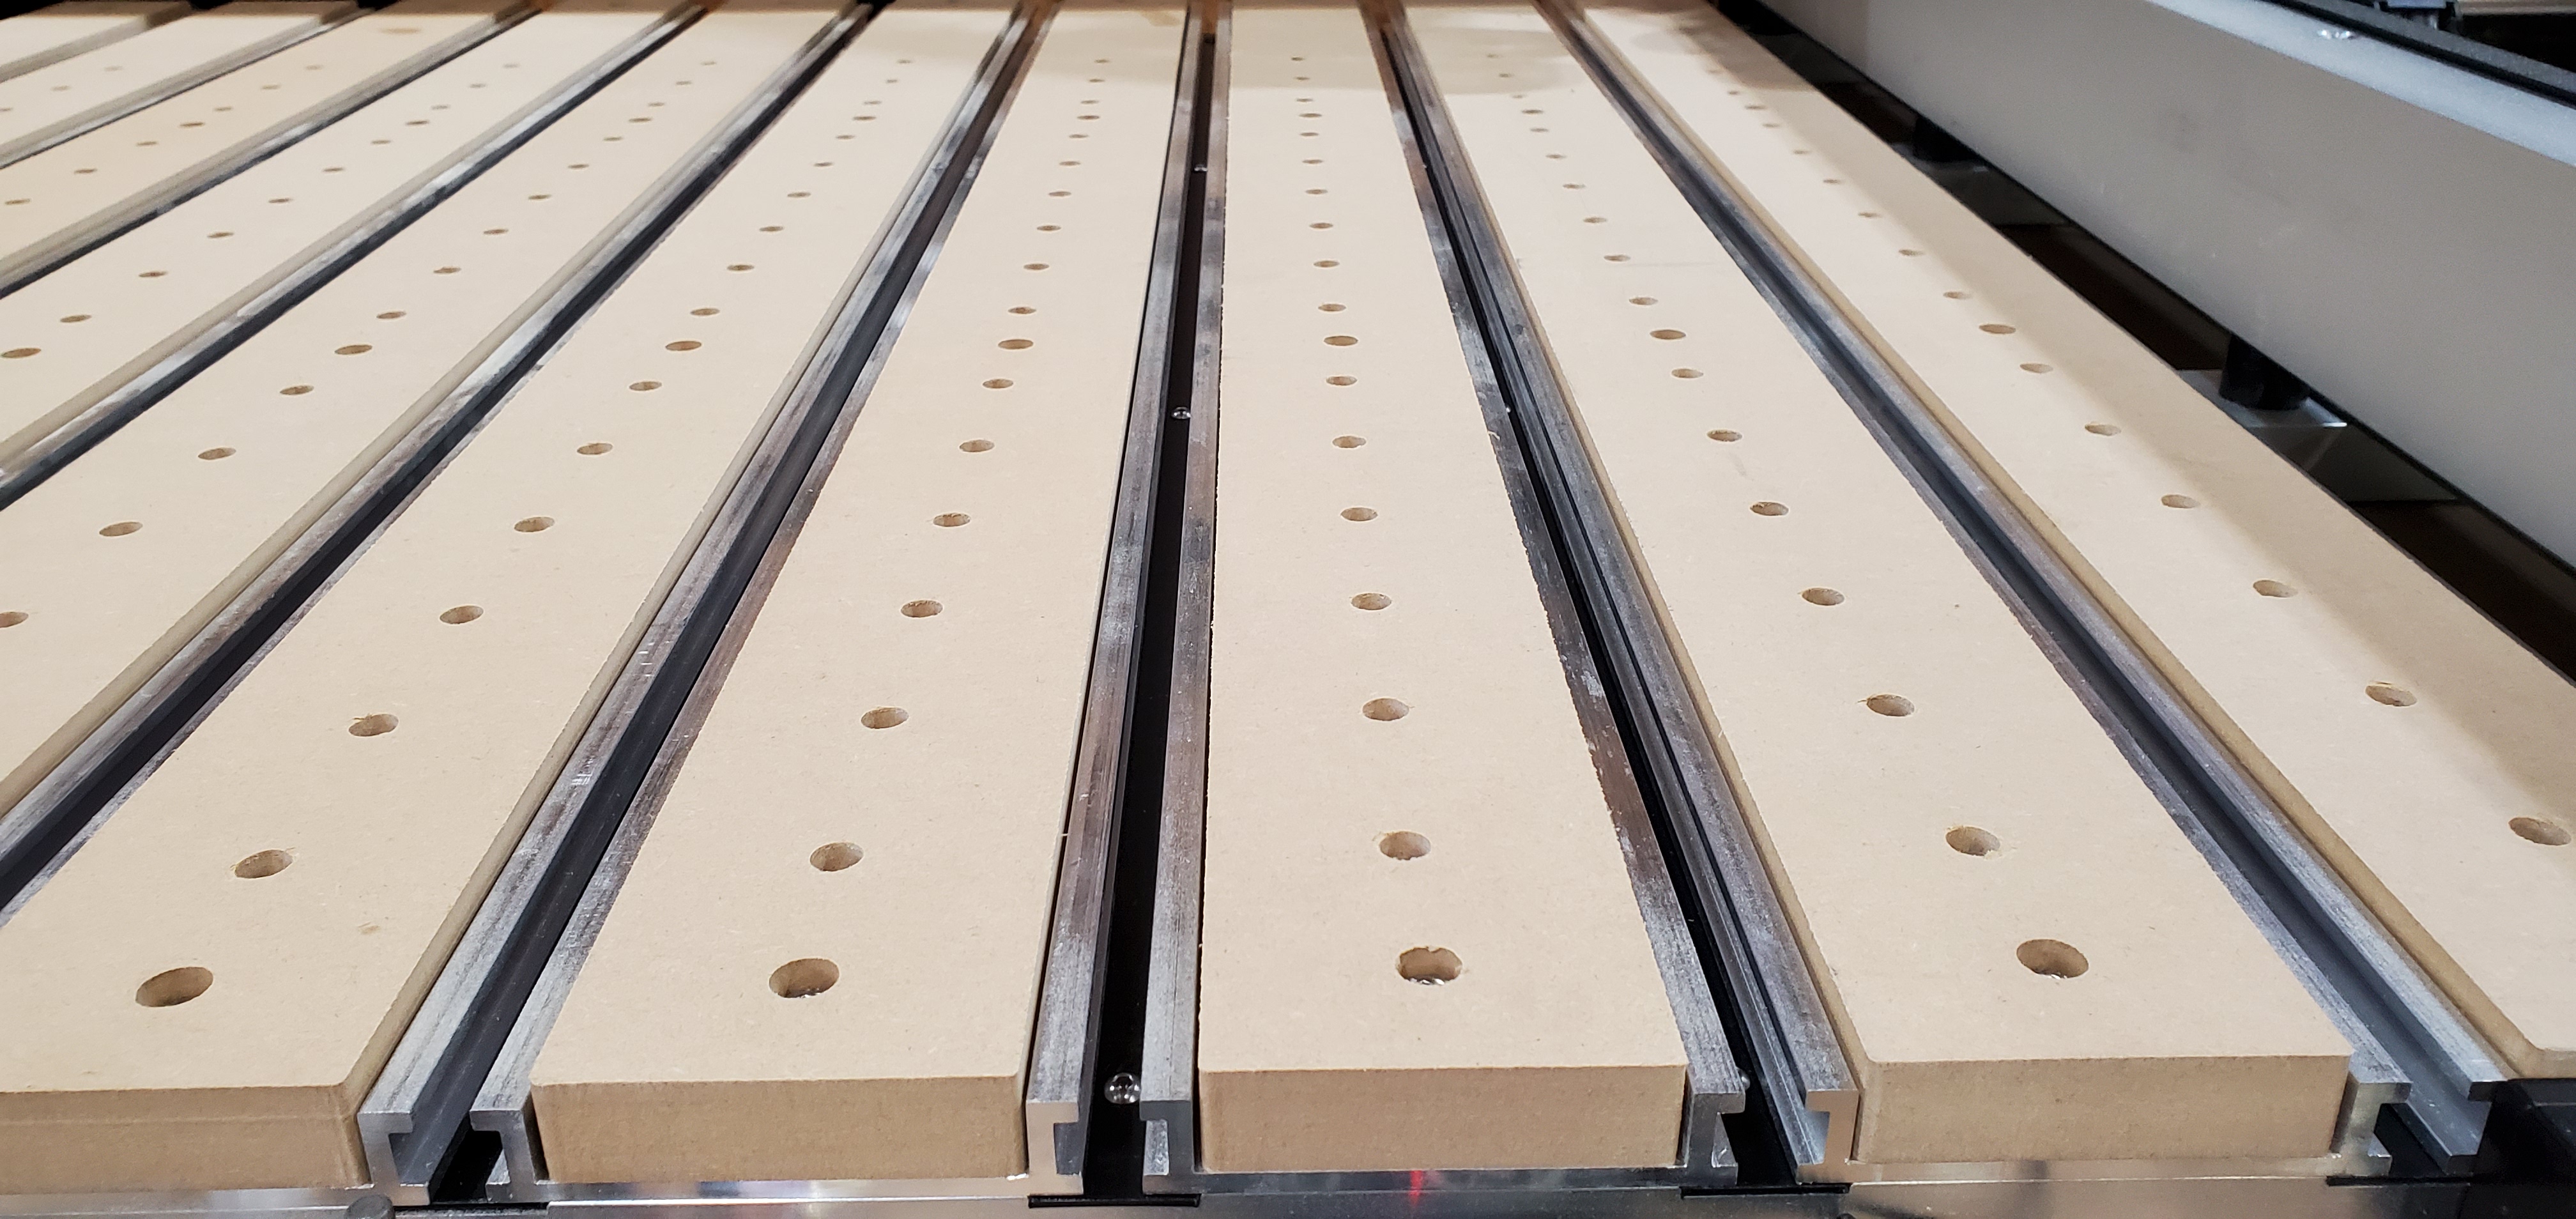
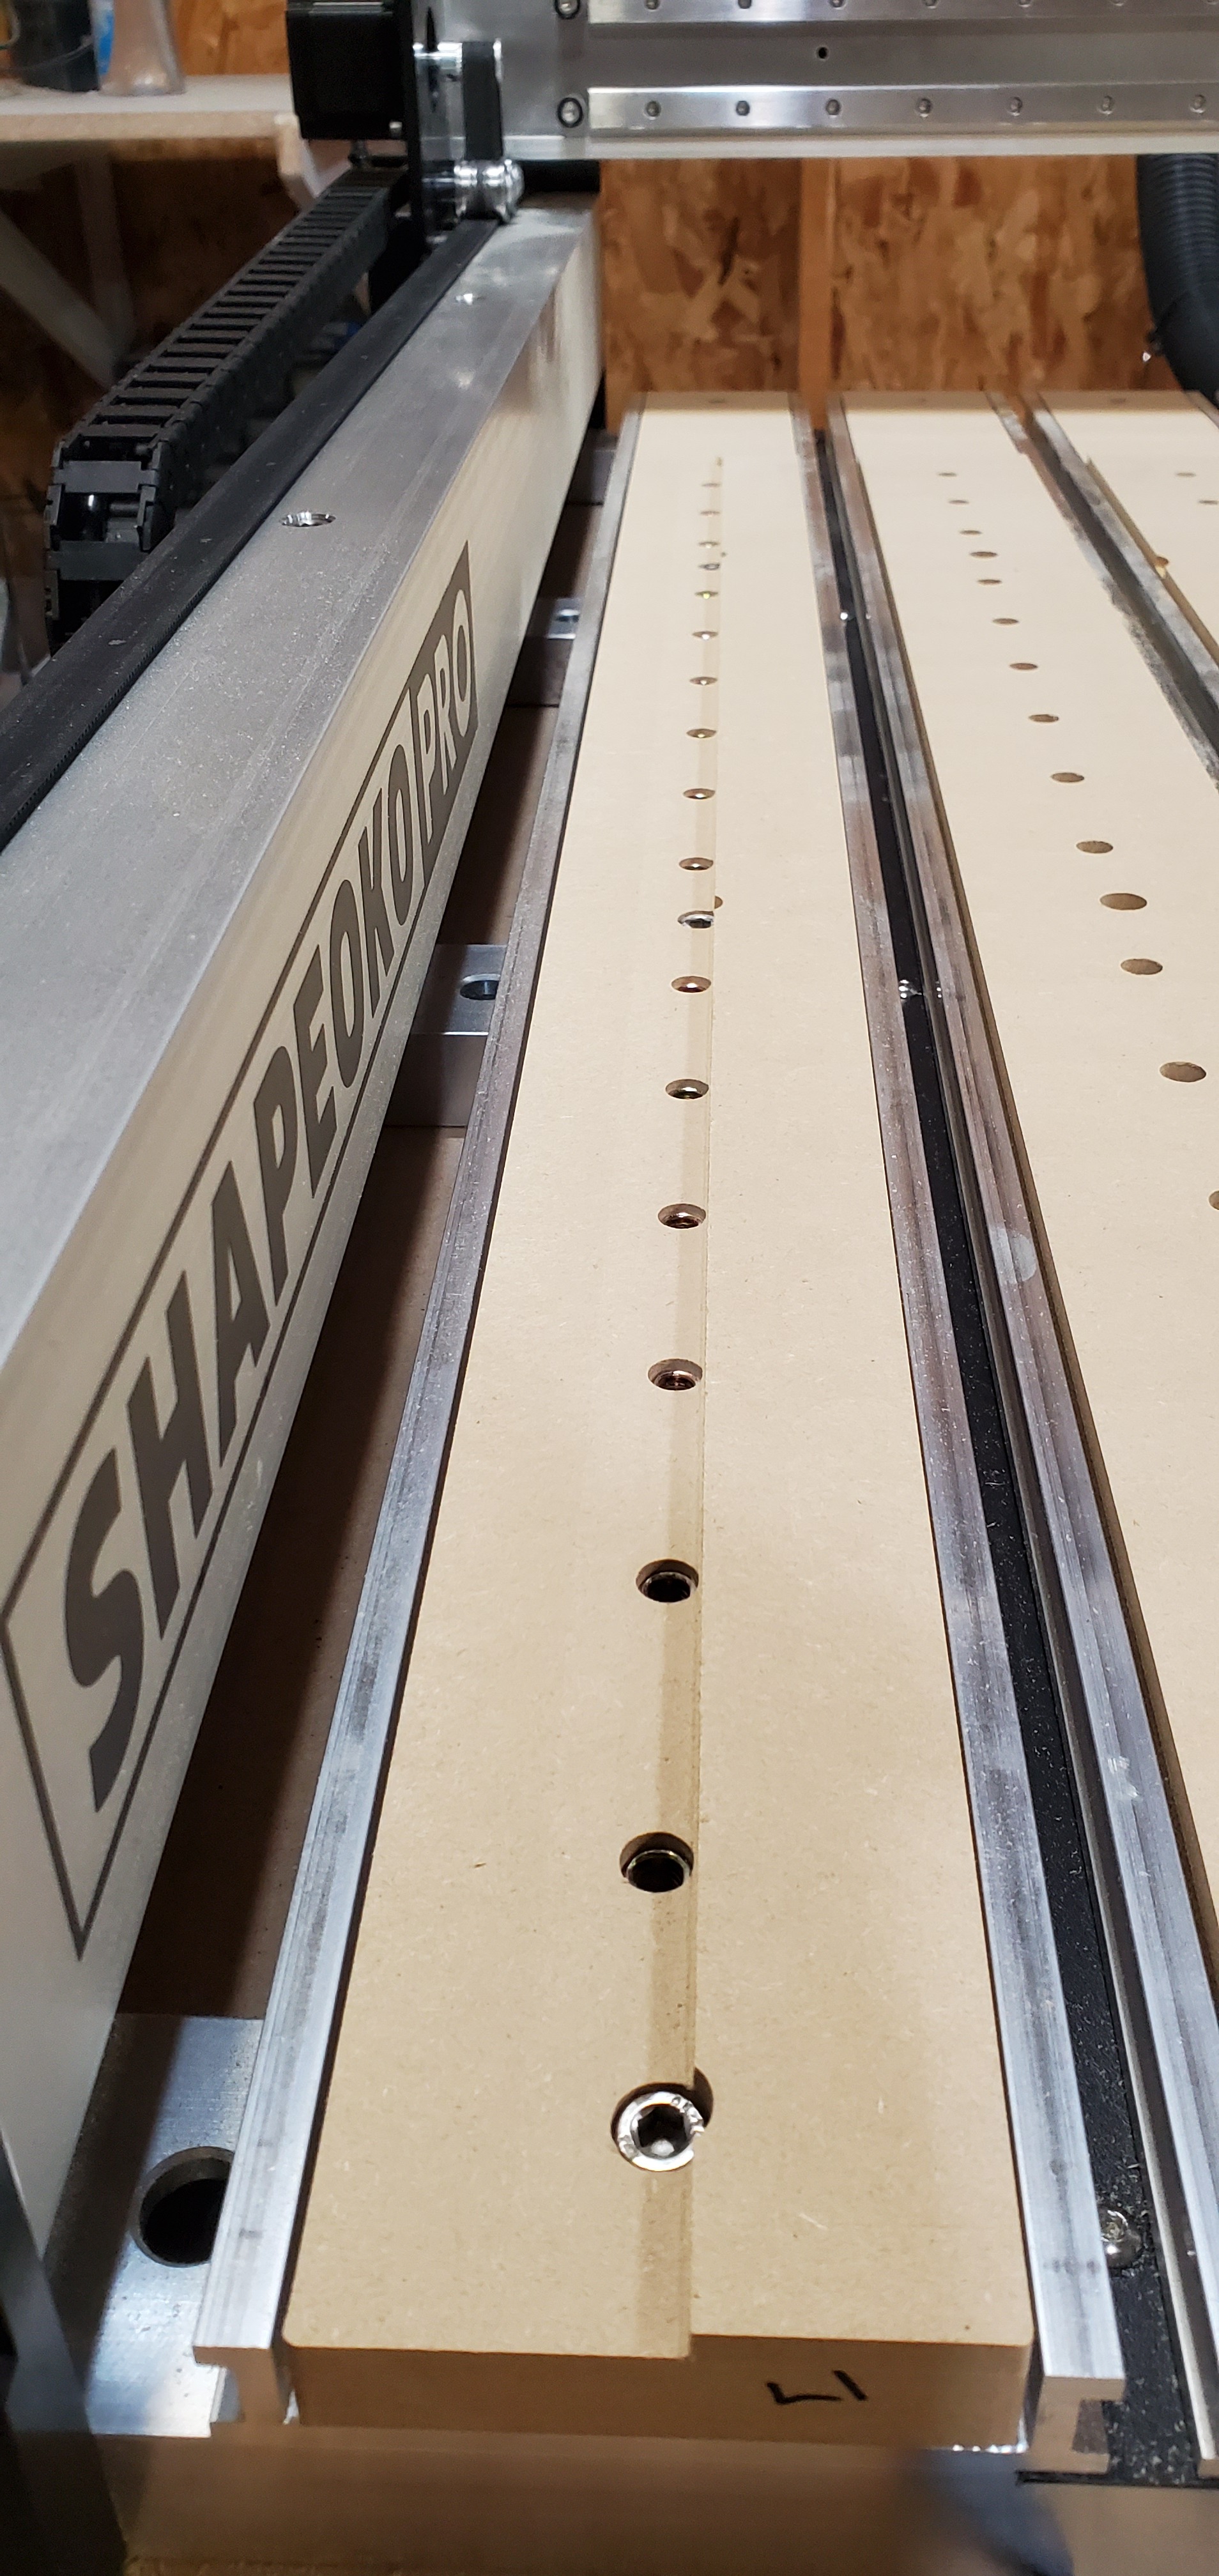
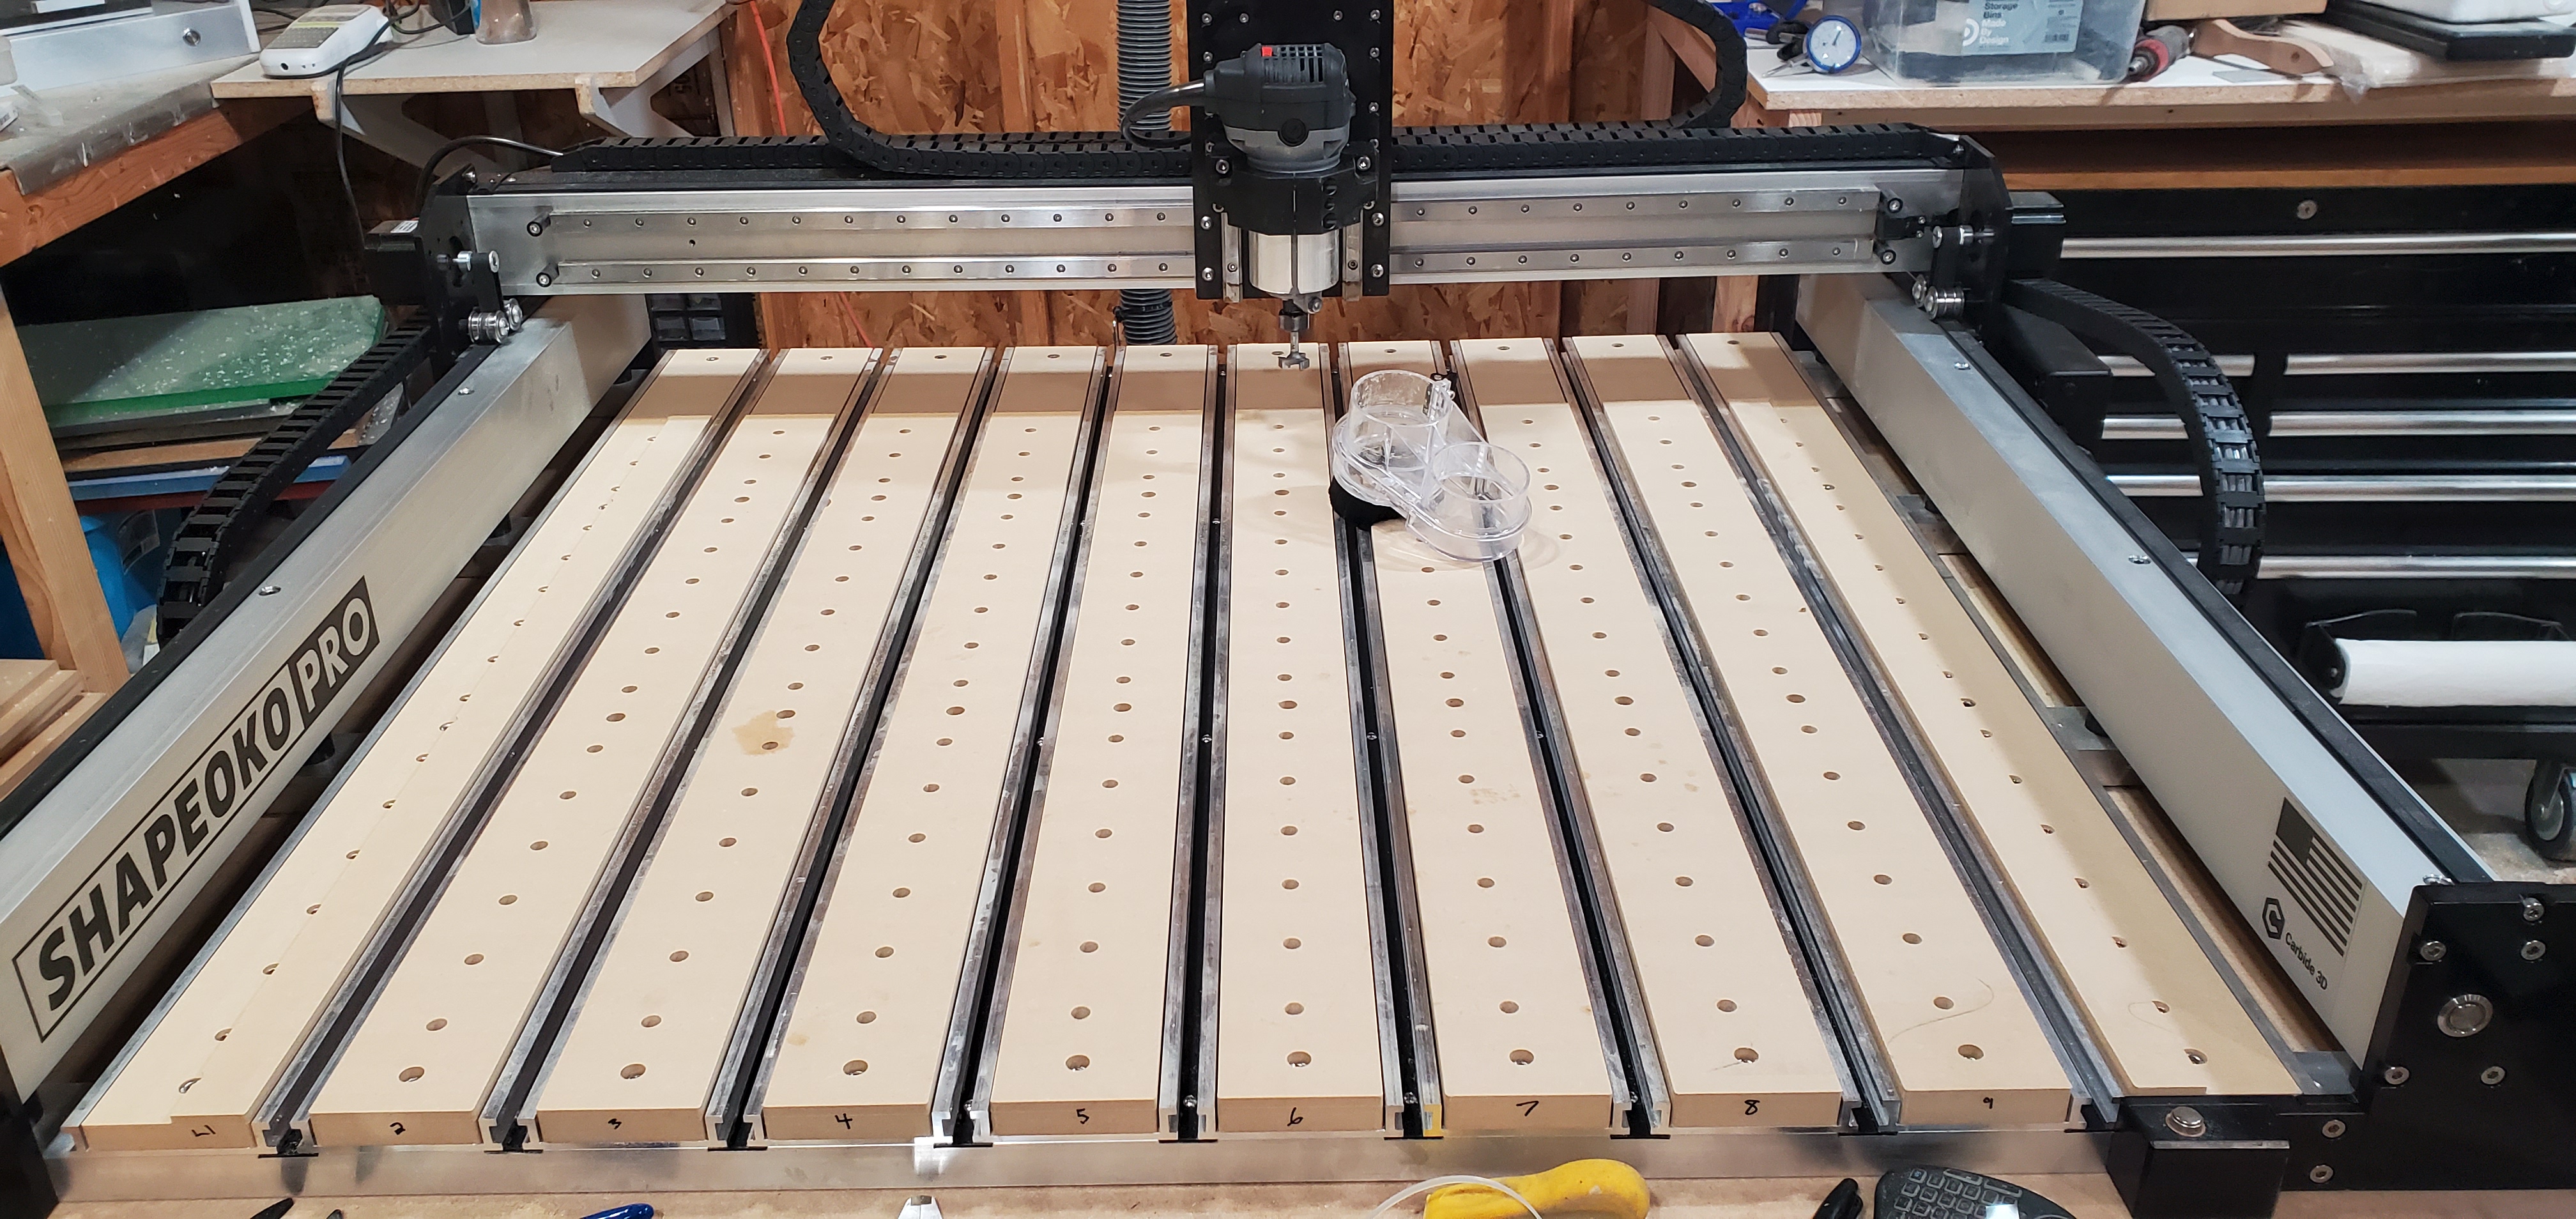
A friend got the wife and I a much needed weekend at a hotel, so I didn’t get to making progress on getting my Pro fully ready for service until this afternoon. I got the M6 threaded inserts in the Hybrid Bed, making it a double Hybrid Bed. I like options and using M6 inserts means they match the thread pitch of the workholding kit that came with the machine. They go in from the bottom and sit below where the bolt heads and extrusions sit, so they don’t get hit during surfacing.
I also got a surface on the wasteboard. Took 0.020" to get it all level. I have some ideas to level the areas where the endmill can’t reach in the slats that I’ll test tomorrow. I’ll go in depth on the bed leveling strategy I’ll use for the Pro soon.
It was actually fairly well trammed as assembled. The Y was off about 0.010" over the 7" of my tramming tool with the X being around 0.005" off. That’s pretty good and only really made for almost imperceptible lines with my 1" surfacing bit. I’ll do a write up on my process soon as well.
So not only does the Pro save you time in assembly, I found it to save time on tramming.
Here’s my method for getting a raised area to level in the machine working area on the Shapeoko Pro:
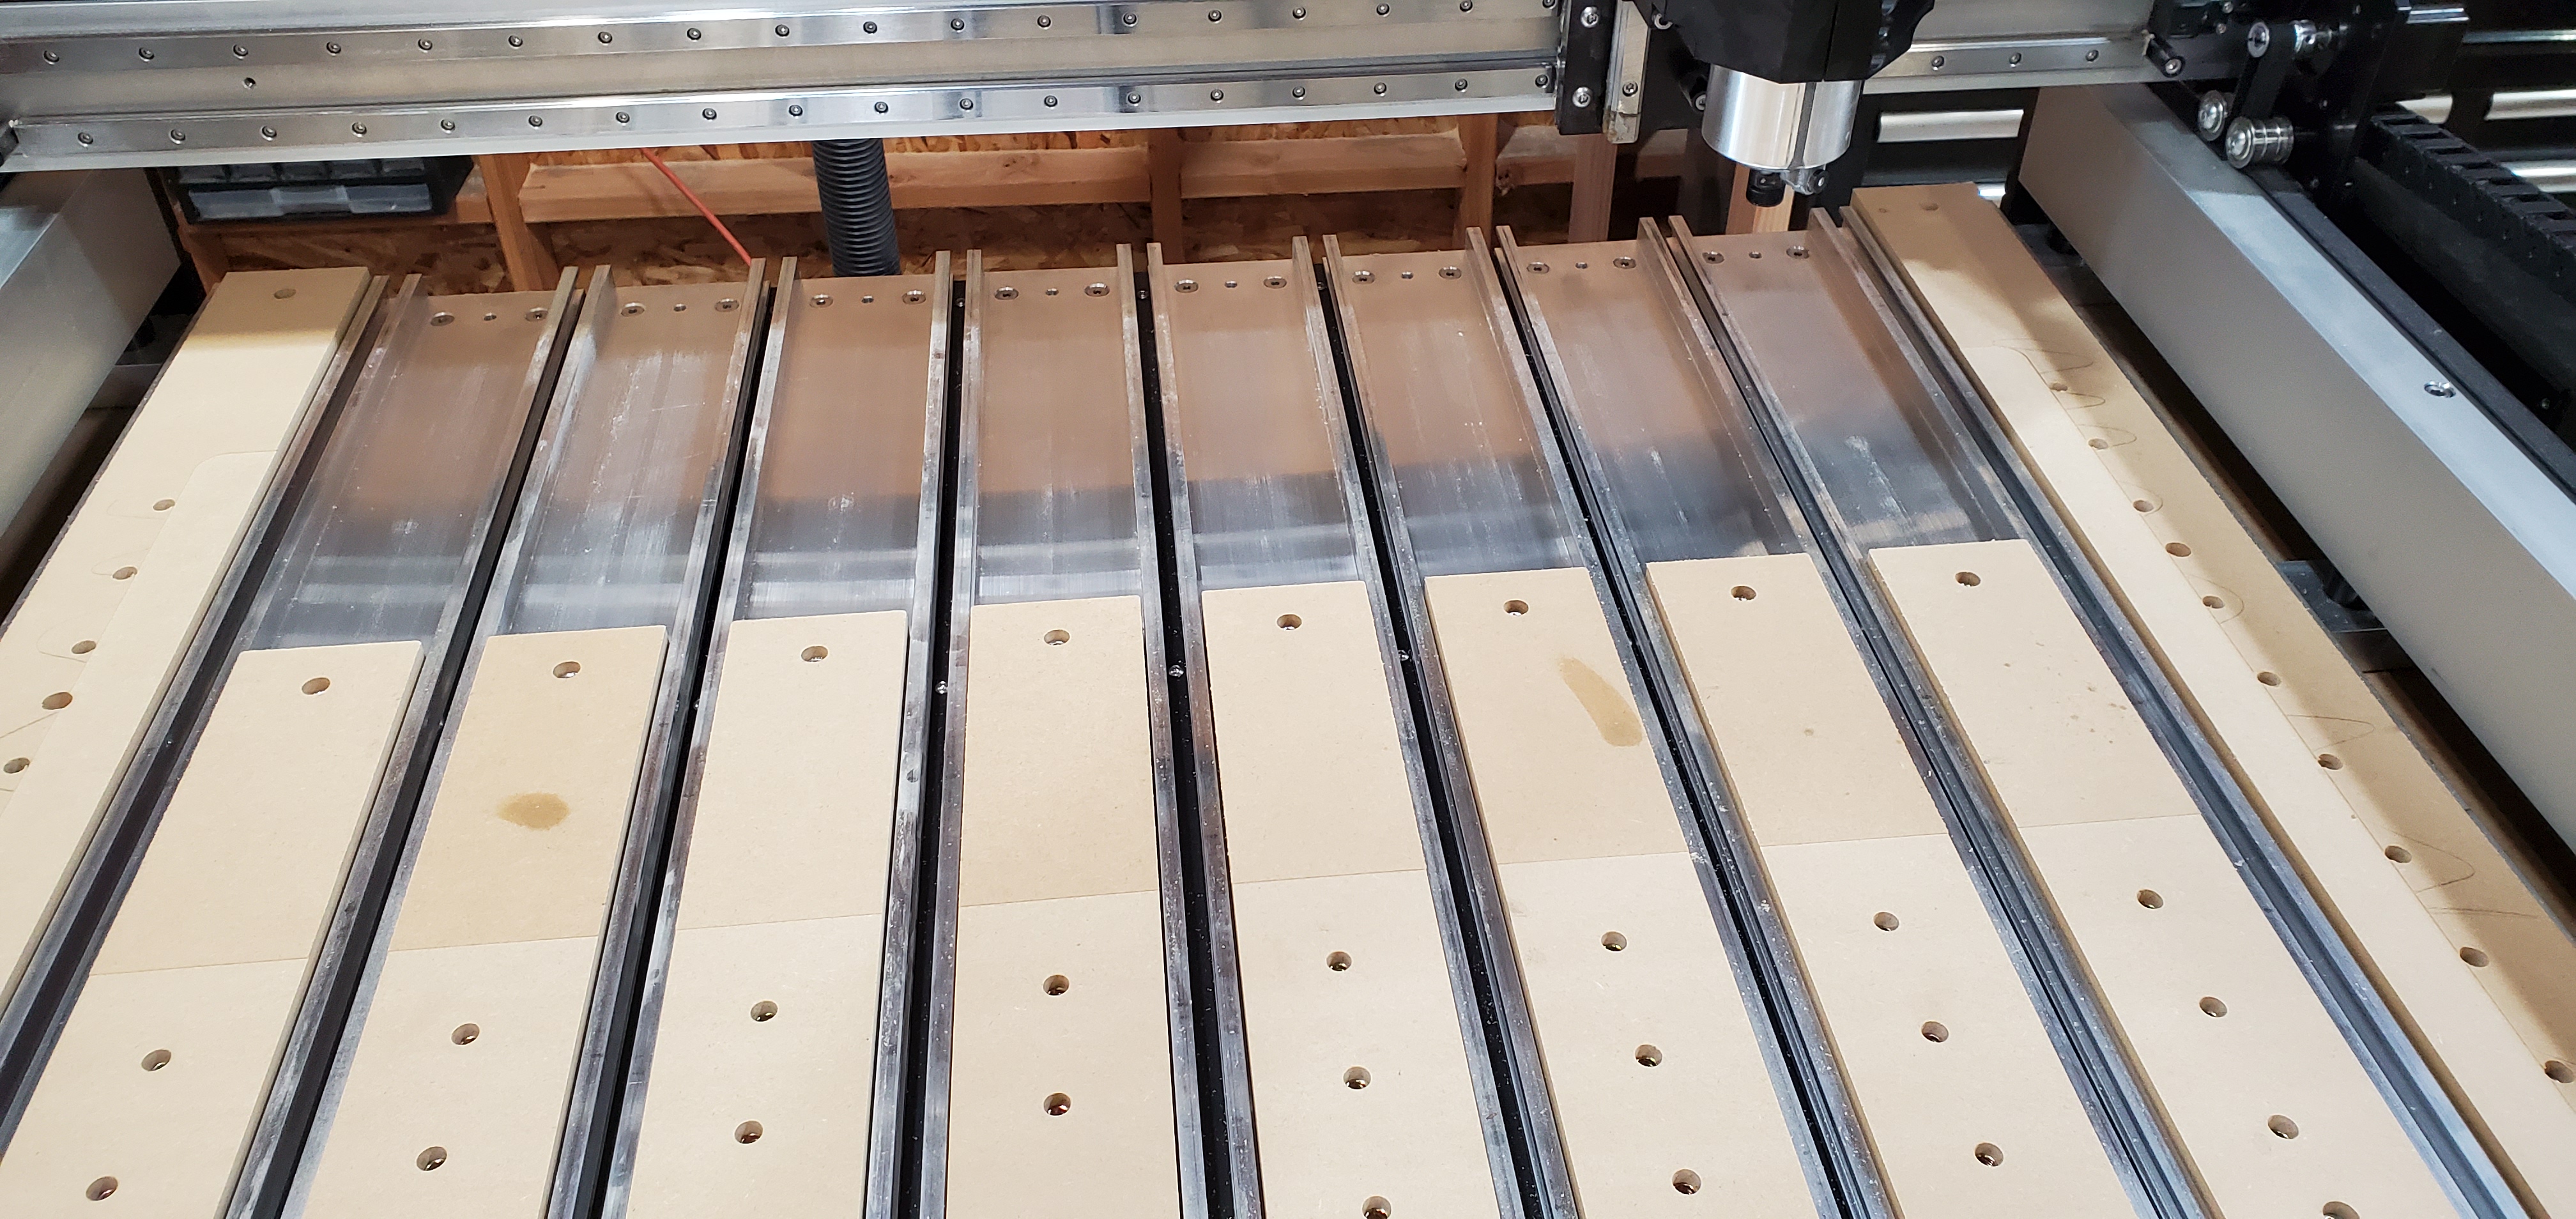
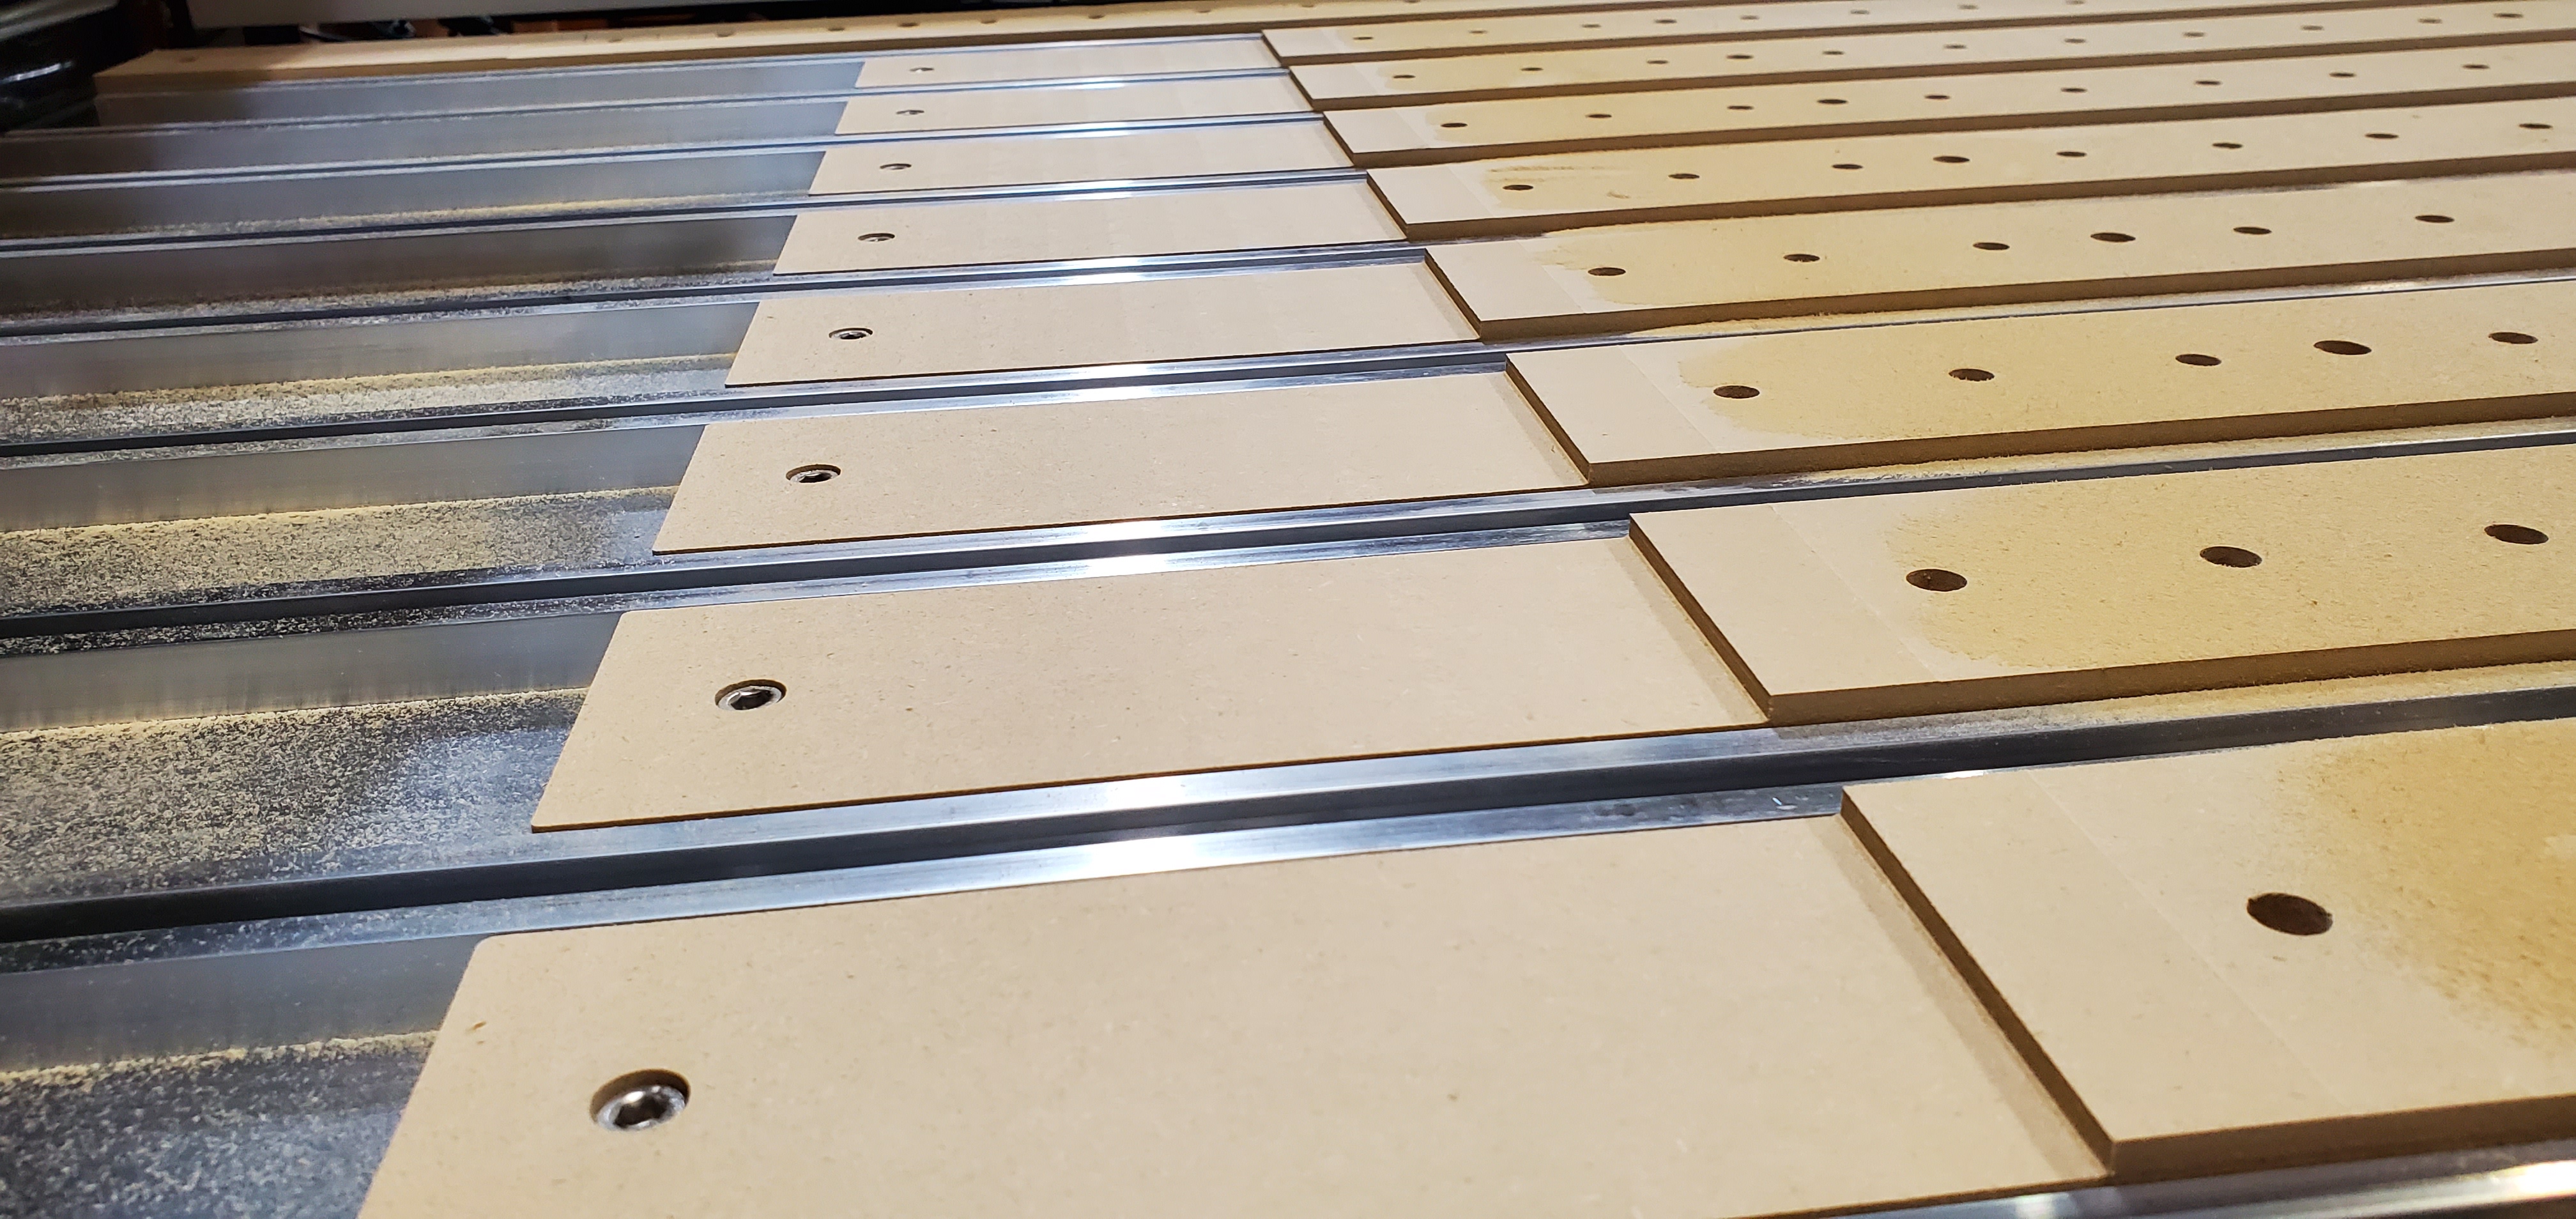
1 - Make a leveling program for the workable area and level it the least amount possible. You’re basically looking to make marks on where to cut. I had to remove 0.020" to get it everywhere. I made a program that was an inch wider so my 1" surfacing bit would get as much as possible. I also numbered my slats so I wouldn’t mix them up.
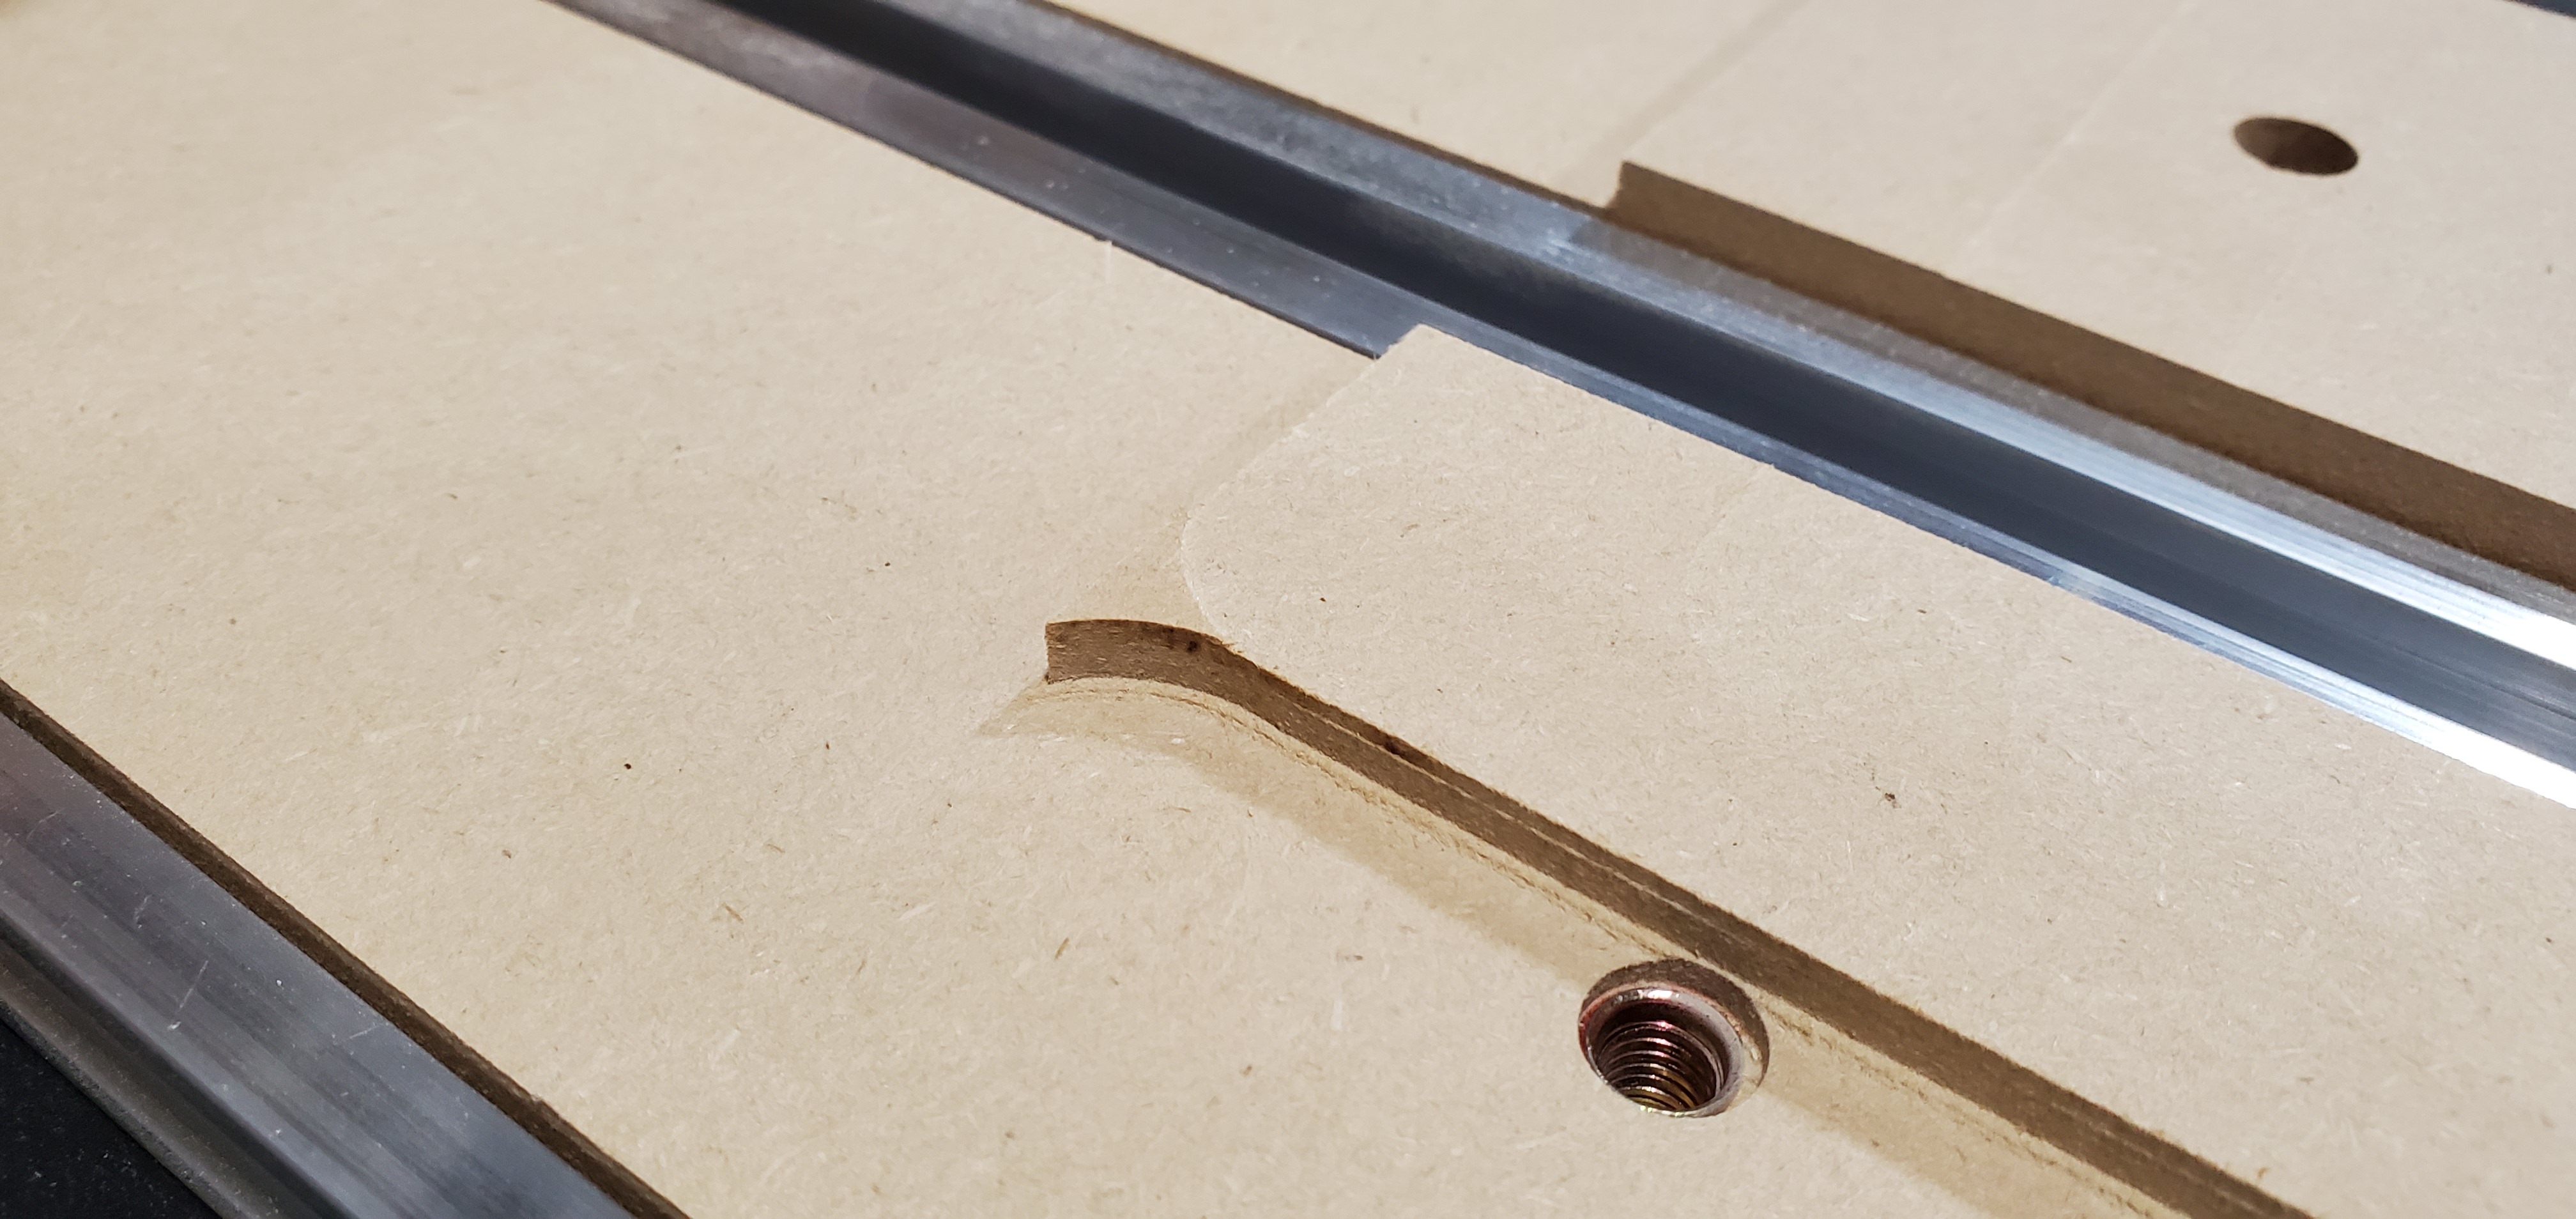
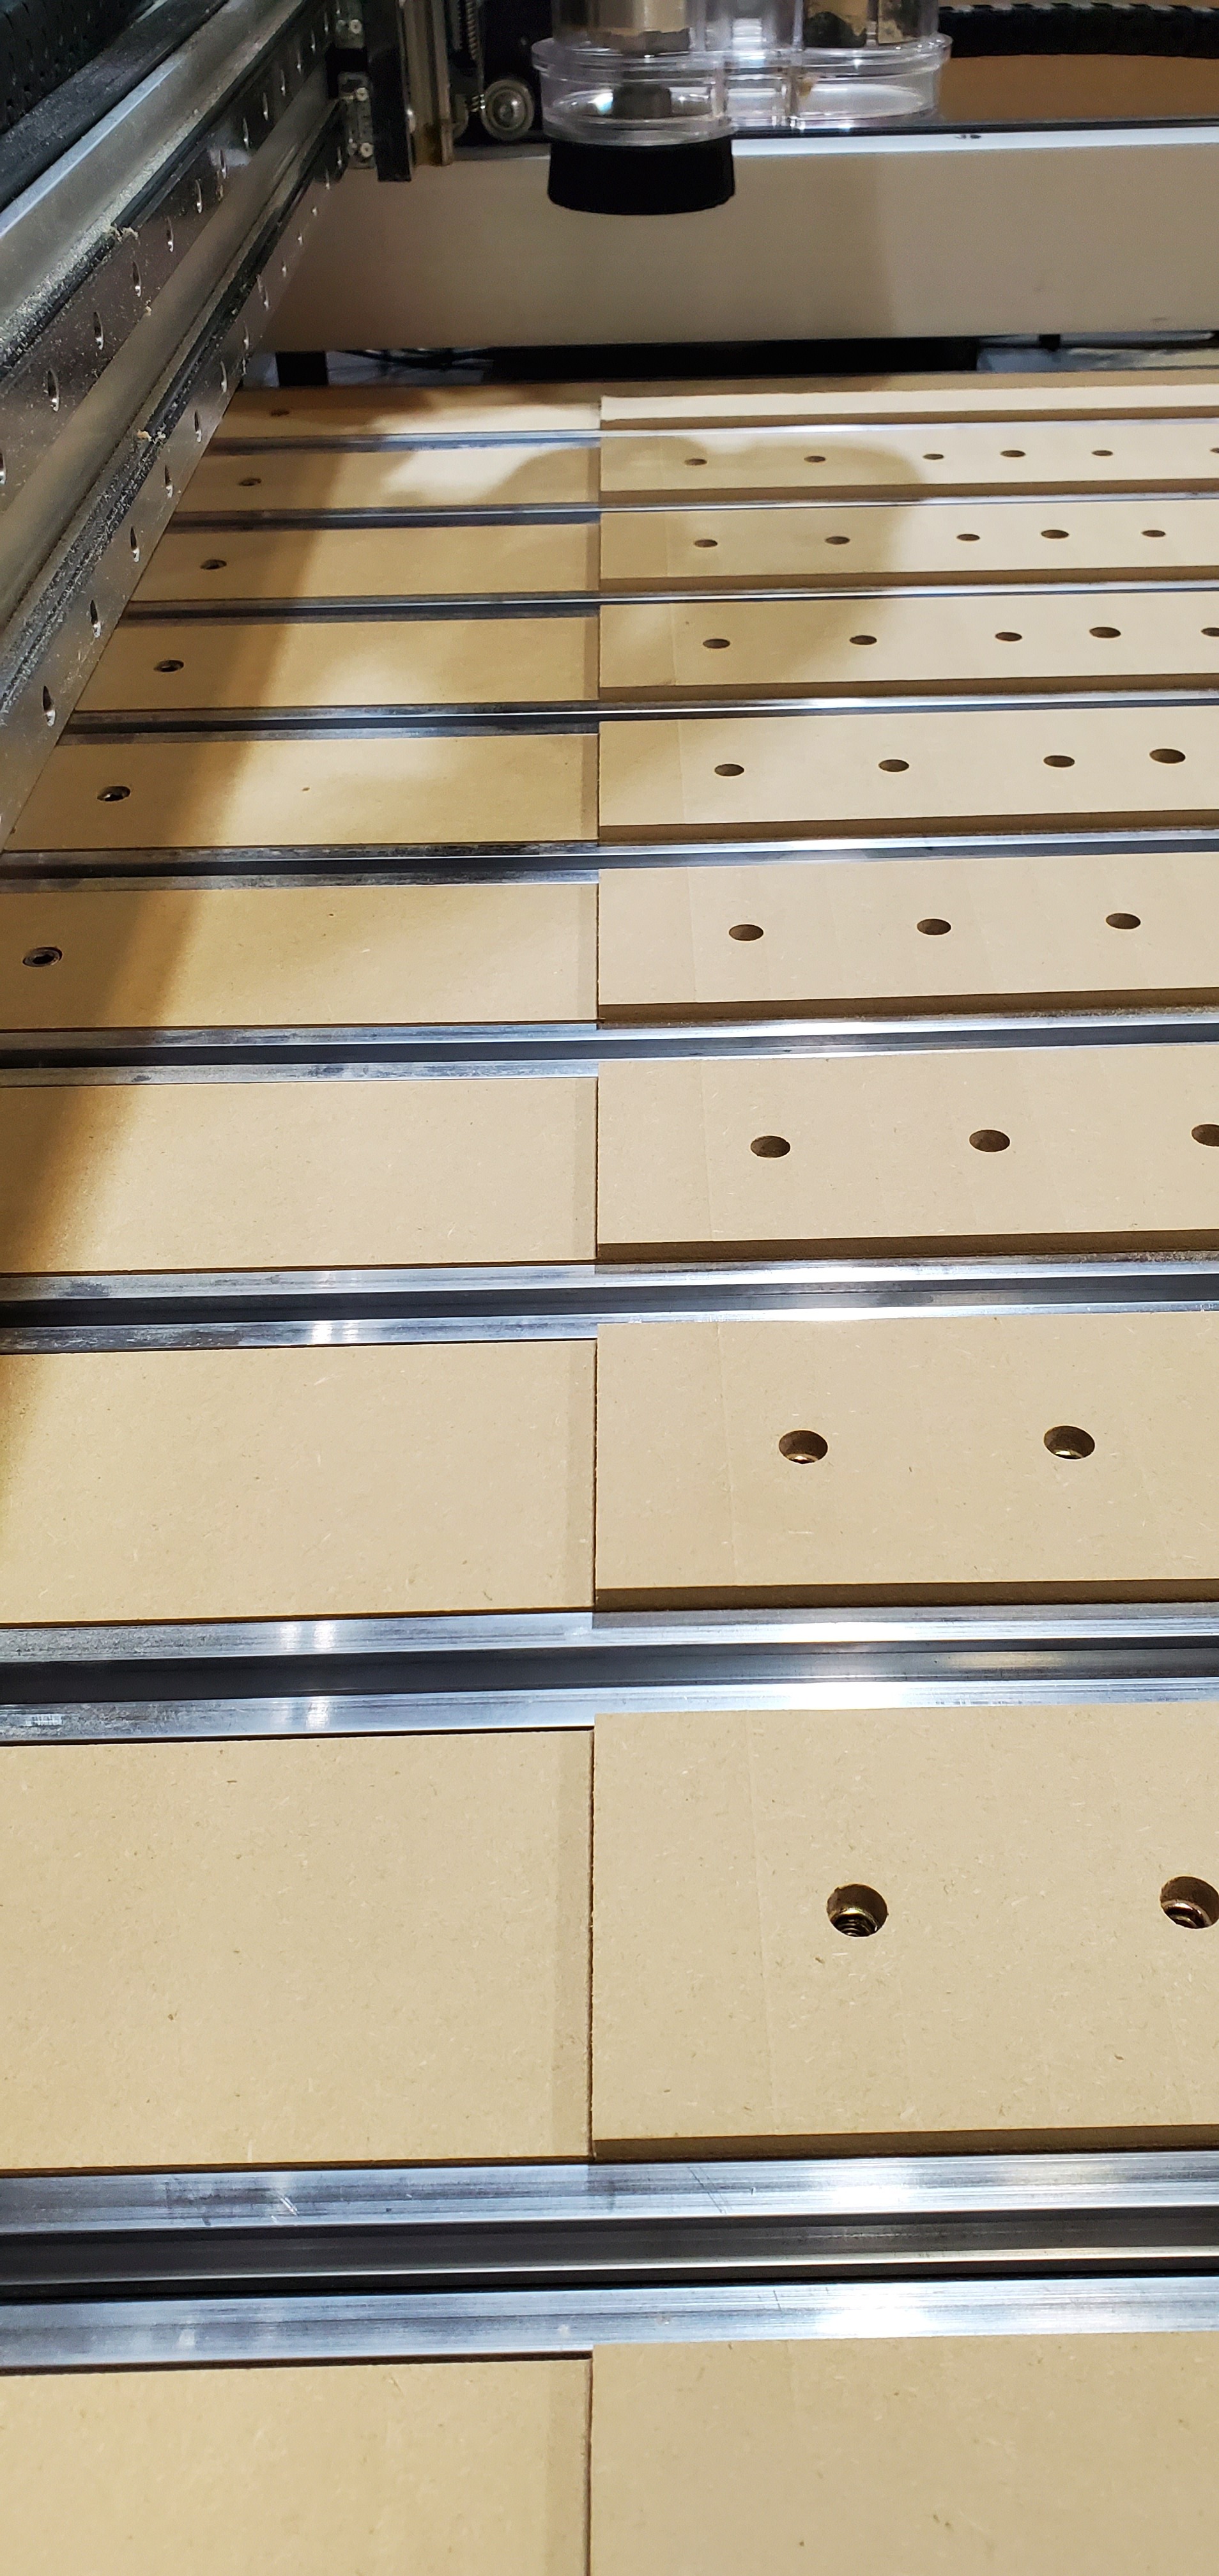
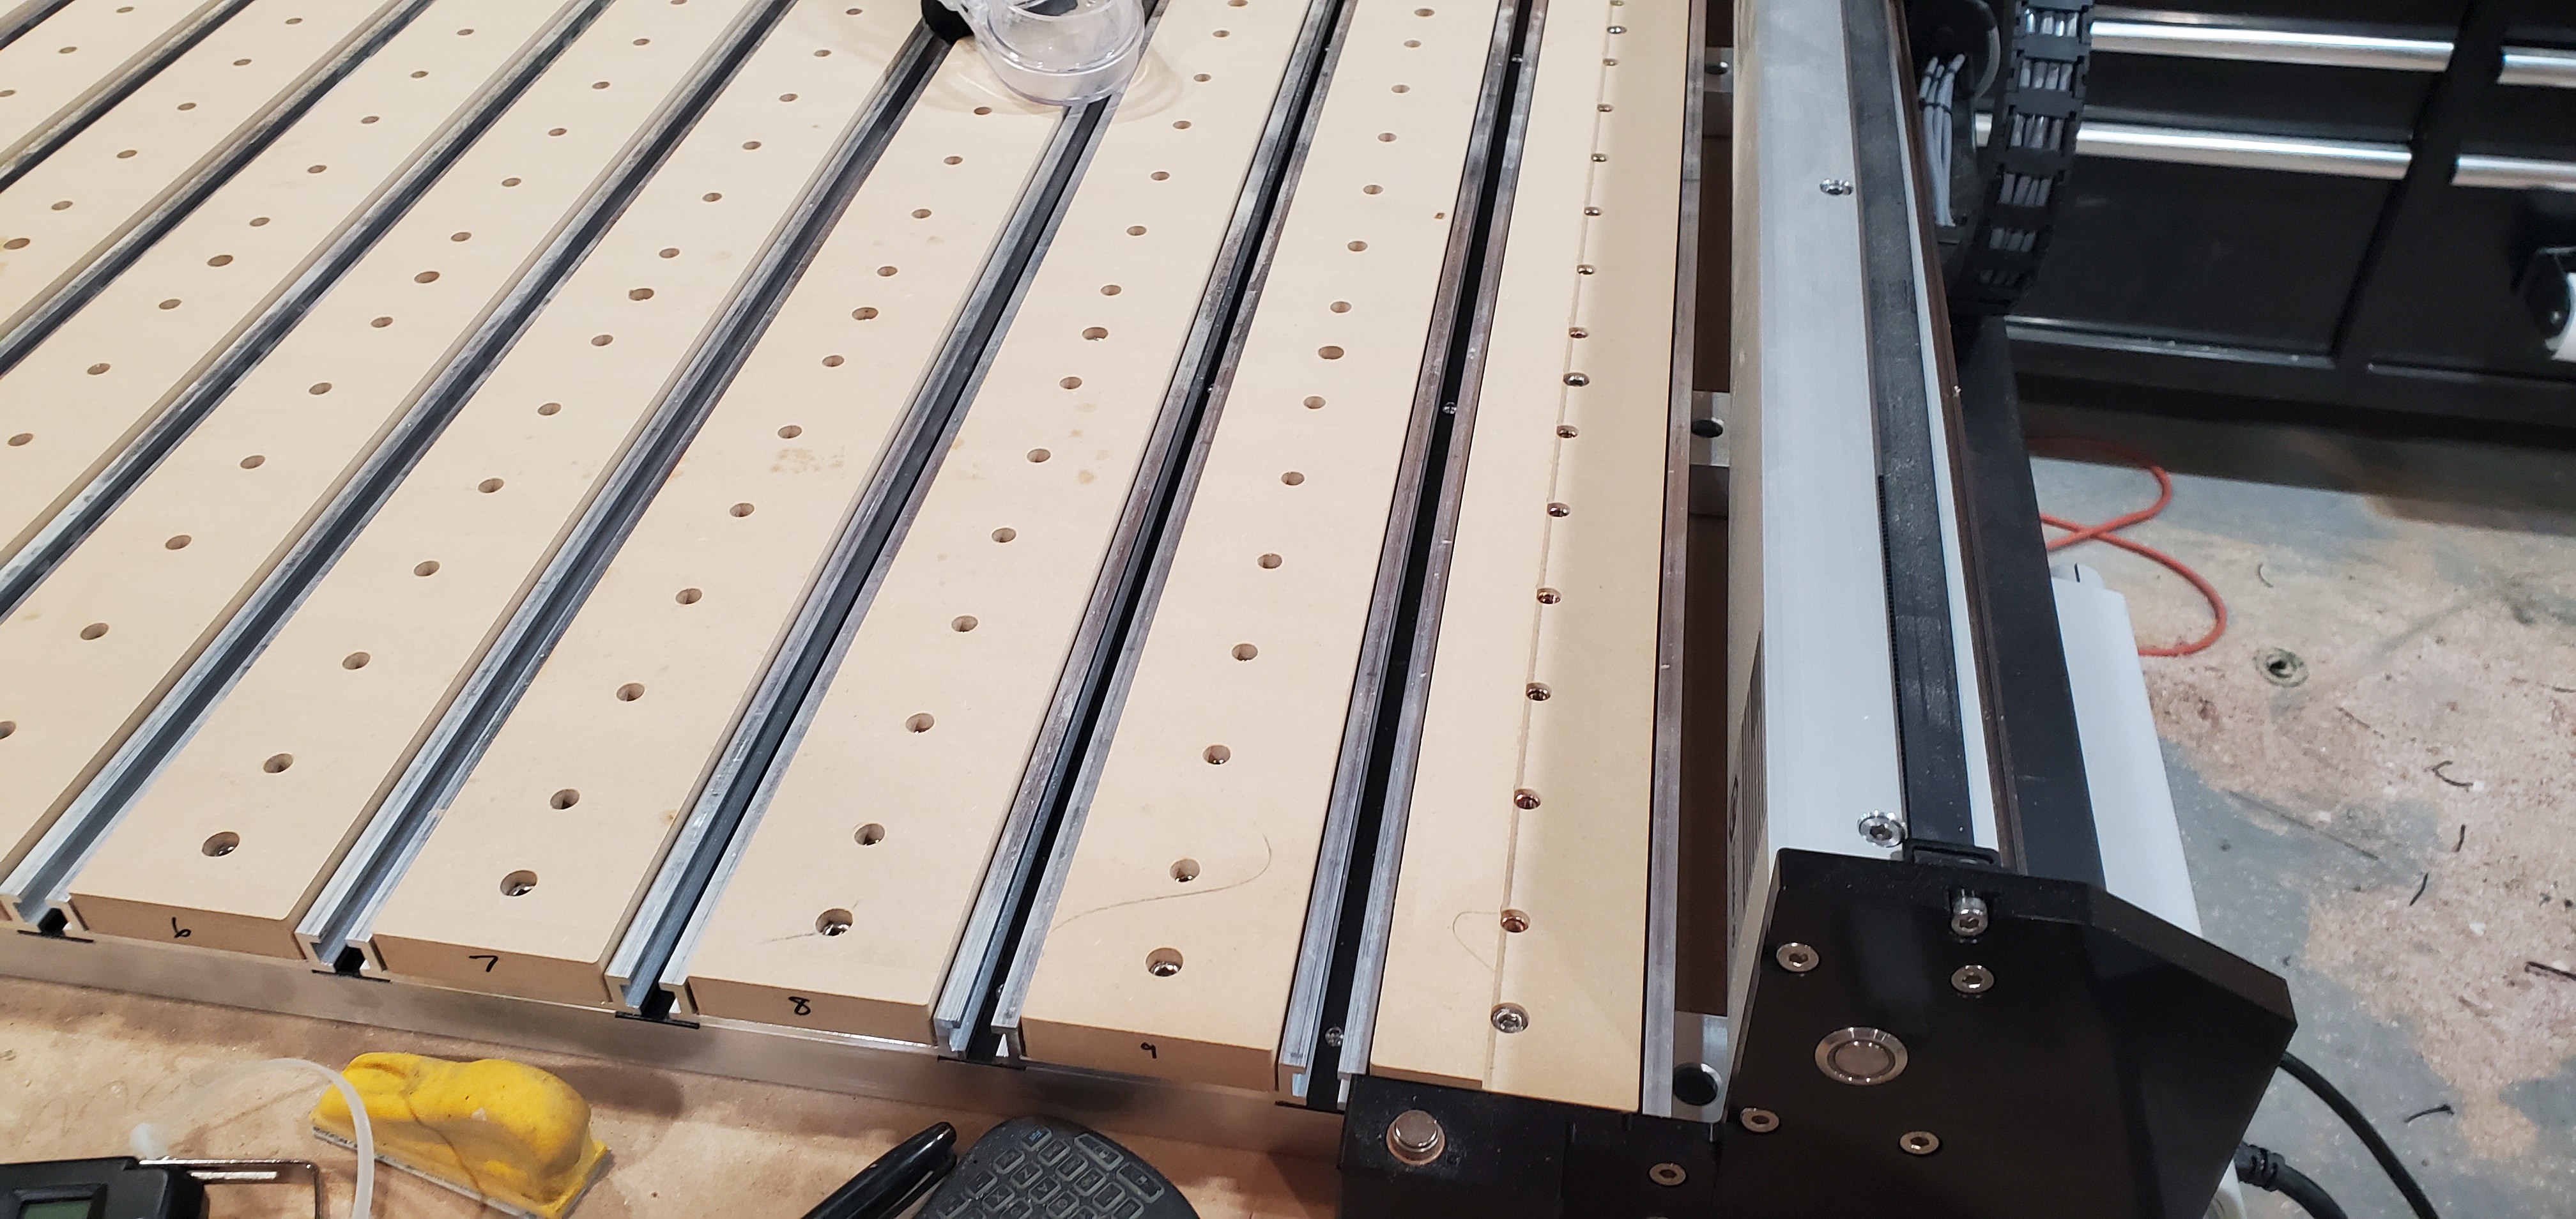
2 - Scoot all of the slats forward a mounting hole to give you access to the rear of slats that was not leveled. In order to know how low to machine so that I wouldn’t hit extrusions or the bolt heads, I went to the extrusion tops, then added 0.020" This cleared everything on my machine. Carbide 3D did a good job matching the height of the hardware that holds the slats on to the top of the extrusions. Nice detail. I set that height as my zero, raised it 0.100" and just jogged manually while cutting. I then did return passes at zero. Not the fastest way, but it worked well. I machined up to the ridge left by the initial surfacing. I just scooted the rear slats back, But now that I’ve done it, I recommend removing the 8 center slats, and putting the outside two side by side and finish removing the rear area on them.
3 - Do the same process, but sideways to remove the material outside the work area on the outside two slats.
Overall this took me around an hour. But you don’t have to do it again until you replace the slats. You have around 0.200" of MDF you can remove before you start hitting extrusions and hardware. I wanted to avoid cutting the slats where the machine couldn’t reach as that would remove all the bolt holes for the side slats and the rear holes of the rest. That would leave the rears unsupported.
Maybe because it’s been a long day, but felt like I had a big brain moment realizing that I can put the filler strips from my eventual XL Pro onto the XXL to do this exterior trimming. Then back to the XL for surfacing only.
How did you do the surfacing in the BitSetter corner? It looks like it might be shy of the surface enough to get a few passes? On my XXL it’s an add-on, so I just remove it each time.
Realised that the radius of your surfacing bit is larger than a normal bit. Did you offset the surfacing bit at all to account for that so you could surface what would be the true cutting area?
I actually made a pocket that is the travel area along the centerline of the collet. I then did a profile cut on that perimeter line. So I surfaced an area that is 1"wider and deeper than the spindle can travel, taking advantage of the diameter of the 1" surfacing bit.
I thought about that. Just putting on the dado stack and plowing thru them. But I wanted to do it on the machine to show people a creative way to do it without extra machinery.
Hi Josh, this a great idea and thanks for the inspiration! I was just cruising YouTube and the forums to try and decide if I wanted to put a waste board over top my T-track so I could get some threaded inserts in there. Galaxy-brain move putting them IN the T-track inserts!
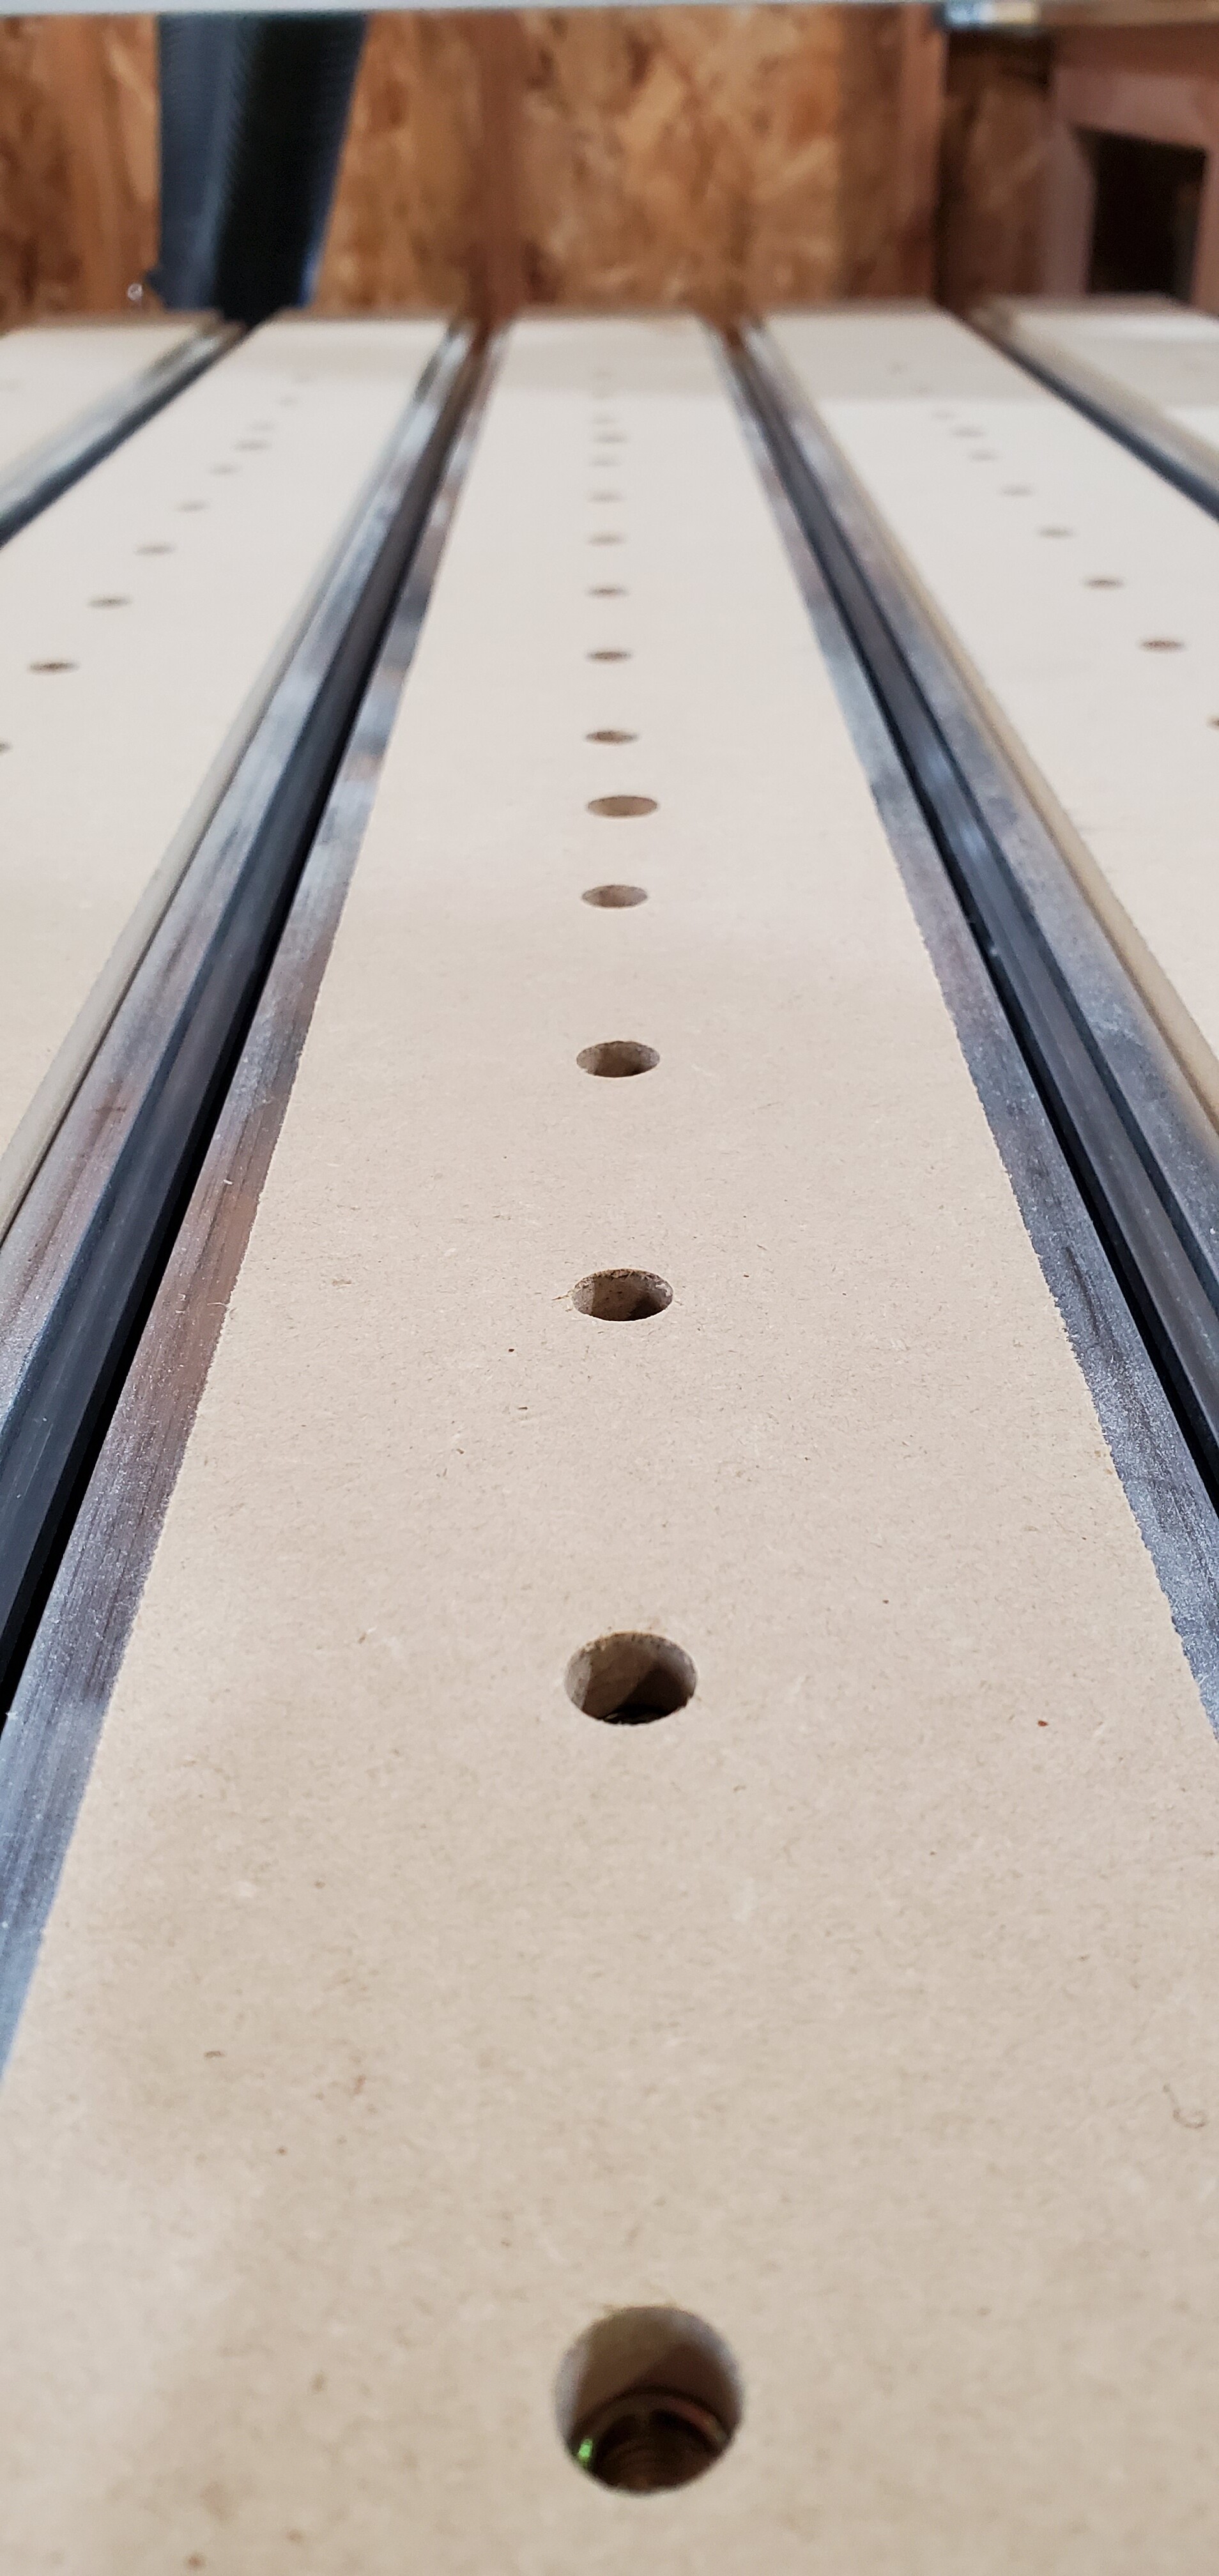
Would I be correct in guessing that you had the Pro cut most of the way down into the waste board to set the grid for your threaded inserts, then removed the strips, finished drilling the hole by hand and then inserting the threaded inserts from behind?
You’re correct. I just set one XYZ and just took turns with the slats thru that one spot. Made it easier to do them in a batch. I left 0.050" at the bottom so I wouldn’t cut into my extrusions, then drilled the skin at the bottom by hand. They were cut upside down. I cut them from the top before and that means bigger holes where the inserts go and they have a tendency to come out with the bolts.
That’s a great idea of moving the slats forward and swapping the end slats to finish after the main cutting area is surfaced. When i did this on my old machine I used my Dewalt surface planer to do all this. Think i’ll wait till i use my machine for a while before doing any surfacing. With the heavy duty Hybrid Table it shouldn’t be off by any significant amount.


 eventual XL Pro onto the XXL to do this exterior trimming. Then back to the XL for surfacing only.