Here:
1 Like
Do they post to Australia? it is incredibly hard to get surface plates here
Good question. I’d suspect shipping would eat up any savings and then some.
Is there no equivalent to McMaster-Carr or MSC Direct?
I don’t want to derail this thread, but here is an auction for a 18" x 24" x 3" surface plate and stand in SoCal. It is at $93.00 for everything right now, but even if it goes up, it will still go for a lot less than new.
Assuming B Grade (tool room grade) It’s Grade A (Inspection) [ based on the data plate accuracy dimensions ] from this company:
$294.00 18 x 24 x 3 surface plate
$433.00 18 x 24 castered stand
And don’t forget shipping.
1 Like
Will,
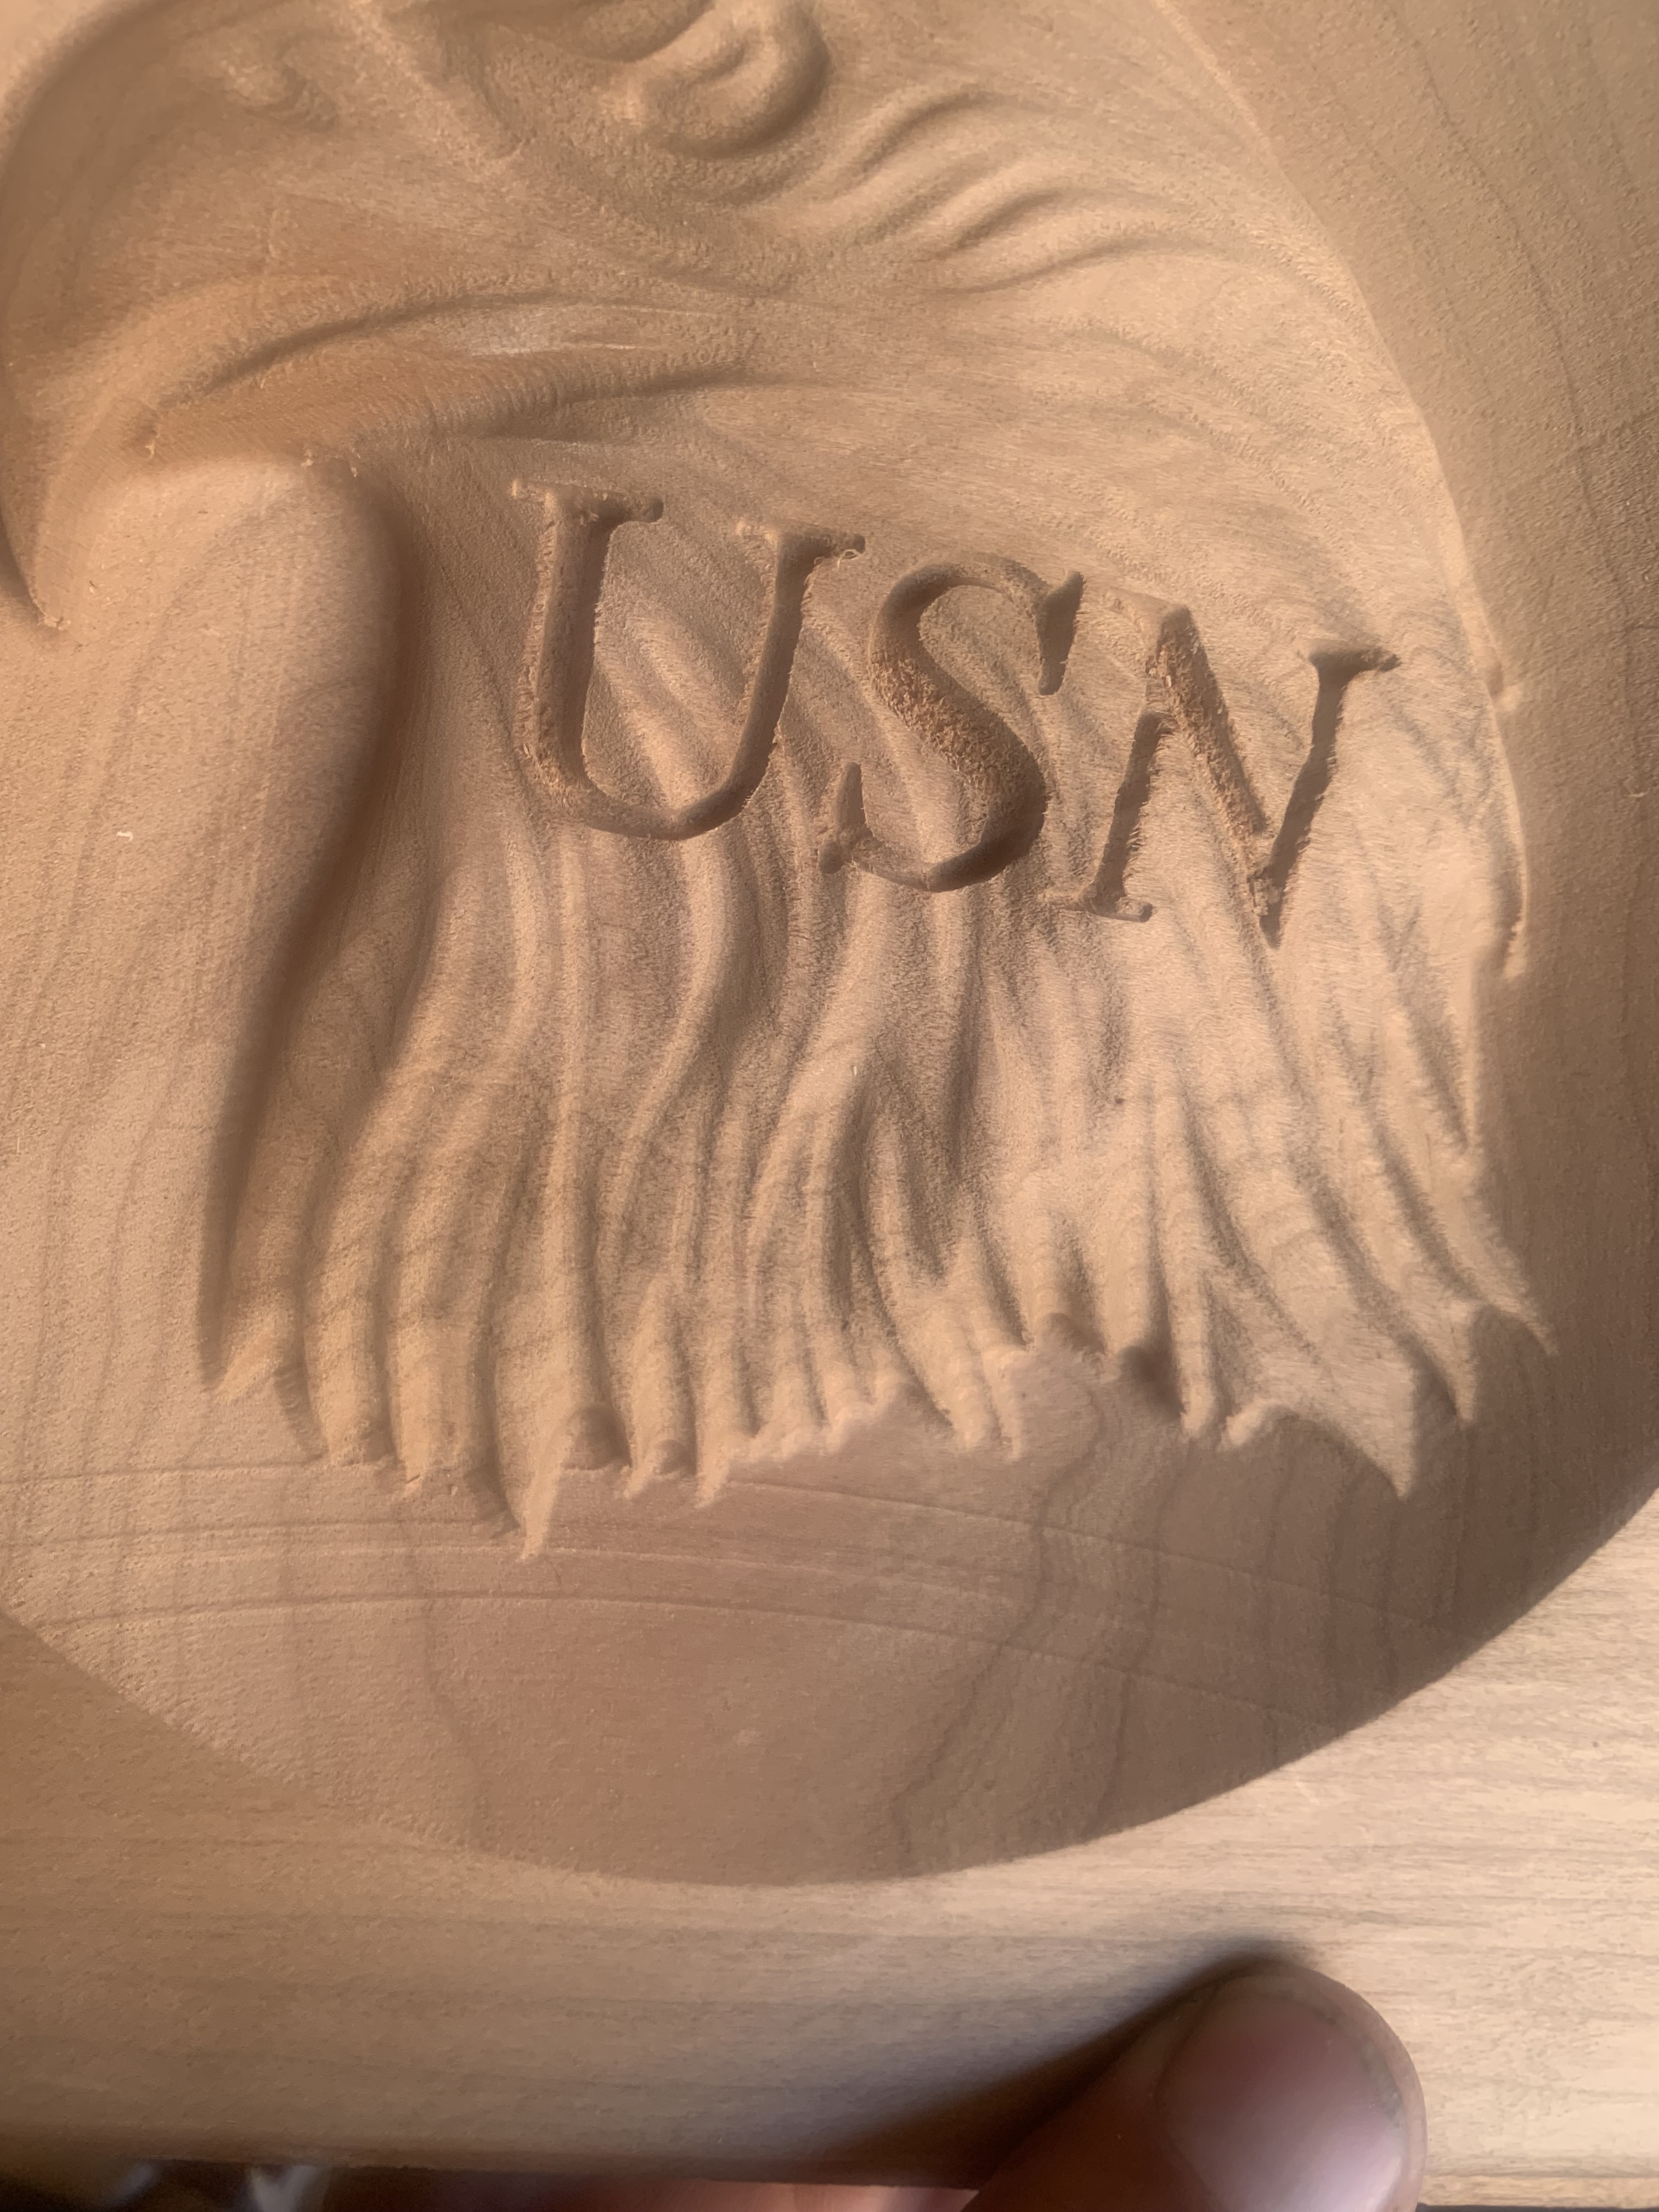
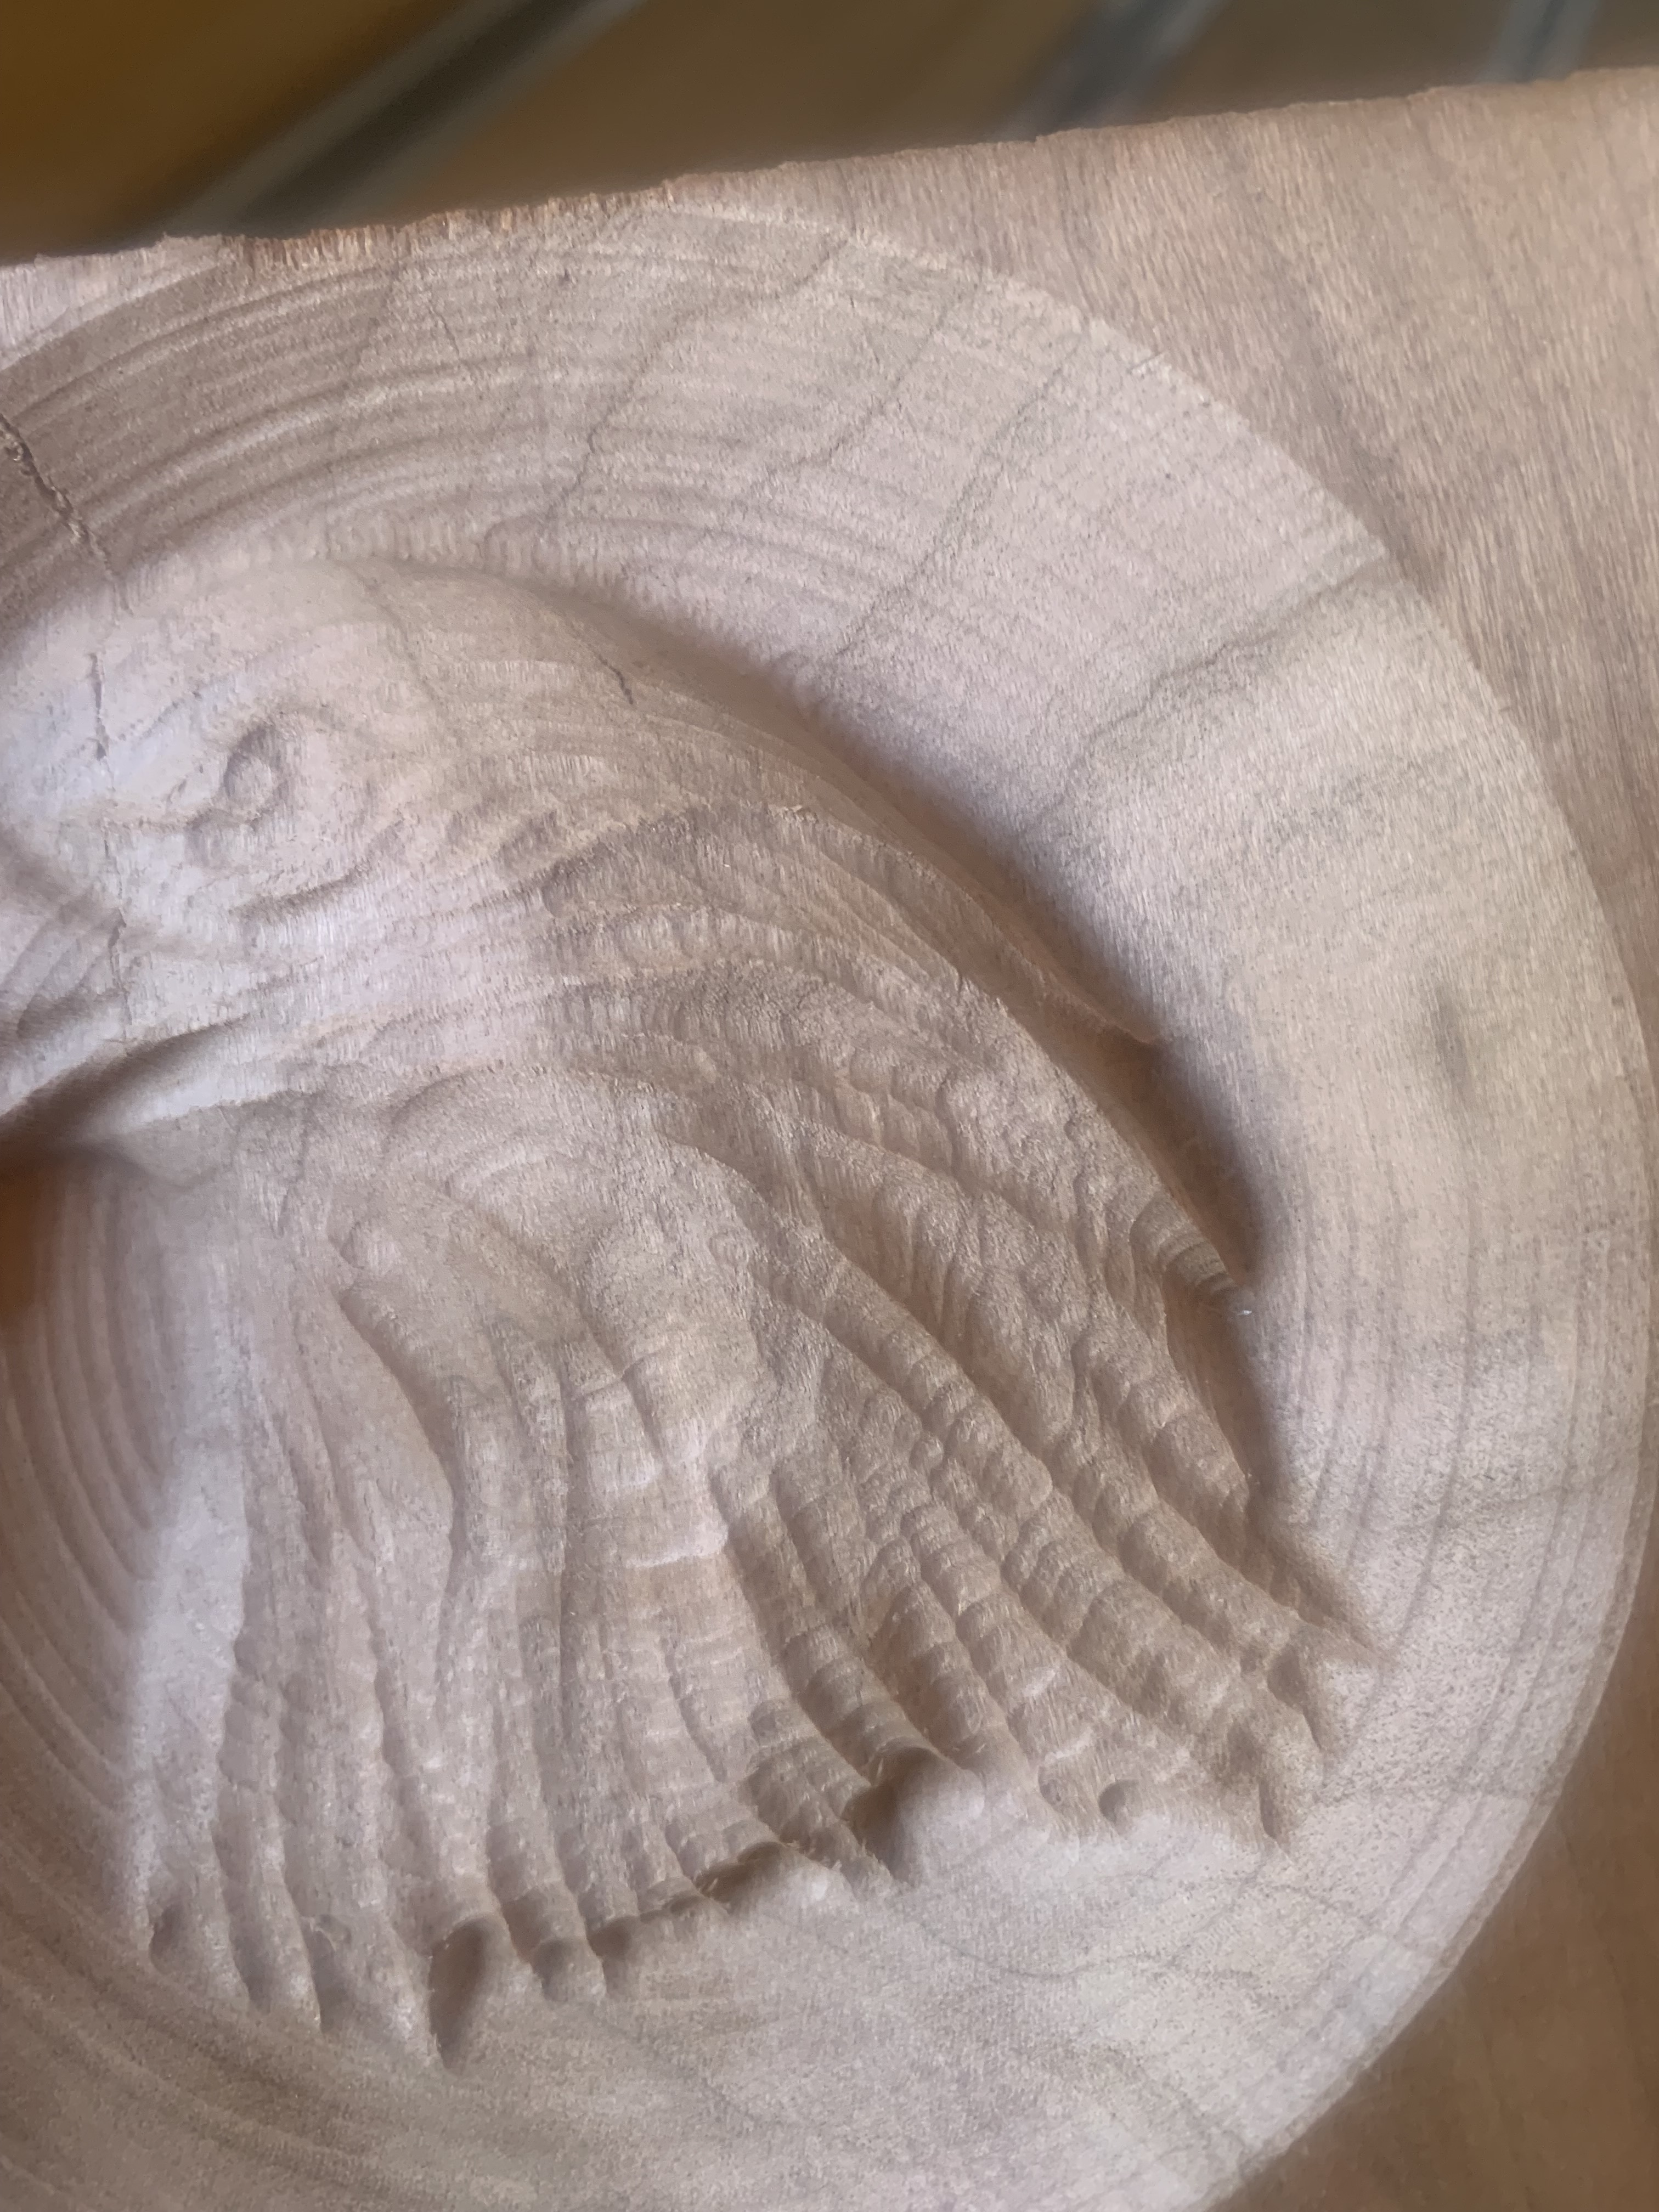
I have had the toughest time Tramming my Shapeoko Pro XXl. Leave lines on my project and is specifically noticeable when I do 3d profile and even more noticeable on the finishing toolpath.
I have tried changing the step over from 10,9 8,7, 6 and 5. This starting happening about 1 month ago. This is on the same toolpath that I have used before.
I spoke to several of the Carbide 3d staff. And all have said it is a tramming issue.
My friend has an 18”x12”x3 granite surface plate grade A.
Would my machine be ok to hold that much weight it weights 91lbs?
Yes, I think it would be fine to put that on the machine, but I don’t think it would be necessary.
If the machine was working well, but then problems developed, my inclination would be to check the aspects of the machine which wear:
- spindle bearings
- the Z-Plus lead nut
also check the hardware and make sure everything is secure — once you’re sure everything is mechanically sound you can begin to check the adjustment and alignment of the mechanical elements.
Depending on your tramming gauge you may have to raise the router. I have a similar plate but I think 2” thick. Even that was too much for my gauge and I wasn’t smart enough at the time to raise the router in the mount.
1 Like
Do people have marble/granite counter tops? I got a couple sink cutouts from double sinks (24" x 31") & gave one to my partner and kept one.
2 Likes
Will
Where can I get these nuts and bolts? Is there a picture you can show me where these spindle bearings and Z Plus lead nut is located on the machine.
For the Shapeoko Pro XXL
- spindle bearings
- the Z-Plus lead nut

Spindle bearings are in the spindle — for the Carbide Compact Router we don’t consider them a user-replaceable part — replace — if under warranty, let us know at support@carbide3d.com.
The Z-Plus lead nut is inside the Z-Plus Z-axis — check in at support@carbide3d.com and we will work out how to handle that.
Wiil,
When you say check the hardware what do you mean by that?
Per the machine operating checklist: Machine operating checklist , the basic points of adjustment for a machine are:
- (for belt drive machines) Pulley set screws — verify that these are in-place and secure — be sure to check all axes/pulleys (including Z on machines w/ belt-drive Z-axis, for an HDZ, check both coupler screws).
- (for the SO3/4, X- and Y-axes, and the belt-drive Z-axis on Launch and summer 2016 SO3s) V wheels / eccentric nuts (per assembly instructions)
- (for the Pro, Pro 5, HDM, and Z-Plus and HDZ Z-axis) Lubrication of the linear rails: CNC Machine Maintenance c.f., https://web.archive.org/web/20211127125707/https://docs.carbide3d.com/assembly/linear-guide-maintenance/Linear_Rail_and_Guide_Maintenance_02-17-2021_v1.0.pdf
- (for HDZs, and HDMs, and SO5 Pros) check that couplers between the motor and ball screw are secure, for the SO5 check that the DAC which transfers the rotary motion of the ball screw to linear machine motion is secure on the carriage/gantry
- (for belt drive machines) Belt tension (see the relevant step in your instruction manual, Note that the X-axis motor is held in place on standoffs and if those bolts are loose this can cause belt tension issues. Also, belt tension for the Y-axis stepper motors needs to be even/equivalent on each side — a significant difference can cause skipping on one side eventually resulting in lost steps on both. Measuring belt tension, squaring and calibration
Naturally, this assumes that all the wiring is in good condition and all connectors secure per the Machine Operating Checklist. Verify that all wiring is in good condition and all connectors are secure, and that all wiring leading into connectors are properly in place and are secured so that the wiring leading into and away from connectors will not shift.
A good video overview on setup:

Tramming the Z-Plus: https://youtu.be/rGOGlNurglE
Ensure that all screws are in place and secure, esp. on the linear rails on a Pro.
Will,
How would I know if it’s a spindle bearing problem?
Do the pictures I posted, could they be a possible indication of a spindle bearing problem. Like I said I tried everything with this machine.
Usually spindle problems are easily diagnosed by putting a probing pin into the unit, then powering up (so as to lock things) then grabbing the tip of the pin and trying to move it — if it stays put, then things should be mechanically sound, but even the smallest shift should be investigated and addressed.
To check the spindle bearings, I grab the bit and shake. If I can feel any movement, I have a bad bearing. They wear out. It is replaceable.
1 Like
Zman
Did your projects have these lines when you finished, due to spindle bearings going bad?
Yes and no. I was getting stepping and uneven edges as the bit shifted to one side from pressure. It is part of my monthly maintenance to check the bearings. If I notice slop, I change them.