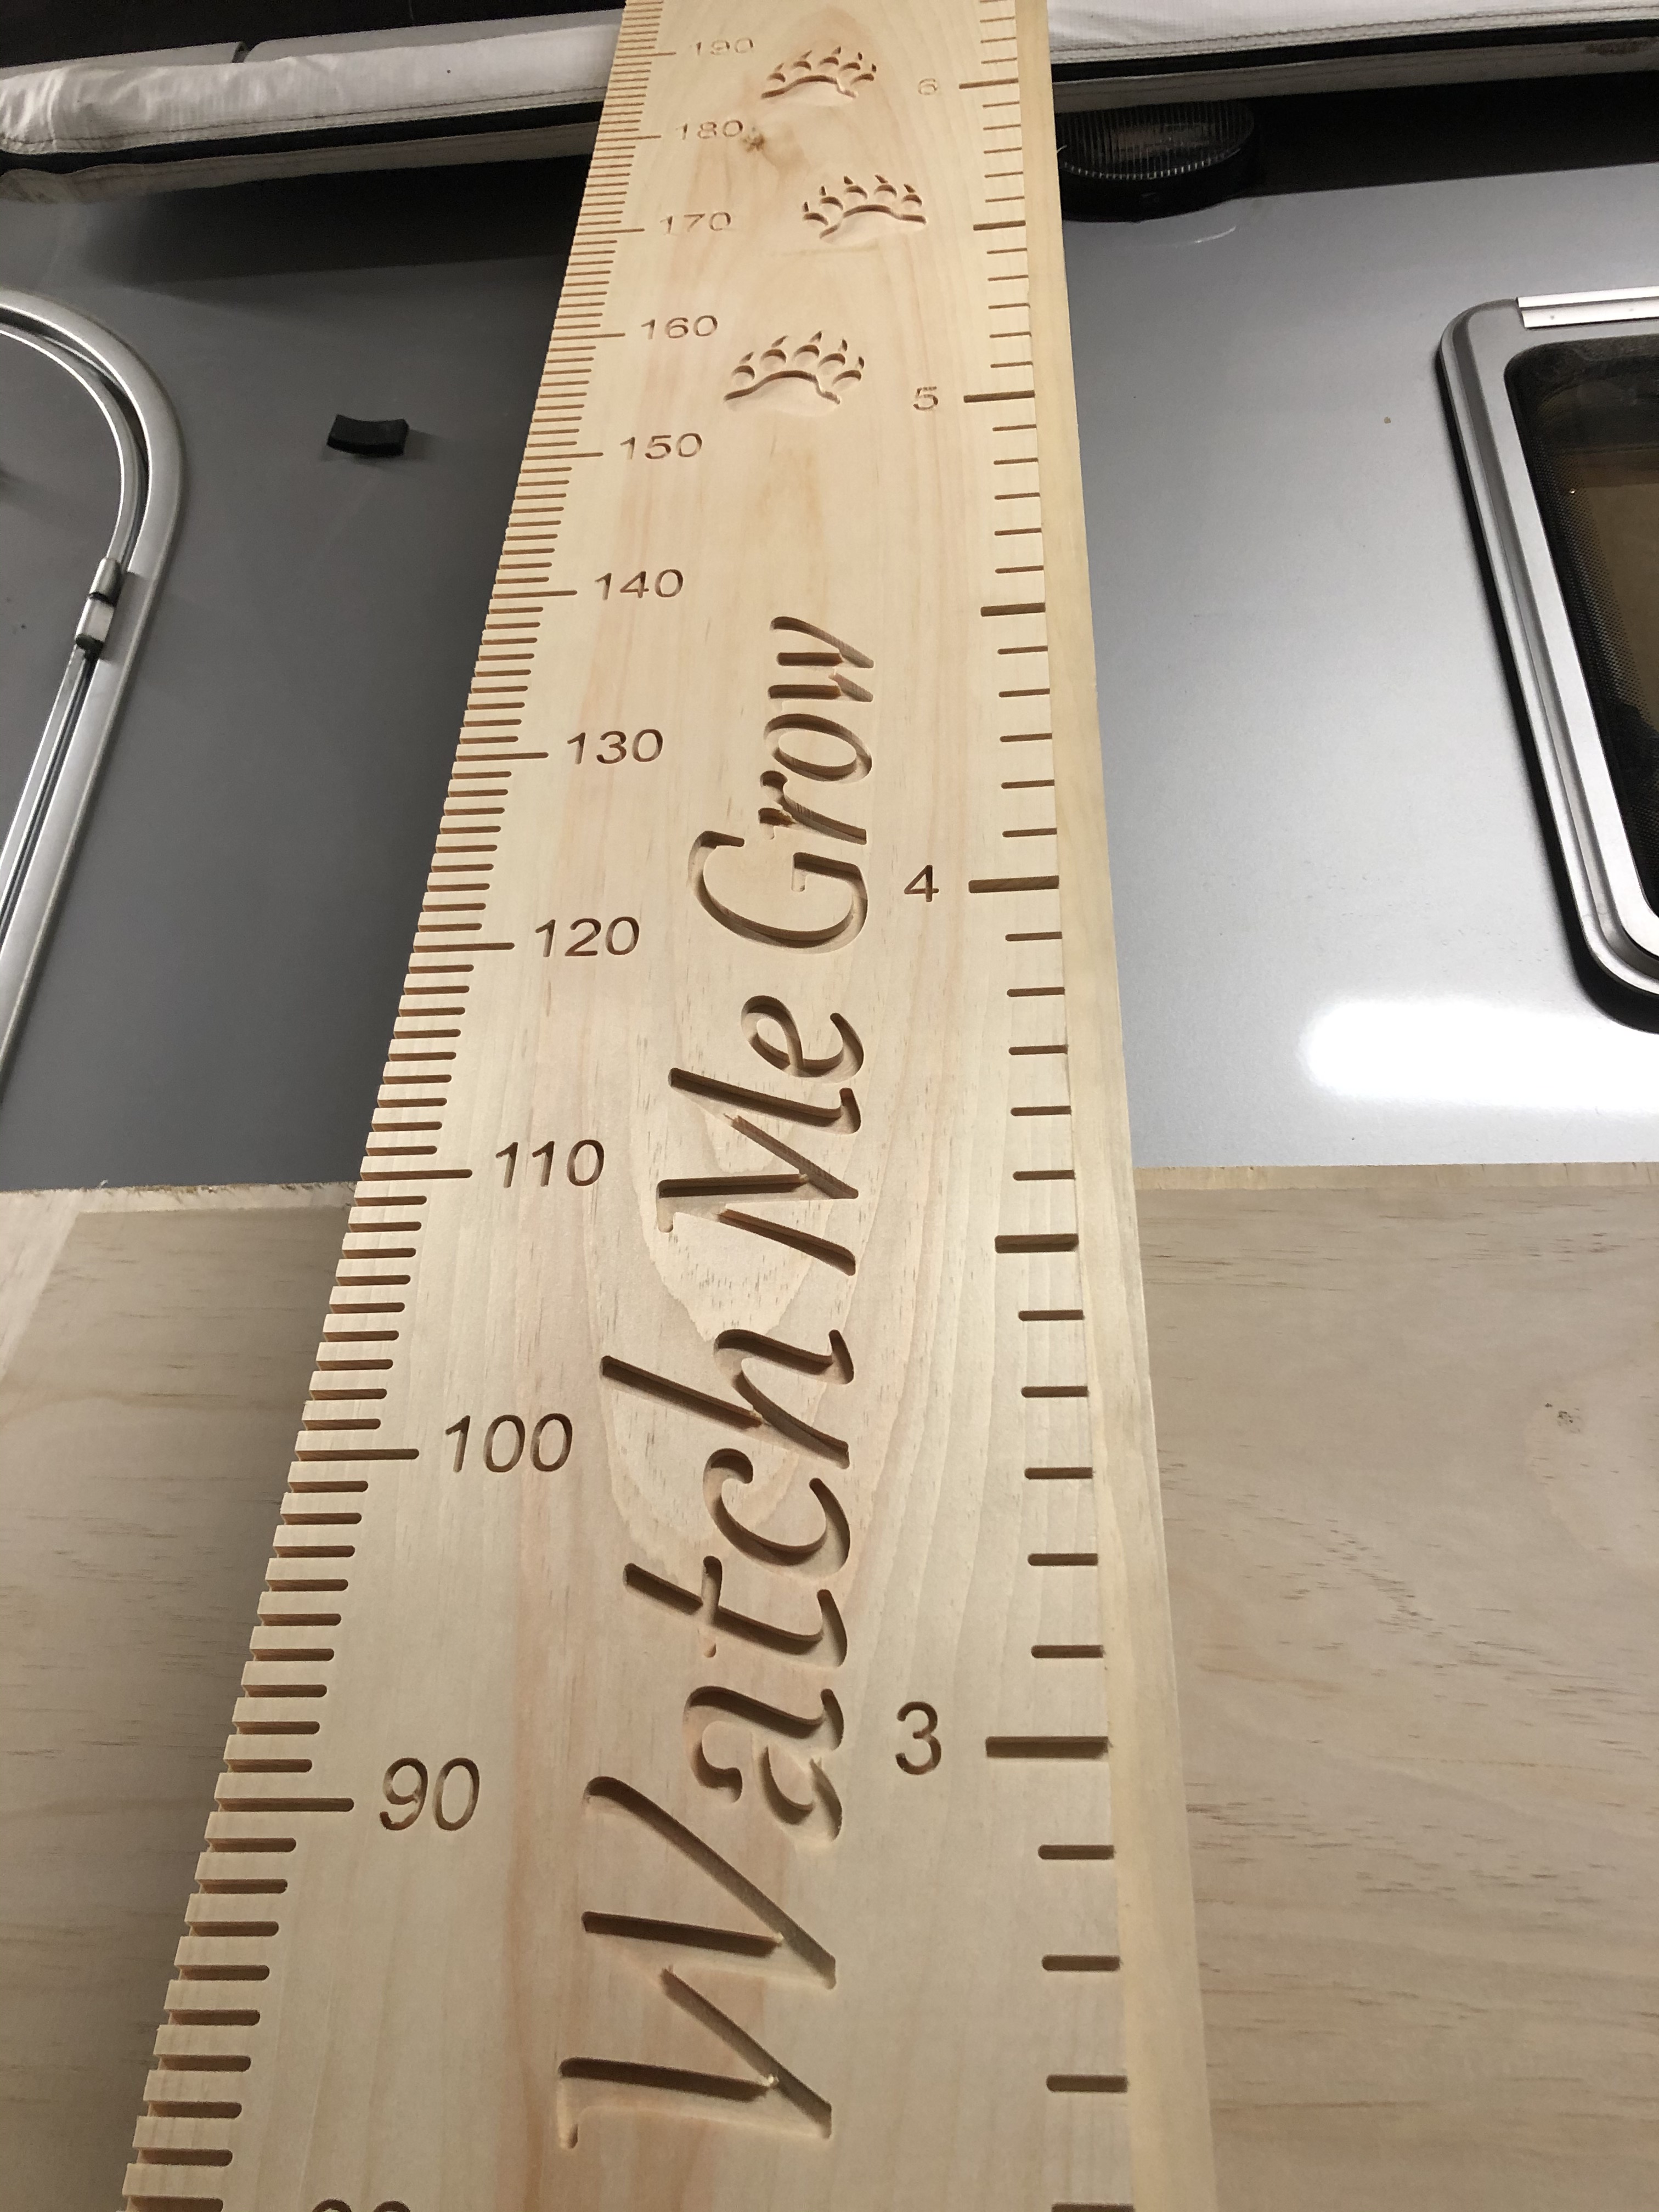
A little something I whipped up in F360. A gift for my brother and his growing family
Second tiling job, a little more involved as graduations are only useful relative to eachother. Went much better than I imagined, only off by 0.020".
First time using using a down cut bit, and ooooo baby did it make my life soo much easier!
Uncertain how to finish this item, probably my weakest area of knowledge/experience. Thinking of rough masking the tics, spray paining black and sanding, followed by a stain of some sort…? Any suggestions?
This would look just fine with a clear coat. I vote just paint the engravings black and then clear coat. If you stain you will lesson the contrast against the black. Maybe use white for engraving and then a dark stain. MHO.
Personally, forget the stain! Besides Pine is bad to blotch with stain. If you must, use a gel stain to minimize blotching. Nice piece!
I’m starting to sound like a scratched record when I say to use “dewaxed” shellac. You could stop right there after 3 coats; dries in 30 minutes, easy. It is alcohol based.
You could even use the “clear” waxed shellac if you don’t plan on adding any other finish. It will darken it some, but no too much.
Also, shellac is kid friendly. Those teenagers are hungry all the time!
Fo future reference, you can use a mask to make the finishing easier, You could have painted or stained your workpiece then apply a mask such as the Duck brand EasyLiner semi-permanent white shelf liner or Oramask 813 to the workpiece then carve your project. After the project is carved, you can paint or stain the carved areas without messing the background.
@luc.onthego You’re right, i thought of that after I saw just how clean the down cut bit had performed. Judging by the warm reception to this item it wont be the last one I make!
I’ve been let down by Oramask 813 before (up cut spirals) so I didn’t want to depend on it for a project with such a tight deadline.
The draw back to Tung Oil is is takes a long time to cure hard. Due to the late date for Christmas I would either use the Shellac, or Danish Oil. The Danish oil dries over night (Really about 3 hours) but if you over apply there can be wet spots but you can just dry them with a cloth. For durability I apply dewaxed Shellac (Zinnzer Universal Sealer) and follow with a couple of coats of Minwax Wipe on Poly. But as I mentioned there is a drying time for poly and tung oil so the danish oil is the fastest and is easy to apply.
So the peanut gallery at home(mother and sister) also weighed in an said to go a natural as possible. I ended up using shellac which I hopefully cut correctly to go from 3lb to 1lb using isoproyl.
Managed to get 2 coats on last night and likely a 3rd one tonight. Should I sand in between? I think the piece would benefit from it and i don’t think shellac would gum up. A quick internet search confirms this. Any other tips/trick/thoughts/comments?
So how did the finish turn out? Iso, depending on water content, can turn the shellac cloudy and slows drying time so I have read. I did not know you could use it to cut shellac. I use denatured alcohol. I am curious how it turned out.
off your topic but I am curious how you cut the whole 7 feet?? I have had my CNC for a year now but I have no idea how you could cut a project this long??

 This would look just fine with a clear coat. I vote just paint the engravings black and then clear coat. If you stain you will lesson the contrast against the black. Maybe use white for engraving and then a dark stain. MHO.
