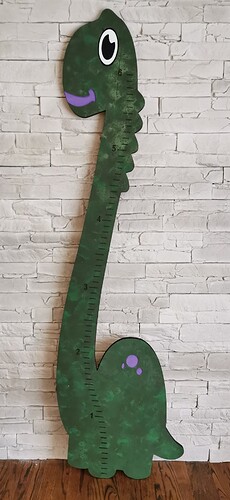
With a little luck this will be an entertaining barrage of pictures.
I’ve made standard rulers in the past(seen here), all the while dreaming or something more. So when discussing the rulers with a coworker two years ago, he wanted to make one for his daughter but with a little more flair. I pitched a giraffe idea and when you see below, priced out.
Here is the photo it is all based on:
Unfortunately he backed away from the project when I said it would be ~$200CAD. After a brief description of the planning, painting, lasering, routing, sanding and touch ups he still thought it was too much money to pay for custom ![]() . So the design goes into archives. I was really jazzed to make it as I wanted another crack at 2+ stage tiling. When this contest was announced it was game time.
. So the design goes into archives. I was really jazzed to make it as I wanted another crack at 2+ stage tiling. When this contest was announced it was game time.
On my only other tiling projects I set up a fence along the Y axis and machined it parallel as a reference surface, then by making pencil marks on the fence and workpiece I VEEEERY carefully slid the workpiece down 736.314159265mm. This proved to be super time consuming and stressful. This time around I thought registration dowels would be a great experiment. Spoilers: WORLD OF DIFFERENCE.
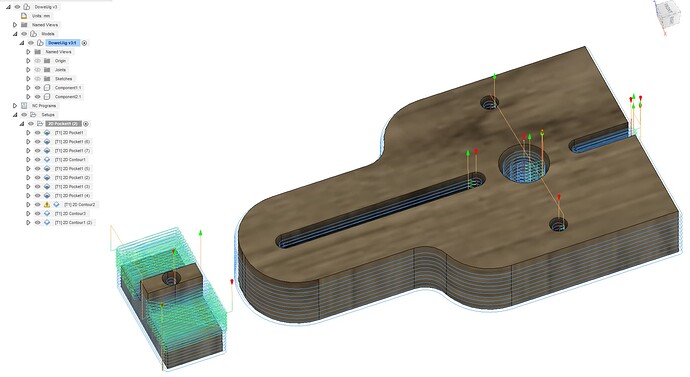
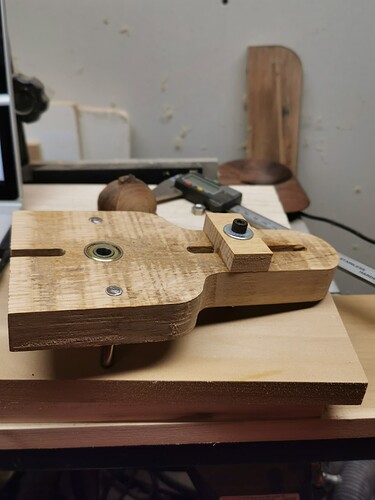
Having no plywood on hand, having just picked up 1"x10"x14’ pine boards and no reason to make ANOTHER trip to the store, I decided to double down on things I’ve always wanted to make and created a dowel centering jig. So this will be a two for one build post. Here is the design I settled on after a quick google image search.
All the materials I had laying around already, the white oak was an off cut from a cabinet maker acquaintance, bearings were extras from when my dad was into roller blades (so the standard 8x22x7mm shielded bearing), precision ground 8mm steel shafts from an old printer I tore apart ~3 years ago.
After reading the below thread:
boring-a-round-hole-without-a-taper/36415
I didn’t think it possible to machine an 8mm pocket with tight tolerance through 1-1/16" white oak. But after playing with Radial Stock to Leave and a Contour Toolpath, the holes for the locating pins was perfectly sized, a quick chamfer on the steel dowels and tap,tap,tap the jig is basically complete.
The keen eye will see that the slots dont come close enough to the center of the drill hole. which lead me to get creative with the second set of holes.
Here is the Cutrocket link: Dowel Centering Jig by TysonD
All set, or so I thought. If only I had a complete set of drill bits instead of multiple incomplete used/discarded sets dating back 30 years, not to mention there is no chance any of them are metric. Luckliy a 5/16" (7.94mm) twist drill bit with positive depth control is a beautifully snug fit.
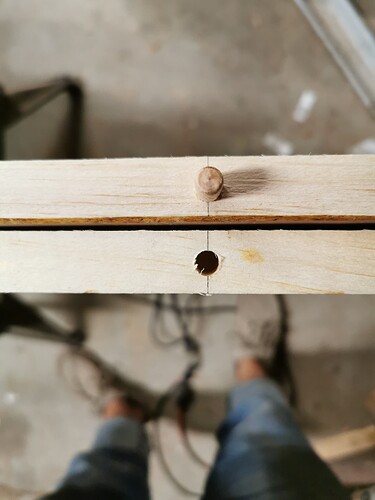
Next step is to use the dowel jig!
I decided on 1 foot spacing between dowels. Which is retro spec was a little too far apart. Remember when i said “get creative with the second set of holes” Things were JUST off perfect.
Success! Dry fit passed
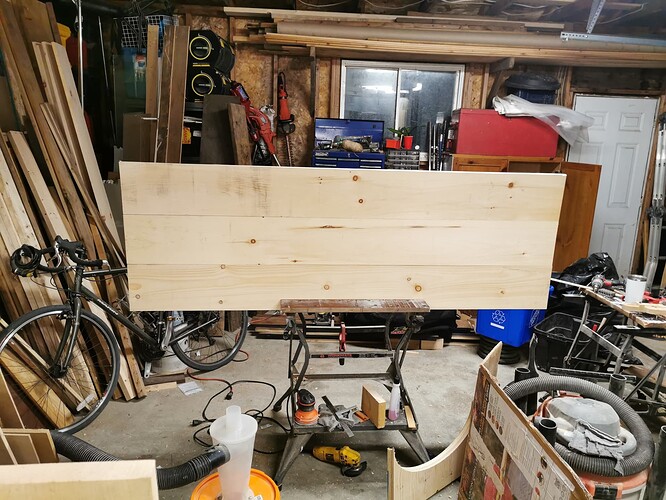
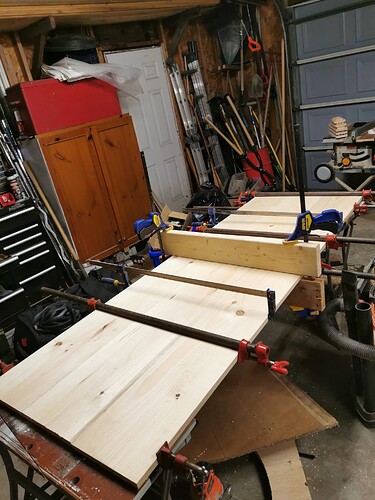
On to lamination. It was kind of rushed and halfway through I realized how crucial cauls would be. But it turned out well.
After scrapping off squeeze out and 10mins with my ROS using 180grit, it was time to paint.
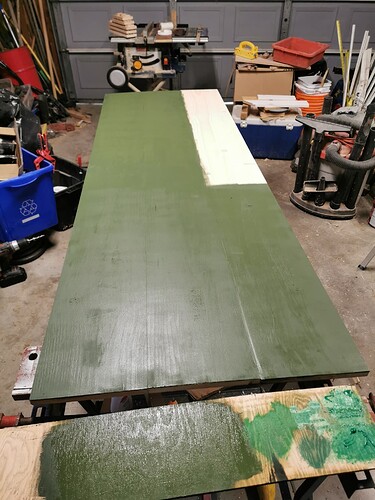
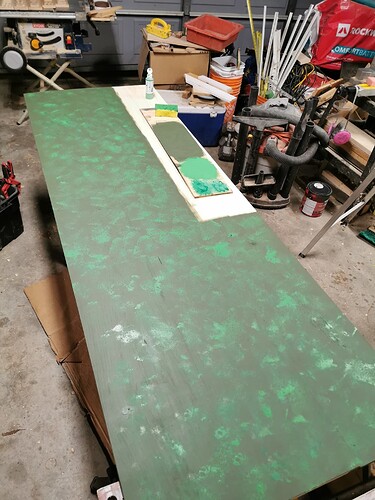
Behr River Forest base, dollar store green and shiny green sponged on to to achieve texture/scales/camo lol, it’s simple but I was pleased with how it turned out.
Now is where I change gears and write two macros to easily switch between by Dewalt Router with 1/8" collet to and JTech 2.8W laser. I chose to do it this way because I figured it would be beneficial to watch the machine move into place rather than use the G54 offset options. However I will revisit these for a better understanding.
Router to Laser
%
ORouterToLaserAbs
G90 G21 G53 G40 M5
(M01)
G00 Z10 (Clearance)
G00 X0 Y0 Z10 (Return)
G00 X-73 Y86.0 Z7 F2000 (From Router to Laser)
G01 M3 S1000 (BLAST LASER!!!)
G4 P0.5
G01 M5
G10 L20 P1 X0Y0Z0 (Set current position as origin)
(M01)
(G00 X0 Y0 Z10 (Return)
G00 Z7 (Tool atop workpiece)
G90
M30
M5
%
This is the moment my Rpi that lives in dust city next to the machine becomes SUPER unreliable. (Which I’ll have to make a separate post about just get to the bottom of.) So I copied the macros into text files and loaded them for tool changes. Slight inefficiency but it still works.
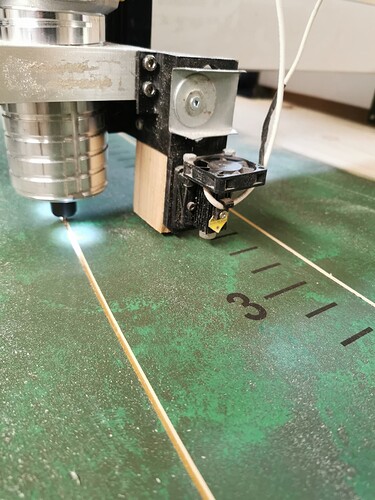
There were many considerations to make when keeping the laser attached to the carriage the whole time for efficient tool changes.
Laser focal length ~40mm
Keeping the end mill safe while lasering (min 2mm clear above tallest clamp)
thickness of material 20mm
Height of collet vs lowers point on laser
Large work envelope in XY plane, can the laser and router reach all features?
Were did I have spoil board meat to support a 8mm dowel
Because of this it took 30mins to finally set the origin point on my XXL table. The video below is the clearance the laser gets while drill the locator holes.
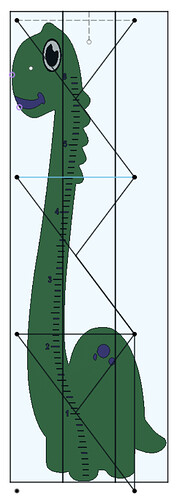
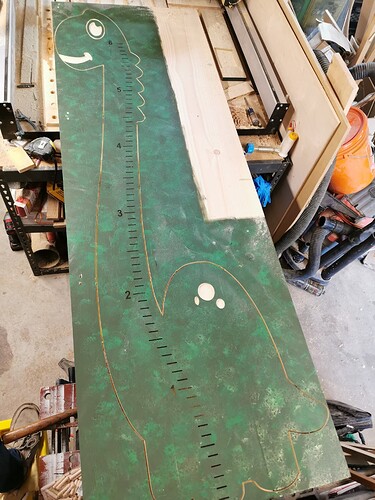
The job is broken down into 3 setups, This is the first time I’ve had features continue through a tiling boundary, so this was the test where dowels could REALLY excel. I used a sketch to plan out where the model would be cut out of the stock, placement of locator dowels. Used the lines from the sketch to create construction planes to then split the body, forming perimeter lines broken at the tiling boundaries which I could select using the ALT key in F360.
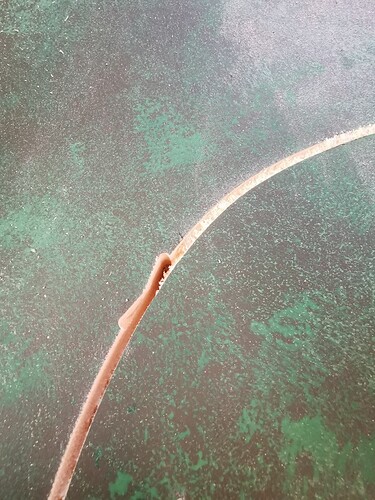
Invisible transition between tiling sections, looks like there is something to this method. Small 4x4 triangular tabs hold the dino in place as the profile is cut out.
I like to play it close like my name is Glenn. Lasering went off without a hitch 1350mm/min @ 36% power. It left a very fine, deep but soft black char on the wood paint. This will later get sealed with either poly or shellac.
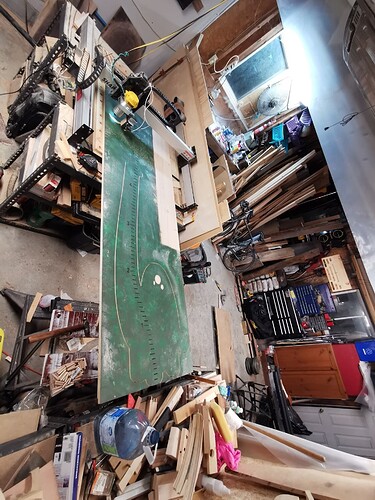
It’s coming together! Oh yeah this is my shop.
After some acrylic paint. It is finished!
Unfortunately little munchkins are just getting over colds so I couldn’t make a production of picture time.
Cutrocket file to follow.
Lesson’s Learned:
Paint highlights imperfections in sanding
Dowel joinery is pretty dope ( must test lamination strength)
Four Locator Dowels seem to be a superior tiling method (tests to be done as a flip jig)
Router to Laser tool changes aren’t difficult and open up many designs/details.
Downcut bits retain enough sawdust to relax the need for tabs

