Hall of Dust shoes

Here is ours.

It is very much based on the one sold at http://www.ev-guide.com/3d-printing-products/shapeoko3vacuum . We bought from them, but it broke (they will be sending a replacement). While the replacement doesn’t get here, I had to design one so we don’t have to stop the machining. I made some changes that I didn’t like about their design (got rid of the bottom, made the attaching places longer and sturdier) and 3D printed it.

4 Likes

are planning on selling one?

care to share a .step and or .stl file of this?

I don’t feel like I could sell this and guarantee your total satisfaction, but I don’t mind sharing the files. I am sending you a link per private message.

This dust shoe is for 2.25" hose, and I used whatever bolts we had in the lab. You also need to get the brush, otherwise it won’t work well.
I think you can use this type of brush from McMaster: https://www.mcmaster.com/#brushes/=1cmzcdq

I also have one of the EVGuide units.

I would sure appreciate the cad file. I need to modify it for a Makita. I use F360 but a STEP file will be fine.

No worries if you don’t care to share the cad, I know it was a lot of work!

Thanks!

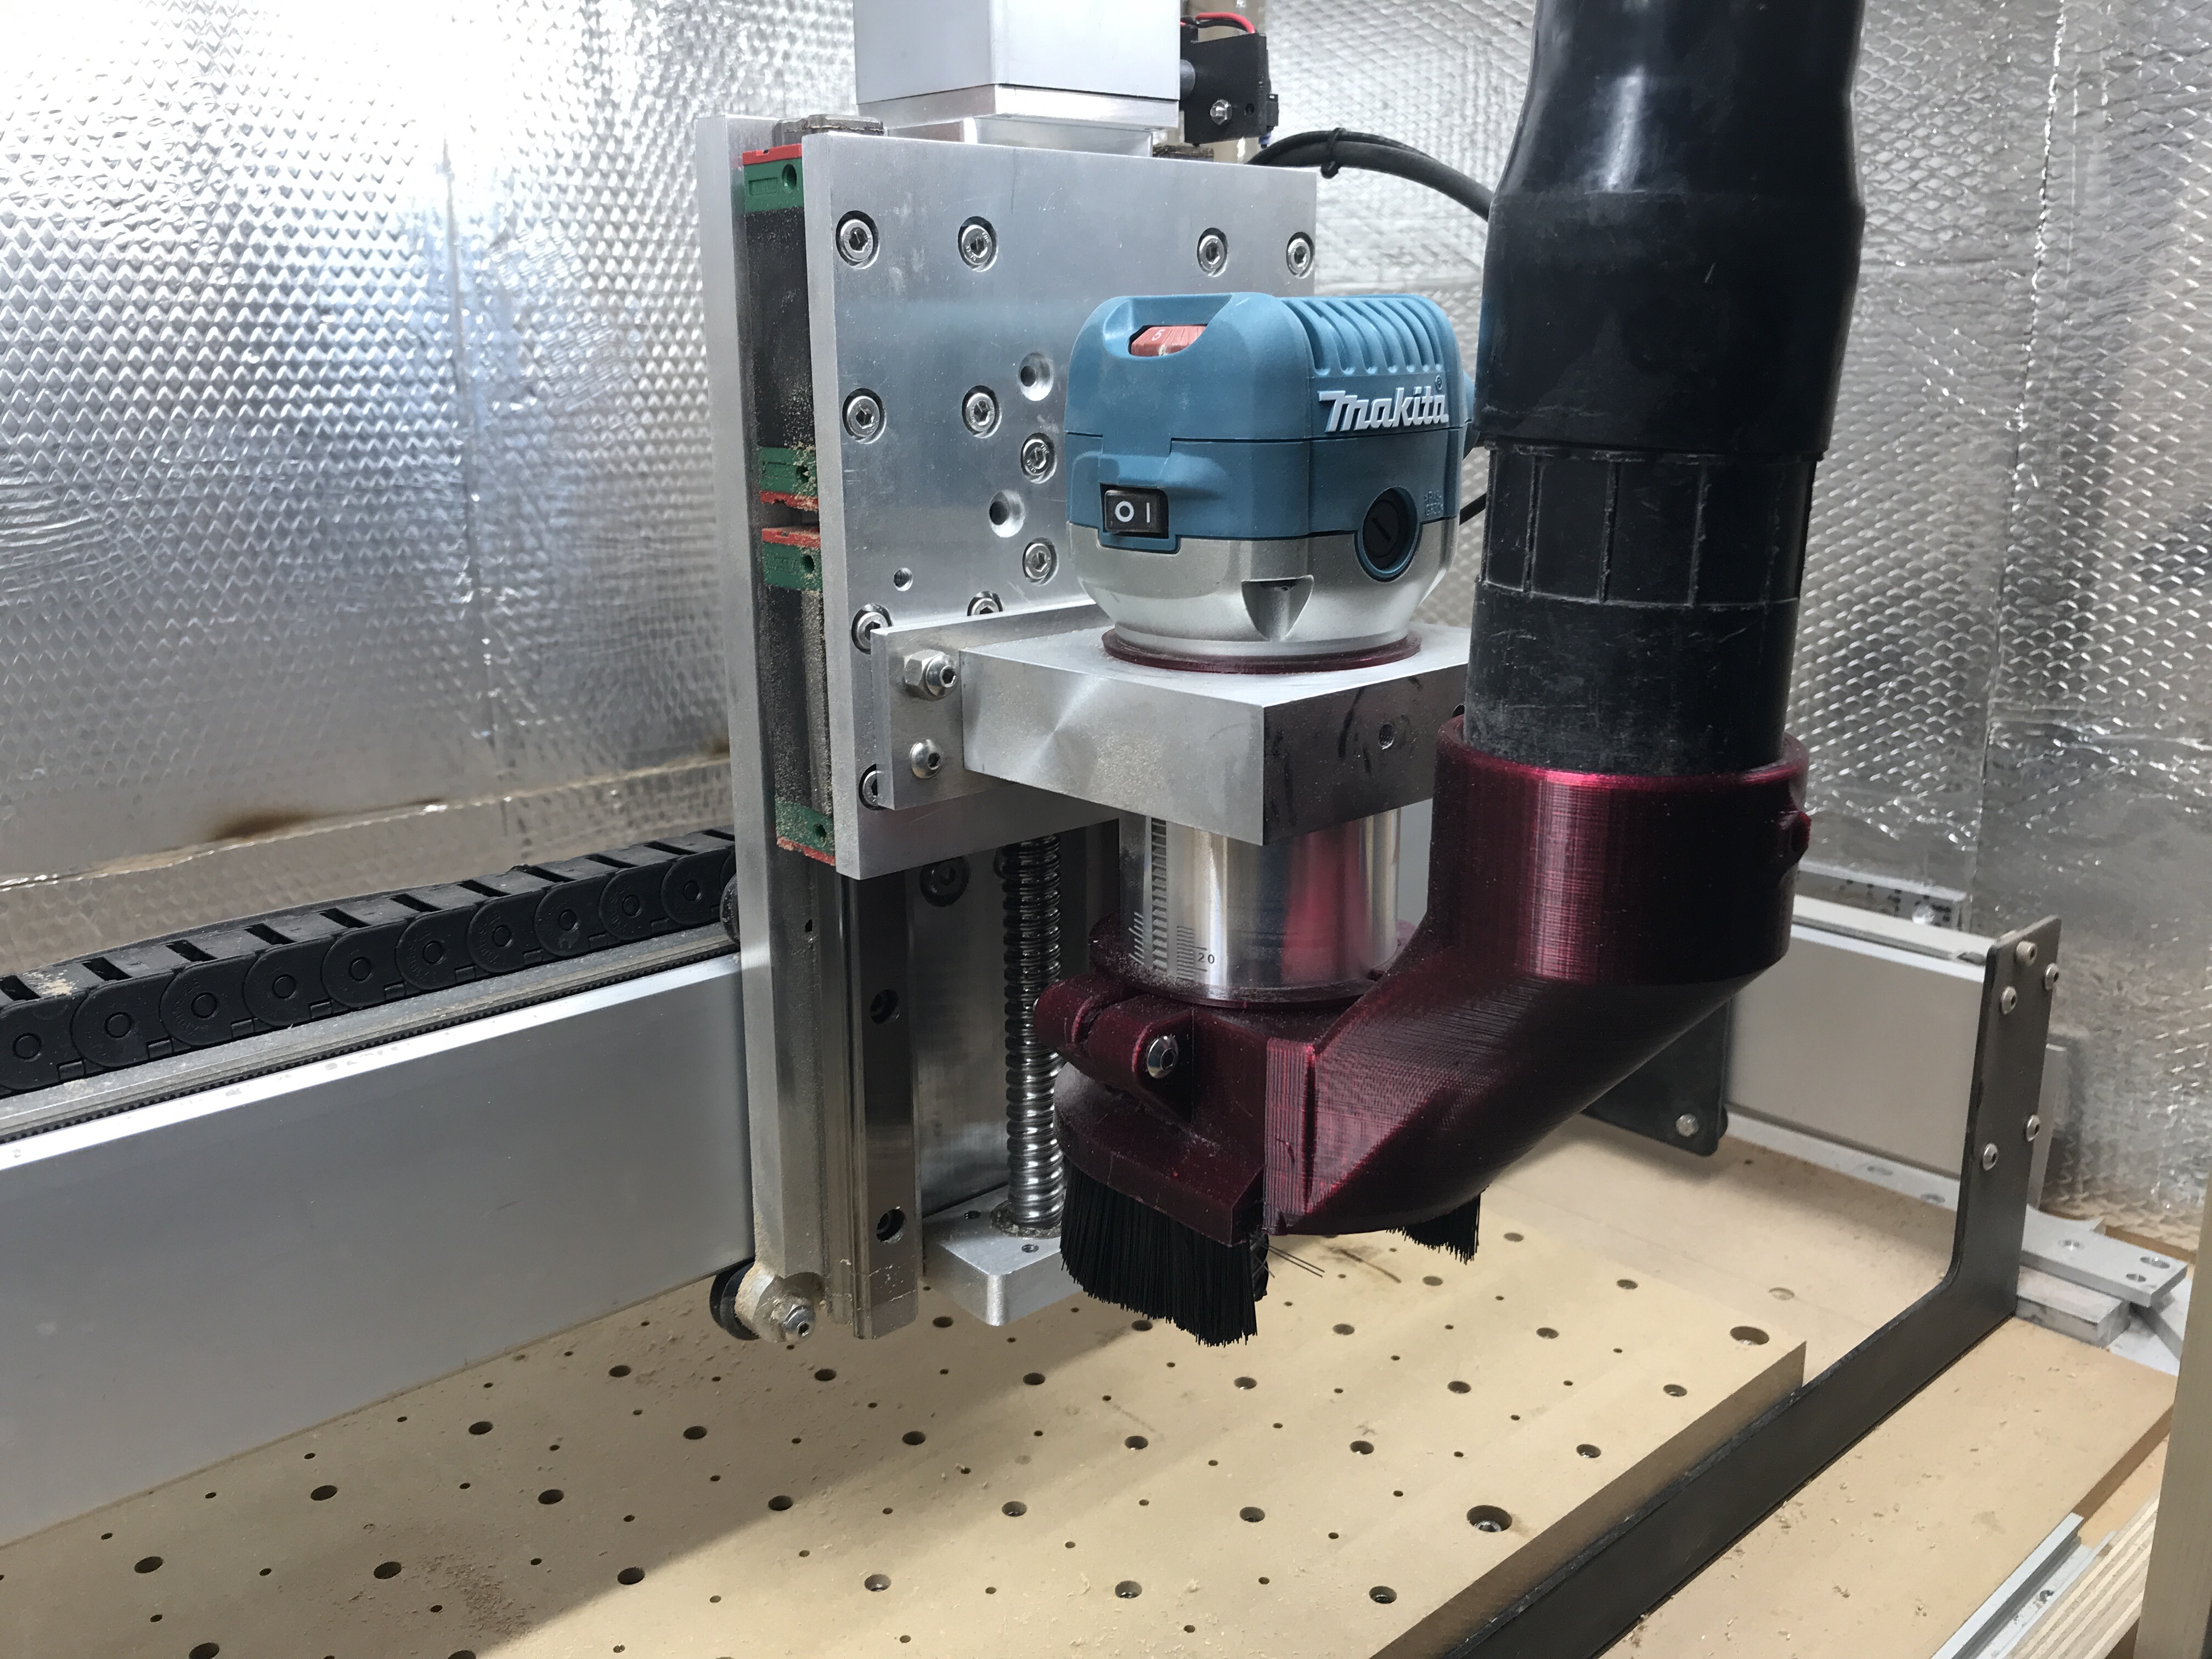
Printed a mod of the design posted above. I also designed a split sleeve adapter so I can use the shoe with either a Makita or DeWalt.

Split sleeve: https://a360.co/2GCvPrX

Dust shoe: https://a360.co/2kcASGT

This is changed significantly from the original so I’m guessing its ok to share. Namely, the vacuum passage has been opened up and the lugs for the bolt/nut thickened. I’m no internet lawyer though, so any objections let me know.

4 Likes

I am trying to find the time to get this part(or some revision) printed. Any tips/suggestions on the printing? Did you use supports throughout or just touching the build plate?

This is a preview from Slic3r Prusa edition. It automatically generated the supports. I’m very new to 3d print so…

If you’re cheap and lazy. Don’t know if this qualifies as a dust shoe but…plastic mayonnaise jar trimmed down, split on one side, tarp tie-down to hold vacuum hose near spindle. Certainly not perfect, probably falls into that crude but effective category:wink:

10 Likes

I did a remix of this one that was designed for the dewalt, gave it a little more lip on the top so you can drill/tap a screw to help secure it in place.

4 Likes

Thank you Phil, you should see the new one I made, lol.

Hello,

These are the latest updates to my Shapeoko XXL:

  1. The most important: a new 2HP air-cooled brushless spindle: The Bosch was quiet for a router, but this spindle makes very low noise. If it wasn’t for the shop-vac, I could listen to music while operating the CNC. I strongly recommend to stop cutting using routers, they are not made for continuous use.

  2. 2nd most important - an updated dust shoe. This compact version is a improved version of the previous one I made for my Bosch router. Since I have updated my spindle, I had to make a new one. Same as before, this dust shoe has the main advantage that it could be set to travel or not on the Z axis. Most of the times I just set it to stay at a constant Z while the spindle travels up and down. This is very useful, because I could shorten the bristles to a minimum of 1" and so I optimize the suction of my shop-vac.

  3. With the dust shoe, came the challenge of dust management. I designed and made a cyclone from two 5 gal buckets. This helps collecting the fine dust before it gets into the shop-vac. Lately I had to cut massive amounts of MDF. I can say I had no dust whatsoever on the dust shoe, so the laptop was spared as well.

  4. Next update was an MDF T-slot table. After struggling for the last 2 years to attach the parts on the table, I have designed and completed an MDF T-slot table. The main reason for this is that it can be easily surfaced so I can keep it level at all times. I made a file for surfacing it, and it takes less than half the time it was taking me before to surface my table. I use a 1.5" knife and I believe it takes less than 3 minutes to surface the entire table. Another feature of my table is that it allows to be moved forward for cutting pieces that are 32"x32". For brackets I use polycarbonate fixations with 1/4-20 mechanical screws. Why I chose polycarbonate is because it does not break (like wood) and if the cutter touches it by mistake, it will not damage it.

  5. A custom-made Z probe, because I was fed up waiting for the back-ordered original. I also didn’t mention the red plastic fence around the perimeter of the CNC, because that was the 1st improvement I did to the Shapeoko. At the time I had no dust shoe, it really helped keeping everything inside. Since plastics tend to statically adhere to everything, it was a necessity to design the dust shoe, the underside of the gantry was always full of plastic shavings.

Here is the finished table, scroll down for details of the construction:


Making of the T-slots (notice the rudimentary fixations):

First slot and checking of clearance of the polycarbonate nut:

Advancement (I checked the clearance every time):

Back of the CNC (you can see the advanced table at the back fence):

The table screws are accessible between the slots:

Example of stock fixation on the new table:

Here are some examples of projects I made:
Polycarbonate 3/8":

HDPE 1/2" (you can see the dust shoe in action - no plastic escapes):

That’s is for now, thanks for checking my post, feel free to ask away, I will share if you’re interested to replicate.

4 Likes

I like your improved Z screw, did you buy it or you made it? Are you interested to share? Thx.

I made it from plans provided, free, by @Luke.

https://www.beavercnc.co.uk/product-page/free-plans-for-beaver-cnc-linear-z-v2

He also sells an updated, prettier HDZ.

Great collection of options… here’s my entry… https://www.thingiverse.com/make:614417 Printed a design by Gage6917 and works out really well.
dustboot

3 Likes

Awesome! Thanks for posting. Would you show how you designed the dust shoe and how you mounted it to be height-independent? That’s what I’m curious about.

Hi,

The assembly from the top is as follows:

  1. The top dust shoe bracket has two 1/4" stainless rods mounted on it with two set screws. The bracket and the two rods are fixed to each other.
  2. The second bracket is fixed on the Shapeoko’s Z stepper on the top 2 spacers of the stepper. You can see that this bracket is made of two parts, so you can put it in without the disassembly of the Z stepper. This bracket has 0.26" dia. holes, so the rods can slide up and down easily. On the right side, there is a set screw with a knob (now shown). Tightening this set screw will keep the shoe at a steady Z, if so desired.
  3. The green bracket is mounted around the the router, on top of the aluminum bracket that attaches the router to the machine (not shown here) This bracket has the same holes of 0.26" that are designed to let the rods slide. On the right side, there is another set screw with a knob (not shown). Tightening this set screw will keep the shoe fixed to the spindle and will move along with it, if so desired. Of course, tightening both top and bottom set screws will prevent your Z movement and you will end up skipping the Z position. You have to make sure that only one of the set screws is fixed at all times.
  4. The bottom one is the shoe. The two rods are set with screws for easy removal, but I never had remove it. The shoe is made of 3 layers of 3/8" thick polycarbonate. This particular model has the front removable with the two red clips you see in the picture, but I never had to remove it since changing the tools is easily done with the dust shoe all the way down. That is why my new design is more compact, without removable parts.

This is the 3d modelling:

The installation of the shoe:

Close-up:

Shoe in action:

5 Likes

Hi Griff,
thanks for the info, I downloaded the files, but it’s a bunch of useless files, no .dwg or .pdf I can use…
On second thought, I will design my own, I just need to figure out how to calibrate the z stepper and the ball screw… I have the linear guides already, I just need to buy a ball screw for $20 and I am set. Far cheaper than the $600CAN they ask for the whole thing, lol.

Thanks anyways.

The files work fine. You need to rename the extension to “.f3d” because they are Fusion 360 files.

1 Like

Thank you, I will download Fusion 360, learn how to use it and then open the files…

1 Like