It’s threading time, finally!
8k, 1000mm/min, 1mm thread pitch, 1.24 pitch diameter offset, multiple passes, 2, 0.15mm stepover, spring pass.

It’s threading time, finally!
8k, 1000mm/min, 1mm thread pitch, 1.24 pitch diameter offset, multiple passes, 2, 0.15mm stepover, spring pass.
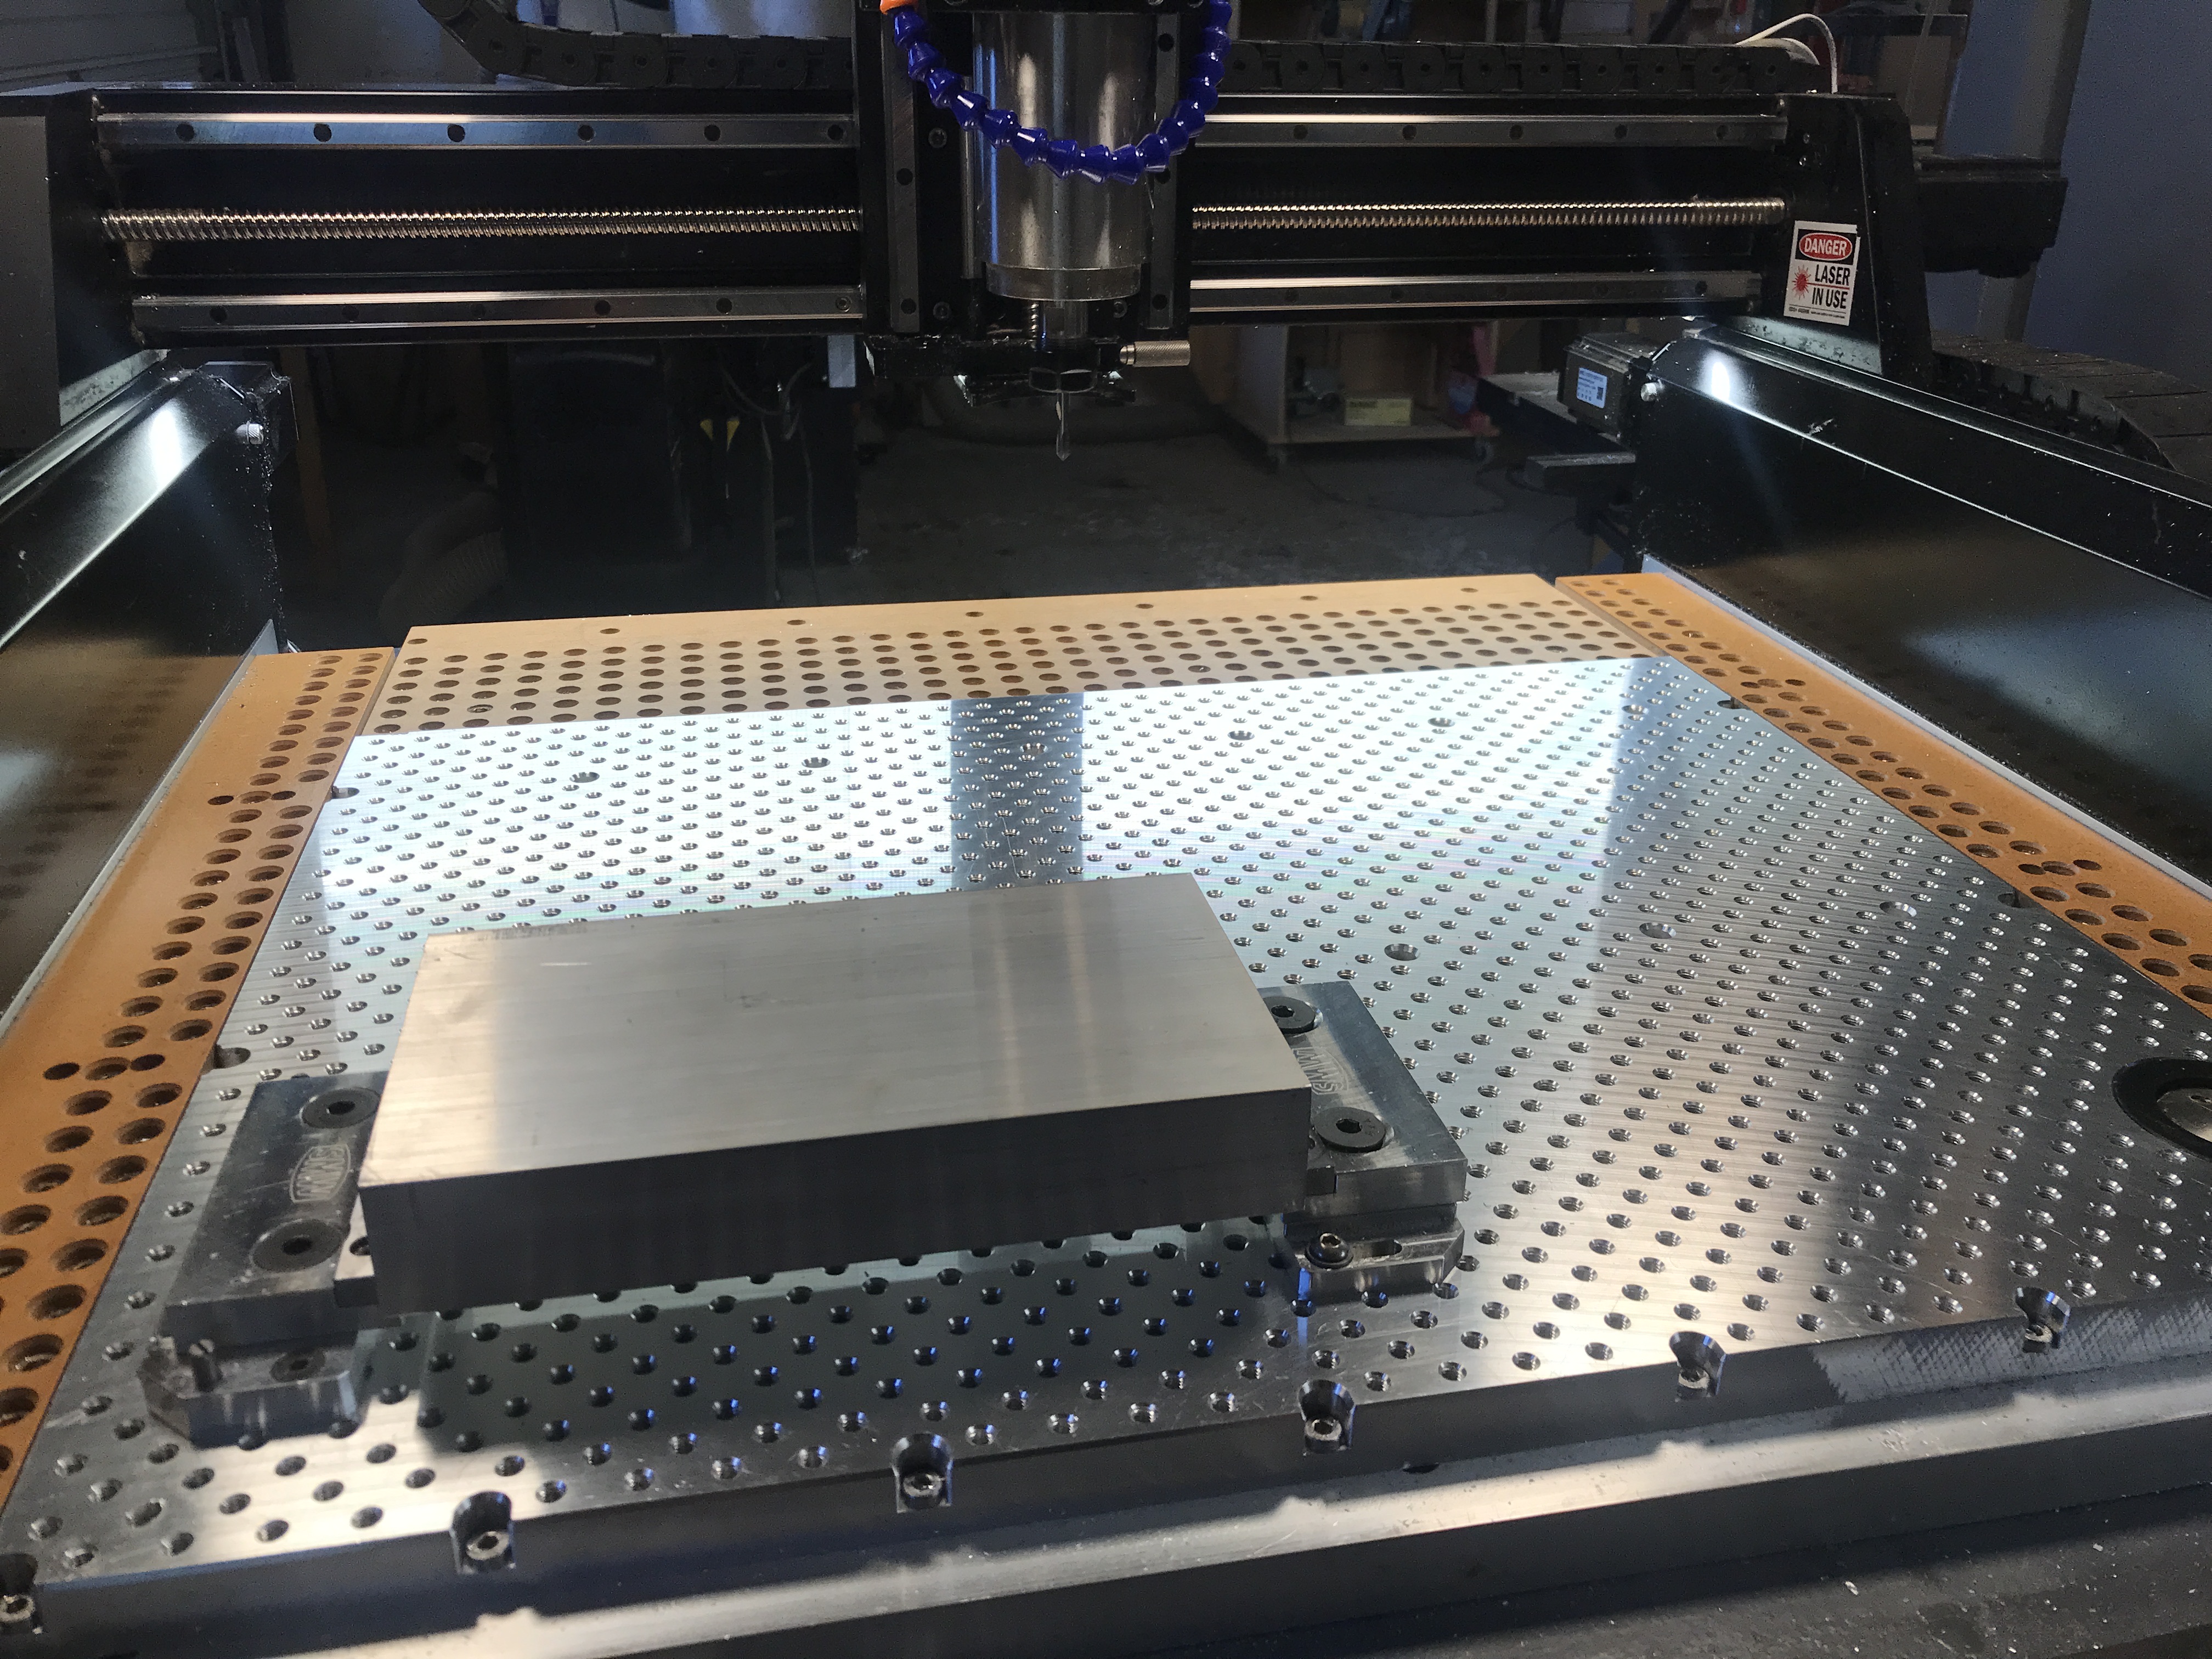
And…ta-da, it’s finished! I am really happy with this, Works perfectly with the Saunders mod vises. It’s soooo shiny too!!
That is really nice work there, very shiny, I’d spend as much time cleaning it as milling ![]()
And now we’re all looking forward to the artistic projects that come off of your shiny new fixture plate!
We’ll see, i suppose cutting gears and such could be called artistic?
Wow Griff, that looks amazing! How much was the giant piece of aluminum?
~$300 + shipping from Midwestern Steel. ATP5 cast plate.
Plus $2k in time and 2 years off your life from stress ![]()
Some truth to that.
But, no point in having a machine like an HDM if you are not going to learn to exploit its capabilities.
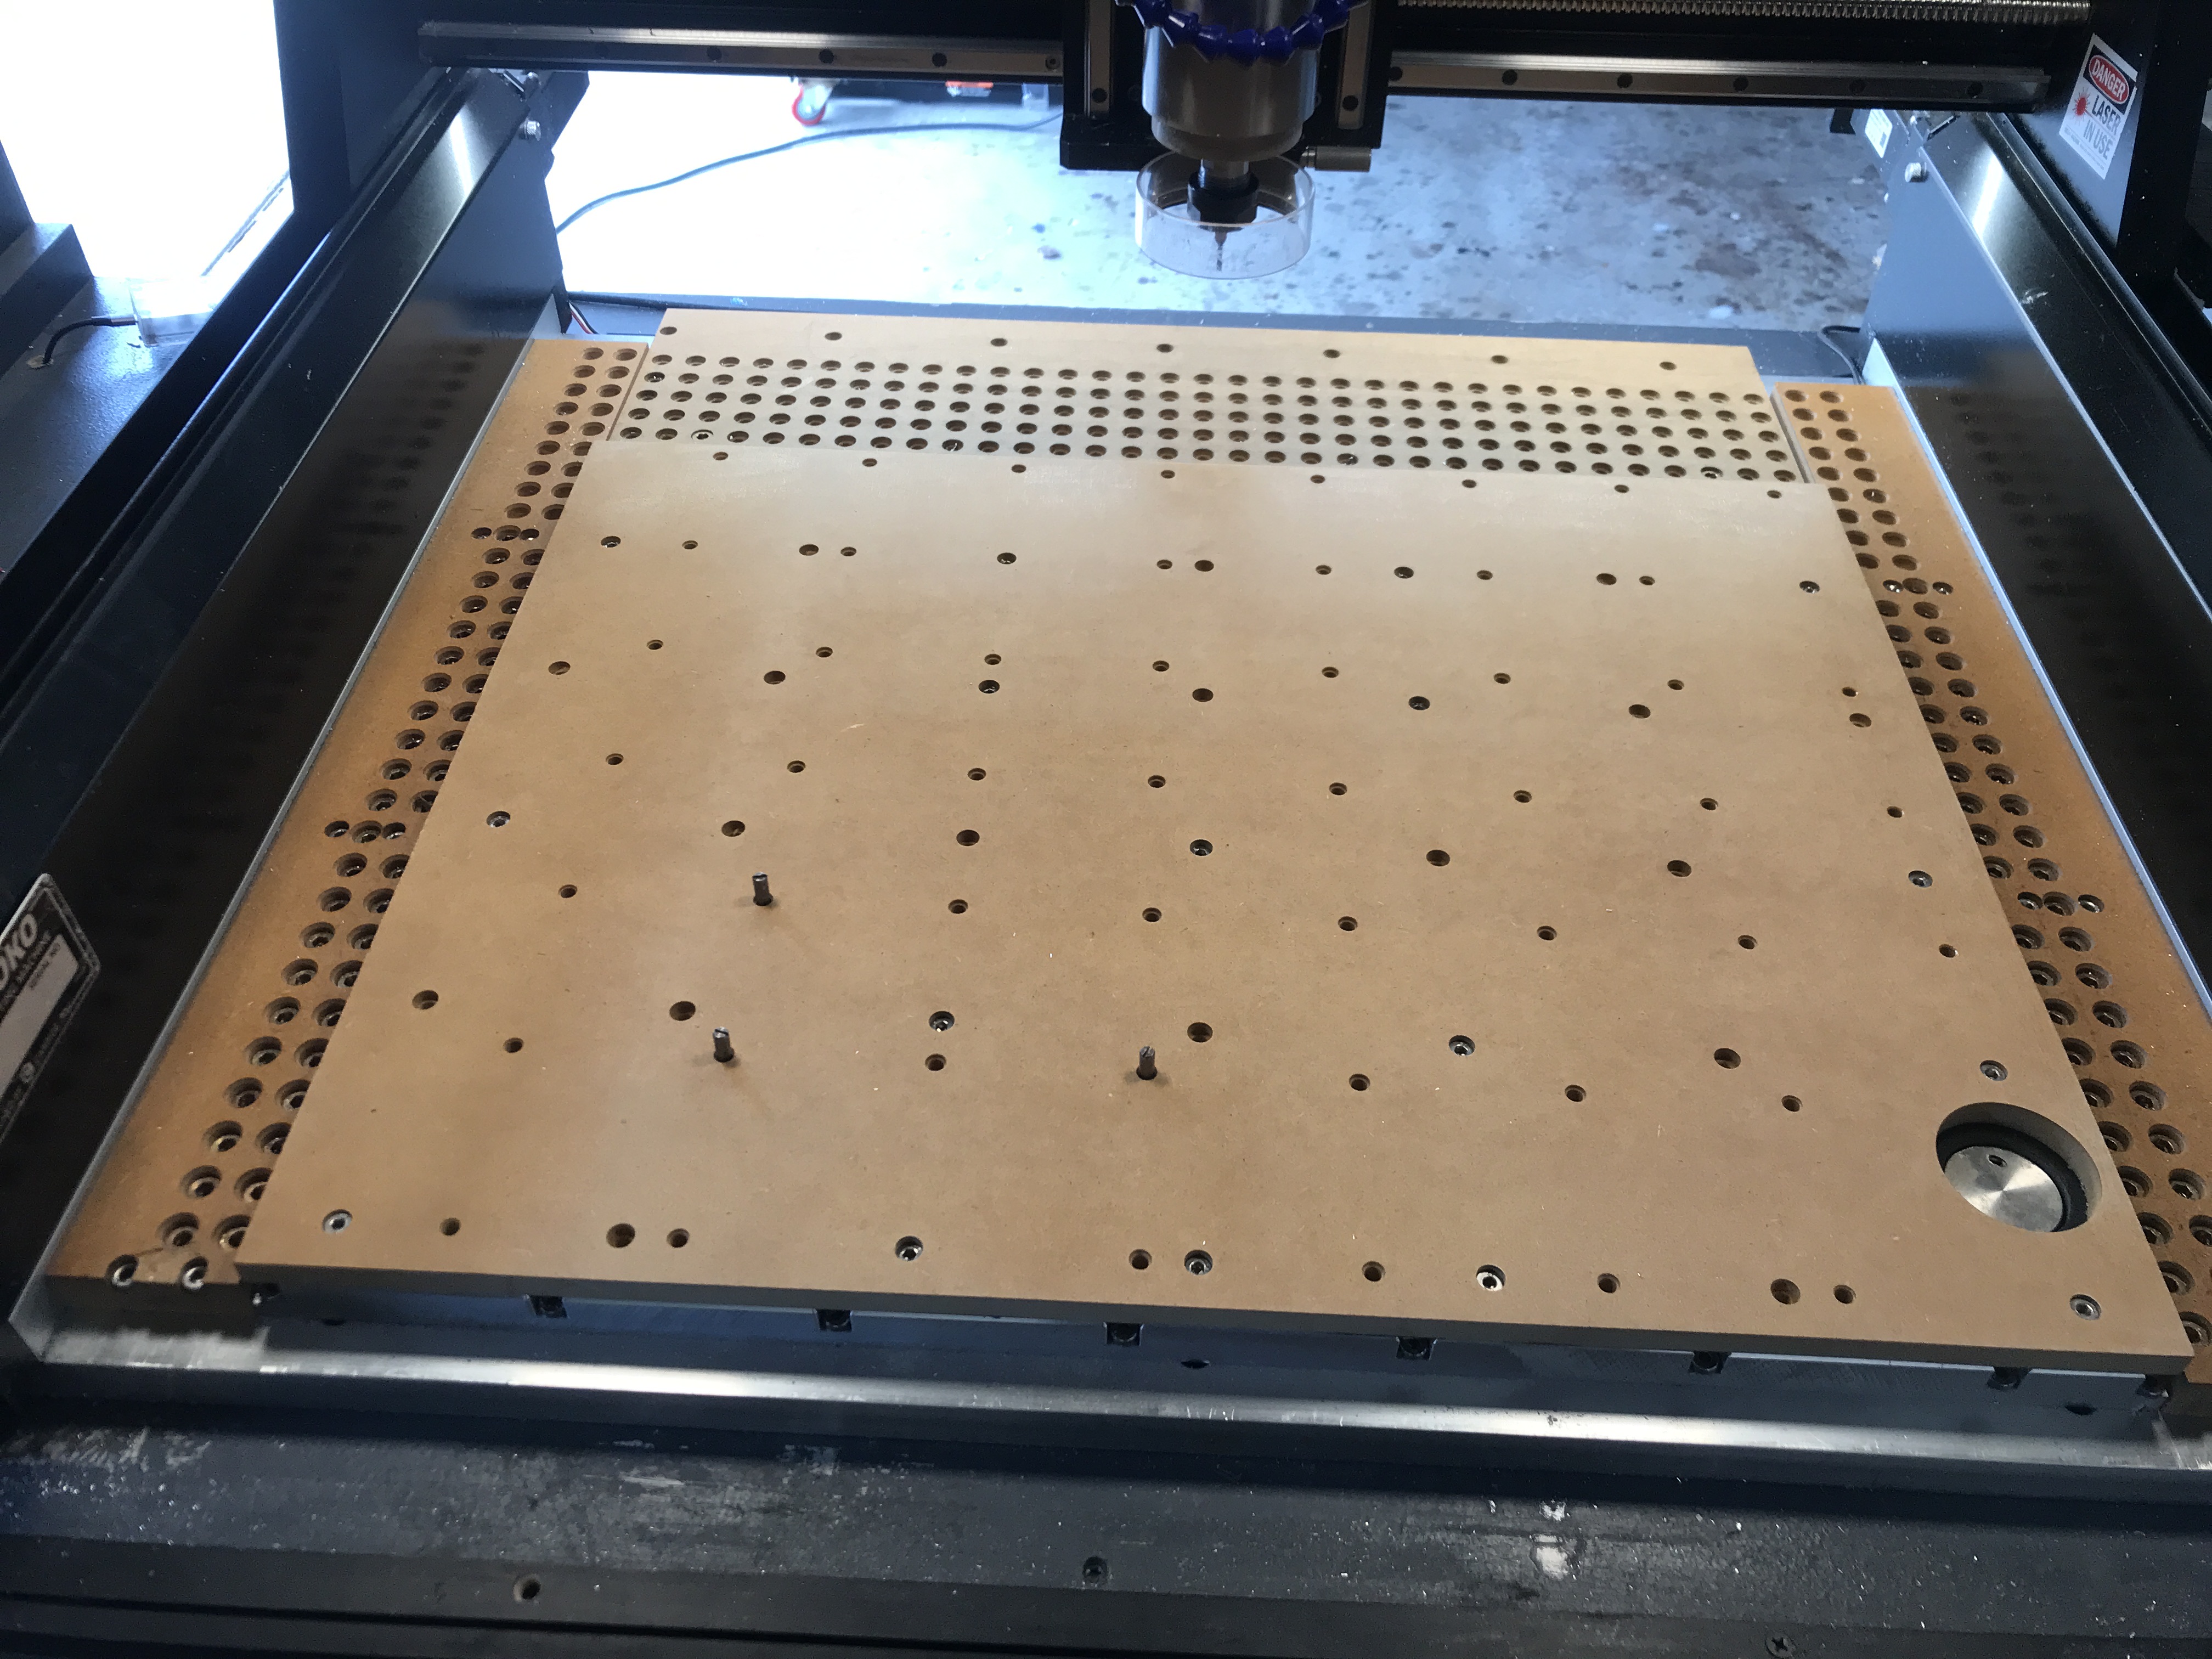
Having managed this I am confident I can knock out the same or variations thereof easily with minimum stress/time. Example, I’ve already cut a secondary wasteboard to protect the plate when working on wood projects.
It’s all FUN stuff as far as I’m concerned.
Absolutely. I would have been nervous with every plunge though.
Could you link the drill you used?
I ran some tests boring with a long 3/16 endmill and it’s got a bit of chatter.
Per @SLCJedi , whose opinion I greatly respect, a 2 flute from Harvey tools would be better - faster and better chip evacuation then the 3 flute in the above link.
I had already made the investment in 2 of the three flutes so I stuck with them.
Completed secondary wasteboard for tape and glue setups to protect my nice and shiny fixture plate.
Bolt and dowel pins mirror tapped holes in the fixture plate. Easy installation and guarantees squareness in x/y.
Now, to finish hurricane prep for the first time in my life!
Nice job. Hope the wind passes you by. Be safe
Beautiful now pack them both up and ship them to me and start over because there is 1 micro flaw and you deserve nothing less than perfection so I will do you the favor and take them off your hands.
All kidding aside nice work Sir!
Dang, didn’t think anyone would notice!
Shipping address?
I did some more testing today boring and threadmilling and I think I’m getting close to what I’m going to run for the final operation, with one problem.
The 3/16 1inch reach endmill starts with making some pretty nice chips but then starts to make fine dust as it gets deeper. I assume this is because of it rubbing against the stock. It also leaves a paper thin layer at the end because I’m using 1 inch stock. I could try increasing the cutting depth by a thousandths or so but then it would hit the shank. Should I consider switching to drilling?
Up until this plate I’d only used boring toolpaths for holes. I used a 1/8” diamond coated single flute to cut 5mm holes in 1/2” plate.
I tried using 4mm single flutes to bore 5mm holes in 7/8” plate without much luck. My take was there simply wasn’t, even using a single flute, enough room in the bore for adequate chip clearance.
So, I learned to drill. I think you might as well.
Good luck!
How wide is the cutting edge on your single flute cutter? 1/2 the hole dia plus the cutting edge width is the largest tool you should use when hole-milling / boring.
With a 5mm hole & 4mm cutter, the center of the hole might be getting cut with the center relieved part of the tool.
Thanks, now I know!..…