Griff
(Well crap, my hypometric precursor device is blown…)
1
A continuation of the thread started by @TheBigJam.
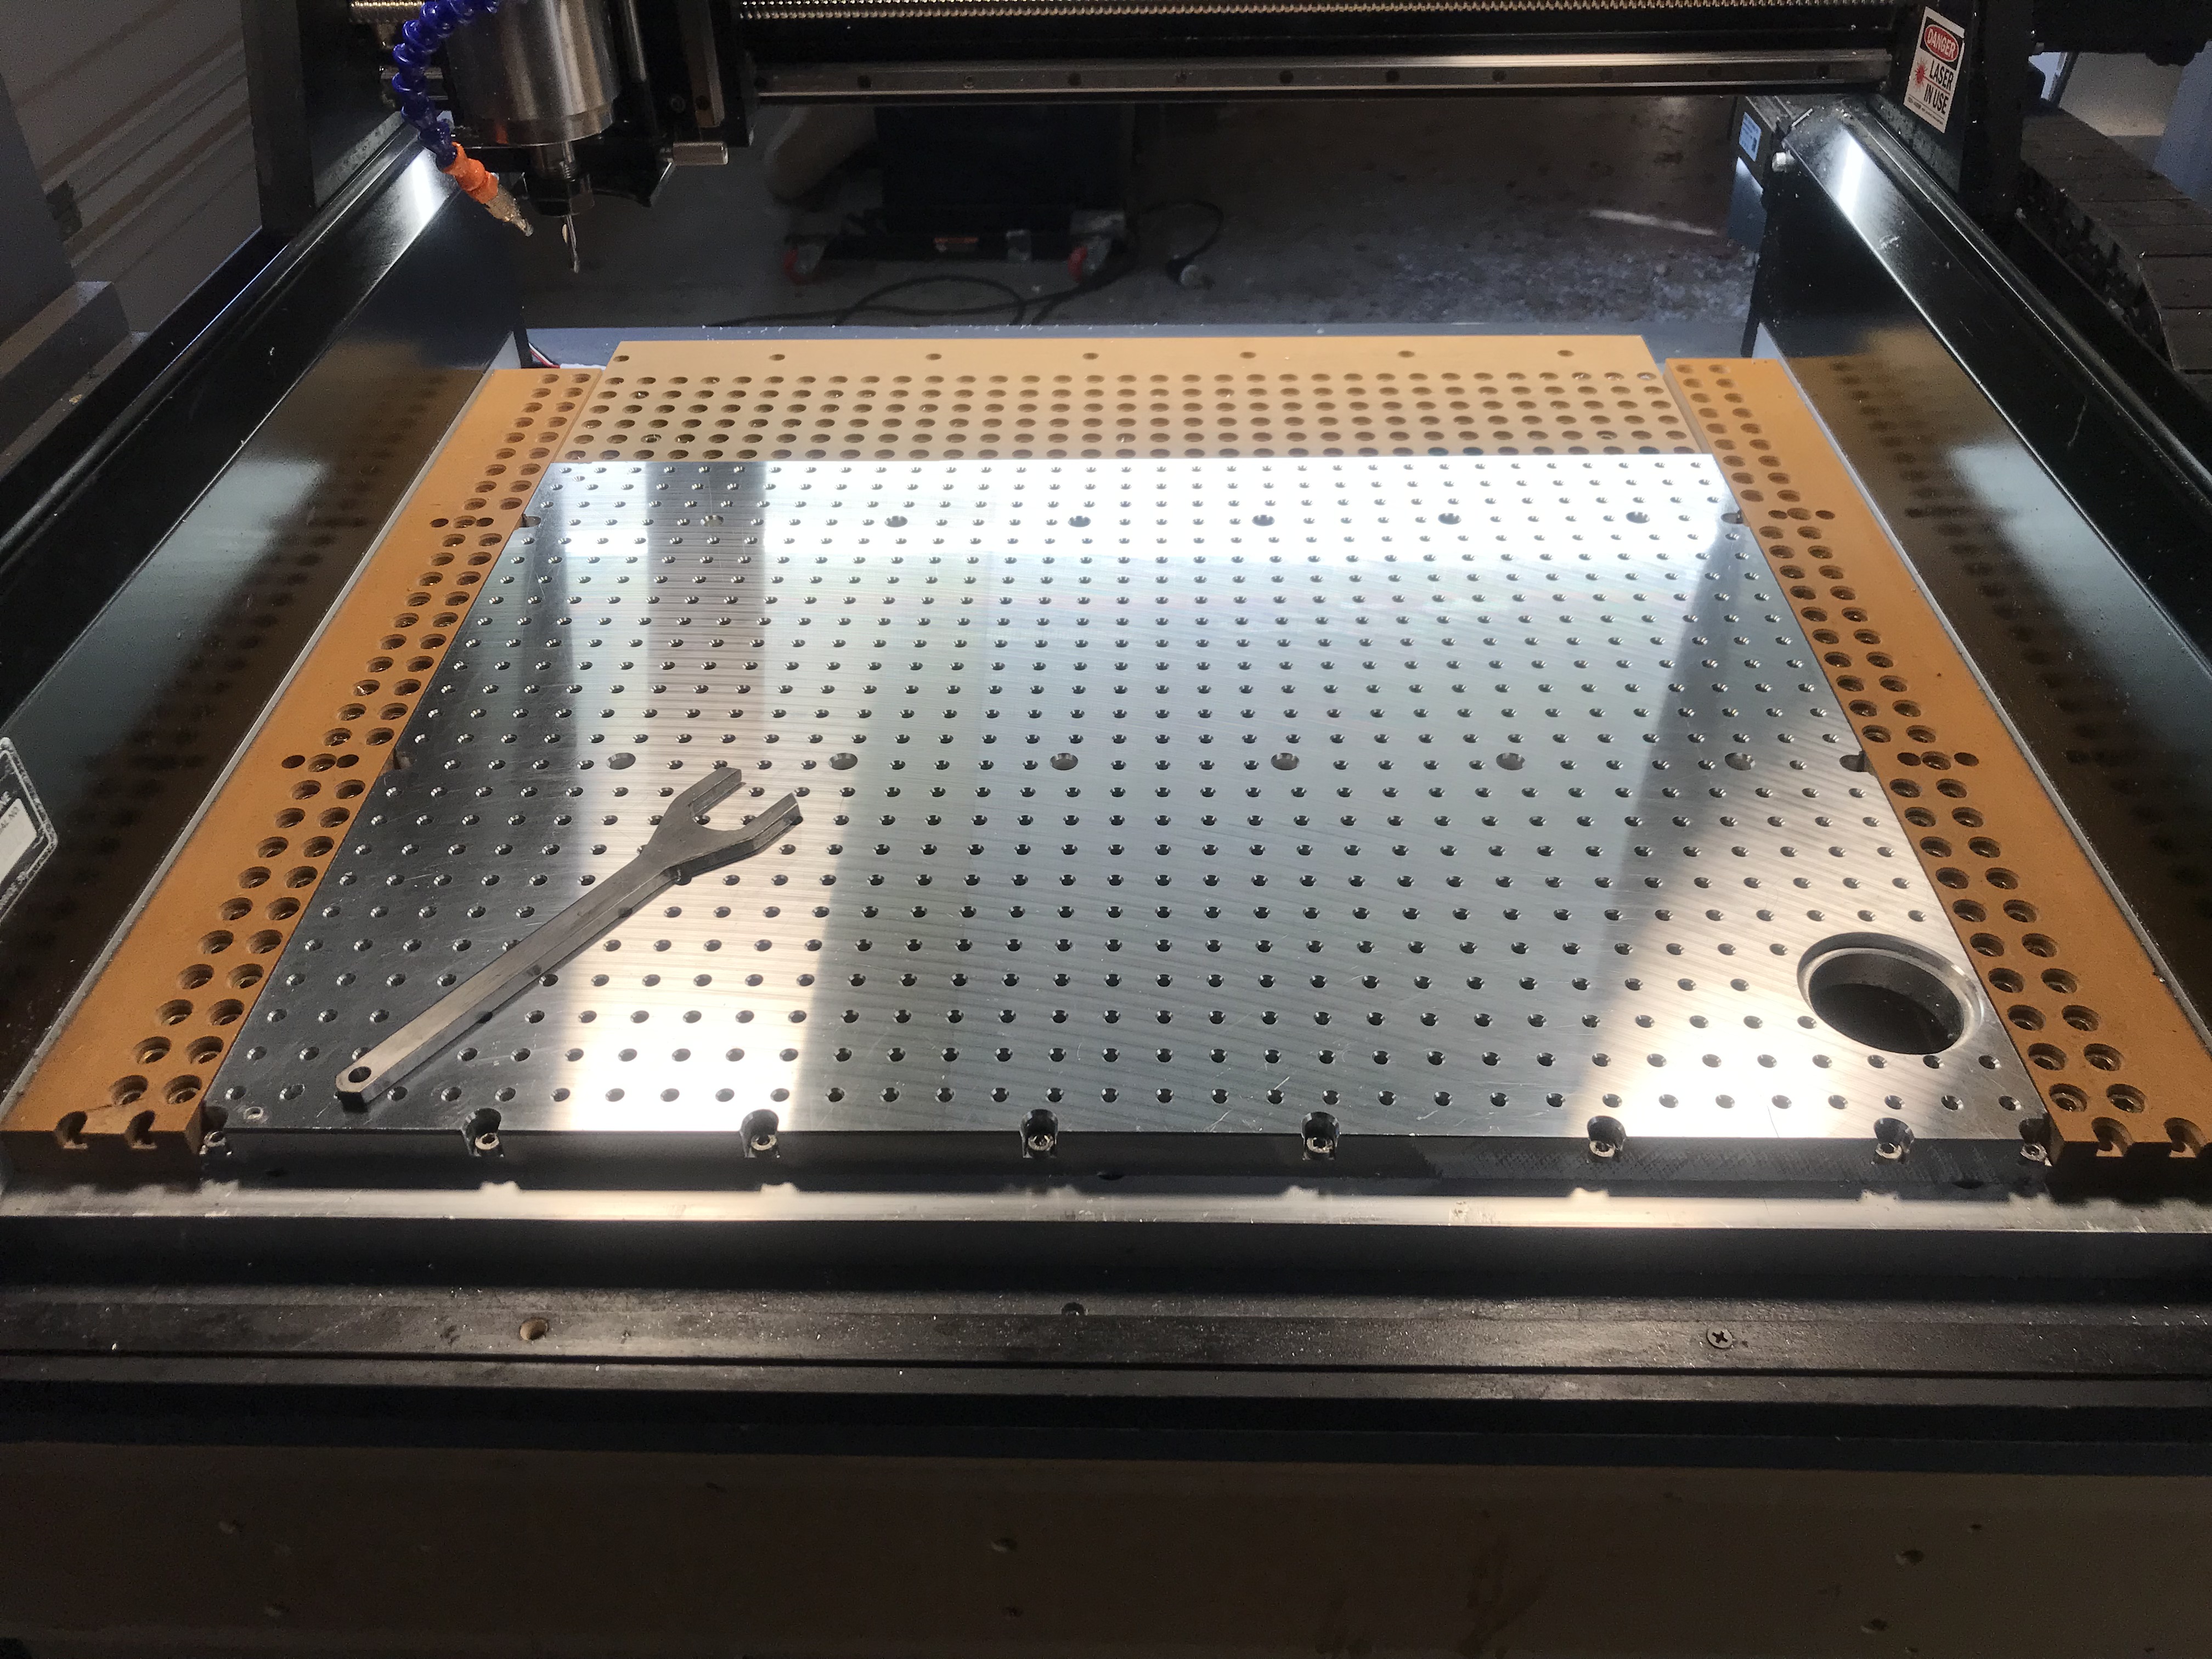
Started pecking some 5mm holes today, finally. 3 flute stub drill from Kyocera.
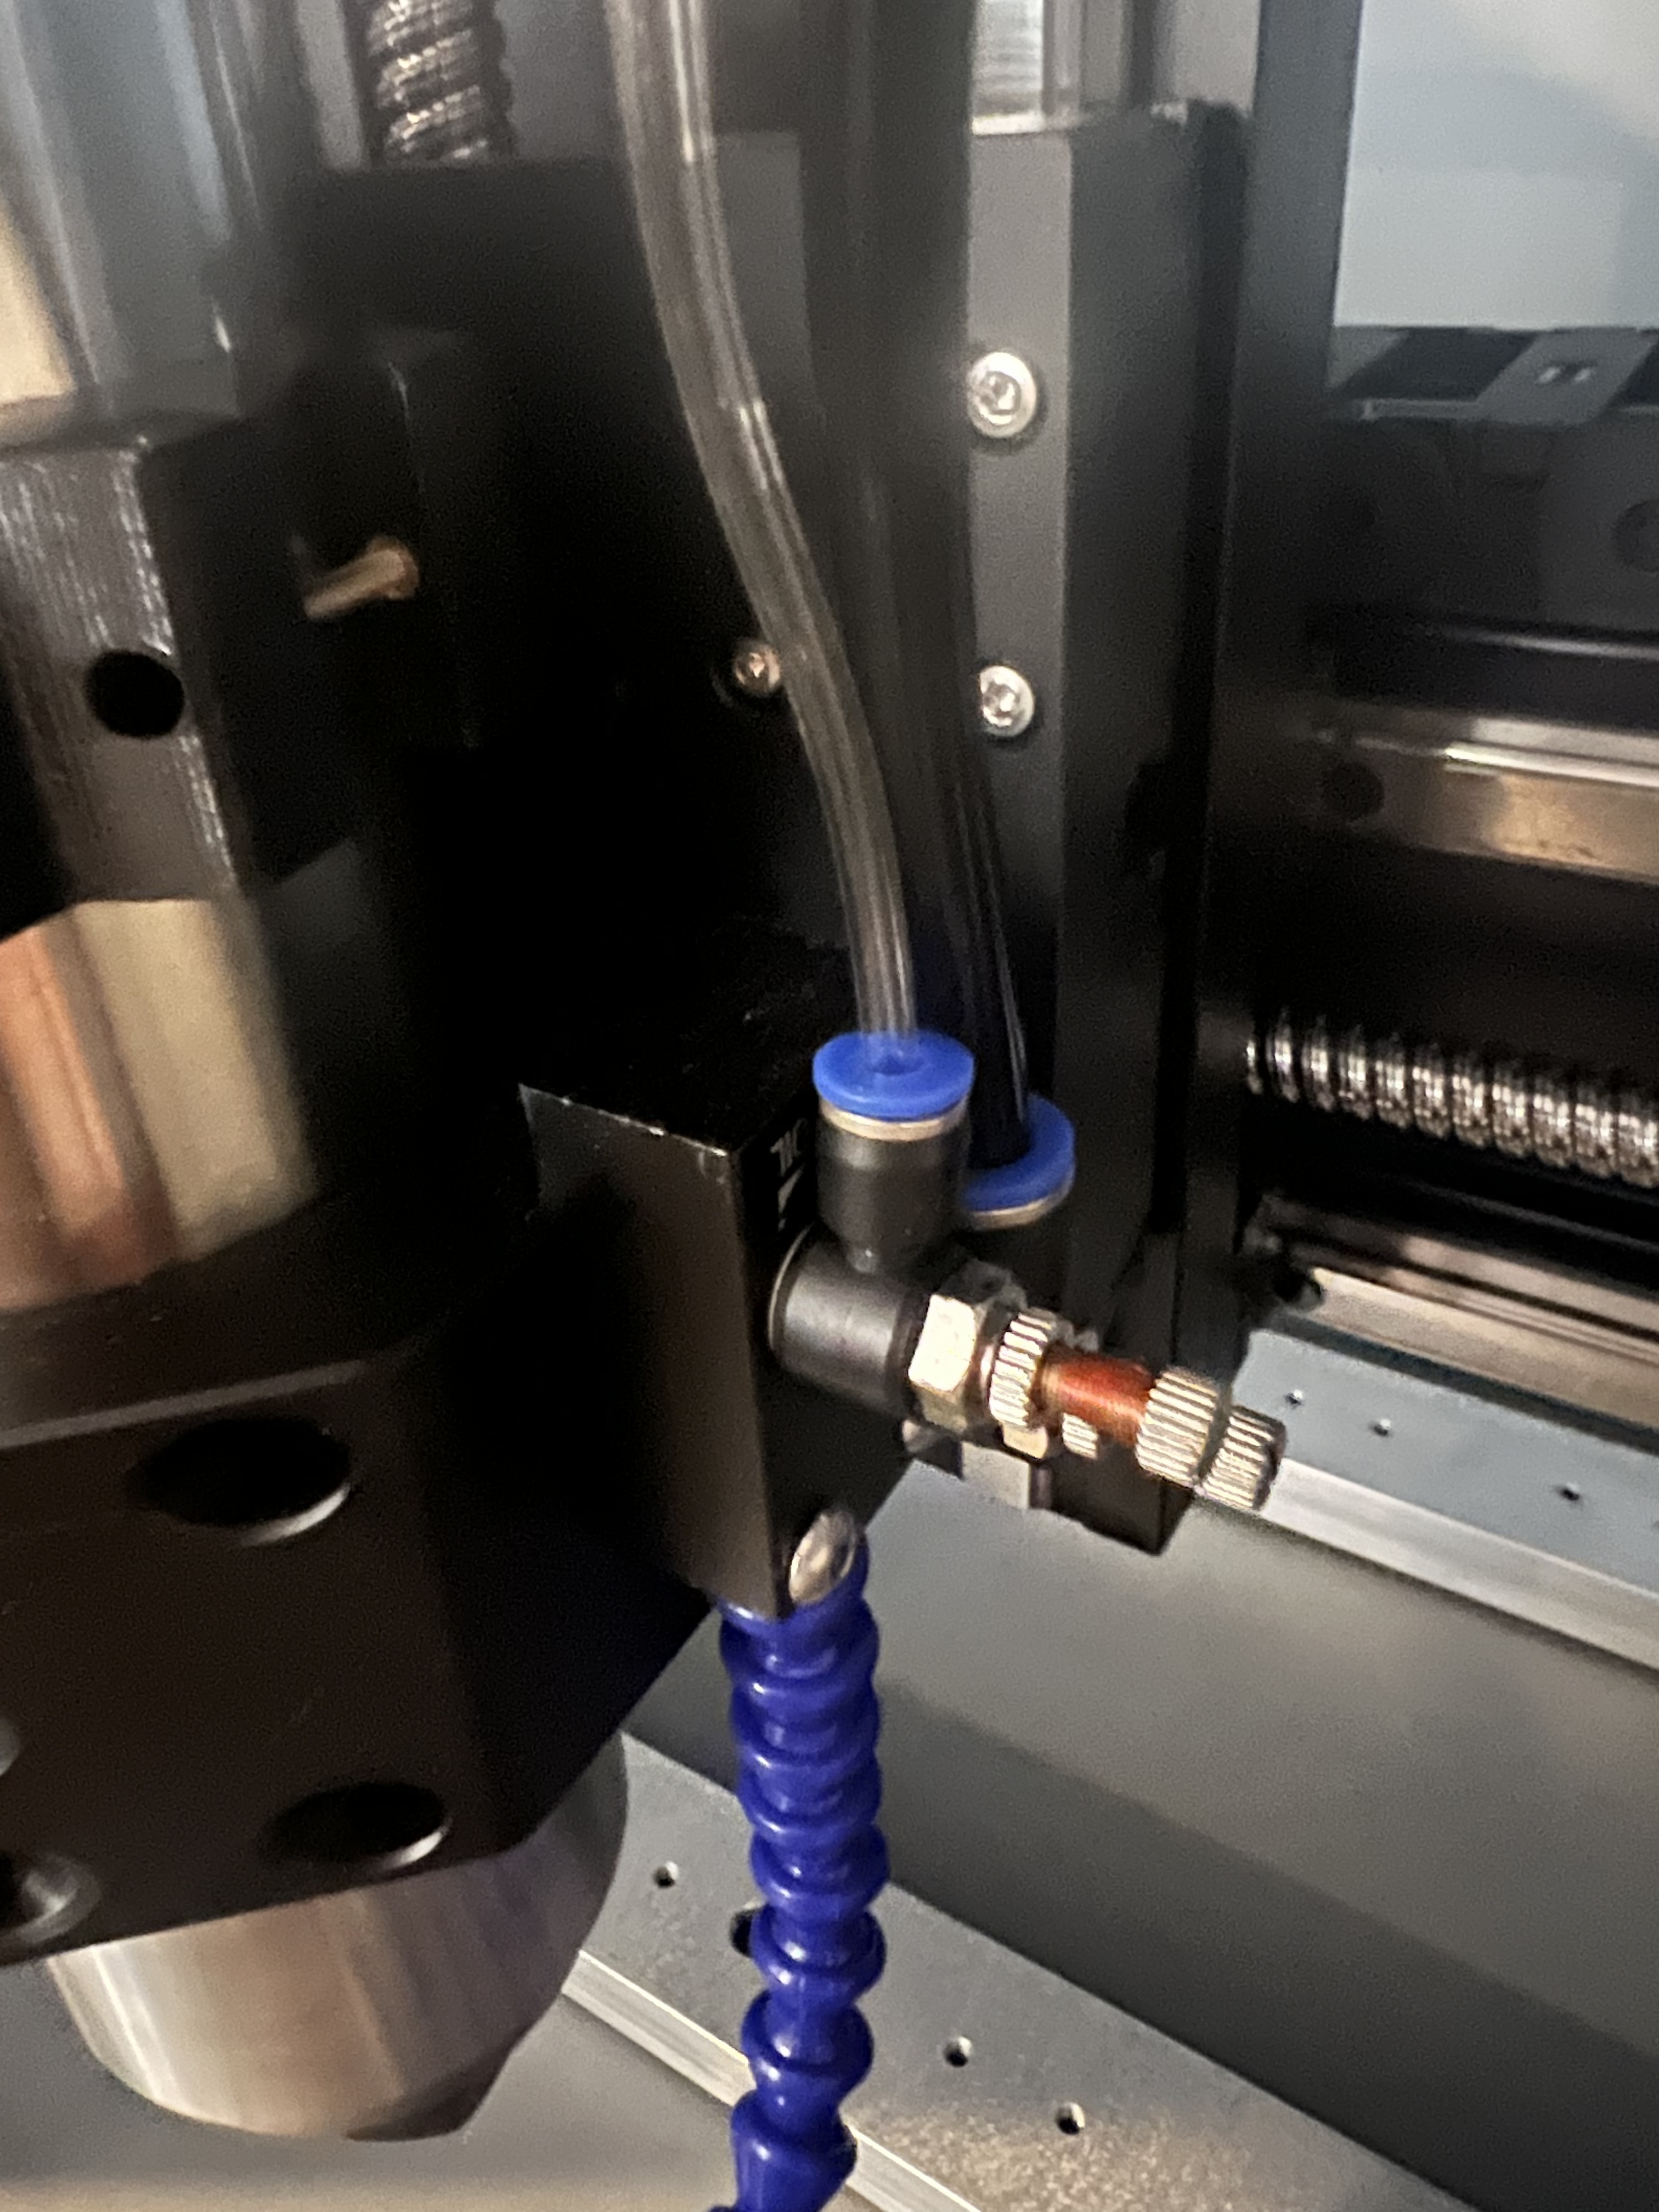
Struggling a bit losing steps occasionally, forcing a stop and re-zero. Guessing it’s my kludge mist system flow variations. I can hear the drill bind a bit occasionally, usually in the first 3-5mm. Seems odd given the giant steppers on this thing. Verified the coupler is tight. 500mm/min, 1.2mm peck depth, full retract.
I was having issues with drilling too. I had a conversation with Vince and it turned out I was not plunging fast enough, getting build-up, then stalling the spindle. I was also using Harvey Tools carbide drills and they are 2 flute with more room for chip evacuation.
3 Likes
Griff
(Well crap, my hypometric precursor device is blown…)
3
Good to know.
Started my drilling learning curve at 1000mm/min with immediate lose of steps. Ended up at 1/2 that with acceptable results but not good enough.
My California Tools air compressor crapped out yesterday so my pecking has petered out ‘til I fix the compressor. Hopefully the 2 flute drills will arrive by the time I fix the compressor.
What RPM are you running and are you using the 1.5 or 2.2kw spindle? Also did you turn on the torque boost on the VFD? I believe I remember someone discussing that as an option for added torque maybe Luke can chime in on that.
I am using cheap Amazon 2 flute carbide stub drills.
I run 80 IPM retract with 30ipm plunge at 10k .040" pecks and lubricant is a must otherwise the chips stick in the flutes.
Buy some tap magic cutting fluid and add a few drops at the hole locations if needed. Thats what I started with years ago before the mist system.
1 Like
Griff
(Well crap, my hypometric precursor device is blown…)
7
Started testing at 8k, 10k seems to work better. 1.5kW spindle.
I’ll probably bite the bullet and splurge on a Fogbuster. After I look around a bit to see if I can build my own. The machined block doesn’t look that hard to duplicate, just need to find the pressure capable reservoir.
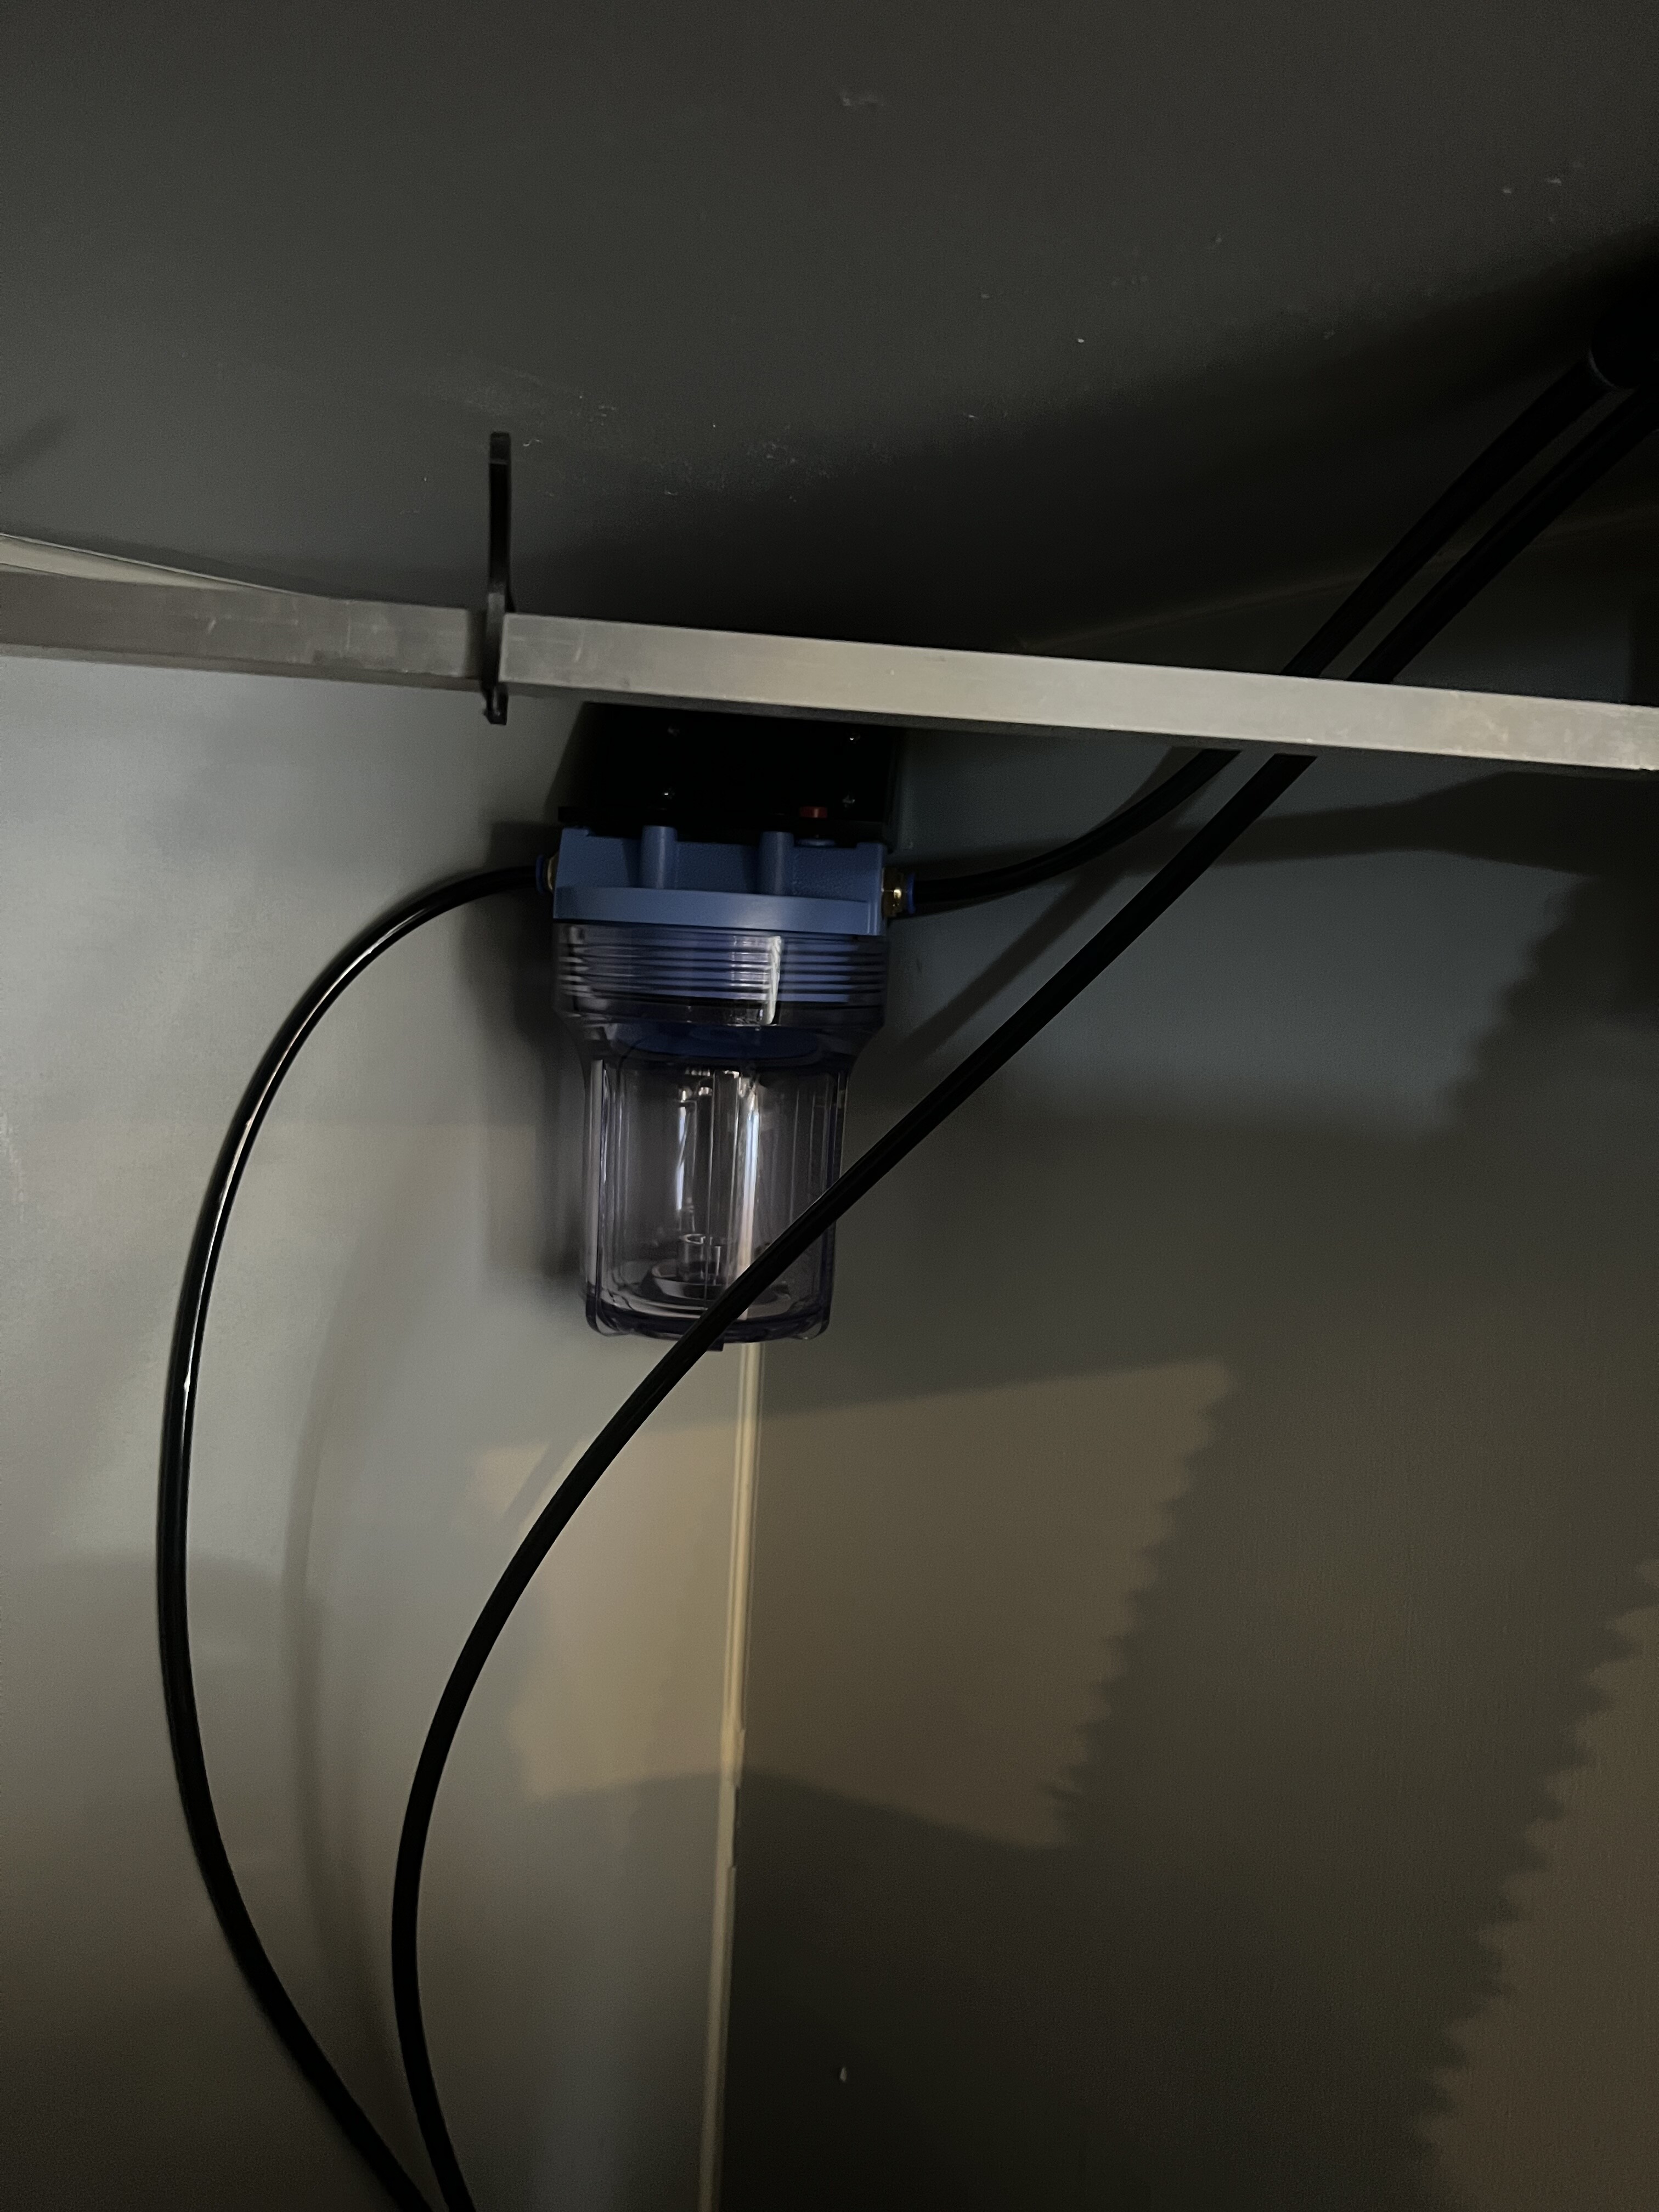
Is the better bargain over fog buster if you want to DYI buy a 10 in water filter housing they are rated to over 40 PSI and is all these companies are using.
I got the SST lube-cube and love it. However, the stock reservoir is not good for alcohol based coolants. I had to swap mine out with a polypropylene based res. Polycarbonate gets really brittle from contact with alcohol.
4 Likes
Griff
(Well crap, my hypometric precursor device is blown…)
12
I do love this forum. Another “good to know”.
Care to provide a link to the reservoir referenced?
I used a small water filter housing and NTP to 5/16 quick connect pneumatic tubing hooked up to a compressor. Outlet is a 1/8 tube pushed in to the 5/16 that acts as a straw inside the housing. I built a weird janky system where the air for both the mister and air last comes from the same tube with a y splitter but from testing with a generic Amazon mister it works pretty well.