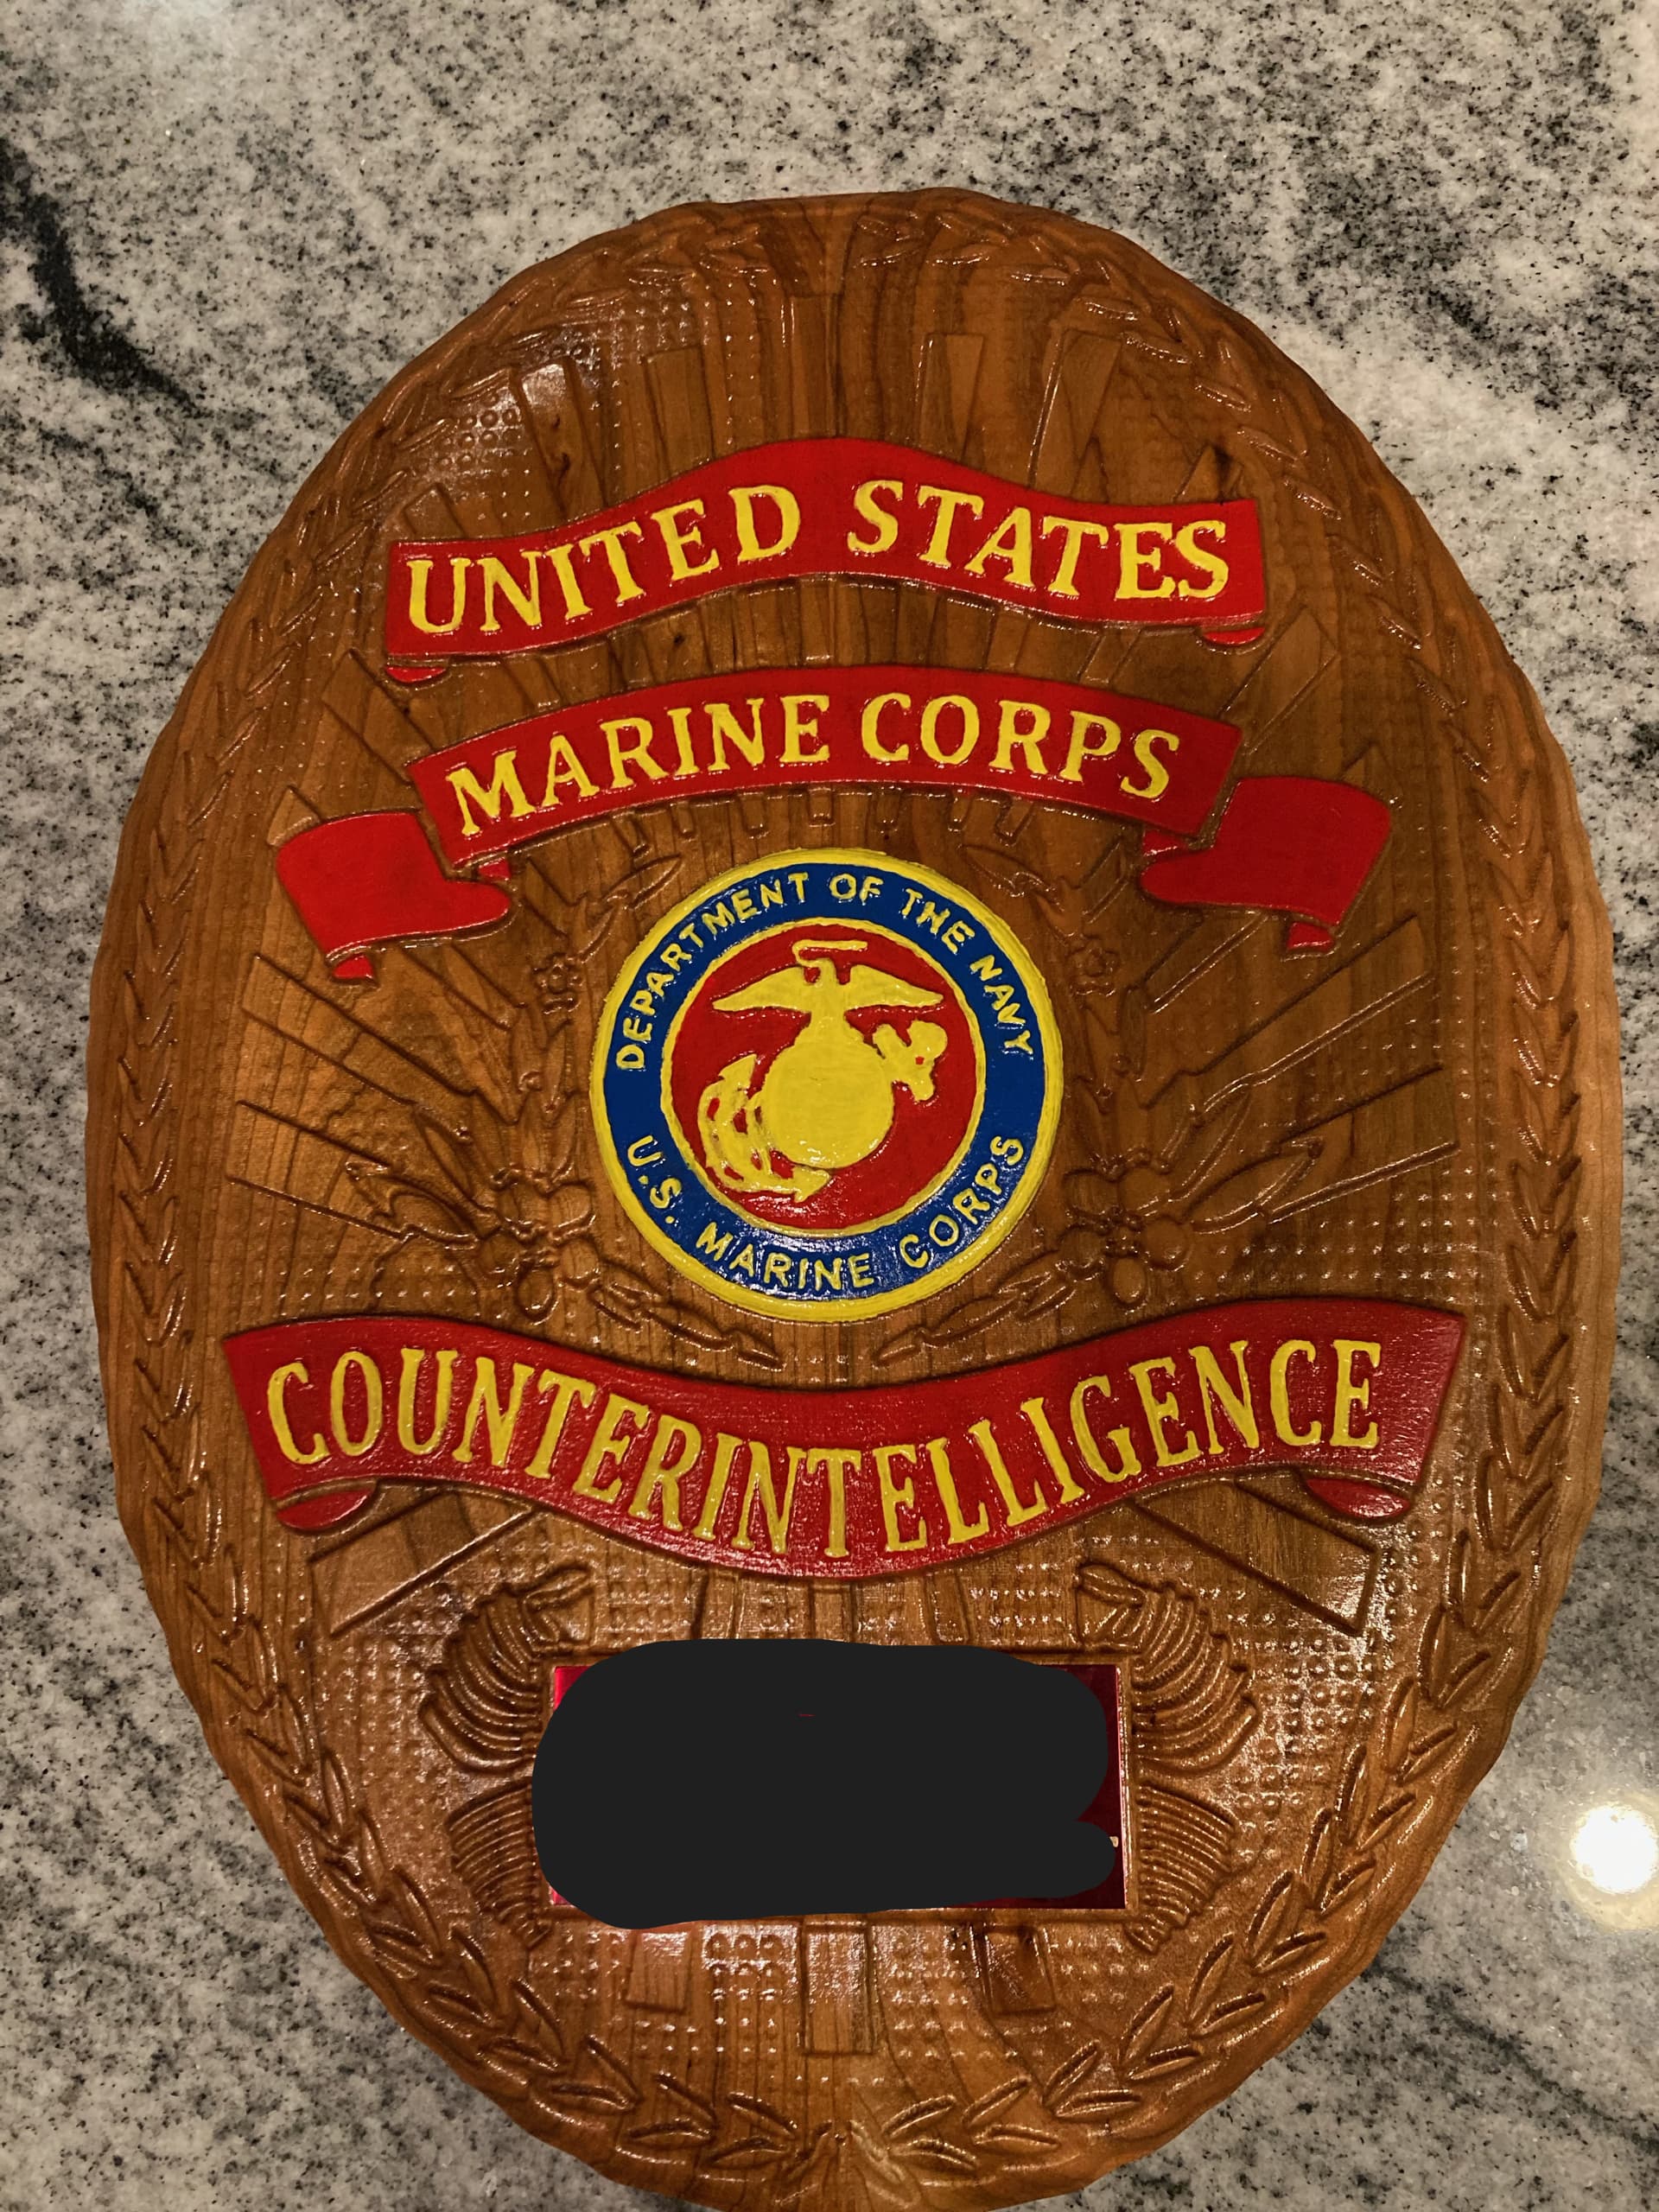
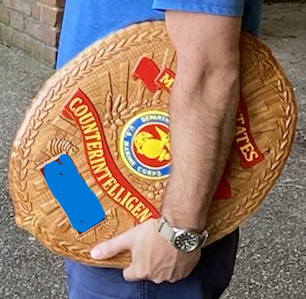
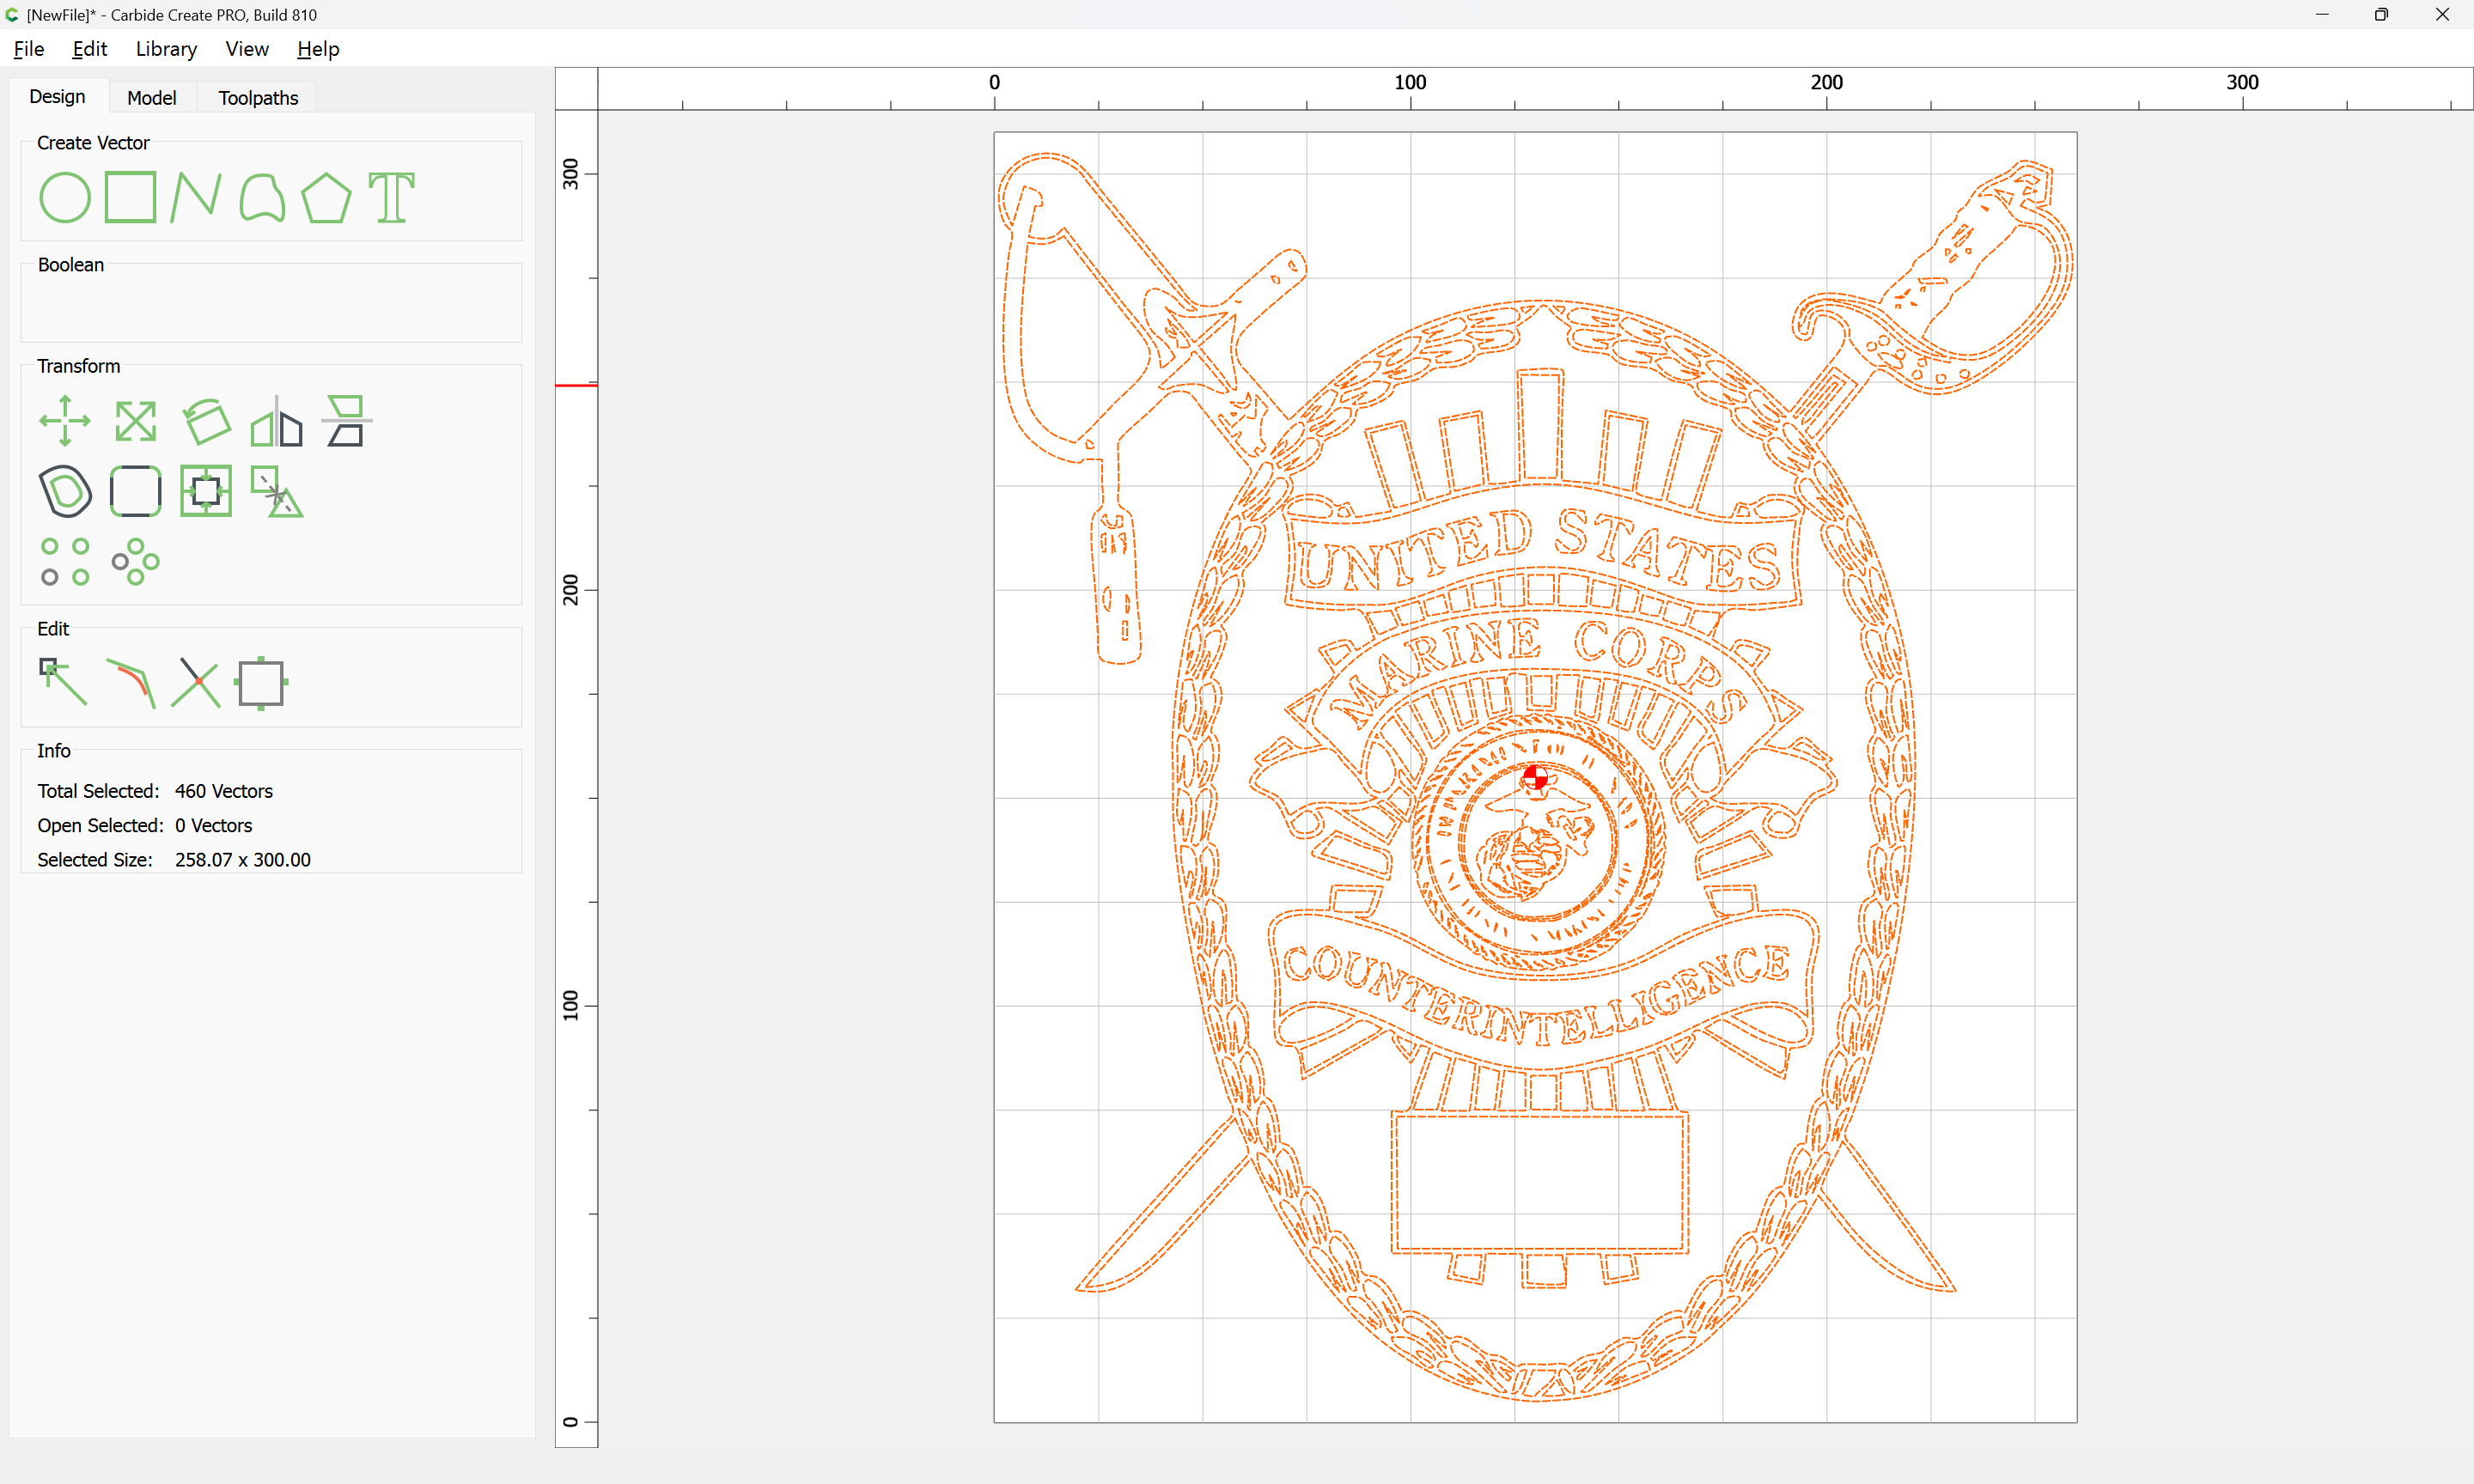
I am trying to fool around with the 3D options, but I still can’t quite get my head wrapped around how it all works. I want to replicate what this guy did with this badge (turned into a plaque):
I have a B/W PNG, that I am hoping to use for it. I’ve also converted it into an STL, but I can’t figure out how to make the raised surfaces to give it a real life badge appearance. Any help would be greatly appreciated.
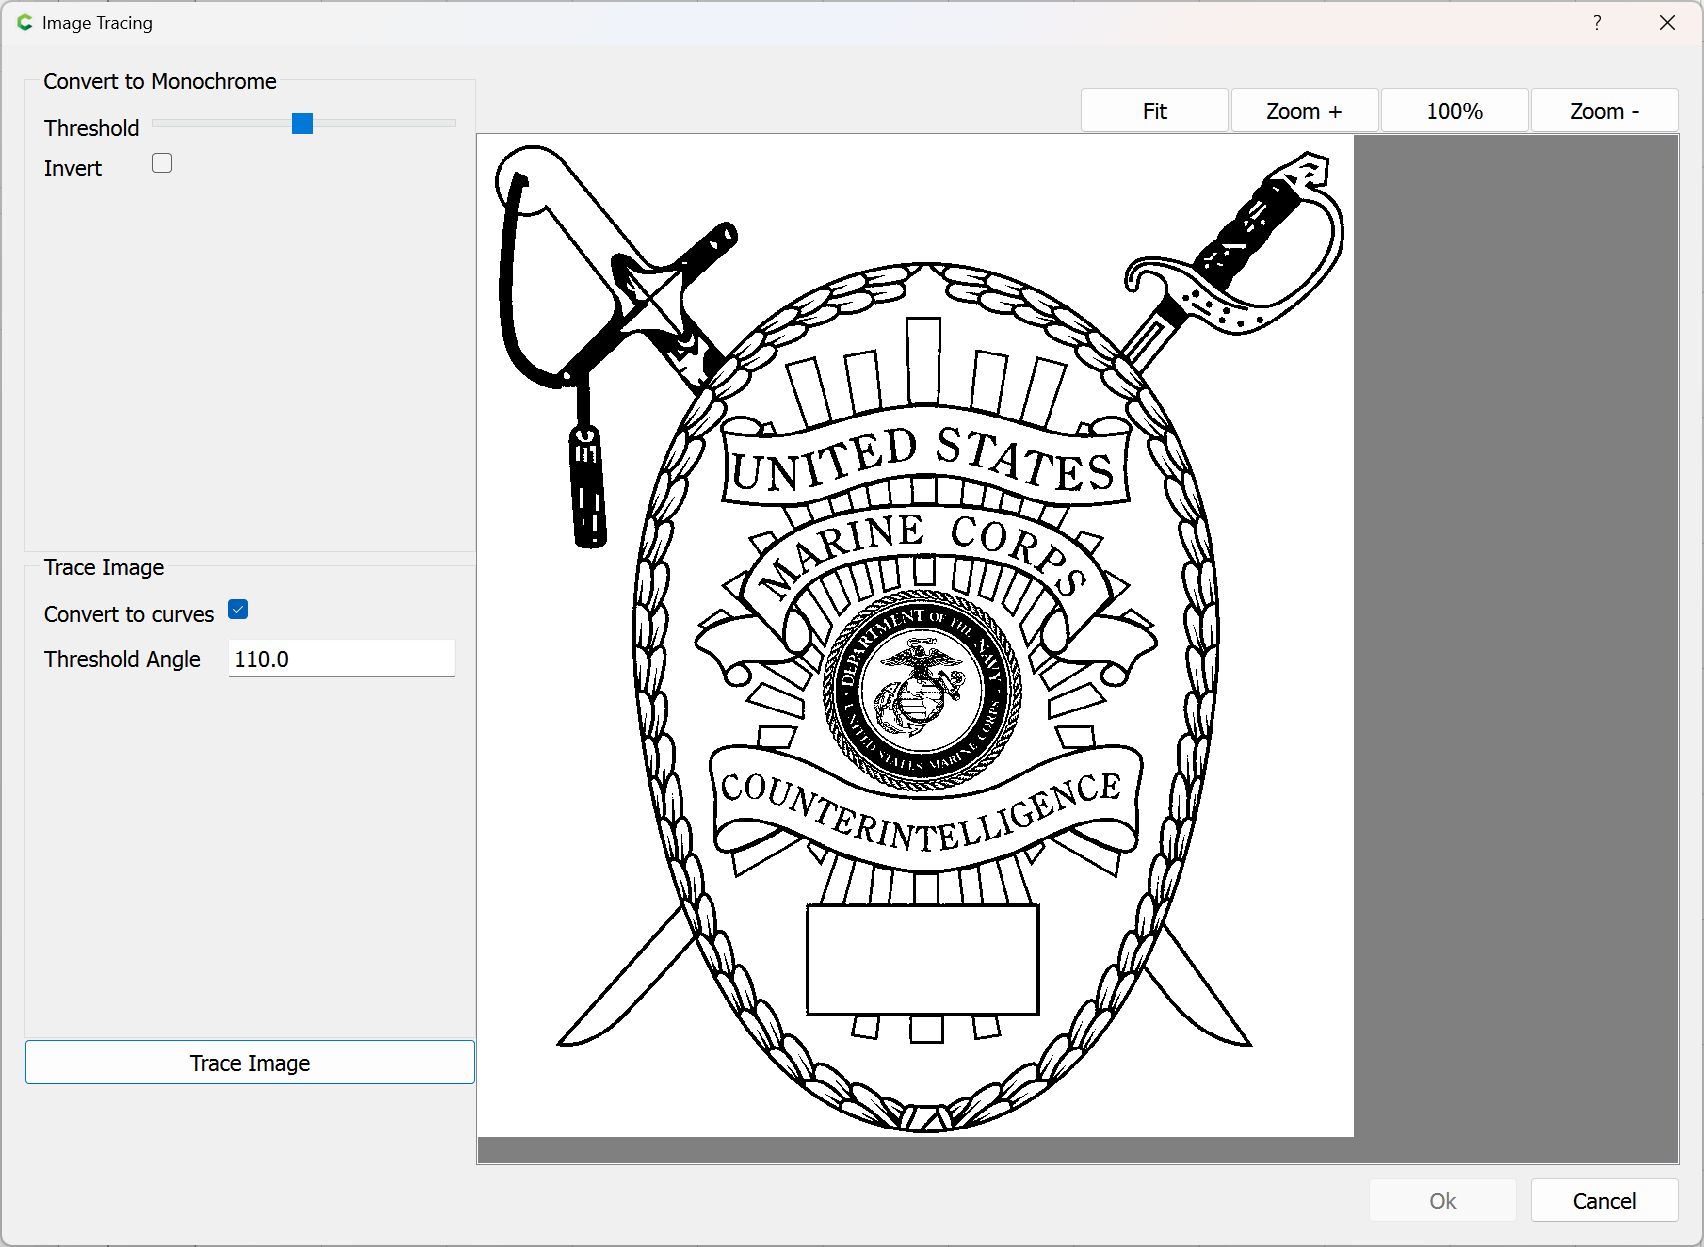
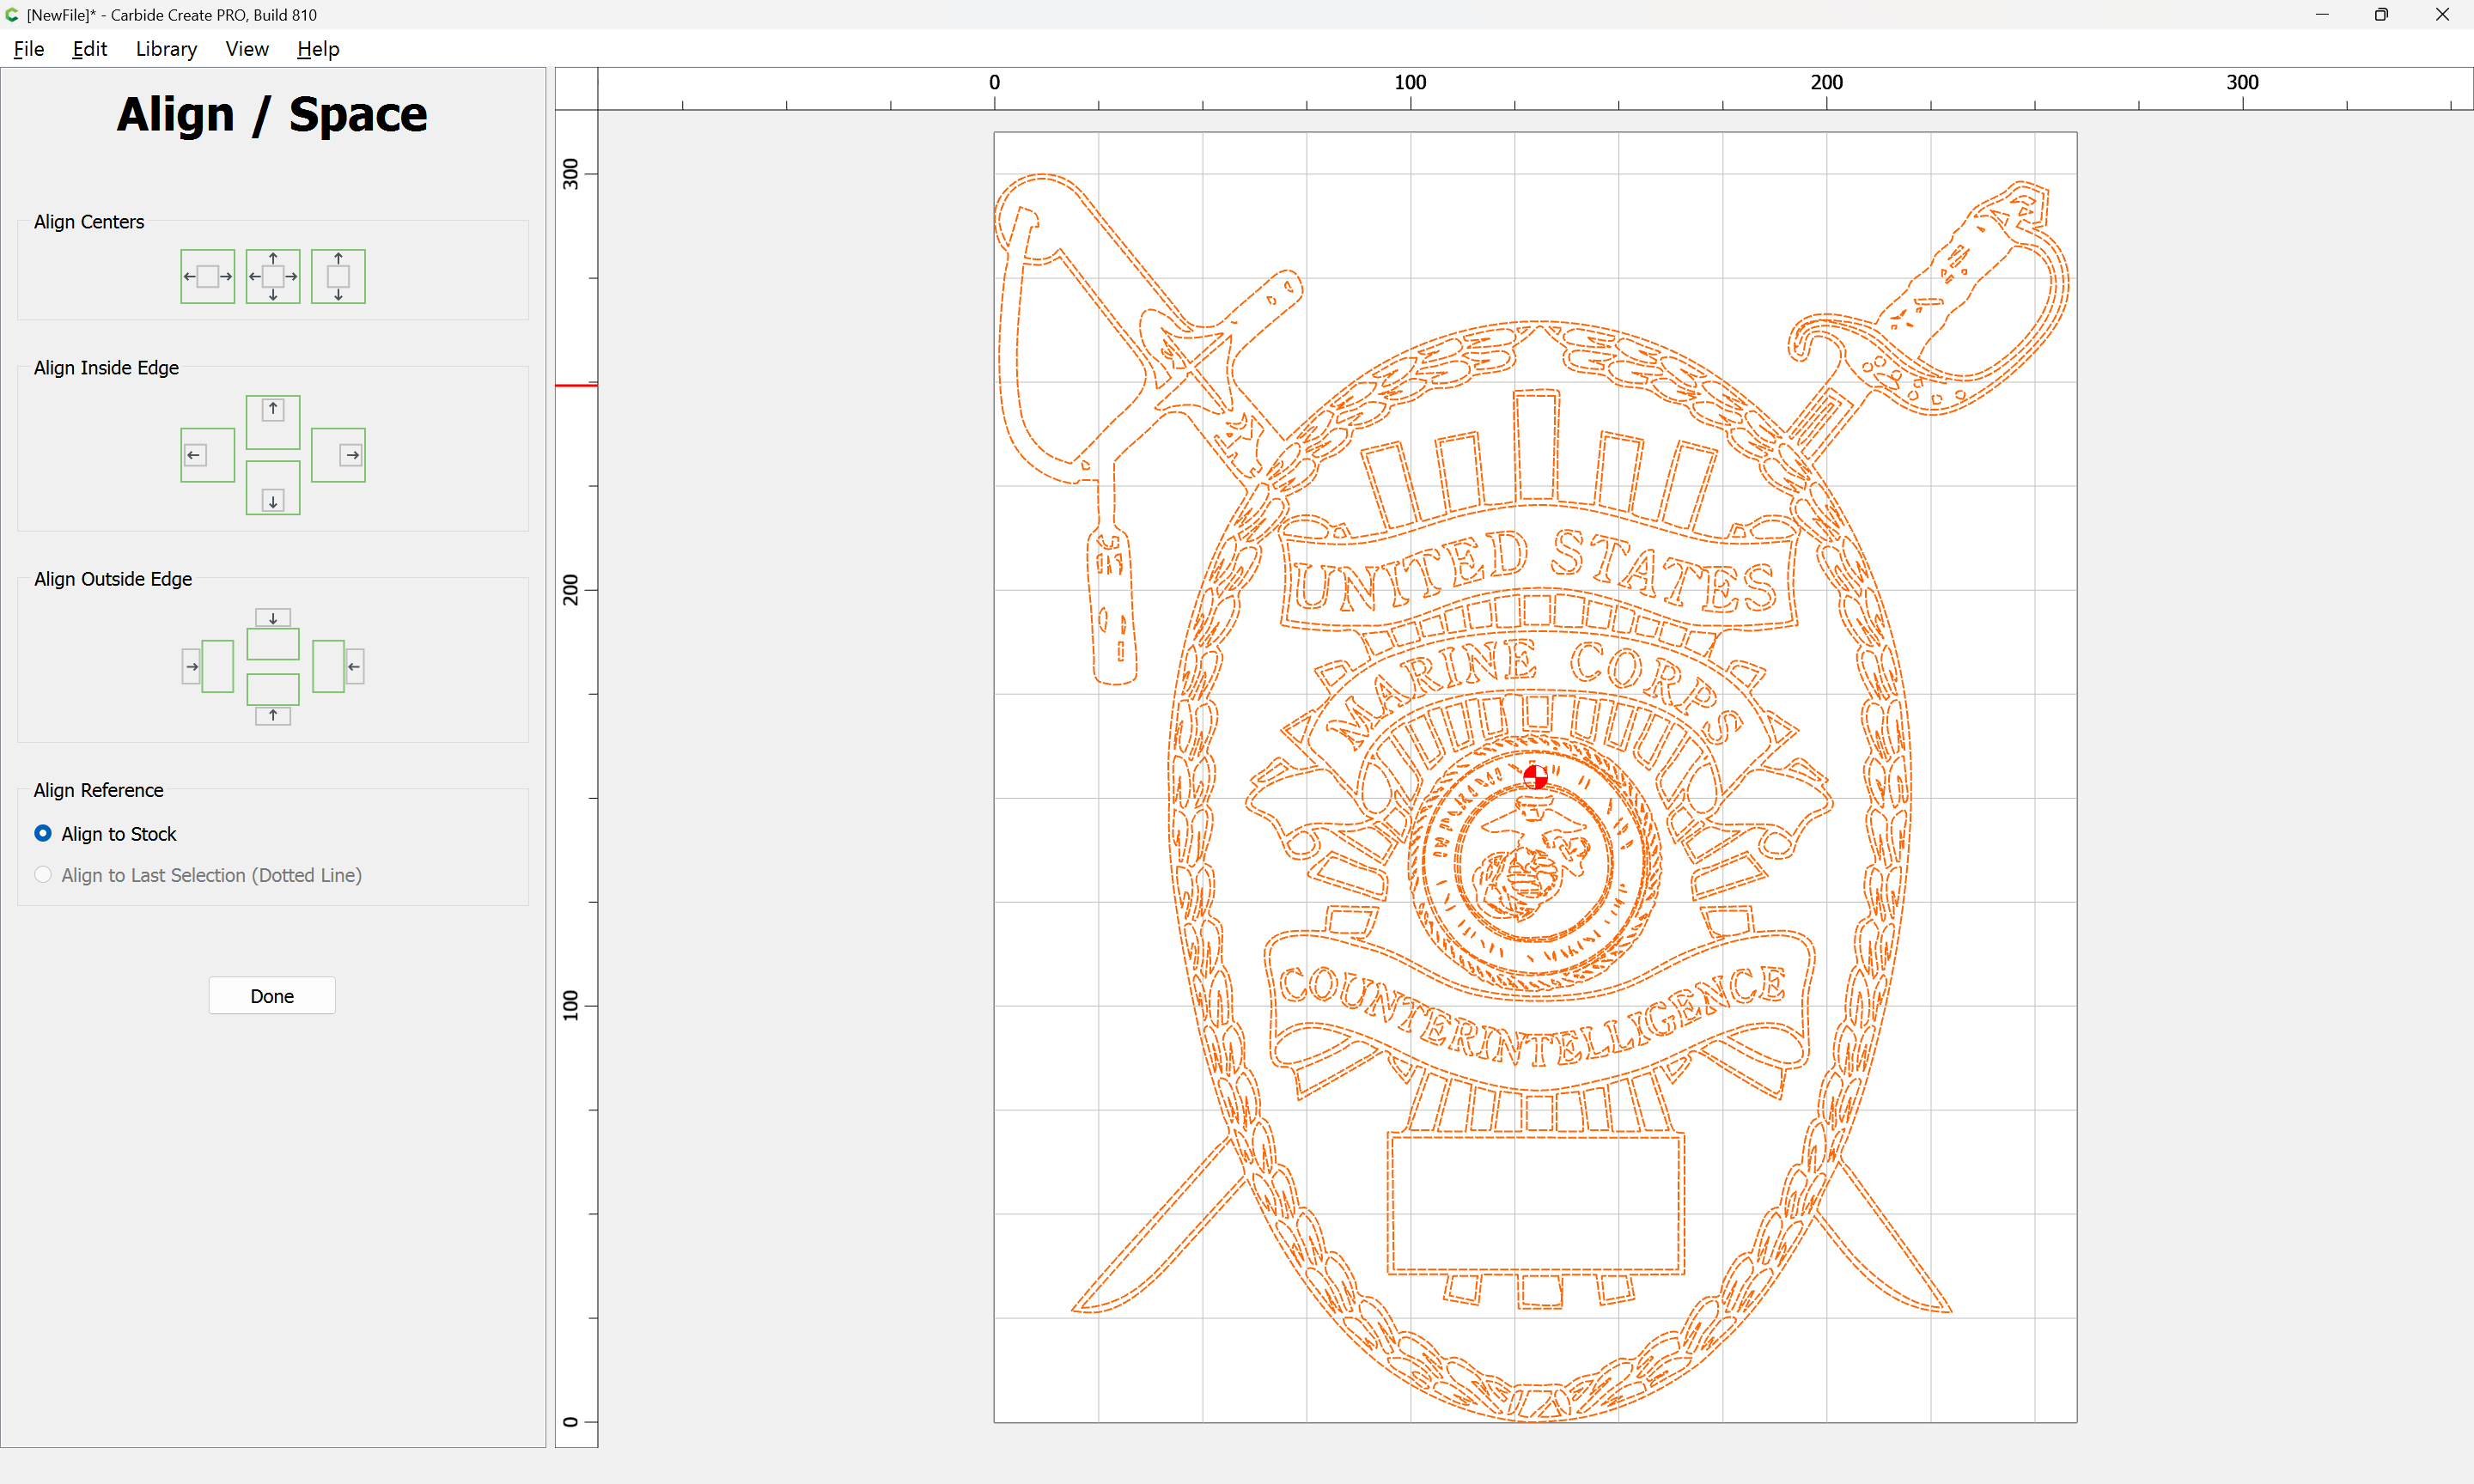
You would probably find this easier with a multiple colour, rather than a b/w outline version of the file — that way each region would be described by a single vector rather than an inside/outside line pair.
Do you have a better original than the pixel image?
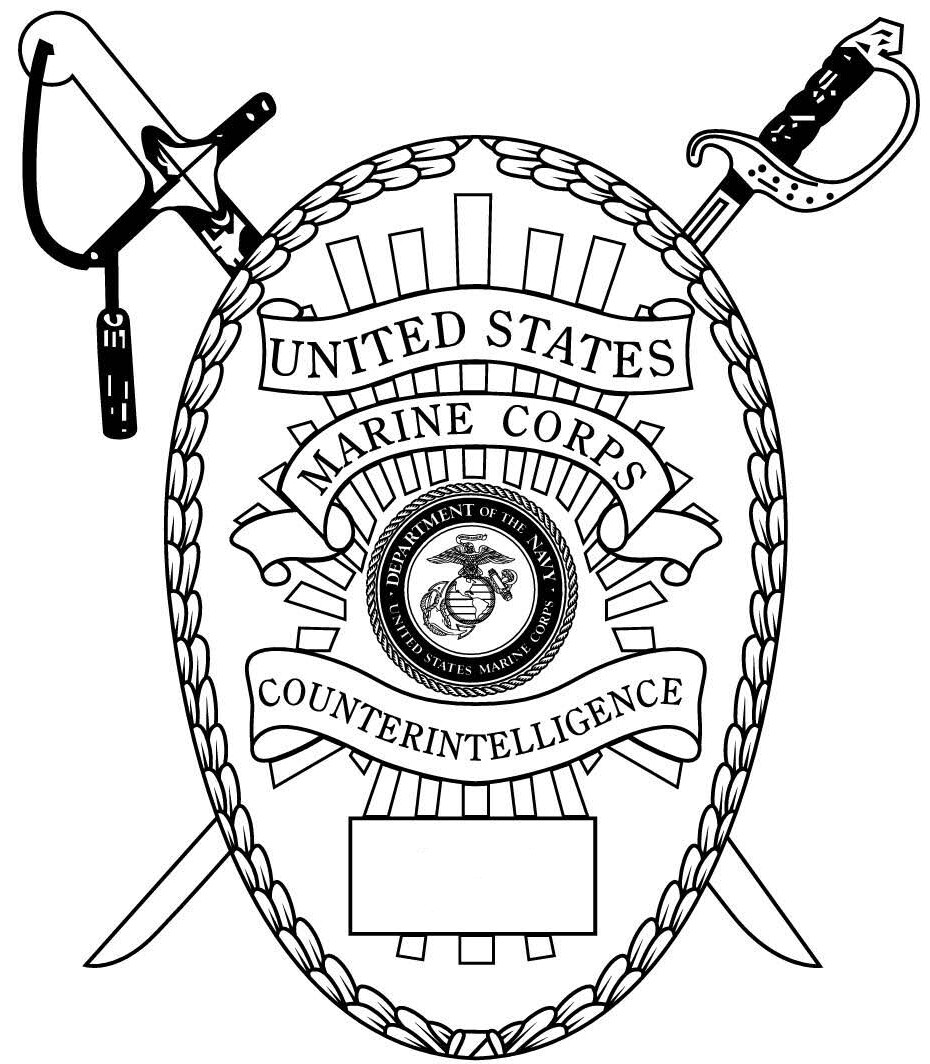
Thanks for the quick response, Will. This is the best image I have at the moment (it’s a bit cutoff). Is this what you were referring to by multiple color?
But if I can understand the steps to 3D for this, then I can fix that later.
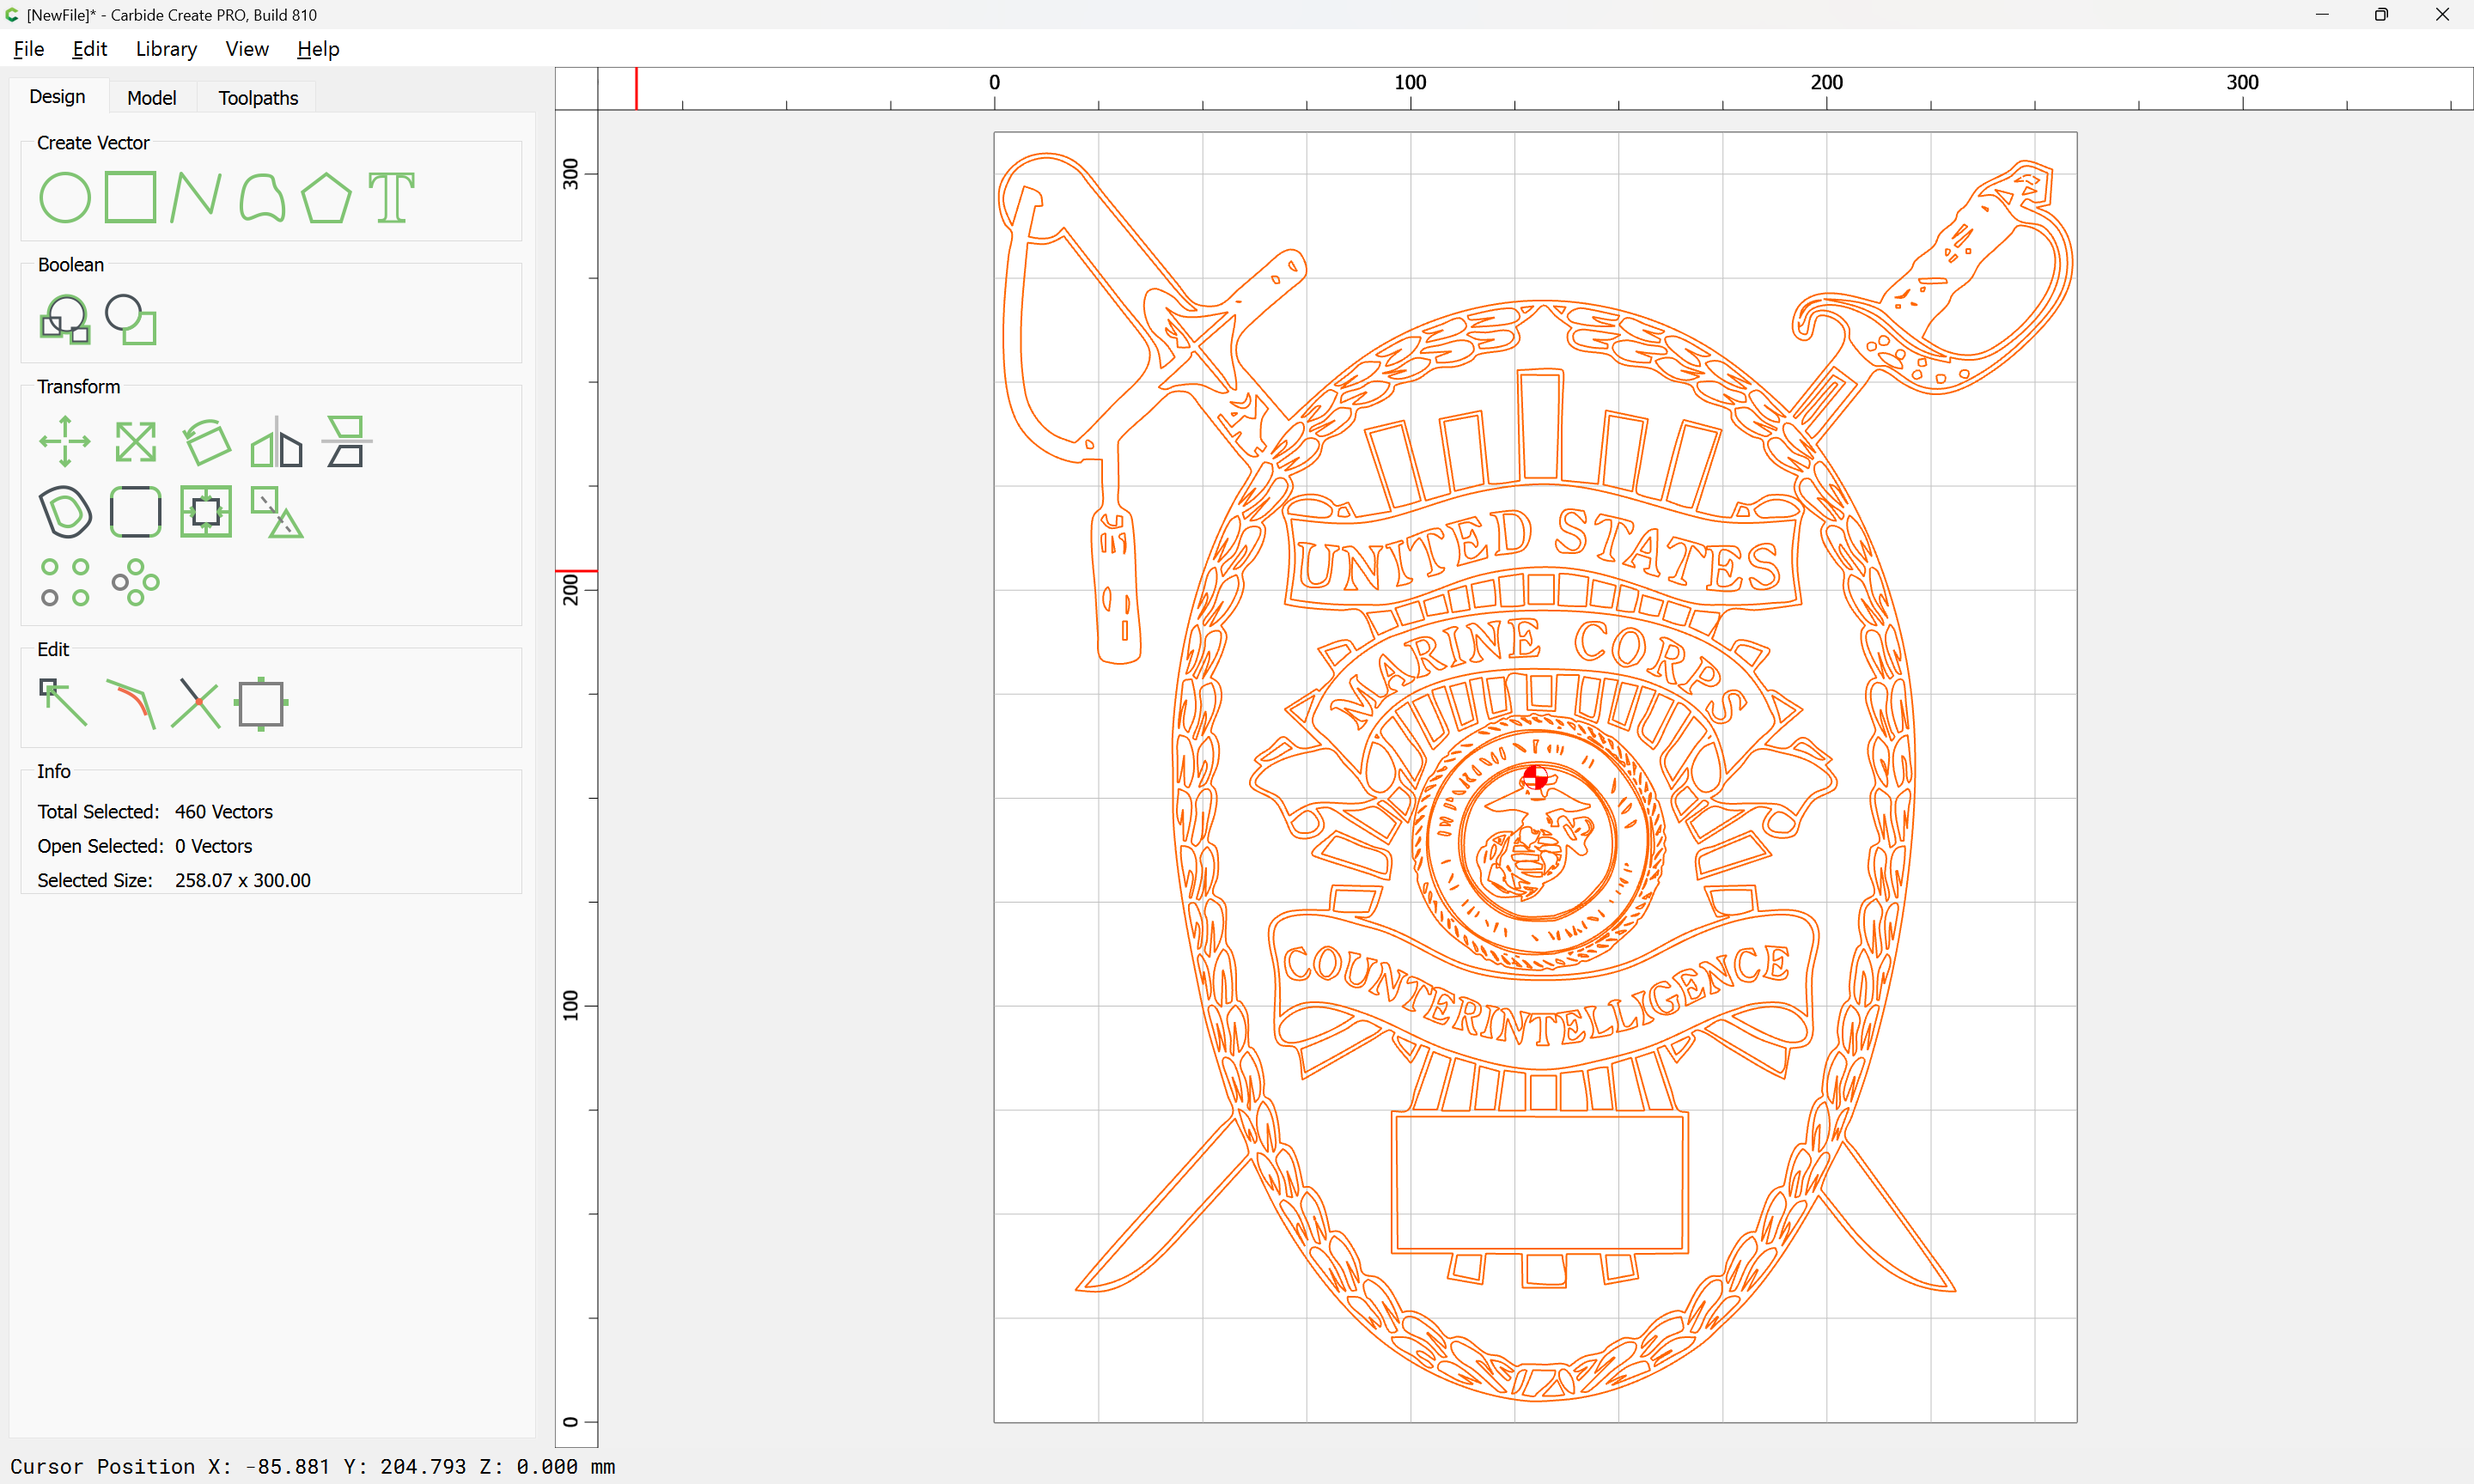
IMO this is best created in multiple parts similar to a sign build.
Reduce the 3D Elements to the center logo and treat everything else as a 2D cut. The “3D” nature of the rest of the shield could be made by having different depths and levels for each of the features.
See the work of ByrdDogCreates for examples of this type of construction.