I am thinking of machining hockey pucks. And words of wisdom ? Engraving and pockets .
Bits and recipes.
I haven’t tried hard rubber, but I gotta believe the recipe is similar to soft plastic. Slower RPM, faster feedrate.
I did work with some shops in the past that were machining prototype tires out of solid chunks of rubber (probably softer than a hockey puck), and to make the material more rigid they would freeze it before putting it on the machine.
3 Likes
I like the freezing idea. Maybe focused air would help clear chips and cool to some degree.
Carefully use Liquid Nitrogen. Don’t drop it on a hard surface once frozen this way.
![]()
I wanted to avoid liquids, but I do have access to liquid nitrogen. Hmmm. Thanks
Also I would not put something frozen this way directly on a MDF waste board maybe add a sheet of Delrin as an interface.
2 Likes
Good point. I had not got that far mentally. Awesome user group
Liquid nitrogen will most likely split the puck. The outer surface in contact with the LN2 will shrink quicker than the inside.
In lab we used to amuse ourselves by throwing rubber stoppers in LN2 and watching them split
2 Likes
Probably dry ice would suffice.
1 Like
Dry ice it is. That had to be fun at work !!!
I will start with the house freezer and work my way down .
1 Like
I cut 1/4"wide slots in hockey pucks for plexiglass sneeze guards, freezing wasn’t required, compressed air was a plus. You generate a bunch of rubber dust. I did them with my little Sieg X2 CNC mill, so I’ll have to wait till I get home to see what the feed rate was that I used.
2 Likes
I was thinking more like just a freezer, get it down to around 0°. That’s all they did with the tires.
Let us know how it goes. ![]()
2 Likes
It has been done before by someone on the forum, see the post further down in that thread for endmill used and speeds.
2 Likes
I bought pucks and did a lot of searching to find milling rubber is a process in itself.
I am waiting for an 8mm collect for the McFly tool because I never surfaces the MDF.
I was originally thinking to mill all sorts of stuff, now I am thinking engraving ( somehow ) and some rub and buff .
I did find this link talking about using needles for cutters. Comments ?
2 Likes
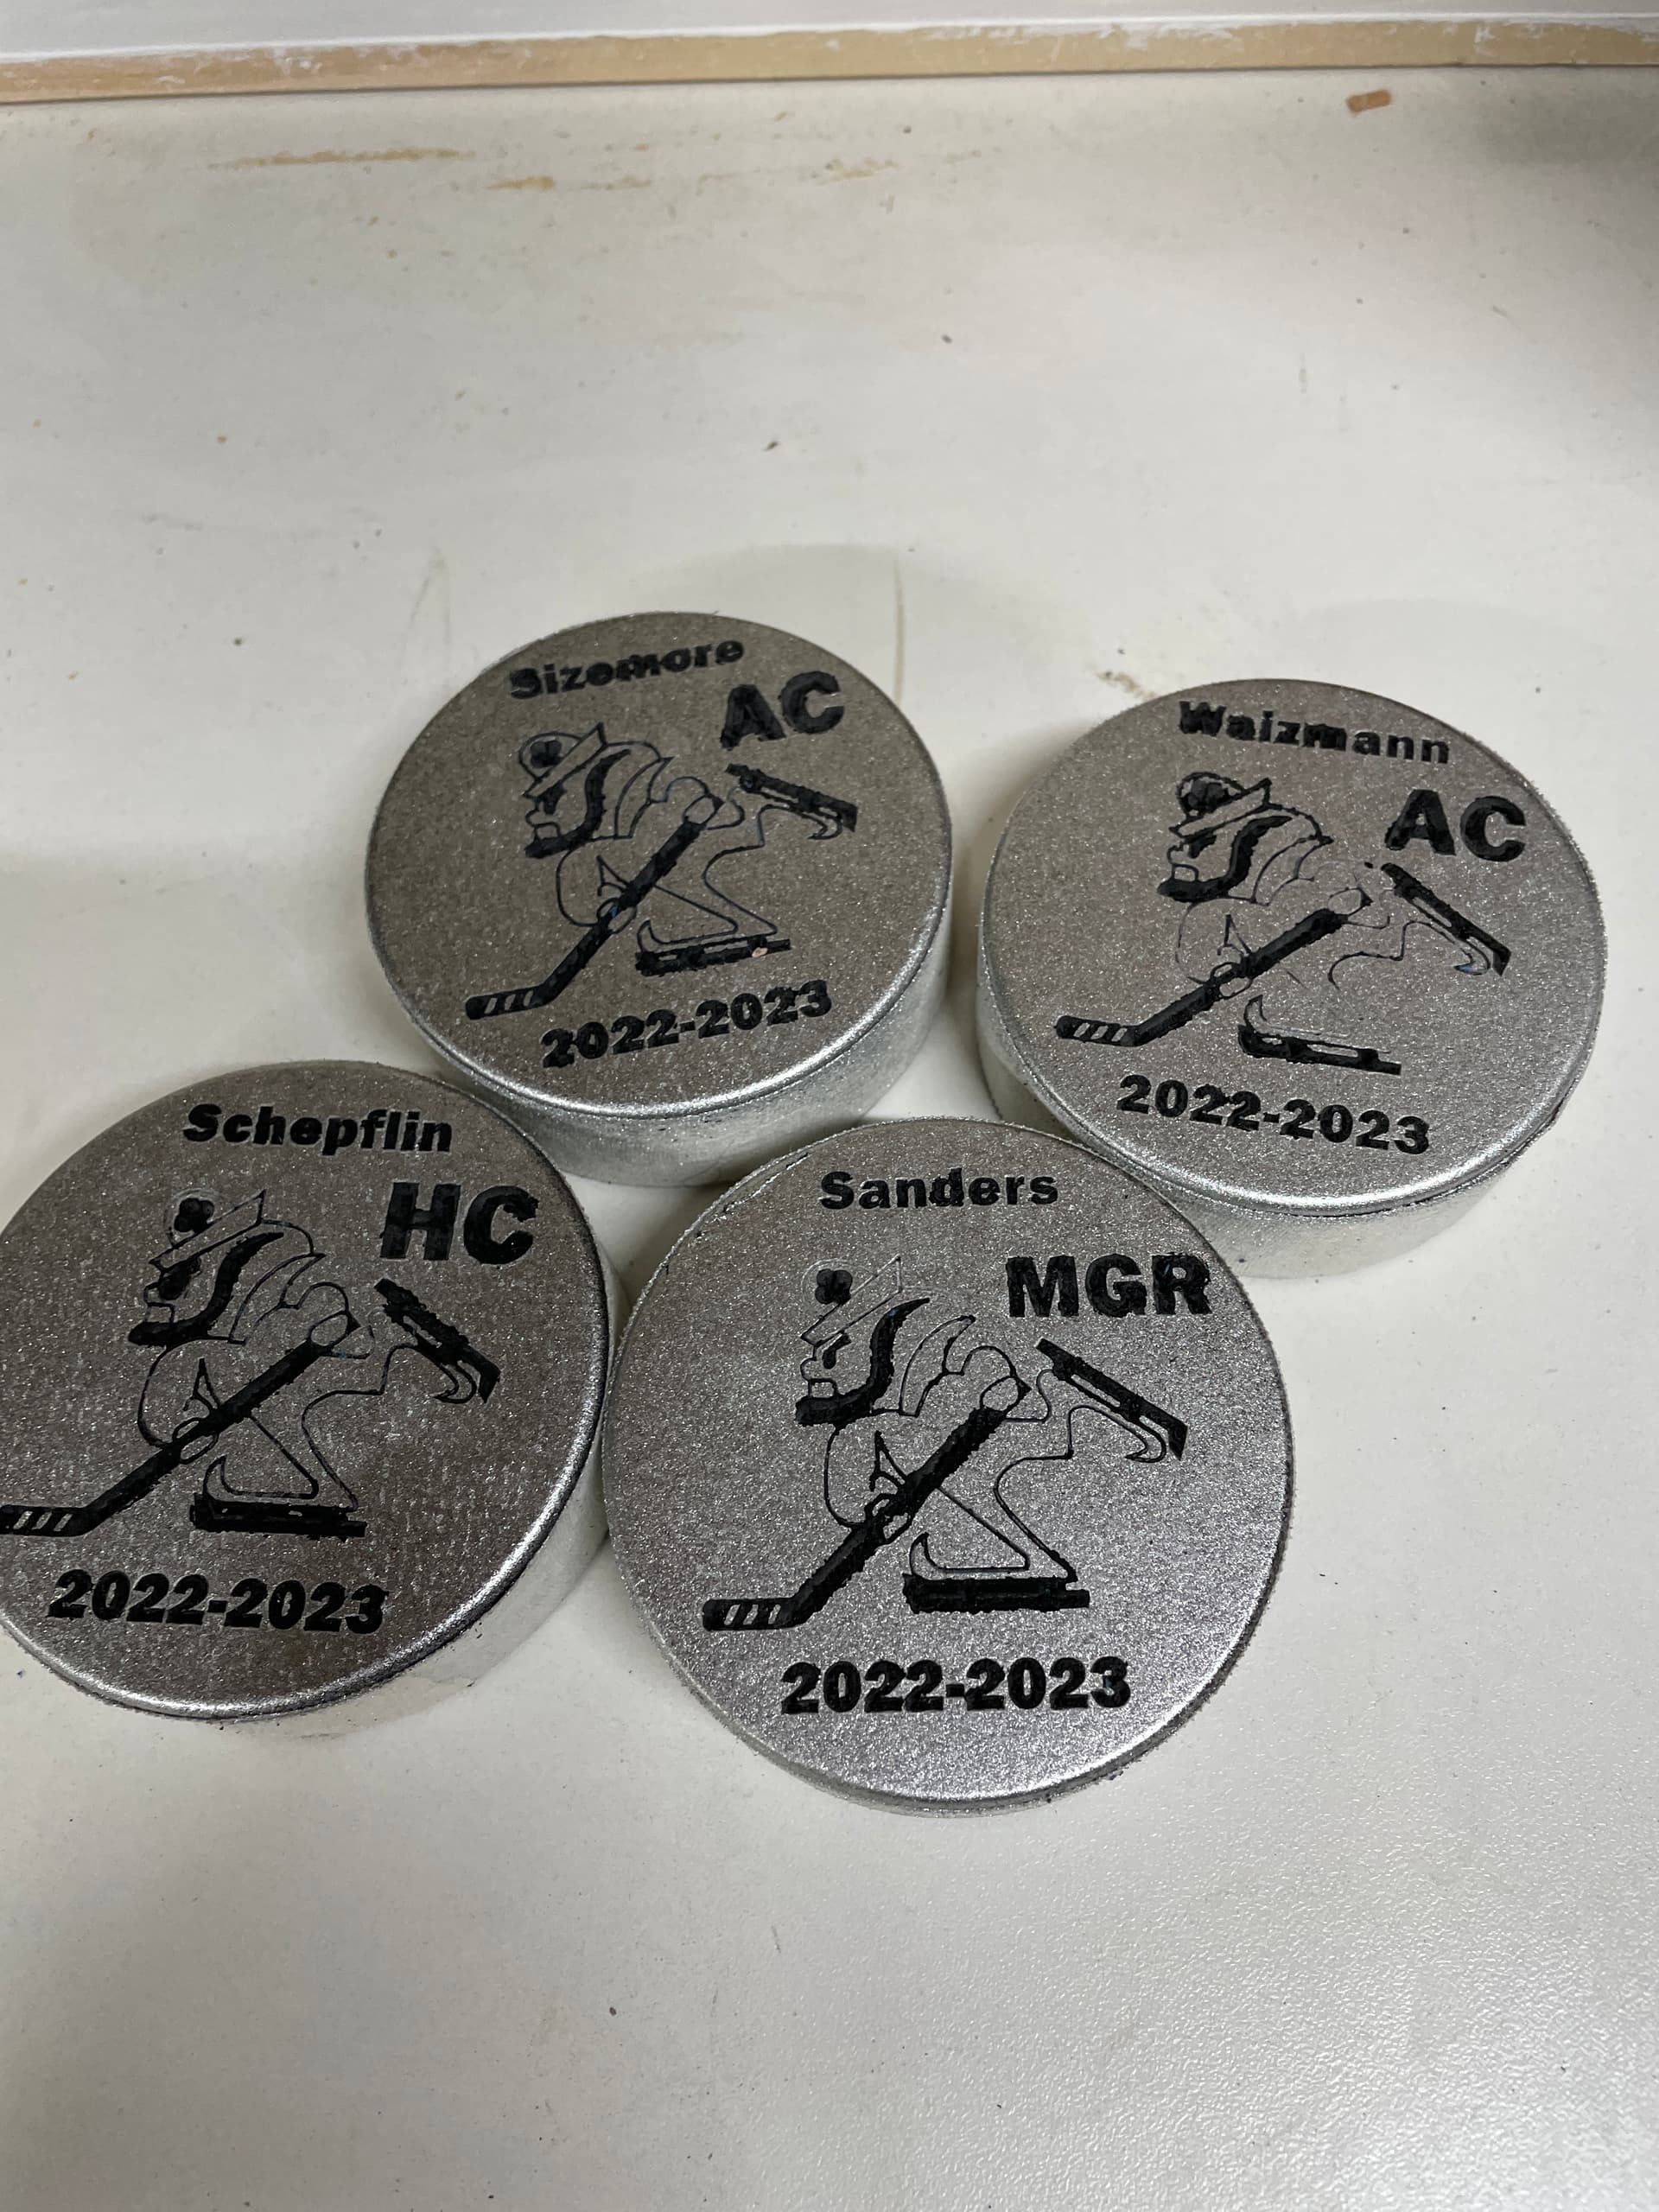
I had good luck with a sharp 22 degree or 30 degree V-bit for engraving pucks. Spray paint had been used for the larger quantity, but it tended to flake off in some areas while engraving…I think in part because I froze the pucks overnight. Rub n Buff should have a great result I think!
You might need to play with speeds and feeds a bit. I think I based mine off of acrylic S/F.
6 Likes
That looks great ! Thanks for the information . I can’t wait to flatten my table and give this a try.
What RPM, Feed rate, DOC, Step Over did you use ?
I guess they were pretty close to default settings. I had used a 60deg V-bit, but would recommend at steeper one. Settings:
DOC: 0.1 in
RPM: 18000
Feed: 45 ipm
Plunge: 12 ipm
I didn’t tweak the stepovers but here’s the values:
Clearance stepover: 0.27 in
Finish Stepover: 0.02 in
I think I remember trying to speed up the feed rate, but wasn’t too happy with the resulting cut.
@dakyleman Thanks for the information ! As soon as life gets out of the way I am on it.
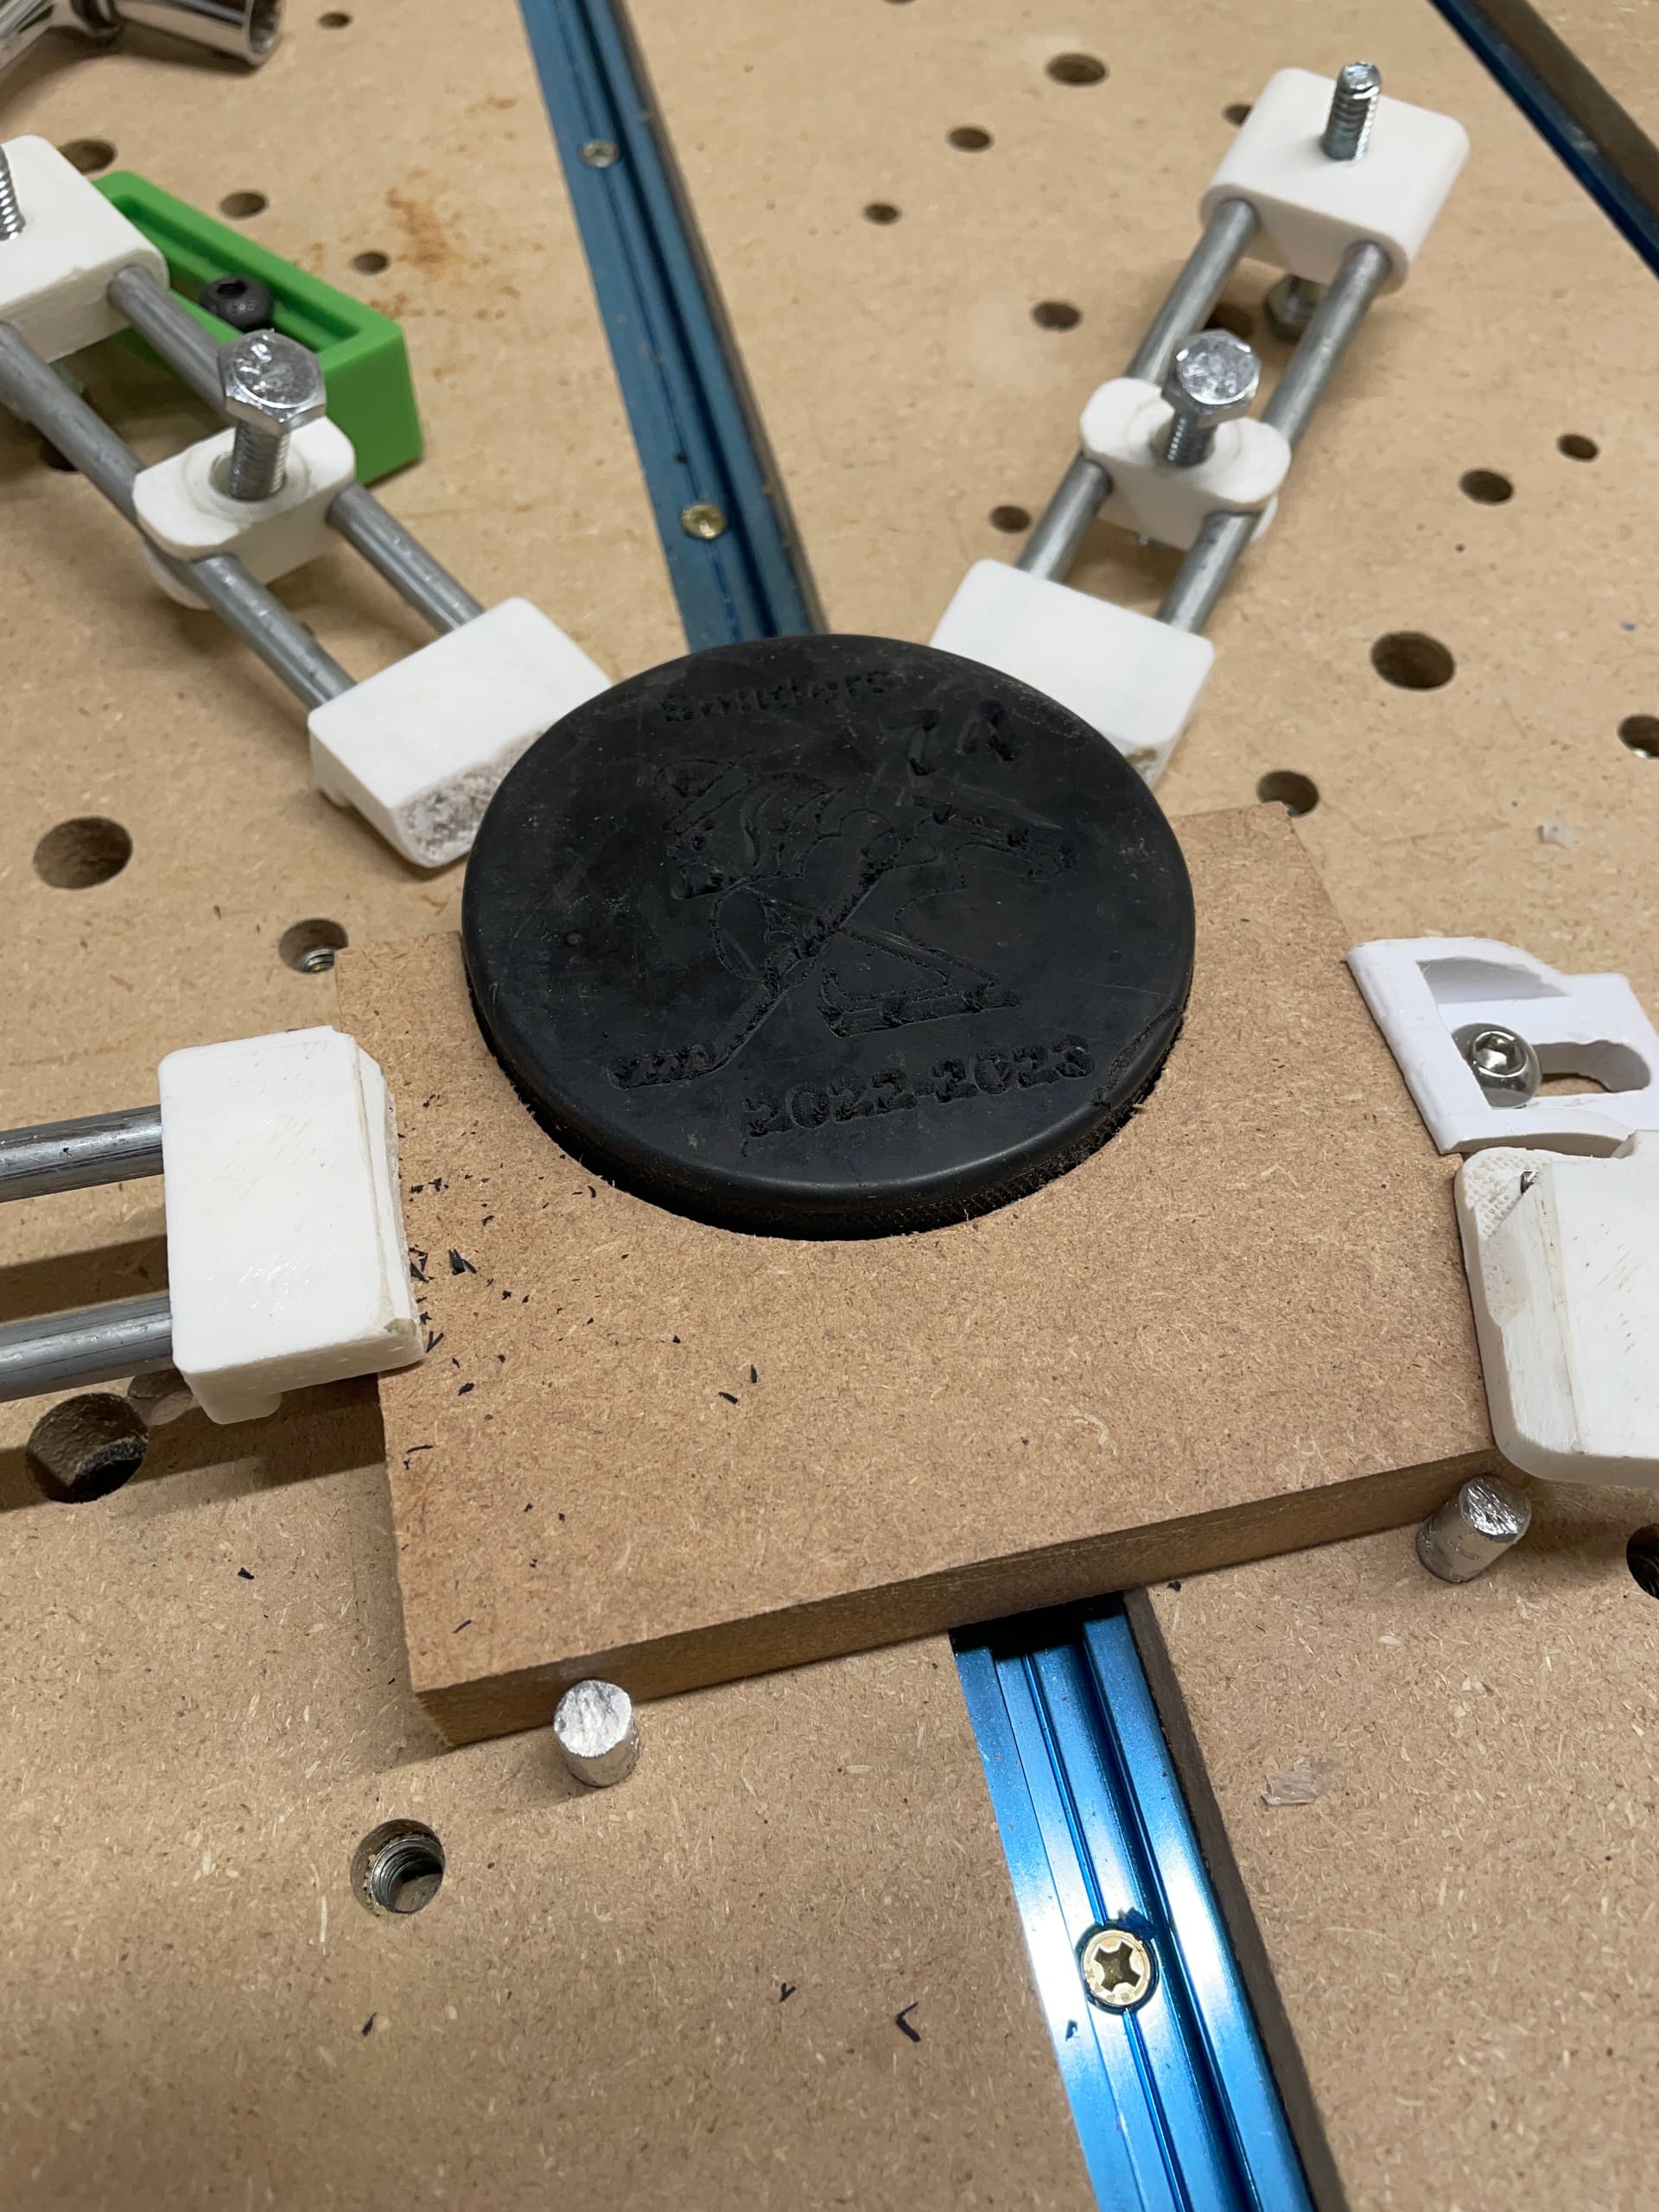
First cut, not as scary as I feared. Temperature was 21 F, I tried room temp 60 F as no real difference in chips/crumbs.
I tried the Rub and Buff.
The grooves are small, getting the paste into the grooves not easy. Used a lot of material.
I may have to deepen some cuts.
Should I let it dry before removing excess ? I tried to wipe down and that just smeared and pulled material out of the grooves.
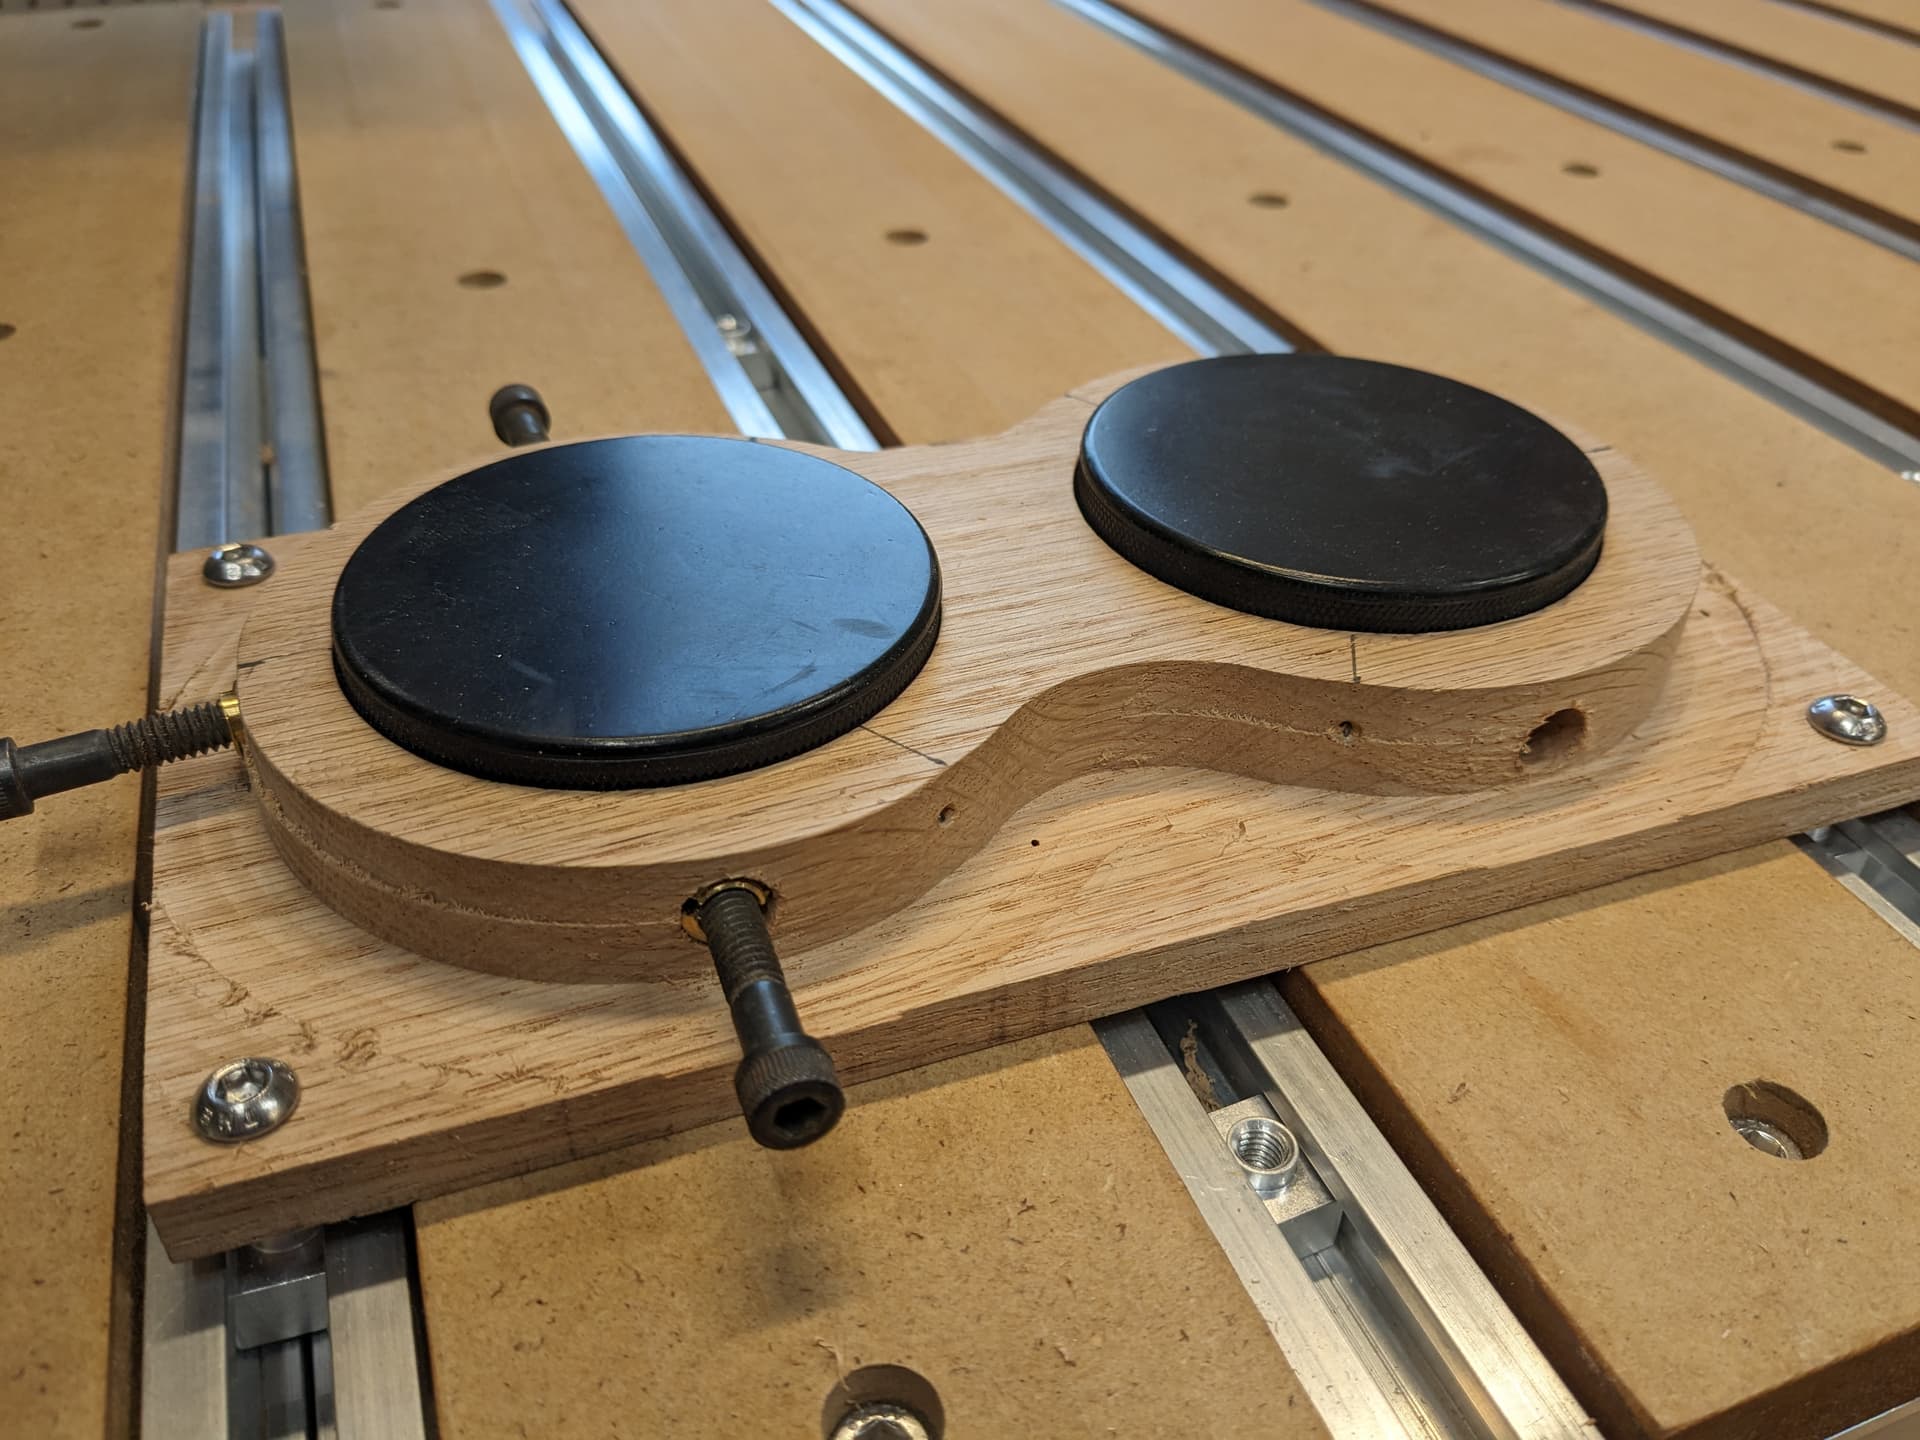
I found that 120% of 35 ipm worked better, smoother cut surface.
| Tool | Vcarve Text | Contour Stars | AdV outRing | Adv inRing | ||
|---|---|---|---|---|---|---|
| 302 | ||||||
| DOC | inch | 0.03 | 0.02 | 0.012 | 0.012 | |
| FEED | in/min | 35 | 35 | 35 | 35 | 120% |
| RPM | 18000 | 18000 | 18000 | 18000 | ||
| Time | min | -2 | -2 | -2 | -2 |

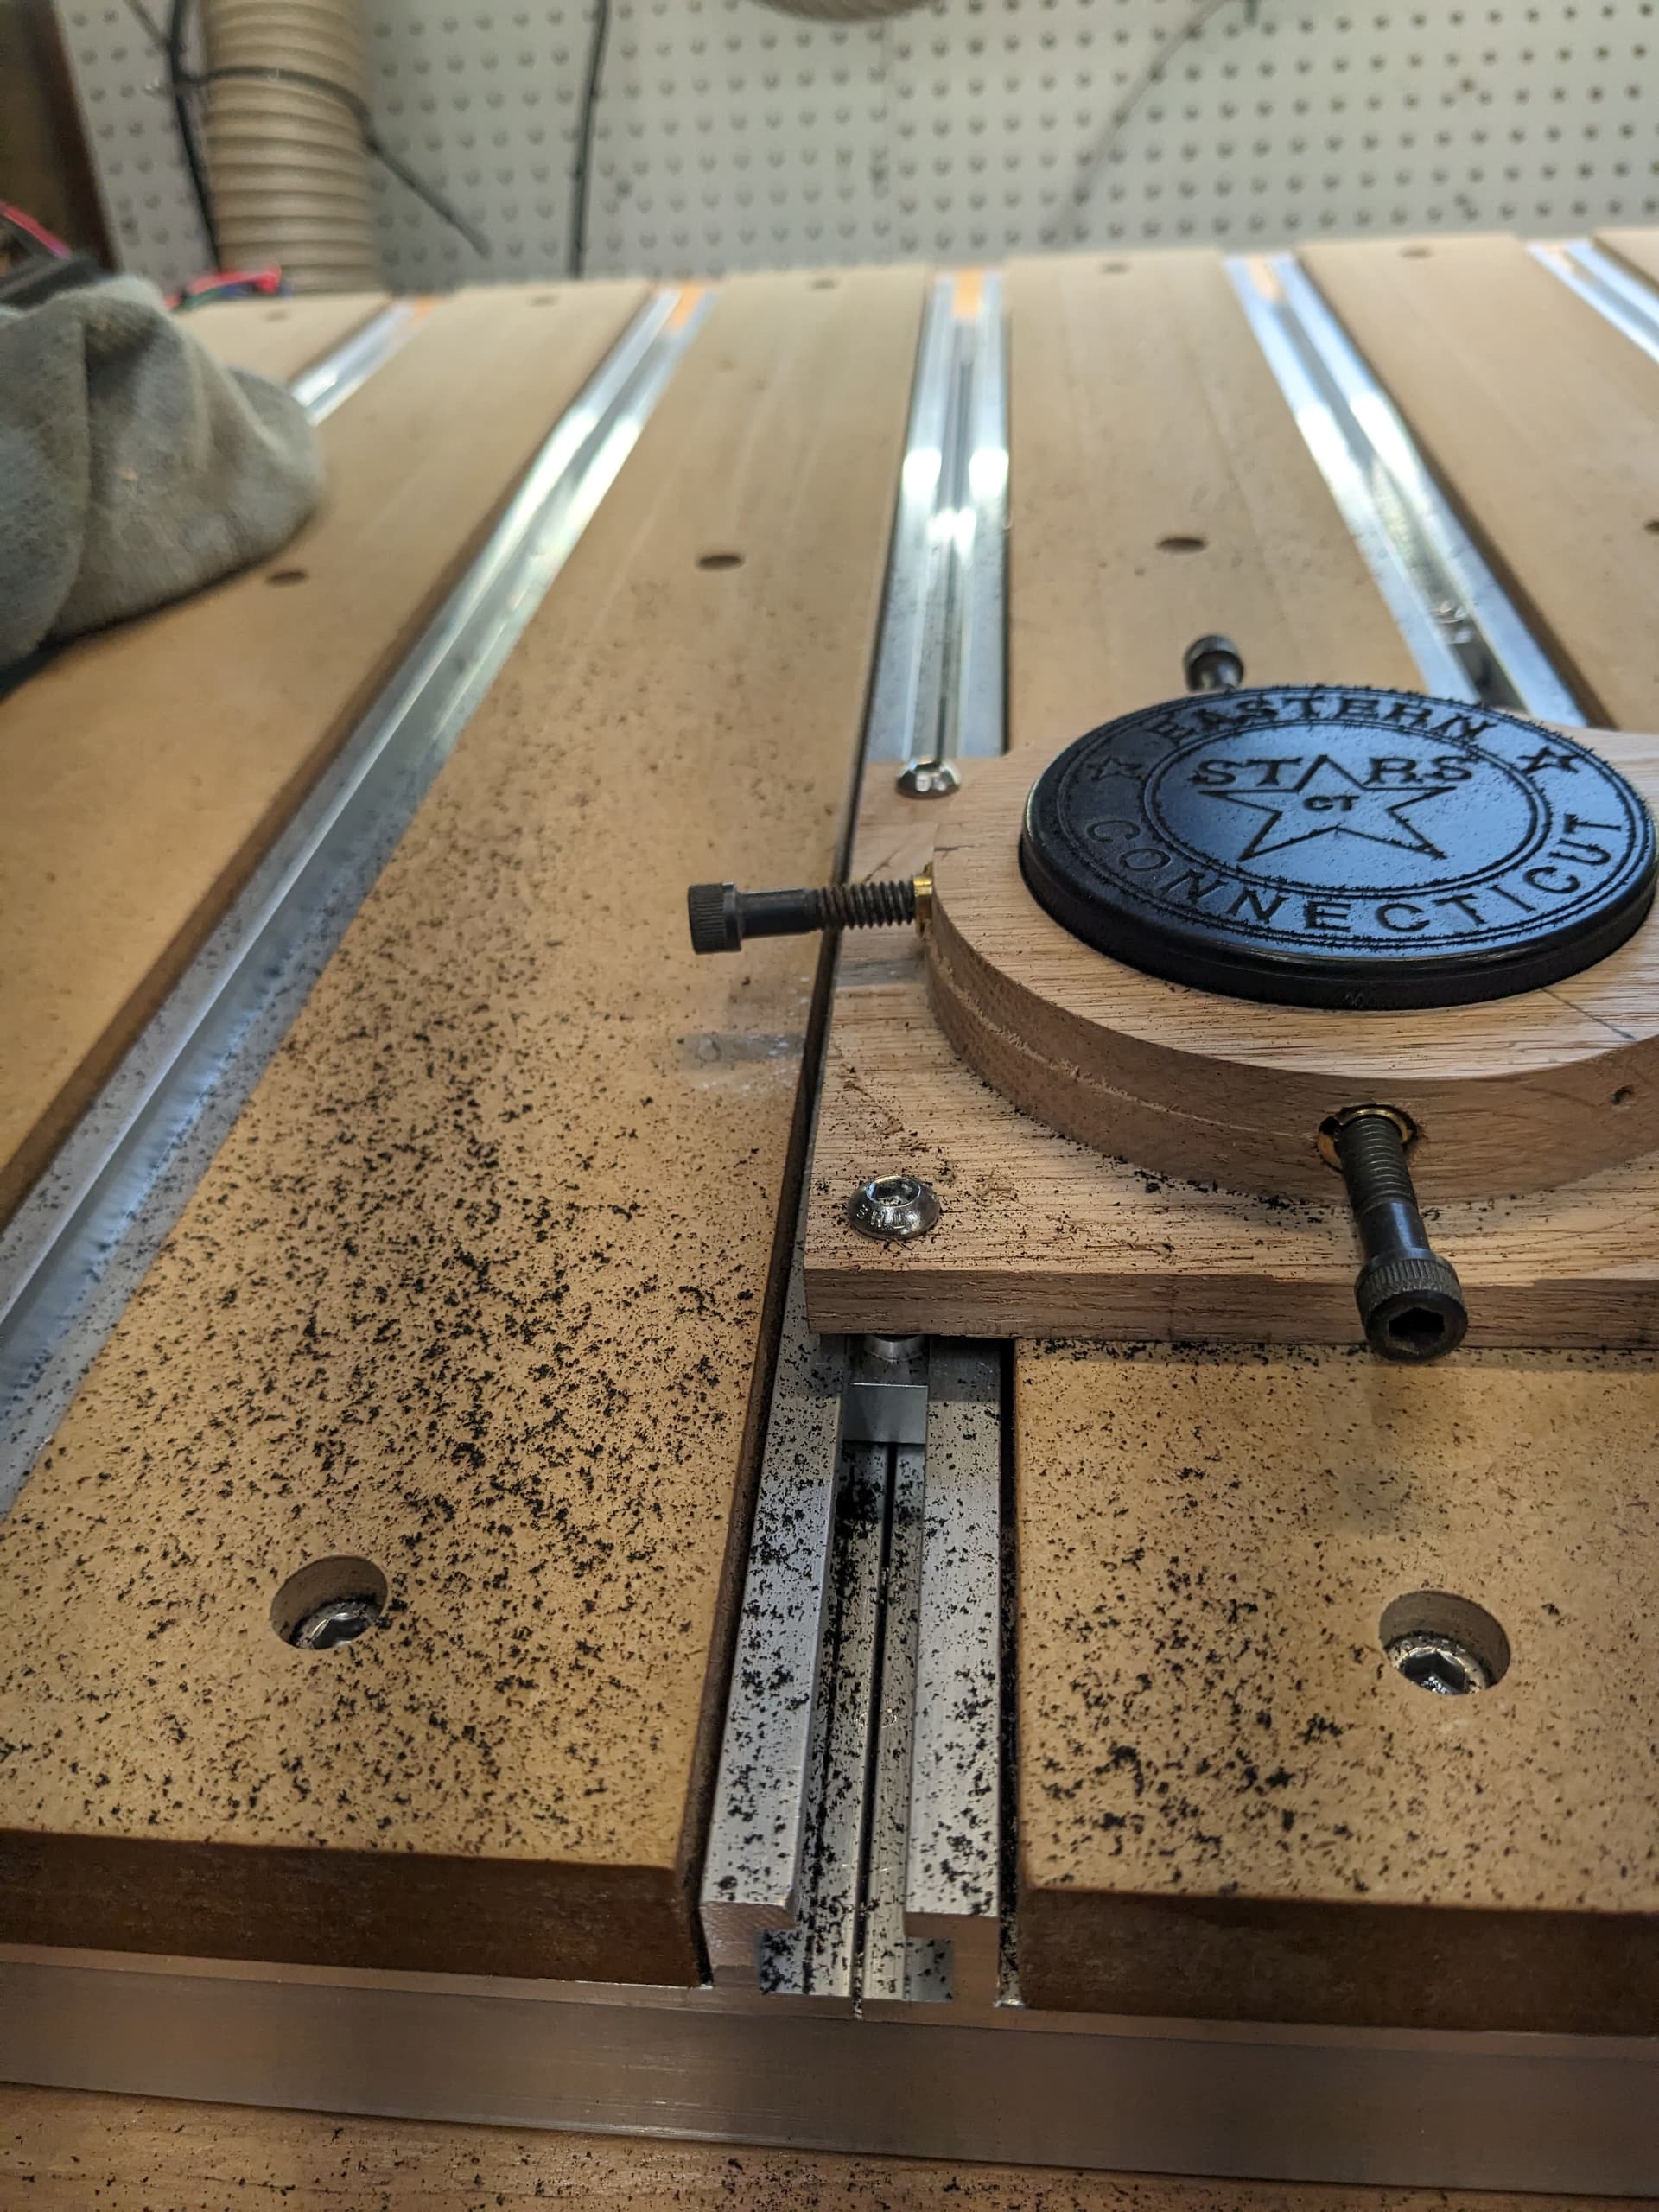
Debris field.
7 Likes