Homing switch and Z axis issues

I recently upgraded from the S04 XXl to the S05 4x4 with the new 80mm spindle and VFD and I’m having some issues.
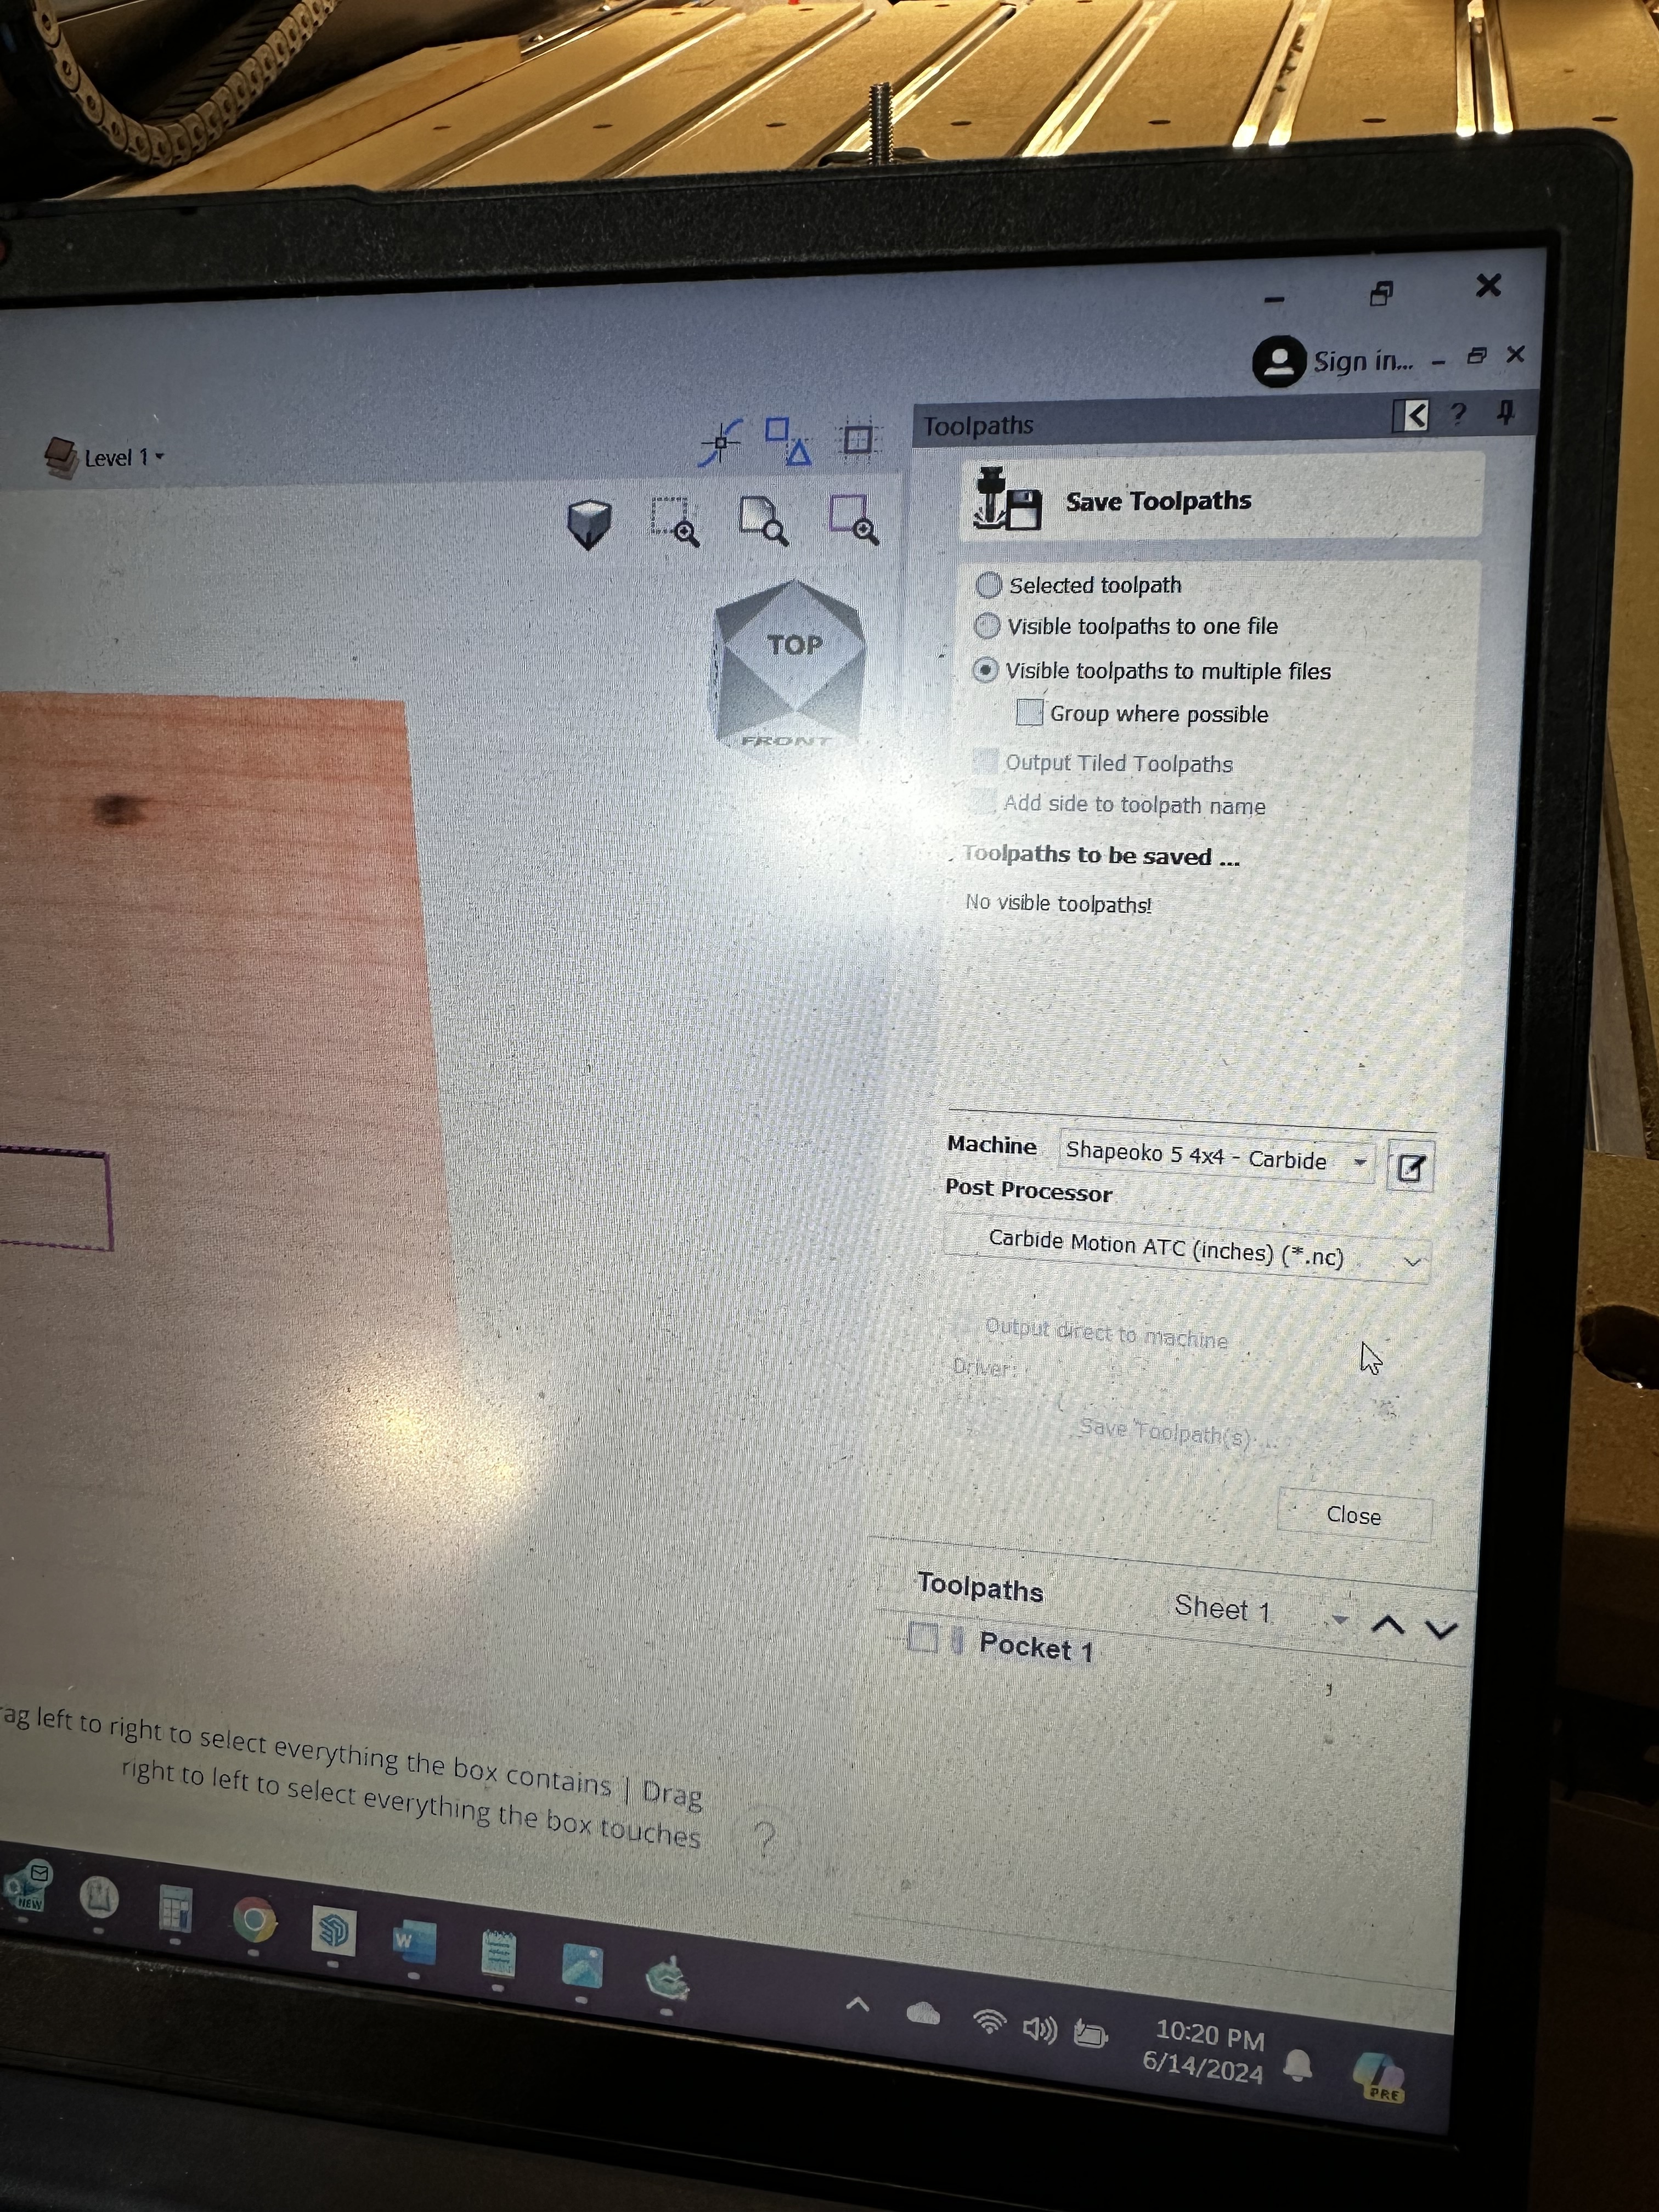
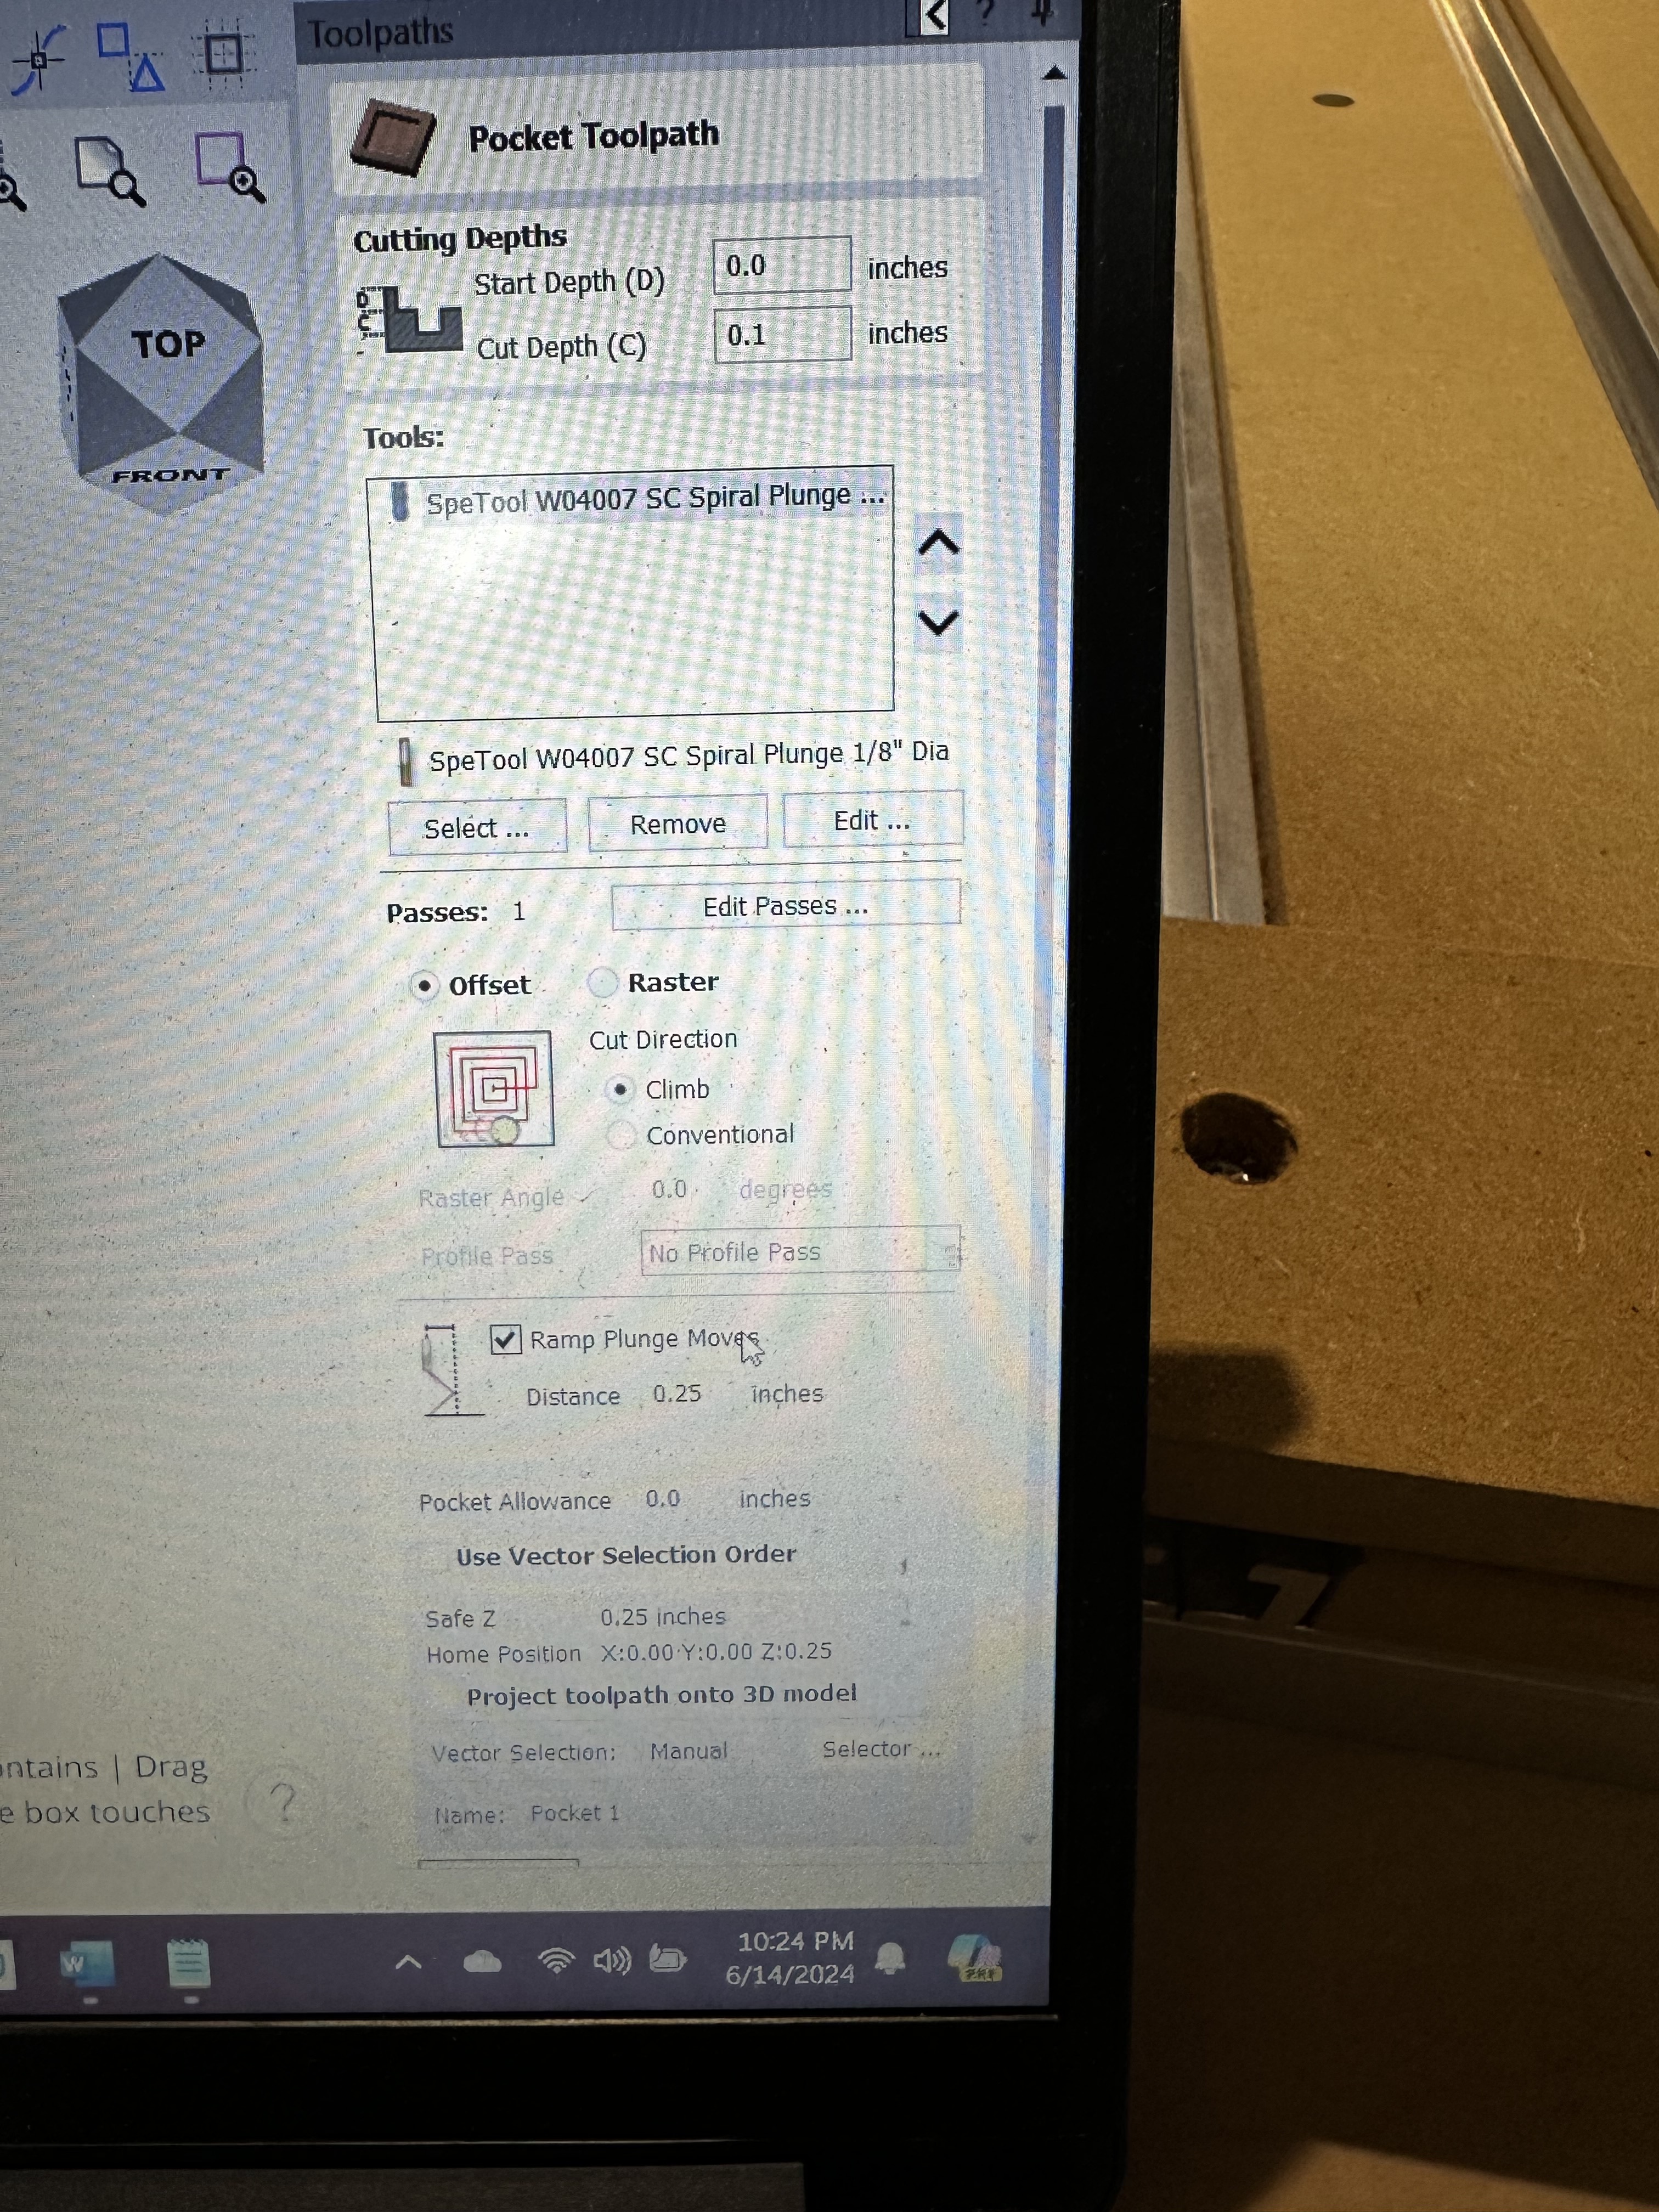
I got the machine setup two weeks ago and flattened the spoil board with no issues. I came home last night and have tried to run two jobs. One using carbide create/carbide motion and one using Aspire/carbide motion.

I don’t have bit zero since they are out of stock. And it’s not like I haven’t set zero manually 100 times on my old machine, but for some reason when I try to set my zero, it moves to the XY fine but has buried two bits though the material and the spoil board.

And most of the time when I try to set zero it will go to bit setter and measure the bit, but will start moving to zero then stop and go measure the bit again. Over and over.

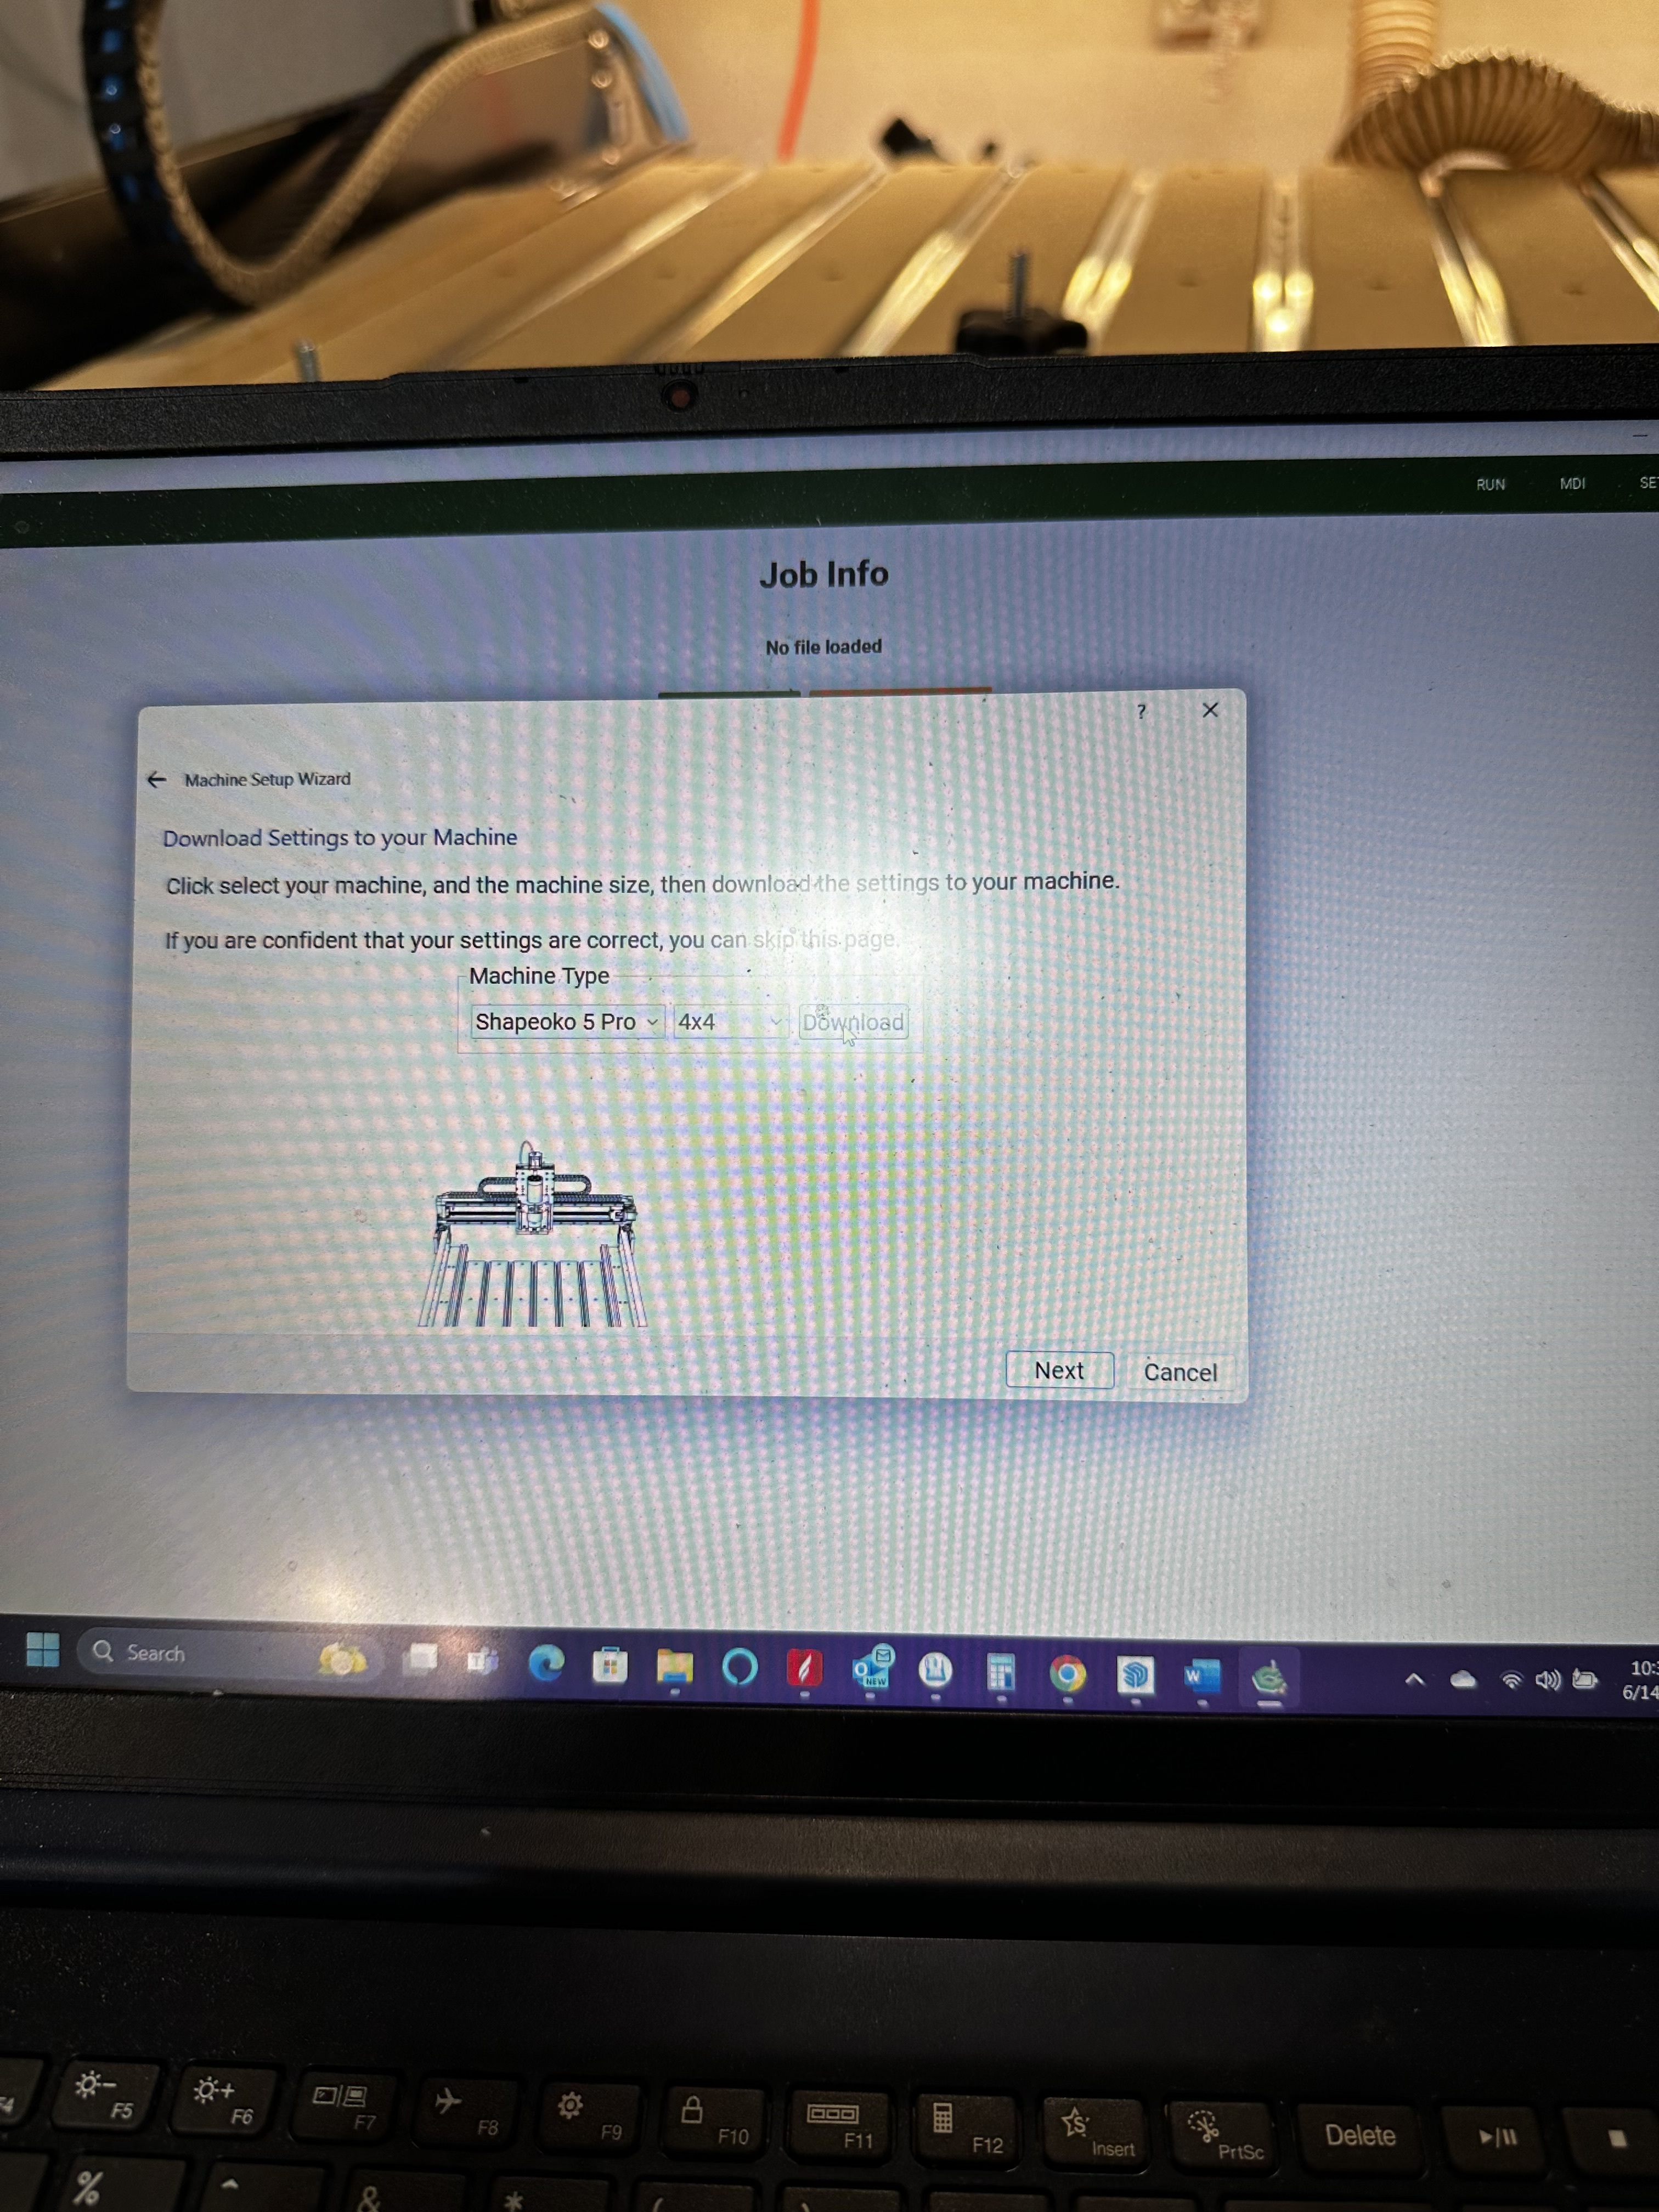
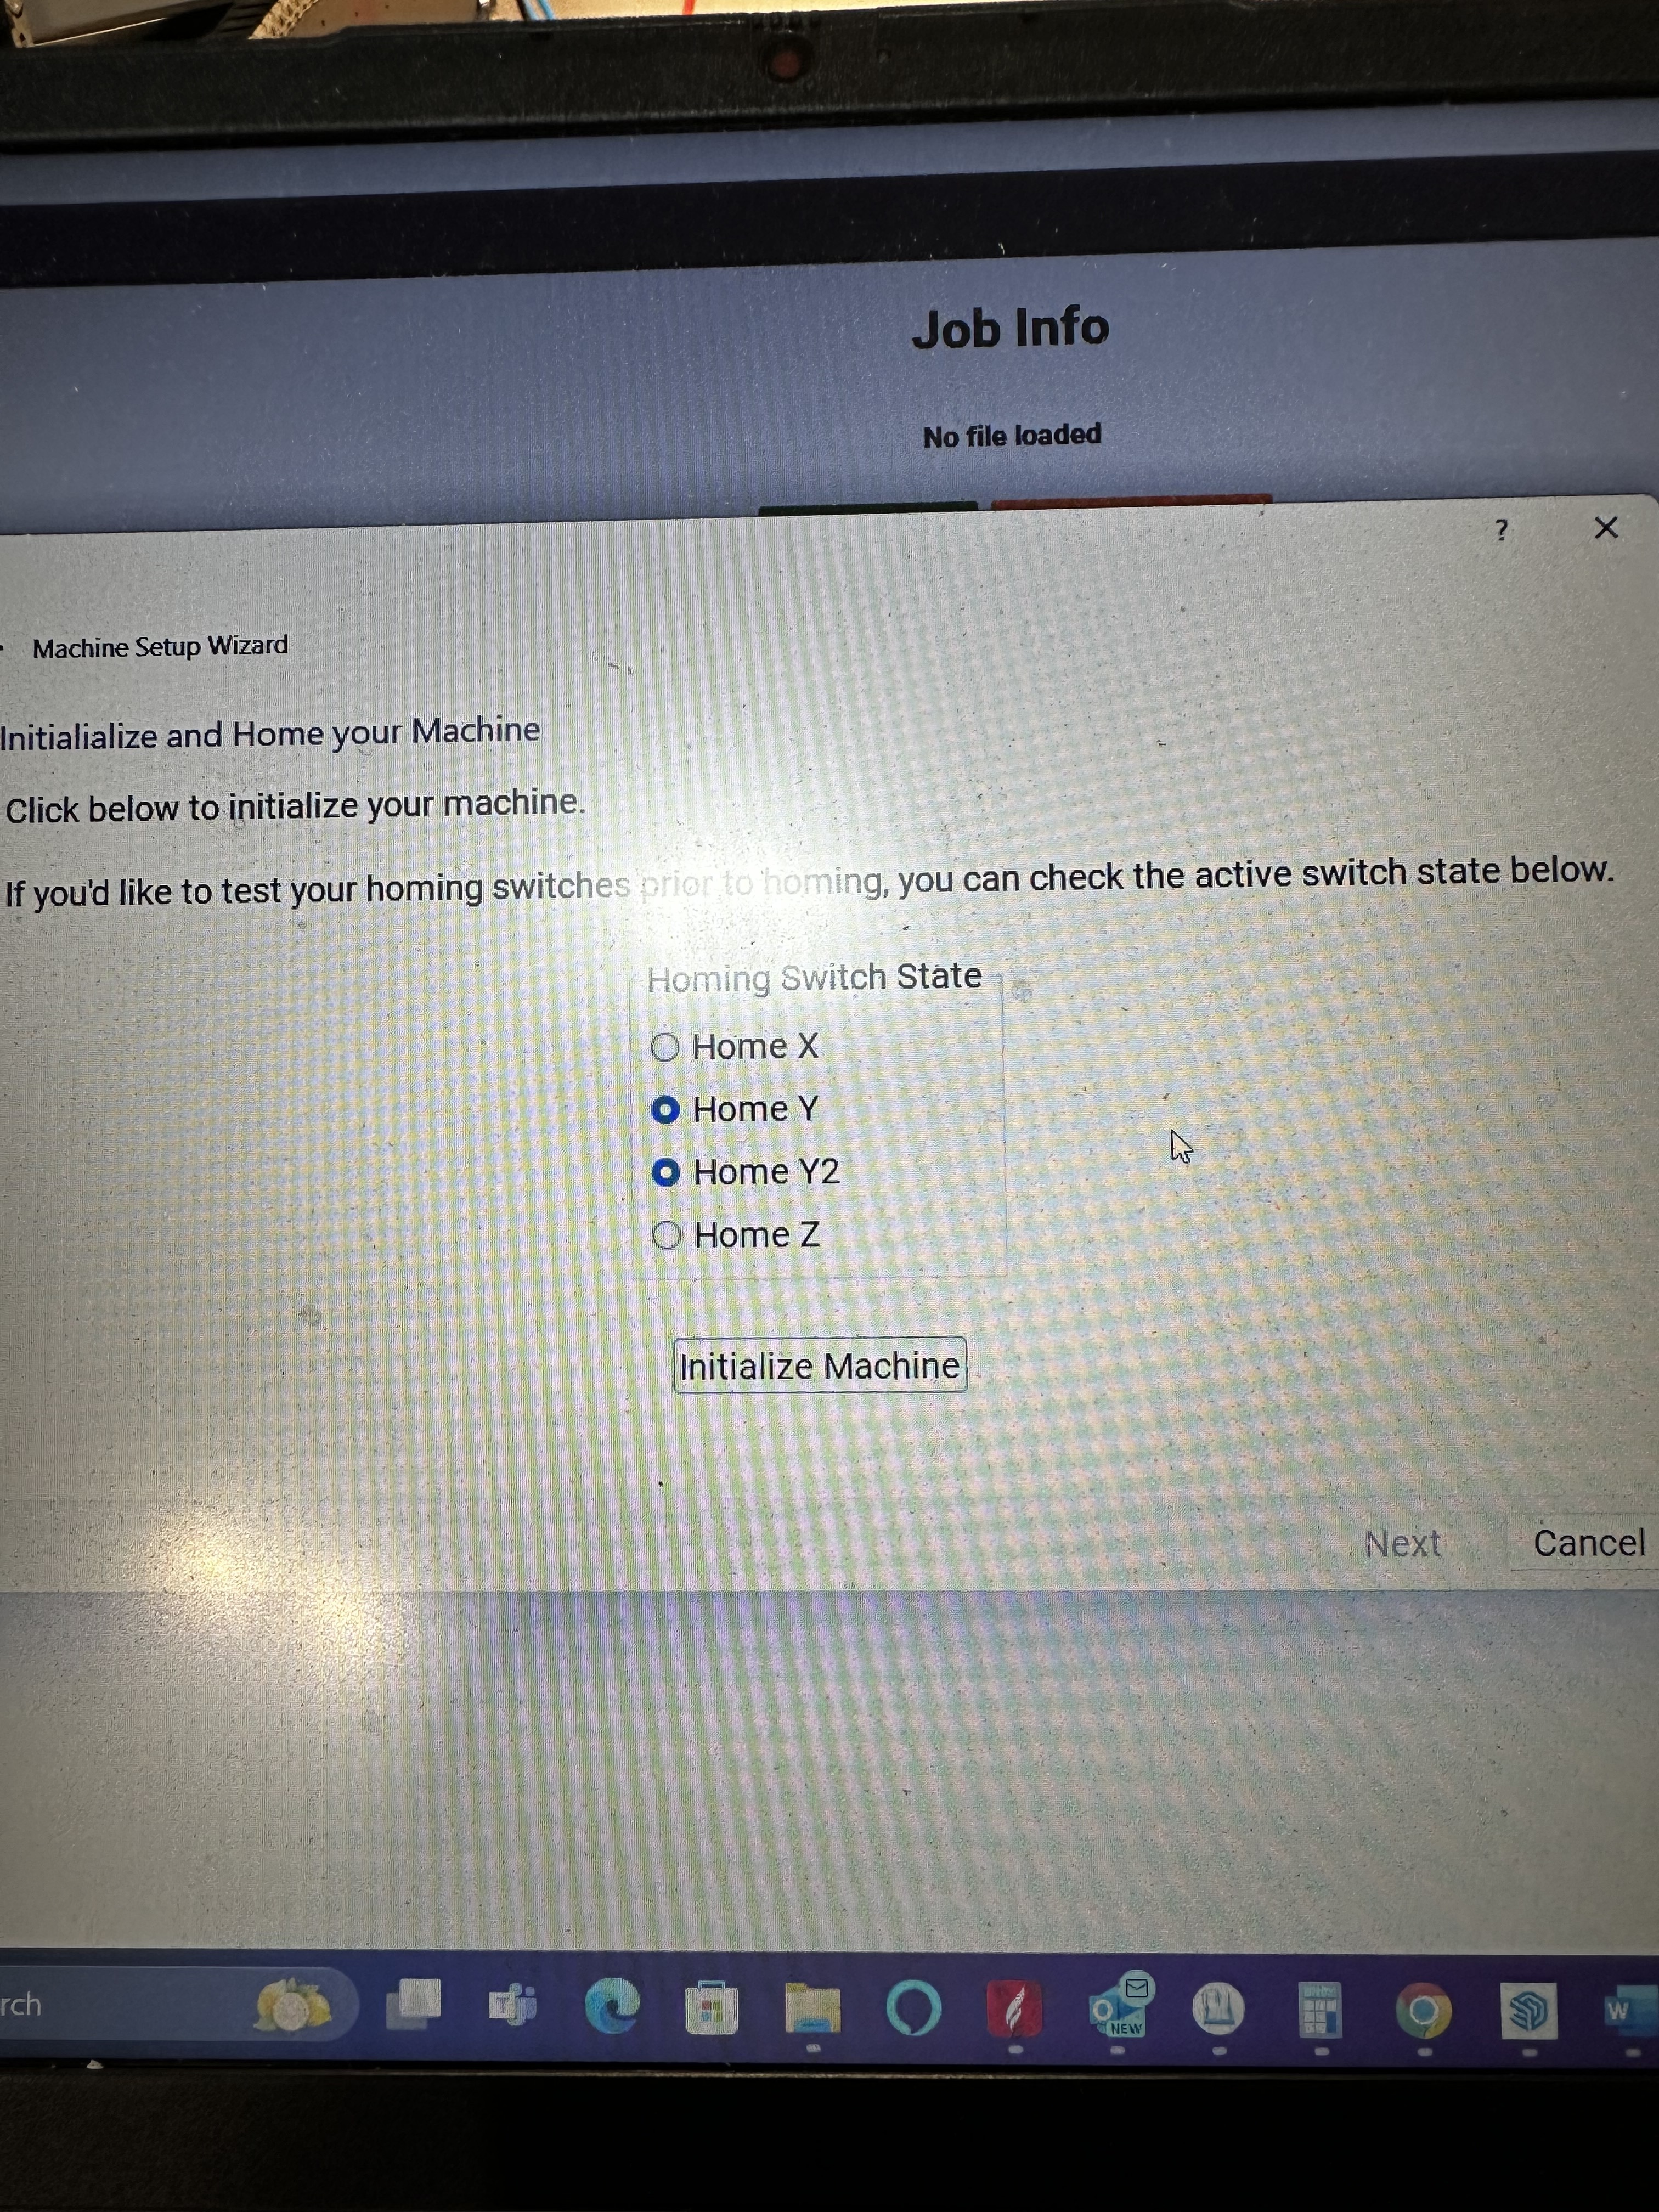
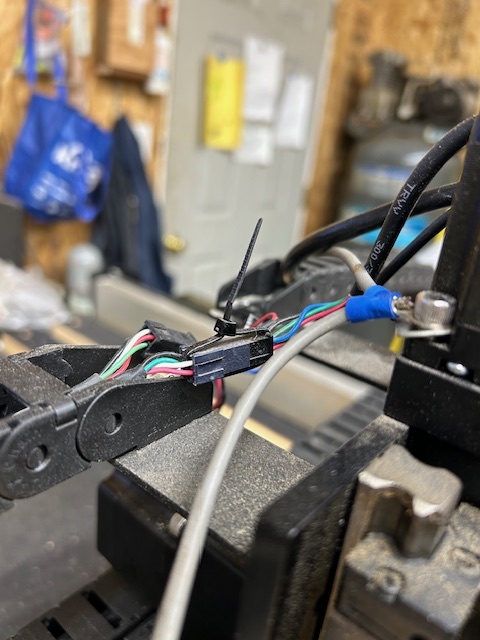
I’ve gone through setting up the new machine multiple times, I’ve checked the connections, but nothing seems to be working.

I’m guessing that it has something to do with the control board or switches.

Has anyone experienced anything like this? Any ideas what could be wrong.

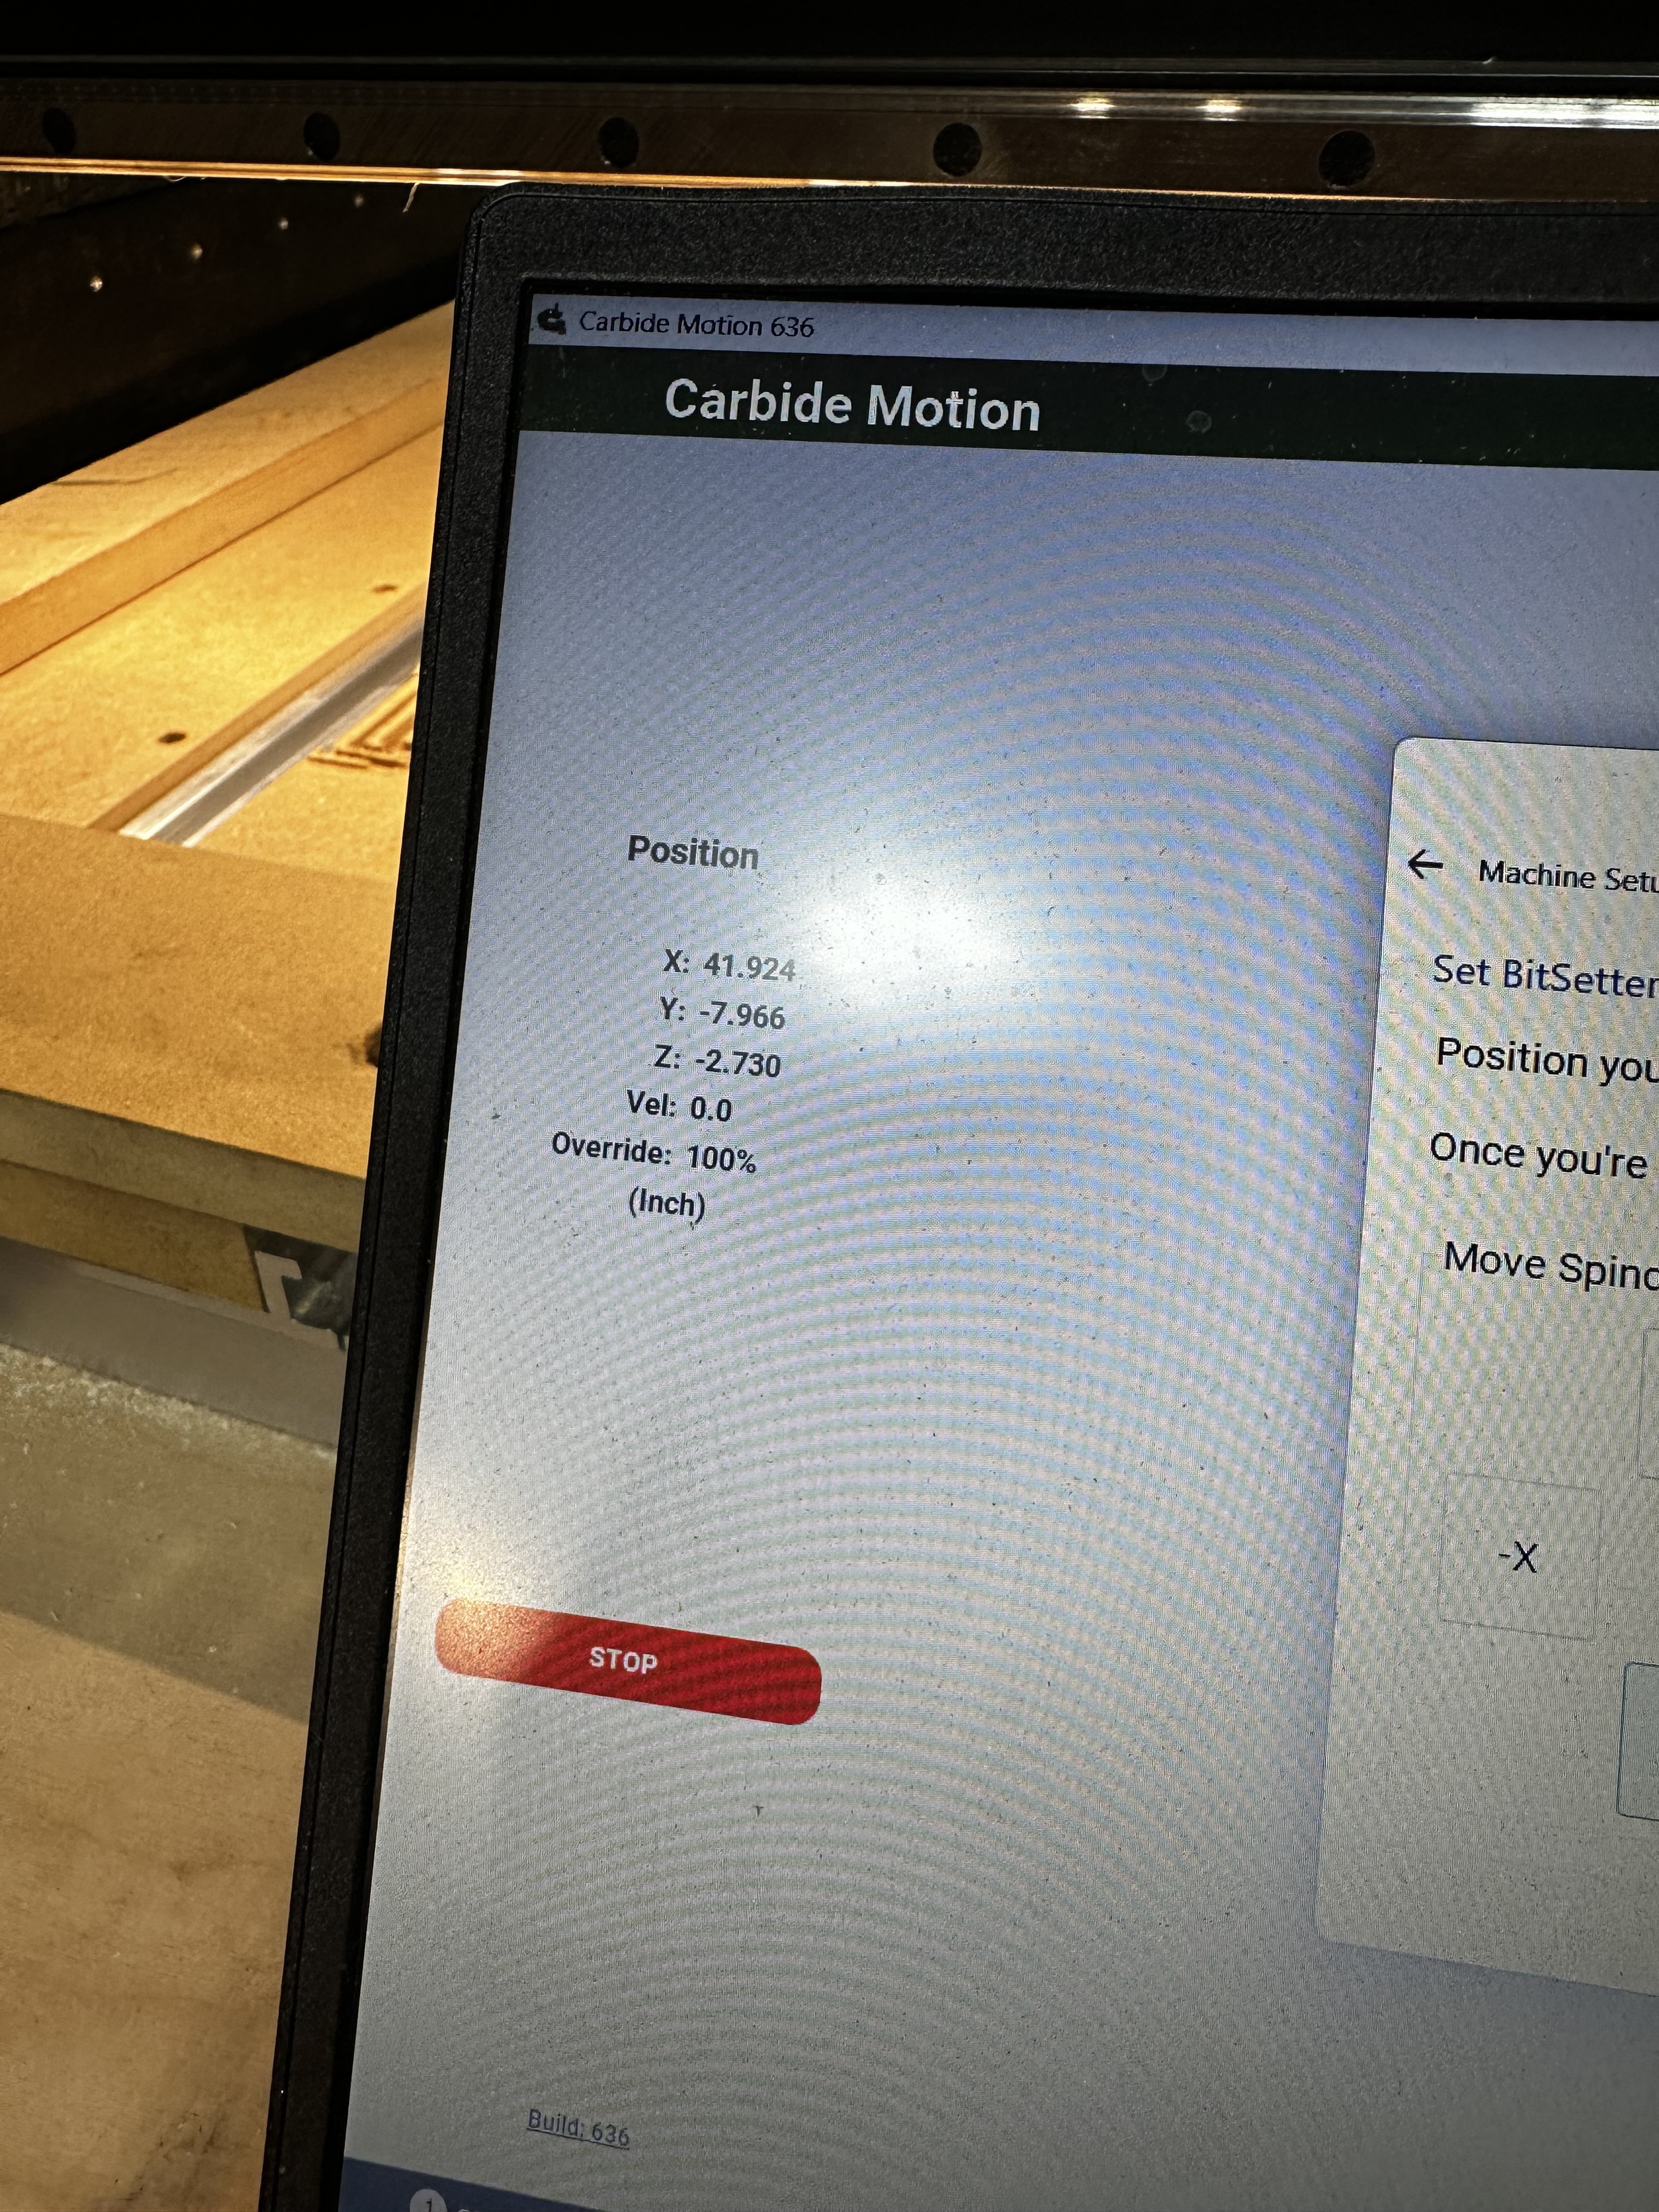
I attached to pictures of the settings(it won’t let me upload video, but I have that too.

With the z all the way up it’s only showing a z height of a little over an inch.

I figured I’d ask here before reaching out to support. Since it’s the weekend and maybe someone will see something I’m missing.

I appreciate any help I can get.

Best,

Justin


Could you upload you files?

Do you have this problem with a Carbide Create file?

@WillAdams, sure. attached are the Carbide Create file and the gcode from the Aspire file, as it will not allow me to upload the Aspire file. Note, that I had to change the file type to .nc, from .gcode on the Aspire file to upload it here as it won’t let me upload a crv3d file.

The carbide create file does the same thing. It was the first job I ran, which buried a #201 EM through the 3/4 MDF and spoil board, almost starting a fire.

I figured it must be an error on my part since I don’t use Carbide Create often and the file was from Cut Rocket.

Then my son asked me to cut out some lettering for him to make me a Father’s Day present. I drew it up in Aspire with a single profile tool path to cut out some letters and stars and the same thing happened.

S05-FencesAndSquares.c2d (200 KB)

Profile 1_1-Profile 1.nc (51.9 KB)

Video of the odd behavior after hitter zero all.

I’m not sure what the XYZ is supposed to be after Initialization, but I’m pretty sure that the Z should read higher than 1.67" when retracted all the way in the positive direction.

I’m happy to add additional photos or video as well if it will help.

I appreciate your time.

Thanks,

Justin

@WillAdams - here’s a video of it running through the homing process and another of jogging during the “set up new machine” process. Everything looks like its functioning as it should, but the z height readout on the Z doesn’t seem right to me.

New Machine Setup:

Homing:

I hope these help get a clearer picture of what’s happening.

Best,

Justin

Checked, but couldn’t find a matching ticket.

I suspect this would be better handled on support@carbide3d.com

@WillAdams. Okay, I’ll submit a ticket now.

@WillAdams, a ticket has been submitted. I’ve also included my debug log in the ticket as well.

1 Like

So here’s the latest regarding my continued issues with my brand-new S05…

I was sent a new control box by support. Installed and was able run one job. I thought everything was fixed. HAPPY HAPPY HAPPY!

I loaded a second job and boom. The same issue - the Z-Axis plunged through my workpiece and even into my aluminum extrusions. The depth of cut was .25 on a .50 piece of material. GRRR!

I went through every troubleshooting step in the manual. I checked the g-code. I checked debug. I checked the mechanical connections. Everything I could check or troubleshoot on my end. Making new test cuts along the way (cut depth of .05 cut to 3.27). More troubleshooting… Switches triggering. g-code fine. C2d file fine. Made another test cut this time at .005. It cut to .2 something. GRRR!.

Emailed support, including debug and c2d files. Nothing seemed to be off there.

Then running some suggested tests, my Z-Axis homing switch stopped functioning.

Support had me switch the X-Axis switch with the Z and test to see if debug was recognizing the switch. It was. So it was determined that it was a bad Z switch and they mailed one out to me. Has not arrived yet.

I had a spare switch sent with the machine, but the wires came out of the pins of the switch that came on the machine, so I had to use the spare during setup. So I had a spare, but it needed two pins.

While I’m waiting for the new switch to be sent out. I bought the tools and pins and replaced the pins on the switch that had come with the machine.

I installed it on the X-Axis, since support had me swap the x and z out to test the switches previously.

I fired up CM, connected to the cutter, went to debug and tested all the switches and they all triggered. Iit up red at the switch and blue in debug.

Yay, happy again!! Went to initialize and the Z moves up and just grinds at the top then fires an error saying home error, which can’t be found. GRRR.

Mind you, the z switch is the old x switch, which I didn’t do anything but swap from one position to the other. The x switch is the one I re-pinned and it’s not the switch that is having a problem and CM debug is showing all switches functioning correctly.

I’m going to wait until the switch they sent out gets here and try again, but I have no faith that the real issue is in the switches.

Does anyone have any ideas?

Here’s a bit of video showing the switches in debug triggering.

Is it possible that the Z-axis switch is mounted to high up to where Z runs out of travel before it gets close enough to trigger the switch? Have you tried lowering the switch a little?

1 Like

No. I haven’t tried that, but will give it a shot when I get back home. It could be since the screw holes were aligned for the x axis. :pray:t2:

One other thing you might want to look at just came to mind. Check to be certain there is no vertical movement in the Z axis while trying to move your spindle/router up and down by hand.

2 Likes

I very much appreciate your help.

Yes. You were spot on with the switch position. I lowered it and am now able to initialize it with no problems.

However, it didn’t solve my incorrect cut depth issue. The first test cut I made was set at .005. I’m not sure what it actually cut to as I didn’t measure it, but it’s at least .2+. You can see a picture here.

https://drive.google.com/file/d/1zm5CRC4Ii1Z-UK492MN6q8sxAVlSTD3-/view?usp=sharing

So, next, I disabled bitsetter and manually zeroed it, and ran it again. And lo and behold it cut to the right depth! So it looks to me like Bitsetter is faulty. Unless you can think of another reason that would cause this issue.

See video here

https://drive.google.com/file/d/1d_JsVDGN22sZEFa2EcTuTP9uwQEkPUMm/view?usp=sharing

1 Like

I don’t have an SO5 so I can’t comment much about the Bitetter issue. The only thing that comes to mind, as related to my SO3, would be to be sure it is mounted securely and the electrical connections are clean and tight. Maybe a gentle wiggle test of the wiring and connections with the BitSetter button held depressed and another with it released.

I’ve tested and retested all the mechanical connections multiple times. No luck there unfortunately.

@Ed.E - maybe you’re my lucky star or something because this morning I wiggled and jiggled. Plugged and unplugged. Blew out connectors on every part of the machine and wouldn’t ya just know it, I was able to get the machine to accurately set zero using BitSetter and BitZero! I was able to make three test cuts, all at the at the correct DOC within few thousands.

After work, or maybe at lunch, I will run an actual job or two and see if any of the issues pop up again, but for the time being, It looks like I have working S05 for the first time since purchase. :grinning:

Fingers crossed it stays this way and I can get back my normal work flow.

Thanks for your help! Without your suggestions, I’d still be stuck and frustrated.

4 Likes

Another suggestion would be to use electrical connector grease in the connectors, then wrap them in tape or shrink tubing. This will help keep the connectors from forming any corrosion on the contacts and keep any dust from collecting in the connectors as well. One other thing, before using shrink tubing, if you do plan to use it, use a small zip tie thru the connectors to help lock them tight together. I think our machines have many little flaws that cause so many issues because of the many different poor connectors, bad wire ends, screws that are not thread locked, and poor grounding, which causes our machines to go haywire.

Dust is our enemy, but yet, we produce it by the bundles. When connector pins are so crappy that they either fail at the connections, or simply break off easily, then we will not figure these issues out without wiggling wires or connectors. I would rather have beefier wires and connectors.

You can use NoOx

I did this

I saw the way you connected your connectors in another post. I do like this idea, but I was also talking about taking it one step further and using shrink tubing over those connectors and sealing up the connector altogether overtop the tie.

Every component to the machines have a potential to be an issue and with lines flexing and pulling, any point that has been moving around a lot can become a major issue for the machines. things like what you did here is one way to combat the issue of potential problems in the future.

The wires going to one screw are for ground. I was having static issues. In the picture you can see the zip tie I used to keep the connector together. I am not a fan of those connectors from my PC Tech days. This works for me.

I like your setup. I wasn’t even looking at your ground wires. I too have to go thru and run some ground wires throughout my machine and run them out to separate grounds. Just a lot to do and I seem to always be gone from my machine. So doing any of this stuff will have to wait until I get back into town. Will be away for another couple weeks on work. I had some delays that pushed my return home out a couple weeks longer. I’m ready to go home but cant until I am finished with this work.