Rarely do I get the chance to really nail a project in one evening, but I think I knocked this out of the park ![]()
A fella I know gave me a jar of honey from his hive. I wanted to give back something interesting and unique but not particularly valuable. A keychain seemed appropriate.
Let’s just go through the motions:
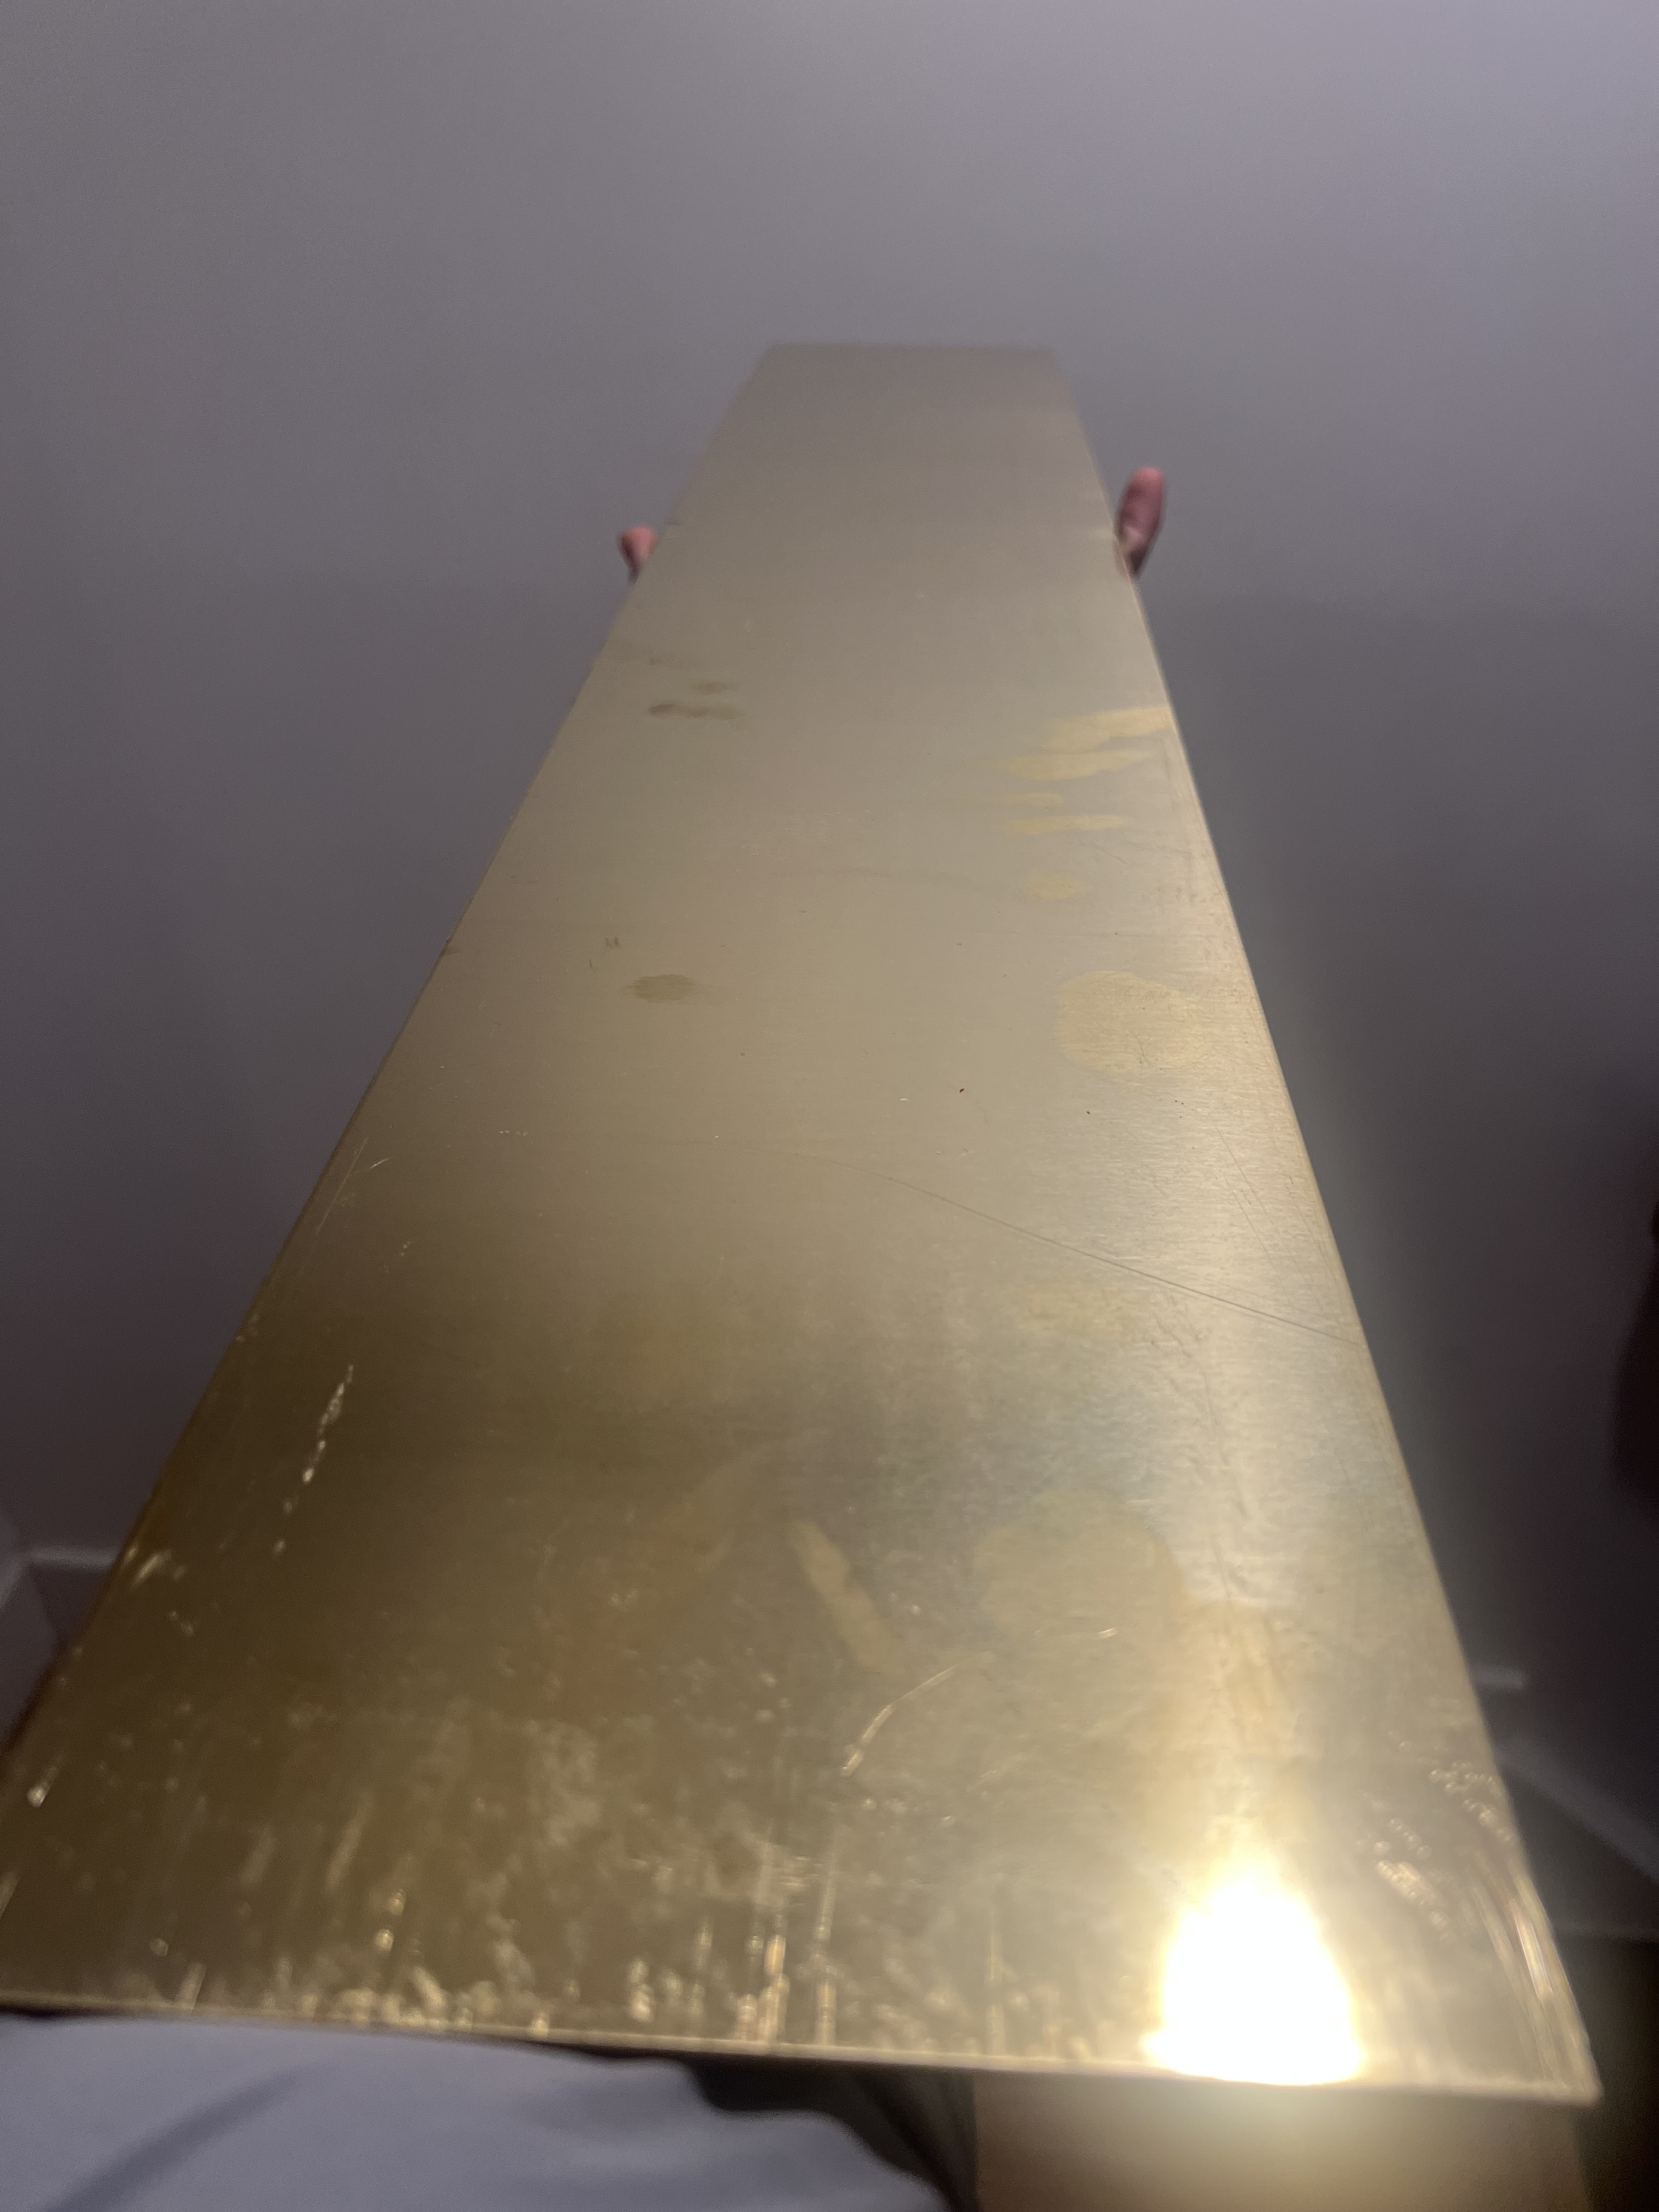
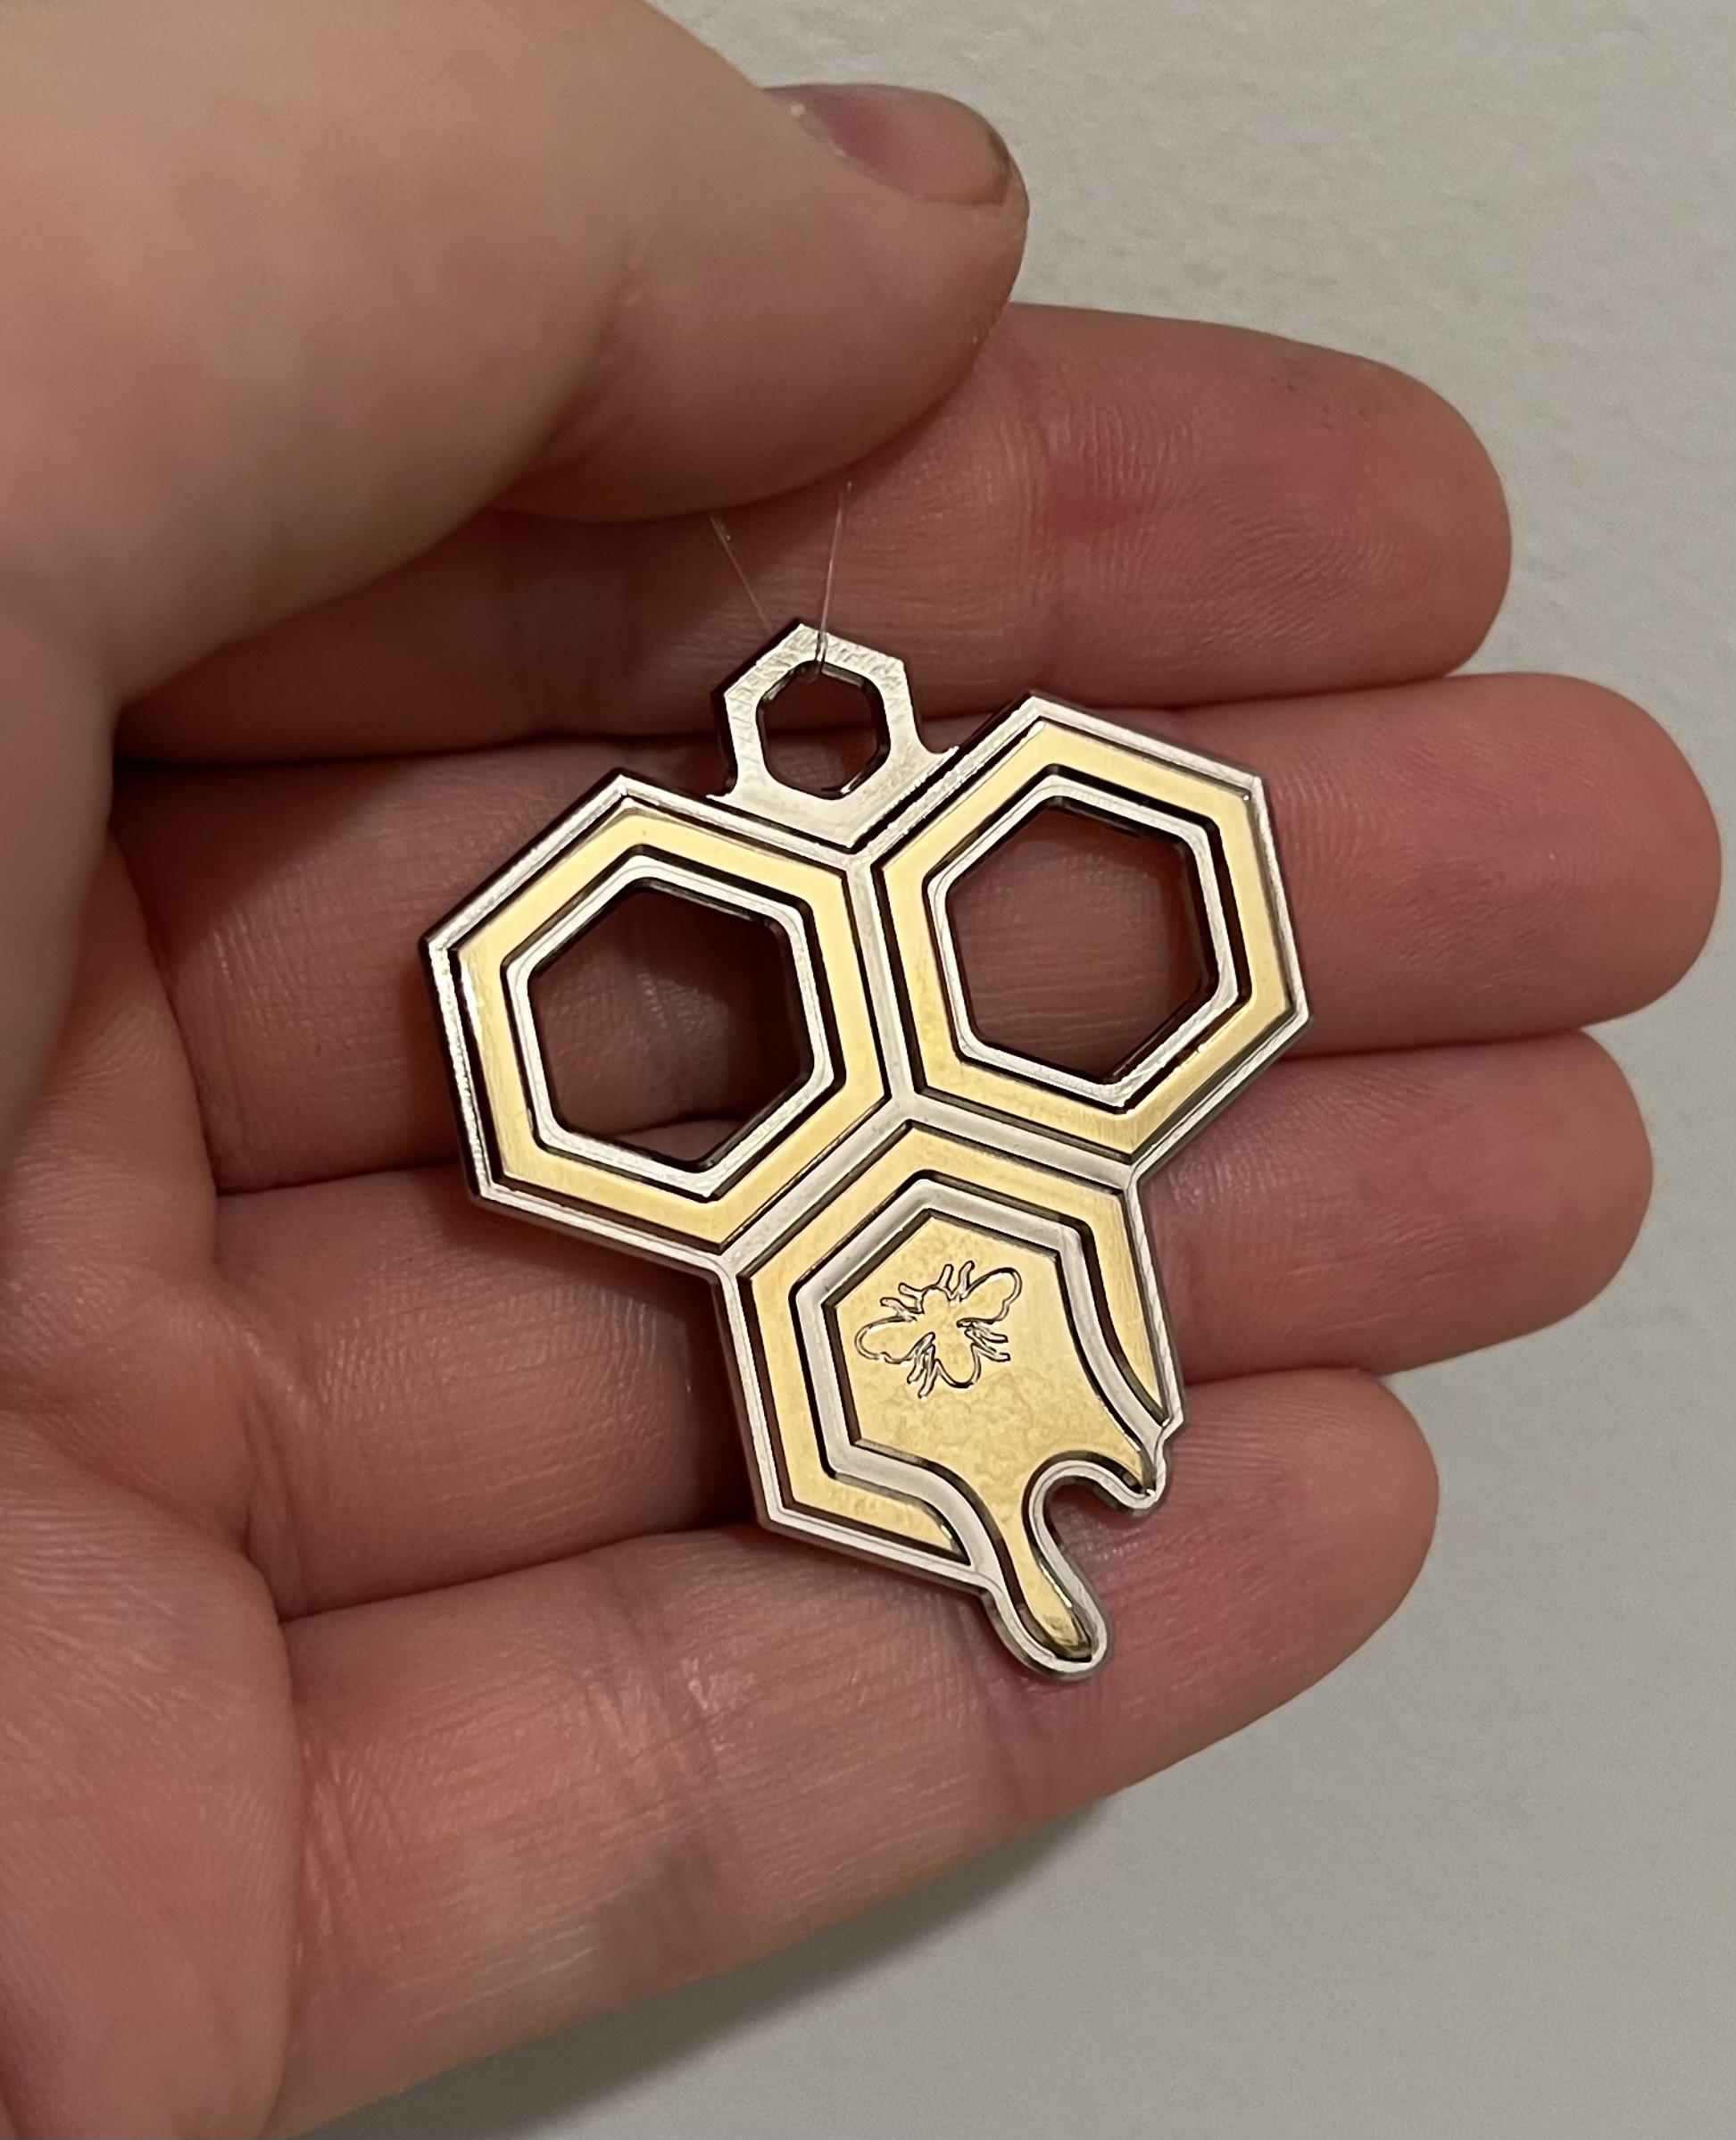
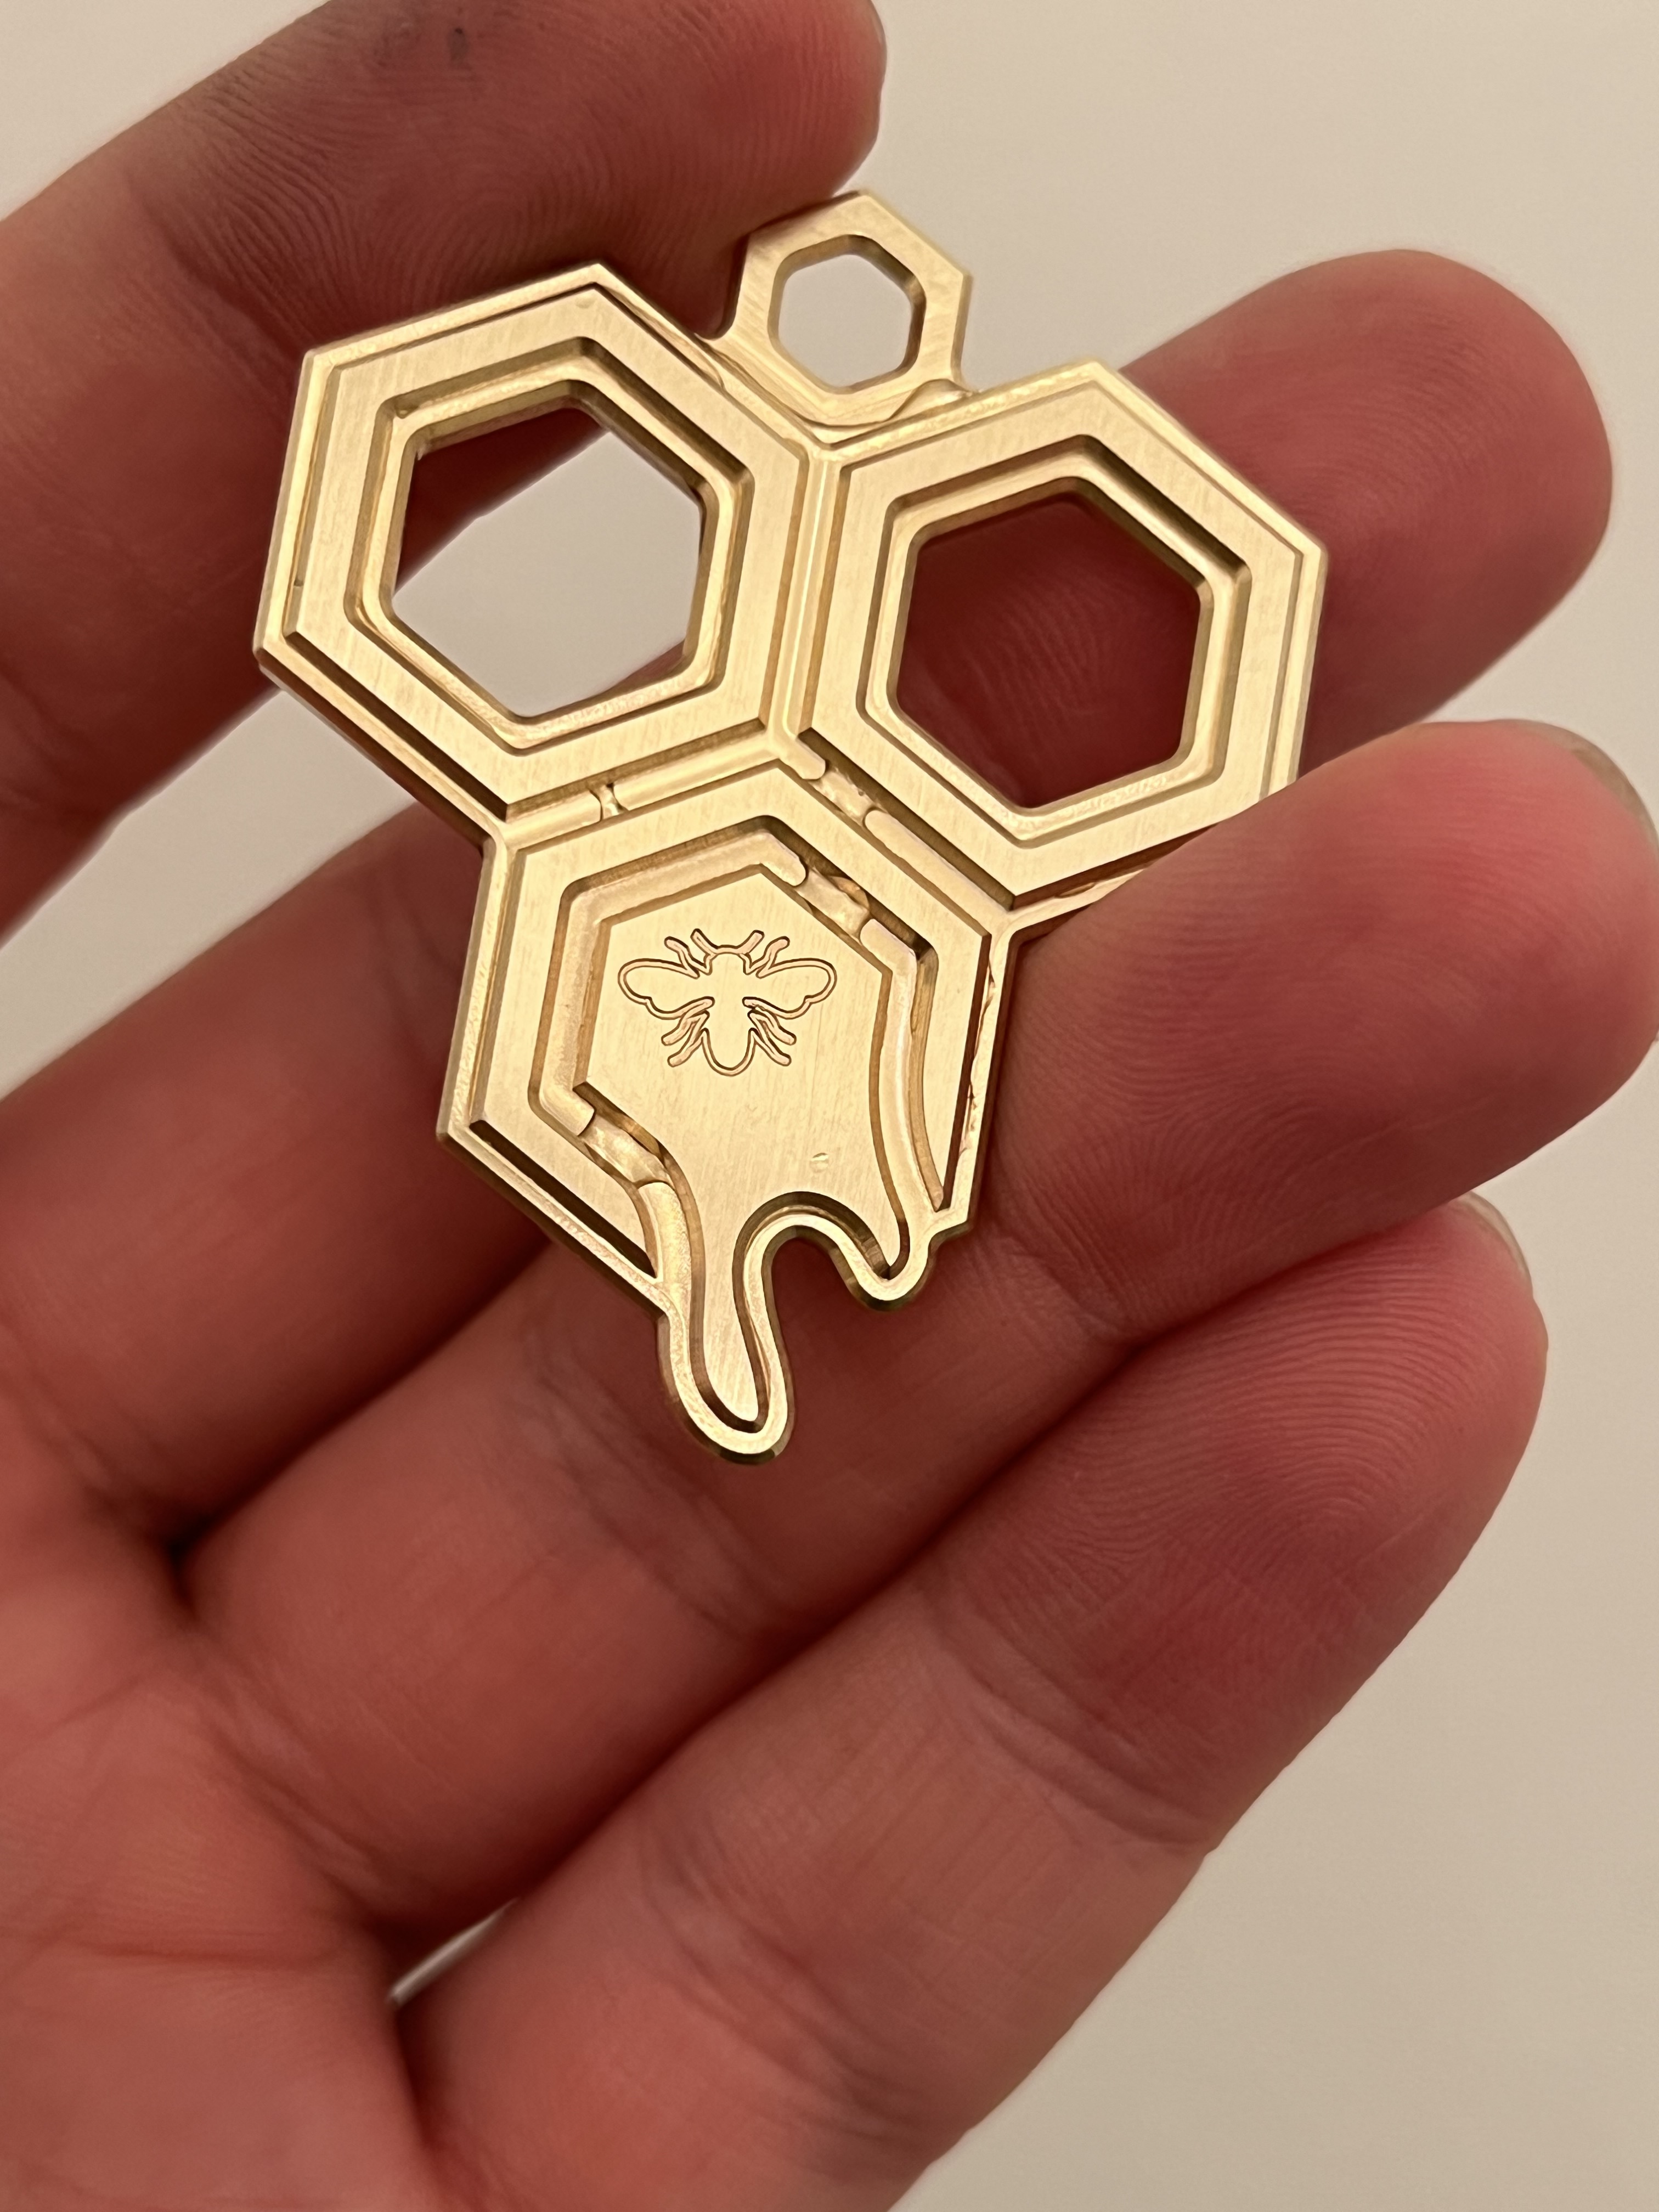
Dimensions are ~45mm diameter and 3mm thick.
The bee is engraved 0.15mm deep.
Each step down from the top of the charm to the bottom is 1mm.
The chamfers are all 0.5mm wide.
Material is some unknown brass alloy.
Plating is bright nickel
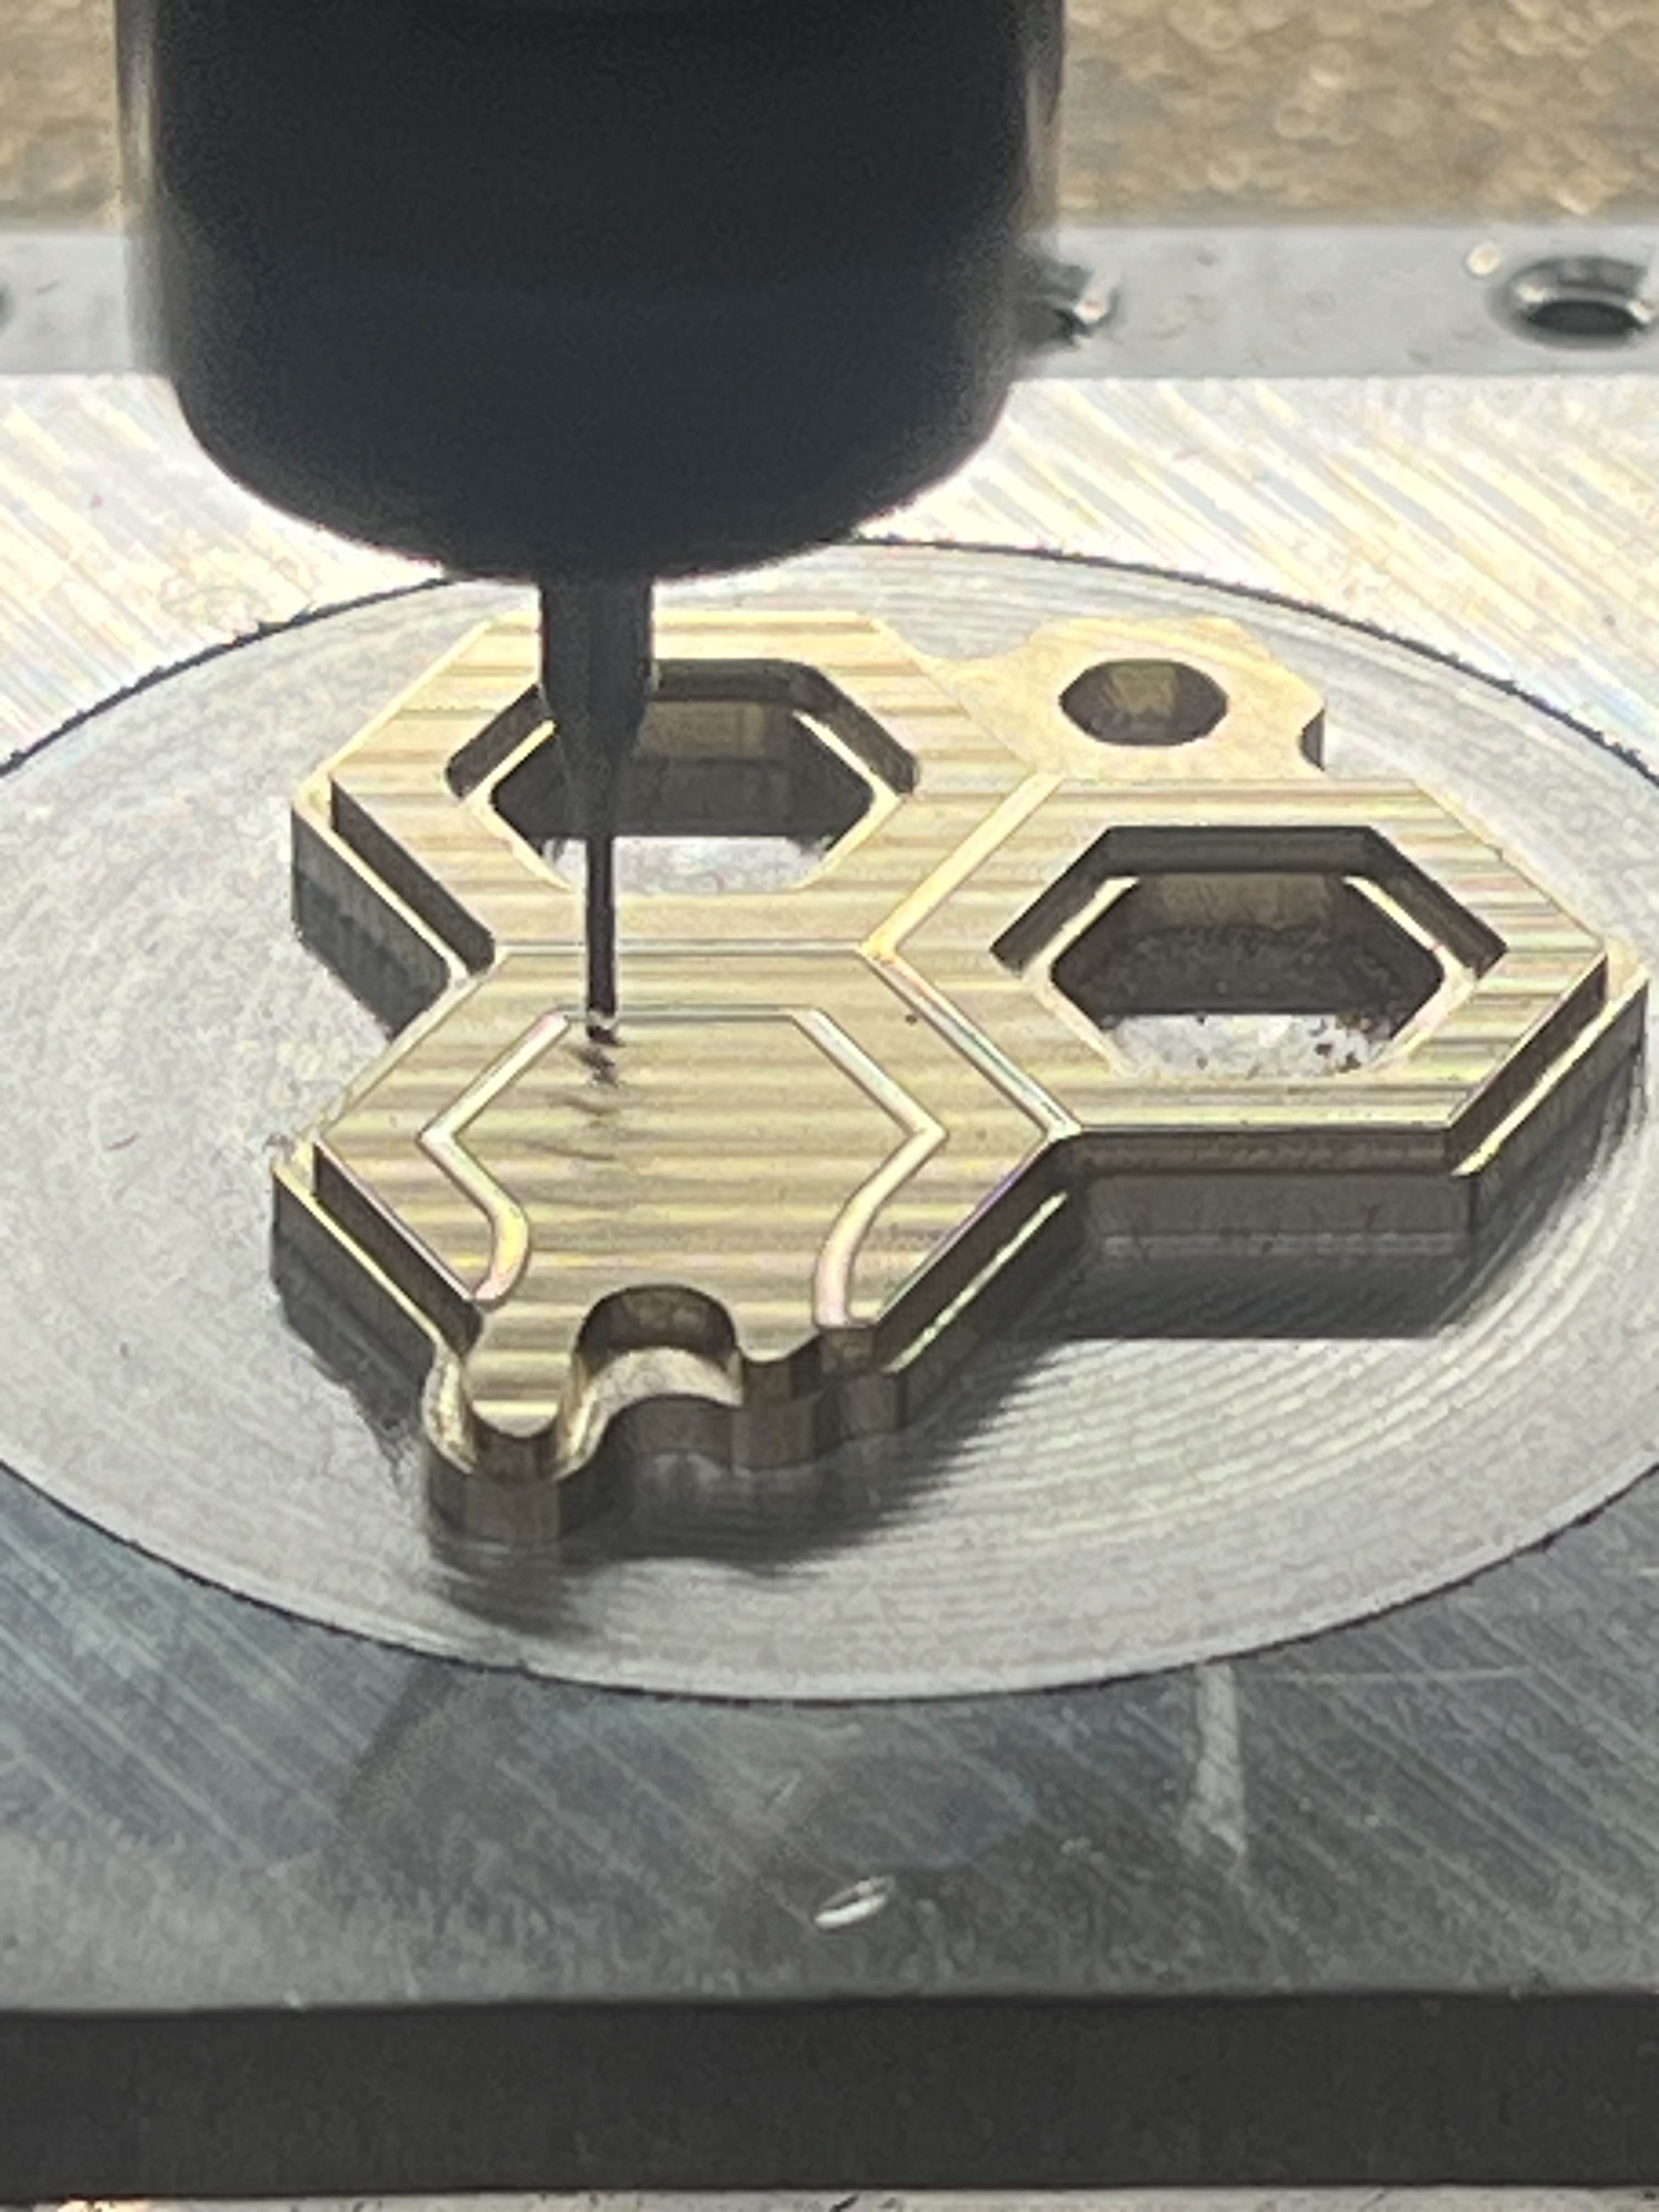
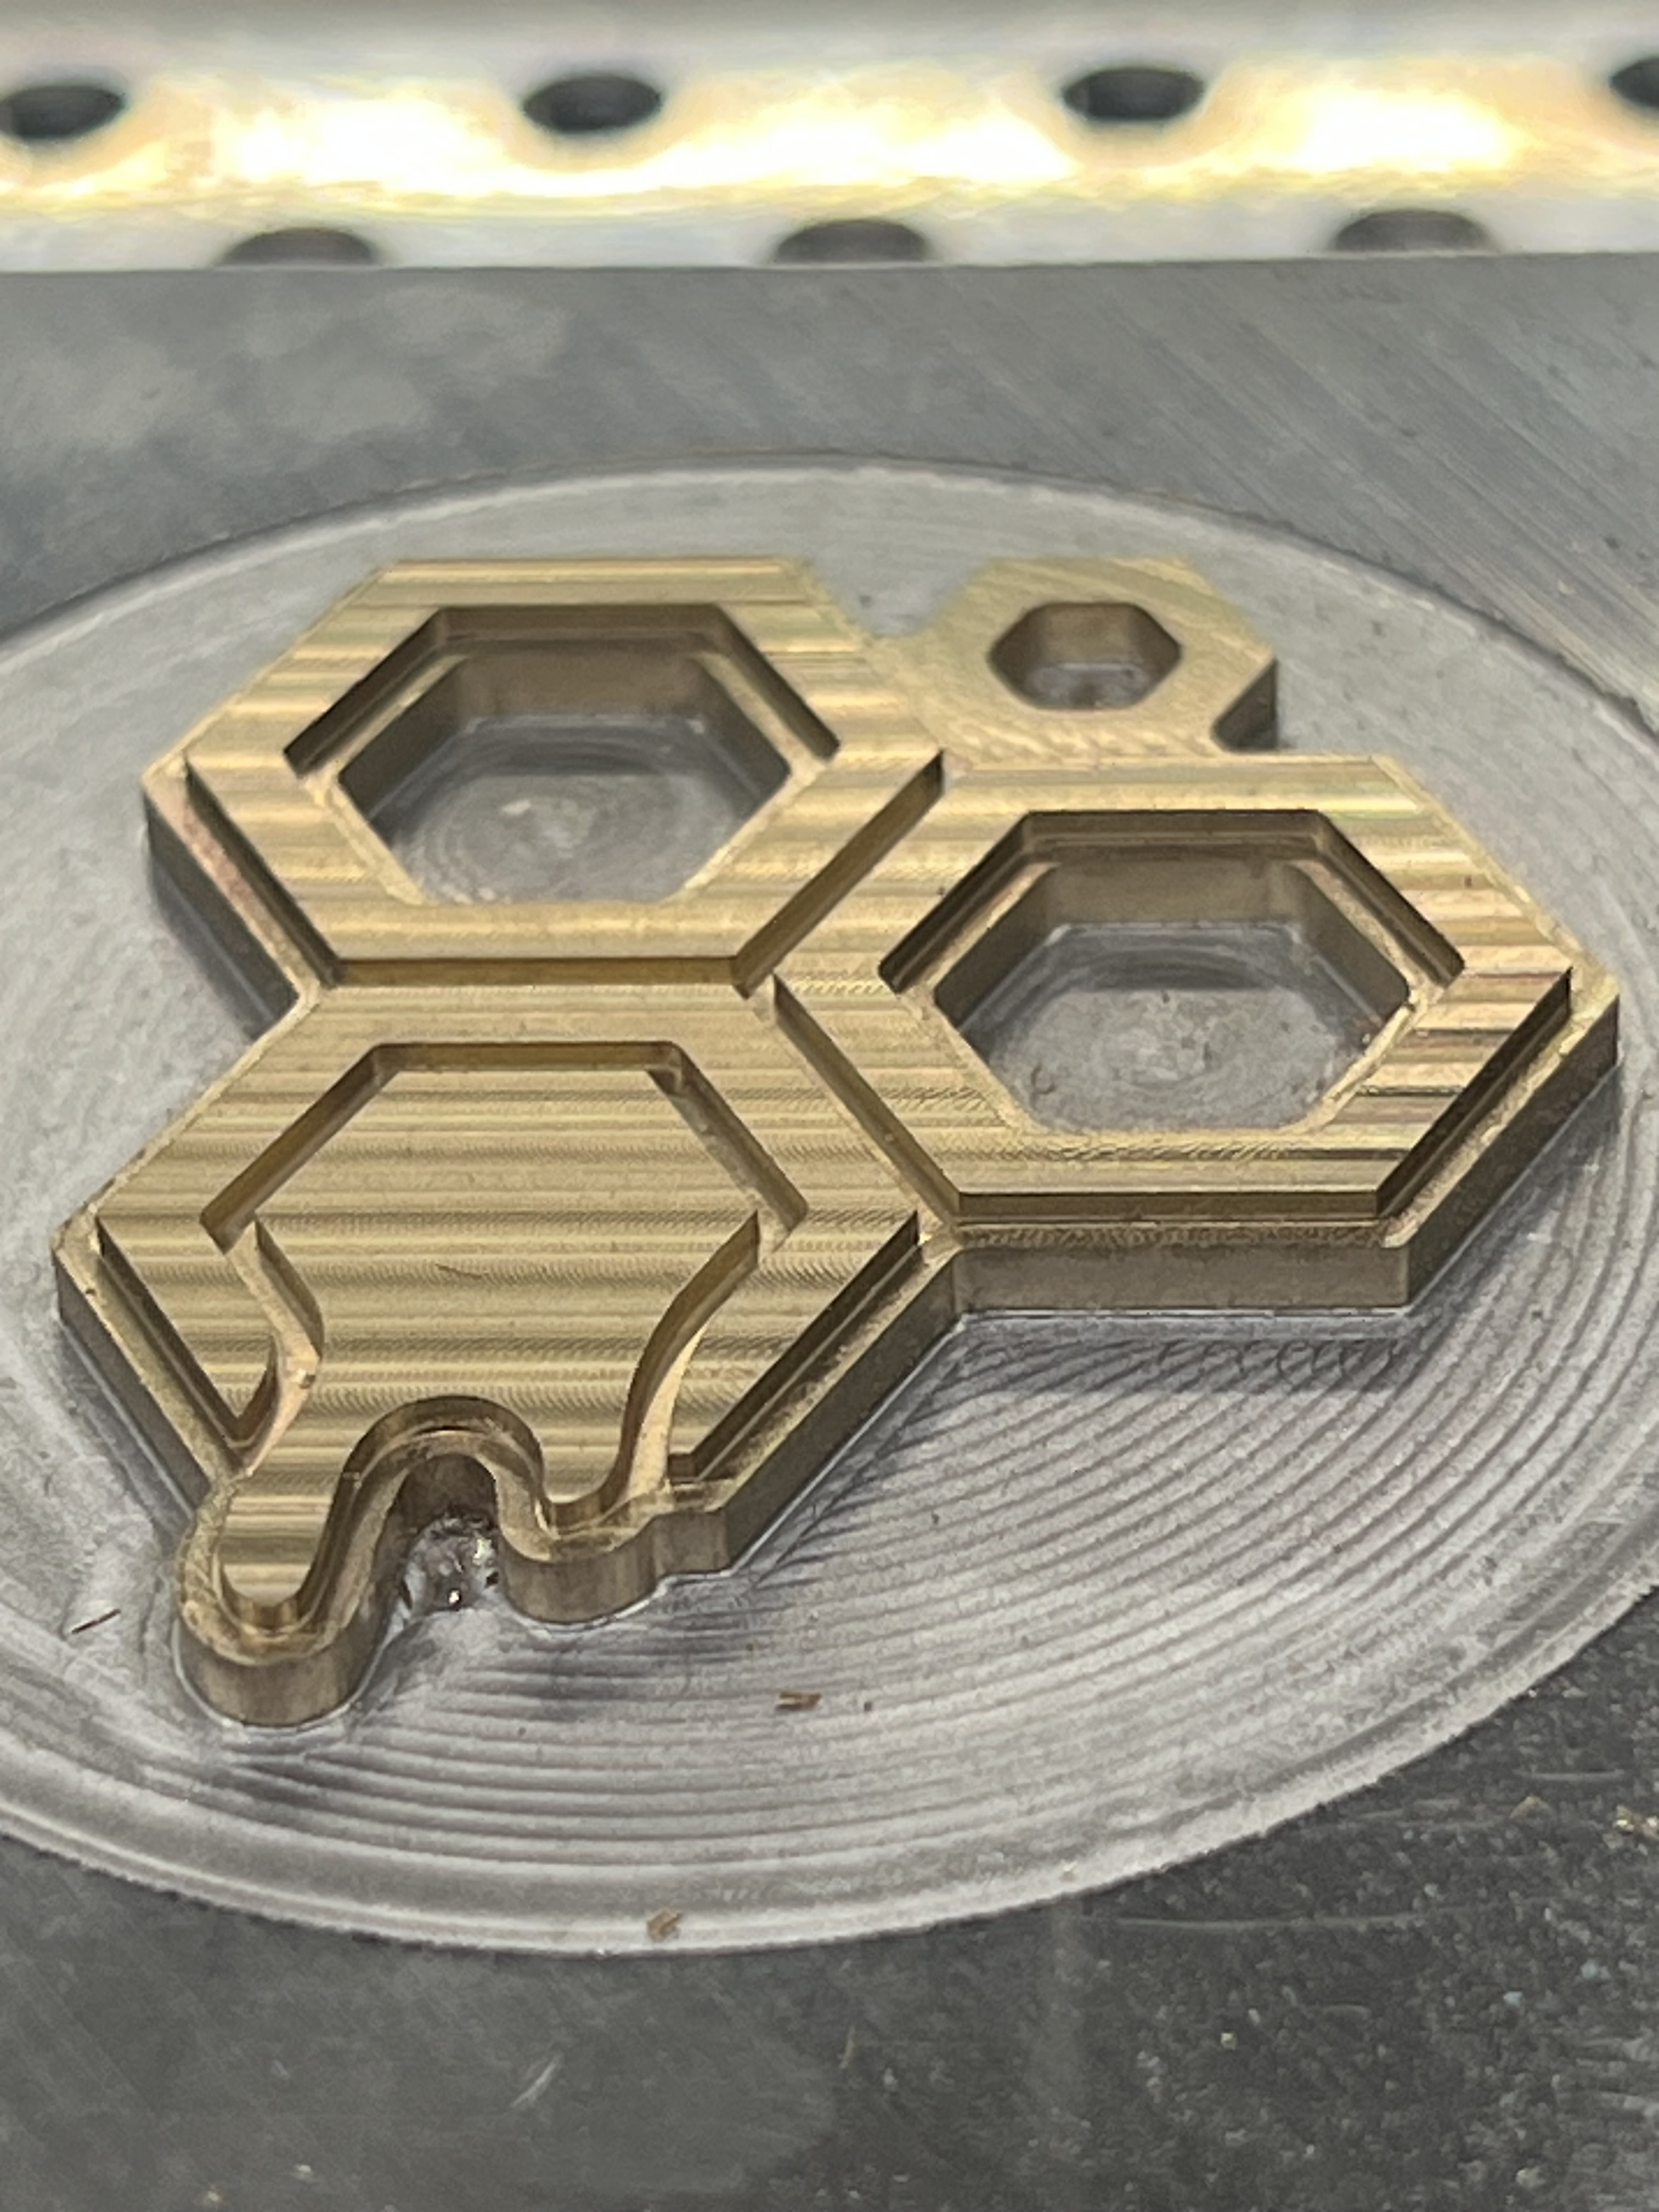
Workholding was thin super glue to a small piece of sacrificial mic6 aluminum. The sacrificial piece was then held securely in a vise.
I was a bit worried about the sudden full engagement once the floor was hit but it did not prove to be a problem.
OP 1 was facing and an adaptive toolpath with a 1/8” two flute.
I also did a drilling operation on the keychain hole to clear the bulk of the material.
Basically just as much bulk material removal as I could with the (relatively) chunky tool
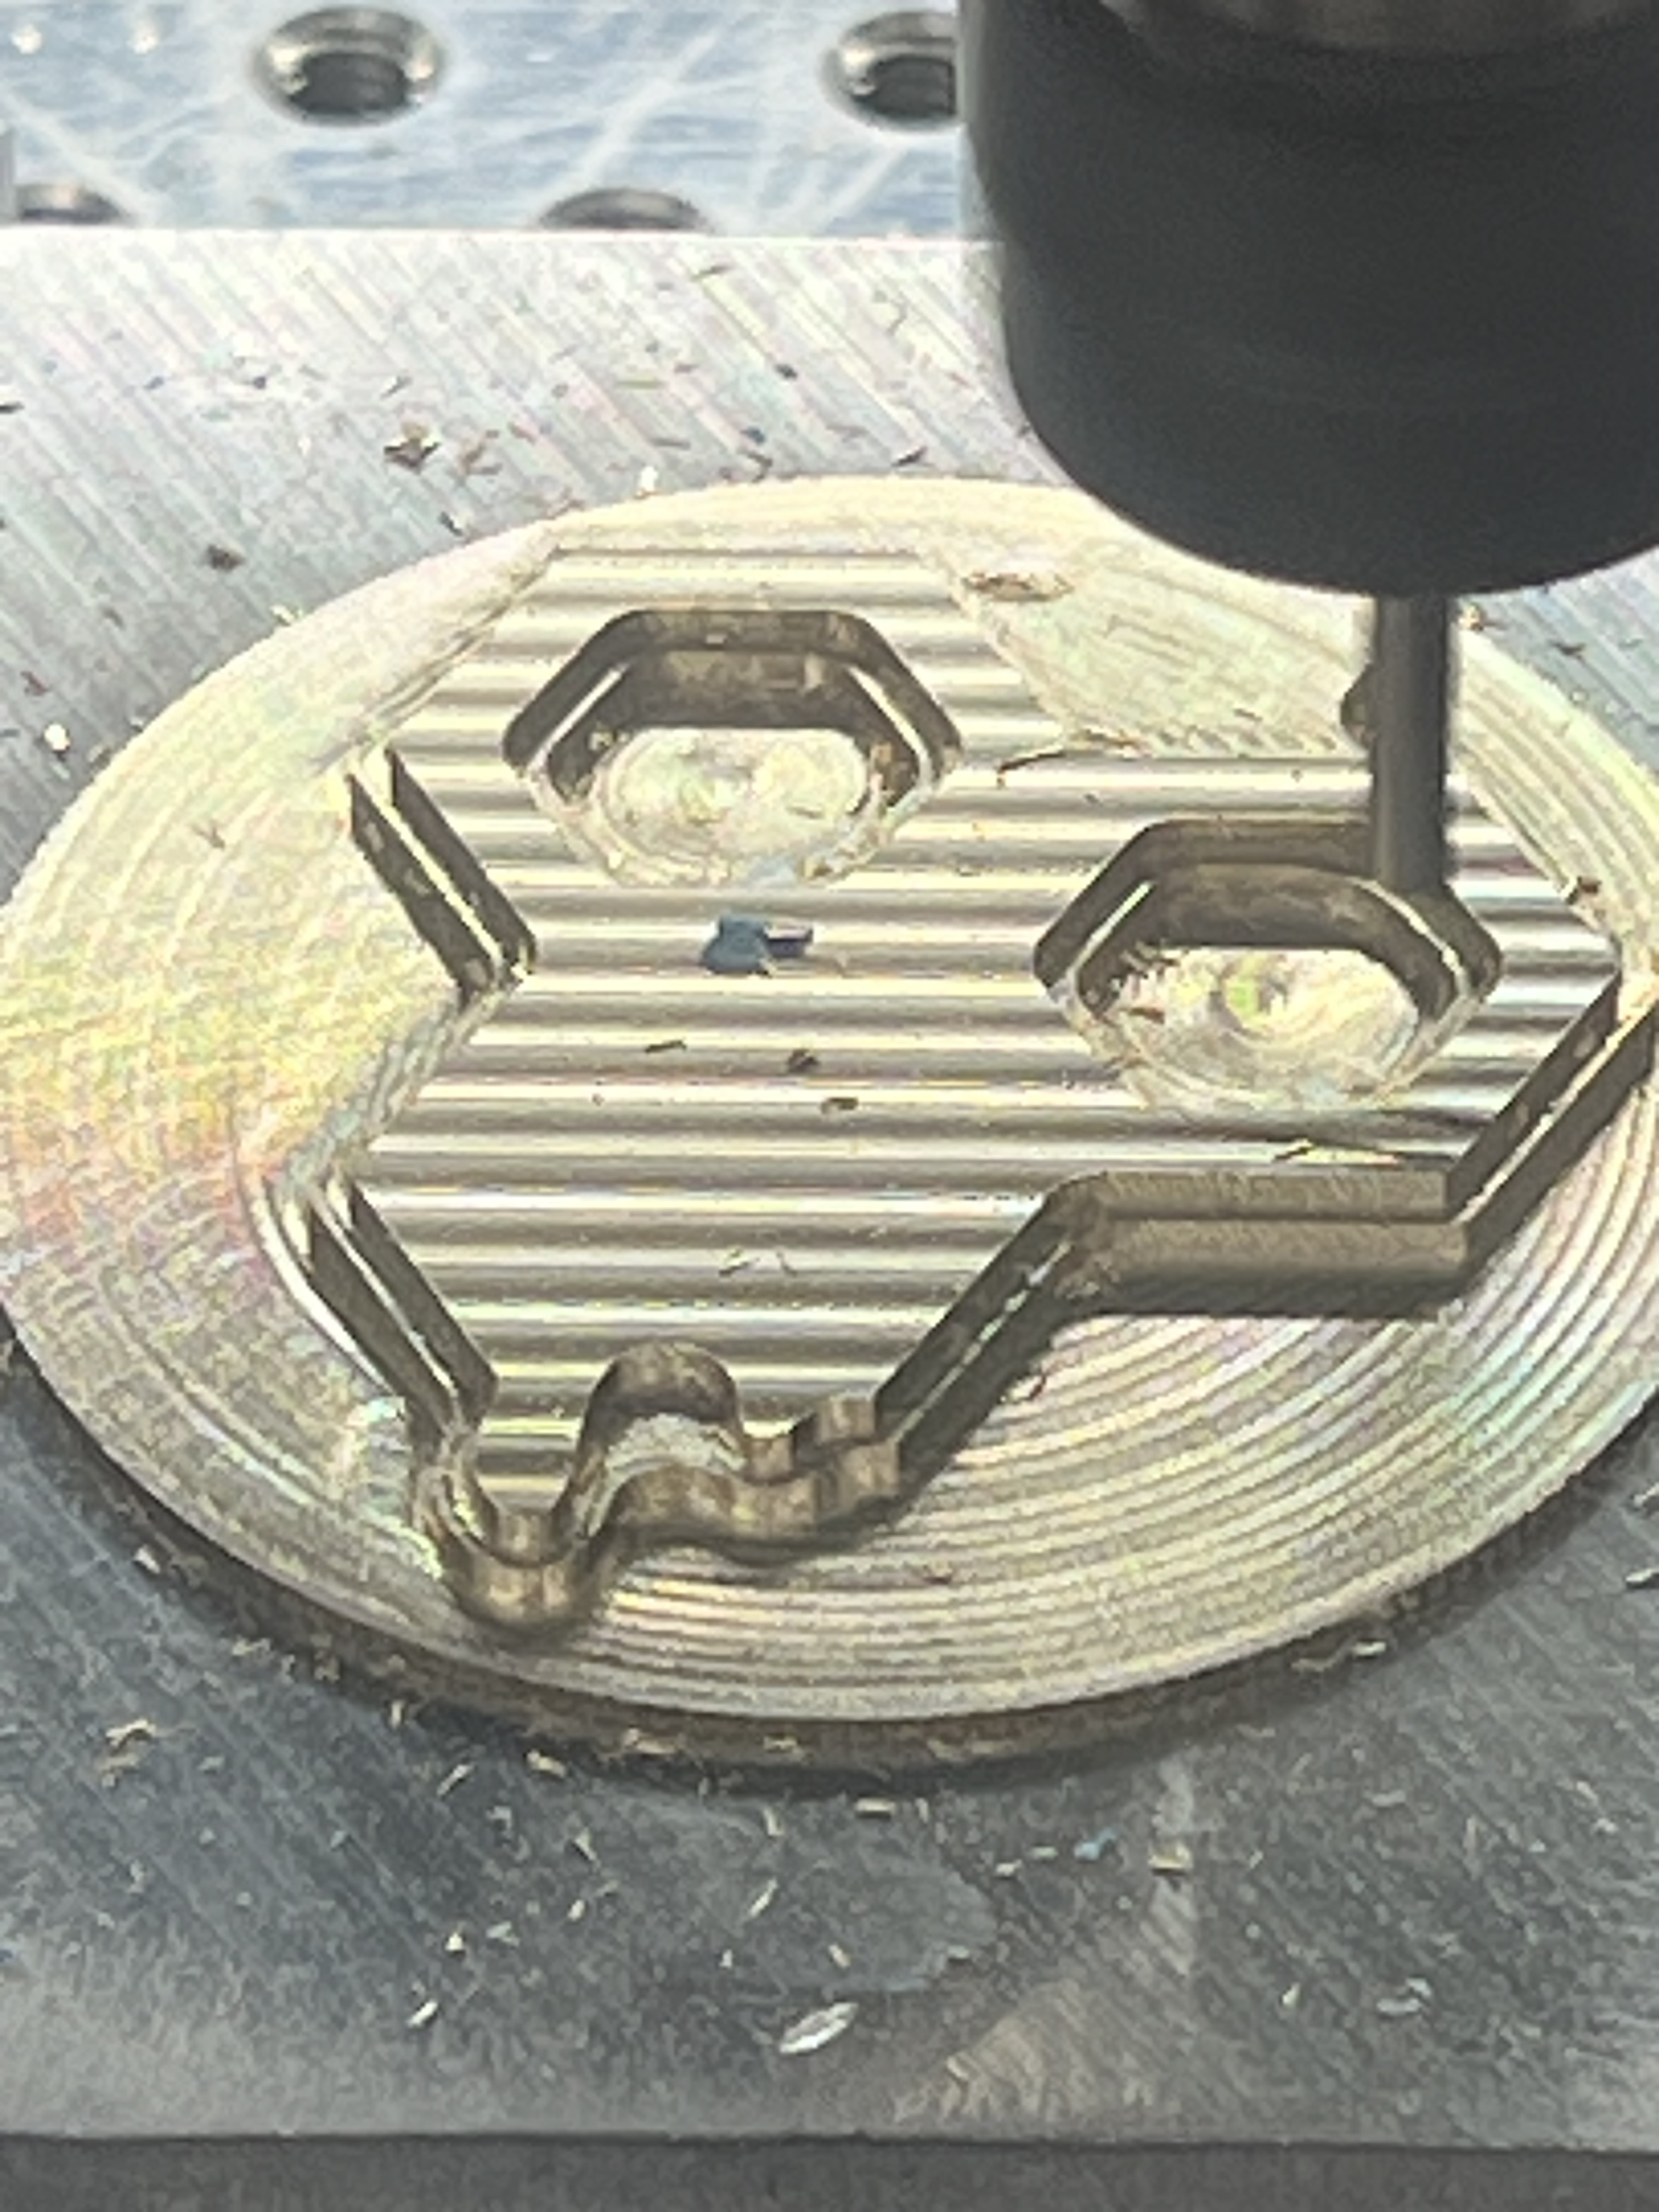
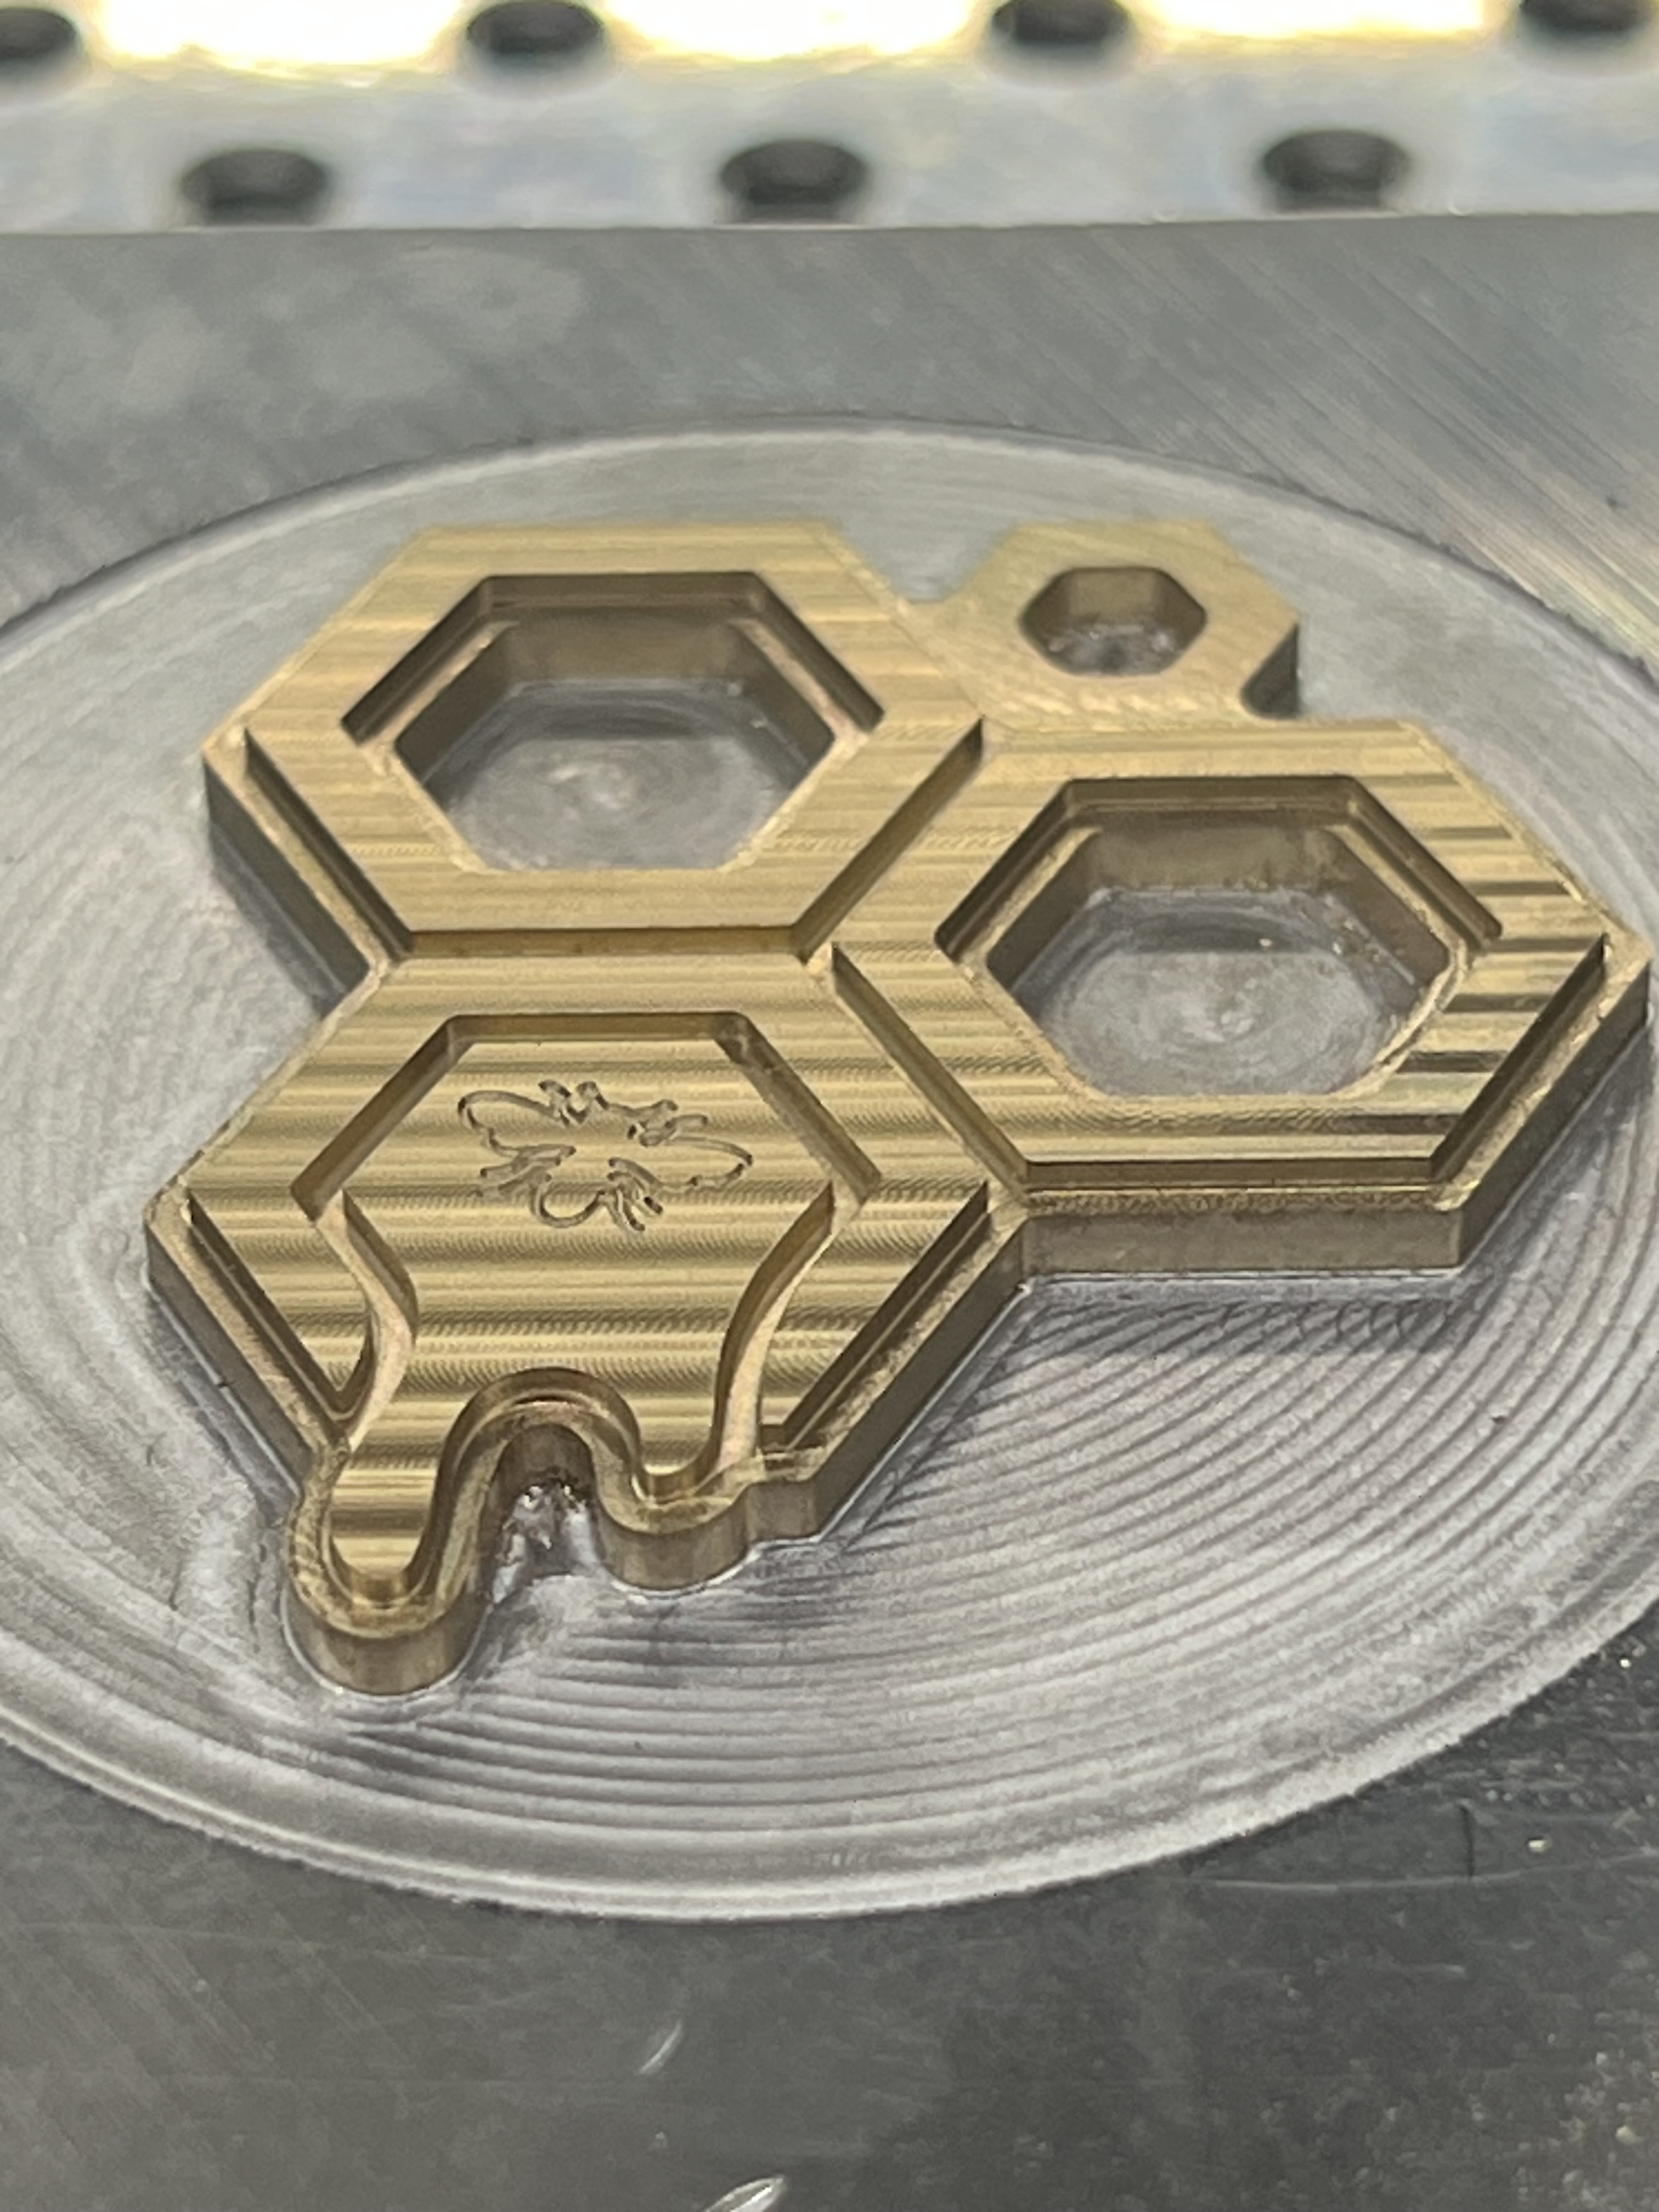
OP 2 was a tool change to a 1mm two flute. A ramping contour along all of the edges clean up the corners that the 1/8” couldn’t get. I wanted the features to look crisp.
This tool also defined the honey drop in the bottom comb which required a ~1.1mm slot.
OP 3 was a tool change to a tiny engraving/chamfering bit from precise bits. It was used to chamfer all edges and to engrave the bee.
The chamfering just provides more visual interest, allowing a bit more play for the reflections of the polished end product.
The intention of the bee engraving was to go deep enough that the nickel plating would stick around when I lapped the top surface. A subtle highlight to the engraving surrounded by brass.
That’s it for the cutting, now on to the hand work.
A fine grain radial flap disk broke all of the edges and gave just a touch of rounding to the crisp edges. The rounding isn’t strictly necessary but I figure reducing stress risers and areas where the nickel may start to flake would be a good idea.
Then came the lapping of both sides of the charm. I wanted to get a mirror polish on the backside and ensure the front face was as flat as possible with no tool marks.
Lapping was done with adhesive backed lapping film on float glass. Usually used for honing knives, it was nice to not deal with diamond paste. A more pleasant lapping experience.
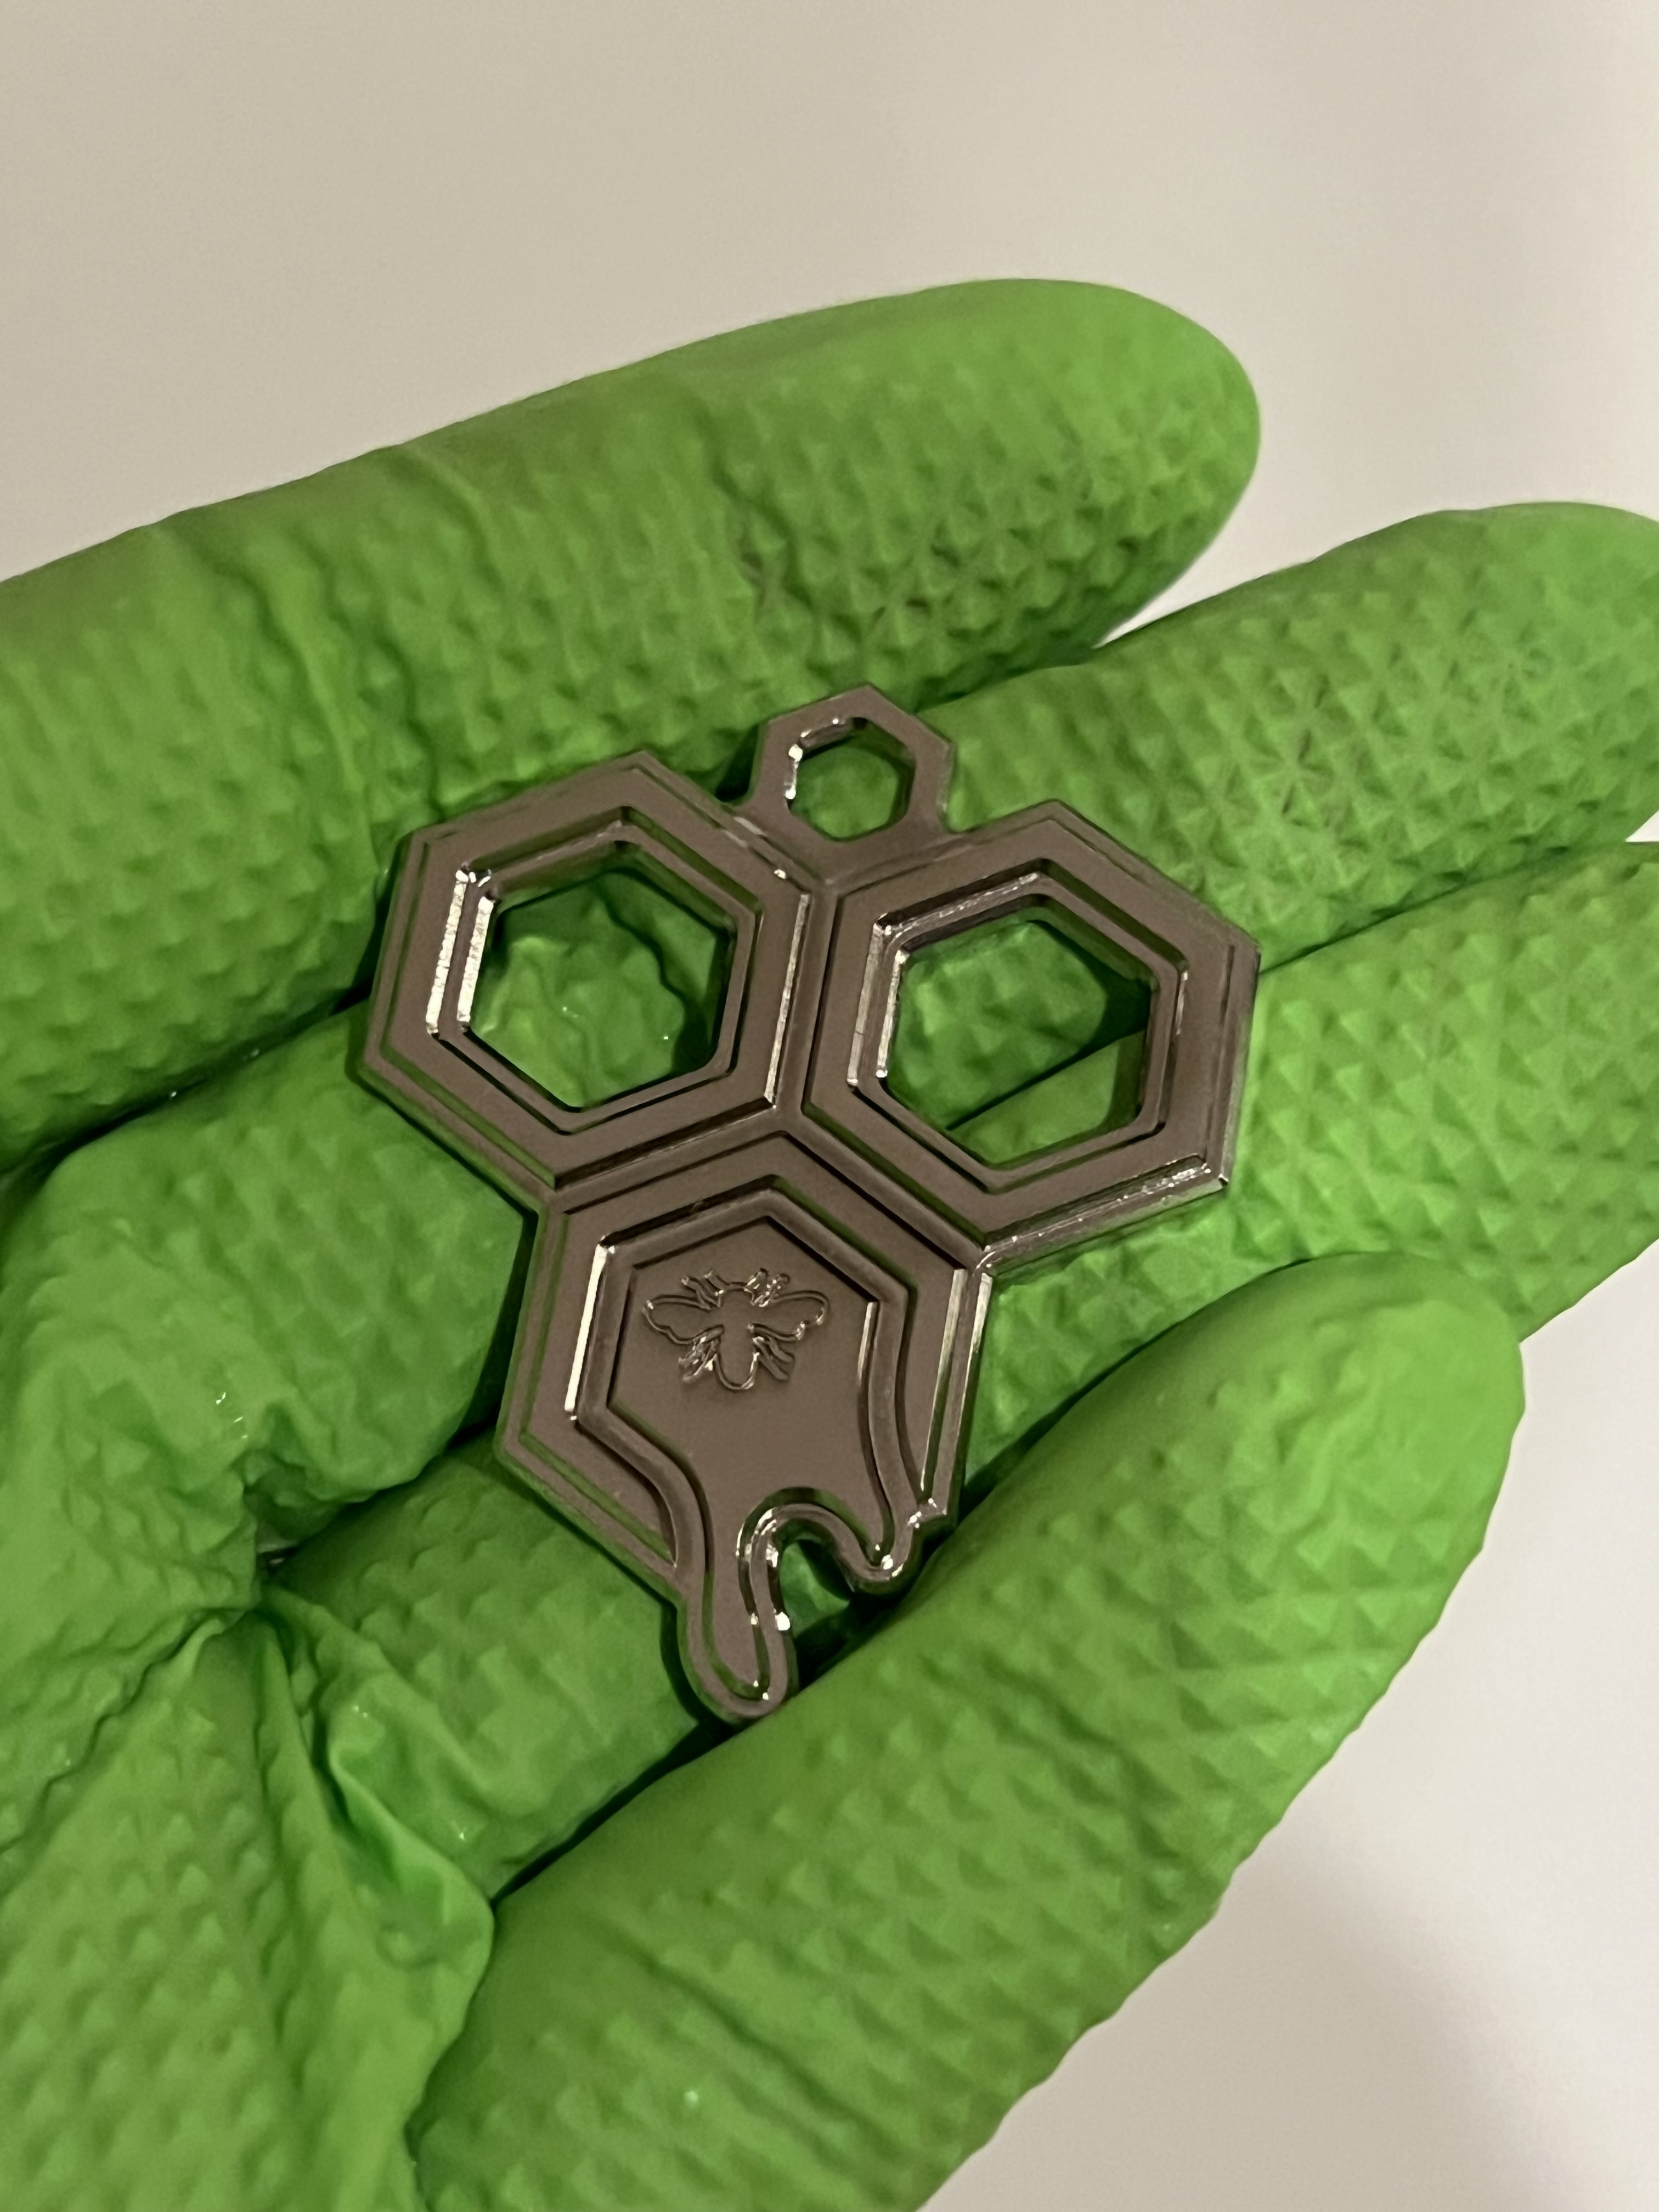
Now it’s on to cleaning and nickel plating.
A bath in acetone to get everything squeaky clean, drop in RO water, then a dip in the electroplating solution at 4v for a few minutes.
Now that looks pretty good already but that’s not what we’re doing here…we can do better…hopefully ![]()
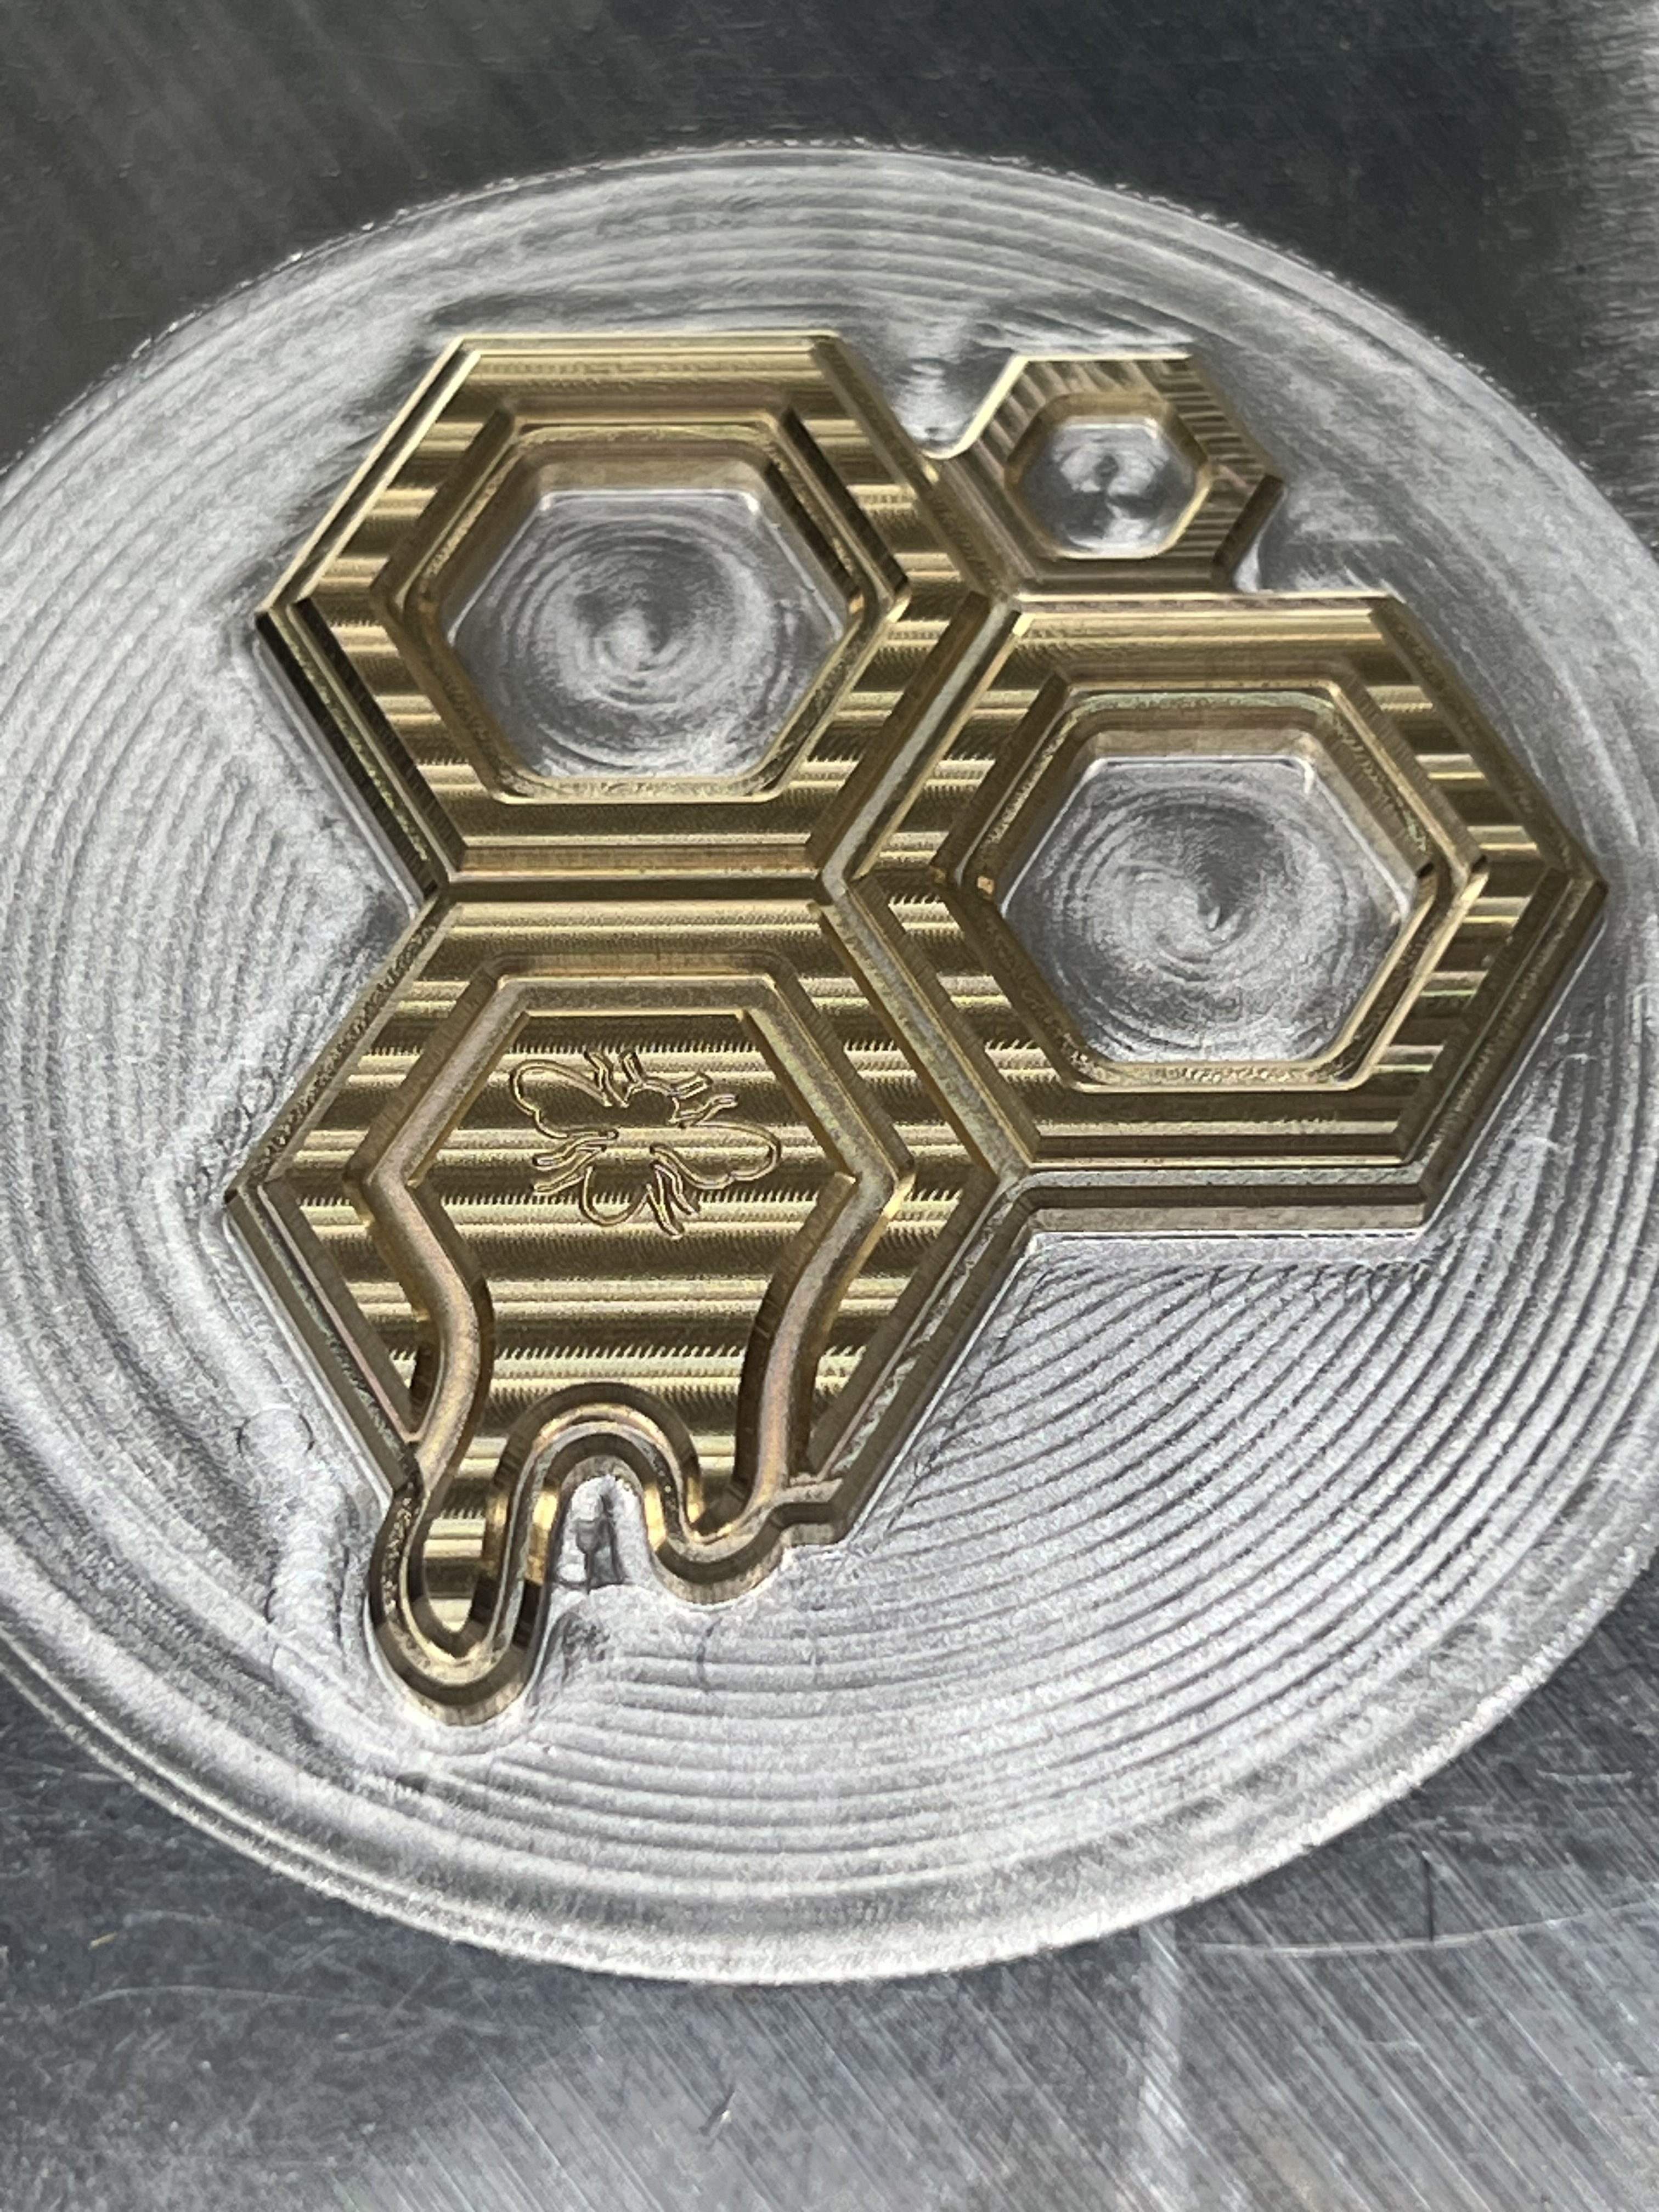
Last step, lapping the plating off of the top face.
This was a slow and steady process with frequent stops to check progress.
This photo is after a few swipes on the lapping film, it had more impact than I thought. I’ll be playing with this more for sure.

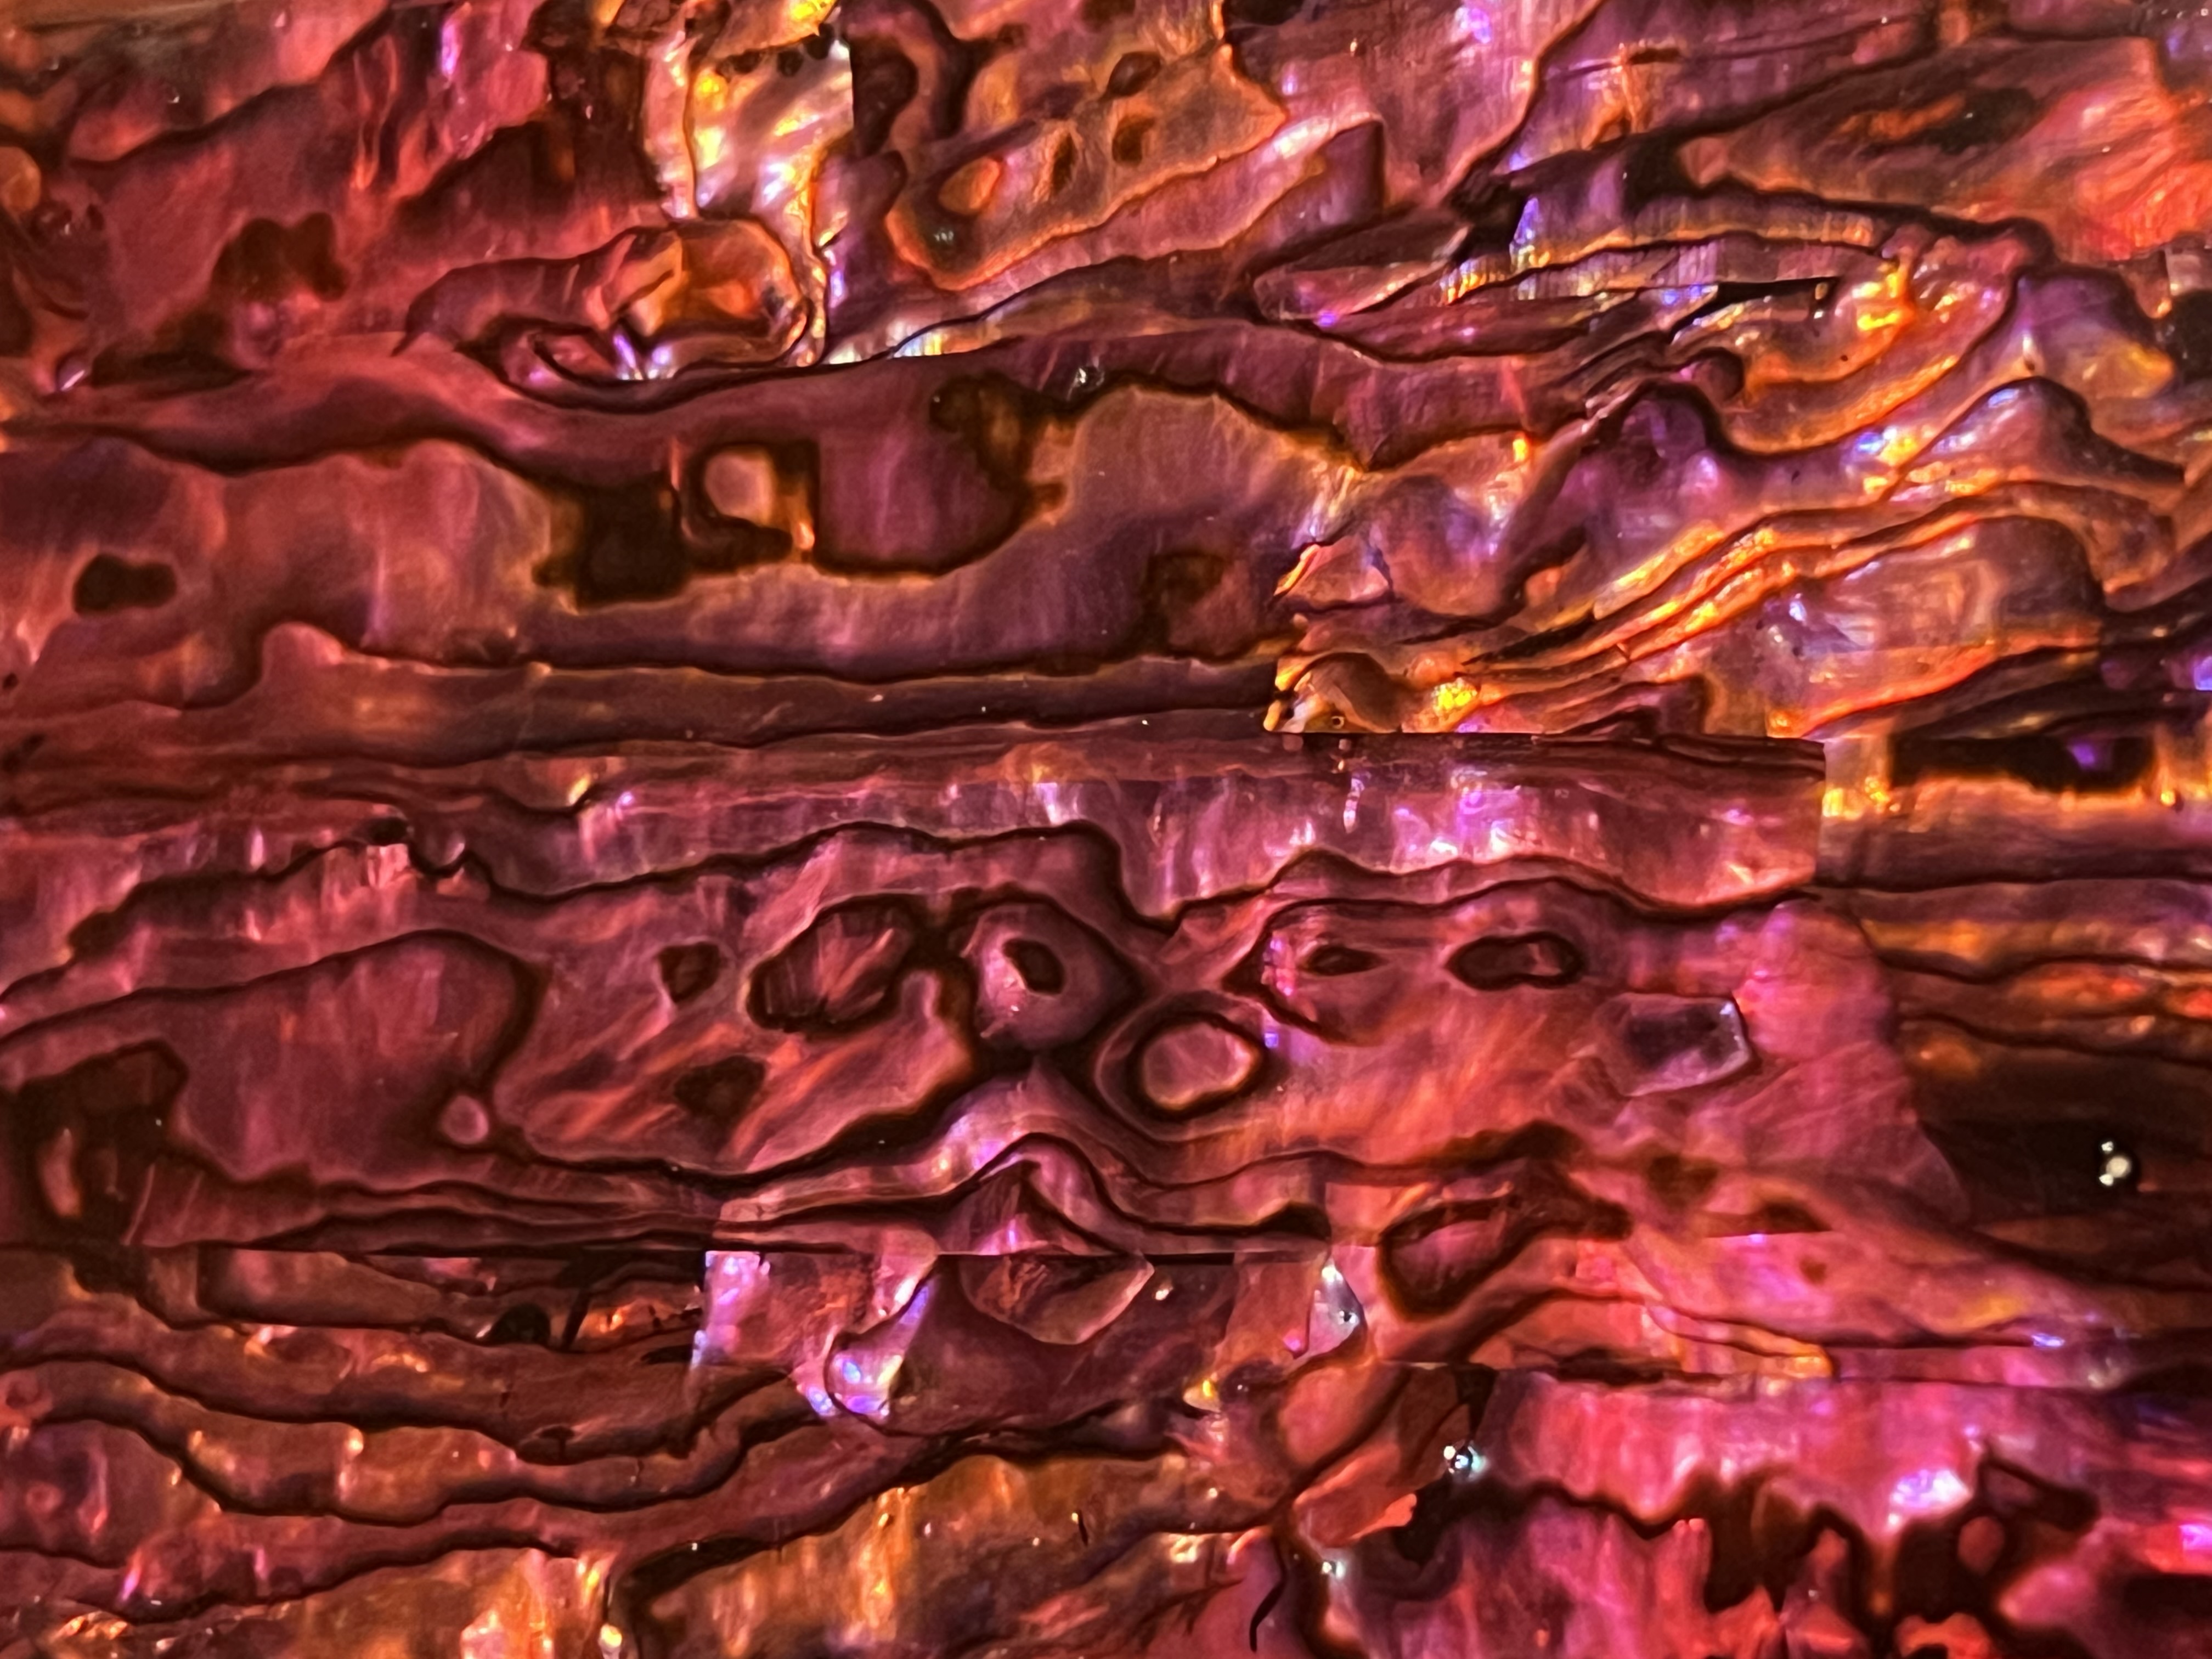
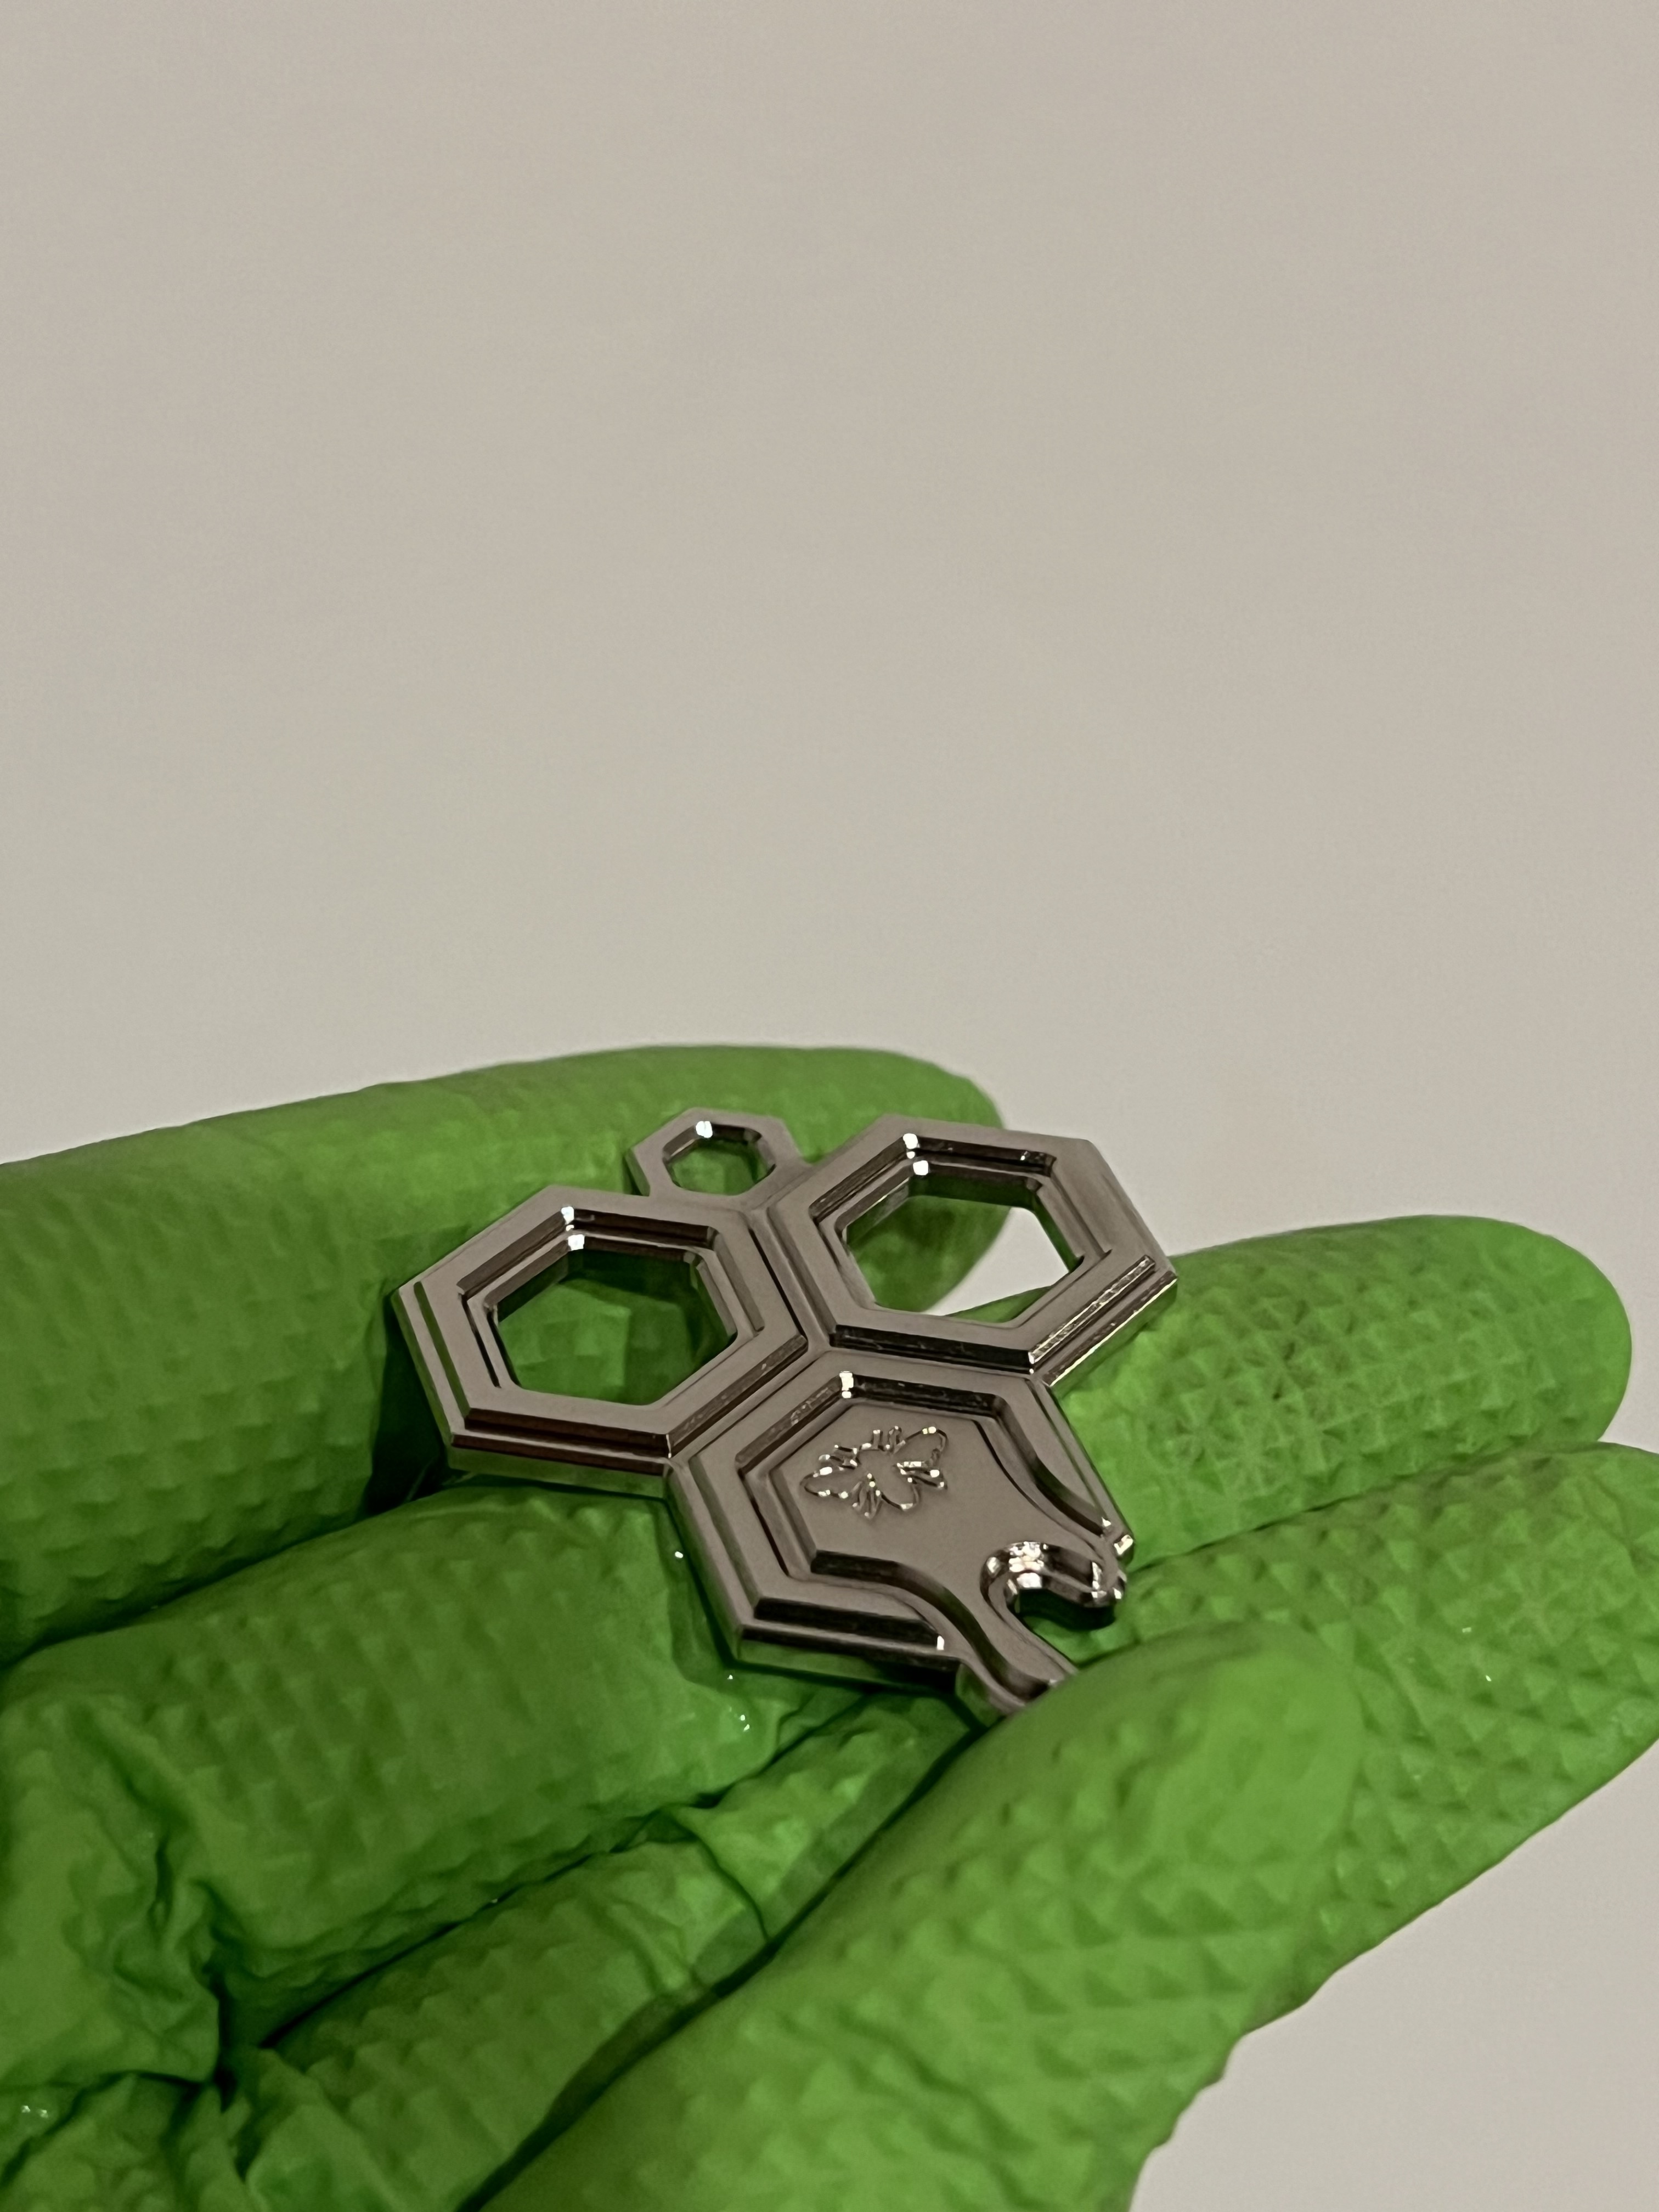
It worked exactly as I’d hoped and brought out some awesome contrast, especially so in full spectrum lighting.
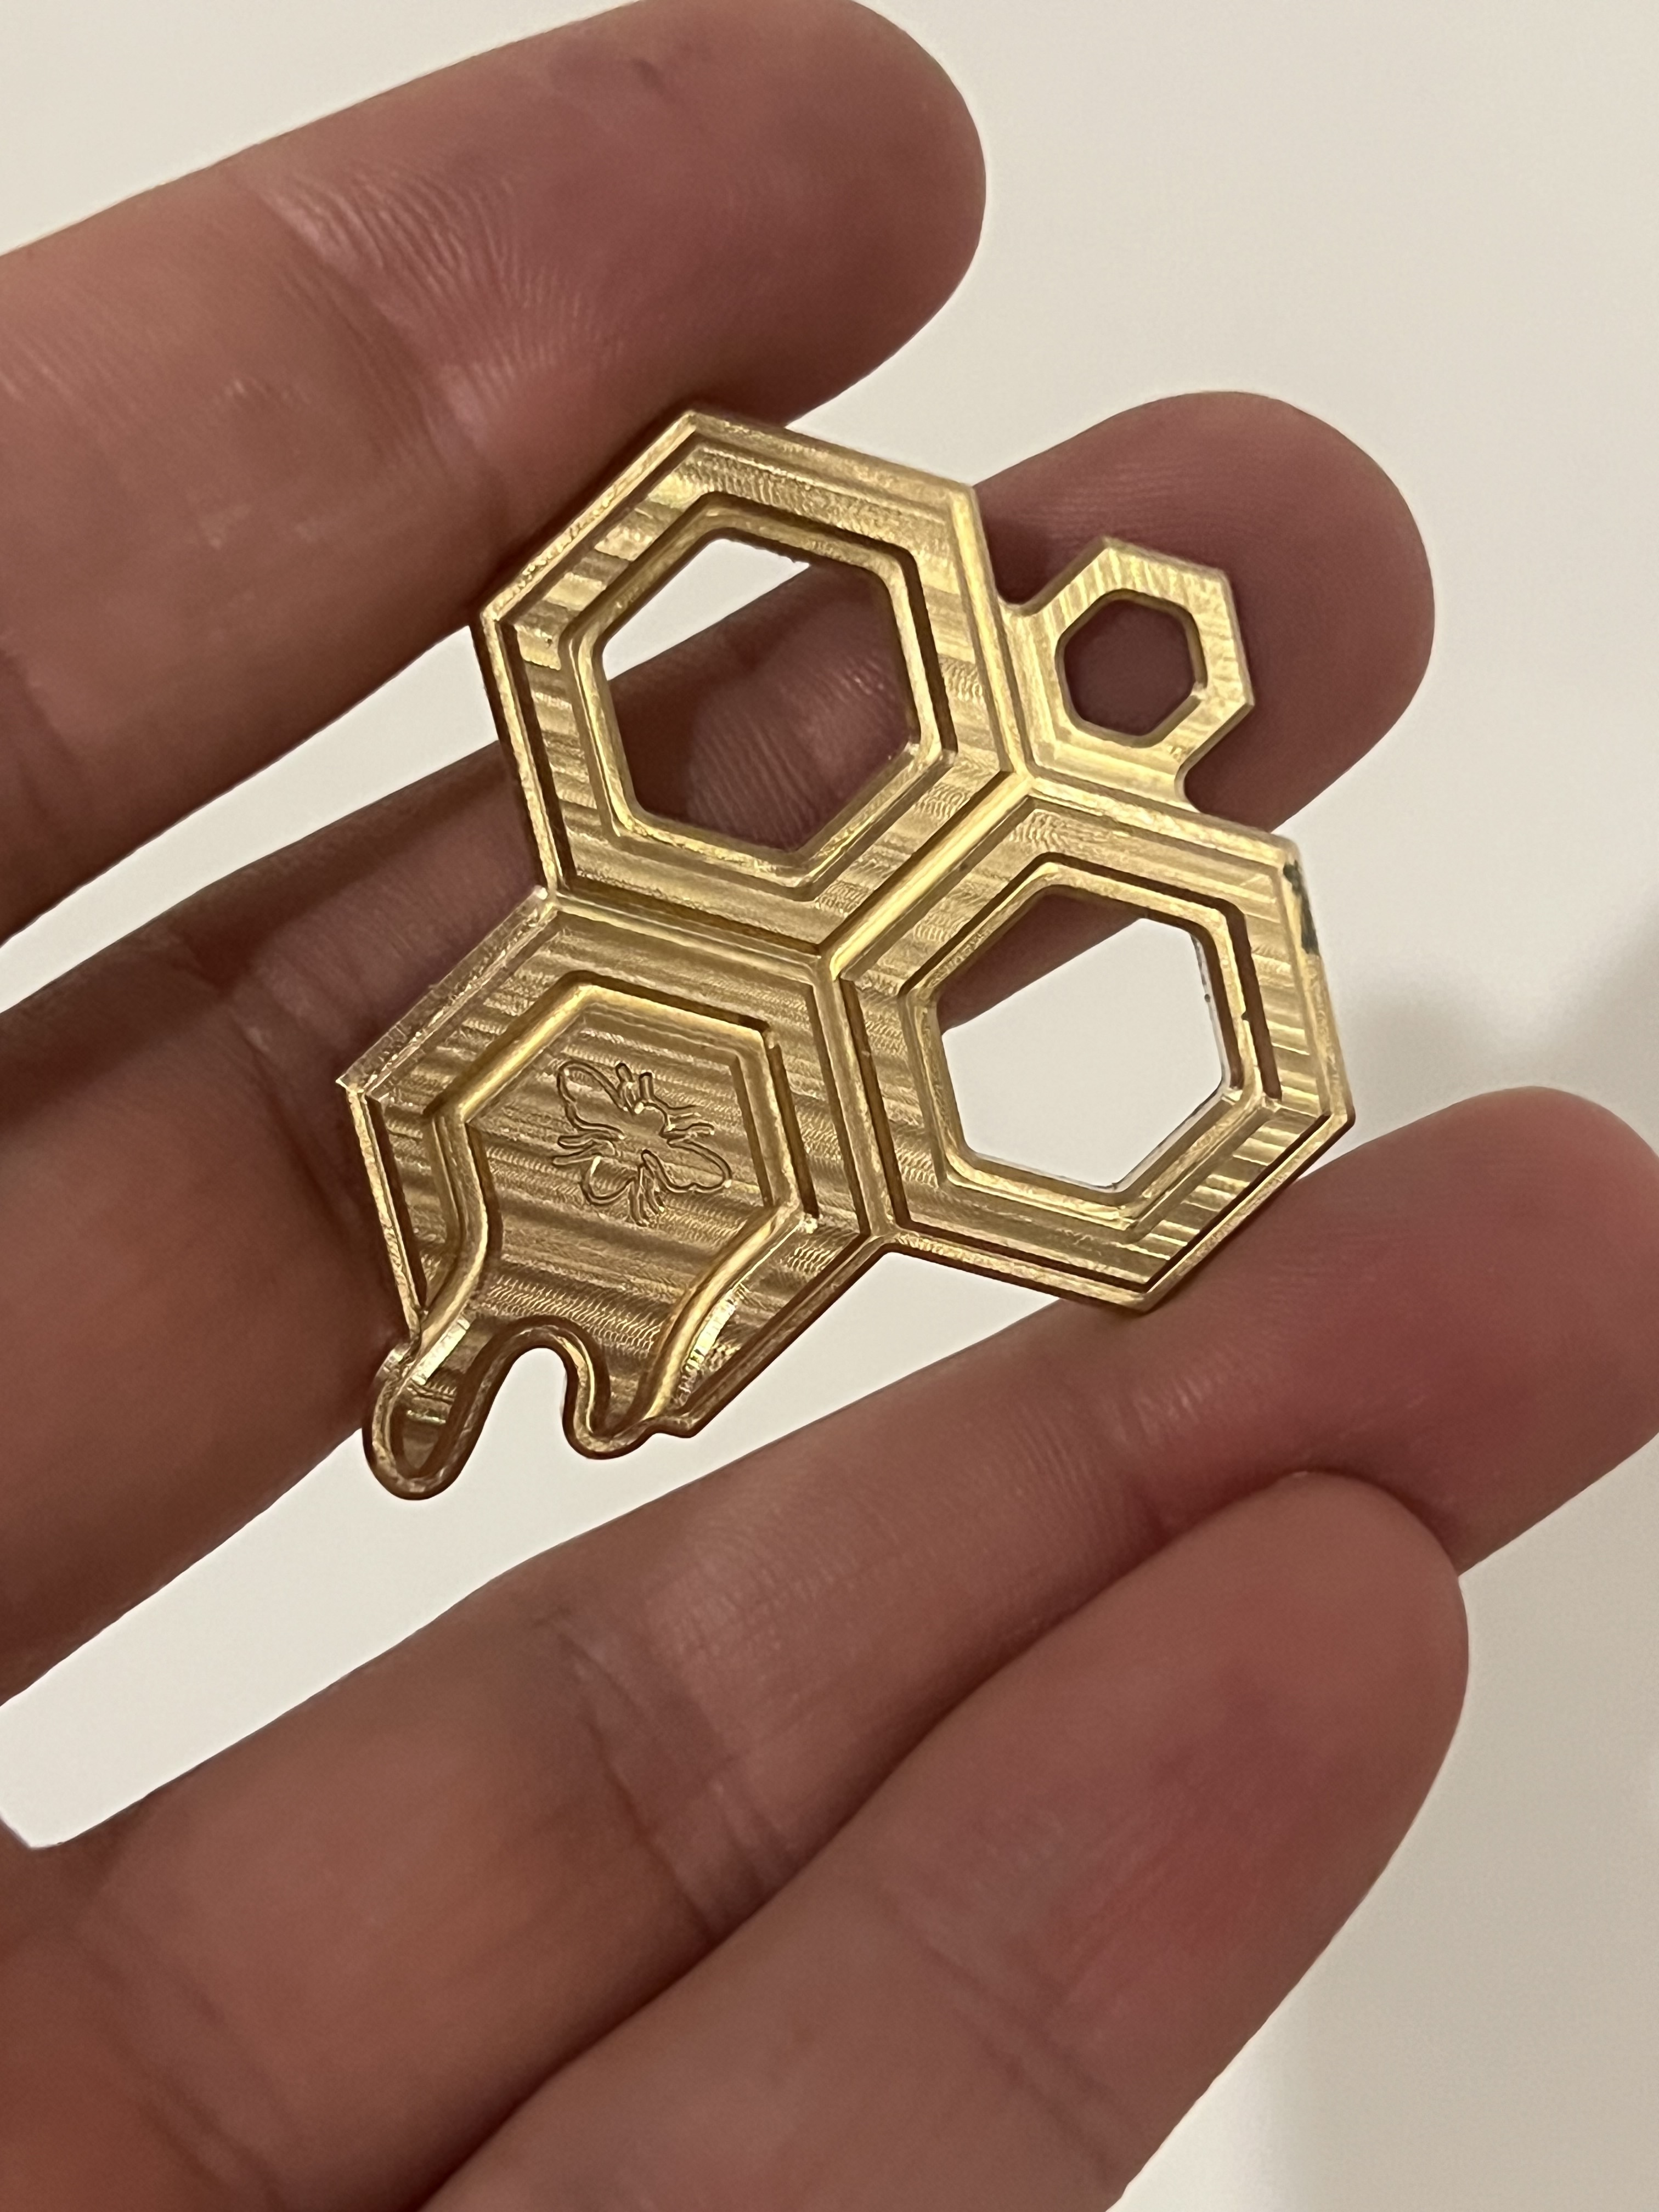
Ok actual last step now was a final polish on a firm felt wheel. Just to make everything really pop. I also intentionally hit the honey drop to give it a more organic rounded surface. (Thanks to the wife for that suggestion)

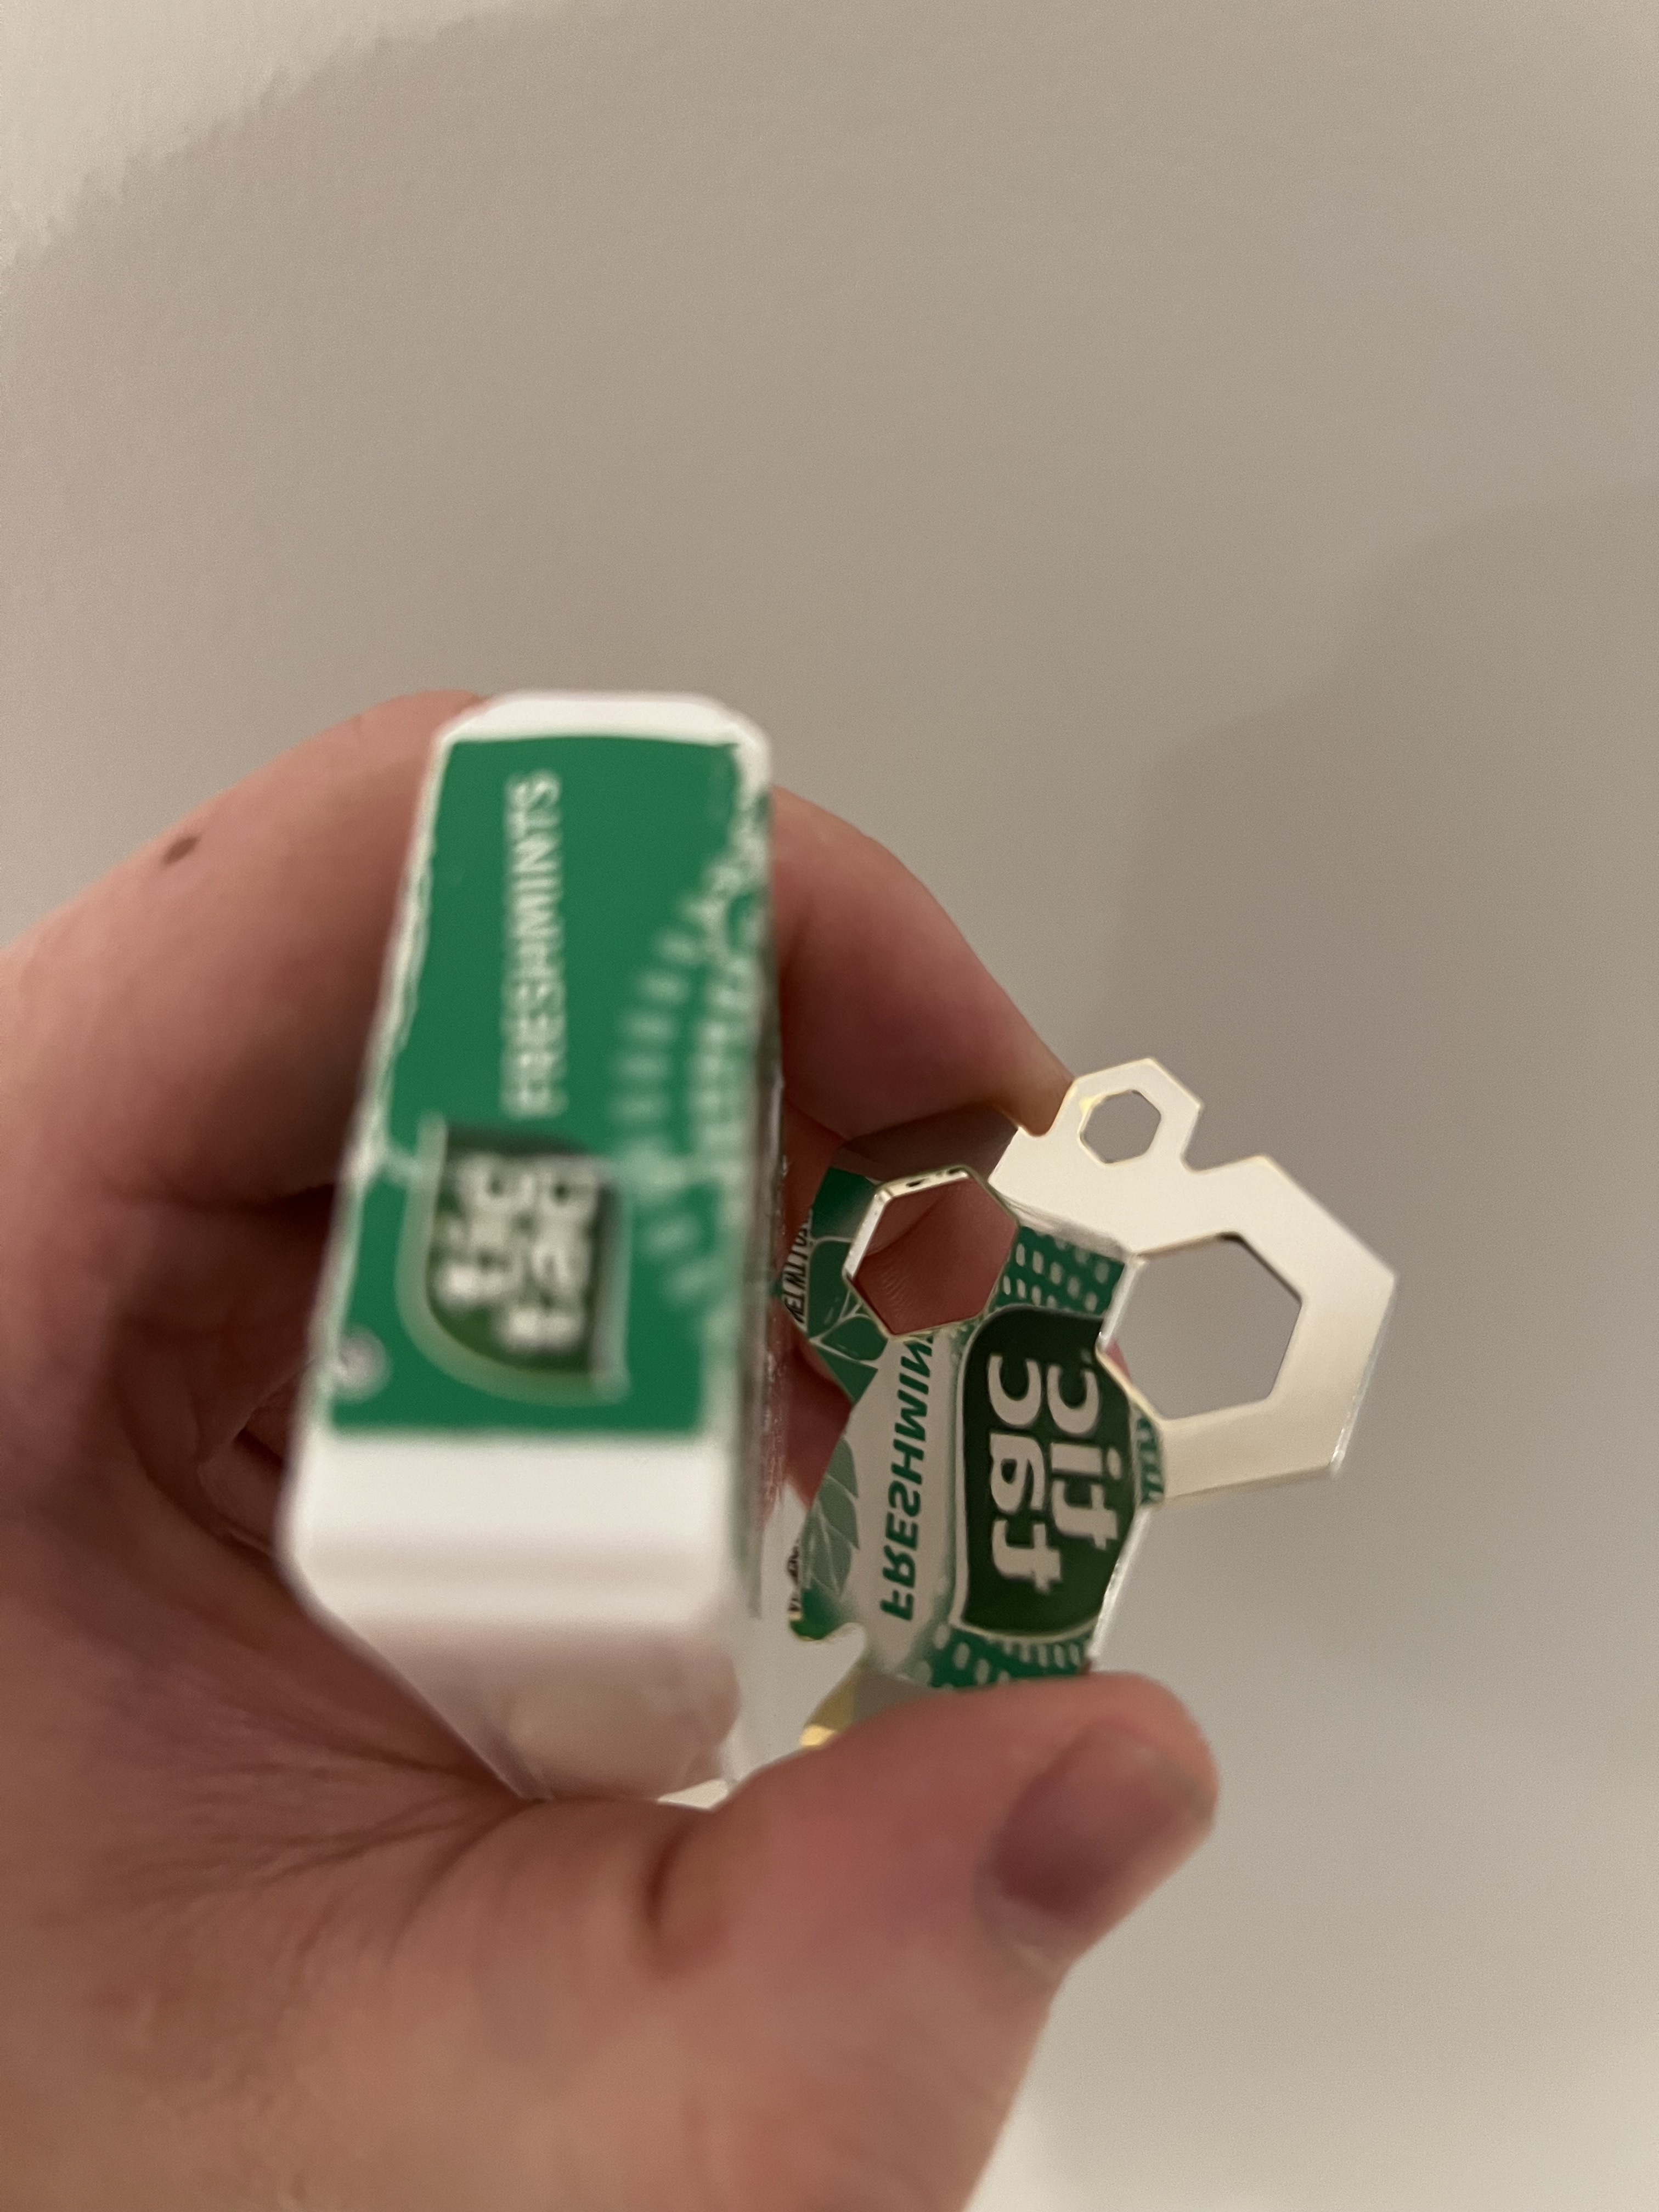
I’ve been practicing my polishing and I’m getting better. Here are some tic tacs for reference. I did go through the plating a bit in a few places but it’s not worth replating and starting the lapping over ![]()
I was going to do some laser engraving and drop a gem somewhere but that just felt busy. I’m pretty chuffed with how this turned out as is ![]()