as requested on support…
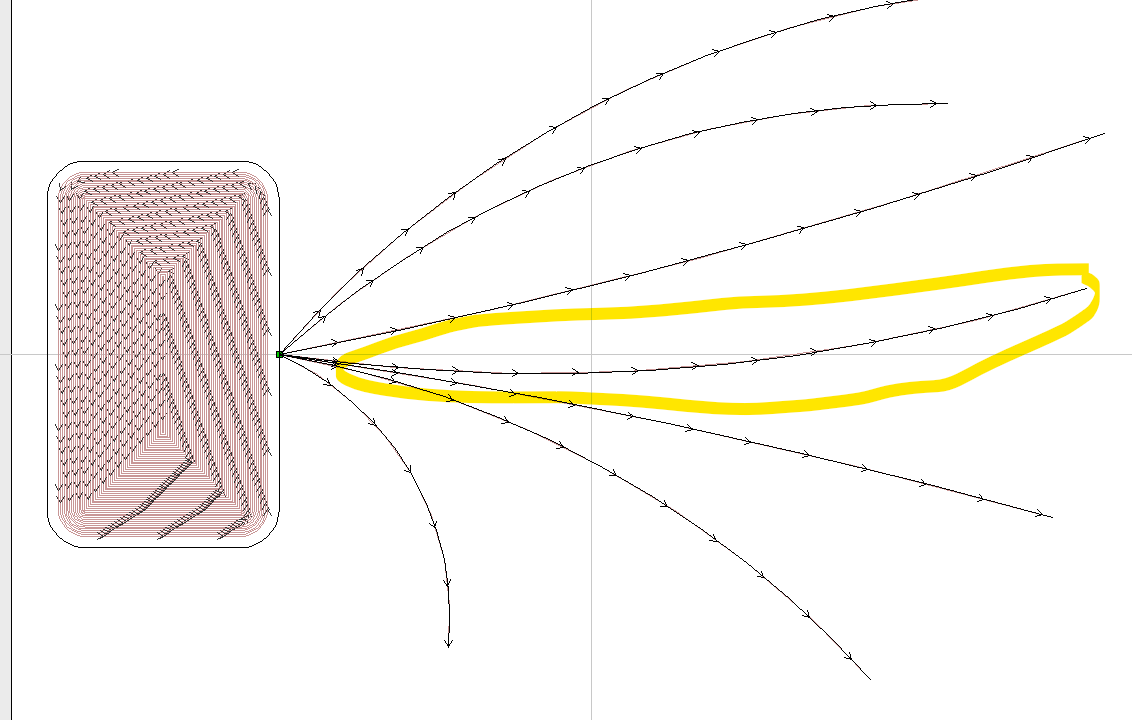
How do I create curved lines like these?
Import the Reference:
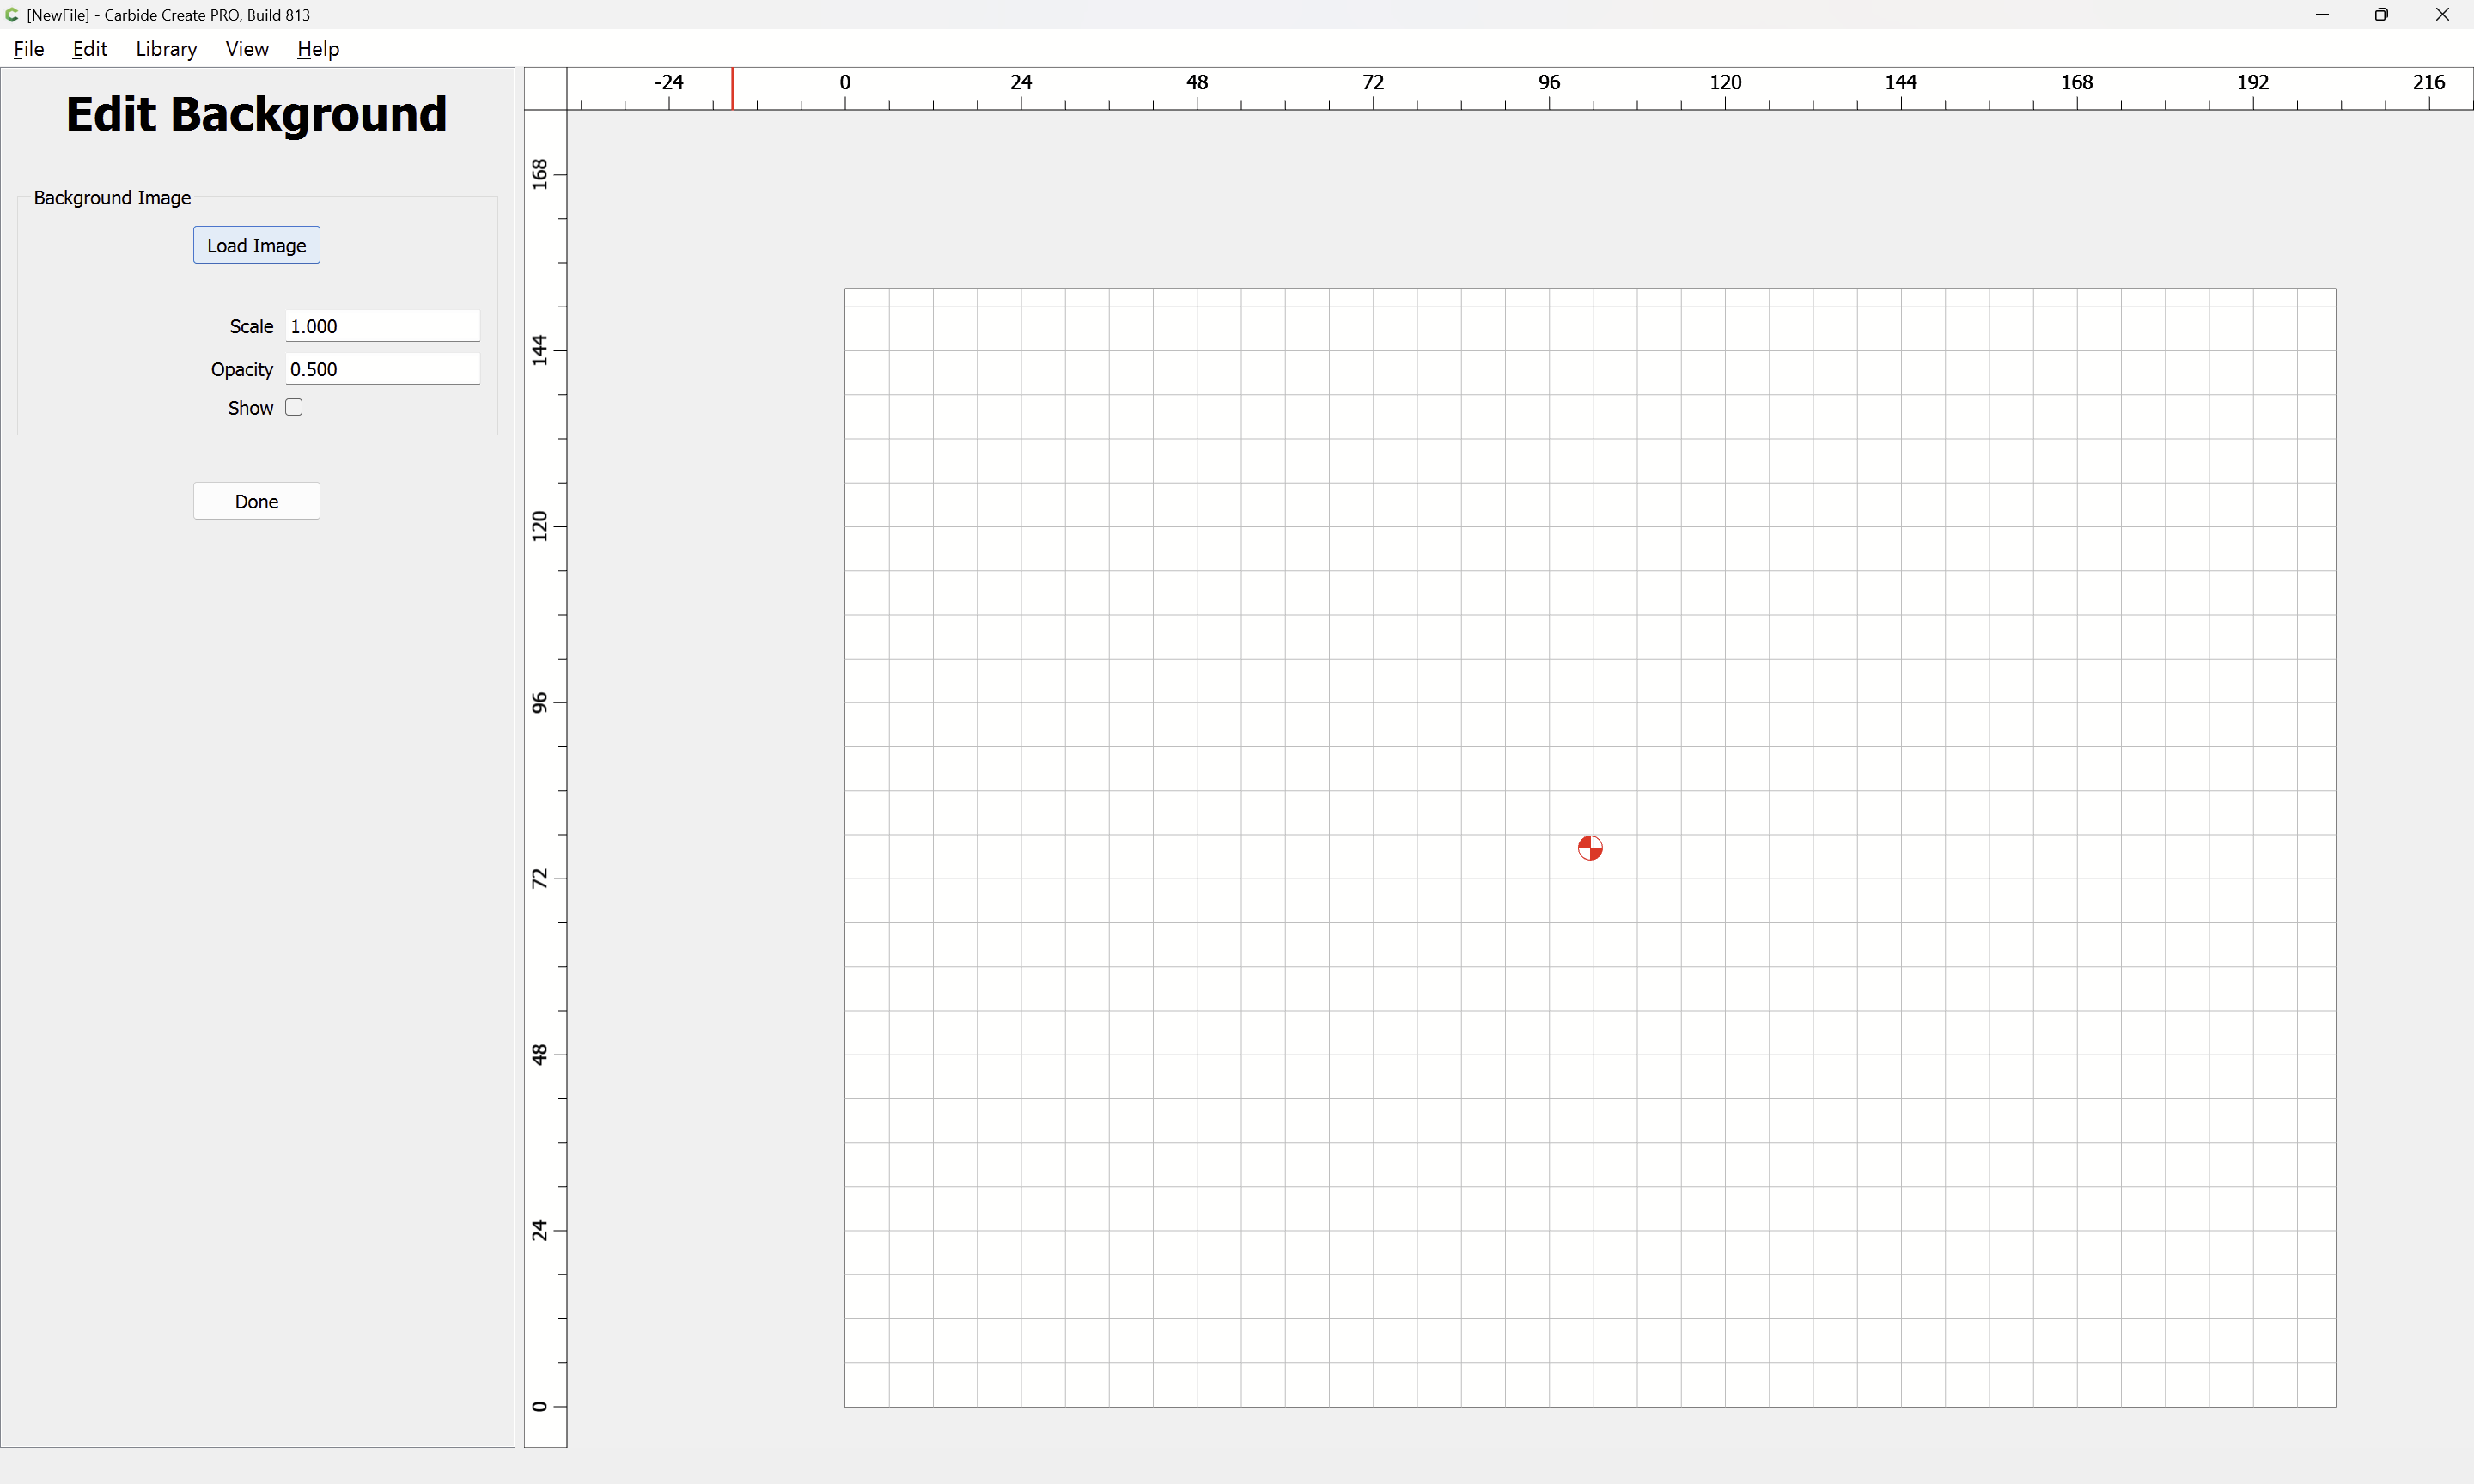
“Load Image”
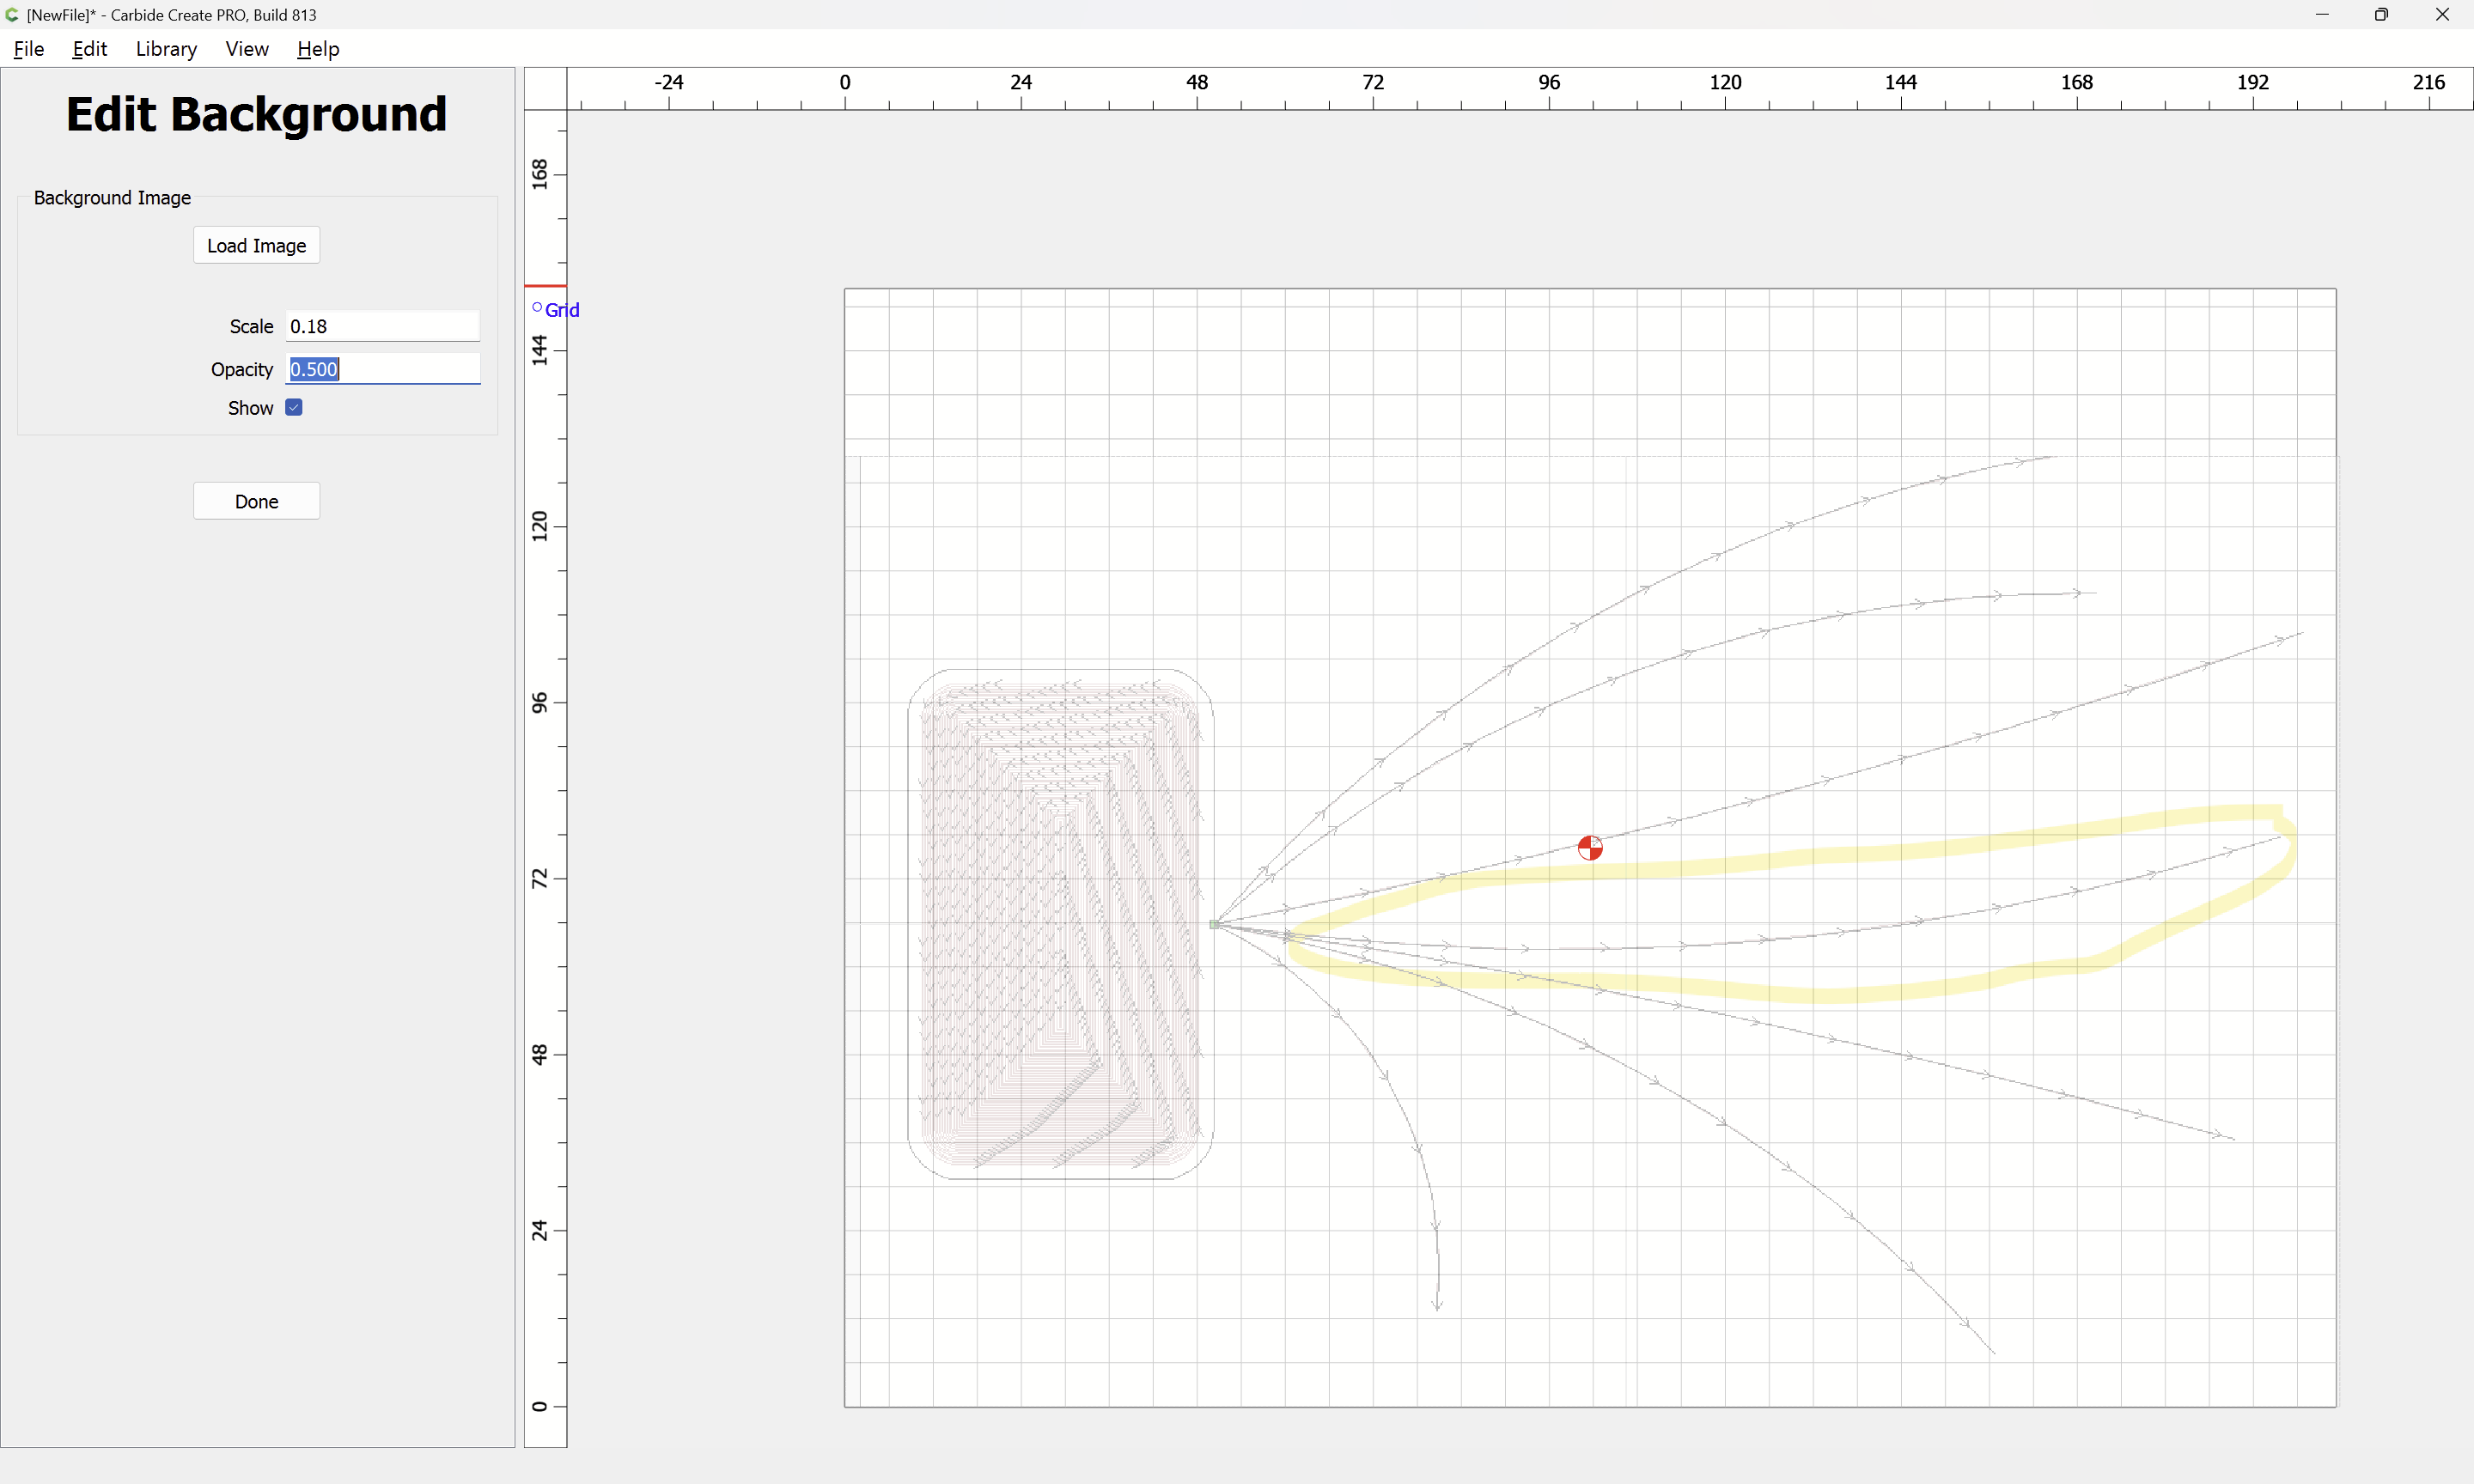
(and adjust settings as needed)
“Done”

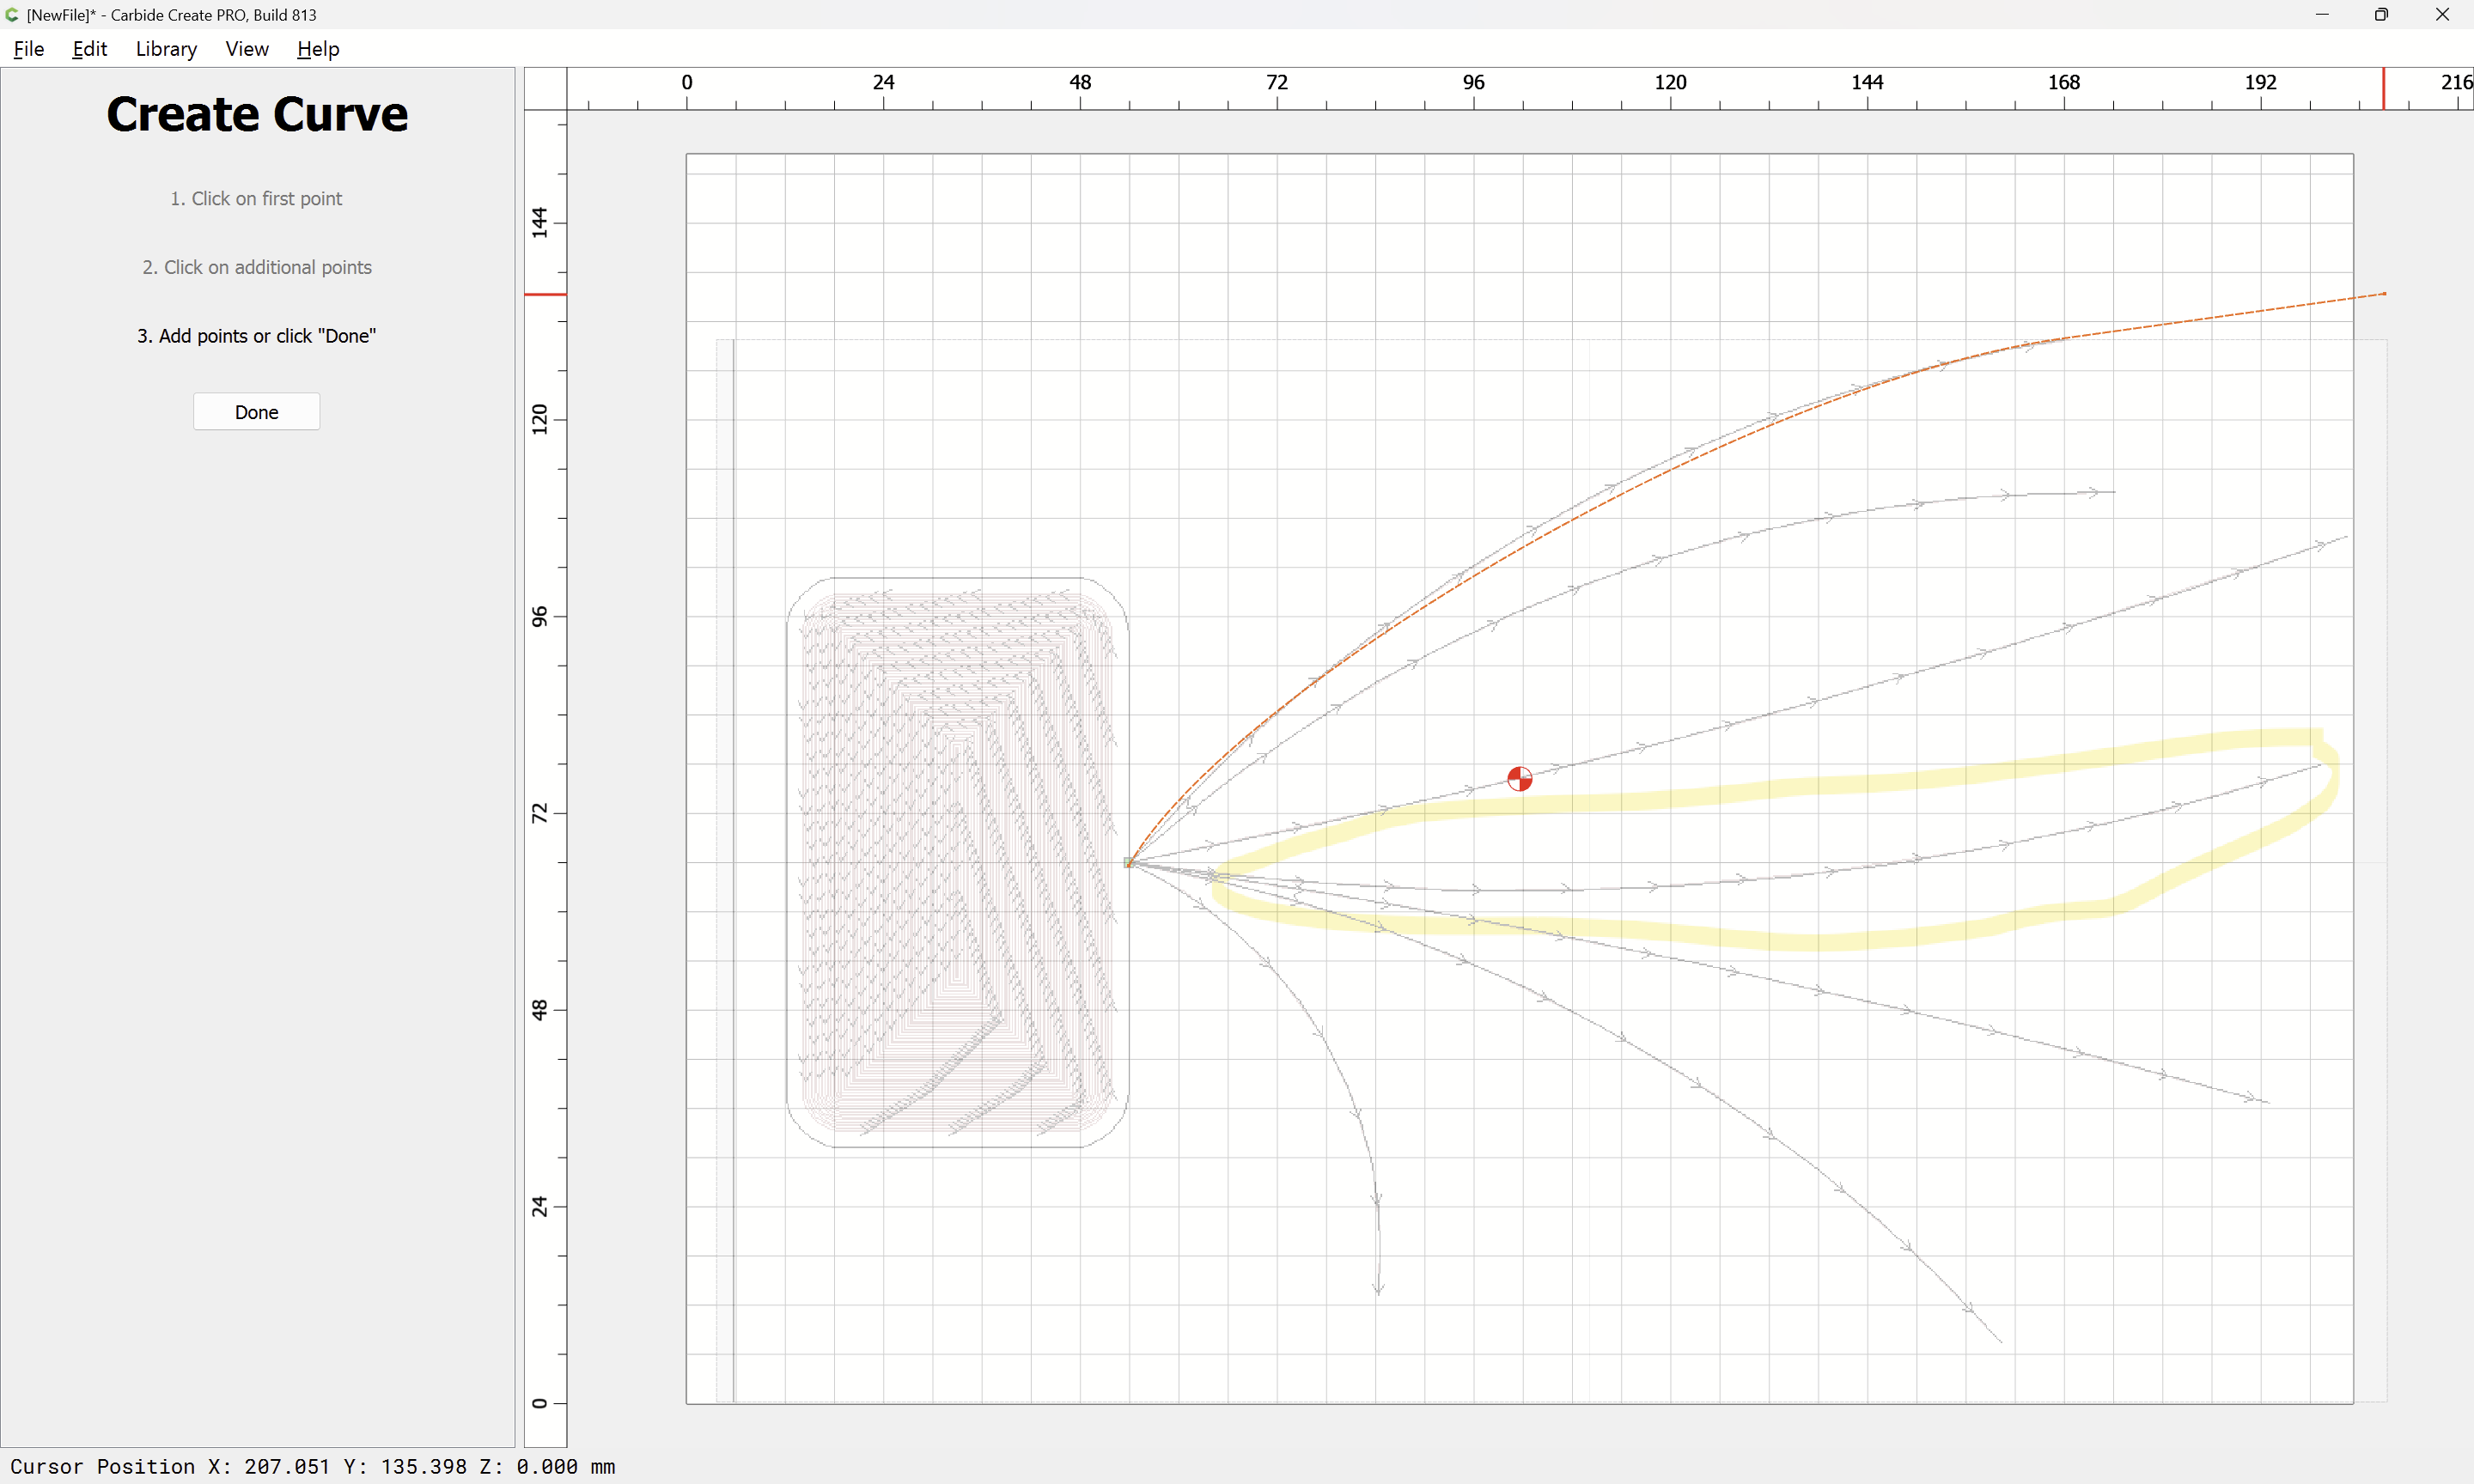
There are two possible ways to draw:
- Directly draw using the Curve tool
- Draw using the Polyline or Curve, or other tool, then Node Edit after the fact
We will show both here:
The Curve tool is the more complicated option, making available all the capabilities of both the Polyline tool, and the Node Editor.
While a line may be represented with just two nodes: a begin point and an end point, a curve requires a more complex definition. For Carbide Create and most other drawing programs, this is a particular type of Bézier curve (Cubic) which has two on-curve points (the begin and end) and two off-curve points (which affect the shape of the curve based on the underlying mathematics) — folks who are curious about this should see the wonderful video by Freya Holmér, The Beauty of Bézier Curves.
There are two-options for the Curve tool in Carbide Create (and most other vector drawing tools):
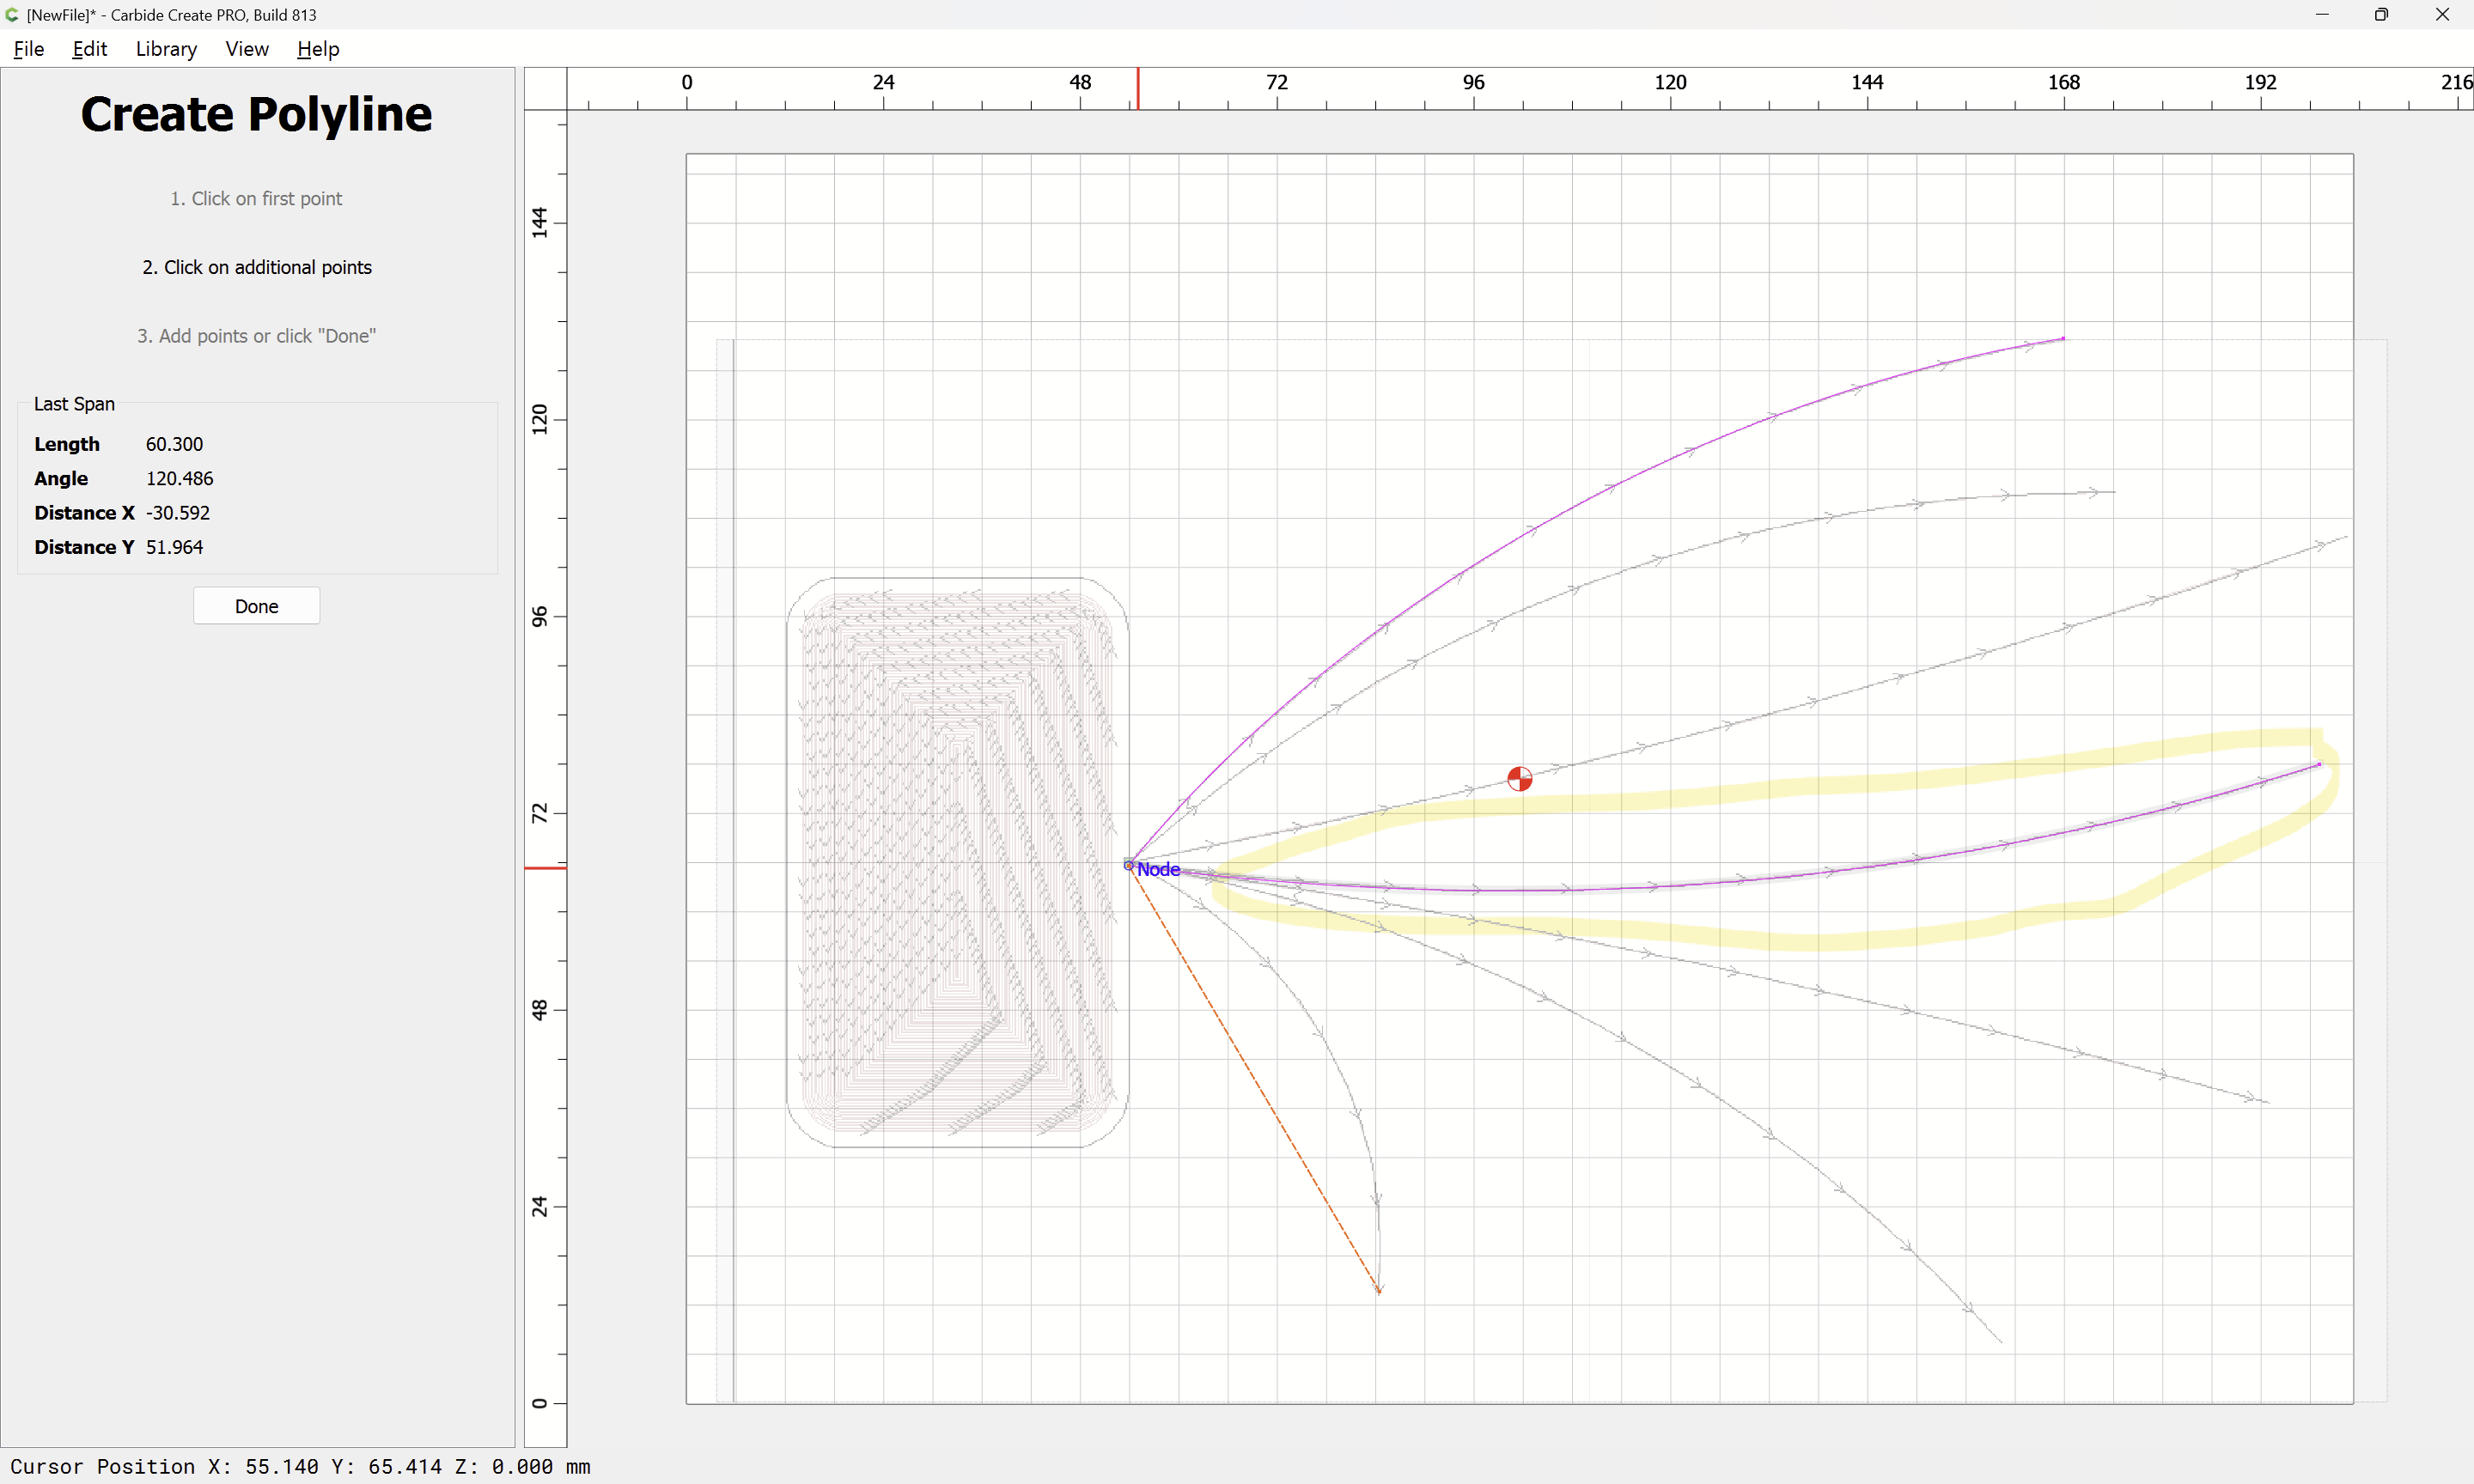
- click-release — this mimics the Polyline tool and makes straight-lines creating the begin and end points
- click-drag-release — this creates two nodes, the click creates an on-curve point, the drag-release creates an off-curve point which describes the shape of the curve — note that curves in Carbide Create are initially symmetric (unless otherwise changed/instantiated), so the second pair of point/node will influence the shape of the next portion of the curve when it is created (though it may be later edited)
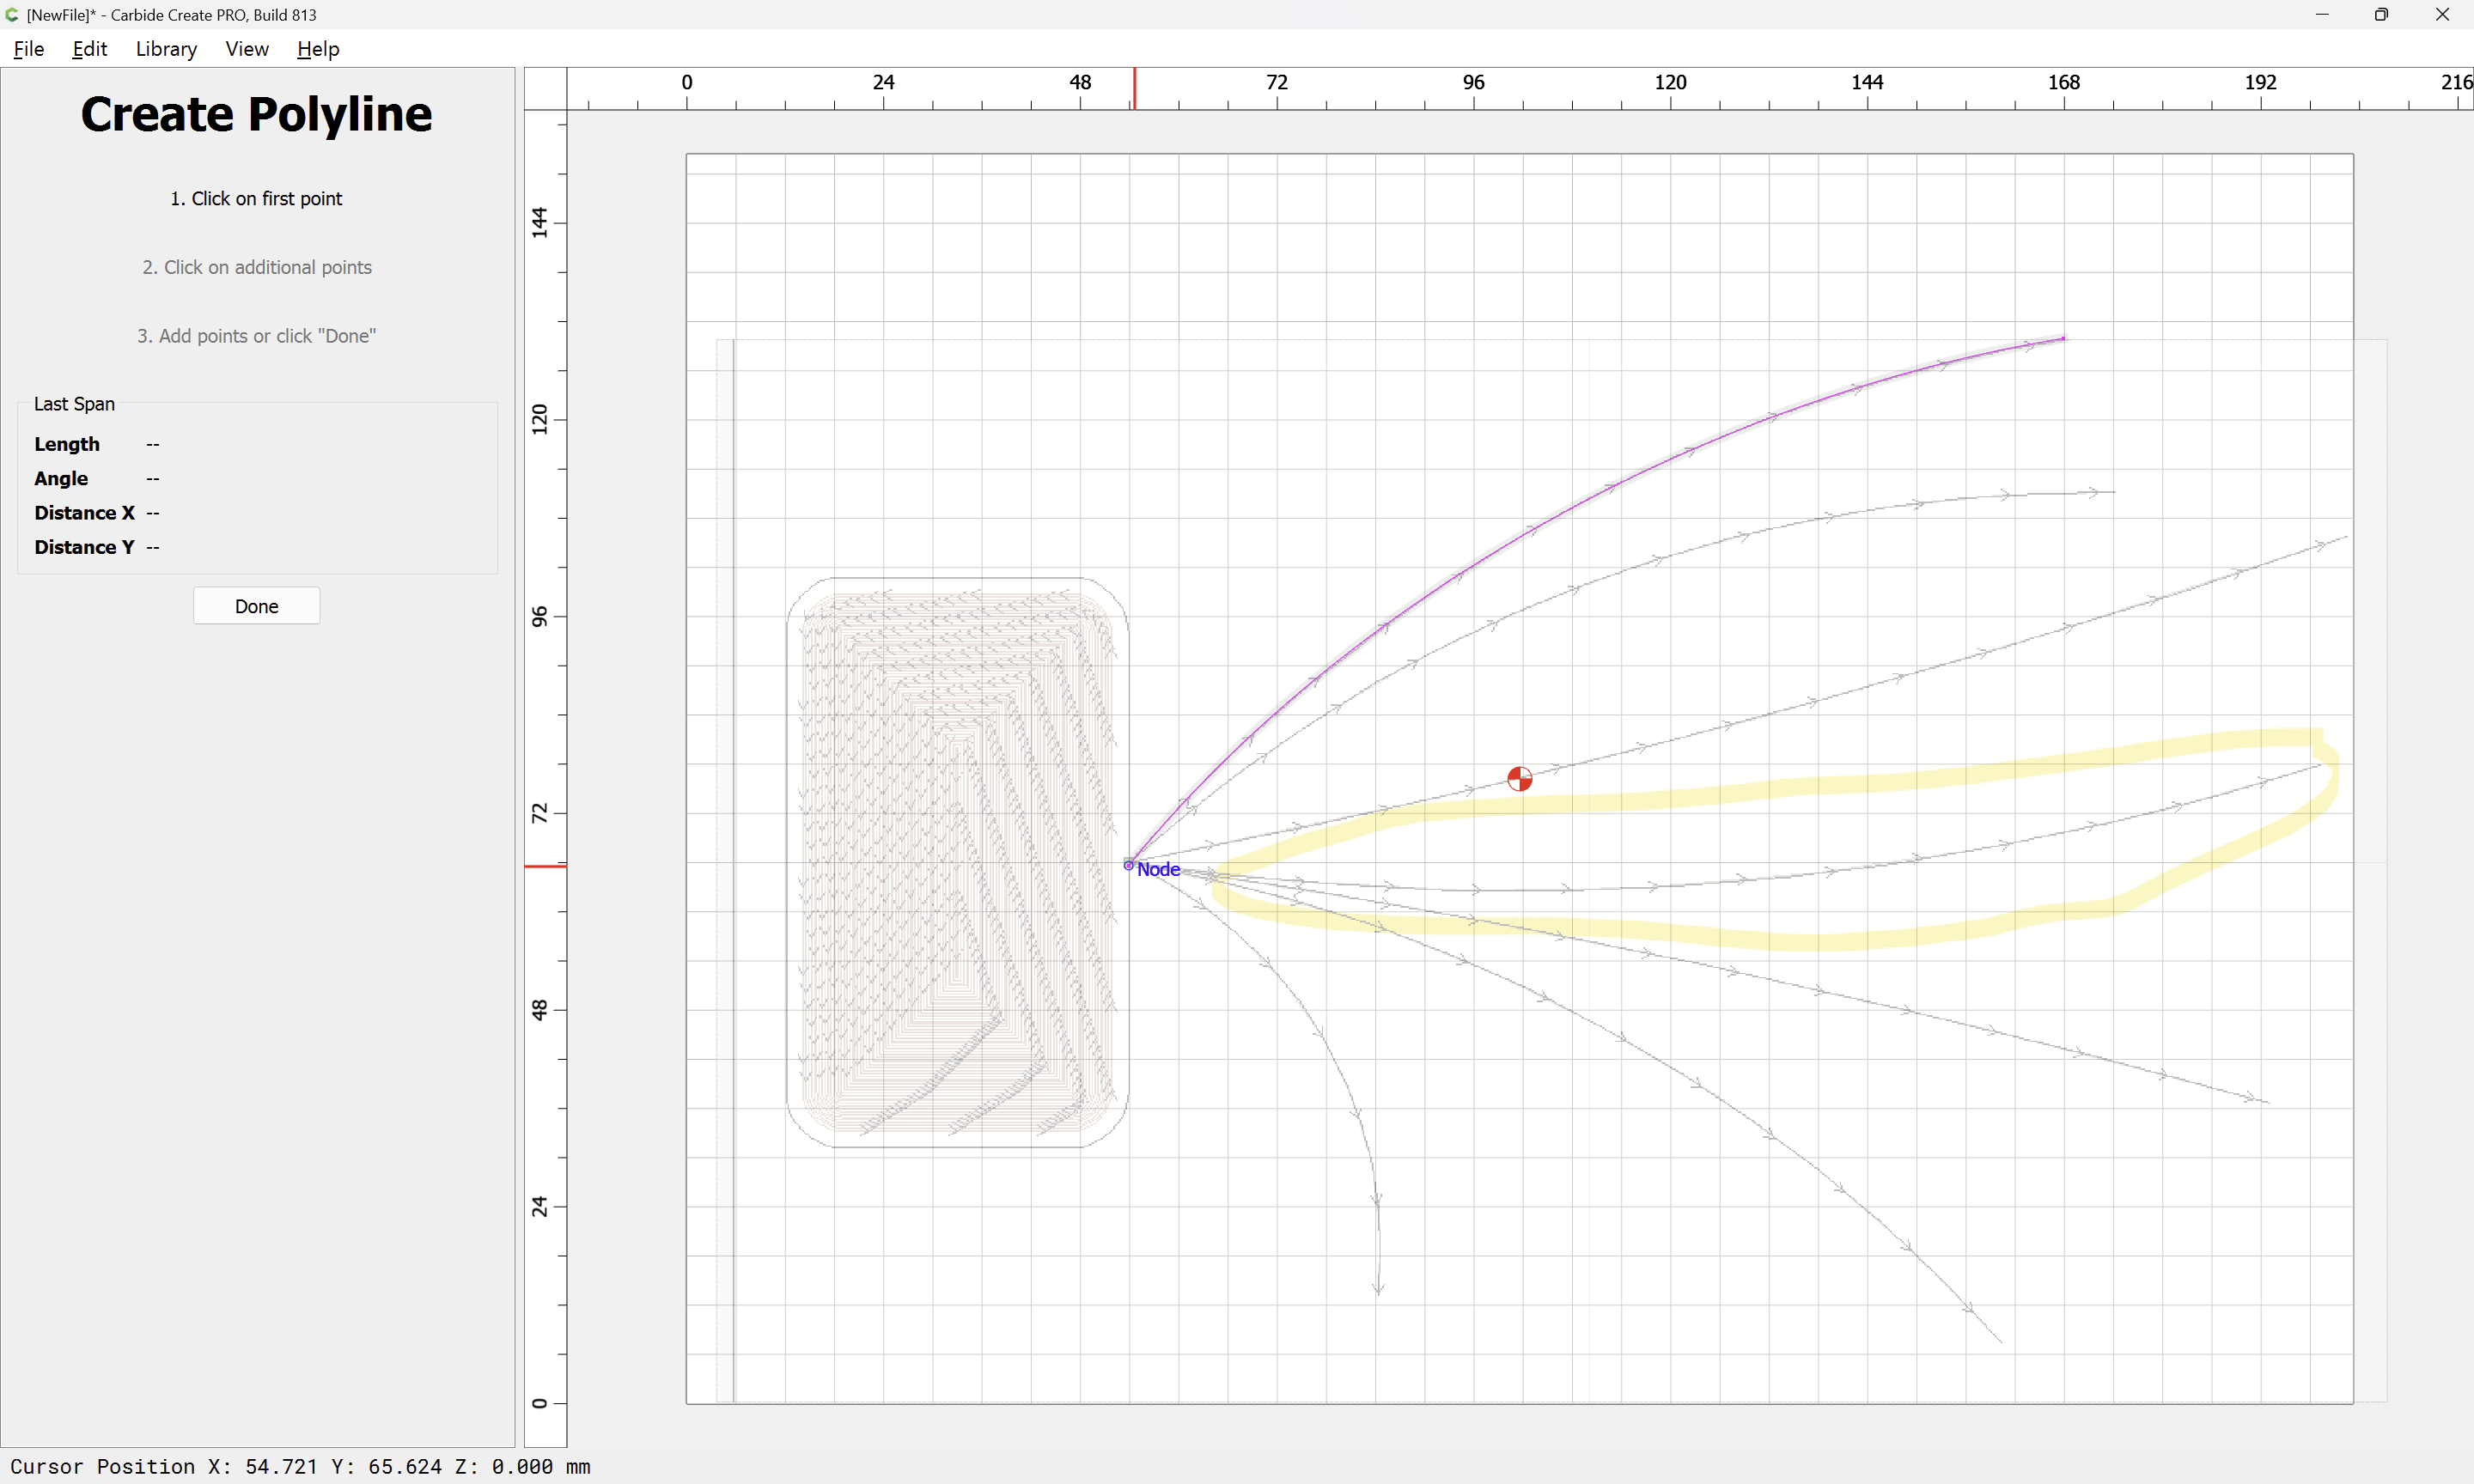
So, click-drag-release:

Then move to the end point and click:
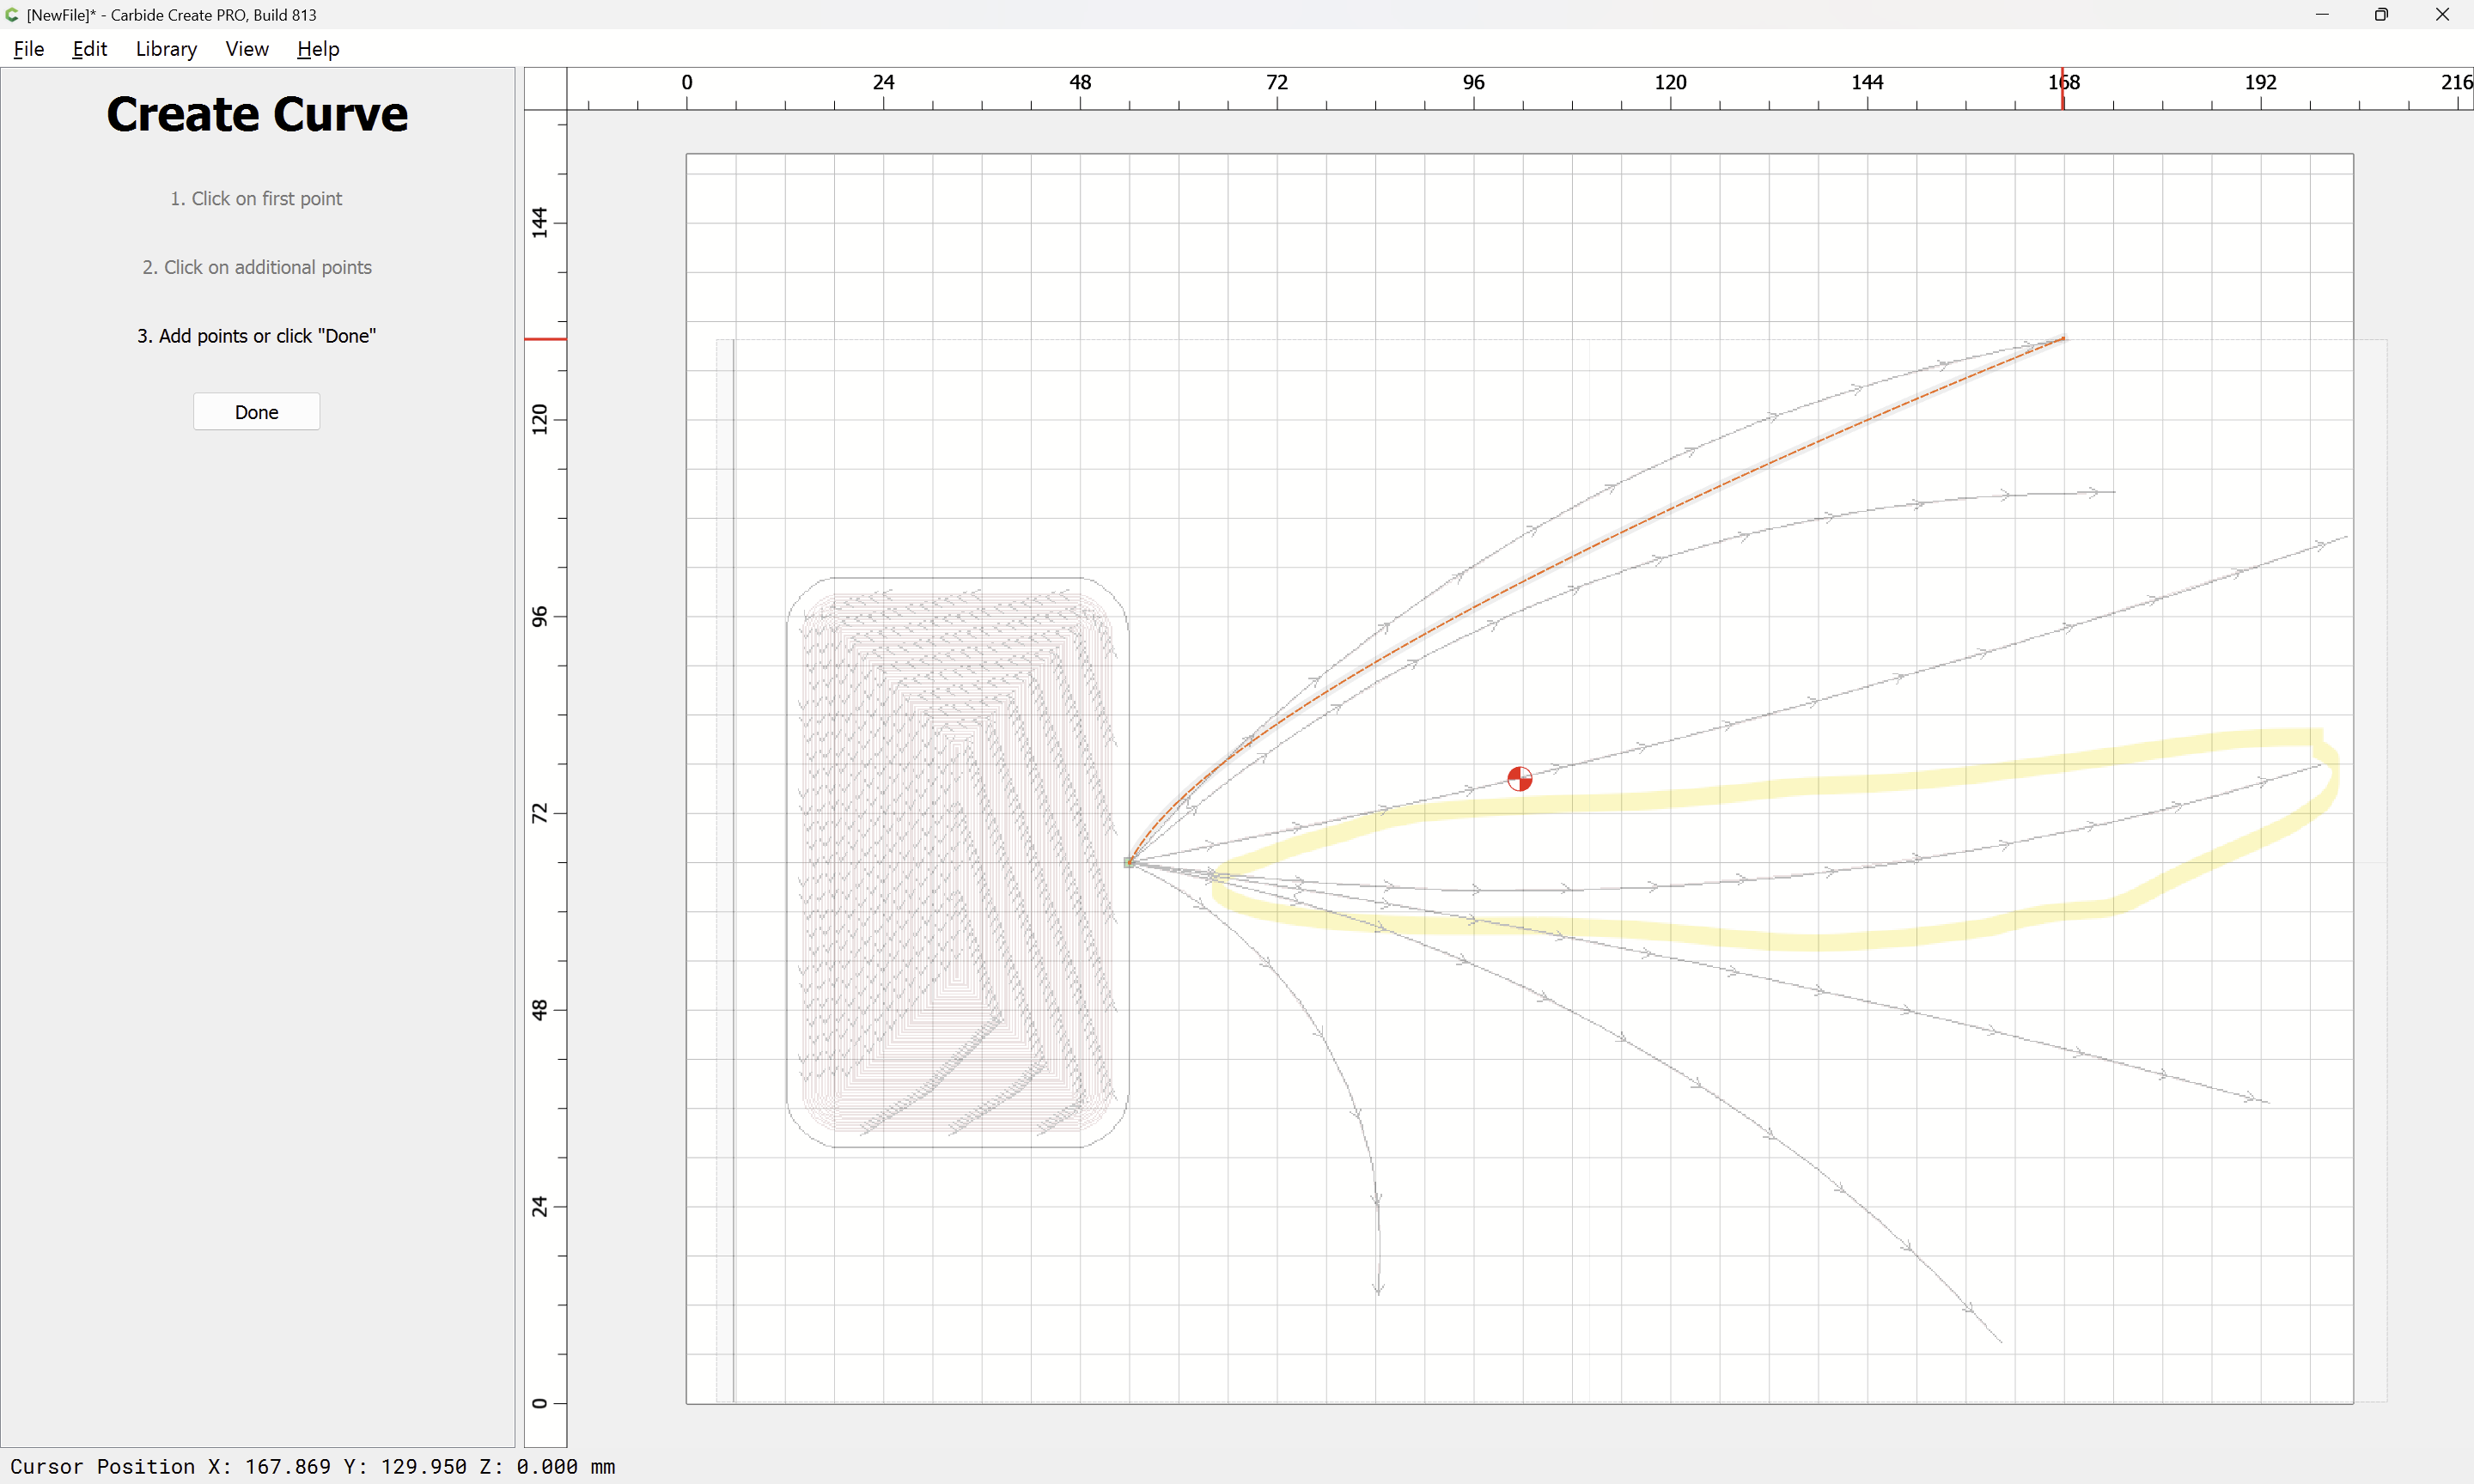
then drag-release:
Done
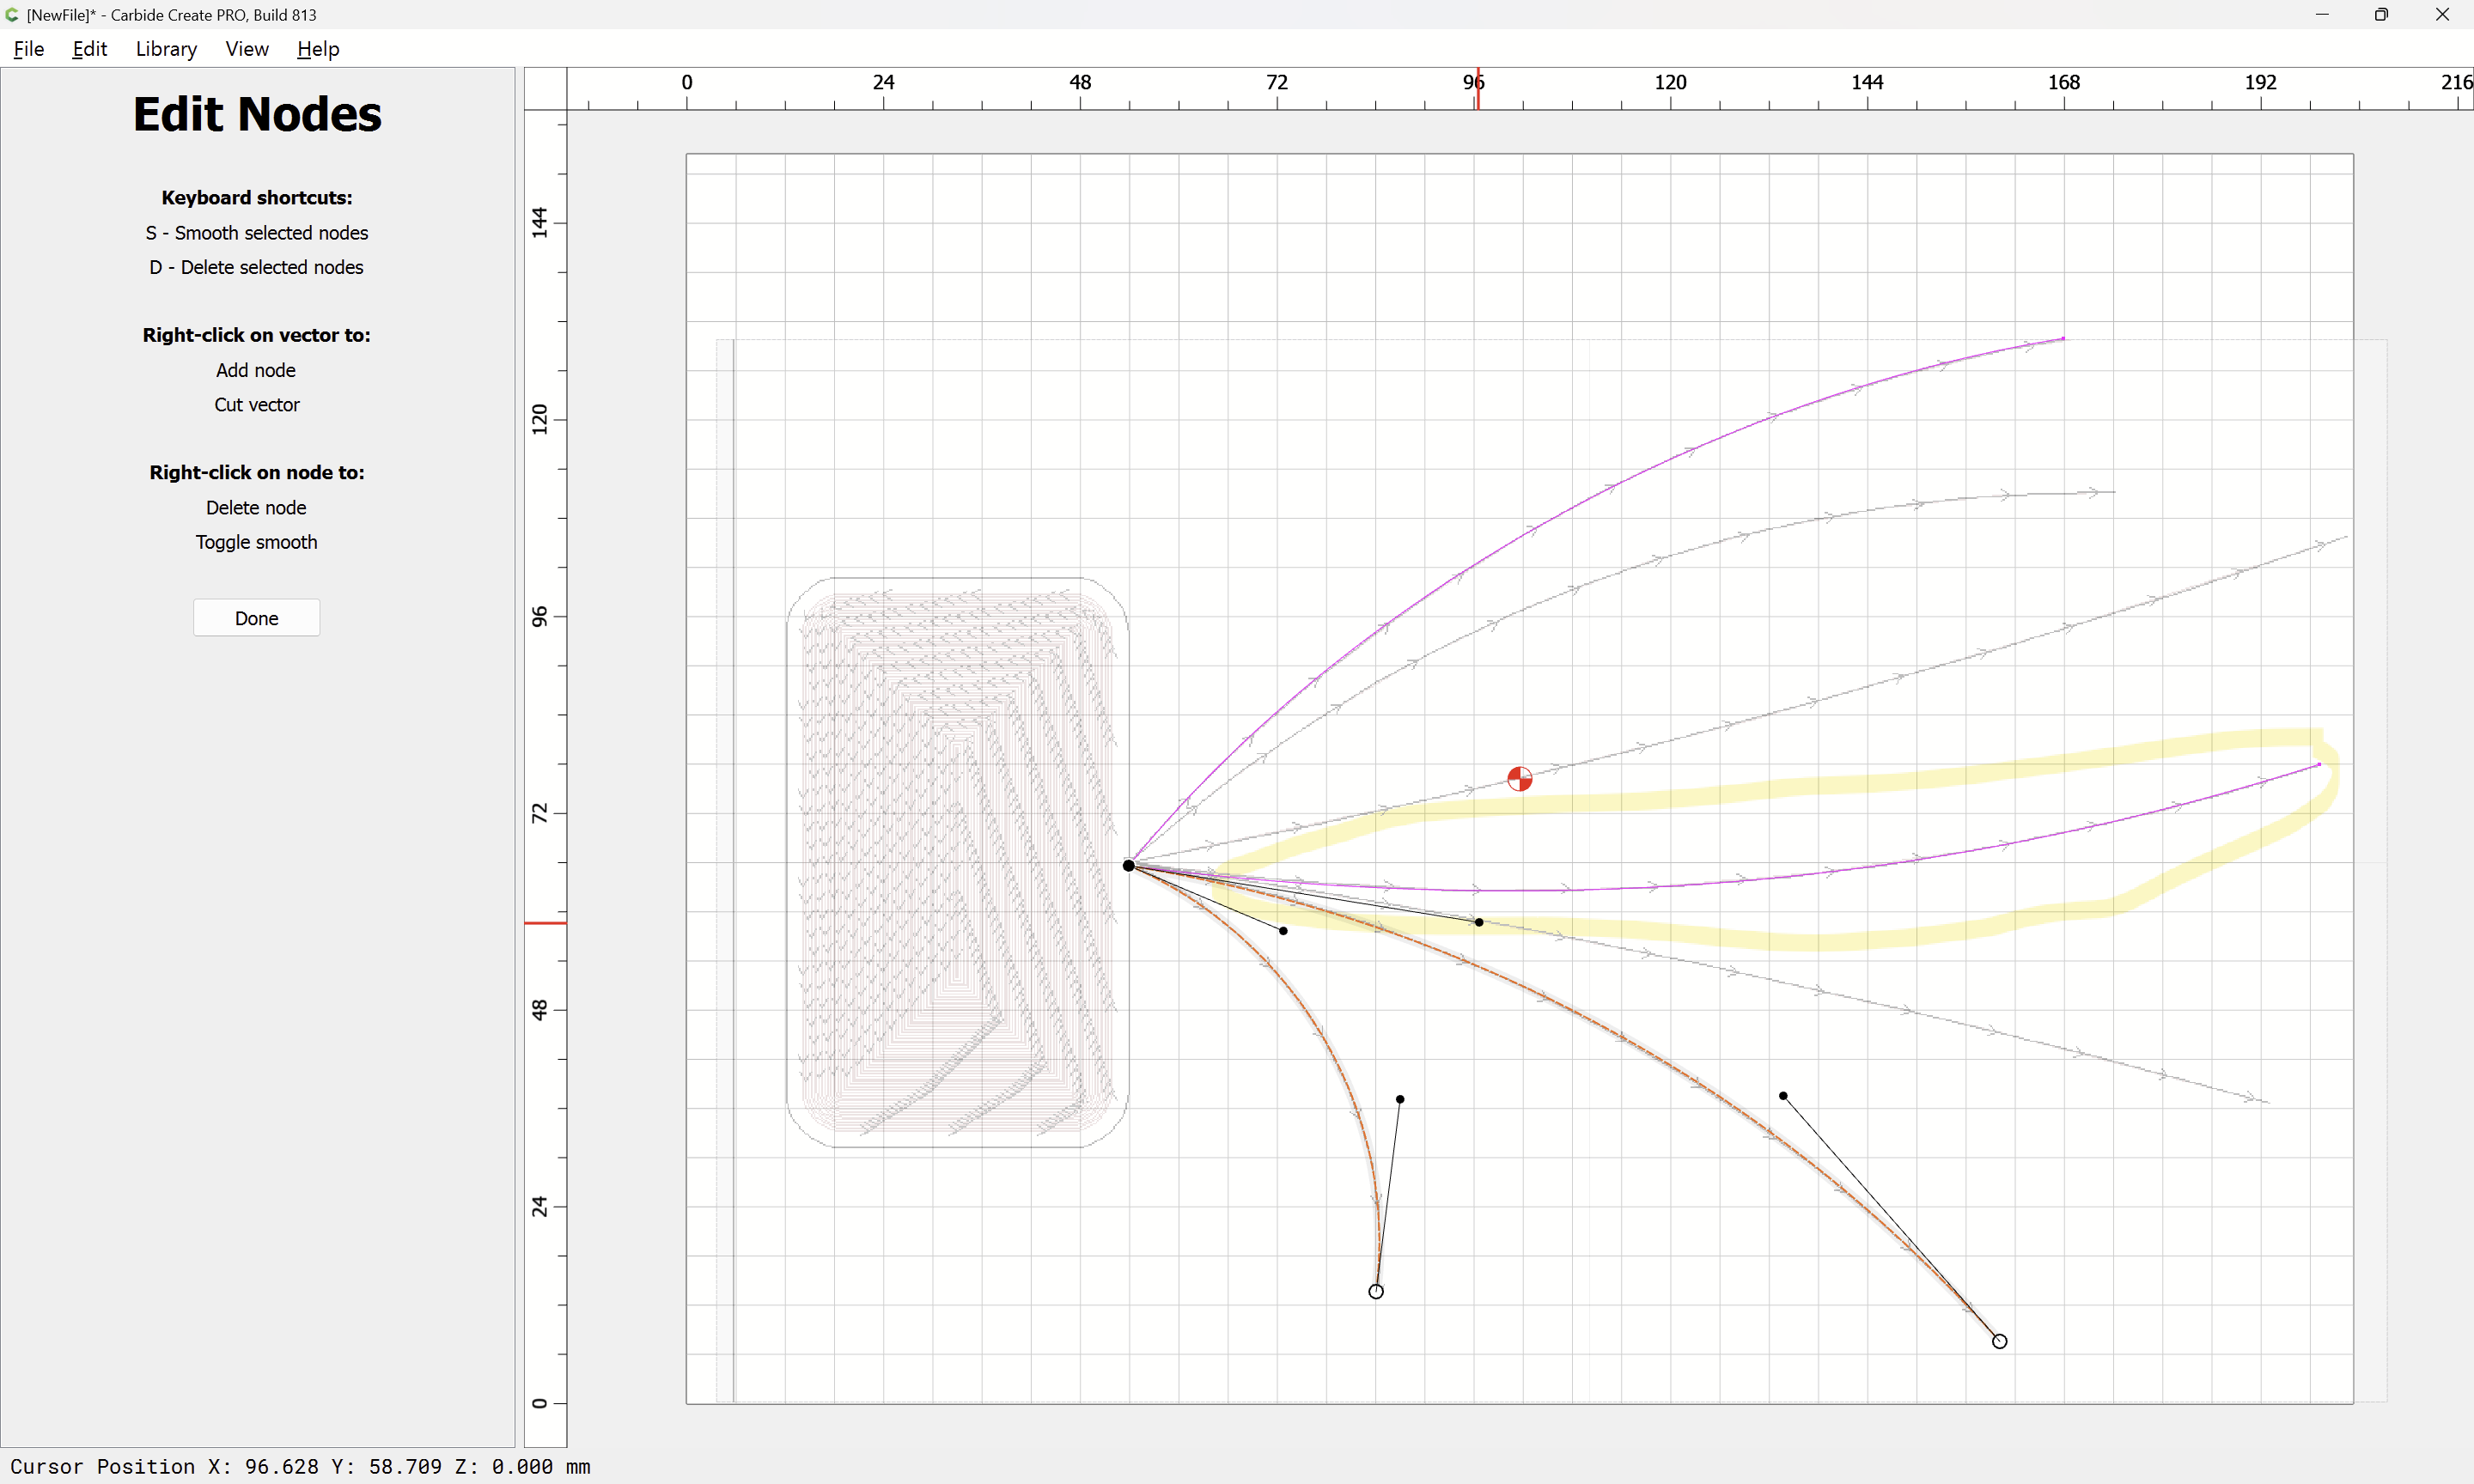
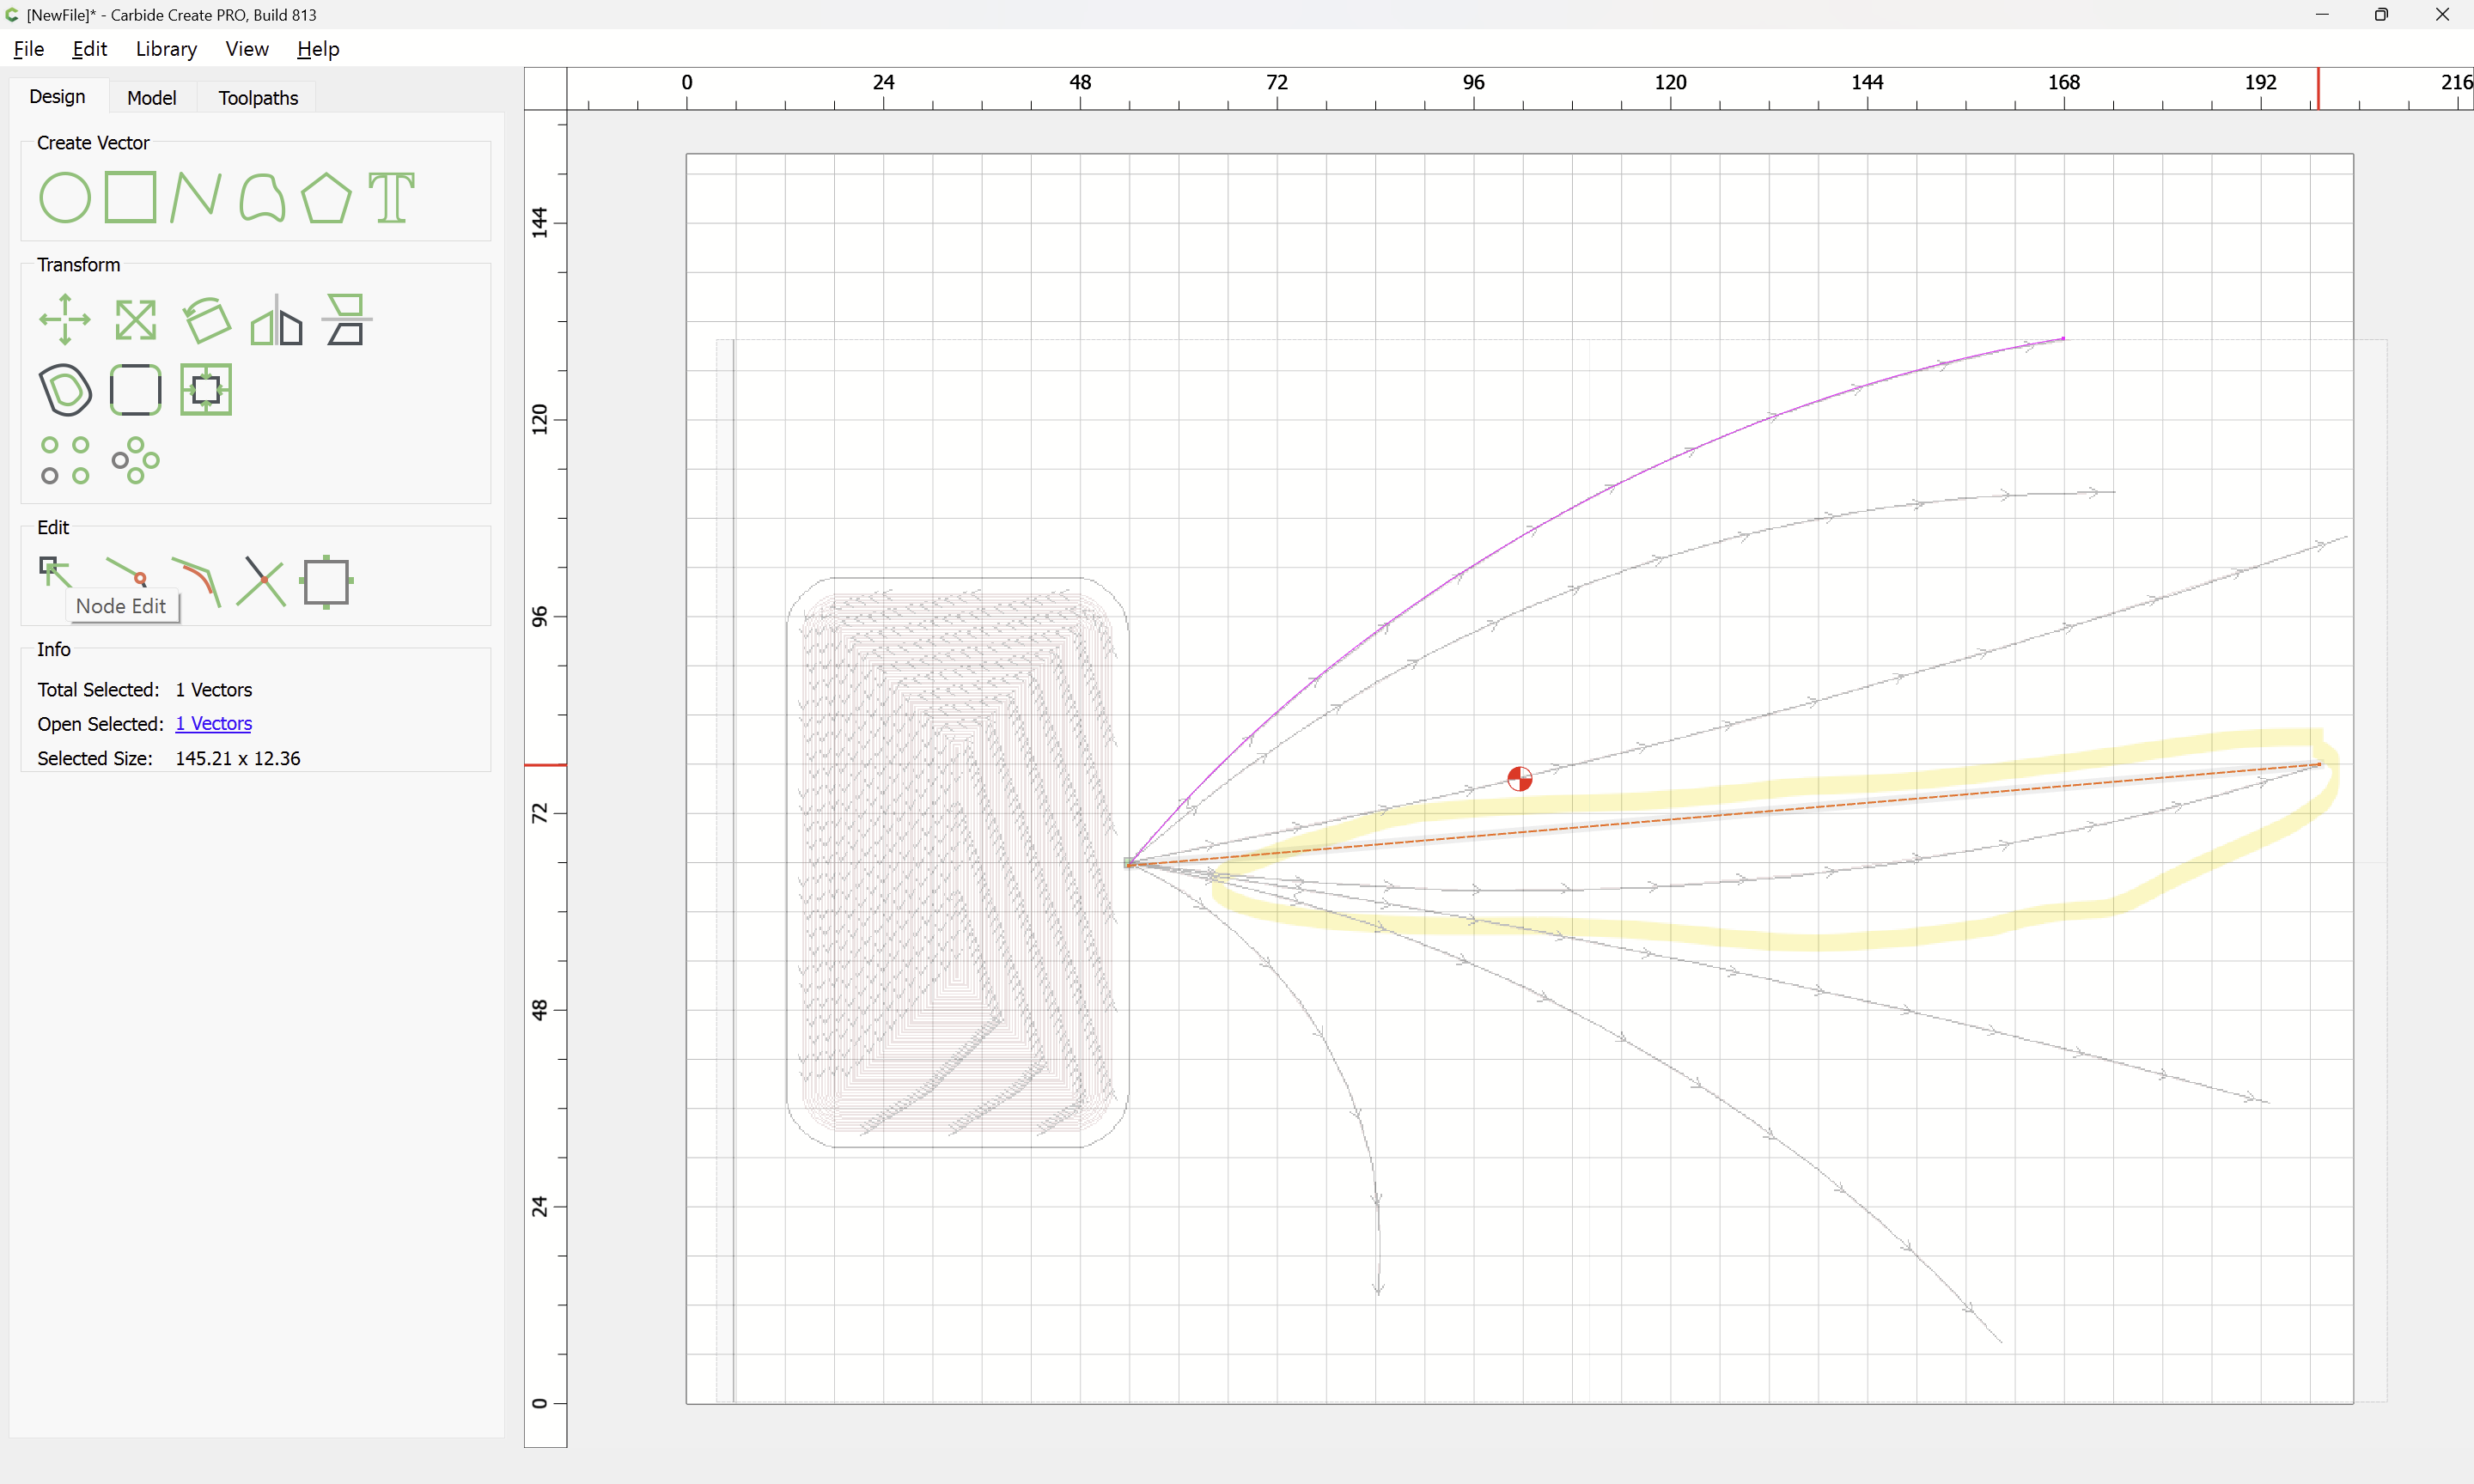
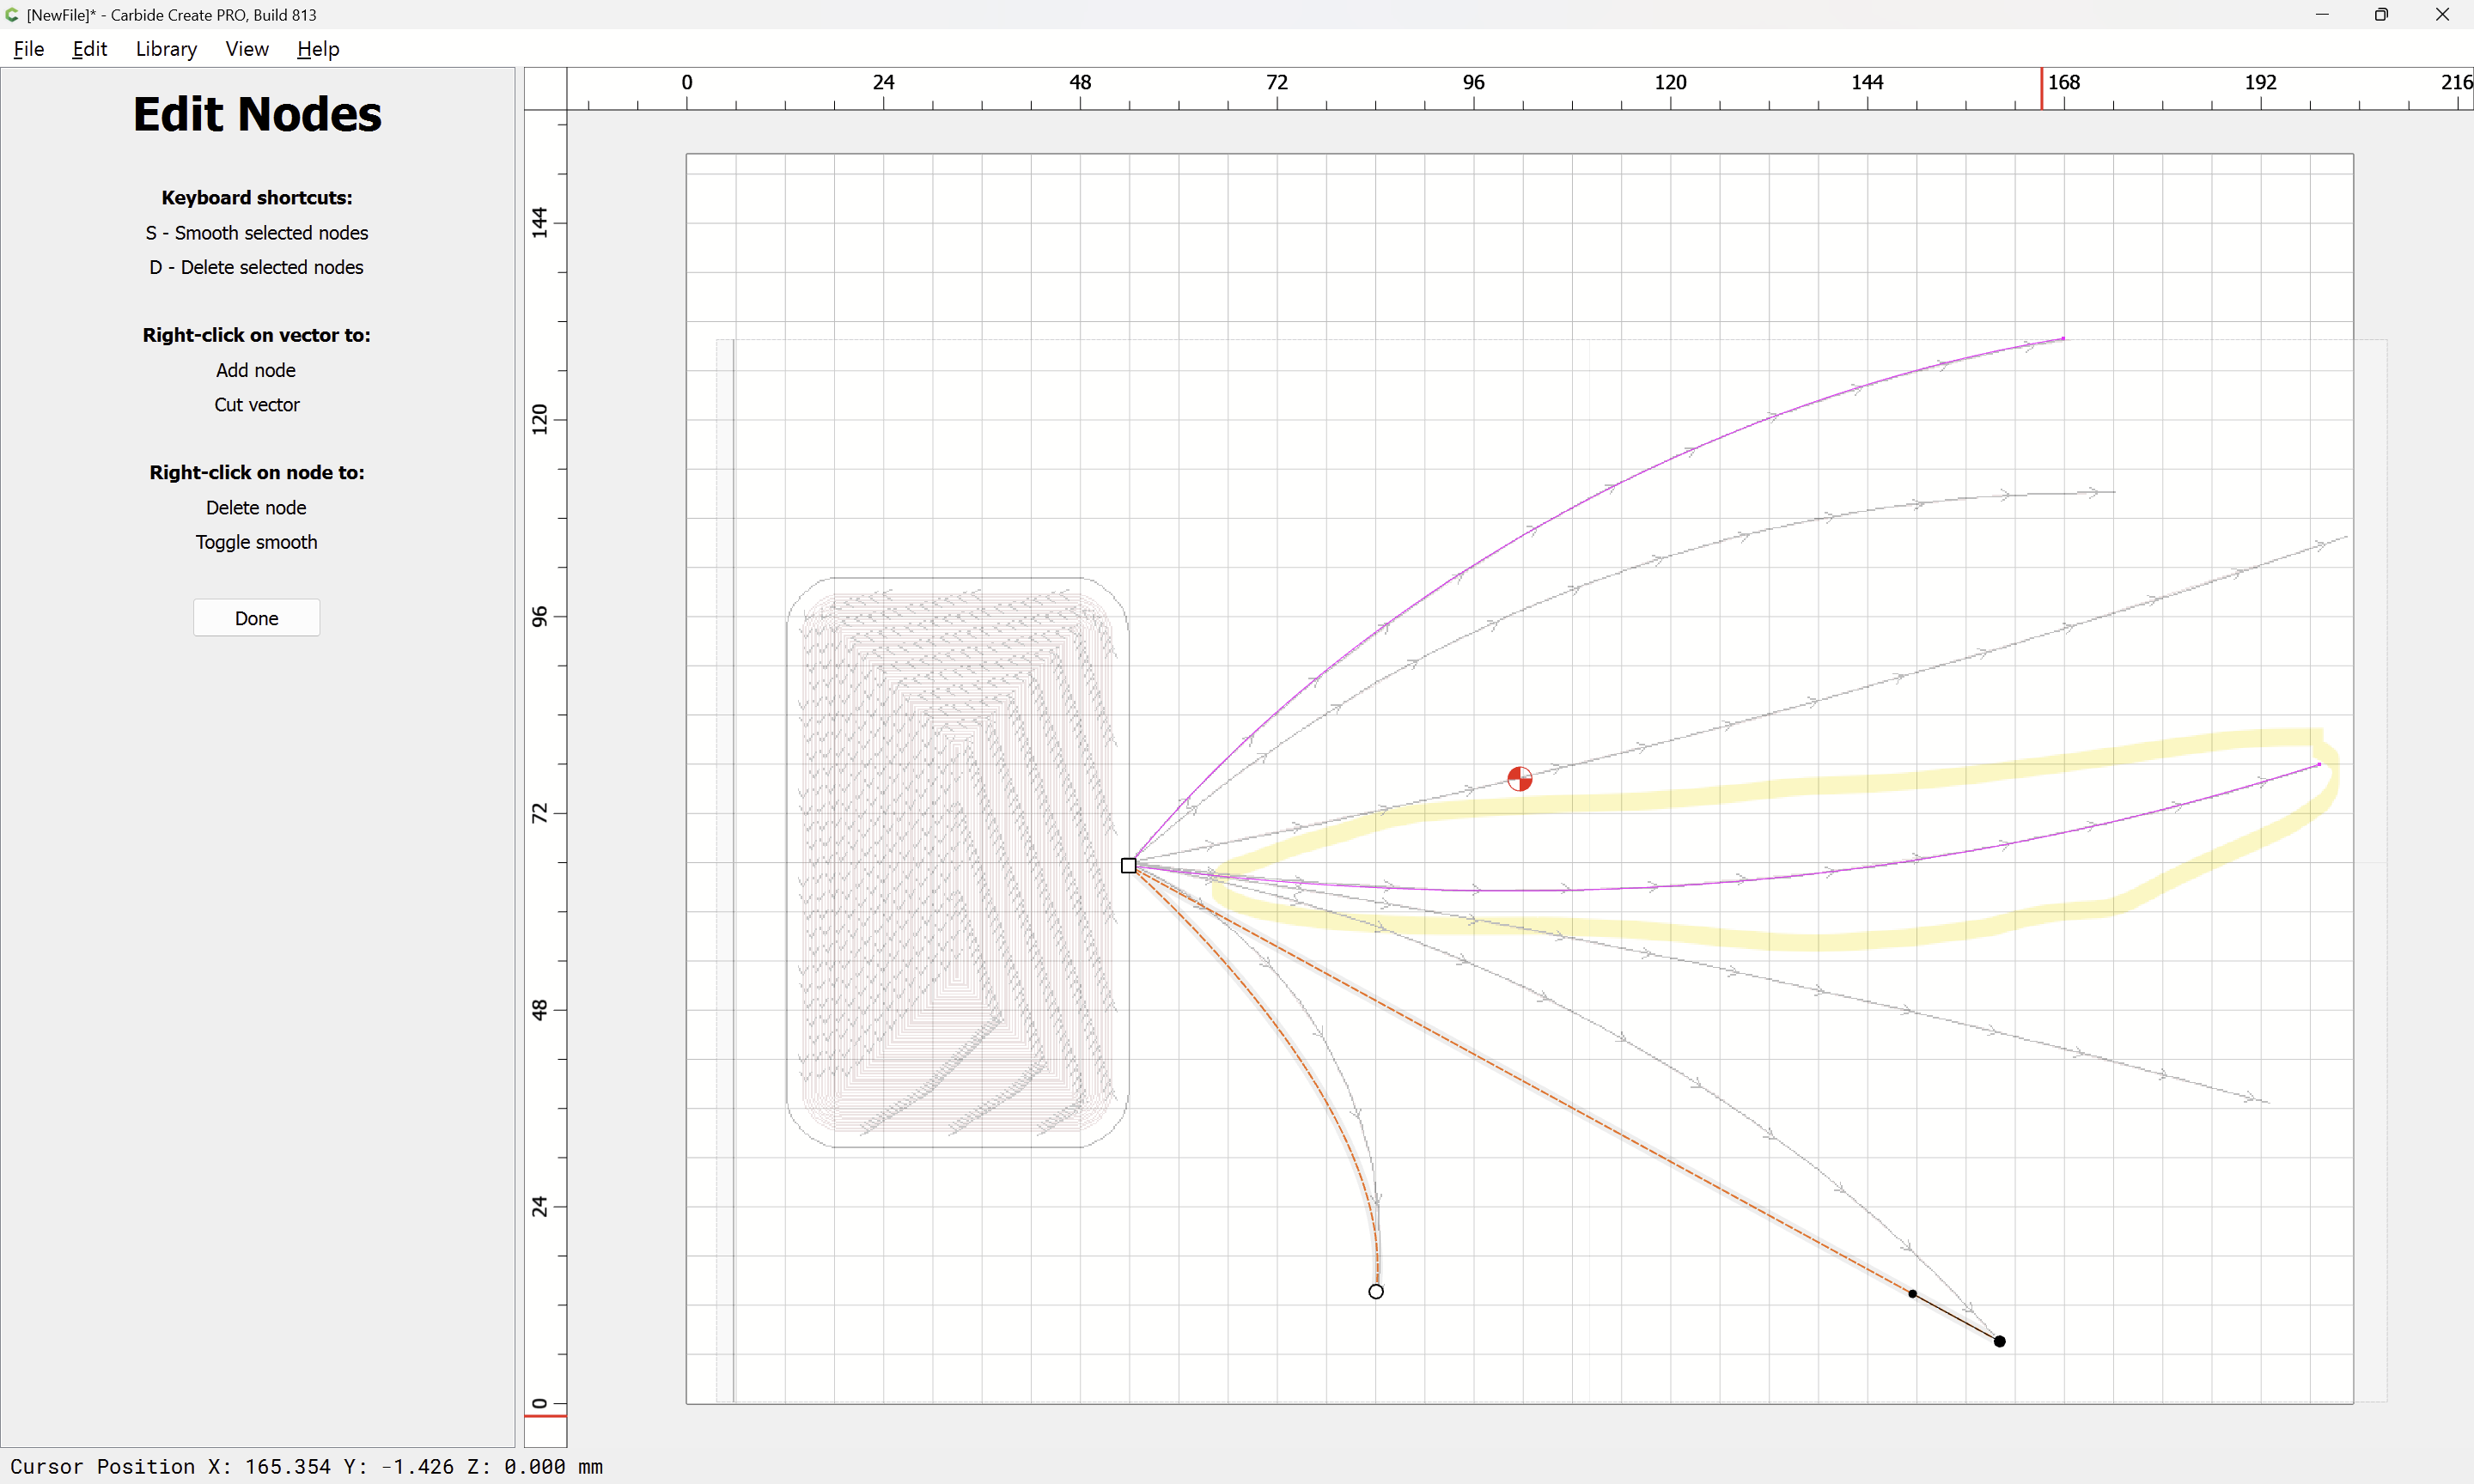
If the curve doesn’t line up perfectly, it will be necessary to go into Node Edit mode and adjust:
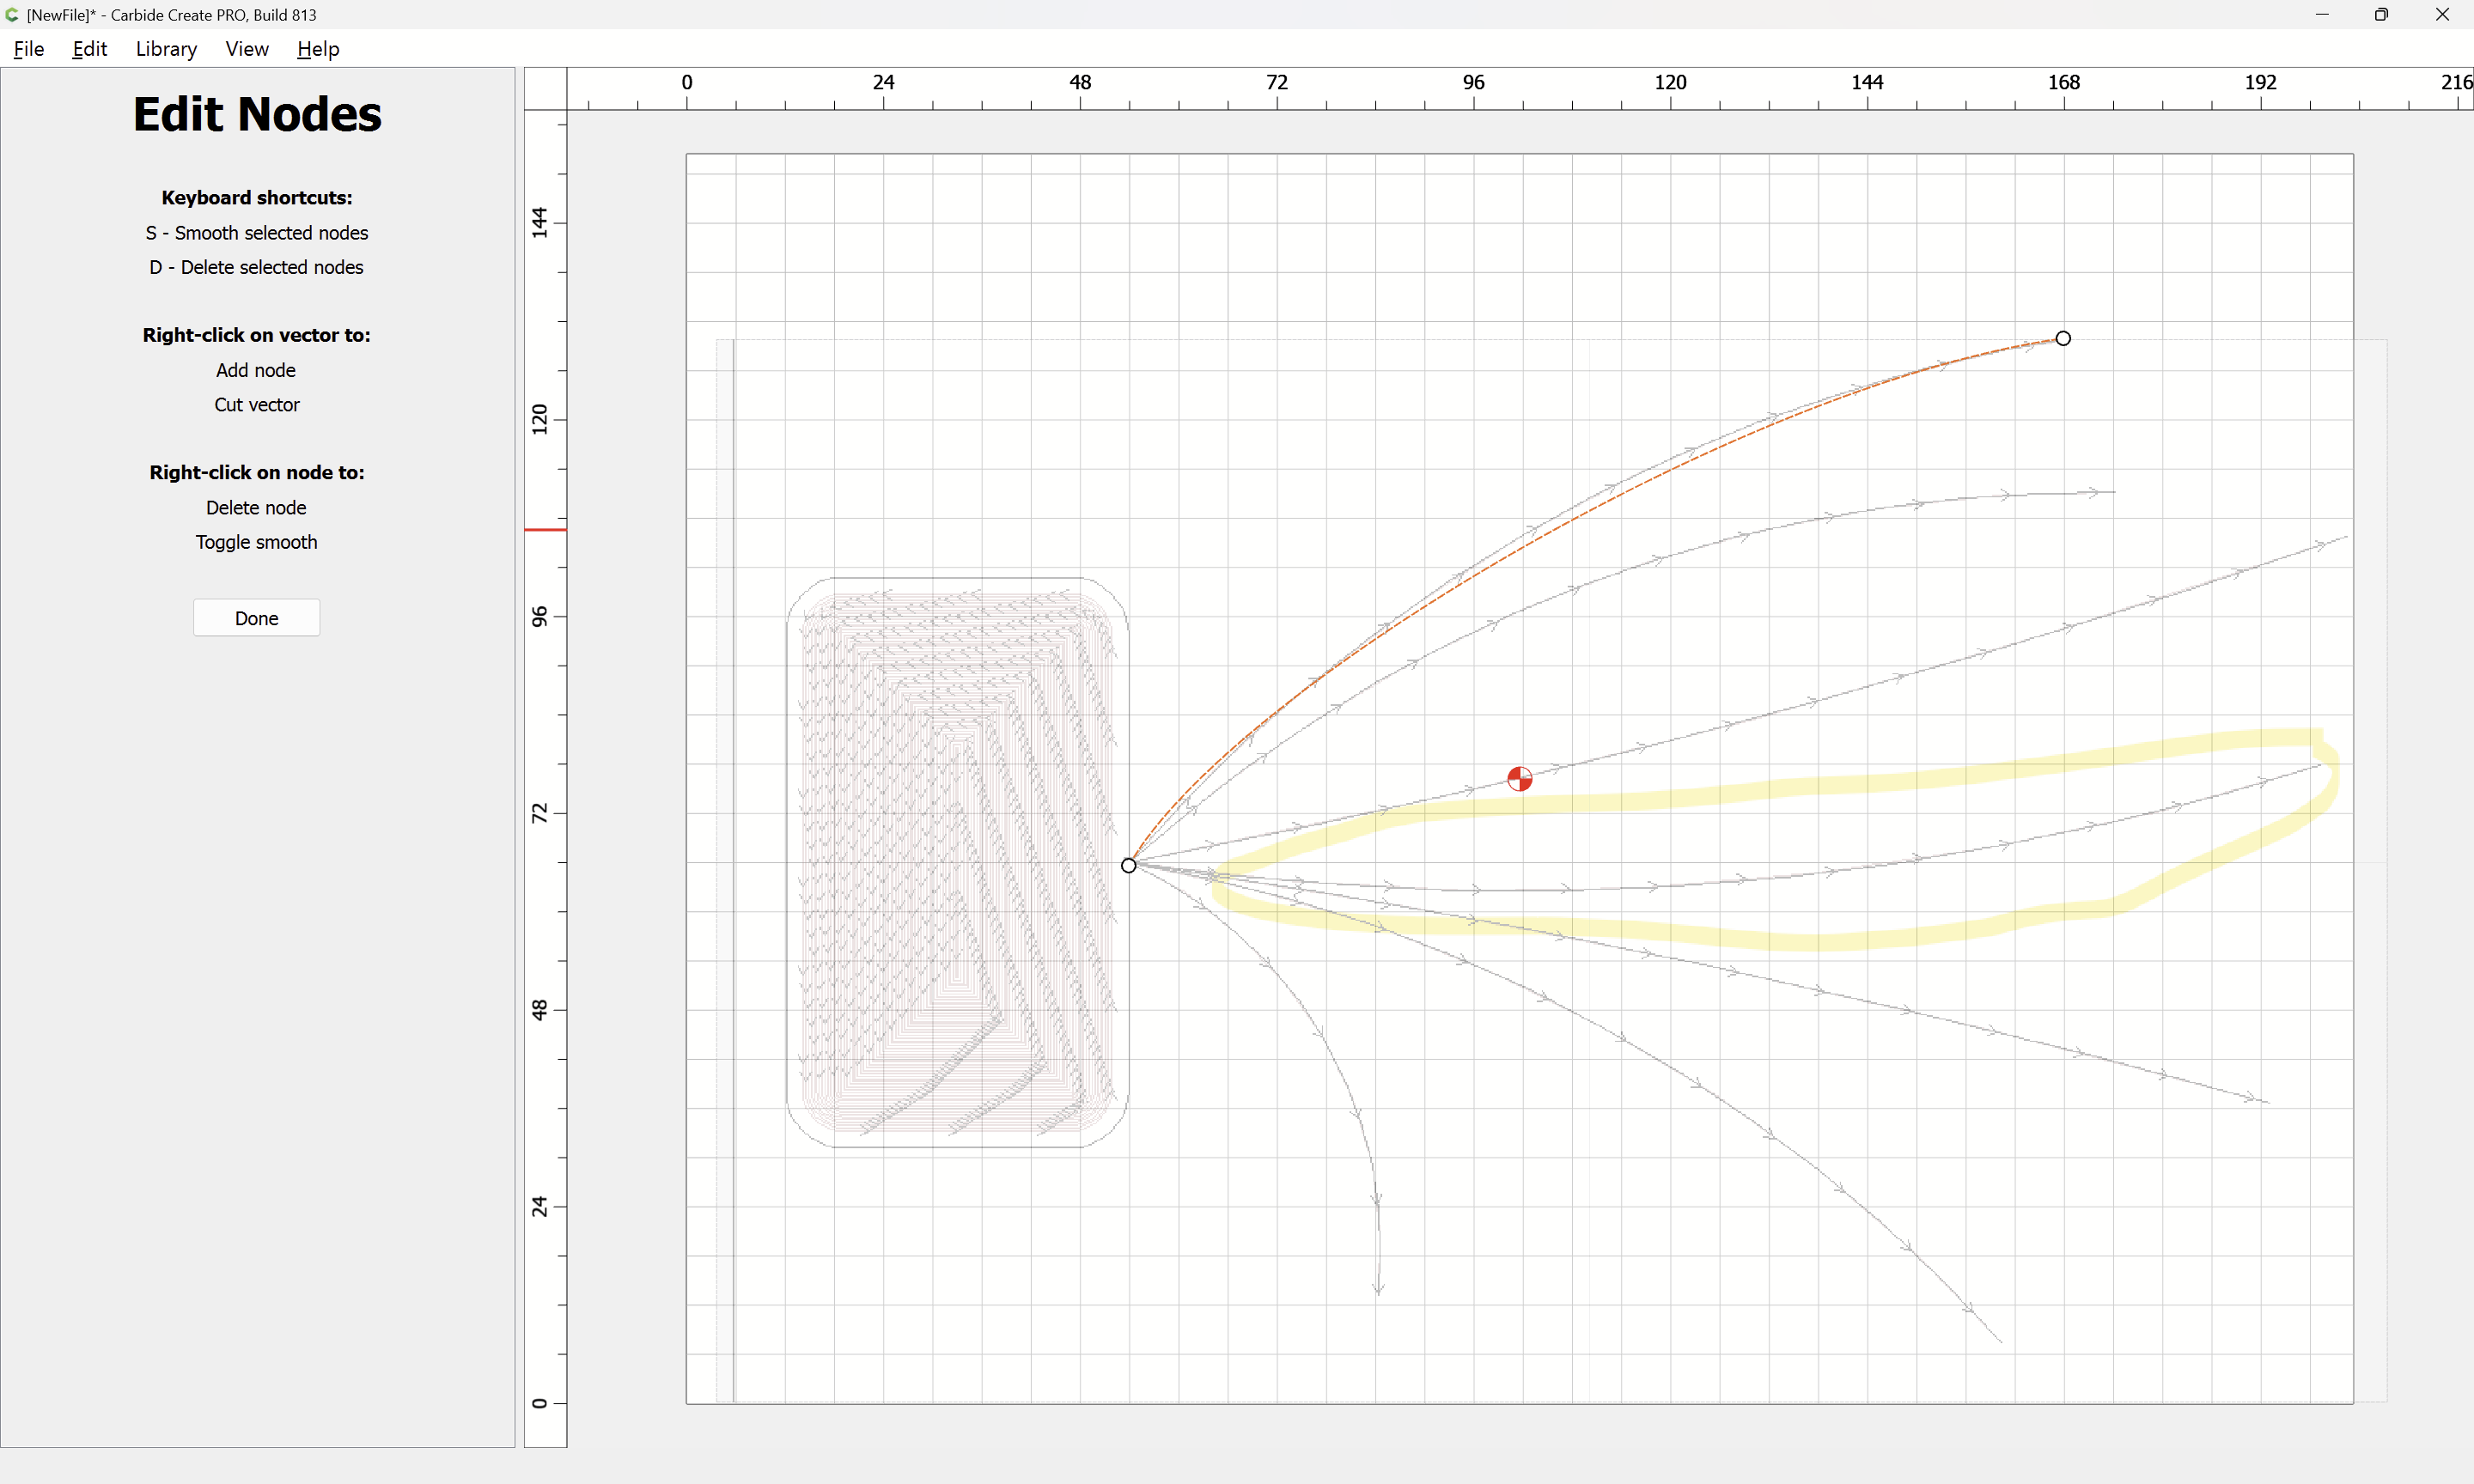
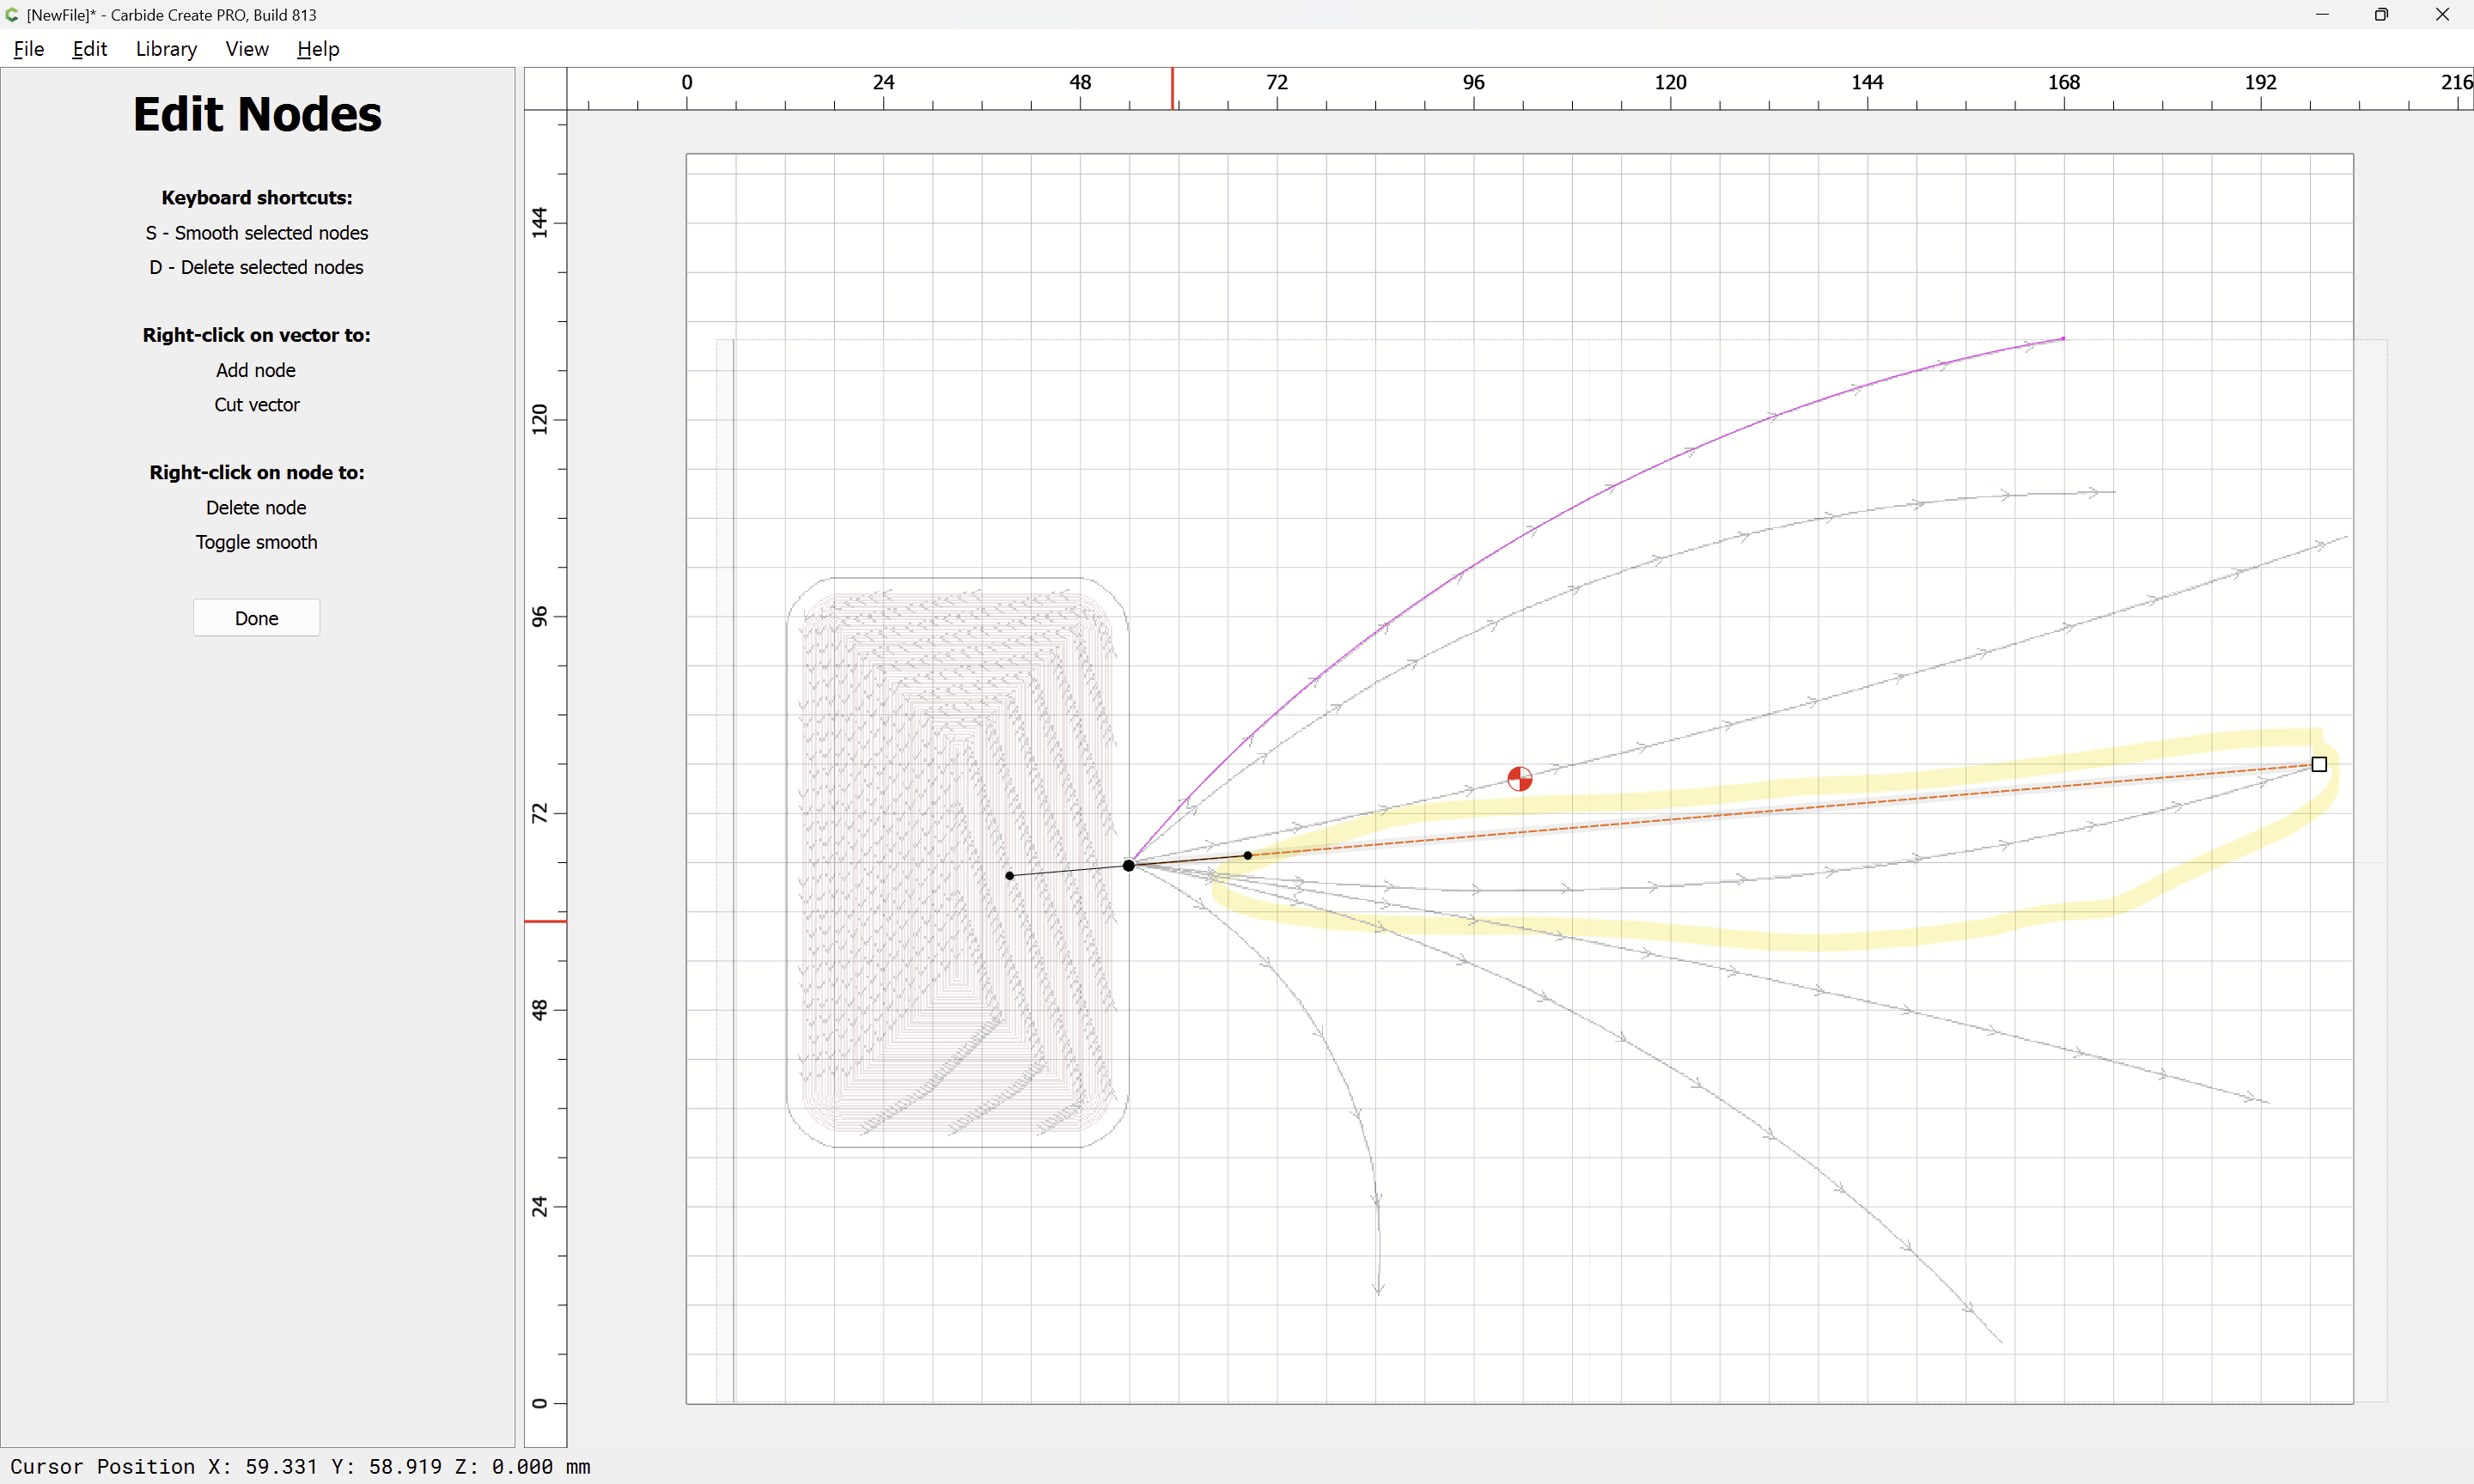
Select a Node:

and drag the off-curve node to re-shape the curve:
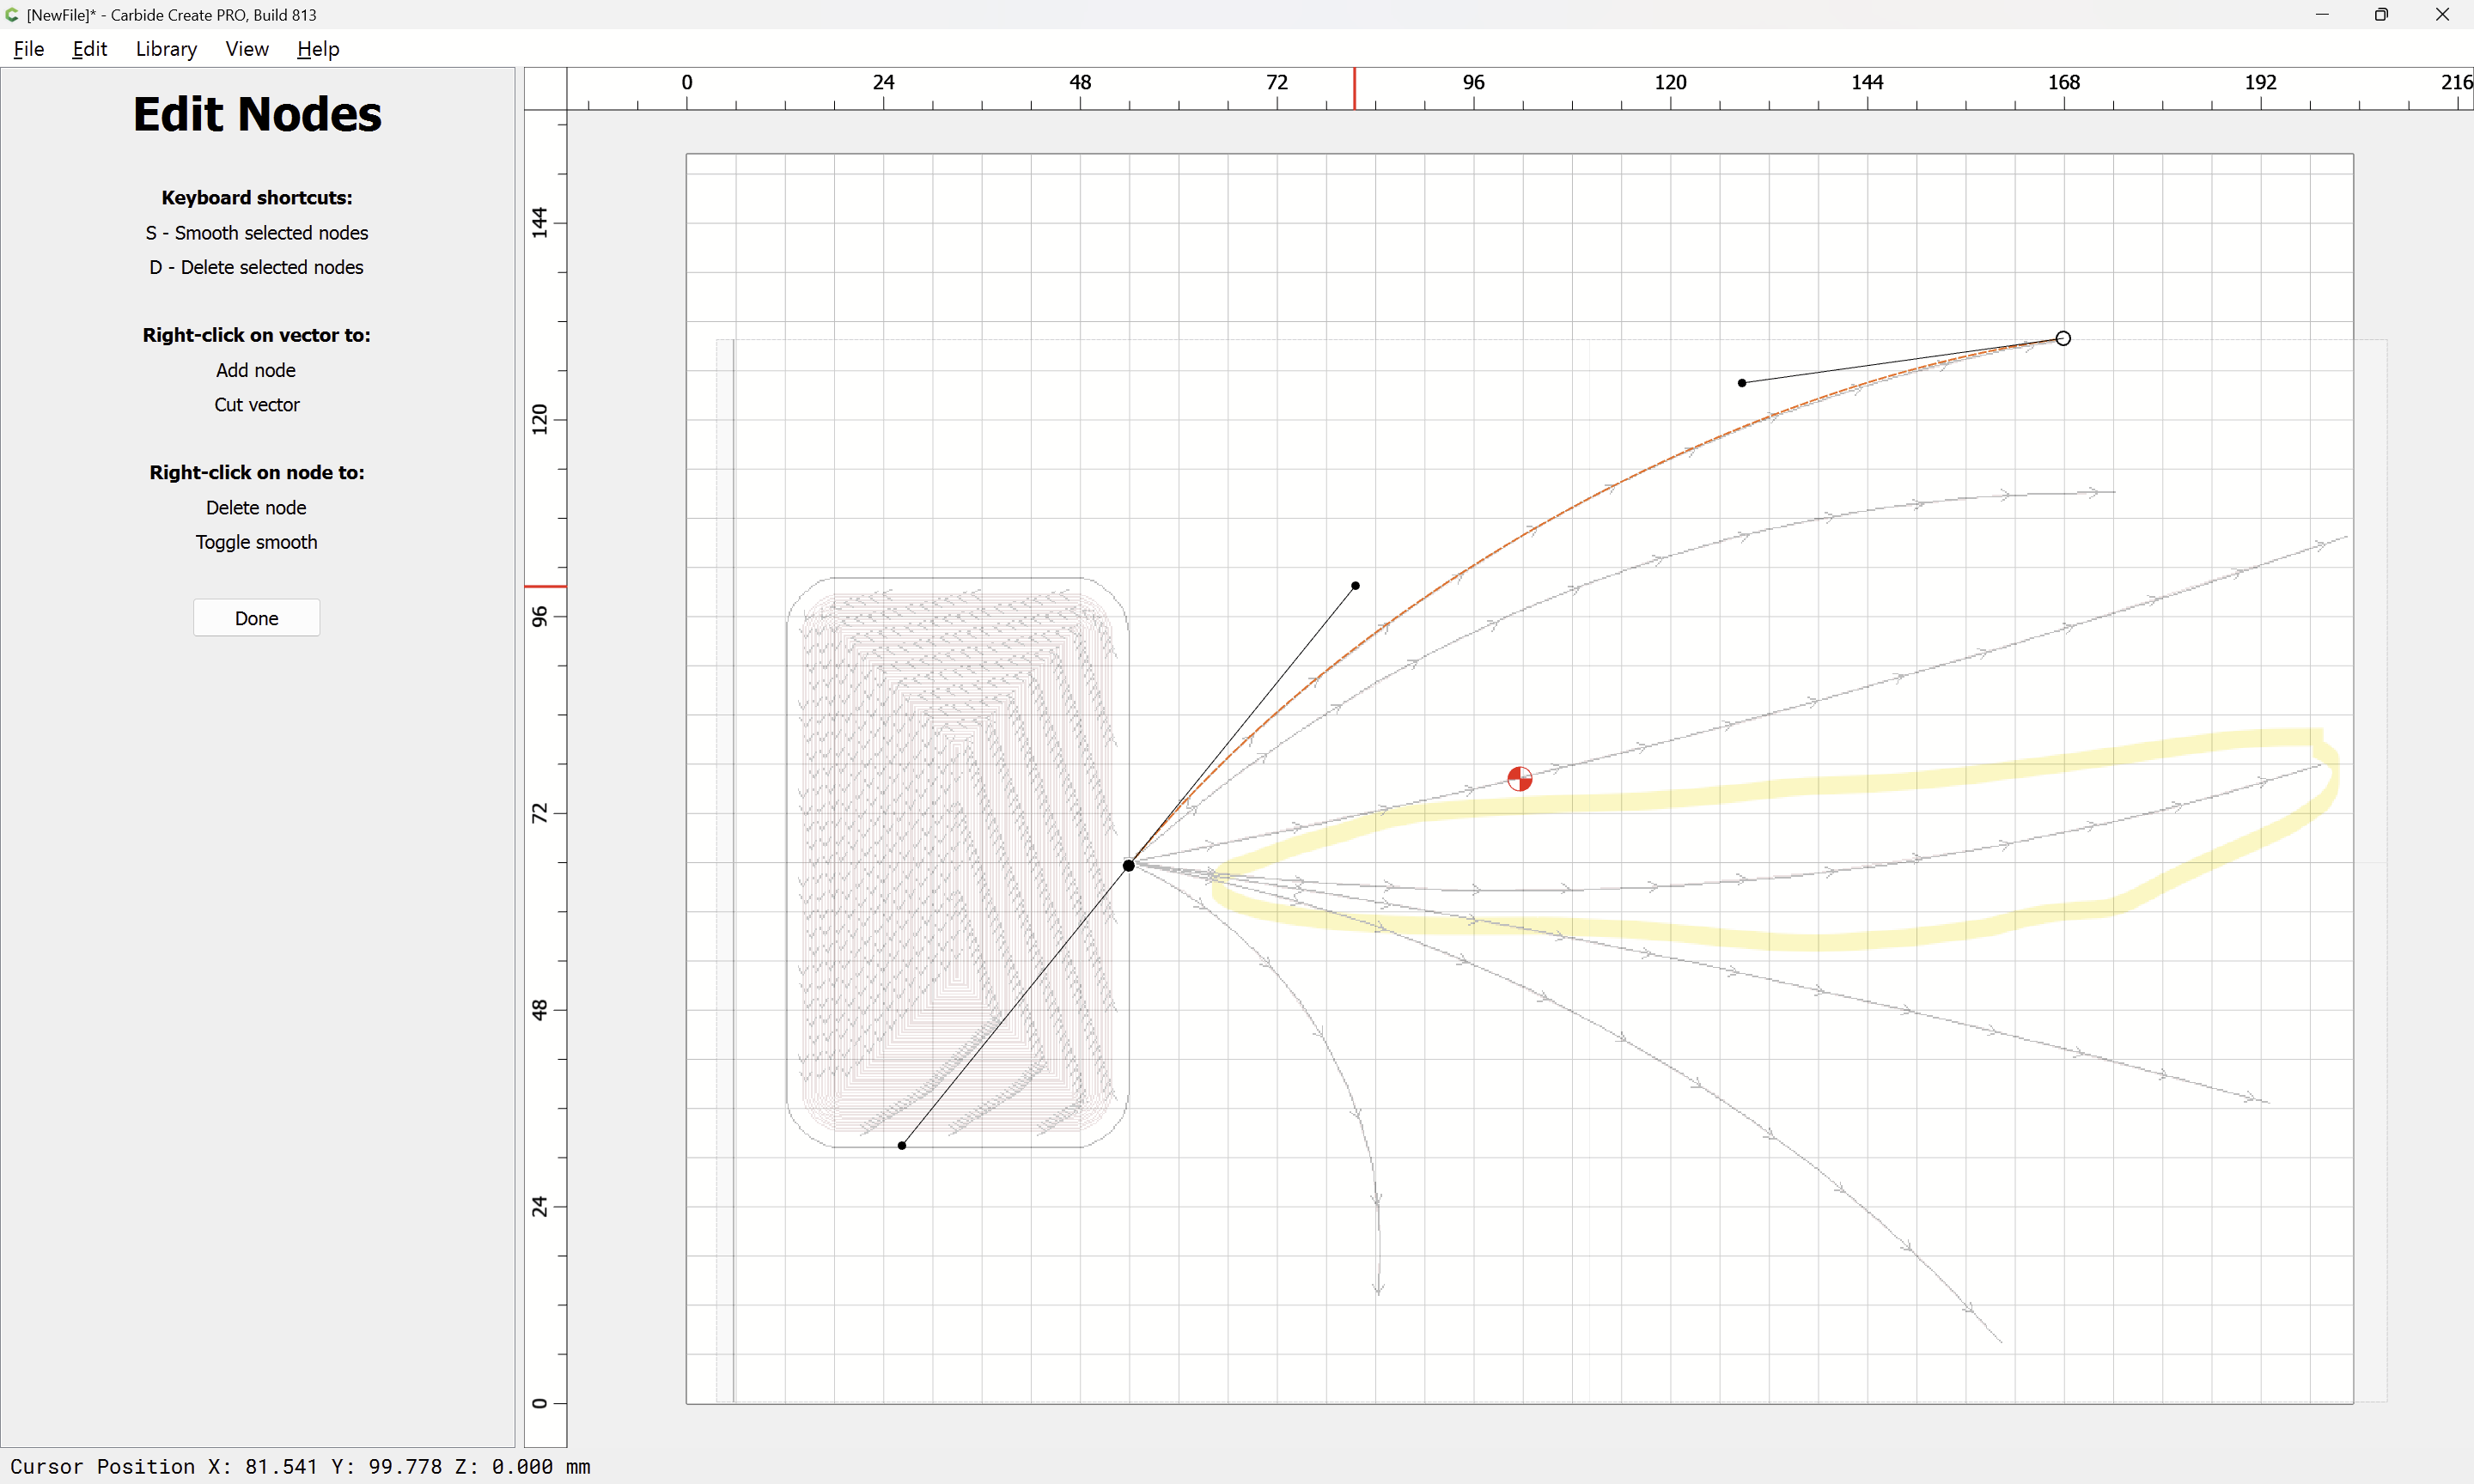
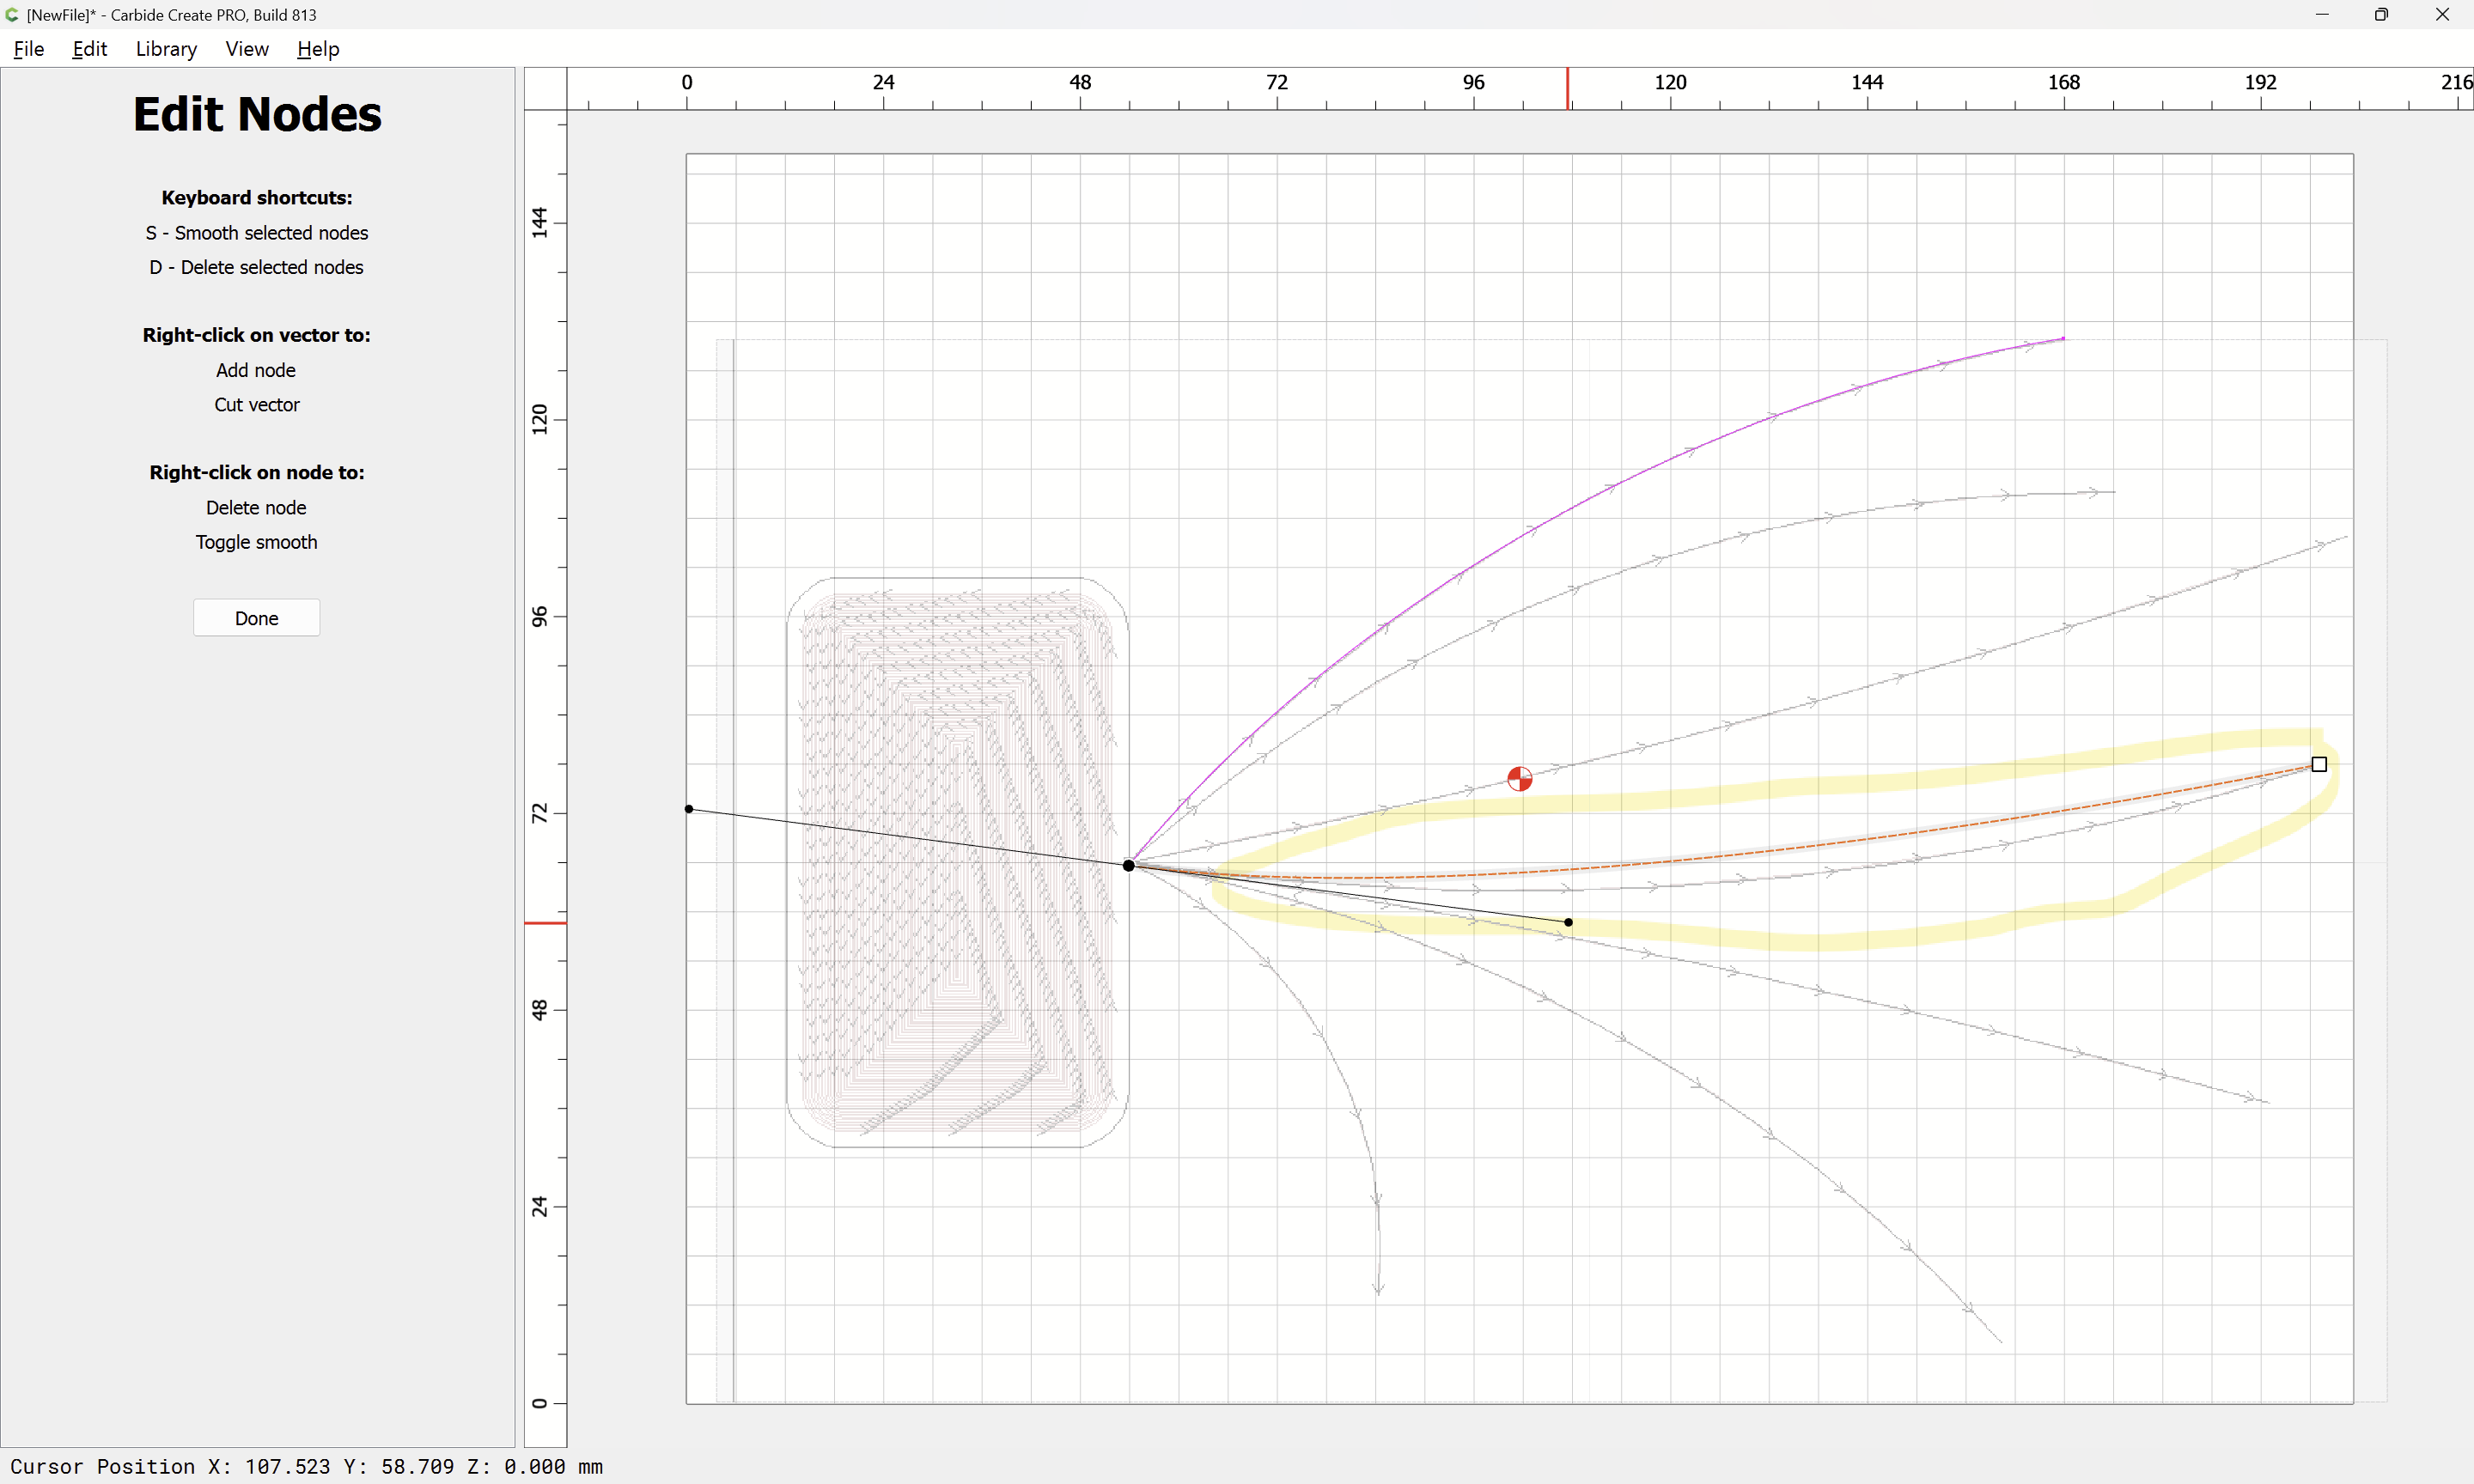
if need be, adjust the other end:
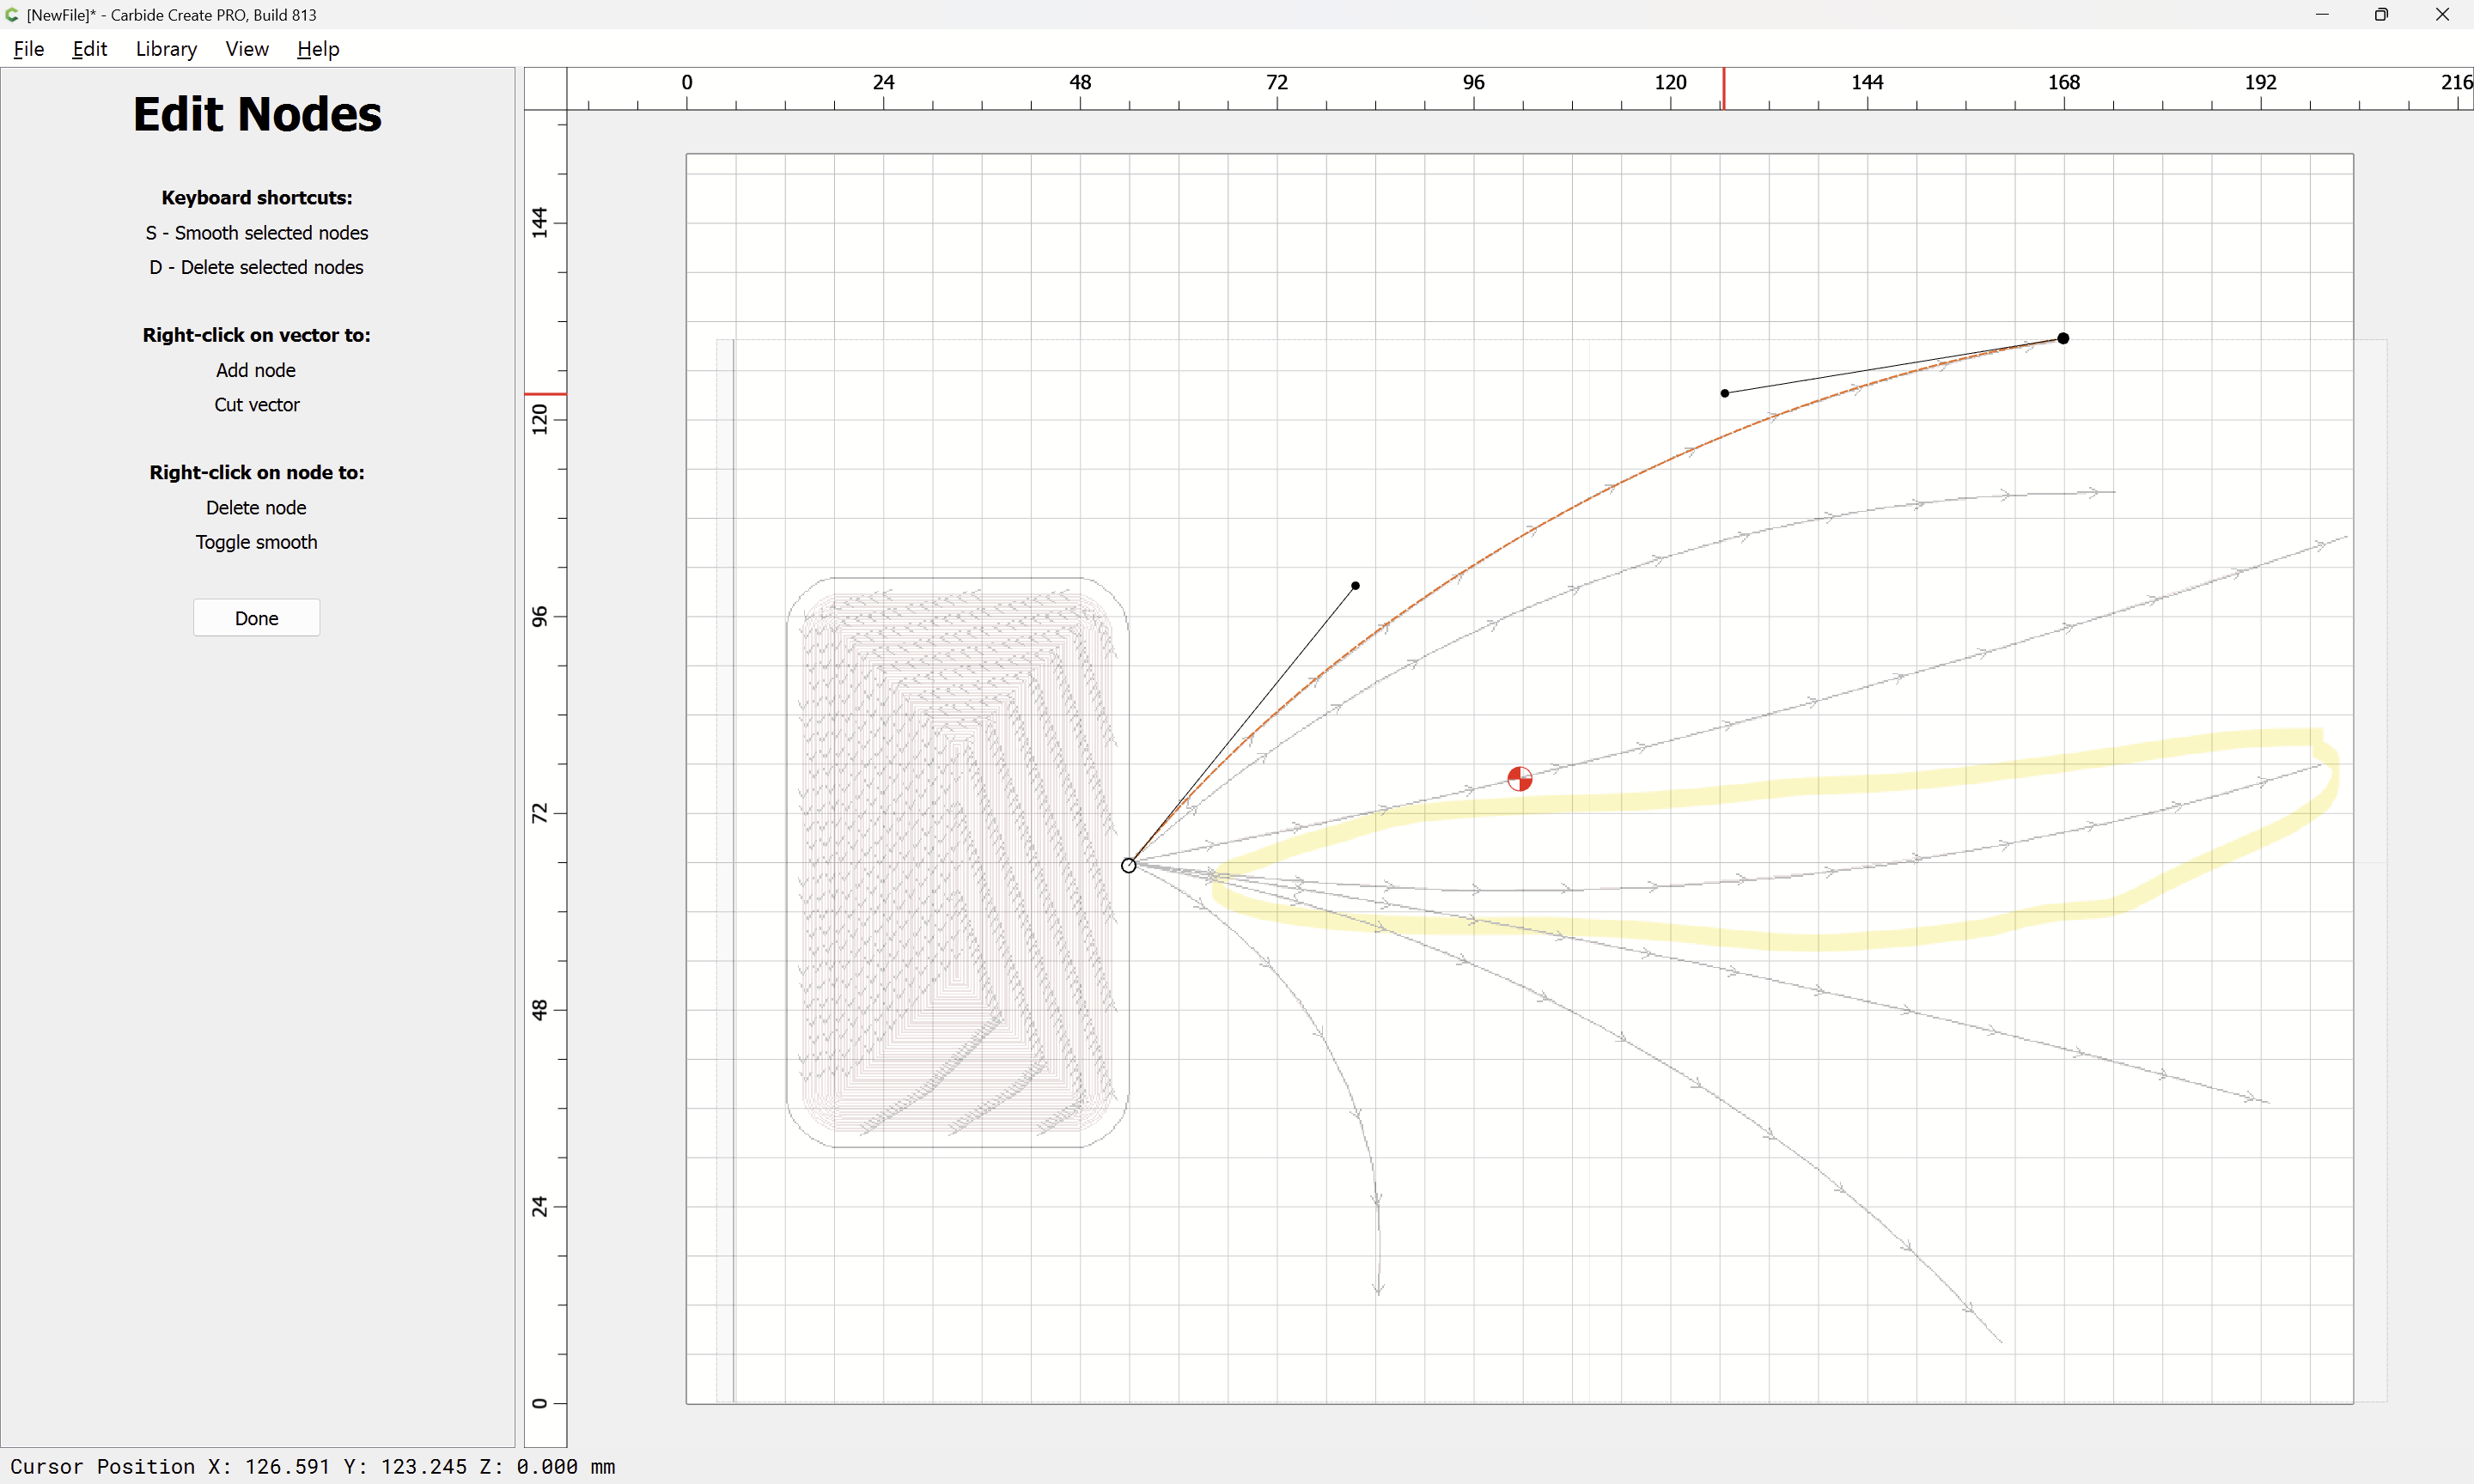
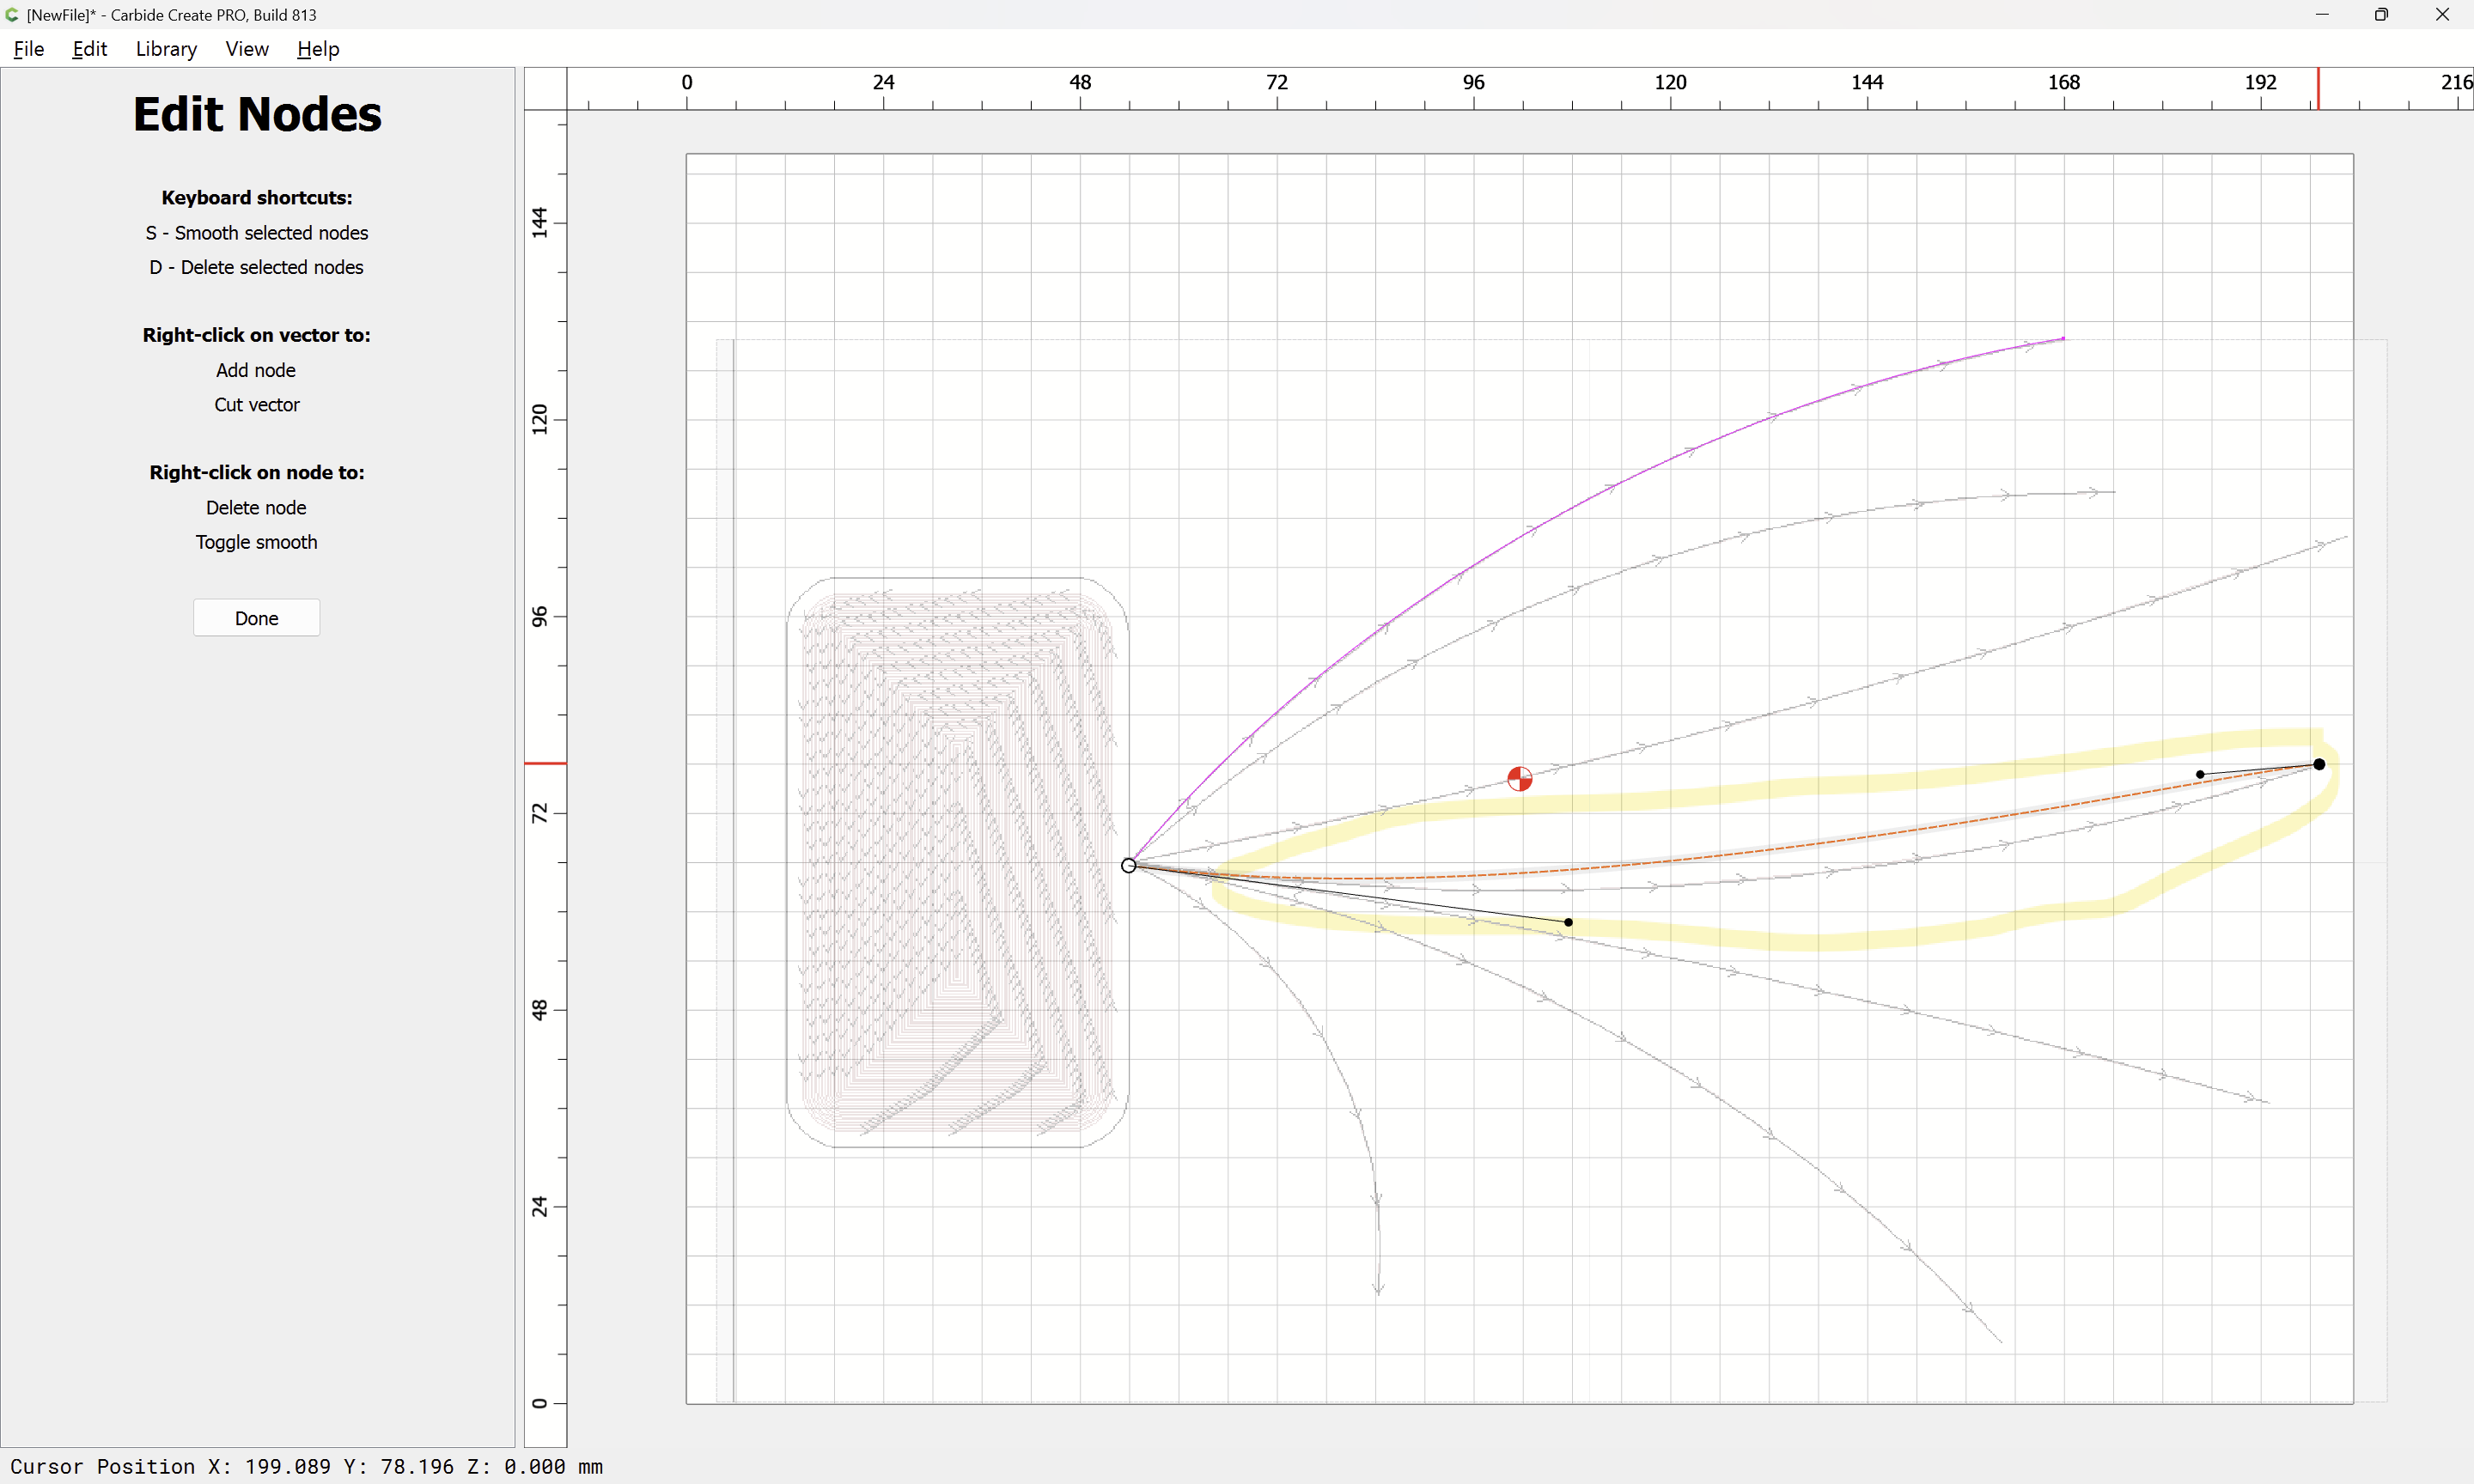
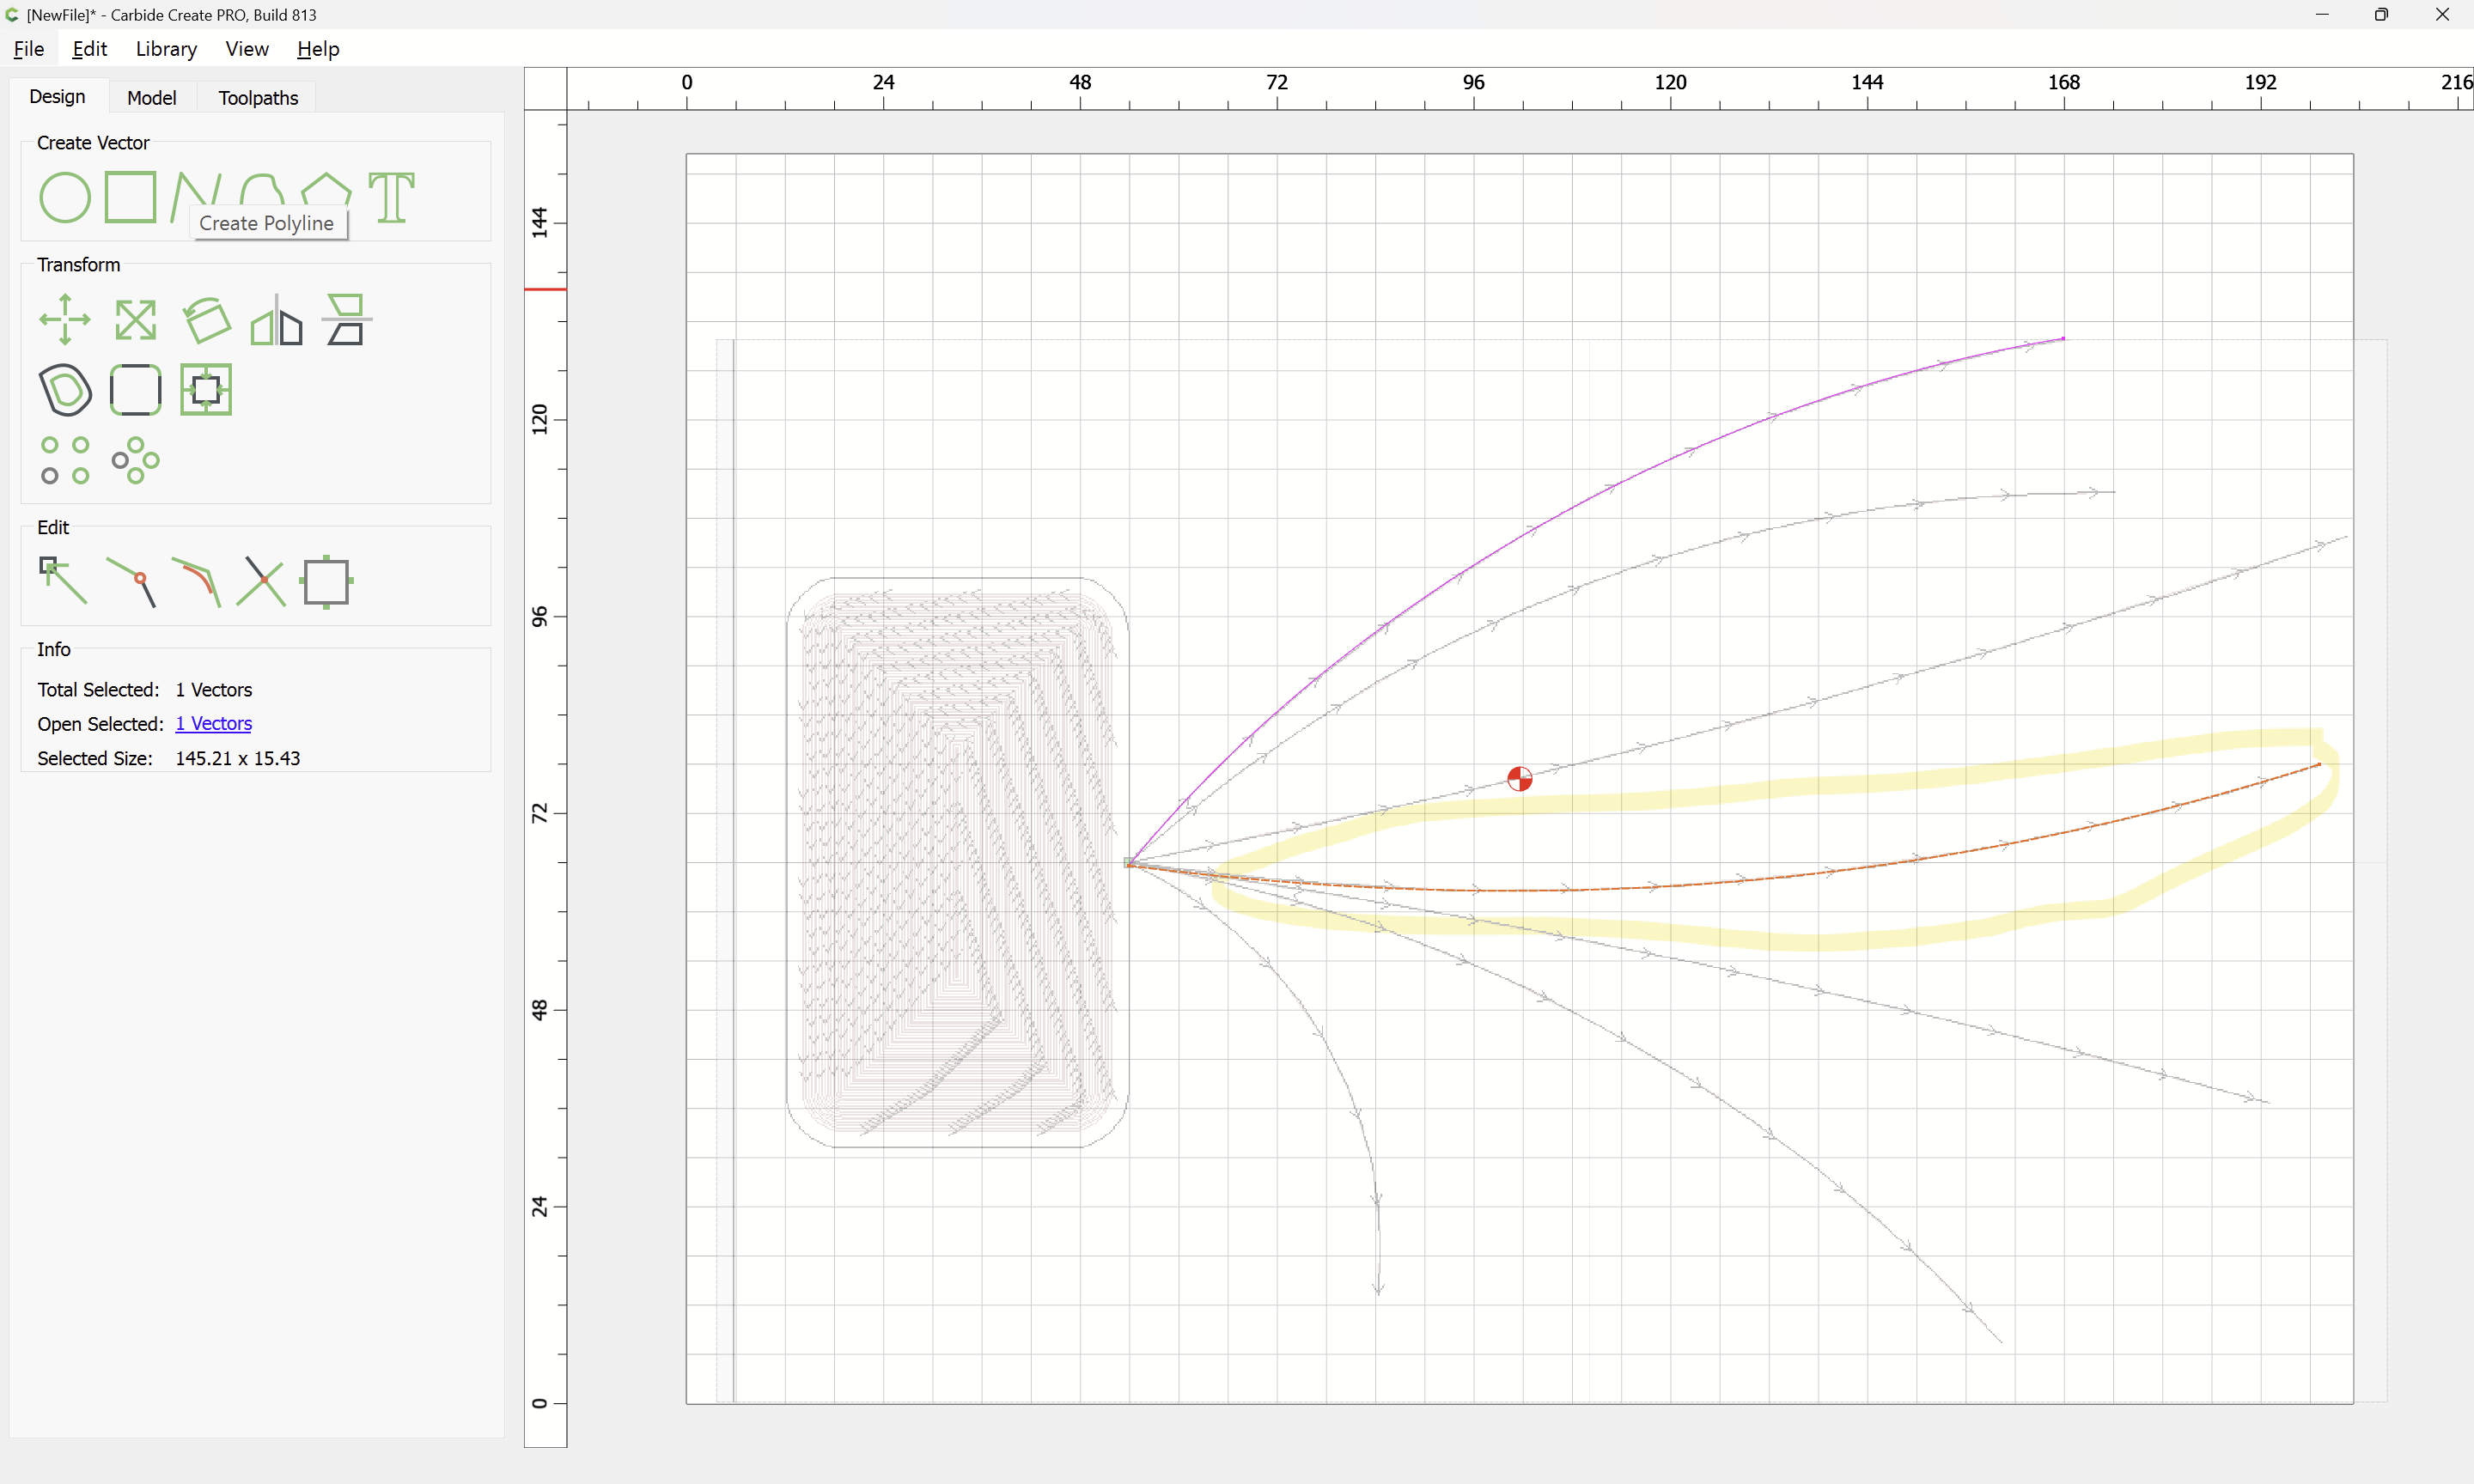
Done
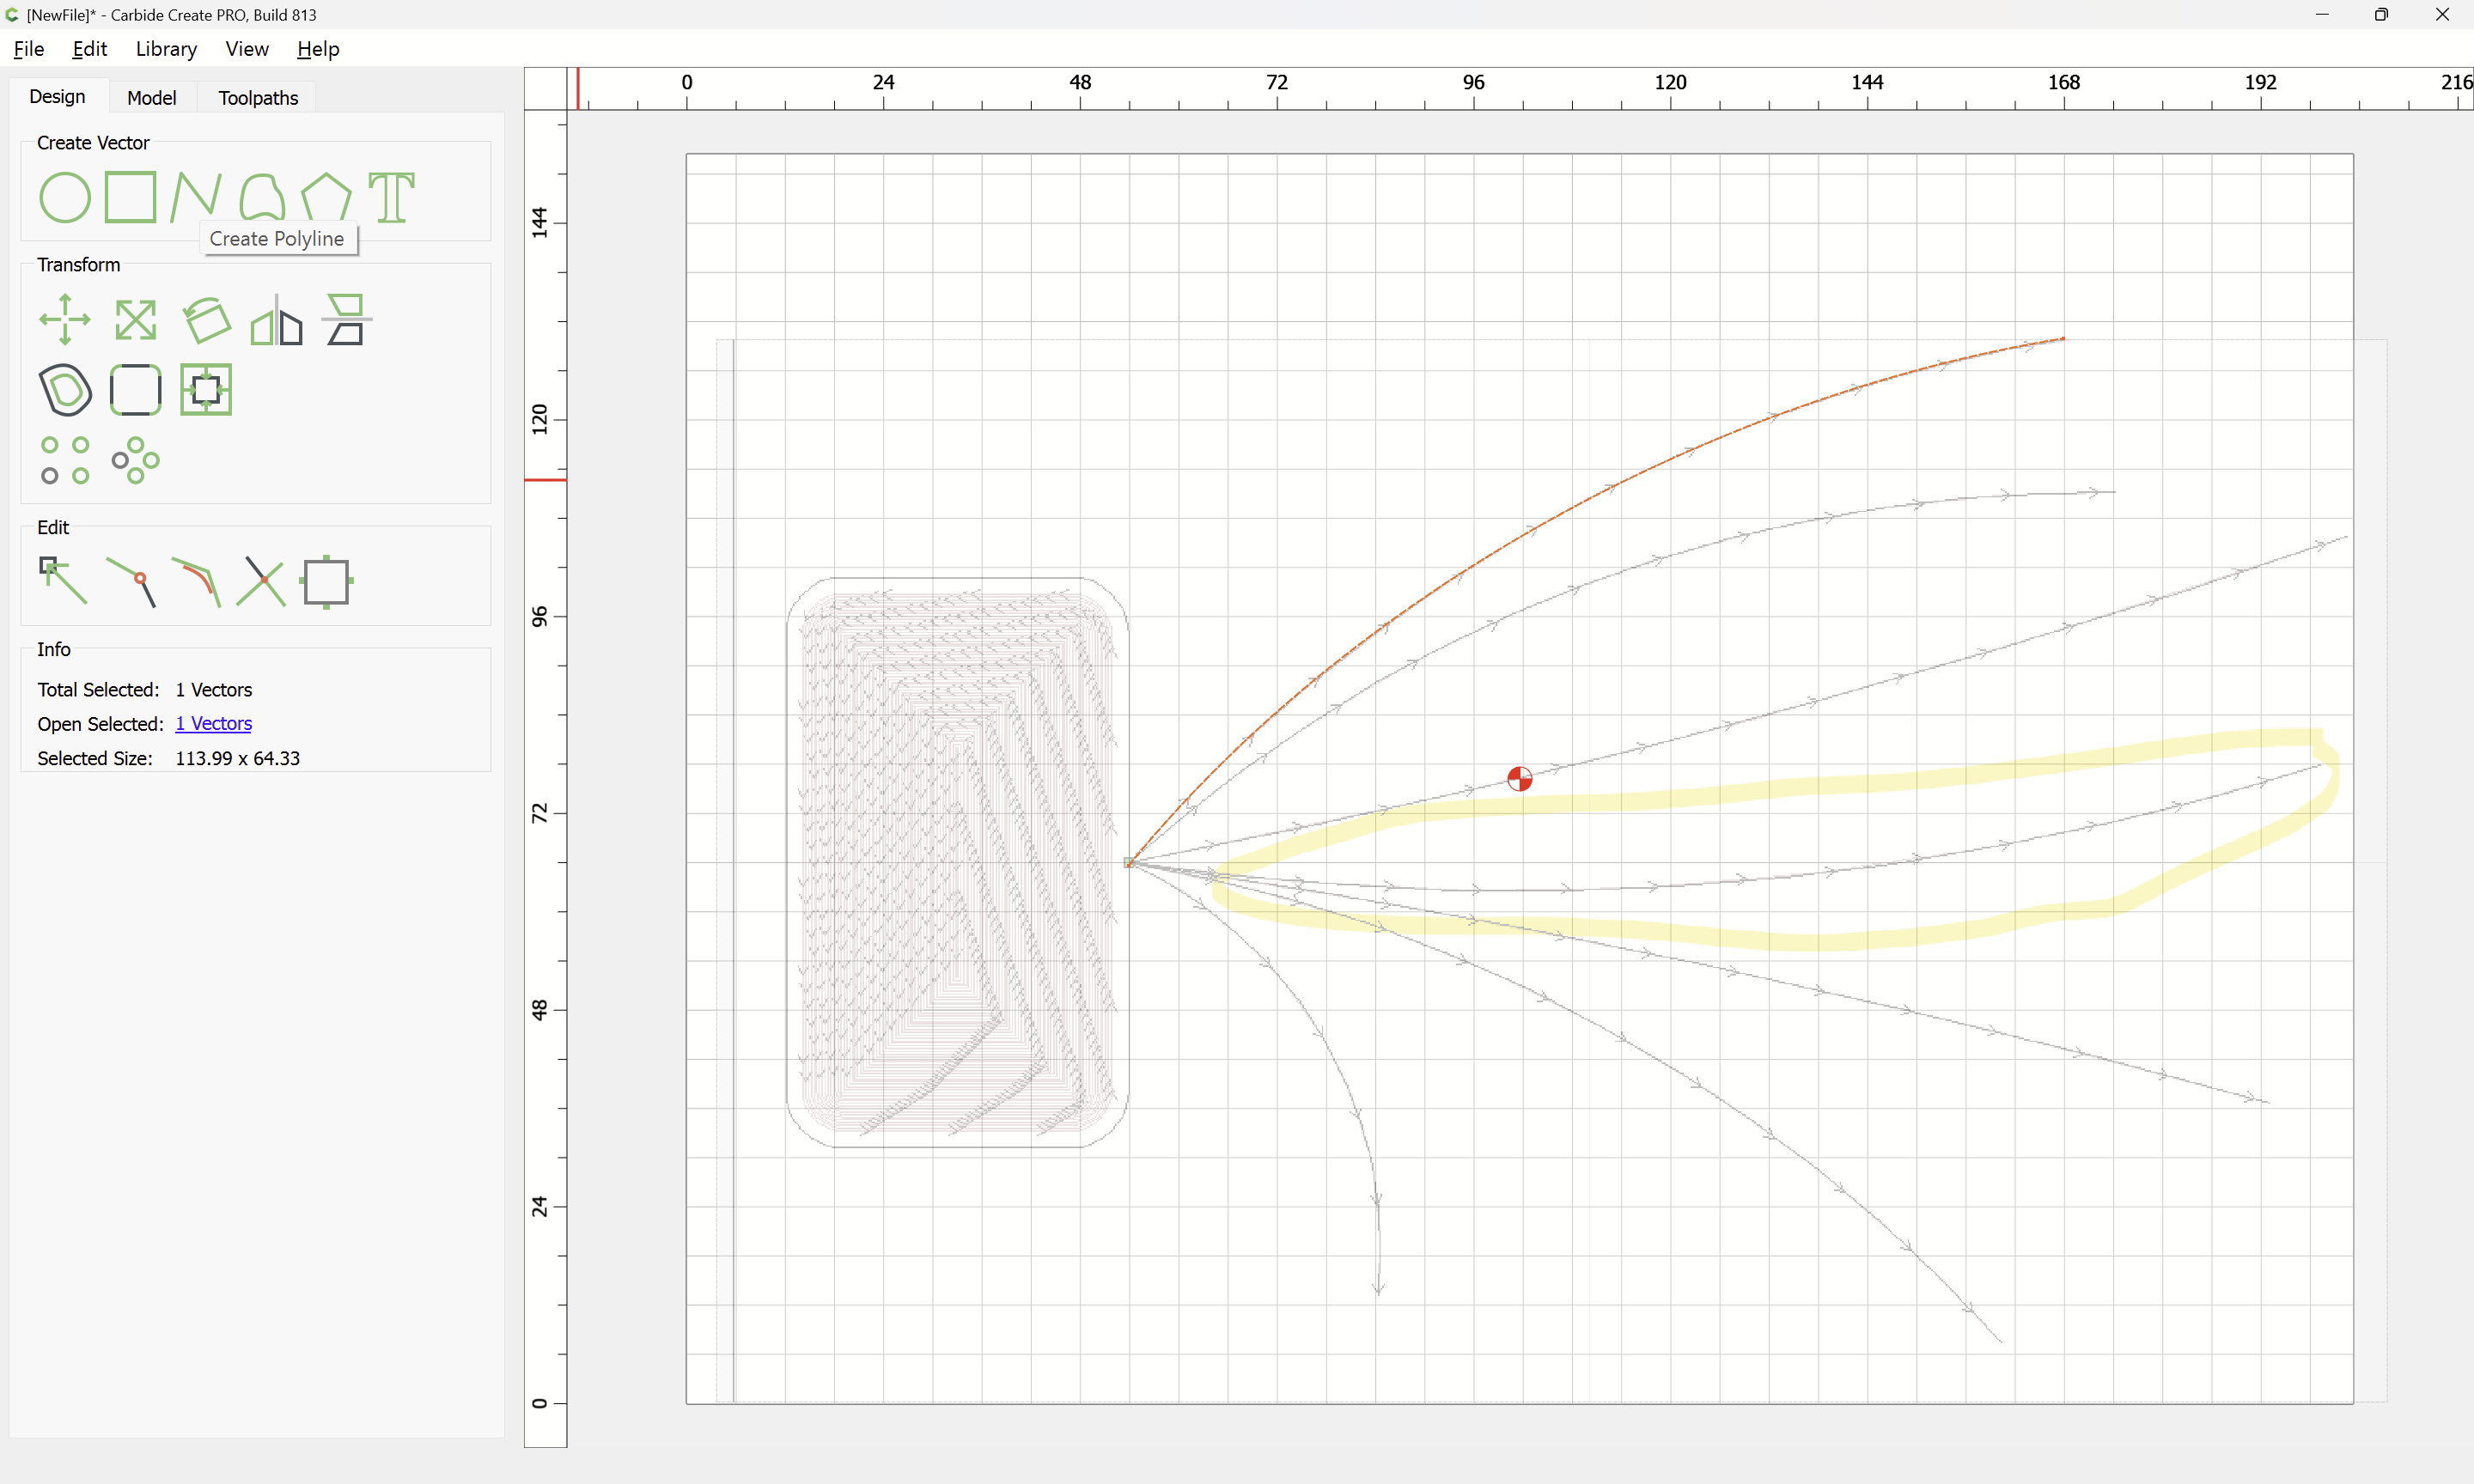
If initially drawing with the Polyline tool it is much the same:
click to place the begin point:
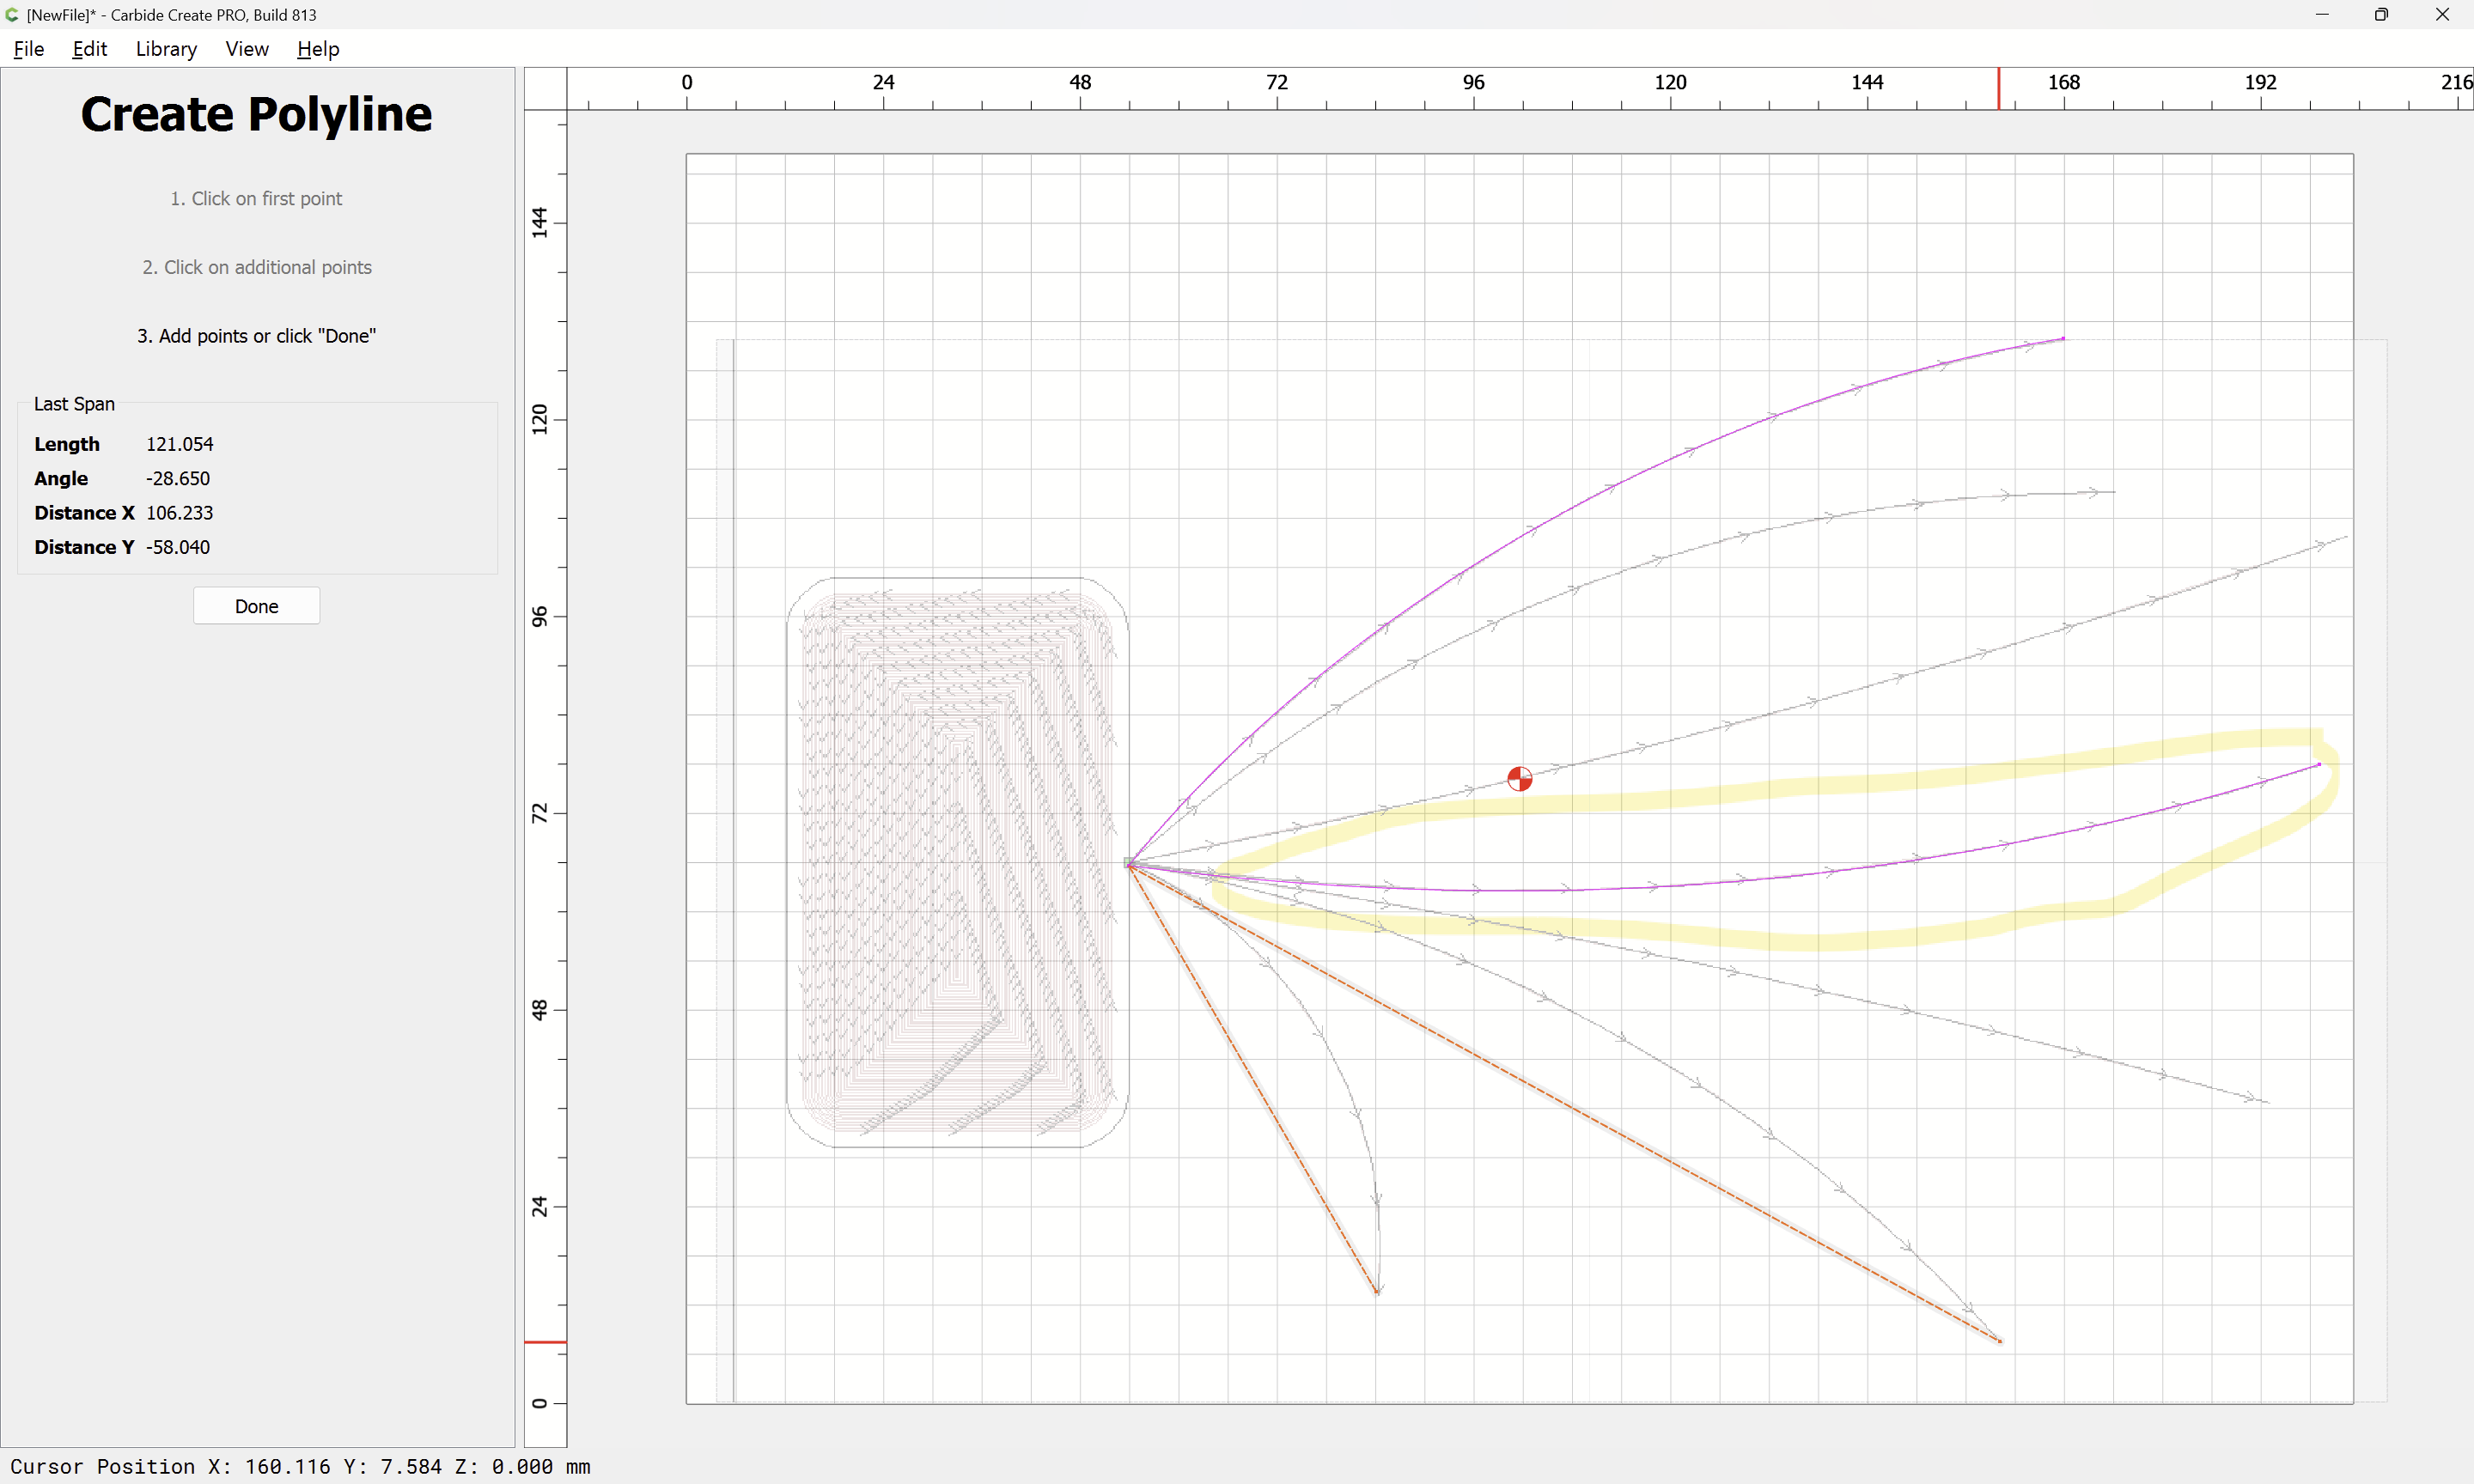
move to the end position:

click to place the end point:

Done
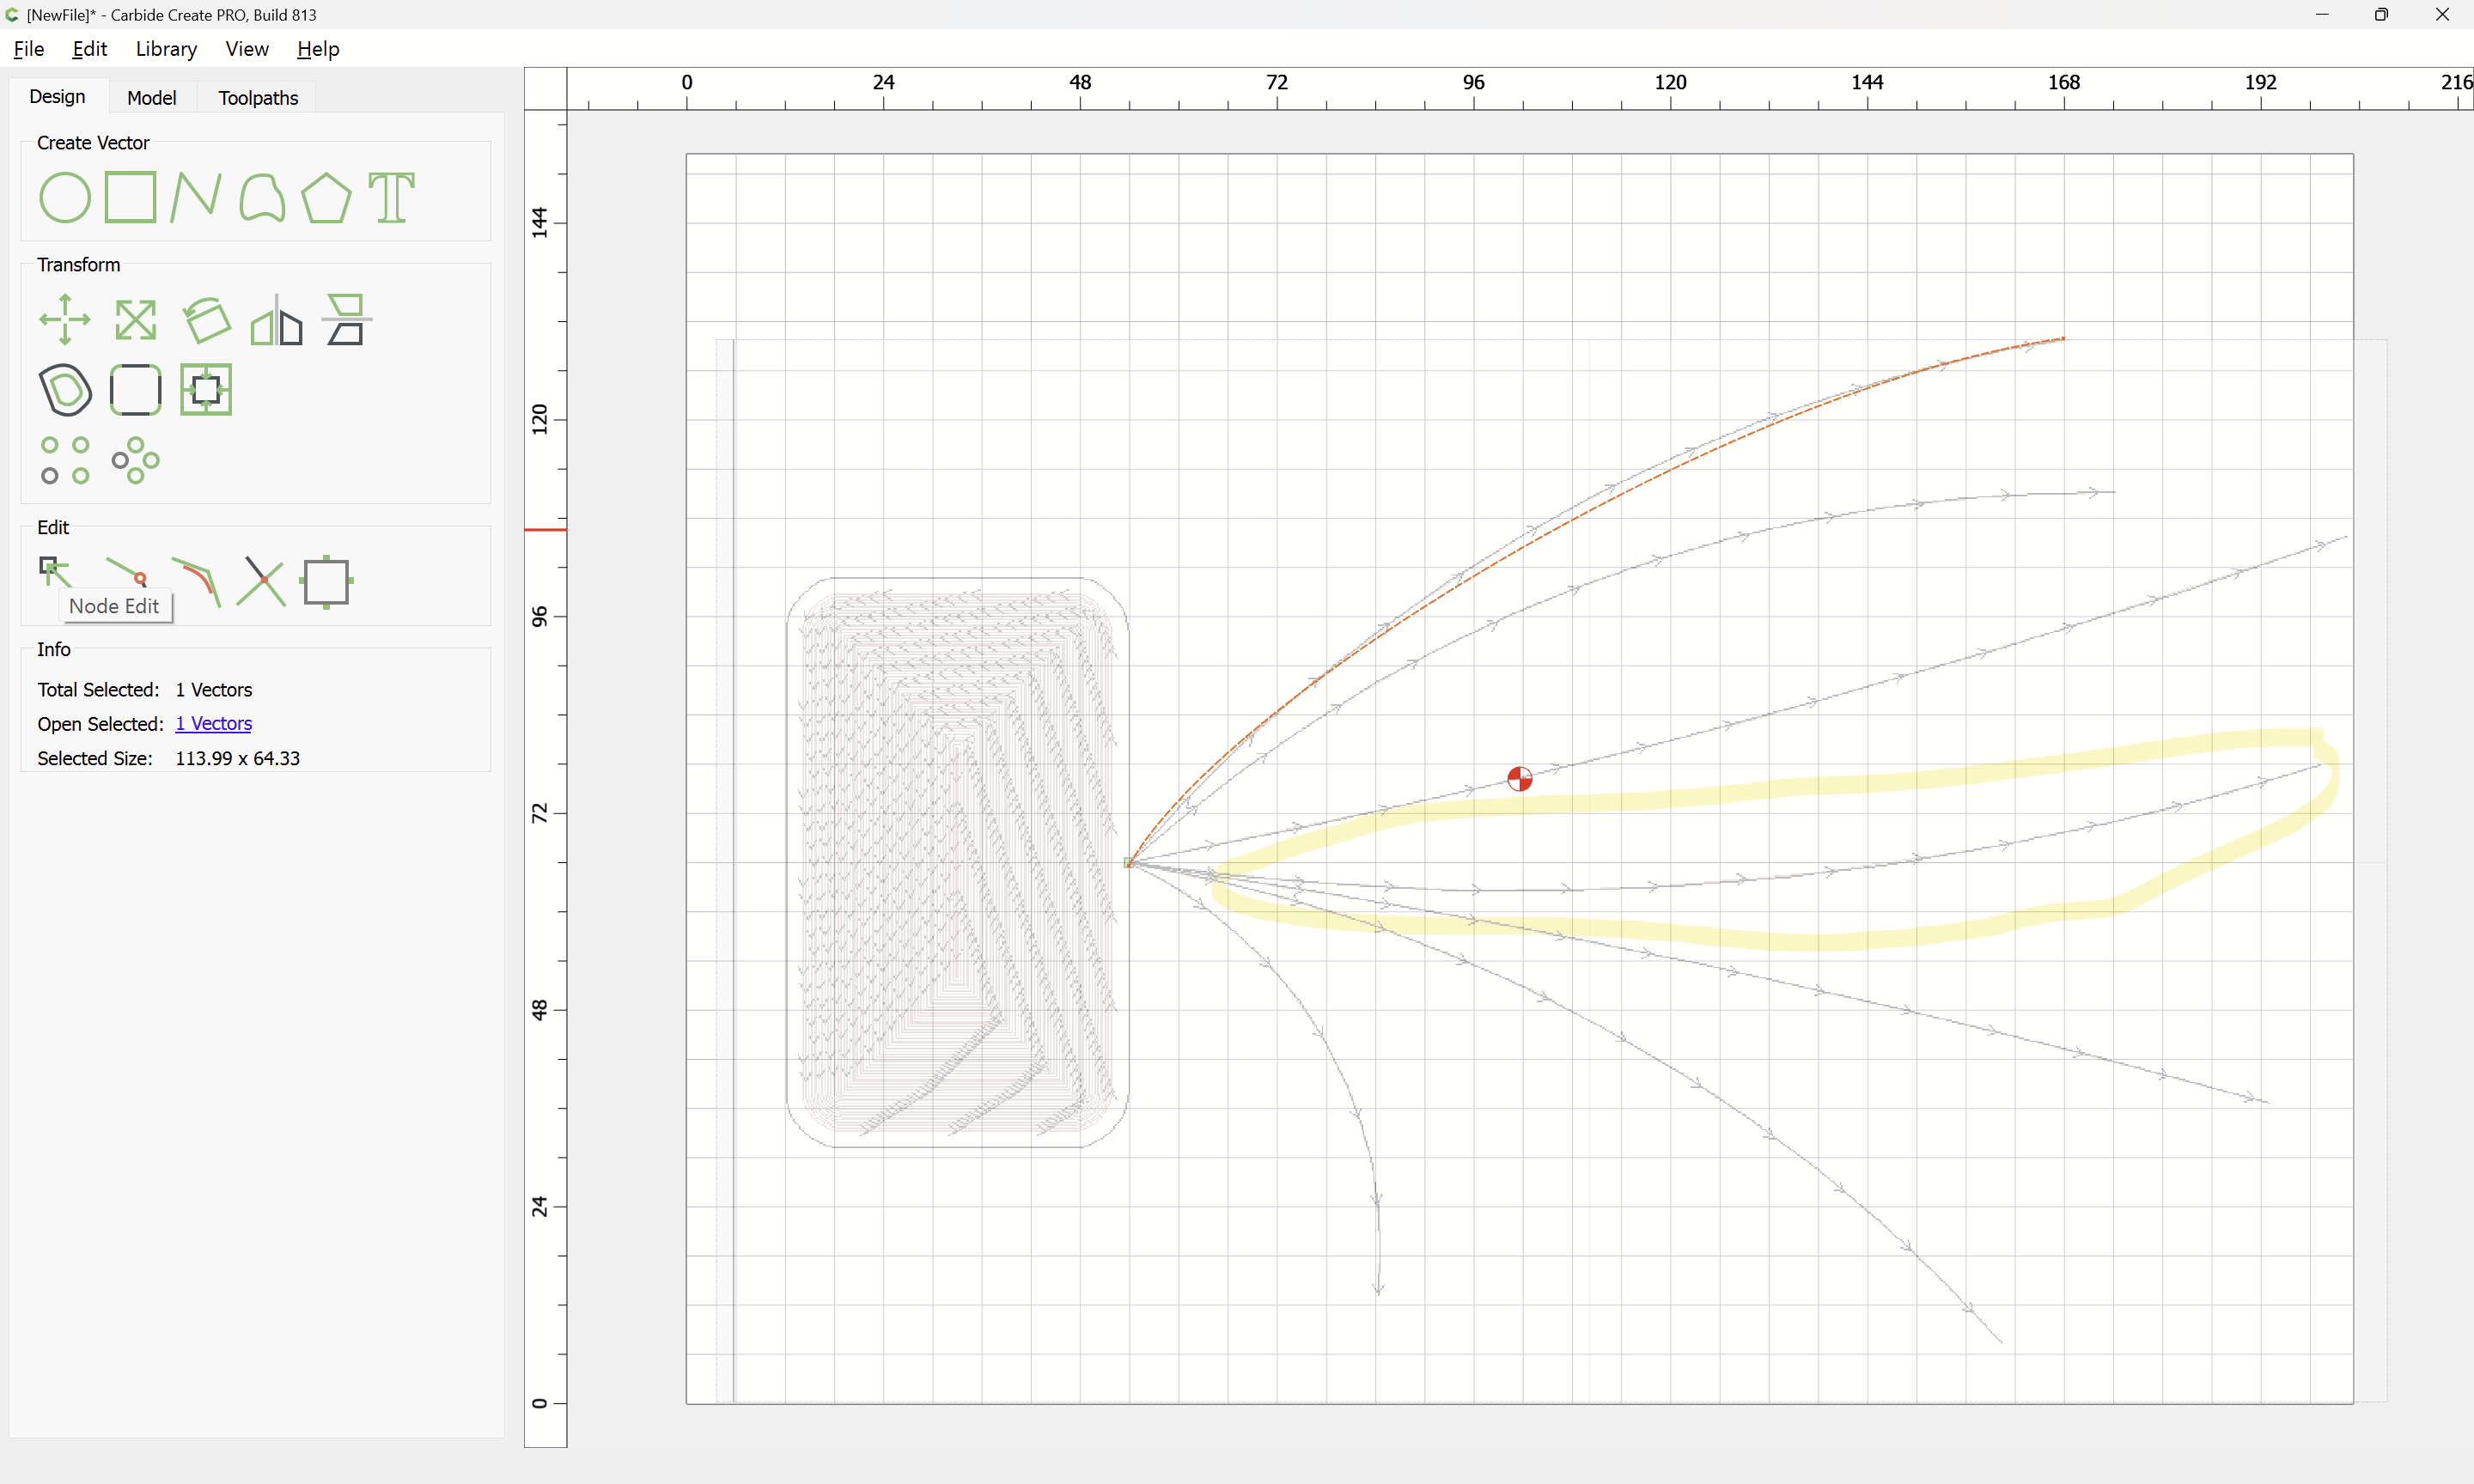
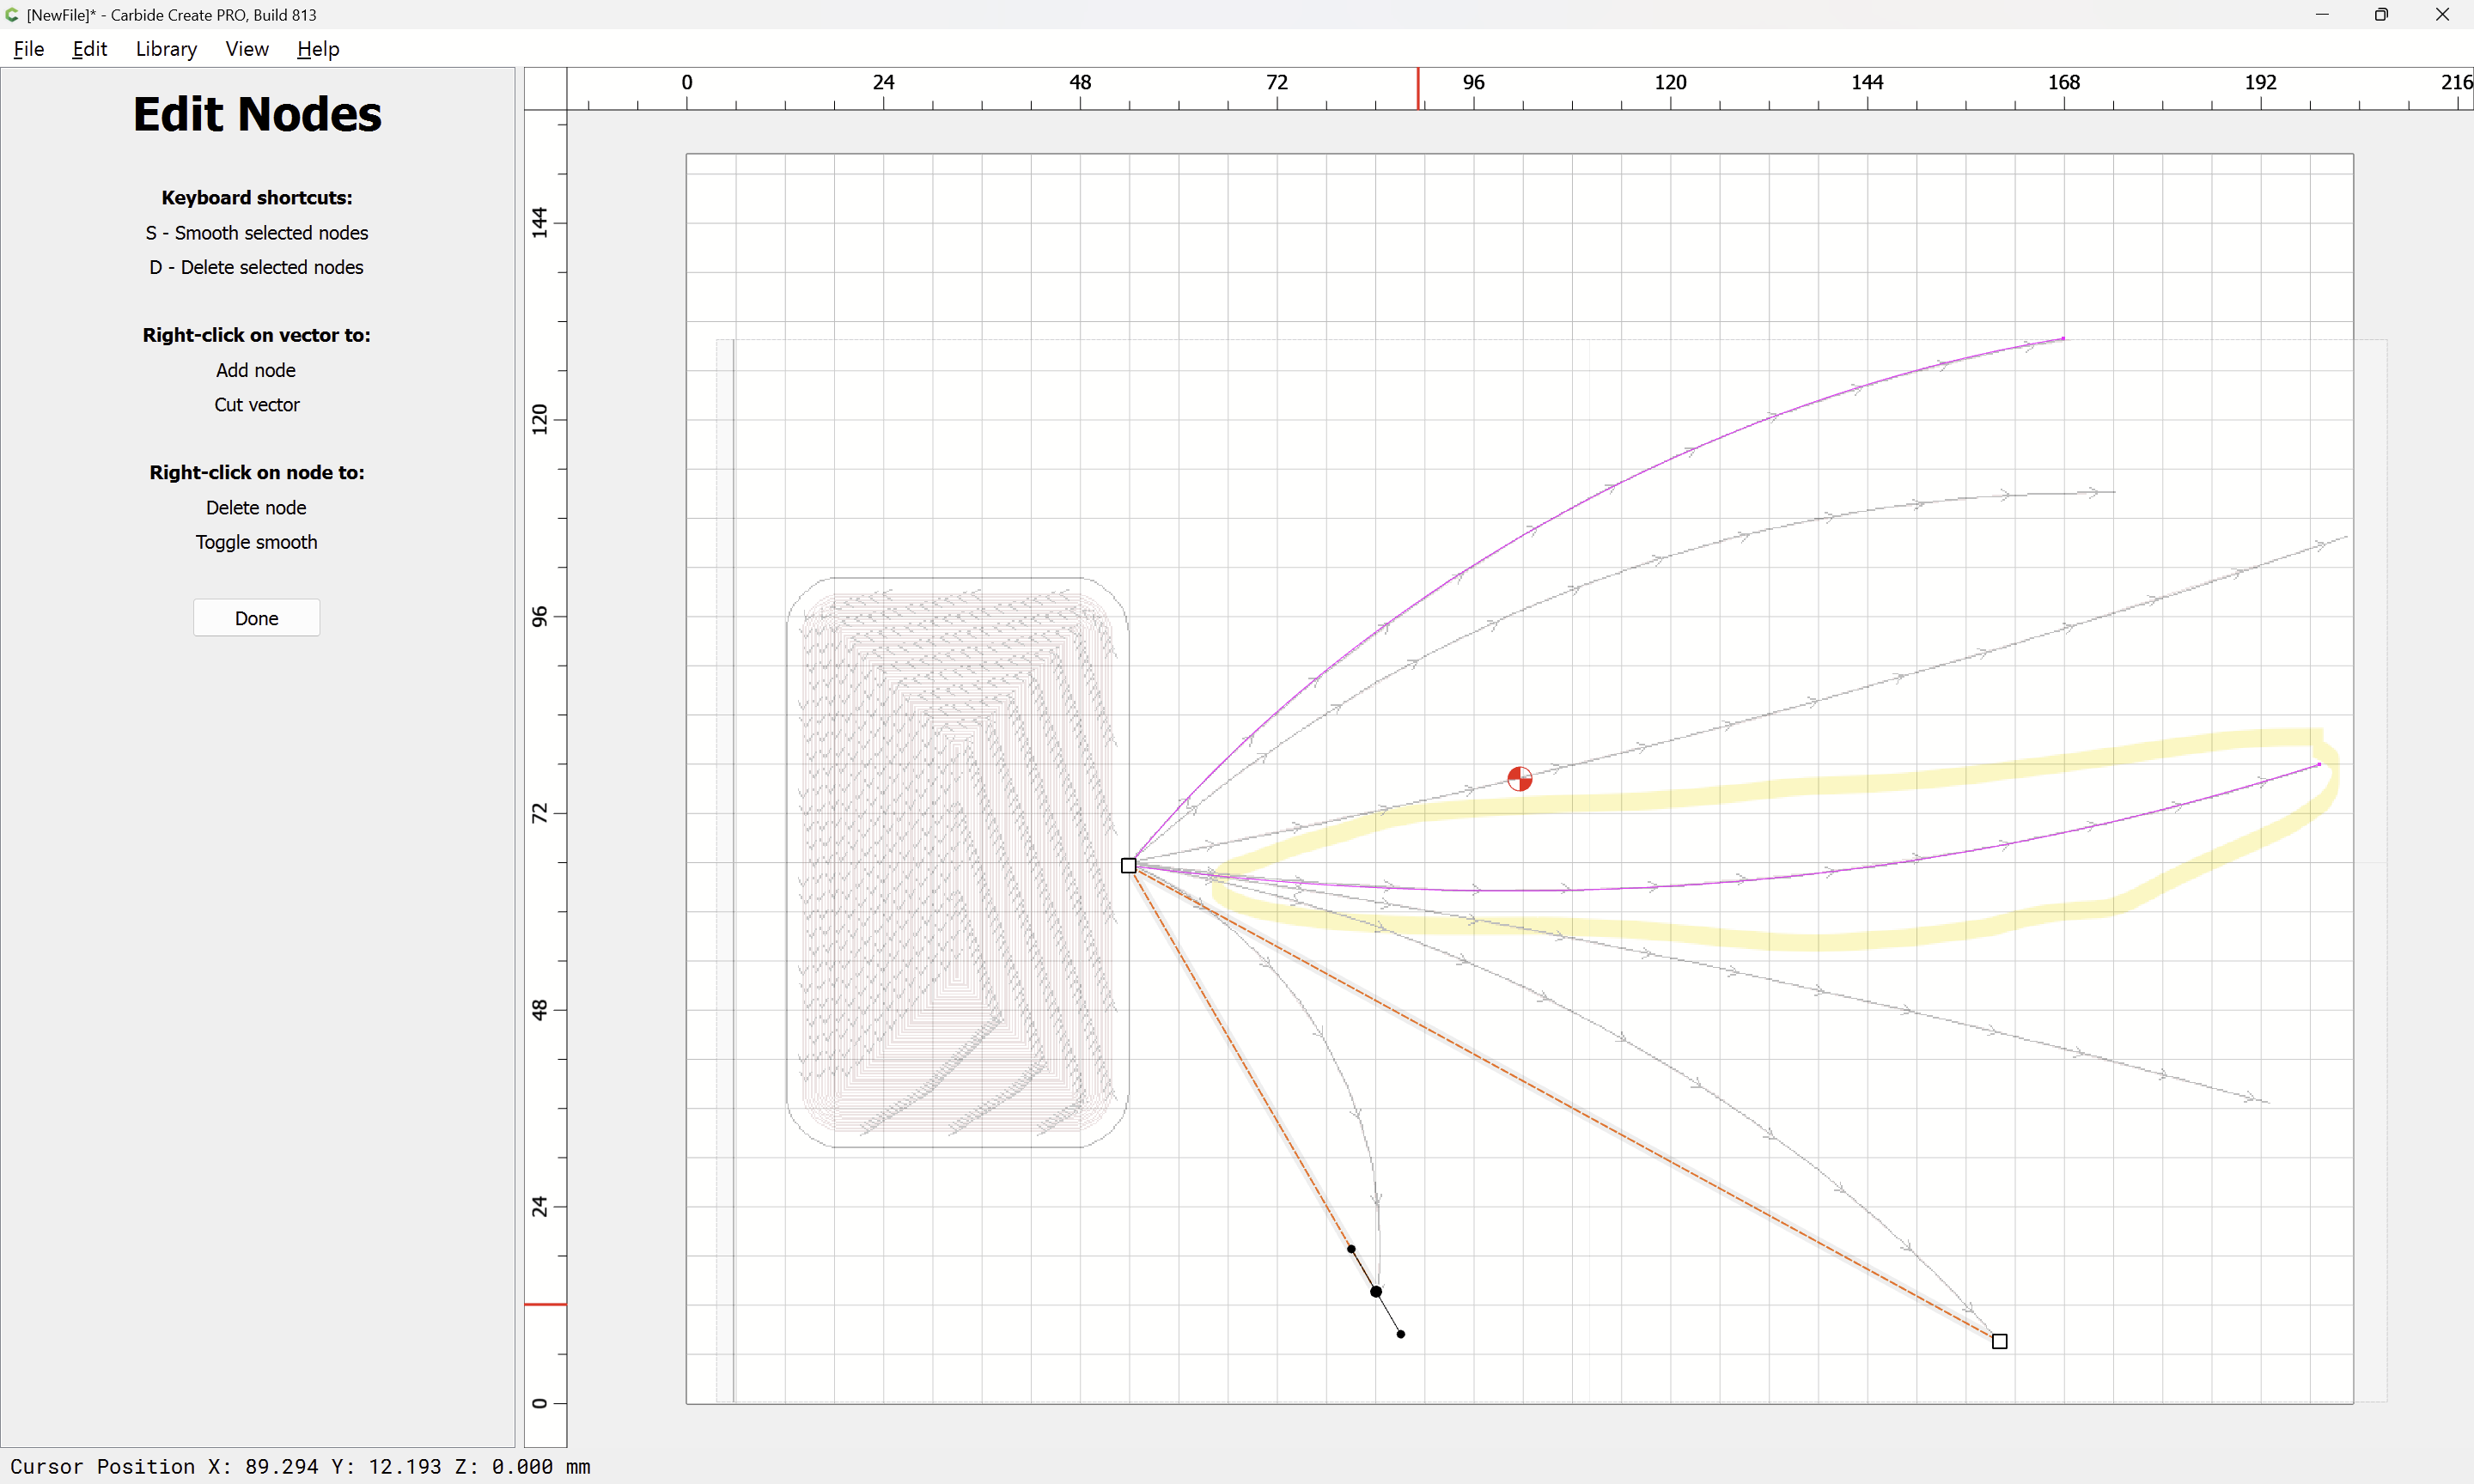
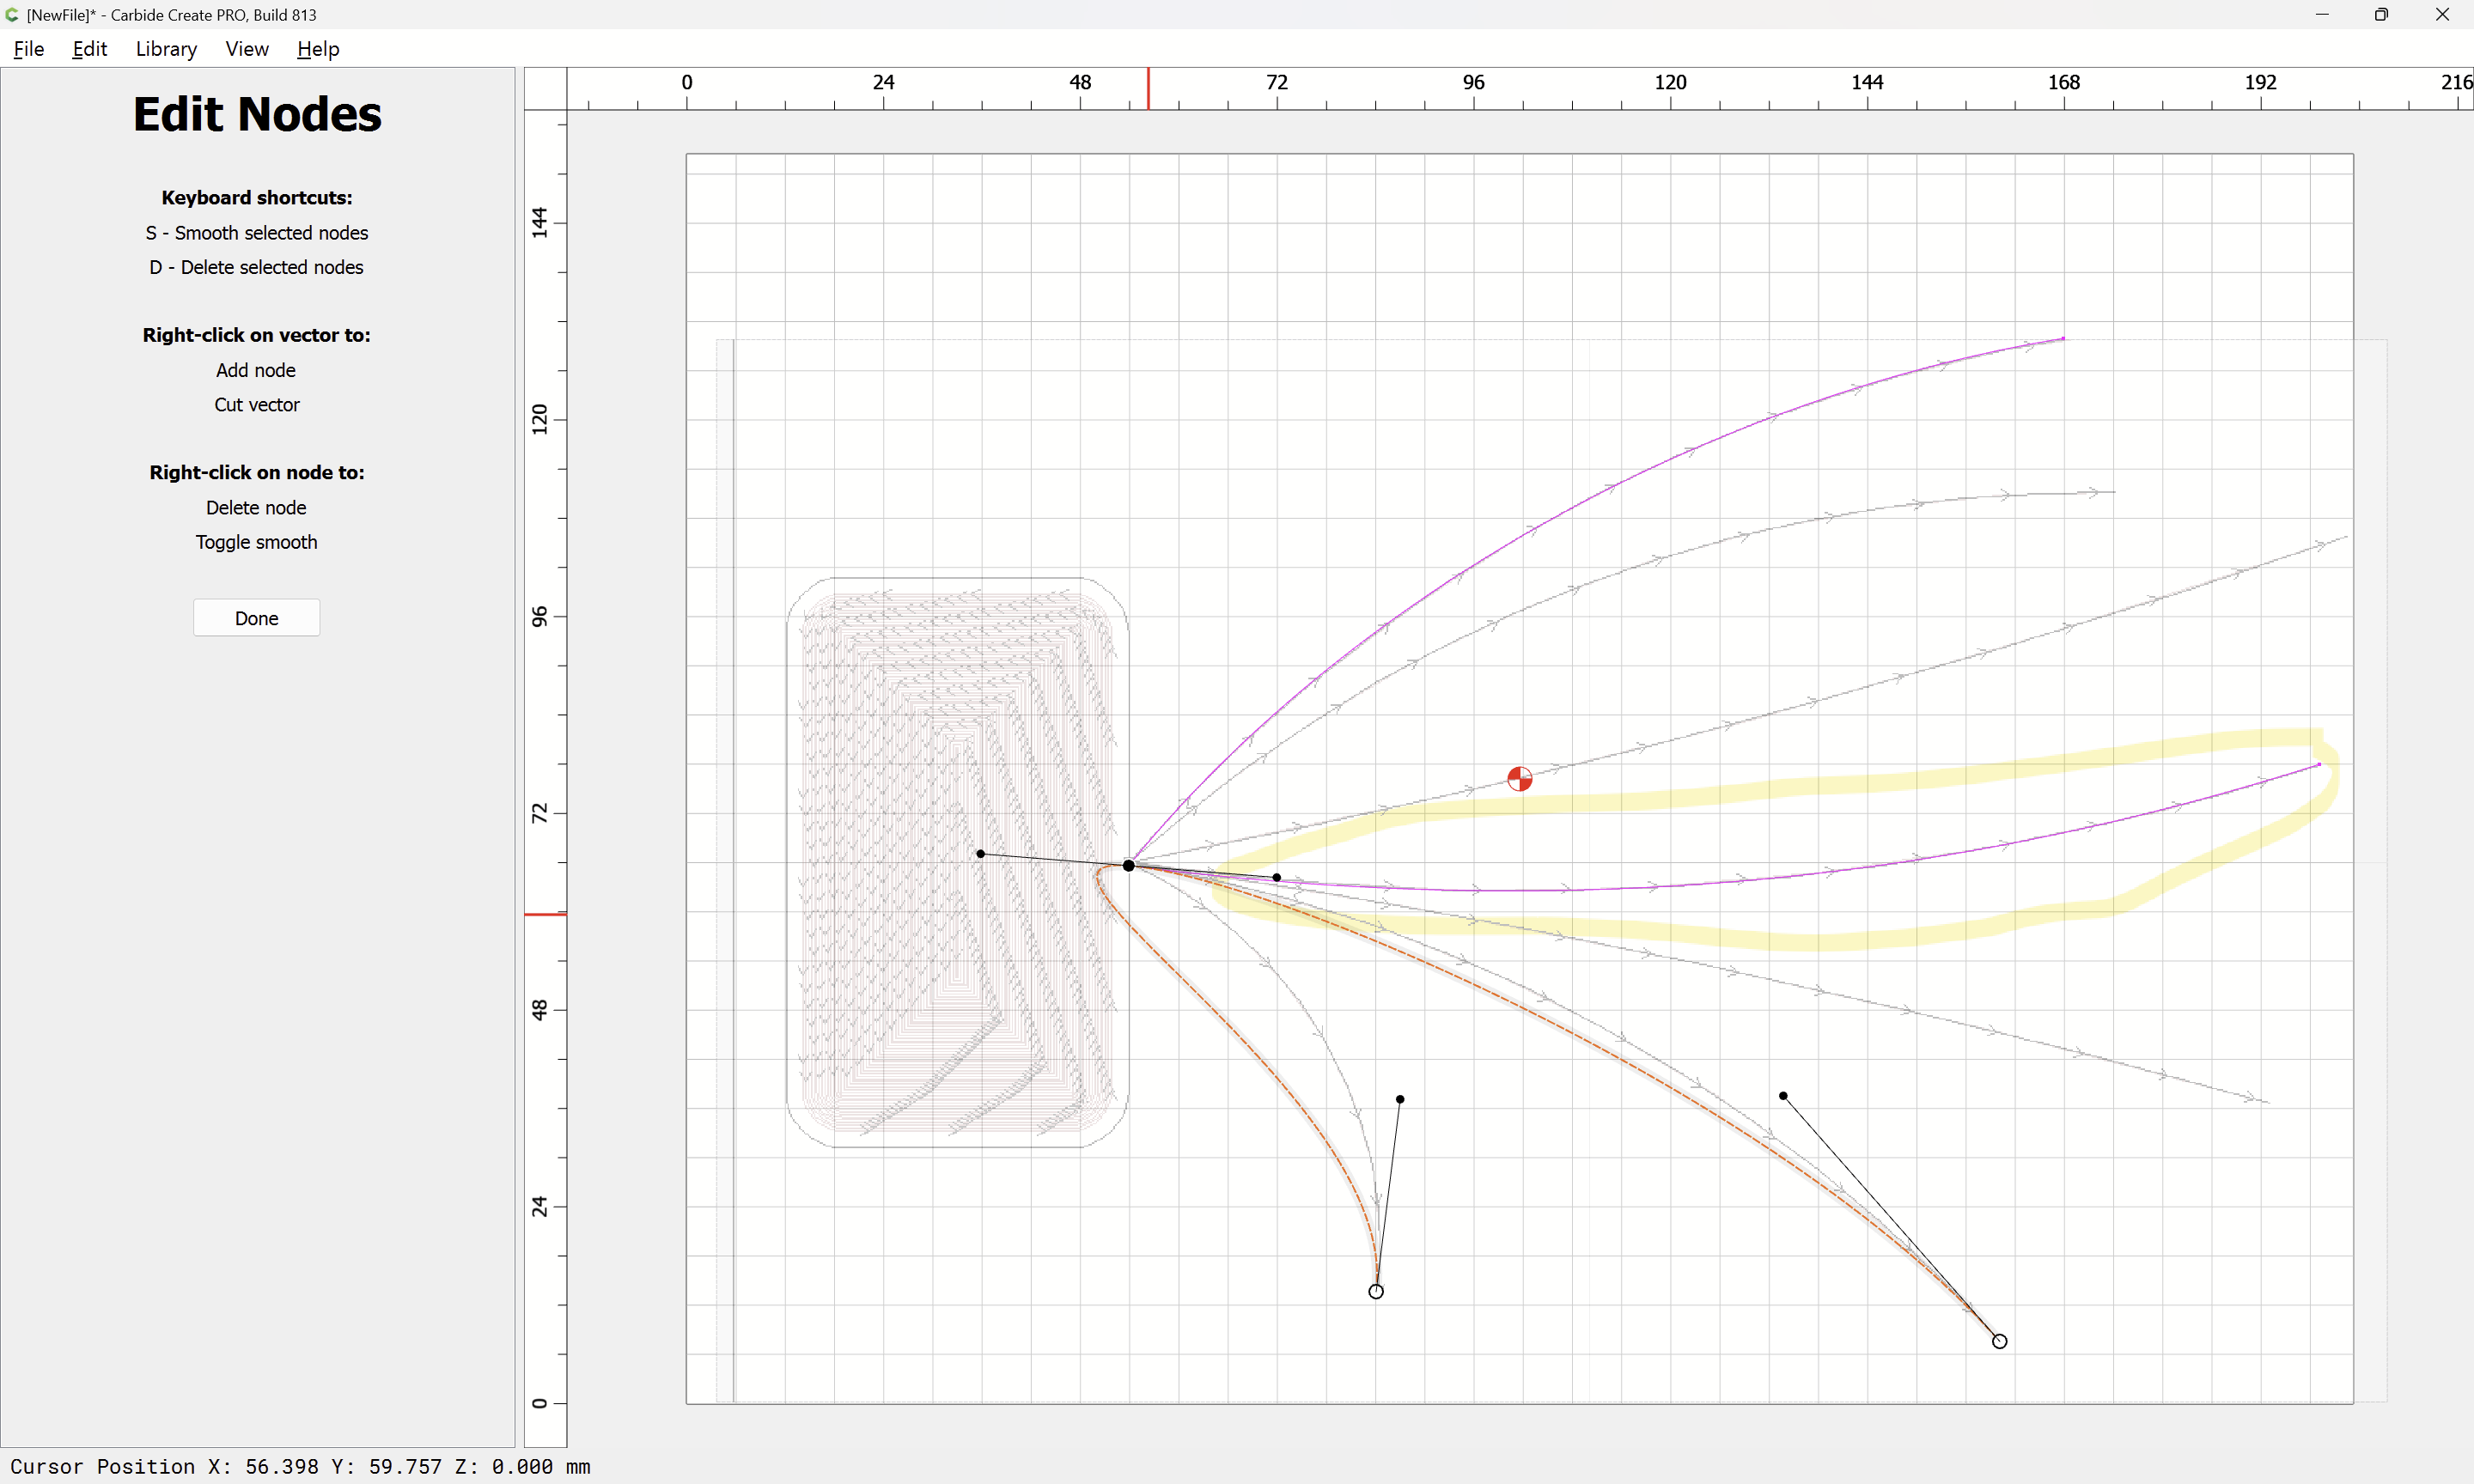
Go into Node Edit mode:
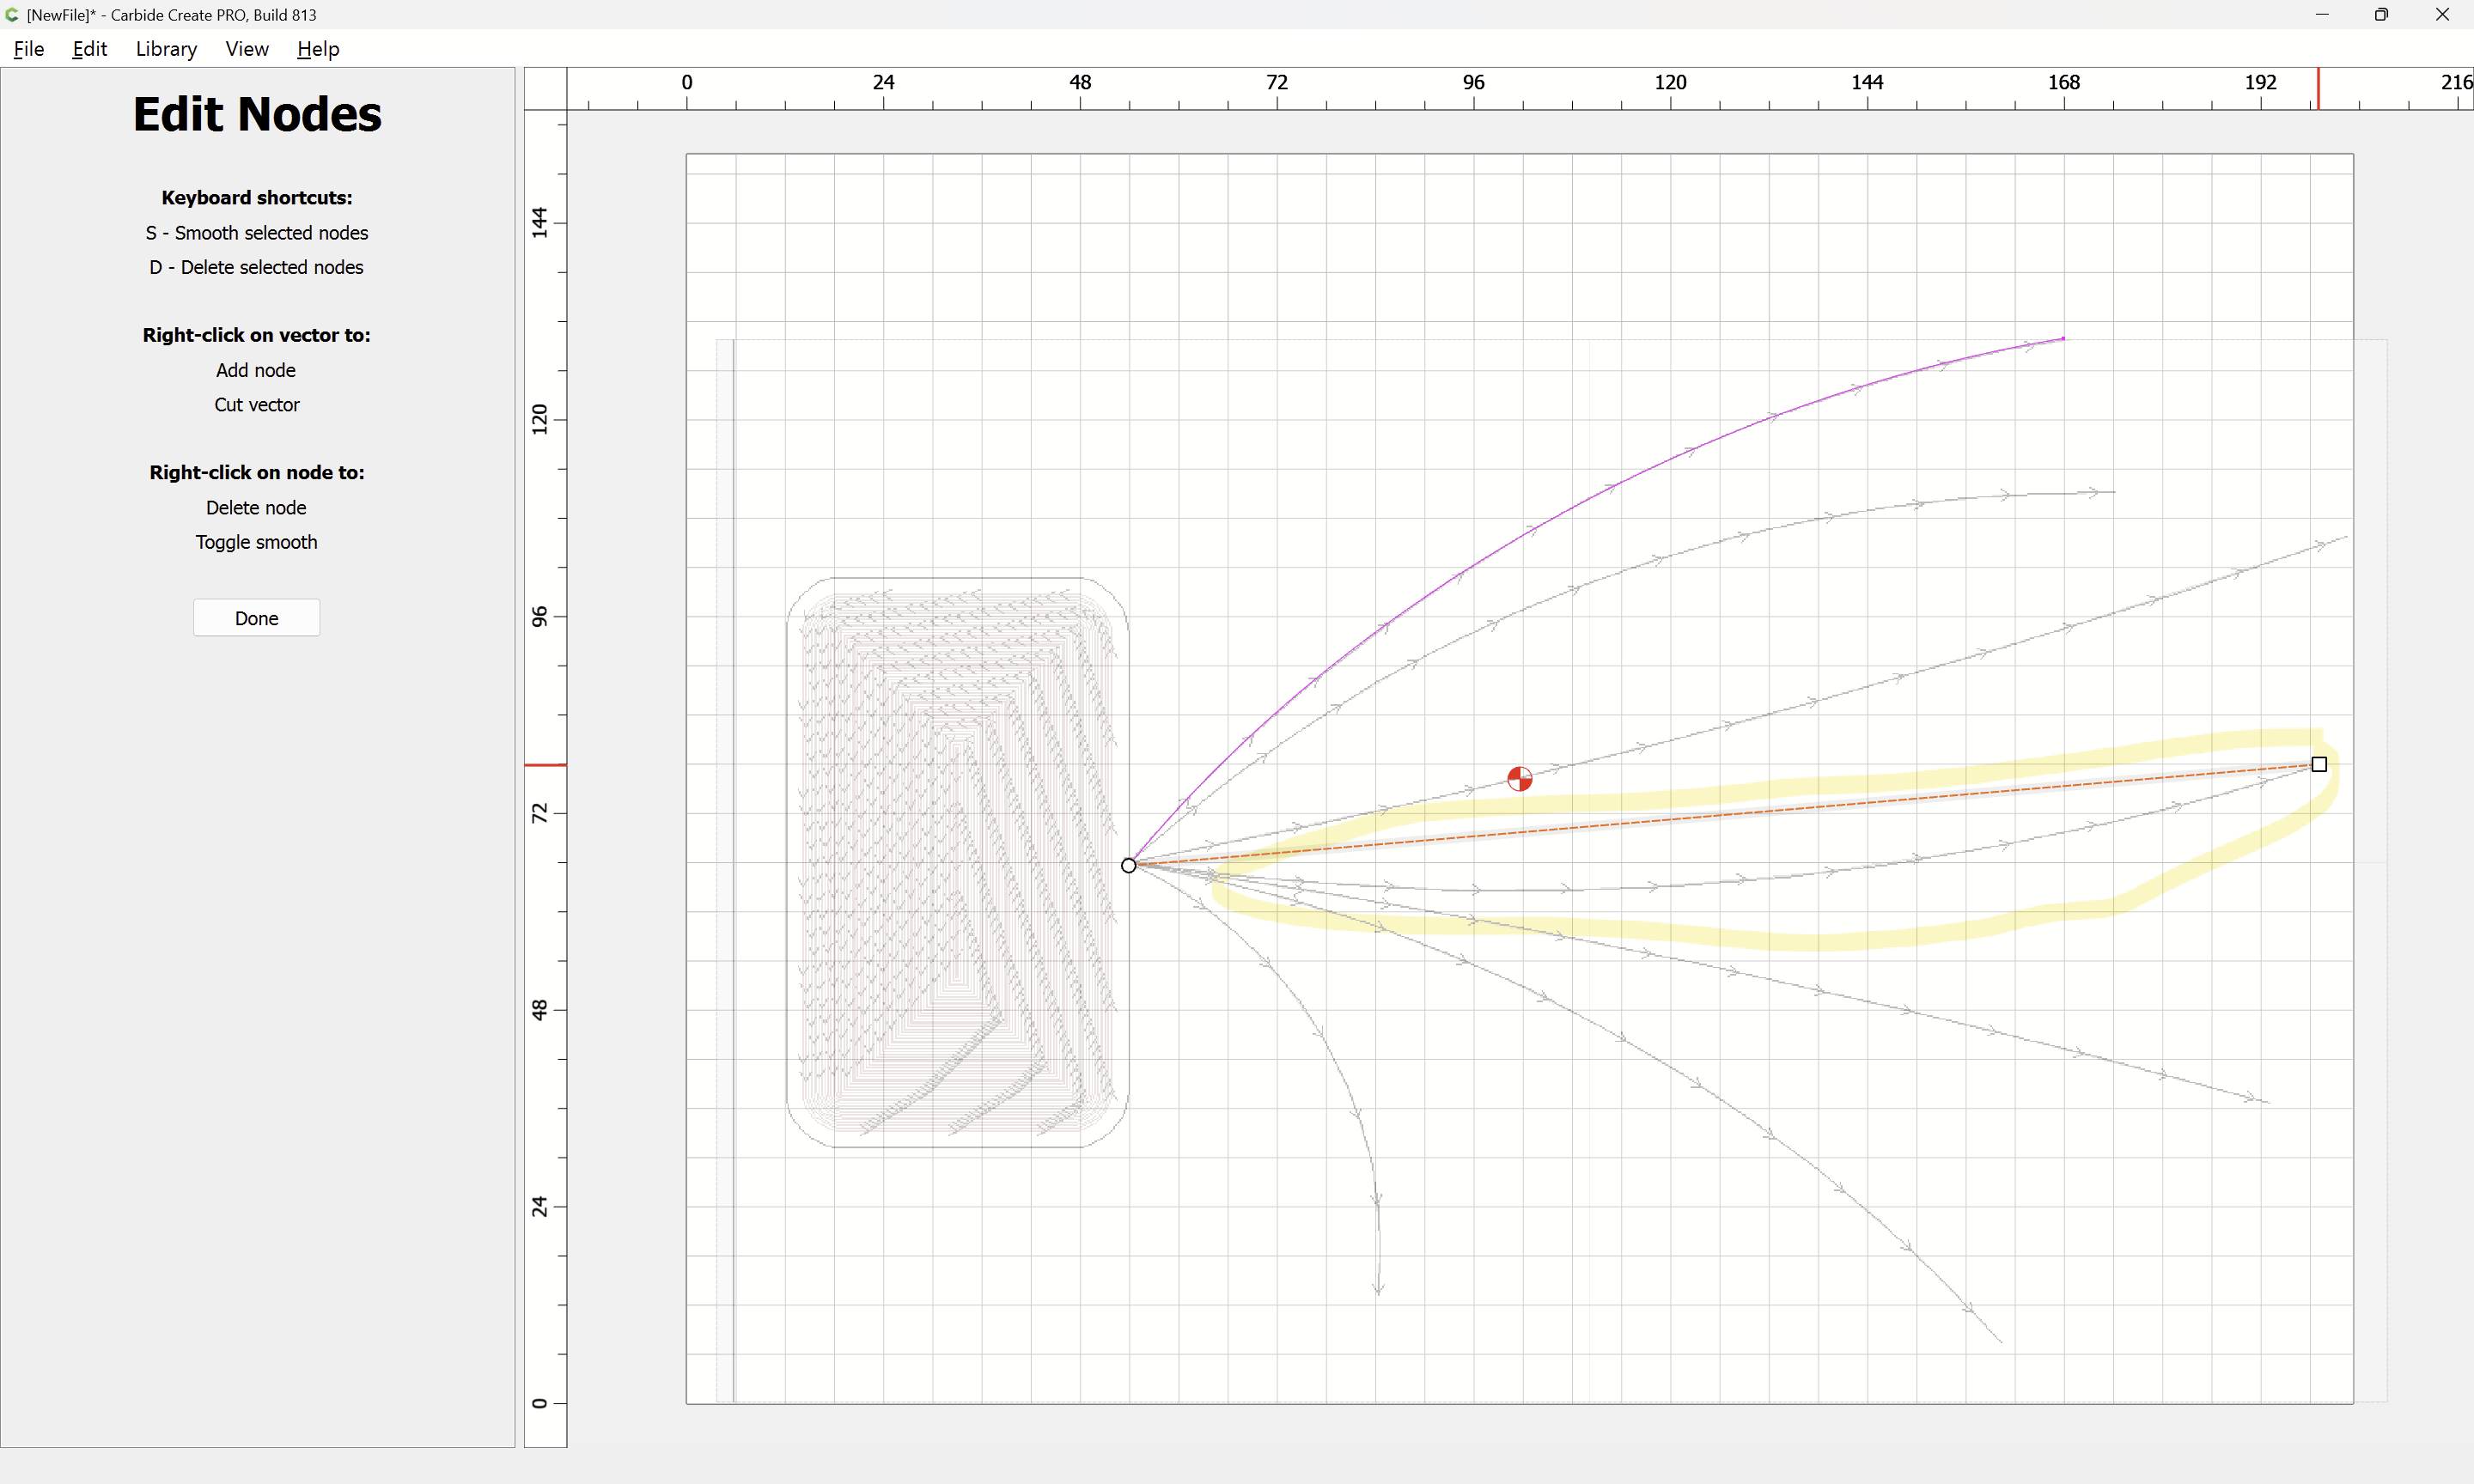
Select a node:

right-clicking on it will show the possible options:
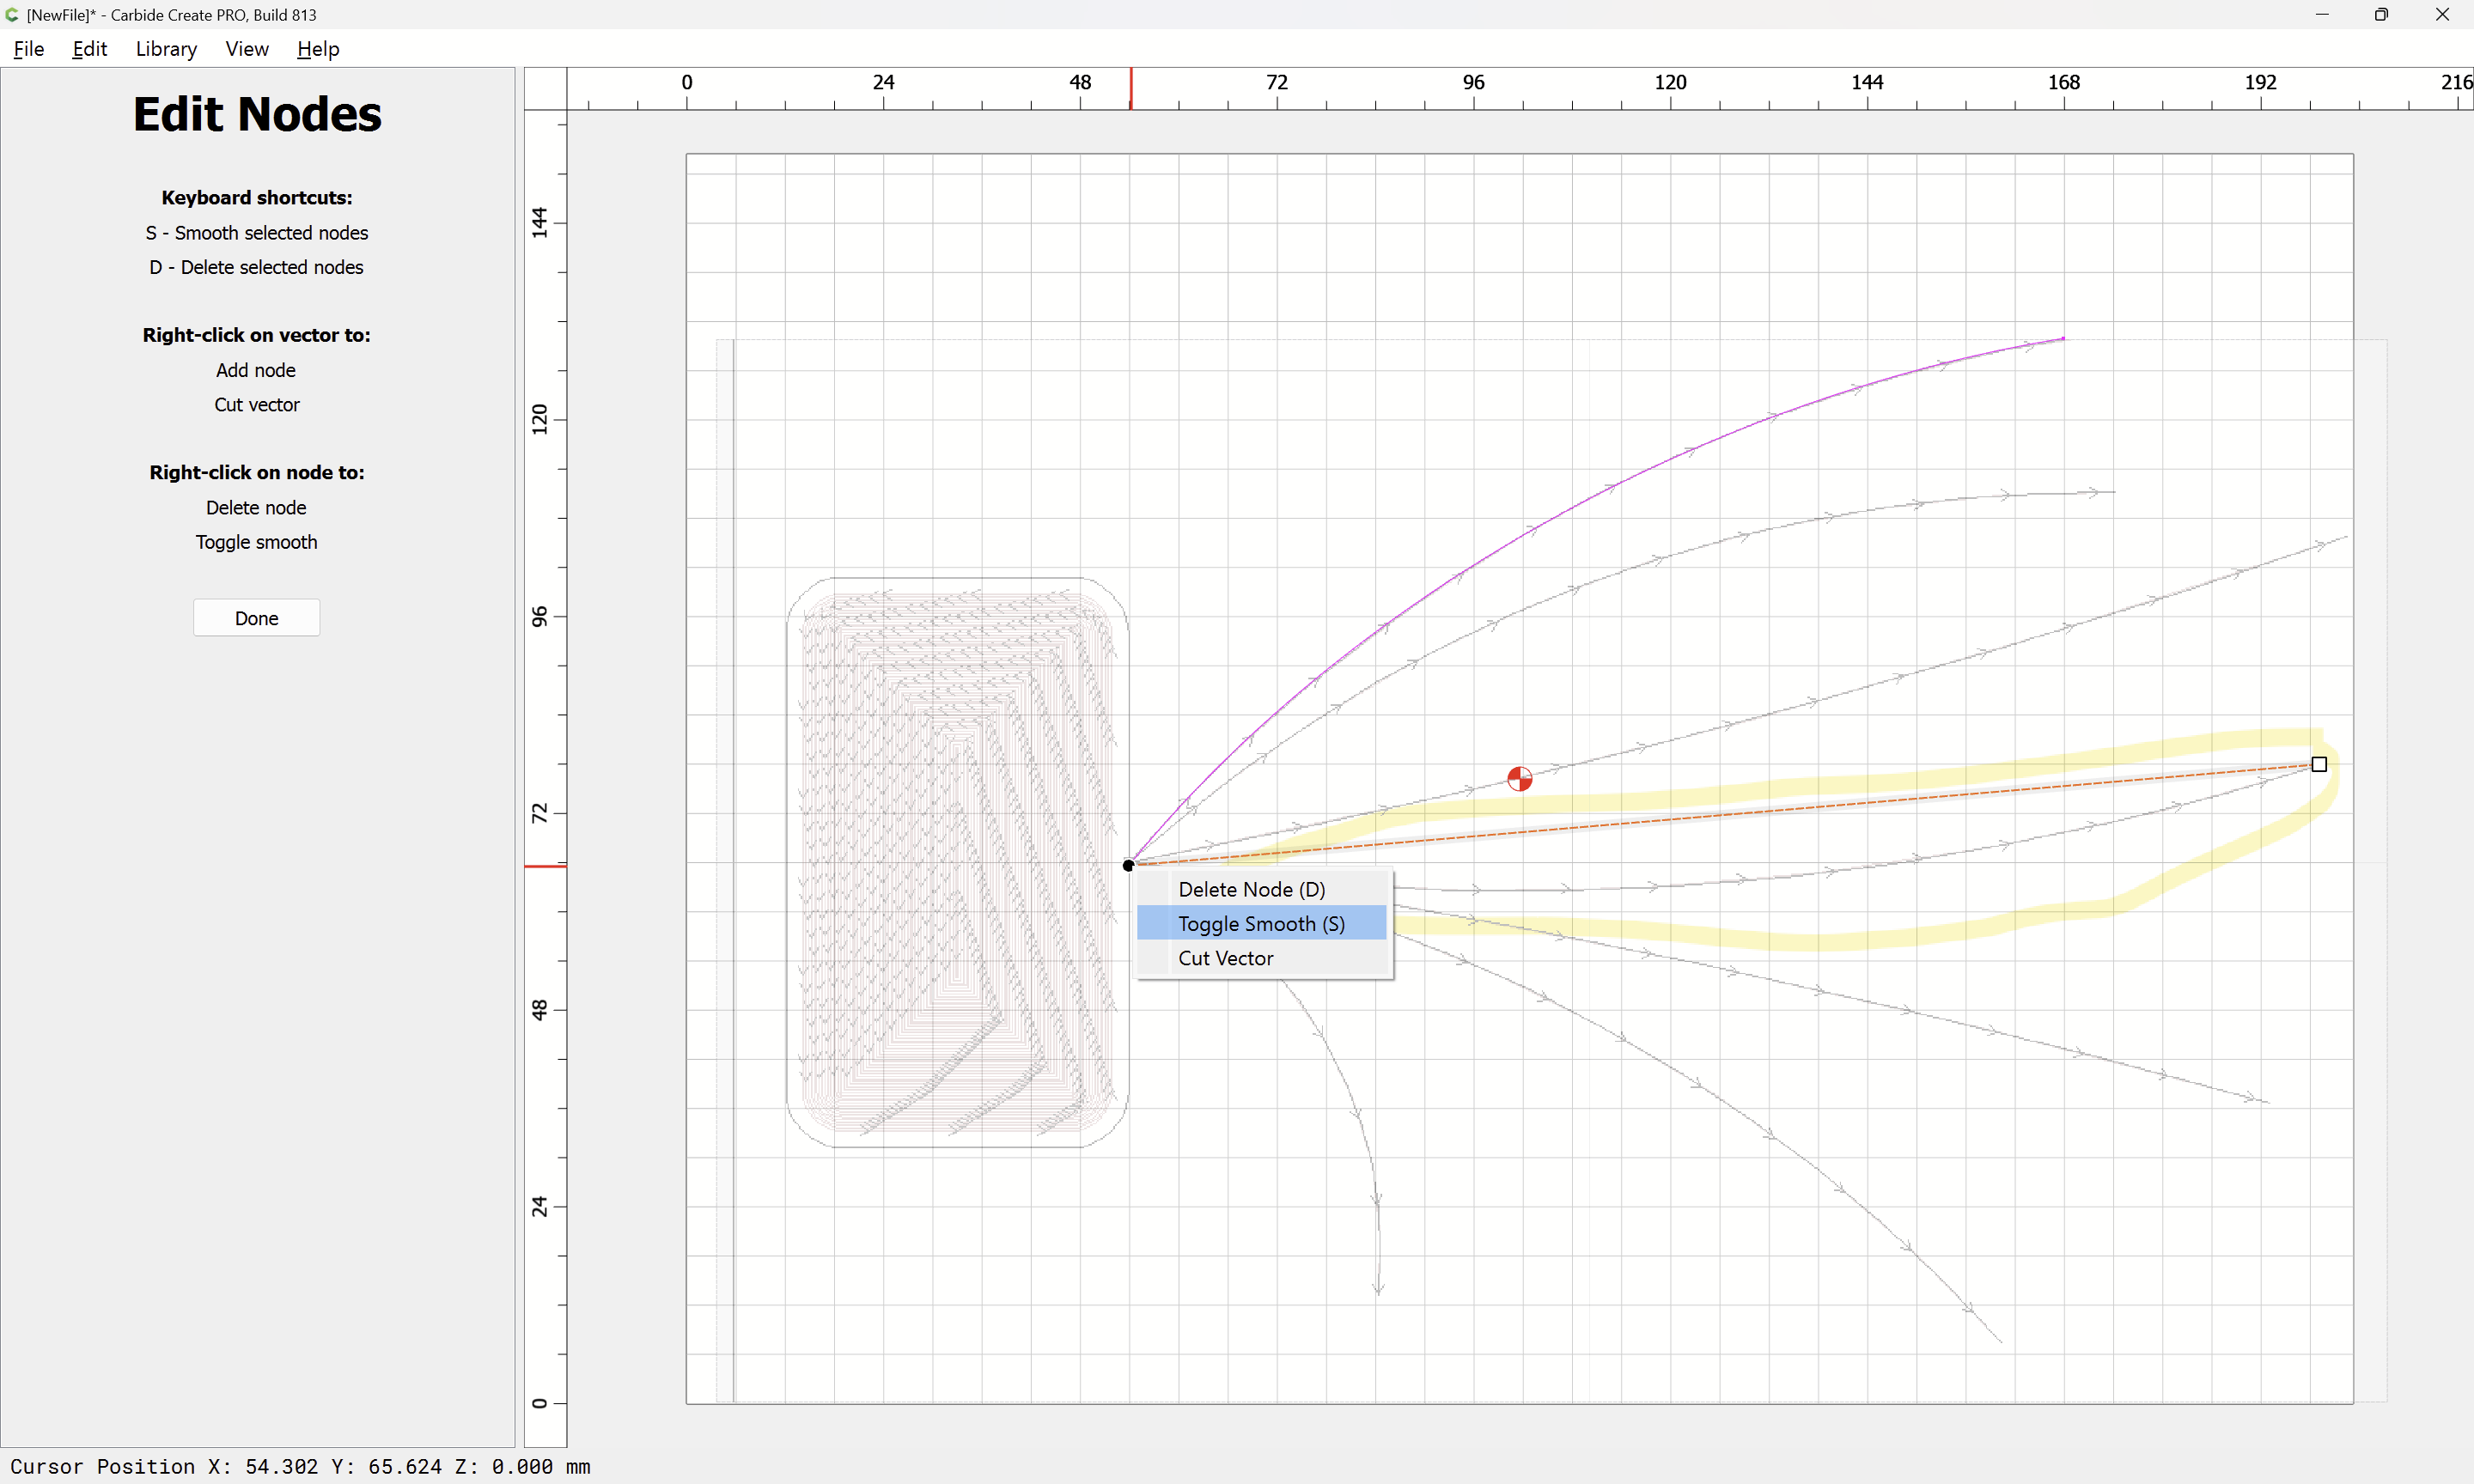
and their keyboard Shortcuts:
- Delete Node (D)
- Toggle Smooth (S)
- Cut Vector
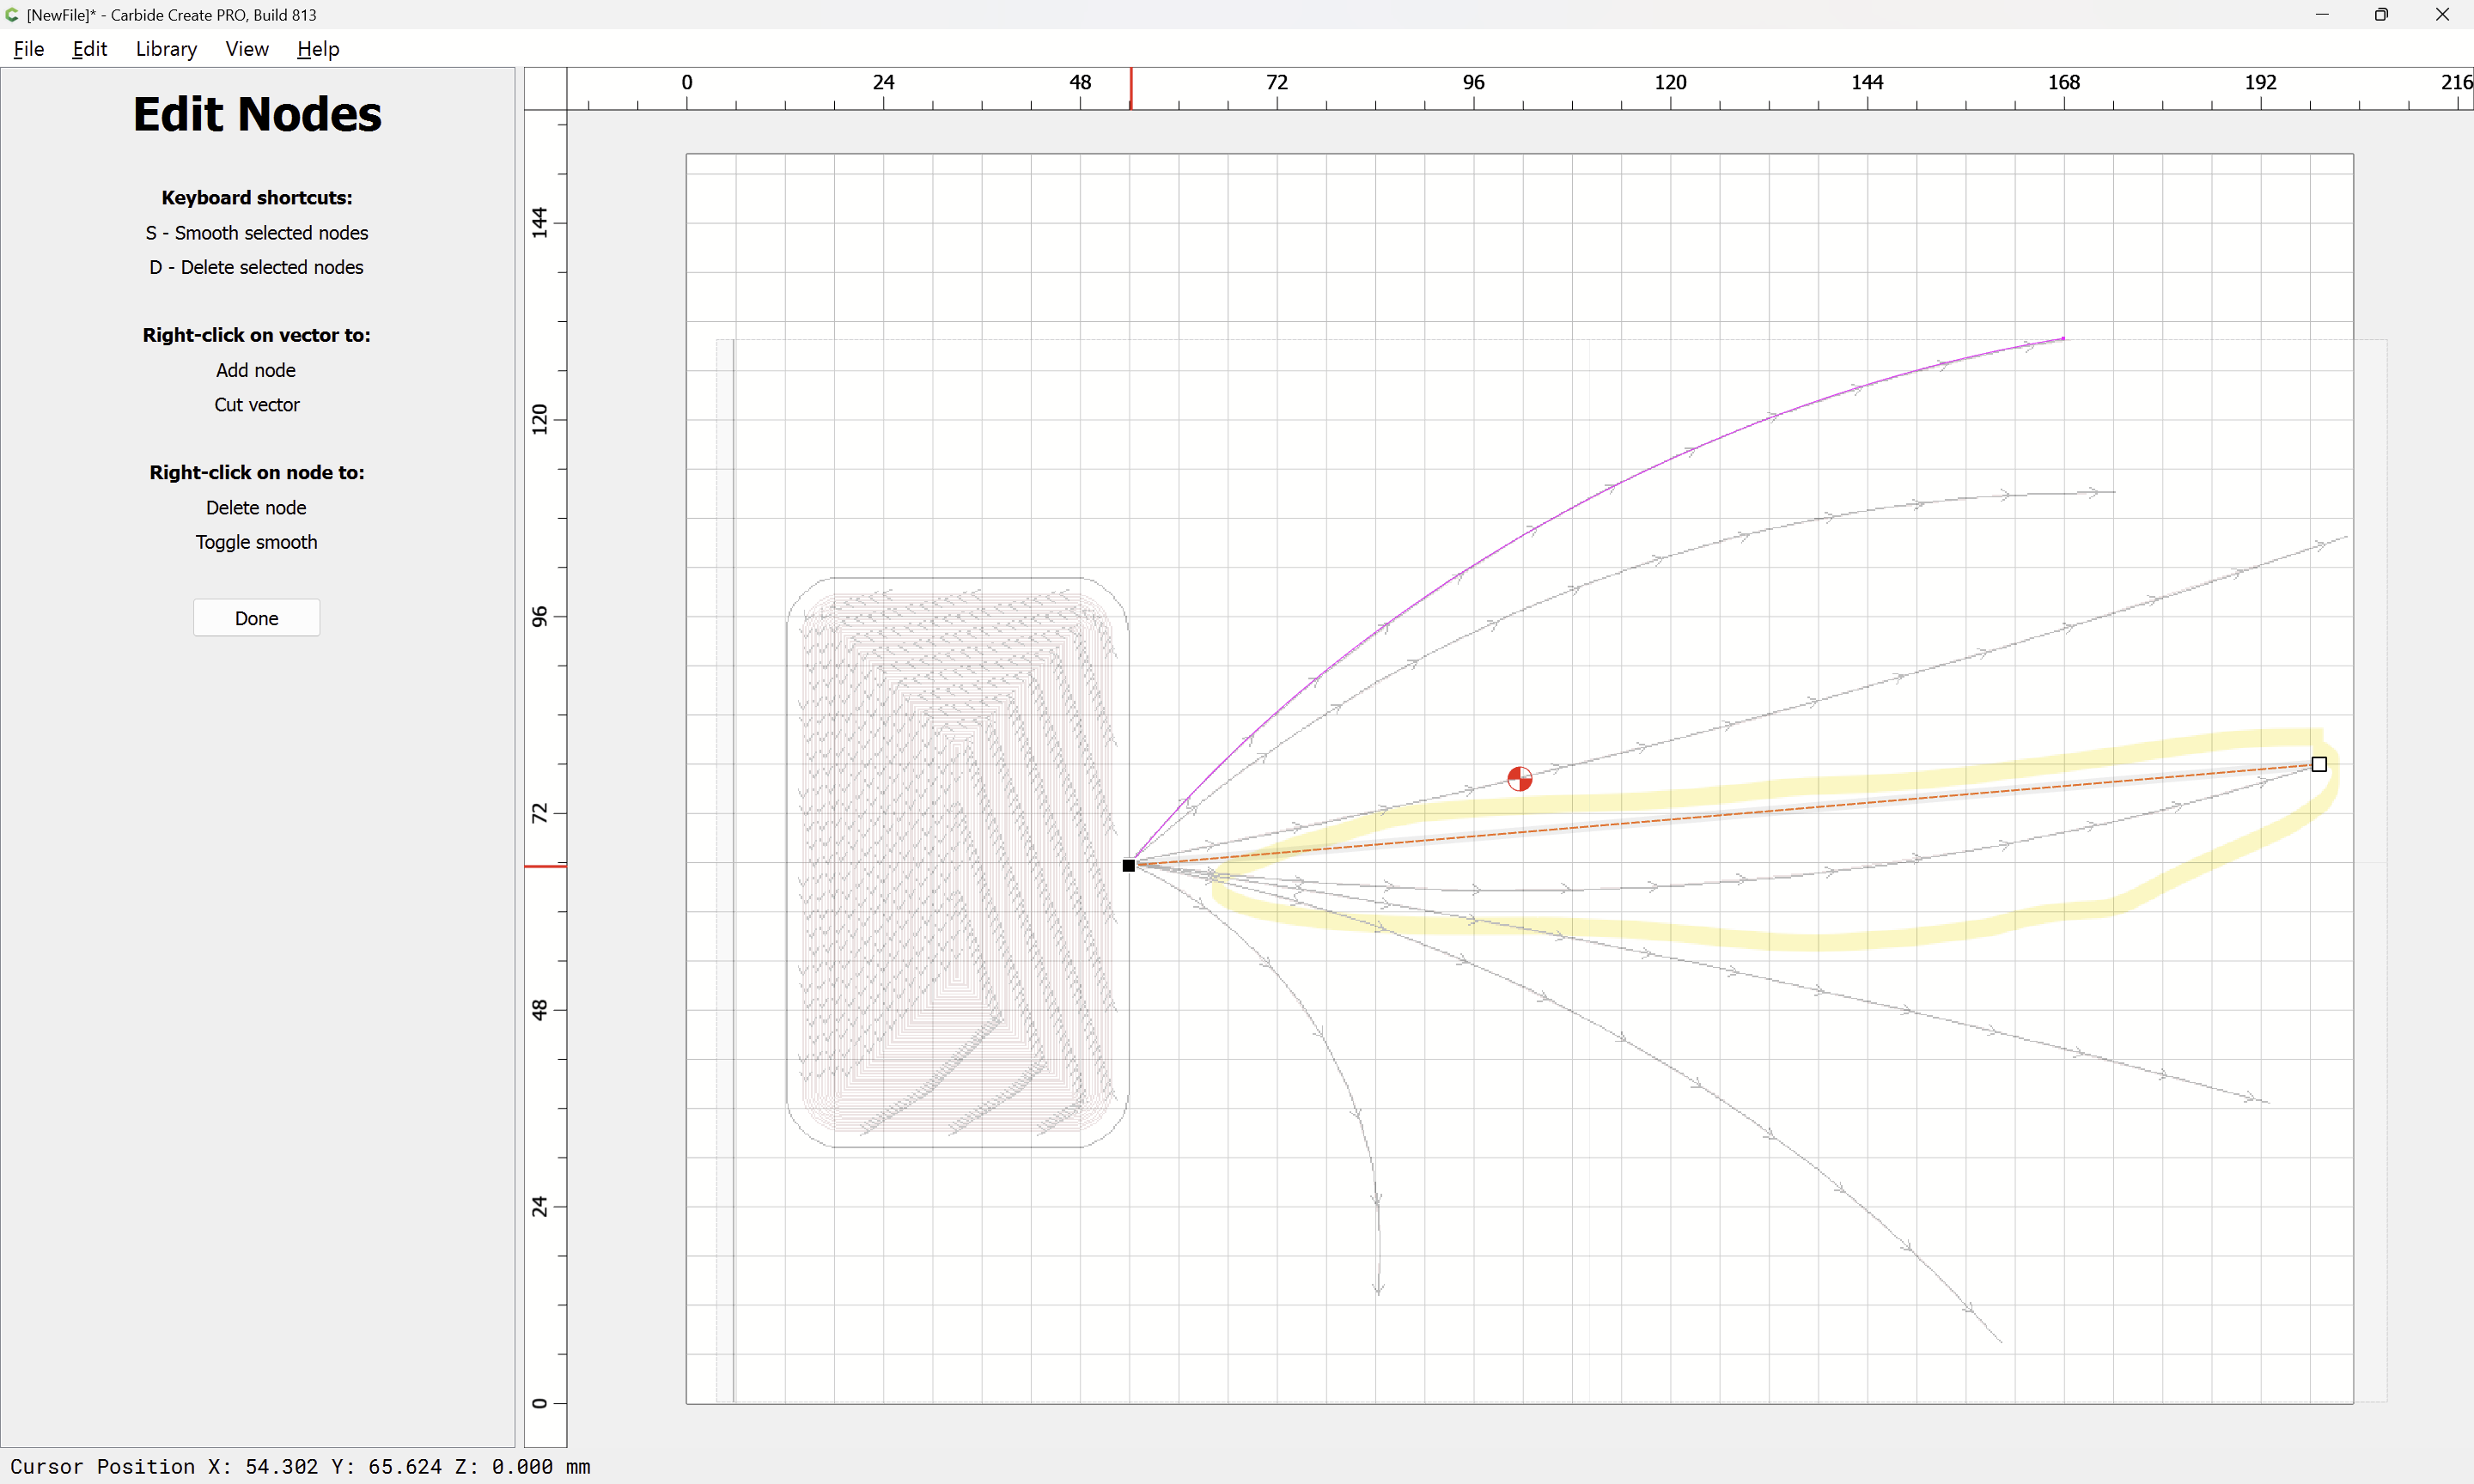
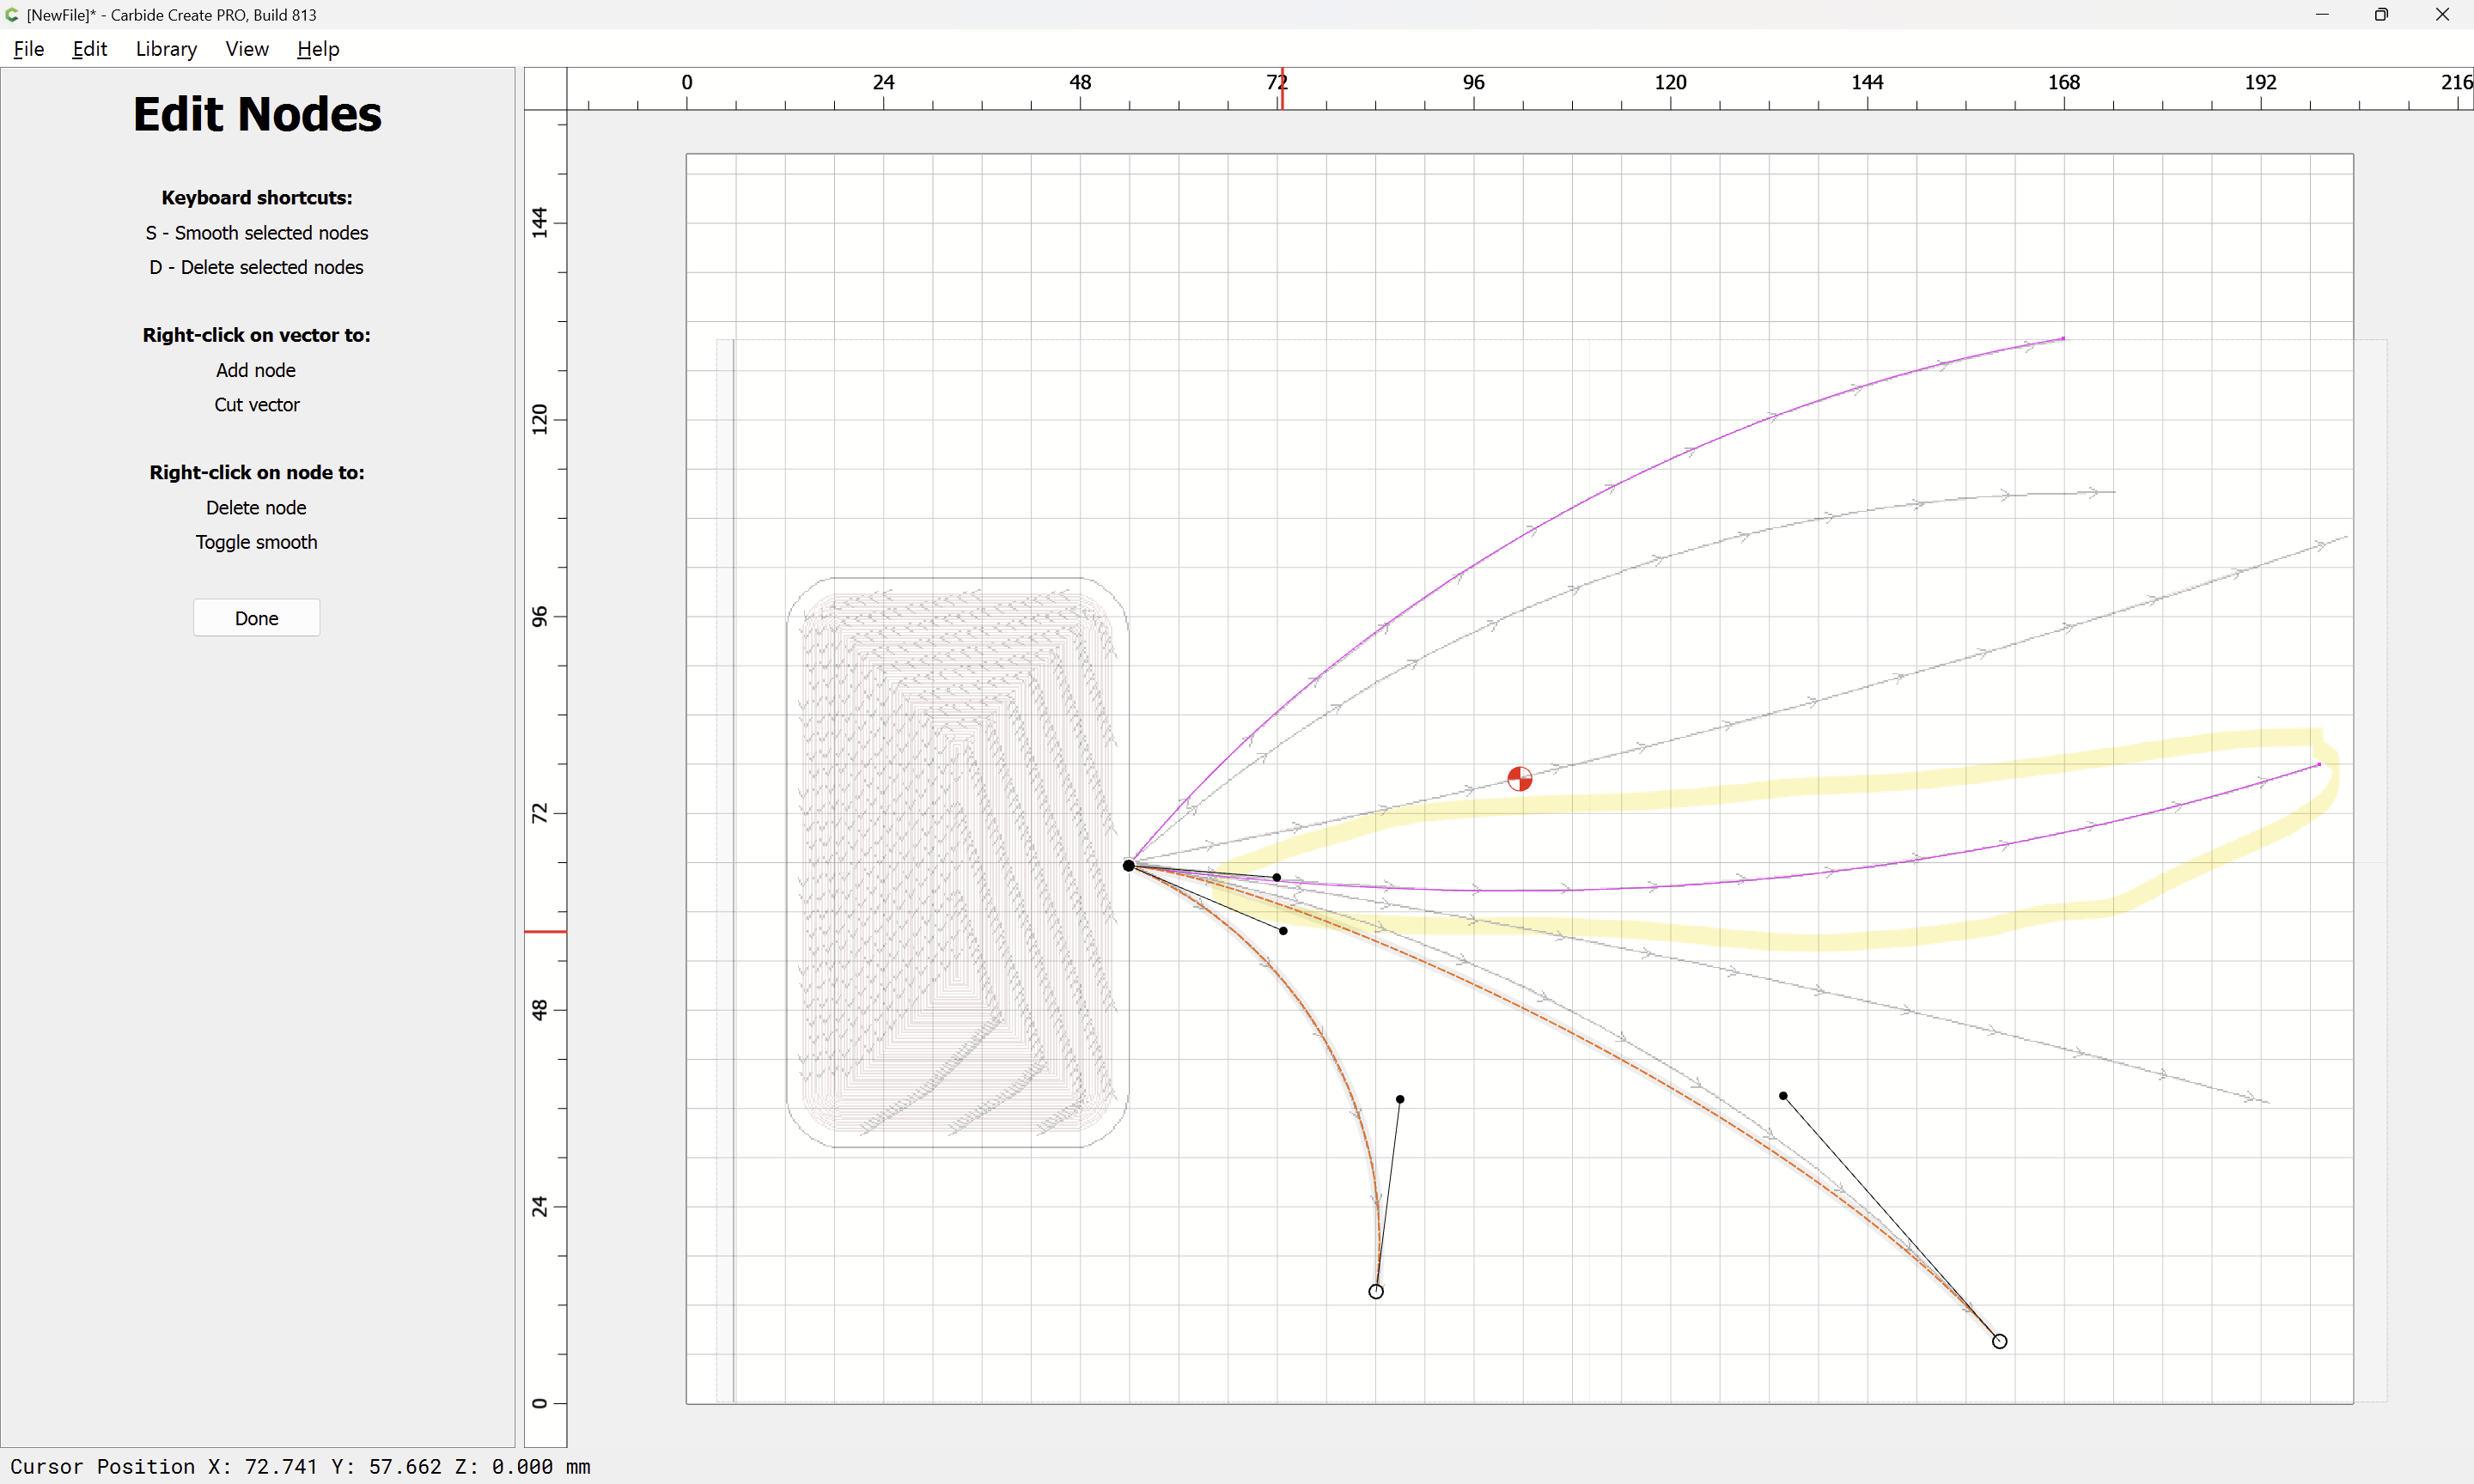
Note that there are two sorts of on-curve nodes:
- Sharp (indicated by a Square, hollow normally, solid black when selected)
- Smooth (indicated by a circle, hollow normally, solid black when selected) — further note that for a Circle node there are two associated off-curve nodes
Although this is a “Smooth” node (which is what we want) the off-curve nodes are not visible to be worked with, since when a straight line is described they are coincident with the on-curve node. Tap s to “Toggle Smooth” (note that the shortcuts are not case-sensitive)
which toggles to a “Sharp” node.
Repeat
which instantiates the off-curve nodes where they can be worked with. Drag to adjust:
Repeat this at the other end:

Done
The final thing to know about off-curve nodes in Carbide Create is that sharp points may be made by alt-dragging — if we wanted one line to represent two curves, this could be done by drawing with the Polyline tool:
Done
Go into Node Edit mode:

and repeat this process:
Select

Toggle Smooth

Toggle Smooth again
Drag to re-shape:

Select

Toggle Smooth
Drag to reshape:

Select:

Toggle Smooth
The final feature only properly applies to on-curve nodes which are not a begin or end point. Rather than just dragging, use the alt/option modifier key when dragging to create a “Sharp” node:
Once a node has been made “Sharp” it is no longer necessary to hold the alt key: