I’ll be using Vectric Aspire for the machining and I guess something like Blender to split the 3D models
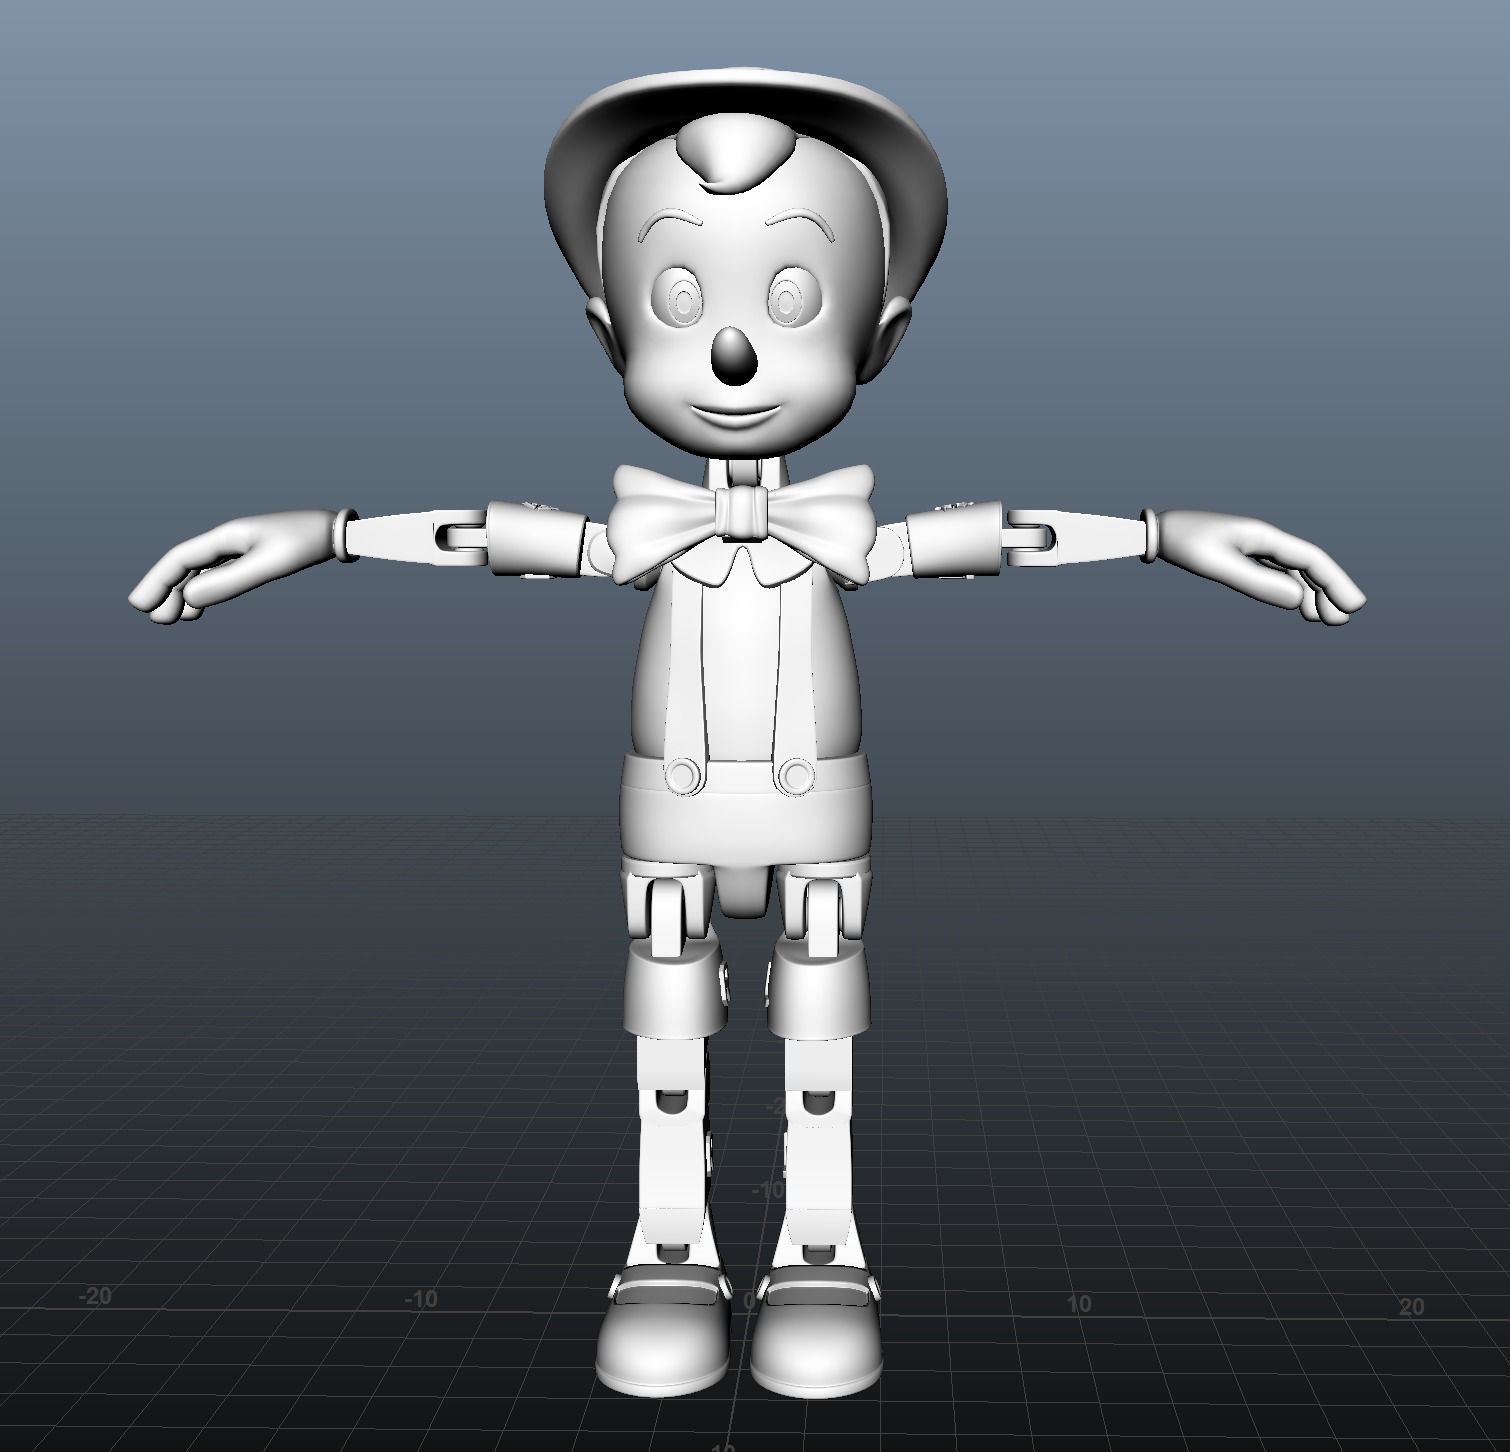
The main idea is to learn how to use a 3D model and machine it with my CNC, that was the main reason I entered the world of CNCs, It would be amazing to have a “template” so I can create as many Pinocchios as my heart desires.
Basically learn what Dennis van Hoof does with his machine:
So, I was wondering if someone here has tried to do something like this and what do you guys think/recommend for the job. Thank you very much.
Cool idea, and definitely a nice challenge to step up your game.
You need to figure out a few things:
how to get the 3D model (usually a .STL file) of each individual piece. Blender or Meshmixer or Fusion360 or any of the 3D CAD software out there come to mind, it’s always easier if you created the 3D model yourself but splitting/slicing an existing one is possible
then you need to figure out the scale/size you want: the catch here is the maximum thickness you can manage: there’s the Z clearance limit of the Shapeoko, and then there’s a limit to the max length of the endmills you will be using for double-sided jobs. It’s likely that you will find yourself shopping for extra long reach endmills.
then it’s a matter of generating the CAM from that STL, there are three main ways that I know of that are popular here:
import the STL in Fusion360 and generate the CAM there
Generate a greyscale heighmap from the STL file and then use Carbide Create Pro to CAM it.
Generate the gcode directly from the STL using @fenrus’s tool.
for two-sided jobs you will want to use locating pins to reposition the stock after flipping it.
That Pinocchio looks like a great usecase to learn all of this. You may want to think about how you will join the individual parts so as to keep the intended axis of freedom between then, but still have a way to have it hold a given position?
Be sure to post regularly about your progress, I’m sure there will be lots of opportunities to share your findings along the way