I am looking for a fancy switch panel for my 5 Pro workbench

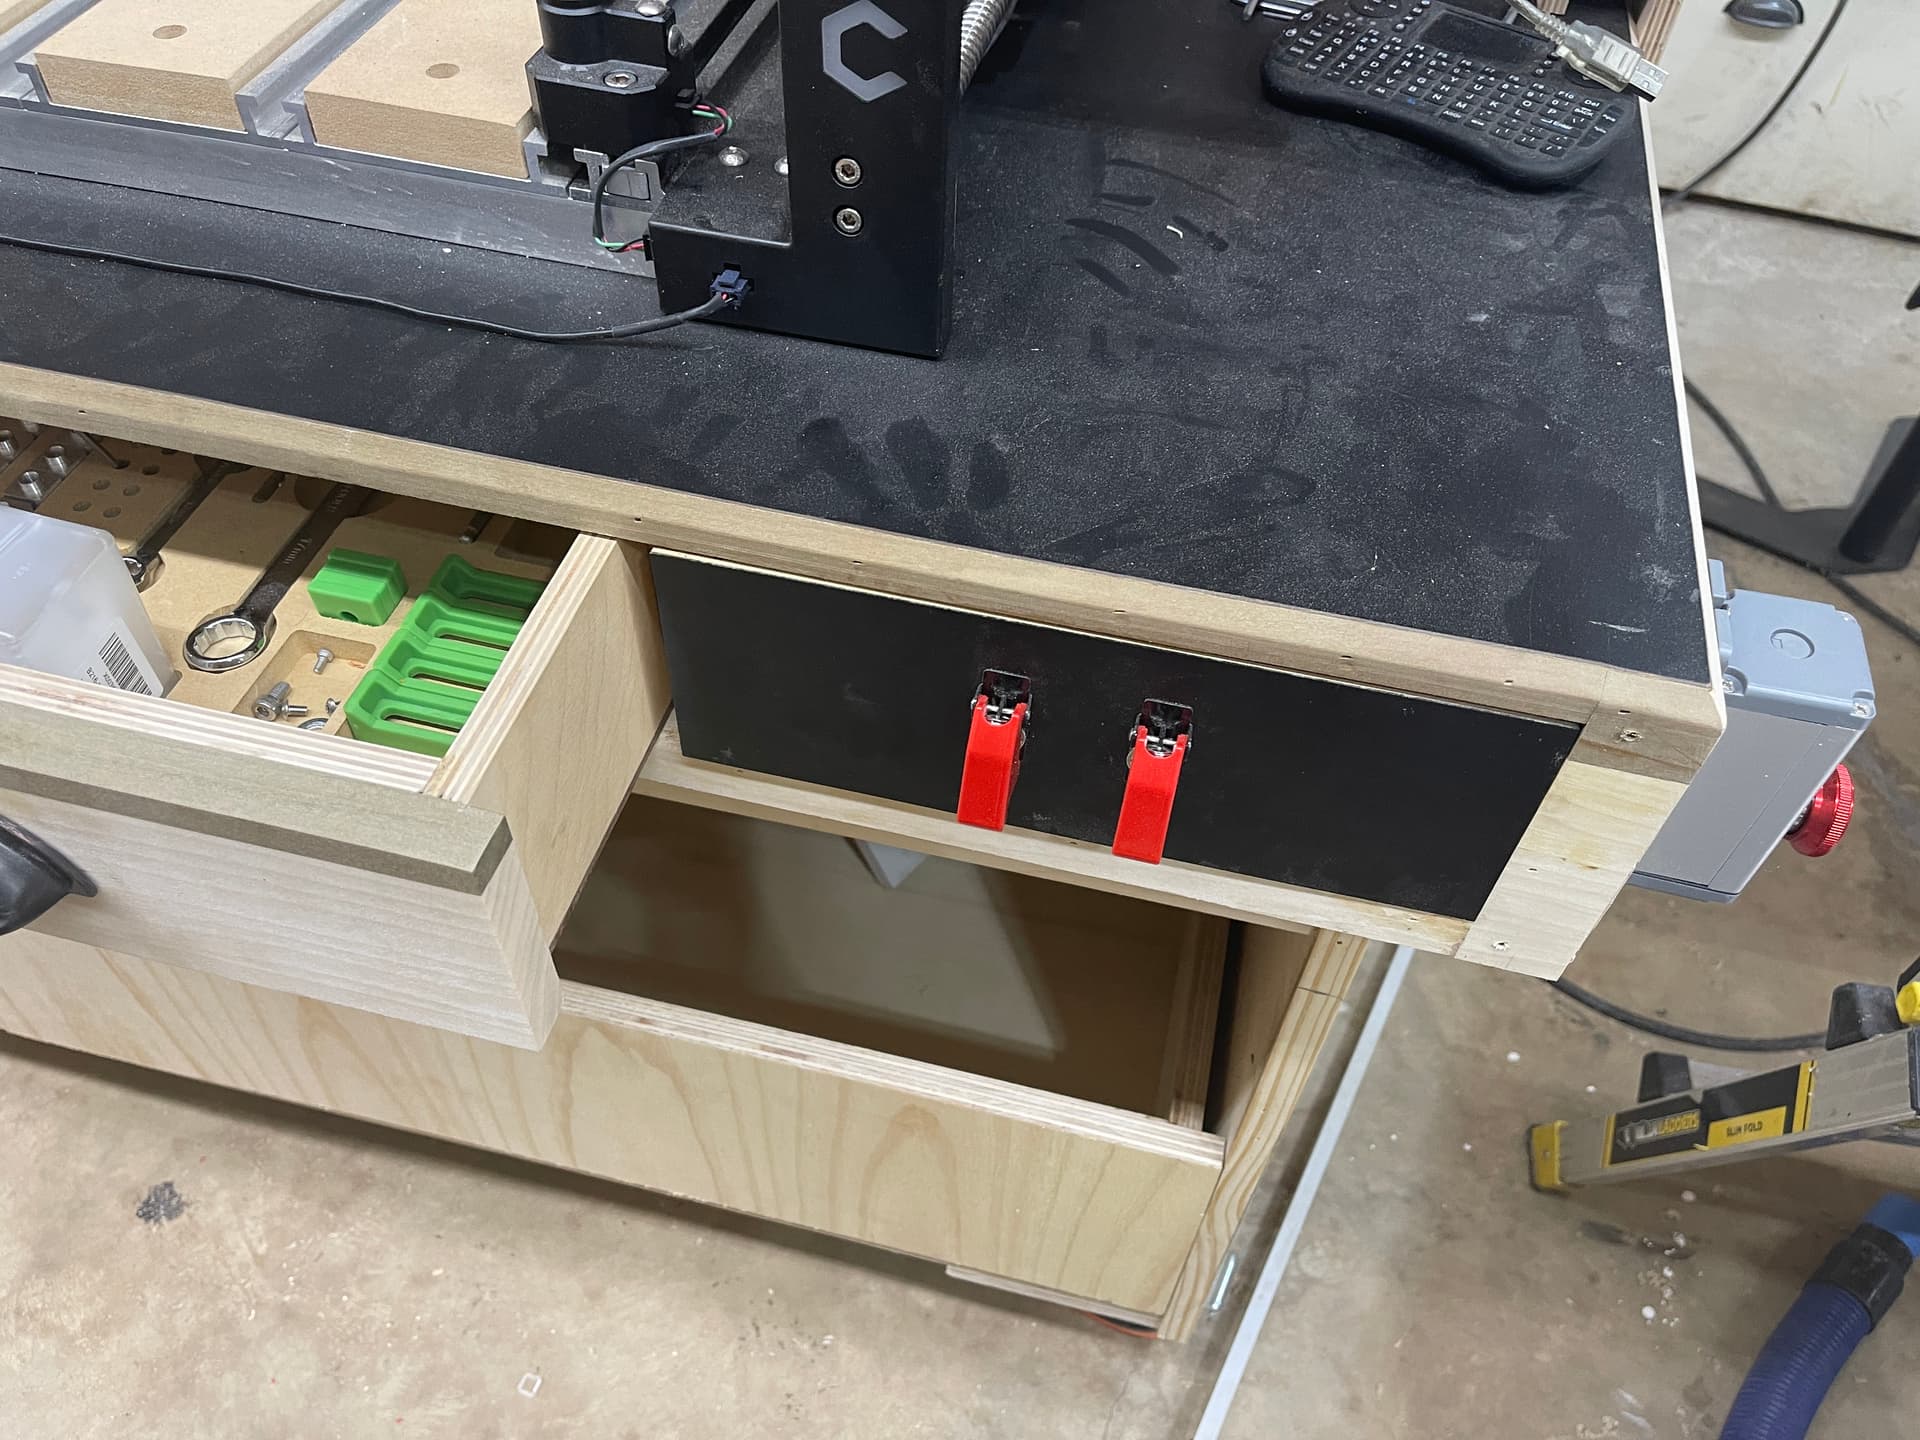
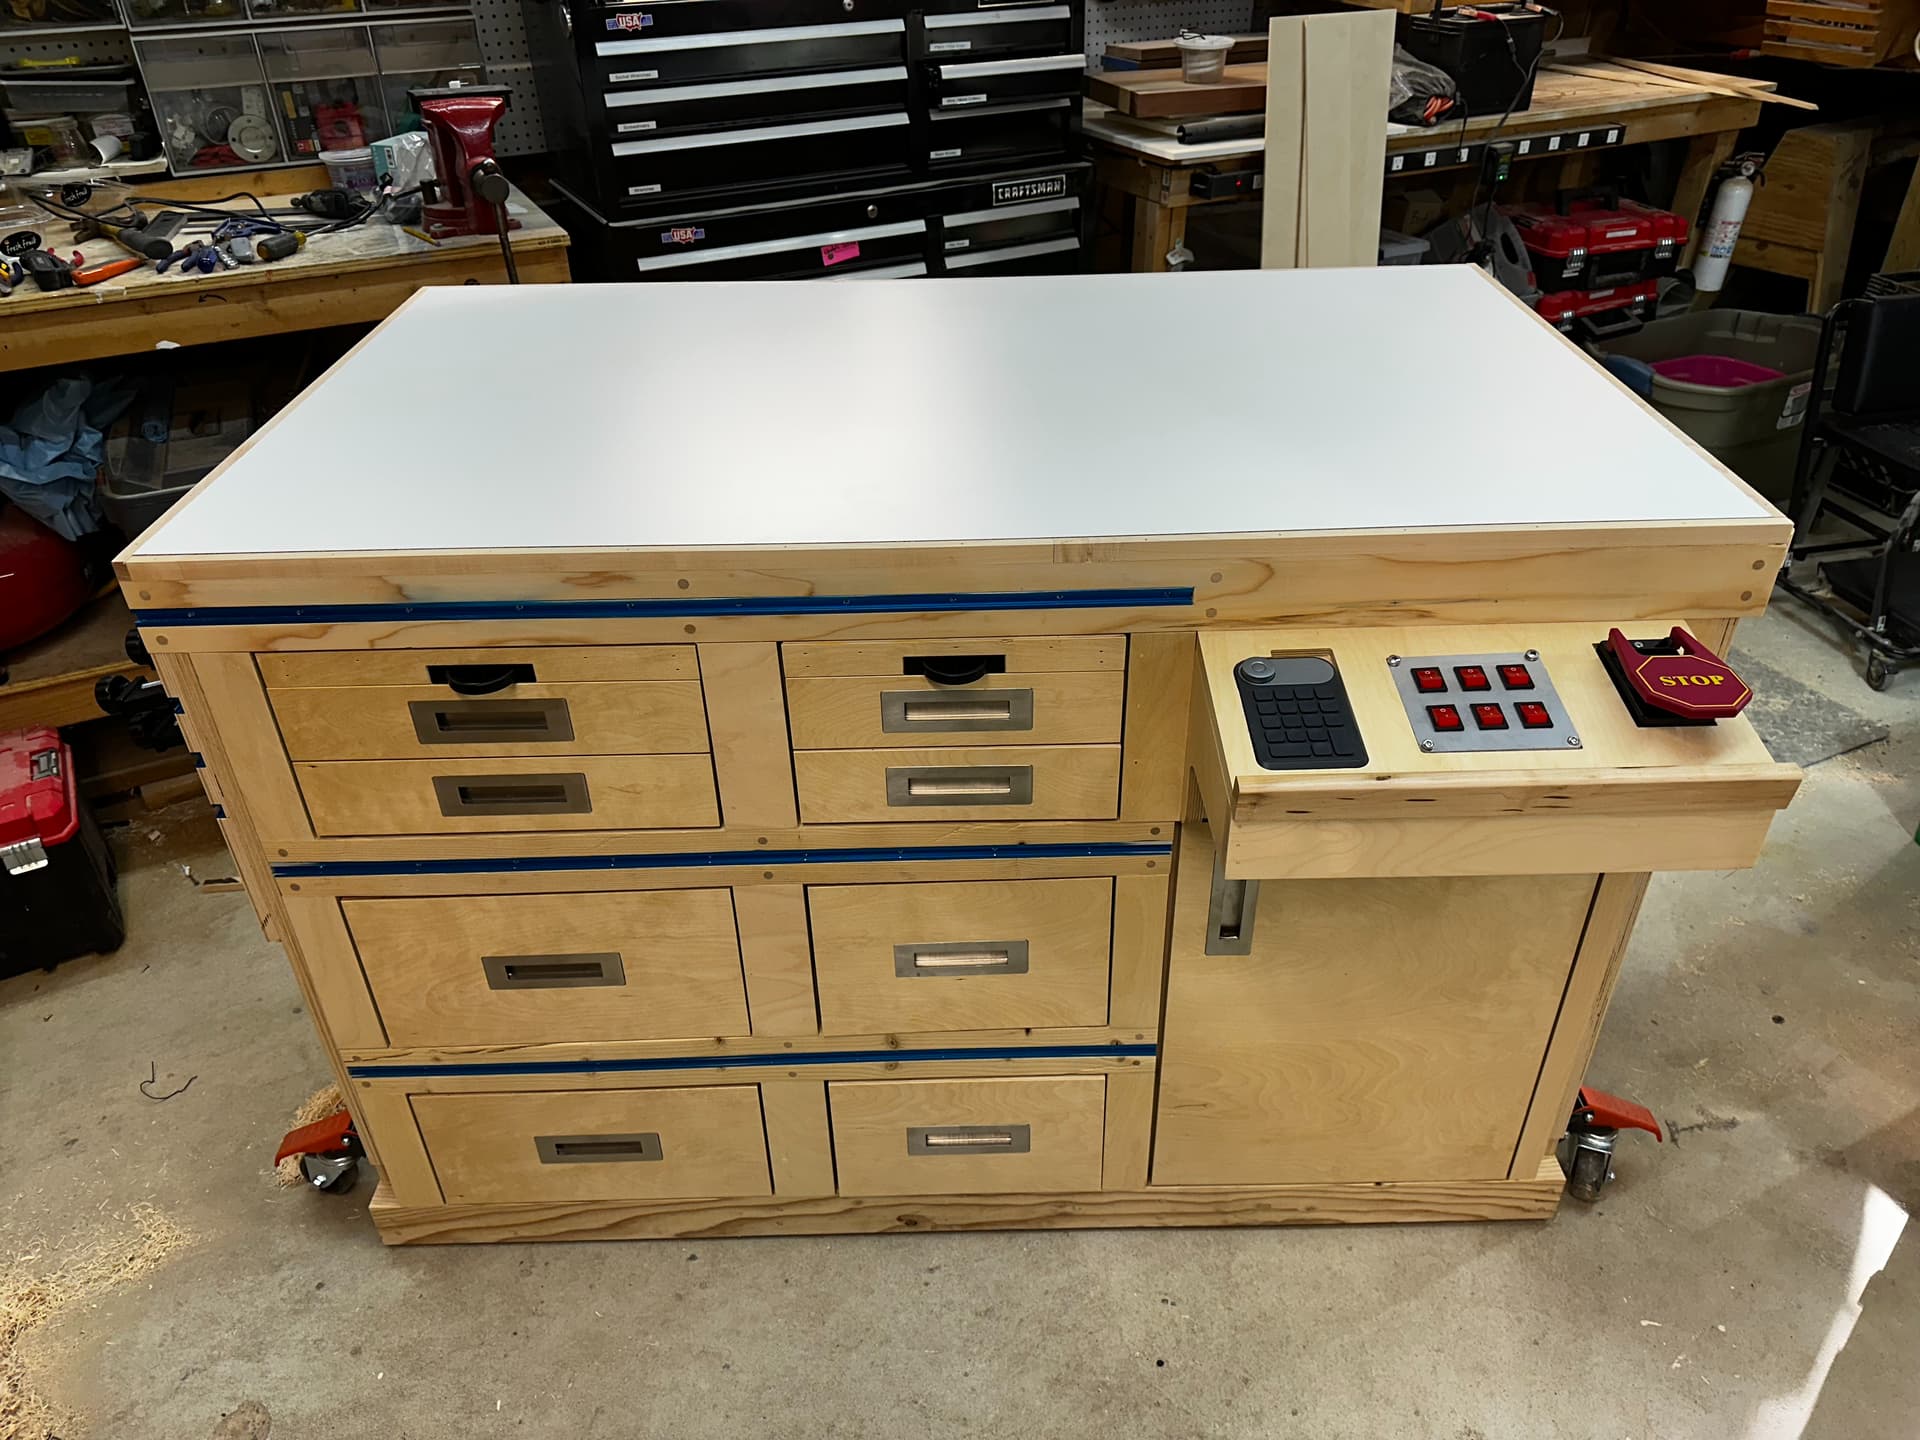
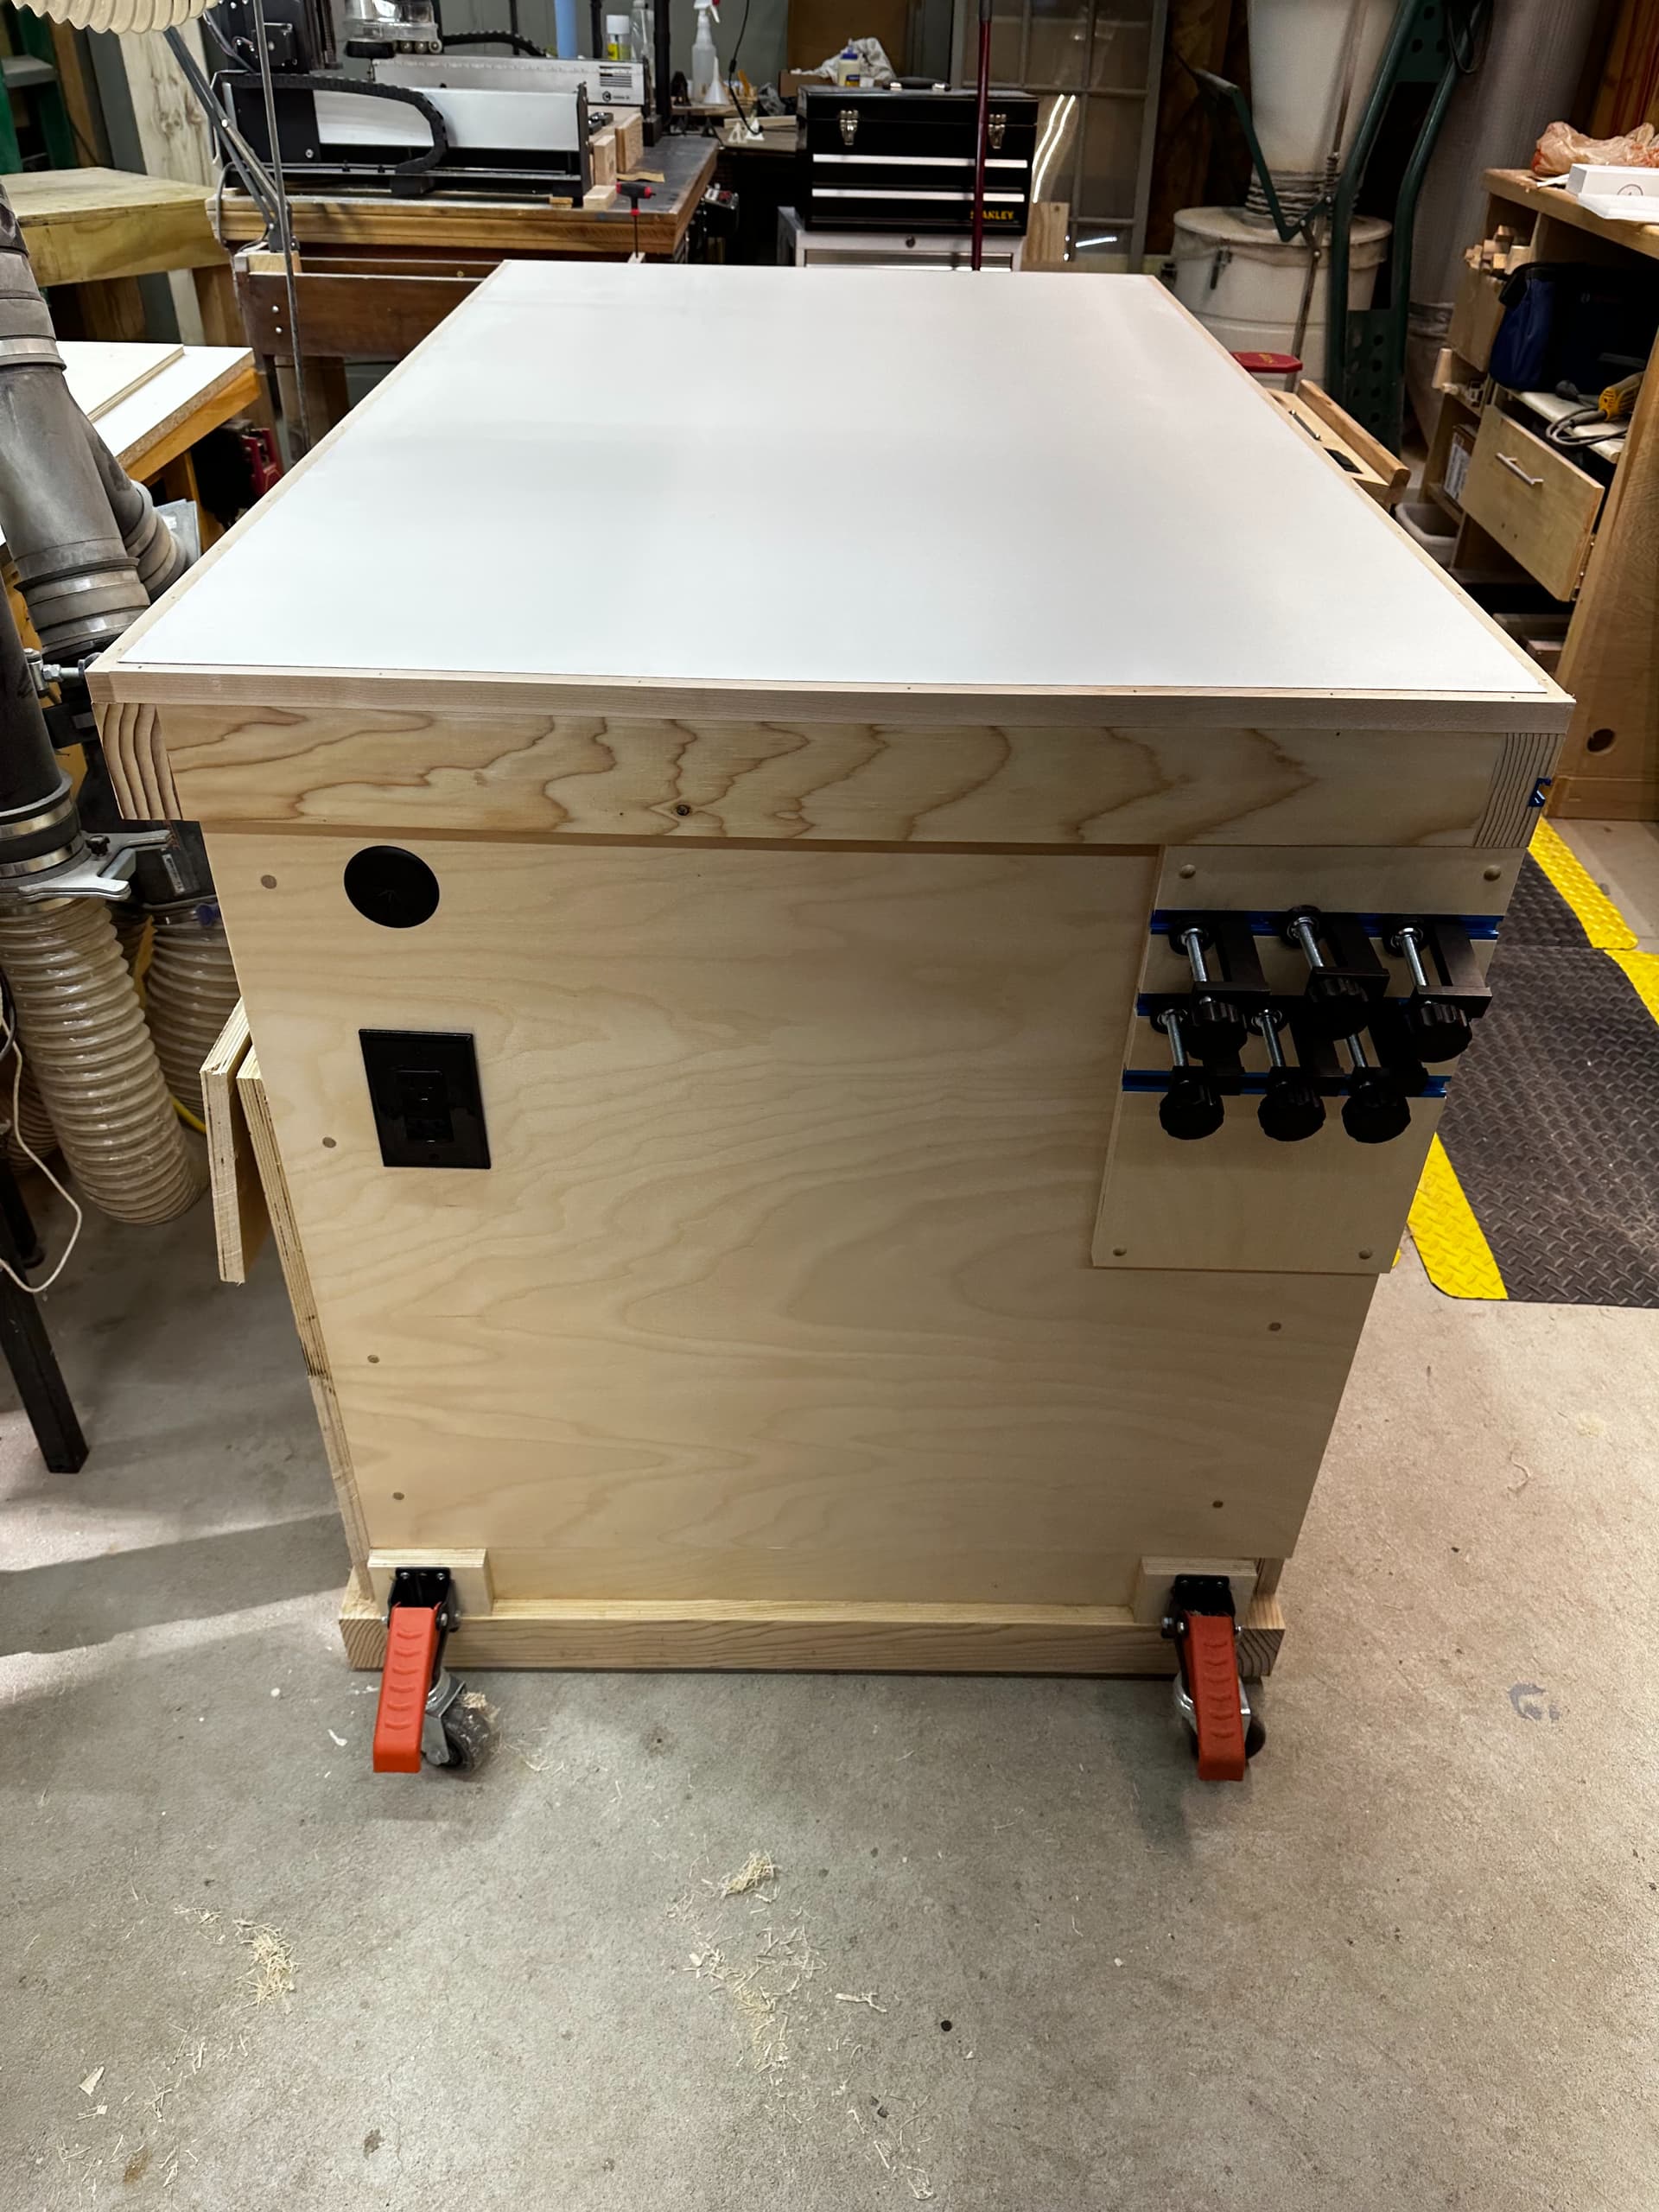
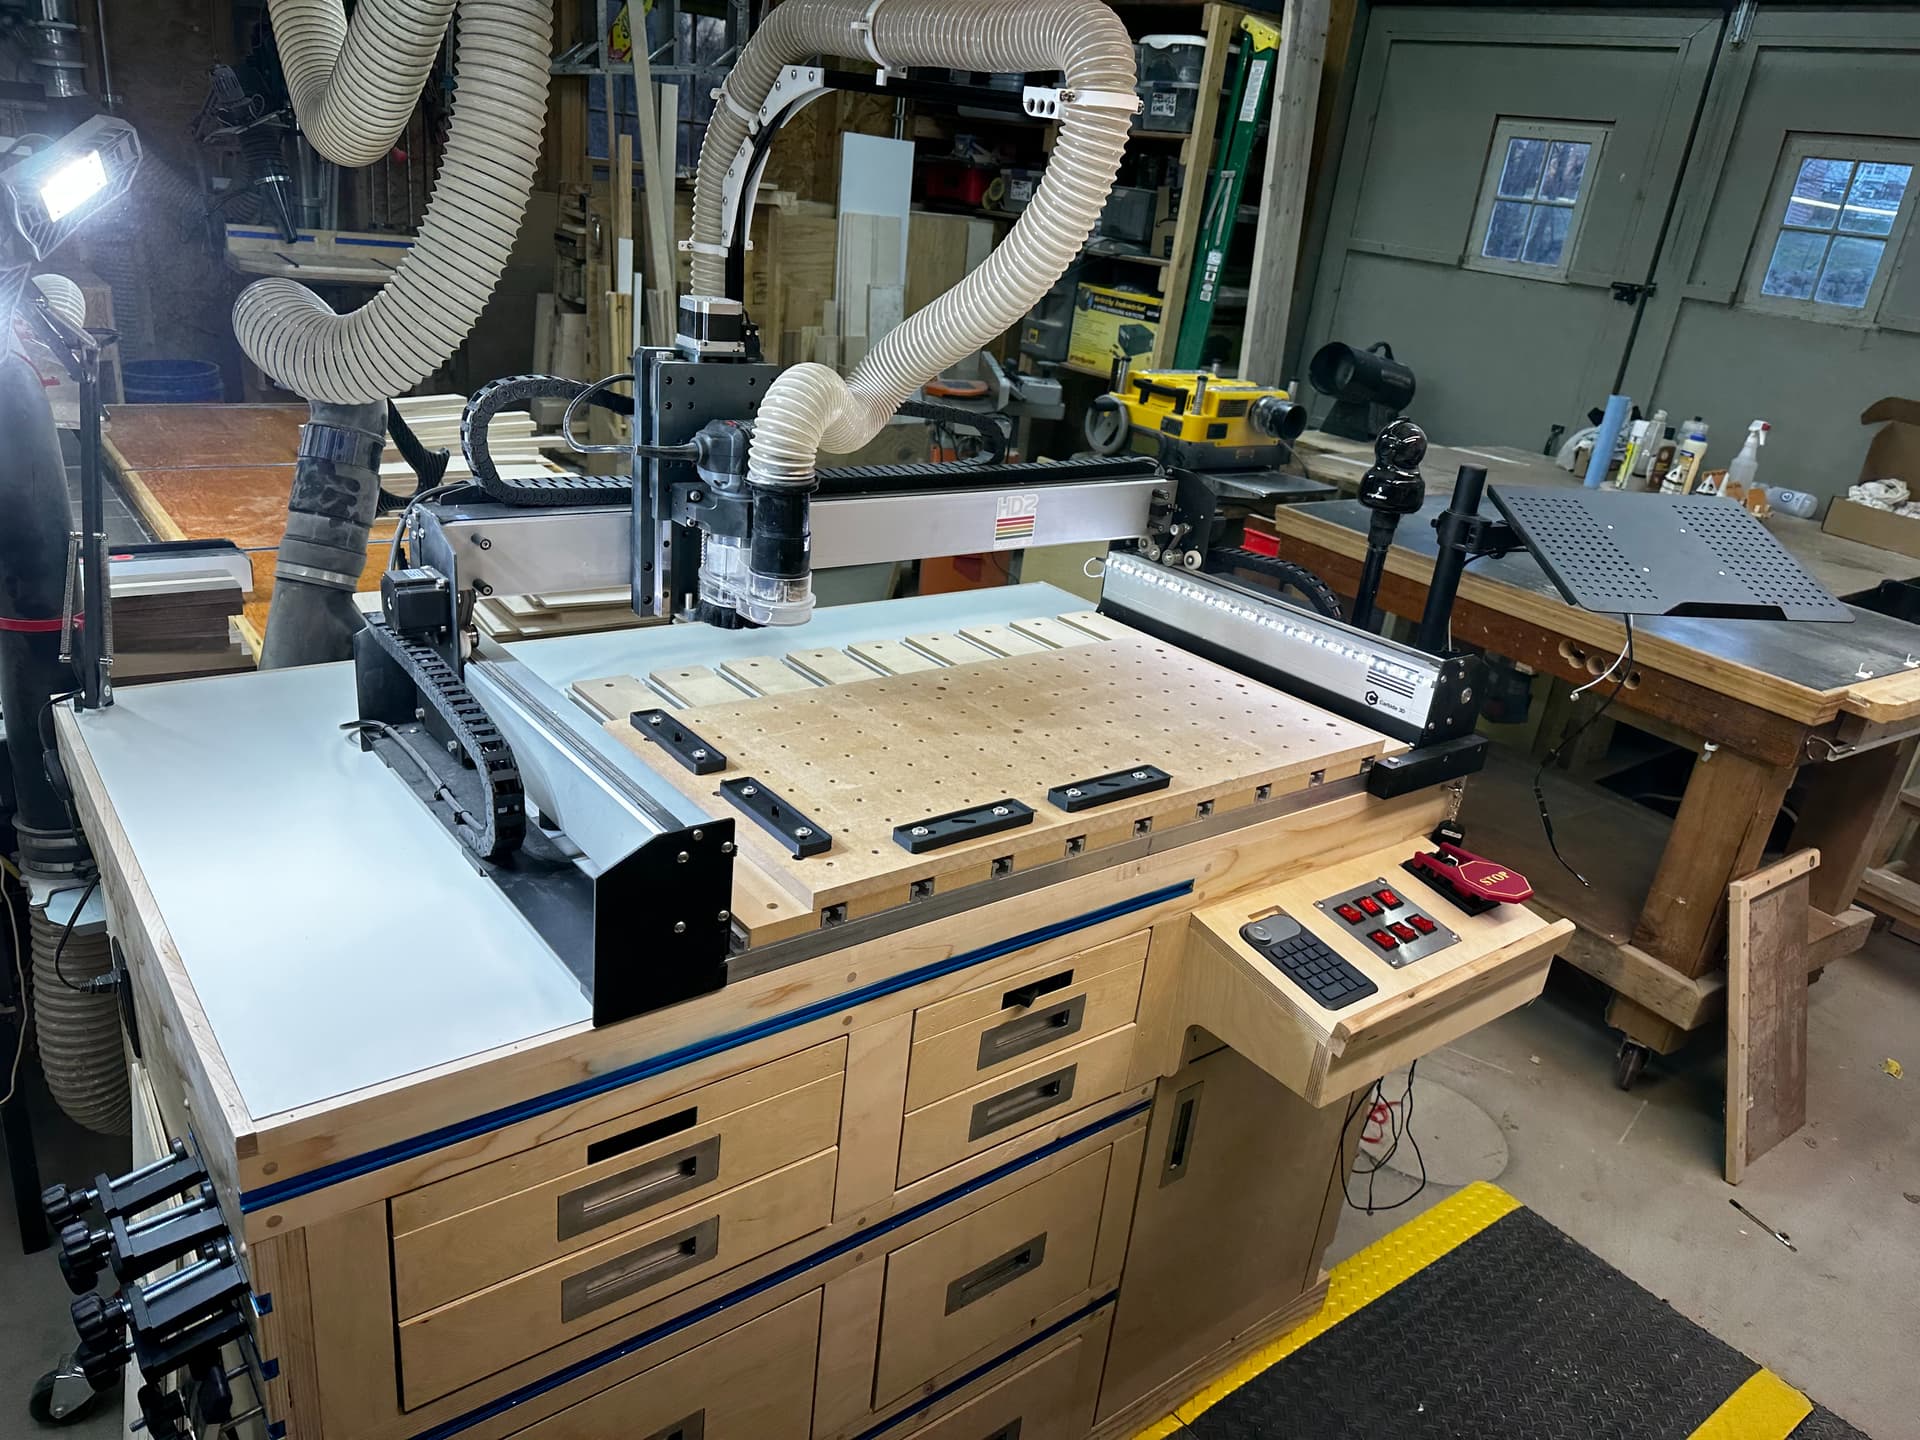
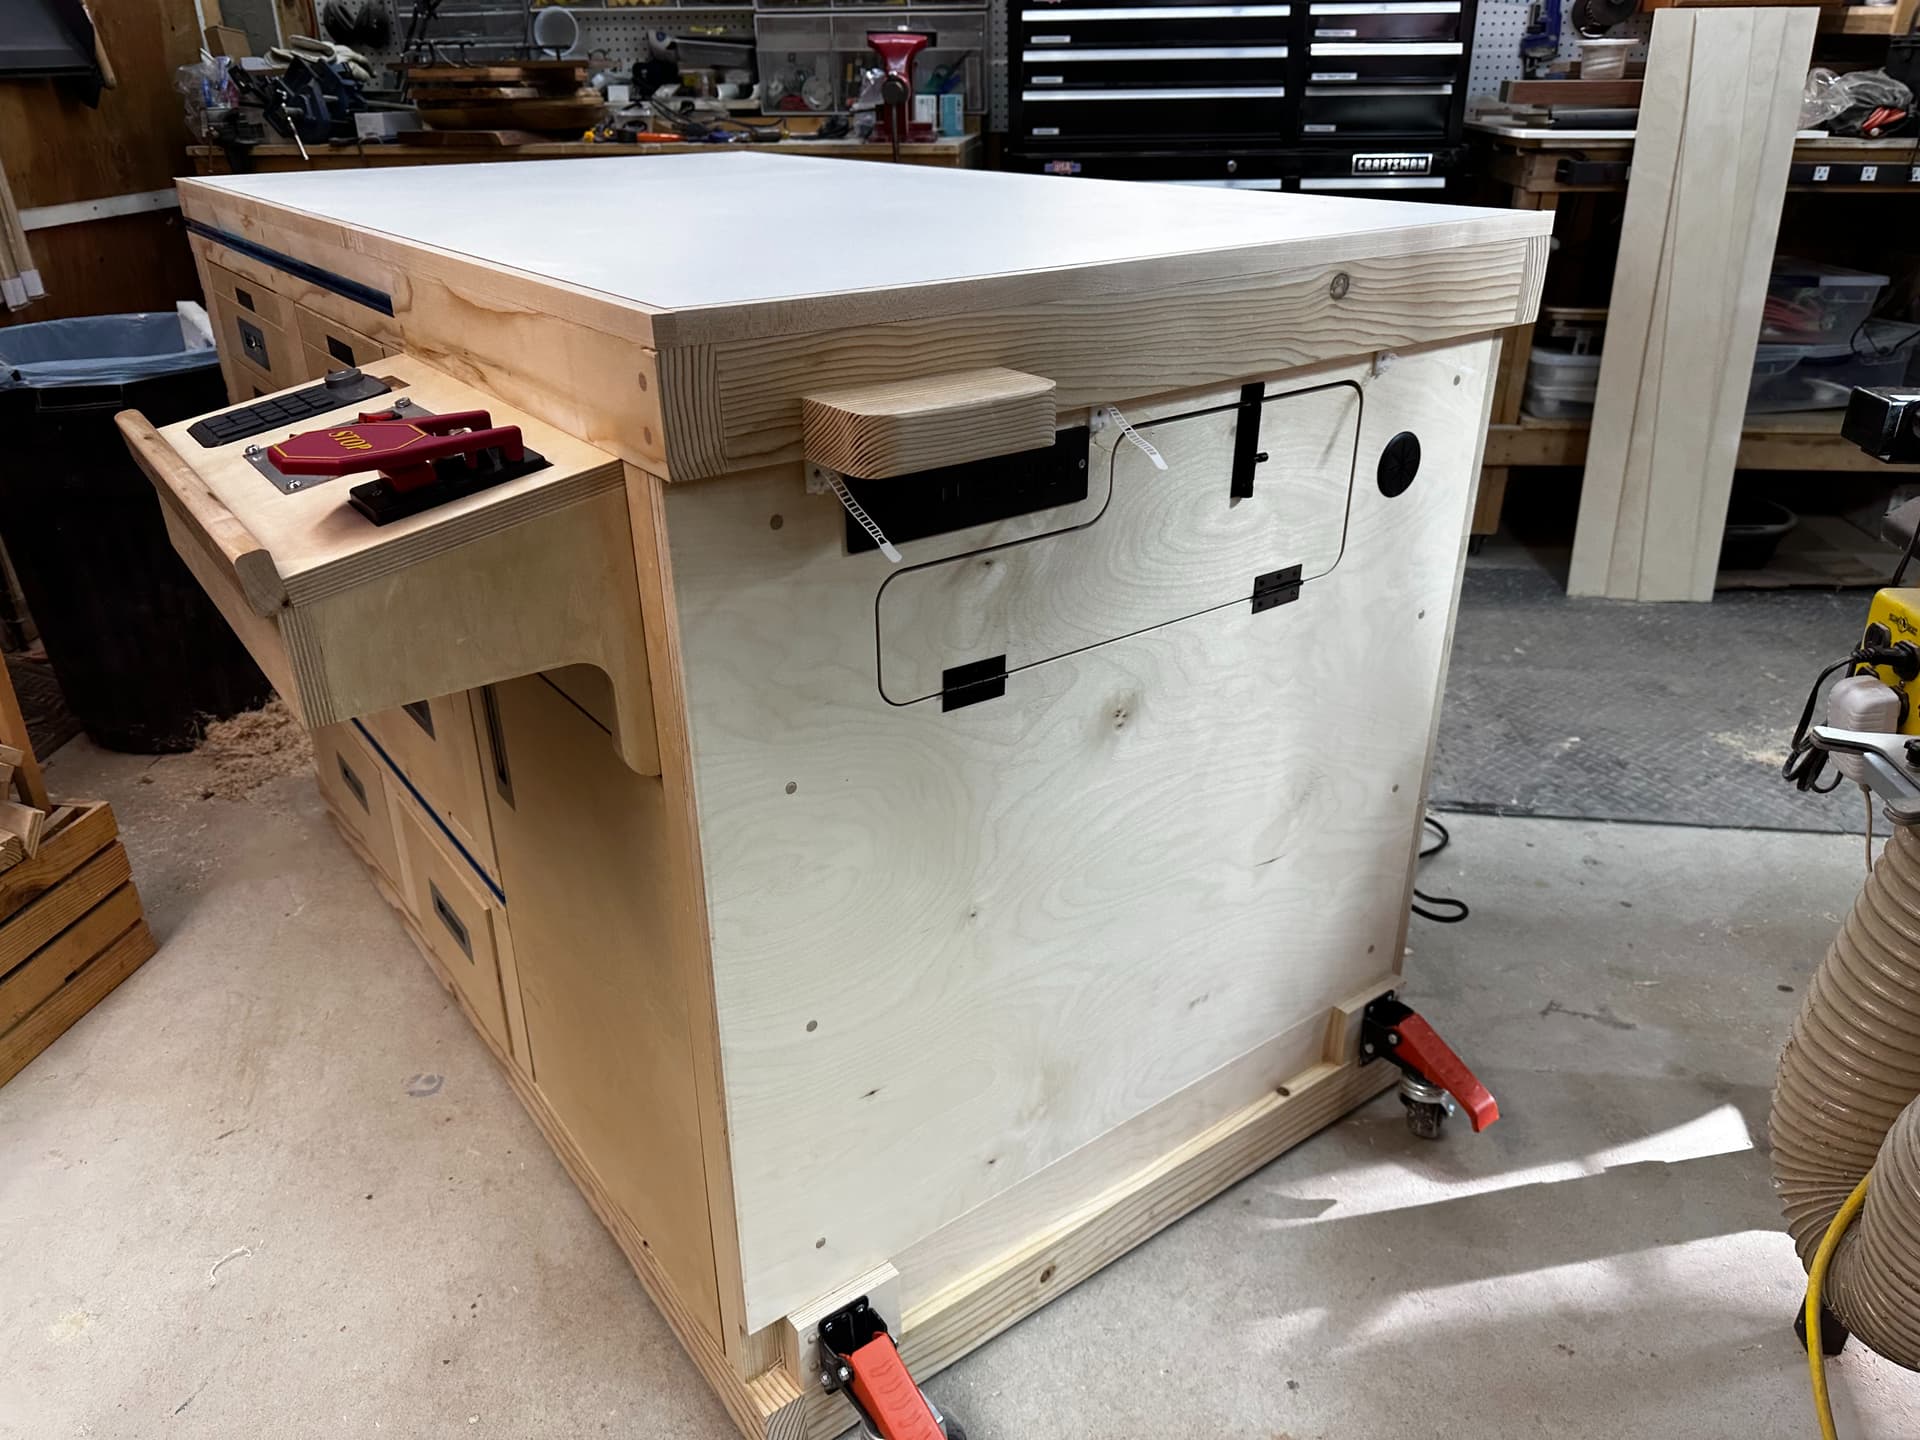
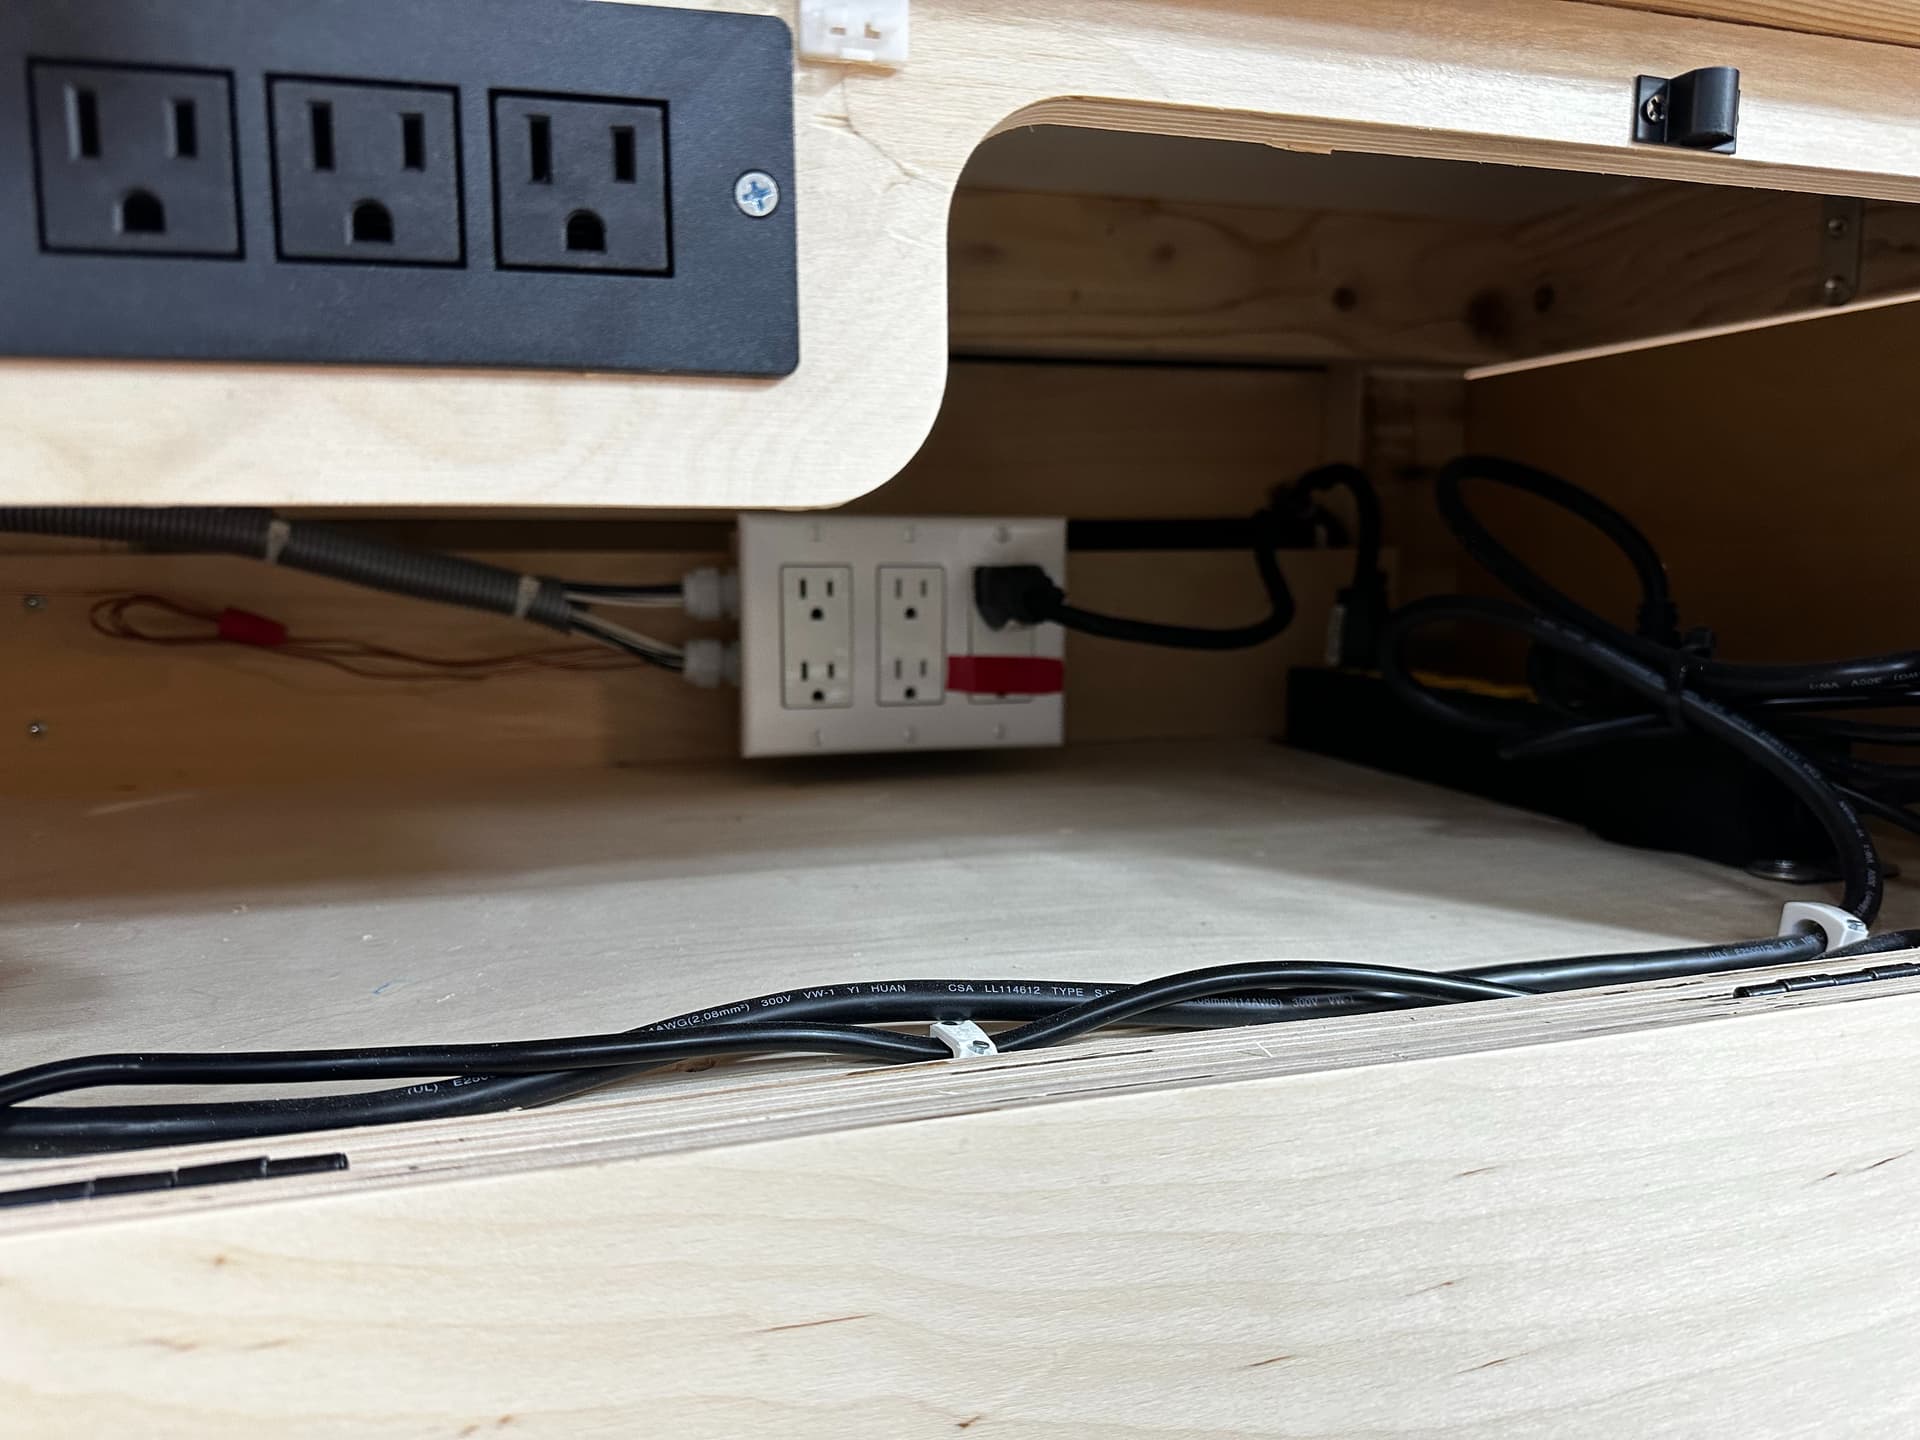
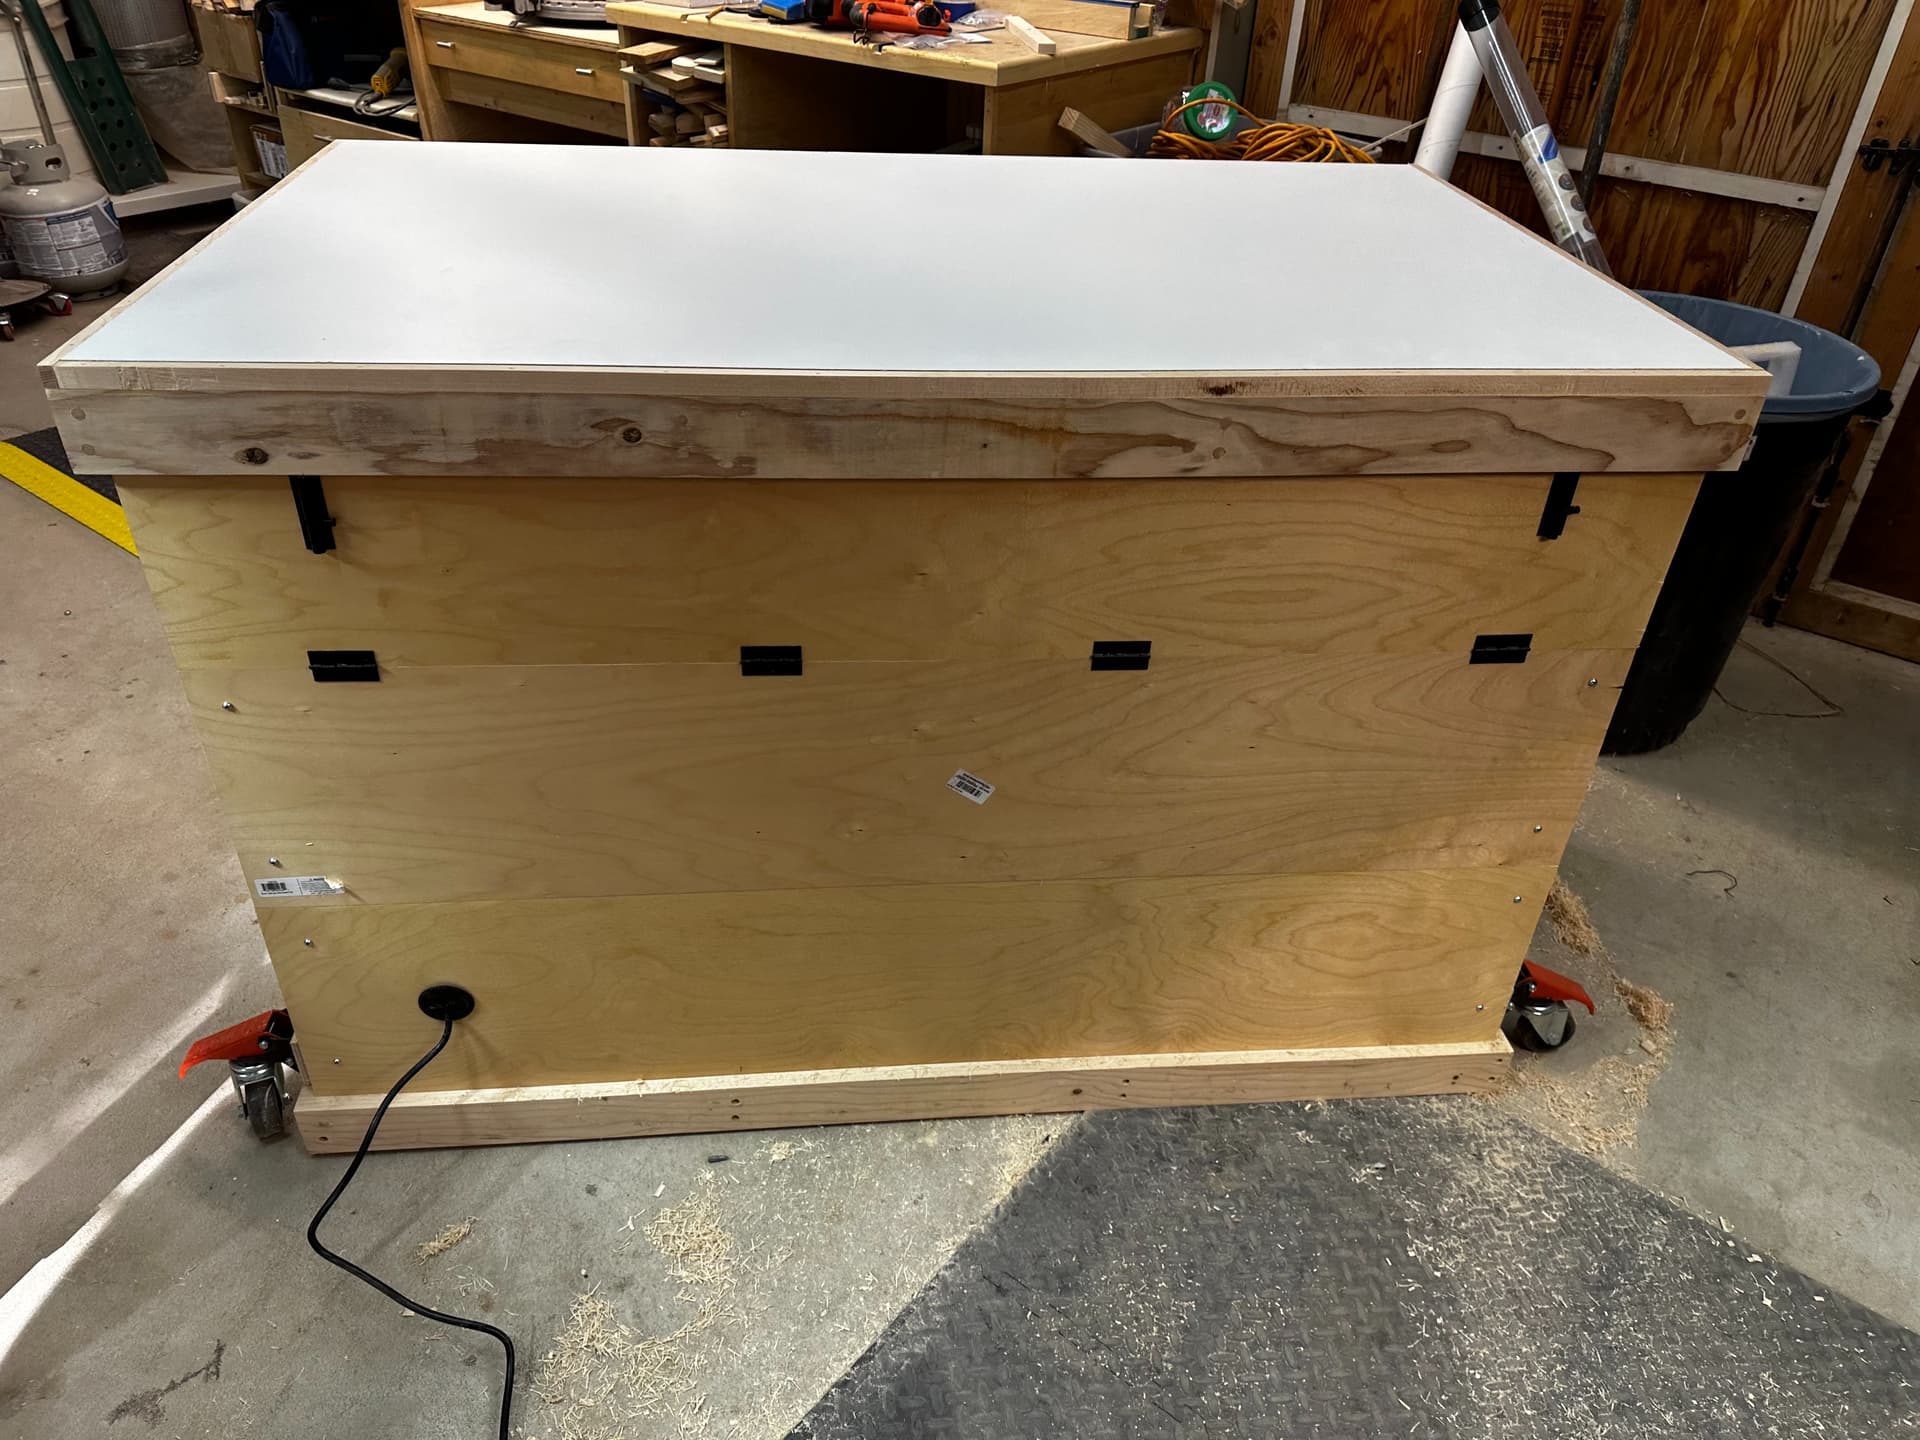
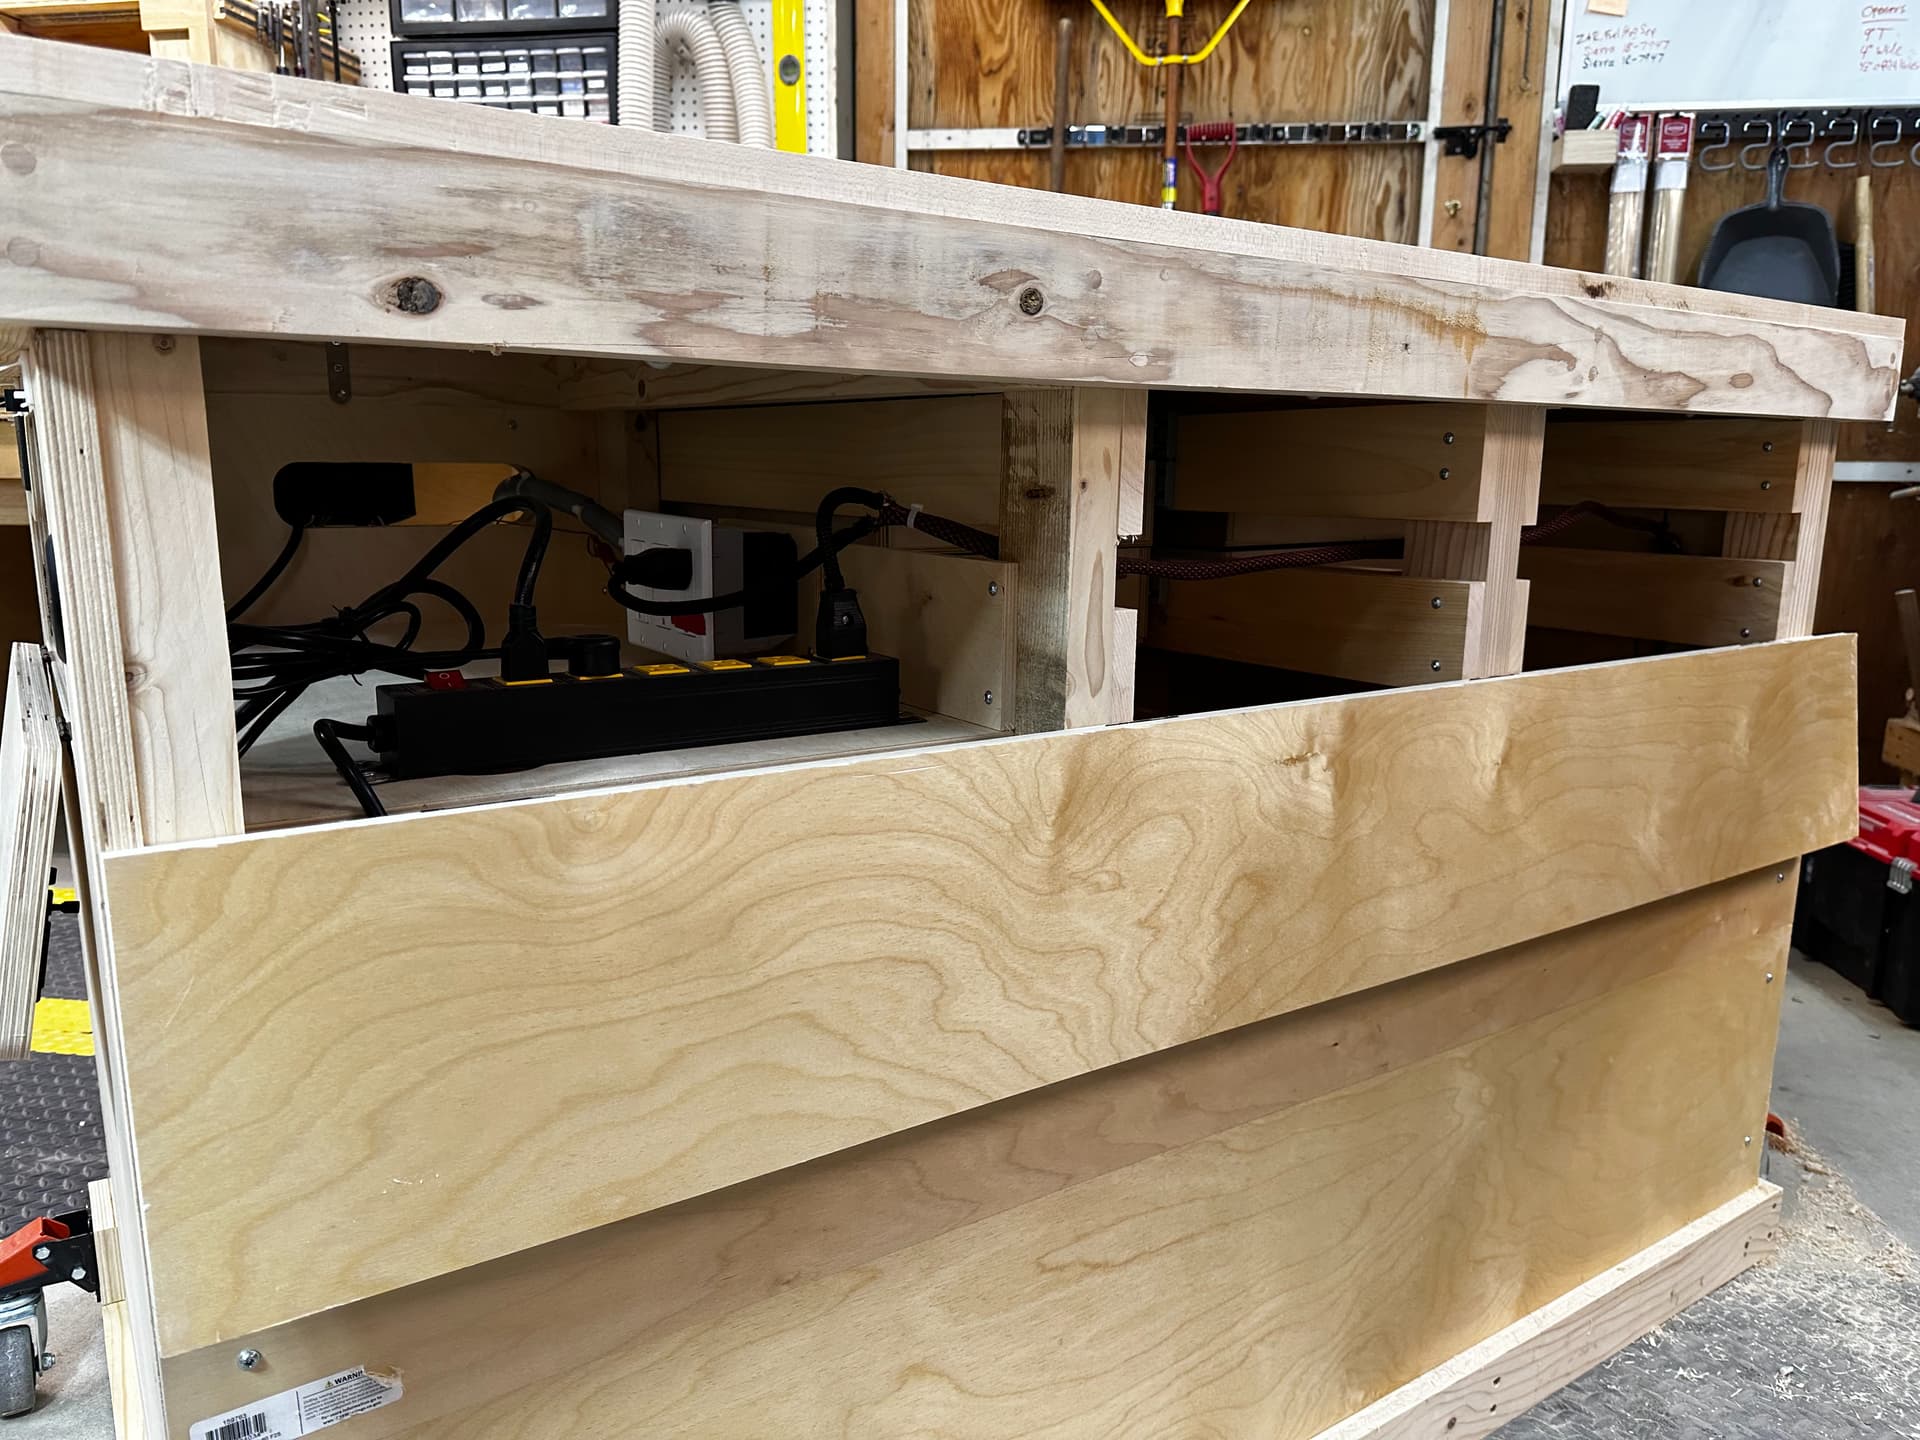
I built my workbench and have run electric and dust collection beneath it. Everything is coming together just great, but I’m a bit stumped about making a control panel and am looking for inspiration.

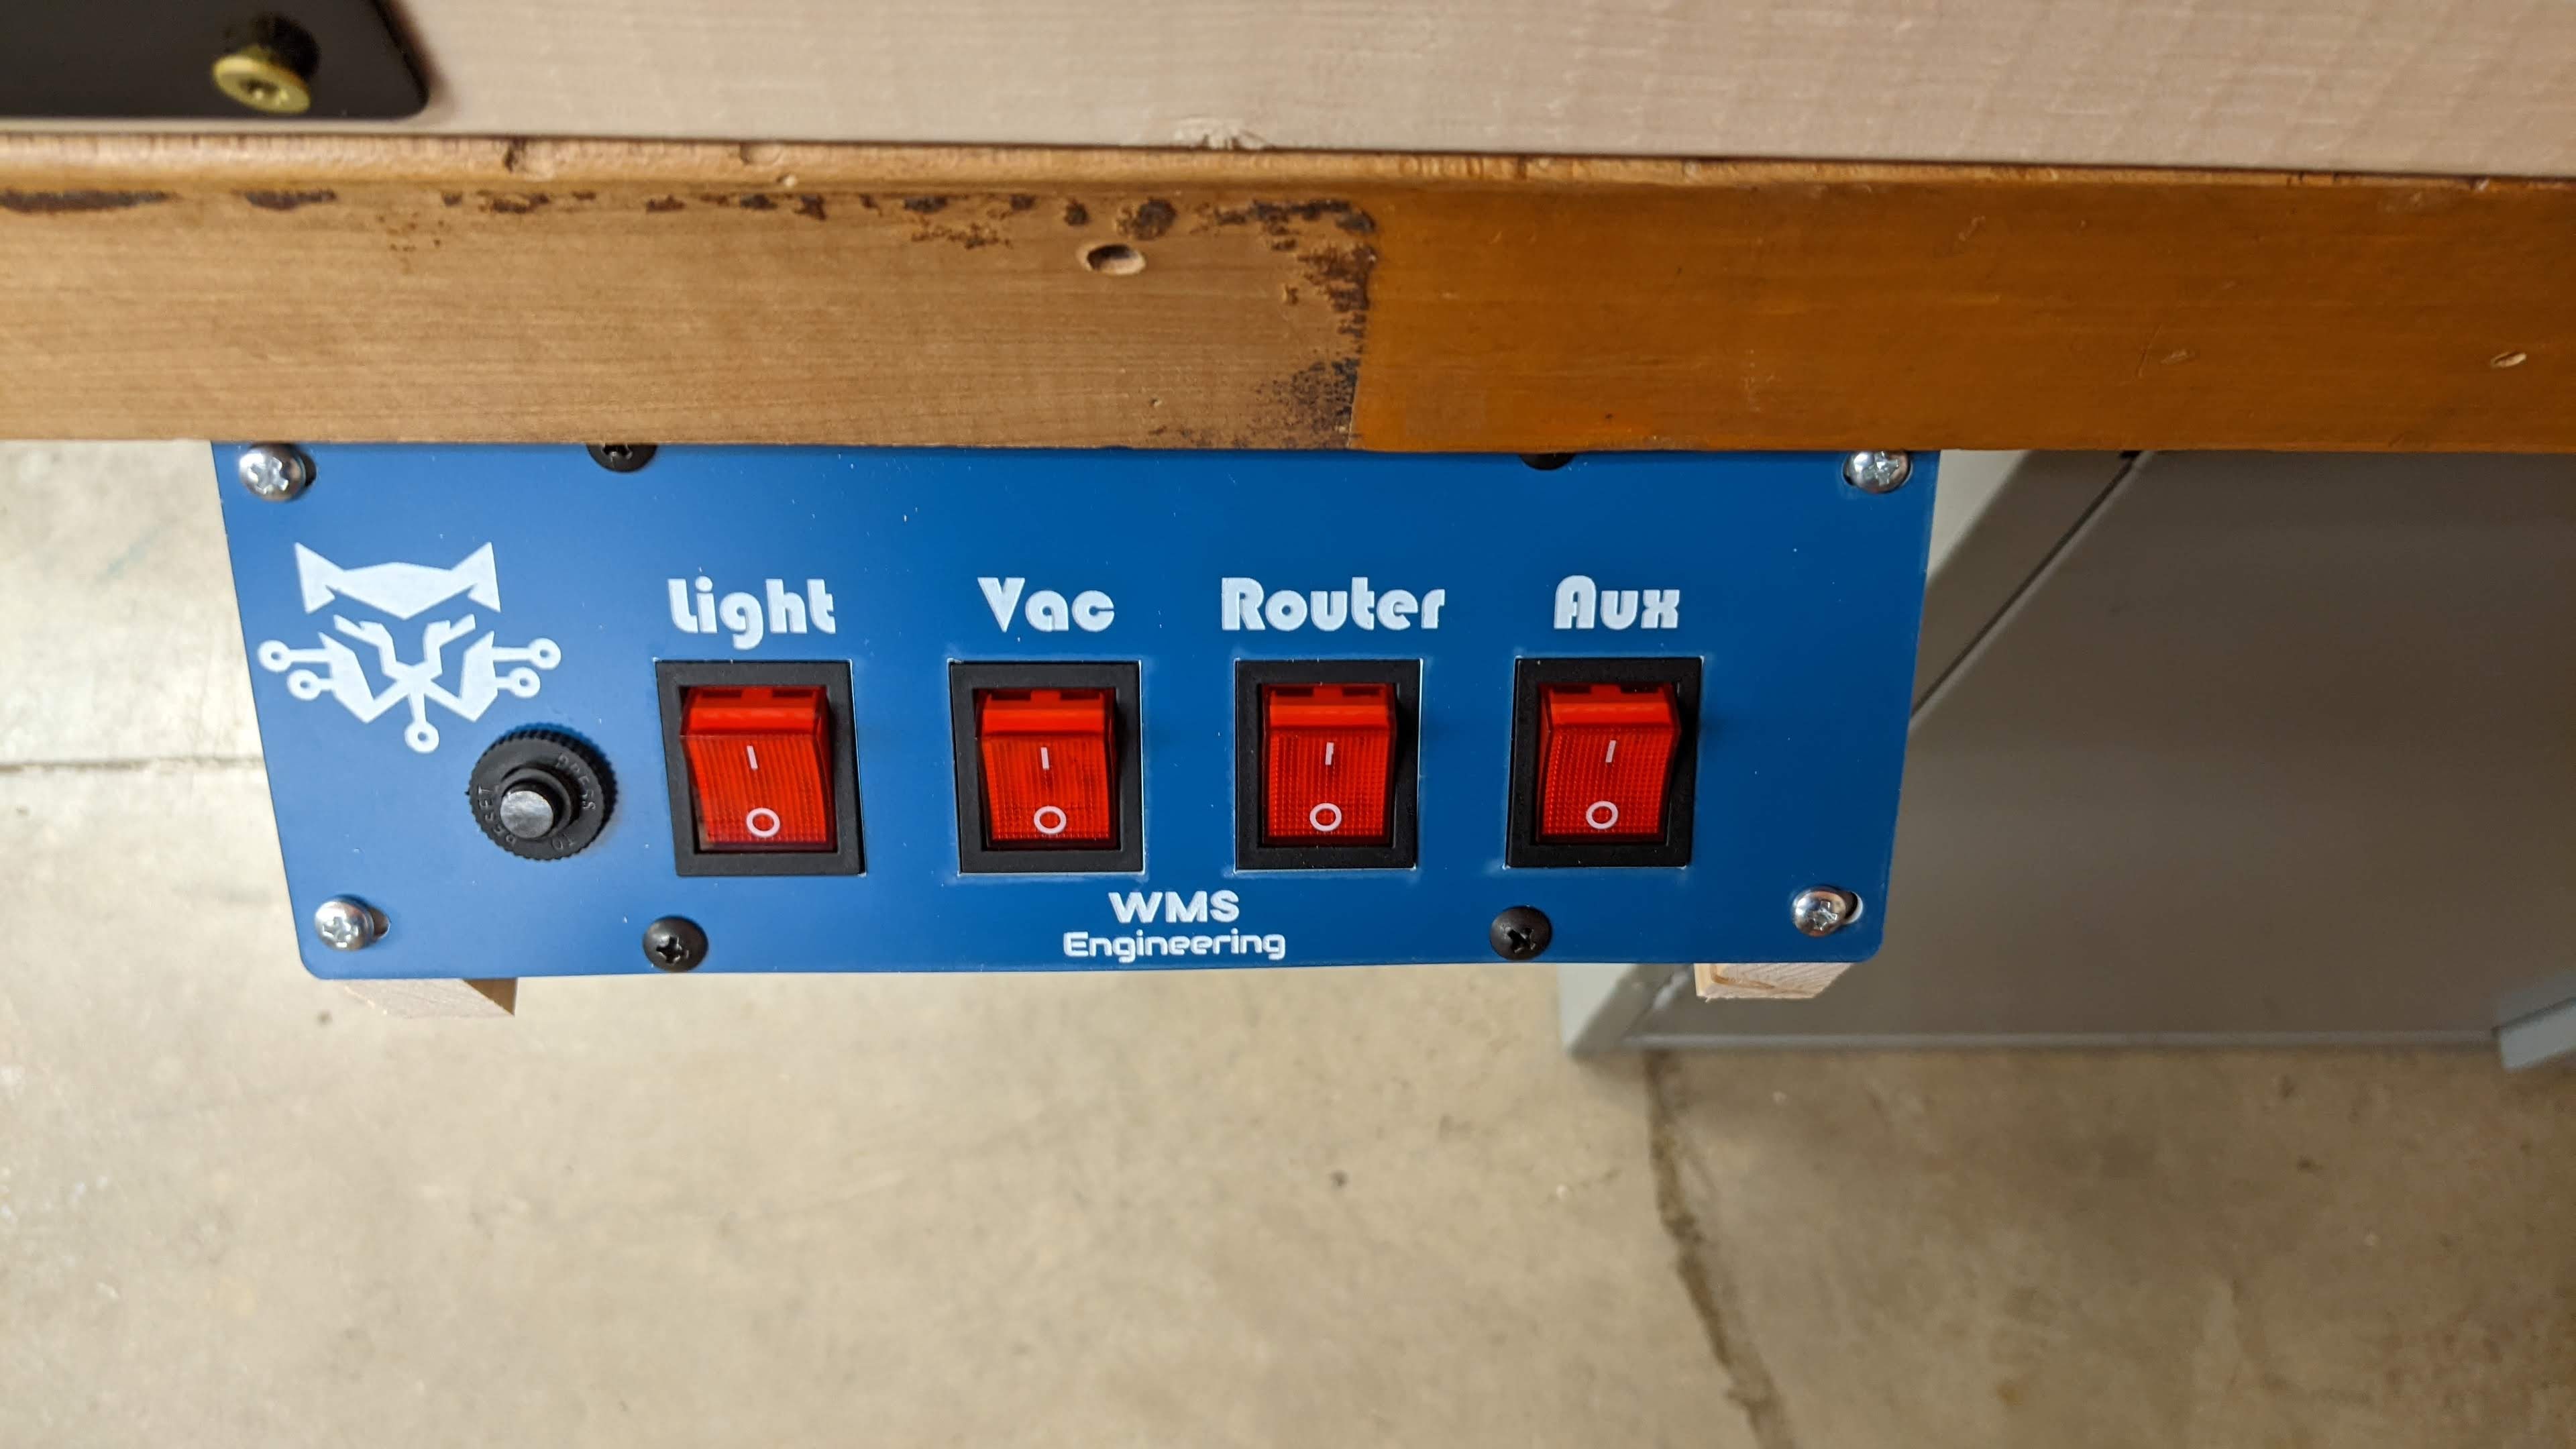
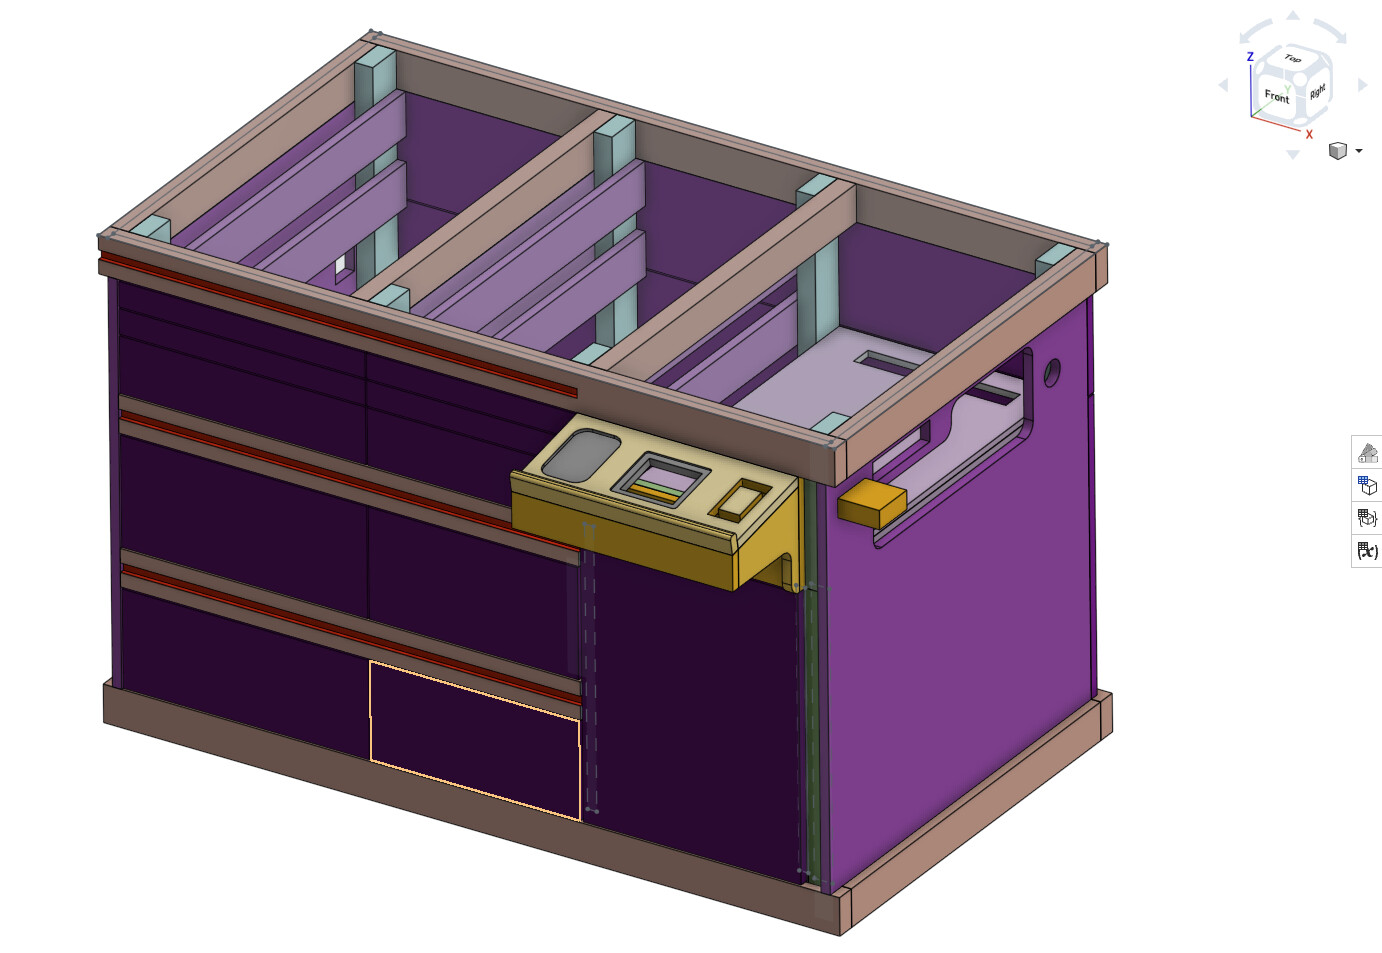
I need 4 switches and perhaps a paddle switch.

Looking into covered switches, lighted switches, rockers and toggles. So many options.

Wondering if there is a panel set that someone sells that is geared towards a workbench (110V, 20A heavy duty). Many options are 12V for boats and vehicles.

Also, if there isn’t someone who specializes in fantastic panels we can use for our CNCs, why not and who’s with me on designing a proper control panel for our workbenches?

These seem just fine - https://www.amazon.com/Nilight-90014E-Rocker-Toggle-Warranty/dp/B07QKFD7Z7/

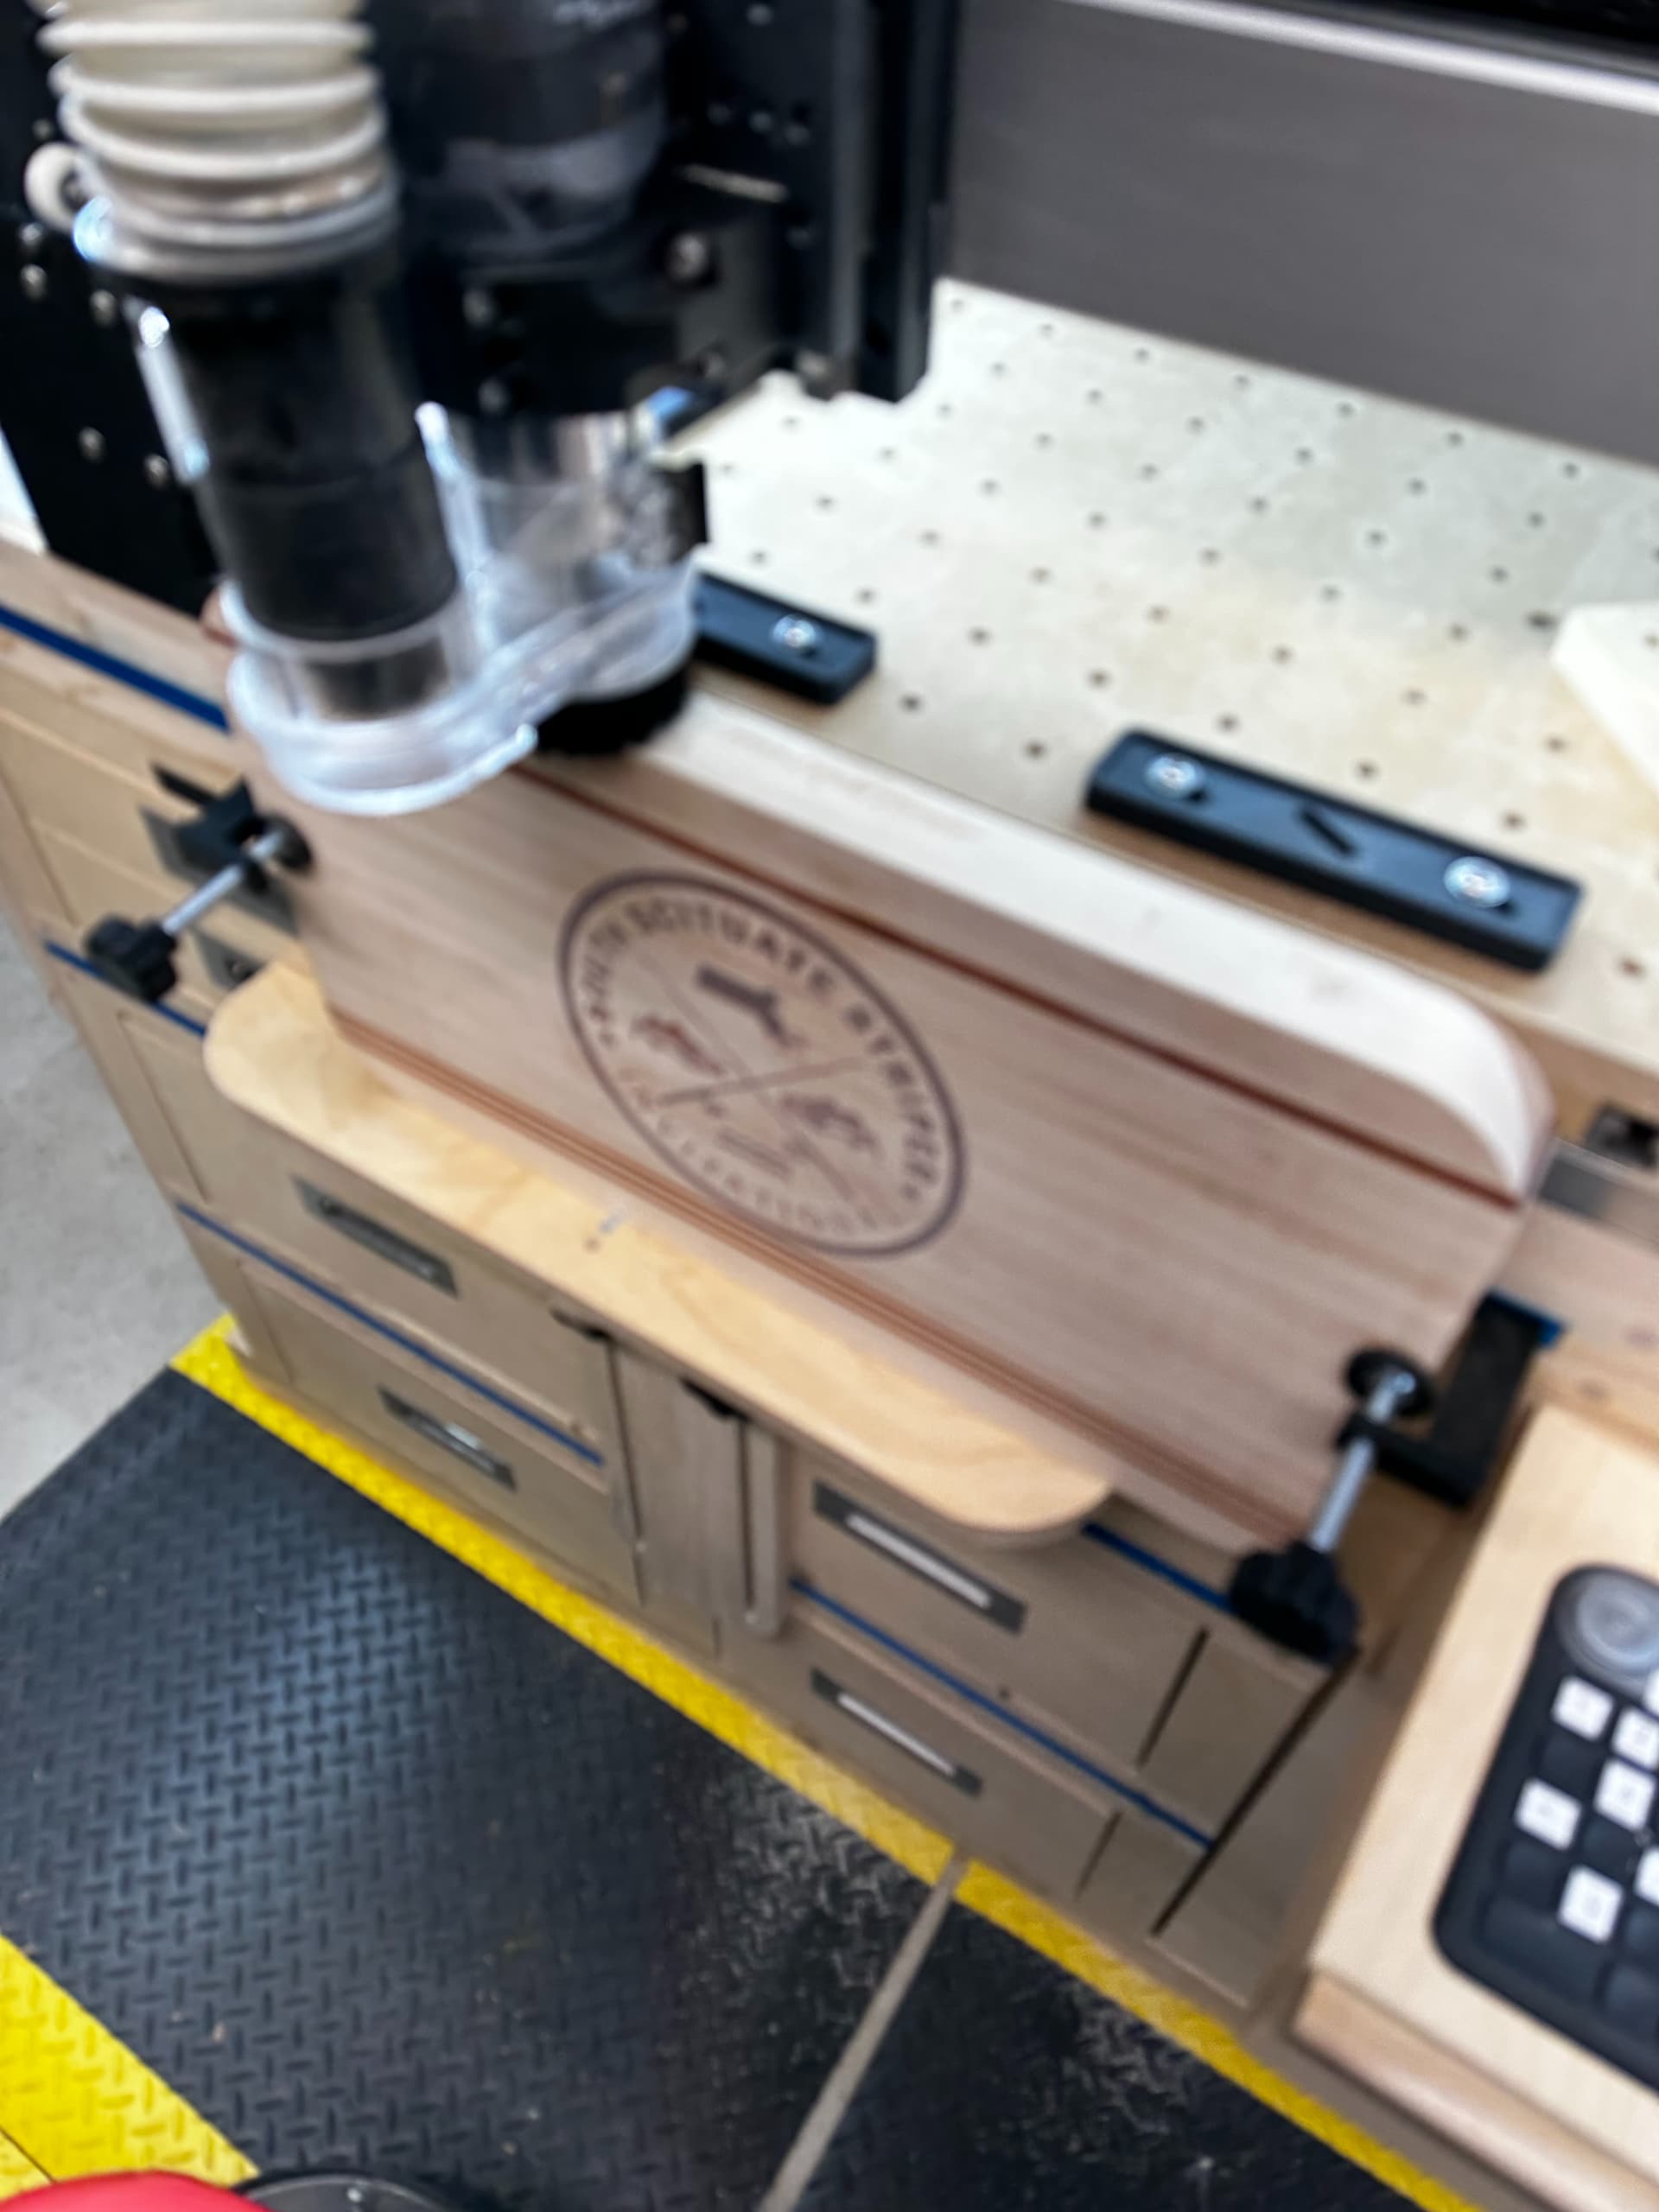
I’m really into the aesthetics part of this process and I could easily fix these to my table and be done with it, but something is calling me to find or make something much better. There has to be a maker out there specializing in such a product.

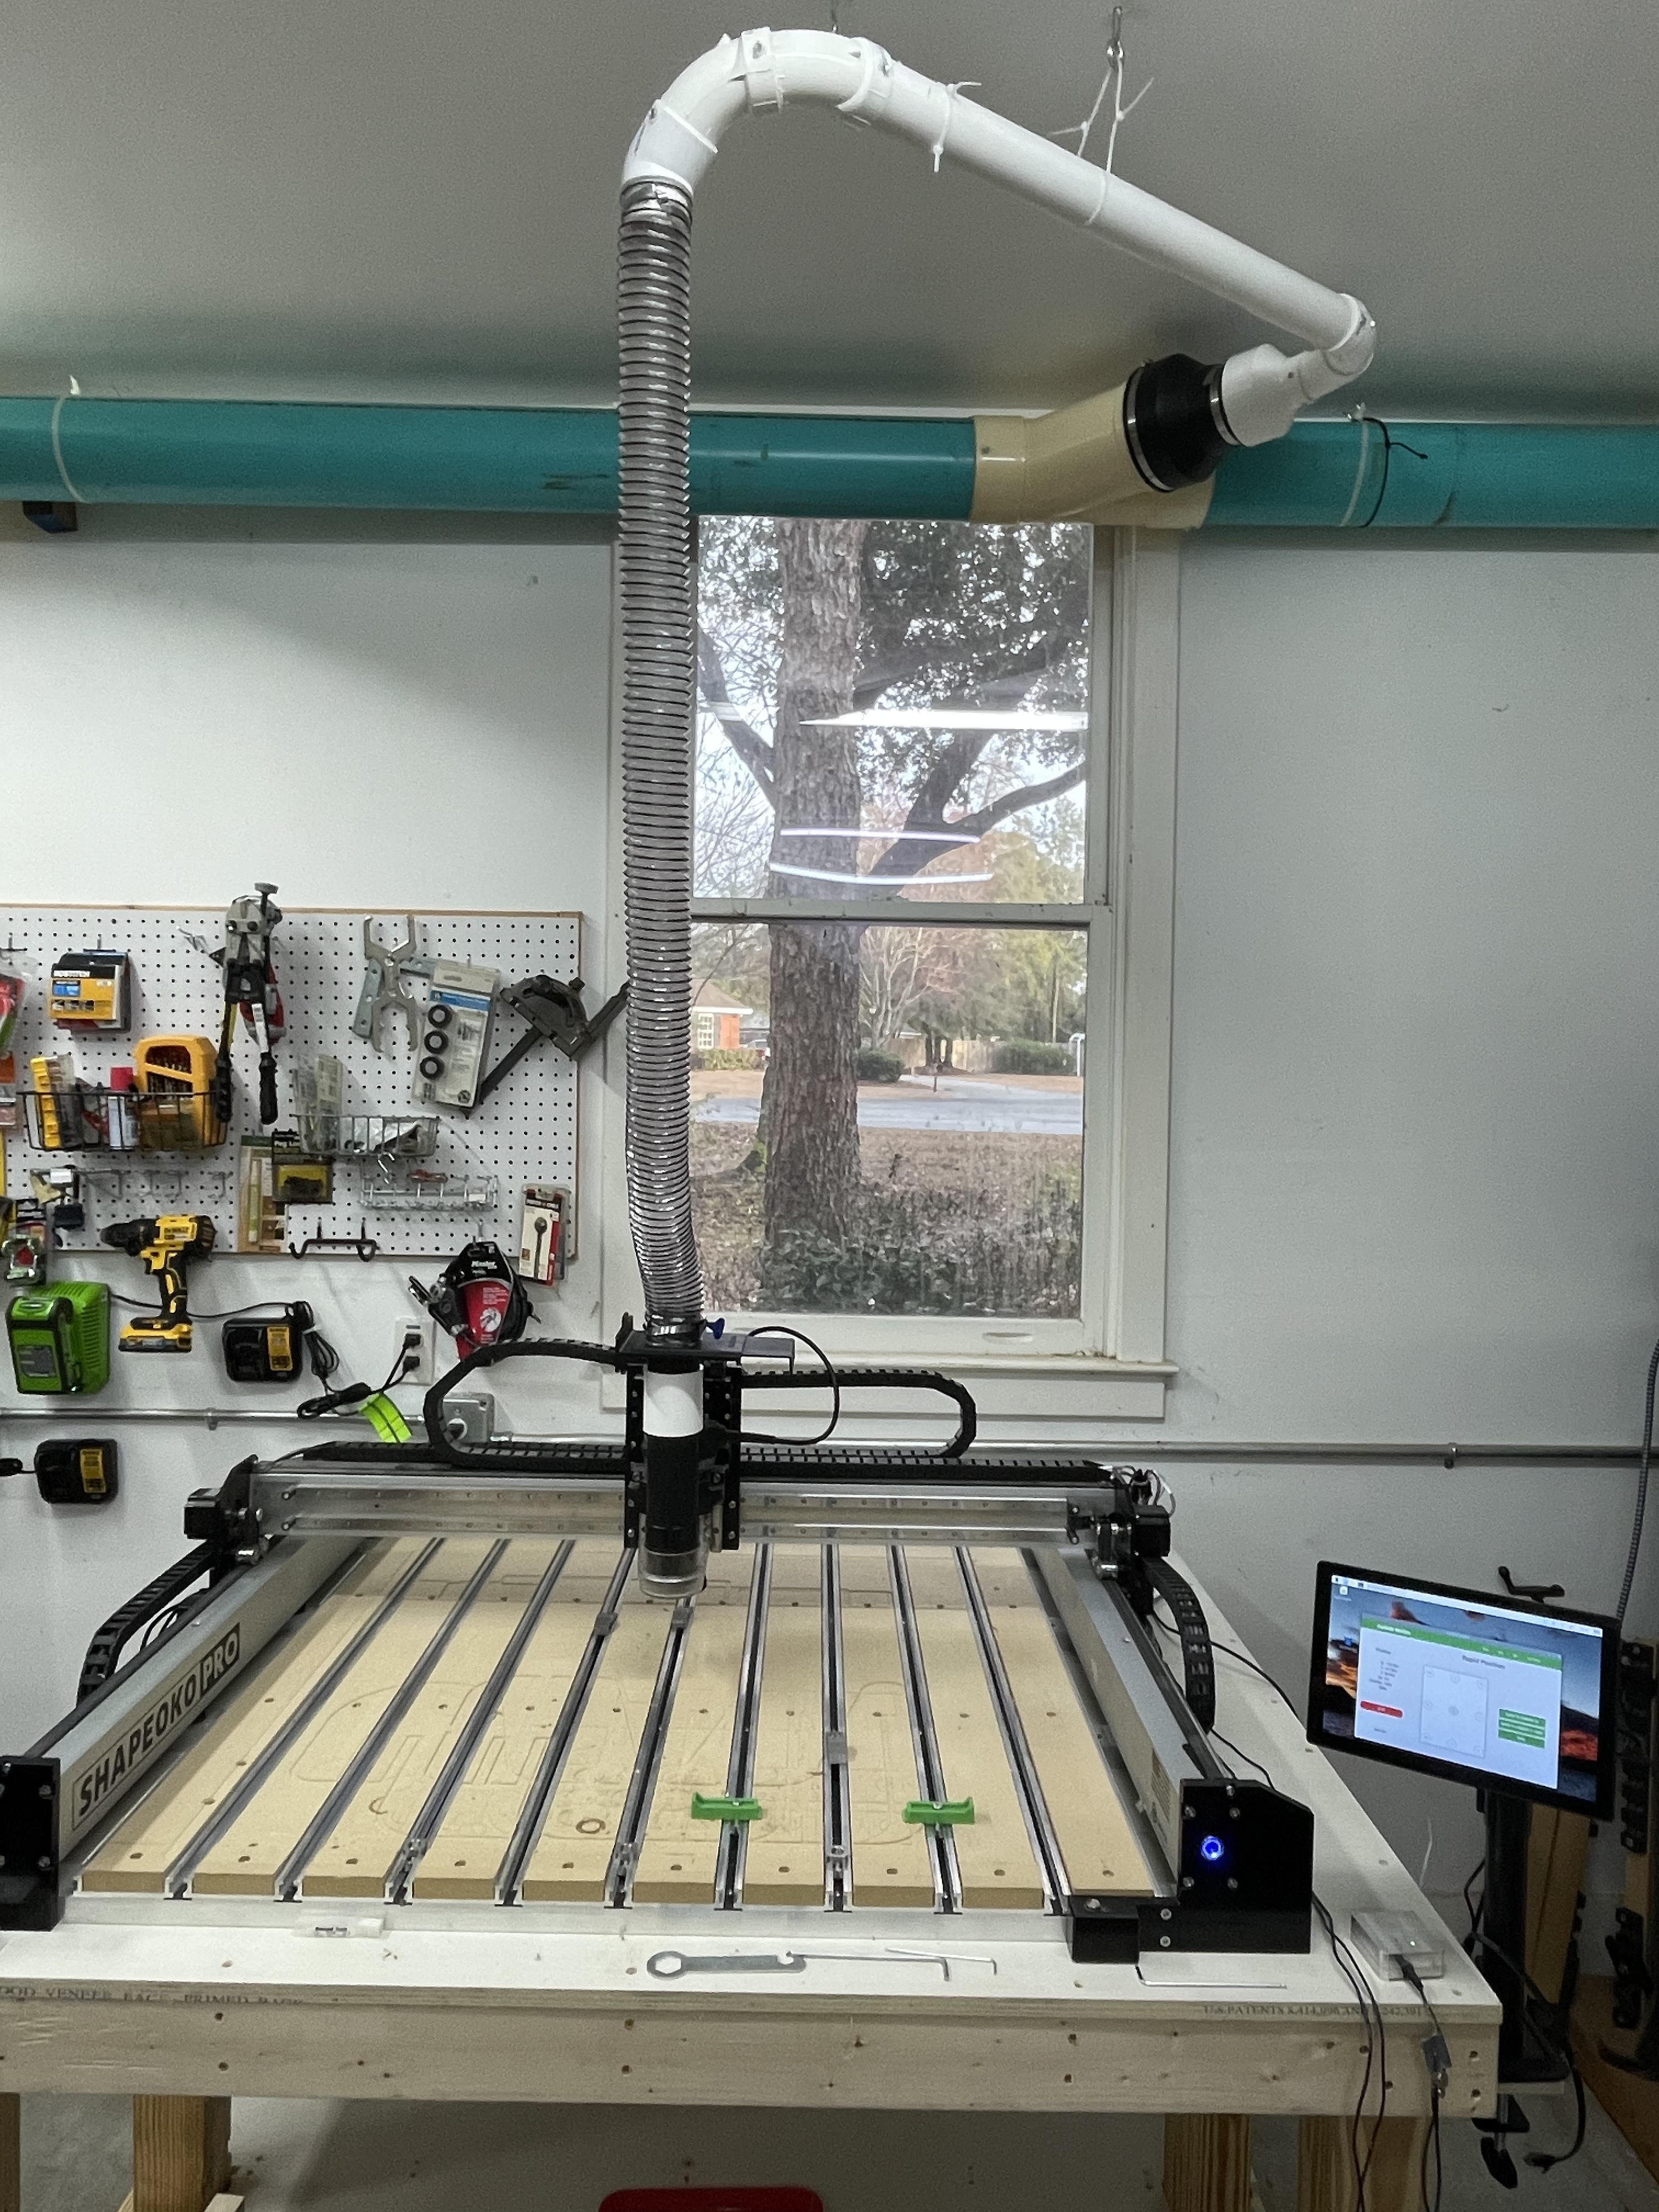
Hope you are all having a wonderful day. Today is my first day with a functioning CNC machine, so life is definitely different now. Life is good.

Yes, folks have done this sort of thing — it was more commonly discussed on the now off-line Shapeoko forums.

Beyond aesthetics though, you have to make sure that all switches are rated for the amperage being put through them.

I just use an old under monitor surge protector w/ my SO3.

1 Like

I have a rackmount surge protector but I want individual switches. Vacuum turns on automatically, but I don’t always want it on. I ran 2 x 20A that end in 4 switches as my CNC + VFD can need as much as 16A alone, so my vacuum and air compressor are on a separate breaker.

There are many times more 12V solutions that look like I want them to for boats and RV’s and cars, but few if any that are rated for 110/220 at 30A (I’m fine with 20A, which are available as well but will most likely choose based on form once threshold is met).

Haven’t sifted through digikey yet.

Sounds like this panel is my first non-work CNC project now!


I can’t find the link right now for the switch panel, but I think it was only 15A.

1 Like

I would suggest you get switches that are rated for 120 volts.

A 12 volt switch rated for 20 amps is 12X20=240 Watts (Voltage times Amps=Wattage)
A 120 volt switch rated for 20 amps is 120X 20=2400 Watts

There is a ten fold amount of wattage from a 12v switch to a 120v switch. Search a little more for a 120VAC rated switch.

Check out this amazon.com switch:

Too bad you can’t just run out to RadioShack and pick some up.

If any of you guys live near Orlando checkout Skycraft Surplus. Lots of fun things in there.

2 Likes

A thought that would open up a lot of switch options is to run the switches to control heavy duty relays. Then you can get just about any switch you want, since most relay coils only need a couple hundred milliamps at most.

Edit: A little more info. You can get relays that have 5 or 12 or 24.VDC coil voltage, but can switch 120 VAC. So, if you find that the switches you like are 12 VDC, buy relays that switch 120 VAC 15A but have a 12 VDC coil like this one. I believe the base is separate though.

It’s kind of frustrating, because if you buy basically the same relay, but with solder pin terminals for soldering to a board, it would cost around $3.00. But the ones that are made for plugging into the bases are 5-10 times more.

1 Like


This is how I did mine. I still need to make the labels.

3 Likes

I recently upgraded my Shapeoko Table, and built a custom switch panel. Machined the Aluminum panel with my SO4, and also used it make a variety of the bench pieces.

Used these switches : https://www.amazon.com/gp/product/B07S914SFB/ref=ppx_yo_dt_b_search_asin_title?ie=UTF8&psc=1

If you want more detail on the bench overall, let me know. Been meaning to write it up.

6 Likes

Mike: Can you tell me a bit more about that keypad you’ve integrated? What function does the jog-wheel have (if any)?

Also…I see the T-Track, which indicates that you are using those to hold work for vertical cuts in front of the unit? That would also account for the recessed drawer pulls. But the top drawers look like they have protruding pulls? Do they retract - or are they in the way of vertical applications?

I am currently using Amazon Alexa plugs to control many devices in the shop. I can use the Alexa app on my iPad as a control panel or the the Alexa Dot for voice command.

Gary -

I bought this mini key dial. Amazon.com

I labeled the top four buttons 1-4 for speed, and then used the next nine below it for UP, DOWN, LEFT and RIGHT. I used the two remaining on the right for Z direction + and -. The knob is also programmed for Z + and -, but i rarely use it.

Here are a few more picture for of the bench.


When all the drawers are closed, the front is flush with the T tracks. The top shelves handles roate and can be recessed.


T-Tracks for clamp storage on the left side.


Here it is with my Shapeoko 4 XL on it. I built the bench big enough for the SO5 2x4, which should fit perfectly when I eventually upgrade.


I made a small bracket to support the Z direction for edge carving.


I simply align the SO4 with the front edge of the bench, and then align the board I want to carve with the top of the spoilboard.


I’ve only used it once so far, but I am happy with the results! It gets about 1.25 or so of overhang in the -Y direction in front of the spoilboard.

Back to the controlled question, here’s the right side of the bench. I have integrated power, with outlets and USB, as well as access to the wiring.


Inside, there are six outlets, mapped to the six switches on the control panel. They control the CNC, embedded strip lighting on the machine, over head supplemental lighting, and the spindle. The red tape is because that outlet doesn’t work, and I have two spares, so I haven’t diagnosed that issue yet. Someday.


The back of the machine also opens full width for access.

Hope that helps. Let me know if you want more details. It is entirely modeled in CAD (Onshape!!) as well, if anyone wants it…

14 Likes

Wow! Absolutely phenomenal! Great build and thanks for posting!

1 Like

I would suggest a 110volt to 12volt transfomer. A set of 12 volt relays and switches. Hook up all your things to a individual relay. The switch will activate the relay and turn your stuff on. No need to worry about running 120 volts through a switch.
I have all my components in a electrical enclosure with dual cooling fans with this setup.

I am 100% seeking this solution. Not only does it make more sense to only use 12v for a switch, it also gives me so many more options. I already am adding 5v for fans and some controllers, so game on.

1 Like

Great Job!
I would ask for plans but it is beyond my skill level - and patience…
John

This is amazing! Truly a testament to your skill and patience. Are you happy with your input device, or have you seen other solutions that are more suited for CNC?

I am considering installing a RasberryPi and a touch screen, but then I’m more likely to use the Pi as a controller, not to run CarbideMotion on it. The search continues

Thank you! I went with the 20A versions of these! Looking to a RasberryPi solution for touch interface, or may just go with a simple input with a joystick. So much more more fun options with 12V, I appreciate your answer and will do my best to provide a build summary when it’s “complete”

1 Like

I bought one of these, but from Amazon and like it. You have to be careful putting the PI in but it works great. I got it from Amazon but here is the main site.

4 Likes