I have been using pins for two sided machining and am wondering if anyone has any tips/tricks on resolving a couple of annoyances.
pin fit: I find that I need to oversize my holes to get pins to fit easily (so that they can also be removed), but they also seem potentially tapered to me (tighter as they go down). I’m thinking this is bit flex? I’m doing a bore with a 1/8 bit. I tried peck drilling with a 0.25in and the fit was wobbly. Is this an inevitable problem with a stock z carriage, or given a 1/8 bit boring down ~12mm? I’ve tried two passes, doing a conventional and climb, etc. with no improvement.
re-finding locations: I have been using this trick, but either that method is also subject to mis-alignment, or the issue above causes there to be enough play in the location that I get steps/mis-alignment when I do two-sided machining
similar to above, but explicitly: having a jig and re-creating a part after a power cycle/reconnecting to the Shapeoko. I have considered making a pin hole or locating to one, then clearing machine offsets and recording the absolute position… would this be reliable enough?
Does anyone have any tricks for getting holes with hardly any play (yet still allowing pins to go in/out freely), and/or how you design parts and flip while maintaining the WCS between each side? I have been doing symmetric parts, and define a top setup that uses the pin center for x/y and stock top, then a duplicated bottom setup that uses the same x/y, but the wasteboard for z. In this way I only have to face one side, machine halfway down, and since I’m zeroing z off the bottom (which was the top), I don’t have to worry about exactly thickness when it comes to hitting the halfway point of the part.
I am considering switching to machining a simple rectangular contour into my stock from the top (so just take off ~1mm on each side at a depth of ~6mm, and using an embedded square in my wasteboard to position. In this way, I’m now locating against two edges which might be less prone to slop (at least given my inability to make perfect locating holes for the pins), and I think it will be easier to just locate off two edges vs. refinding my pin hole…
Anyway, consider this a general inquiry on what people do for two-sided and making it easy to re-locate, get consistent/accurate positioning, etc.
I haven’t done this just yet but my plan for tight holes is to first drill with a 3-4mm bit to clear out most of the material and then do a contour with an endmill and a stepover of say 0.2mm to bring it to final diameter.
How about not re-zeroing the machine between the two operations? That way you avoid this problem entirely.
Also, do you have any of the probing solutions, like a touch probe?
I use alignment doweling to align my fixtures. I use 3/4" dowels into my waste board so they stick out 1/8". Then machine to tops of the dowels to 1/2". By keeping the dowels short it does the job locating my fixtures with minimal clamping. Using the rapid to position in the middle as my work XY zero point.
Re. operation, surprised you use a contour for a circular hole? I think my last iteration creeping up on the proper ID would result in similar operations, though a 0.2mm stepover is 0.007in, and I was bumping ID by 0.001 (so maybe rubbing vs. making chips). Still re-running two bore operations still results in this phenomenon of being able to push the pin in to some depth (wobbly), and then getting tight, which I’ve taken as meaning I have a tapered hole. I was able to bottom out and have very good fit, but I also had to tap in the dowels and use a pliers to get them out!
Indeed, I can avoid not re-zeroing, but a) sometimes I’ll do other projects not involving this fixture origin (so now my zero is moved), b) I’ve heard inklings that power cycles and re-initiating is not ultra reliable on positional repeatability, and c) given b… I admit I’m trying to avoid re-drilling locating holes each time (which is the “easy” way to just make sure the origin is correct), so getting back to the same fixture would be awesome.
On that point, I’ve also been considering a probe and a square/corner fixture, which would help with this significantly.
I just mean that bore is specifically dedicate to circular holes, so it has always been my go to for holes. I was curious why you’d use contour instead, unless your hole is massive compared to the tool, requiring many stepovers. I would pick the biggest tool for the hole.
“Stepdown” for the bore is a smooth spiral, 1mm pitch. I’m using a 1/8in bit to machine a 0.25in hole, and as mentioned in the initial post wonder if I have either tool deflection, z carriage deflection, or possibly a tramming problem (or all). I’ve done the 'ol overhaul on the machine at least twice in 1.5yrs after the initial setup checking belts and alignment, but have noticed what I think is a very slight increase in stair stepping on facing operations so it could be out of alignment again.
Ahhh, you machine the dowels! I’m using steel pins, so that wasn’t intuitive to me.
Do you machine these pin locations into your wasteboard every time you change your zero? I still don’t understand “rapid to position center” unless you a) have that machine offset stored and manually type it in or b) pick an x/y zero, maching those holes, insert the pins, and then can continue to rapid to that position during subsequent operations.
Put simply: if you made the locating holes, then I changed your origin… how do you get back to the center of those holes for your next operation?
On the JOG page in Carbide motion. Click on Rapid to Position. Select the center location. Set zero XY. I use Helical drilling for my doweling holes. Estlcam for my programming and run the programs in Carbide Motion.
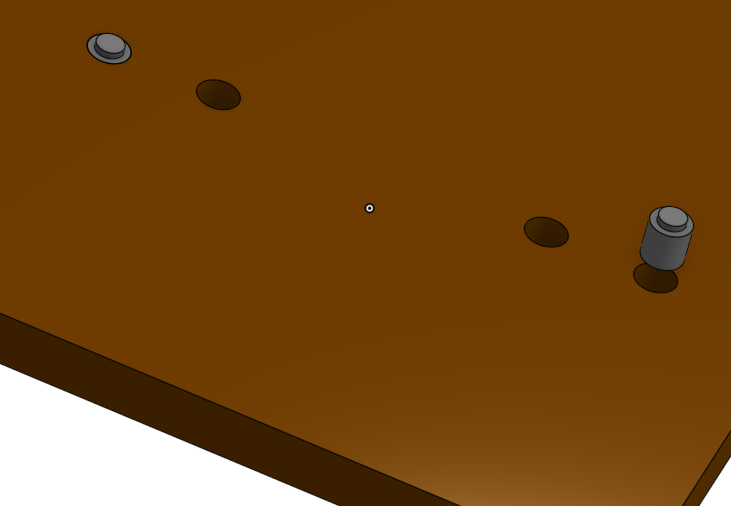
My process has been to secure stock however is convenient and mill two tight fitting pin bores that match the pin holes on my waste board.
I use mcmaster brass dowel pins for this so they are more robust than the wood, but soft enough for a mistake to not be a disaster. I also rather have a press fit to avoid any slop that could affect alignment later on. A free fit means clearance, which means misalignment later. So far, I’ve been able to pull the pins easily enough with pliers.
I then flip onto those first holes with pins and zero the piece X, Y, and Z for side one. During side one I mill the holes for the flip, tight as before. I flip the part onto the same pin holes in the waste board and only rezero my Z. I then mill side 2.
I’ve been able to manage 4 side milling with this method.
Cool tip for brass! I’m not sure I understand the initial side + move to pins. So let’s say you clamp your part in some arbitrary point, and for this example, pick one of the locating holes as your first origin. You now have a part with one face machined and two holes in it.
You then flip the part so that machined face is now down on the pins… but what do you set as your new origin for subsequent operations, and how do you get the machine reliably to that origin?
I get how to do this if you always machine the pins based on some origin and then never move the machine, but I’m less clear how you would start from a new part and what sounds like pre-existing holes in your wasteboard and accurately get the machine to the right zero.
Oops, forgot the big detail where I align the work coordinate system to the waste board pattern by using a #201 endmill in the spindle to find the 1/4" dowel pin holes. I can then jog to the mid point for X and Y zero. Once I have the XY set I don’t change it again. I only adjust Z.
My wasteboard has a grid on 2" of these dowel pin holes. So it’s easy to calculate zero per the CAM after aligning to one of the holes.
Ahhh, thanks. That make sense. So you’re using a similar method to the one I have in my initial question, I just use a 0.25in steel dowel vs. a tool. I have been extruding cylinders in my model (0.25in ID) and using those as my origins, but the general idea is the same, and then I just need to set the z for each pass.
I’ll try a tighter hole fit and see if that helps me out. Since you use a pretty tight fit, how do you get the part back off the table? I just worry it will have such little play as to not be able to get it started, but maybe I’m over estimating the required force.
On that note… maybe you do something similar to what @Tominator says above, where the dowels are only into the part a shallow distance? I have 1in long x 0.25in and have been doing ~15mm in the table, 10mm in the part. I think shallow would help with the above to get it off the pins, at which point I could use pliers to get the pins out of the table.