For argument’s sake let’s say you needed to carve something that has 50" of Y in it which means you need to move your work piece 2 or 3 times depending on which machine you have for capacity. Does anybody have some good tips/tricks on how to index parts in Carbide Motion or in Carbide Create Pro?
When doing this on my plasma table (which has a working capacity of 24" x 33" effectively) I can create a reference point on a single axis and just move the part down. Since I do everything for that in Fusion 360 I’ll split my work into 2 separate files and just home off the indexed 0/0 point. Not sure how I’d go about doing that in CCP though.
Probably an odd question since I don’t even have my machine yet but I have a freaking LIST of projects already for this thing and one of them is bigger than the capacity of the table (and the XXL so even if I did buy that instead of the XL Pro it still wouldn’t fit).
@WillAdams one of the deciding factors for going with the Shapeoko over something like a QueenBee Pro (which I believe is one of the only other ‘desktop’ cnc offered with linear rails) was the community and documentation. So far in my reading and exploring that is DEFINITELY the case. This place is bumpin!
Didn’t want to start a new thread just for this question and it’s related to tiling larger projects on the Shapeoko (Pro with Bitsetter). From the pictures it looks like the Bitsetter sticks out above the spoilboard but as I understand it the cut area isn’t the full width of the table between the extrusion (Y-Axis) so for narrower pieces it would not be an issue. However if I was looking to purchase the Pro and wanted to run tiling projects where the material fit snuggly between the Y-axis extrusions (ie. large mirrors, frames, wall panes, etc…) it would have the advantage of keeping the project squared as you feed it though for the following tiles. That said I’m wondering how easy it would be to physically remove the Bitsetter if it was in the way of the material and any additional software configurations required to tell the controller the Bitsetter is not to be used for tool changes?
that part I can answer: it’s as simple as unchecking a box in CM settings, and re-checking it once you’re done and have reinstalled the BitSetter.
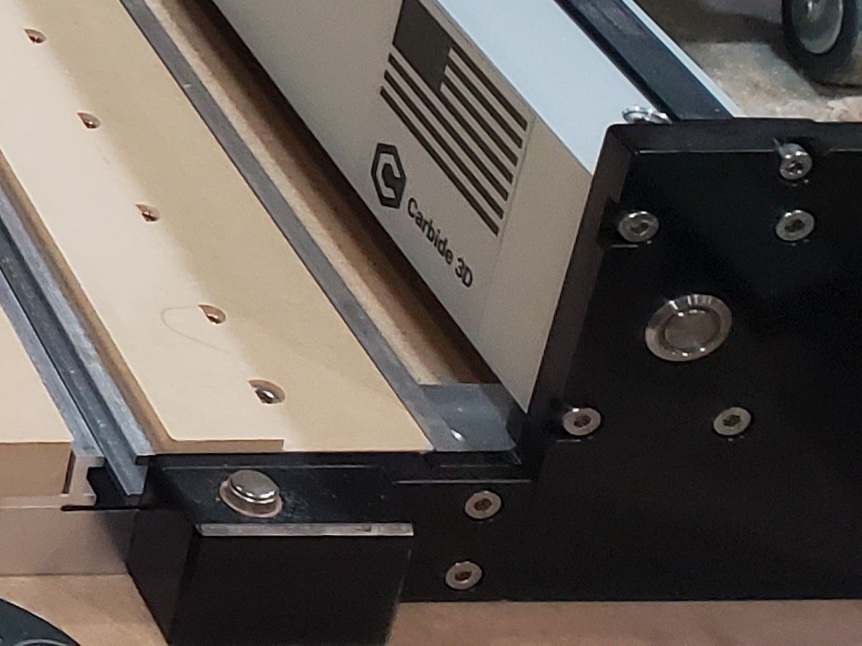
It looks to me like the front right plate where the BitSetter sits, on Pro machines, is higher than the wasteboard level, so that would be in the way too, but I don’t have a Pro so I’ll let others comment.
I don’t think fitting stock snuggly between the Y extrusions would be required/helpful, as you would still need to index things along Y (typically using indexing pins) anyway, and indexing pins take care of both the Y and the X alignment as you slide your stock?
I was surfacing my MDF slats last weekend and was concerned it might hit the bitsetter (Pro XXL). I just unscrewed the mounting holes (2 in the front which are super accessible and then you just tilt it to the right. After it was complete, remounted and everything was good.
Additionally you could just disable the bitsetter too as @Julien states
As @Intohouse mentioned, there are just 2 screws holding on the BitSetter. I did the exact same as him. Then as @Julien mentioned, uncheck the BitSetter option in Carbide Motion and set Z the old fashioned way. So you can still use the full width with overhang. The only caveat is that if you’ve surfaced your wasteboard down a lot, you’ll still hit the front end plate. But you’d have had to surface at least 0.100" off.
Thanks for the responses that answers my question as it looks fairly easy to remove the Bitsetter and disable with a simple checkbox in the software. As for clearing the face plate worst case is I’d have to prop it up using a 1/4" material of some kind. Granted this is not something I’d be doing on the regular but nice to know it would be an option. I promised my kids a feature wall when I renovated their bedrooms and planning out how I could accomplish it with the Shapeoko once I manage to order one. In the meantime I’m browsing the community site learning from others experiences.
Maybe I’m missing something but couldn’t you just add an “extra” waste board on top of the built-in which would raise your oversize project above the front frame and bitsetter so you could easily pass it through for tiling? Obviously you would still have to disable bitsetter in CM, but it should then elevate your workpiece high enough to pass through without any issues.
That second waste board trick is exactly what I do.
First op is to mill a few datum holes in the upper waste board (must be ridgidly fixed at all times) for 6 or 8mm dowels.
Then I load my blank - and mill dowel holes that will line up with the holes in my upper waste board when I tile the workpiece. And then commence with the cutting ops as required in the first position.
Unclamp - index the board / peg in place with the dowels - and do all the second position ops.