Tiling questions/issues

Hi Folks. I’ve read all about tiling and I think I have a good understanding of how it’s explained to work on the Shapeoko Wiki. However - Im starting to realize that this method may only work for pocket cuts. I’m really trying to find a way to get this to work for outside cuts as I want to cut a large letter out of bigger piece of stock. my problem is that I can’t find a way to cut off the letter and not have the tool path follow the cut off.

See in the image above that would be my first tile and the top of the tile wants to cut the letter off. So for pocketing this would be fine - but for cutting out not so much. Anyone have any ideas? Or anyone know of another way to do this with tiling? I had hoped that perhaps the toolpath wouldnt go outside of the build area but it appears like it would.

You have to break up the toolpaths so that things don’t get cut off — you’ll need to offset and duplicate the geometry and use Boolean operations.

There’s a bit on this at: https://wiki.shapeoko.com/index.php/Fabrication_Techniques_%26_Hardware#Tiling

Thanks for the reply! I’ve read that over and over again - and while I think I get it - Im not clear on how you prevent the toolpath from cutting off the letter like I show in my image above. I thought I could just draw a square at that line, and then use one of the boolean operations to cut it off, but I can’t get a clean square. If you’re saying it’s possible I’ll keep at it - I was worried that only pockets would work because of this

The closest thing I can get to opening up the side of the letter is this…

But then I need to get rid of the square I used to cut it off too. I think I might be on the wrong path…

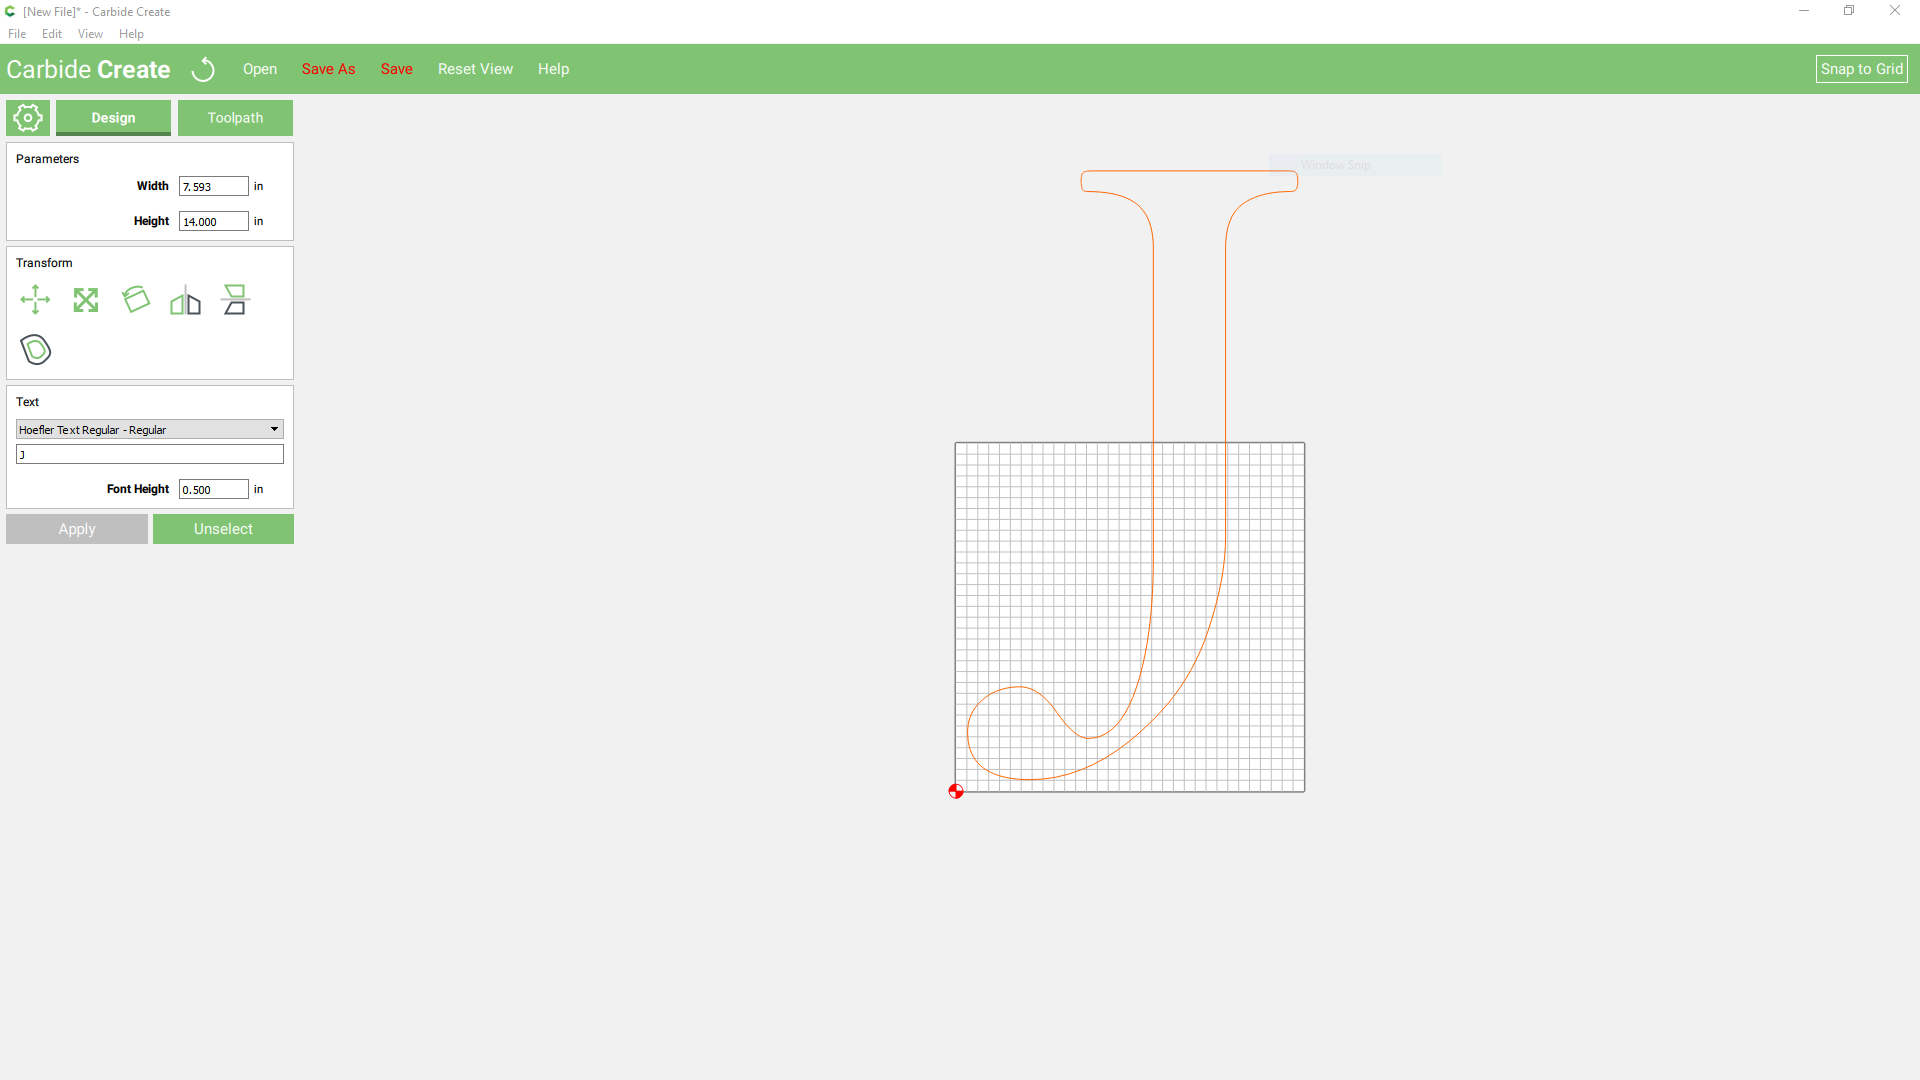
Okay, let’s imagine I want to cut out a 14" tall letter “J” on my Nomad:

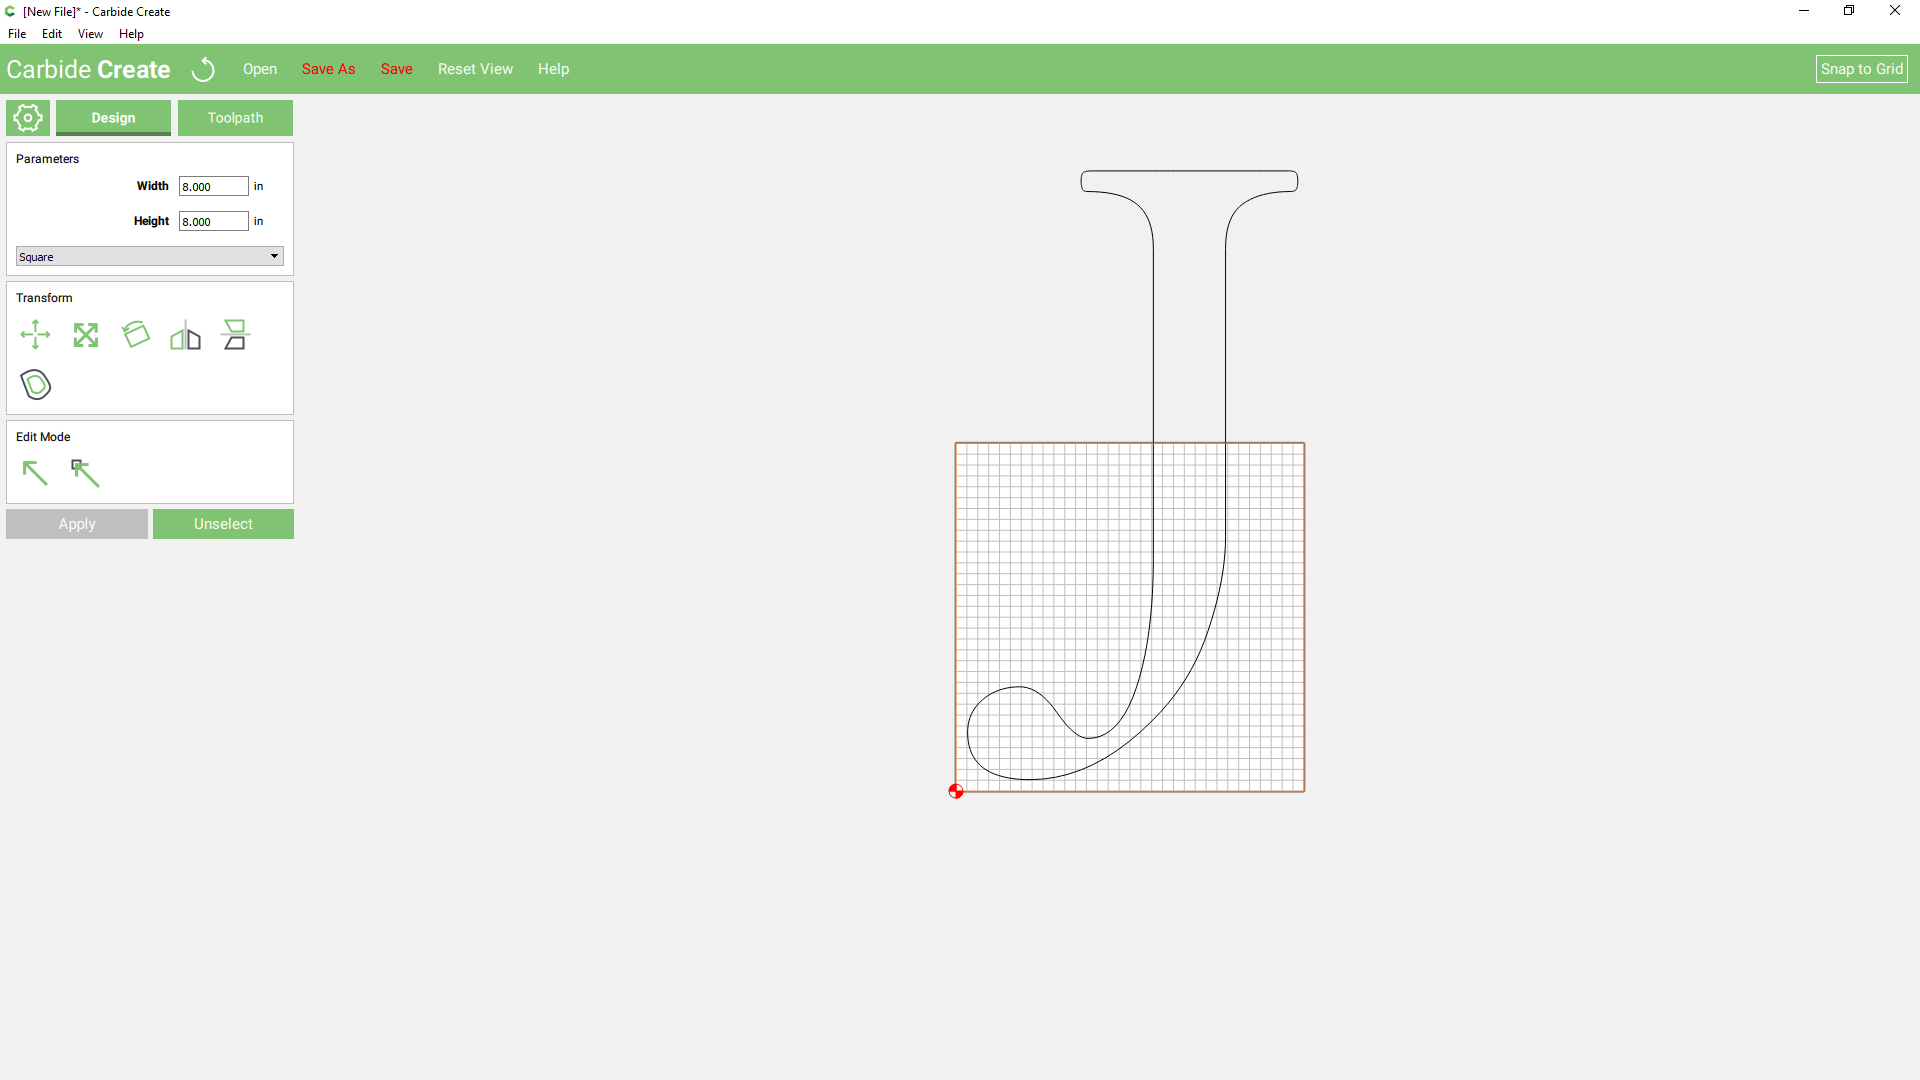
I would start by drawing an 8" or so square which defines where there overlap is going to be:

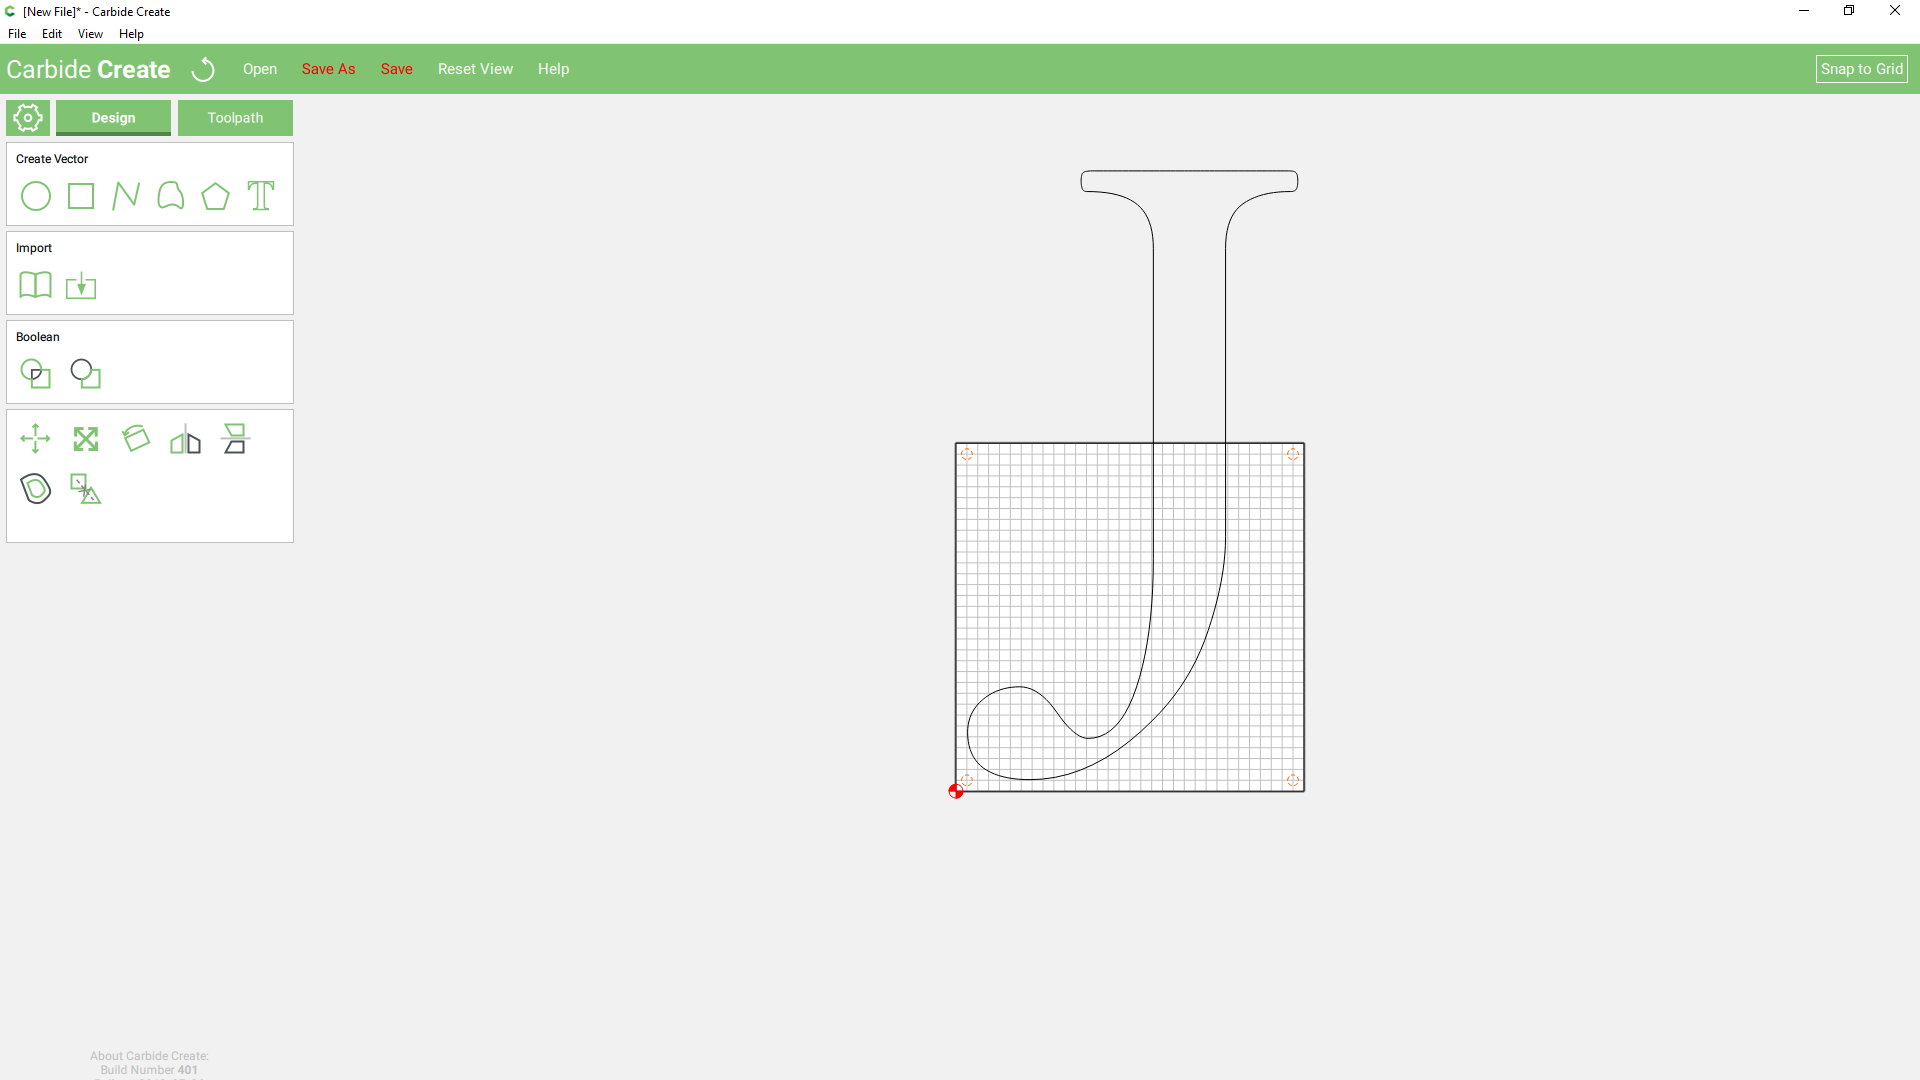
I would draw in some holes for registration pins:

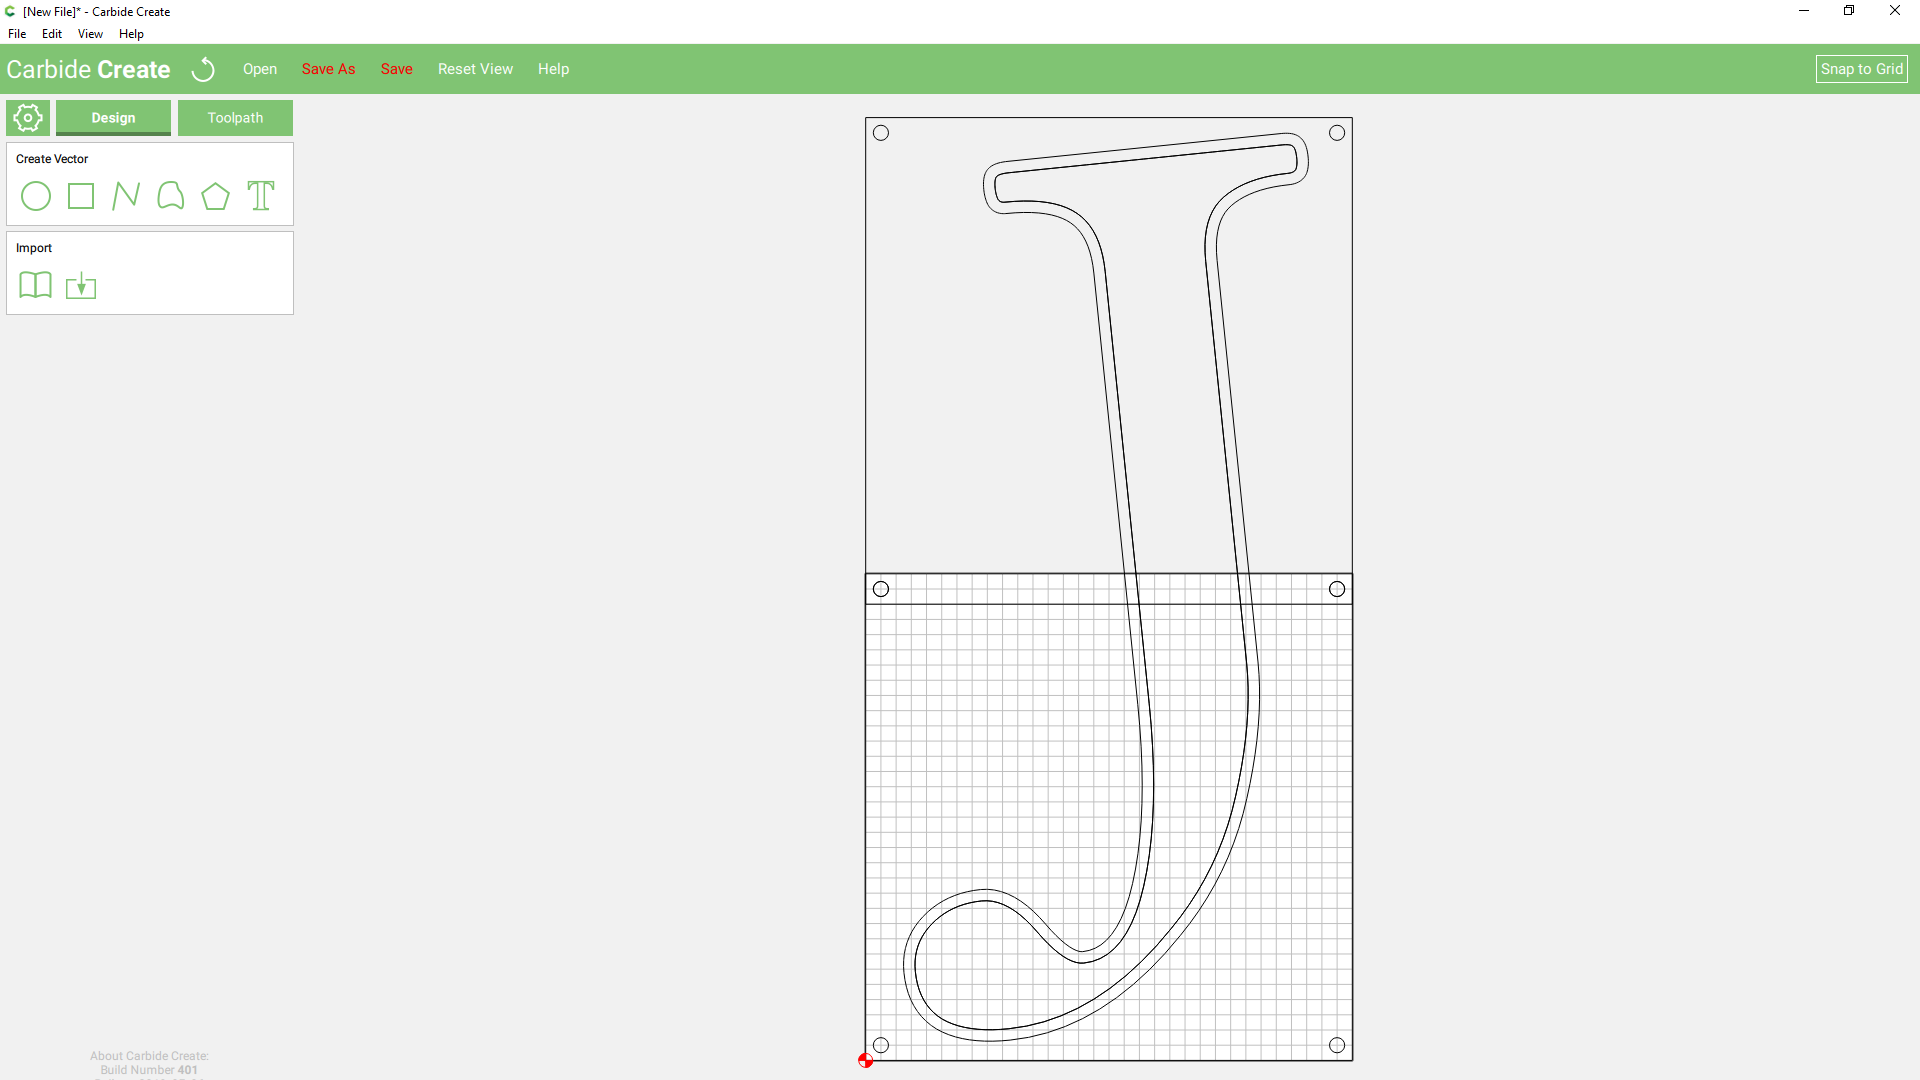
I would then duplicate and drag the registration pins and square to define the balance of what needs to be cut:

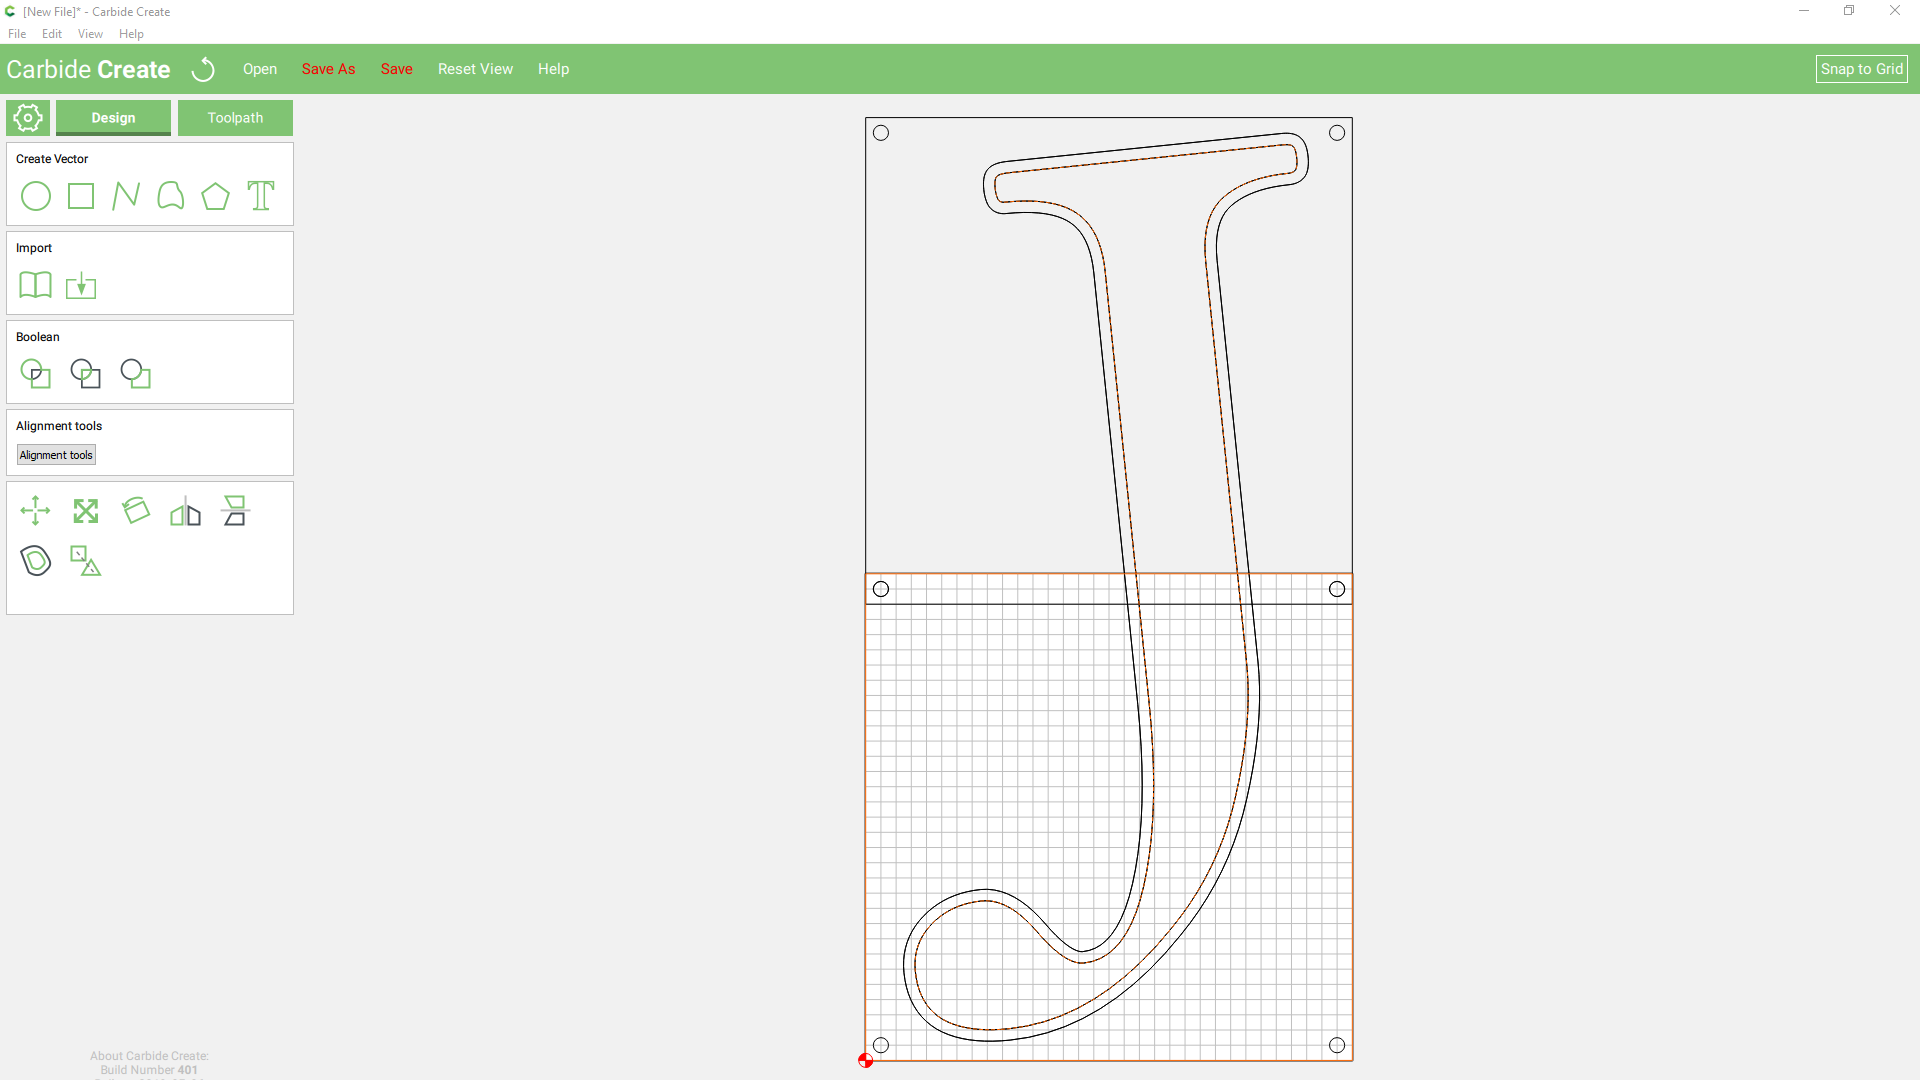
Then I would adjust the part I want to cut out so that it’s better placed and offset it by a bit more than the diameter of the endmill which I wish to use and duplicate the letter and do a Boolean operation to convert it into geometry (Duplicate the geometry twice including the squares (you’ll need two copies)):

Select one of the squares and the inner geometry so that the square is solid and the letterform is dashed:

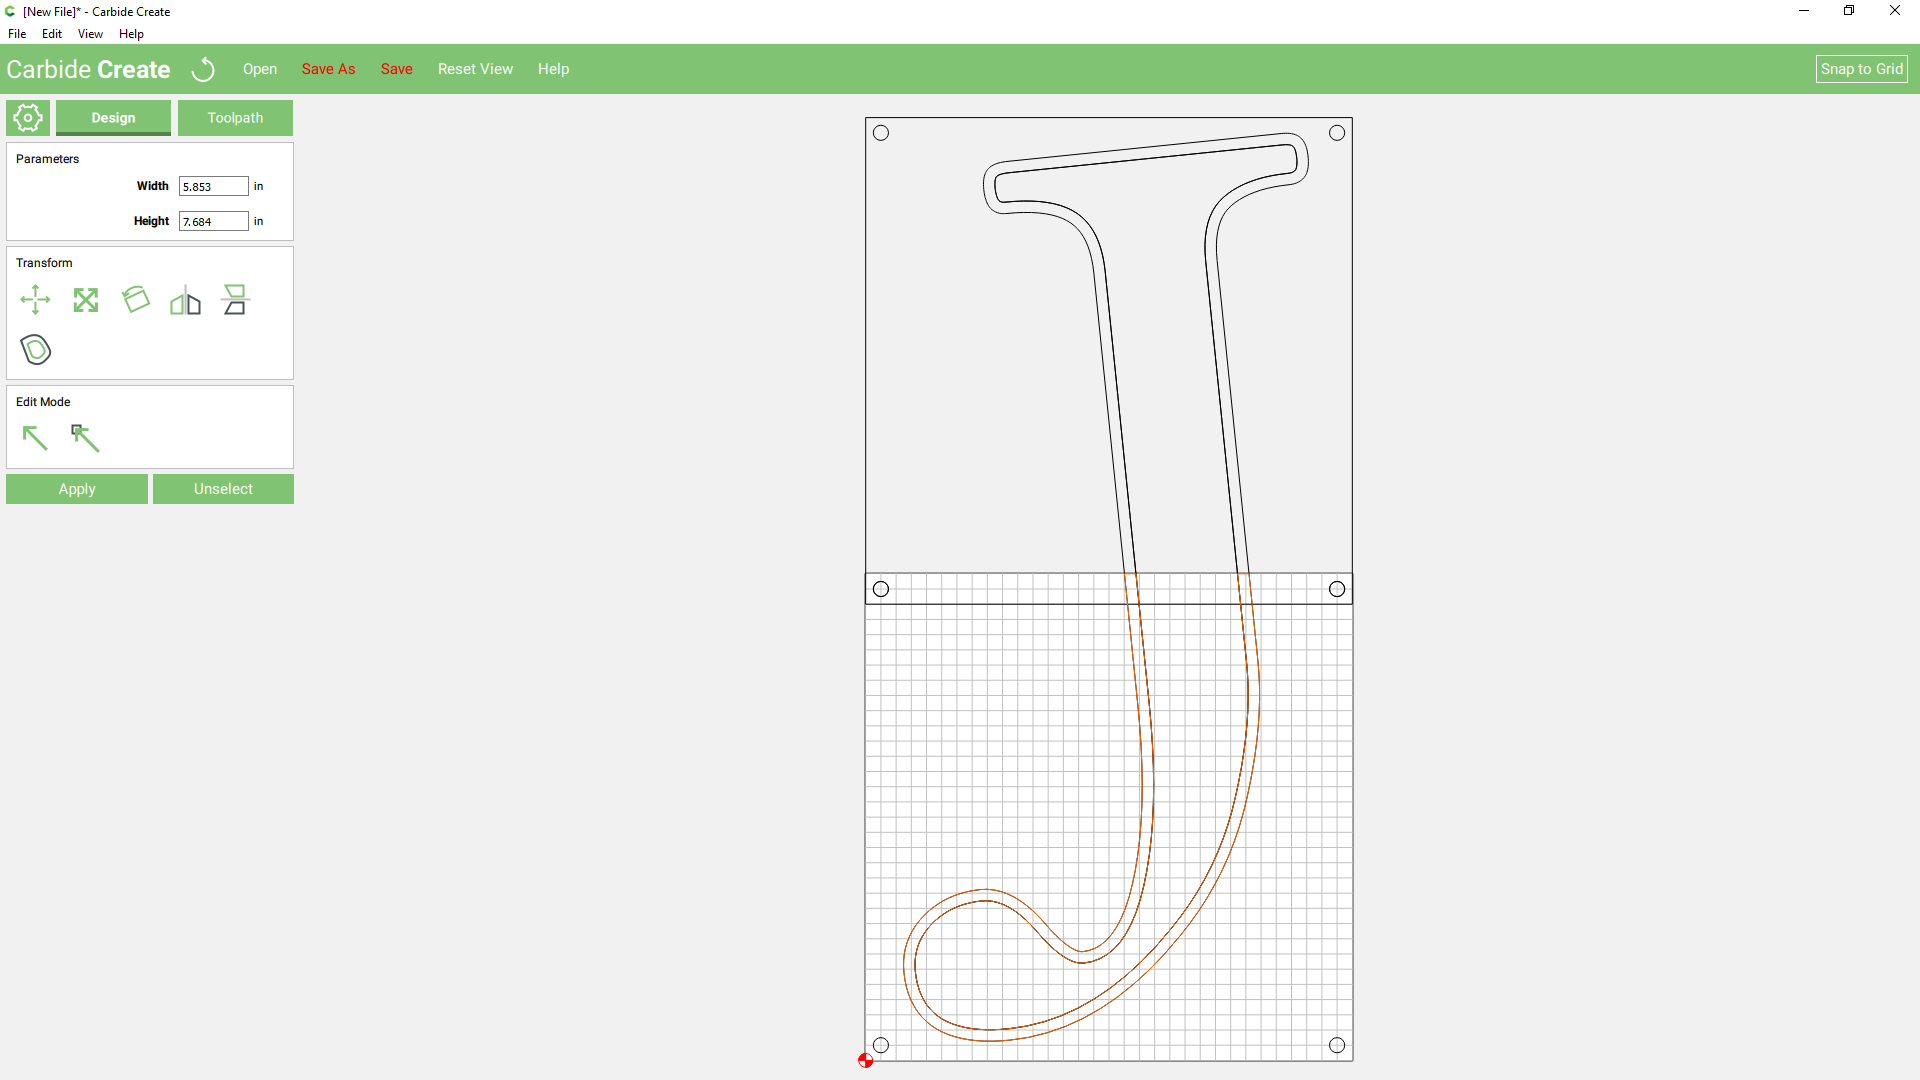
and do Boolean Subtraction:

Then select the new geometry and the offset geometry and do Boolean Intersection:

resulting in:

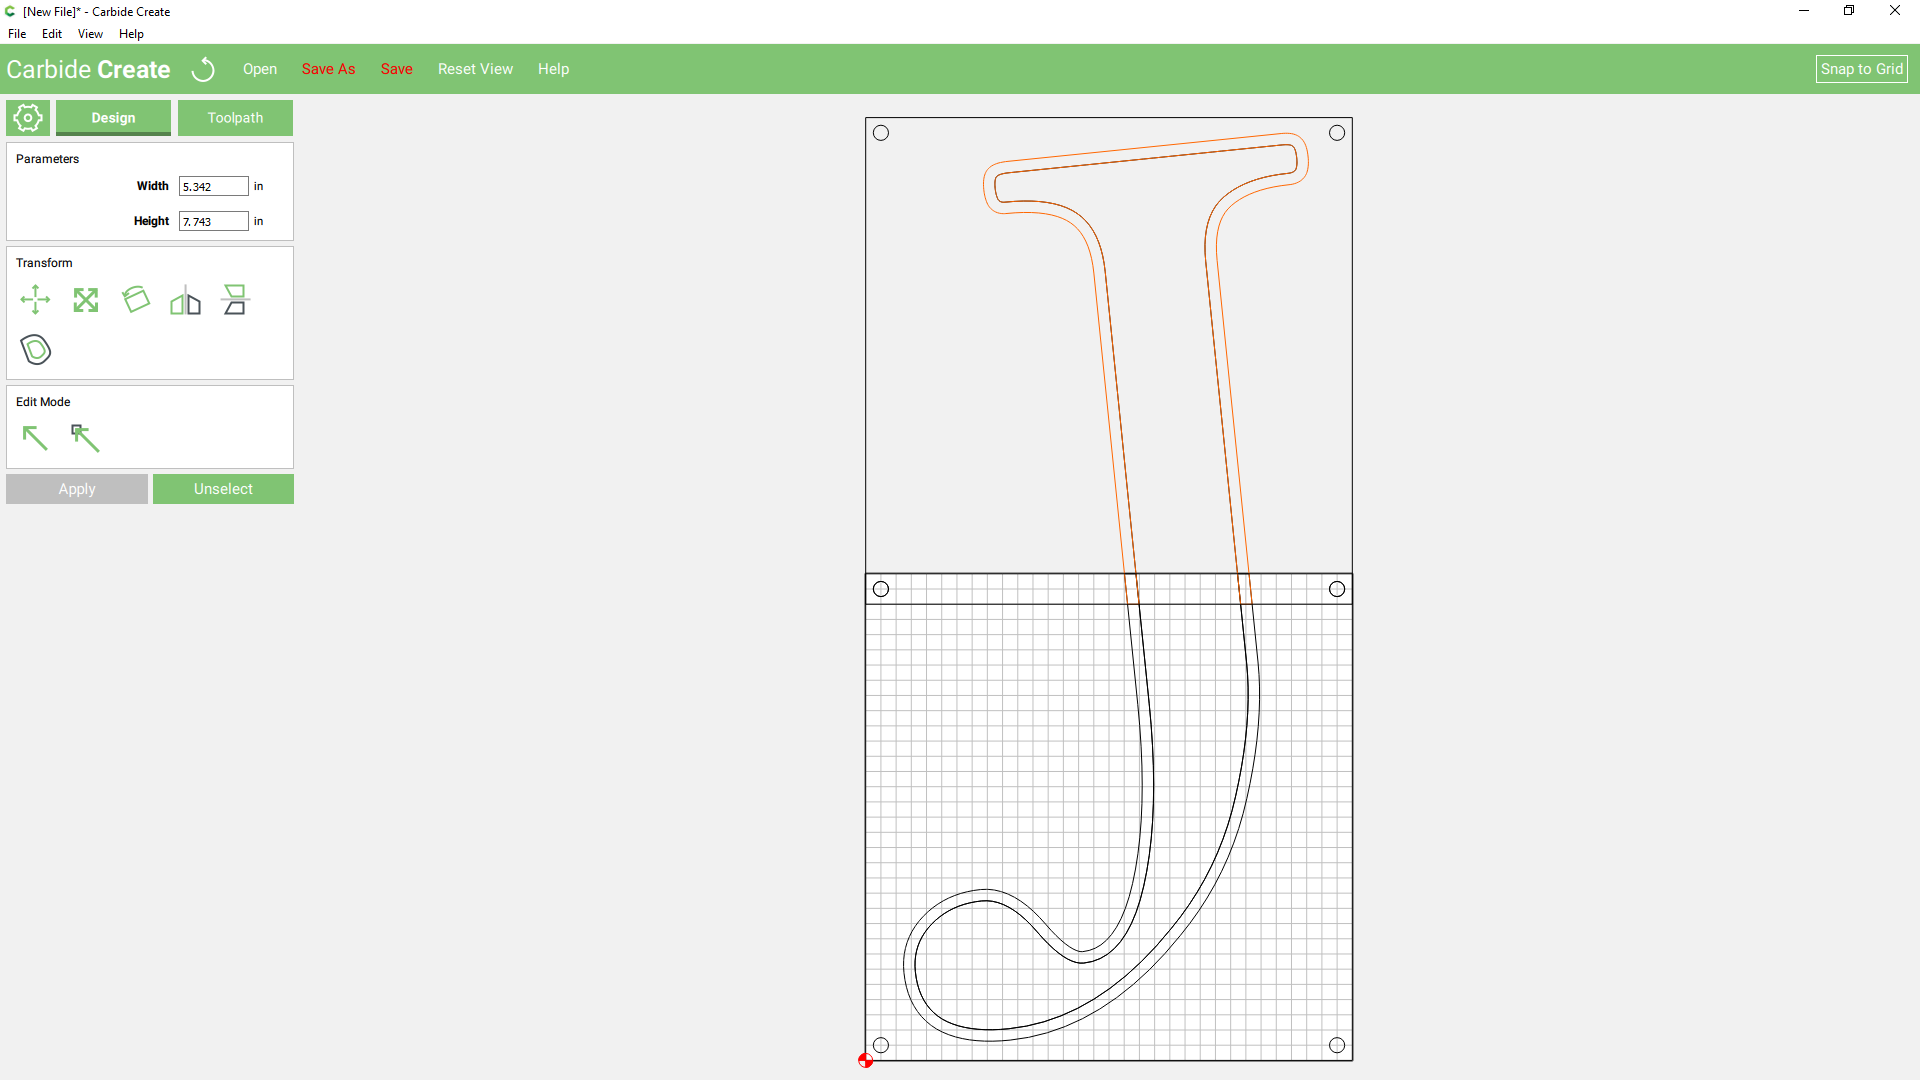
repeat for the other half of the letter:

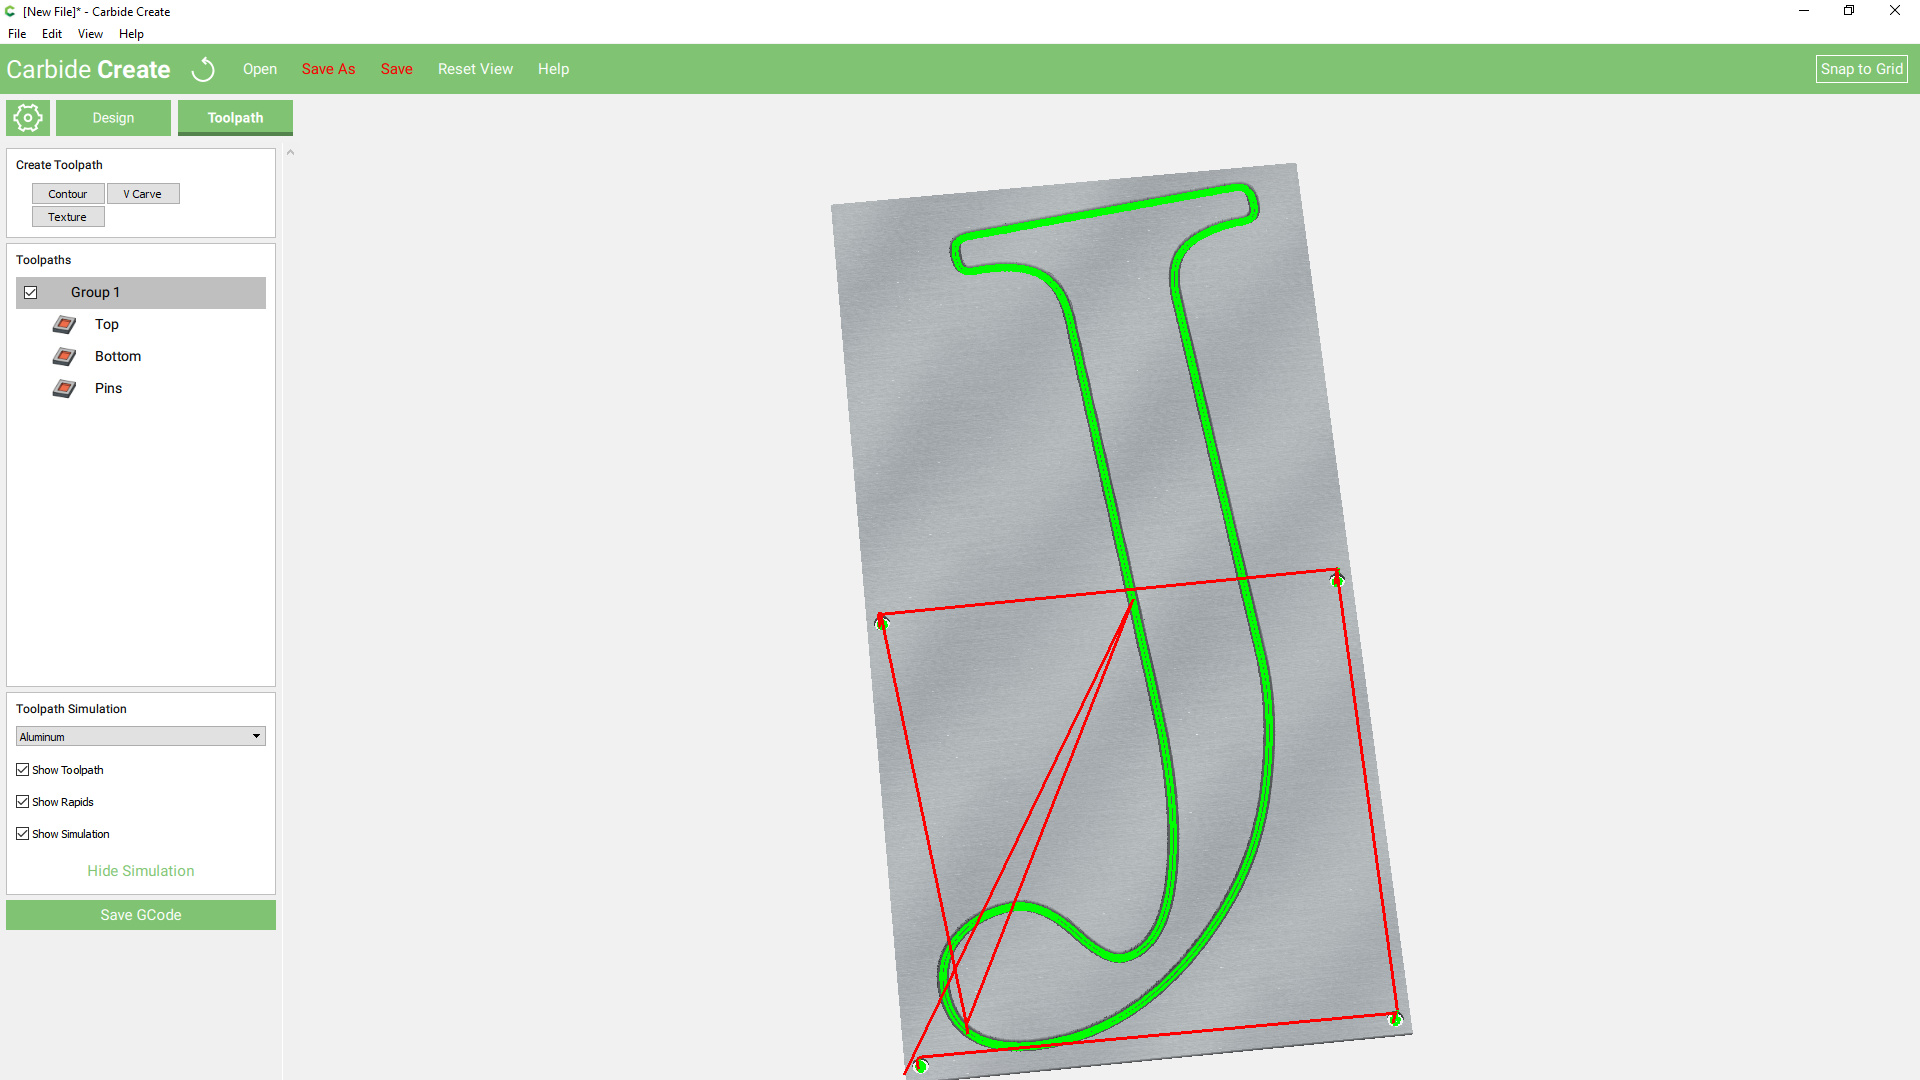
You can now assign toolpaths to the registration pins and pockets around the letters resulting in:

Attached.

tiling example.c2d (272.5 KB)

6 Likes

Thank you so much for taking the time to type that up for me. I see now the piece I was getting stuck on - I’ll try that tonight and report back. Thanks again!

1 Like

That’s a great tutorial on how to do that - that belongs in the wiki!

2 Likes

Seconded :grin::grin::+1: just about to try this myself too thanks for the write up

Thanks! I added a link ---- I’ll see about re-doing it and saving all the graphics to add it there directly.

1 Like

This topic was automatically closed 30 days after the last reply. New replies are no longer allowed.