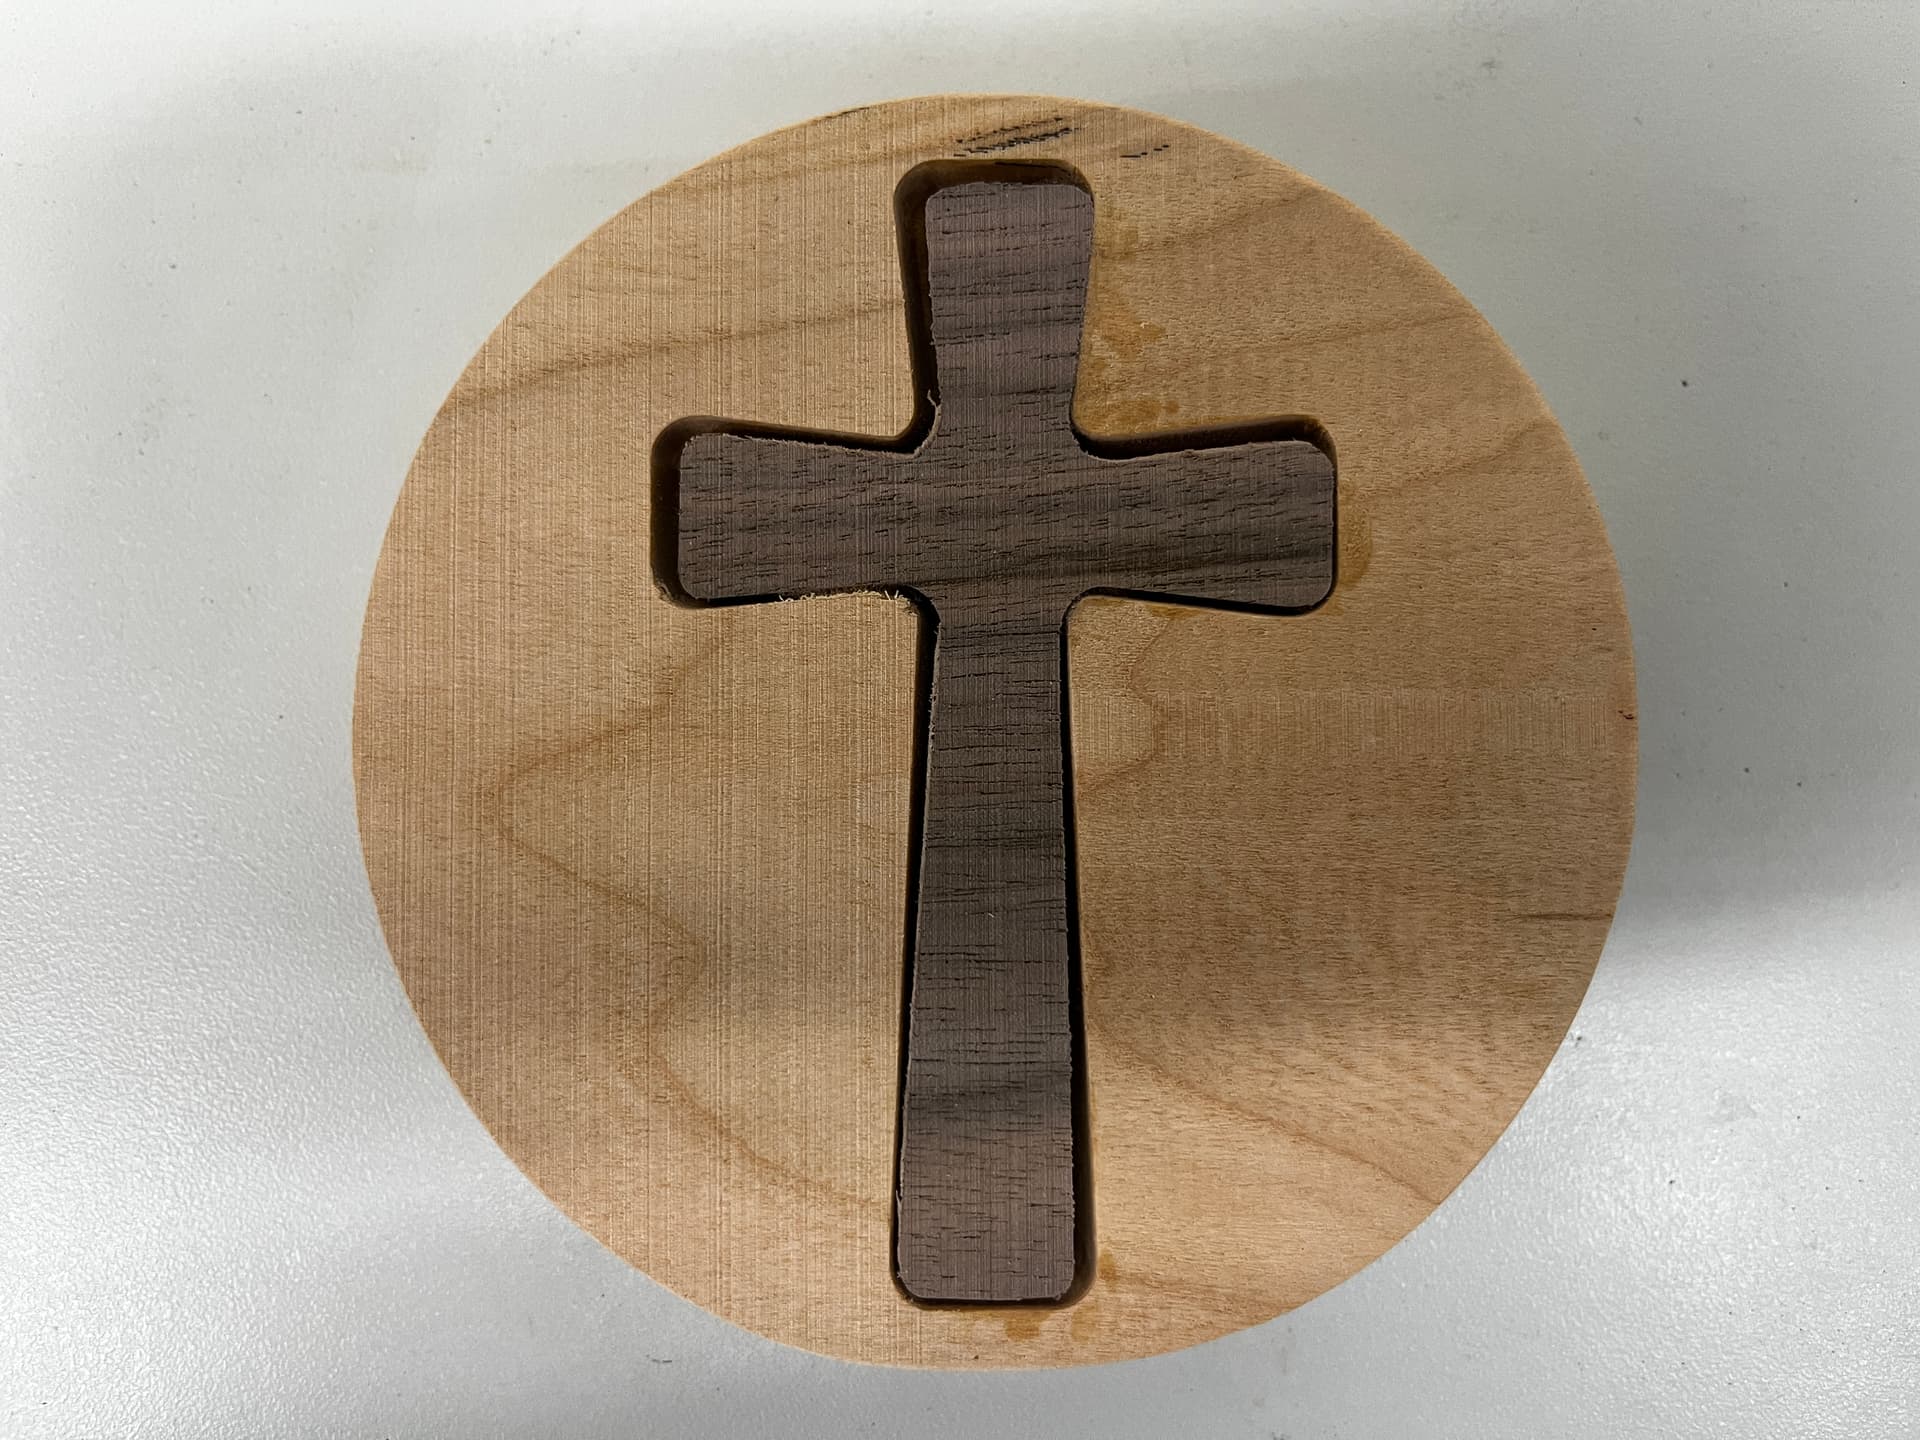
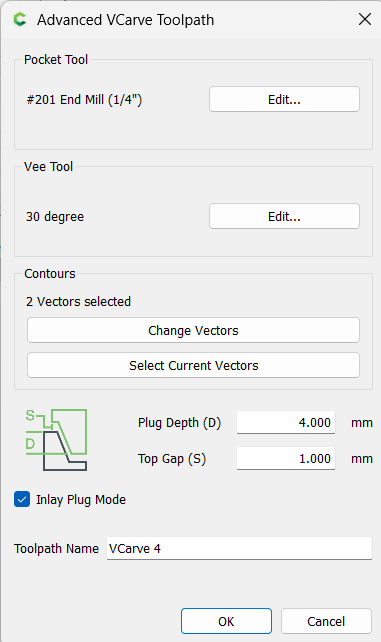
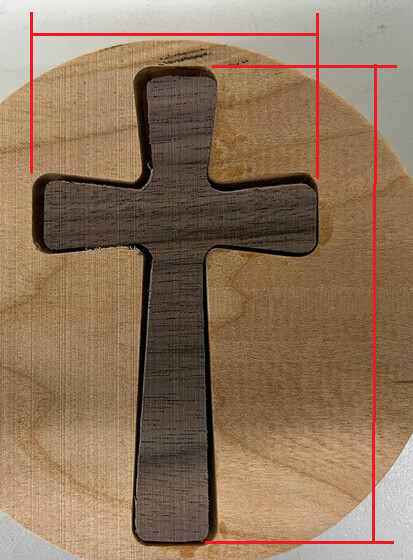
but, what is causing the gaps around the cross? it looks like the cross is approximately 1/16" smaller than the female pocket??? Also, isn’t the glue gap synonymous with top gap…which i set at 1MM?
Measure the overall height & width of the female pocket. Is it exactly the same as designed?
It could be some slop in the machine or spindle making the pocket a bit too big, and the plug a bit too small. Because you have no glue gap, the plug bottoms out before it’s tight enough in the pocket.
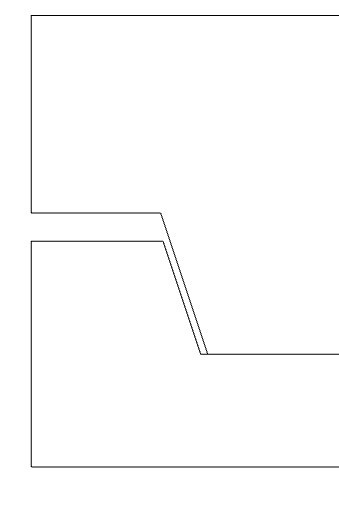
subtract your glue gap from the female depth. Set your plug depth to something like 3mm or 3.5mm. First check the female sizes to see if it’s cutting oversize.
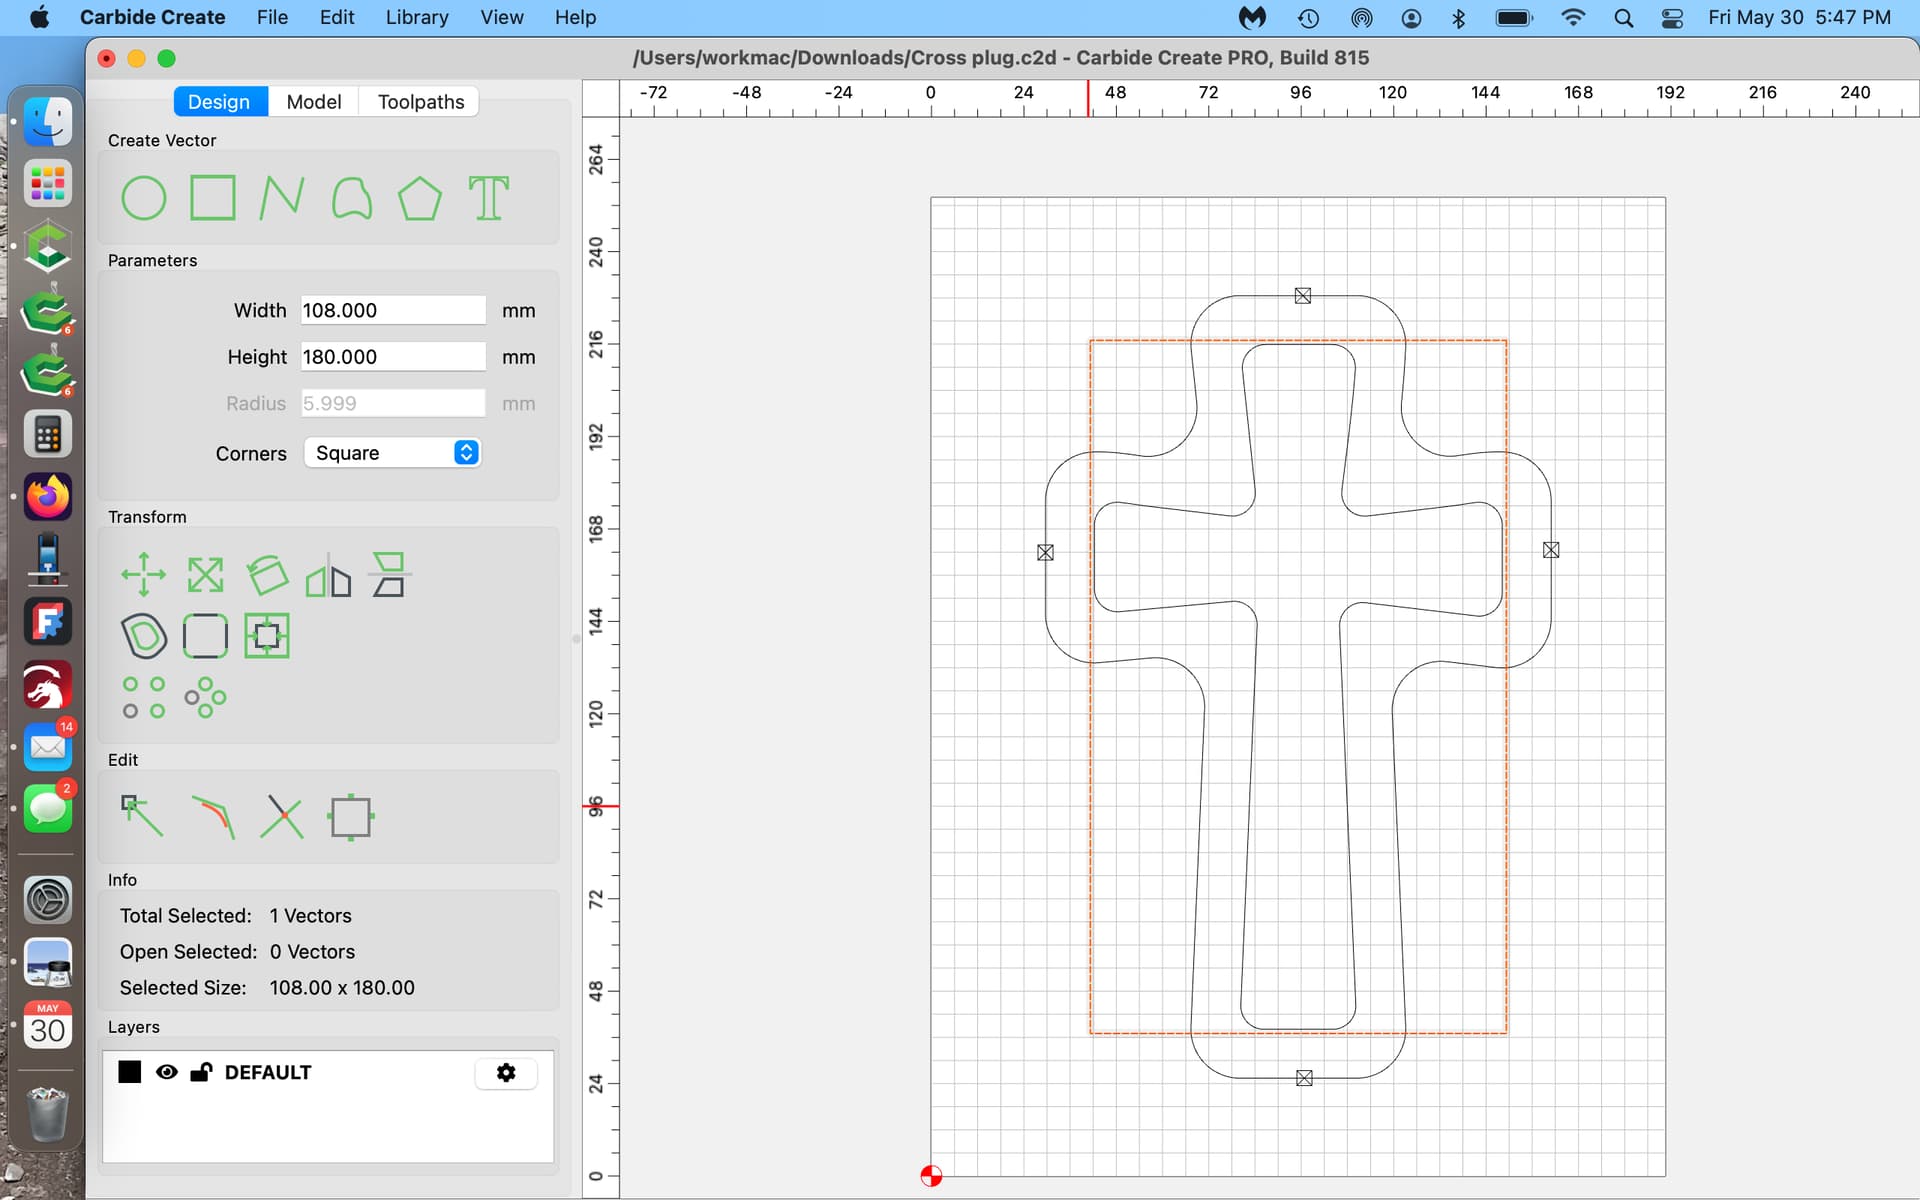
Something didn’t quite look right with your socket and plug size, so I used a rectangle to measure them. I attached screenshots on what I got for measurements and how I measured.
The plug should be the same size as the socket but mirrored.
i measured the cross on both the female and male parts…they are the same…2". but the male plug that i cut was shorter…about 1/16". i.e. the gap that shows up in the pic.
I recently had an issue like this. I verified all of the parameters and pocket/plug size in the Carbide Create files. In the end, it turned out the tip of my 30 degree v bit had broken off. It was such a minor defect in the bit that I couldn’t detect it easily. However, once I installed a new bit, everything worked as it should.
As a side note, one of the reasons I chose Shapeoko is the total ecosystem, including this forum. Folks like Tod1d have help me immensely.
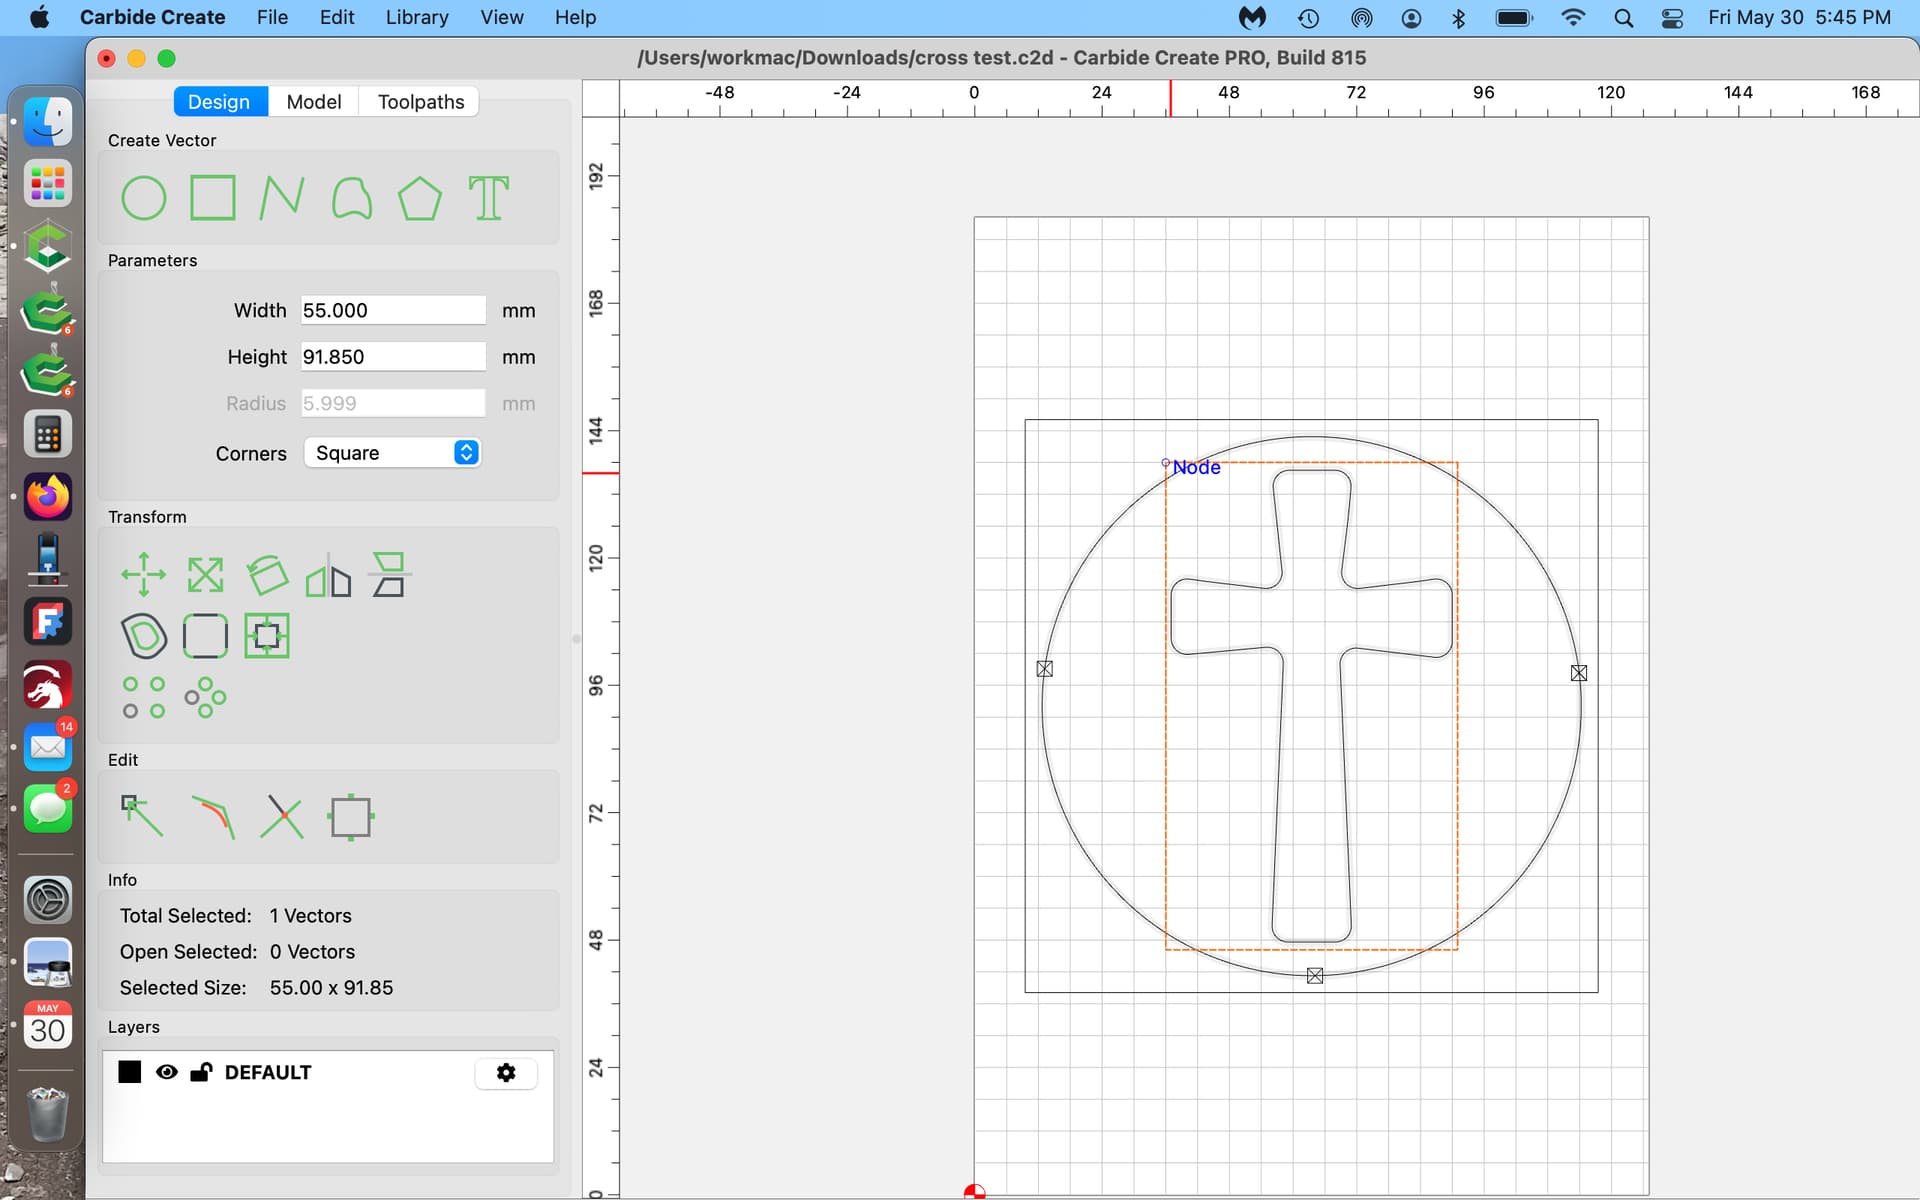
Back again…had to take the weekend off. Back at it yesterday and today…The female side was cut at 4mm max depth using a 30 degree vbit. I cut a number of male sides adjusting depth of cut (from 3.5MM to 5.1MM) and the bit (60 degree…although did not expect a good fit as the female was cut using 30 degree, but gave it a shot). nothing worked. It still seemed like the cross of the male was shorter than the female…although in the design they were exact. So, I finally made a 1/16" adjustment to the size of the male cross using 4MM depth of cut and 1MM gap. This finally seemed to work. I have no explanation. Anyone else have any ideas?
The plug depth should be smaller than the Max depth on the female. There needs to be a glue gap so the male isn’t bottoming out in the female.
If it’s too loose & say, for example you want to make it fit 1mm further into the pocket. reduce the plug depth by 1mm, and increase the Top Gap by the same amount, 1mm. Now the carve is the same height, but it’s a little bit wider/bigger.
If you can take accurate measurements, you can calculate the amount to subtract from plug depth, and add to top gap to get the fit you want.
Accurately measure (with calipers) these 2 dimensions. And we can tell you precisely (or pretty close) the amount to adjust.