Has anybody had good results in getting tight fitting inlays using Carbide Create Pro or am I on a fool’s errand trying to get this to work?
All instructional videos I can find seem to use V-Carve software to get good results. I have found a couple of videos that have used CC Pro but results were lees than great with loose fits and gaps that had to be filled (same results I am getting).
Any help / guidance (other than ditching CC Pro) would be appreciated.
I did one inlay test before the inlay feature, PVC inlayed in acrylic, and it fit perfectly.
I did a couple tests using the inlay feature, PVC in PVC, and found I had to bump up the Bottom Gap about 0.010" - 0.020" more than what I was shooting for. I attributed this to the softness / compression of the PVC. But after the adjustment they also fit perfectly.
I haven’t done a real job with 2 different woods yet. But I’m pretty confident I can start with a larger bottom gap, check the fit, and adjust the bottom gap smaller if needed.
Things to watch out for…
Line widths smaller than the width of the Vee tool at the depth you are cutting. For example, if you plan to cut the female 0.150" deep, lines narrower than 0.174" won’t cut to the full depth. Male side details will have sharp edges on the top & be shorter than the top surface. This should, technically work, but you might want to sand a little off those sharp edges to create a glue gap.
Vee bits that don’t have a perfectly sharp tip. If the tip is rounded, or broken, even by a small amount you will be taking too much material off the tapered faces, causing a sloppy fit.
Tapered ball mills also won’t work. (It is possible with some offsets & adjustments, but it involves math & won’t be a lot of fun. (except for those of us weirdos that actually like math! )
Vectric seems to be what most use to get good inlays. That is why I asked about CC Pro since I have already purchased. You would think C3D would try and create somewhat similar software, especially for the pay version.
The last time I tried an inlays with CC it was before that feature was added. A lot of people are getting it to work so I have been planning to get back to it.
To be fair my first attempts had a couple of very small details that got lost and I was not clear if it was my design, wood or bit.
I will give it another try though on some simpler design to see how it works. And then maybe cut it in half as @Tod1d shows to understand the internals.
The math is no different between the different programs. V-carve may take into account the tapered ball mill, but if you’re using a true vbit and take into account any flat tip you should get tight inlays. As @Tod1d stated, you may need to increase the gap if you’re bottoming out. Think of it less as a gap for glue and more as a gap to allow for clamping.
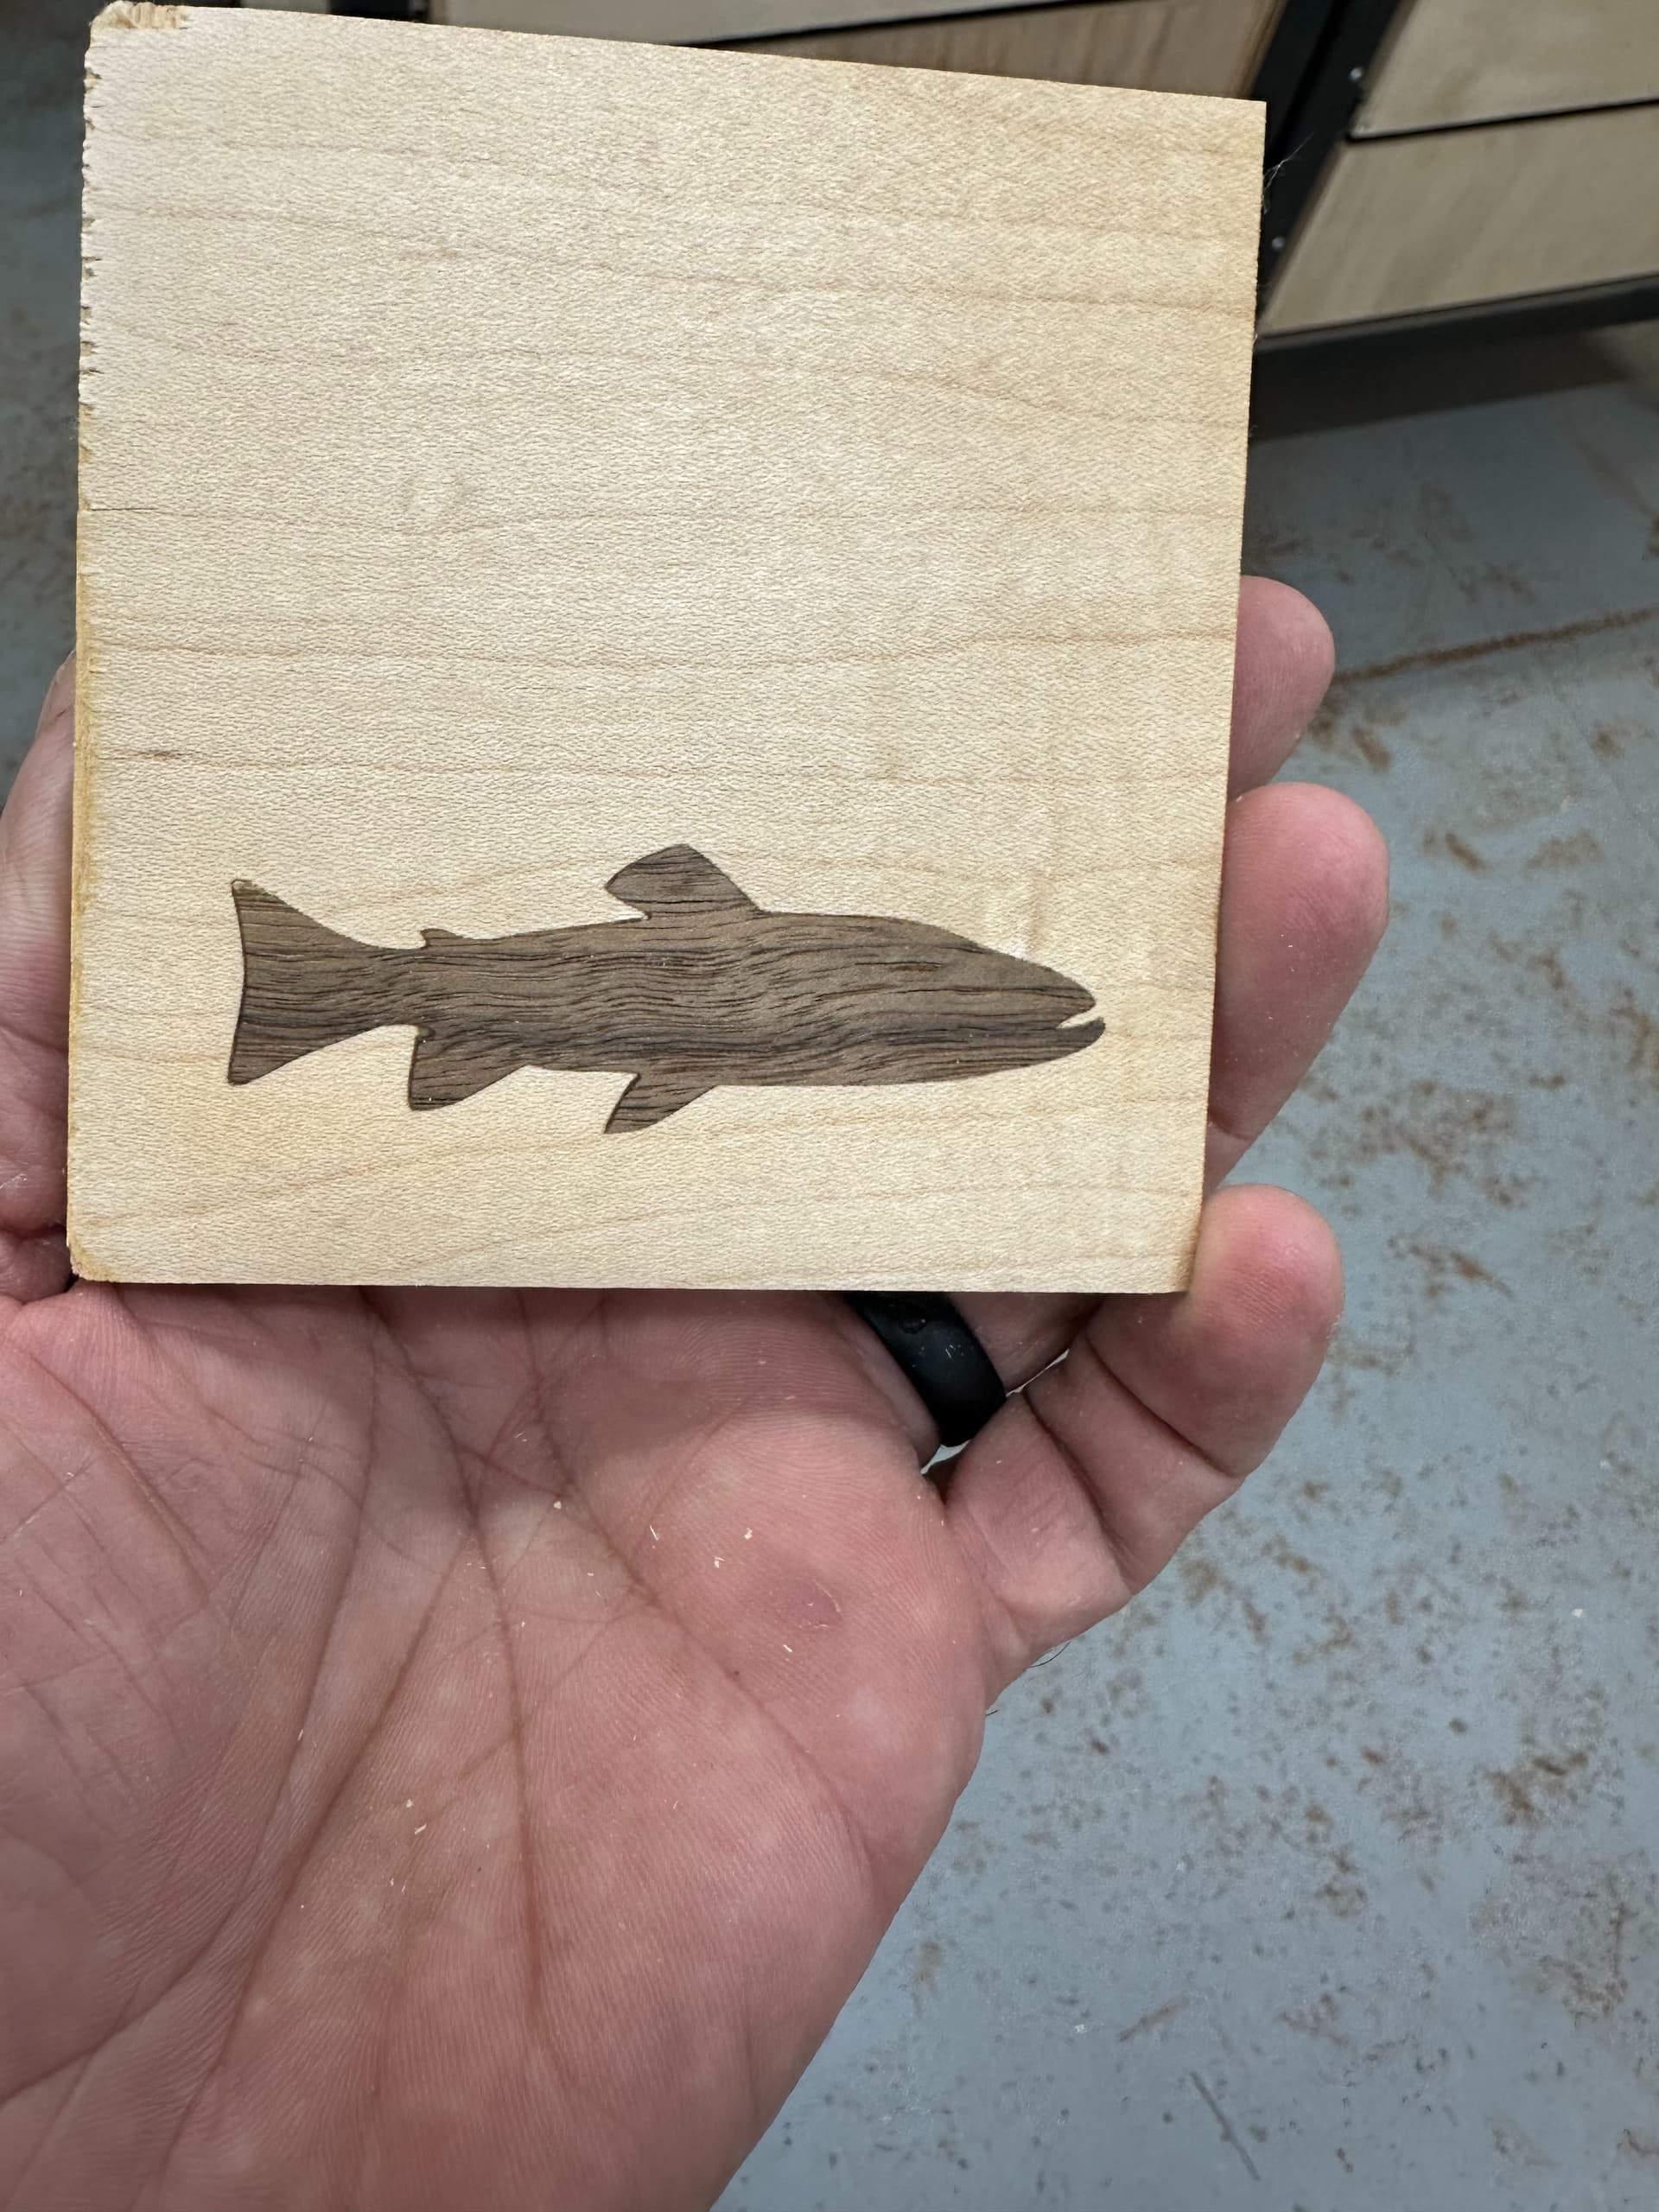
I’ve been doing a bunch of inlays with Vectric and a 6.2 tapered ball nose with great results. But just recently thought I would give the inlay mode in CC a try. Using a 60deg 1/2 V-bit. I was very happy with the results. I used a .200 depth of cut and a .01 Glue gap. I think the Vectric inlays will allow more detail because of the steeper angle of cut with the 6.2 tapered ball nose, but for basic inlays the CC works great.
I have very limited experience with CC and Shapeoko but have had success with small inlays.
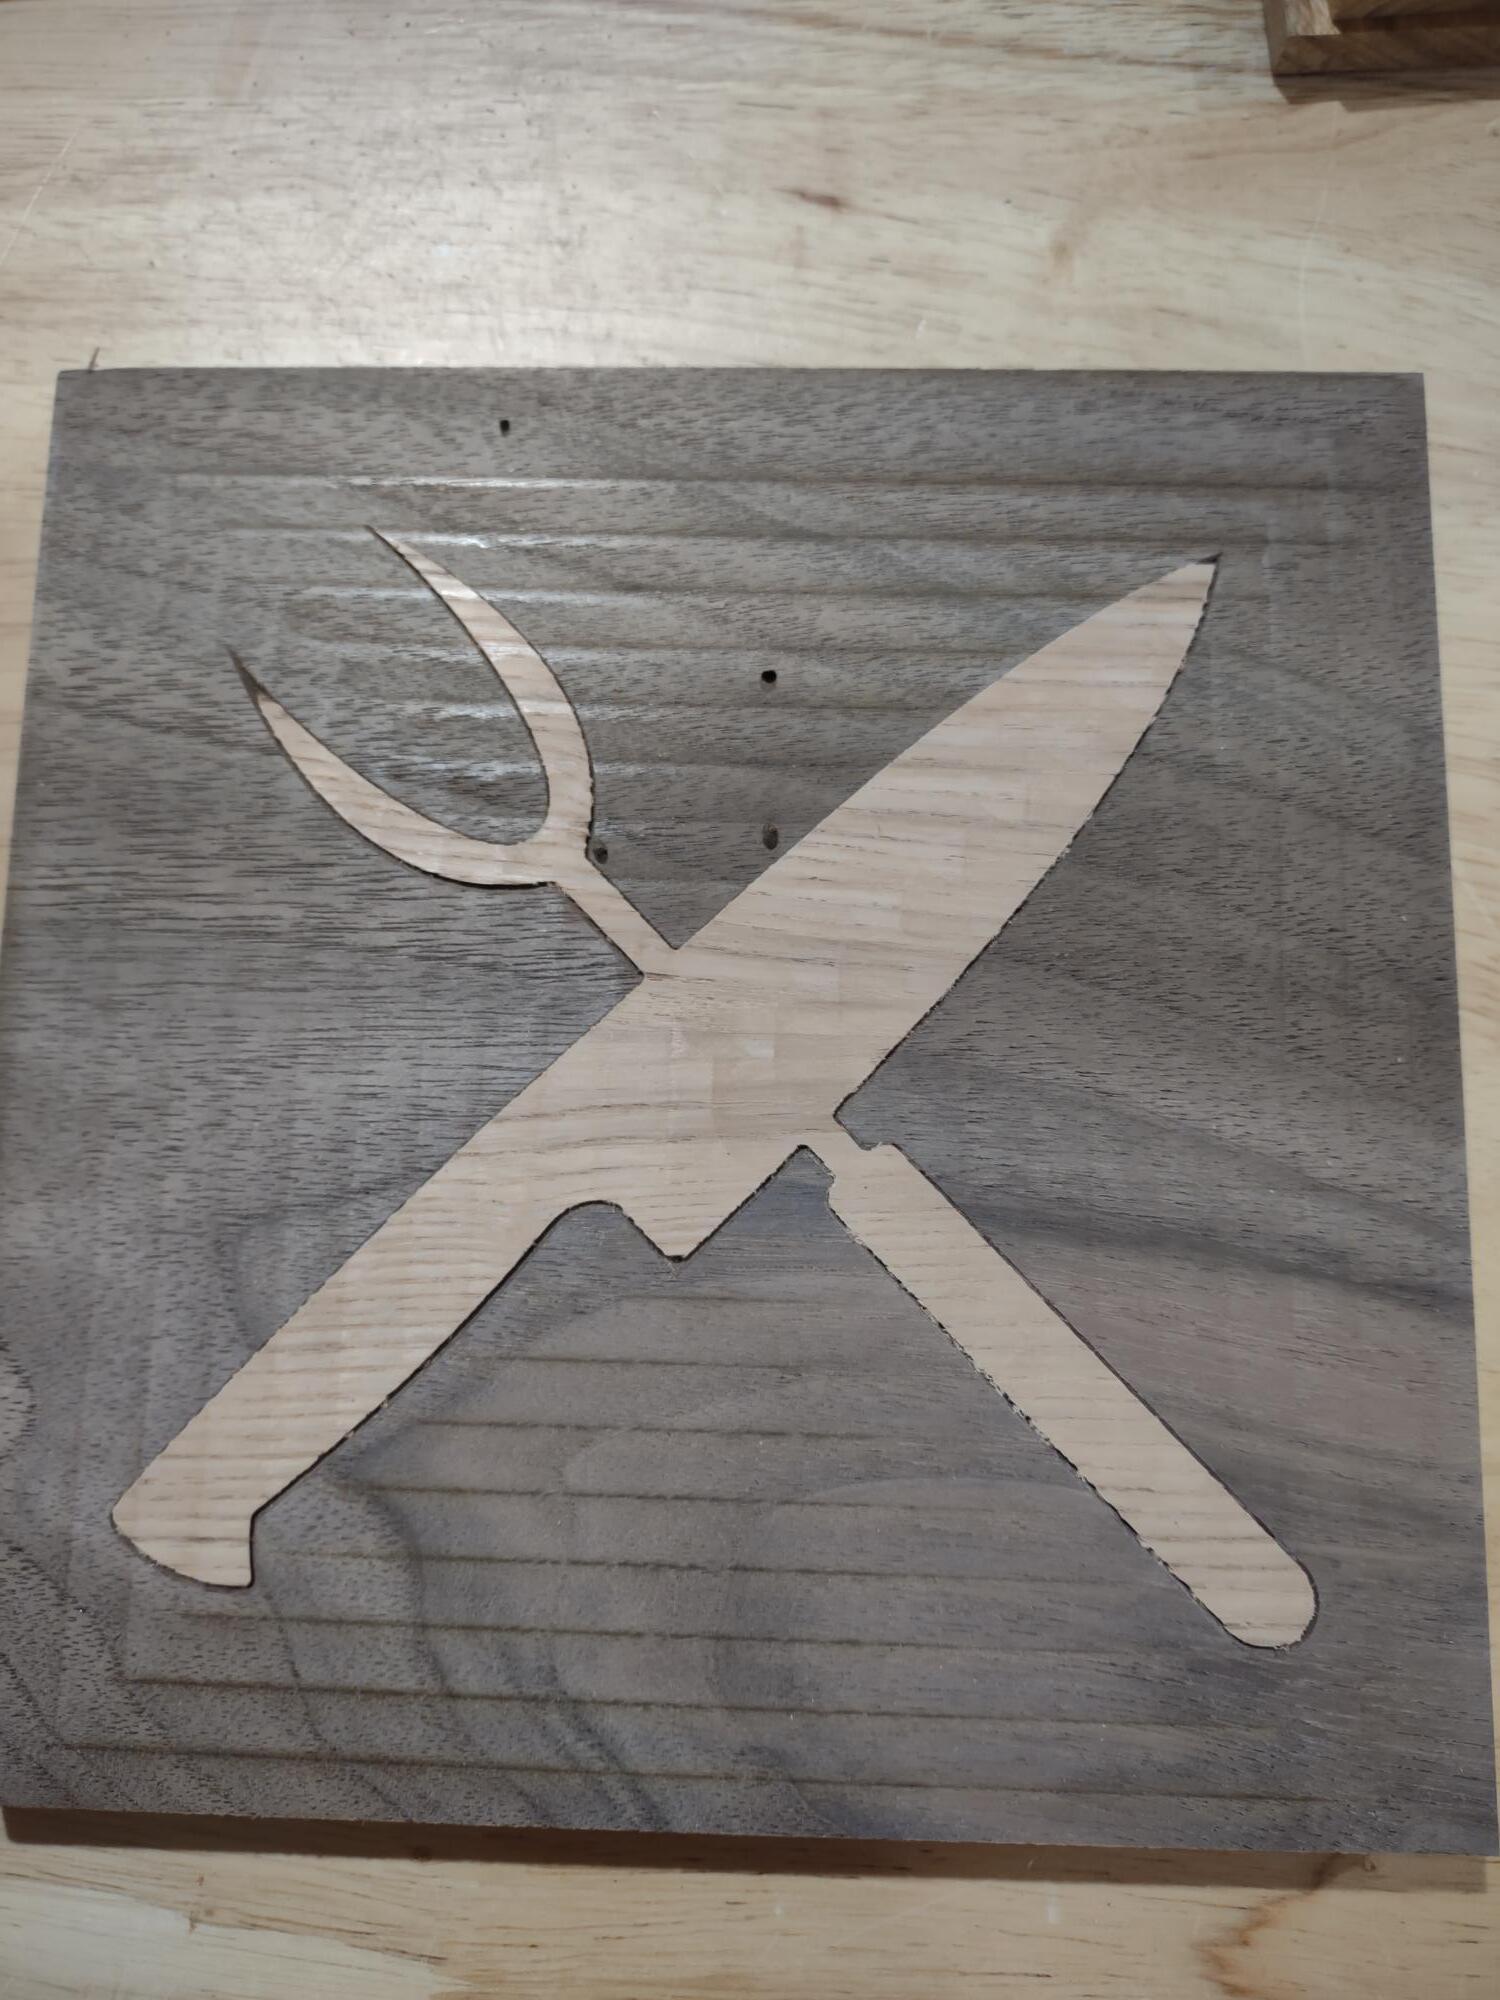
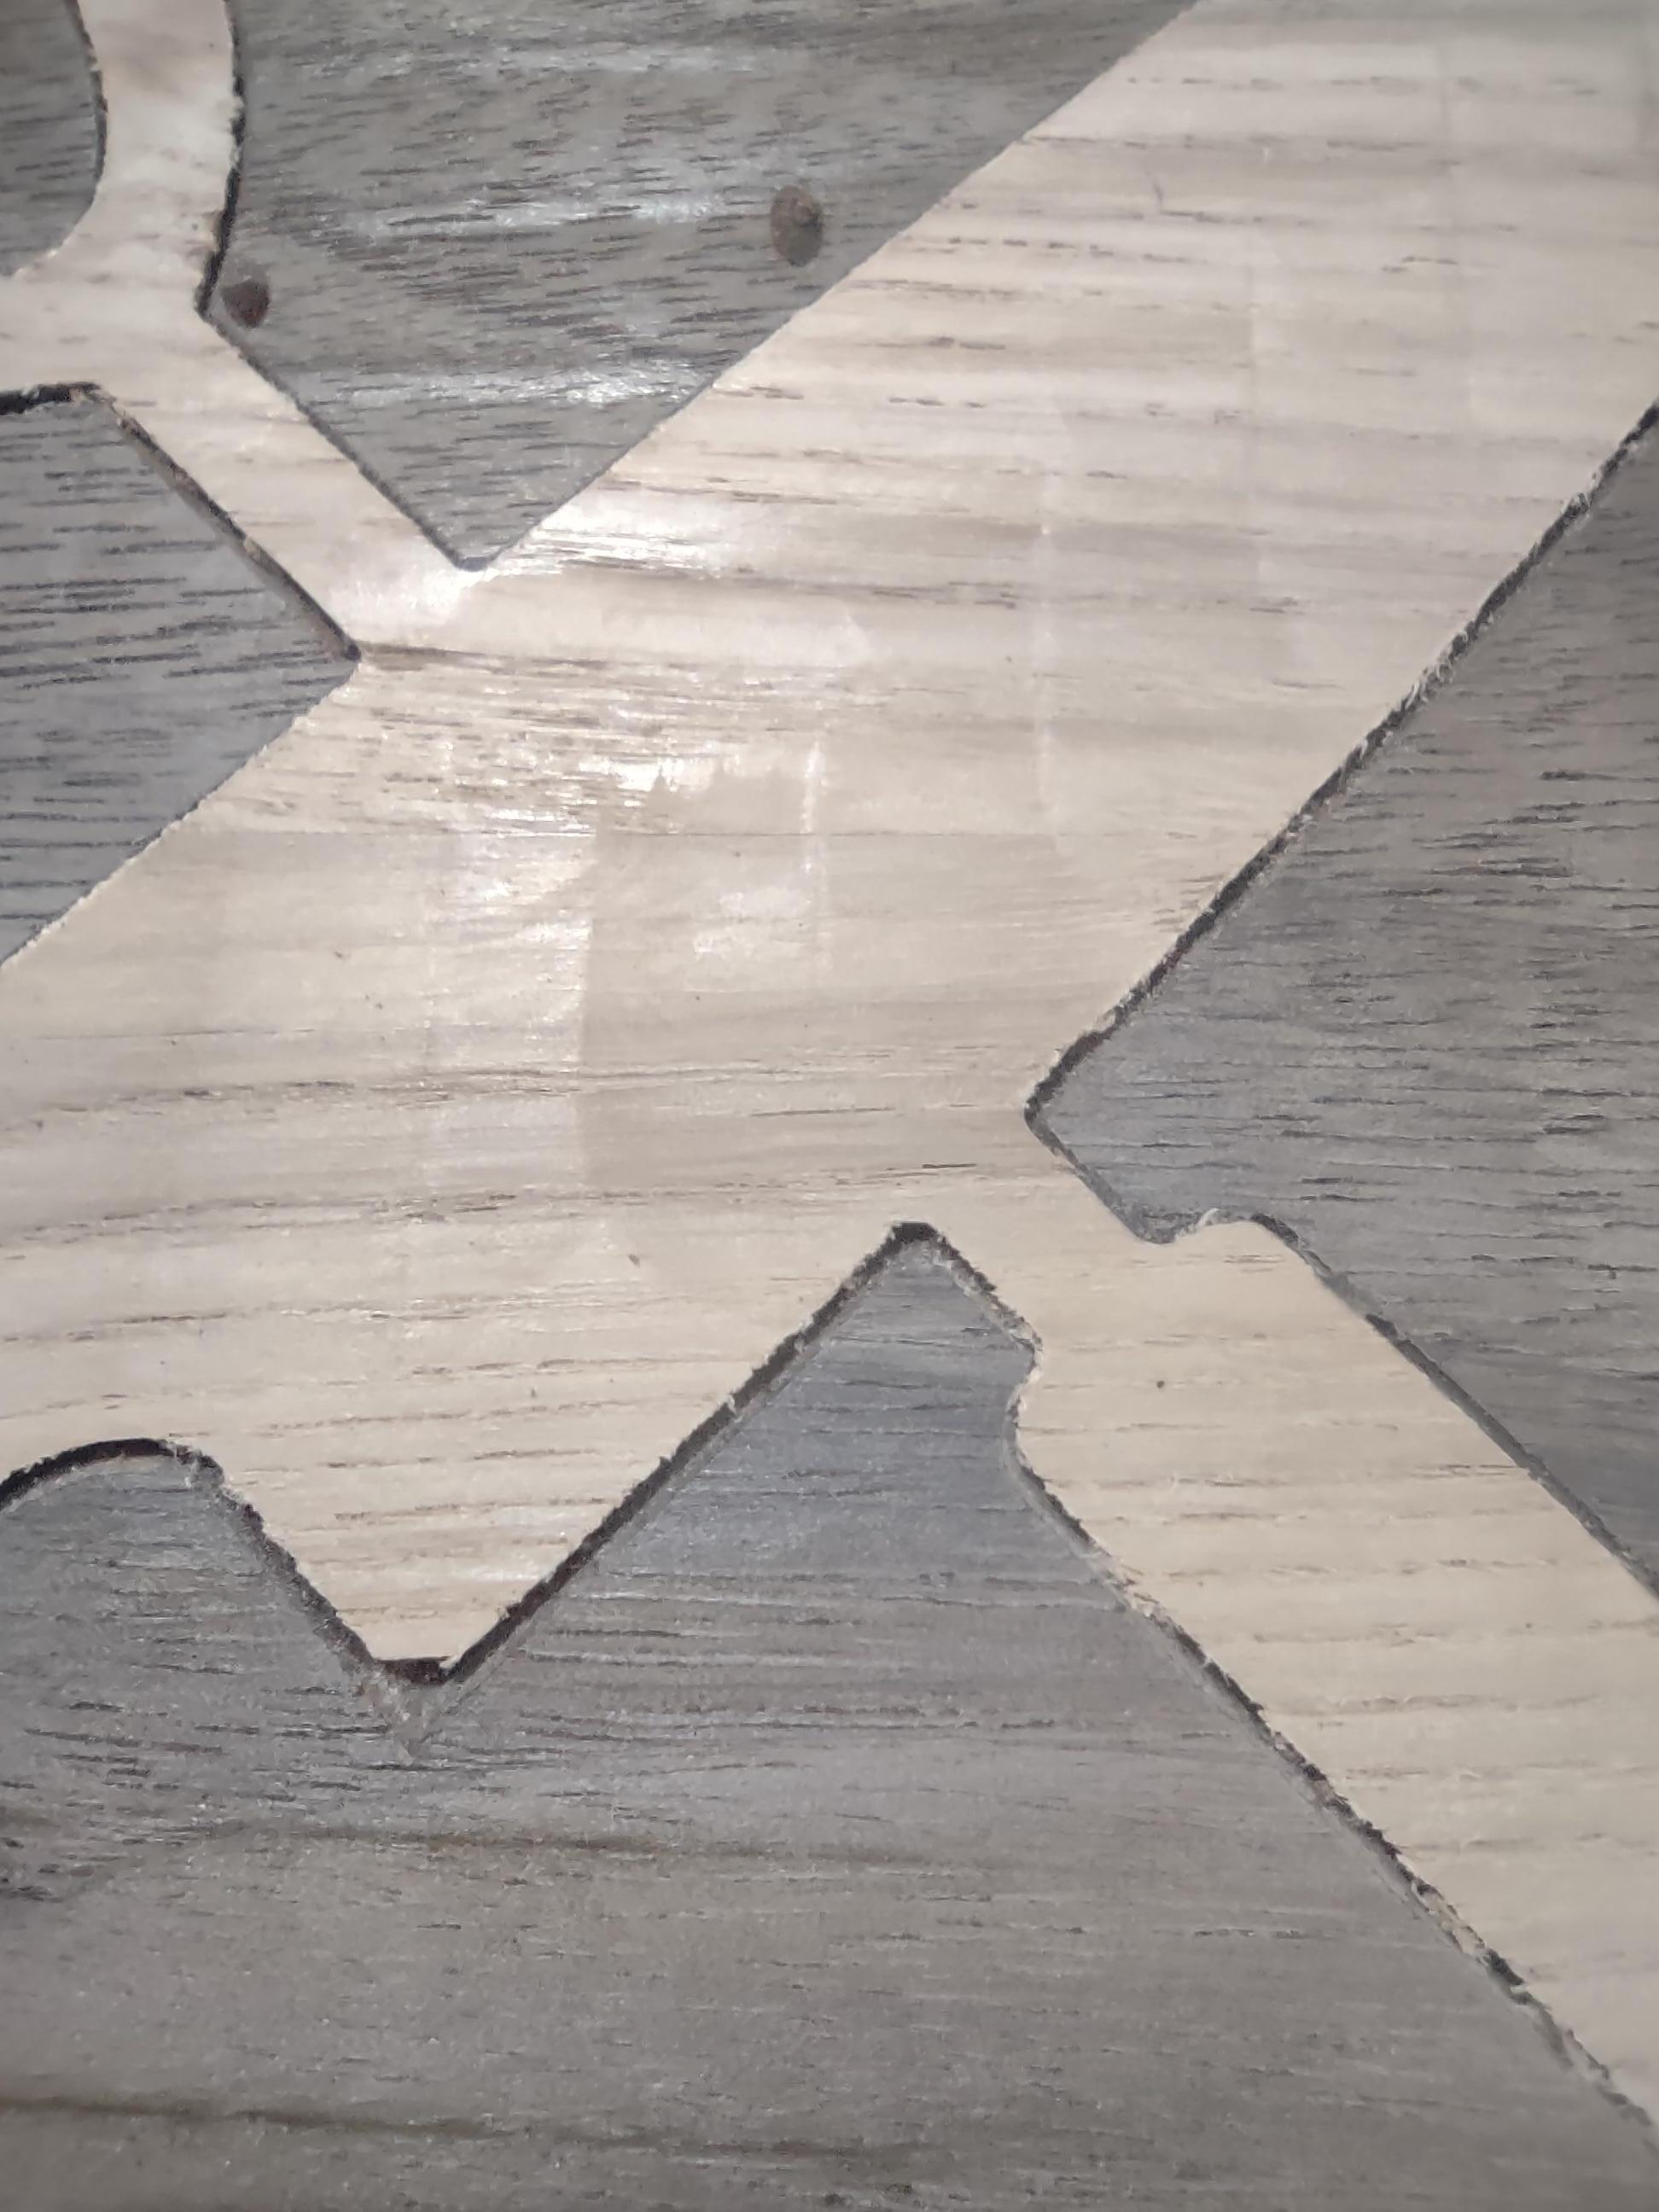
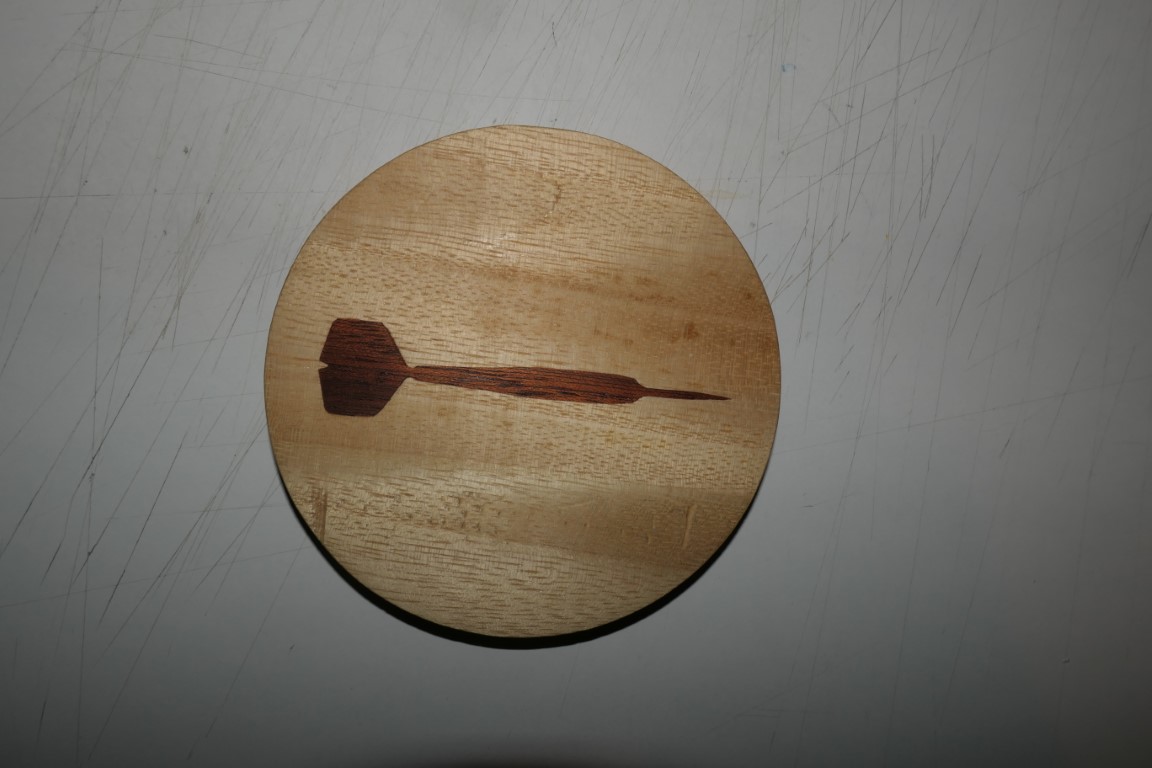
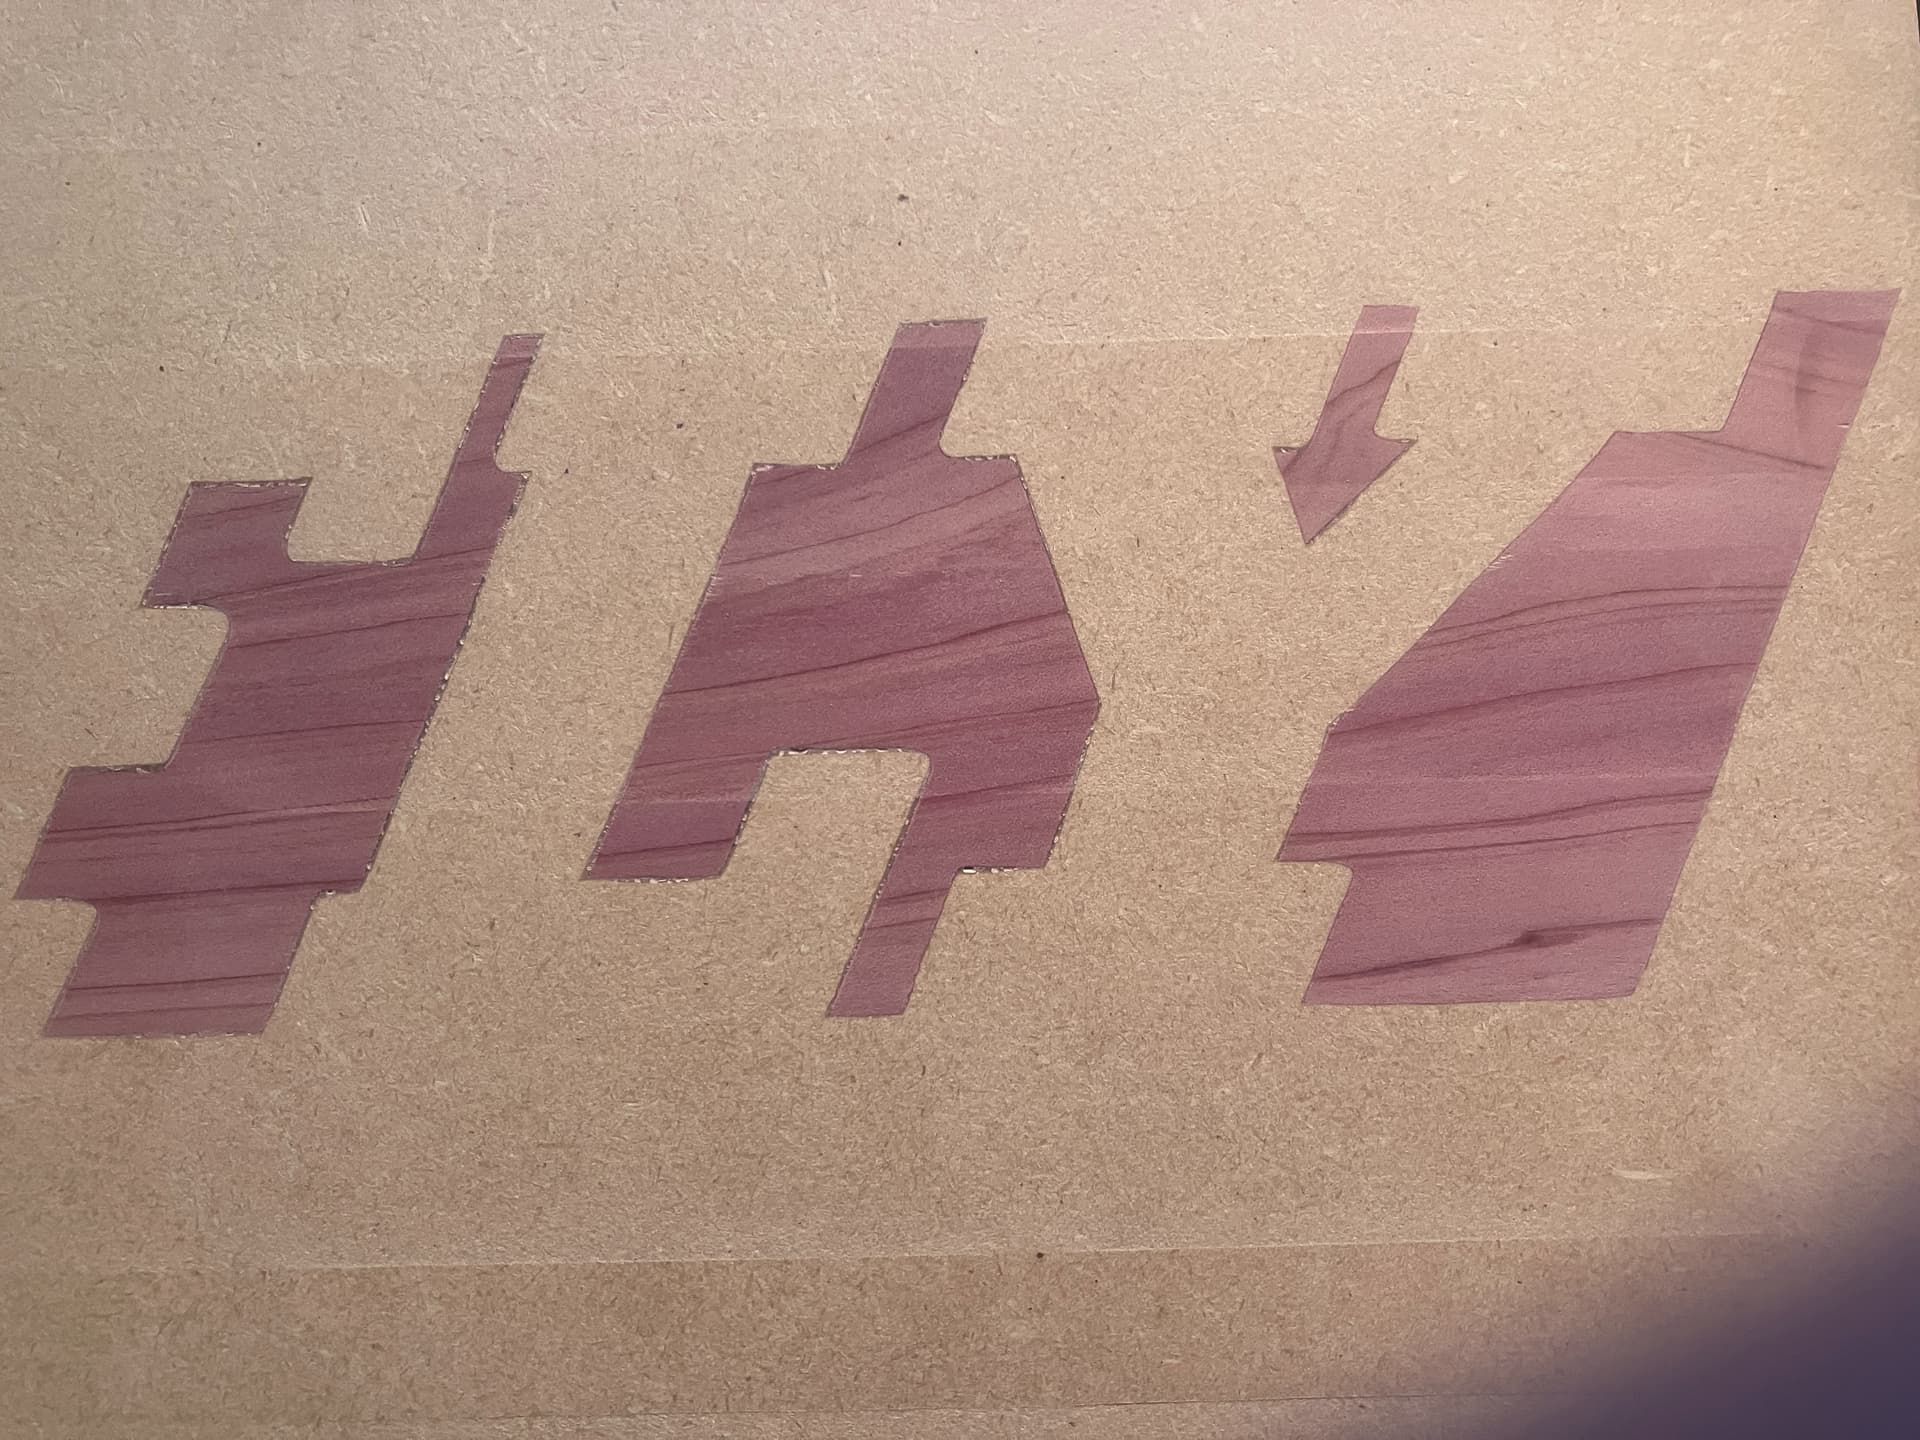
I was actually quite surprised how well my first efforts turned out. Using advanced V-carve with 60 degree tool, 3mm depth and 0.3mm bottom gap. Particularly surprised by the 2 dart pattern as I thought with the grain running as it does it was bound to cause problems.
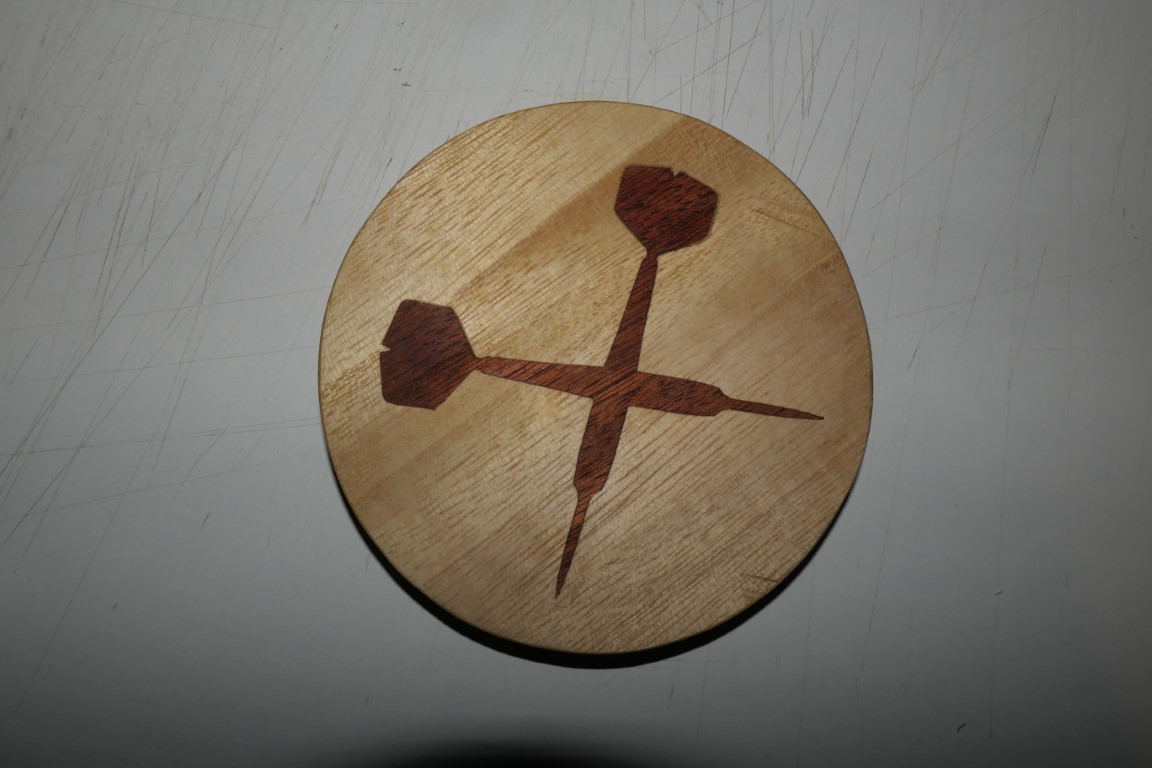
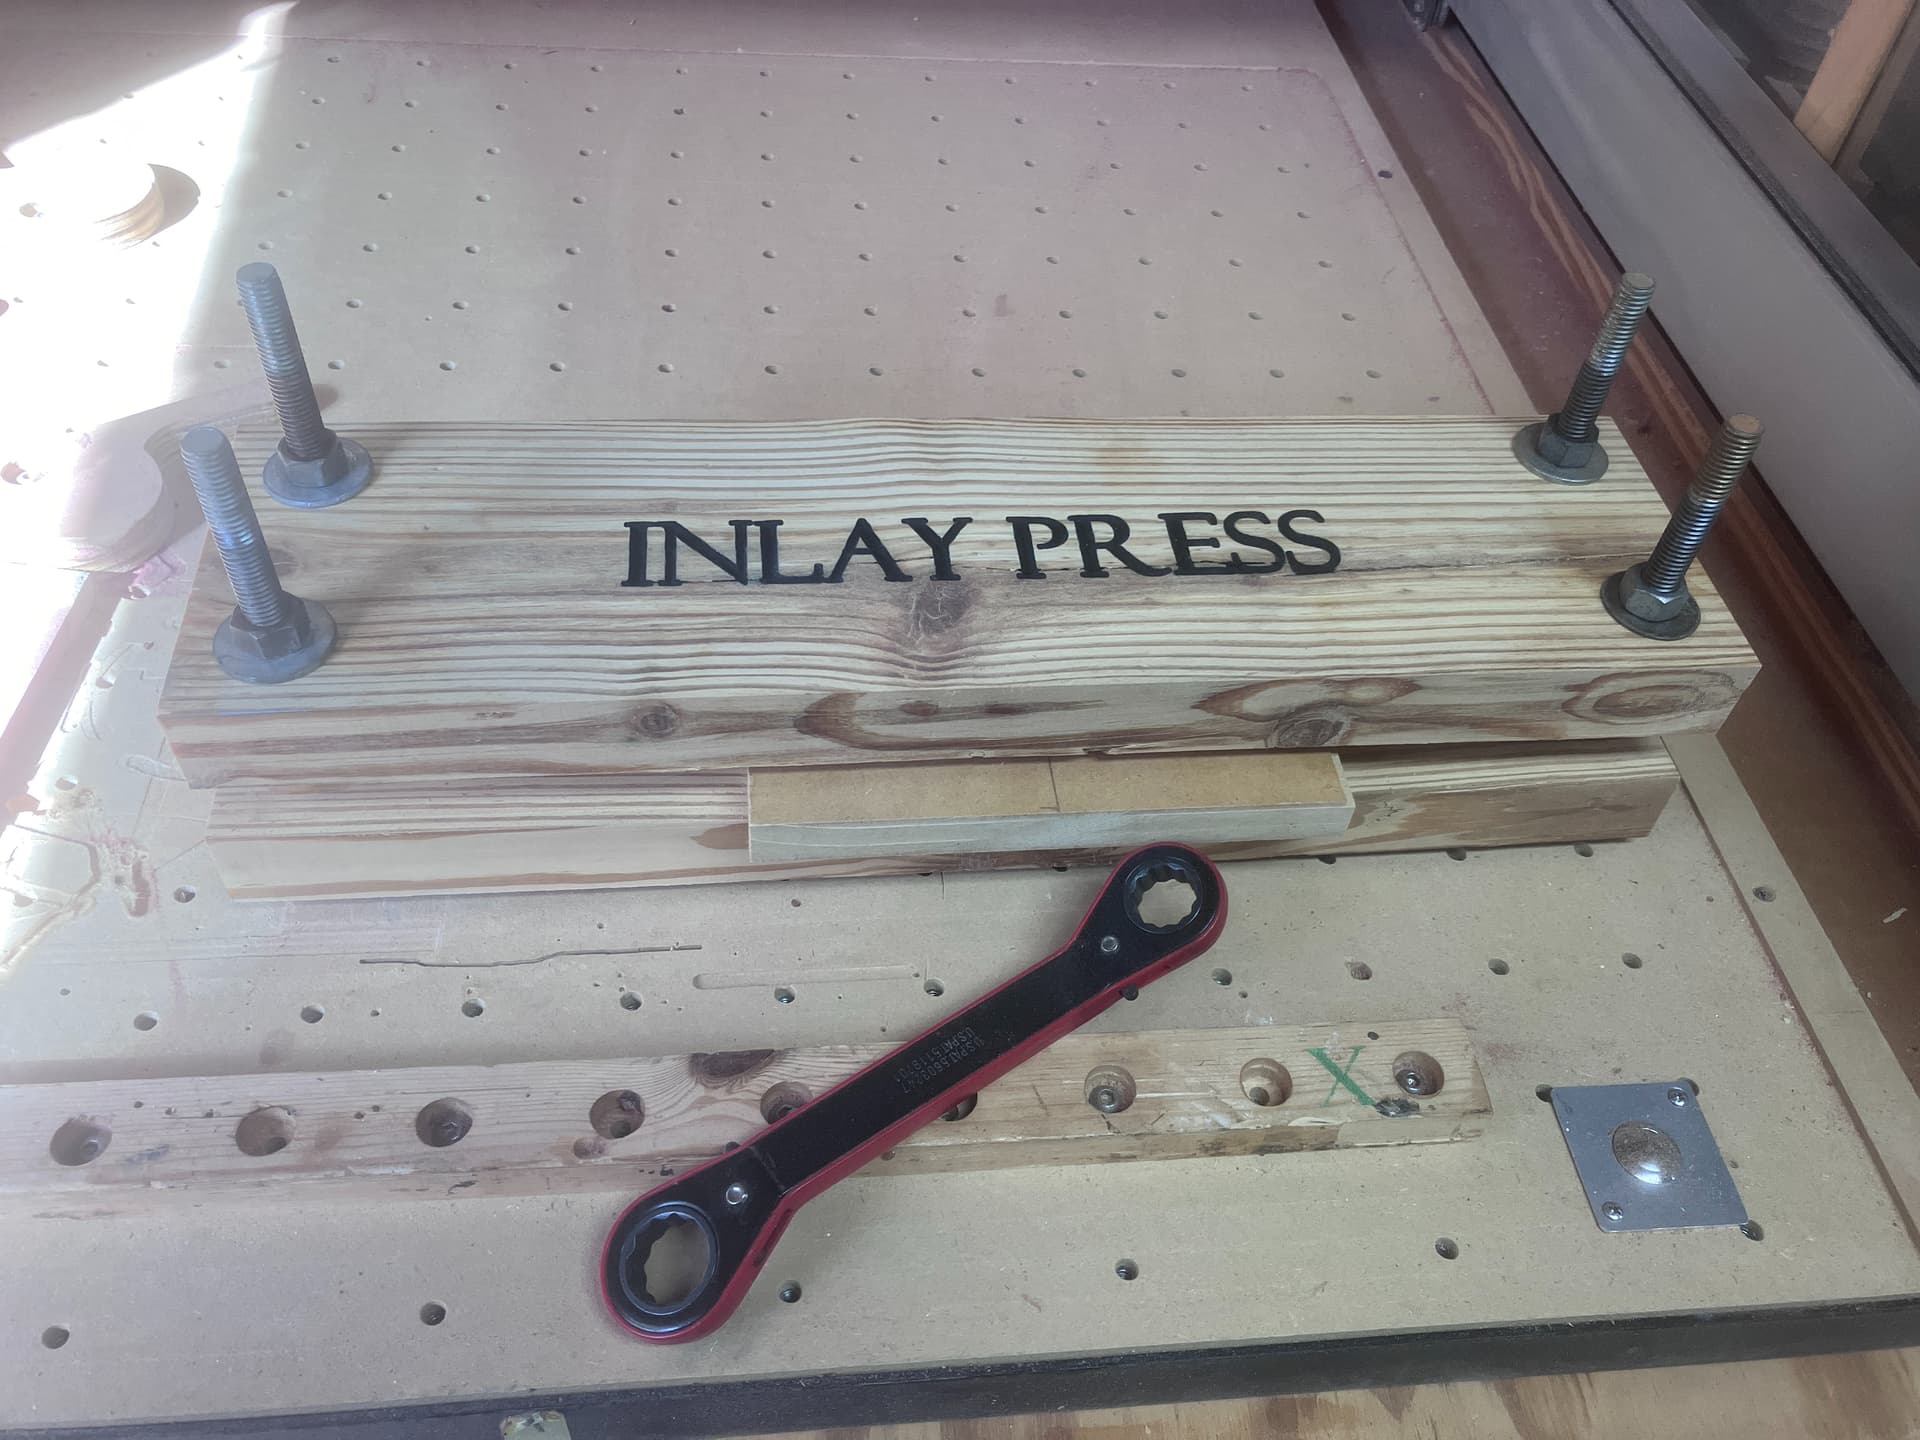
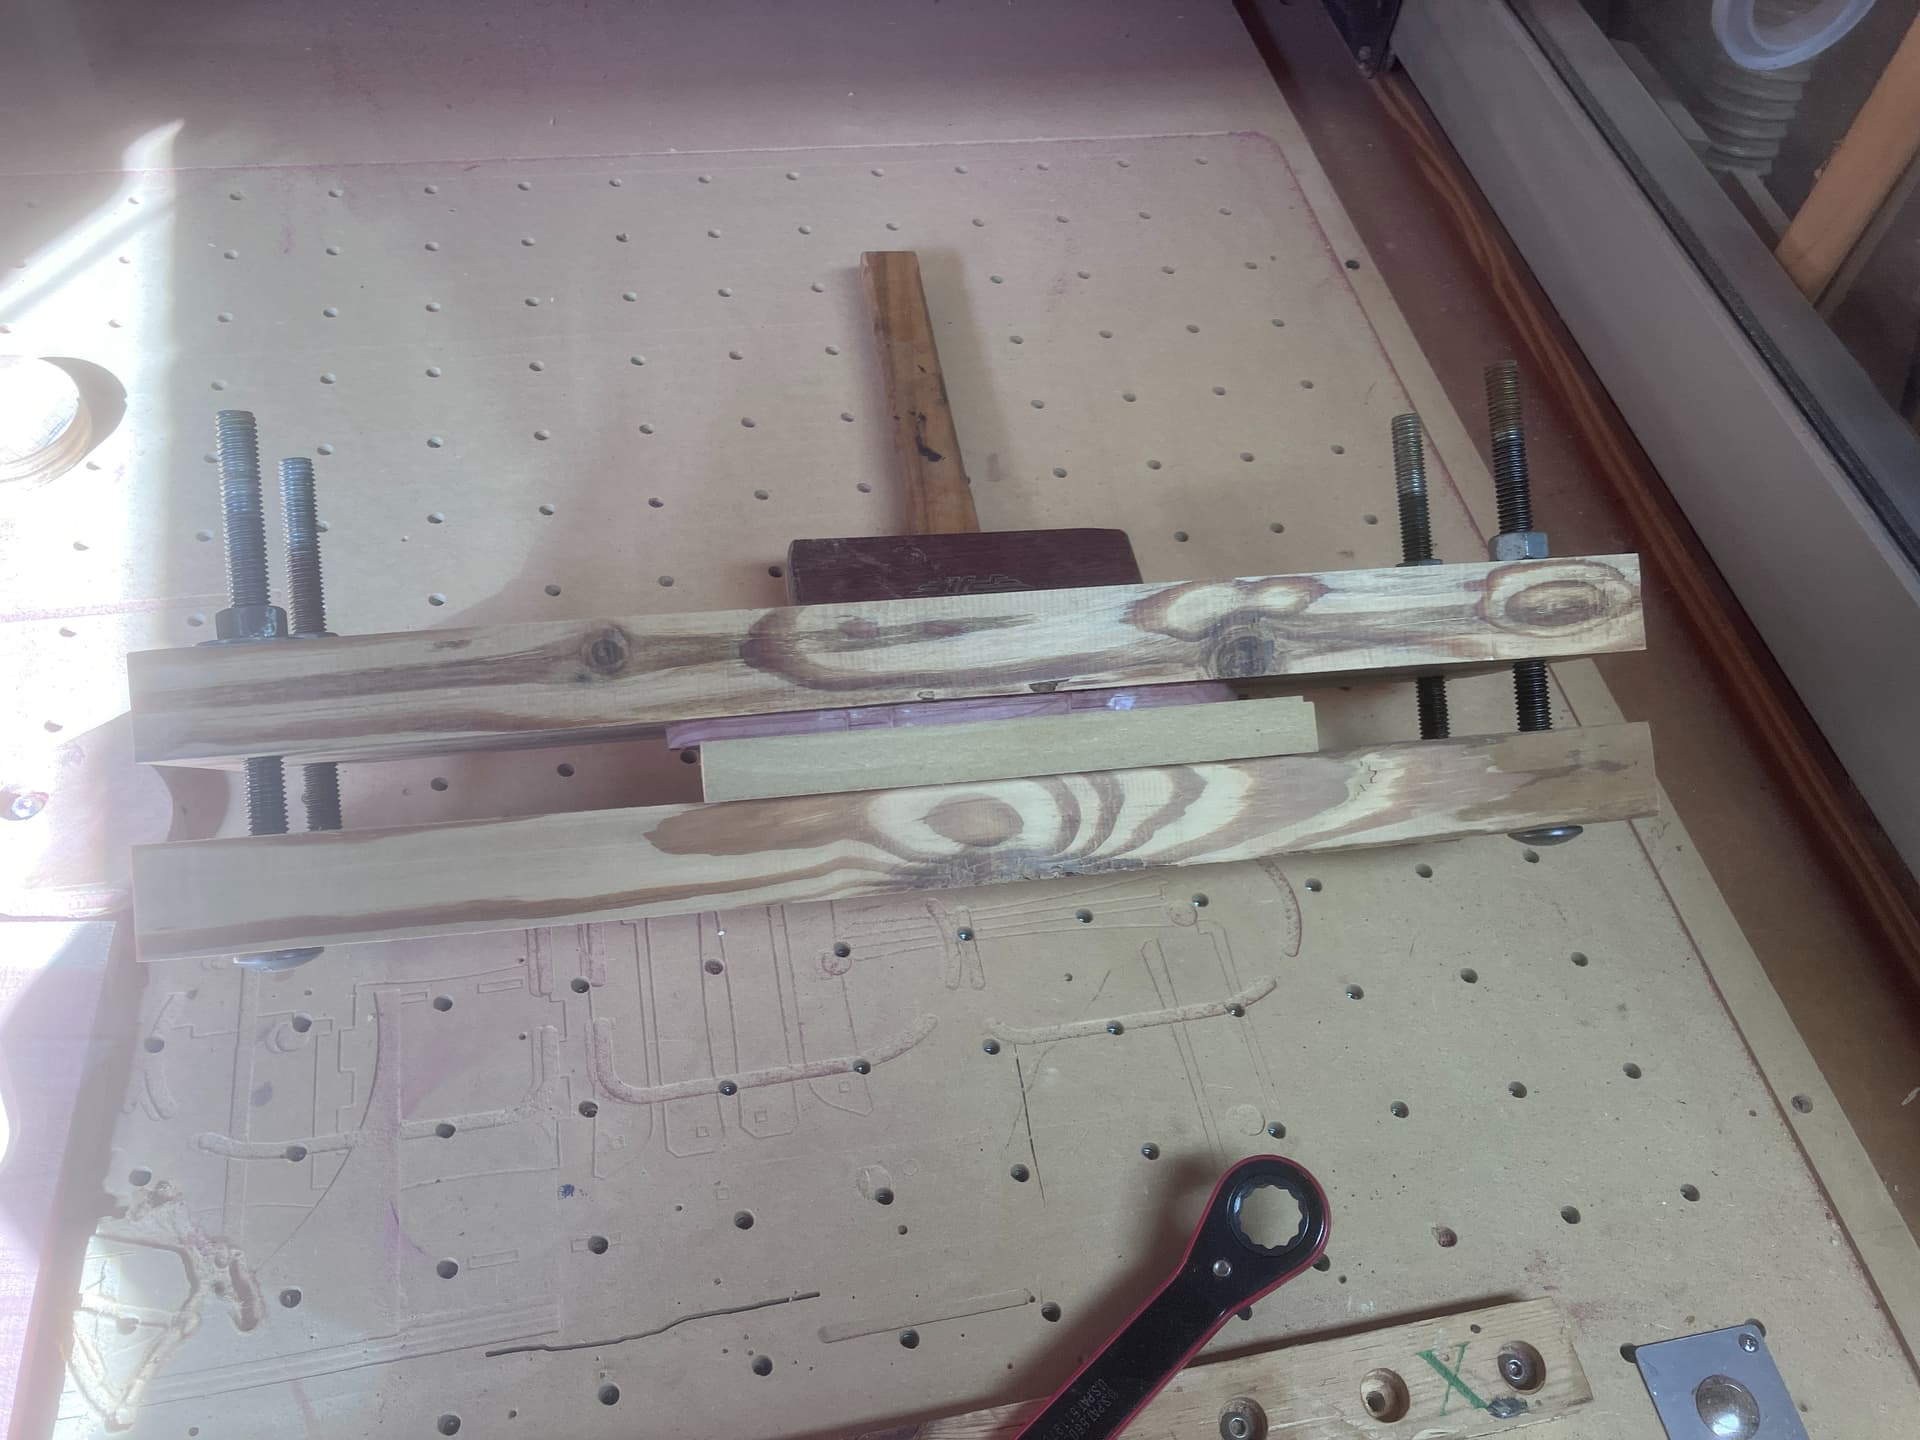
I’ve always had such a hard time with inlays. I don’t have VCarve and always relied on Carbide Create. I followed Rob Grzesek instructions using the inlay gap with a 90 degree V and was quite pleased the results. I also want to mention that it was very awkward using clamps for equal pressure. I decide to use a couple of 2x6’s with carriage bolts. This inlay test is 90 degree with cedar and MDF.