Just replaced my SuckIt with a Sweepy 2.0 (because my SuckIt fell on the floor and shattered…giving me an excuse).
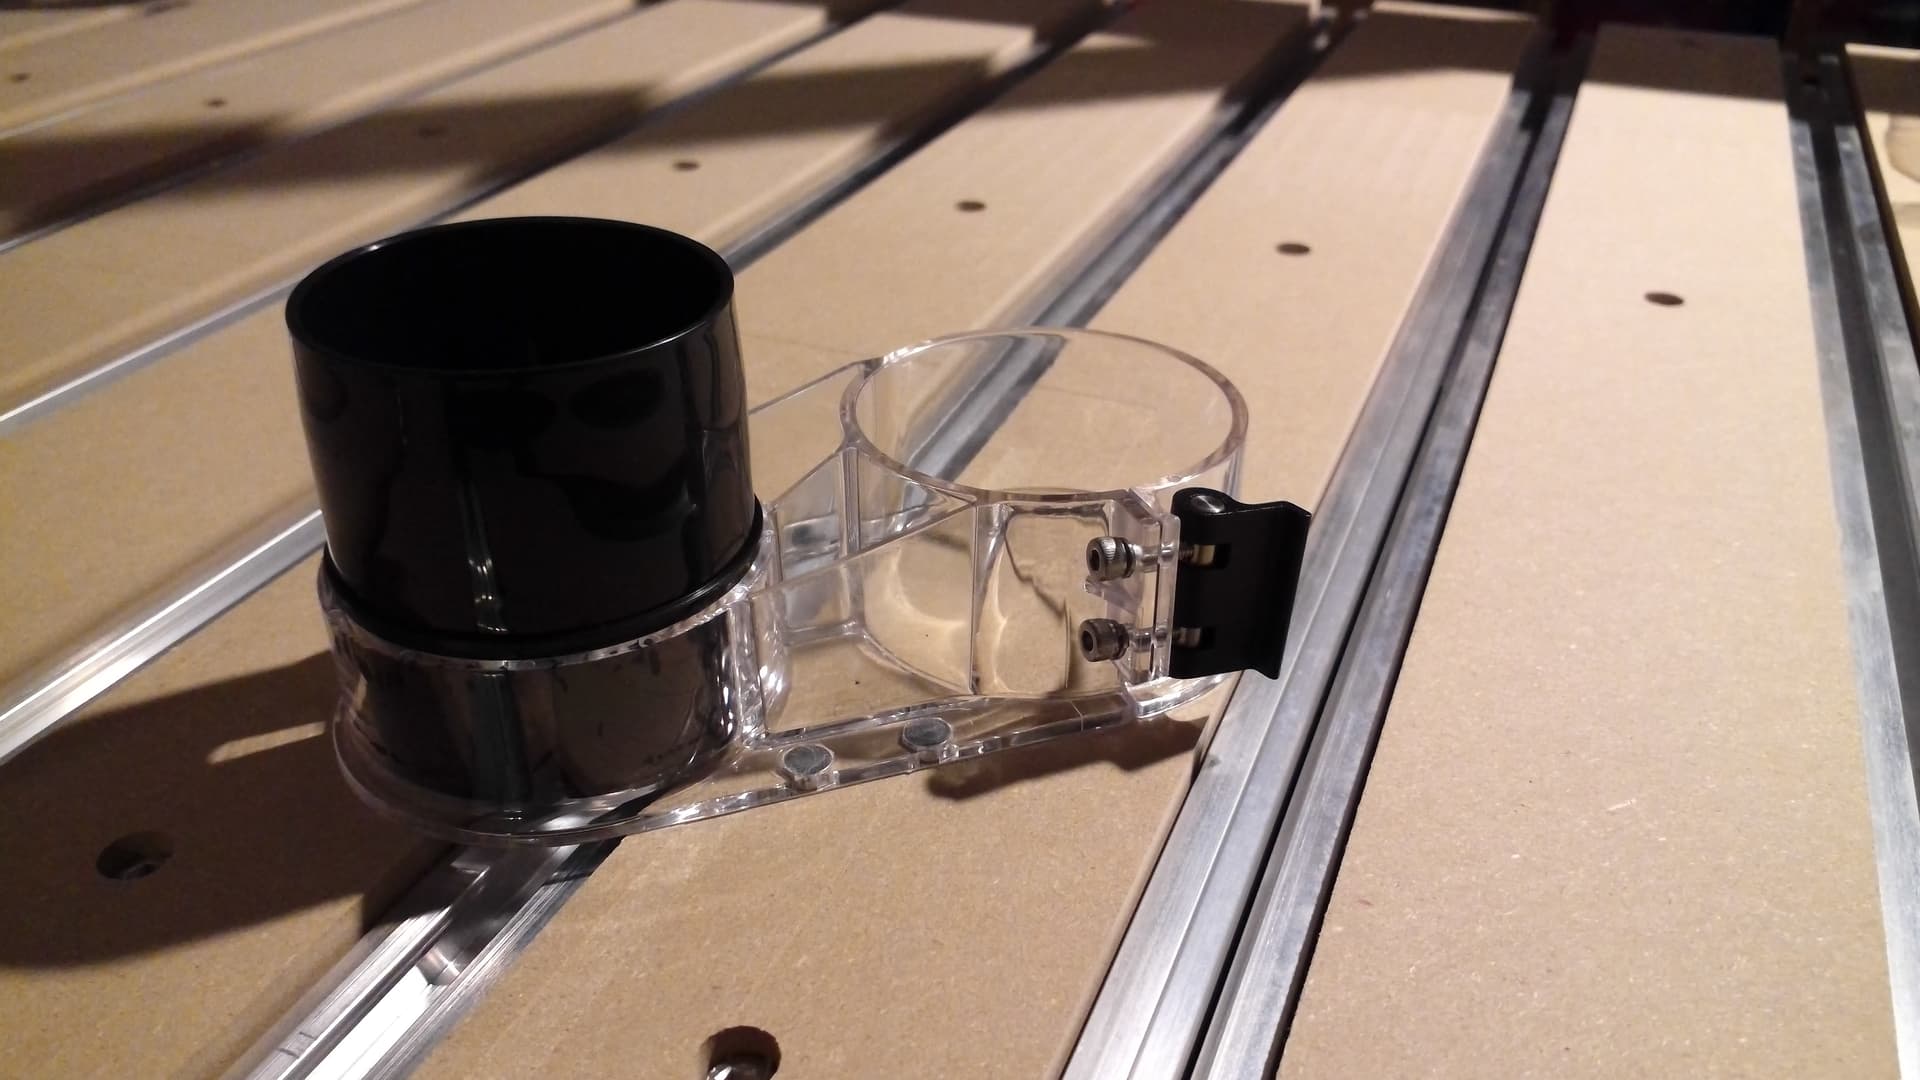
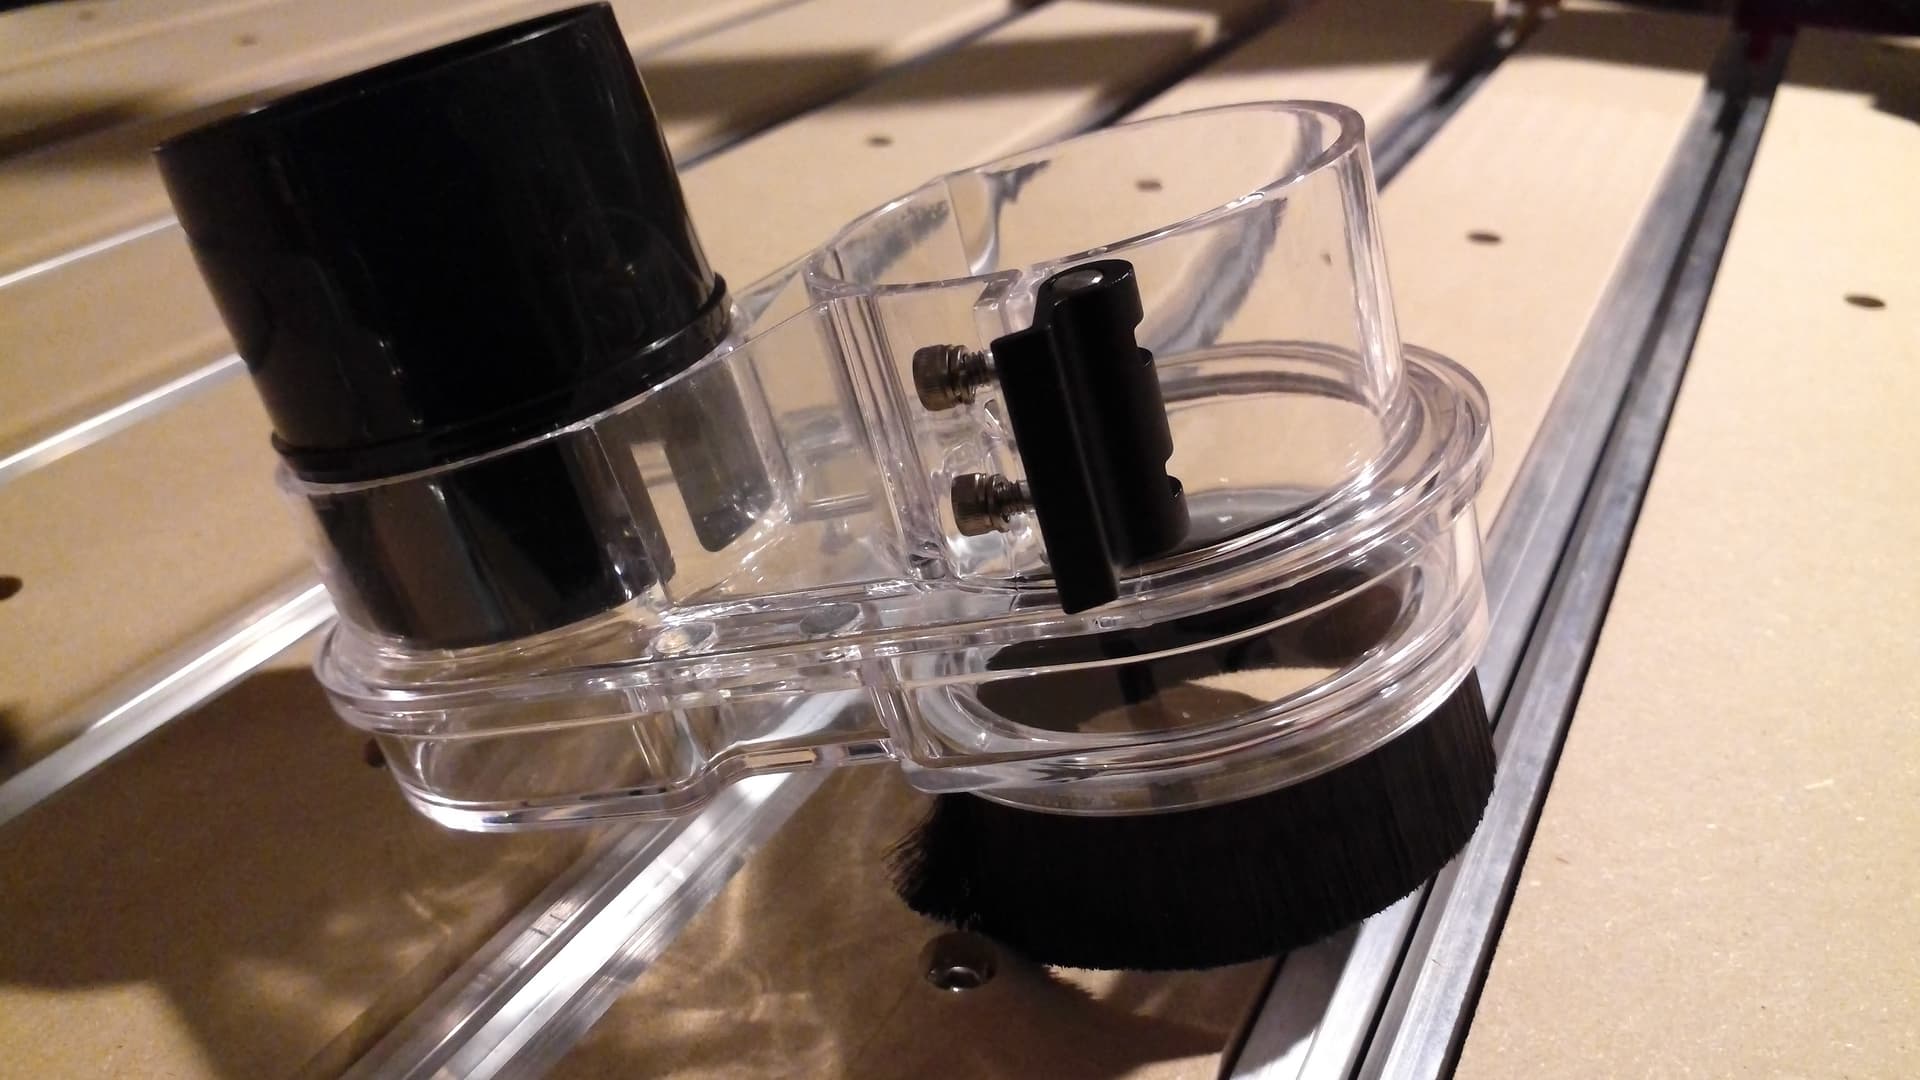
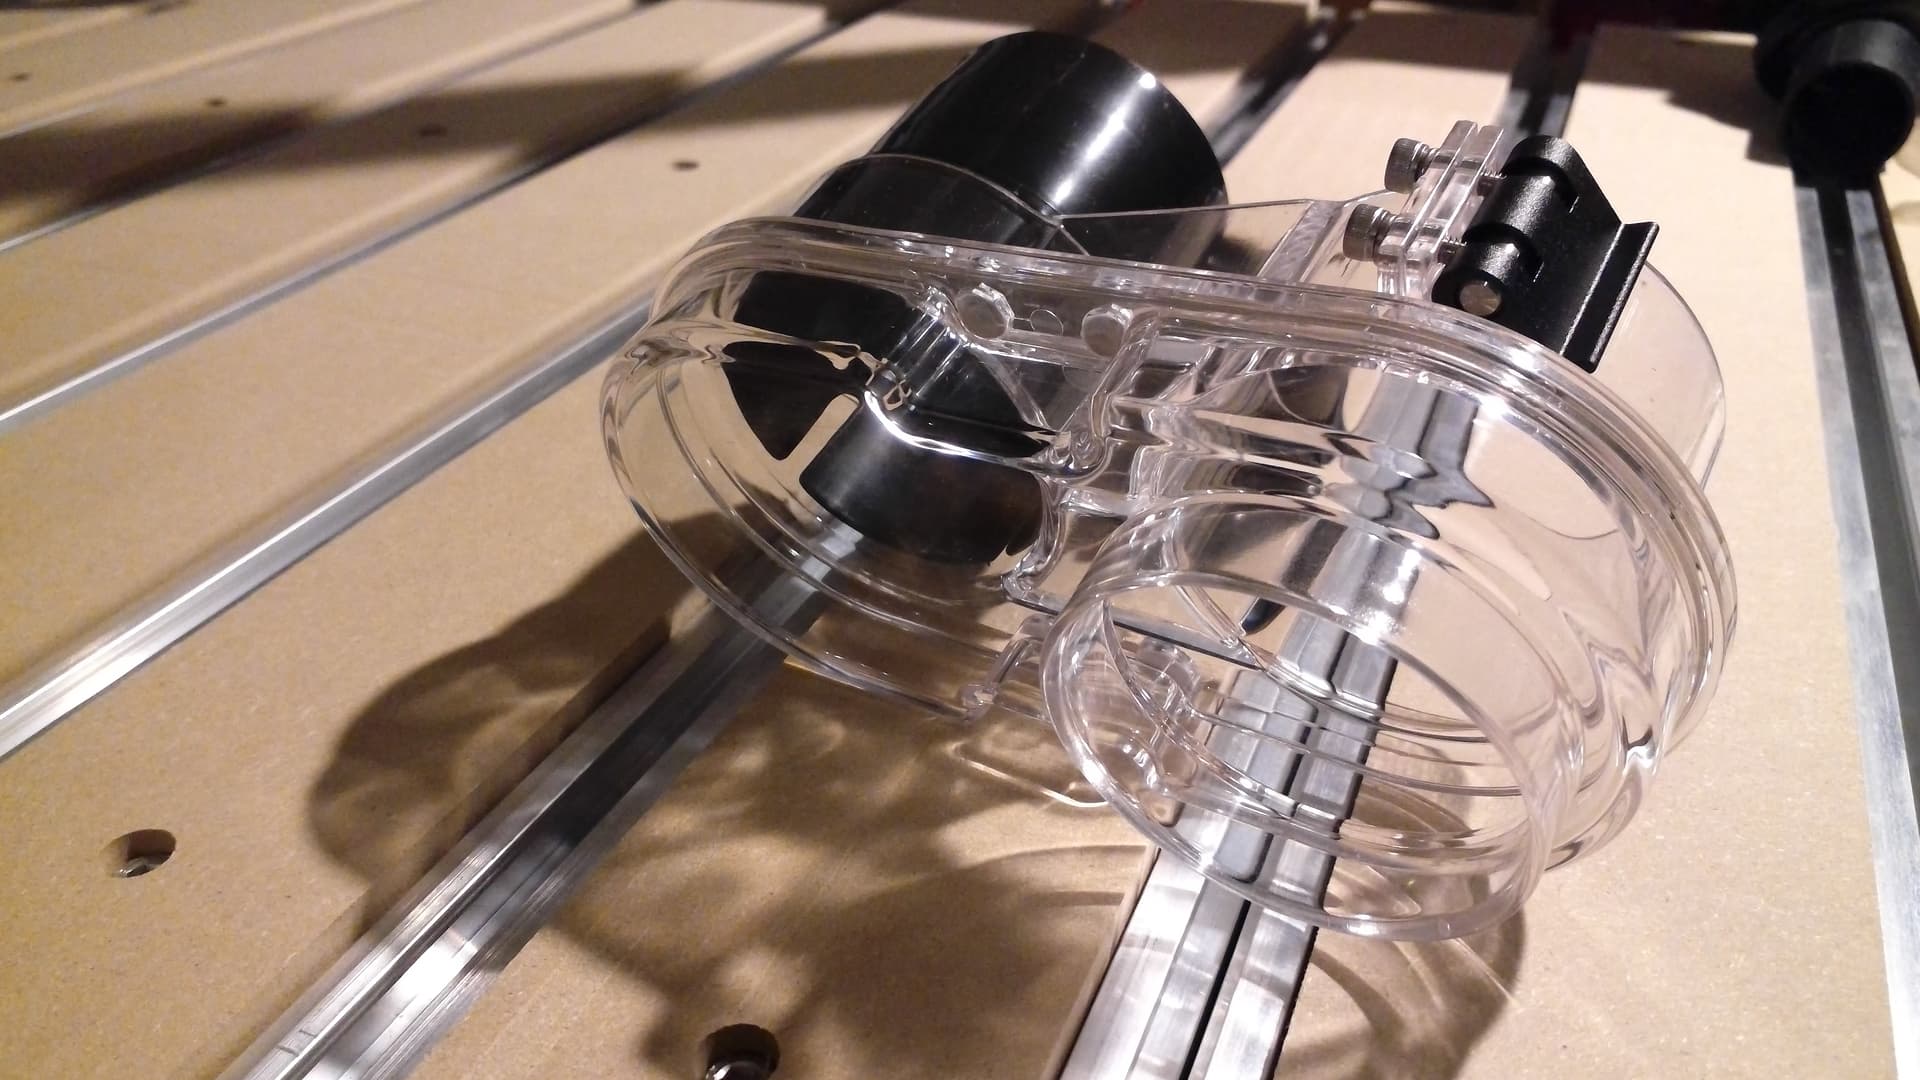
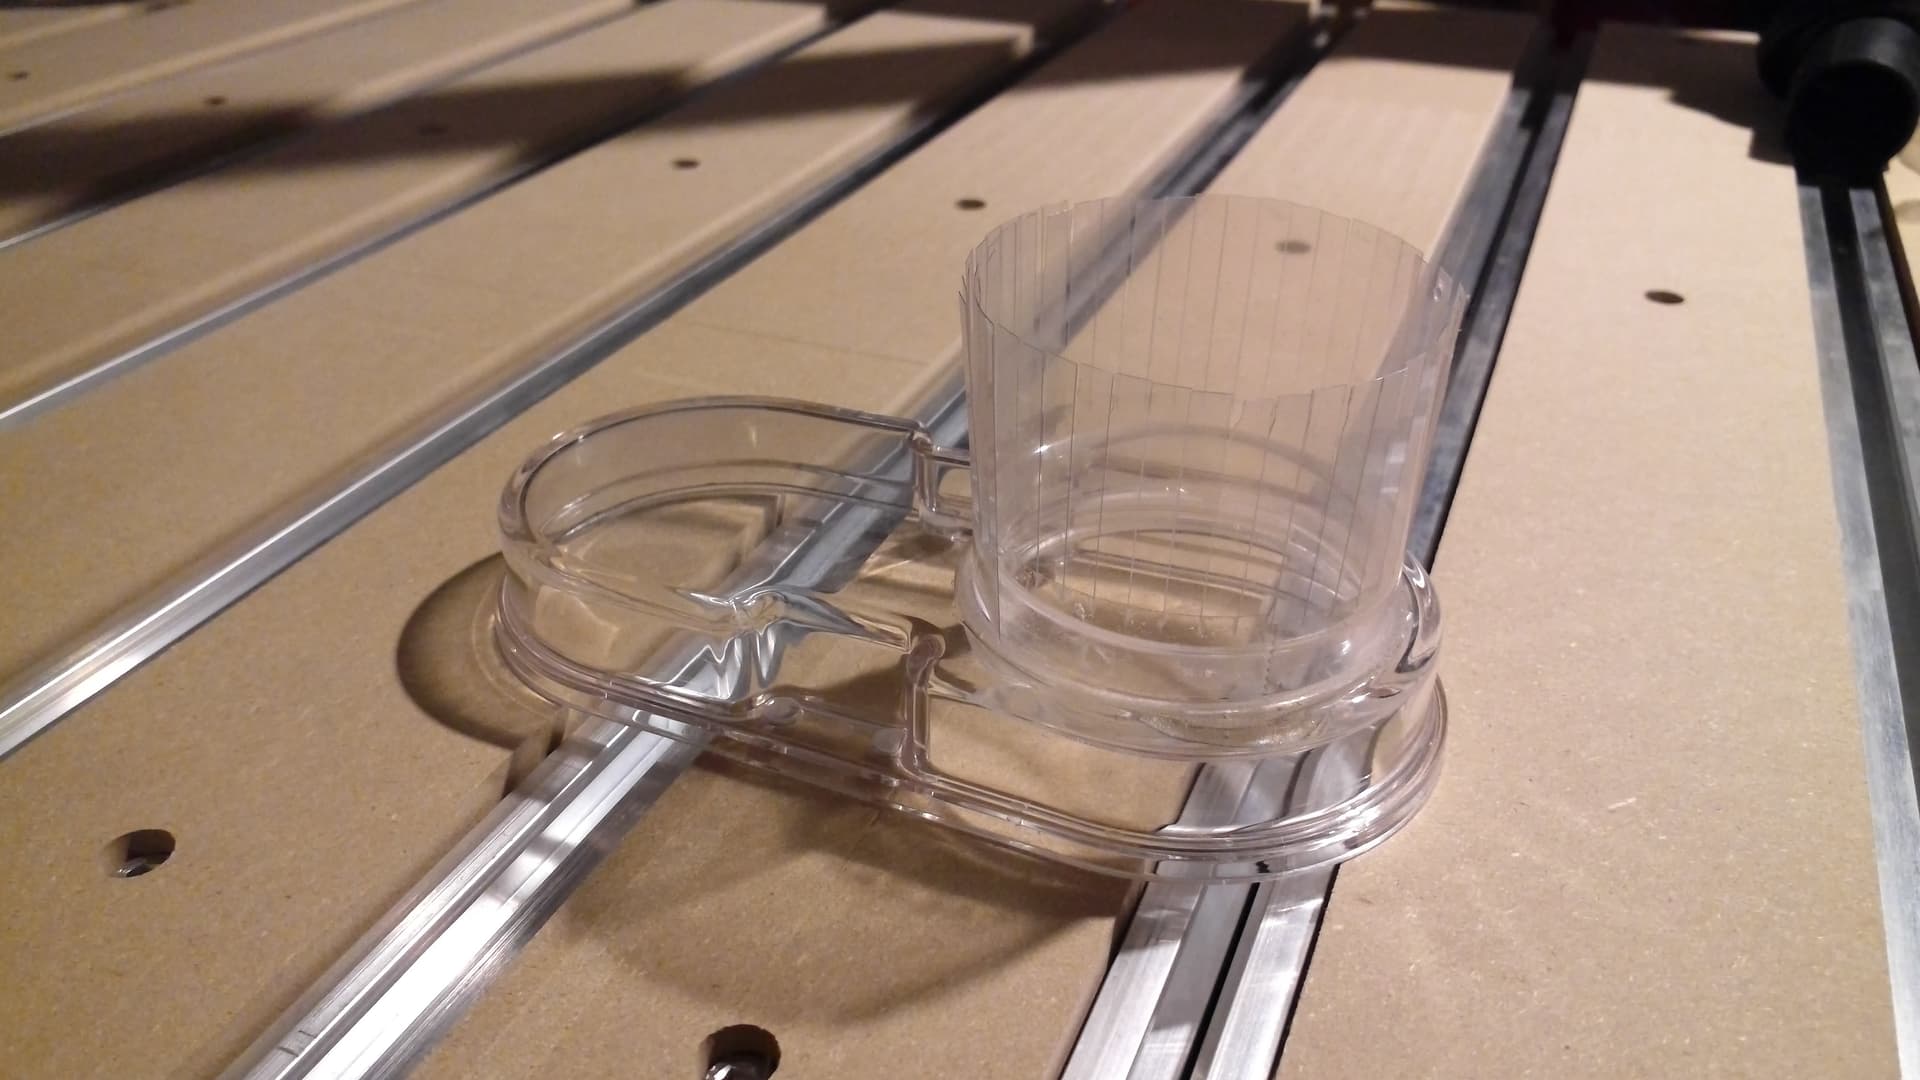
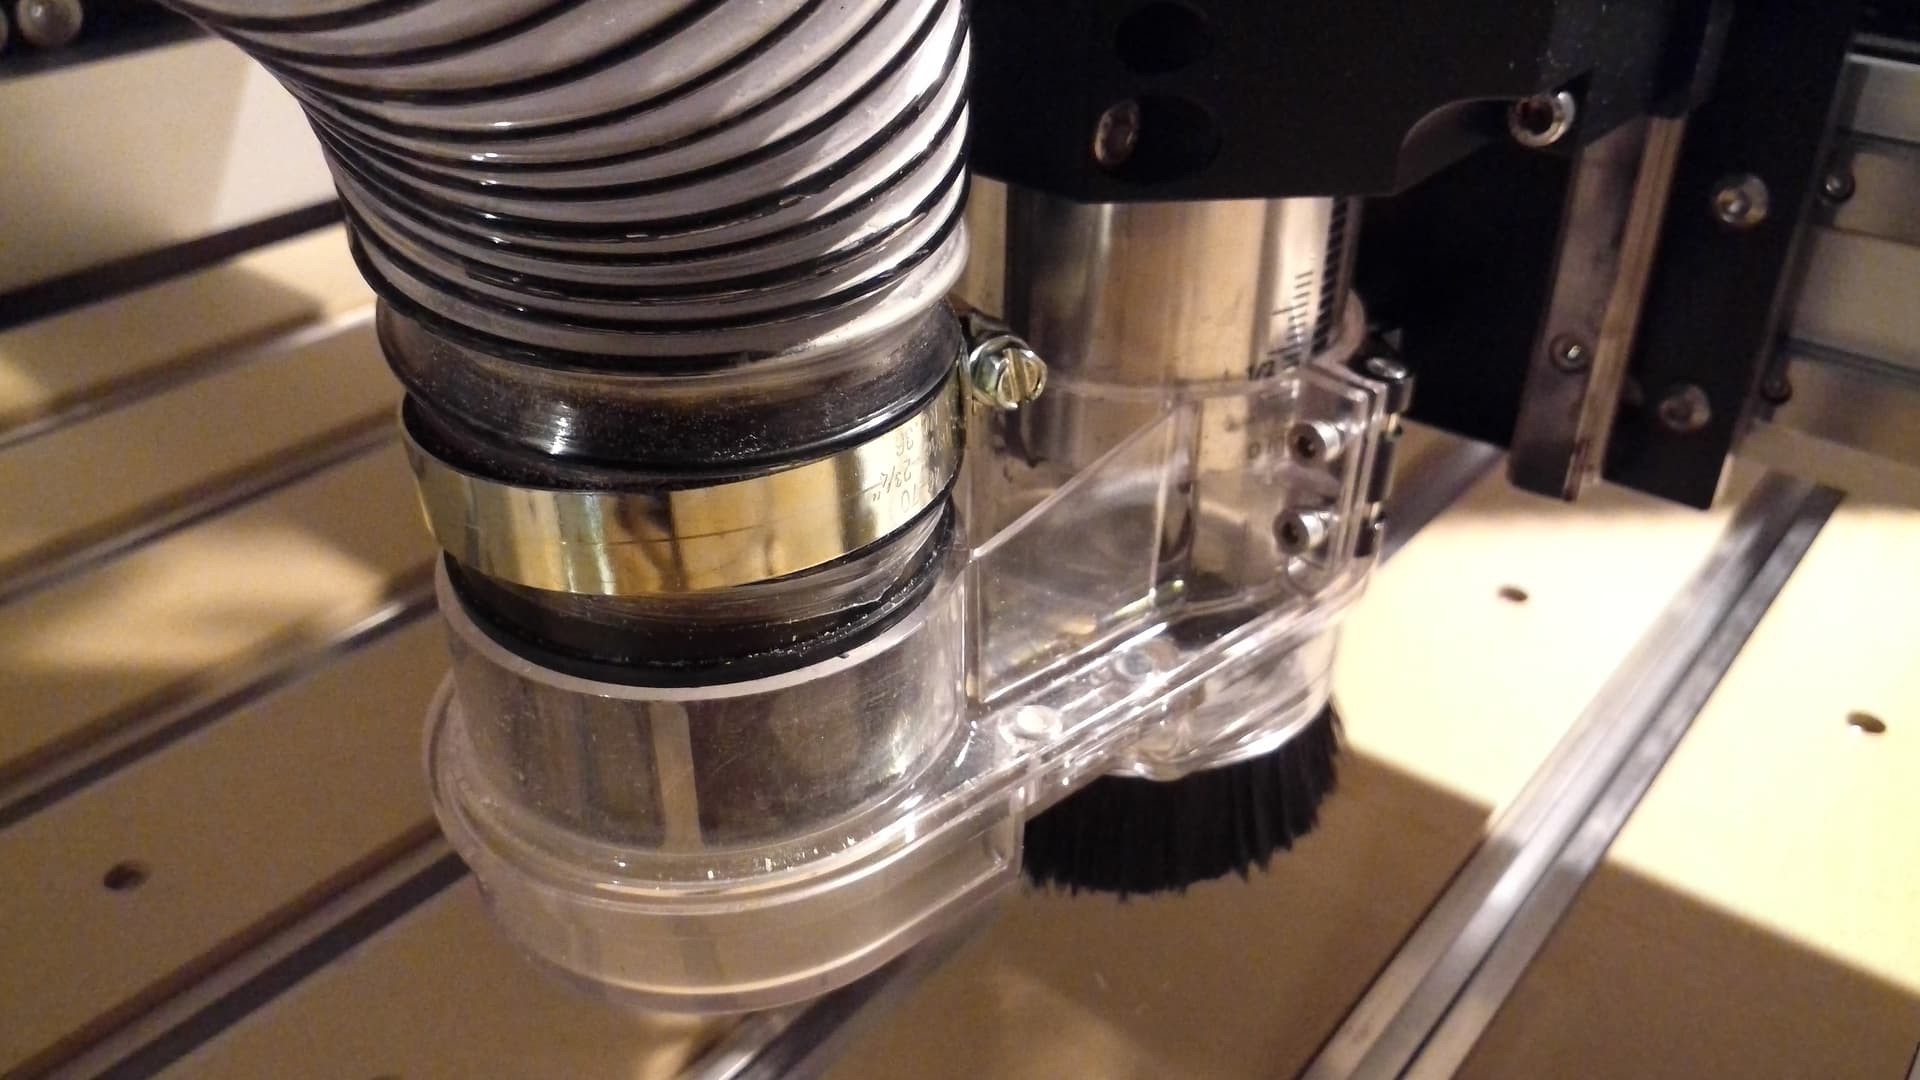
It arrived last week in a box without any instructions and without any link to instructions. A quick search of carbide3d.com failed to locate online instructions for how to set up the clamp and strategies for setting the height of the brushes etc. It also came with two plastic shoes - I’m not really sure what the difference is between them. I was able to determine which one fit my 2.5" hose and I slipped it on my router. I deduced which way the plastic cam clamp was supposed to be installed (at least I think I did) and I guessed at how tight to make the screws so as not to snap the collar sometime down the line moving it around. (I’m still not sure what the optimum tension on those screws will be to avoid long-term stress on the plastic components…so I’m basically just hoping).
Was not receiving any instructions at all an oversight? Or was I supposed to find some Winston video on YouTube to tell me what to do? I did, by the way, find the “welcome sweepy” videos - which show things together, but don’t actually give any instructions.
while the more complex one is shaped so as to fit a number of hoses including the 35mm hose typically used for dust extraction on European dust extractors:
Great thanks! That is the way I oriented the cam…so I got that right. I could have mounted the other way, but I don’t think it would have been effective.
Always worth noting it’s good to give the latch screw a gentle turn when in the closed position. I’ve seen a couple of reviews where they missed this and stated it was a loose fit. In reality the ID when fully closed is 1mm less than the desired router dimension.
Height should be set between at approx final height pass. Don’t have the brush jamming into your work piece.
If you are using the ‘Winston’ Base this needs to be above final pass height.
I backed my screws off after looking closely at the plastic as I clamped it shut and felt that it was under too much strain - even though the latch closed. It seemed that some stress fracturing might develop in the plastic over time if I kept it where I had it. So yes…this is a good addition.
All great advice, that I was able to deduce myself…so that’s good.
@robgrz Why not have someone write down all of this and include it in a single sheet in the packaging? Or at least have a page linked to the product that gives this info in an “official Carbide” manner?
@Luke When my Sweepy came, the metal bar was separate from the clamp, and the screws were loose in the packaging. I connected it myself. It was pretty simple to determine that the bar slipped into the clamp and that the screws entered from the front of the Sweepy, that the flat side of the cam should be in contact with the plastic when open, etc.
I ended up pre-screwing the bar into the clamp and then slipping the unit onto the router. Then I tightened the screws a bit and tried to close the clamp. It wouldn’t close, so I backed the screws out until it would clamp. I then felt that that tension was actually TOO tight (my post above about stress fractures), so I backed them out even more.
I don’t know how other people did it…but I can tell you that your suggestion to “tighten because it’s too loose” never came into play because it was always too tight the way I started it.
I used to change the height of my Sweepy2 up and down to best match the cut depth and bit. Just a word of warning that if you do that, check often that you have sufficient clamping power. It seems repeated clamping and unclampings may cause the screws to back out. My Sweepy2 was then destroyed after it fell off the router into the cutting zone of the bit.
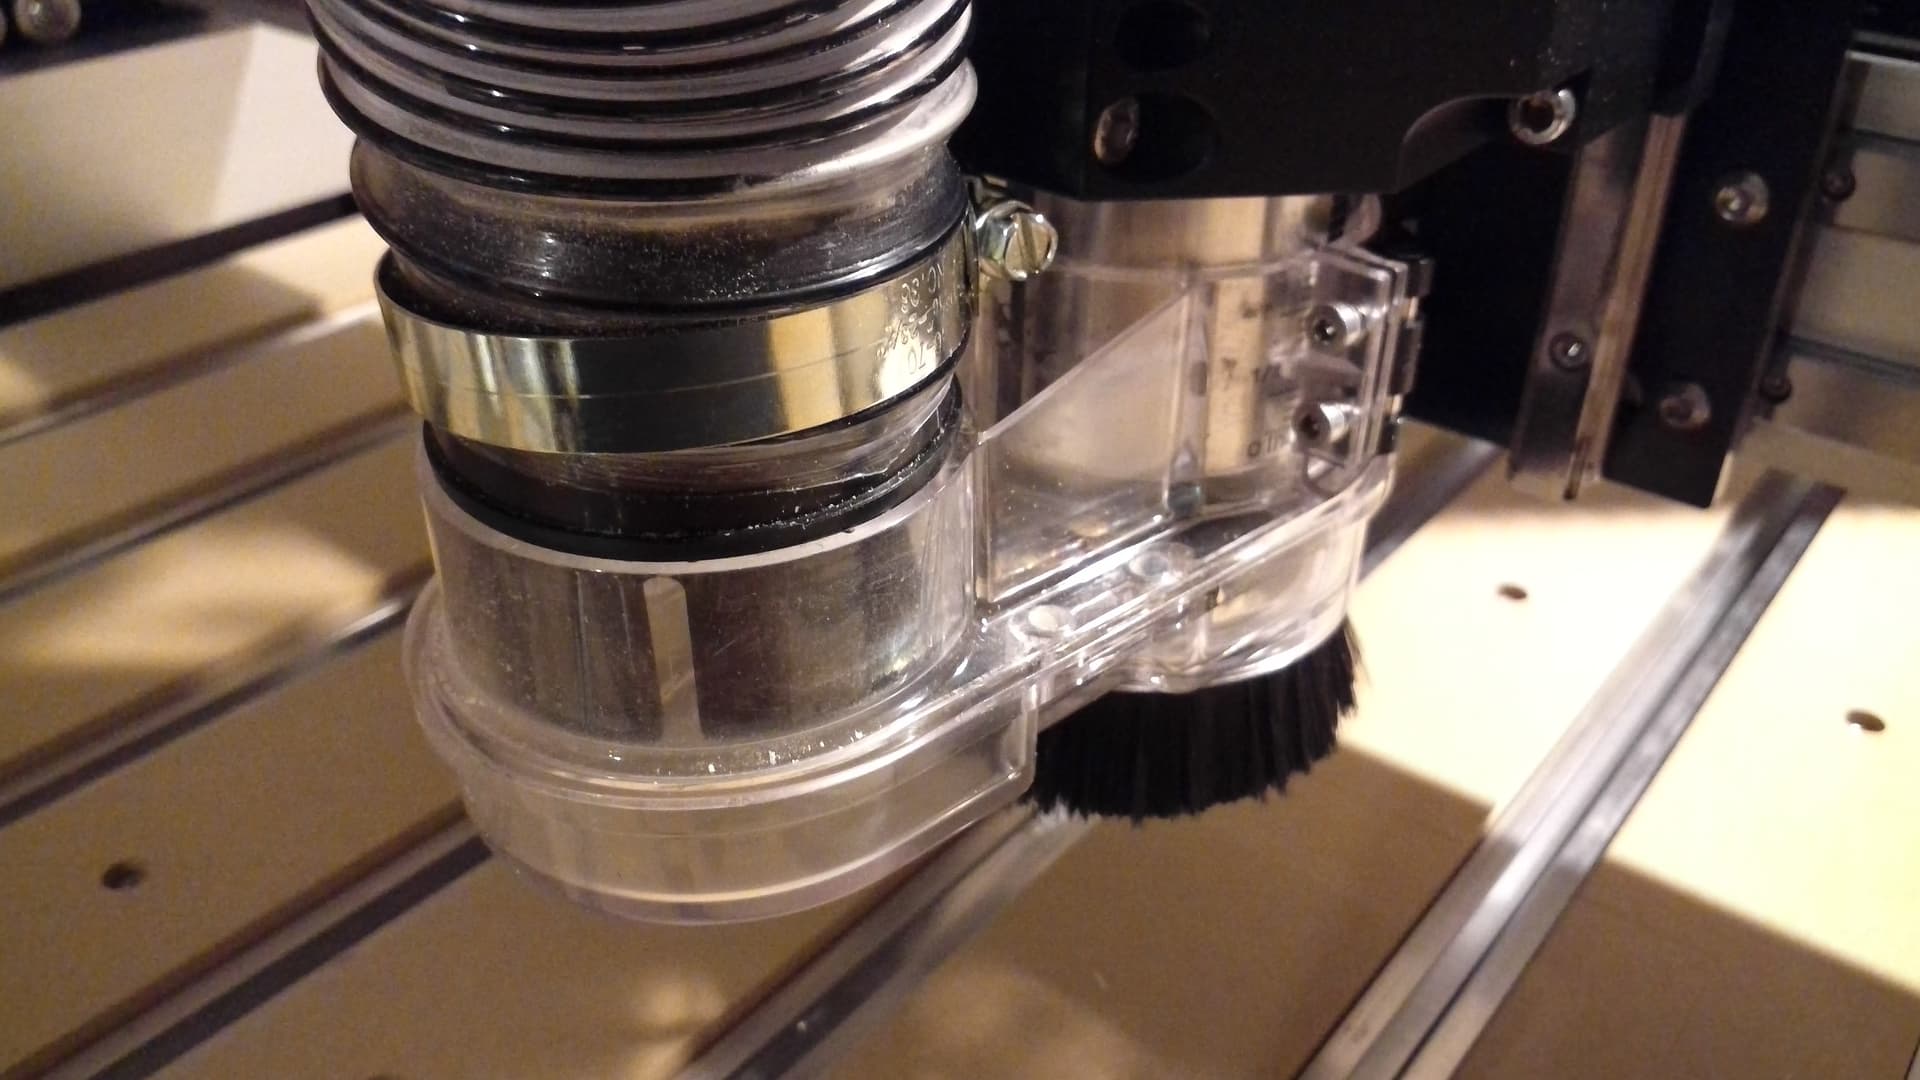
Also: Is there a recommended maximum depth for installation of the sweepy? In other words, is there a lowest point on the router to do your installation? If half of the cam is still on the router, is that “good enough”? I would think there is a “minimum insertion” distance that Carbide could publish (or mark on the sweepy).
Halfway seems quite safe, I’ve gone quite a bit lower, with the upper bolt at or just below the edge of the router housing — the lower it is, the more attention I pay to the cut.
Sure…but just like on the seat tubes of bicycles, the manufacturer provides a minimum insertion safety mark — maybe Carbide could do the same kind of thing (without reentering manufacturing…so by just providing instructions that include a safety advisory based on their recommended minimum).
While I can’t tell you what the recommendation is, I can tell you from firsthand experience what NOT to do
While using a long reach endmill I moved the Sweepy down and locked it at a point where only 1/2" of the cam was on the router body. And I did not double check how tight the Sweepy lock/grab was. Sure enough, it fell off during a cut and I ruined my Sweepy.
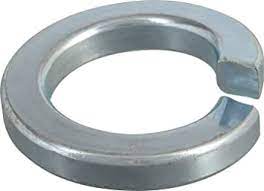
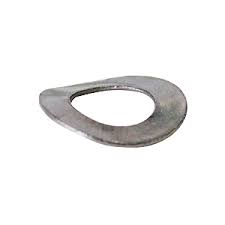
And yes…I did get those washers and installed them.
I installed it without issue…but that’s not a reason for not having them. I was forced to make a few guesses and do a little trial and error. Someone else might guess wrong. Since you’re creating a product that needs to be installed, installation instructions are customary. And given the excellent quality of the Shapeoko installation materials, and the fact that you and Will can generate the content on the fly in minutes of the question, I know it can be done.
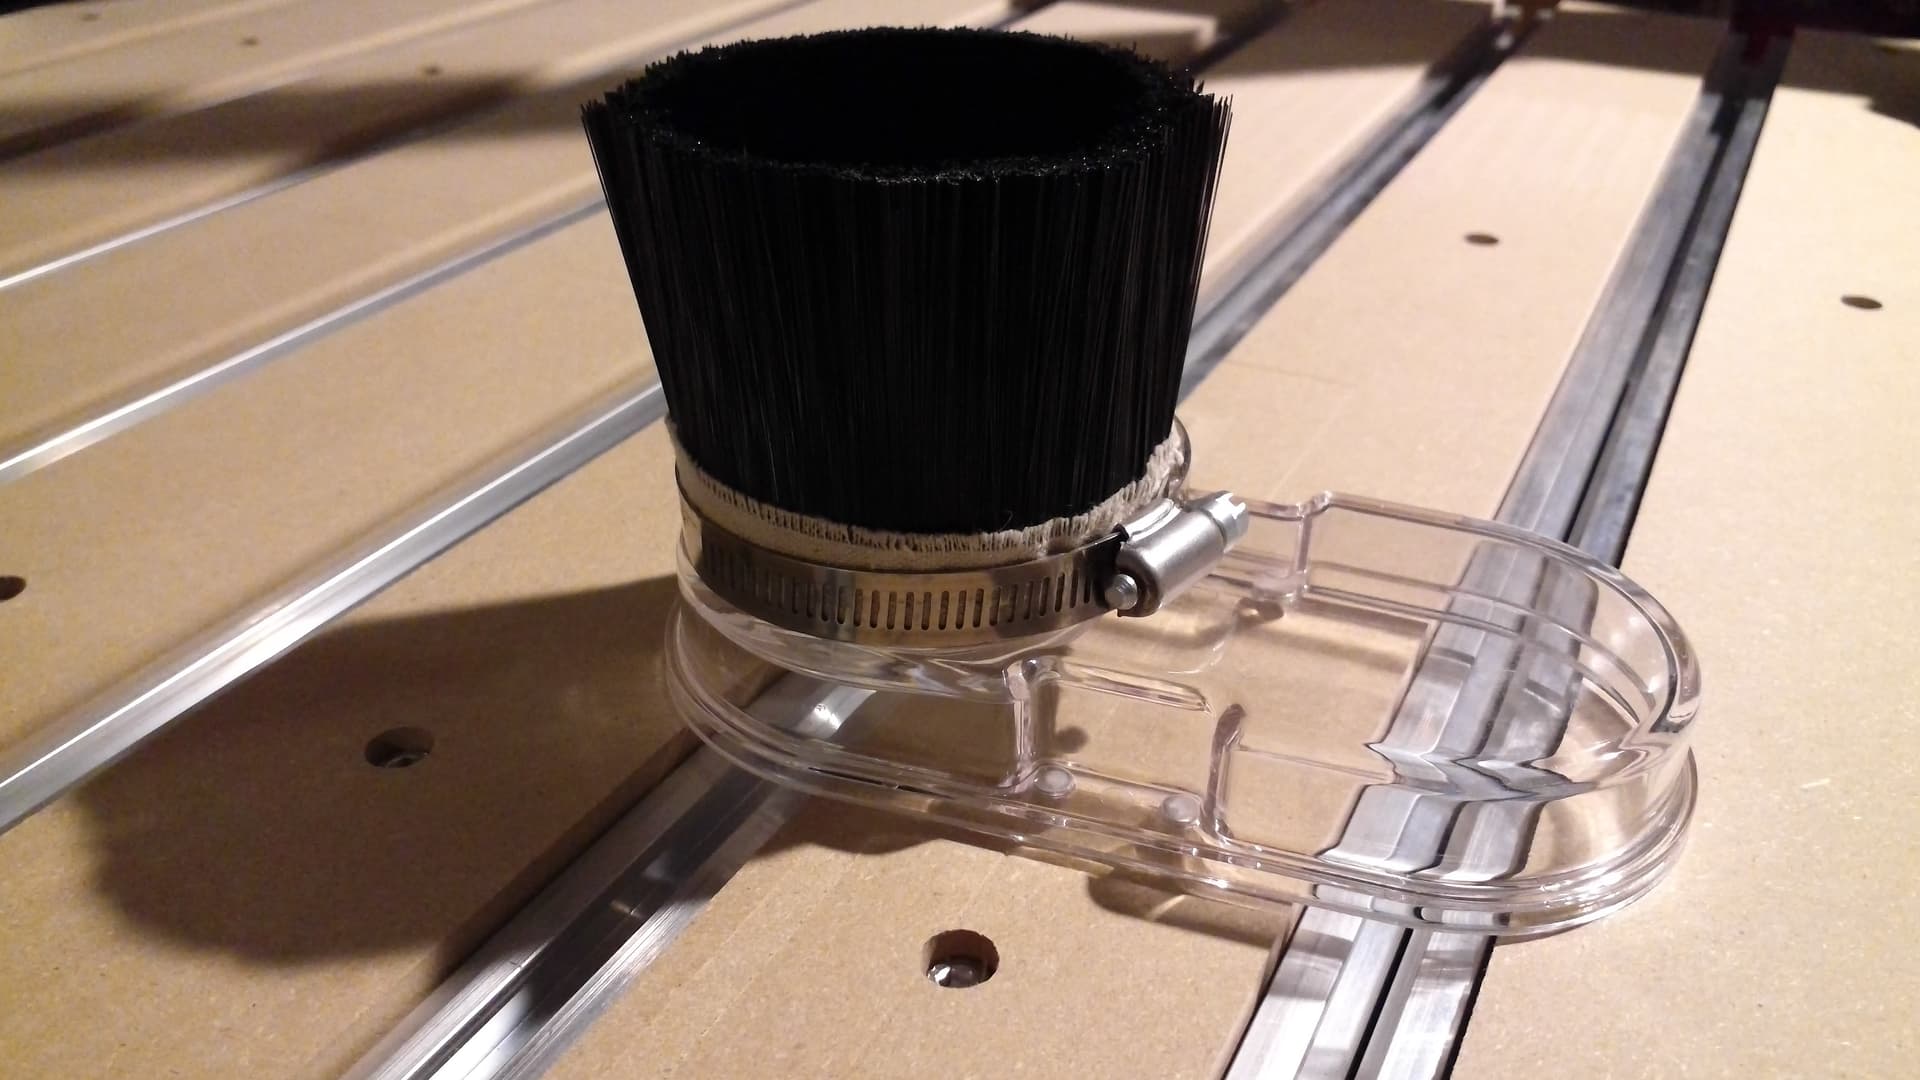
I have the original sweepy and finding when using the smaller bits the brush and clearance a bit restrictive so an upgrade has to be on the cards.One question is the brush skirt replaceable and is the brush in version 2 the same as version 1
The brush skirt isn’t really replaceable — folks have done it though — in our experience, by the time the brushes need to be replaced the plastic is scratched and cloudy enough that replacement is warranted.
The v2 brushes are longer and markedly softer than the v1.