I’ve been buying live edge walnut slabs and have come up with my method of adding geometry/profiles to the end of the boards that blend with the live edge.
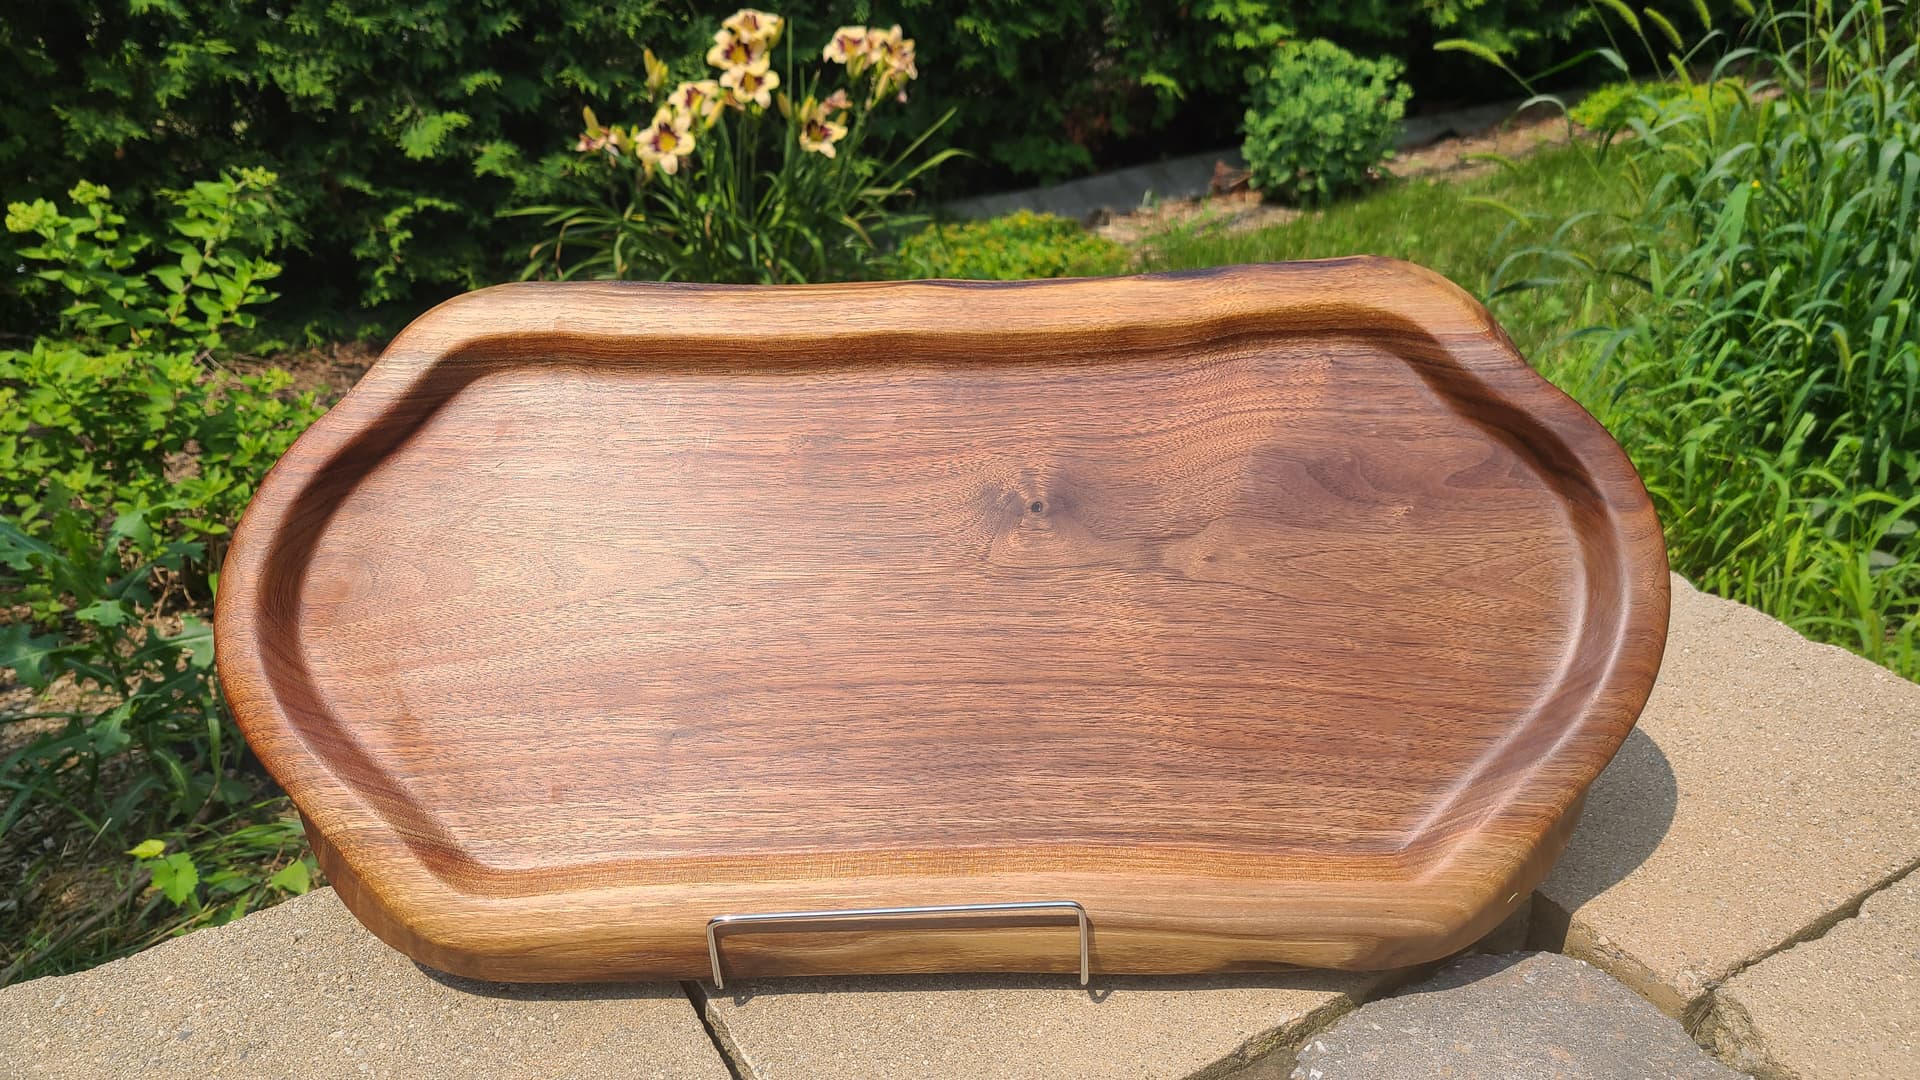
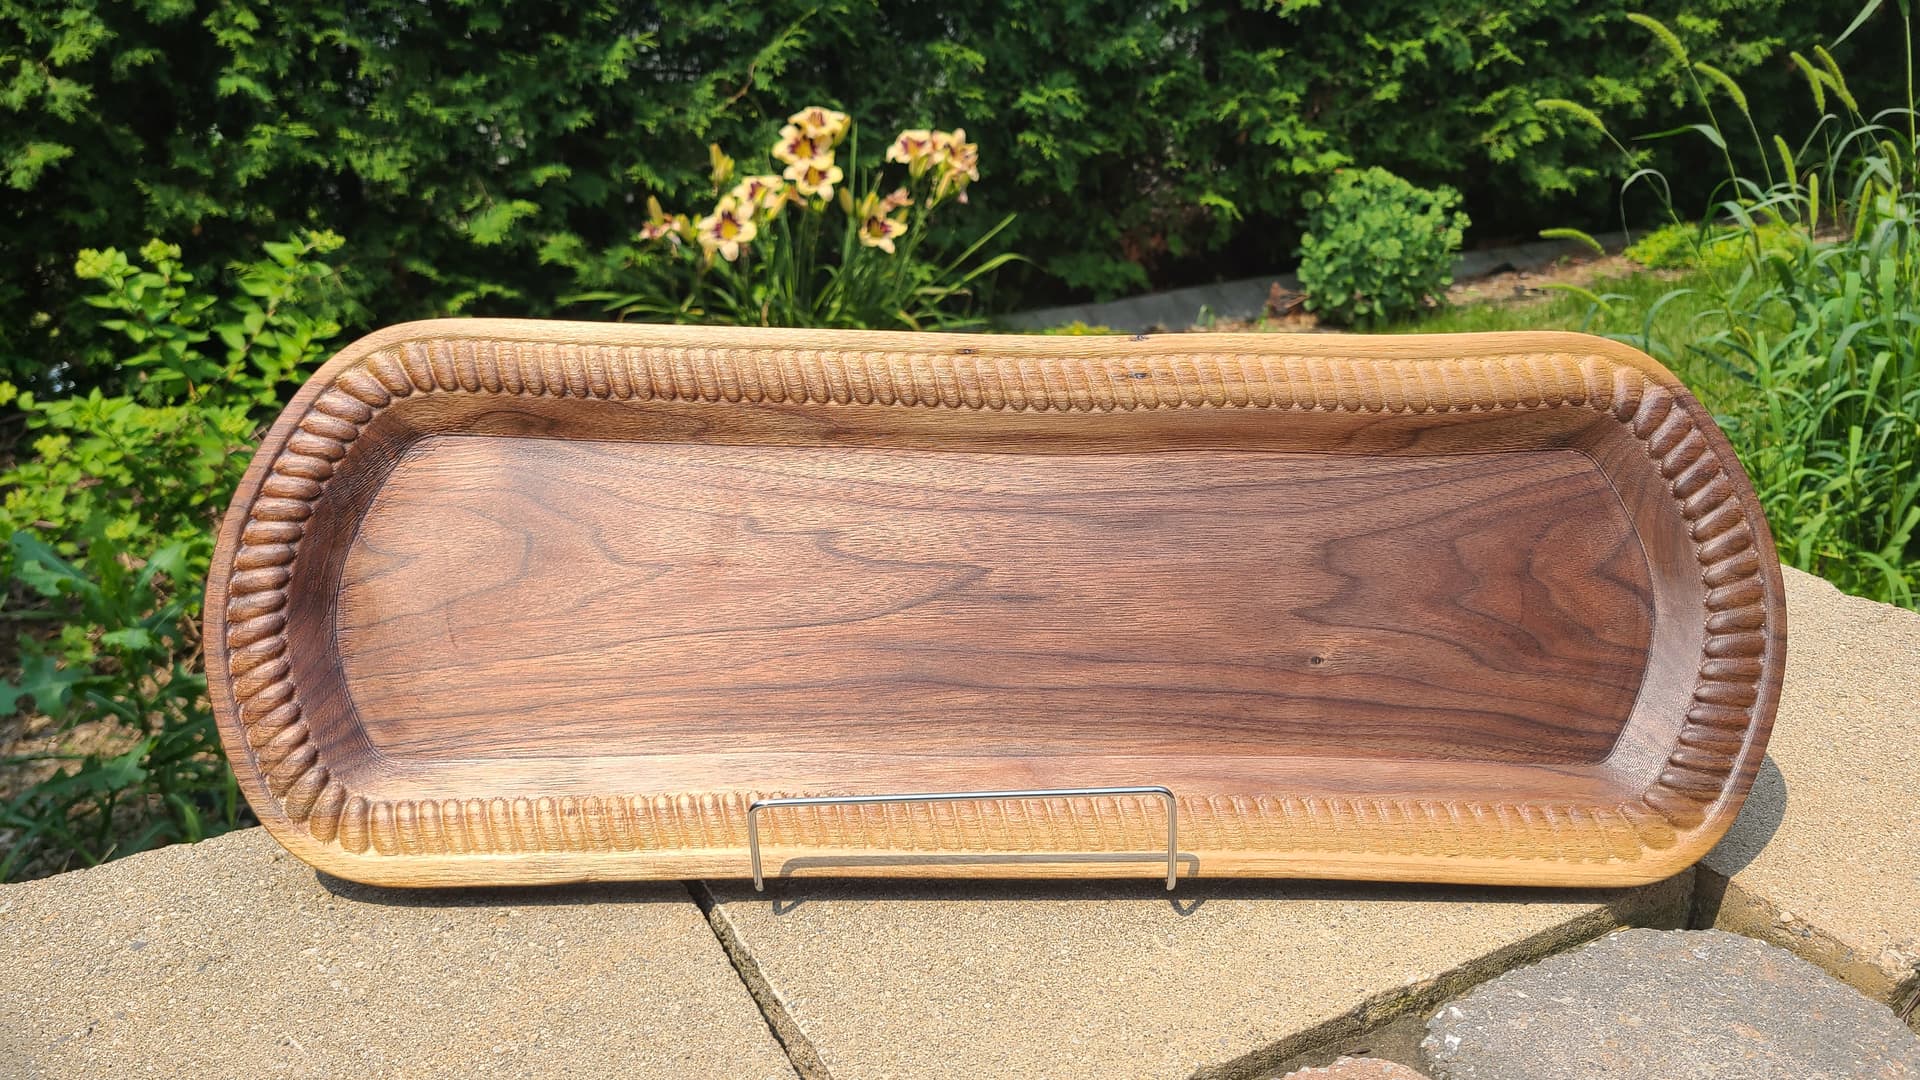
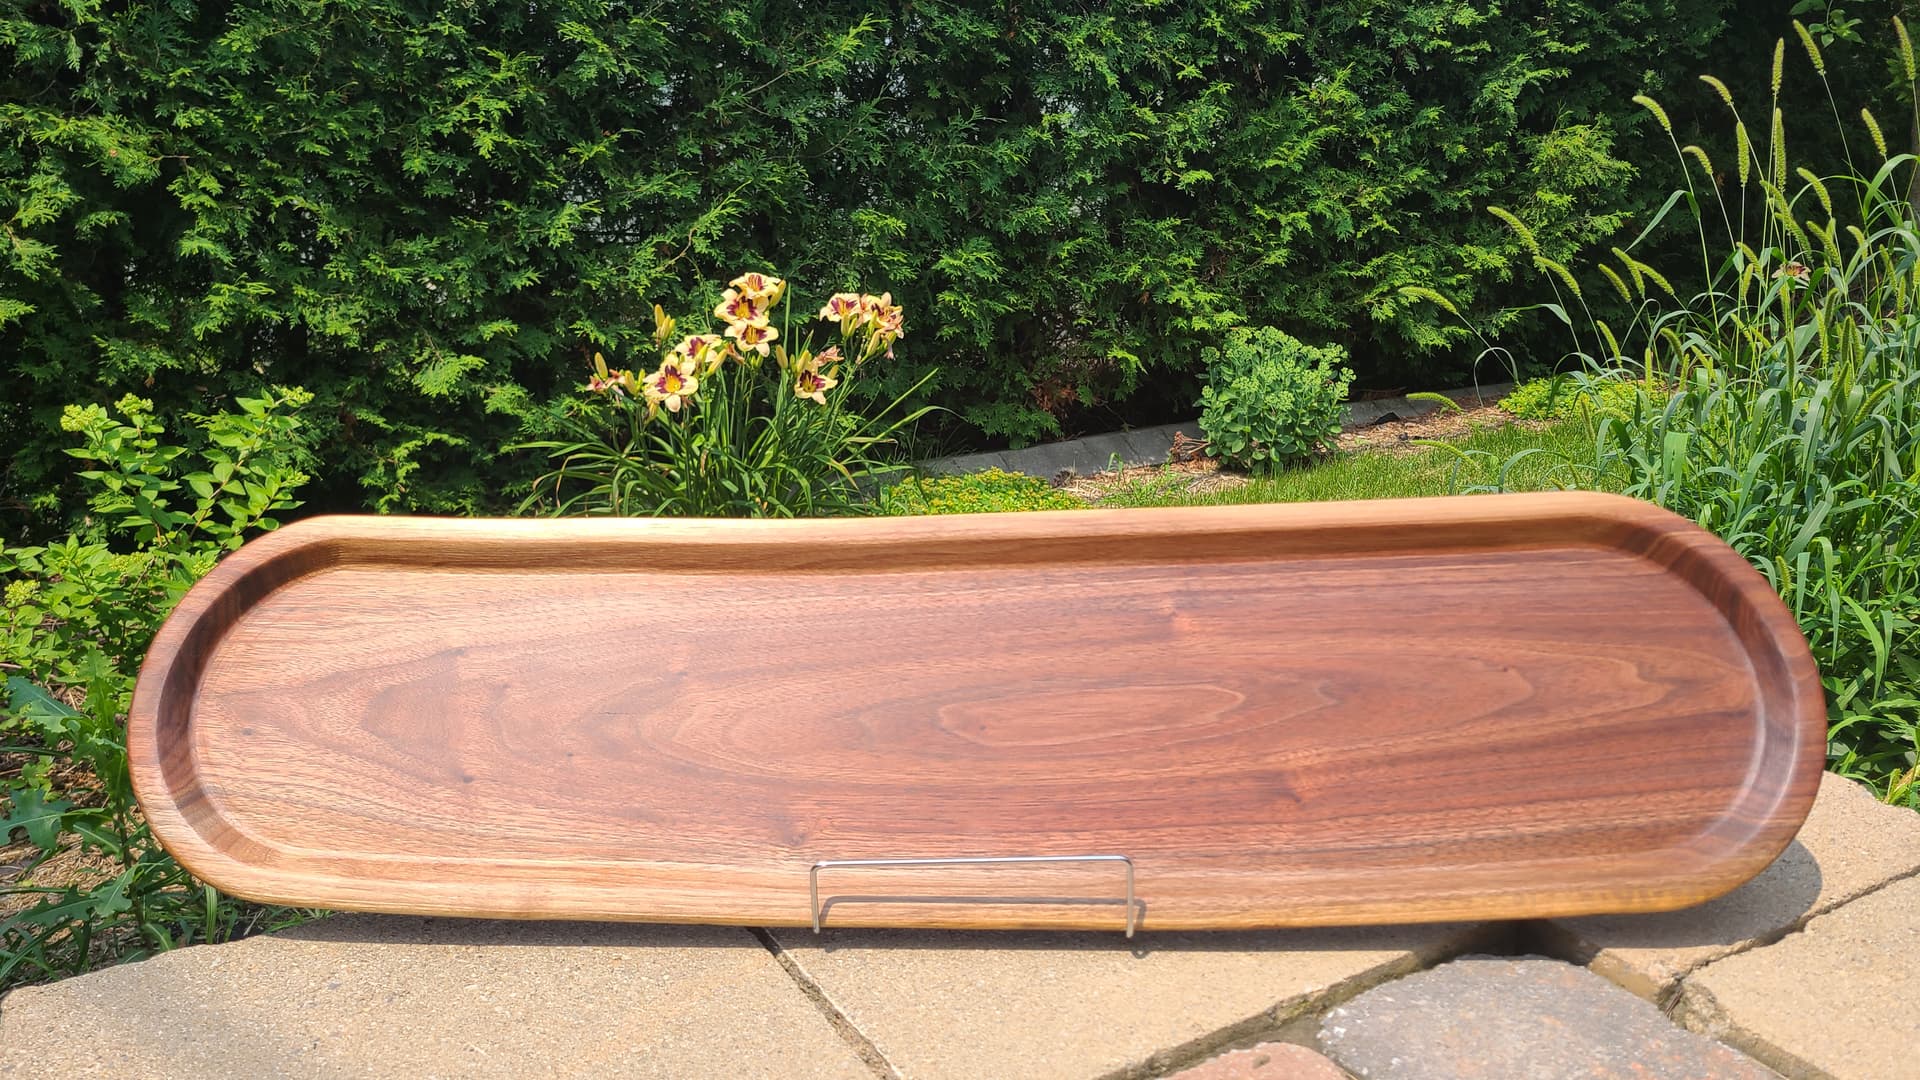
Here are examples of finished products.
I’m now working on a live edge cribbage board and thought I’d share my procedure as someone asked in another thread.
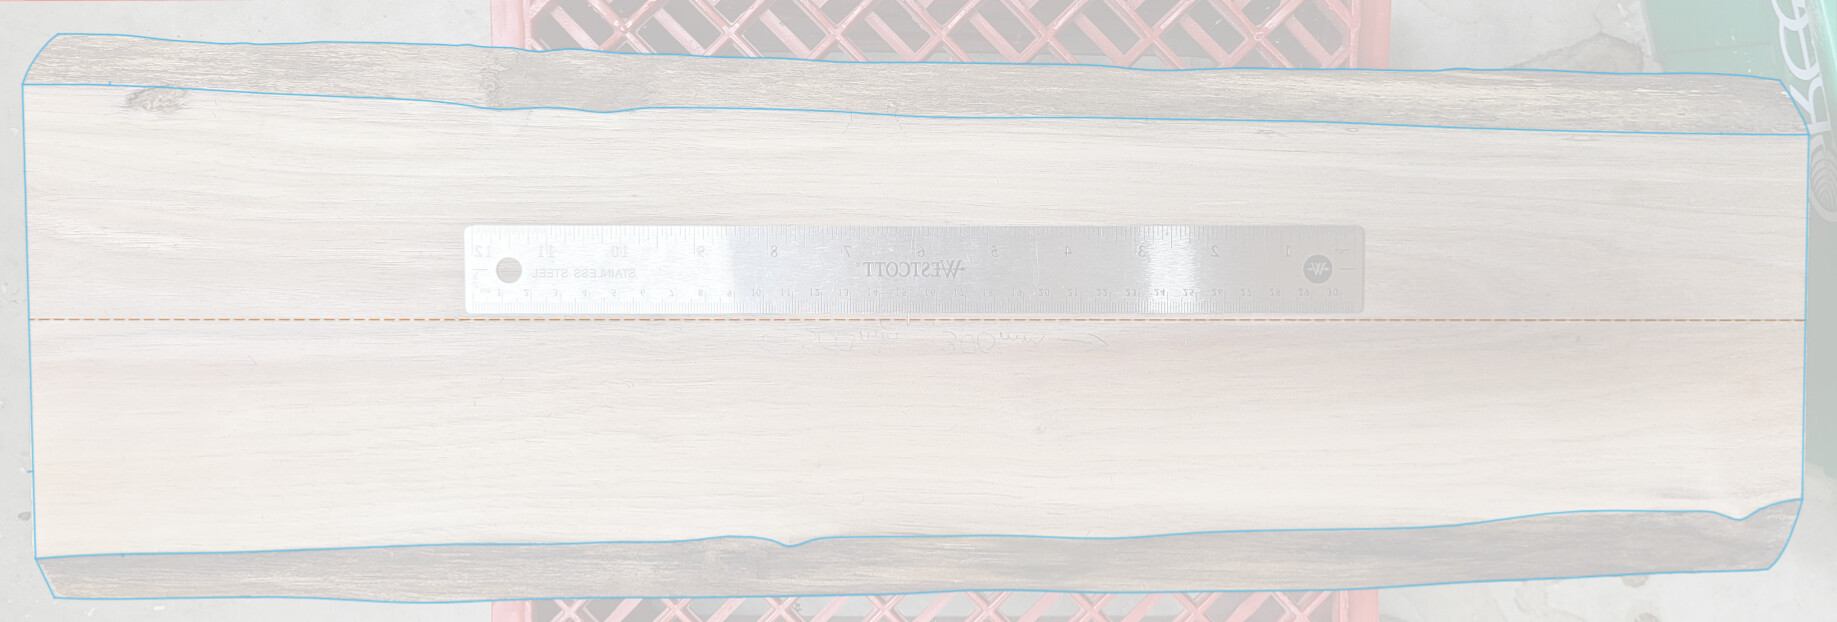
I start by taking a picture of the live edge slab with a ruler in order to calibrate the dimensions once imported into Fusion 360 and I also use photo editing software to correct any keystone effect in the picture since I know the ruler is rectangular however this is more or less a non issue if you setup for the picture having the camera parallel to the wood stock. I also draw a line through the stock (end to end) and make a make in the center where I will later zero with once ready to machine on the CNC.
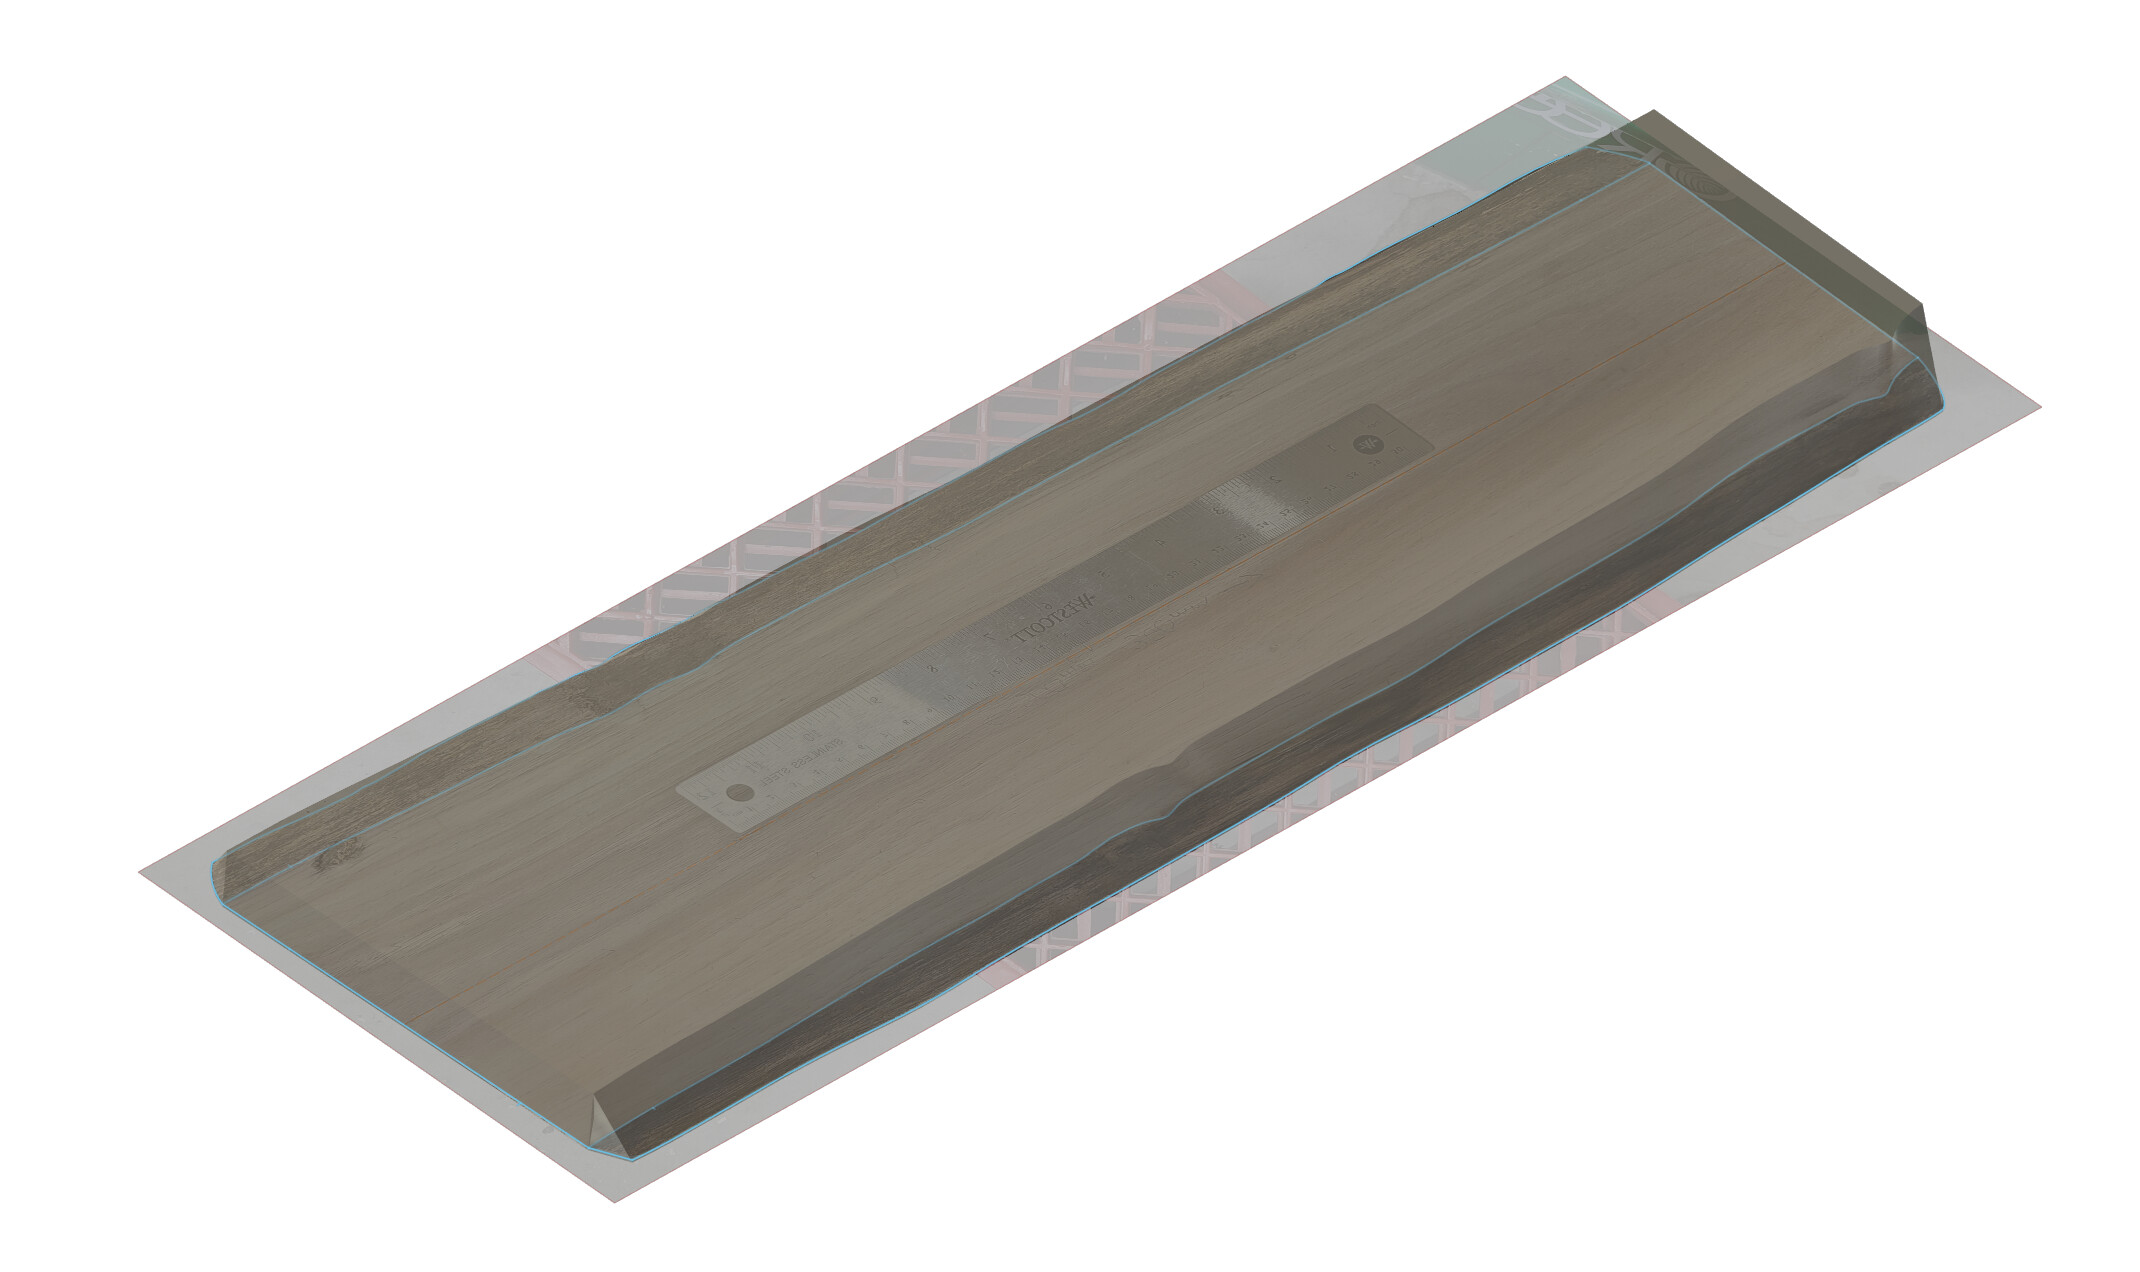
Once I import the image into Fusion 360 and I’ve calibrated the dimensions (end to end length of the line I drew down the center) I trace out the lower and upper surfaces on the wood slab and offset these planes by the thickness of the slab.
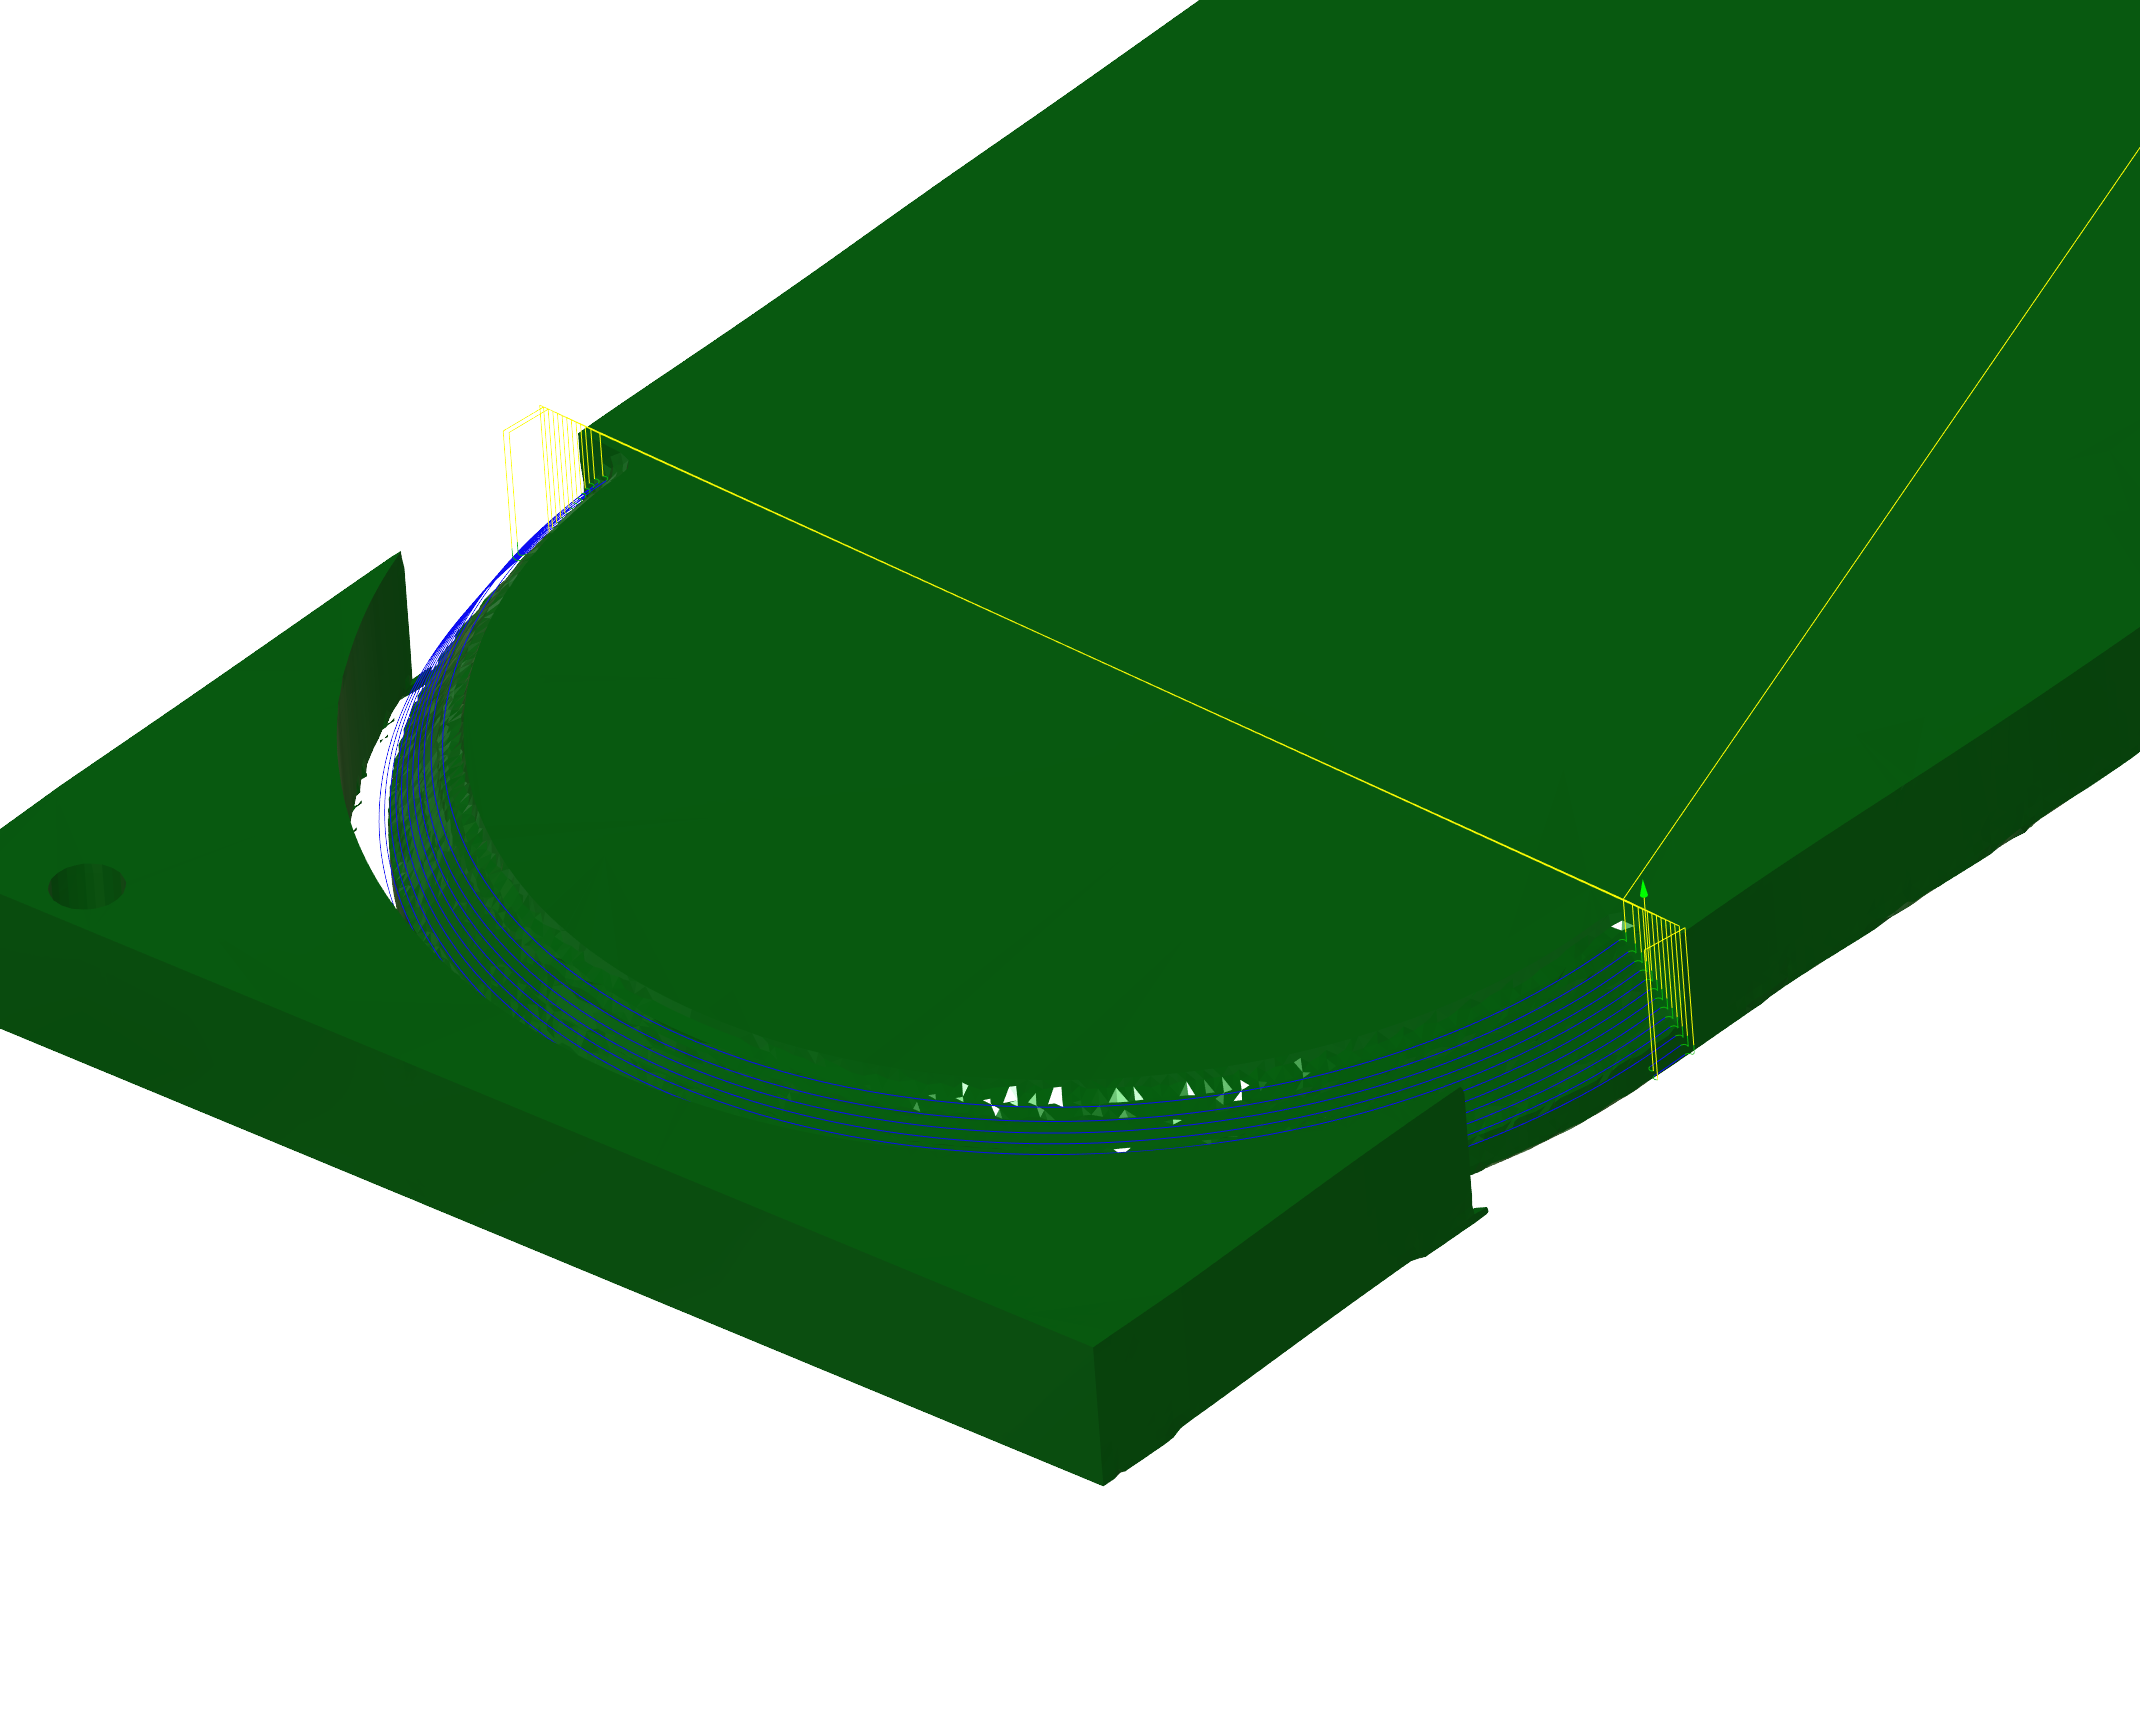
In Fusion 360 I then make use of the loft tool in order to generate a 3D model/object that closely resembles the actual wood stock.
I then add the geometry for the lower and upper plane/profiles I want to cut at the ends of the board and use the loft tool once again. Actually for this case I could have also added the end geometry in the previous step and only use the loft tool once.
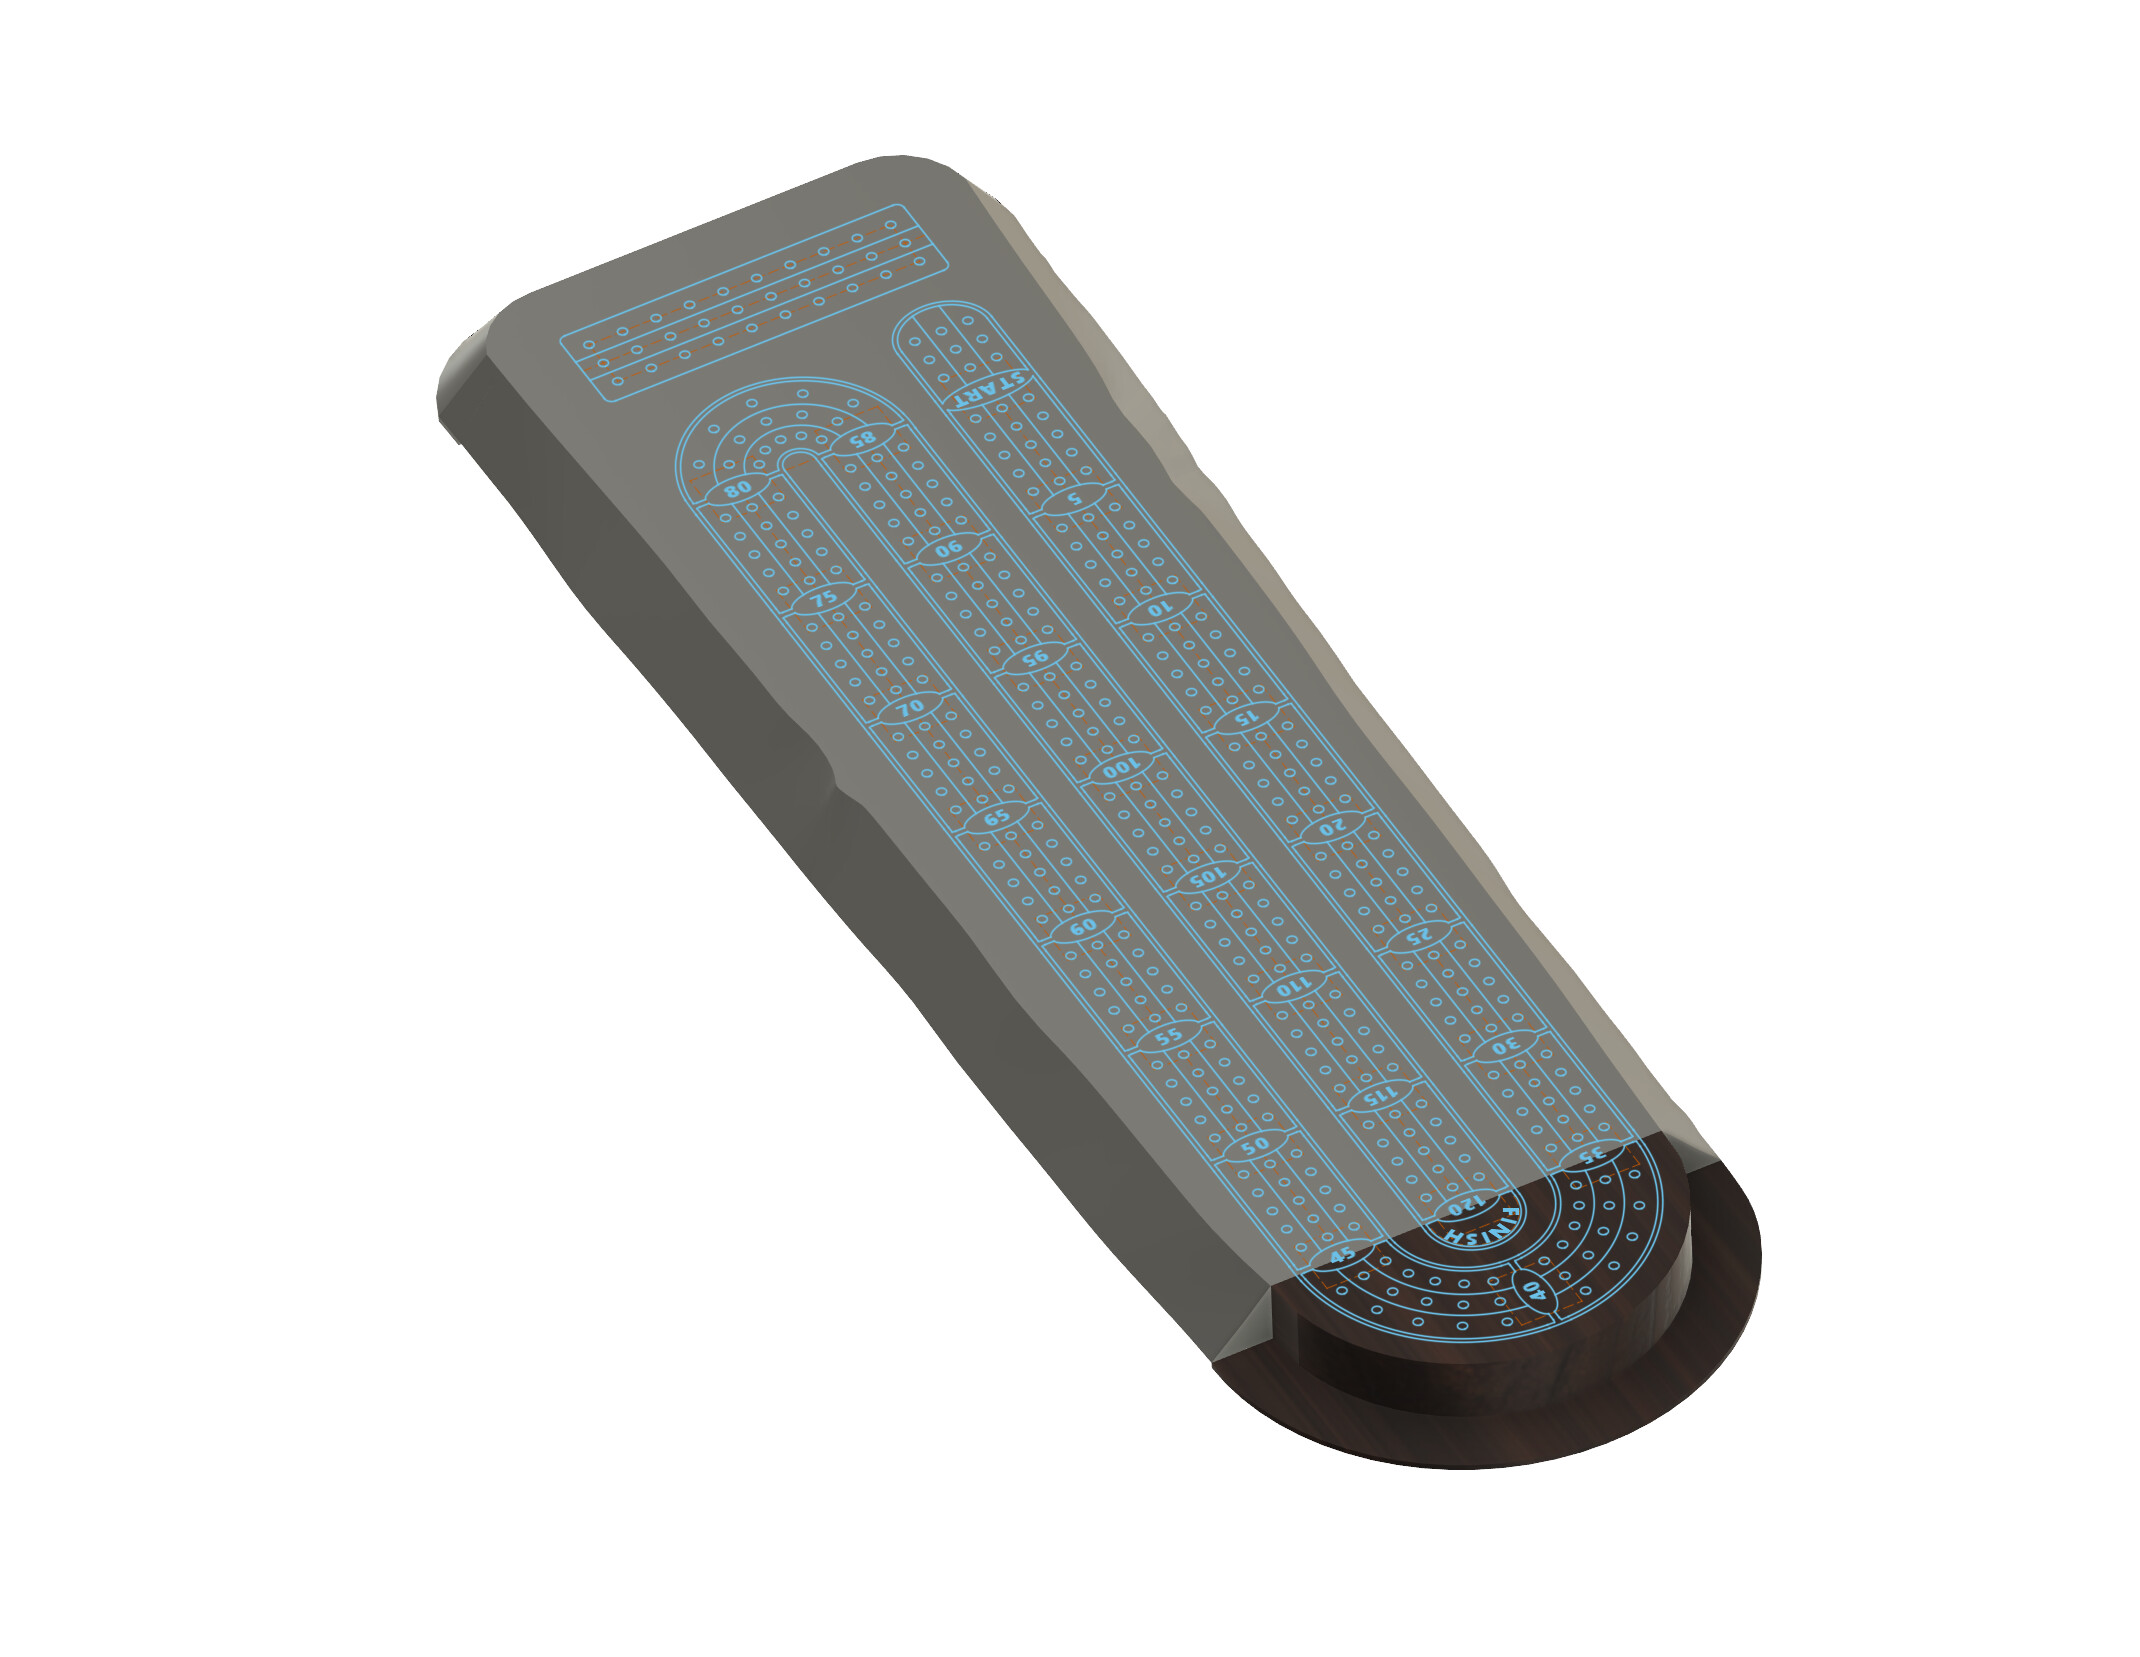
As for machining I restrict the toolpaths to the ends where I added the desired geometry and the edges usually match fairly well however a little sanding to round that edges where the machined and live edge meet blends them nicely.